Arduino Based AC DIMMER Using TRIAC

by Utsource in Circuits > Arduino

664 Views, 0 Favorites, 0 Comments

Arduino Based AC DIMMER Using TRIAC

Medium-Dimming-Circuit-Setup.jpg
In our household, most of the appliances are powered from the AC supply such as Lights, TVs, and Fans, etc. We can turn ON/OFF them digitally if needed, using Arduino and Relays by building a Home automation setup. But what if we need to control the power of those devices for example to dim the AC Lamp or to Control the speed of the Fan. In that case, we have to use phase control technique and static switches like TRIAC to control the phase of AC supply voltage.

So in this tutorial, we will learn about an AC lamp dimmer using Arduino and TRIAC. Here a TRIAC is used to switch the AC lamp, as this is a Power electronic fast switching device which is the best suited for these applications.

Things You Need

Km5Zu-2RIncAUweU7uG7IhyWPySZ0SqIgAI0-vk9w7767_IkthCPCcsirj2GGmXF4IdQDg8UVpHVLVM6CXnzFsG1hnAdSkK7BIhIOtEldXoZiDsvzsPo-6o0rD6Mda7UyOE=w456-h323-nc.png
Optocoupler.jpg
TRIAC-Working.jpg
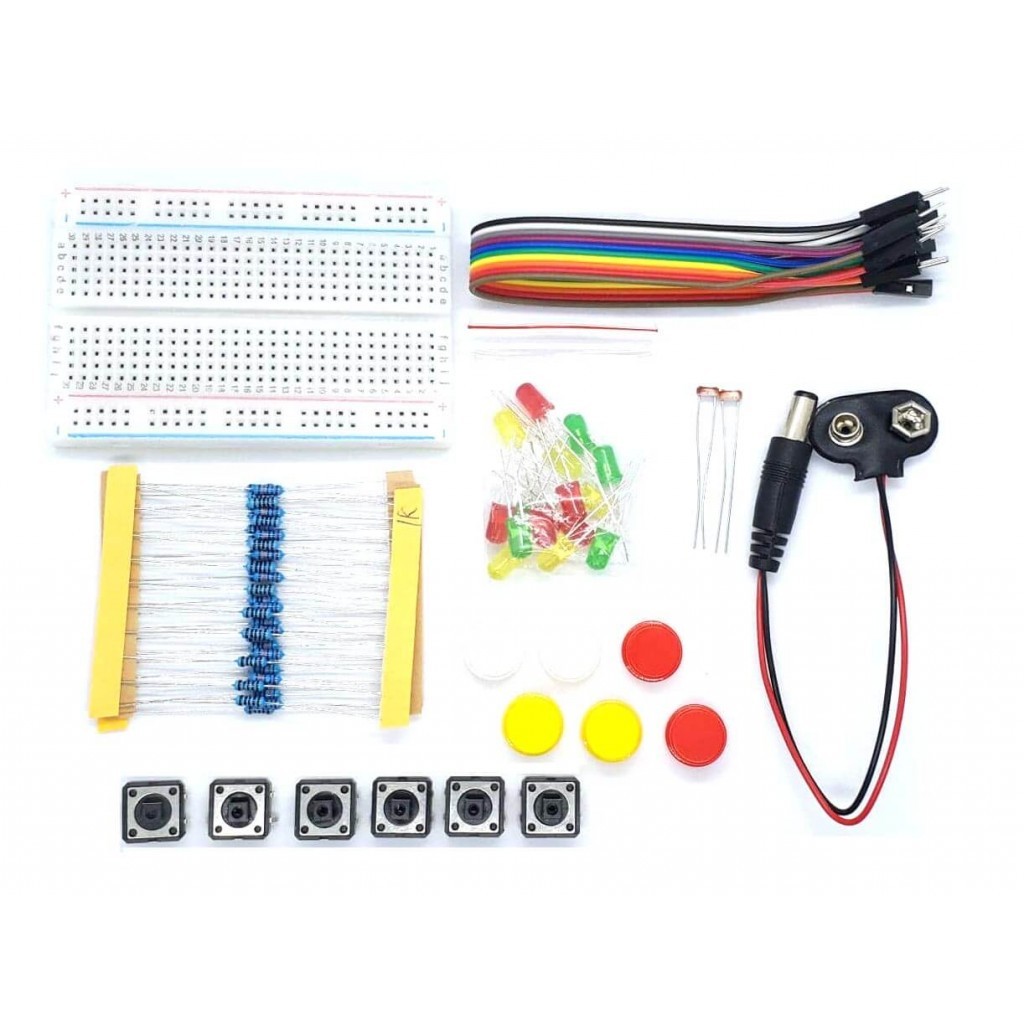
electronics-kit-resistor-led-button-breadboard-wire-1697-1024x1024.jpg

For this instructables we will need following things :

Arduino UNO
MCT2E optocoupler
MOC3021 optocoupler
BT136 TRIAC
(12-0)V, 500mA Step down transformer
1K,10K, 330ohm Resistors
10K Potentiometer
AC Holder with Lamp
AC wires
Jumpers

Schmatics

20191104_194917.png
20191104_194739.png
Please follow the above shown schmatics to connect everything together.

Code

images(101).jpg

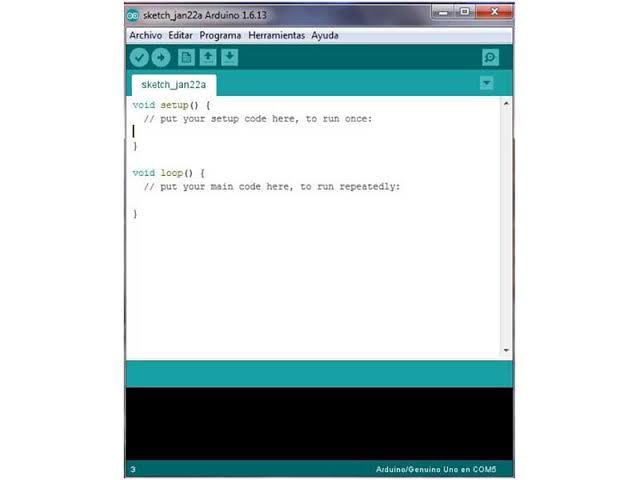
Please copy the following code and upload it to the arduino Board :

int LAMP = 4;
int dim_val=0;
void setup()
{
pinMode(LAMP, OUTPUT);
attachInterrupt(digitalPinToInterrupt(2), zero_cross, CHANGE);
}
void zero_cross()
{
int dimming_time = (200*dim_val);
delayMicroseconds(dimming_time);
digitalWrite(LAMP, HIGH);
delayMicroseconds(10);
digitalWrite(LAMP, LOW);
}

void loop()
{
int data=analogRead(A0);
int data1 = map(data, 0, 1023,10,49);
dim_val=data1;
}

Dimming the AC

Screenshot_20191104-194449__01.jpg
Screenshot_20191104-194509__01.jpg
Maximum-Dimming-Circuit-Setup.jpg
Medium-Dimming-Circuit-Setup.jpg
After completing the coding part and connections , carefully turn on the power and be more cautious because you are dealing with 220V and if everything is correct your bulb will be dimmed if you rotate the Potentiometer and the intensity of light bulb will change.