Arduino As ISP || Burn Hex File in AVR || Fuse in AVR || Arduino As Programmer
by vishalsoniindia in Circuits > Arduino
8519 Views, 3 Favorites, 0 Comments
Arduino As ISP || Burn Hex File in AVR || Fuse in AVR || Arduino As Programmer
...........................
By the way, subscribe to my YouTube channel for more projects like this. I also update my upcoming projects on Instagram.
buy me a coffee! ☕: Donate
This article is all about arduino as isp.
If you want to upload hex file or if you want to set your fuse in AVR then you no need to buy a programmer, you can do it with arduino.
In this article i have uploaded hex file in atmega8 if you want to upload hex file in other AVR then understand the process and follow same steps.
........................
Supplies
Arduino Uno (amazon.com / amazon.in)
Breadboard (amazon.com / amazon.in)
Requirements
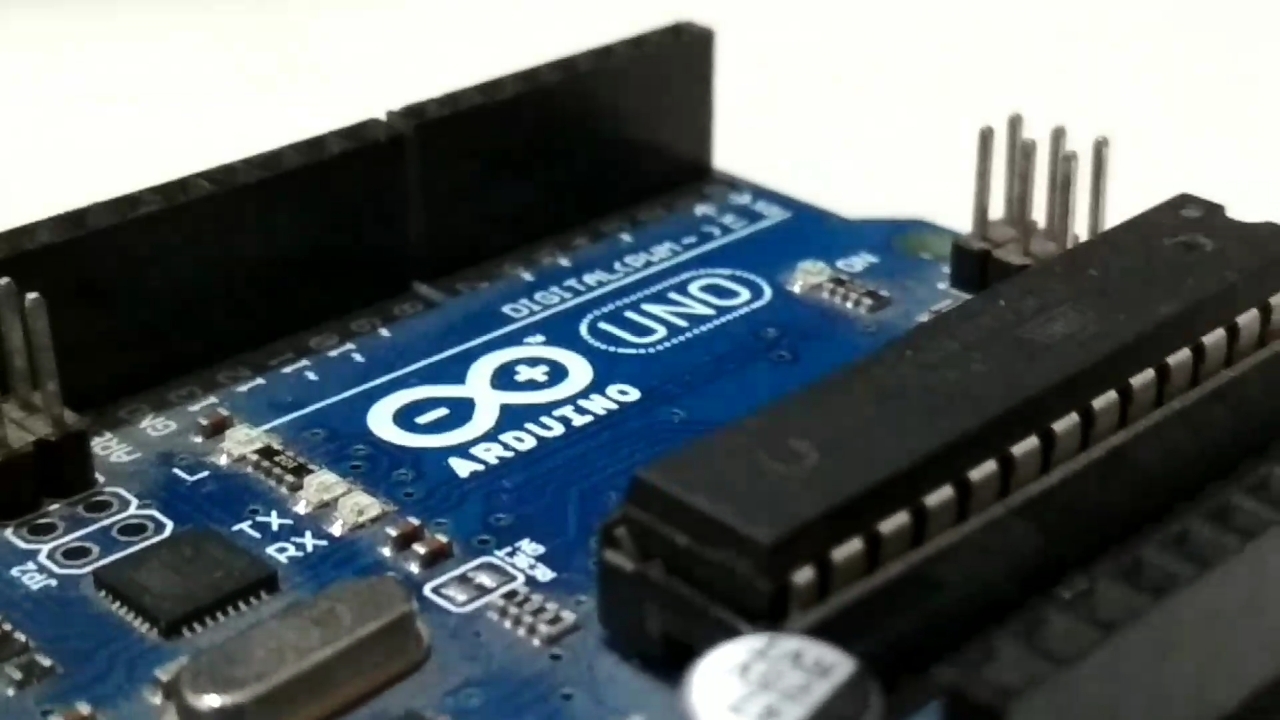
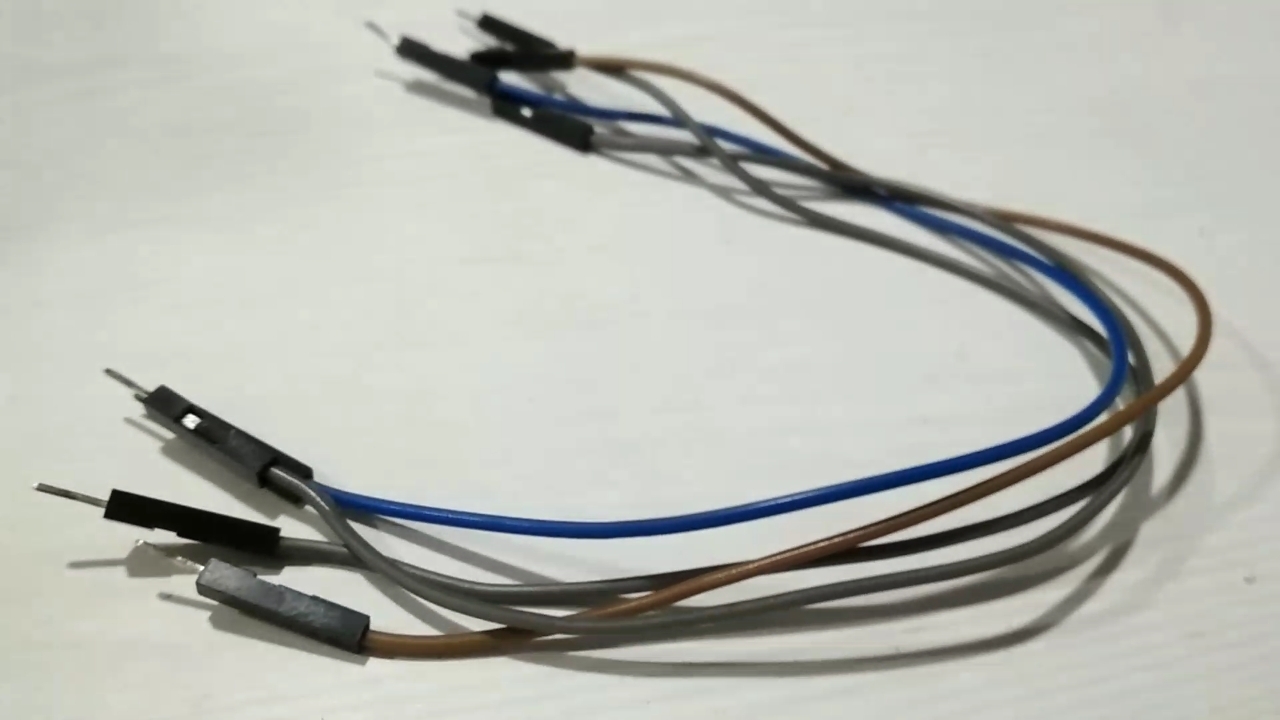
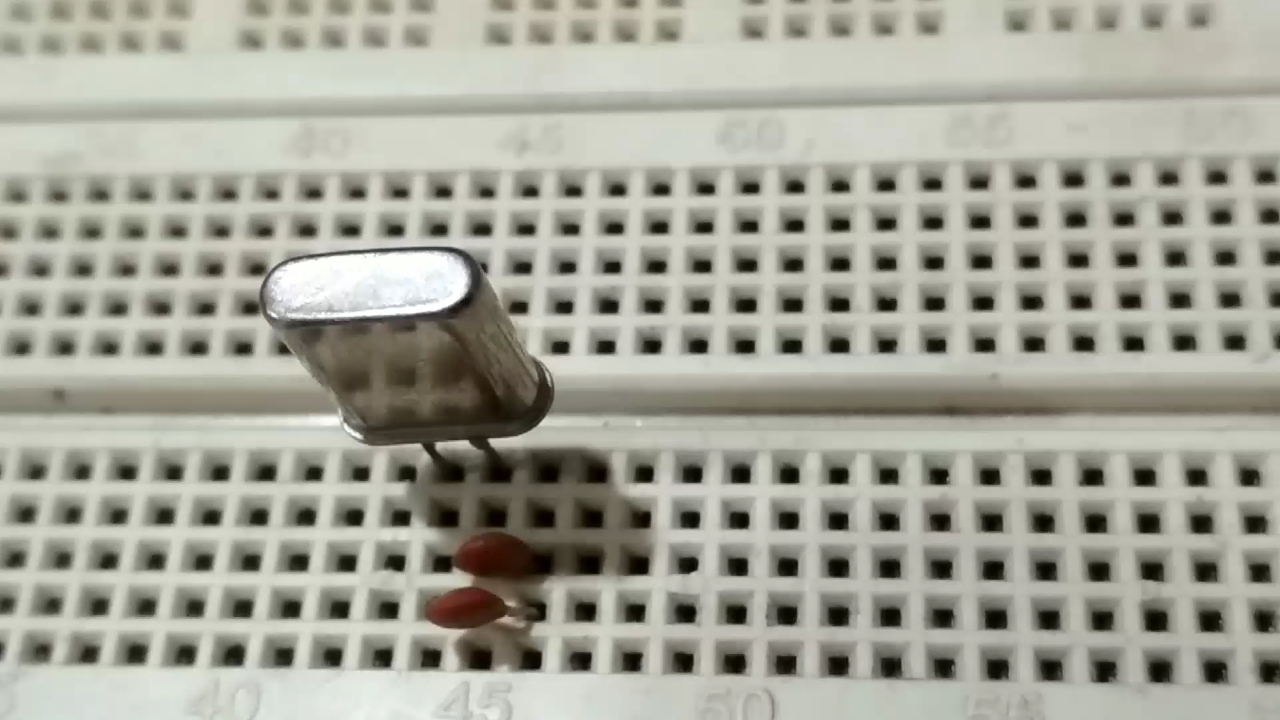
- Arduino uno
- Some jumper wires
- Breadboard
- Crystal oscillator (optional if your controller is set on external oscillator)
*** if your controller is out of the box then no need to connect Crystal oscillator this ****
Connect Arduino With Pc
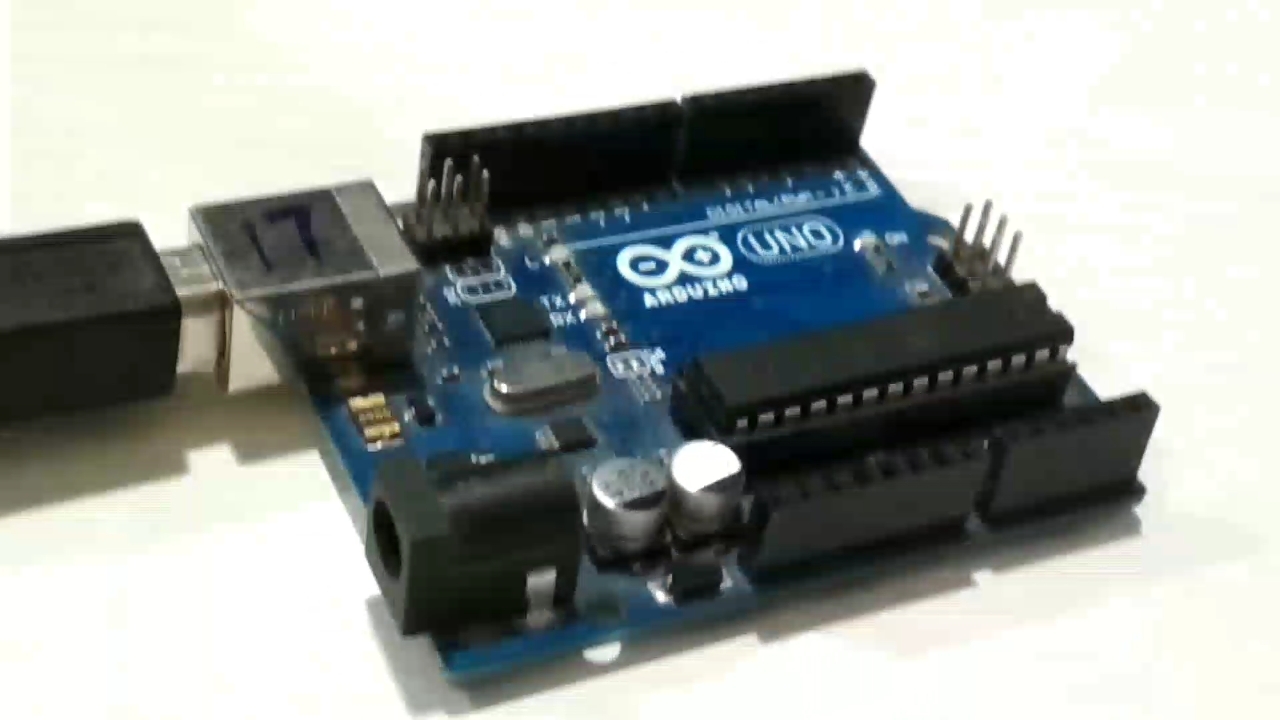
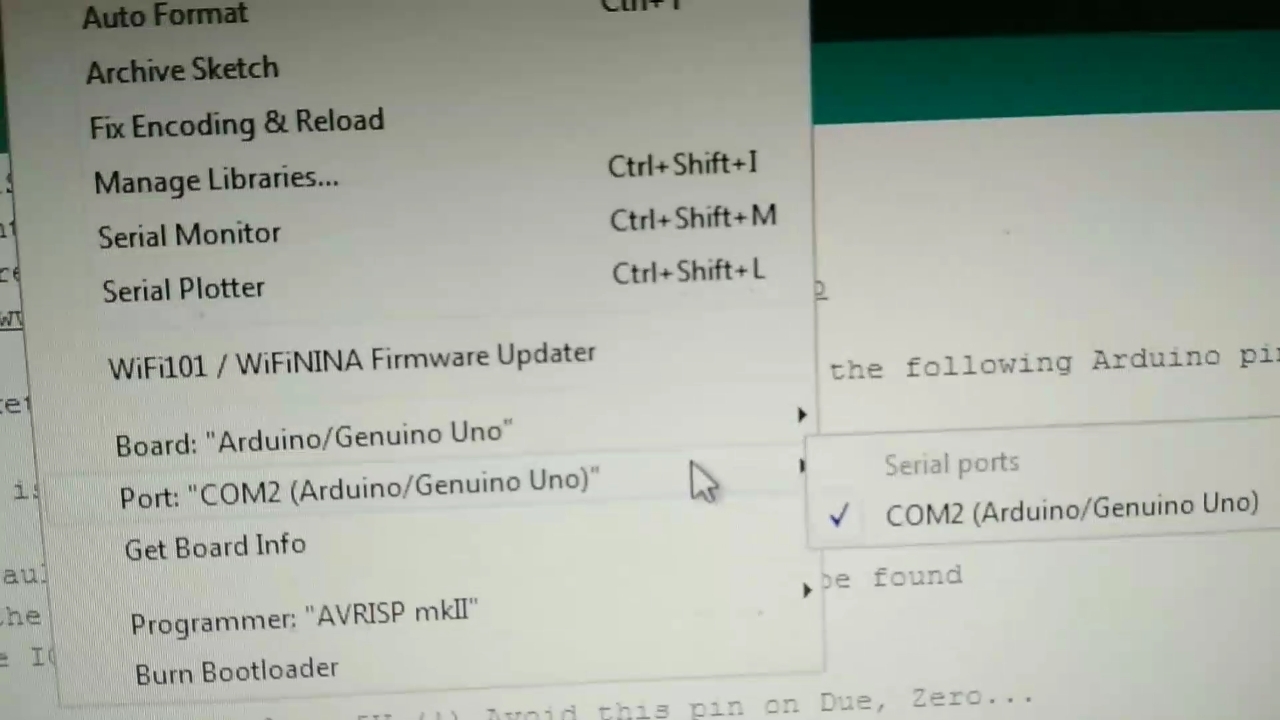
- Connect your arduino with PC
- Open arduino IDE and click on tools
- Then click on board, here select arduino uno
- Now click on port below board, here select port where arduino is connected.
***** my arduino is connected on COM2, remember your we will use it later.
Upload Code
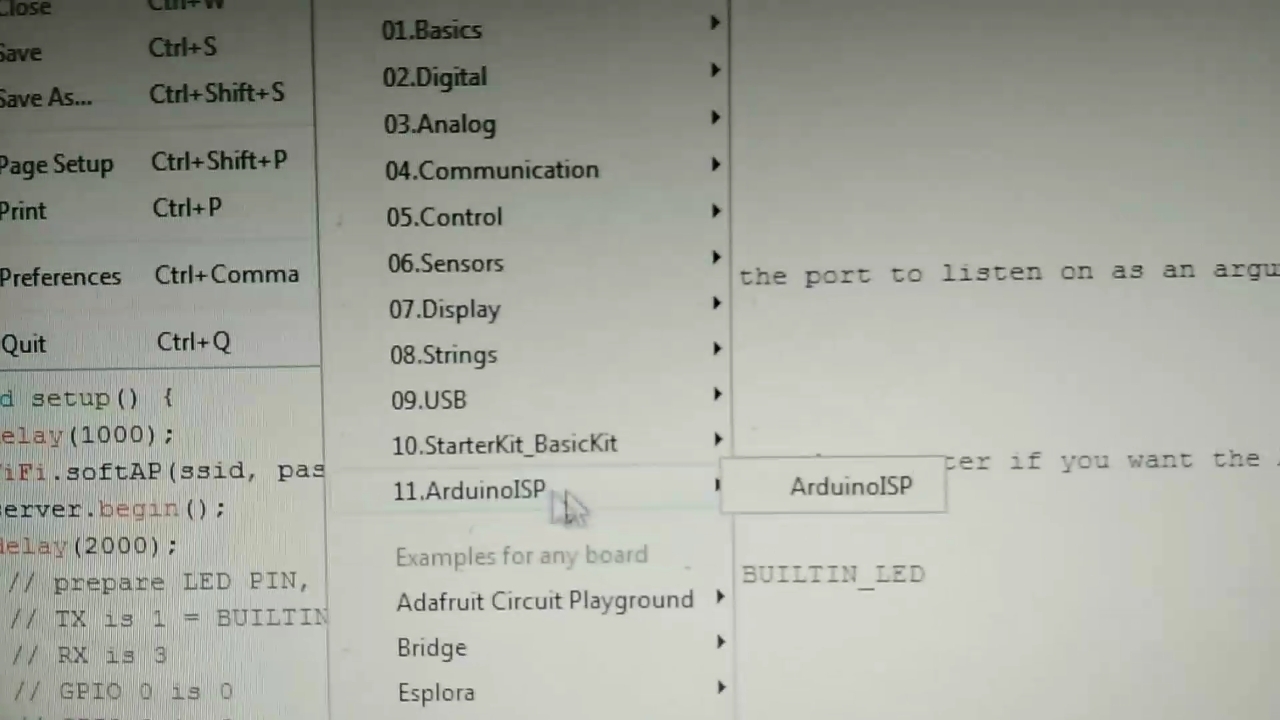
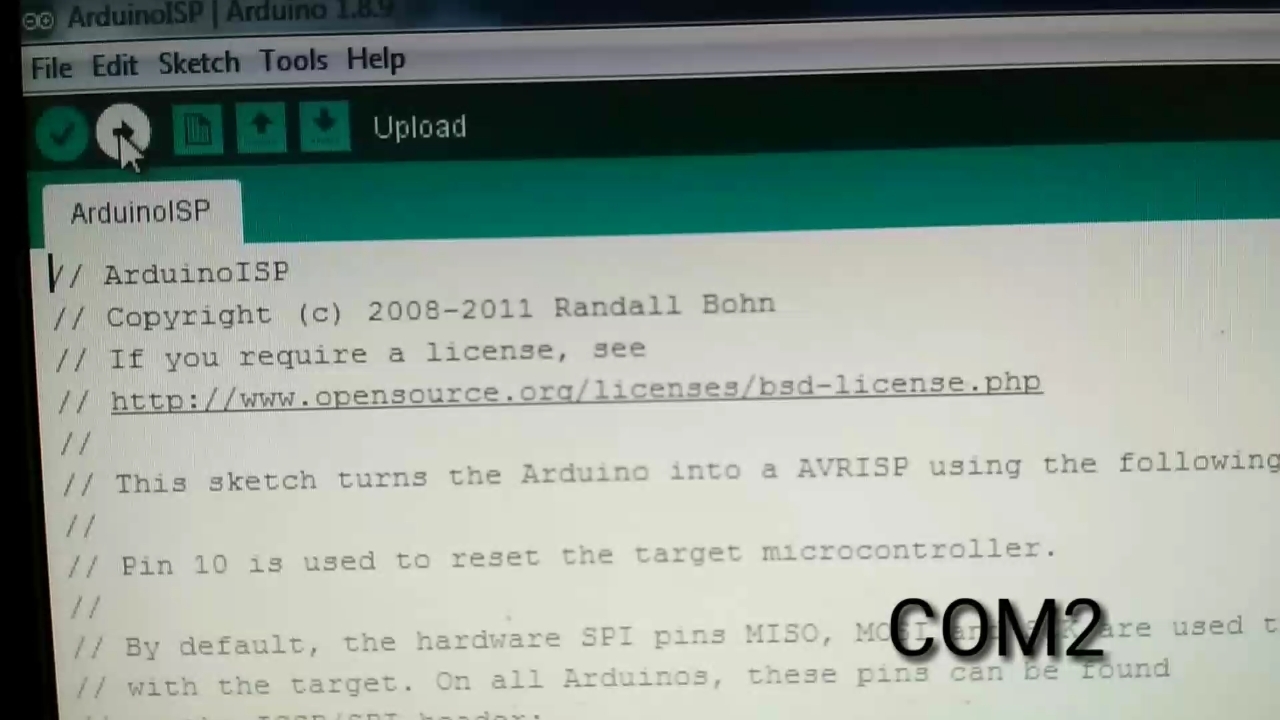
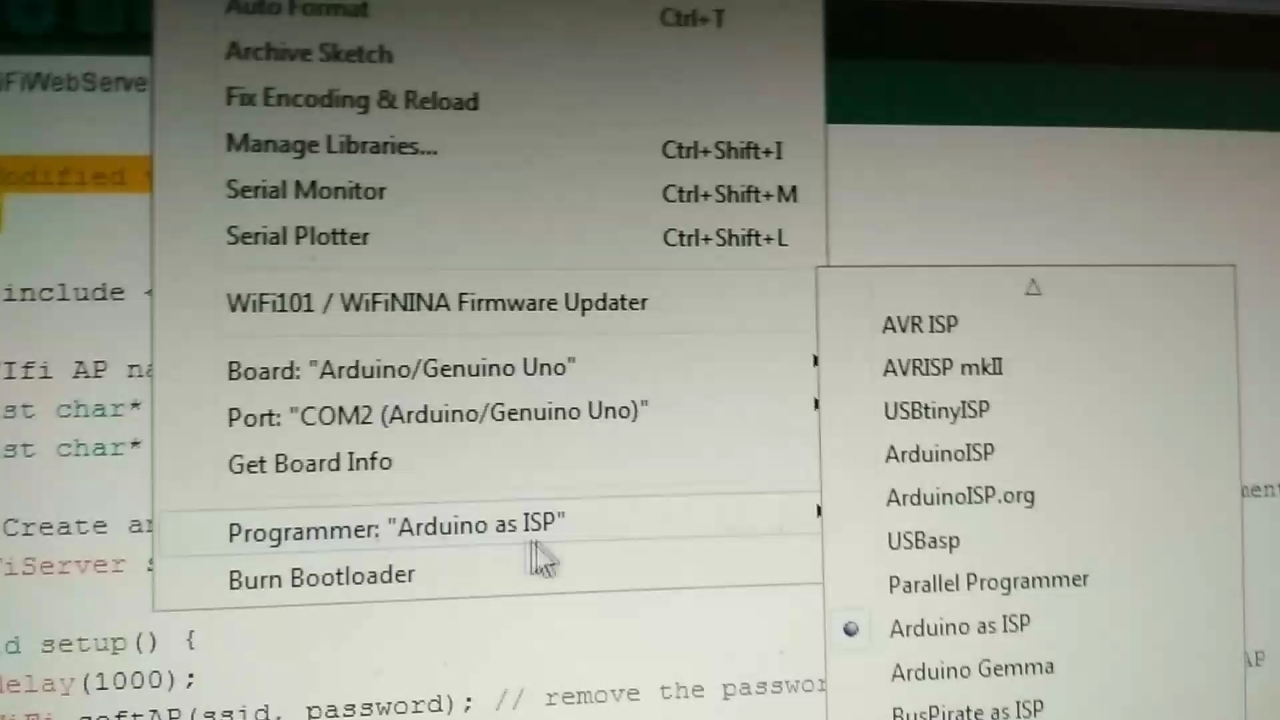
- Go to the file then examples
- Find ArduinoISP example
- Upload ArduinoISP program
- Now go in tools and select programmer "arduino as isp"
Don't confuse about arduino isp and arduino as isp in programmer.
Connect Circuit
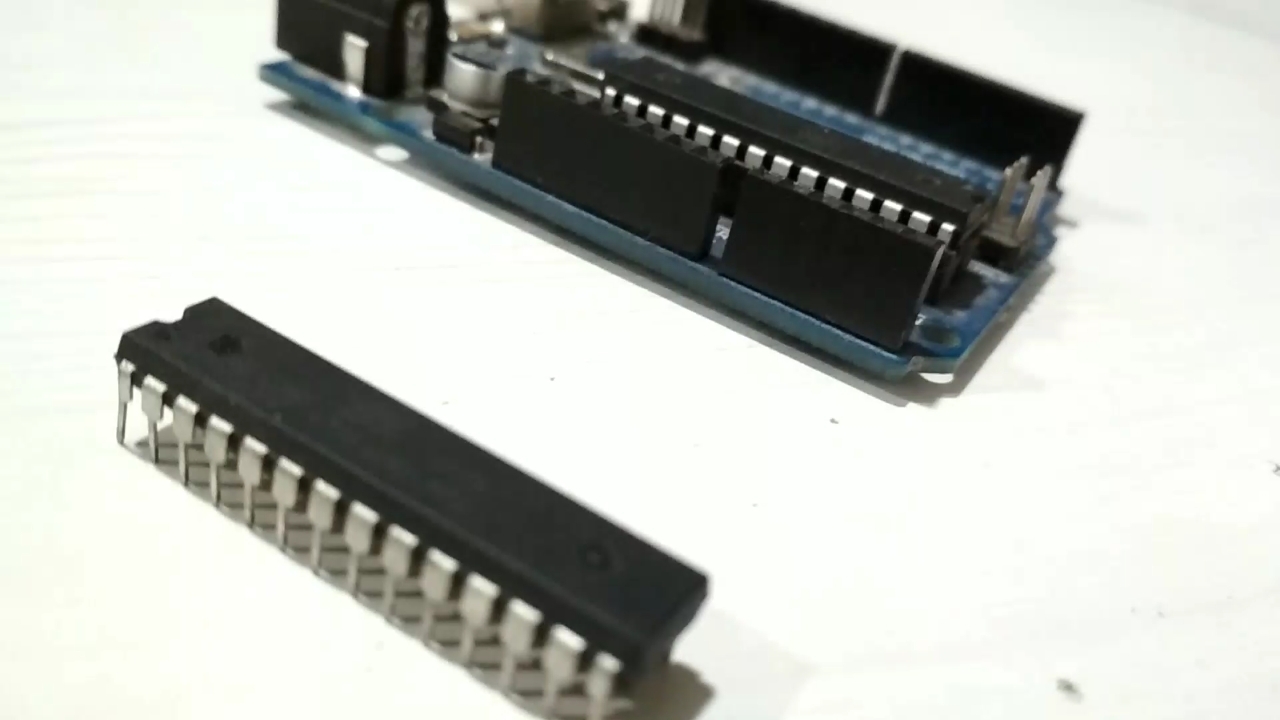
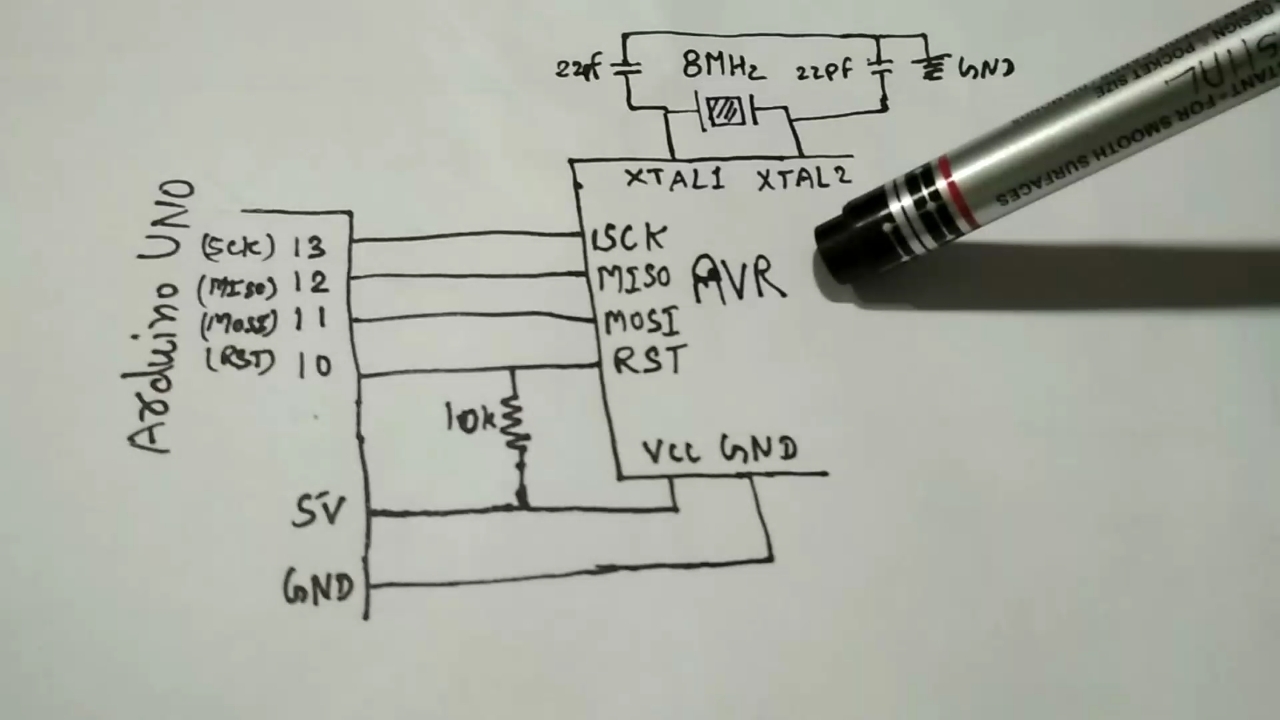
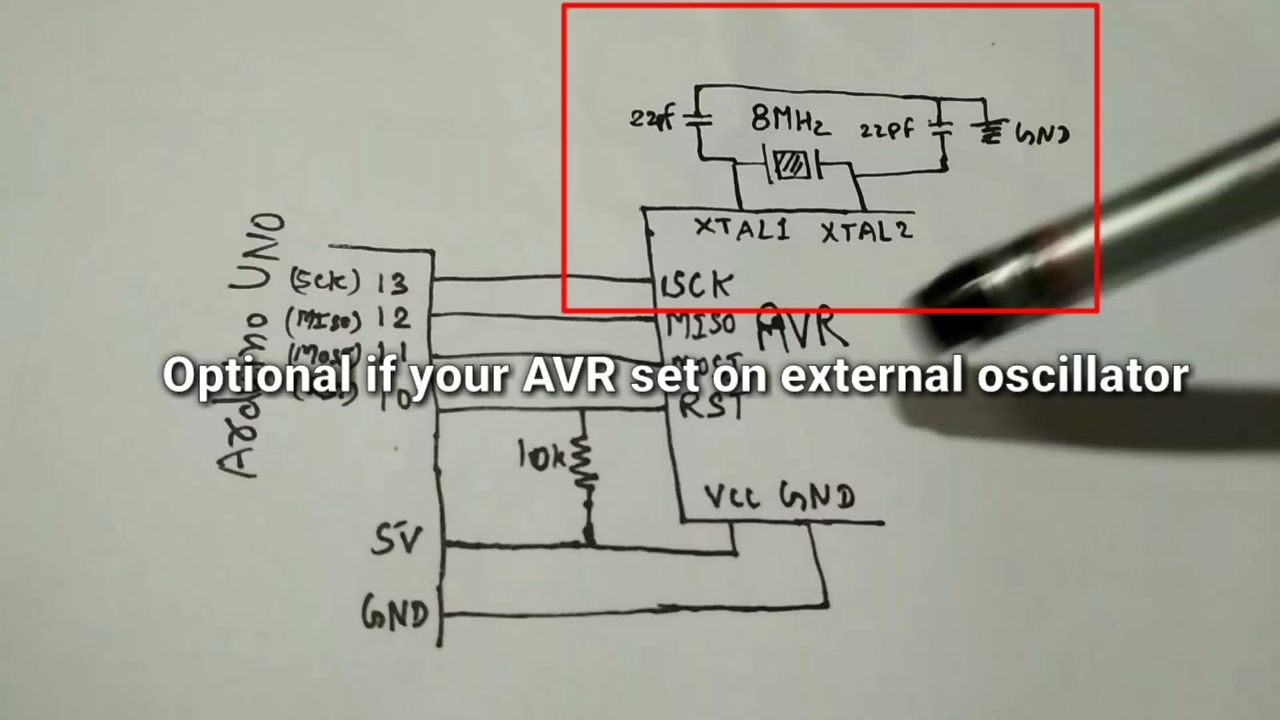
- Here we burn Hex file and set fuse in Atmega8. Please understand the concept so you can burn hex file in any type of avr via arduino.
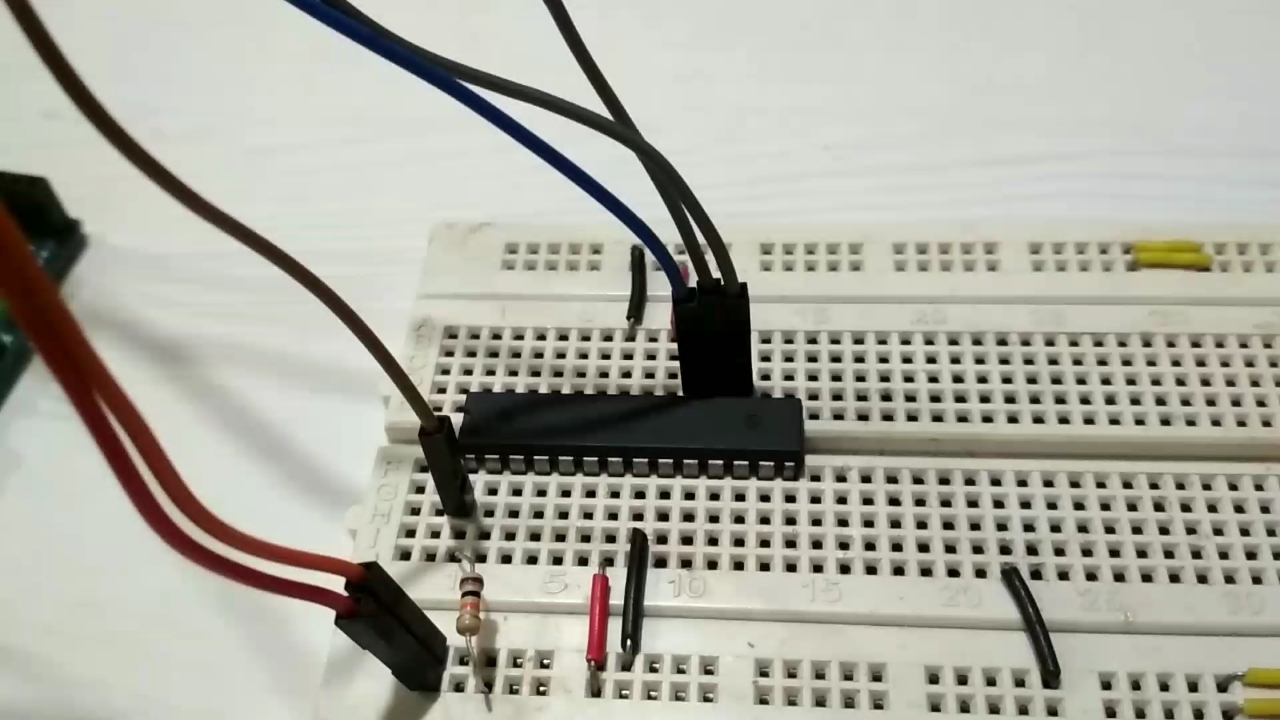
- Connect the circuit as given in photo.
- Crystal oscillator is optional if your Avr is set on external fuse, if AVR is out of the box then no need to connect this.
Pin Out Understanding
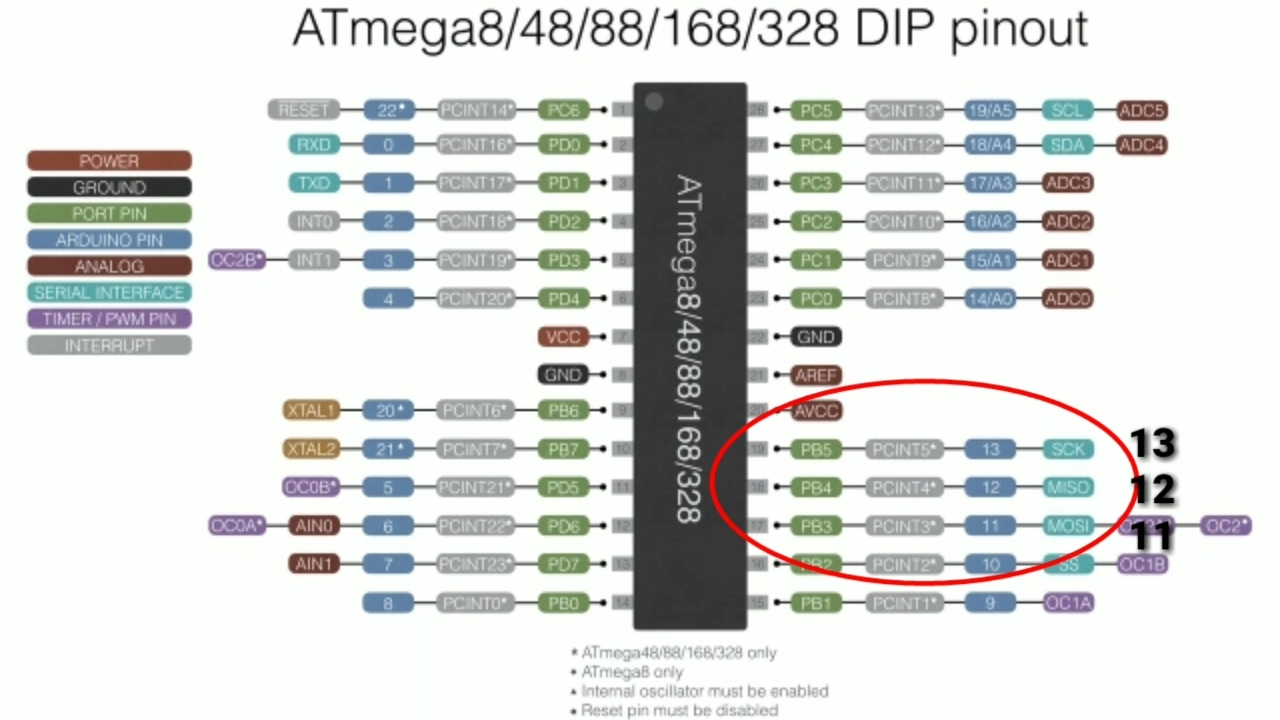
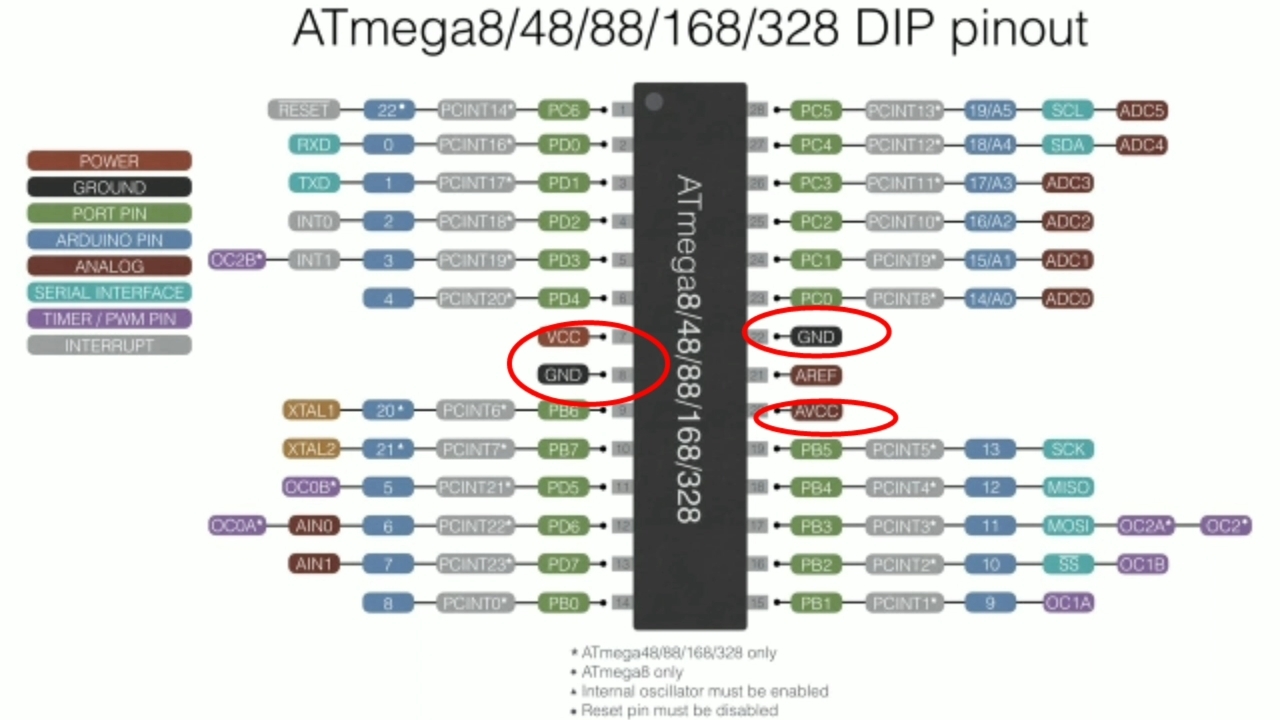
- As you can see in first photo there is MISO, MOSI AND SCK pin, which we will connect to the respectively 13,12,11 pin of arduino.
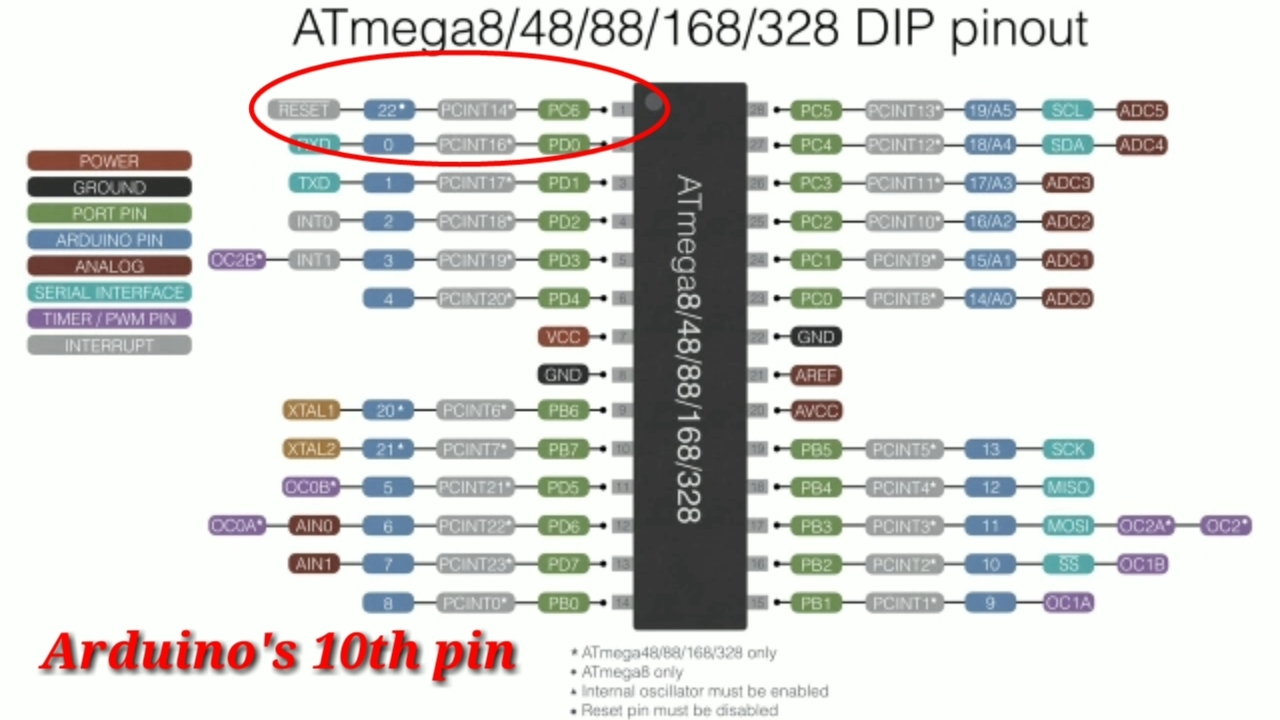
- As you can see in second photo there is Reset pin which we will connect to the 10th pin of arduino.
- In third photo you can see VCC, AVCC and GND pin, connect AVCC and VCC to 5v of arduino, GND to GND of arduino.
Download the Zip File
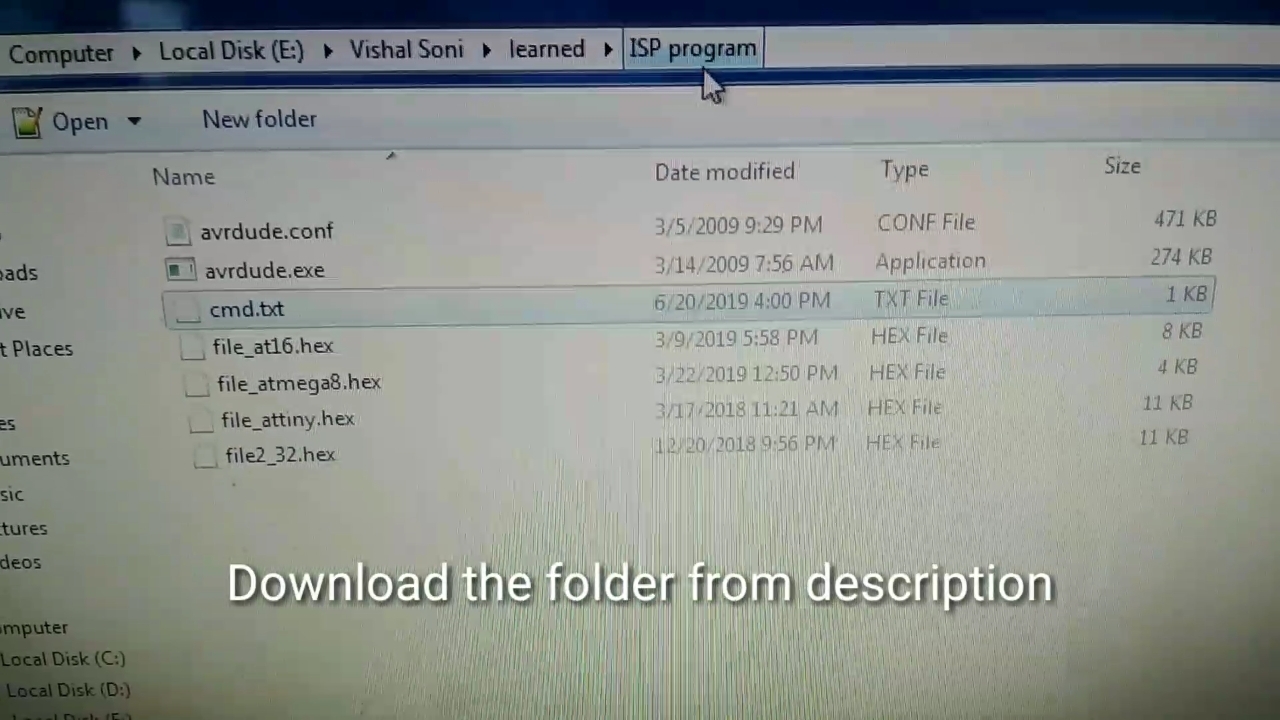
- Download the zip file given below
- Extract the zip file
Mirror Github :
Find Your Controller Code
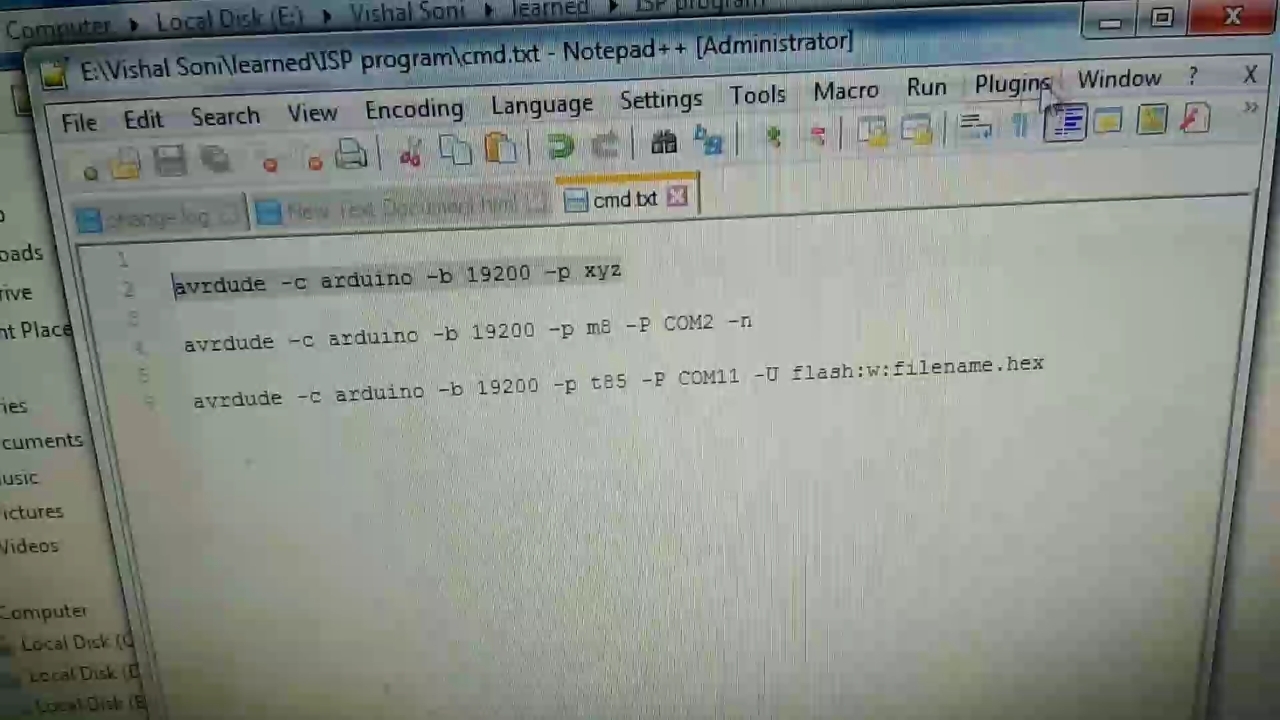
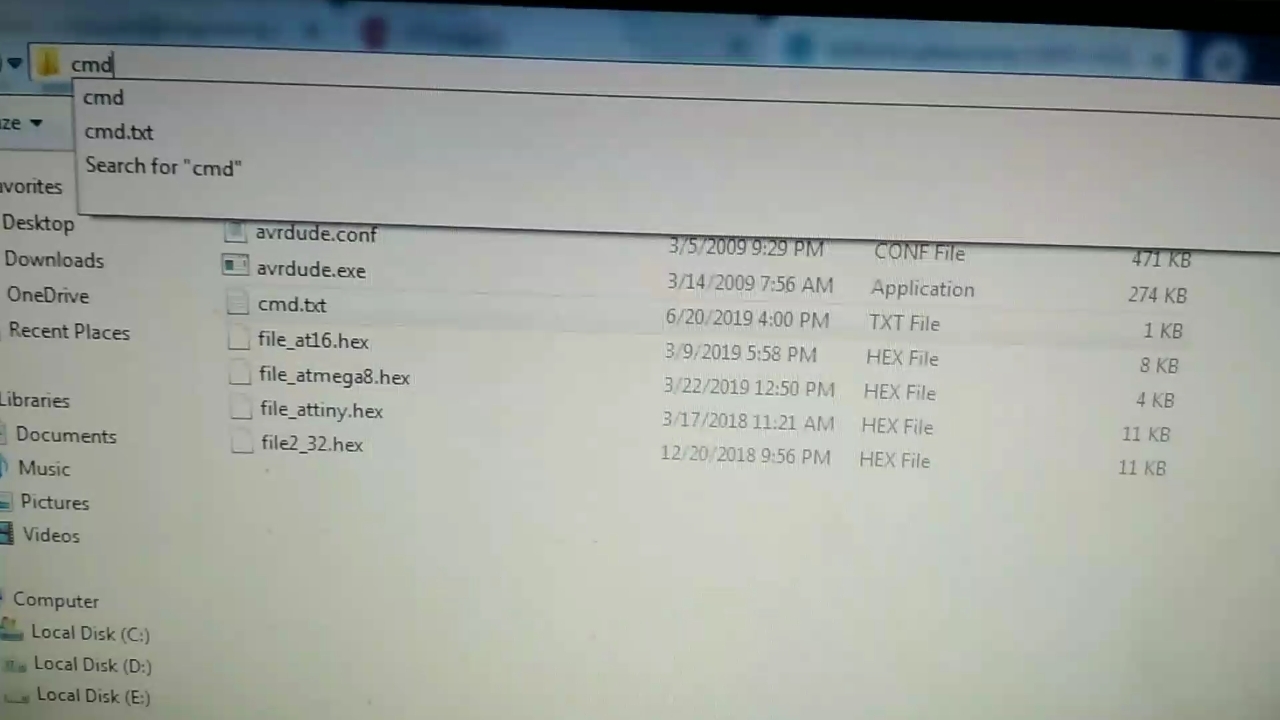
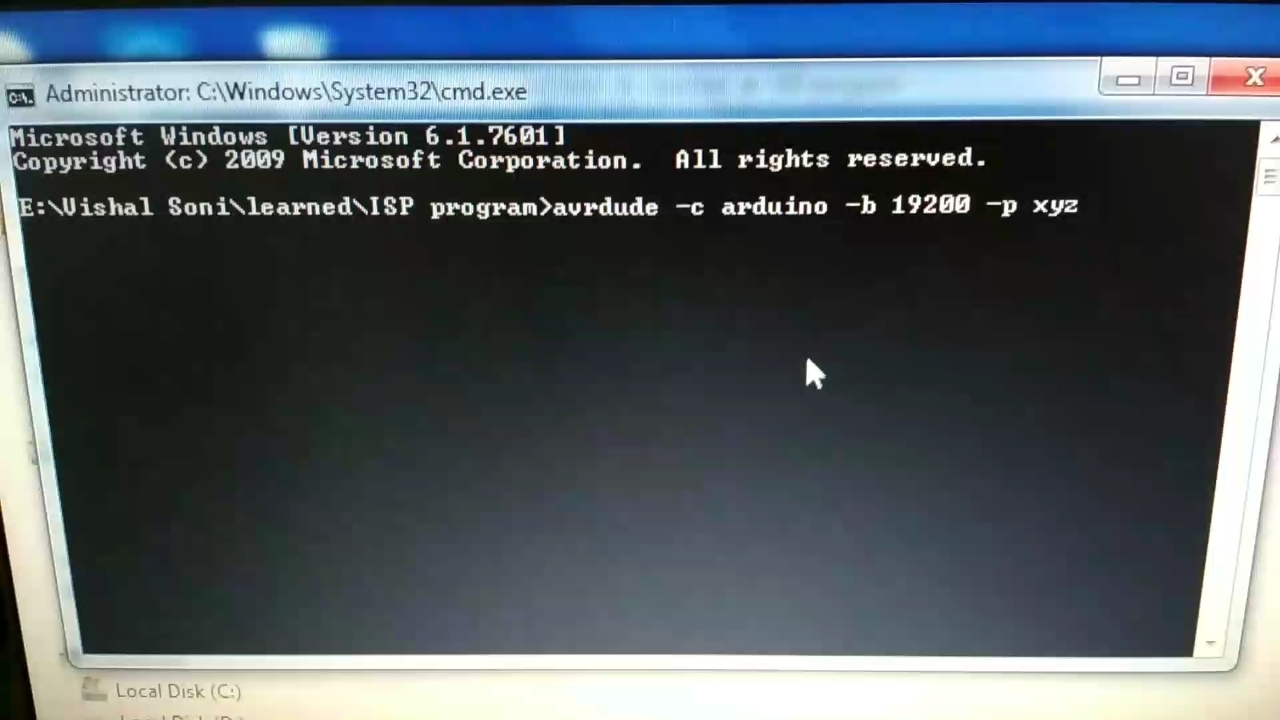
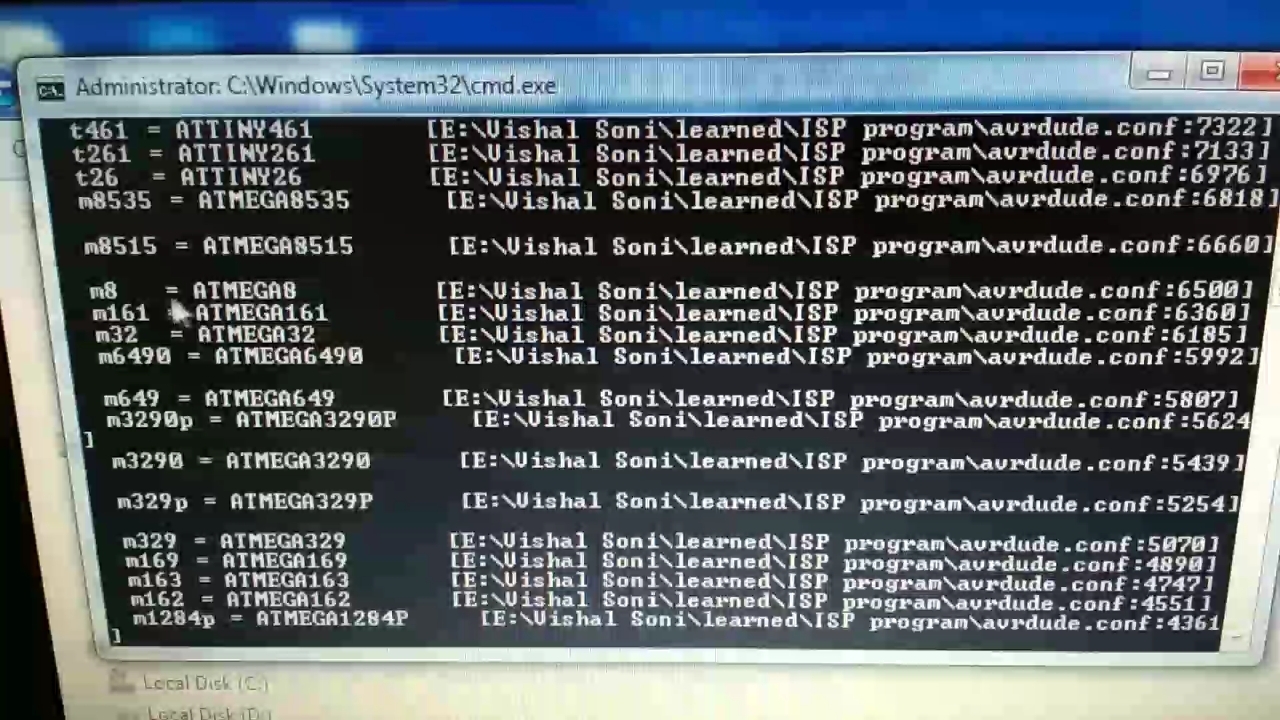
Paste your Hex file in same folder which we have downloaded, where you can see cmd.txt file.
- Open cmd.txt file in folder
- Copy first line which is "avrdude -c arduino -b 19200 -p xyz"
- Type cmd at the top bar of your pc as shown in photo.
- Here command terminal is opened
- Paste your line and hit enter
- In last photo you can see controlled name and controller code mine is m8 for atmega8.
Detect Controlled
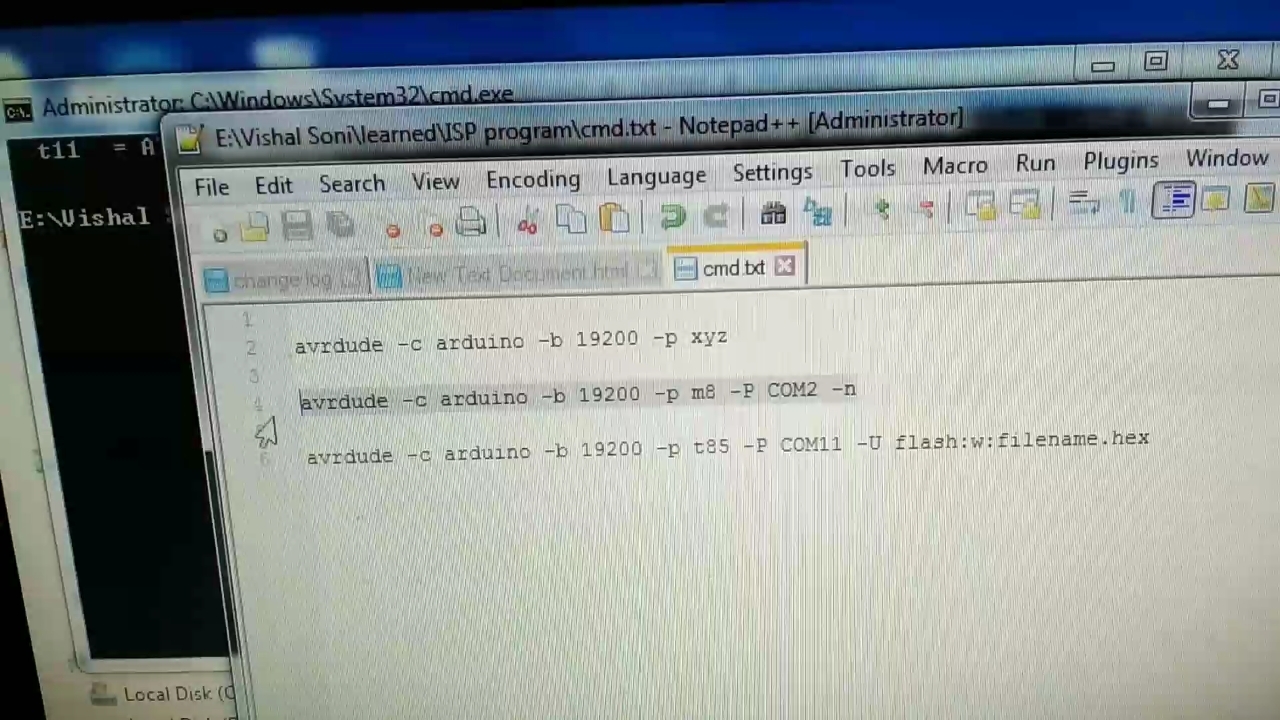
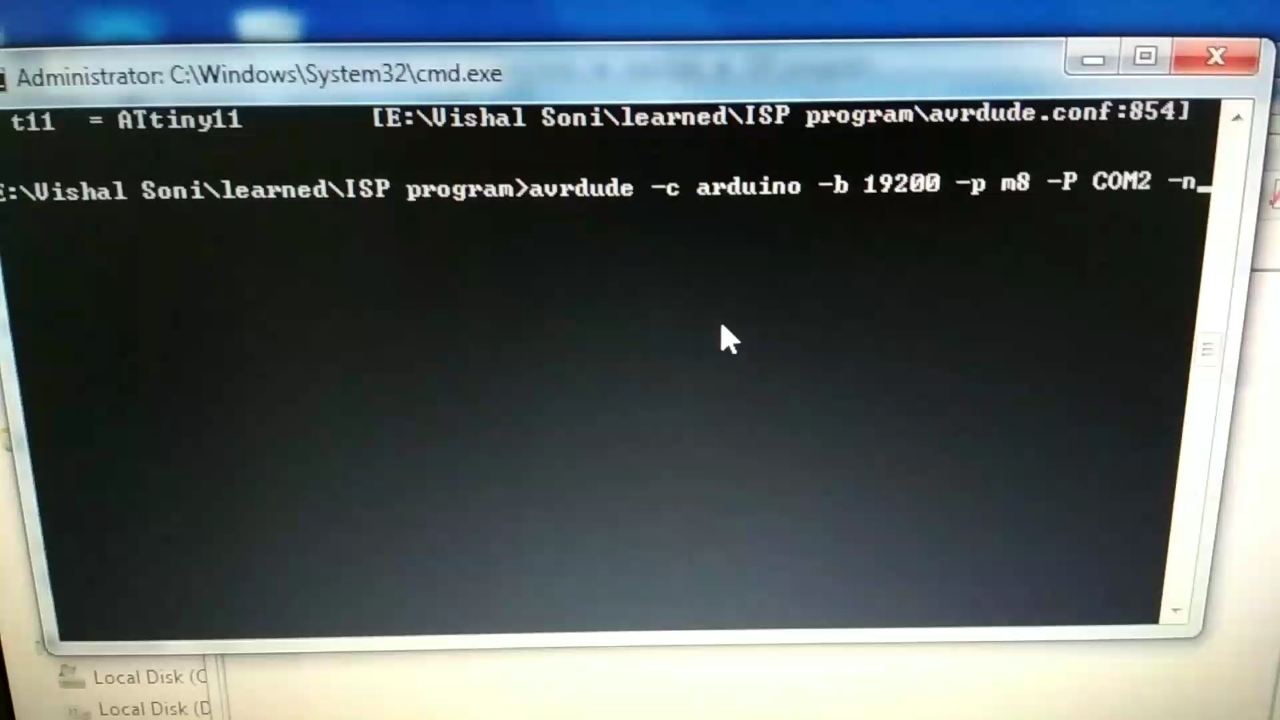
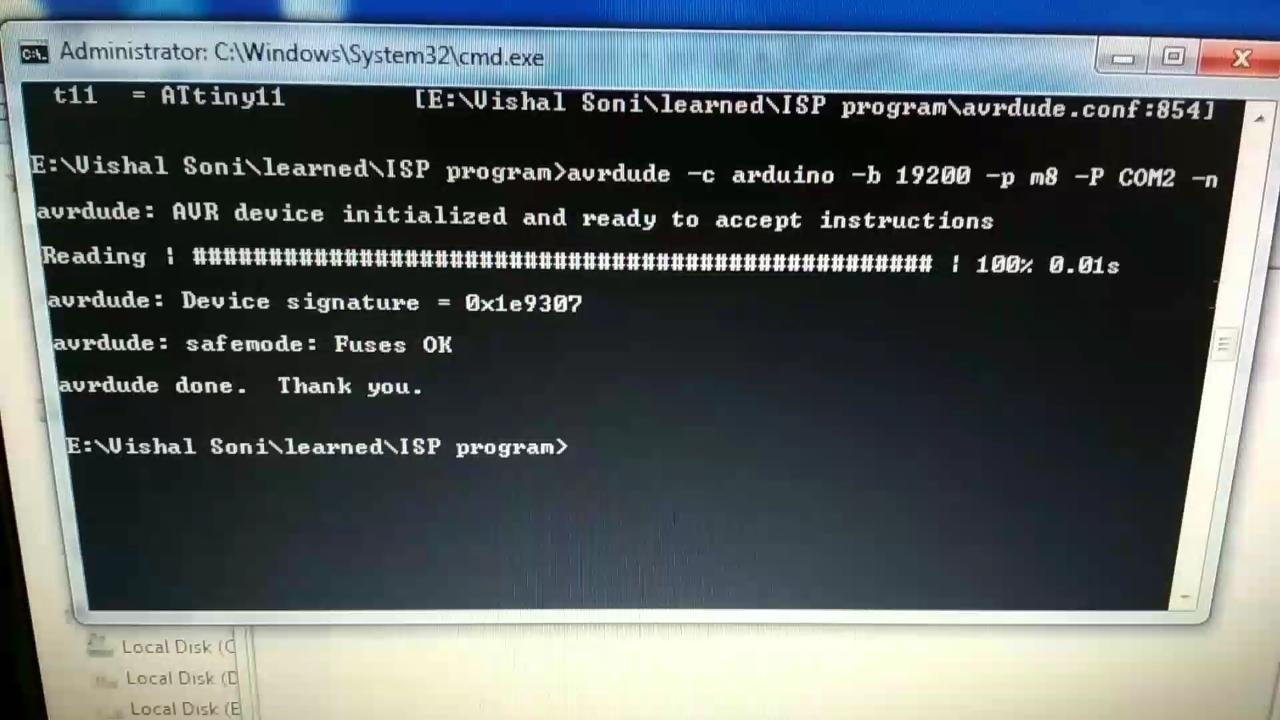
- Copy second line in taxt file which is "avrdude -c arduino -b 19200 -p m8 -P COM2 -n"
- Paste it in command terminal
- Now change your com port mine is COM2 where your arduino is connected.
- Change your controller code mine is m8.
- Hit enter.
- When you see some device signature and fuse ok it means your controller is detected.
Set Fuse
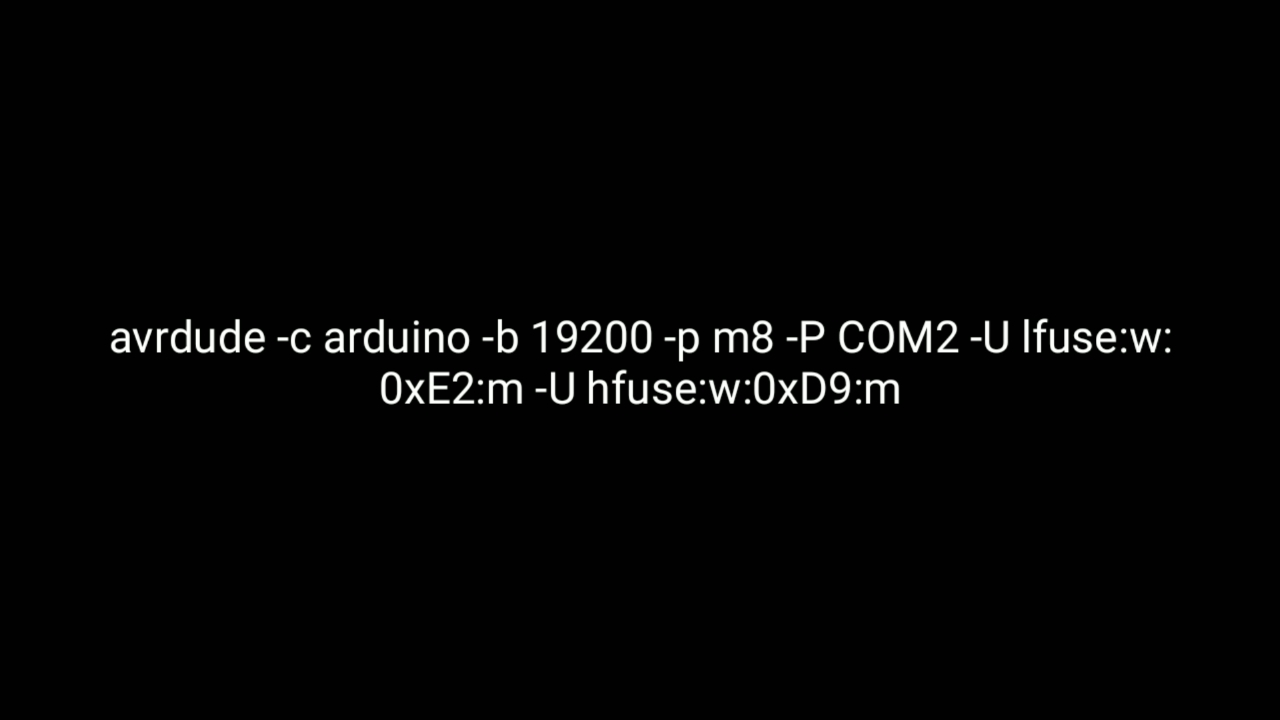
- Copy this line which is "avrdude -c arduino -b 19200 -p m8 -P COM2 -U lfuse:w:0xE2:m -U hfuse:w:0xD9:m"
- Past it in command terminal.
- Now change your com port mine is COM2 where your arduino is connected.
- Change your controller code mine is m8.
- This fuse is set on internal 8MHZ, it means you no need to connect external Crystal oscillator.
- Hit enter.
- Now fuse is set it is one time process no need to to next time.
If you want to change fuse then E2 is lower fuse and D9 is higher fuse, you can change it according to your requirements.
Upload Hex File
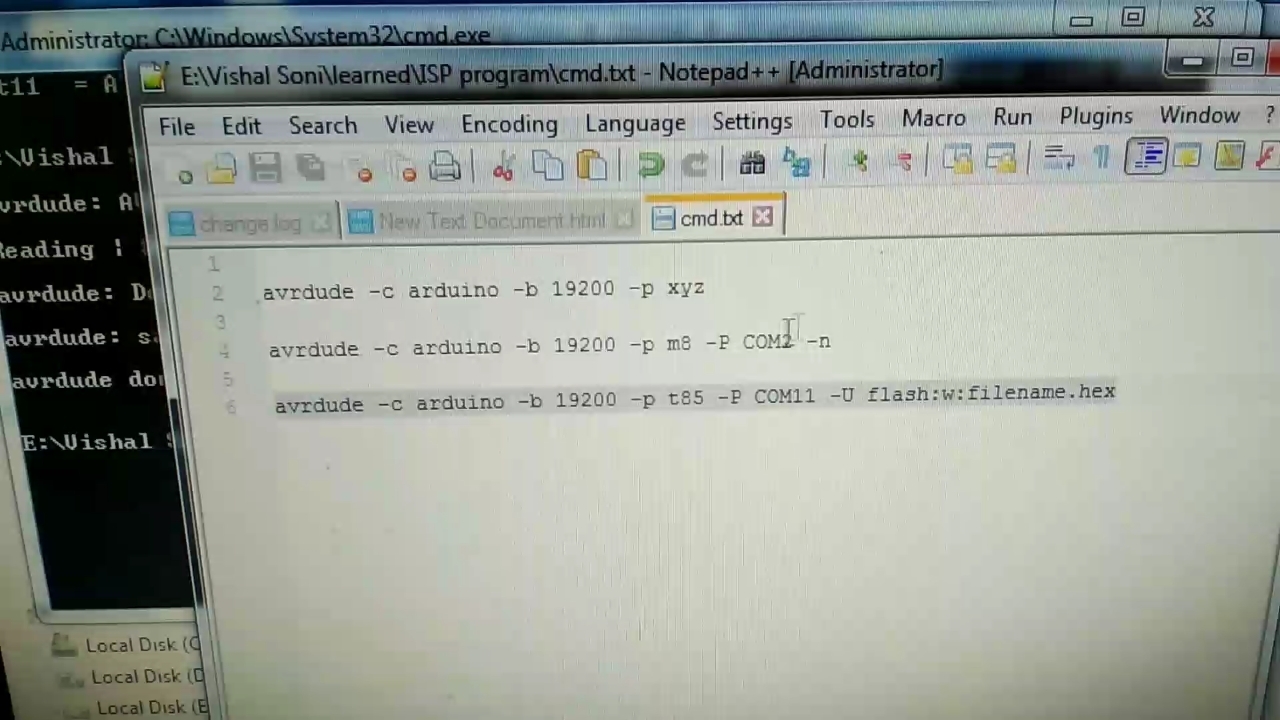
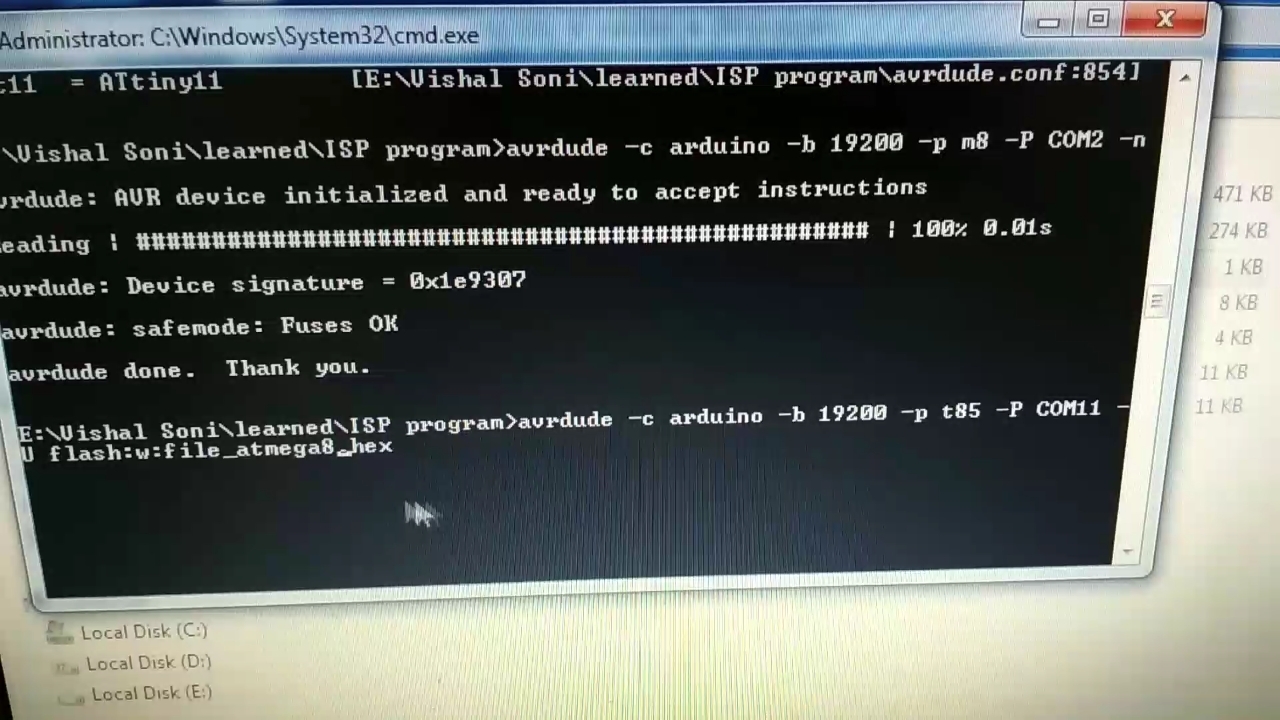
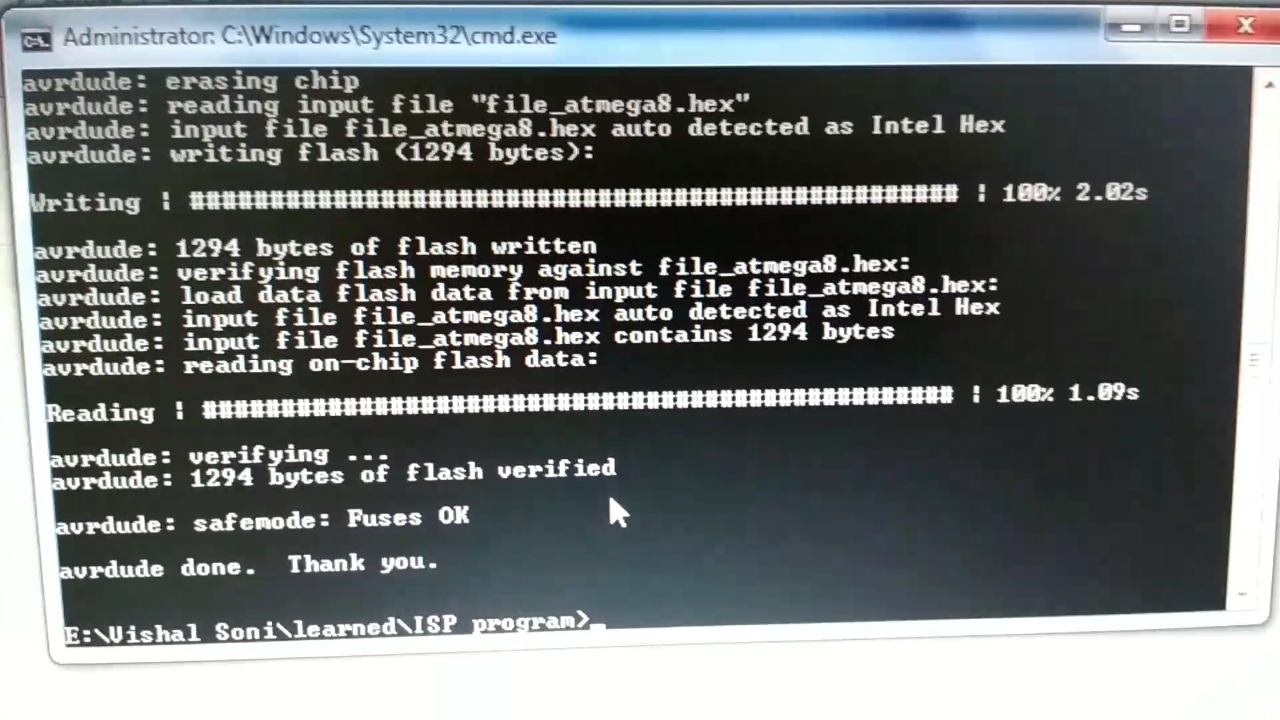
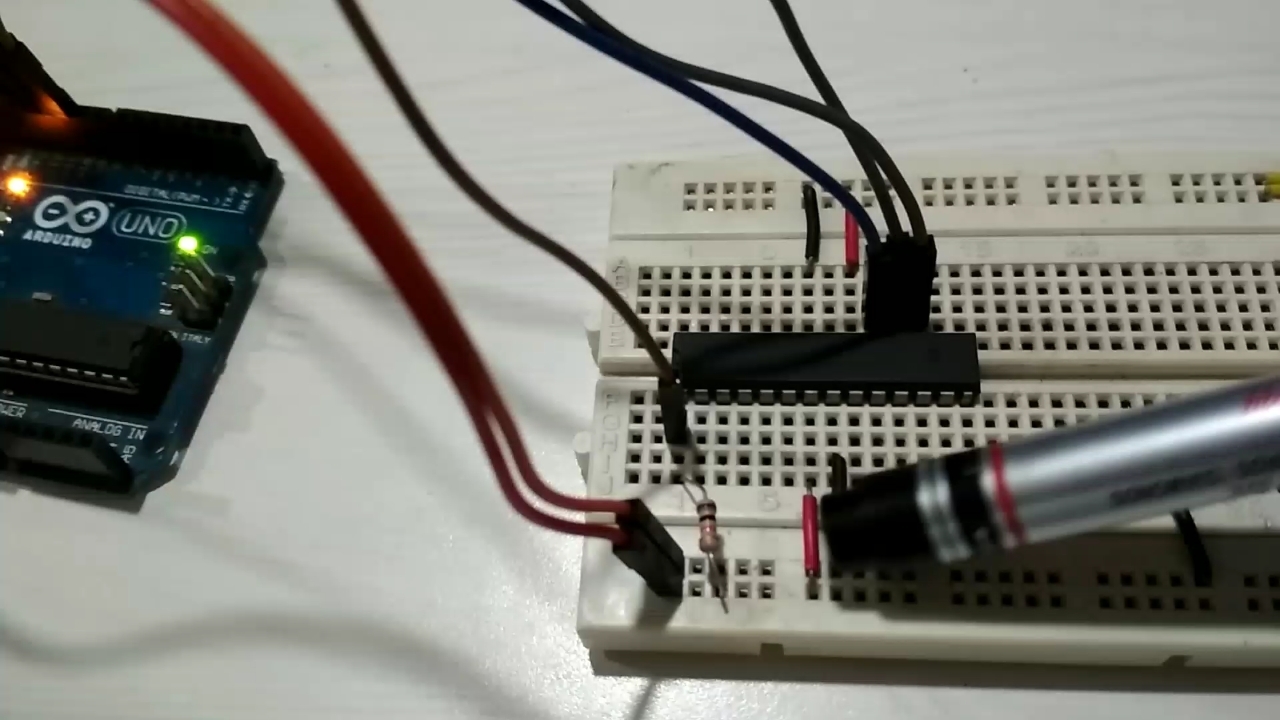
- Before this paste your hex file in same folder, where you can see cmd.txt file.
- Copy last line and paste it in command terminal.
- At the last of line you can see file name, replace it with your hex file name.
- Now change your com port mine is COM2 where your arduino is connected.
- Change your controller code mine is m8.
- Hit enter.
- If you see same massage as in my third photo then your hex file is burned in AVR.
buy me a coffee! ☕: Donate
....ALL DONE....... HO HO HO..