Arduino Altimeter Using BMP and SPI or I2C OLED
by d3mon8 in Circuits > Microcontrollers
3695 Views, 5 Favorites, 0 Comments
Arduino Altimeter Using BMP and SPI or I2C OLED

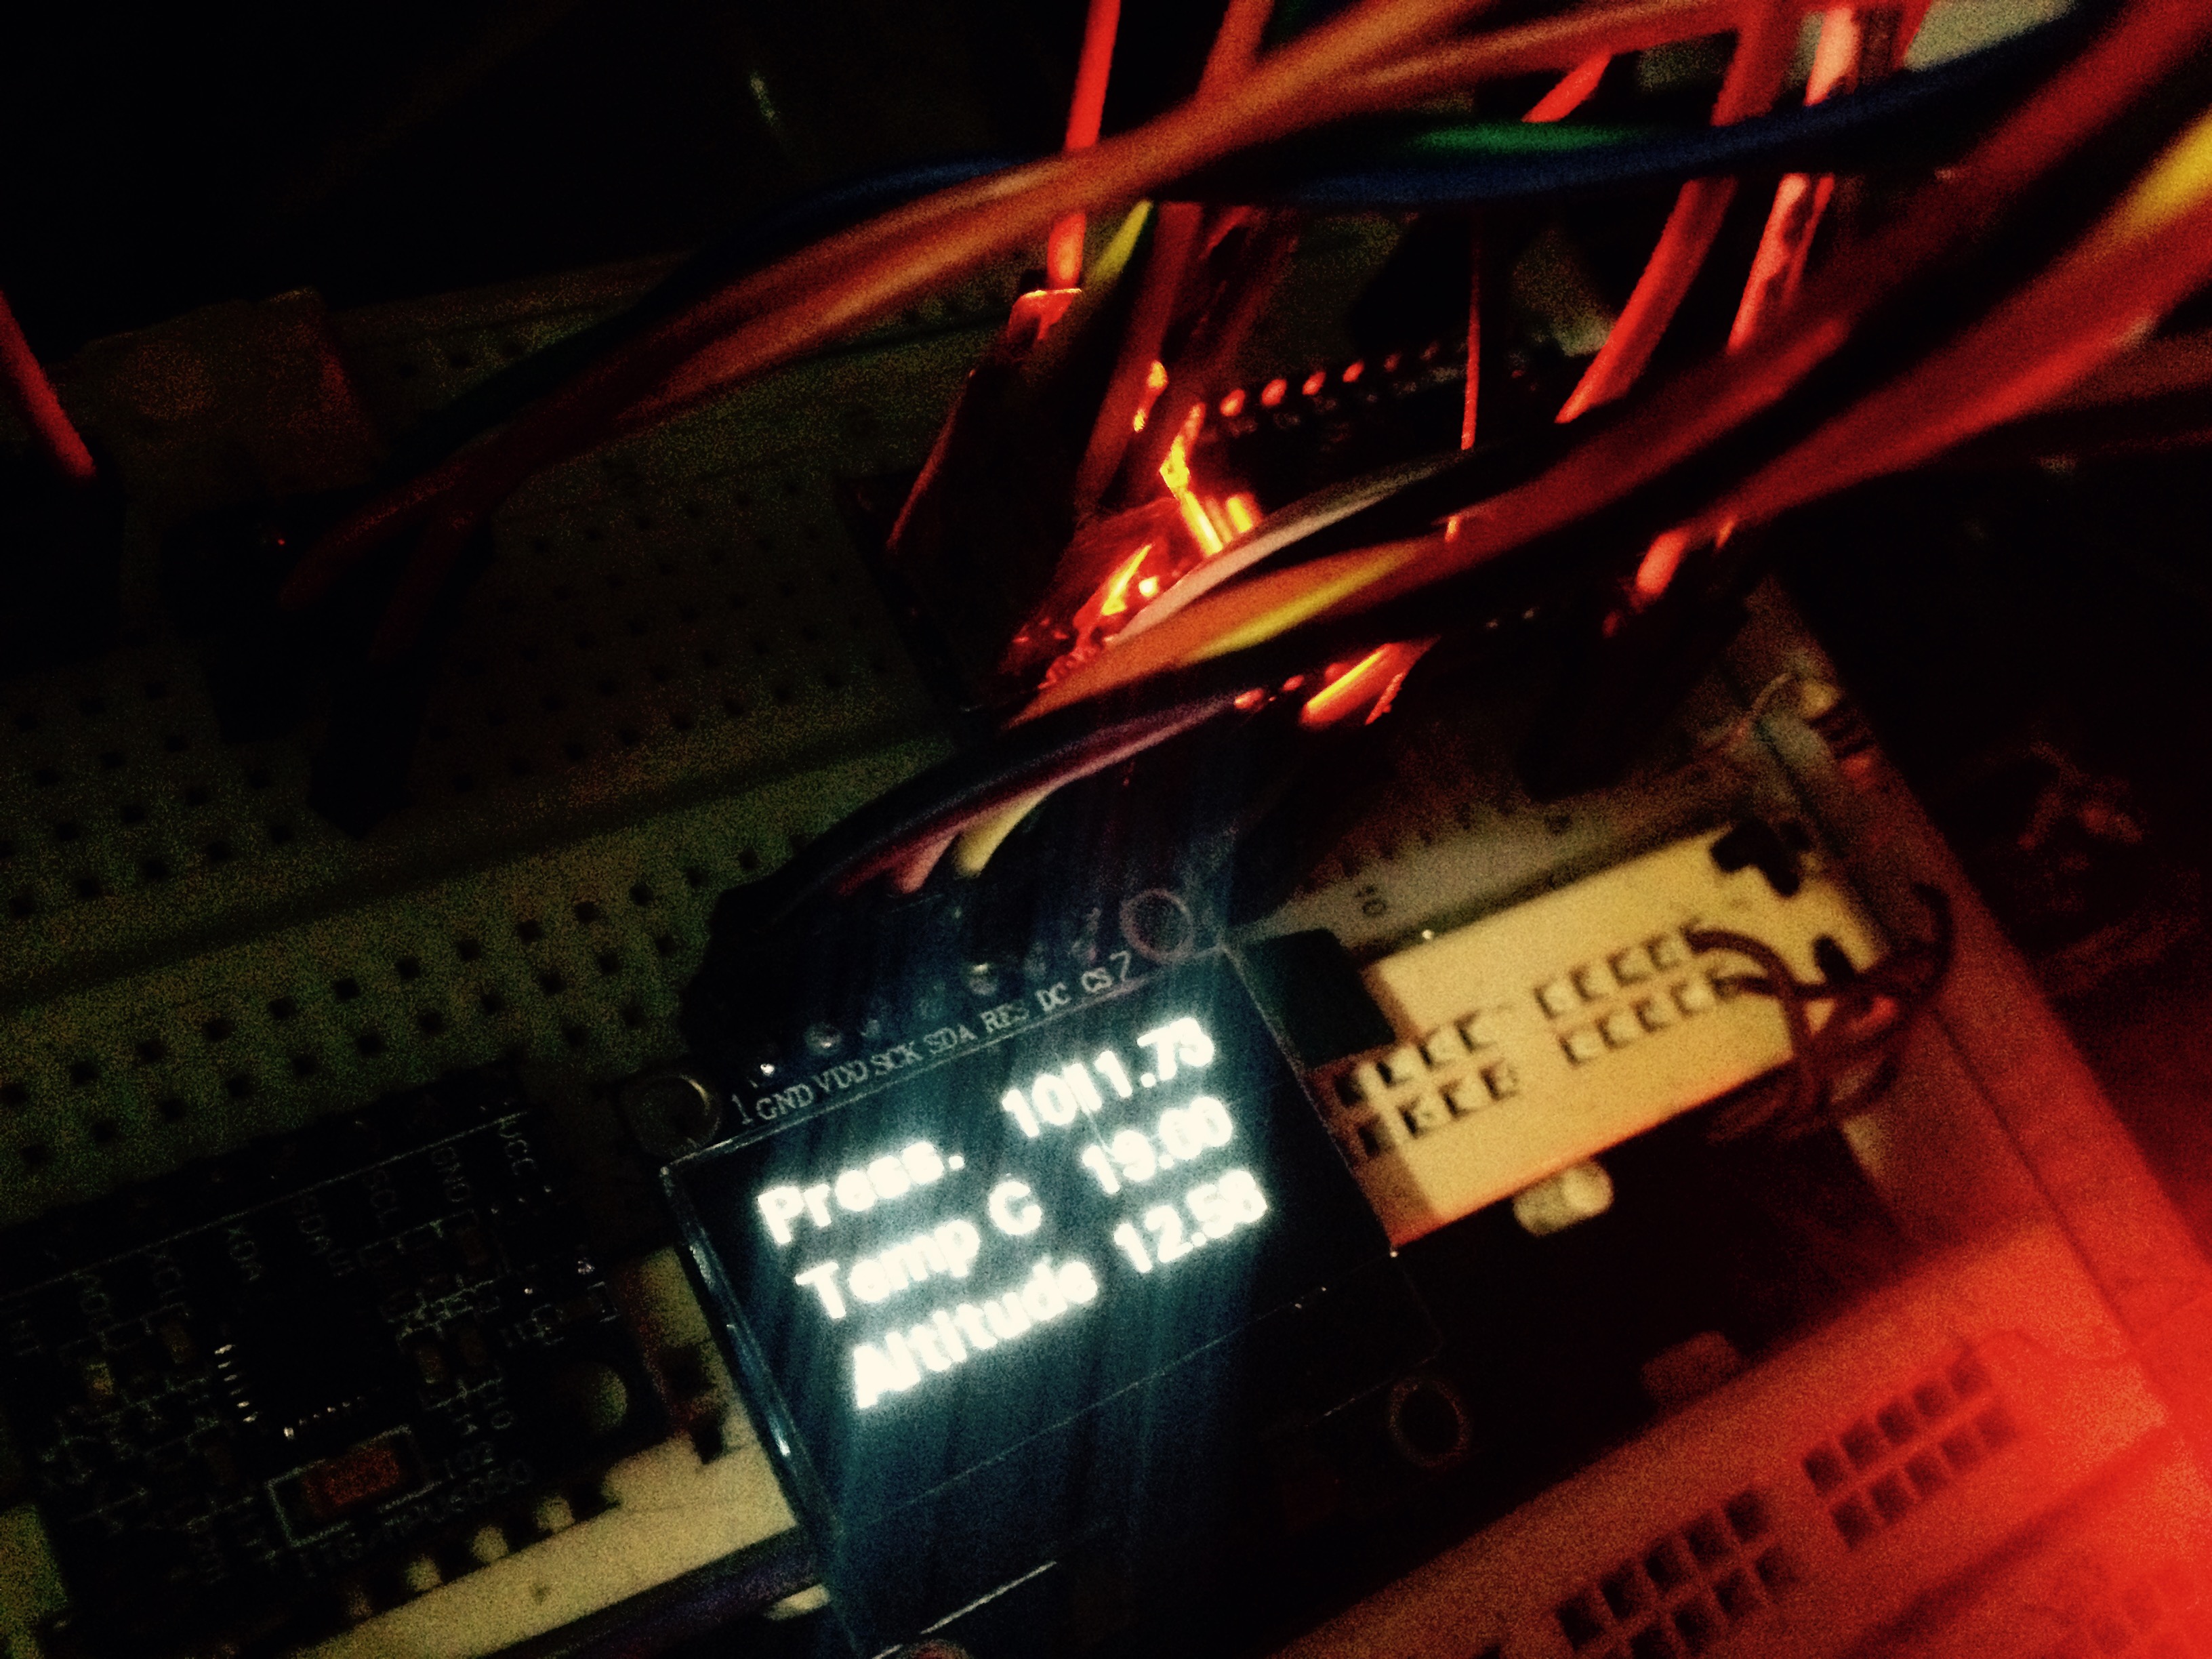
For a long time i have been searching for altimeter and temperature using a single sensor and displaying it to SPI based OLED. As I couldnt find anything precise, thought I would build my own using the U8glib library. There is one tutorial in youtube but I really hate video tutorials, I prefer texts with straightforward instructions and no commercial links.
First Things First
Before doing this project, I strongly recommend you to complete SSD1306/OLED tutorial for I2C or SPI (whichever you want to use). This will ensure that you know how to connect/wire your display, as well as your display is working. Do the adafruit tutorial and/or u8glib examples tutorial. We will be using u8glib here so thats recommended for advanced user.
Necessary Hardwares

1. Arduino UNO or Nano or similar.
2. BMP085 or BMP180 Barometric Pressure Sensor.
3. SSD1306 I2C or SPI Bus (Configurable in sketch).
4. Jumper wires and breadboard or vero board for connections.
Arduino IDE Libraries for Compiling
1. Wire.h
2. Adafruit_BMP085.h (will work for BMP180 as well)
3. U8glib.h
Connections
Connections are all same for both I2C and SPI OLED display. Only connection to display will be different.
1. BMP to Arduino:
VCC > 3.3V
GND > Ground
SCL > A5/SCL
SDA > A4/SDA
SCK = 12, MOSI = 11, CS = 10, A0 = 9, Reset = 13
2. SPI OLED to Arduino
VDD > 5V
GND > Ground
SCK/D0 > D12 (Digital 12)
SDA/D1/Mosi > D11
CS/Chip Select > D10
A0/DC > D9
RES/Reset > D13
(If your SPI OLED doesnt have Reset pin on it just remove reset and reset pin from the sketch display select parameters)
3. I2C OLED
Same as BMP wiring, they use the same ports and bus type.
Sketch Uploading
Pretty straightforward. Just download the zip file and open in Arduino IDE. Everything is configured in the sketch. SPI OLED users can just upload the sketch without any editing and it will work. For I2C OLED users, just uncomment your display name/option from the Display Select option of the sketch, and comment and close the SPI Display model/parameter to disable SPI OLED.
SPI Display Parameter:
//U8GLIB_SSD1306_128X64 u8g(12, 11, 10, 9, 13); // SW SPI Com: SCK = 12, MOSI = 11, CS = 10, A0 = 9, Reset = 13
I2C Display Parameter:
//U8GLIB_SSD1306_128X64 u8g(U8G_I2C_OPT_NO_ACK); // Display which does not send AC
To enable a parameter, just remove the // sign at the start to un-comment it. Make sure only one display is selected/un-commented.
Hints:
1. BMP sensors are sensitive to wind, heat and lights. Make sure to cover it, best results are achieved through attaching a Foam with proper ventilation on it. Things like duck tape will work too but wont be precise.
2. BMP usually uses 3.3V unless your manufacturer says otherwise. OLED may work from 3.3v-5.5V (4-5V recommended)
3. Setting everything on breadboard first is strongly recommended.
4. If you are new to OLED please try simple stuffs first like text and dummy buffers to make sure ur display is working as well as your connections are accurate.