Apple M0110 Keyboard Crossover Adapter
by Stephen_A in Circuits > Apple
7092 Views, 7 Favorites, 0 Comments
Apple M0110 Keyboard Crossover Adapter
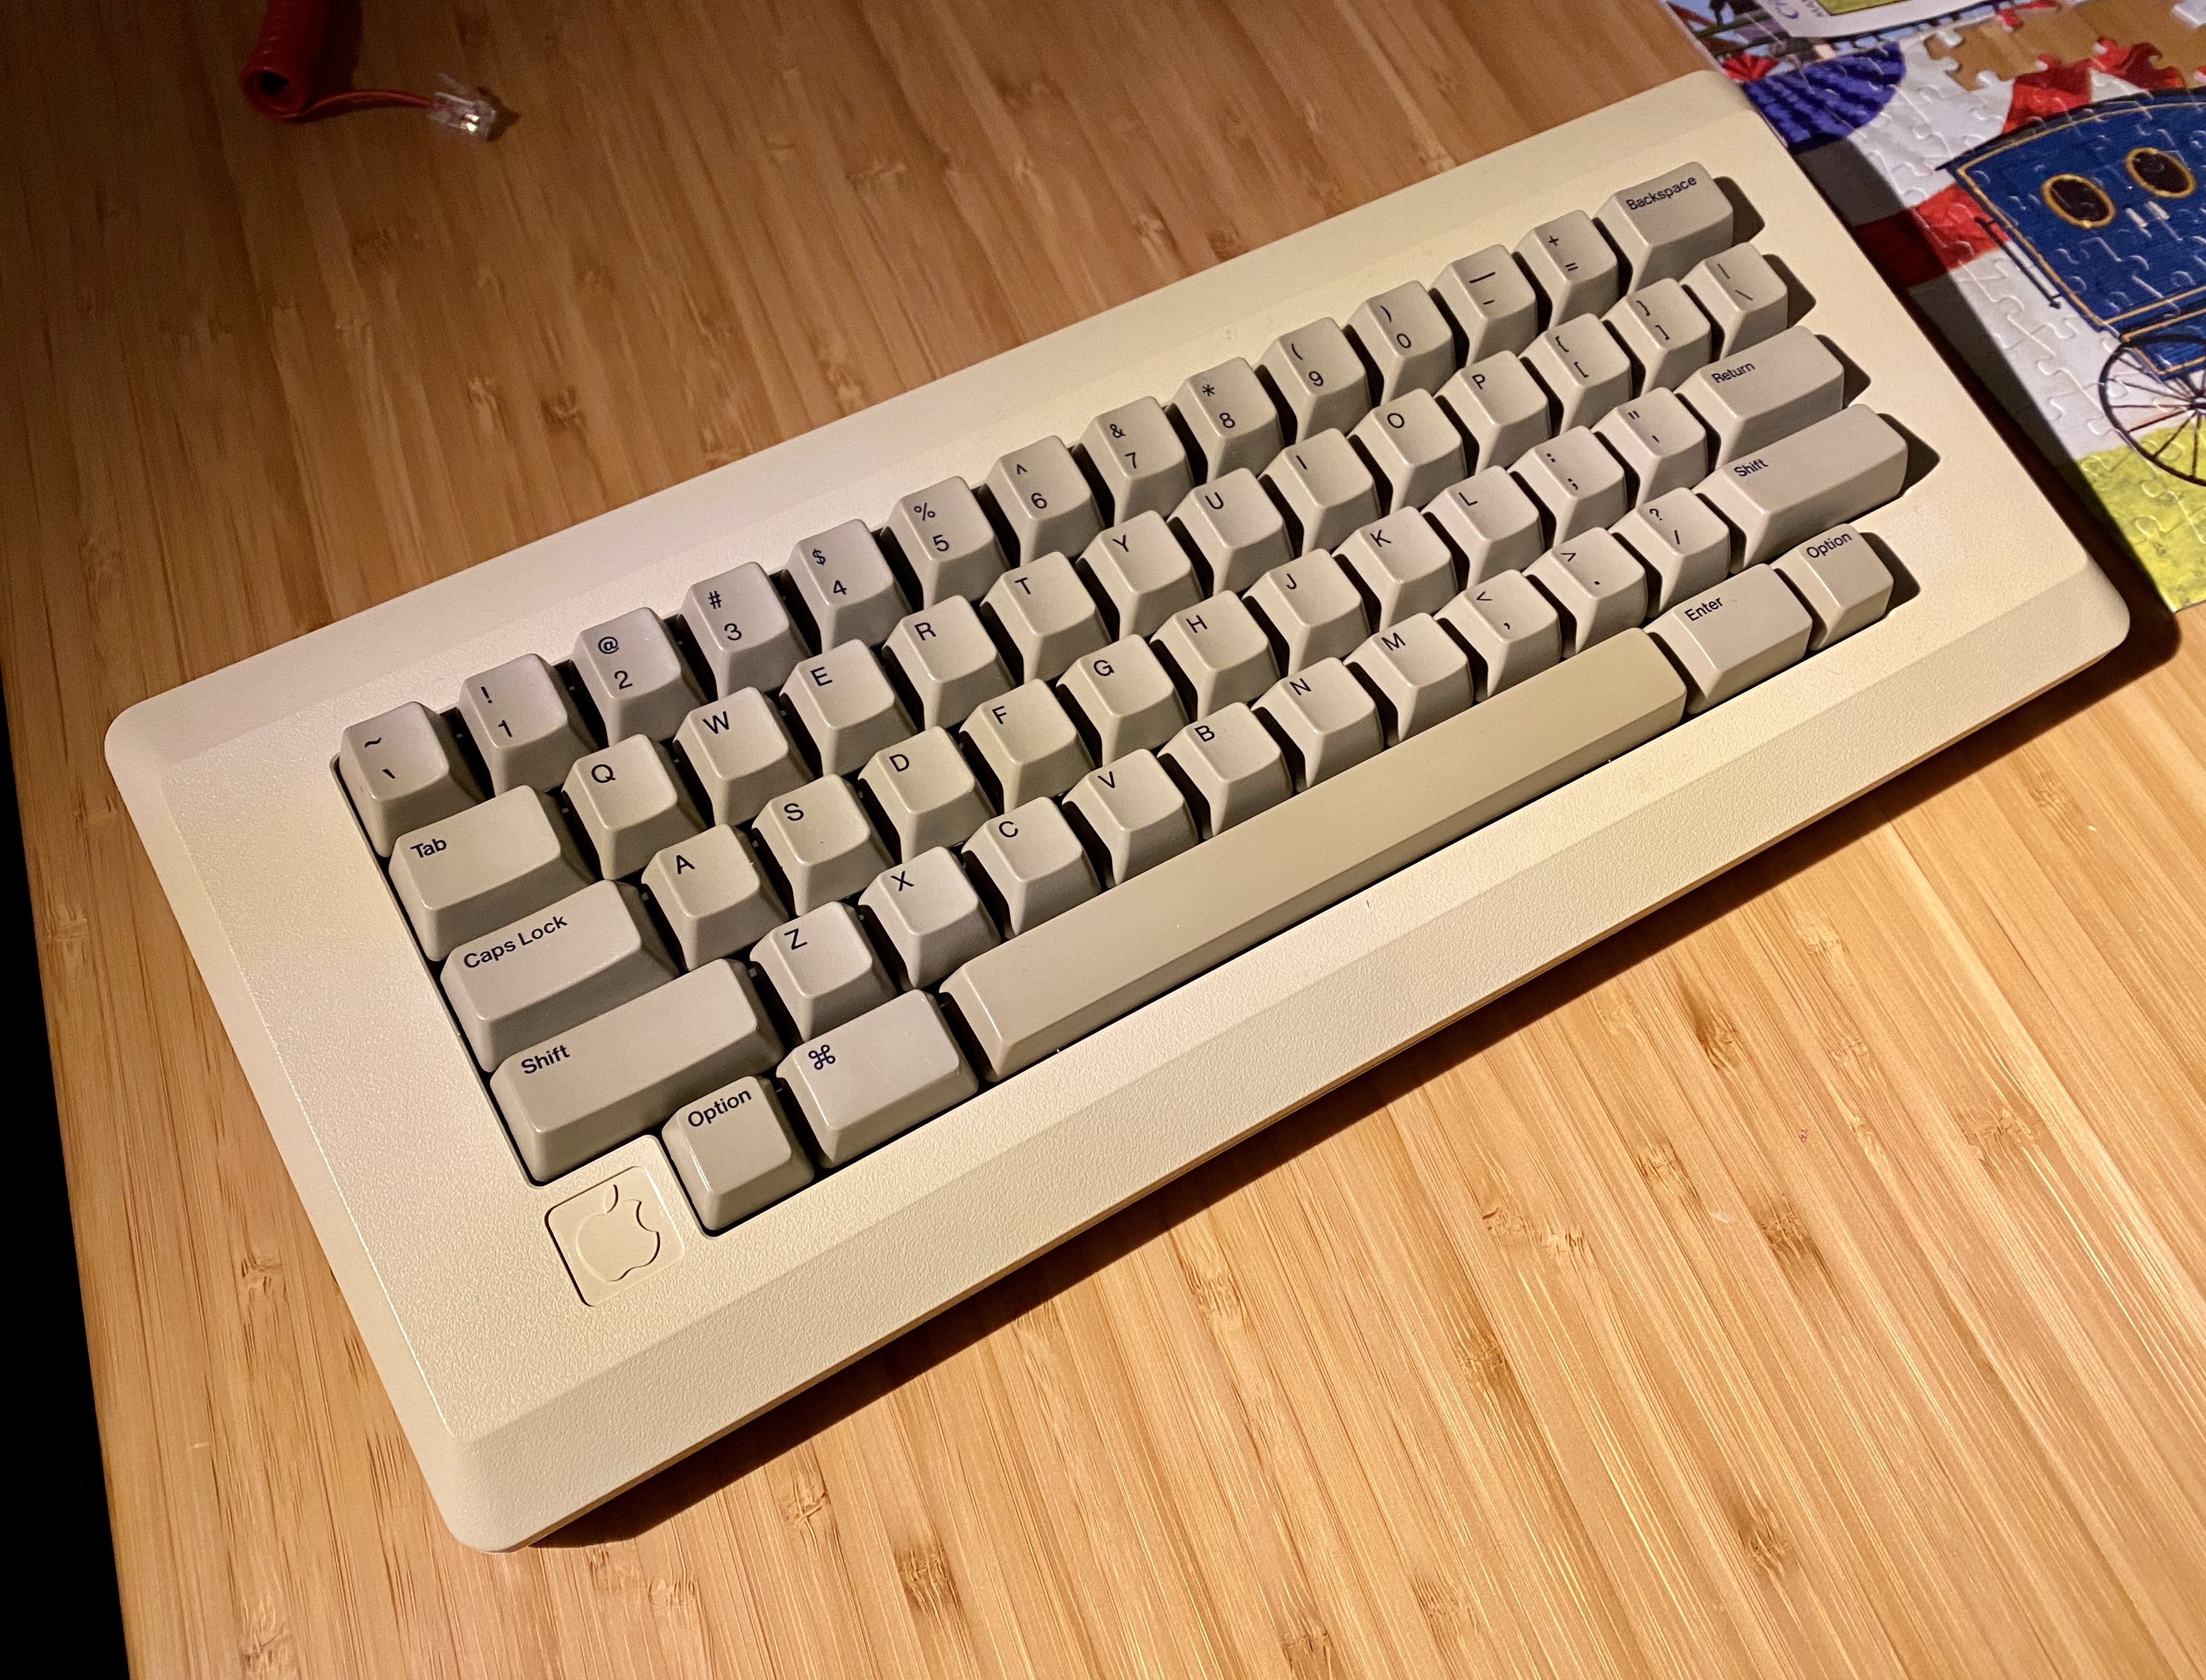
The Apple M0110 keyboard originally shipped with a Modular Connector. It's essentially a 4P4C cable, like you would find on an "old timey" phone headset but instead of crossing over, the original Apple cable is straight.
- Who cares?
- If you're not familiar with the nuanced details of Apple's vintage hardware, you may be wondering why should you care? If either of the below apply to your situation, this Instructable will be a big help.
- You're a new M0110 keyboard owner
- You have already had a M0110 but need a new cable
- If you're not familiar with the nuanced details of Apple's vintage hardware, you may be wondering why should you care? If either of the below apply to your situation, this Instructable will be a big help.
- Why does it matter?
- It's really tricky to find original "straight" Apple cables but really easy to find 4P4C (A.K.A RJ22, RJ9, RJ10) cables. If you want an original cable you could be ponying up $30 or more for a used one. God knows how long it will continue to work or if it works to begin with.
- Want a new 4P4C Crossover cable? Go to Amazon, AliExpress, eBay, or even a local hardware store and you'll find several colors and lengths for a very fair price (often below $5). The catch is the crossover.
- What is Crossover?
- Modular connectors, like the 4P4C phone jack, often cross over. This means if the little metal contacts inside one end of the jack are organized as pins "1, 2, 3, 4" then the other side is "4, 3, 2, 1". But your M0110 Keyboard wants both sides to be "1, 2, 3, 4" — straight through.
- Okay Smarty Pants
- If you're a smarty pants you might be thinking, "Okay hot shot, but I could cut the terminal off one end and then crimp a new end on as straight instead of cross over" and you would be right... with a catch:
- 4P4C Jacks: 12x for $ 5.75
- 4P4C Crimper: 1x for $17.99
- Total: $23.74
- If you're a smarty pants you might be thinking, "Okay hot shot, but I could cut the terminal off one end and then crimp a new end on as straight instead of cross over" and you would be right... with a catch:
Maybe you really are a smarty pants and have both of these items readily available. In that case, you can skip ahead to the last step. But if you don't already own these things you may prefer my solution: $4.99 and about 10 minutes of your time.
Supplies
- 1x RJ9 Female to Male Extension
- 1x Multi Meter (optional)
Users with USB computers may want TinkeryBoy's converter
If you're interested in 3D printing, you may also like my M0110 models on Thingiverse.
Open the 4P4C Extension
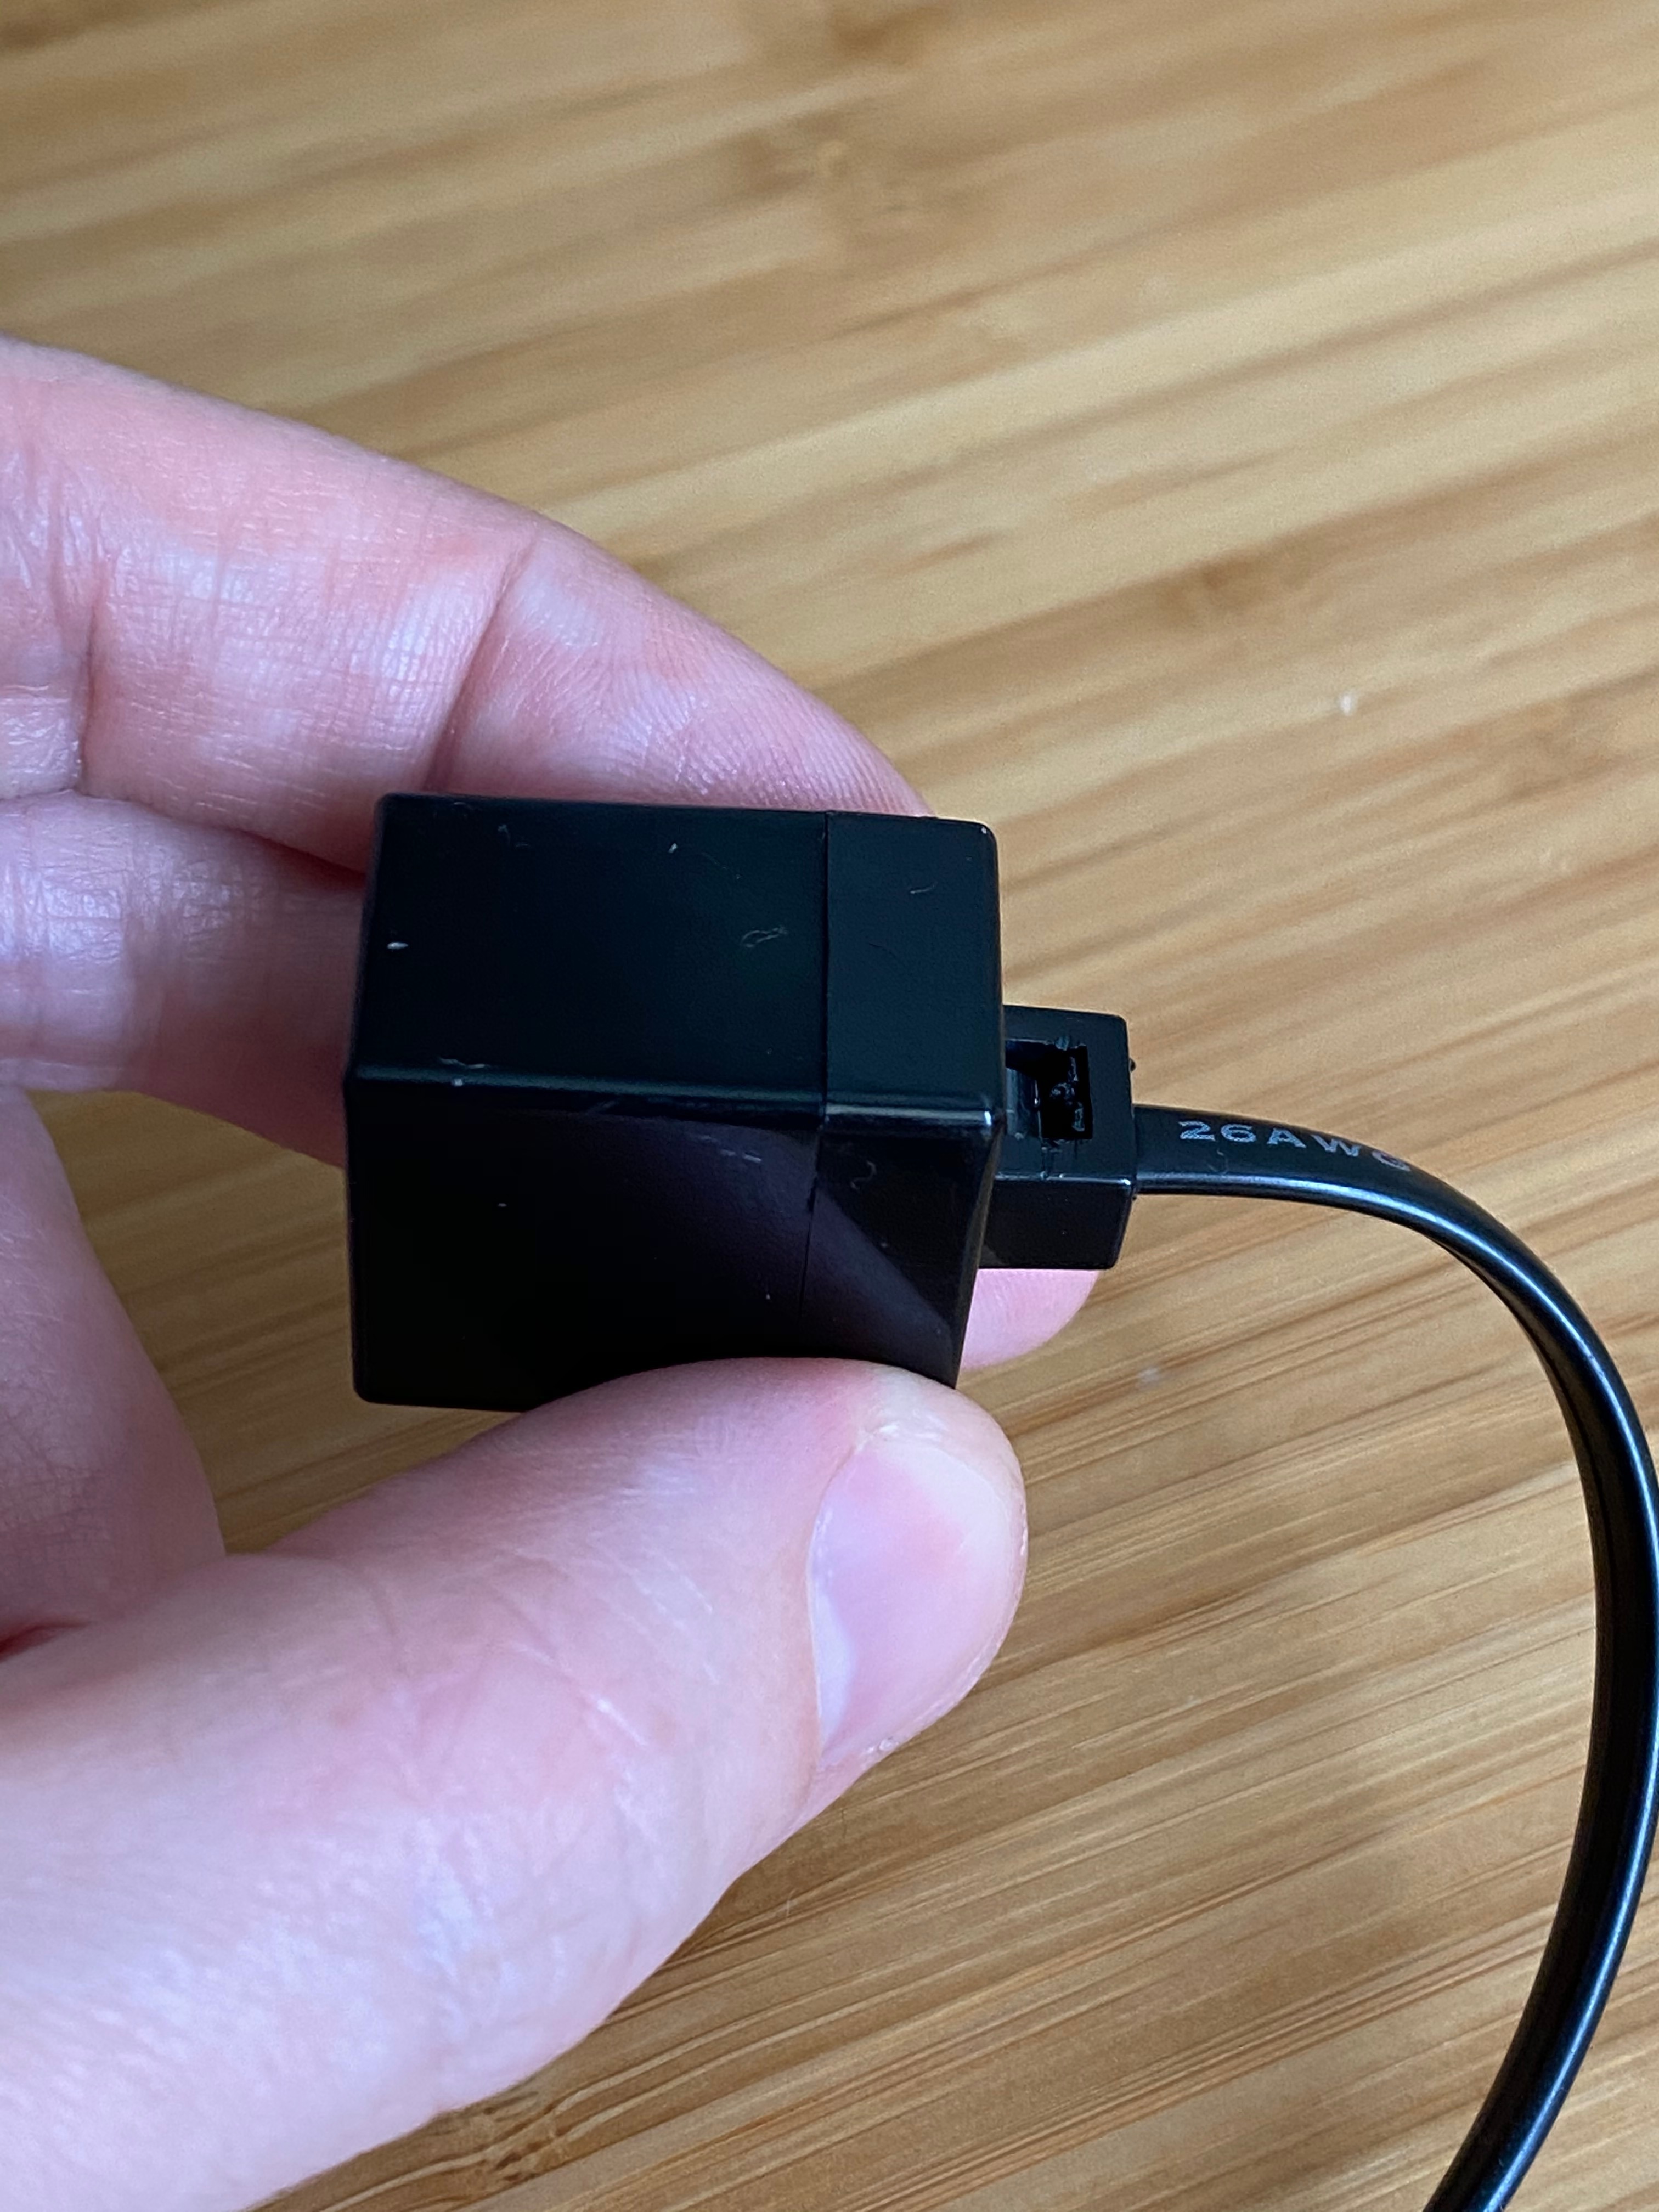
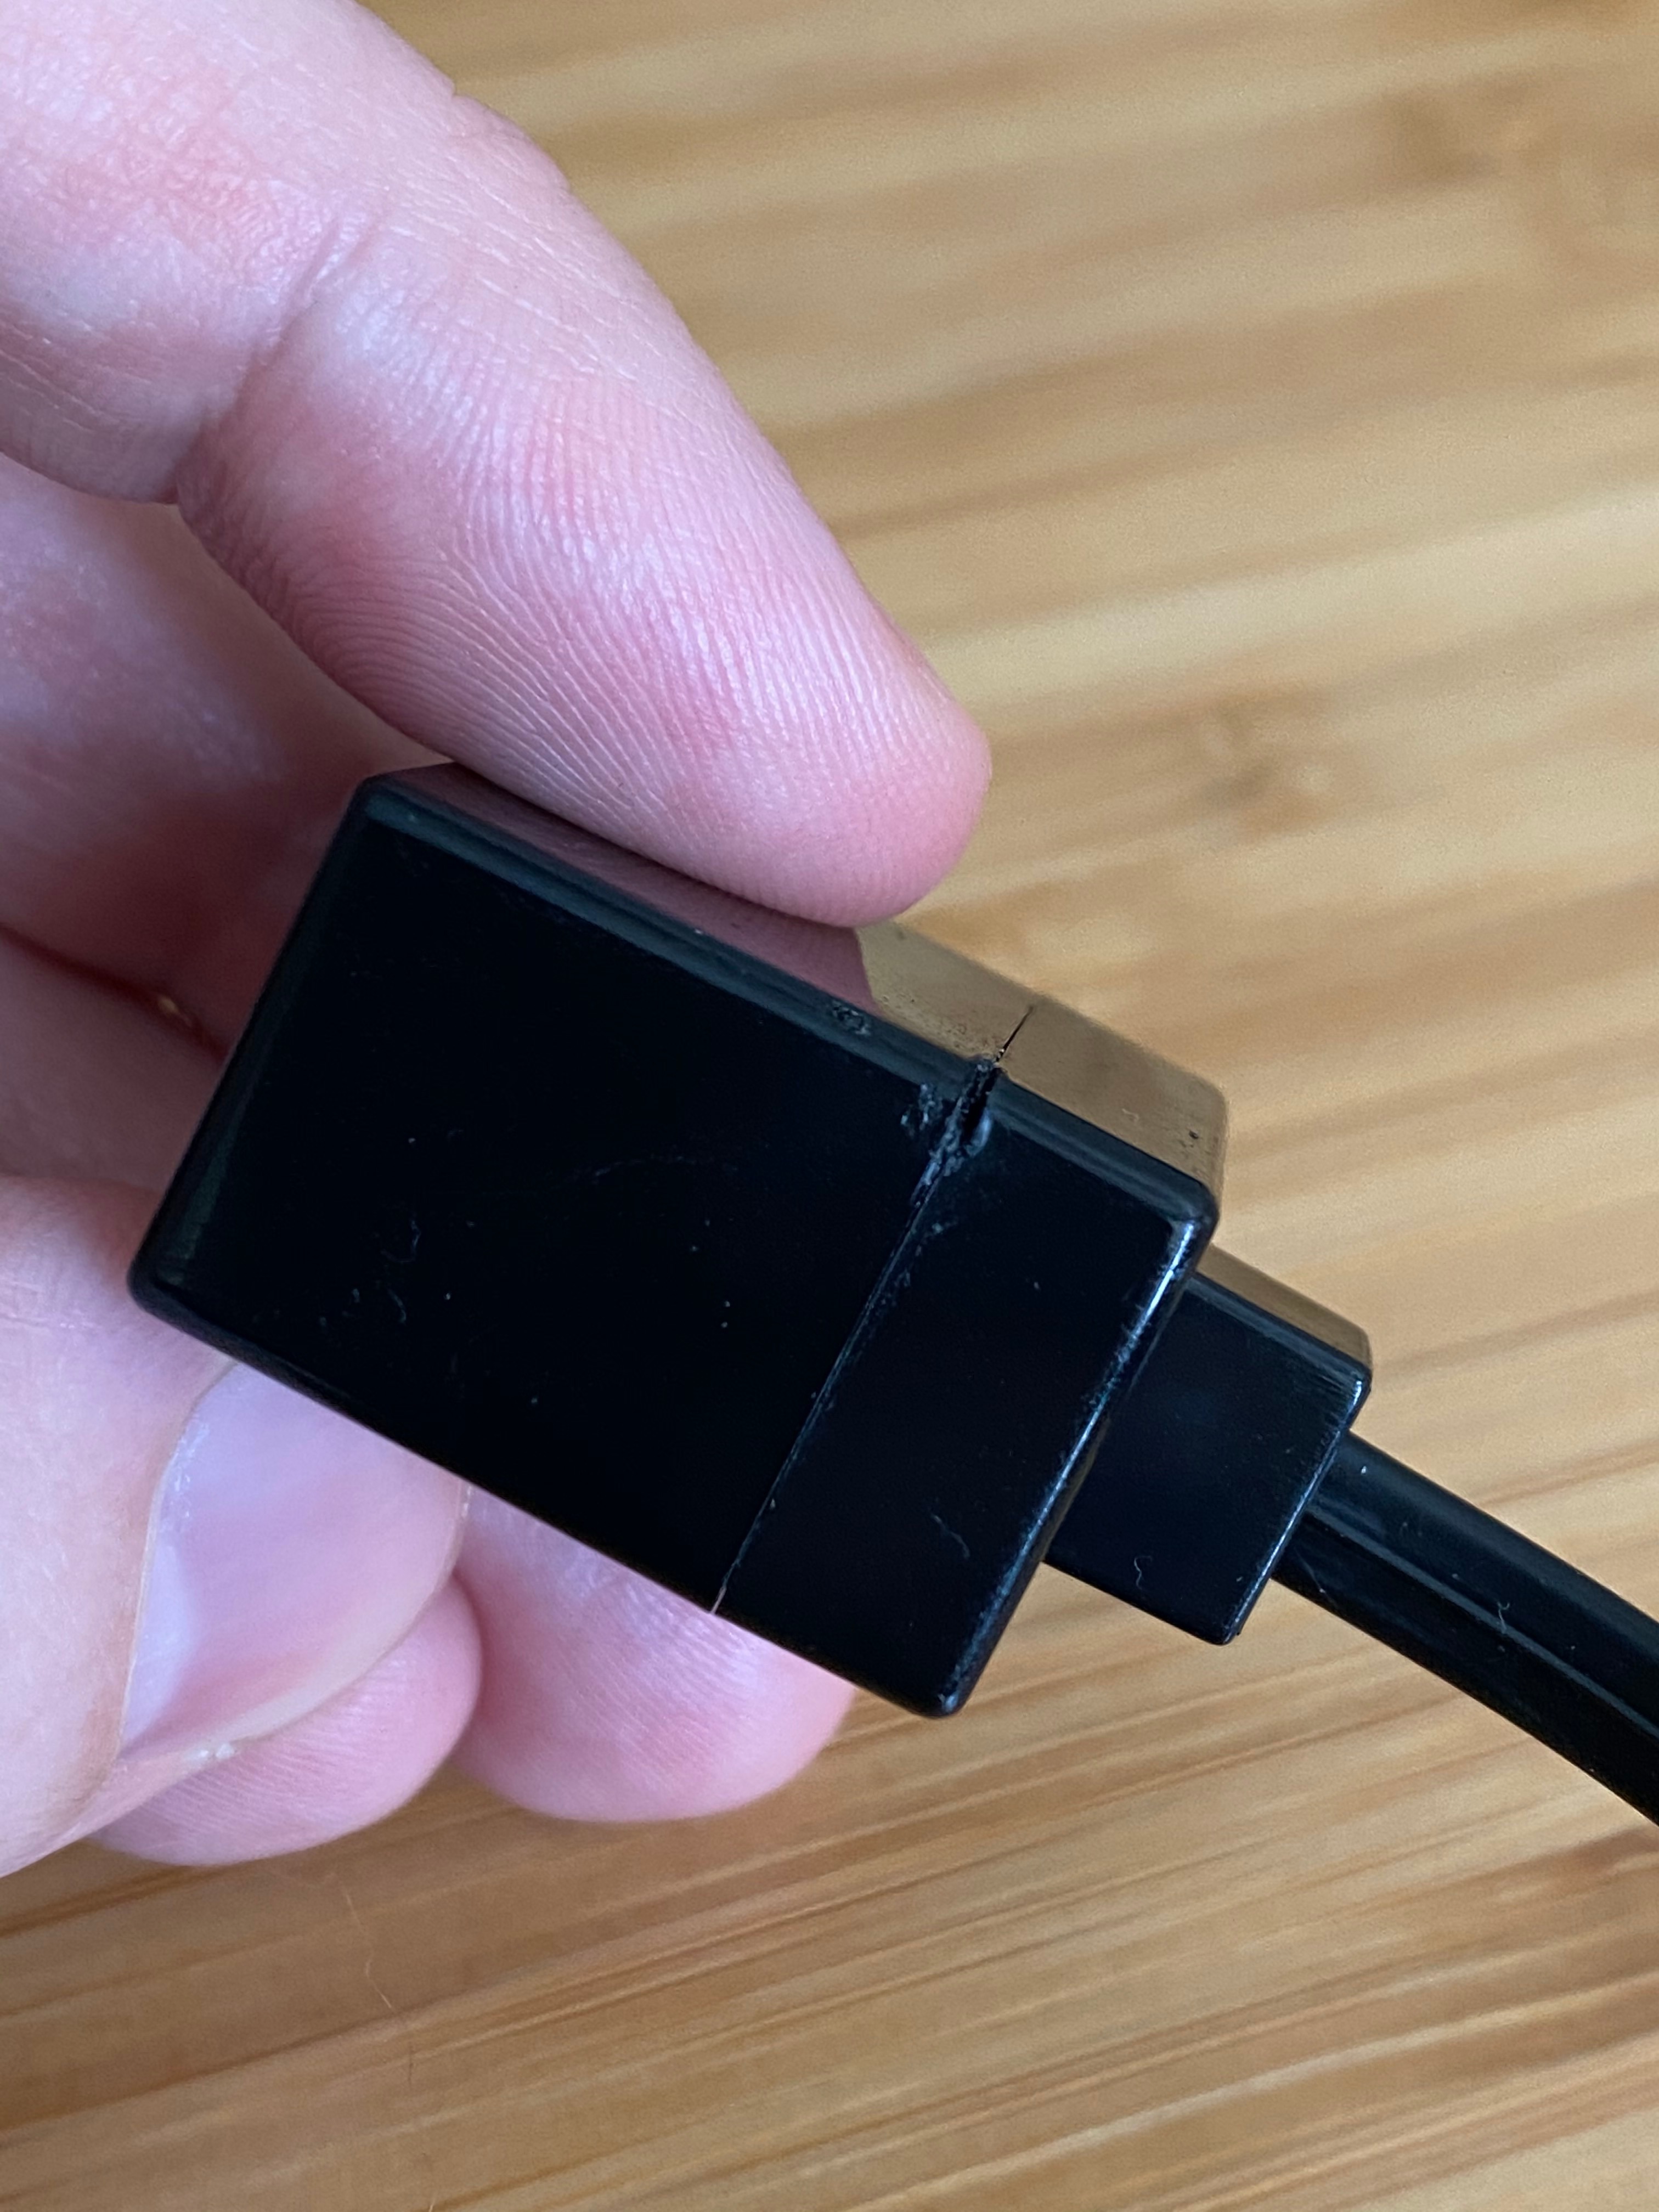
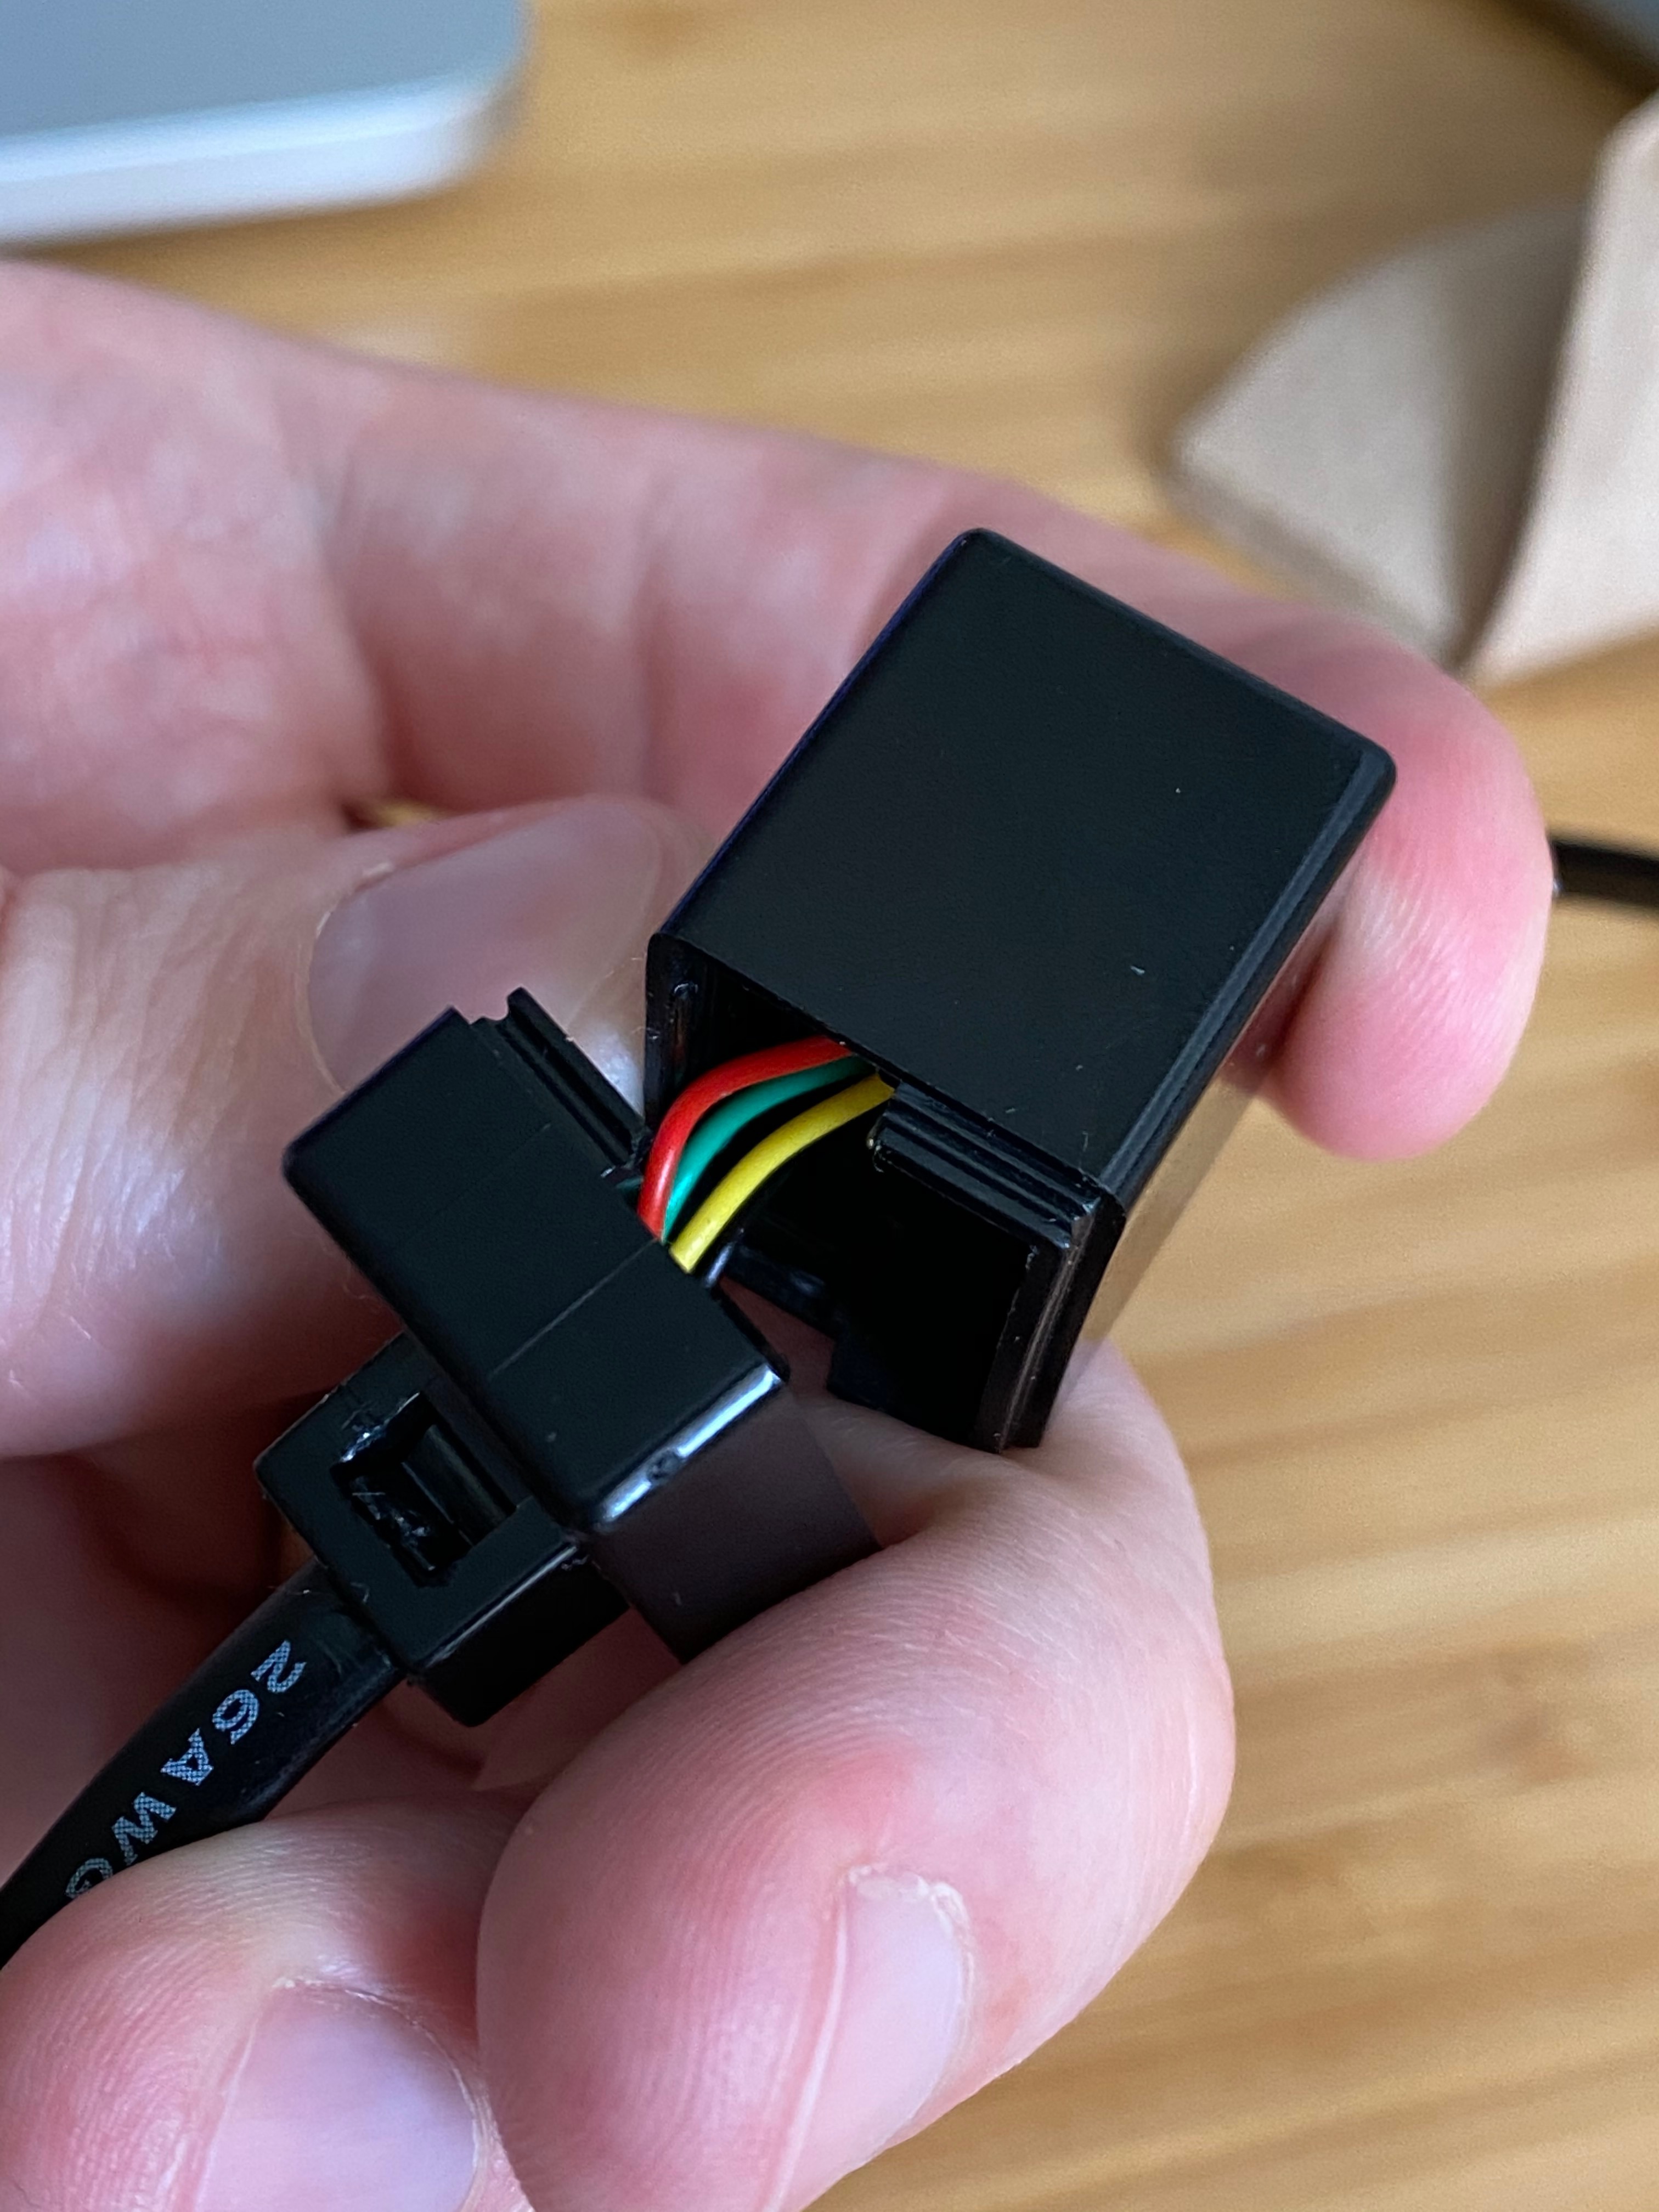
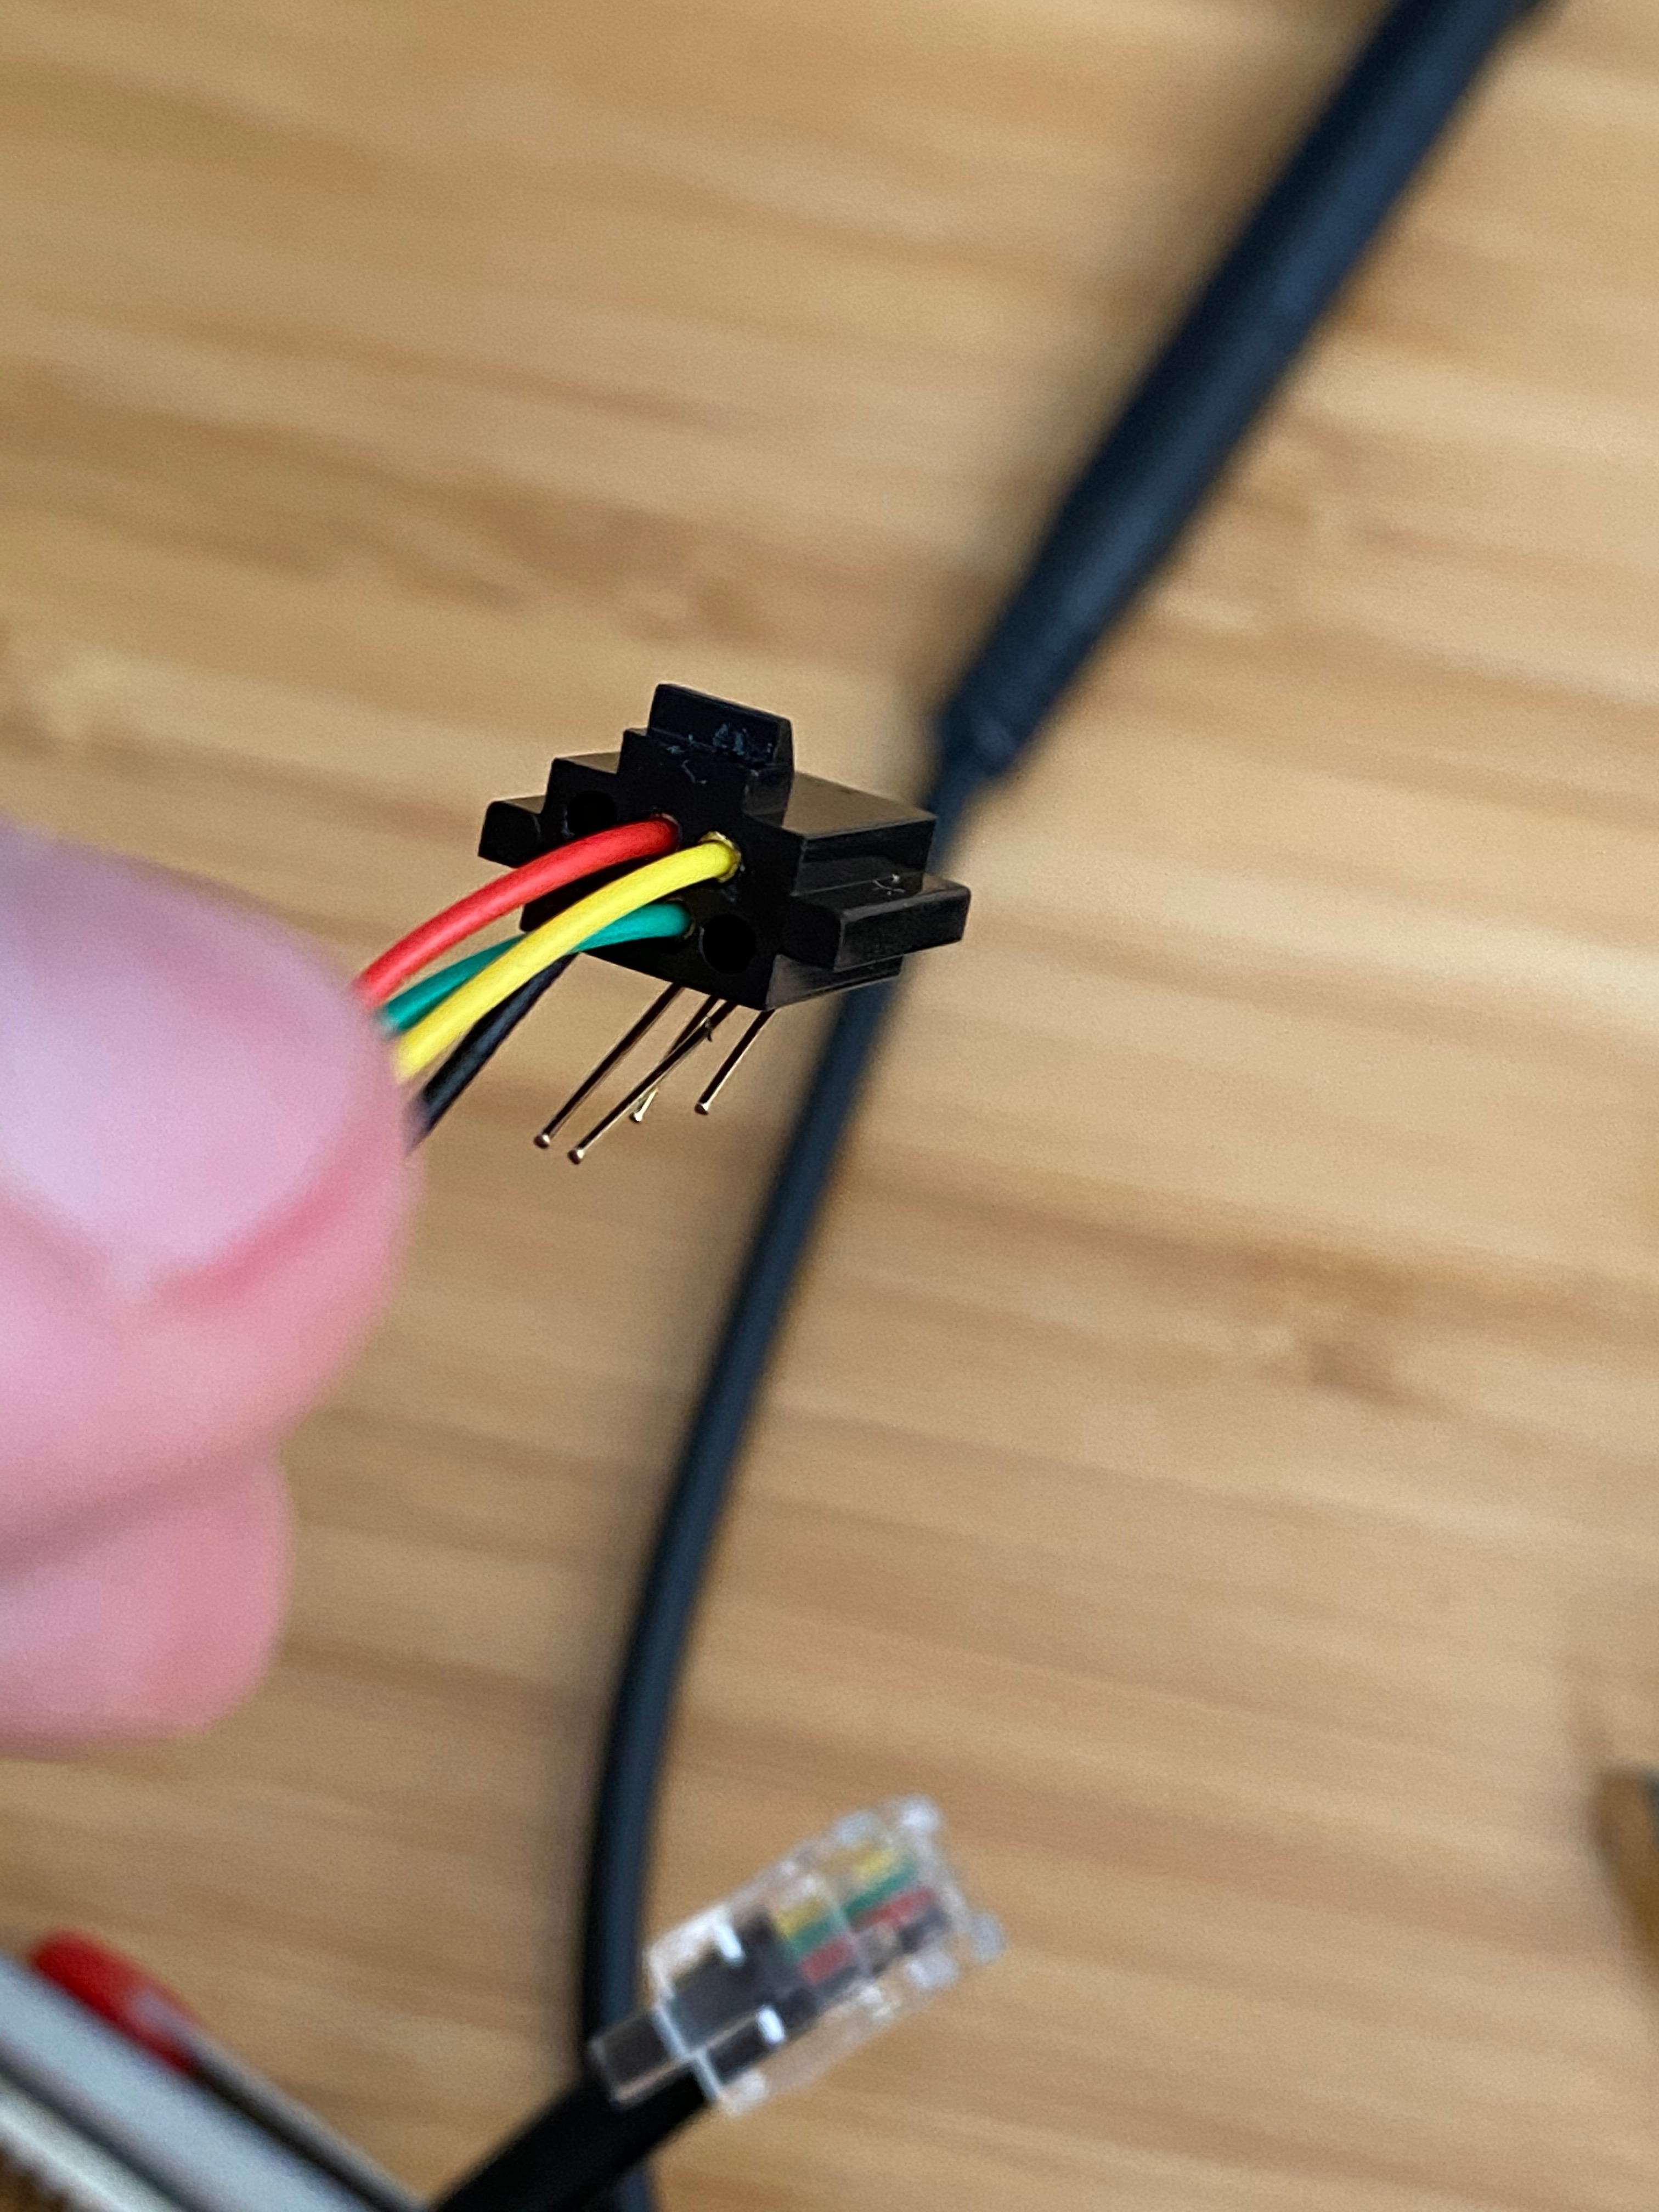
If you have already ordered the extension listed in the supplies, or happen to have one on hand, go ahead and open it with the following steps:
- Insert a study object into the back of the female jack, where the extension cord extrudes. There's a small clip which must be forced back into the slot.
- You will now this was successful when you see the clip is within the slot and the cord moves freely with a little pressure.
- Pry the two pieces of the female jack apart. I used a small X-acto knife / hobby knife to start a gap. Once you have a gap this is very easy.
- It may be possible to do this without a knife by flexing the two sides of the female jack. If you do use a knife be very careful!
- Remove the pin-holder insert from the forward face of the female jack
- There's a small opening on the front of the female clip. This holds the pin insert in place, but a paper clip or other small sturdy object will easily release the pin-holder insert from the front face of the female jack.
Once the pin-holder insert is removed from the front face of the jack you're ready to move on to the next step.
Change the Pin Arrangement

Now that the pin-holder insert is freed from the front face of the female jack, you can proceed to remove the pins and re-arrange them.
- Very gently bend the pins so that they're as close to "straight" as possible.
- I recommend bending the pins are the points where a bend already exists — it's harder, but it reduces the likelihood of introducing new bends.
- It's best to approach this as a two separate operations, each on two pins.
- For example, I found removing the two outside pins and then re-arranging them (e.g. left pin is reinstalled in the right socket) and then the same operation for the middle two pins, was very successful.
- With the pins reinstalled in the reversal of their original order, proceed to gently and carefully bend them back to their original form.
You can now close the female adapter and force the clip on the back of the female adapter back in place.
Additional Note:
The goal here is to reverse the order of the pins. In the image attached to this step you will see the pins are in the order "Black", "Green", "Red", "Yellow", with the black wire farthest to the left. he arrangement in the photo is what I created after reversing the wires. So, if you open your adapter for the first time and they're sorted as "Yellow", "Red", "Green", "Black" then your cable must be reversed and should match the order of mine from the photograph when you're done. Note, though — I can't guarantee the manufacturer will use the same color coding :)
Test Your Work
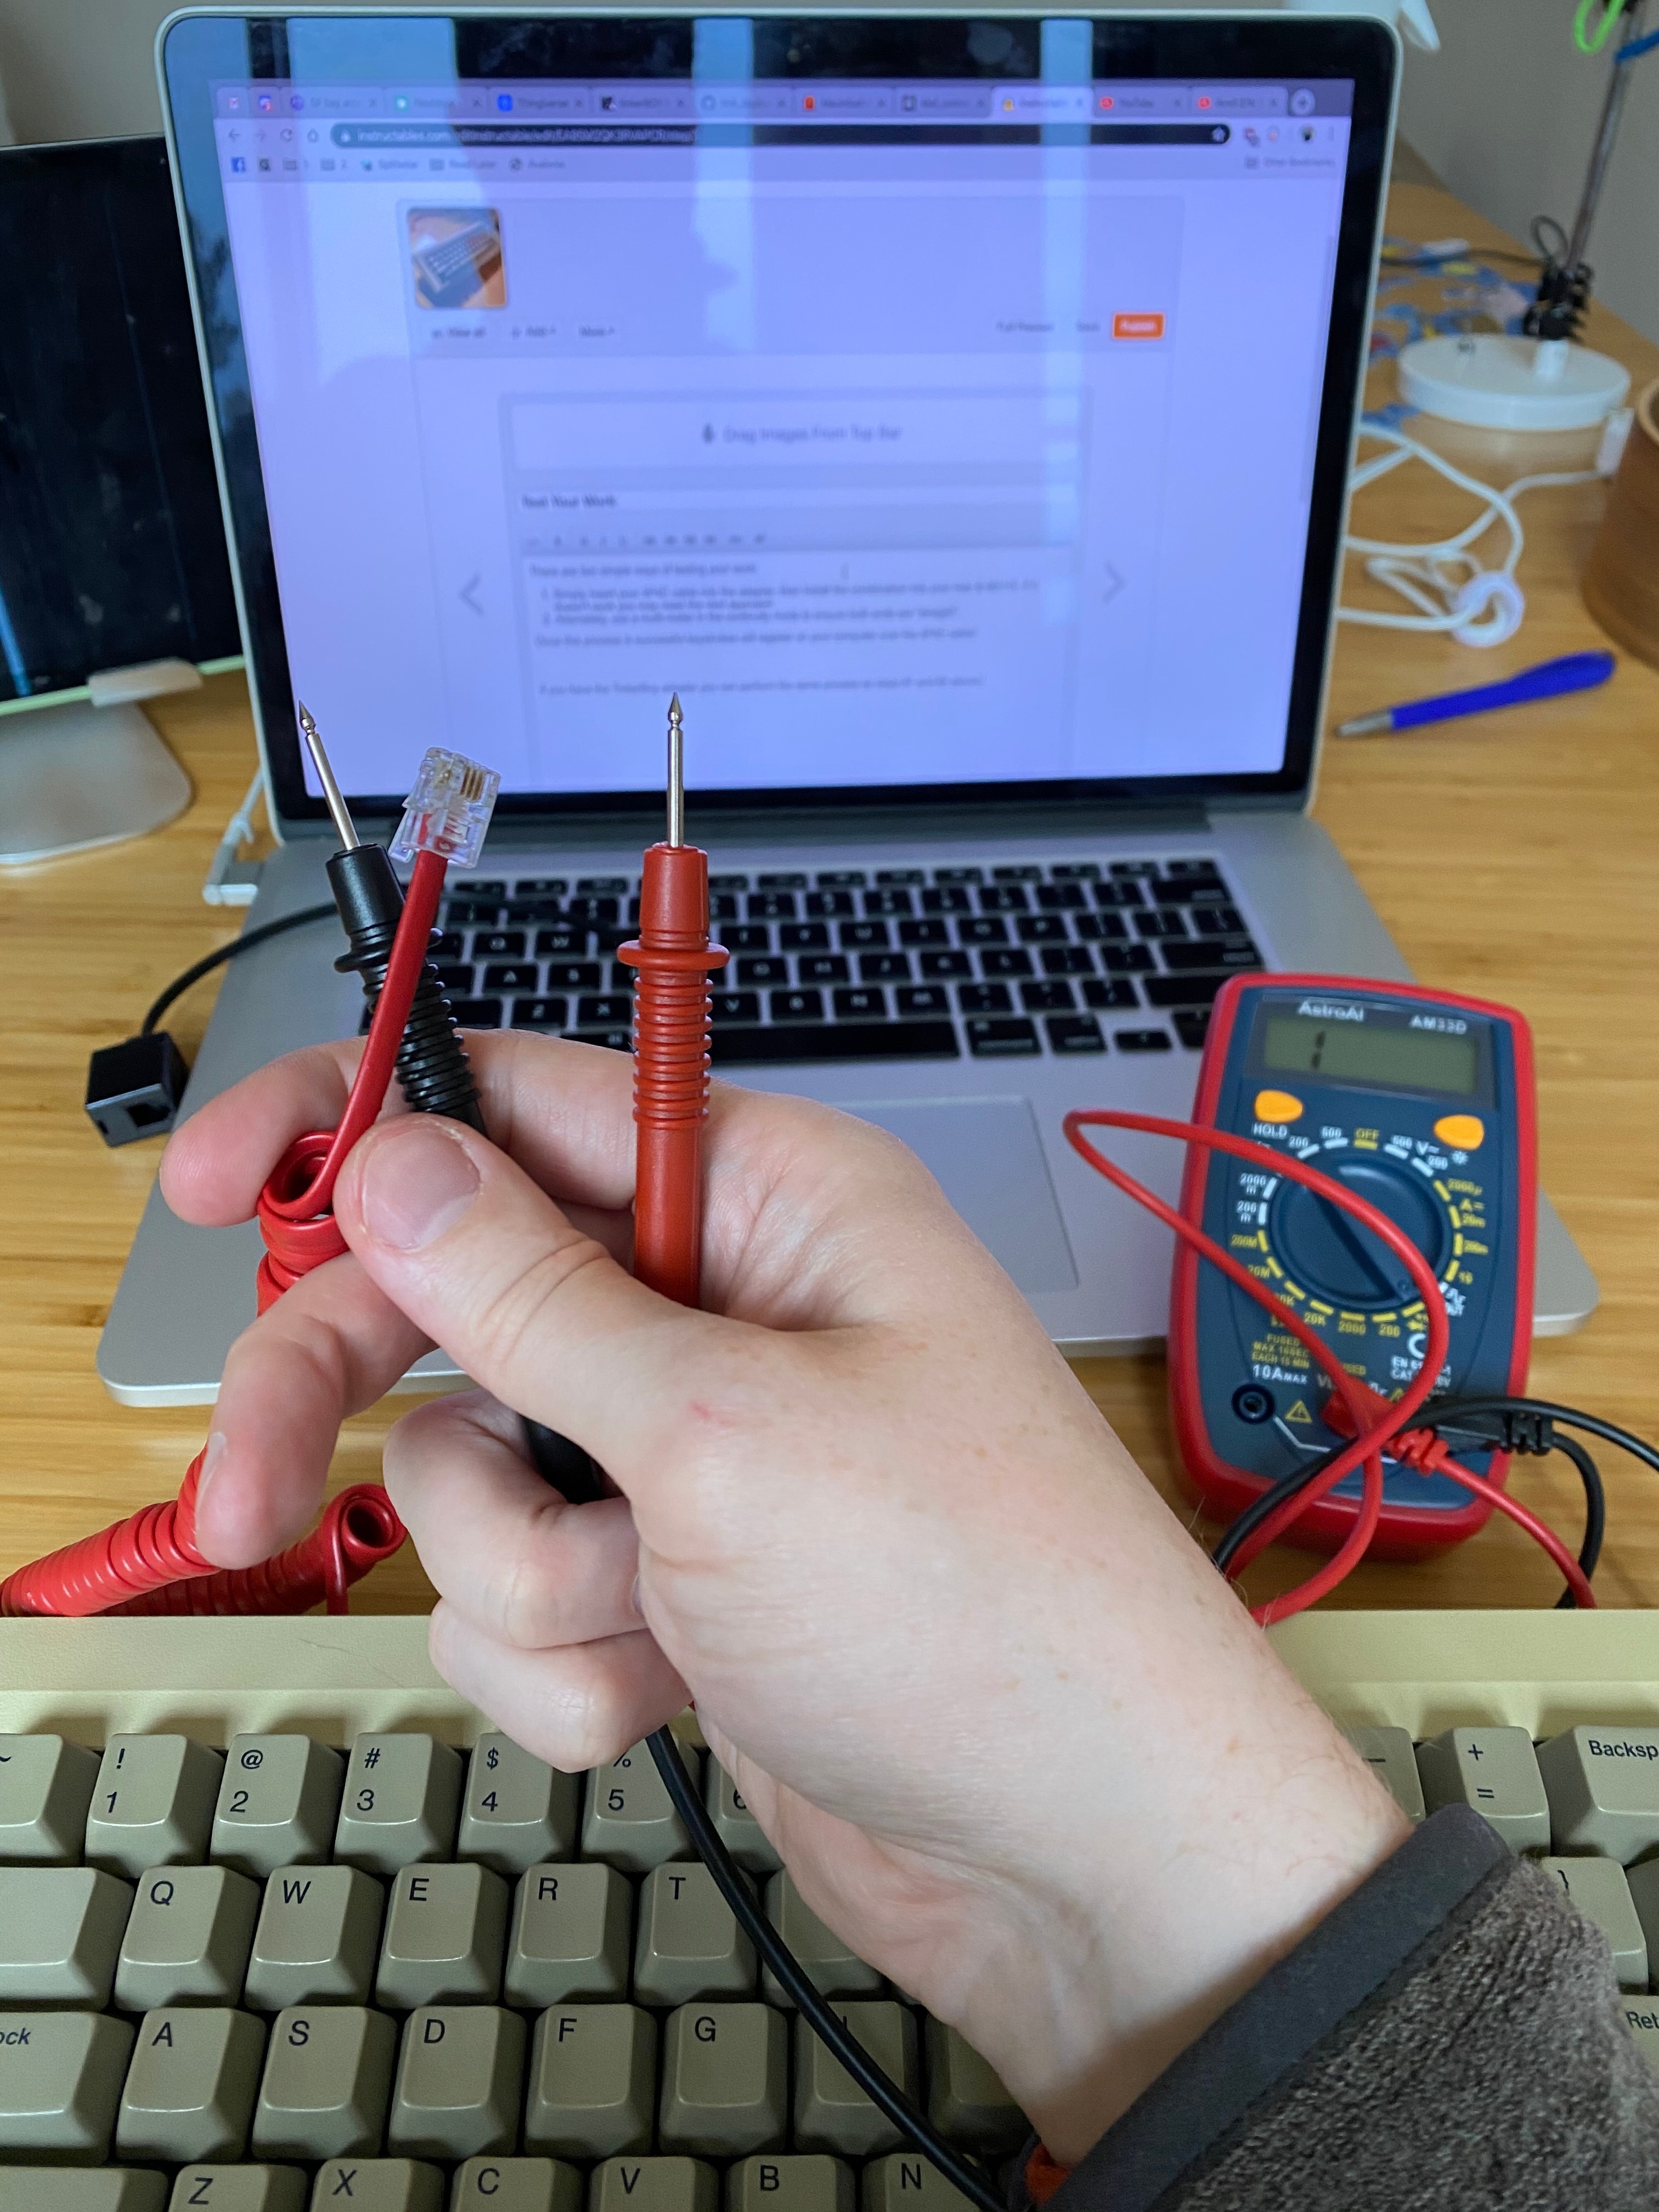
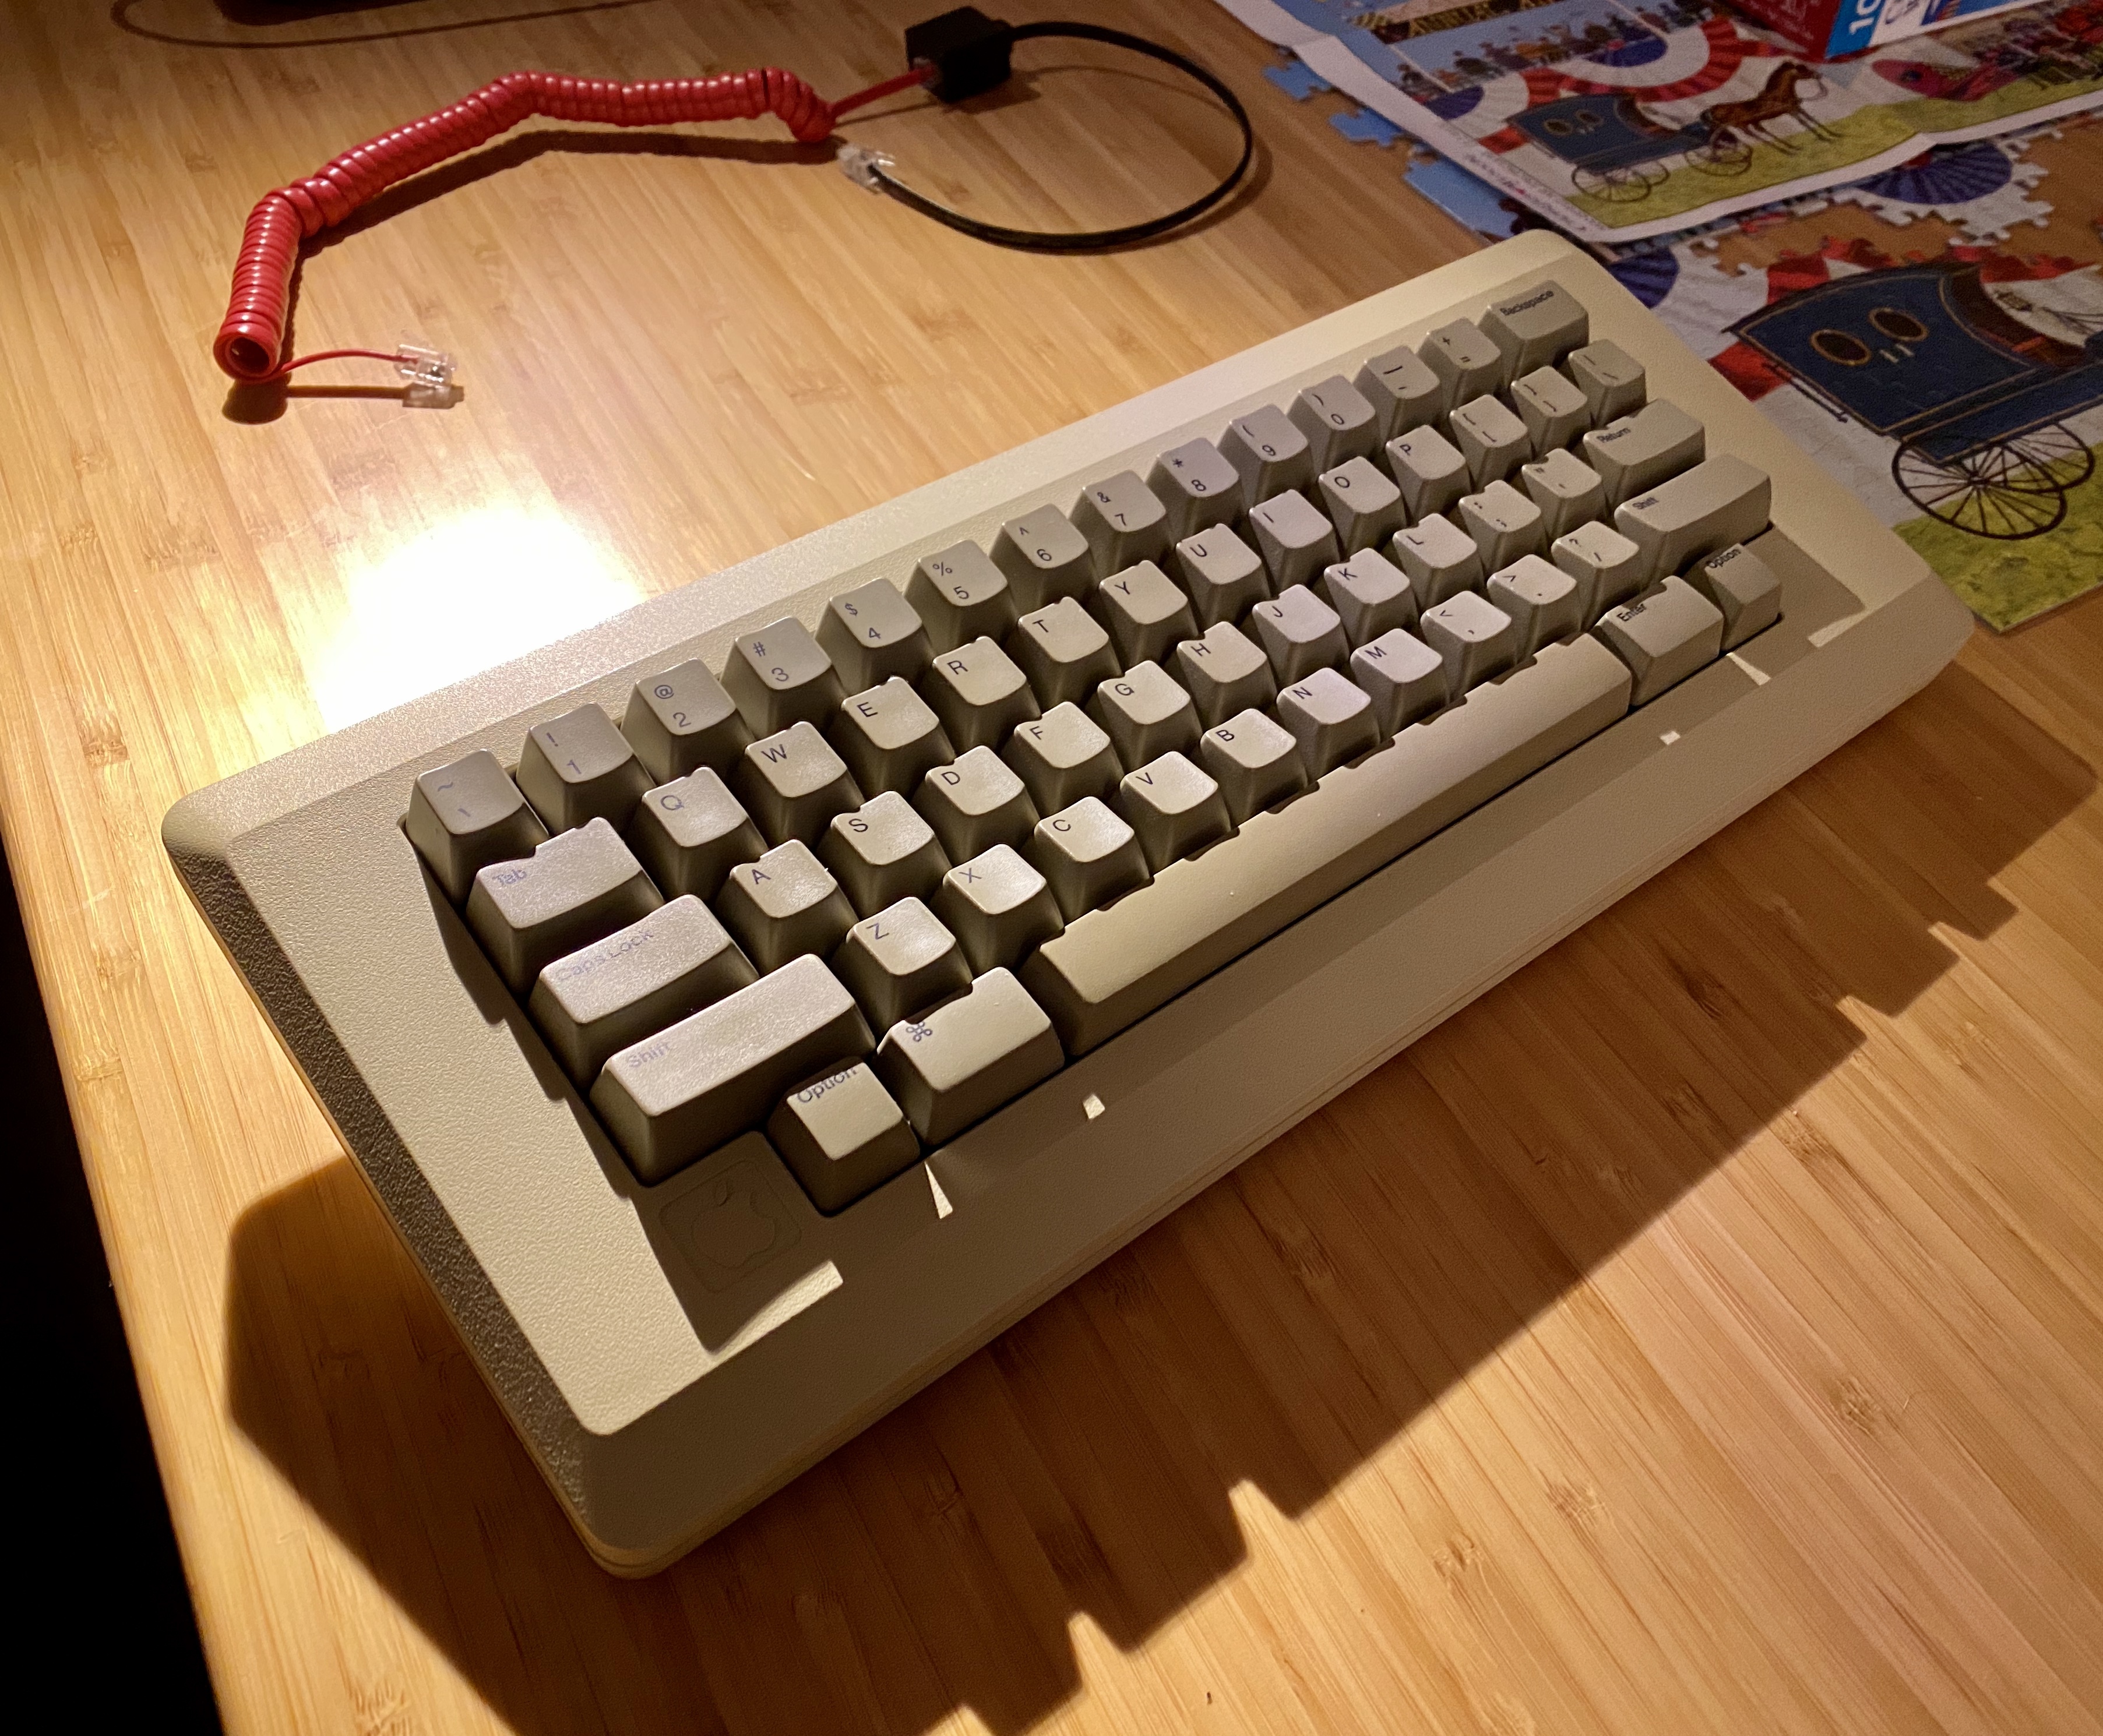
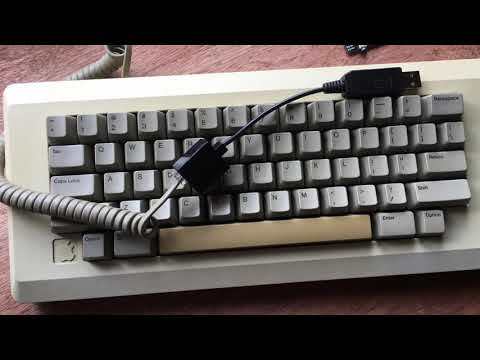
There are two simple ways of testing your work:
- Simply insert your 4P4C cable into the adapter, then install the combination into your mac & M0110. If it doesn't work you may need the next approach
- Alternately, use a multi-meter in the continuity mode to ensure both ends are "straight".
Once this process is successful keystrokes will register on your computer over the 4P4C cable!
If you have the TinkerBoy adapter you can perform the same process as steps #1 and #2 above. If you're feeling ambitious, you can also make your own USB adapter with these instructions.