Animated LED Scarf
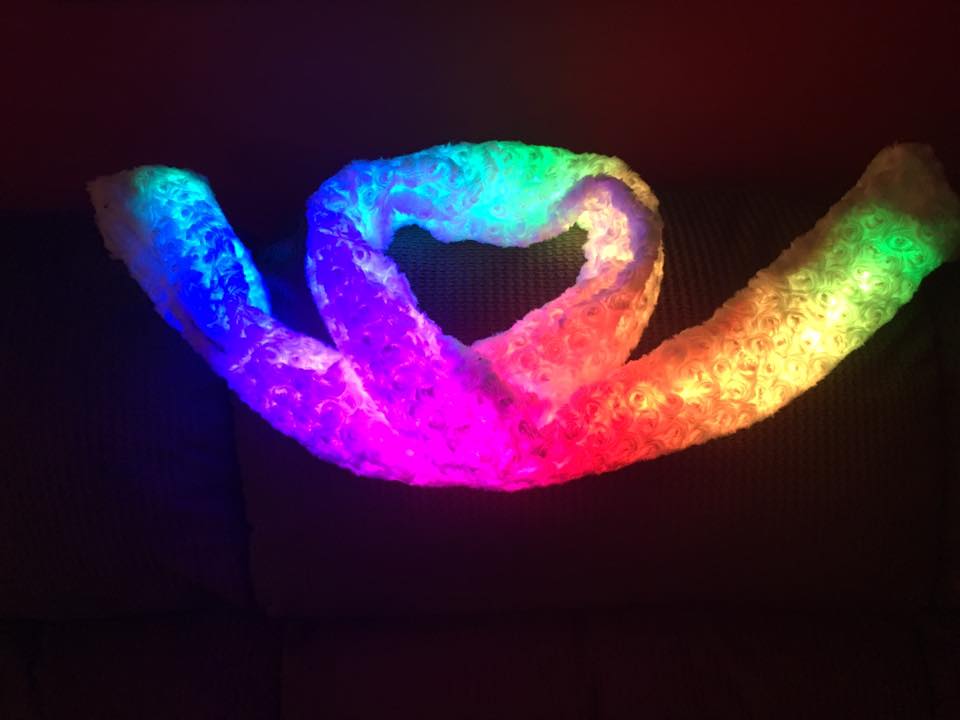
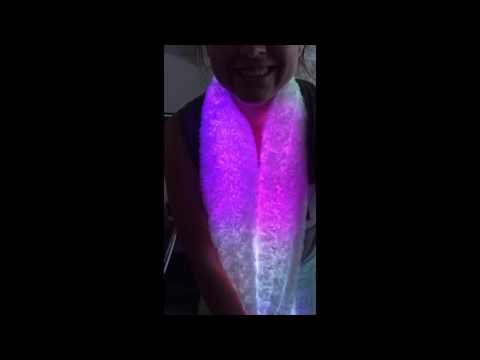
This project was inspired by Liana B's LED Scarf, the Pixel Boa from Mood Hoops, Erin St Blaine's Animated Neopixel Glow Fur Scarf, and the wonderful folks with the FastLED library. For simplicity (in some cases more than others, as I'll describe), we used the browser-based www.Codebender.cc to share code & program things.
I put together the plans for this project and helped 6 friends build their own scarves for burning man. By pooling materials for 6 people, the cost came out to be ~$30/person. My intention was to have this instructable done prior to the party, but hopefully I can also share some lessons learned here as well!
There are 4 steps to this project:
- Programming your Trinket
- Making your scarf
- Wiring everything up
- Put it all together!
Aside from the last step of "putting it all together", you can work on the other steps in ANY order you'd like.
For our party, we started out with a quick review of the Trinket and how to program it. Since people didn't really know what the outcome was going to be, most people made some minor changes and uploaded the code. After they put it all together and see what they uploaded, they can go back and change things around to their liking.
Gather Materials
You will need the following materials:
-
Soldering iron, solder, ventilated workstation, etc. This is what I have at my workstation: helping hands, soldering iron, Hakko Brass Sponge Solder Tip Cleaner, an old wood cutting board, and a nearby fan.
-
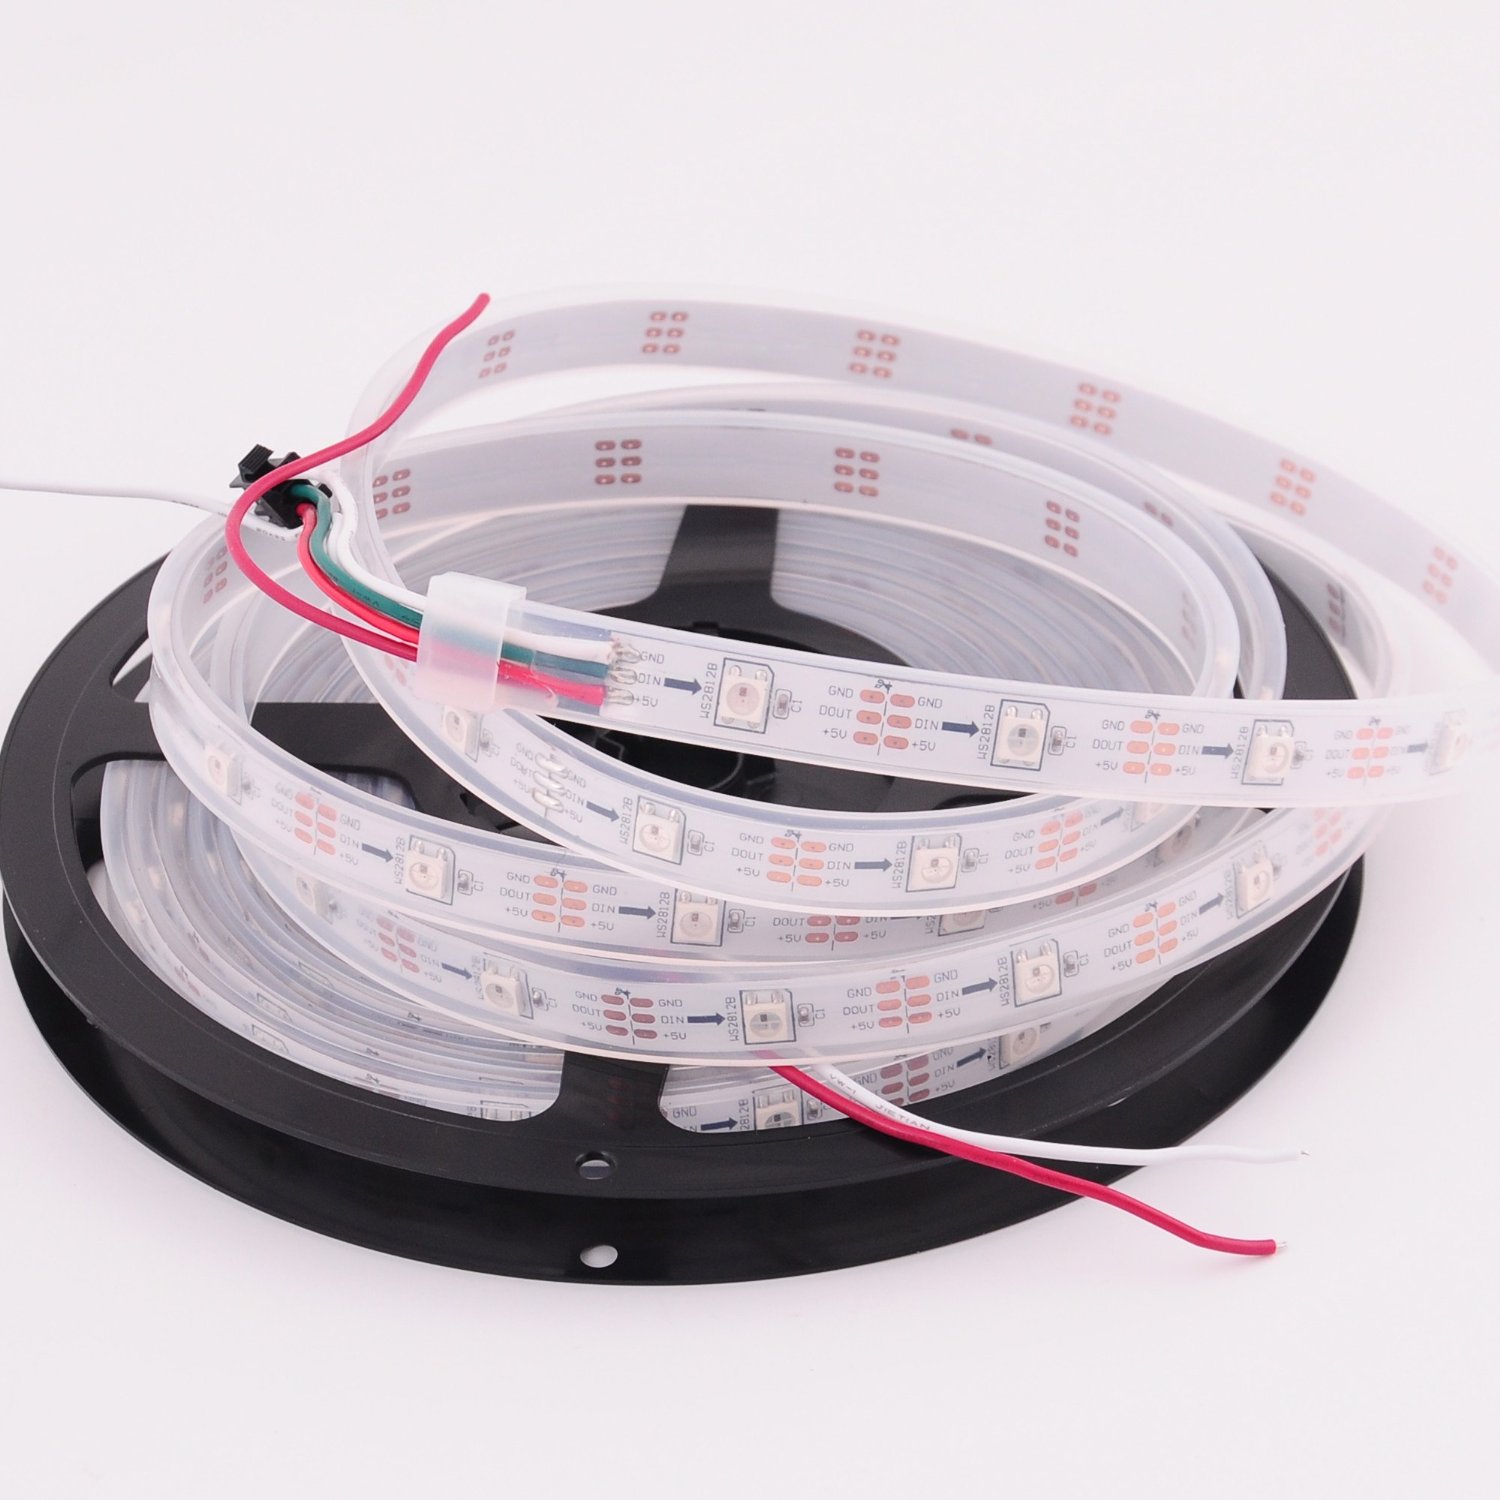
1/3 of a 5 meter strand of Neopixels. Neopixels, otherwise known as "ws2812b" LEDs are programmable and come in densities of 30-144 leds/meter. 30 LEDs/meter work well and can be purchased from Amazon. If the linked ones are no longer available, search for "ws2812b" with "IP67", which refers to the flexible waterproof casing on the lights. A 5m roll works well for making 3 scarves - each person gets 50LEDs/scarf.
-
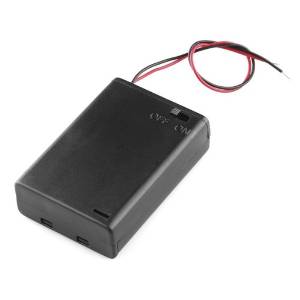
3xAA battery pack with a switch. This project can also be powered from a USB power bank, but in using one you'll forfeit the off and on switch. You will need 3 batteries. The type of batteries and the light programs you use will determine your total run time. For reference, red lights use less juice than blue or white lights.
-
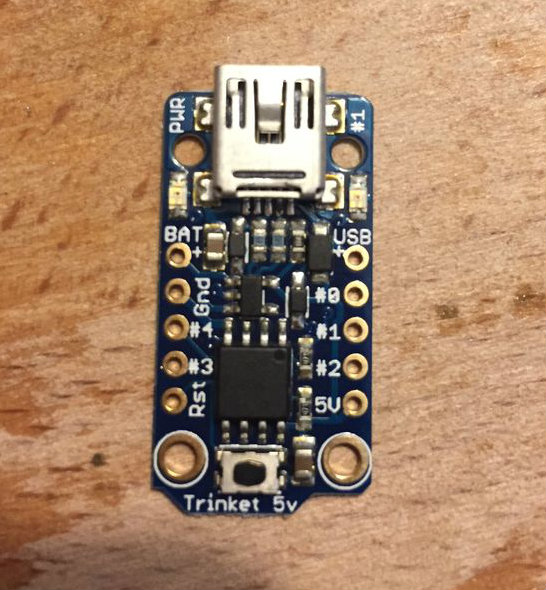
A trinket microcontroller.
-
A micro- or mini- USB cable to connect your trinket to your computer. I recommend an older usb 2.0 cable. If a new one gives you problems, try running your cord through a USB hub.
-
At least 3 colors of wire - I LOVE this silicone wire from adafruit but you can use any wire you feel comfortable with. You can use one color for everything but it will be easier if you get multiple colors.
-
A tactile momentary switch button.
-
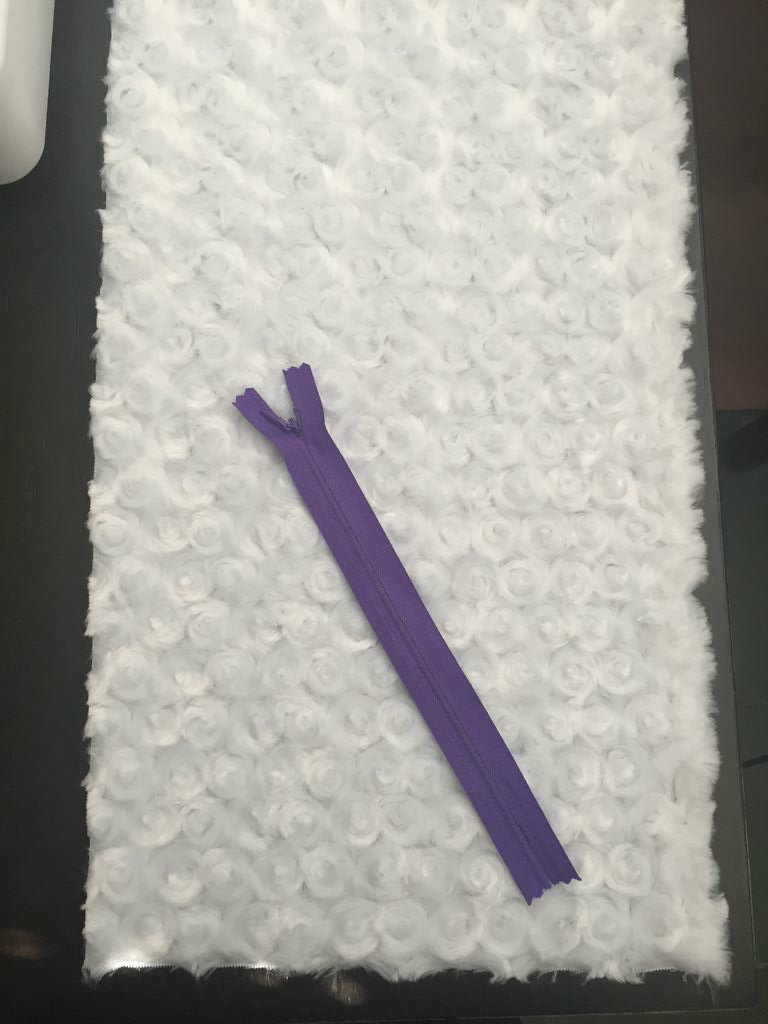
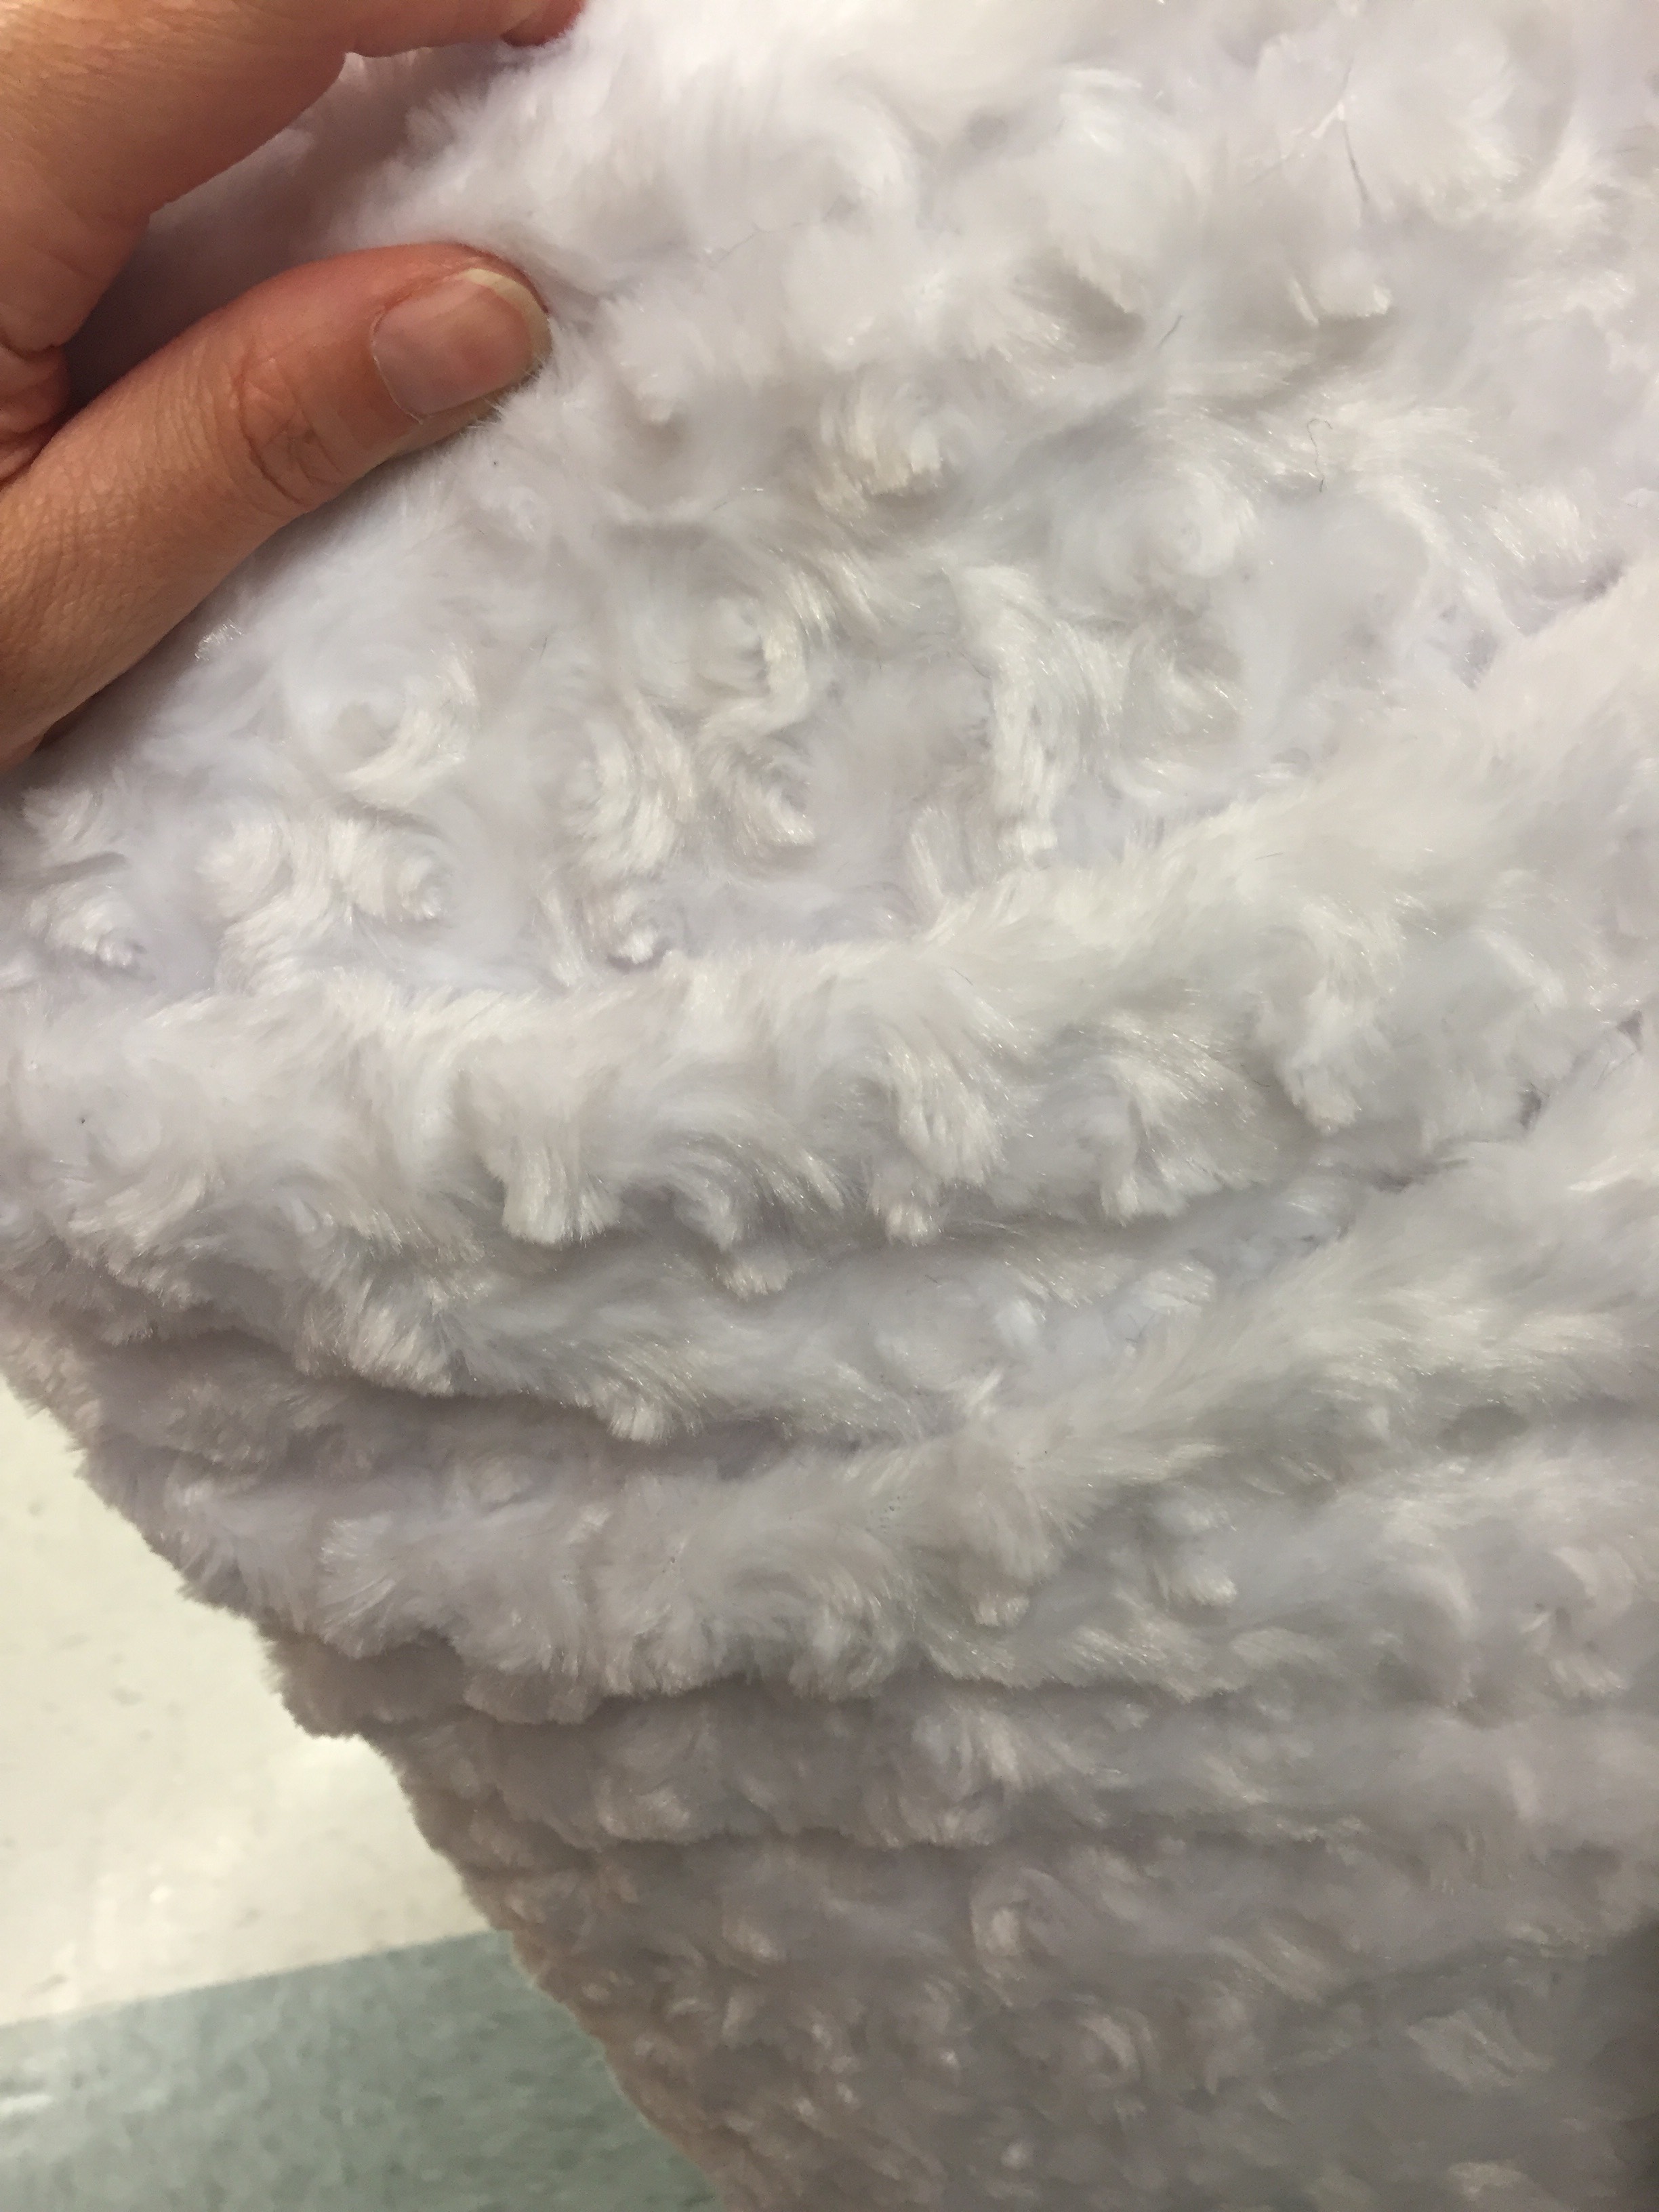
A 10"x6' piece of this beautiful and soft swirly fur fabric from Joann fabrics. For each 2 yards of fabric, you can get 8 scarves. If you choose a thick fur, you probably will want closer to 15"x6'.
-
A 6"x6' piece of the thinnest batting you can find (1/2") to diffuse the lights if you are using thin fabric. No batting is needed if you choose thick fur.
-
A 7" zipper. Be fancy and get an "invisible zipper". I bought a big pack of multiple colors on Amazon
-
Sewing Machine and/or Serger (I highly recommend the affordable Brother 1034D Serger & I'm pretty happy with the Brother Designio DZ300)
- Hot glue or be smart and fancy with e6000!
Note: the links I'm providing are for reference. I'm not affiliated or benefiting from any of them.
Program Your Trinket

Background
If you are new to Arduino and looking to start a new project, you have some options. You can download the Arduino IDE from their website, download the libraries you'd like to use and go from there.
Another option is to use a browser-based program like codebender.cc. I typically use the Arduino IDE for experimenting and playing but upload my final sketches to codebender. Codebender is a great way to introduce someone to code since you just need to download a plug-in to get it going. If you've already got the Arduino IDE, jump below to my sketch example and paste it into a new sketch. There's a great Getting Started with Arduino and Codebender Instructable by Ardumotive_com. The folks from Codebender have put together quite a few instructables, too.
Get your codebender account set-up by visiting their site. Make sure to have your Trinket plugged in when you get to the screen to set up your board. The Trinket is a low cost microcontroller so it might take a few times to get your board set up. If you get an error, try to unplug and plug your board back in or press the small "reset" button on the board.
The Trinket is a low cost microcontroller. It's good for a small and simple project. The board plugs into your computer with a mini- or micro- USB cable, depending on when you purchased it. When you plug it in, it will likely flash a red light off and on for about 10 seconds. This means that it's ready to "accept" code. Otherwise, you need to press the reset button to enter what's called the "bootloader mode". Other microcontrollers will just go into this mode automatically, but since the Trinket is so simple, it needs someone to give it a heads up first.
Steps
Here's my sketch: https://codebender.cc/sketch:350316.
"Clone and edit" my sketch and "save" it to your codebender account or copy and paste it to a new sketch in your Arduino IDE.
Update the necessary areas (see below) if you've got a different set-up than what I'm using
"Verify" the code. Remember to hit "Save" if it works out for you.
Press the reset button on the Trinket and "Upload" the code to your trinket.
Make sure you get an "Uploaded Successfully" or some other positive message confirming the code was uploaded.
Notes
- If you run into issues where the board isn't entering the bootloader mode when you press the reset button, try unplugging your Trinket and then plug it back in. A friend mentioned he was only able to upload code if he pasted his sketch into a "new sketch" rather than trying to edit an existing sketch. Be creative.
- Anything written on a line after two slashes, like this: //, is a comment. You could write "//blah, blah, blah" and it would be fine. Multi-line comments fall between "/*" and "*/". Codebender makes all the comments look green. Spaces and blank lines are fine so feel free to separate things out to work for you.
- Make sure you've selected the correct board (Trinket, 8mhz or 16mhz if you're using the 5V model) and port.
- Always "verify" before you "upload". Codebender or the IDE will let you know if your sketch is too large. If it is, you will need to modify it by removing one of your "modes".
- Line 10: Adjust the number here to the number of LEDs you have if it's more than 50
- Line 20: For the lights I bought, I figured out they didn't look right set at "RGB" so it's been changed to "GRB". You may have to upload this code and see if it looks right. If it seems a little off, switch it up.
- Line 35-50: This is a custom palette I've called MyColors. Check out an RGB Color Picker and find some colors you like. You can put in any 16 colors you like here. There are a couple rules: instead of writing "golden rod" you will need to write "GoldenRod". So, capitalize the first letter of each word and remove any spaces. Don't loose the comma at the end of each line, either.
- Lines 85-123: FastLED has a bunch of built-in "palettes" to choose from. The group of colors in a palette are sent through a strip of LEDs in speed and step increments you've chosen. You can change the SPEED and STEPS to make things look exactly how you want. SPEED refers to how fast the colors move. Higher numbers = faster motion. STEPS refers to how wide the bands of color are. 1 = more like a gradient, 10 = more like stripes.
- Lines 137-144: if you change the number of modes, you must update the number "5" on line 141.
Make Your Scarf
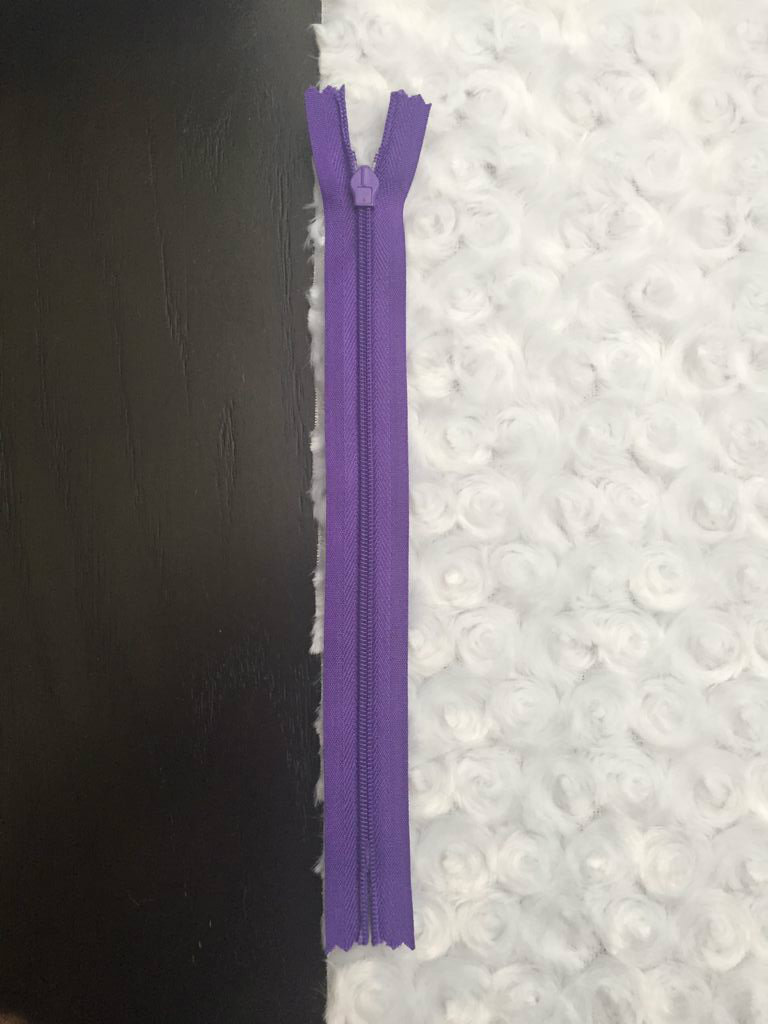
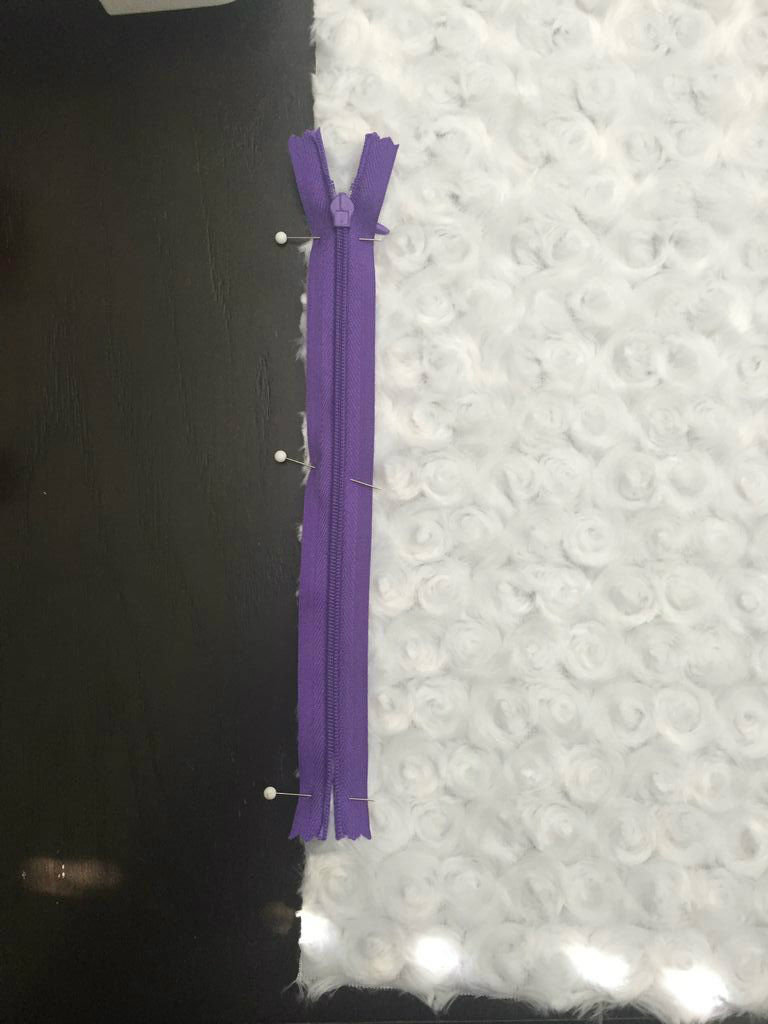
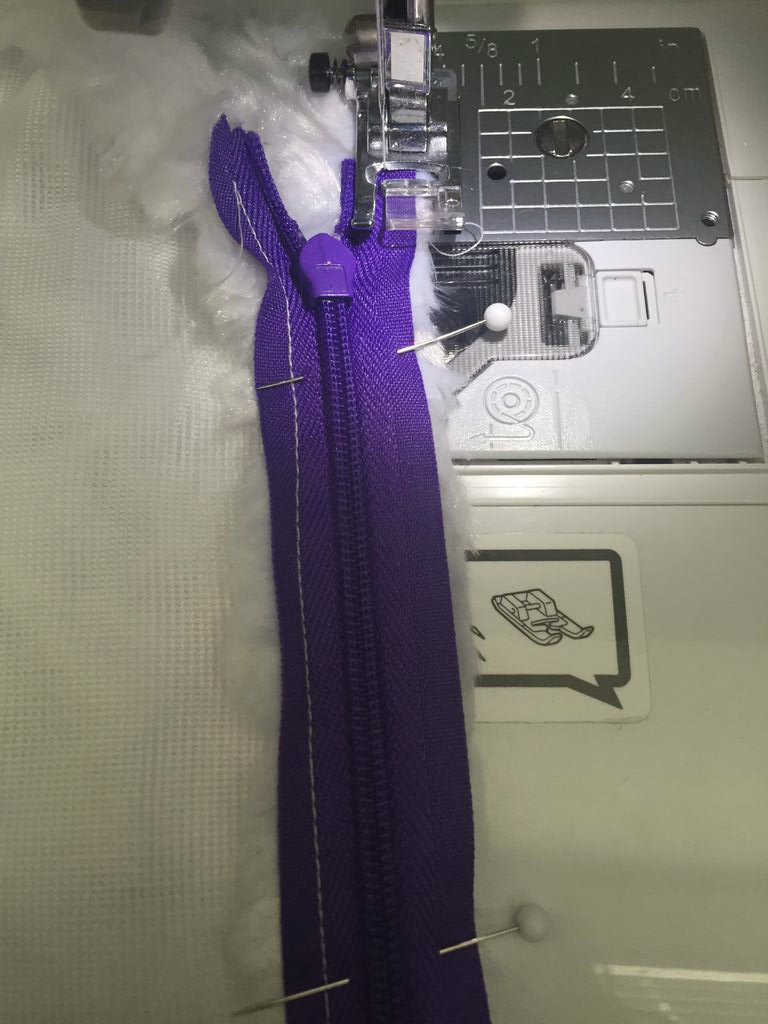
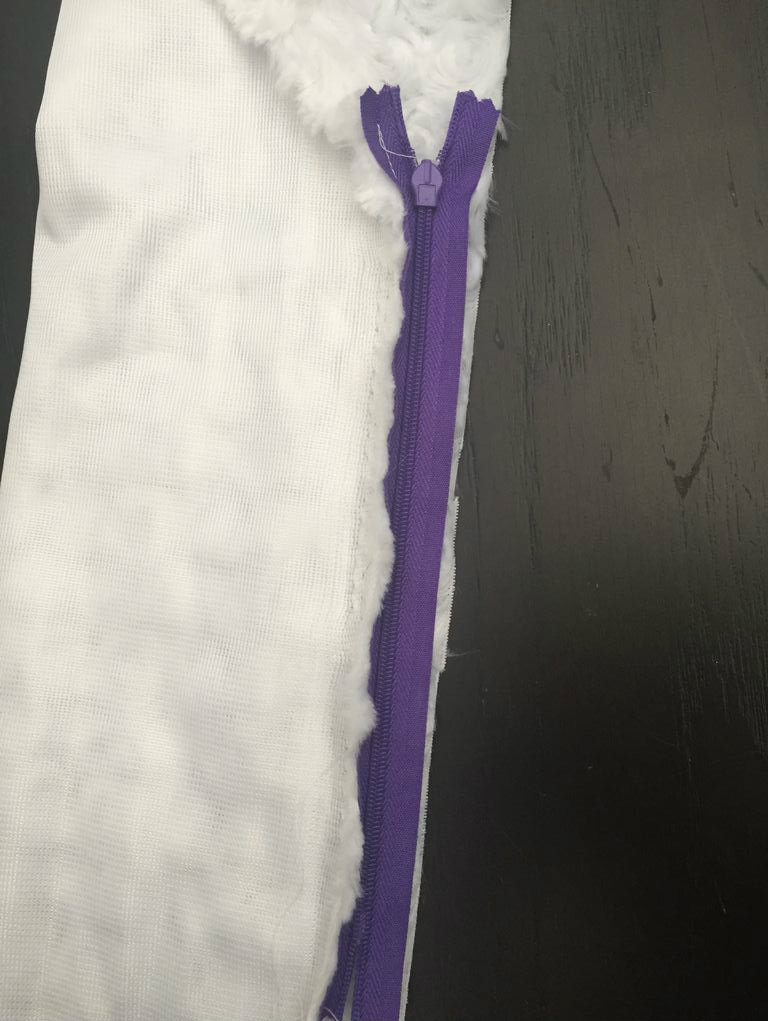
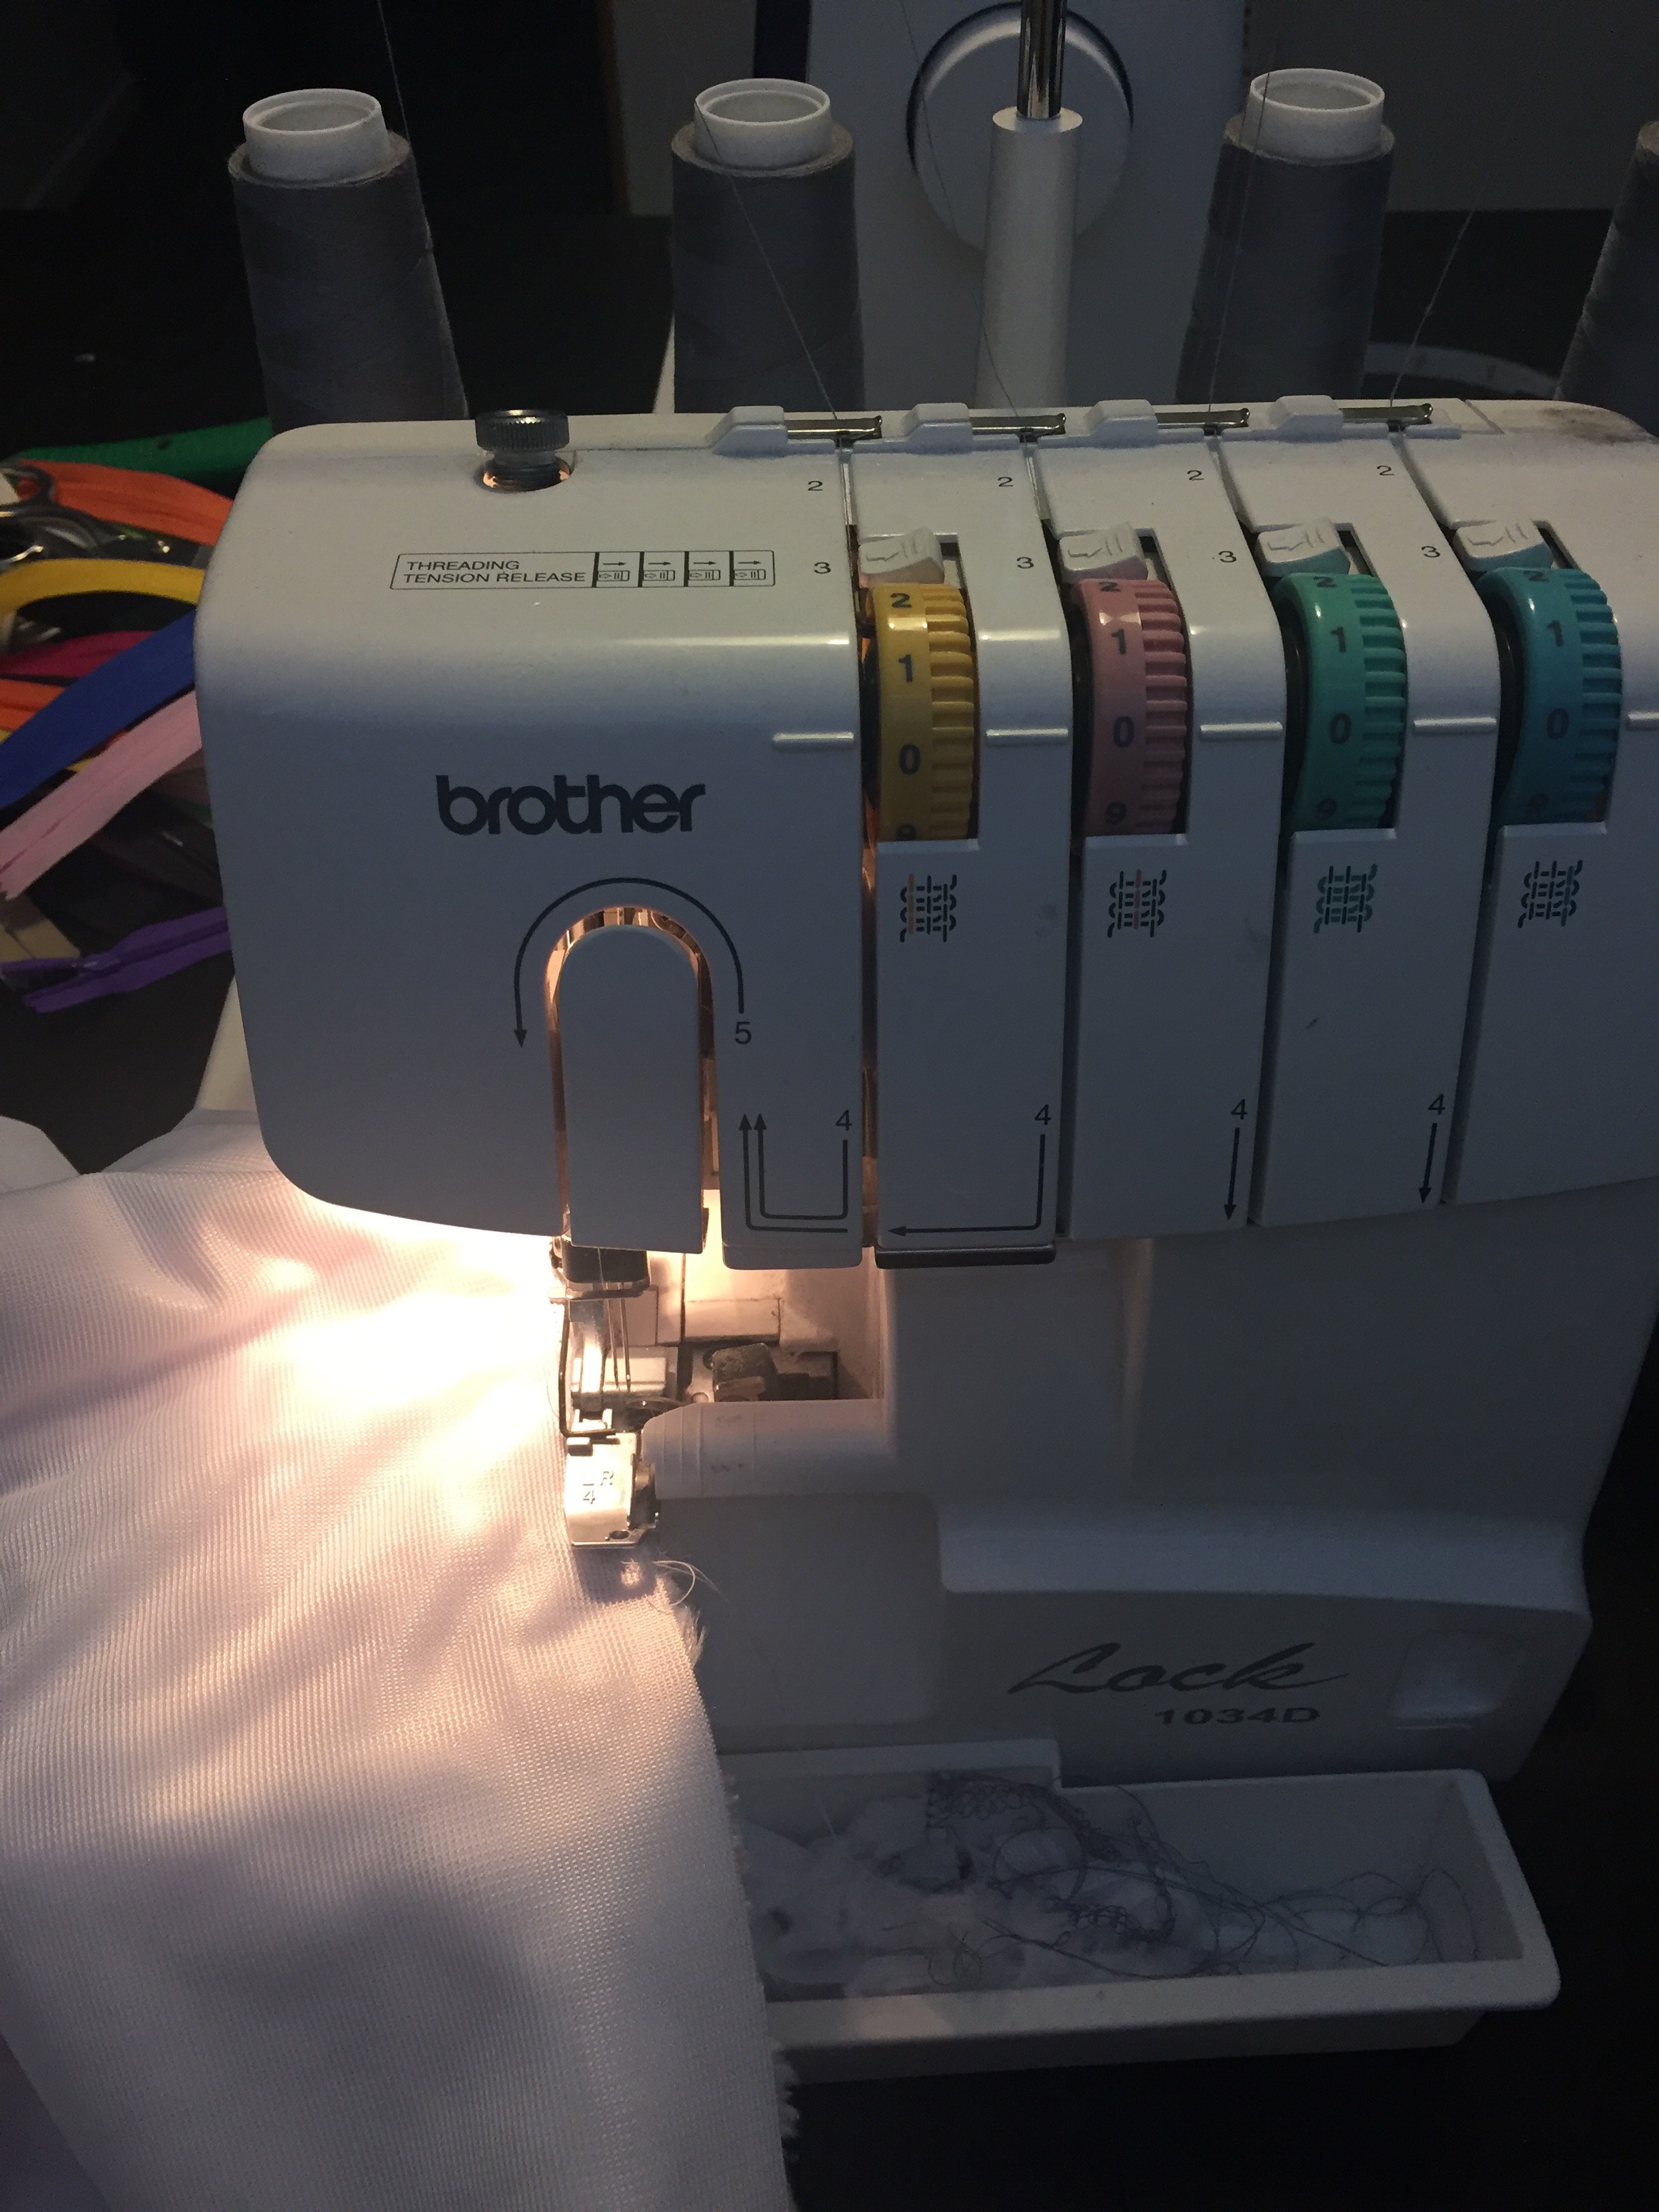
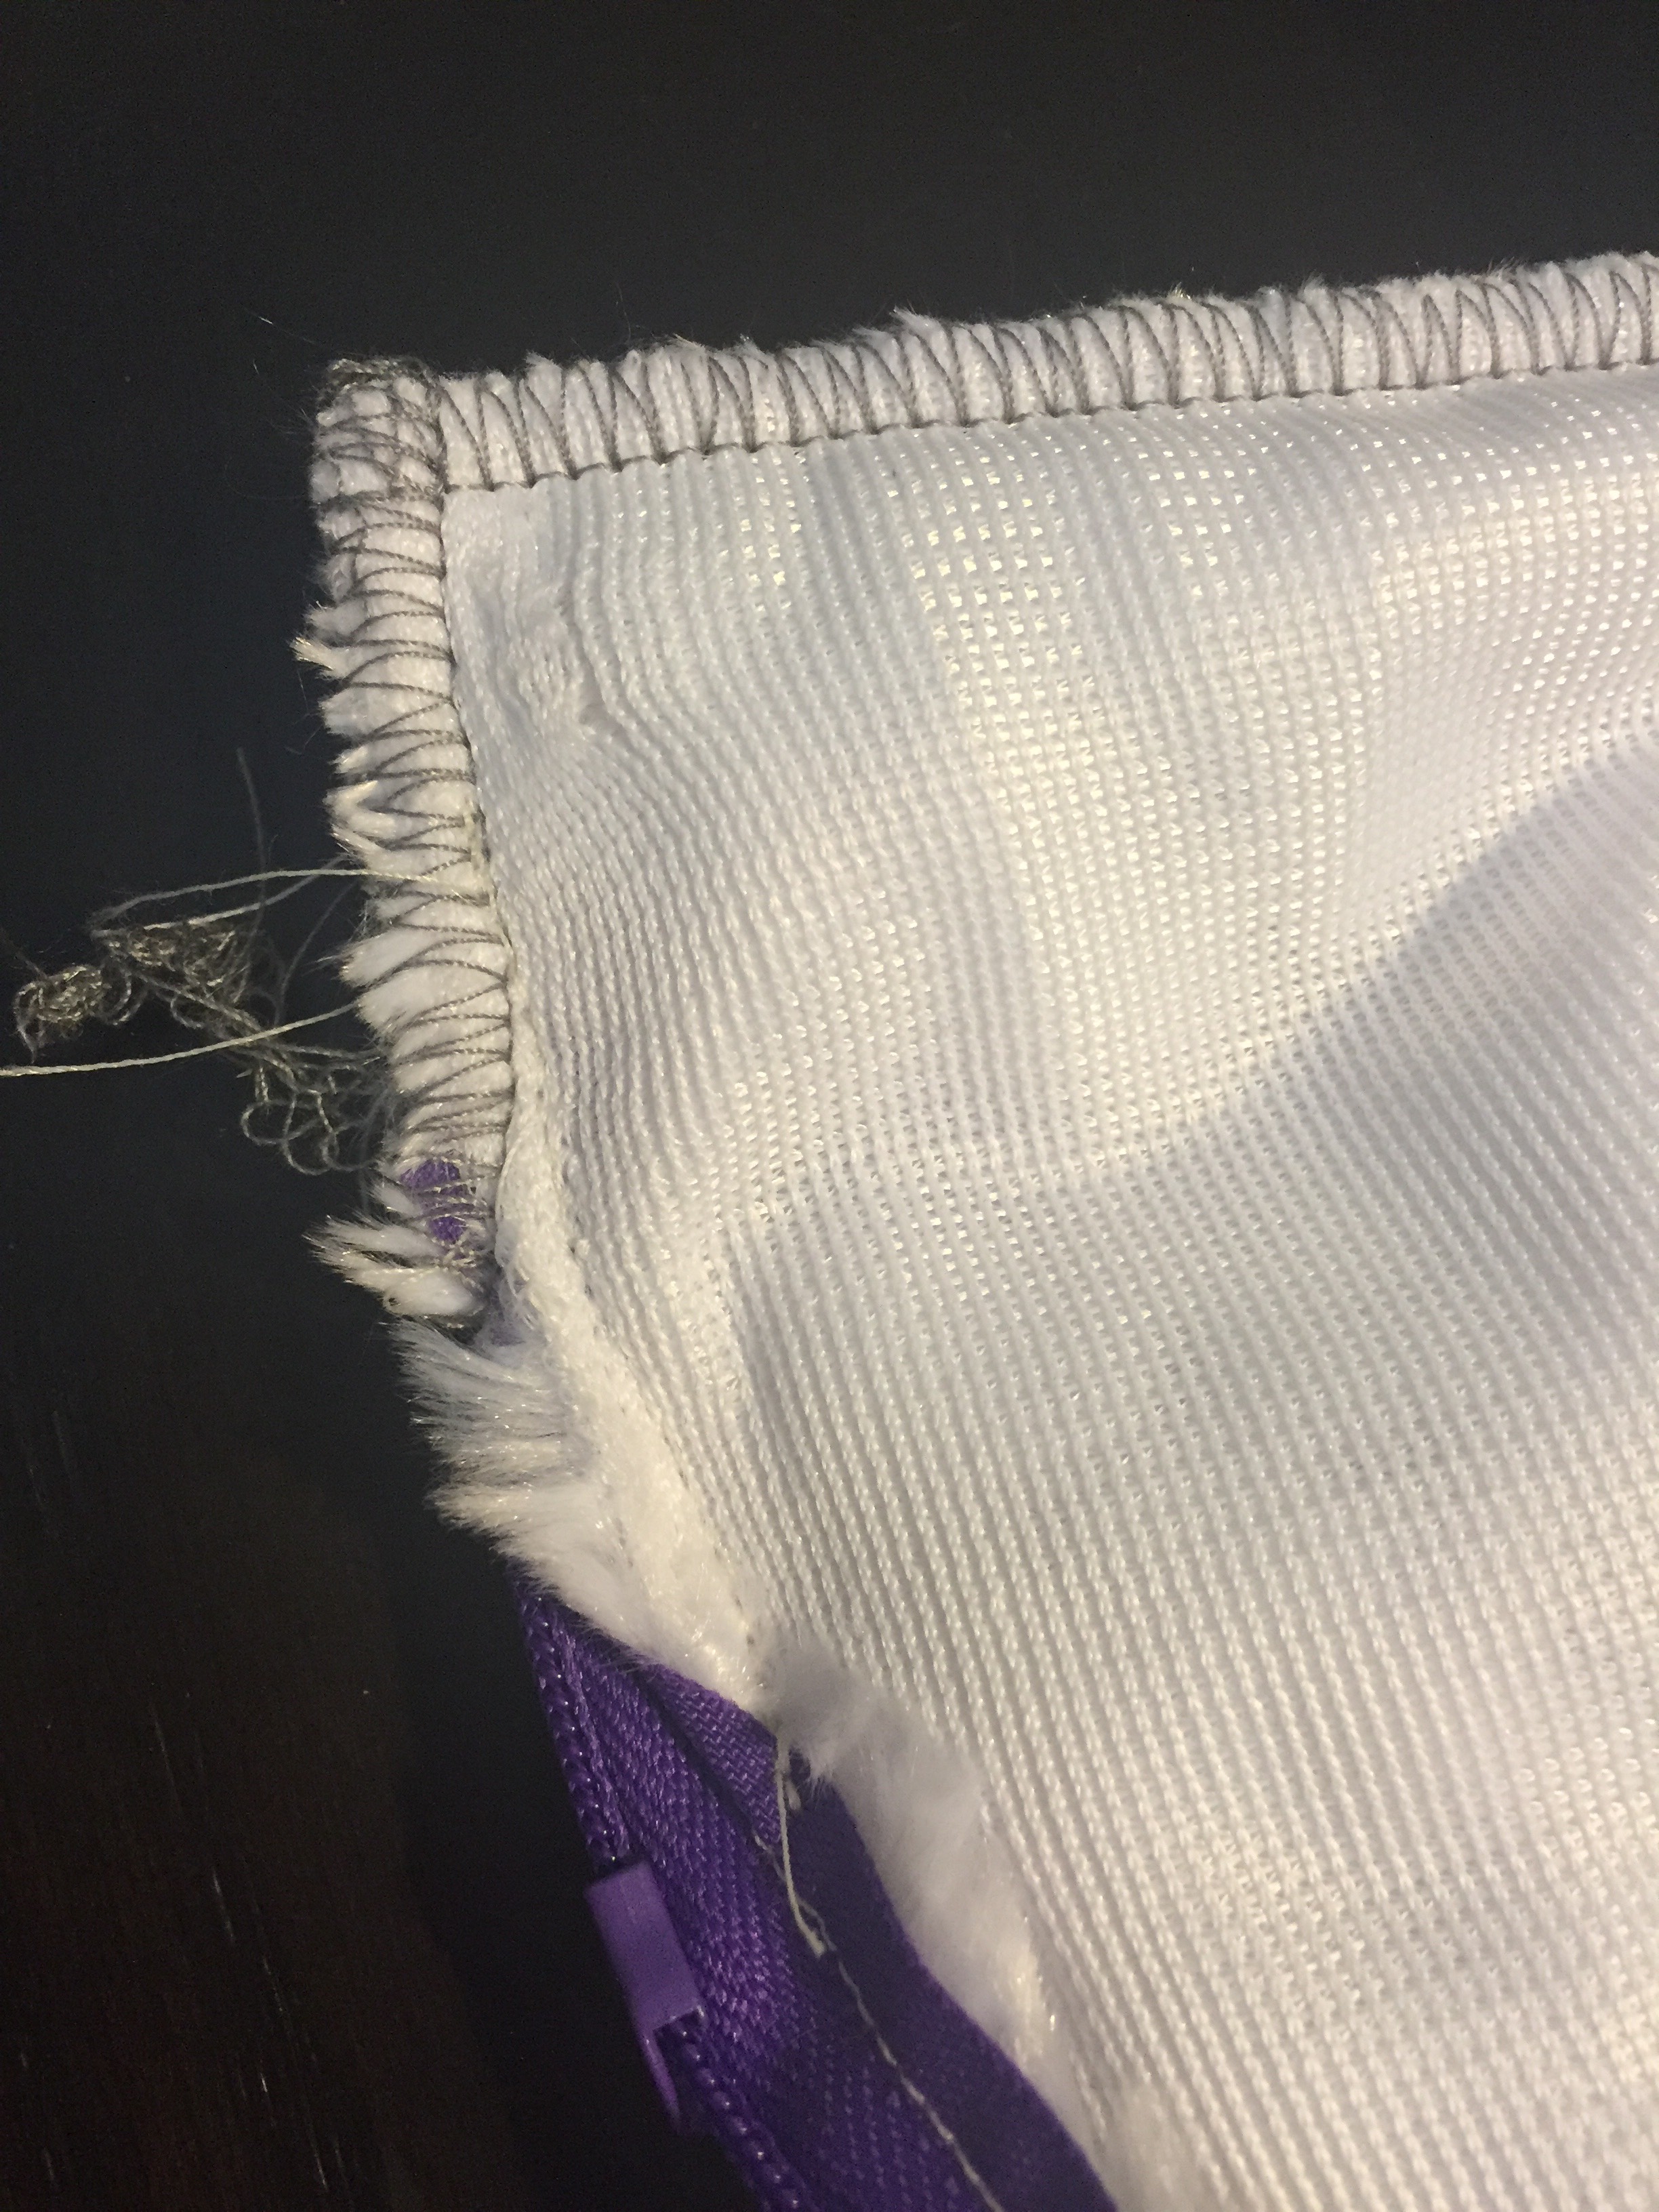
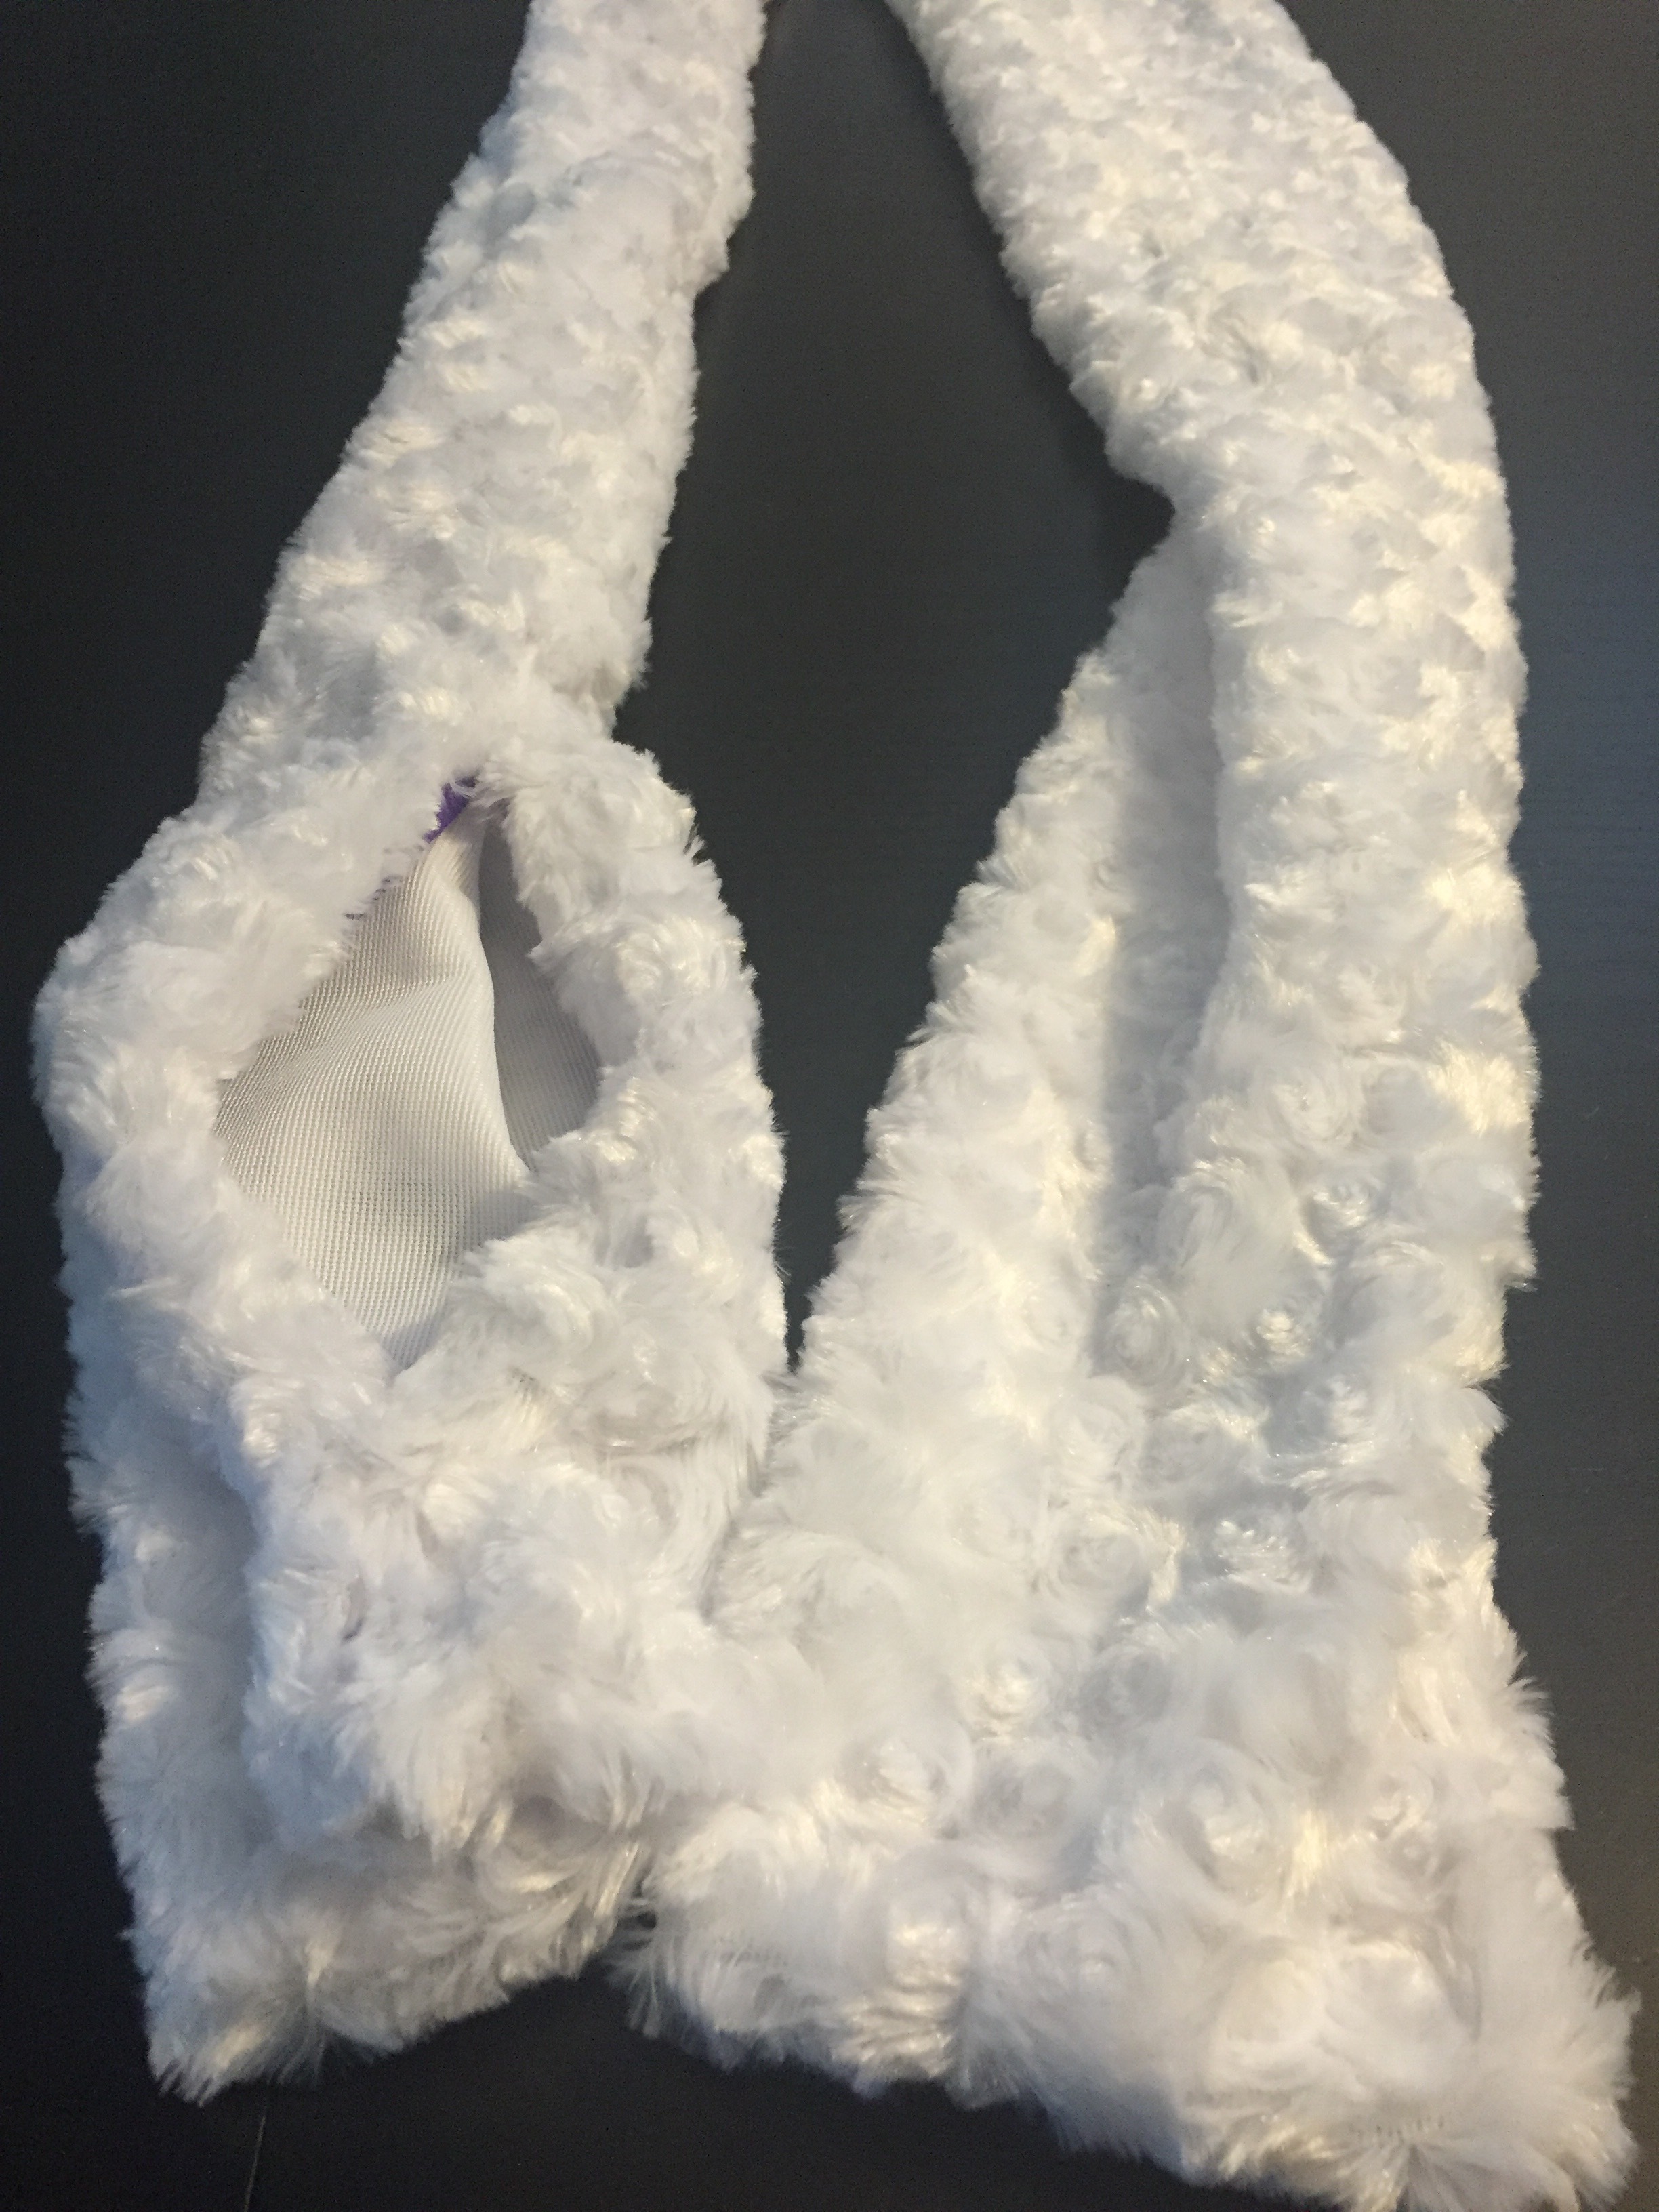
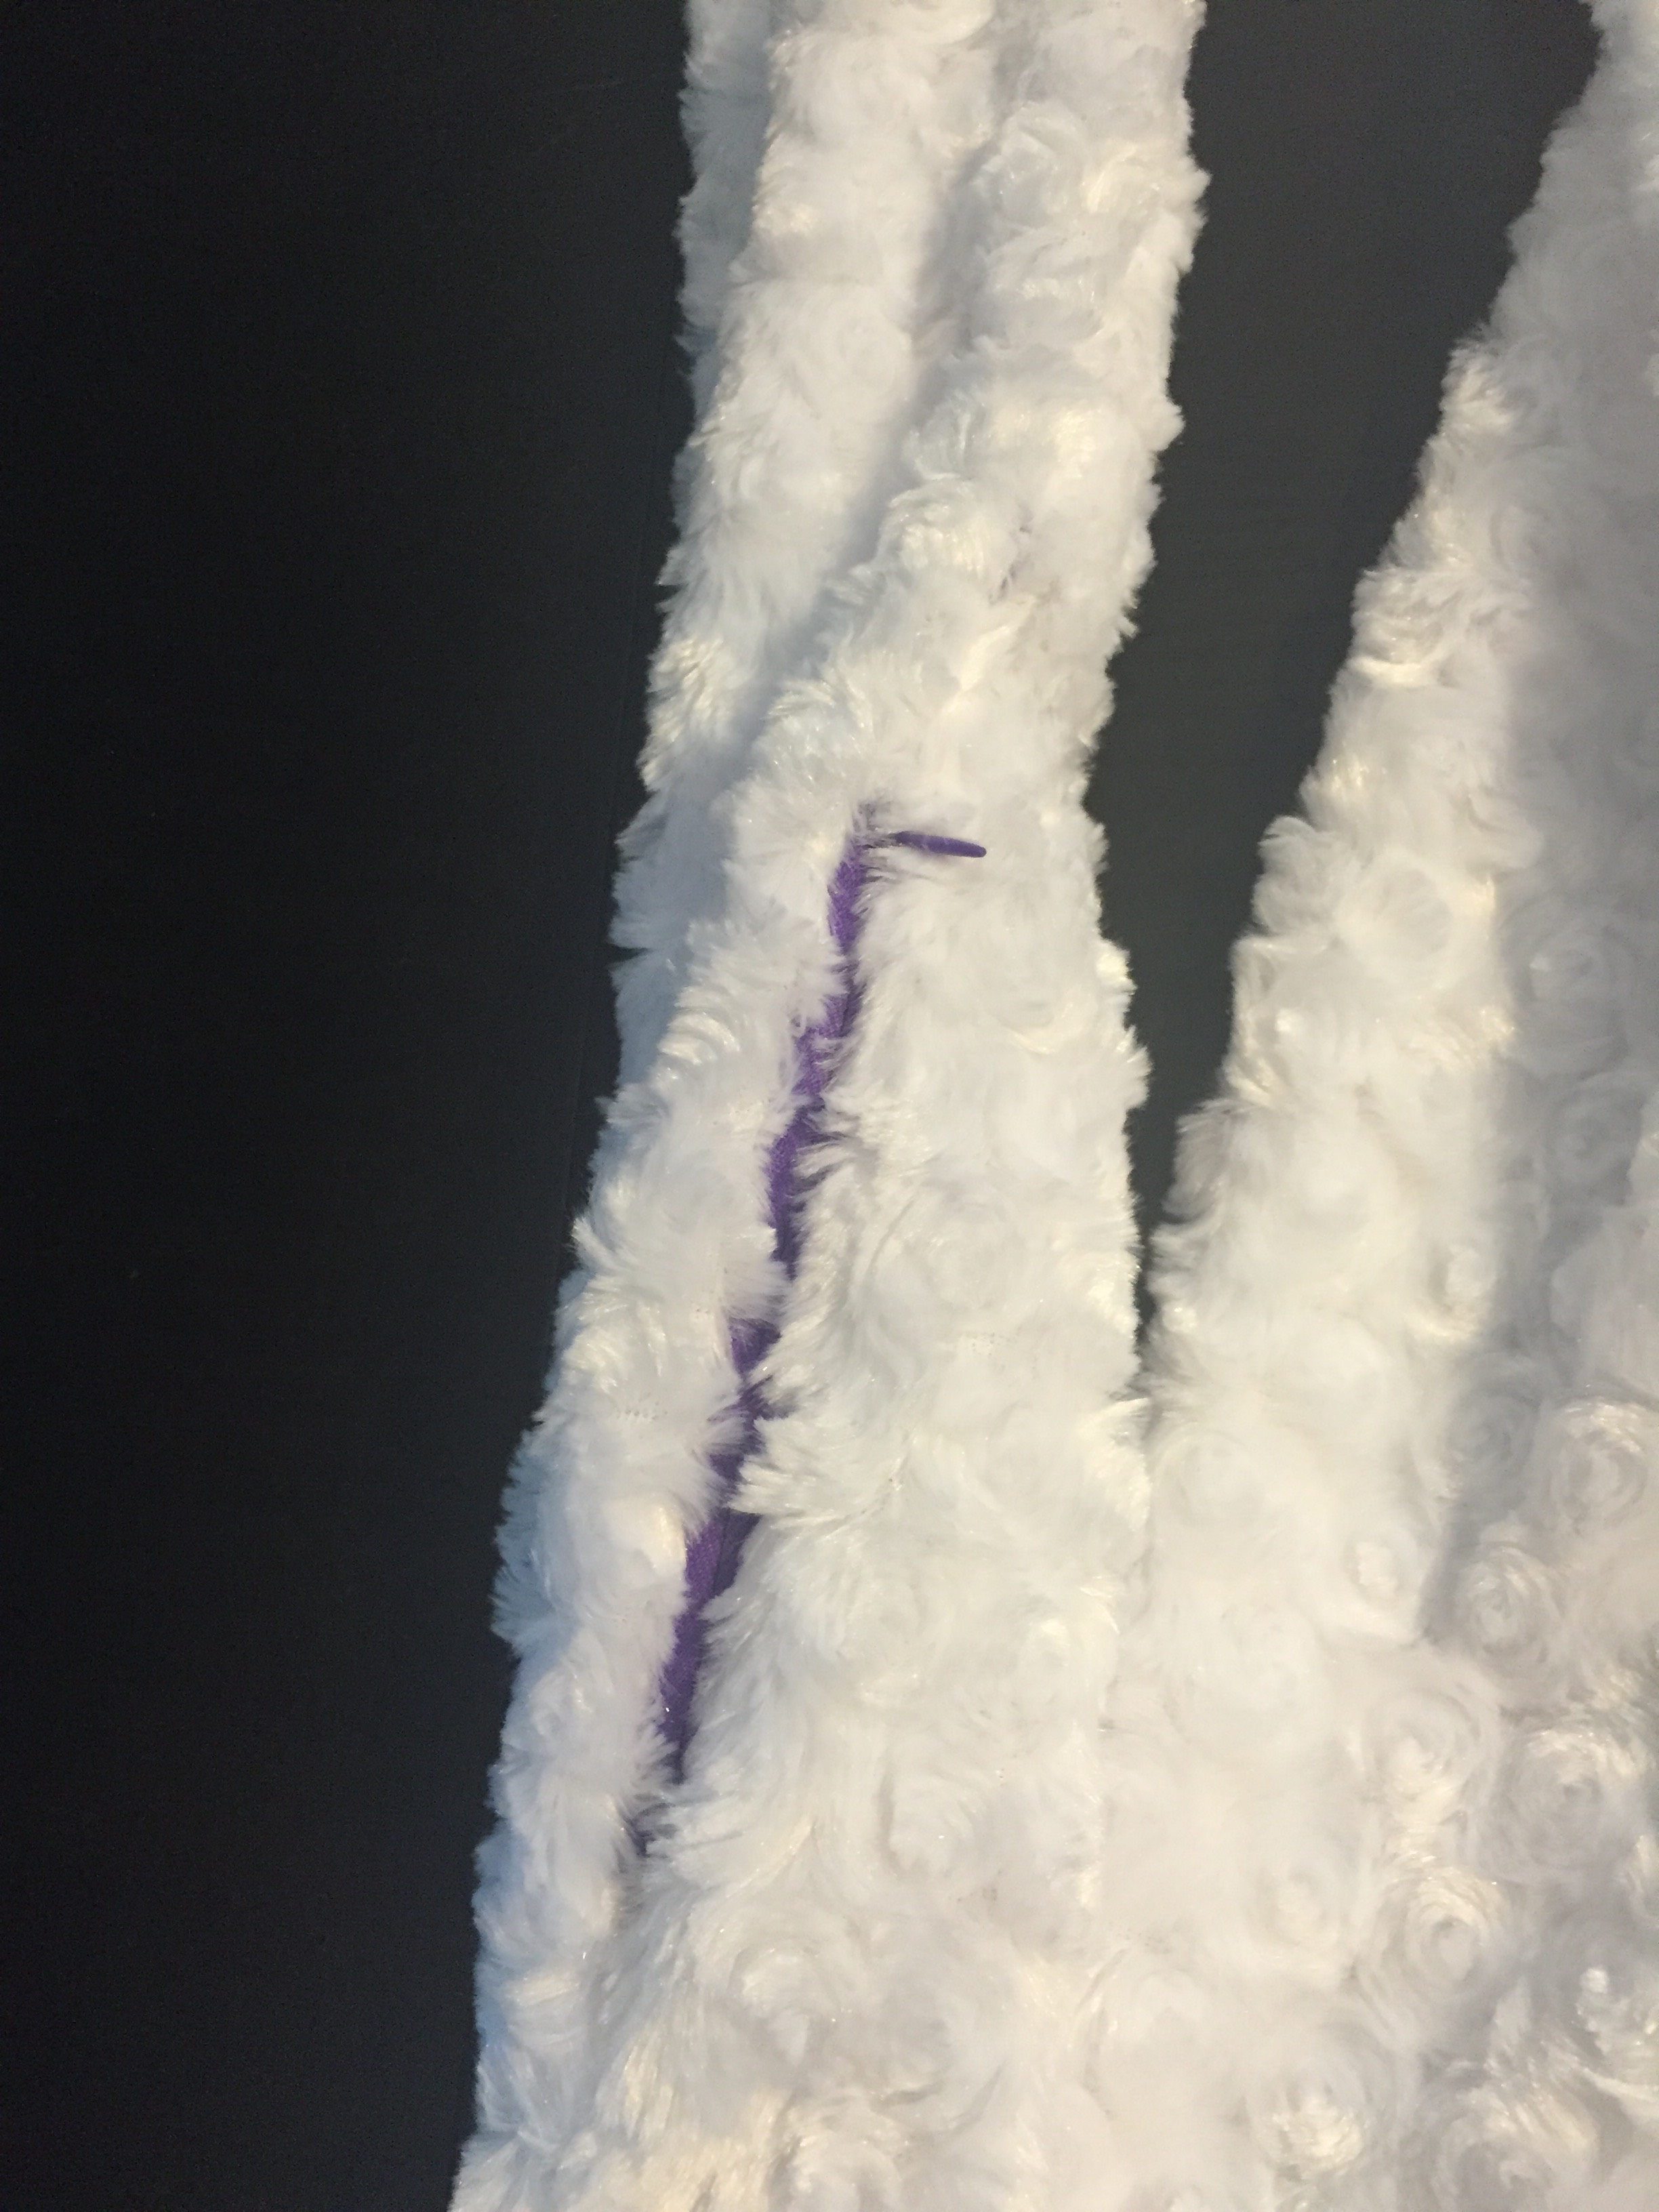
- For this part you'll need your zipper, your sewing machine and your soft fuzzy fabric. You can set the batting aside until the end when you put it all together.
- Lay your fabric on the table with the fuzzy side up.
- Place your zipper on top of the fabric, about 3 or 4 inches from one of the bottoms, with the front of the zipper facing down. This means that the zipper pull will be facing the fabric. The up and the down of the zipper can point in either direction but you probably will want the zipper to go up and down like pants or something so make sure the zipper pull, when closed, is closer to the larger part of the fabric.
- Pin your zipper into place. It works well to match up the edges of the zipper and the fabric.
- Use your sewing machine to sew the zipper in place. You can use a zipper presser foot but ours worked out OK with a traditional presser foot. Be sure to put a little bit of back-stitch in there at the beginning and end.
- Lay your fabric out again with the fuzzy side up. Connect the other side of the zipper to the other side of the fabric, with the fuzzy side still facing up. Pin it down, just as you did before and repeat sewing it on.
- Unzip your zipper.
- Fold your scarf in half lengthwise. Stitch or serge the sides together to connect it together.
- You may have a couple small holes or areas around the zipper that could be adjusted. Use the sewing machine to connect things together and/or clean things up.
- Turn your scarf inside out and set it aside.
Wire It Up
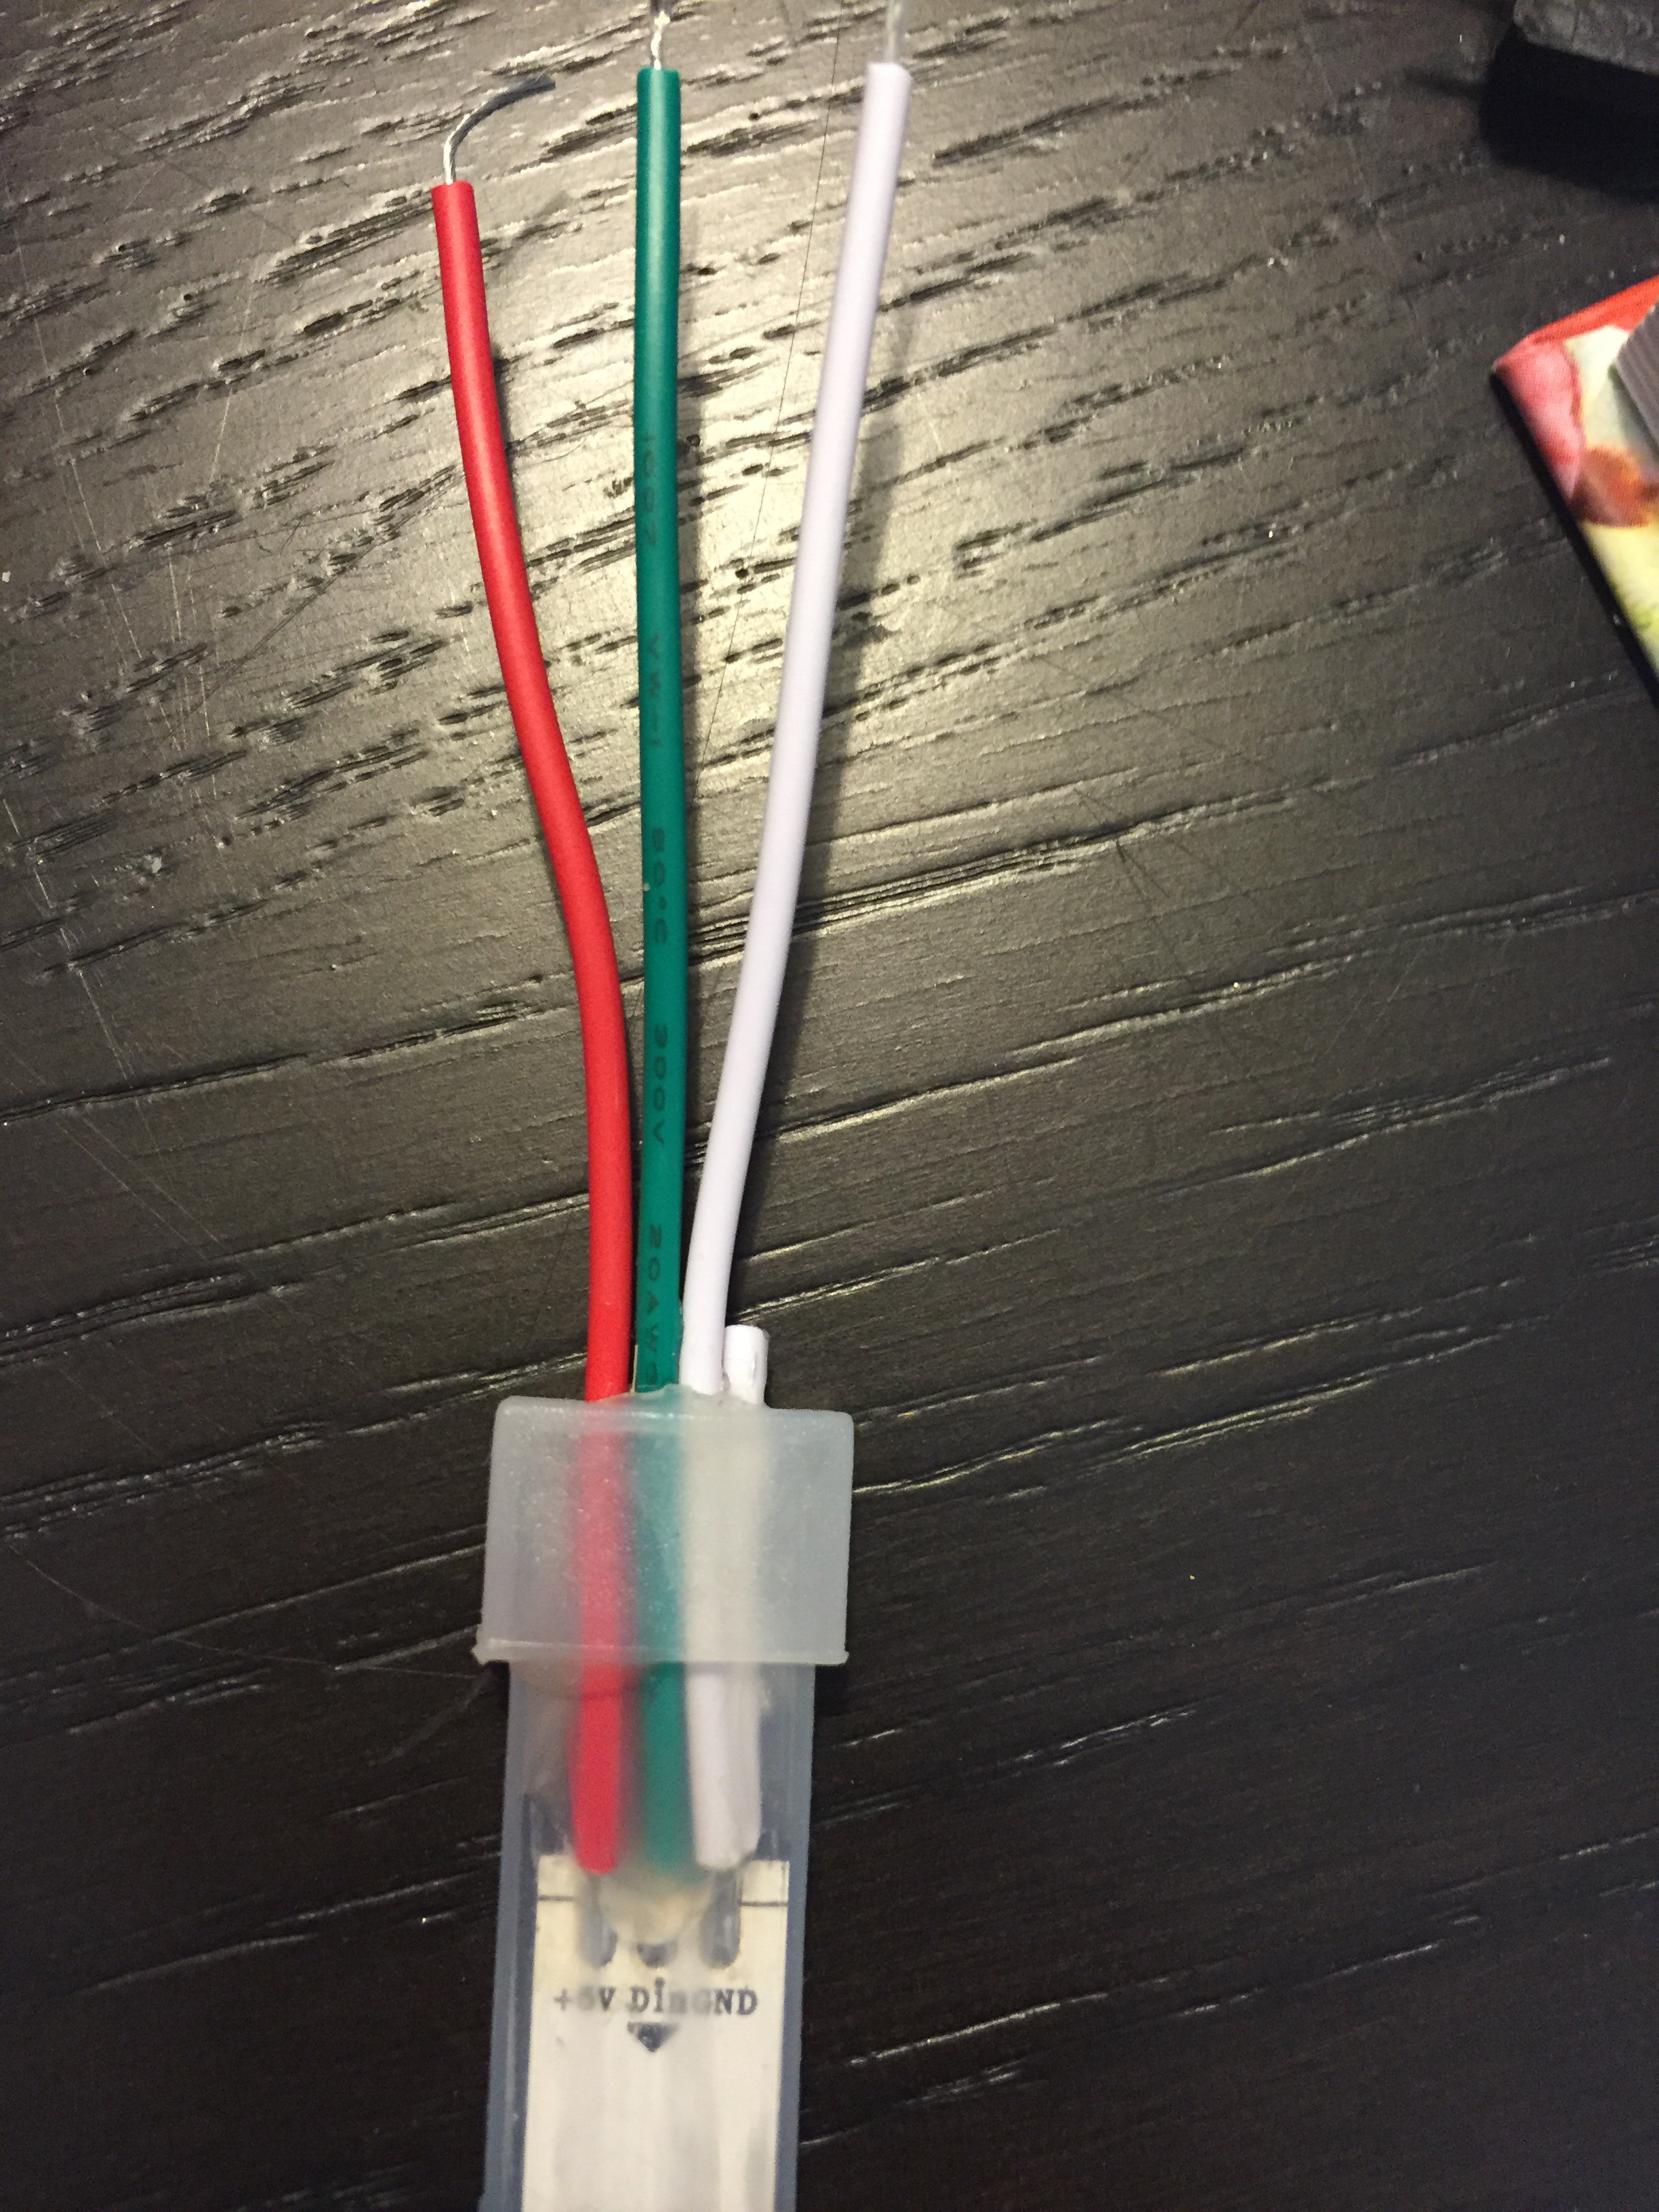
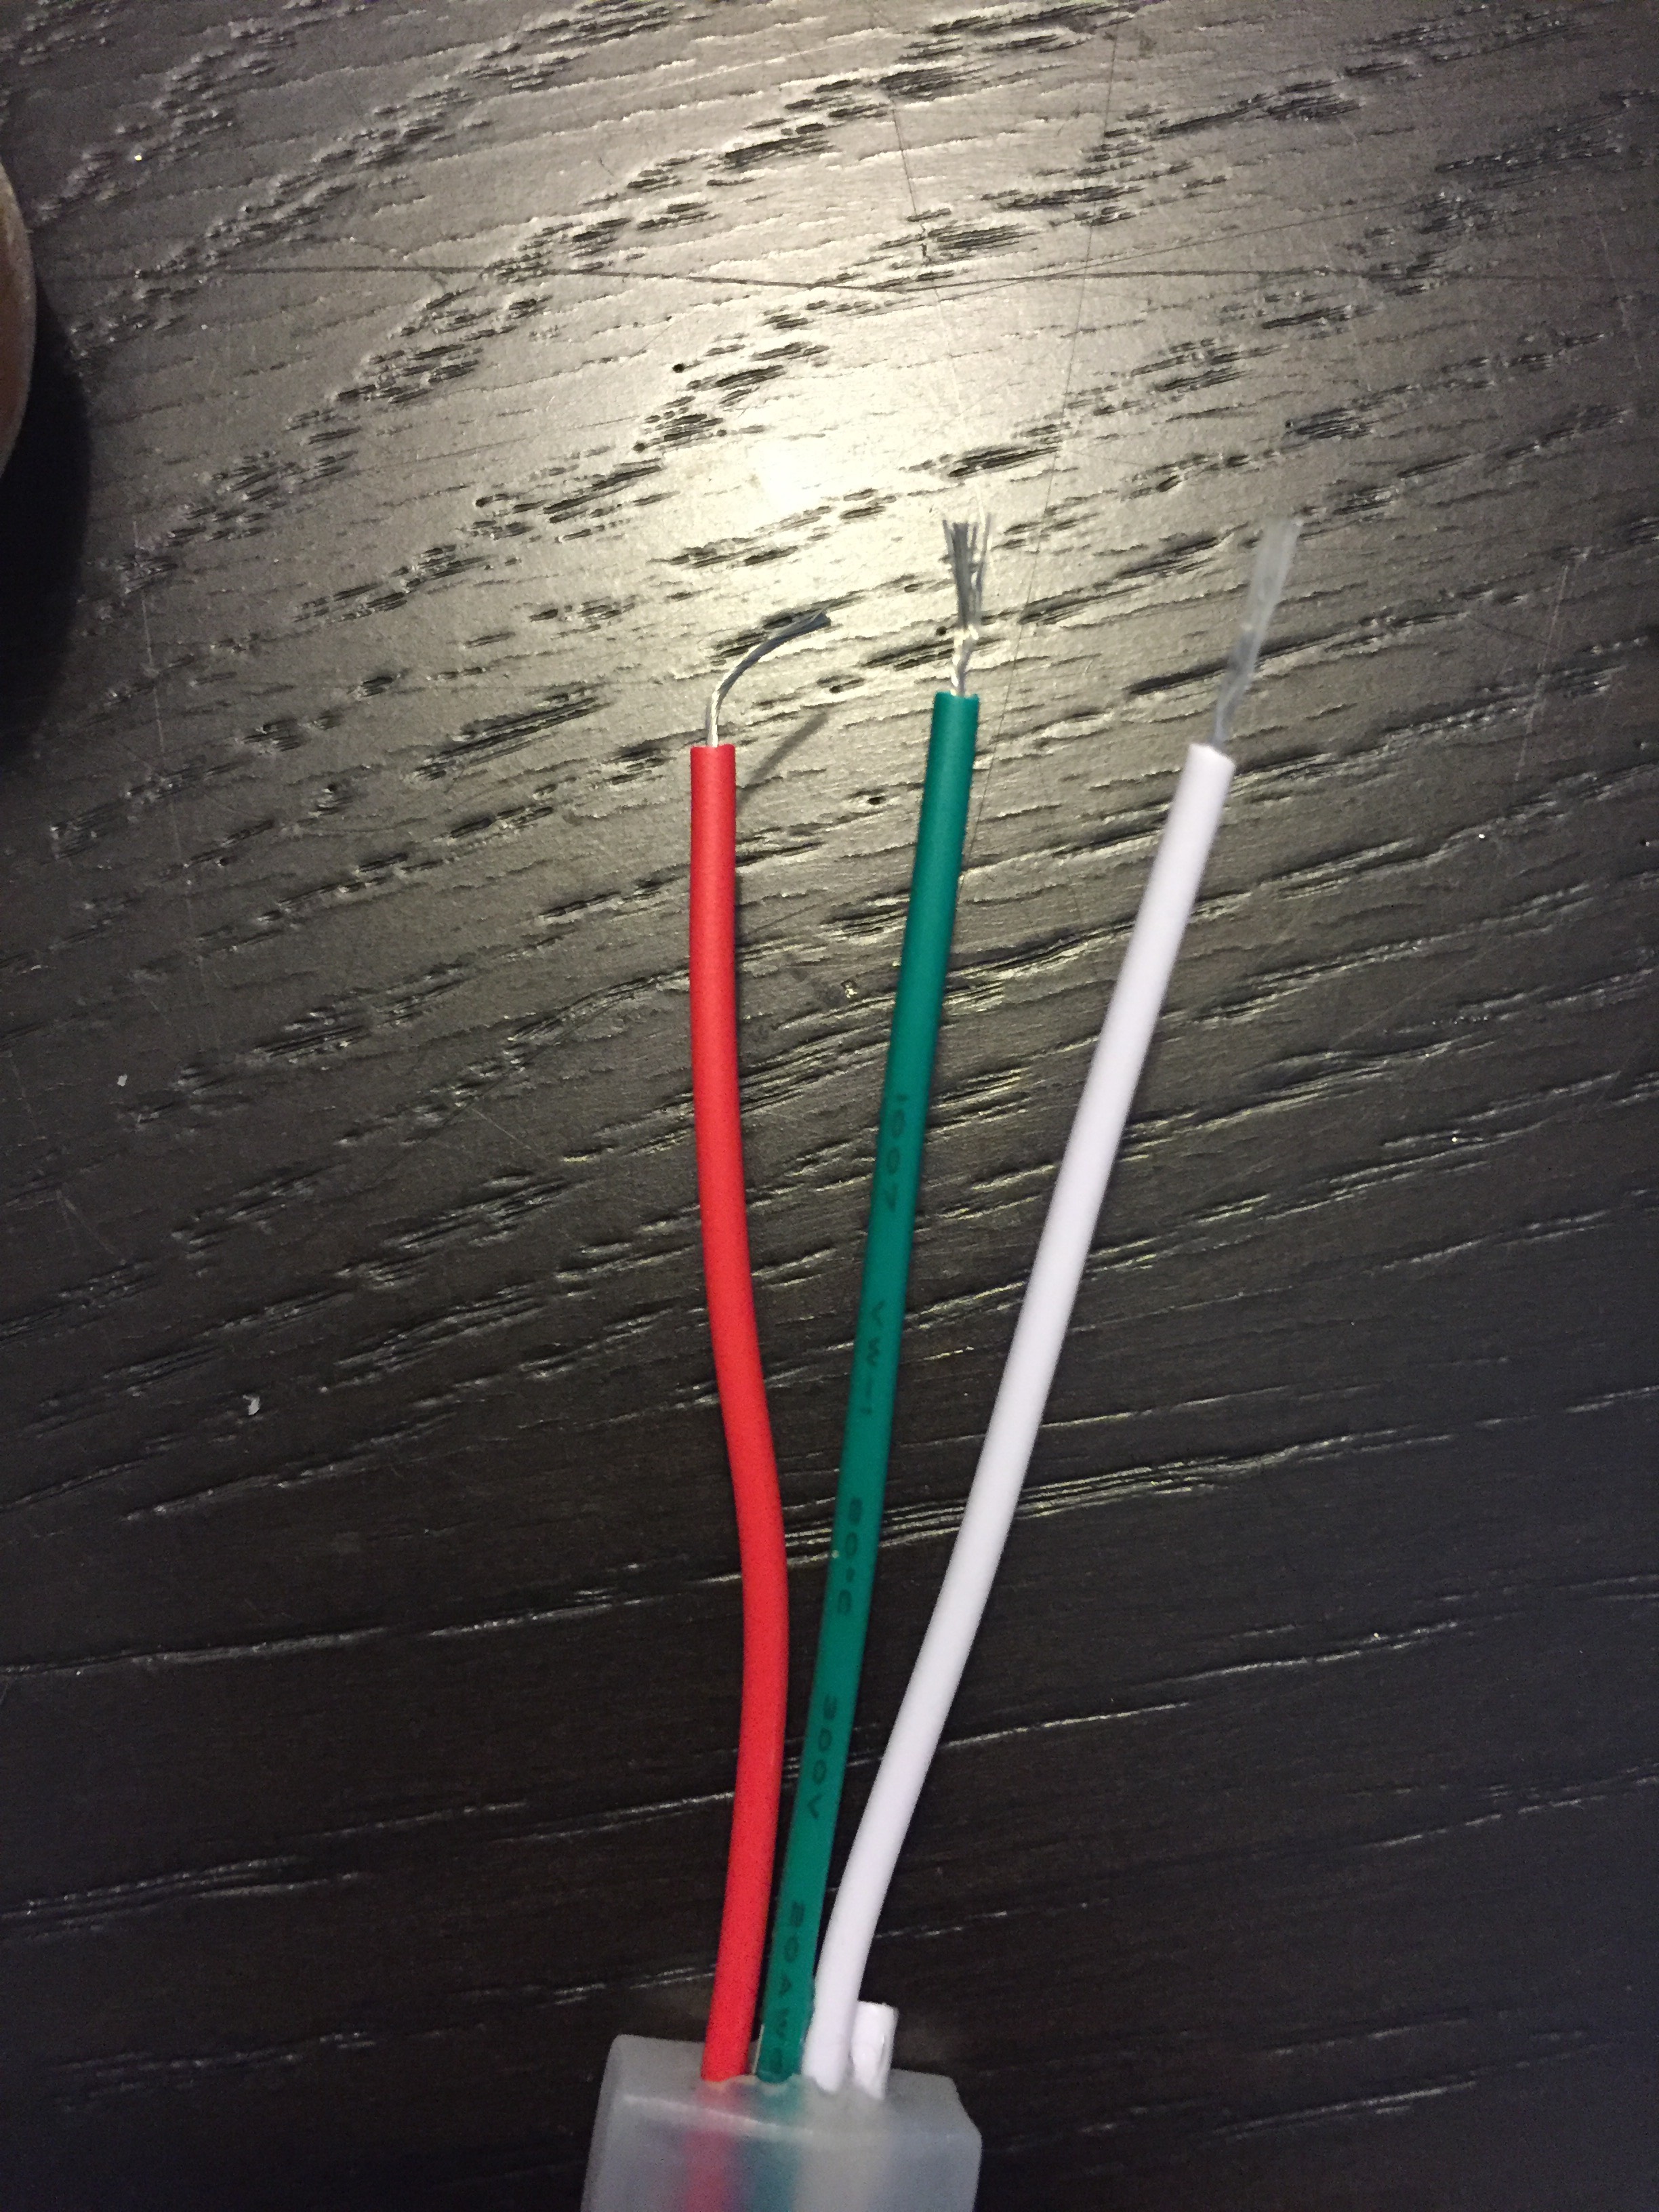
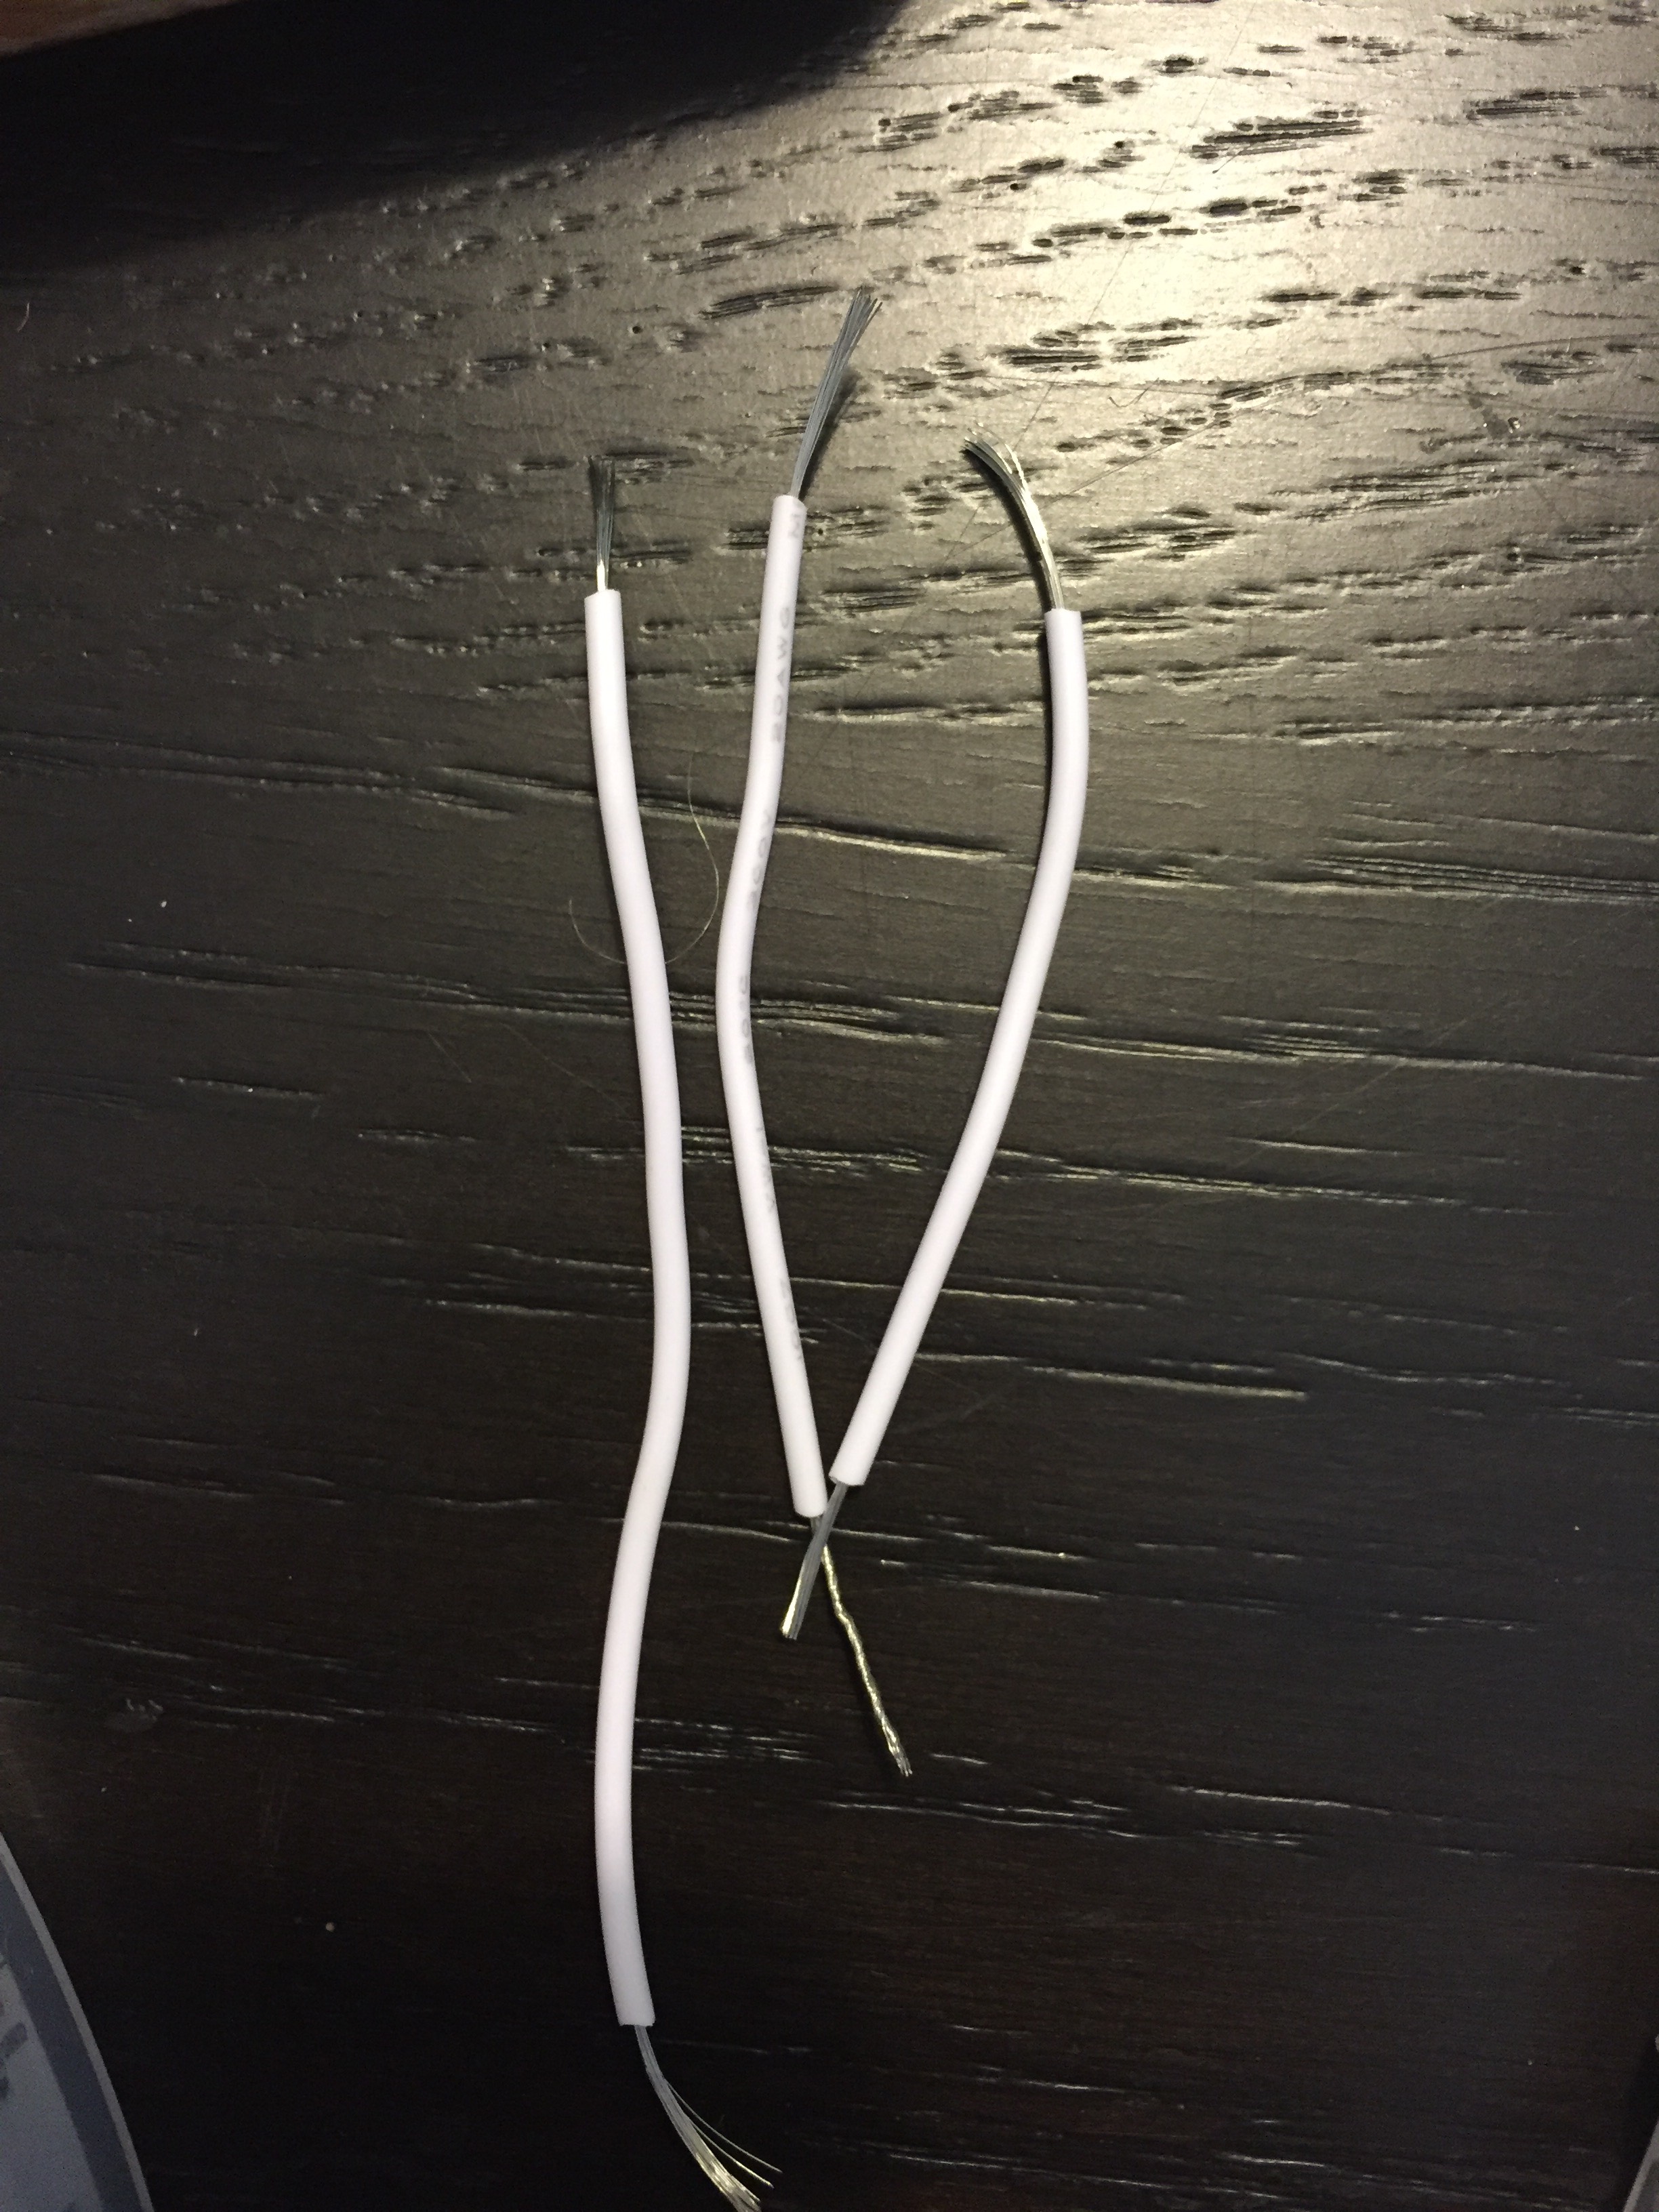
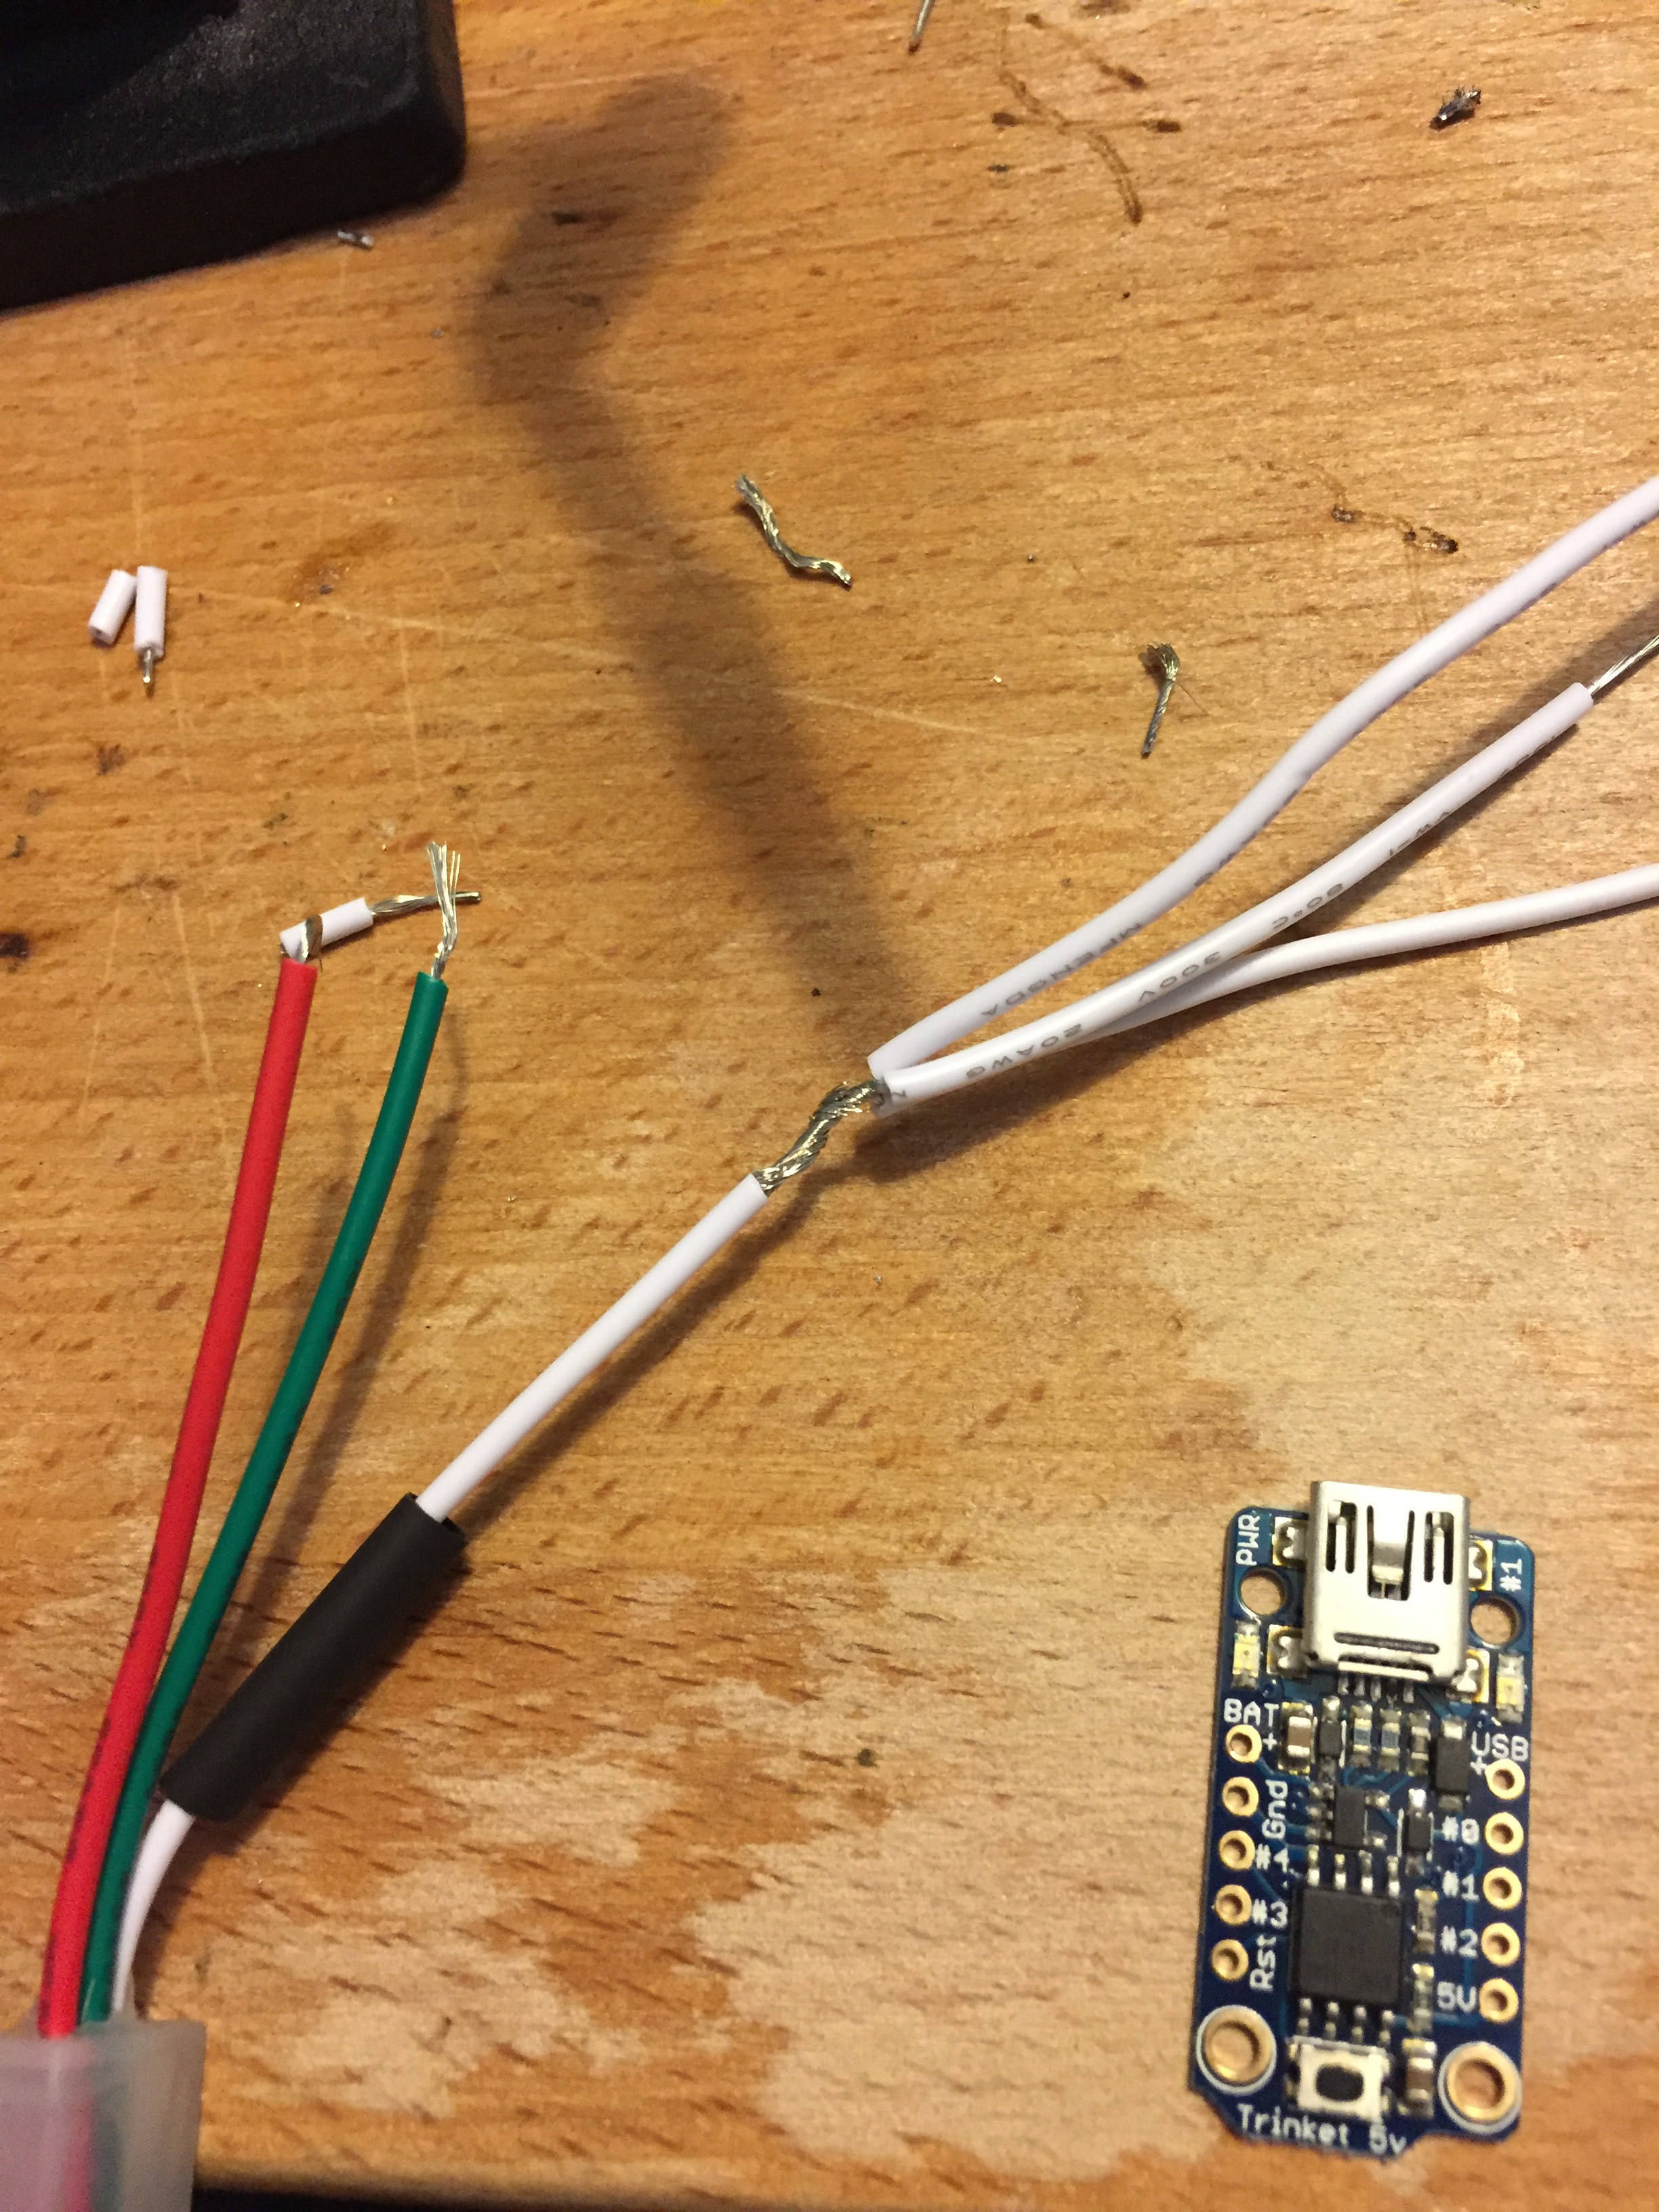
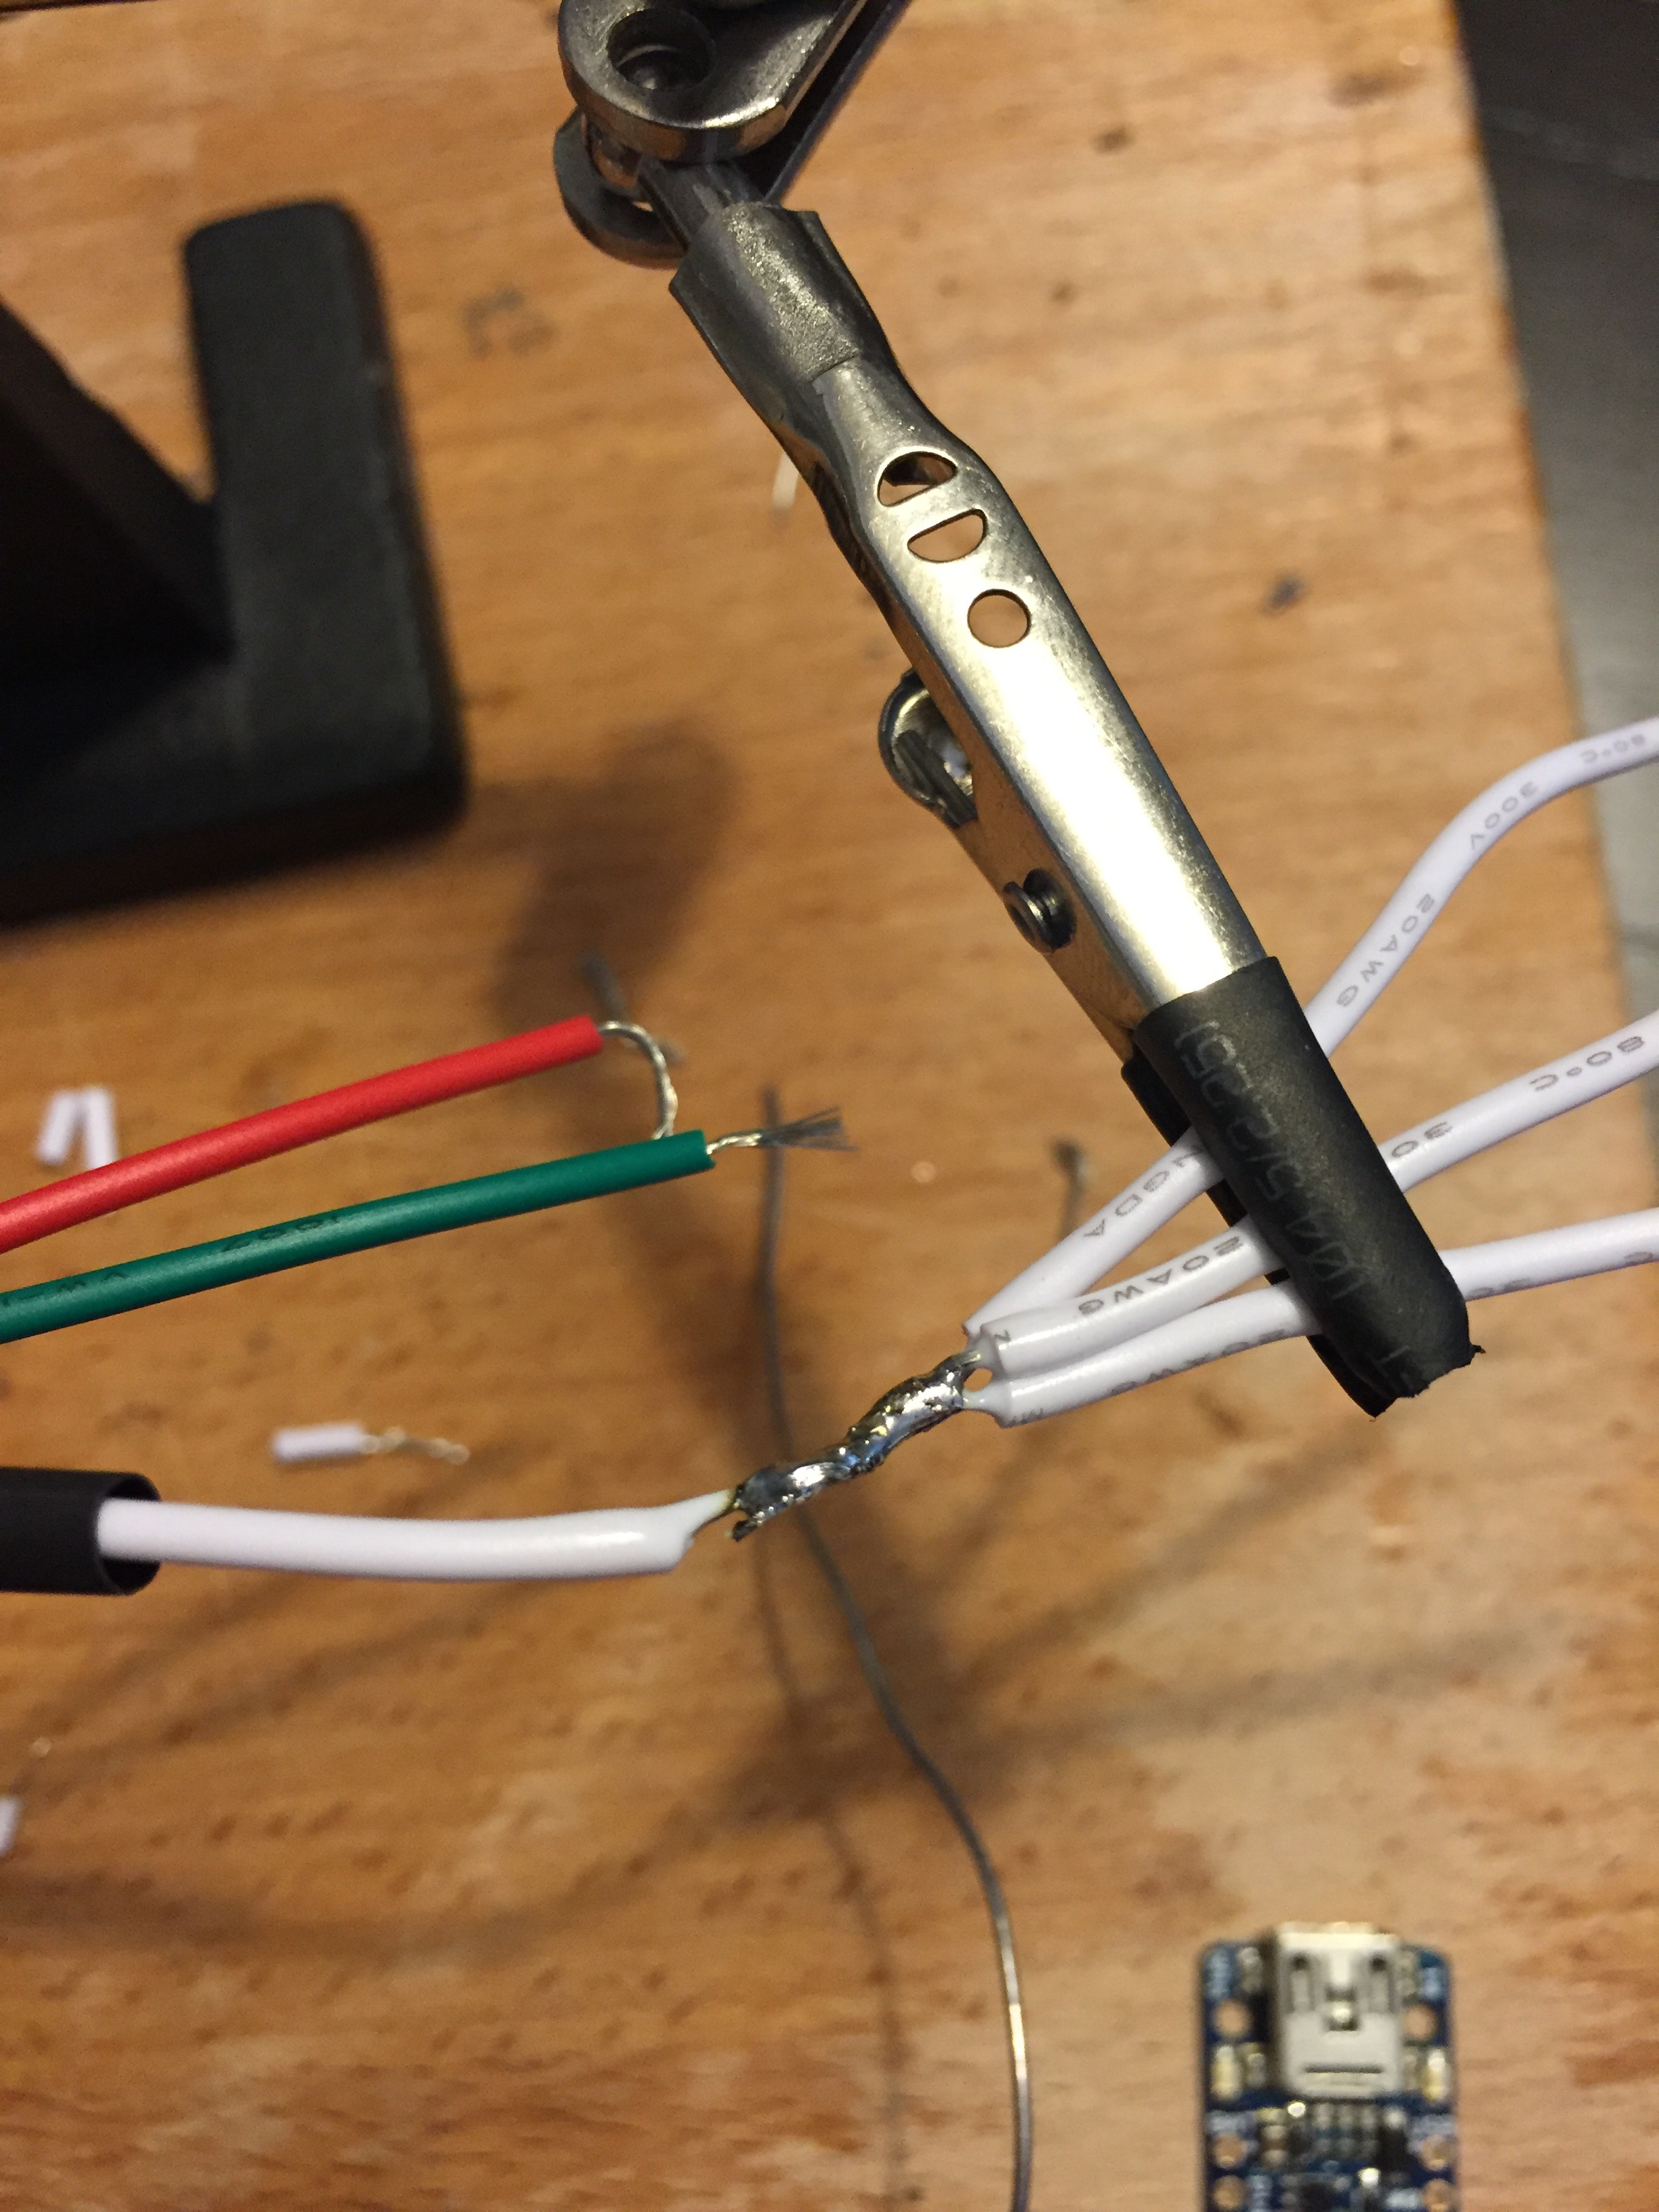
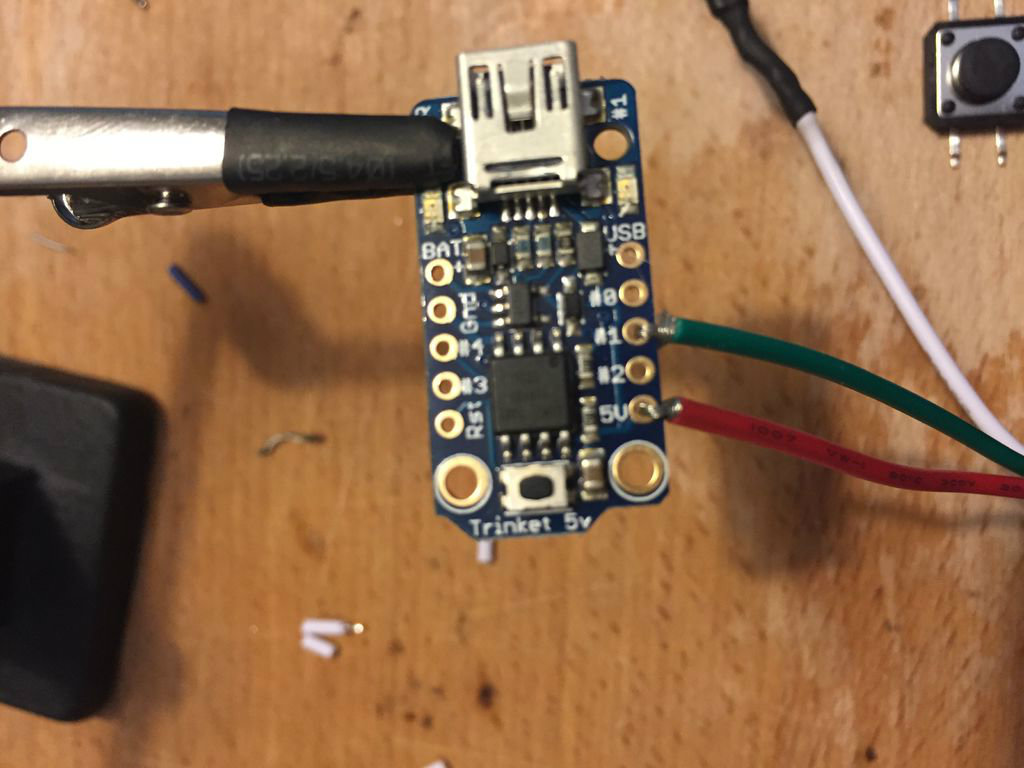
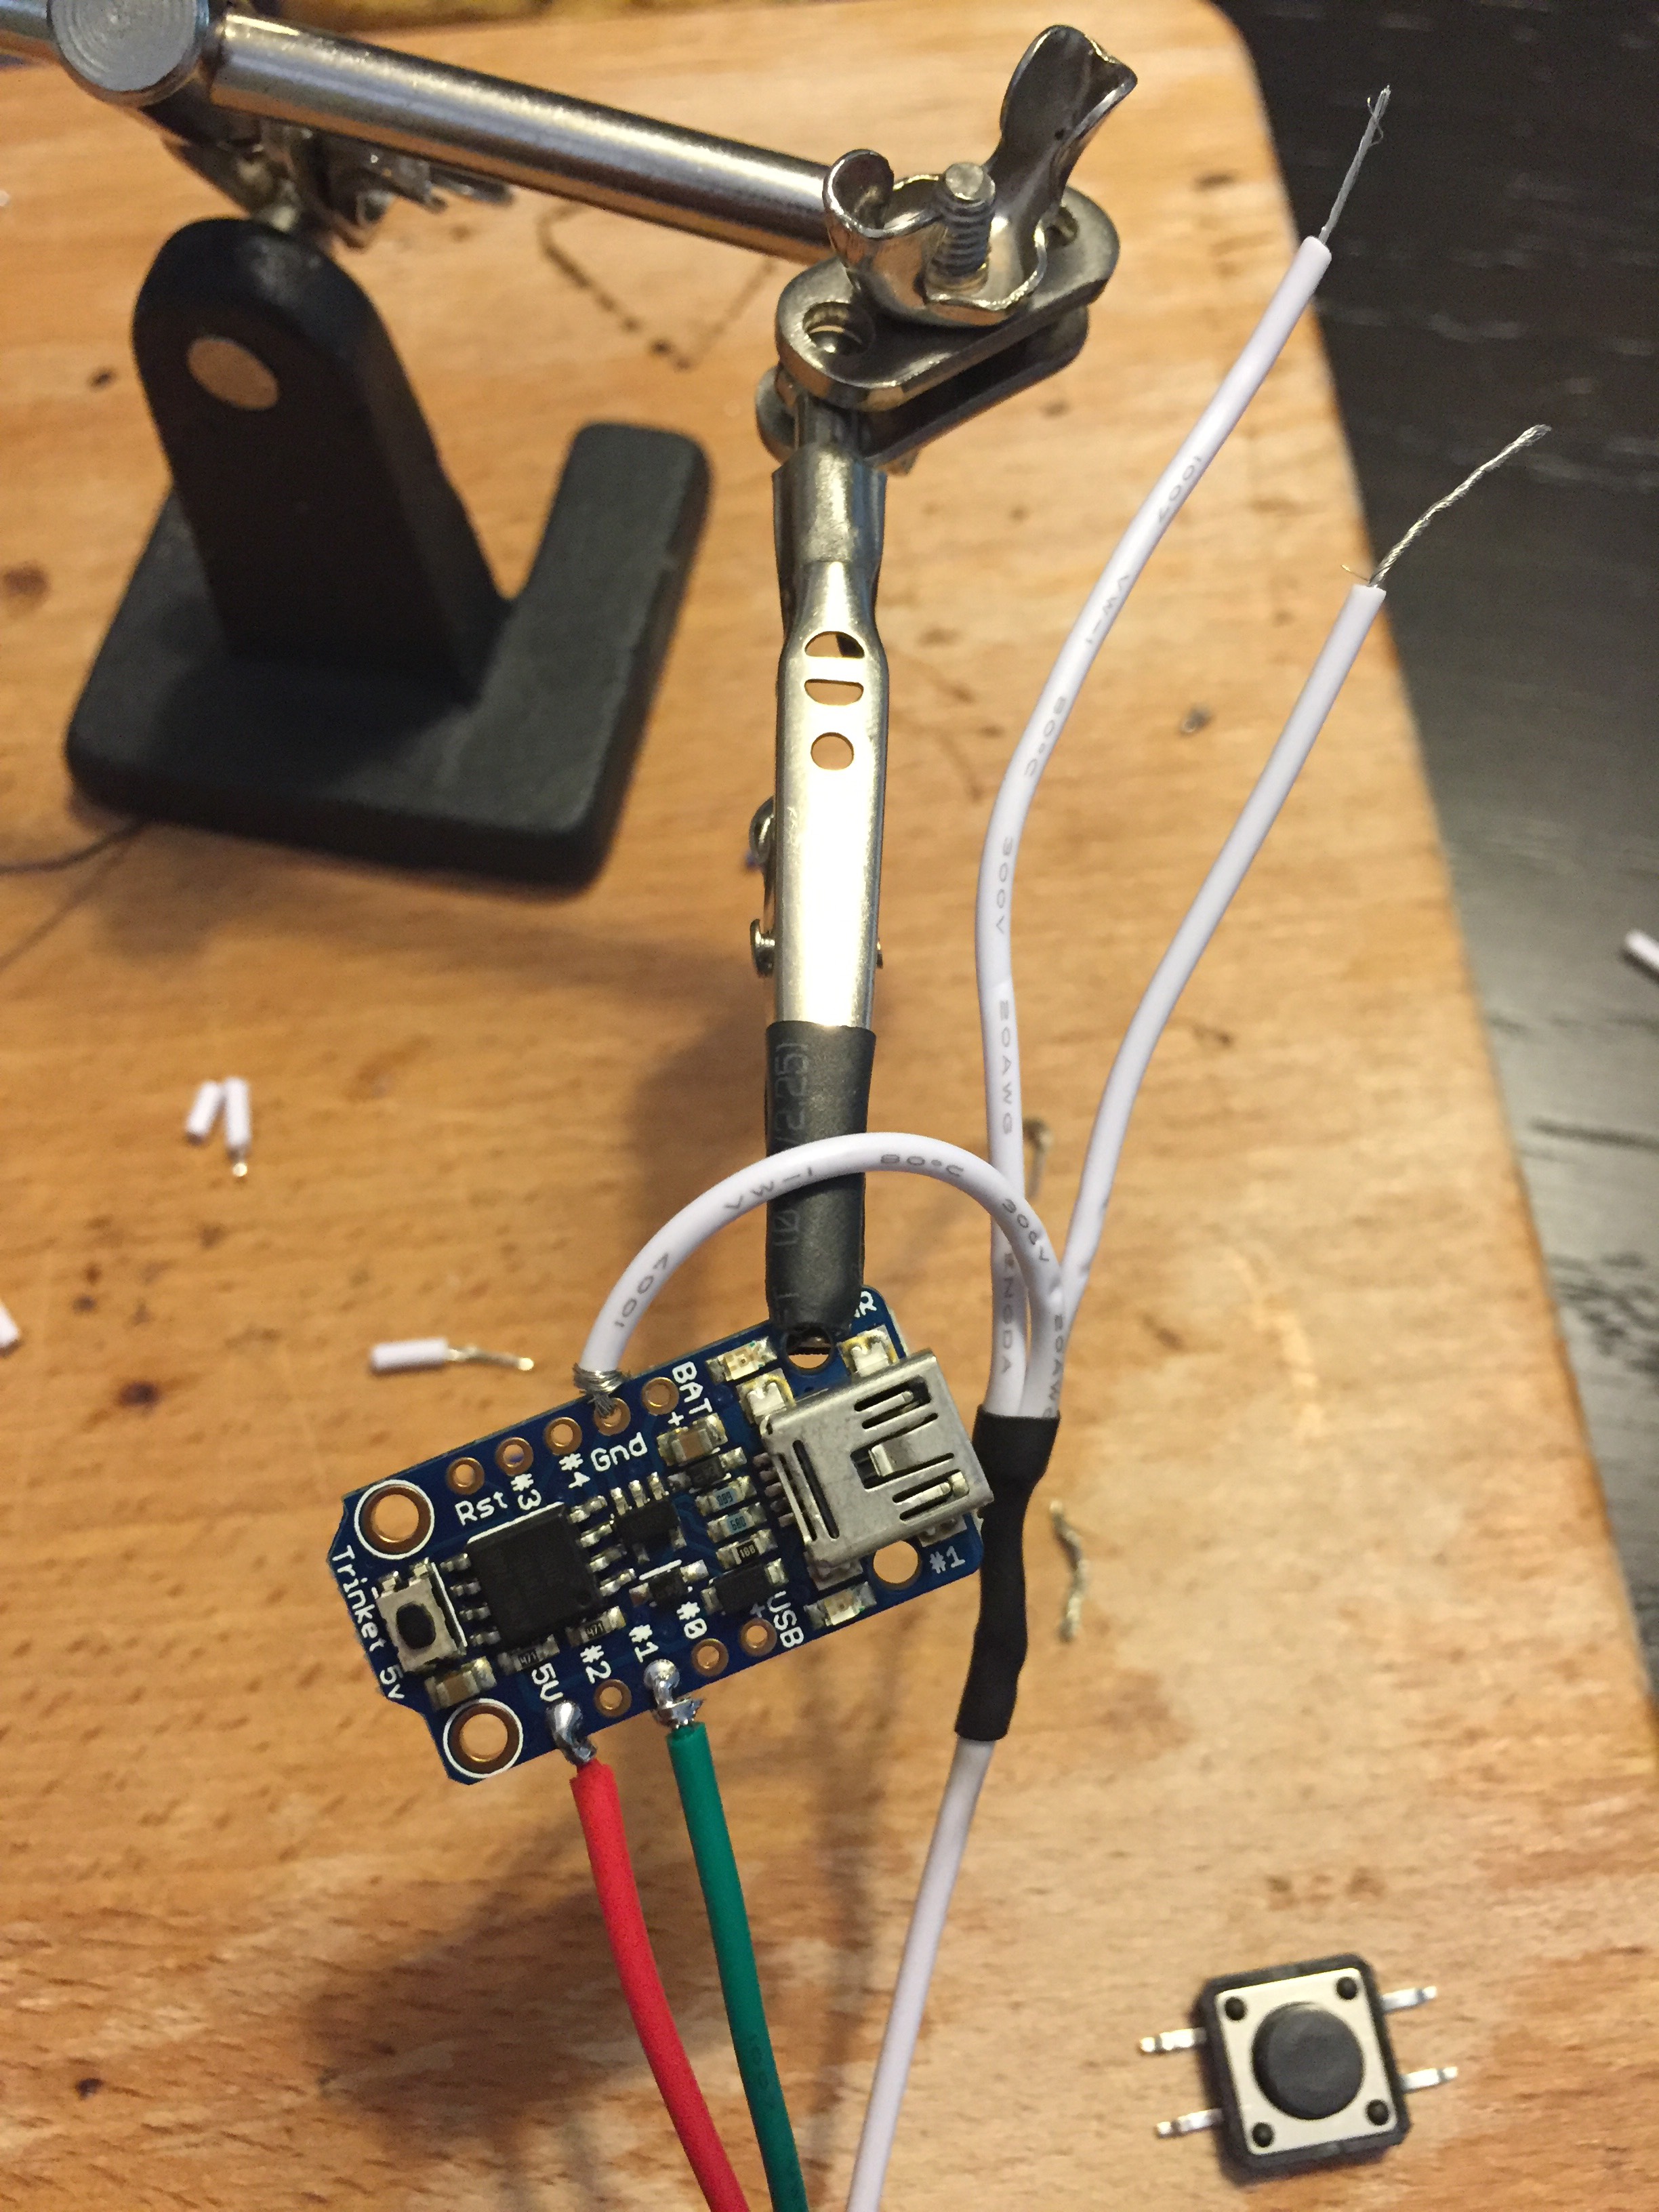
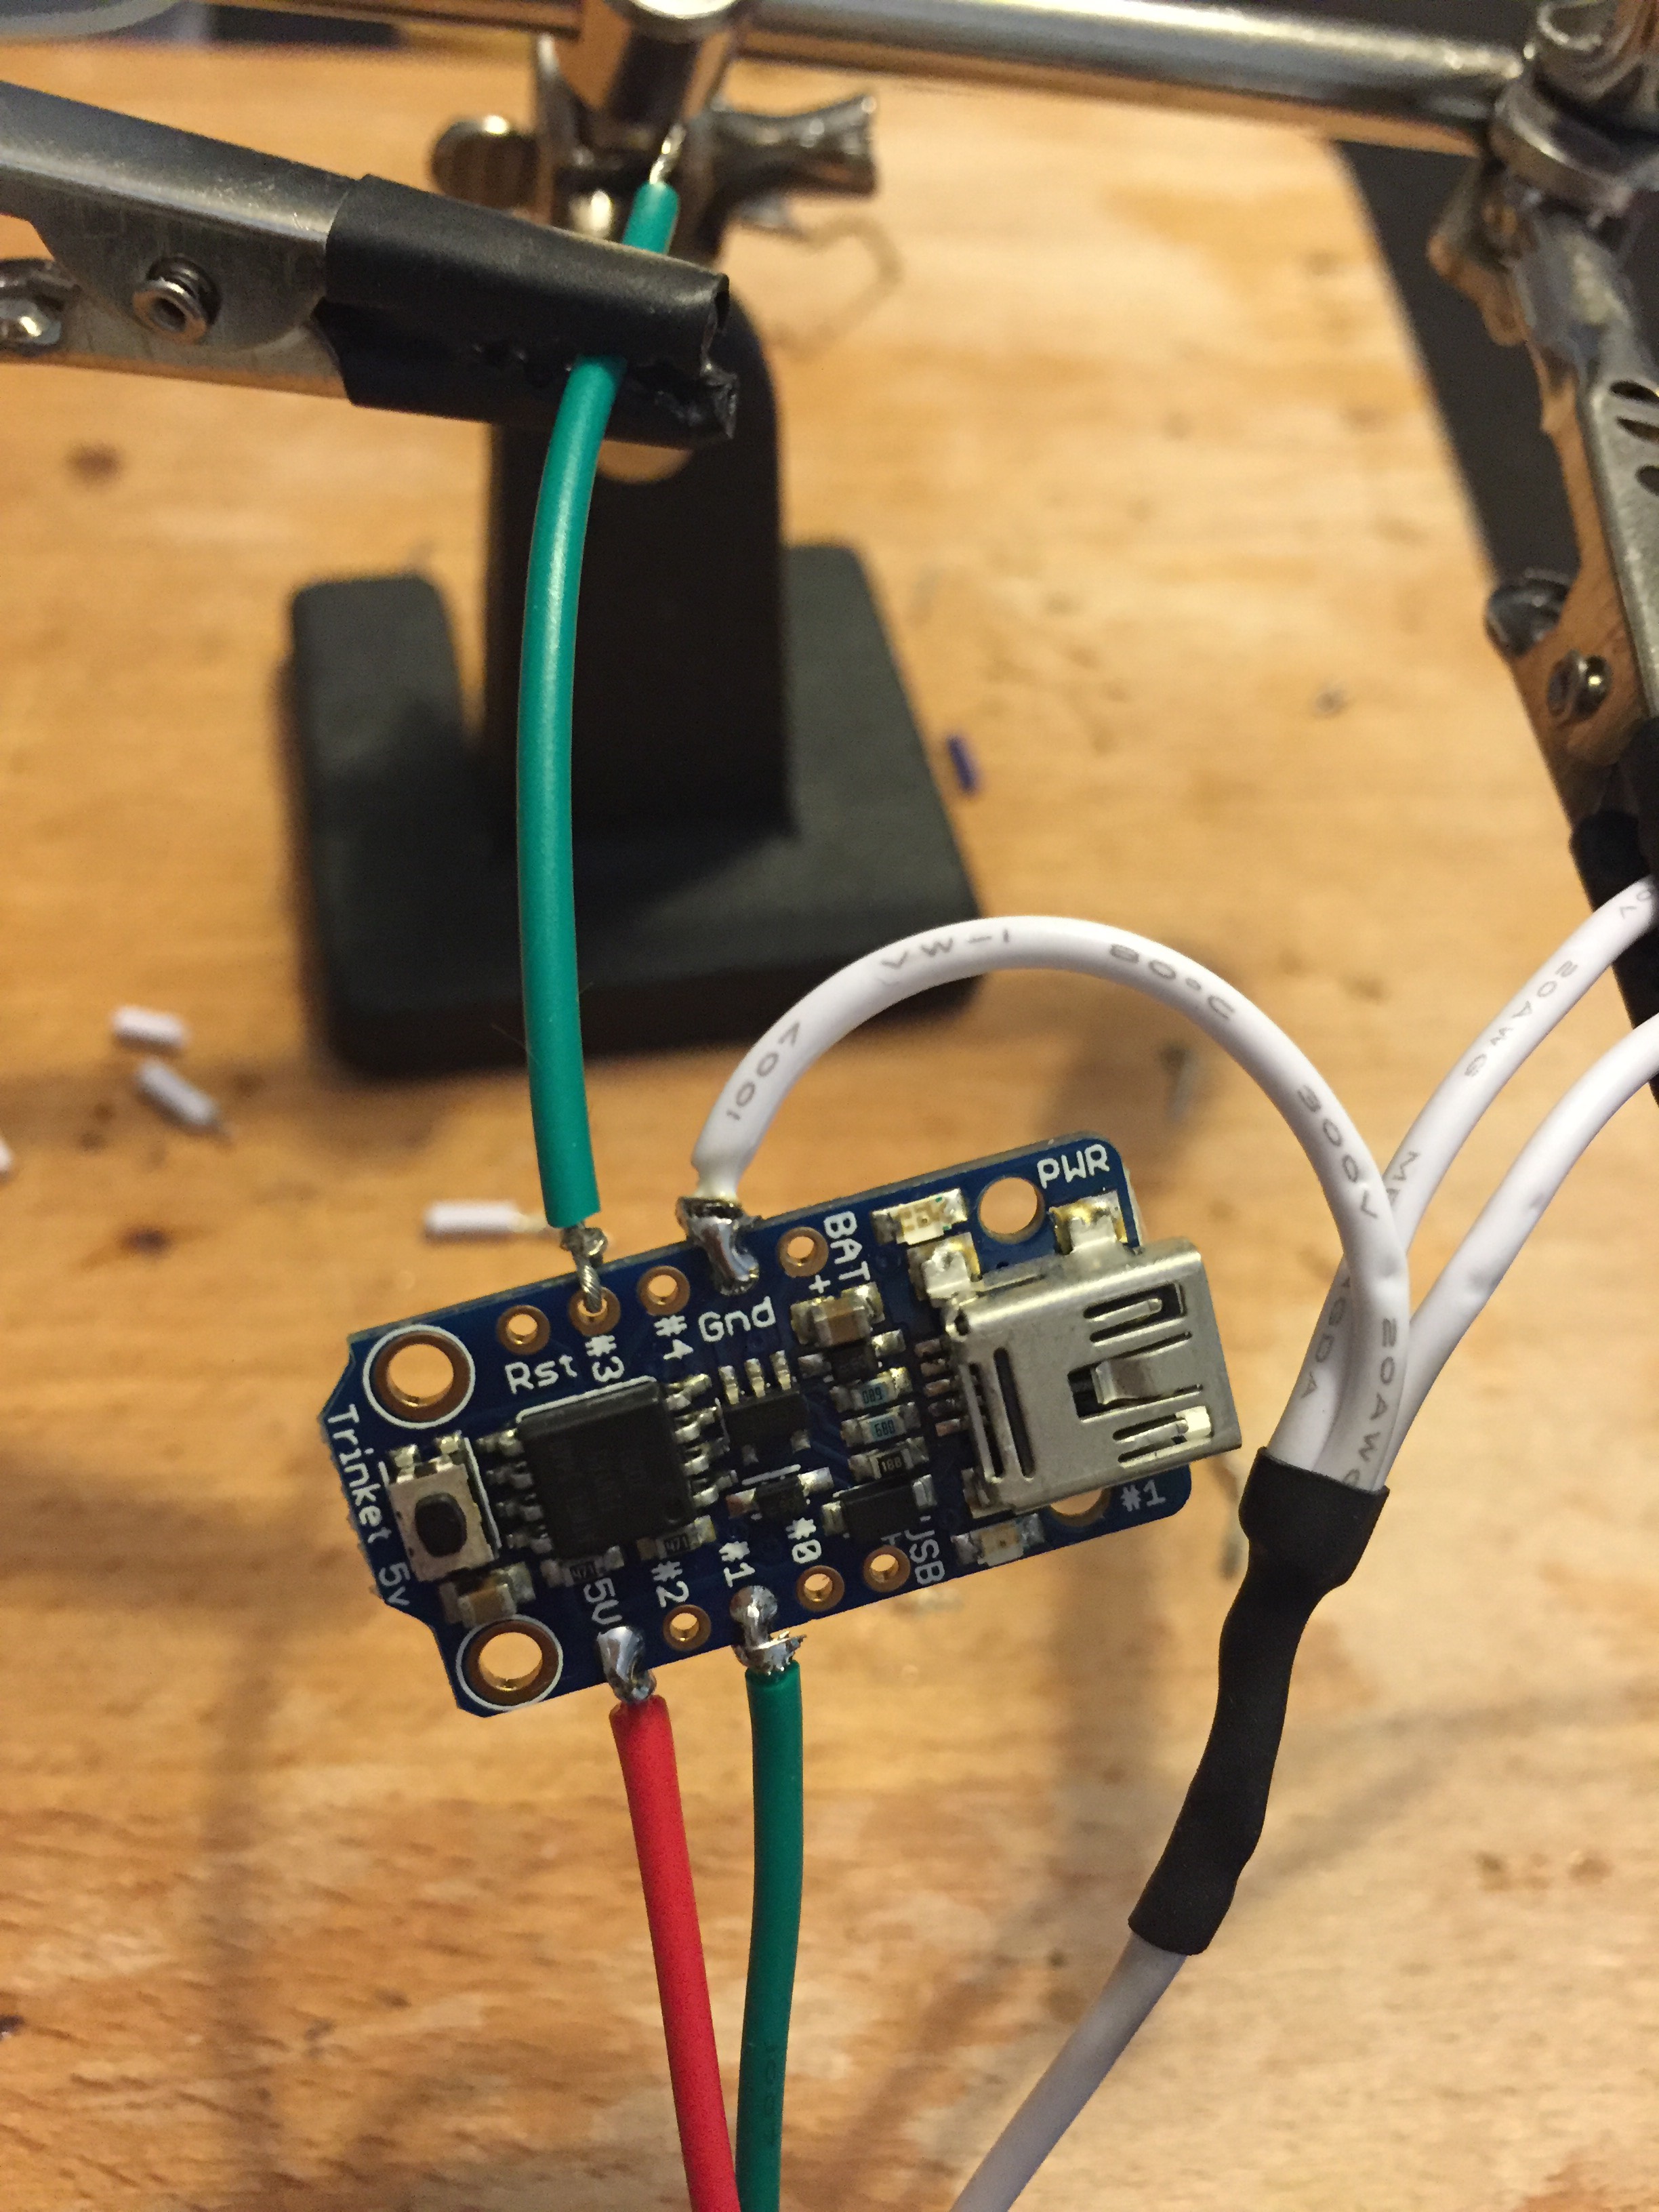
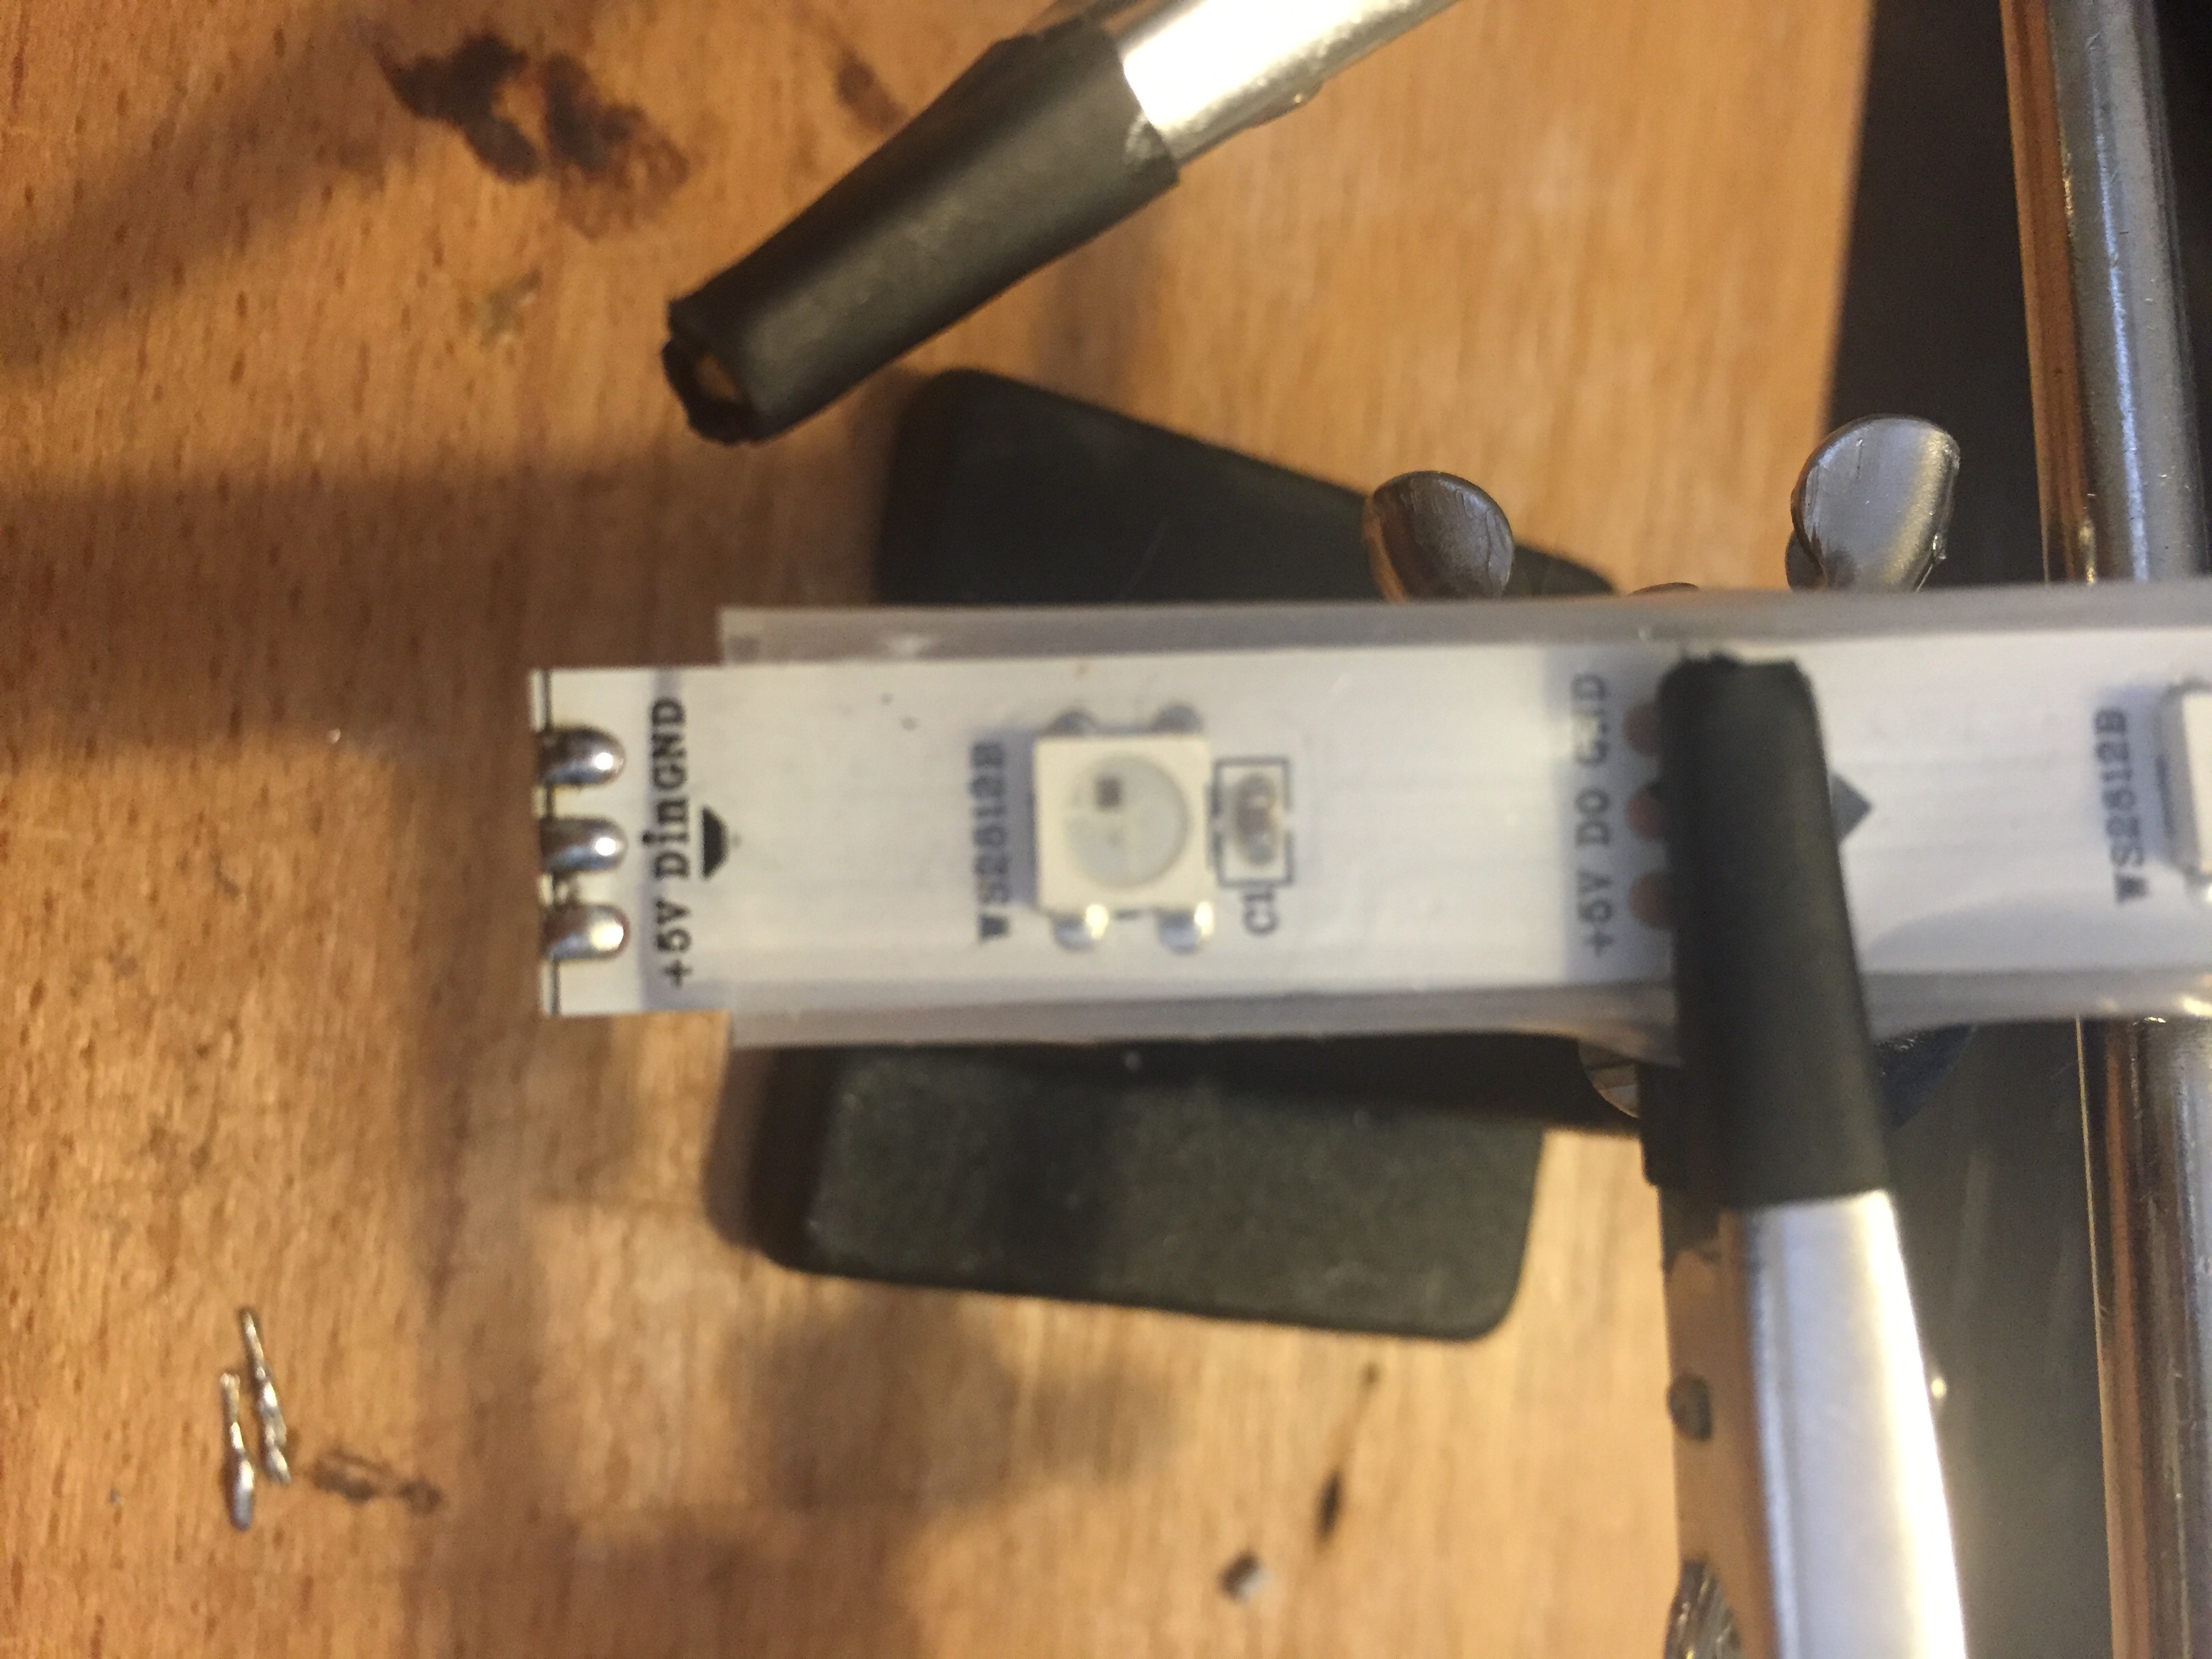
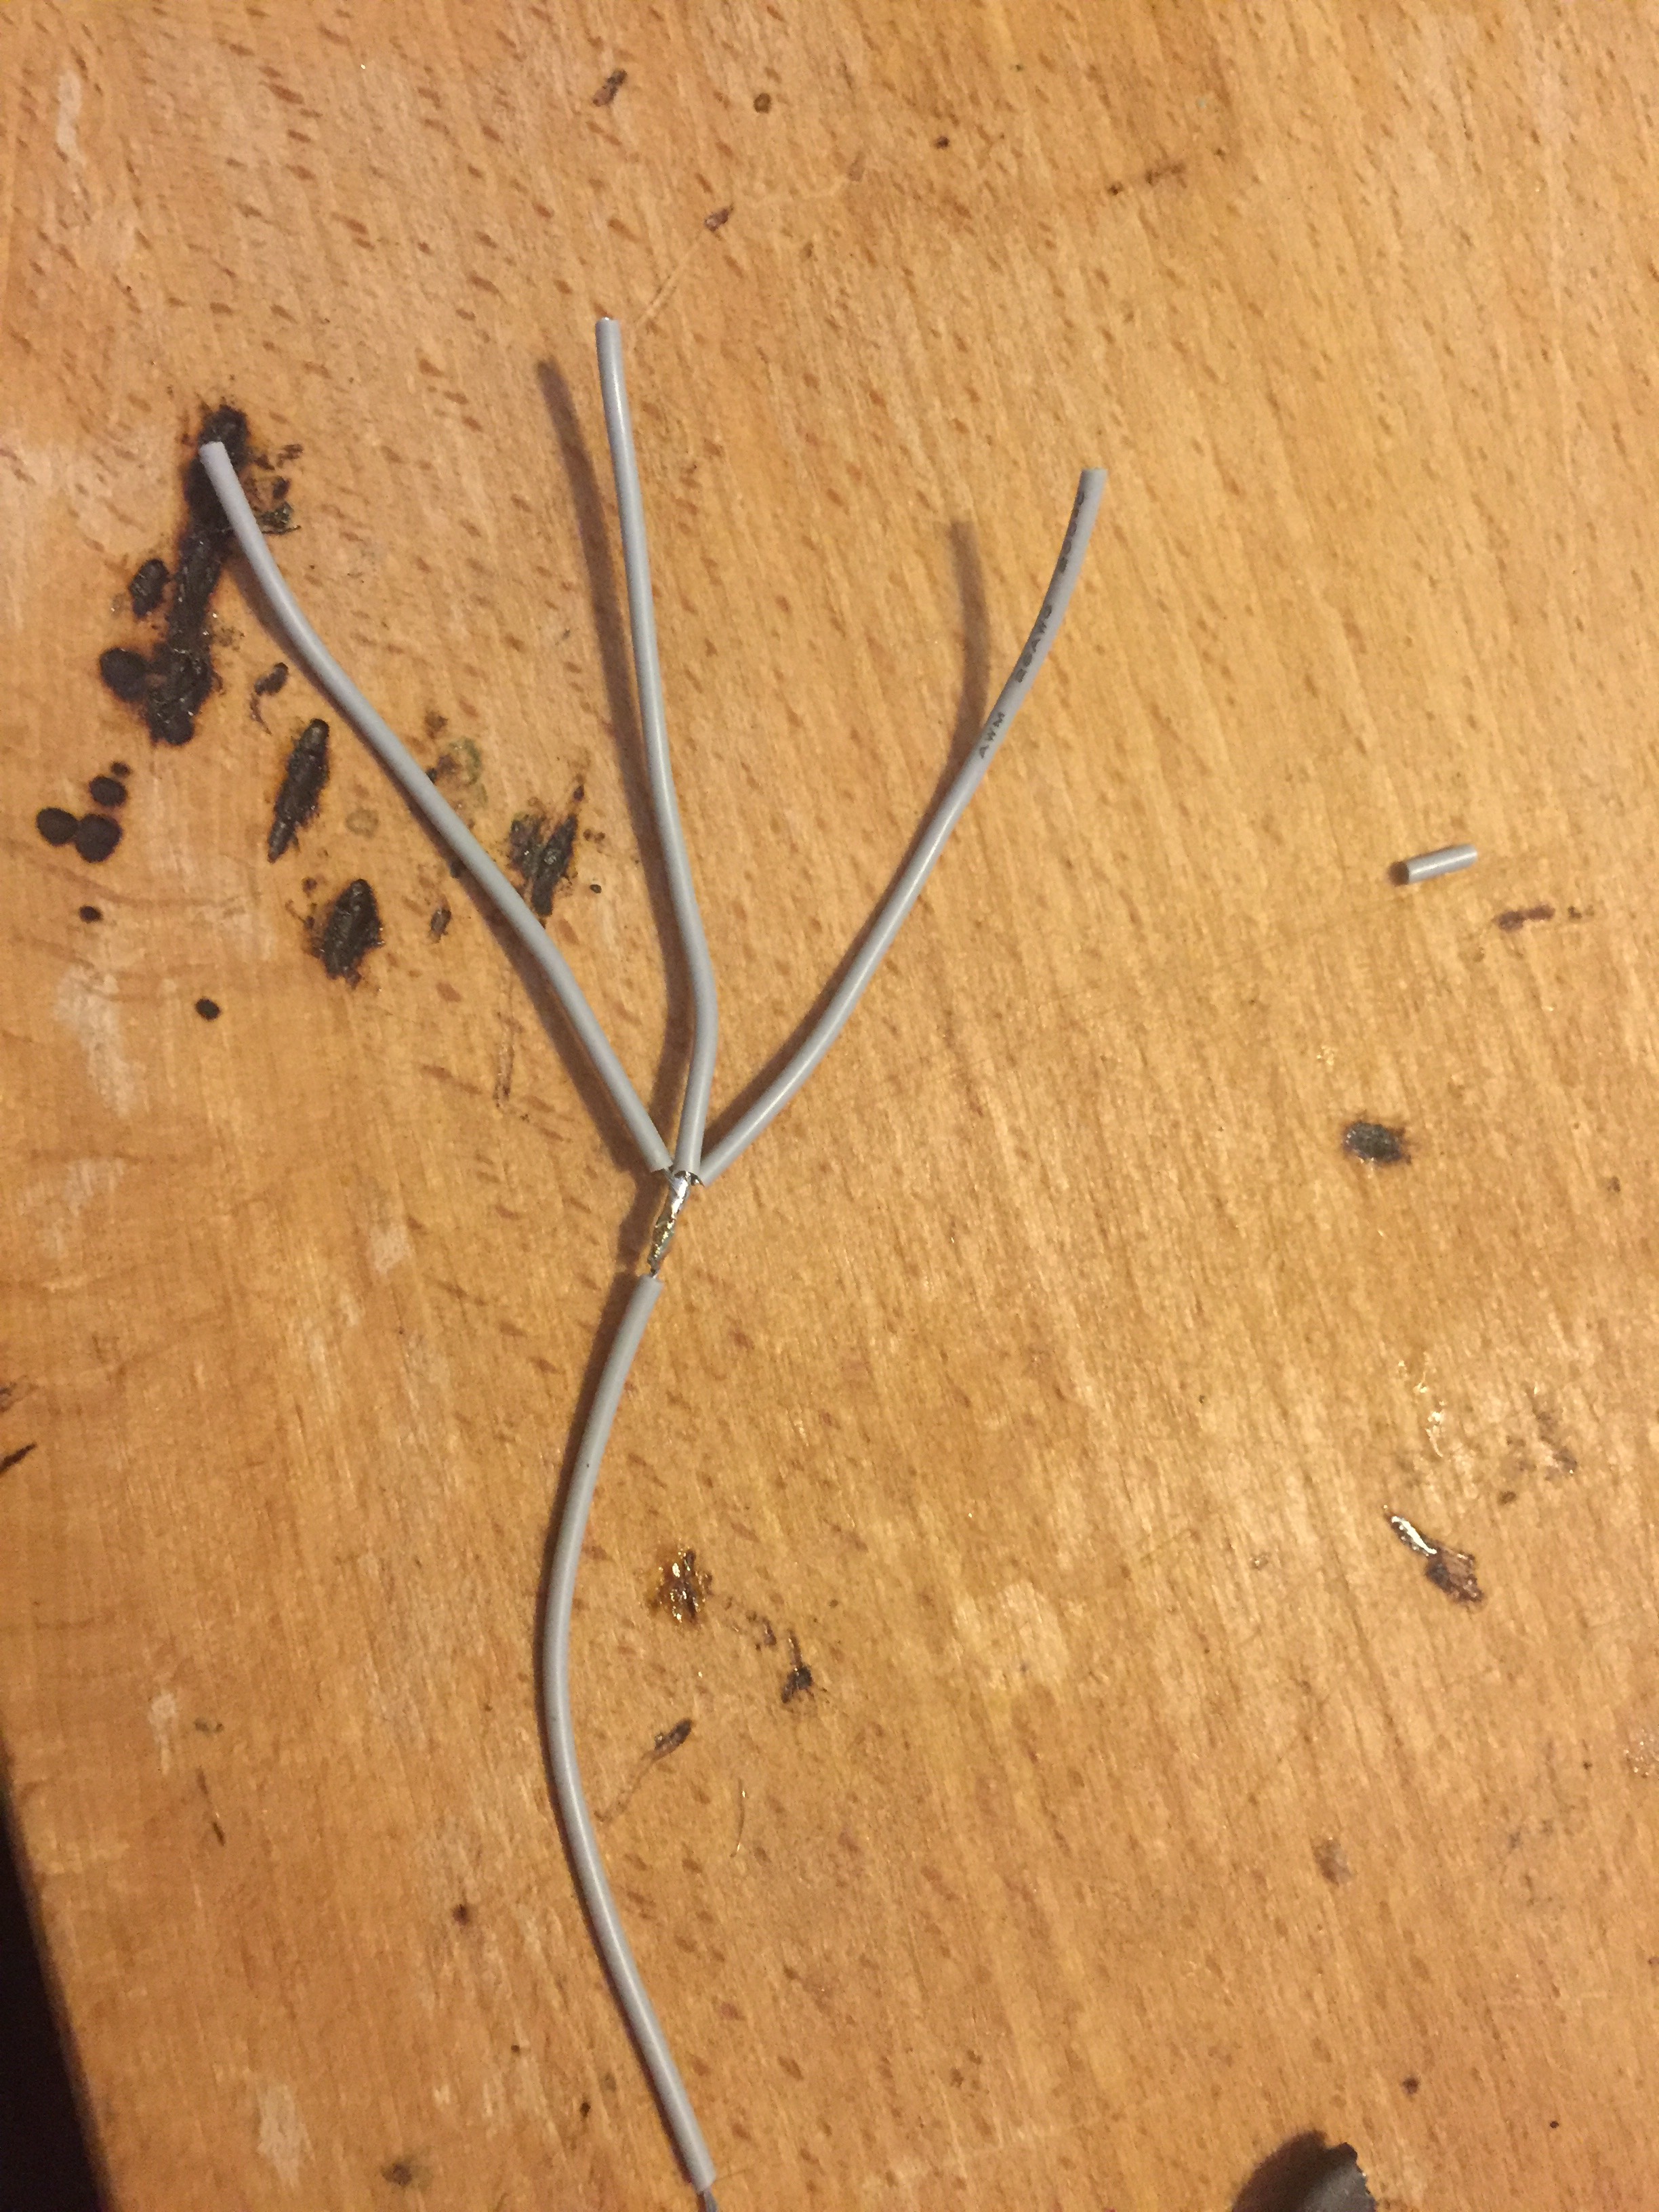
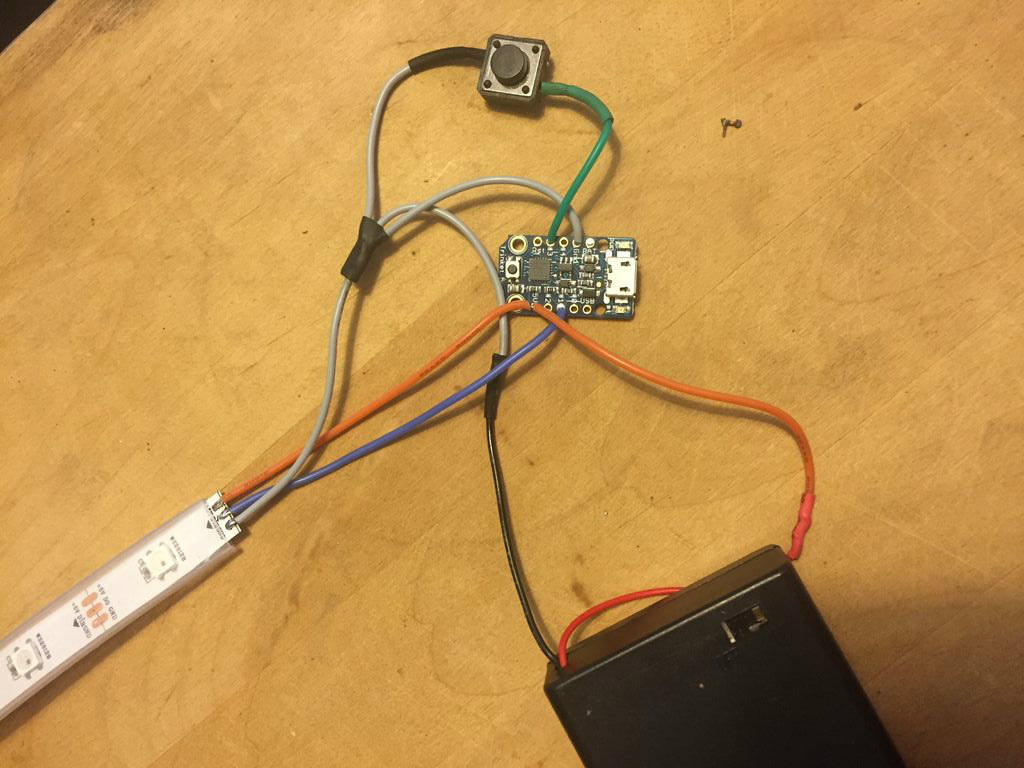
This is where we connect the Trinket to the Neopixel lights and the battery pack and incorporate a clicky button. Note: if you've got a battery pack with a JST connector, you can solder the female connector onto your trinket and just plug it in.
If you haven't soldered before, I recommend that you check out a tutorial on soldering since I'll just touch on some tips here. When soldering to an LED strip, I recommend "tinning" the pads first. I also try to strip a very small section of wire, to keep things all nice and contained in a small area. If you're having trouble, you can solder the Power and ground to the top of the strip (where the lights are) and solder the Data on the underside of the strip.
When soldering to your Trinket, strip a longer piece of the wire insulation away. Twist the raw wire between your fingers to make it slip and pointy and thread it inside the trinket. Hold it in place with a set of helping hands or another tool. Heat the wire and the pad on the trinket up and then let some solder melt onto the wire.
This section assumes that you don't have any wires connected to your Neopixels. If you've bought a 5m length, there will likely be connectors and wires soldered to the ends. Cut off the connectors and leave the wires attached. Reuse them for the below if you can.
Use heat shrink on your soldered wires to protect them & make sure that you trim away excessive wire and stuff that might result in a short circuit.
Always connect your data input to the side of your pixels that says IN or shows an arrow moving towards the rest of the pixels.
- Cut two of the legs from the button and flatten out the remaining legs. I tend to have better luck with the diagonal legs for some reason.
- Connect the Neopixel 5v to the Trinket 5v
- Connect the Red (+) on the battery pack to the Trinket 5v
- Connect the Neopixel GND to the Trinket GND
- Connect the Black (-) on the battery pack to the Trinket GND
- Connect one side of the Button to the Trinket GND
- Connect the Neopixel Data to the Trinket Pin #1
- Connect the other side of the Button to the Trinket Pin #3
Once you've got everything wired up, run back through and make sure everything is properly connected. Put in a couple batteries and switch it on. Seal up your circuit and any loose ends with E6000 or hot glue. If you use E6000, you'll have to wait 24 hours to stuff your scarf. Be patient because that stuff is awesome! You can attach your button and trinket to the battery pack so that it's all nice and together, just don't glue anything (like the switch, the button, the battery pack, or the USB part of the trinket) shut!
Lights not working? Trinket getting hot? Another issue? Switch it OFF immediately and double check your work. How do your solder joints look? Are there things touching that shouldn't be? Are your wires all properly connected? Have someone else take a look and check your work.
Put It Together
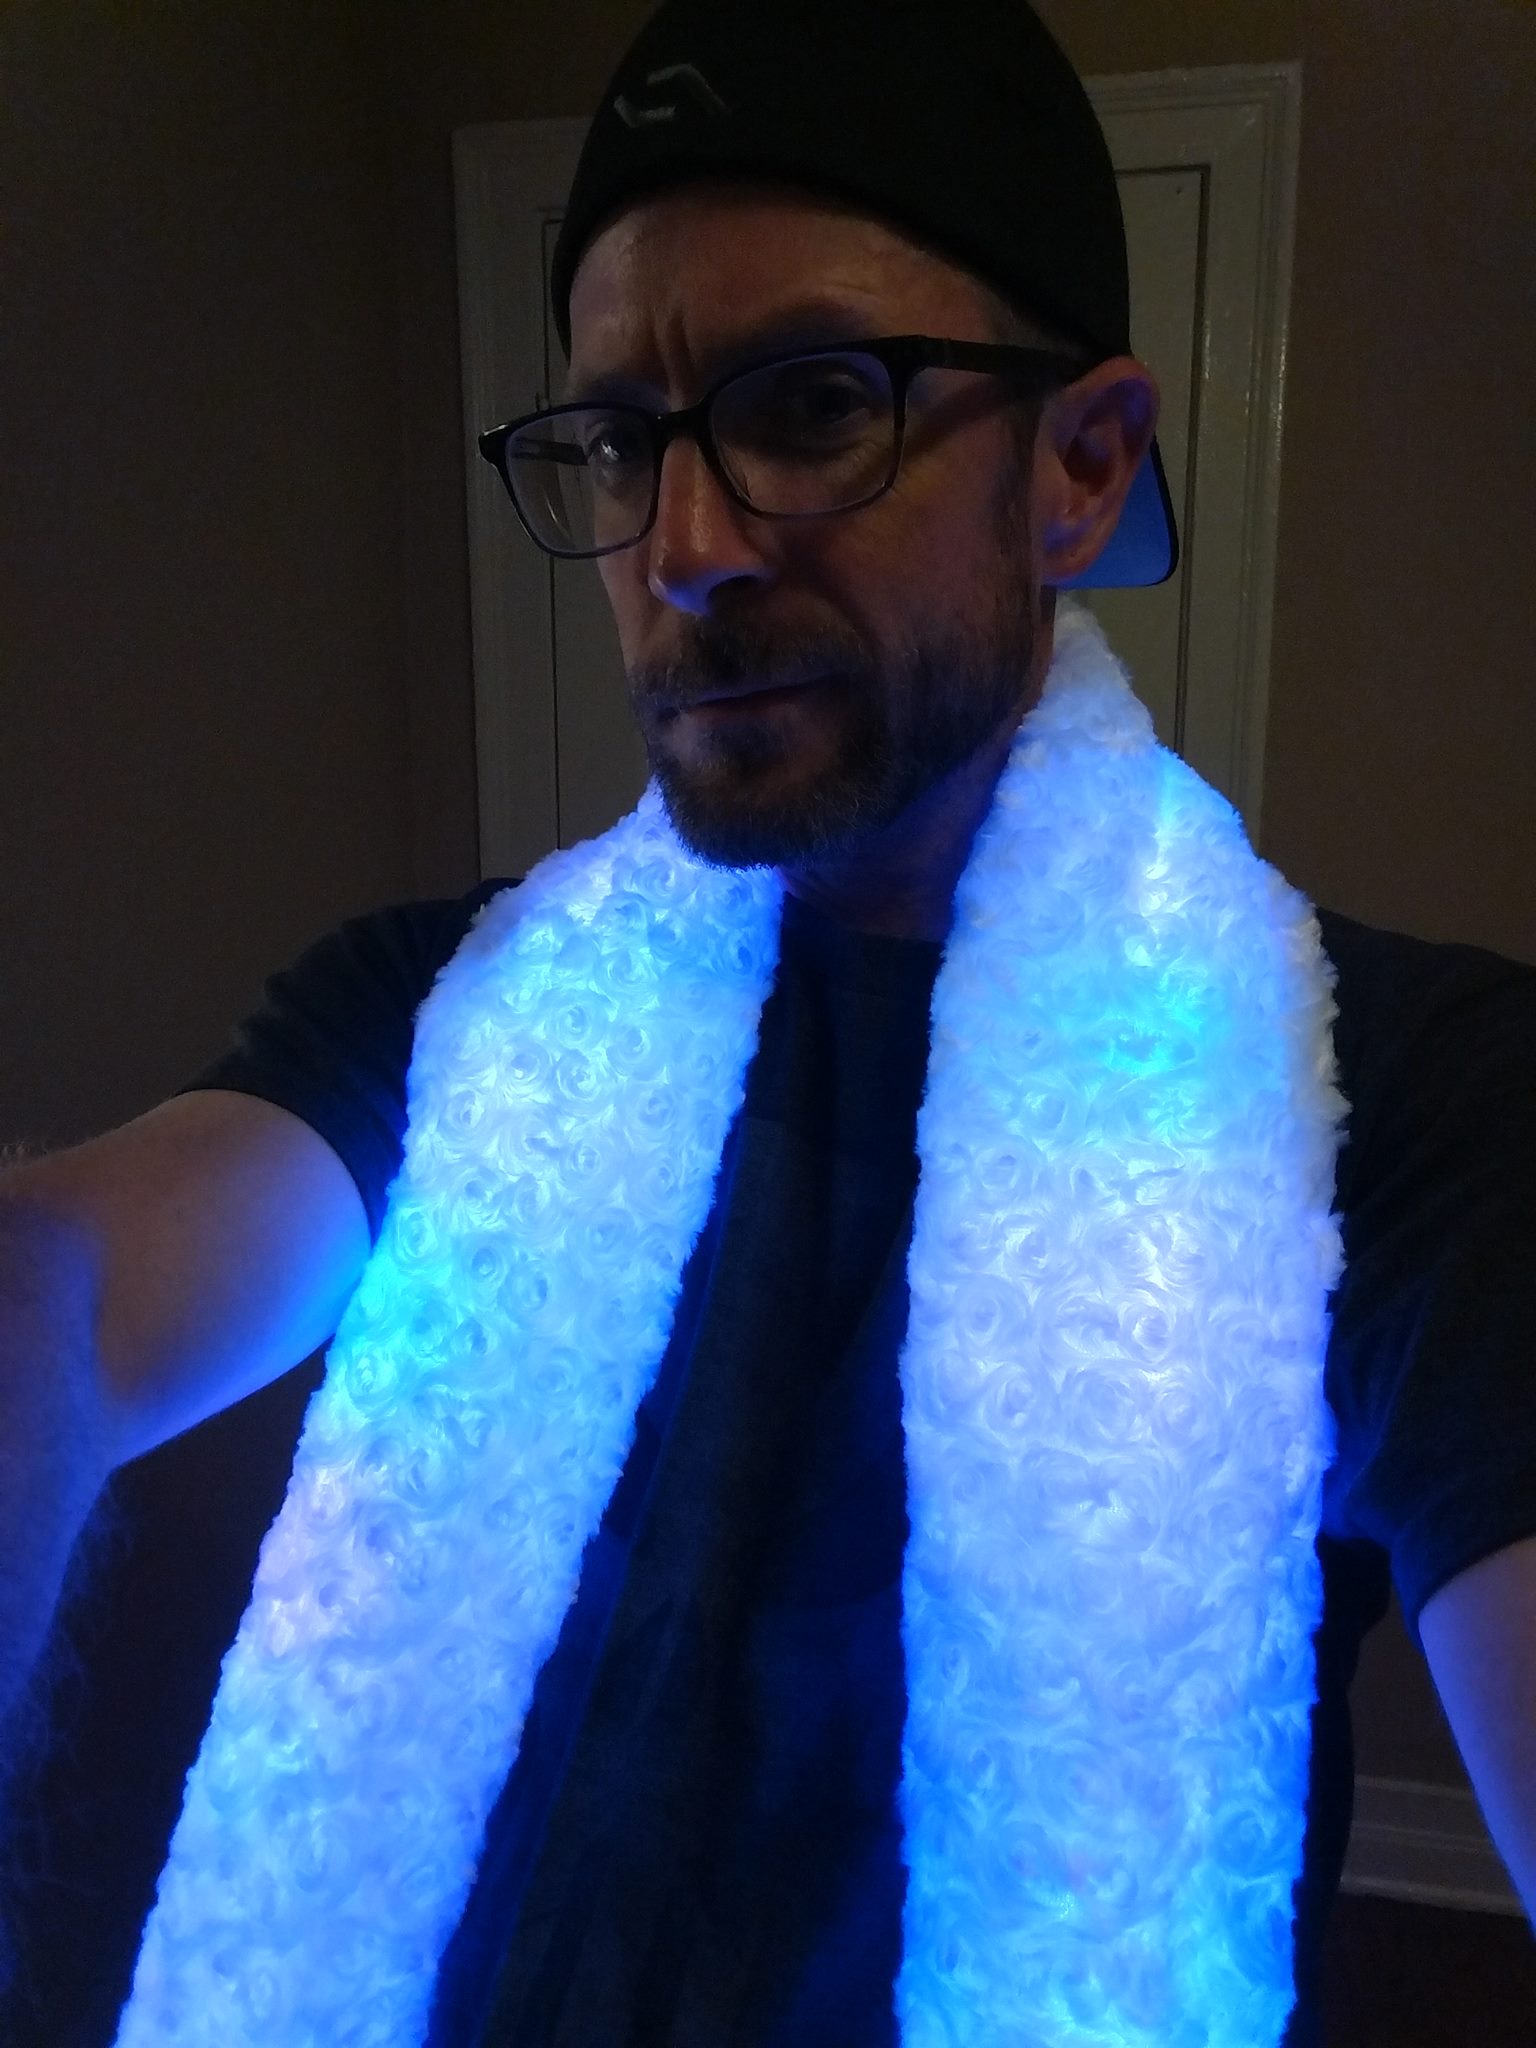
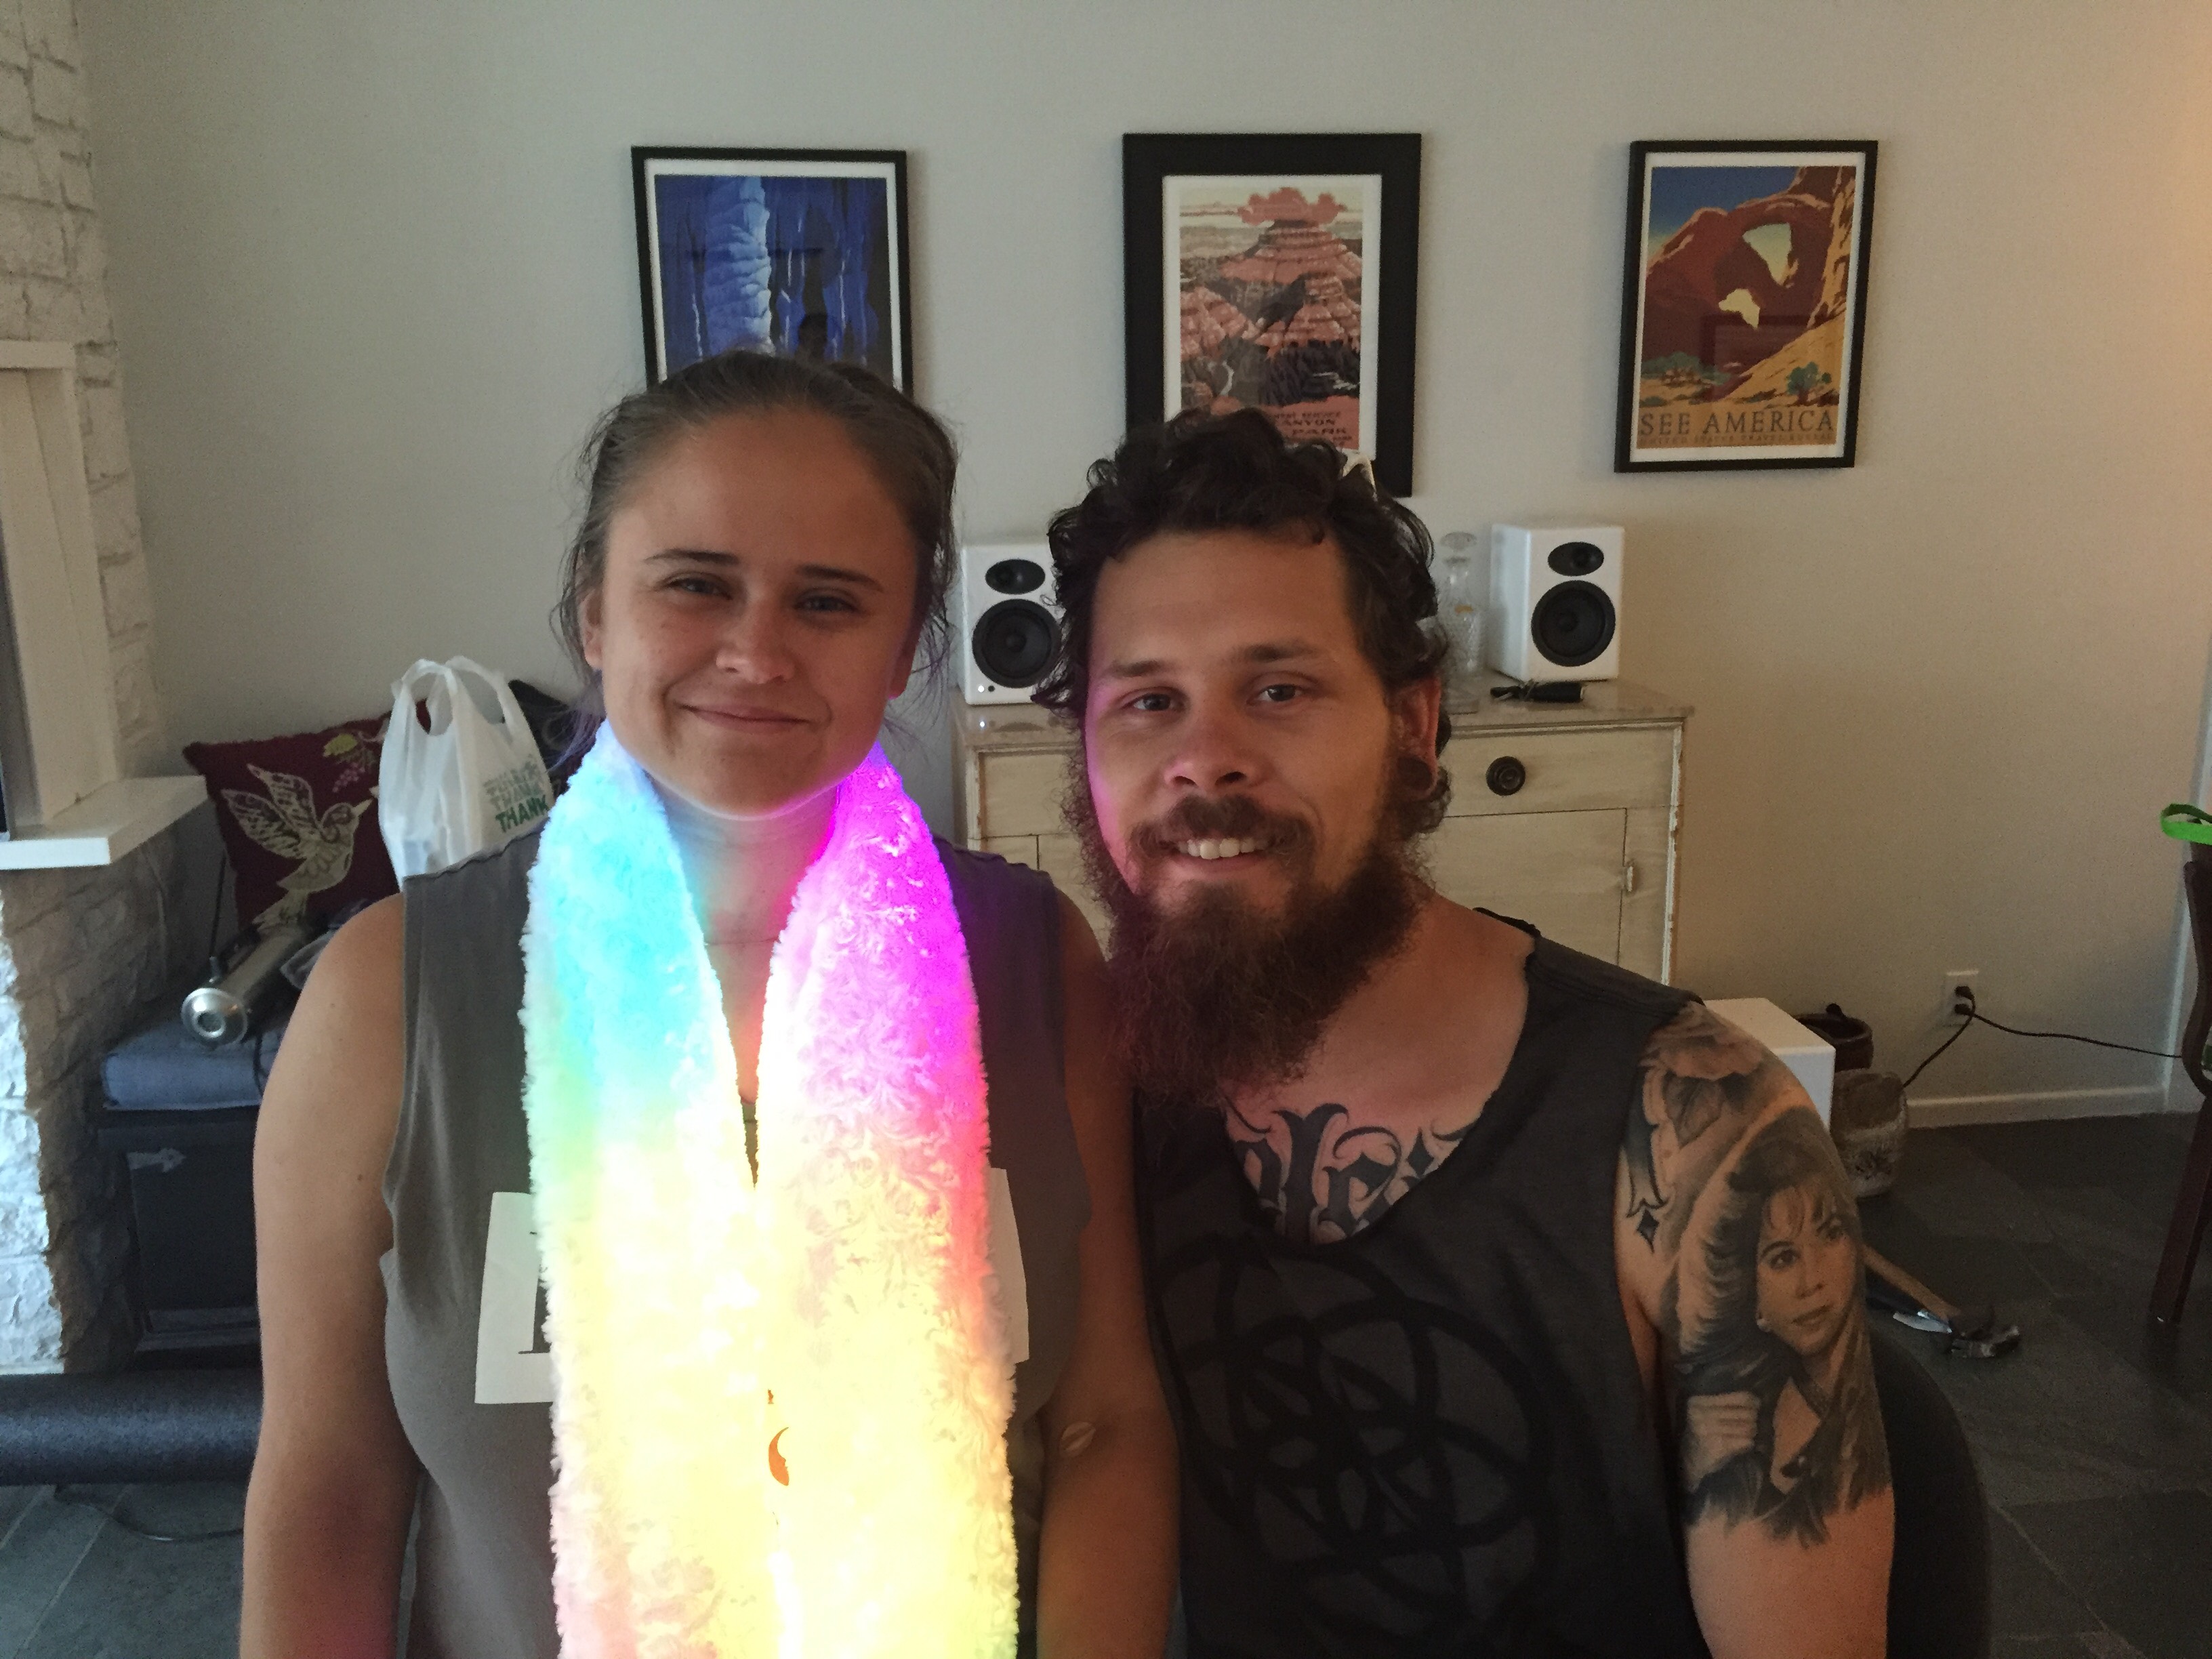
Once you've got your circuit connected, your trinket programmed, and your scarf sewn up, you can put it together and finish it up!
Use the batting to wrap around your scarf. I used a dab of hot glue every 6 inches or so to wrap the batting around the lights. Others loosely stitched things together. I didn't glue the lights directly to the batting but kind of created a long rolled log of lights inside the batting.
Then, I carefully stuffed the log of lights into the open zipper on the scarf. I tried to jam it in there once and my batting ripped a bit so the second time around, I tried to just jiggle it in slowly by shaking the scarf and holding it up. It worked out quite well.
Once everything is all together, turn it on and give yourself a big pat on the back!
Note: if your lights all turn red and stop "animating," change your batteries!