Animal Stripe Nail Art


I love animal stripe/ pattern nail arts, they look sooooo pretty and gorgeous! I've been trying this art with different colors of nail polishes the past week. I've tried the animal stripe nail art in 4 different ways.
I hope you like them!
This nail art is quite famous, gorgeous and easy! so don't wait and get started!
Materials Needed

To do this nail art you'll need:
- Clear nail polish
- Black or navi nail polish
- Golden fabric or acrylic paint
- Size '0' paint brush
- Nail polish remover
- Cotton swab
Choosing the Patterns

It's always better to draw the design on a paper before you start.
I drew 8 different patterns for the animal stripe nail art and chose 5 designs from them. I'm sure you can come up with more designs.
Or you can always search the internet for more beautiful animal nail art designs.
Base Coat and Main Coat


Apply a coats of clear nail polish for the base coat. This is to protect your nails.
After the base coat dries apply 1 coat of black or navi blue nail polish. Wait until the main coat is completely dry.
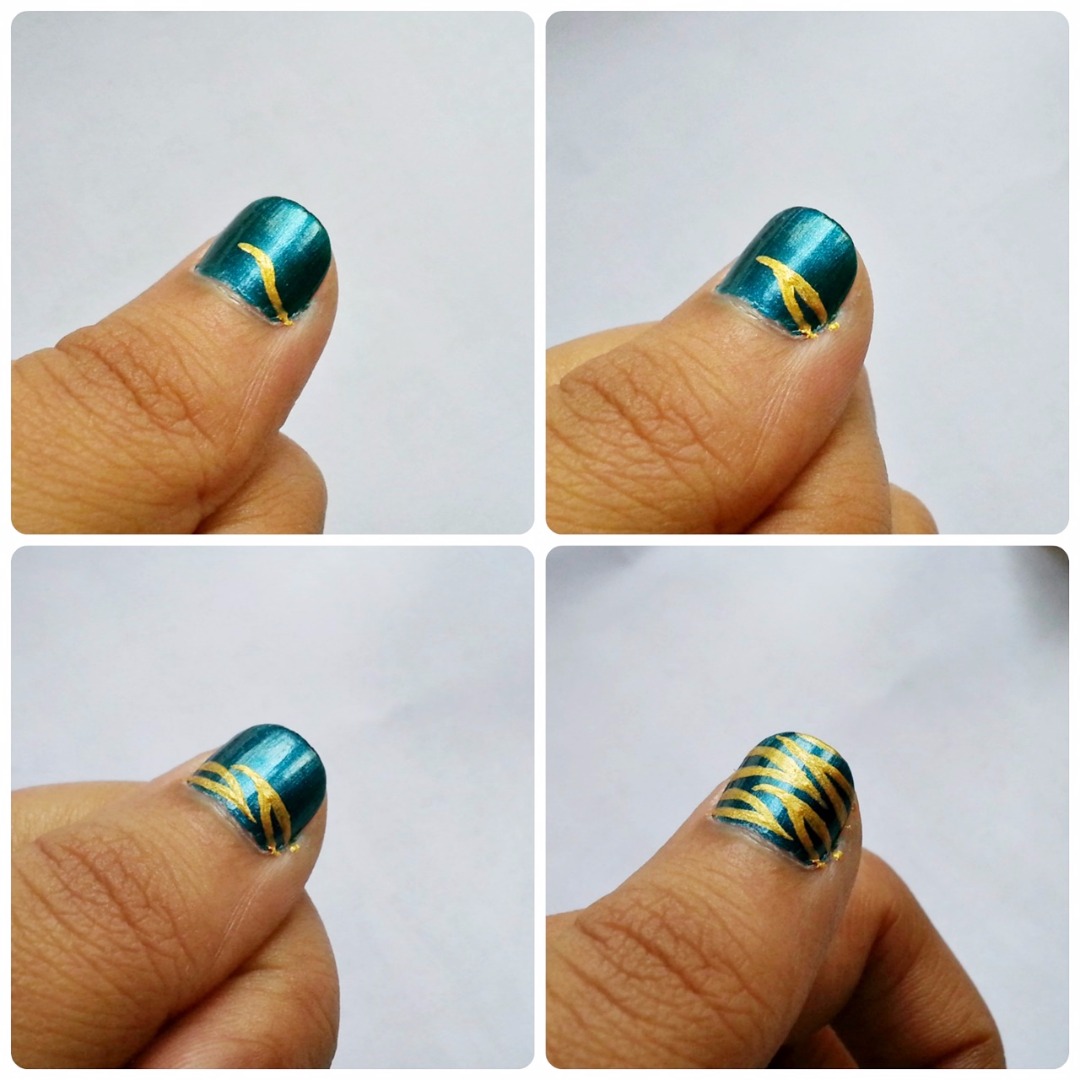
Painting the Patterns

.jpg)
.jpg)
.jpg)

Choose 5 designs, one for each nail and get started.
I'm using fabric paint but you can also use acrylic paint because they're easier and better to work with. Nail polish tend to dry quicker and become sticky, thus hard to draw patterns on nails easily and freely.
Dip the tip of the paint brush into the paint. Use the edge of the brush to make the designs.
Be very careful while designing, because you won't be able to undo the mistakes! If you go wrong, quickly come up with a new design (as the stripes are random, the mistakes won't make much difference).
Use nail polish remover with a cotton swab to clean the skin around the nails.
Enjoy!