Animal Learning Toy (Kaleidocycle)
by misko13 in Living > Toys & Games
3403 Views, 25 Favorites, 0 Comments
Animal Learning Toy (Kaleidocycle)
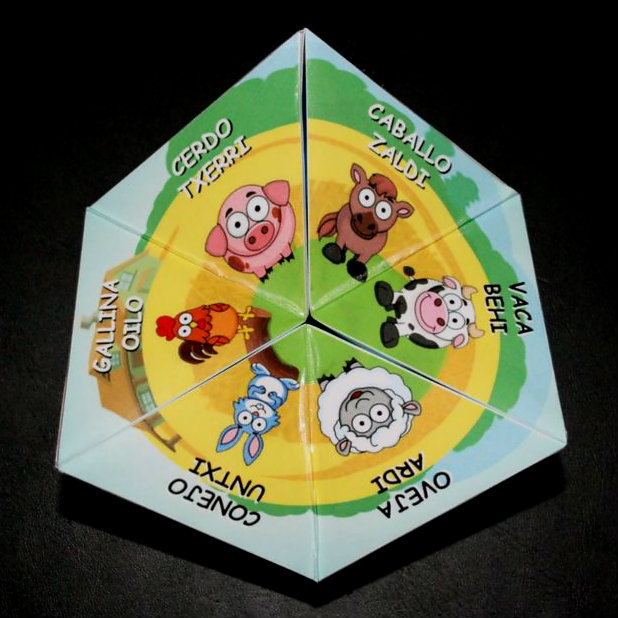
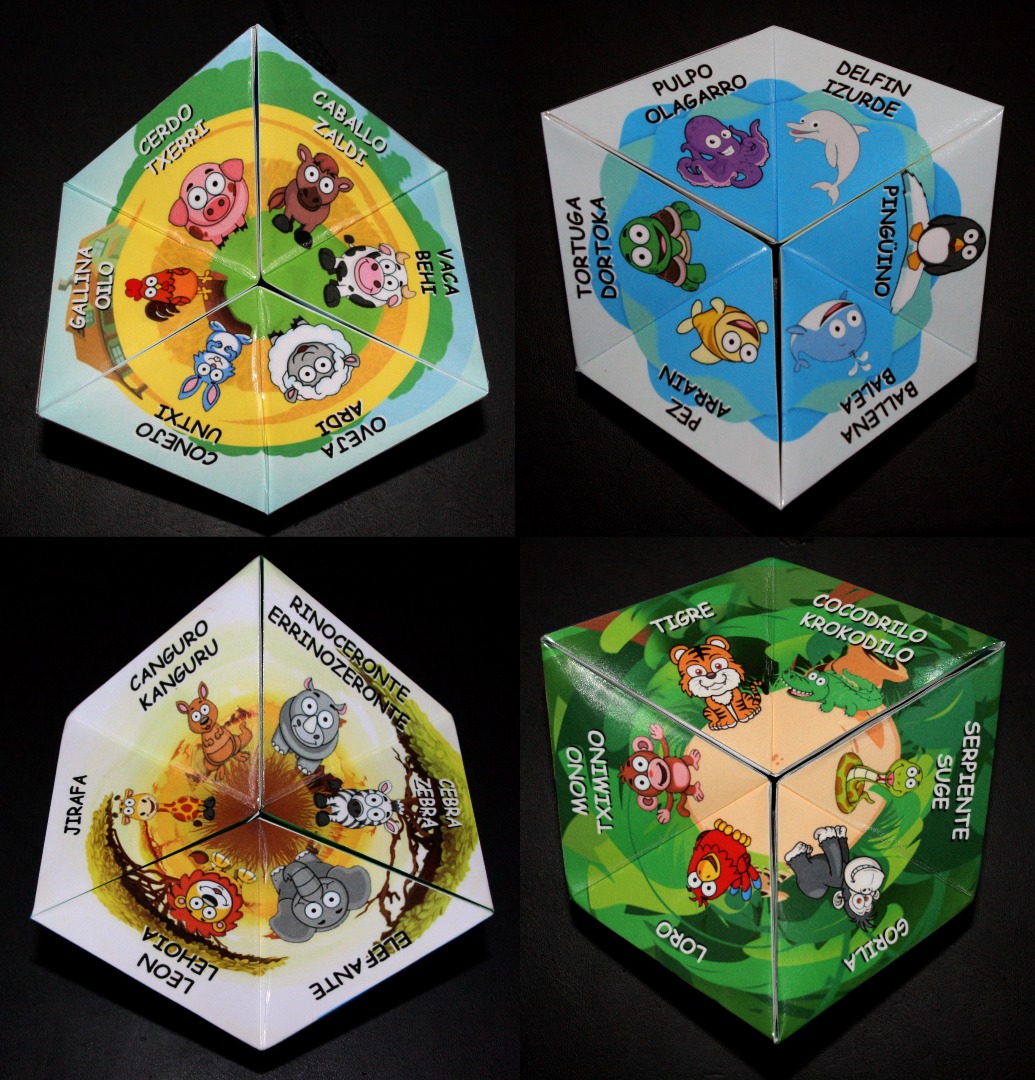
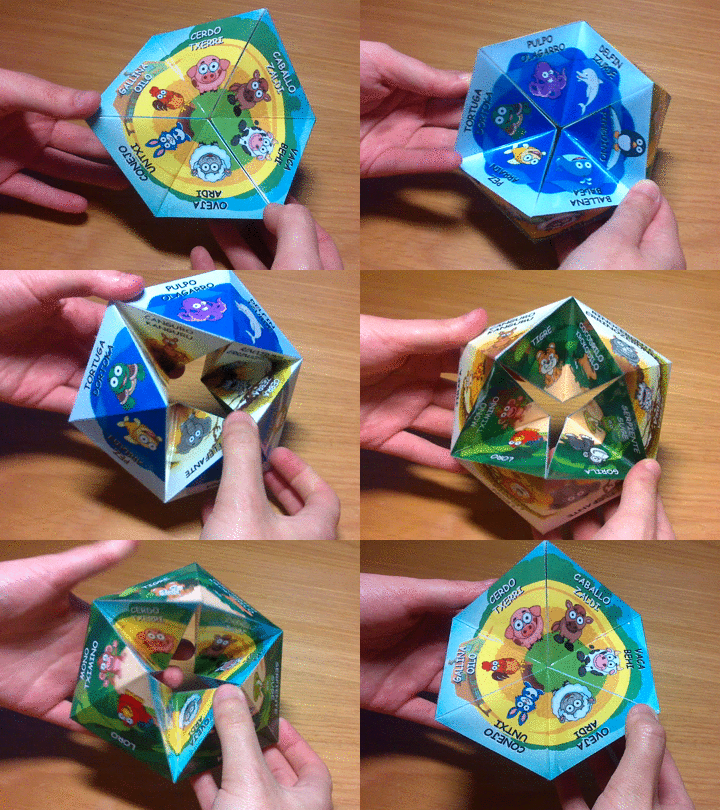
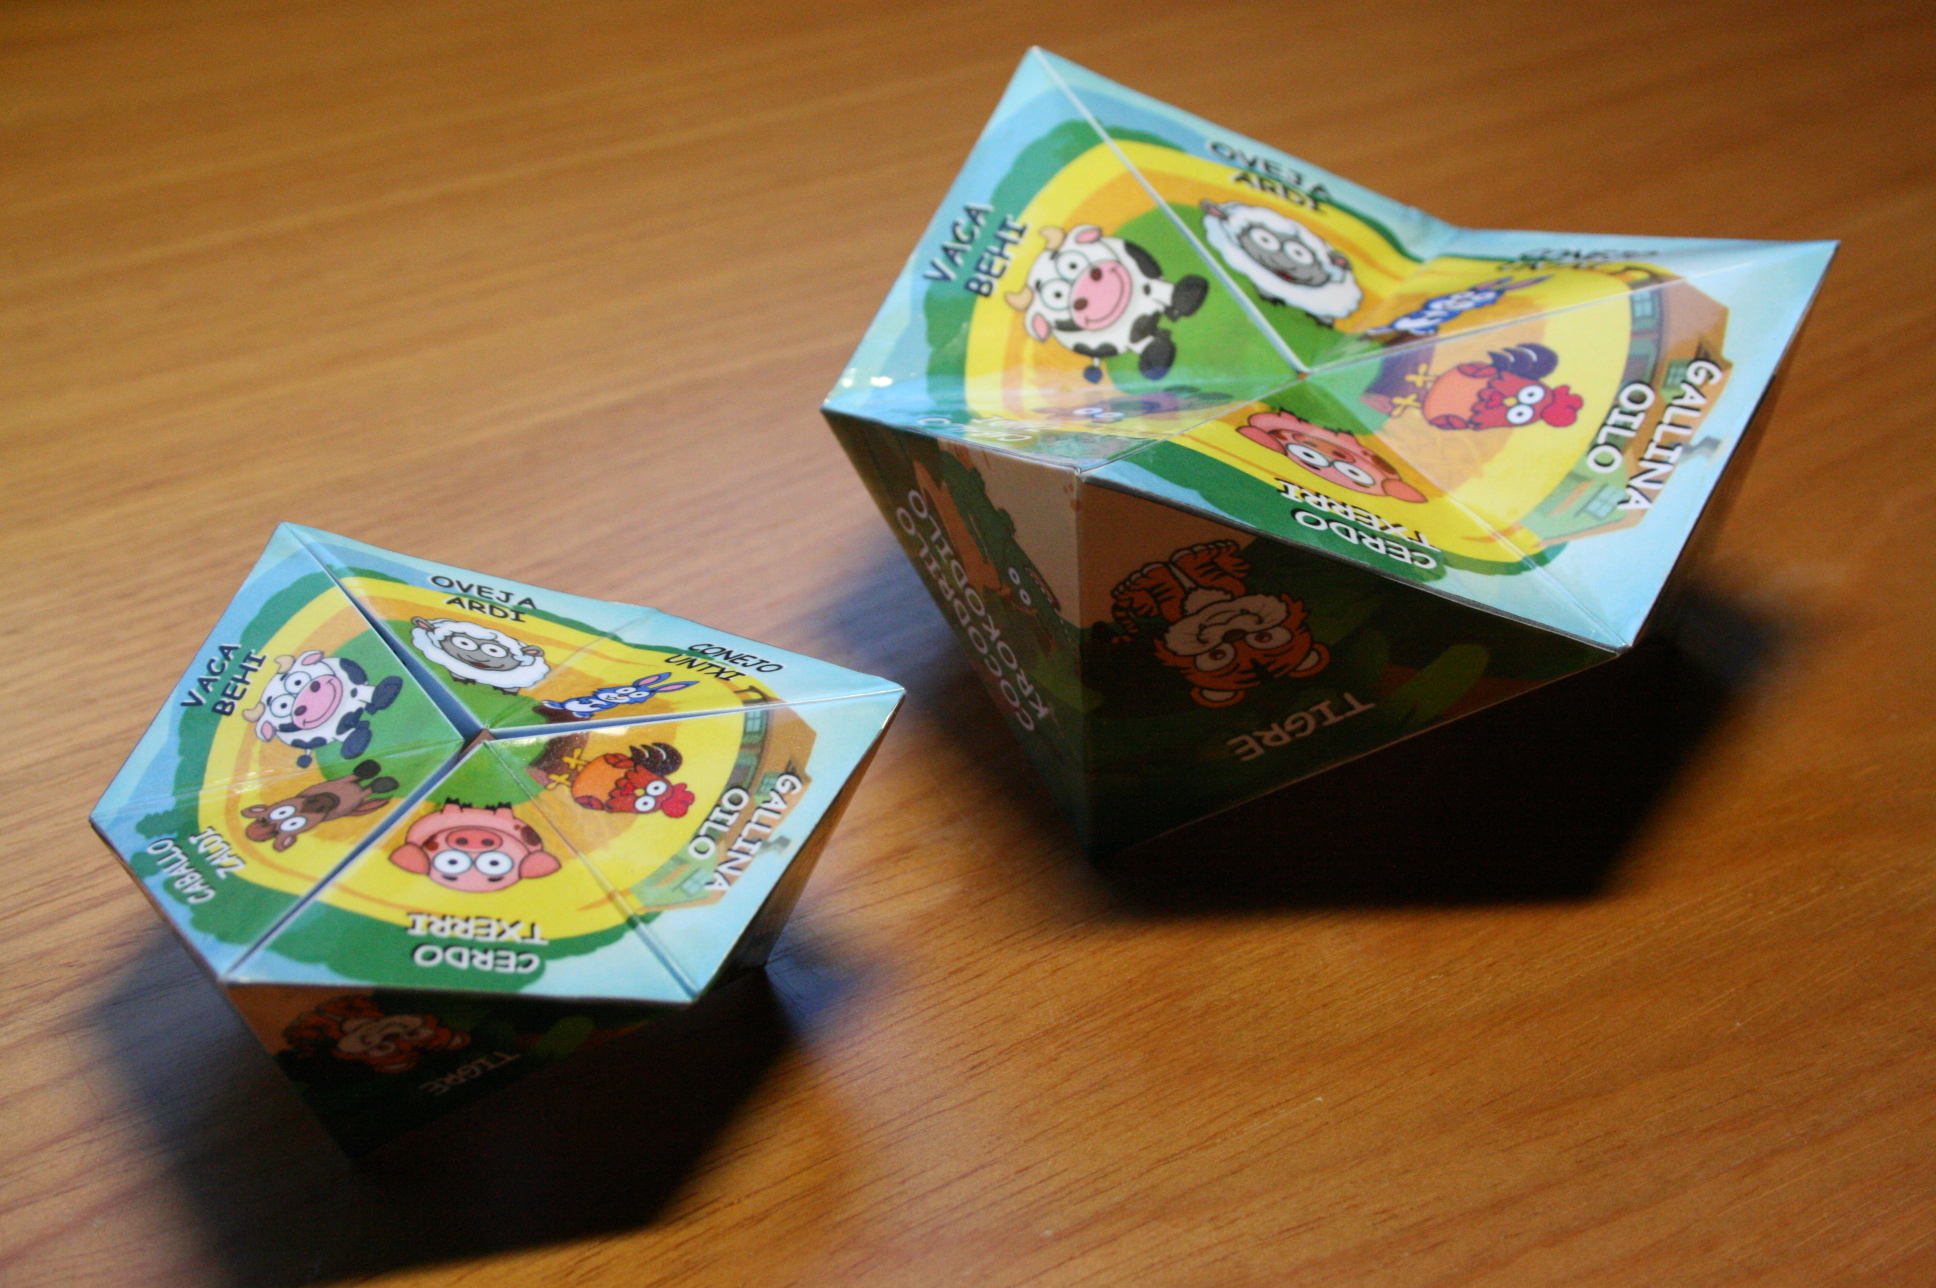
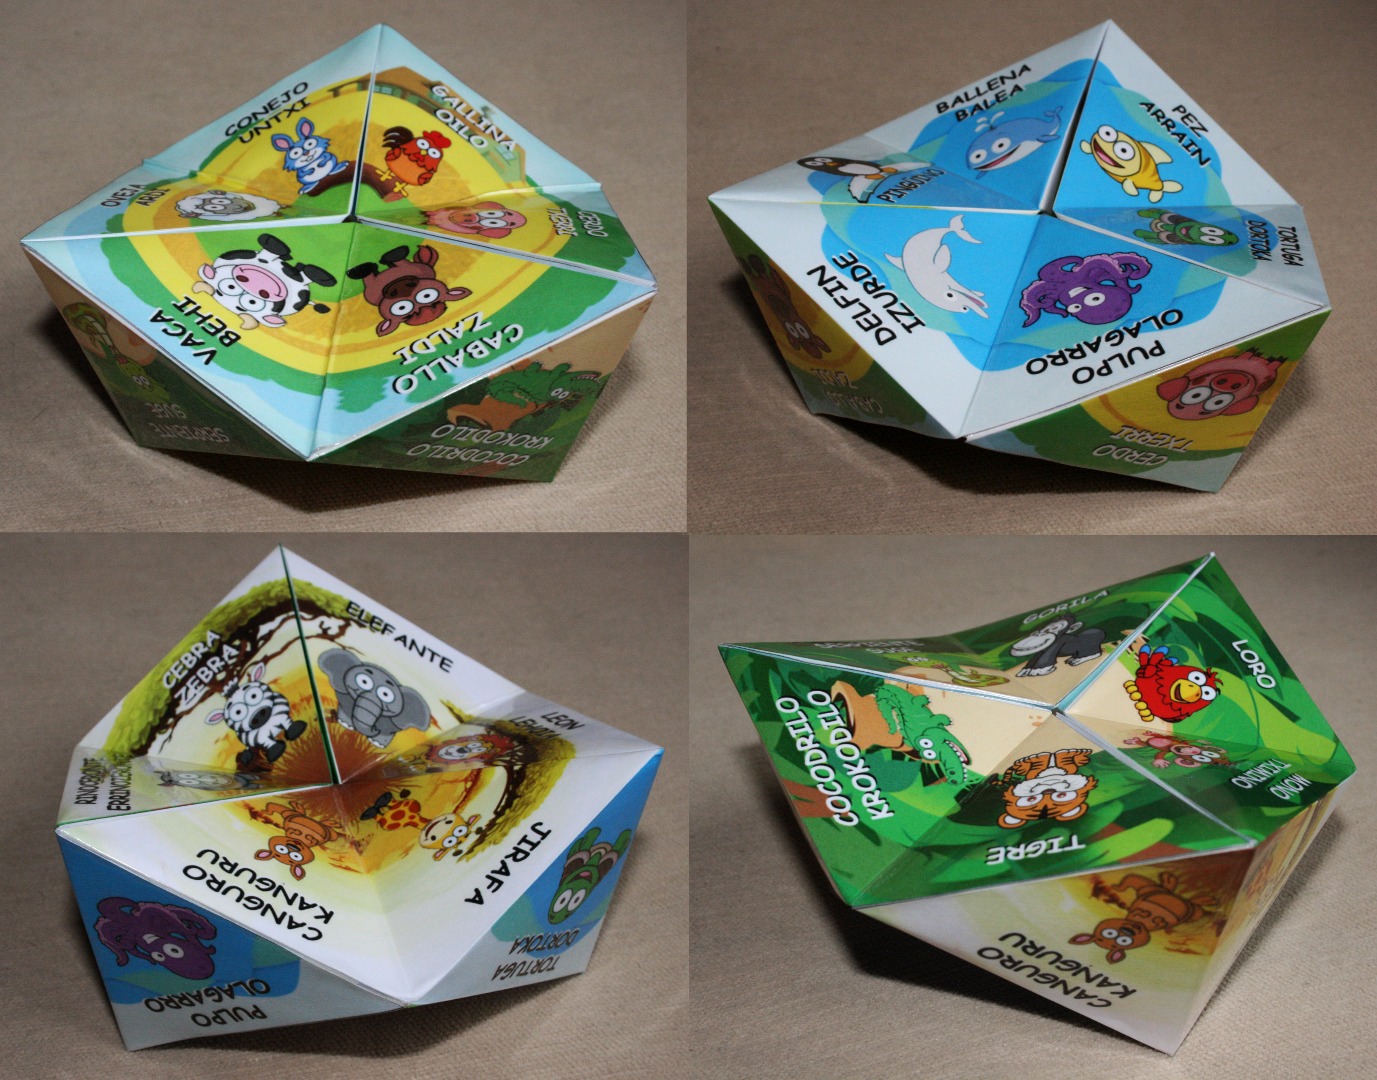
My 3 year old nephew just started school and he is beginning to learn the names of the animals and to read. I wanted to make the learning process more interesting, even make a game out of it.
Besides I've always liked the magic of the kaleidocycle and I wanted to make something more complicated than what we're used to see.
Where we live there are two official languajes: Spanish and Euskera (Basque). The names of the animals are written in these two languajes because children learn both of them at school (we also learn English or/and French).
Materials
You will need:
Photoshop (or other image editor)
Paint.NET (Download Link)
Kaleidocycles plugin (Download down here in this step)
Paper
Printer
Transparent adhesive book film cover
Scissors
Super glue (cyanacrylat)
The hexagon template (Download down here in this step)
Choosing the Animals and Habitat
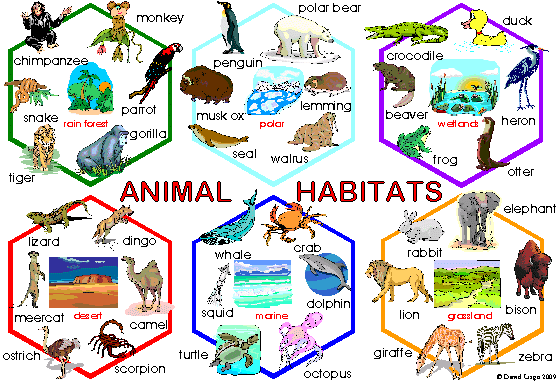
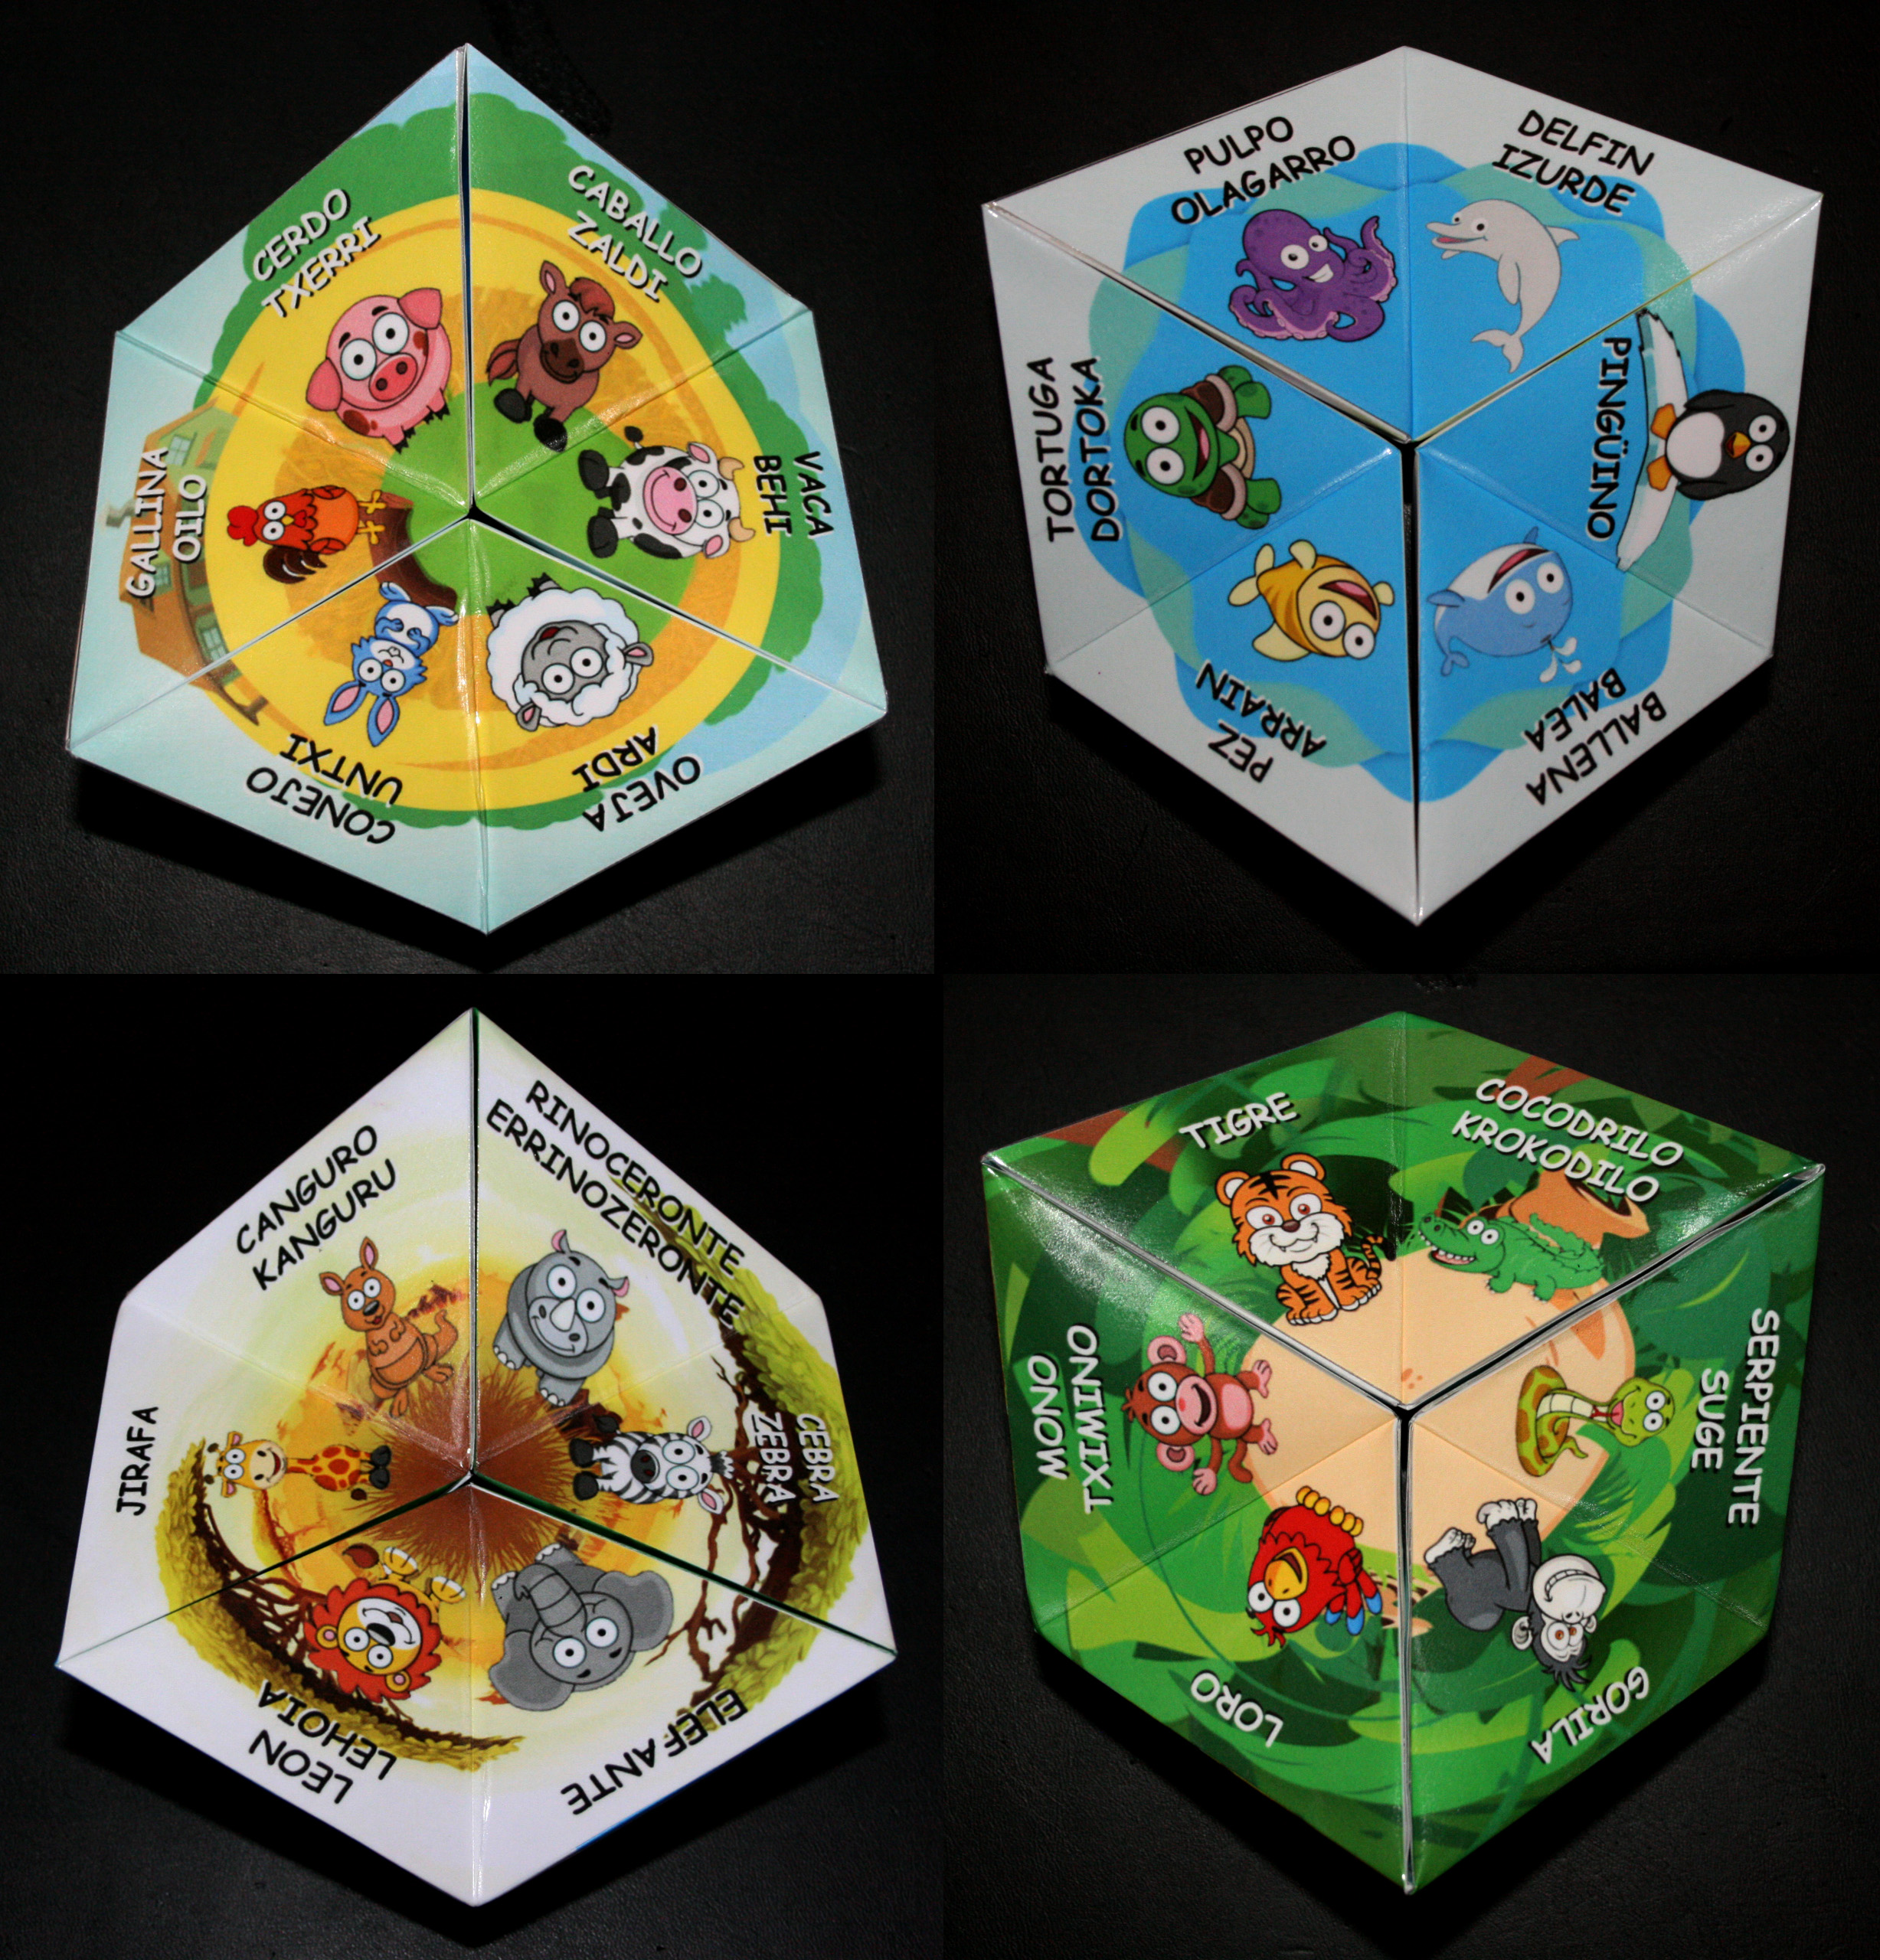
It's time to make a list of the animals you want to include in your kaleidocycle. First you have to choose the four habitats and then six animals for each of them. The habitals I've chosen are: the jungle, the savannah, the sea and the farm. Here's the list of the ones I decided to include:
Jungle: Tiger, Crocodile, Snake, Gorila, Parrot and Monkey.
Savannah: Giraffe, Kangaroo, Rhinoceros, Zebra, Elephant and Lion.
Sea: Fish, Tortoise, Octopus, Dolphin, Penguin and Whale.
Farm: Sheep, Rabbit, Chicken, Pig, Horse and Cow.
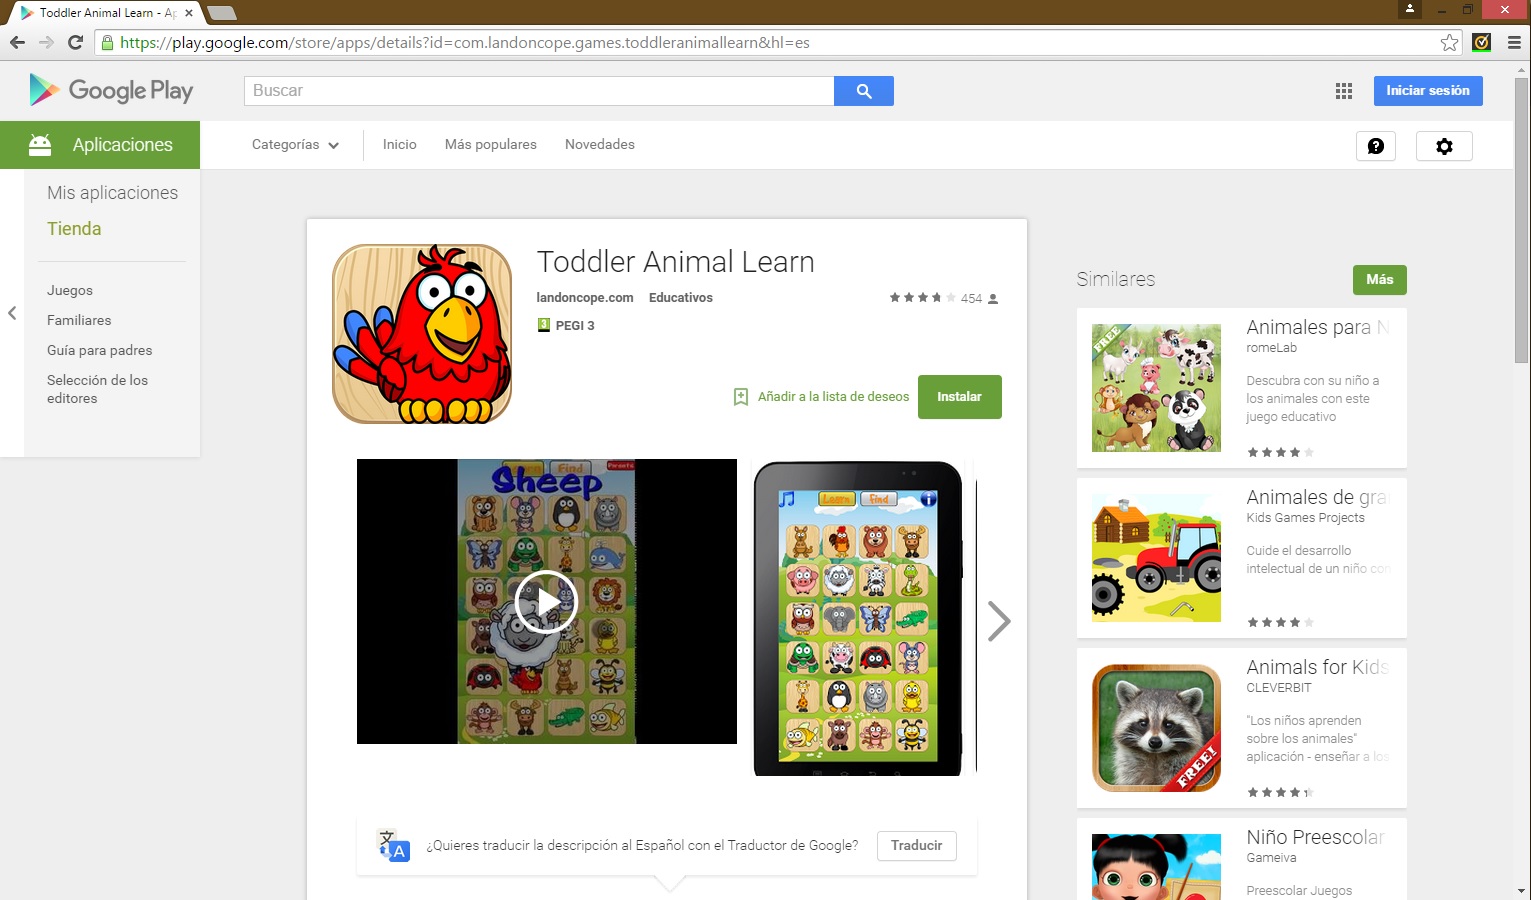
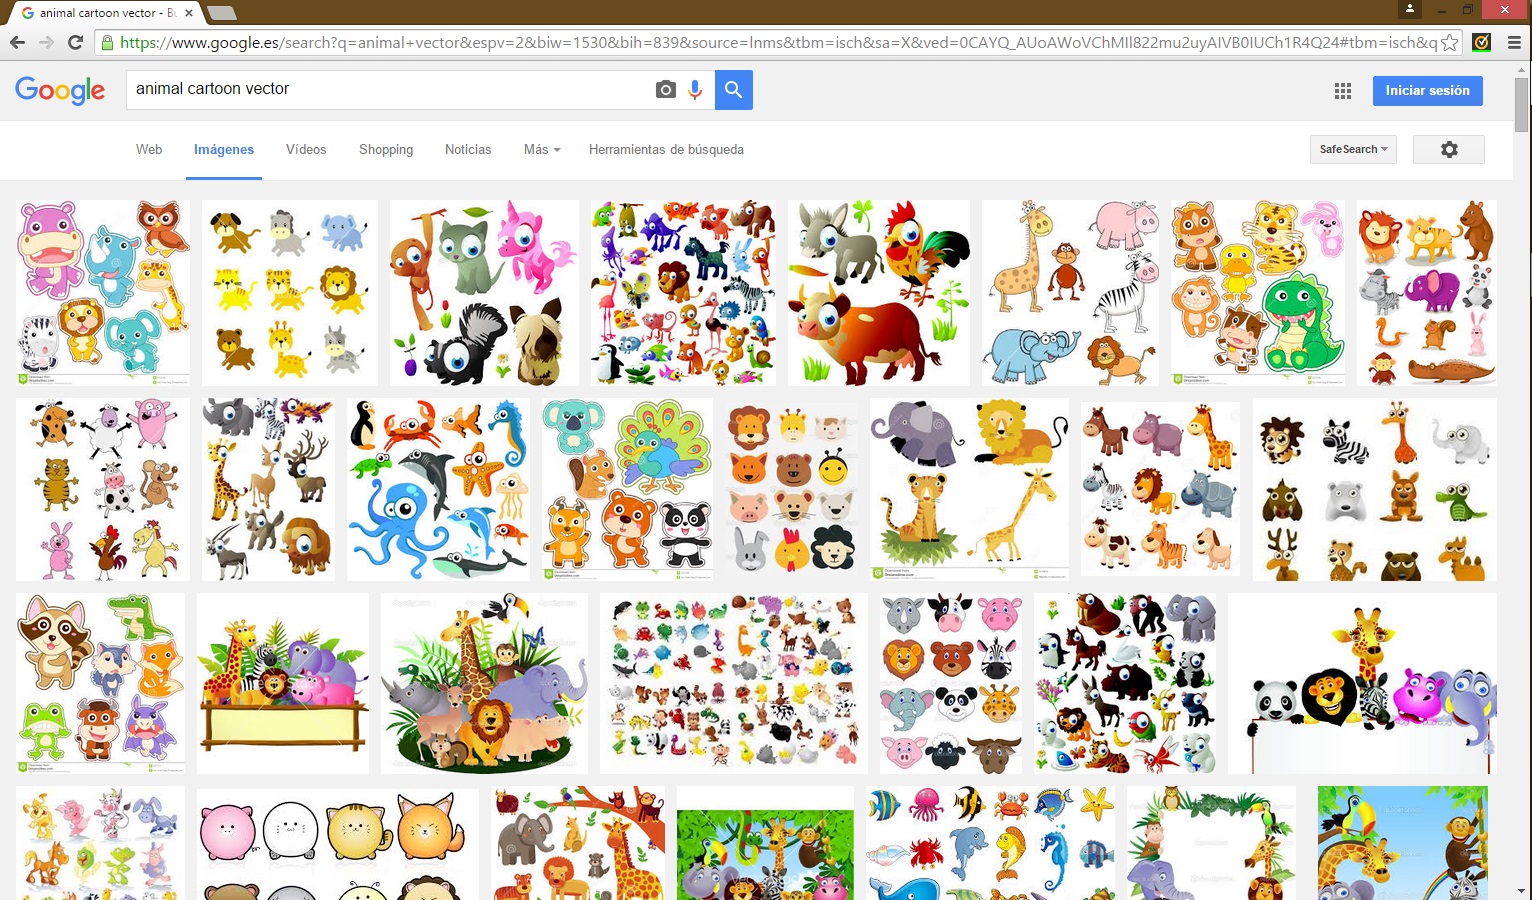
You can get inspired by searching through books and the internet. I found an application for android called "Toddler Animal Learn" from wich I got 90% of them. I tried to look for vector images in the internet but the drawing style was very different sometimes and the habitat didn't look good.
I discarded a few animals like the cat, the dog, the bird... because those are the ones he learnt first.
Editing the Animals
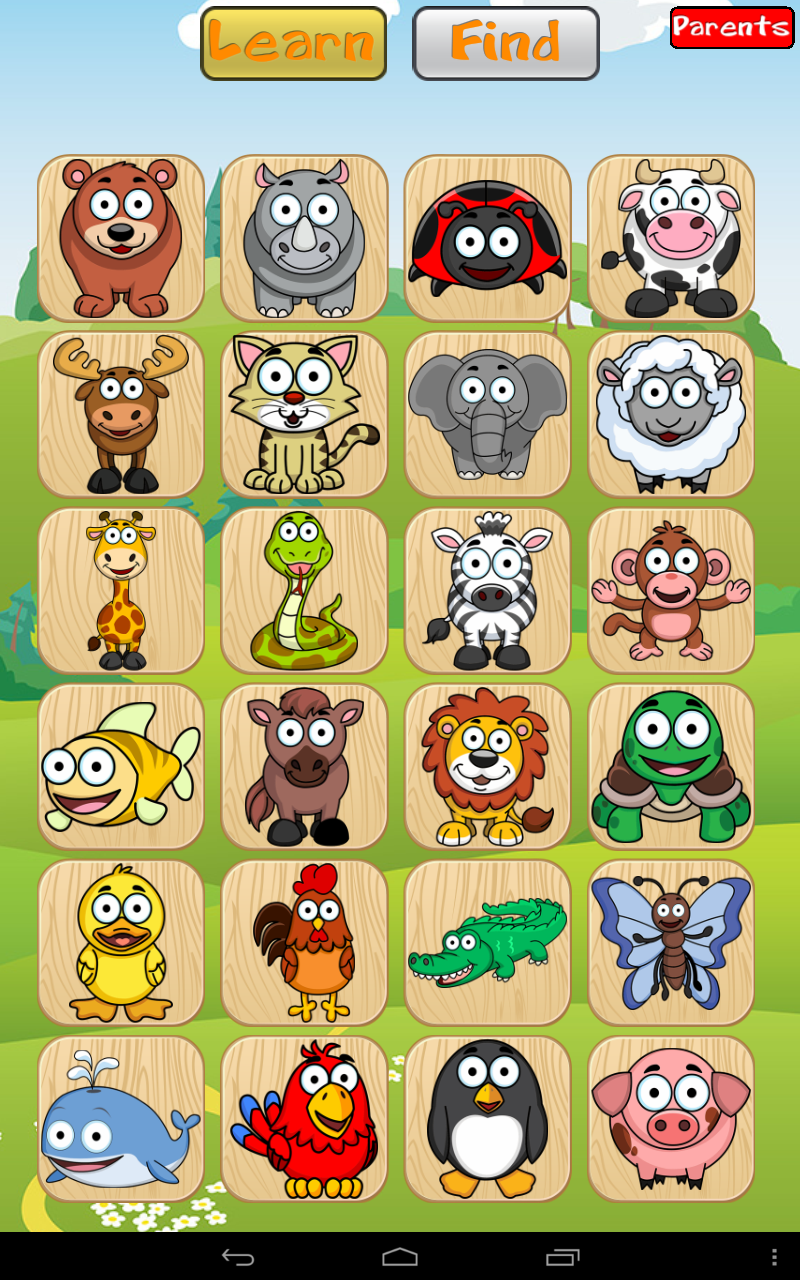
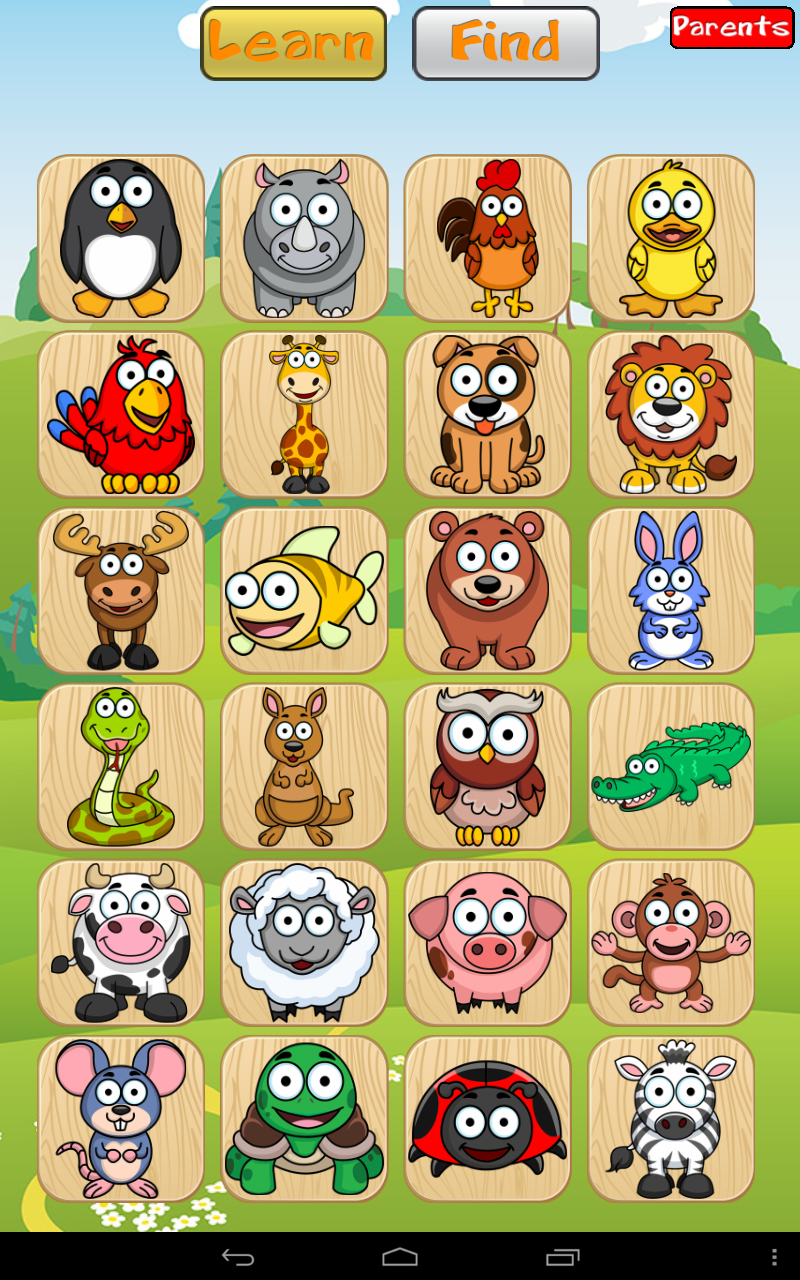
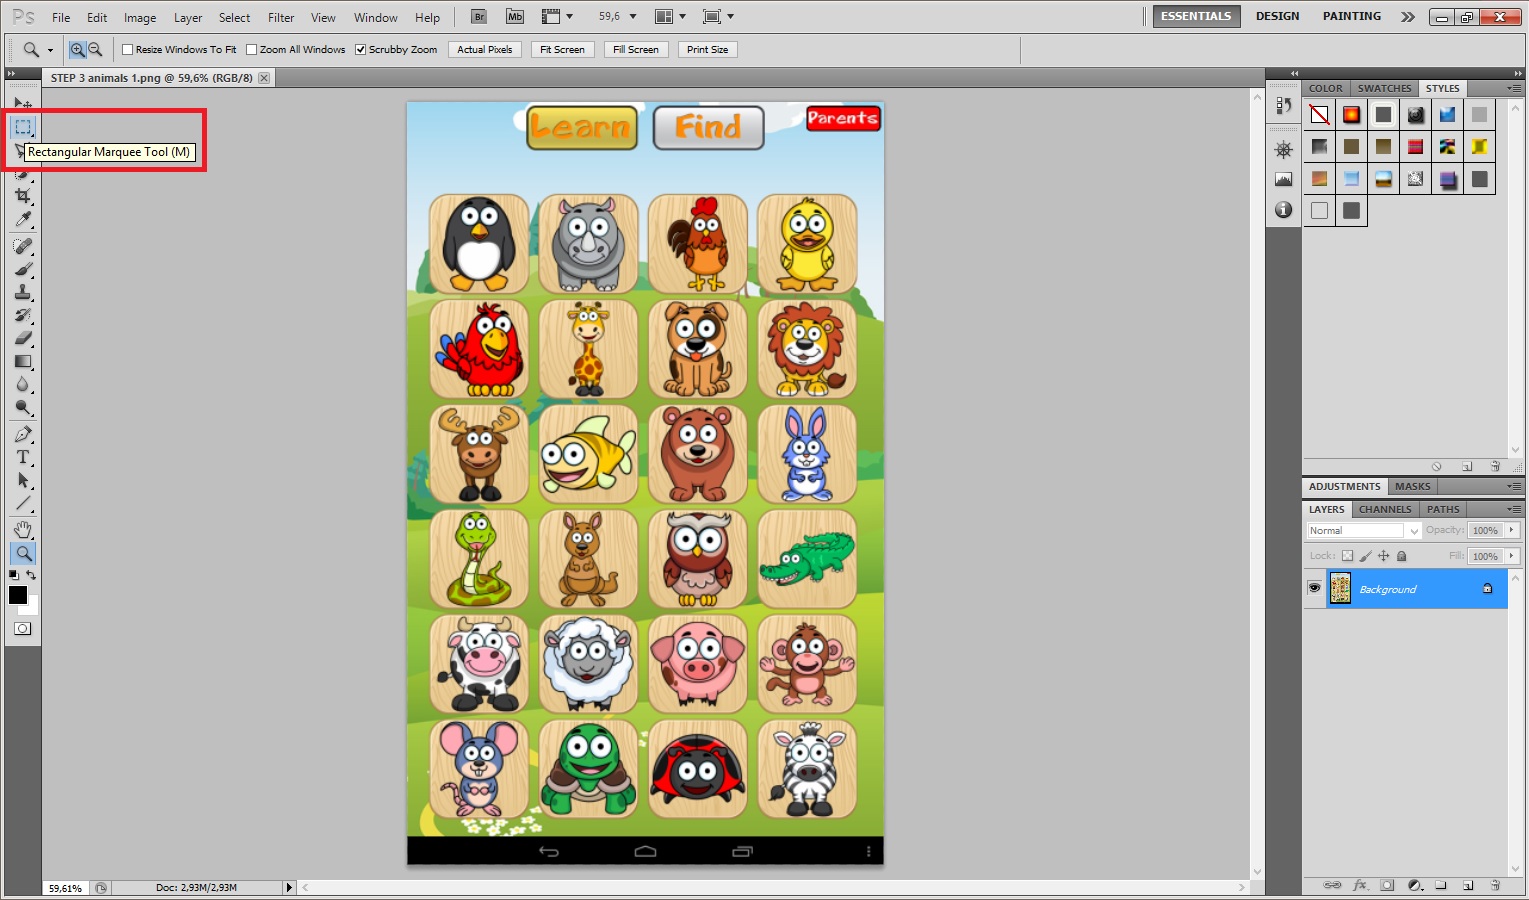
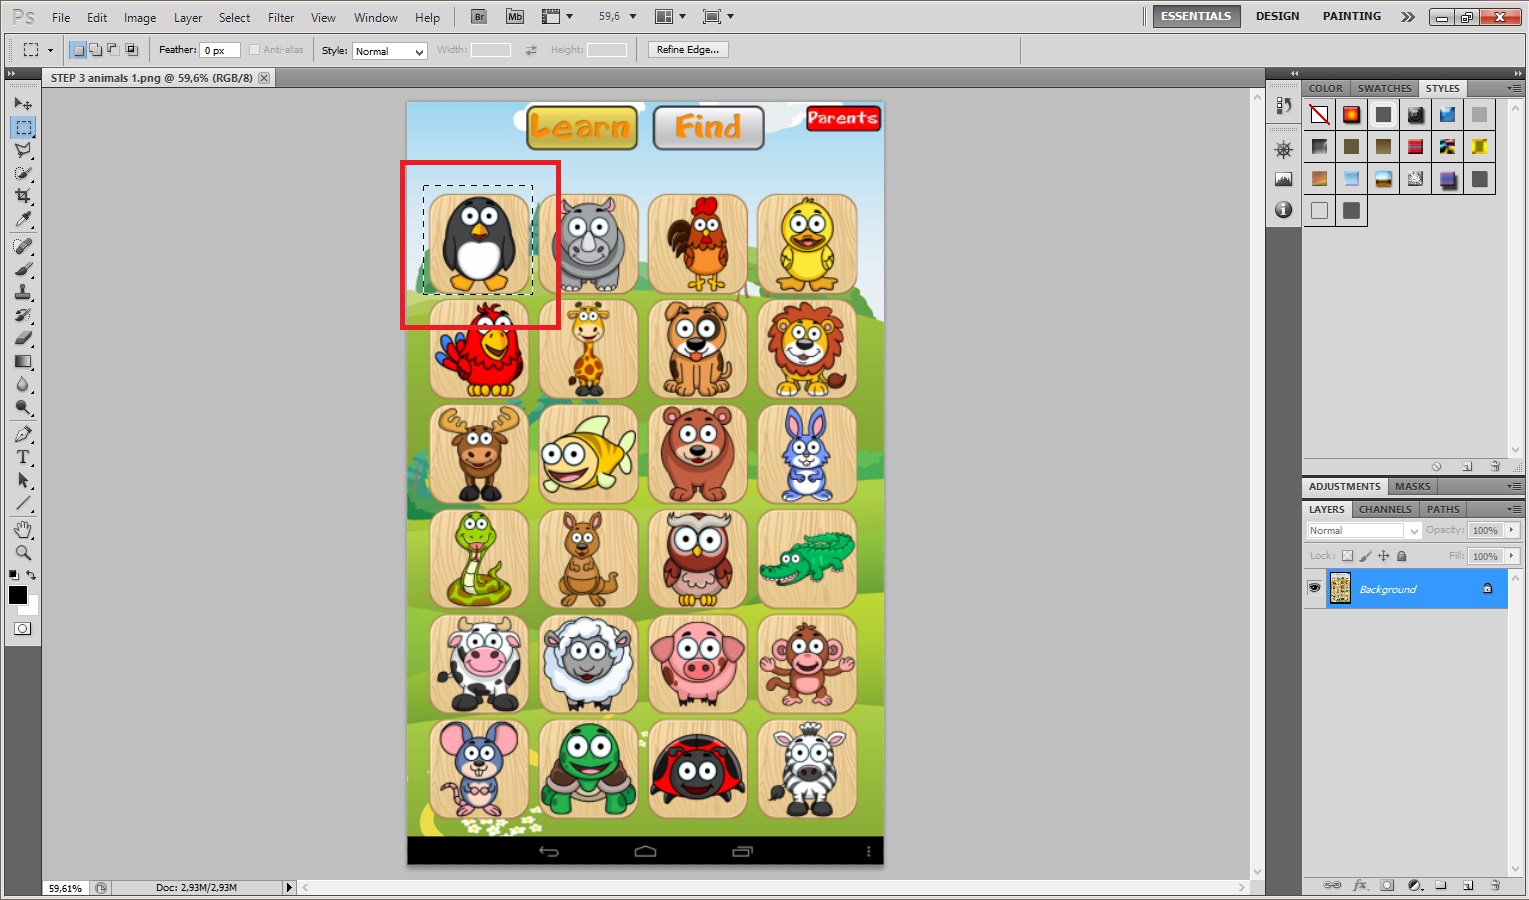
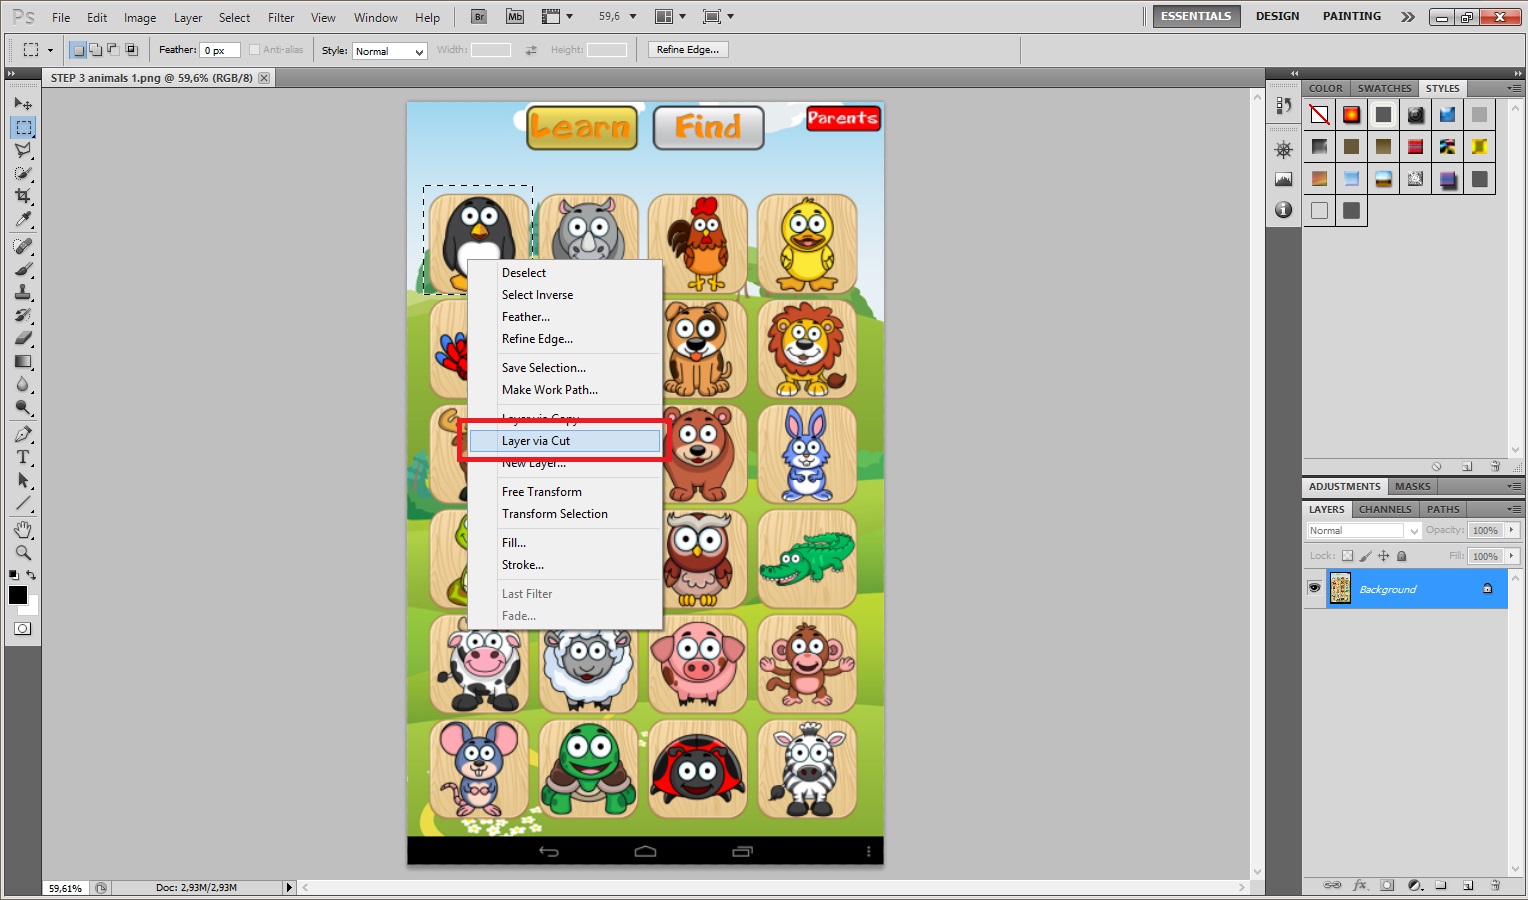
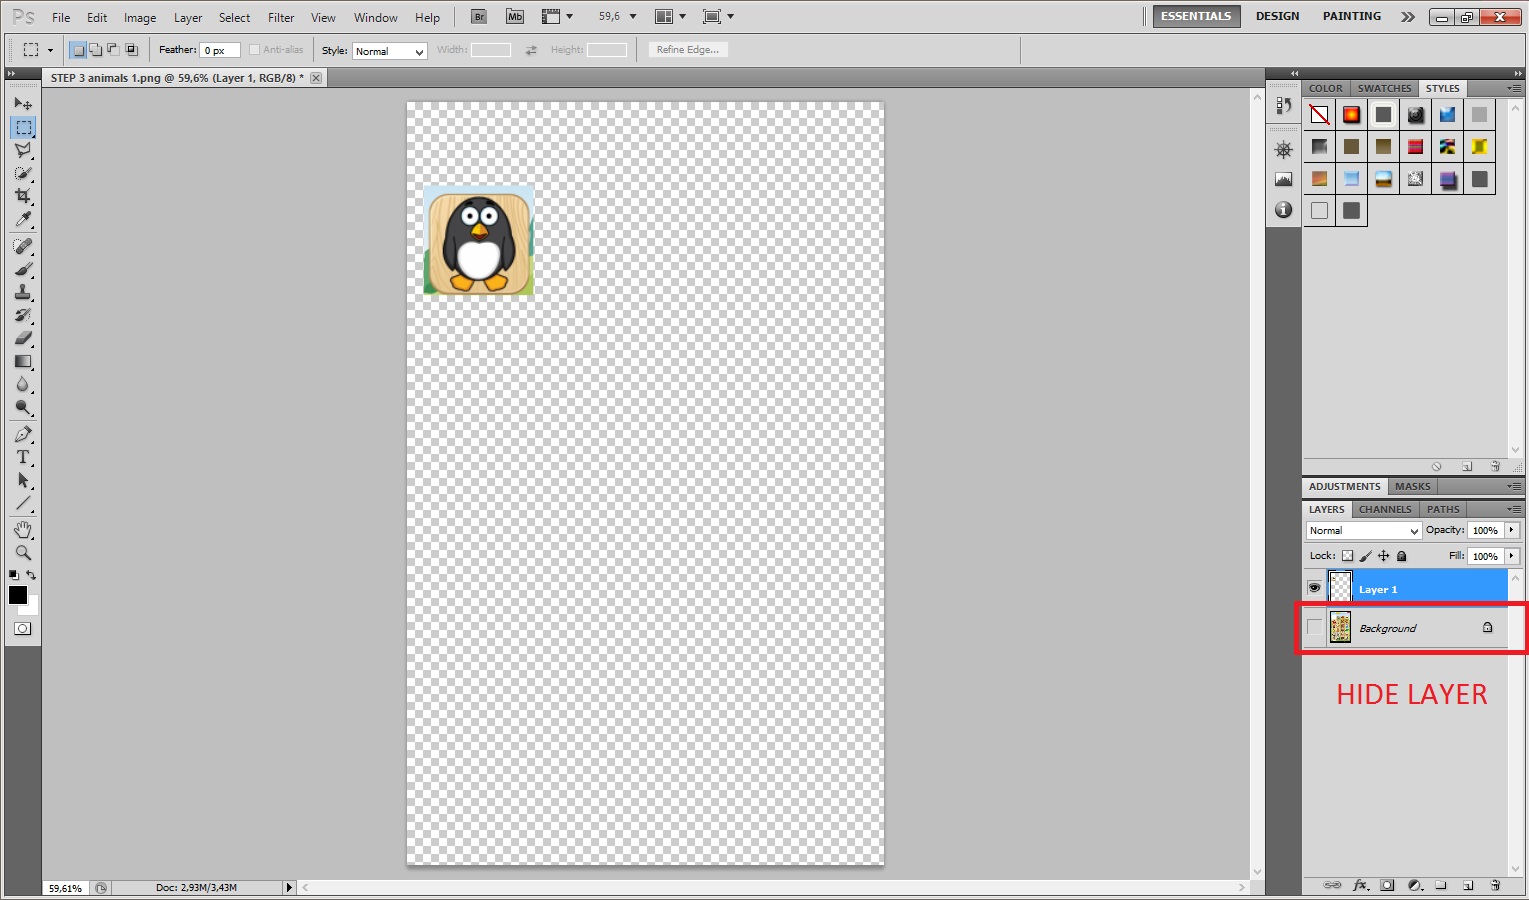
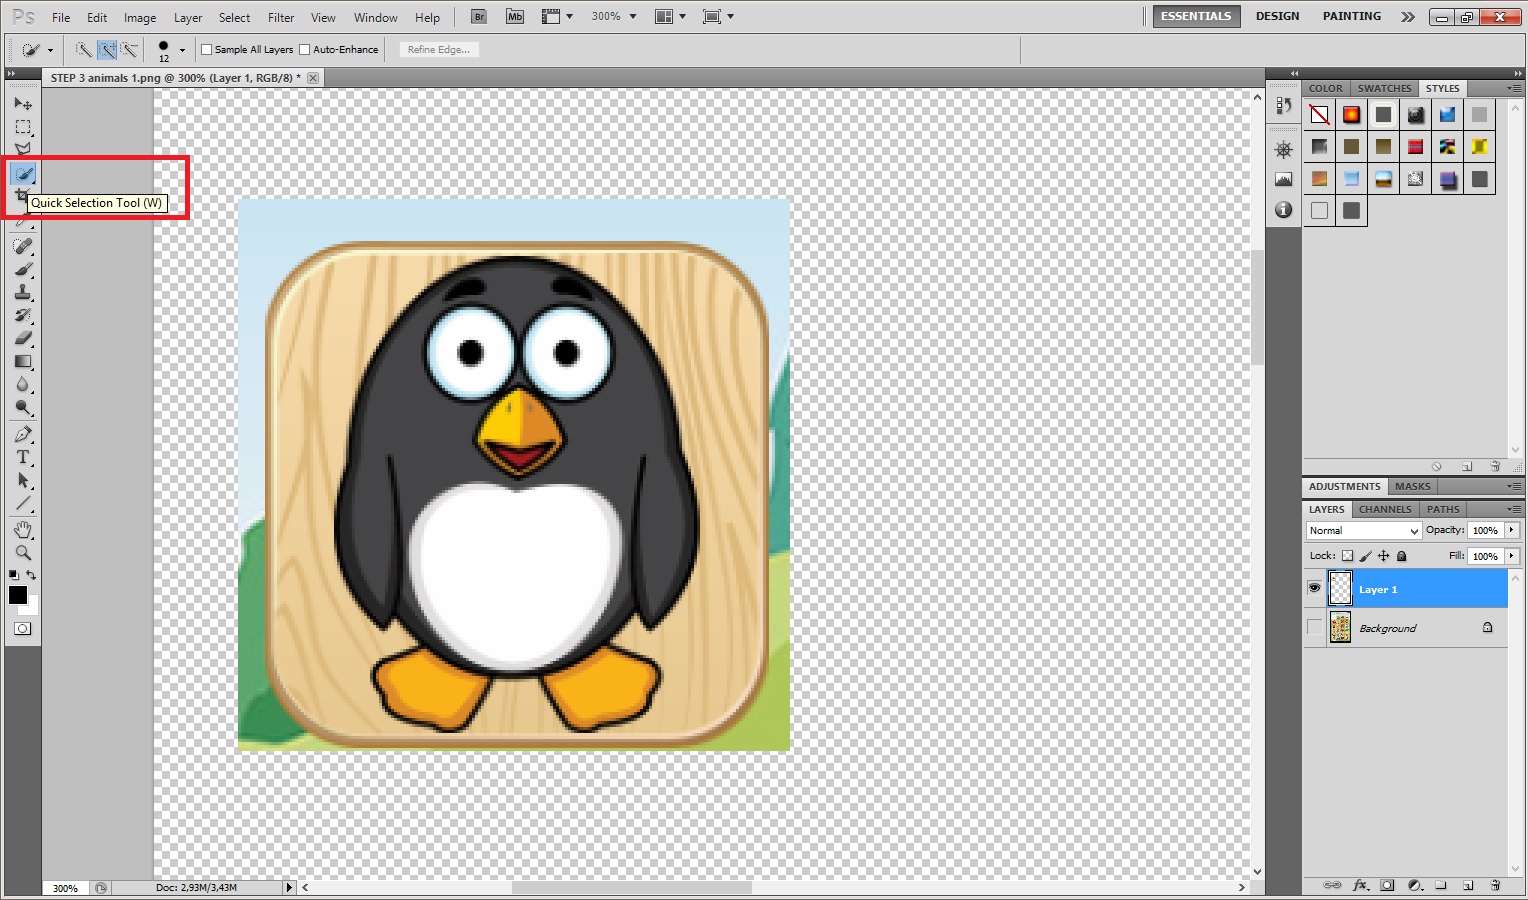
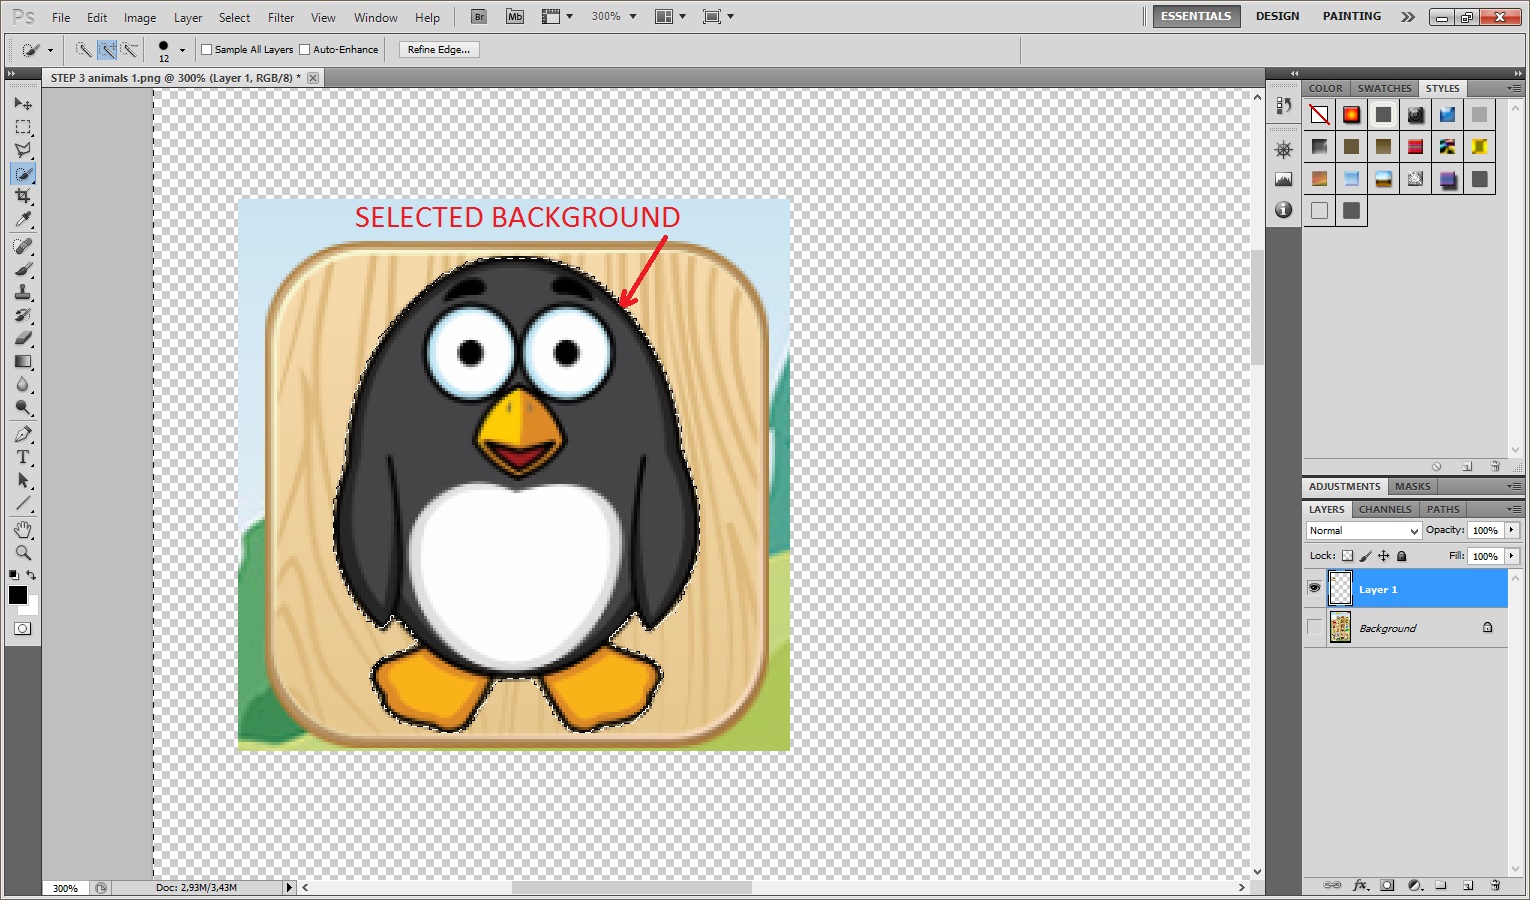
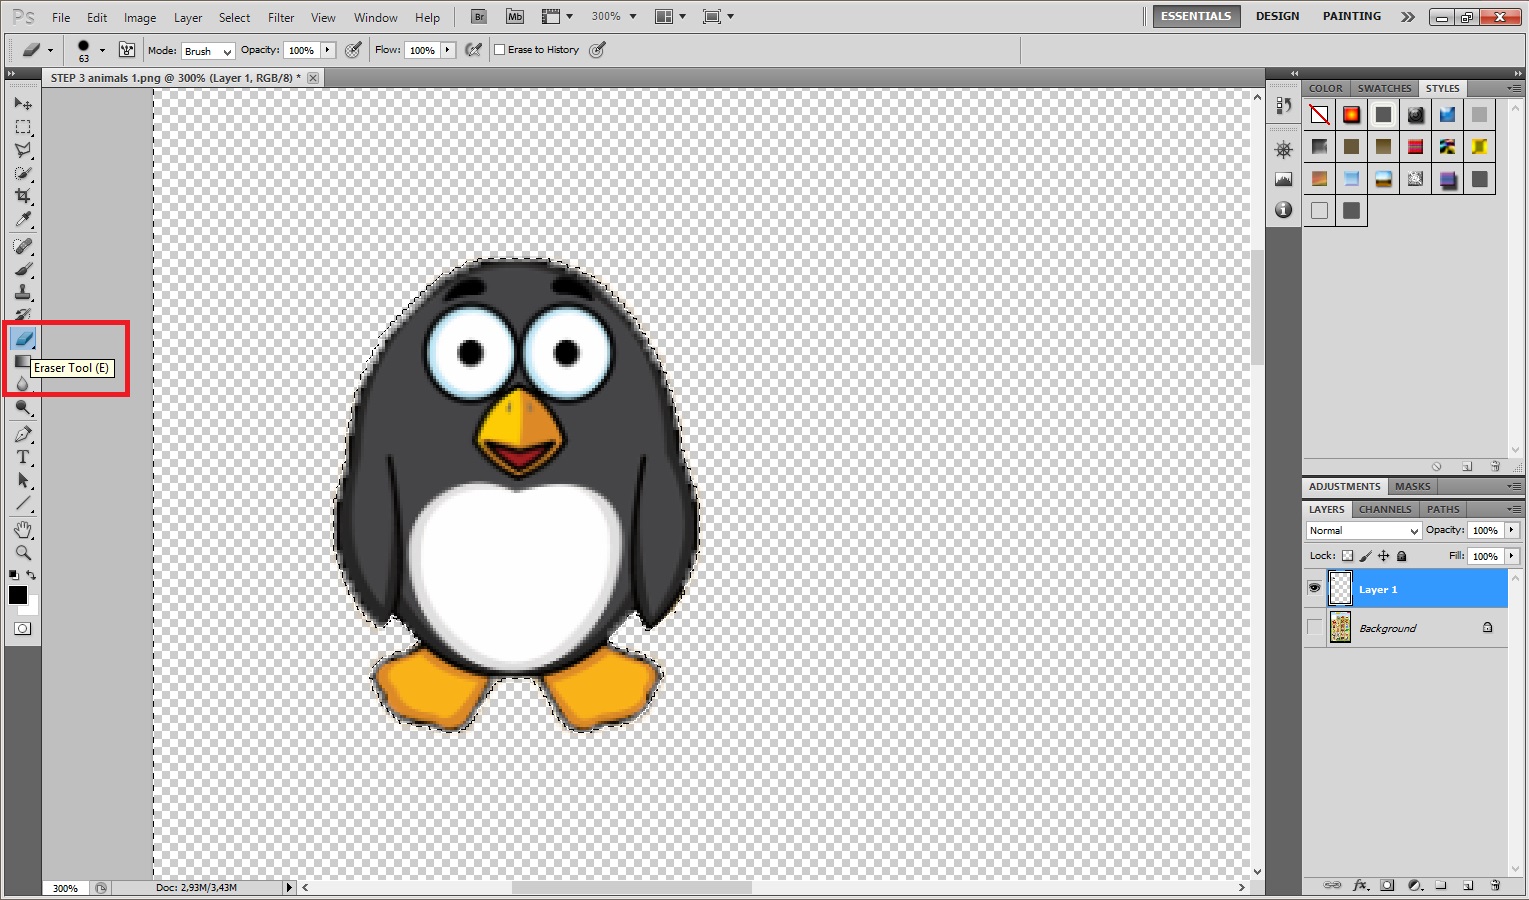
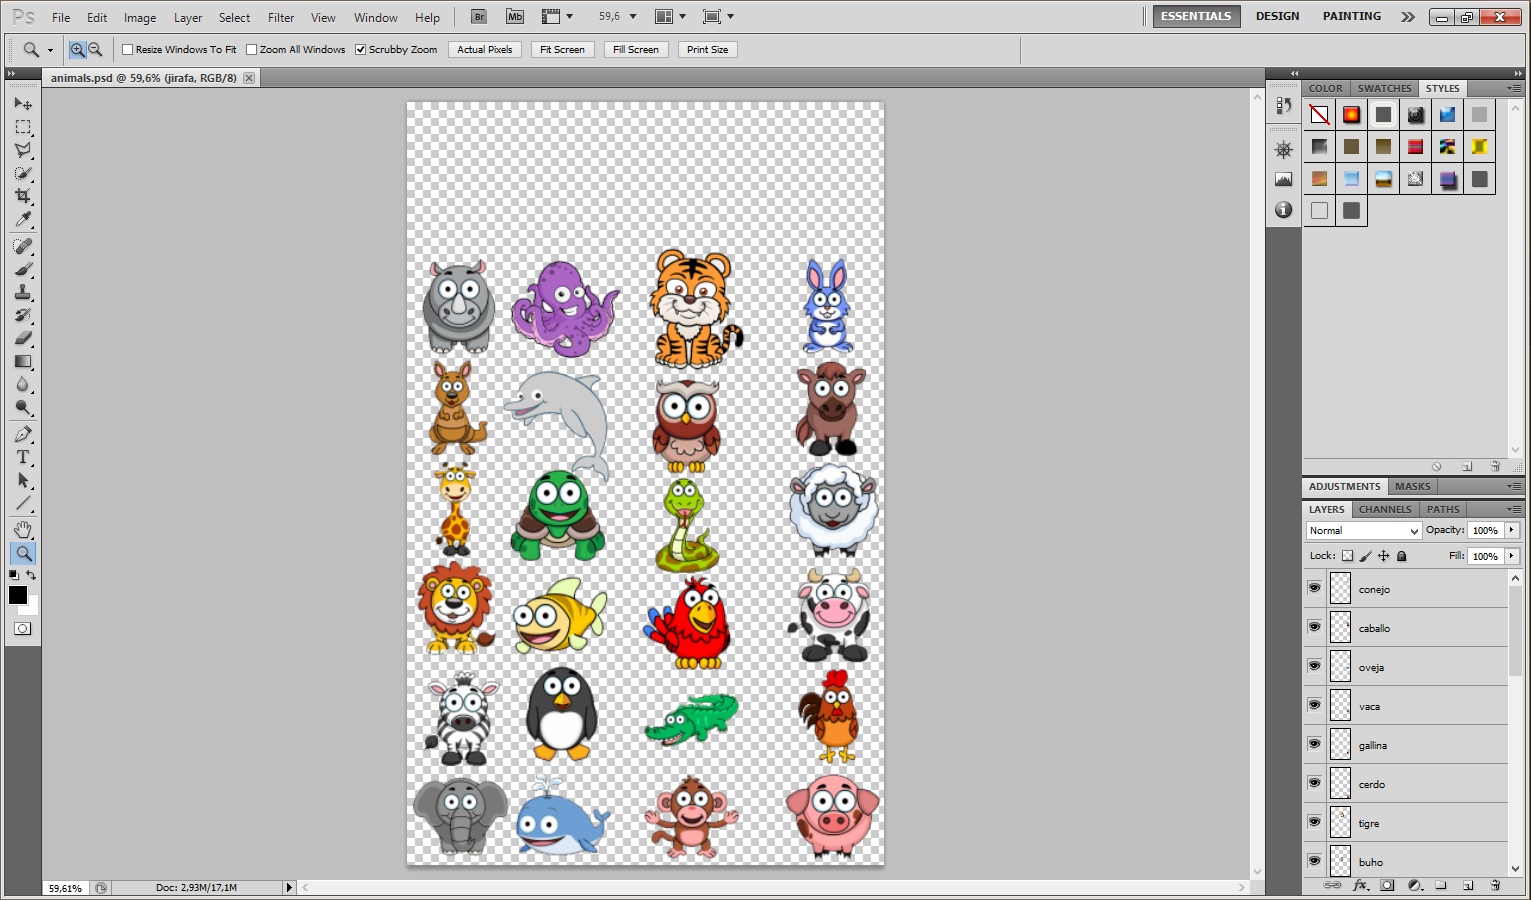
Once you had chosen the animals you have to make a layer out of every animal.
- Select "Rectangular Marquee Tool", make a rectangle around the animal and click the right tick on the selected area: Options > Layer via cut.
- Now select the background of this layer (Quick Selection Tool) and erase it (Eraser Tool).
- Then copy all the layers to one single document and save it as "animals.psd".
Making the Habitats
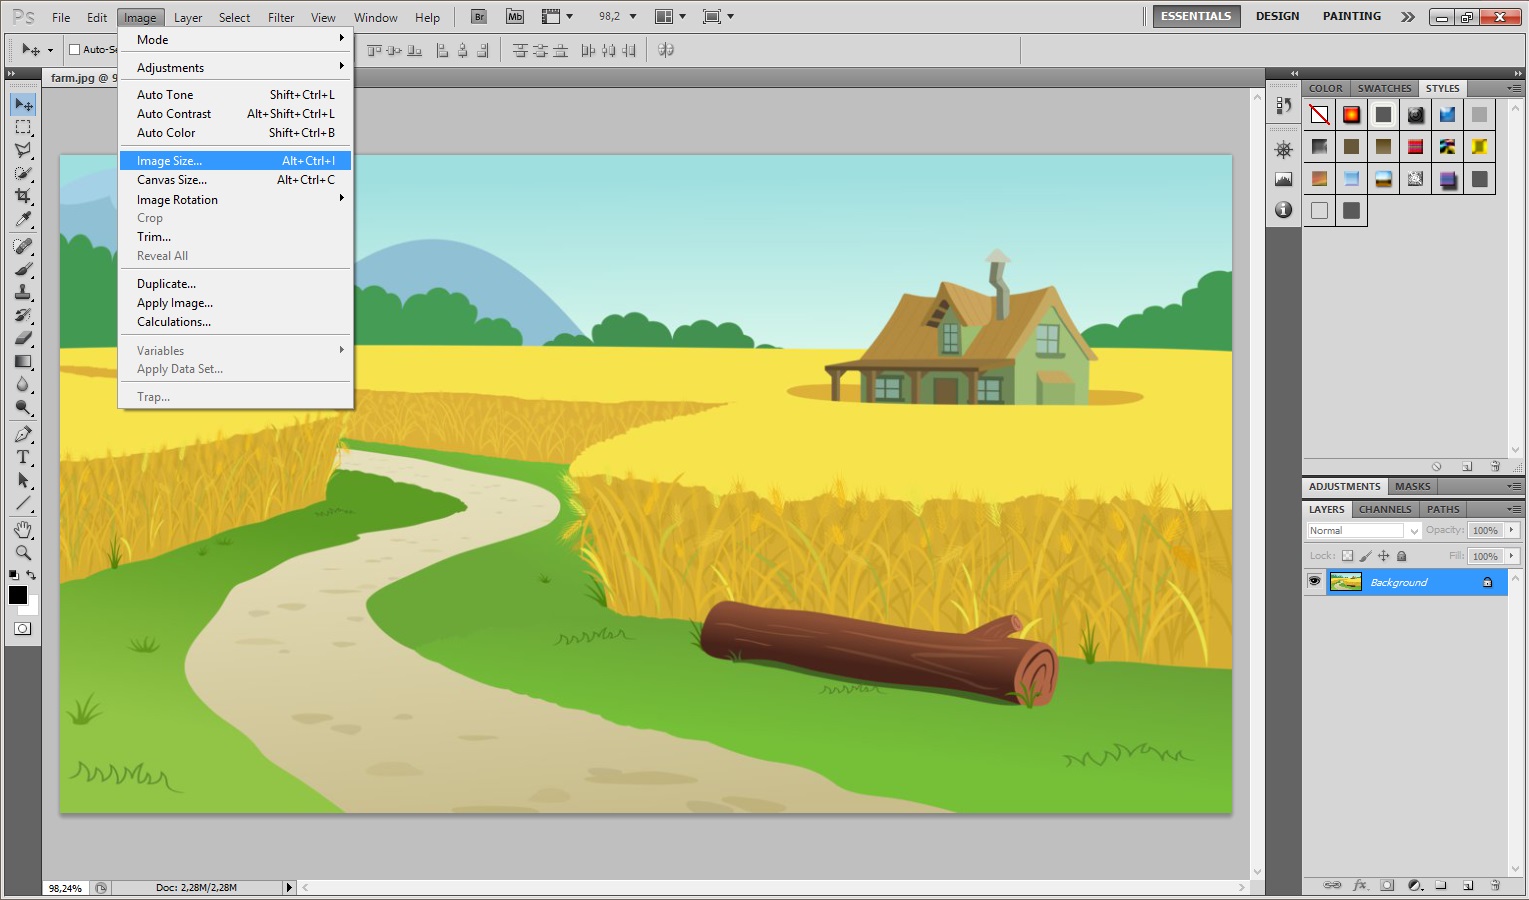
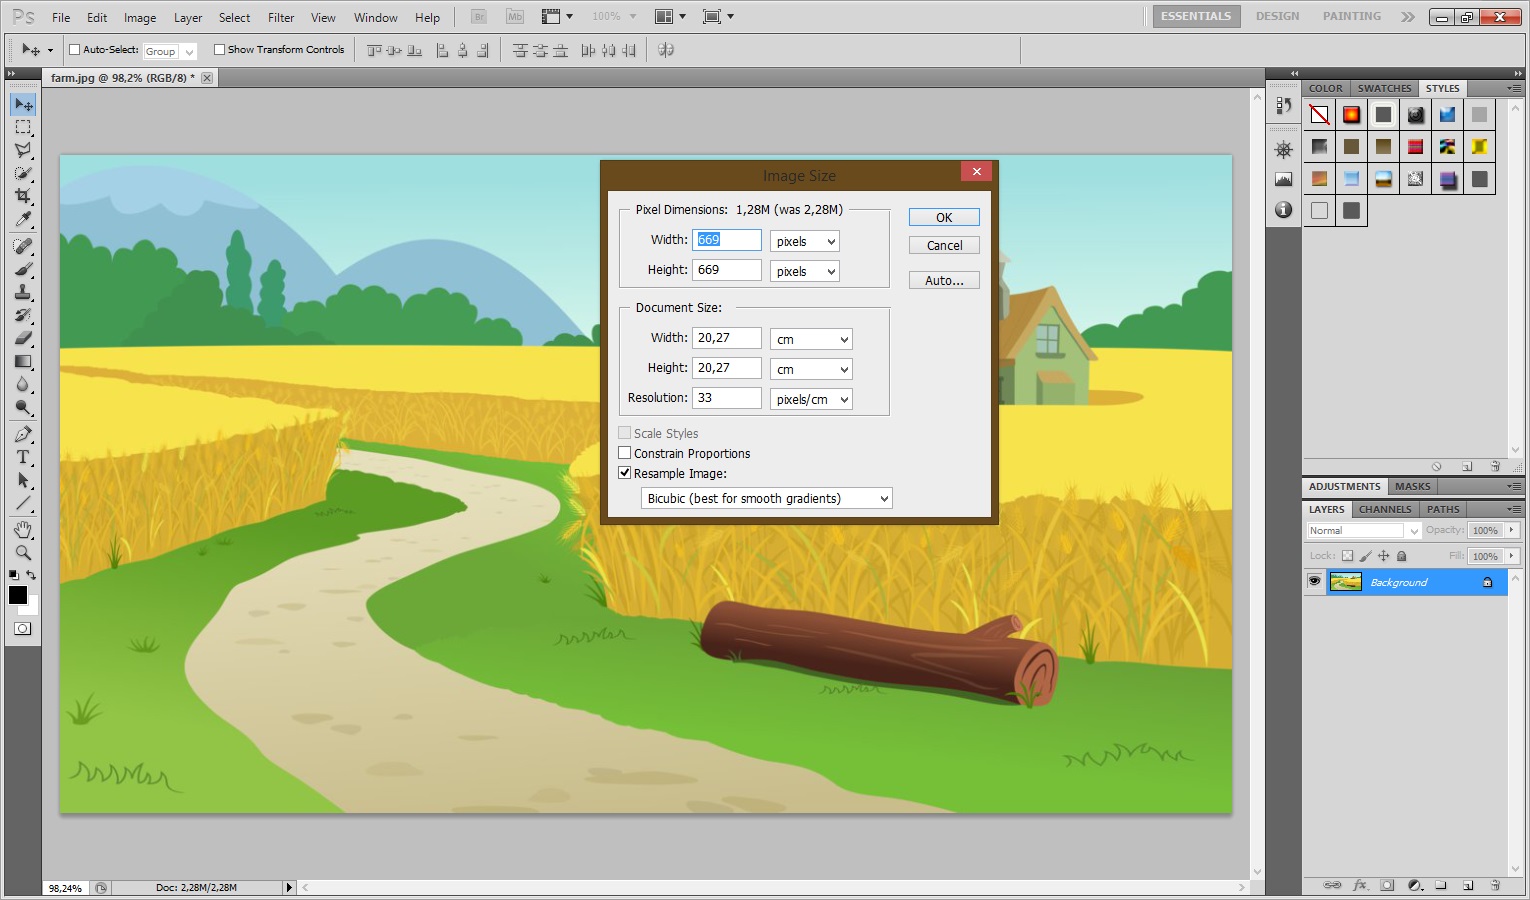
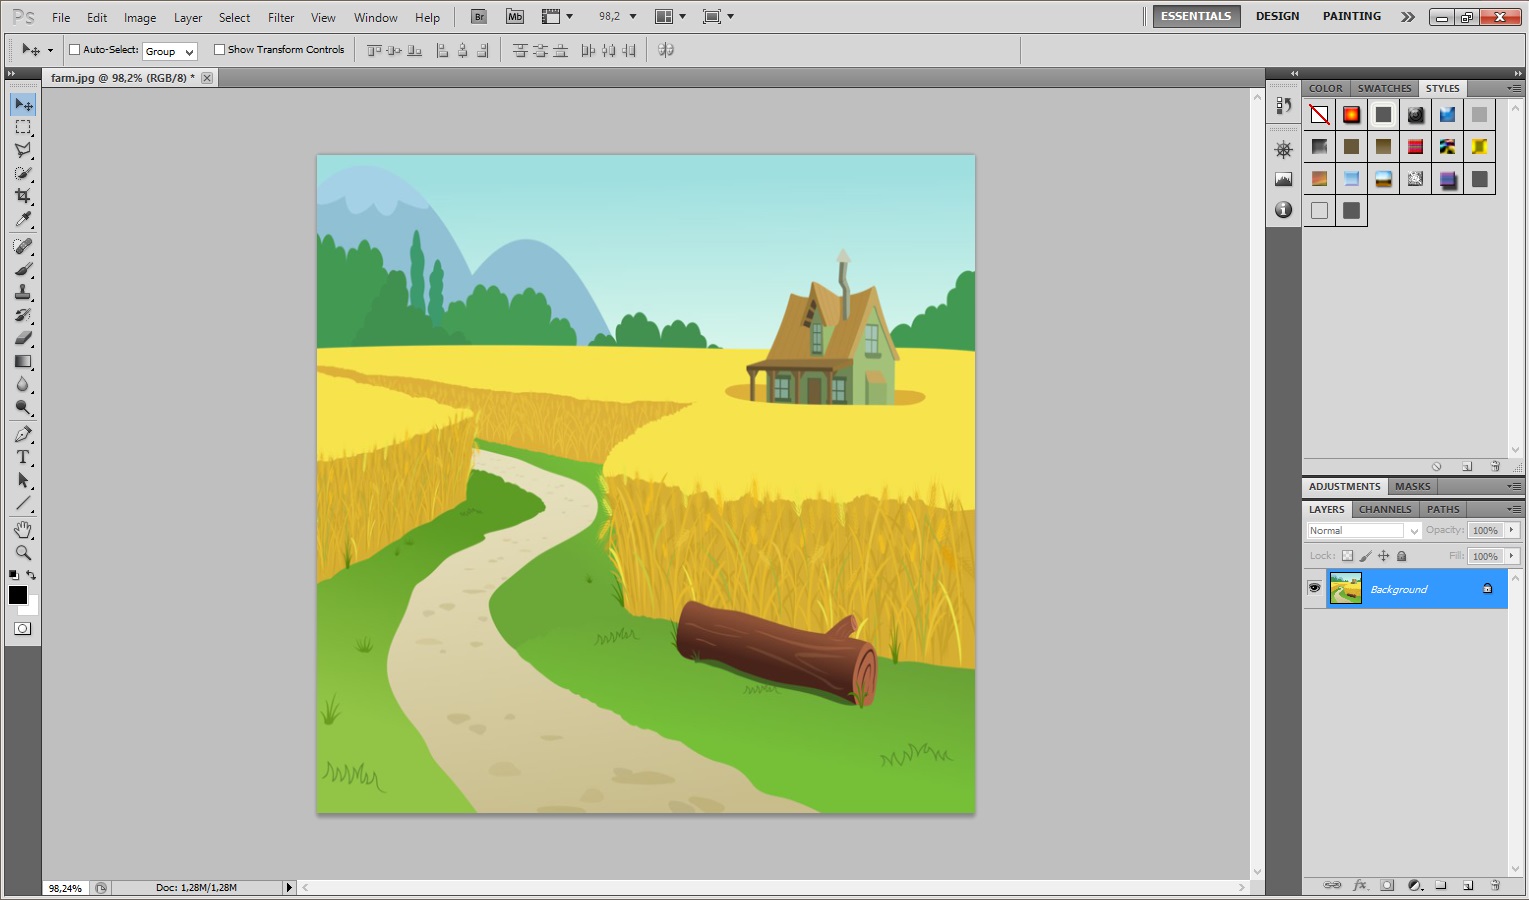
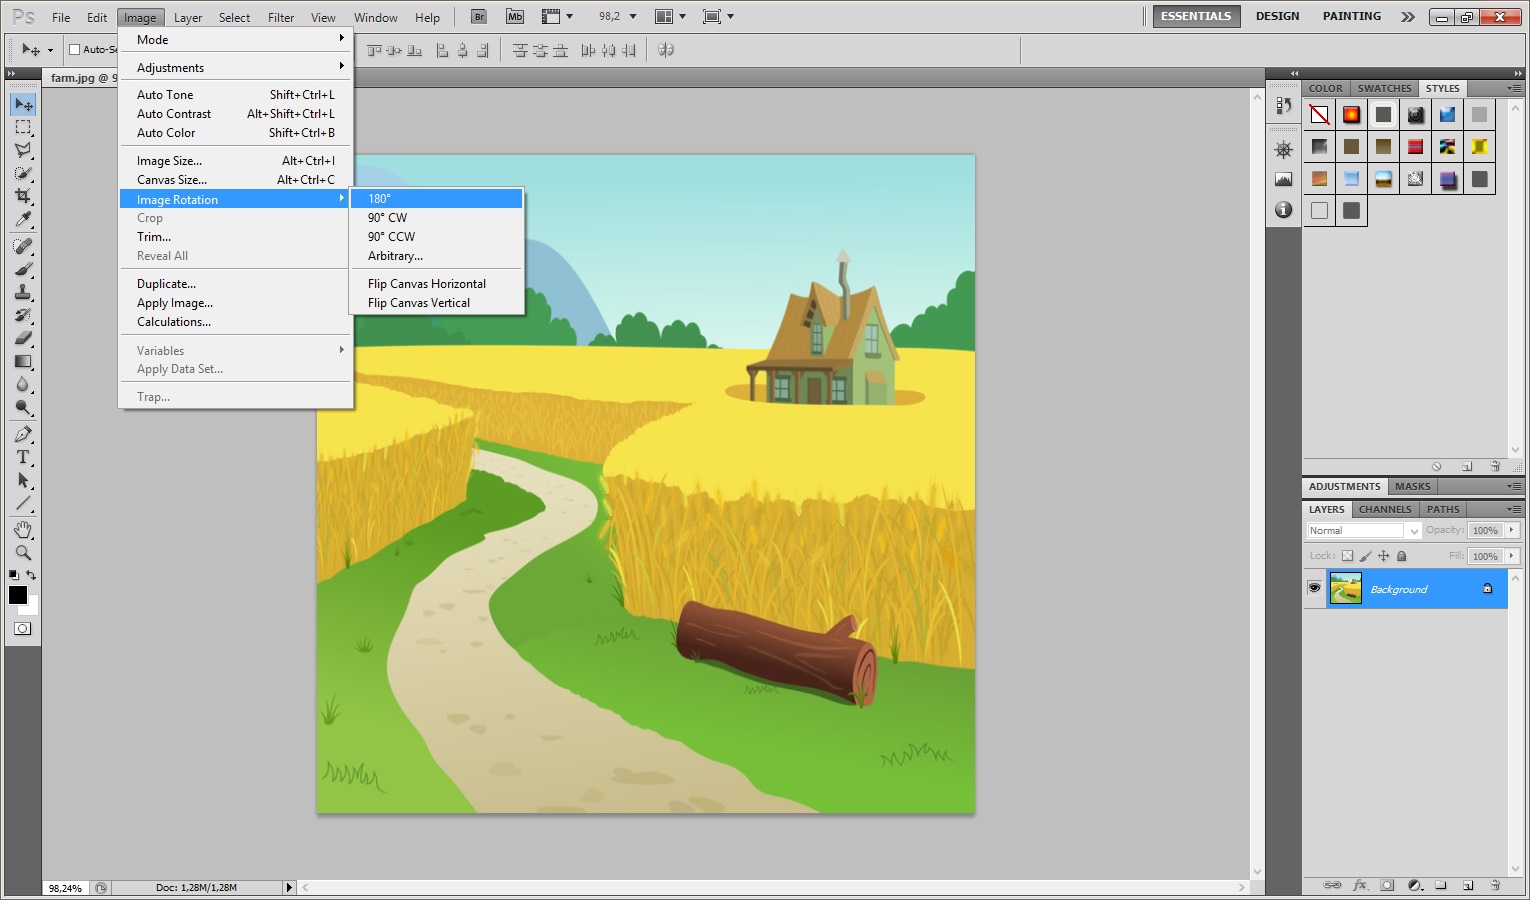
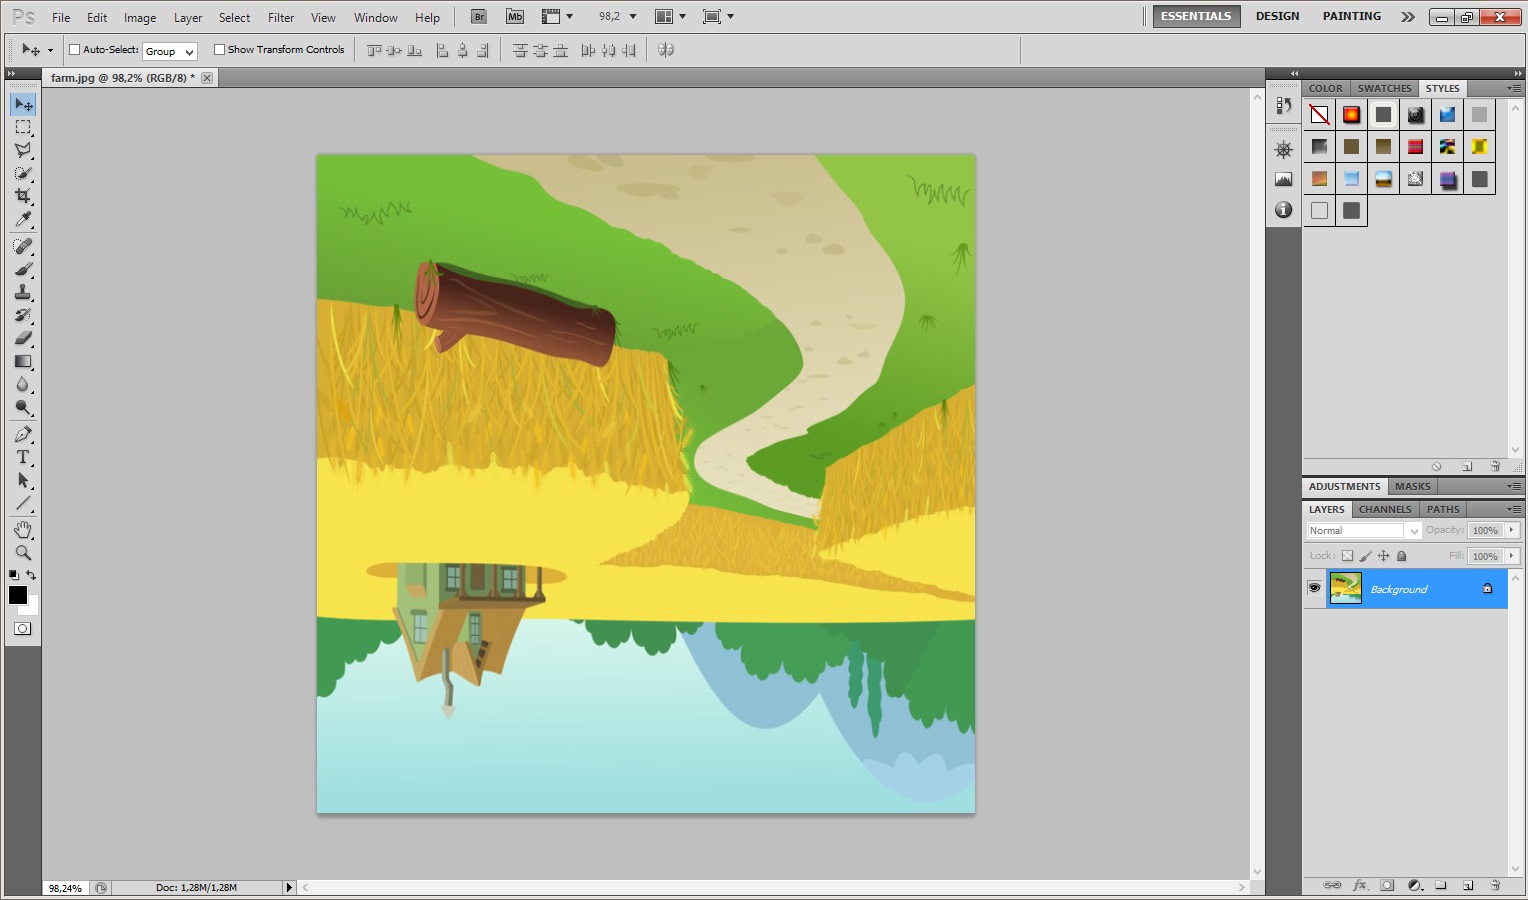
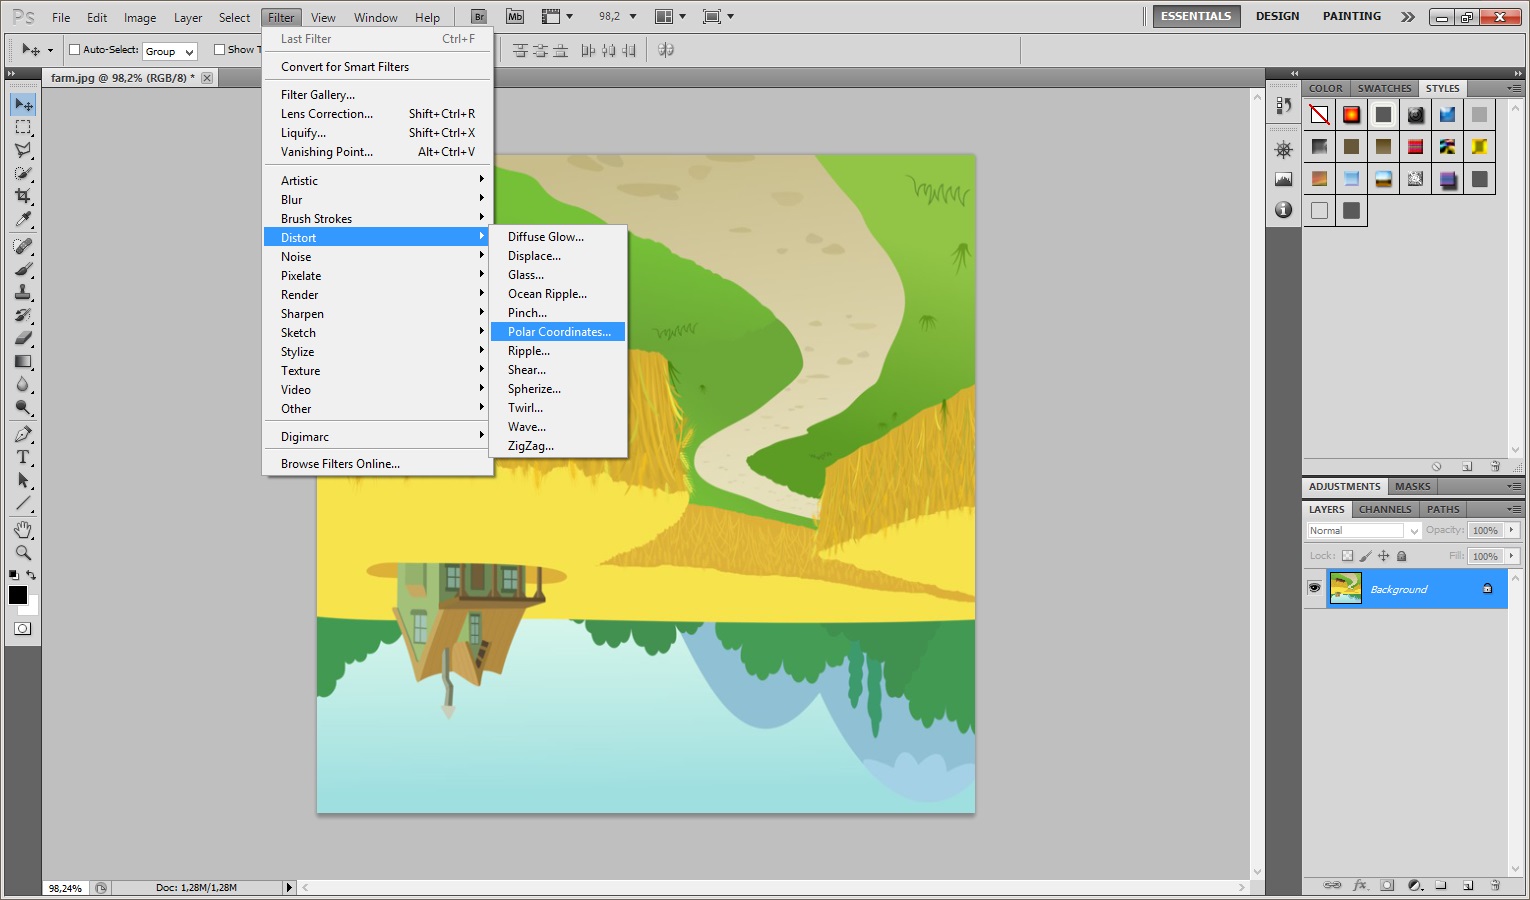
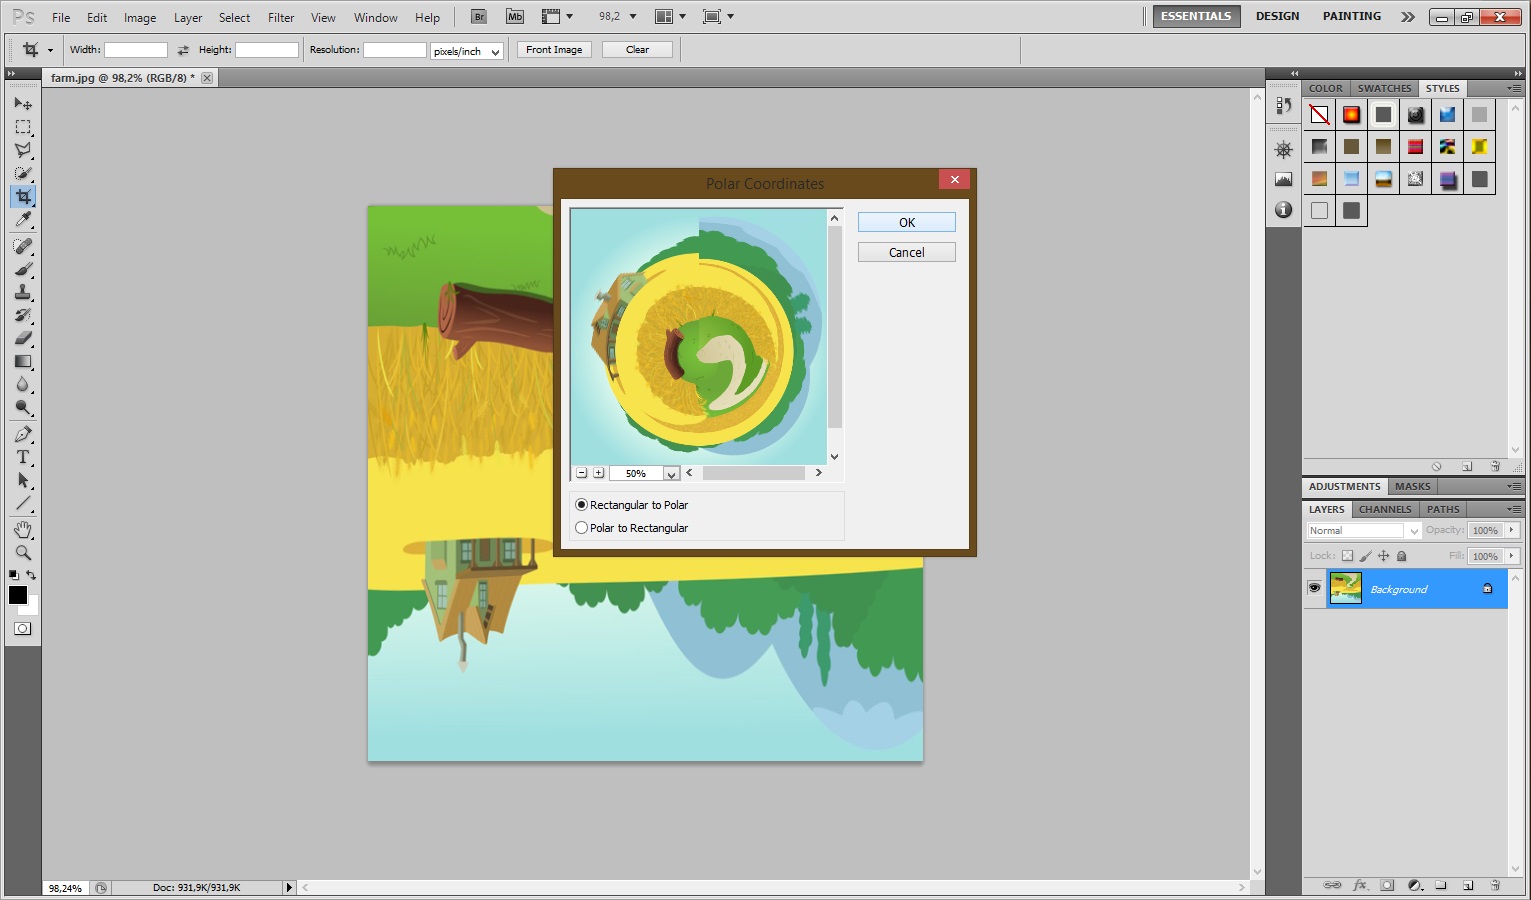
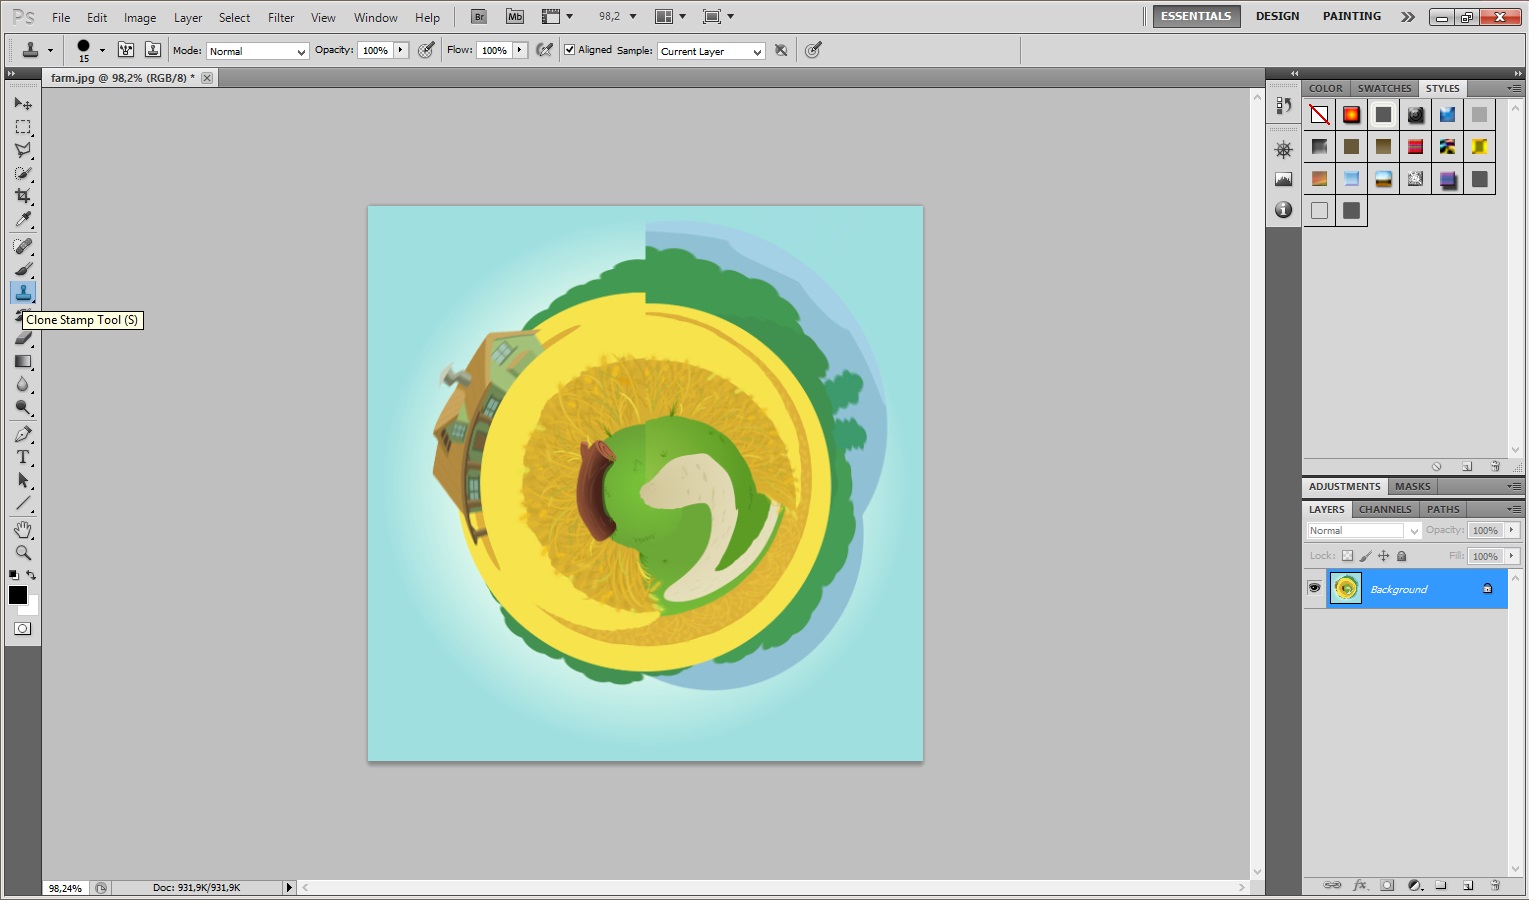
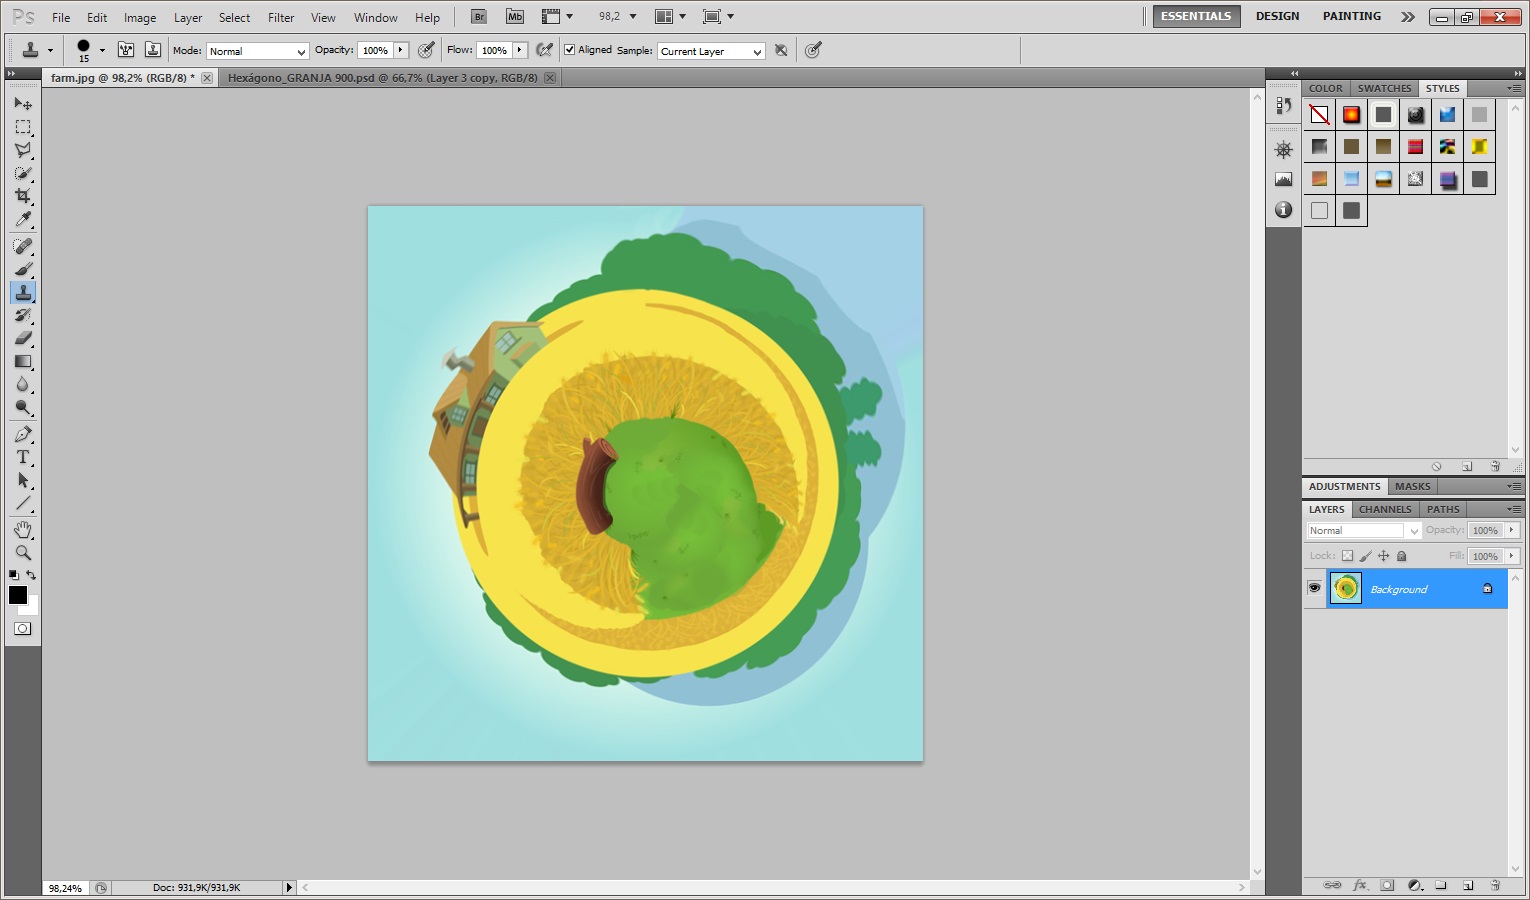
Once you had selected your habitats, the first thing you need to do is prepare the image for the Polar filter. Do this by stretching the height of the image so that the image is a perfect square.
- Select: Image > Image Size from the menus. Uncheck ‘Constrain Proporties’ and set the “height” to the same value as your “width”.
- Next, rotate the image 180 degrees. (Image>Rotate Canvas>180)
- Now choose: Filter > Distort > Polar Coordinates. In the dialog box, select the “Rectangular to Polar” setting. (If you’re using The Gimp the command is Filters > Distorts > Polar Coords.)
Making the Final Composition
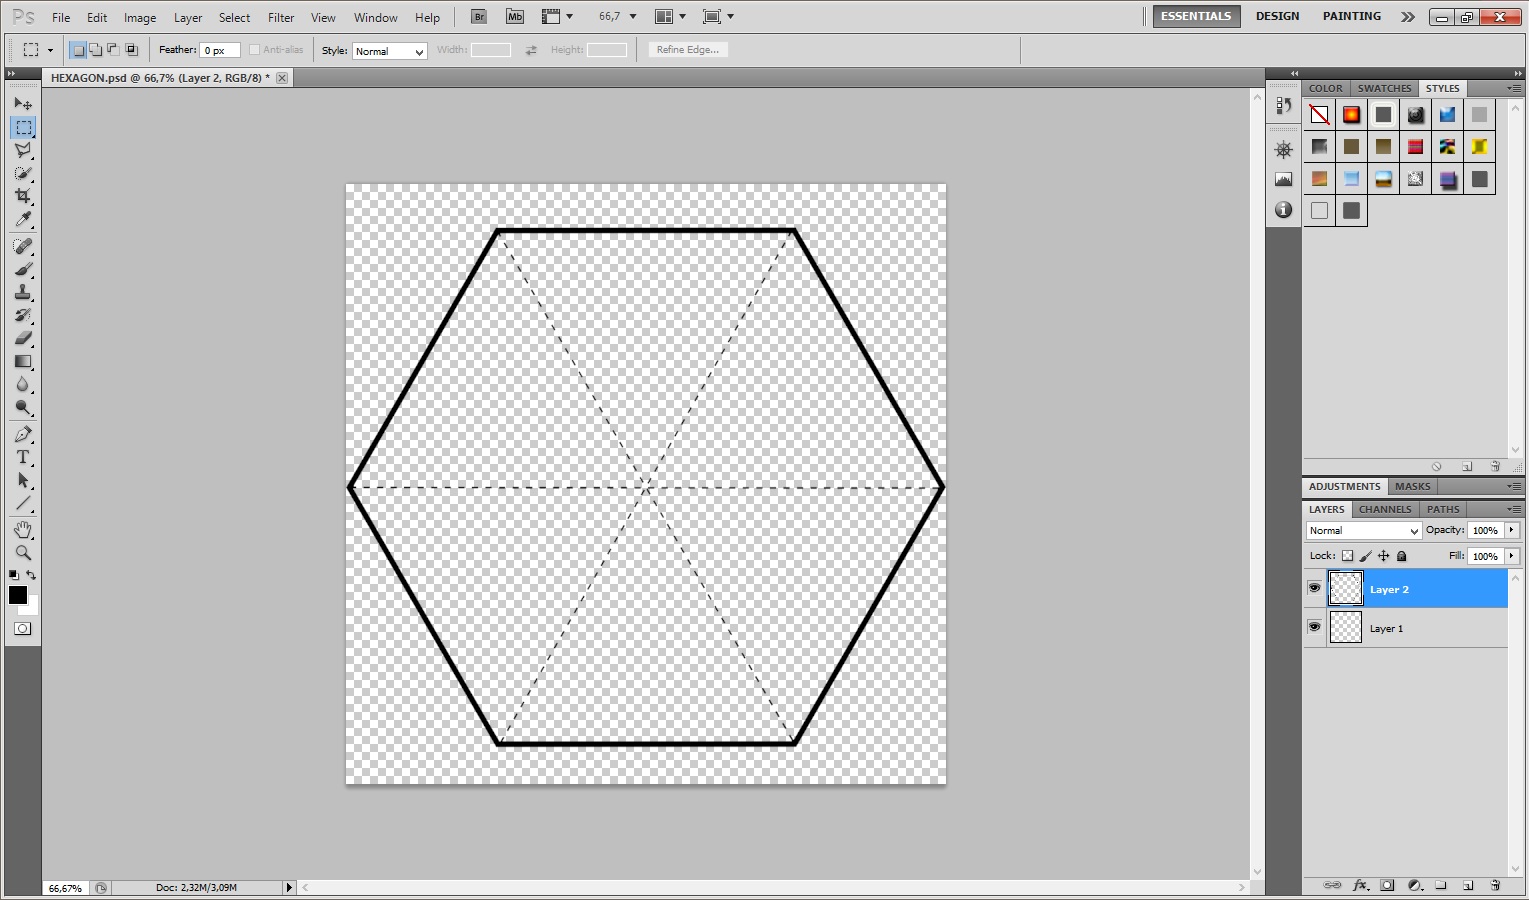
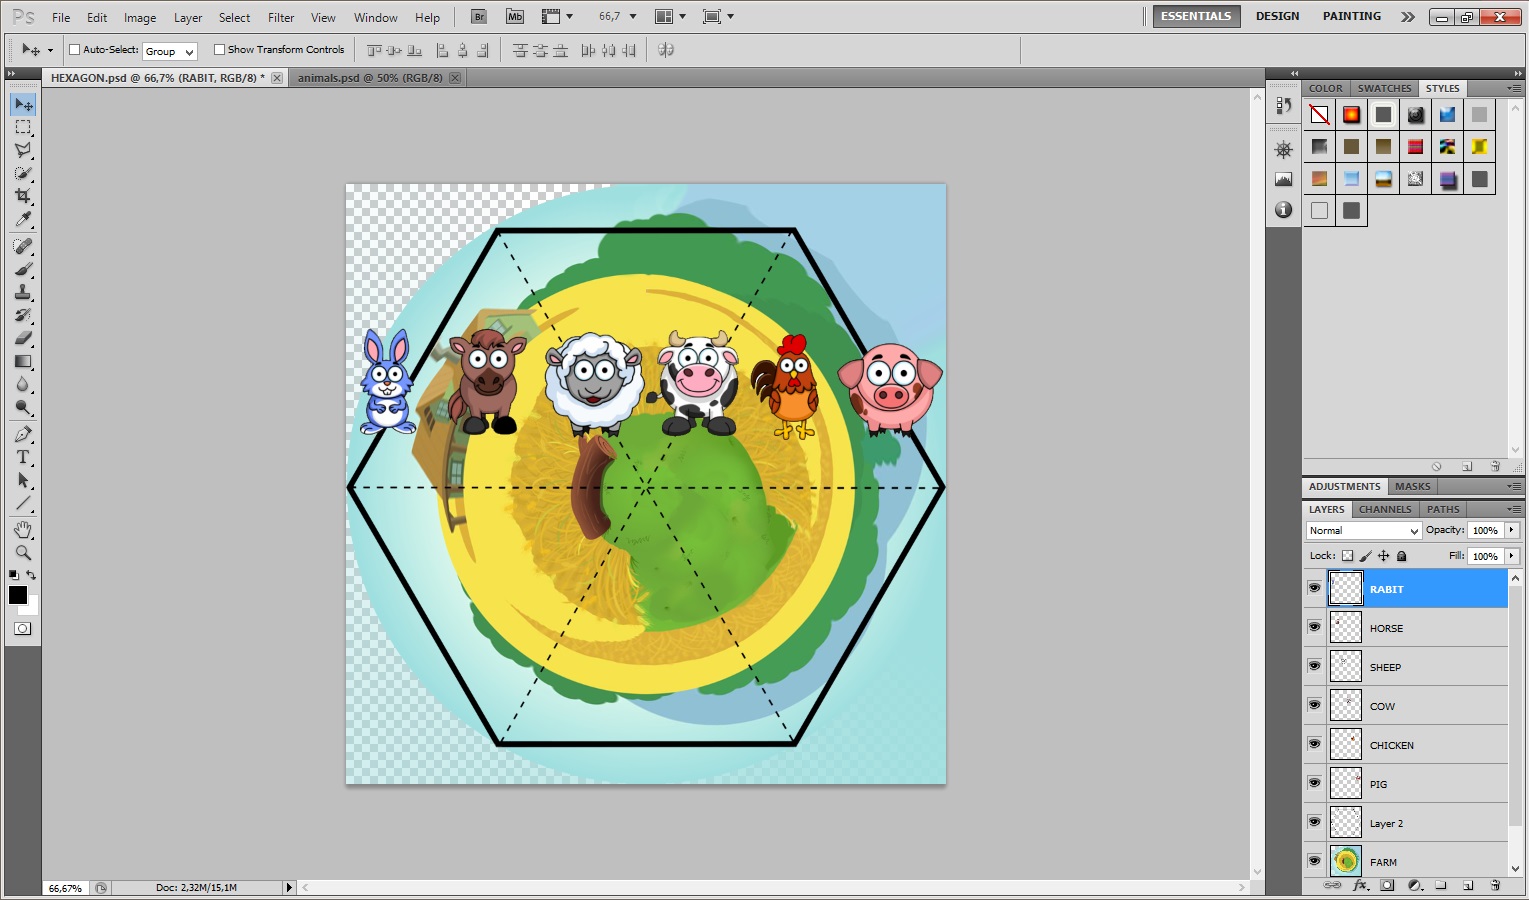
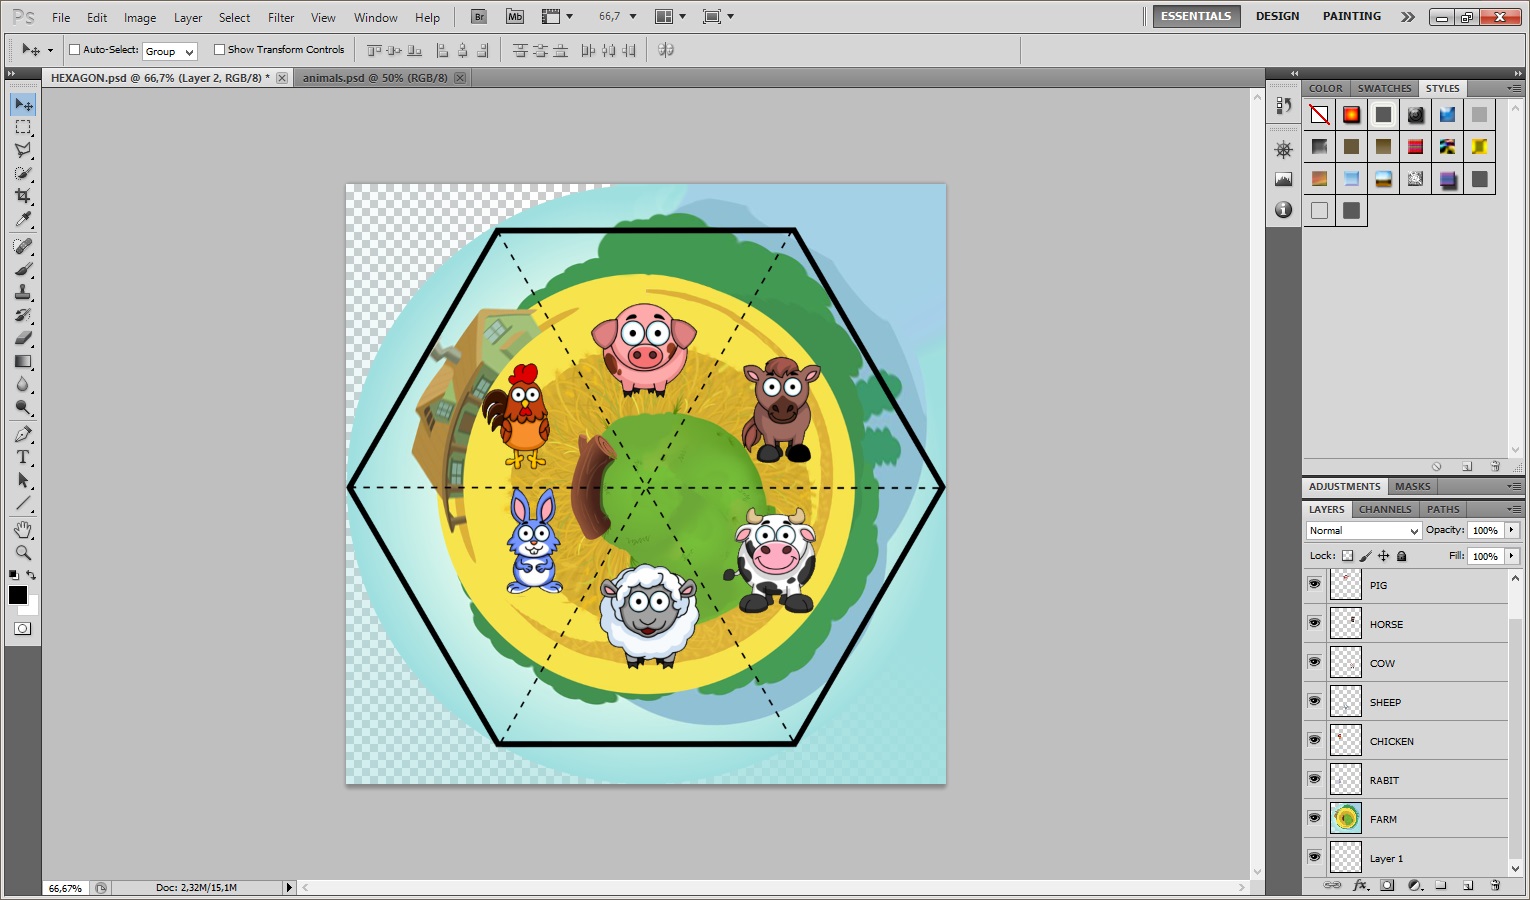
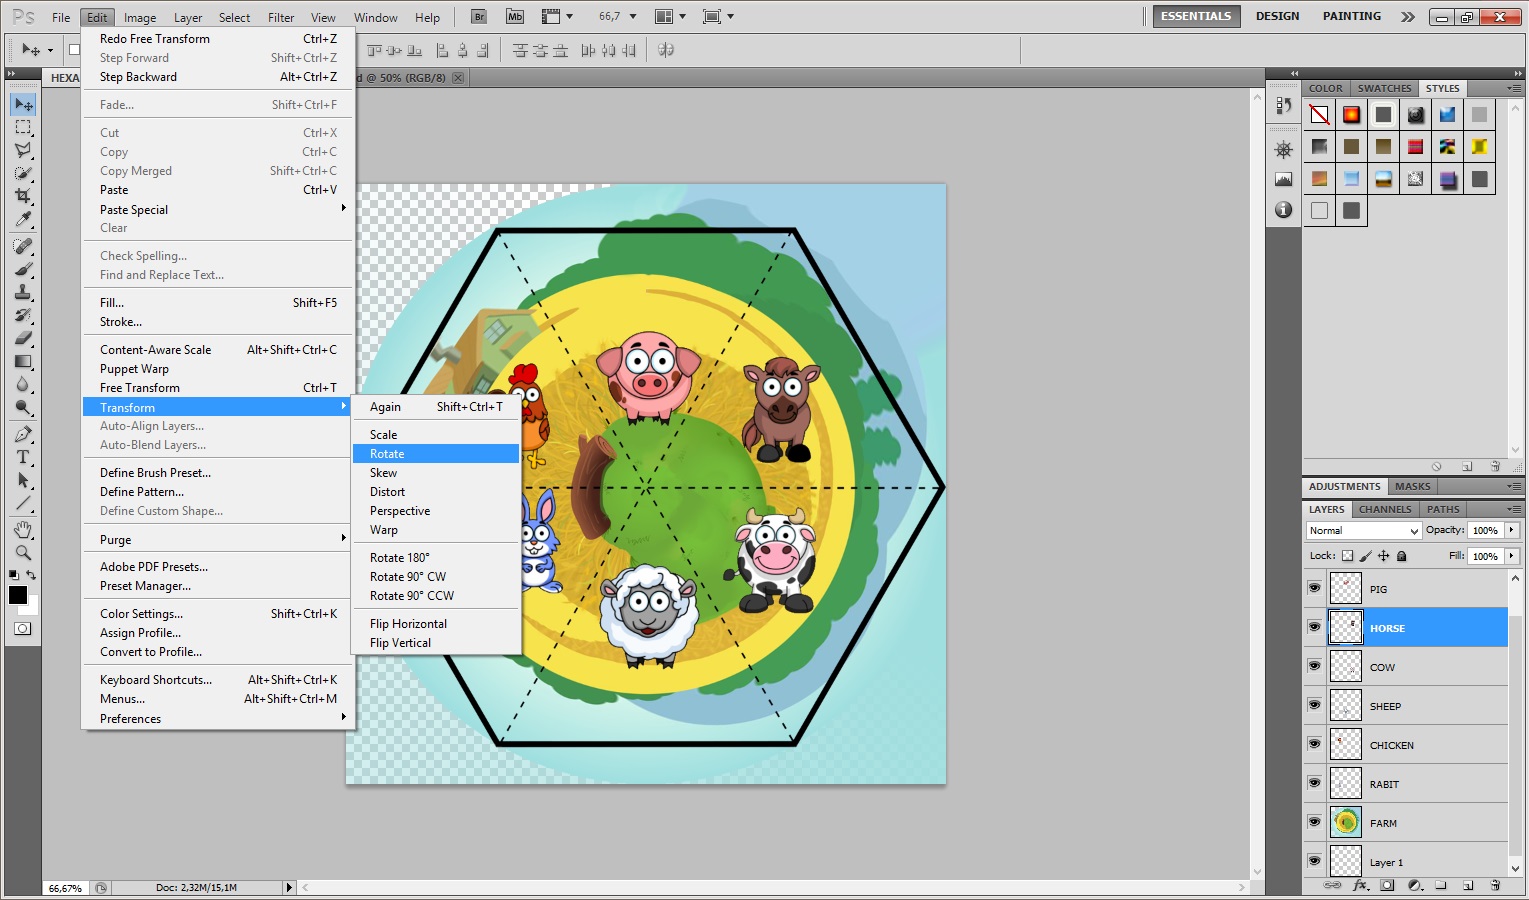
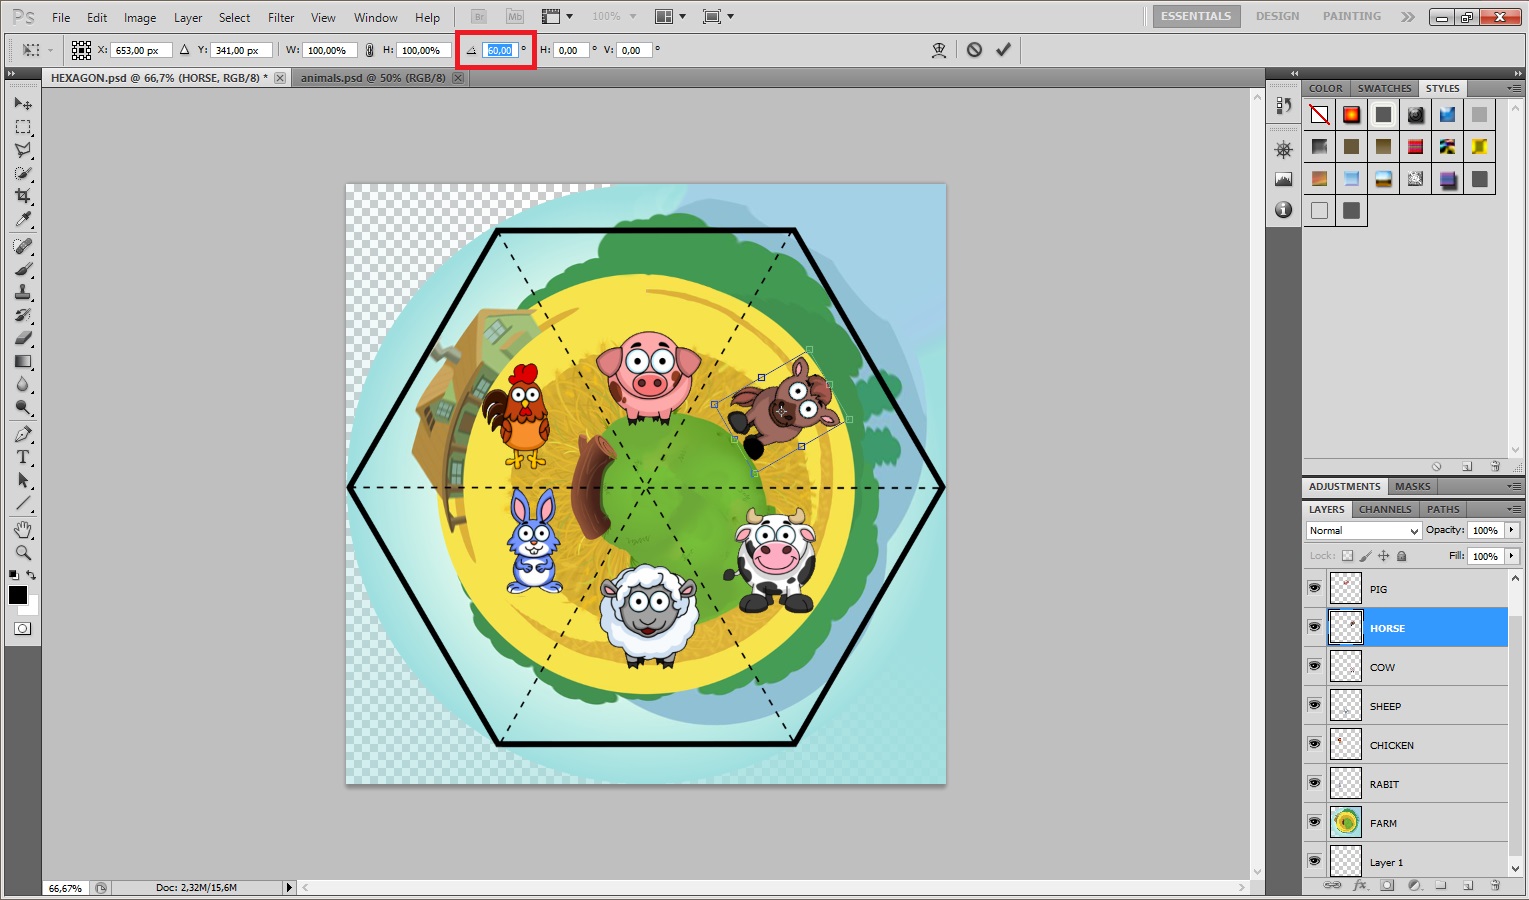
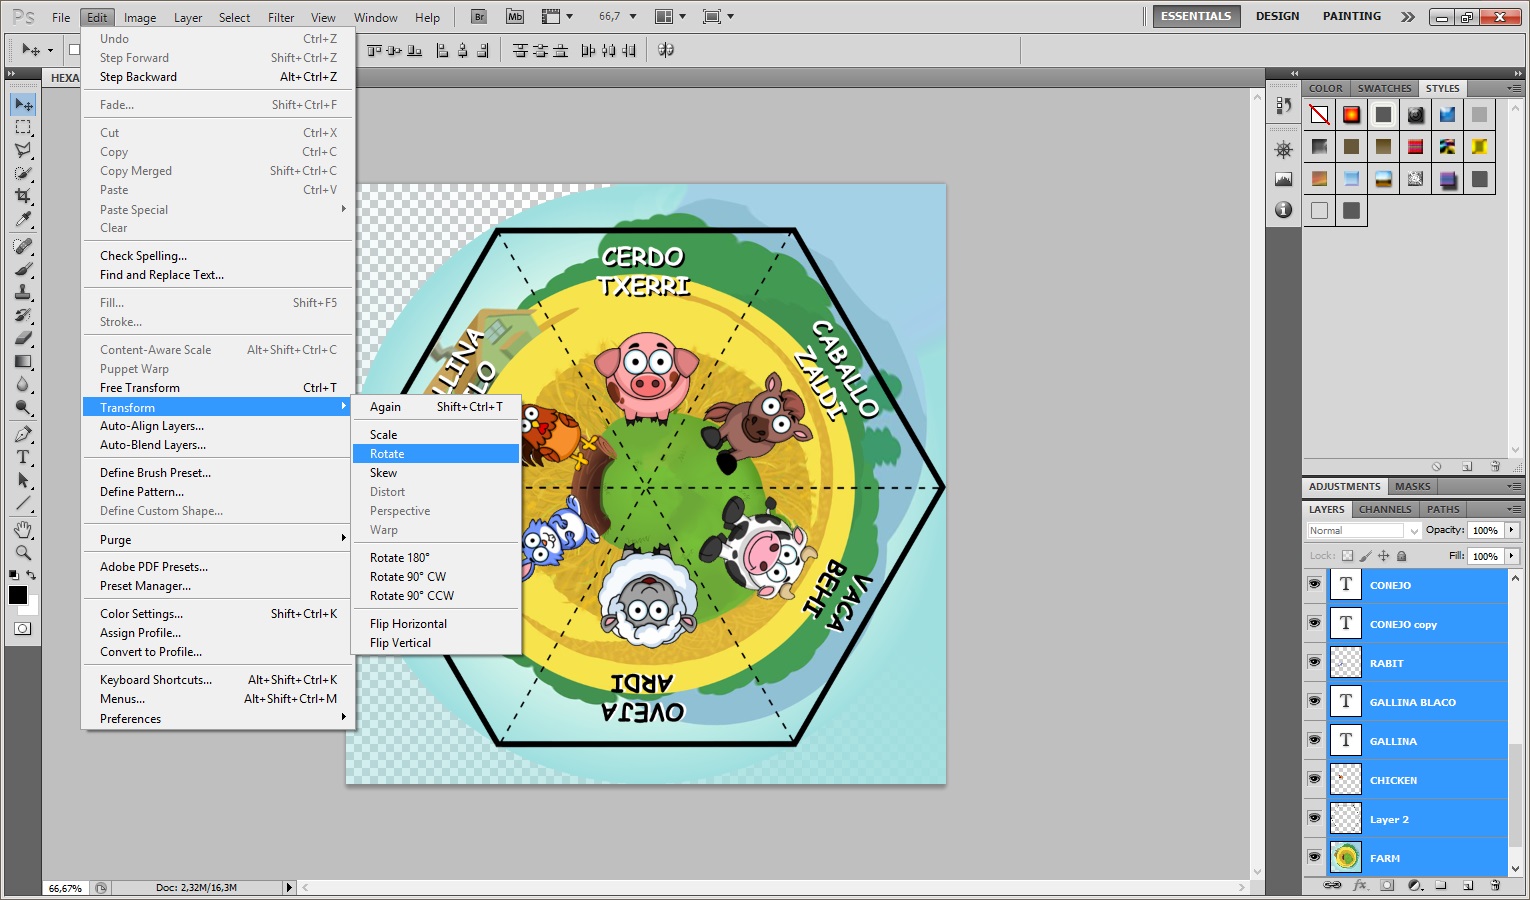
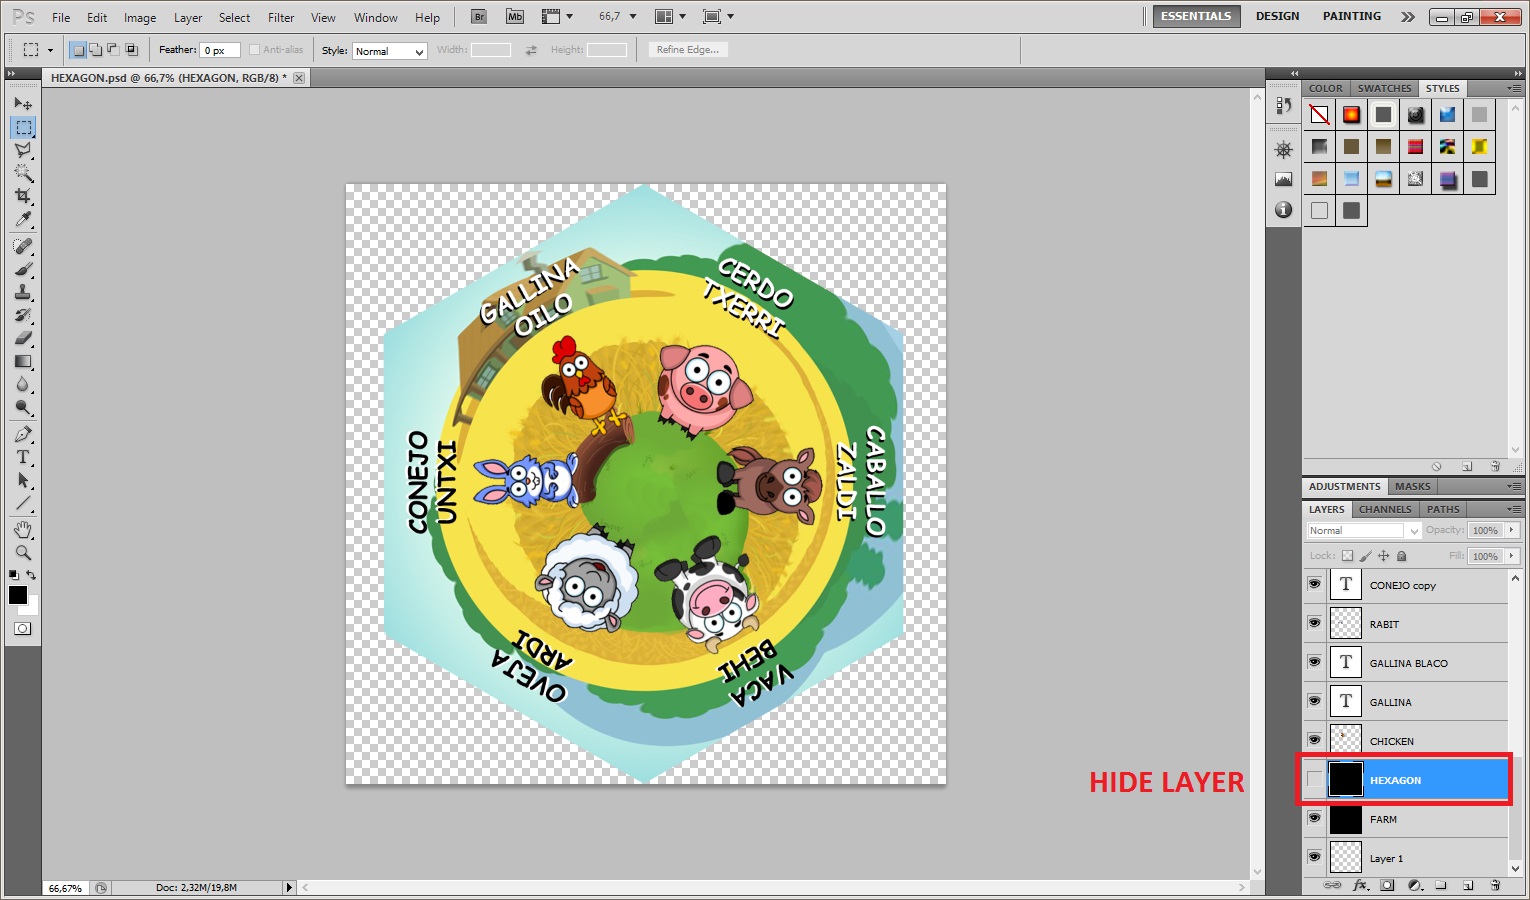
- For the final composition you have to open the hexagon file.
- Now drag the background and the six animals of that habitat to this file.
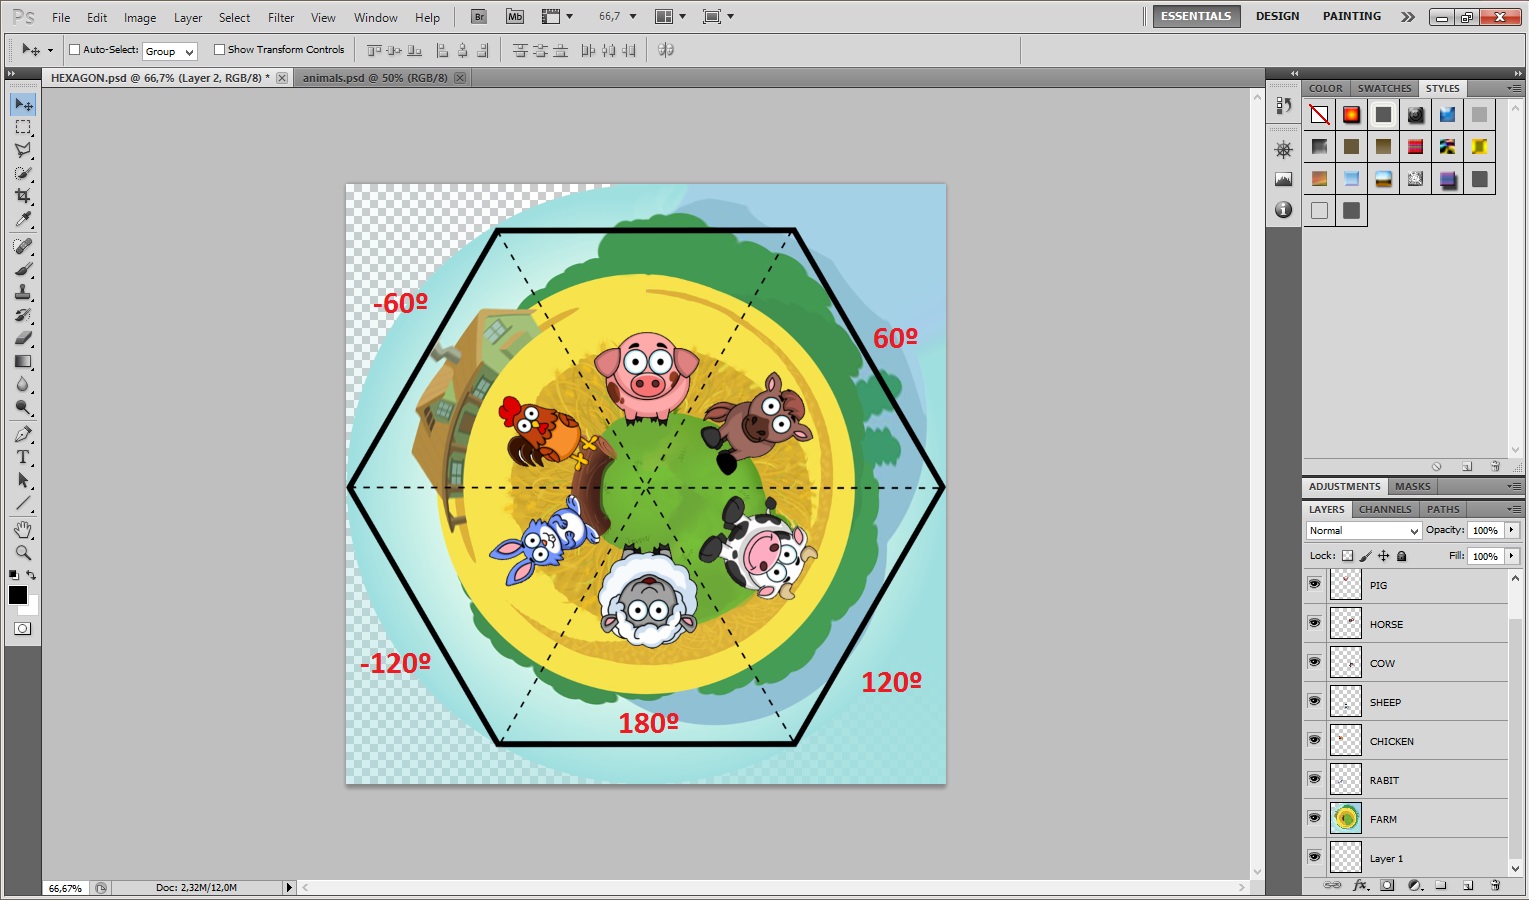
- Select the sector of each animal. I decided to put the rabit and the chicken on the log to conect the background to the animals.
- Rotate the animals to their right angle (0, 60º, 120º, 180º, -120º, -60º).
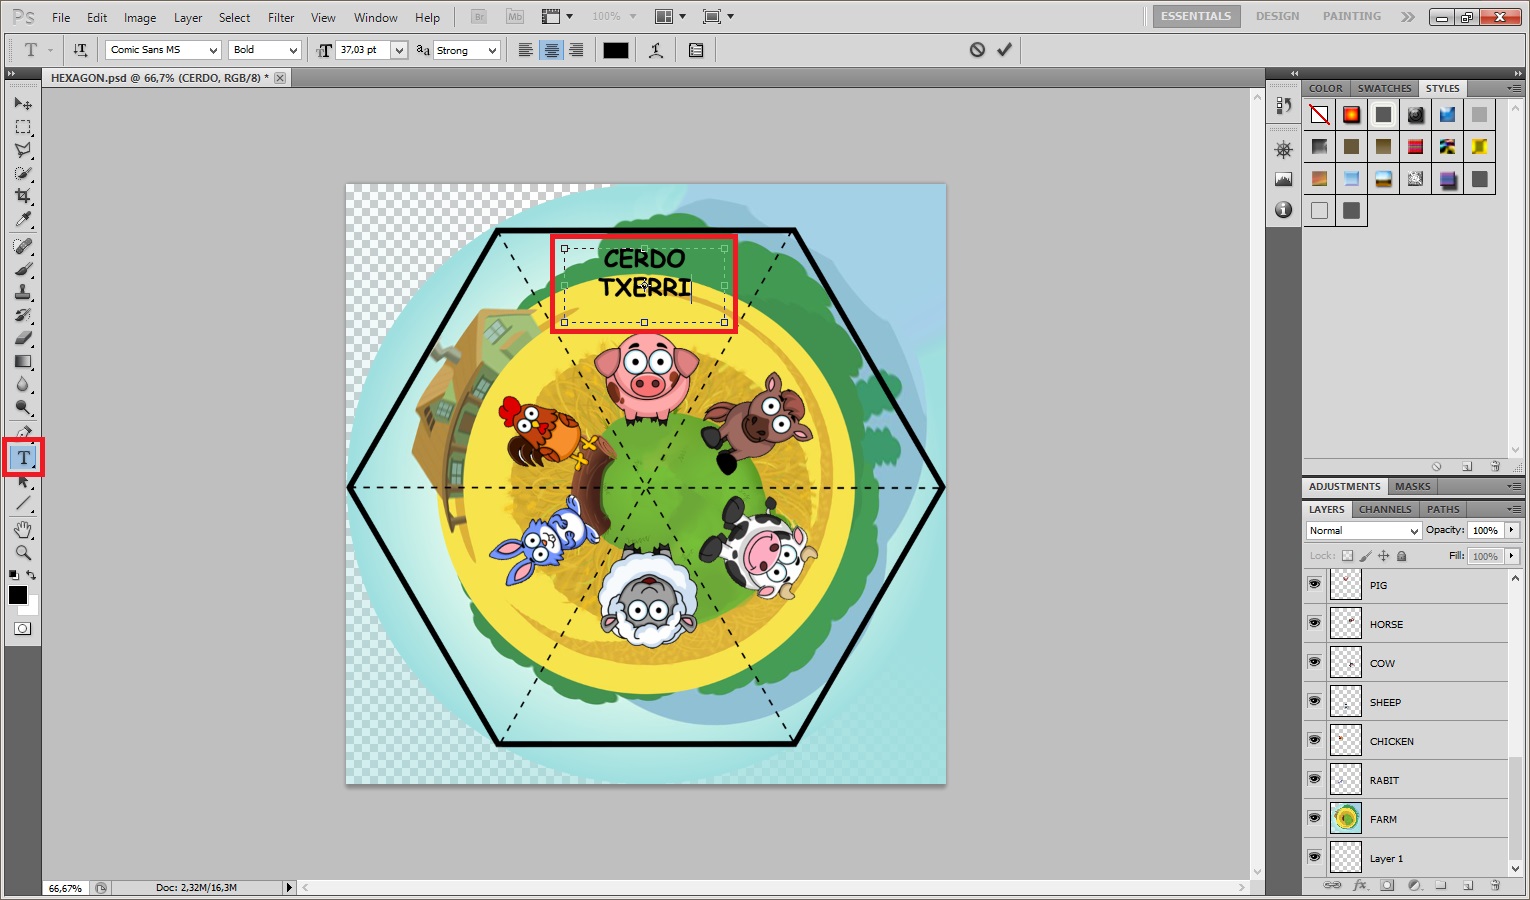
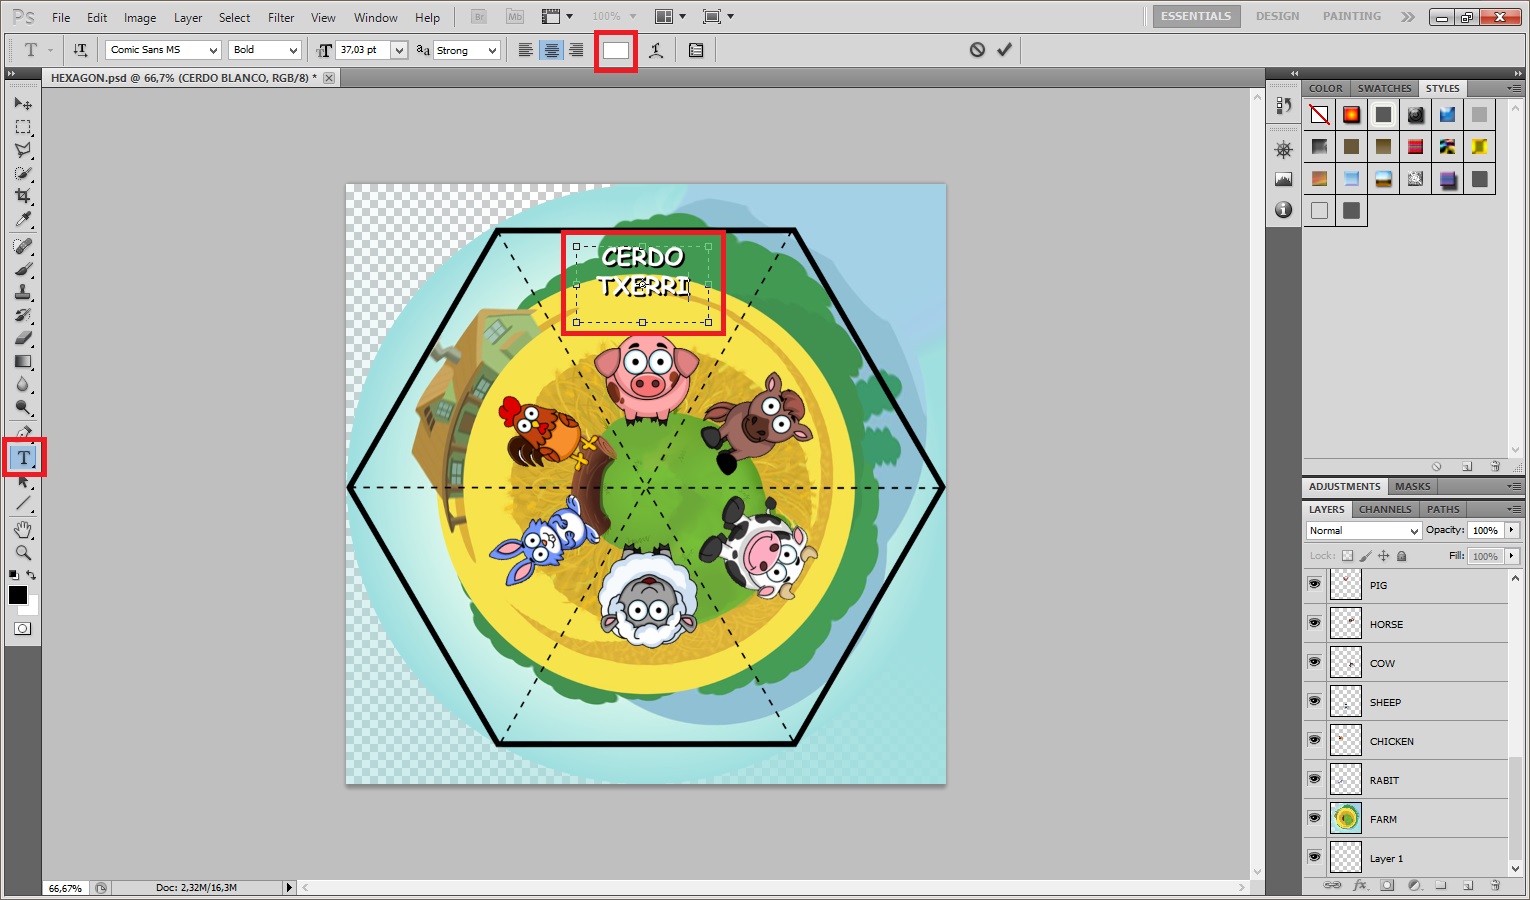
- Now select "Horizontal Type Tool" and write the name of one of the animals choosing black as font color. Then duplicate that layer, select the text and change the color to white. Move the layer in the back a few pixels to the right and down to make a shadow that makes easier to read the name. Depending on the color of the background (if it is too light) you might prefer to put the black text in the front (cow, sheep and rabbit). Repeat the process for each animal.
- Rotate the names to their right angle (0, 60º, 120º, 180º, -120º, -60º).
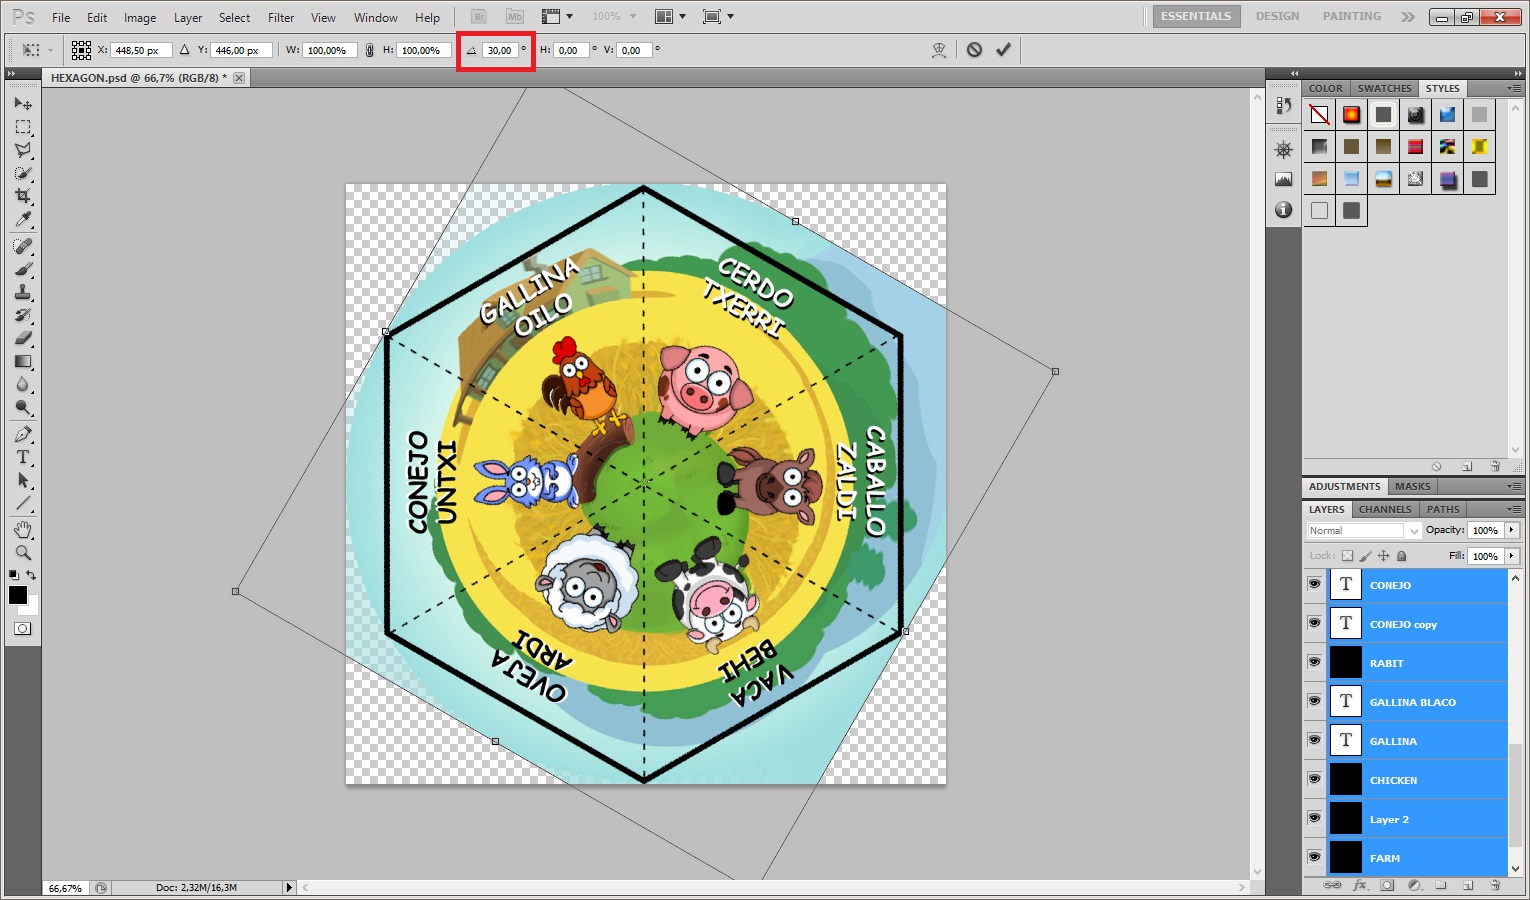
- Select all layers and click on Edit > Transform > Rotate, and rotate all layers 30º so that the corner of the hexagon is pointing upwards.
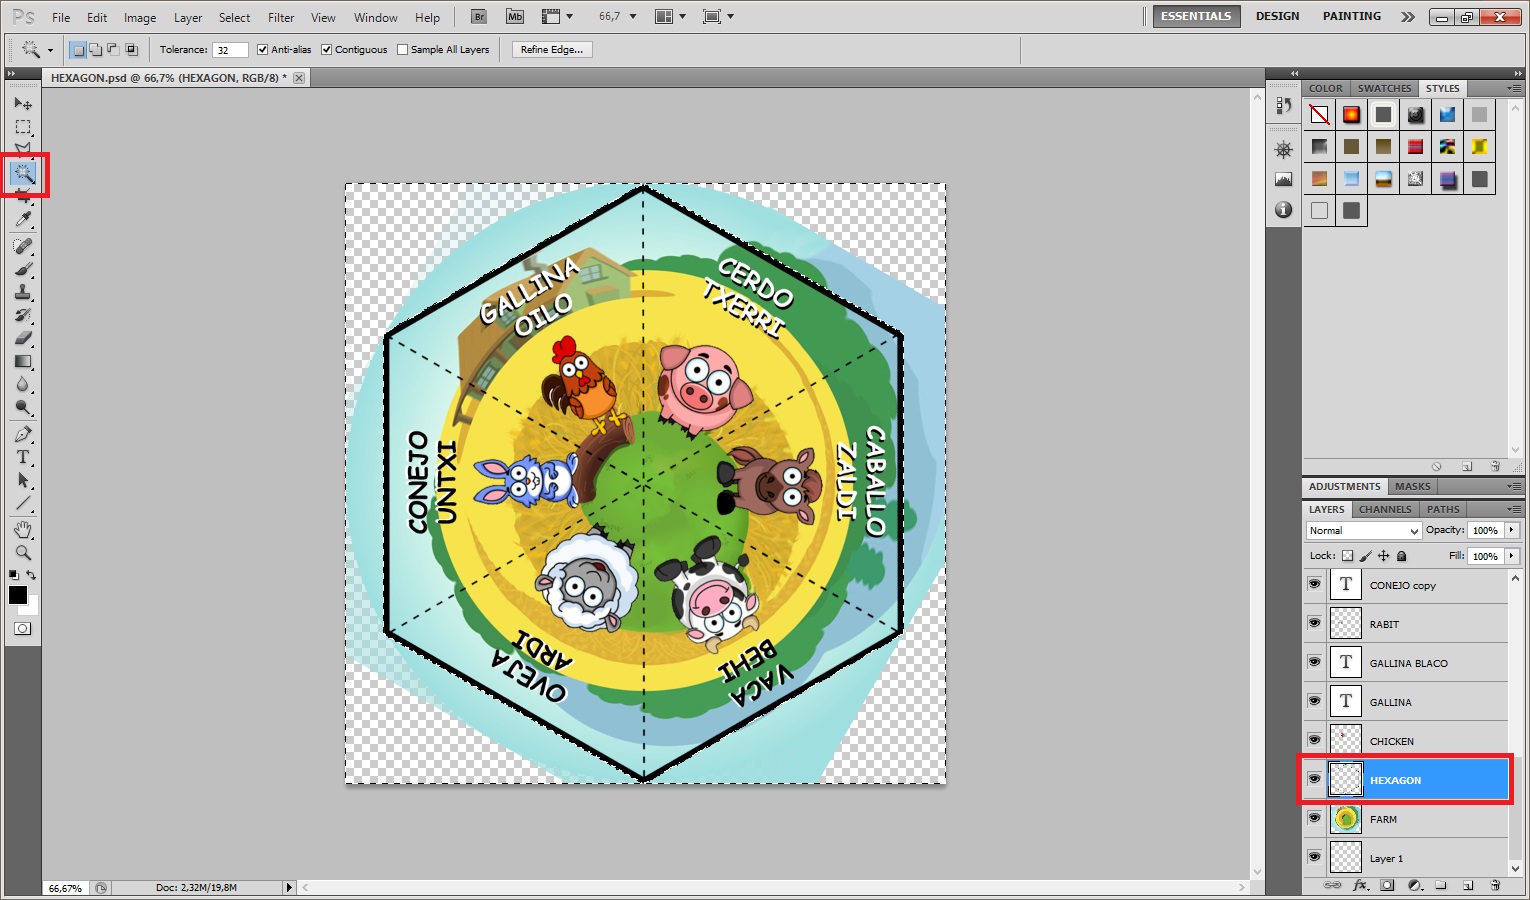
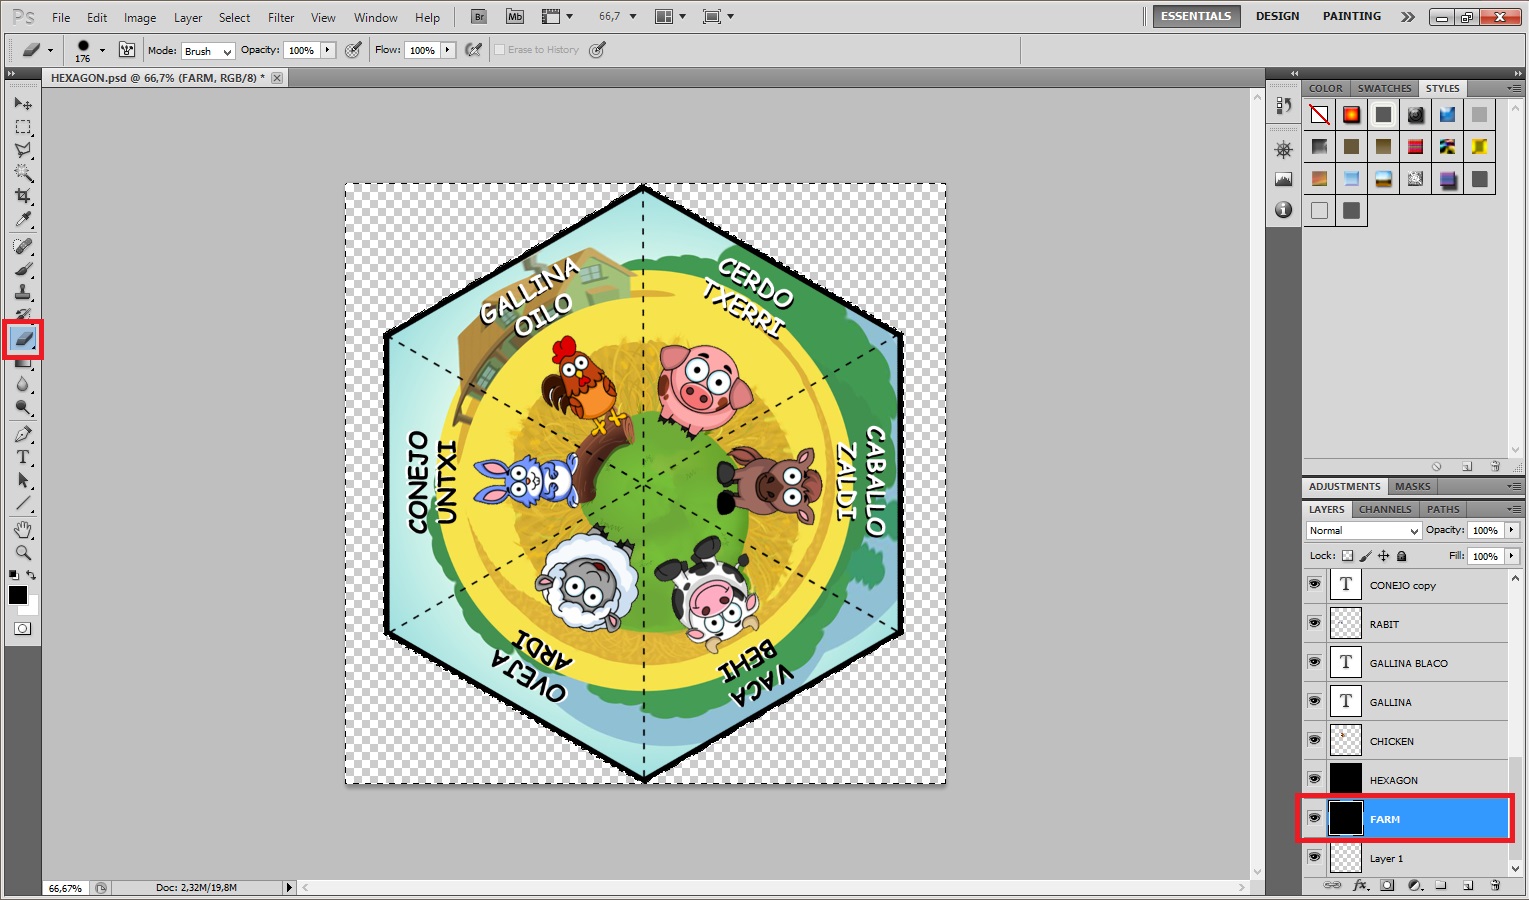
- Select the outer part of the hexagon using "Magic Wand Tool", then select the layer of the background and erase that part.
- Hide layer "Hexagon".
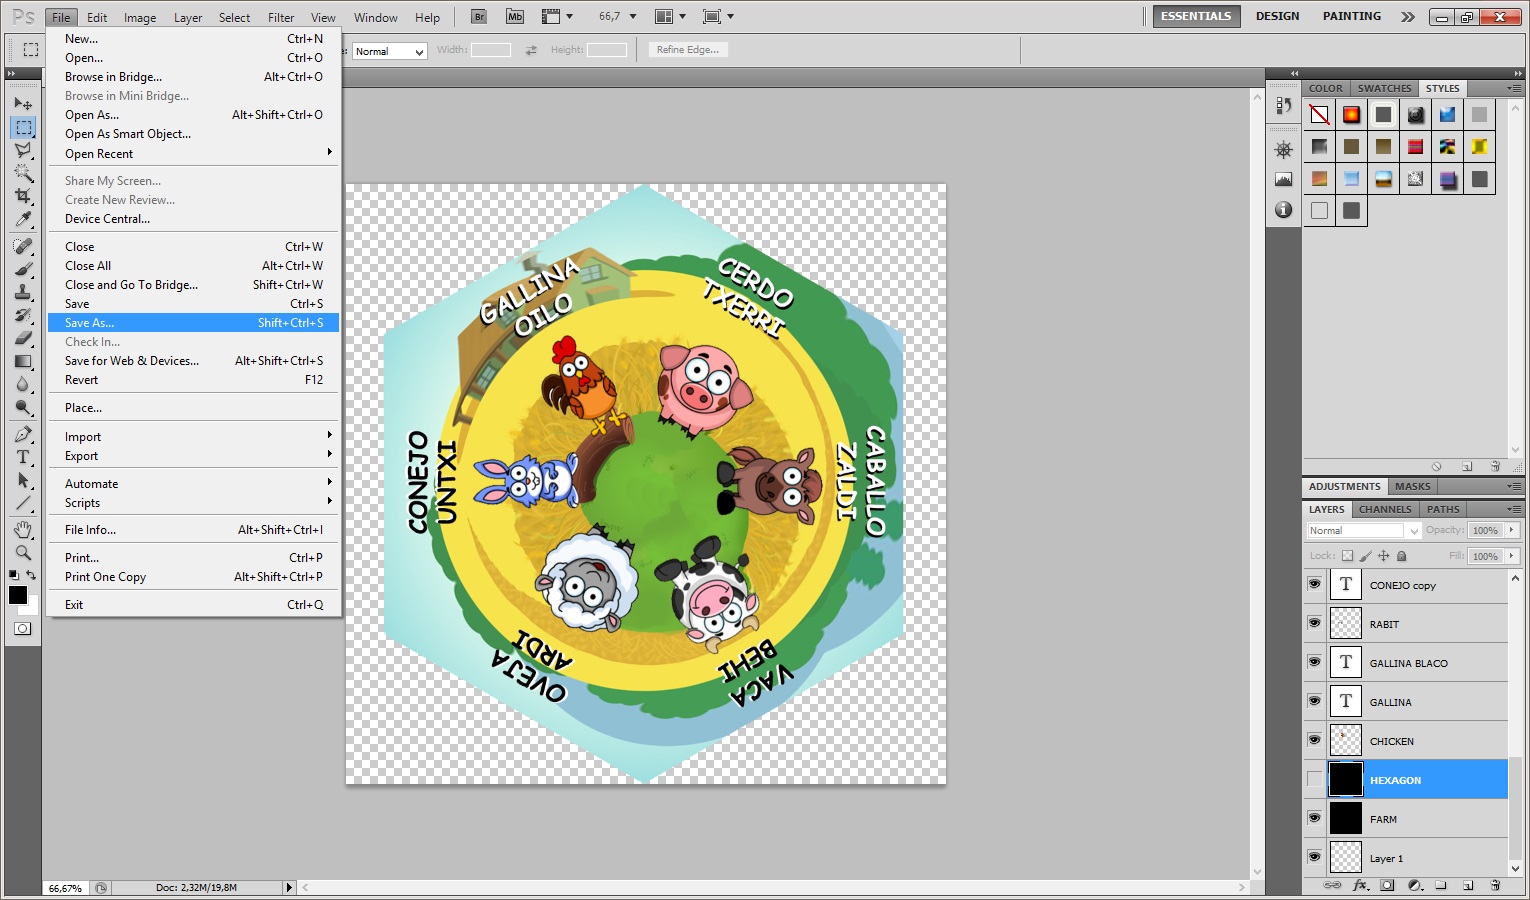
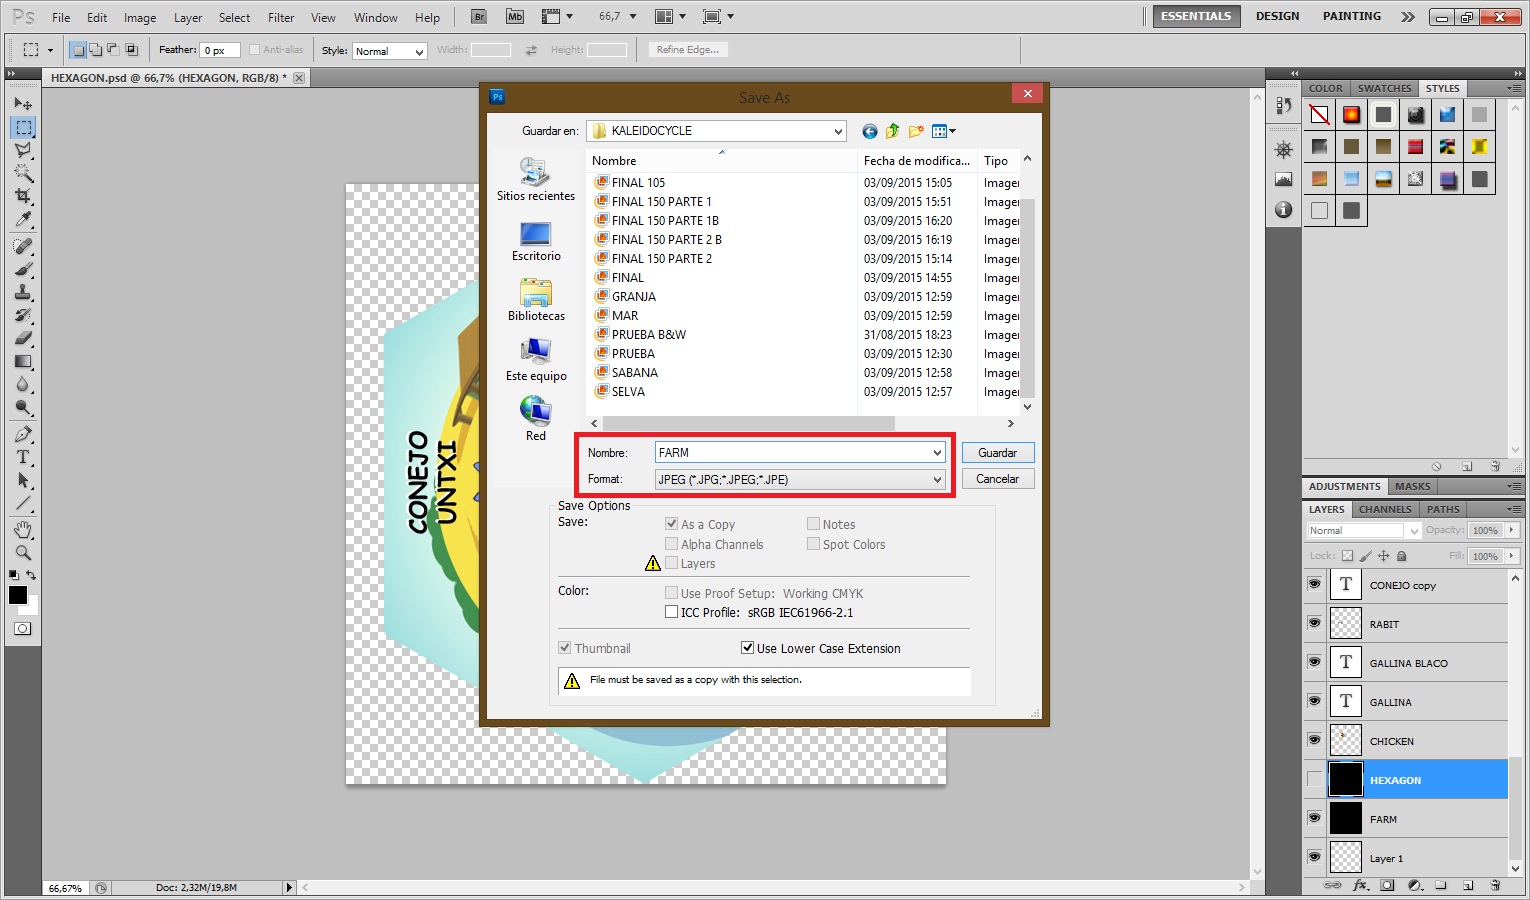
- Click on File > Save as > JPEG and name it using the name of the habitat (farm).
- Repeat the process for each habitat
Making the Kaleidocycle
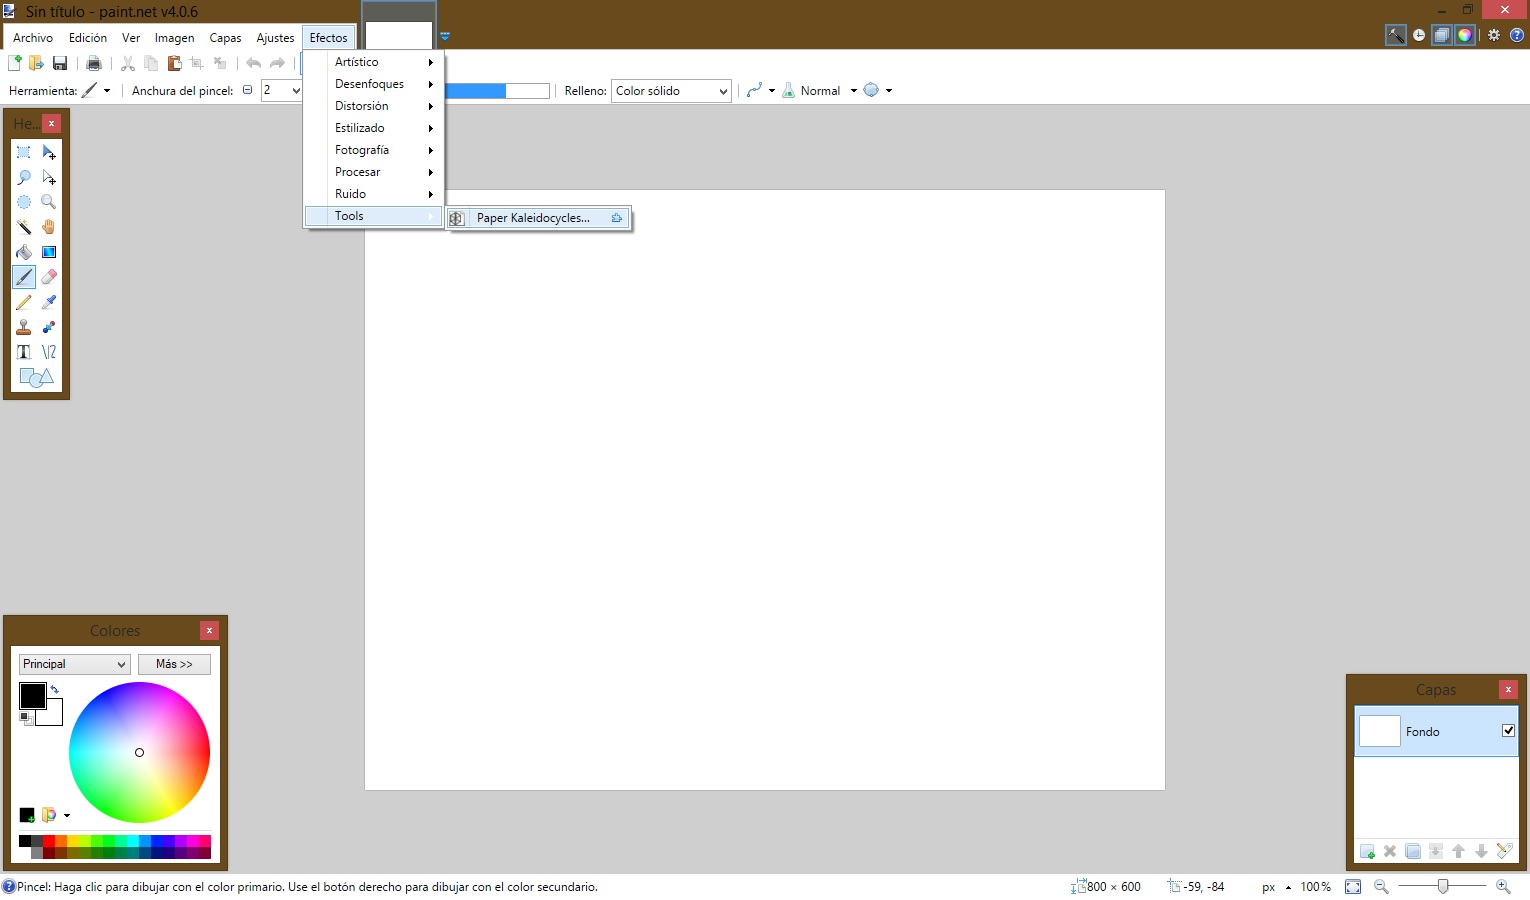
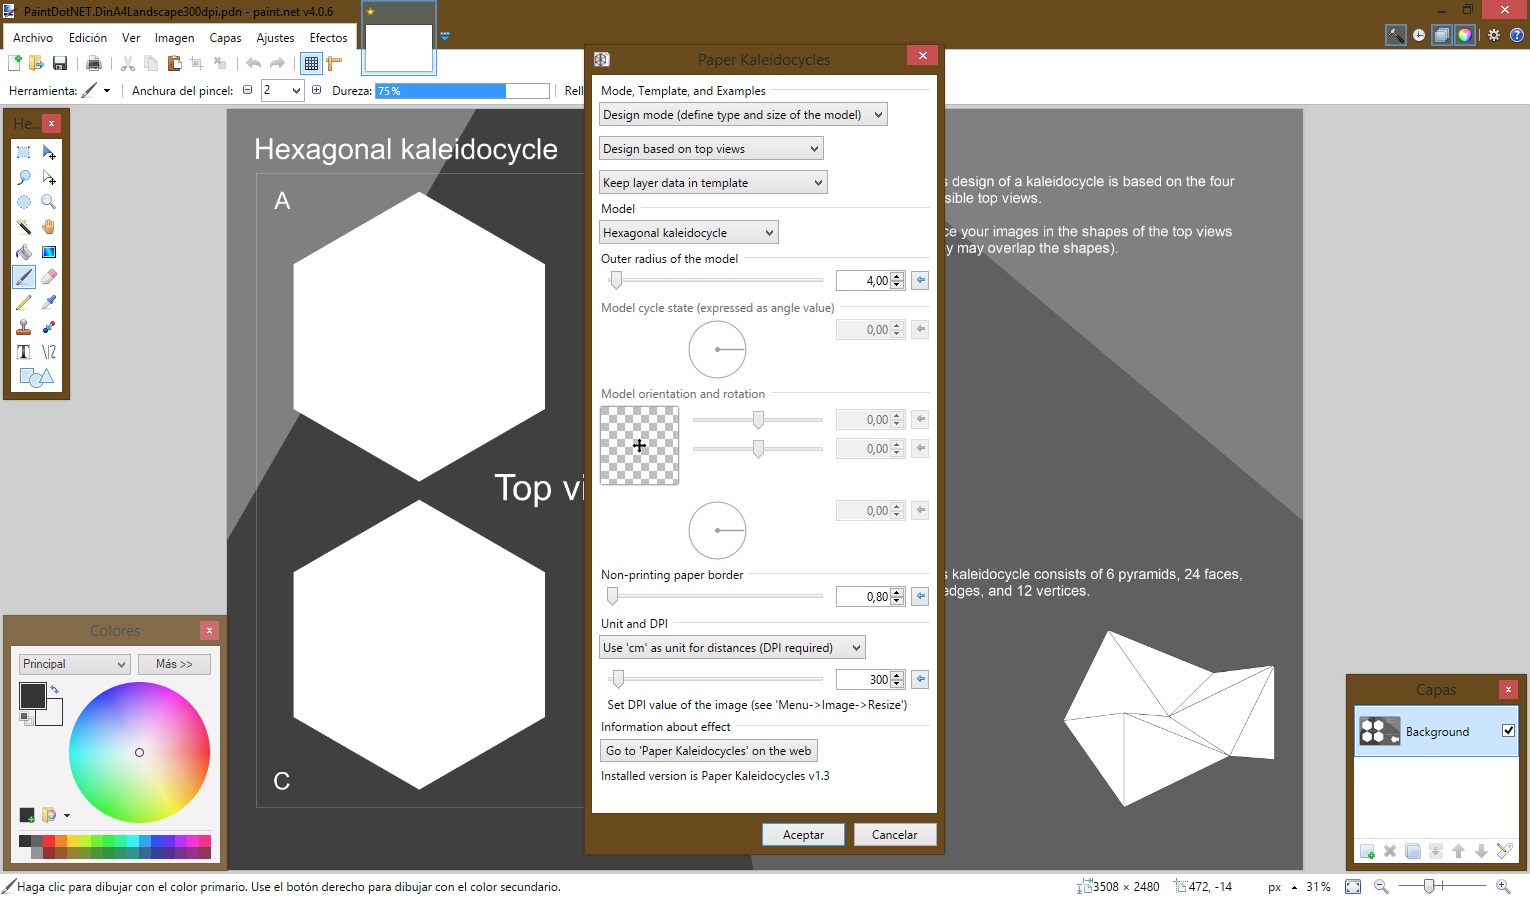
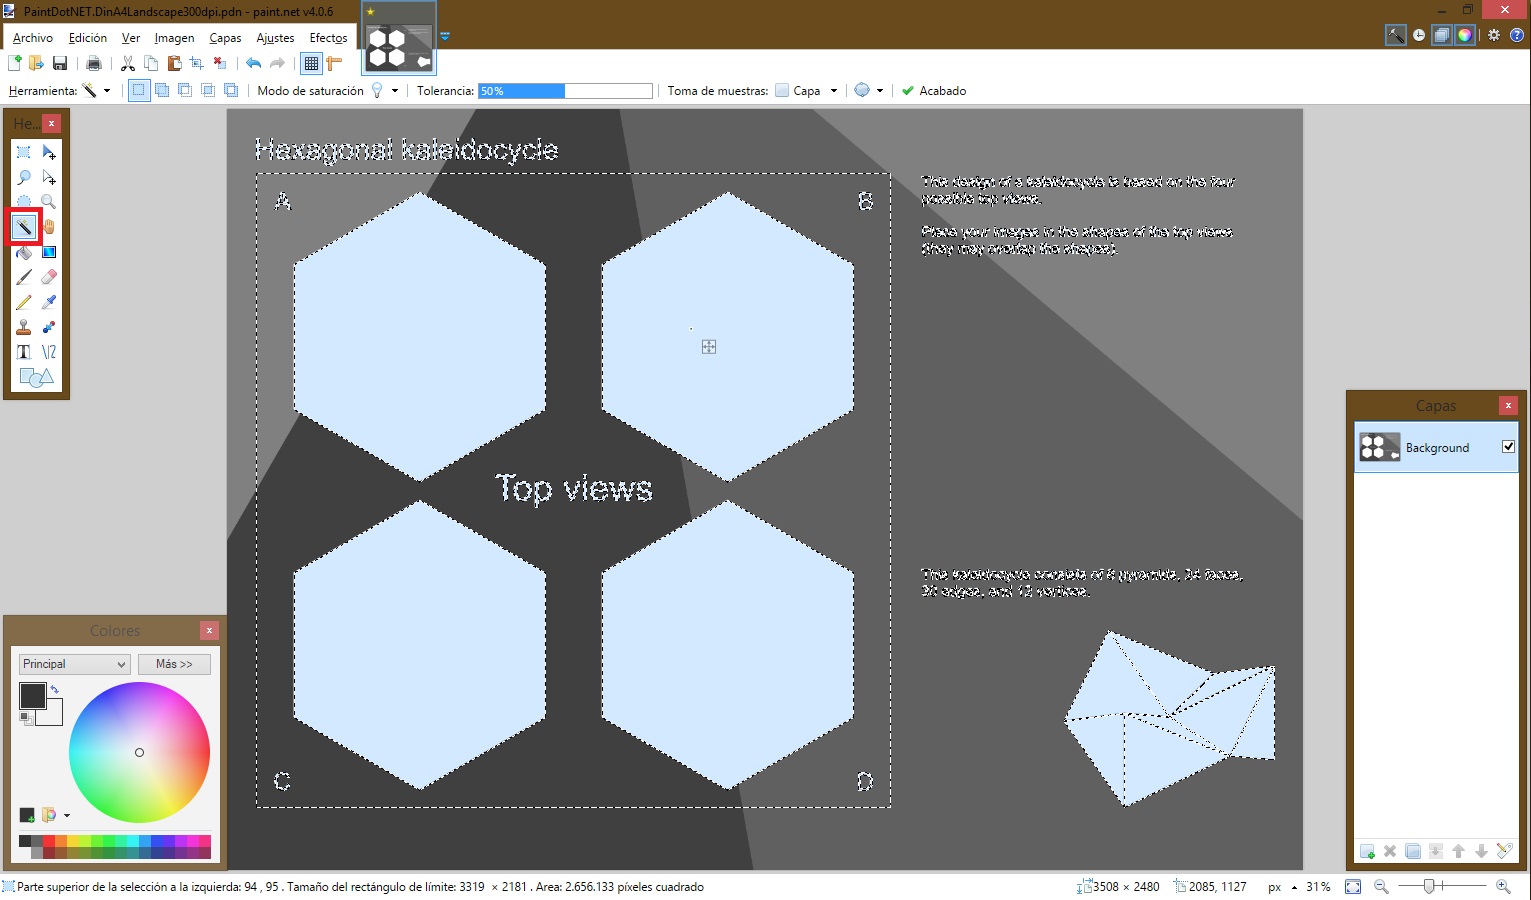
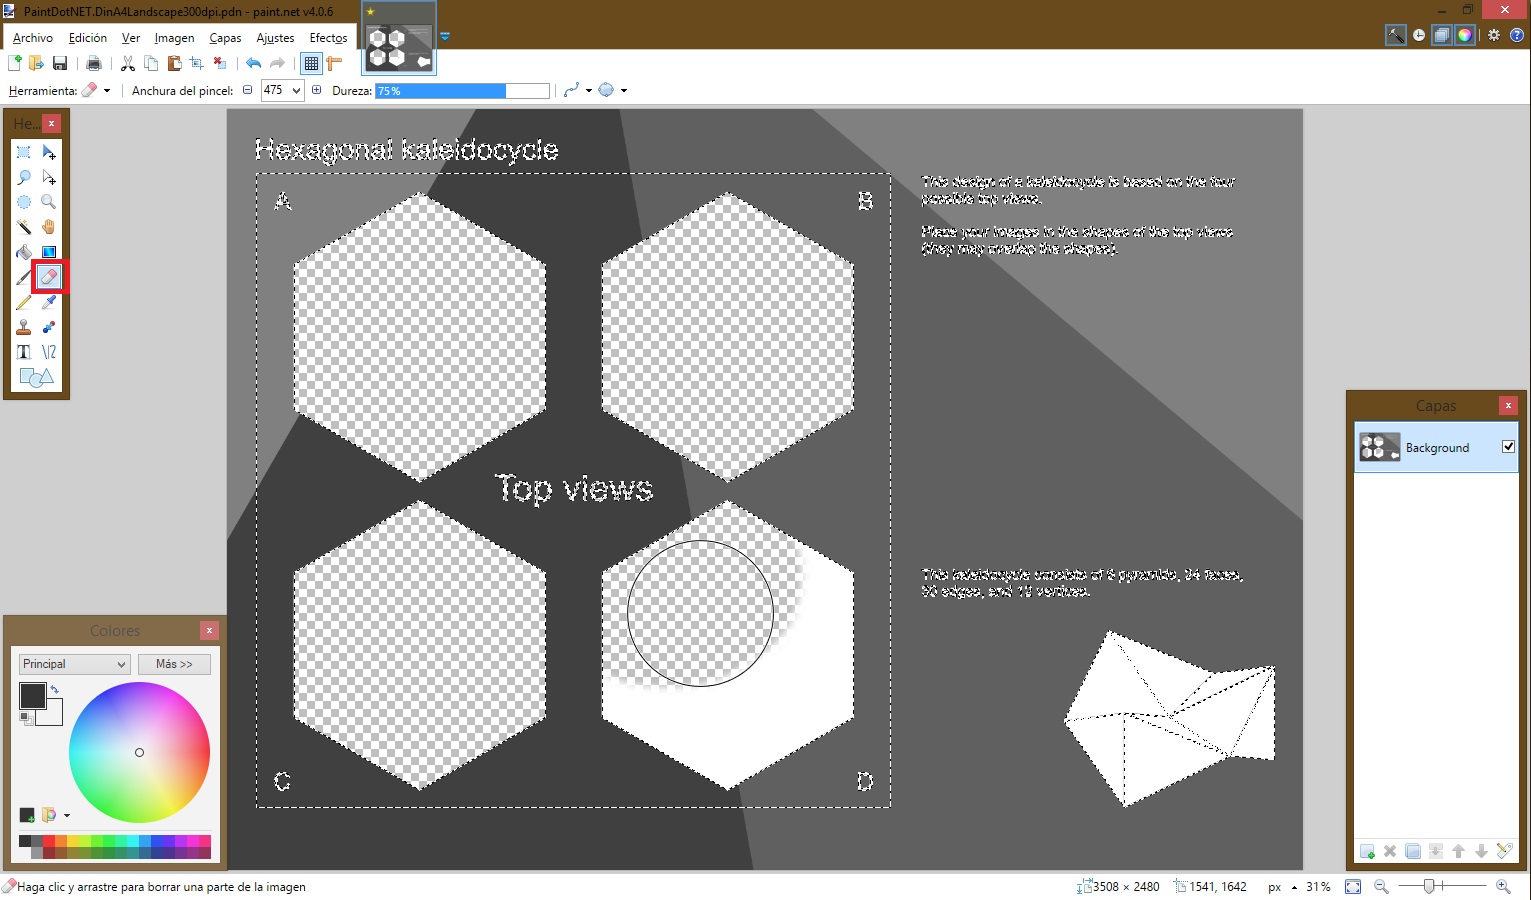
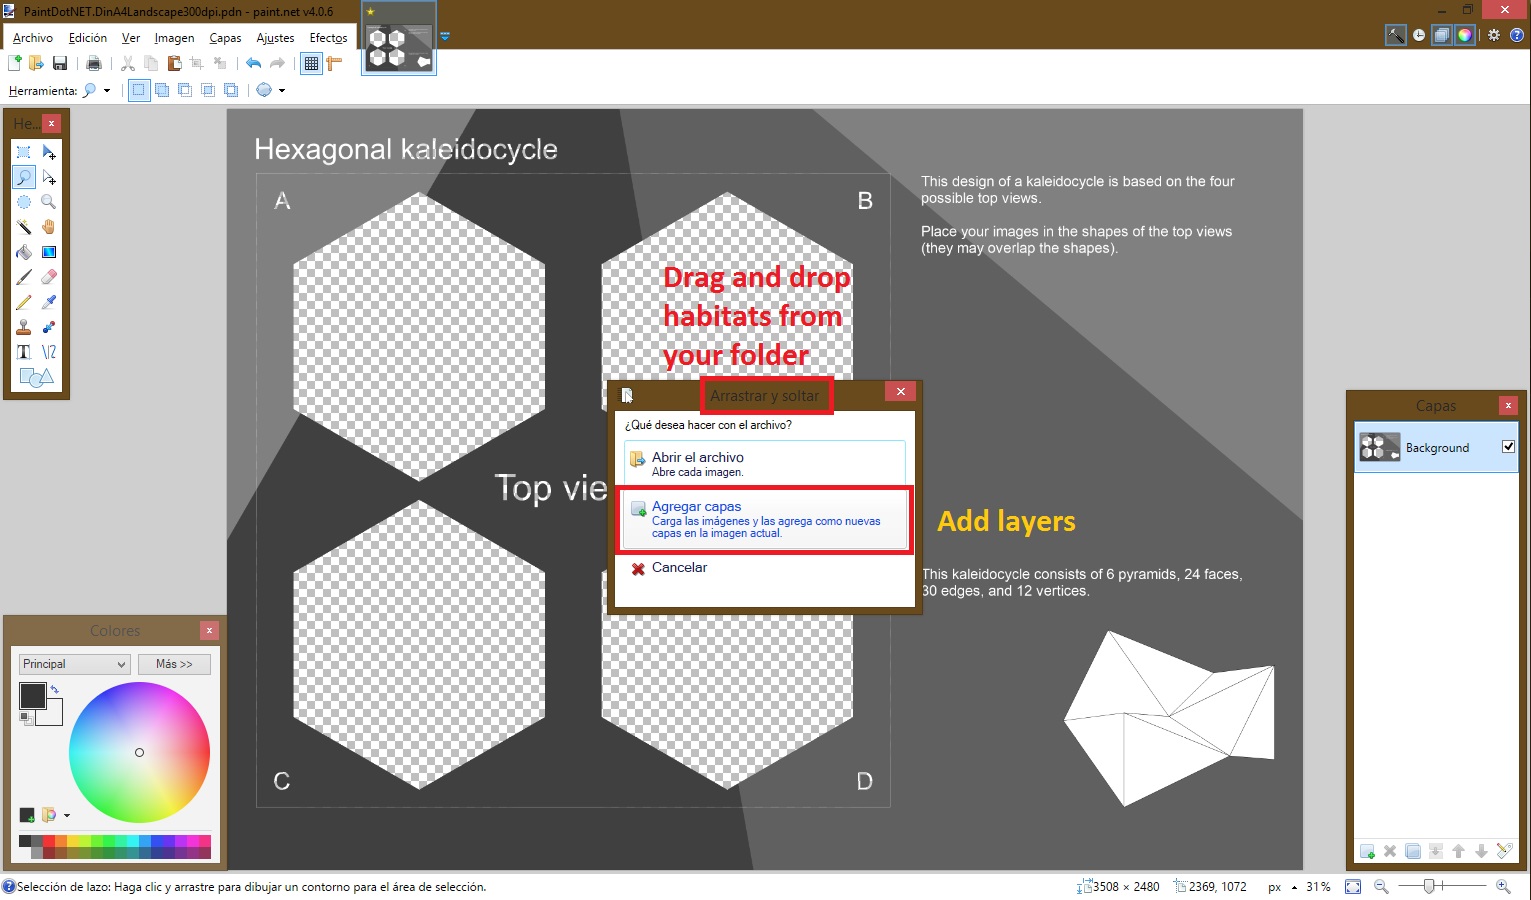
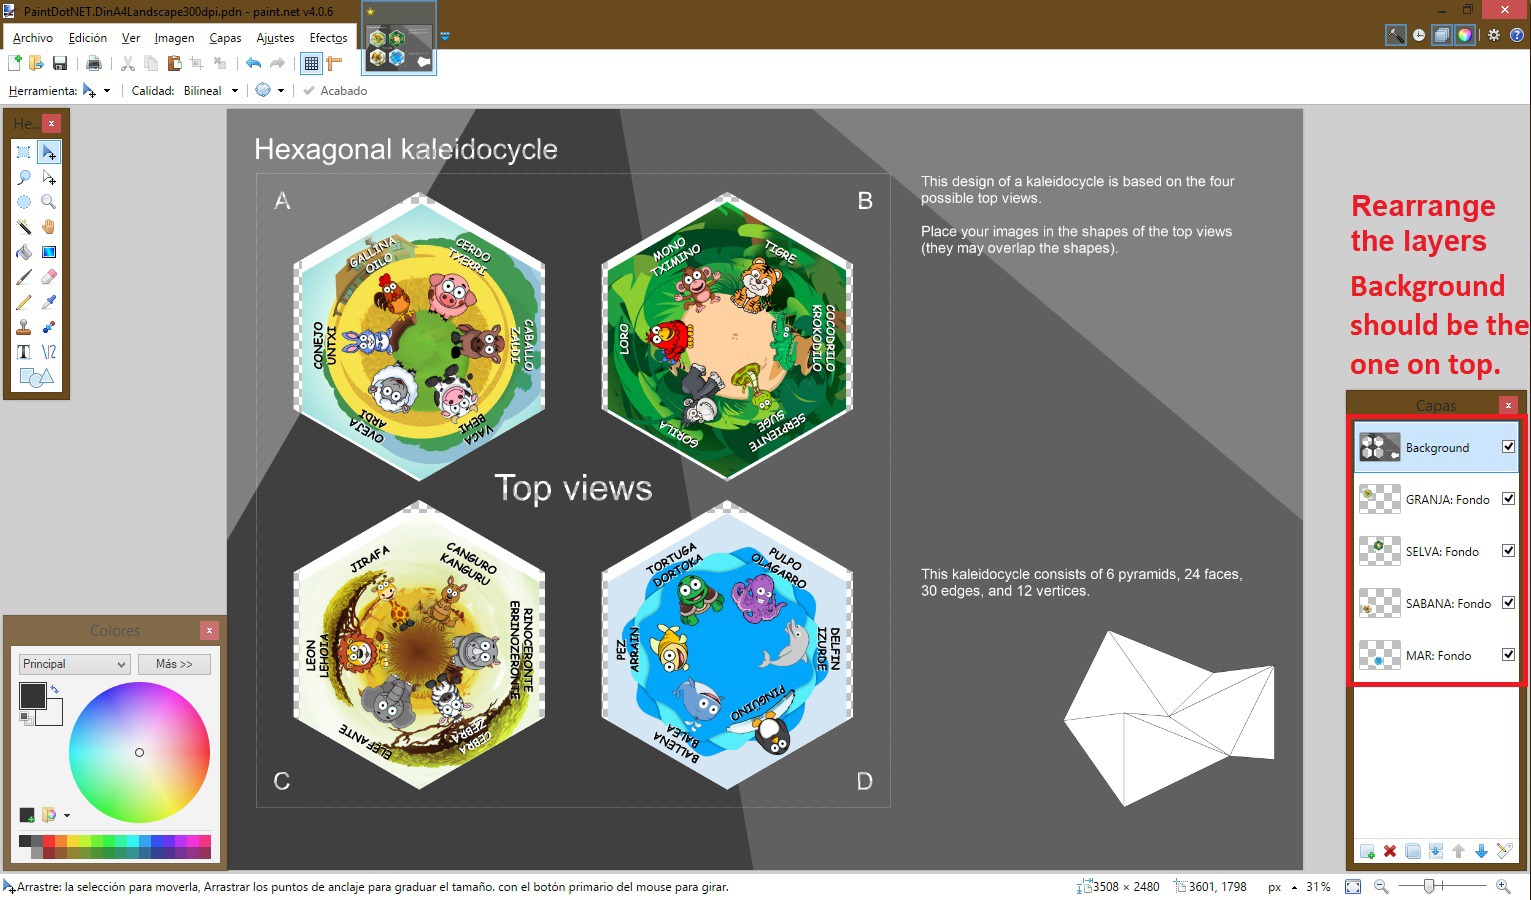
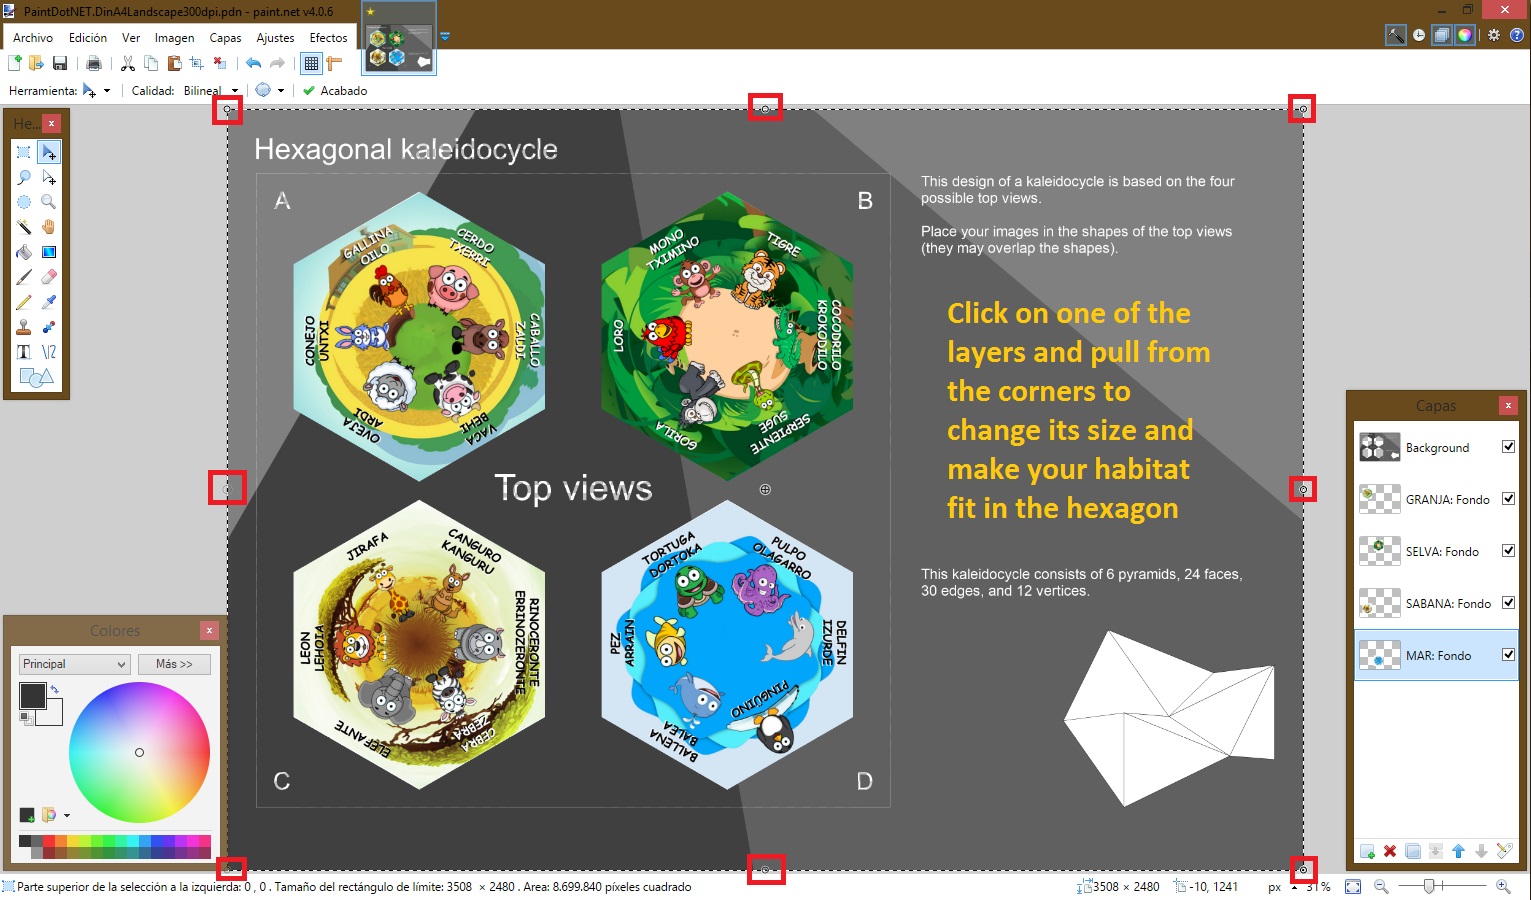
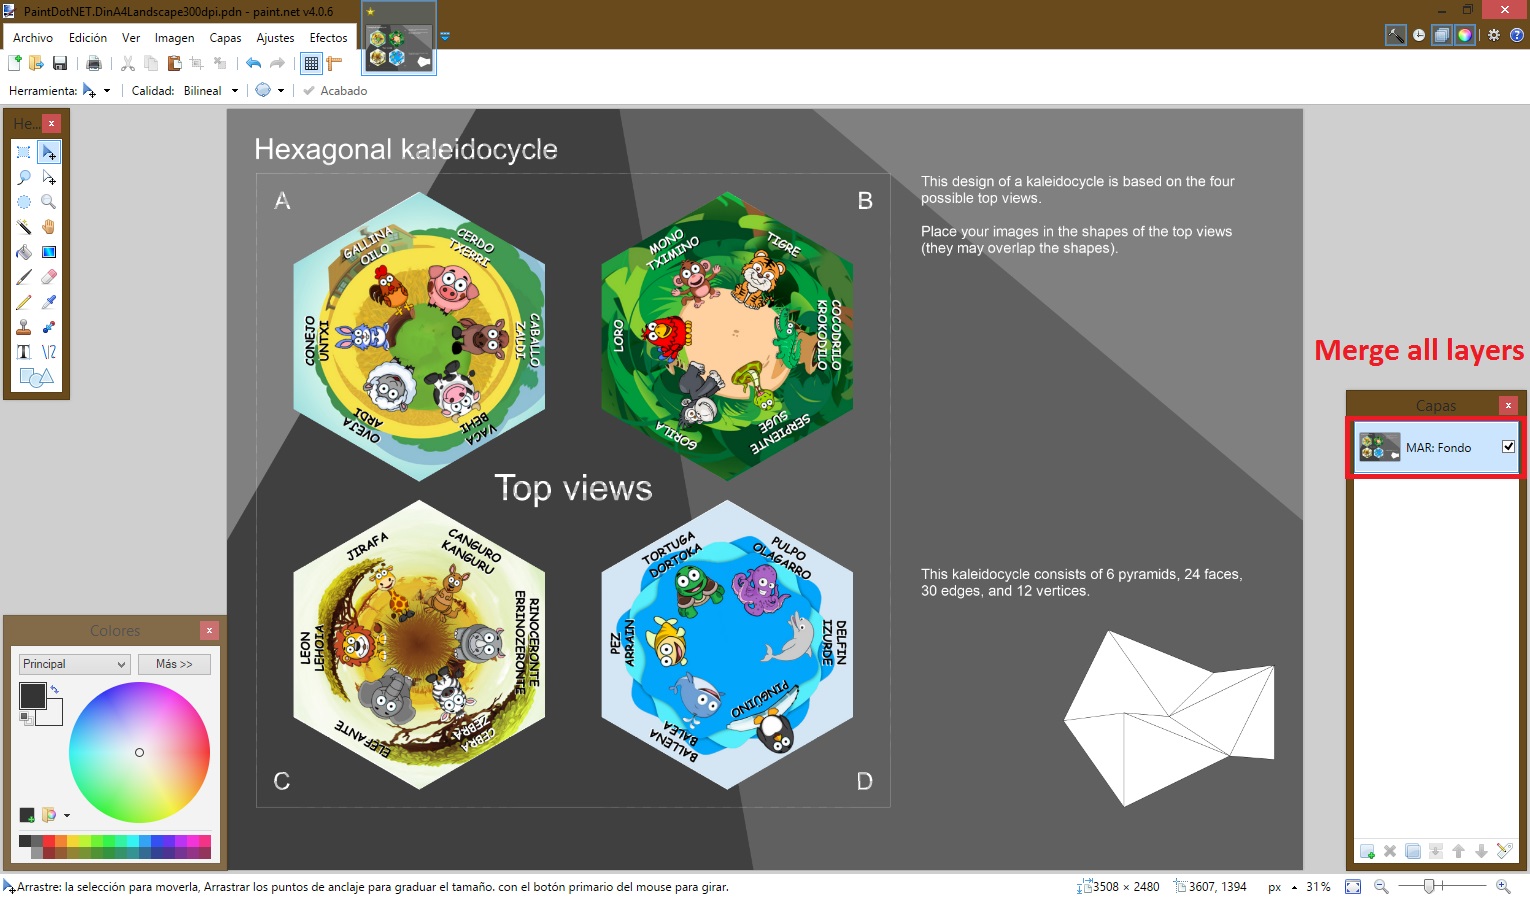
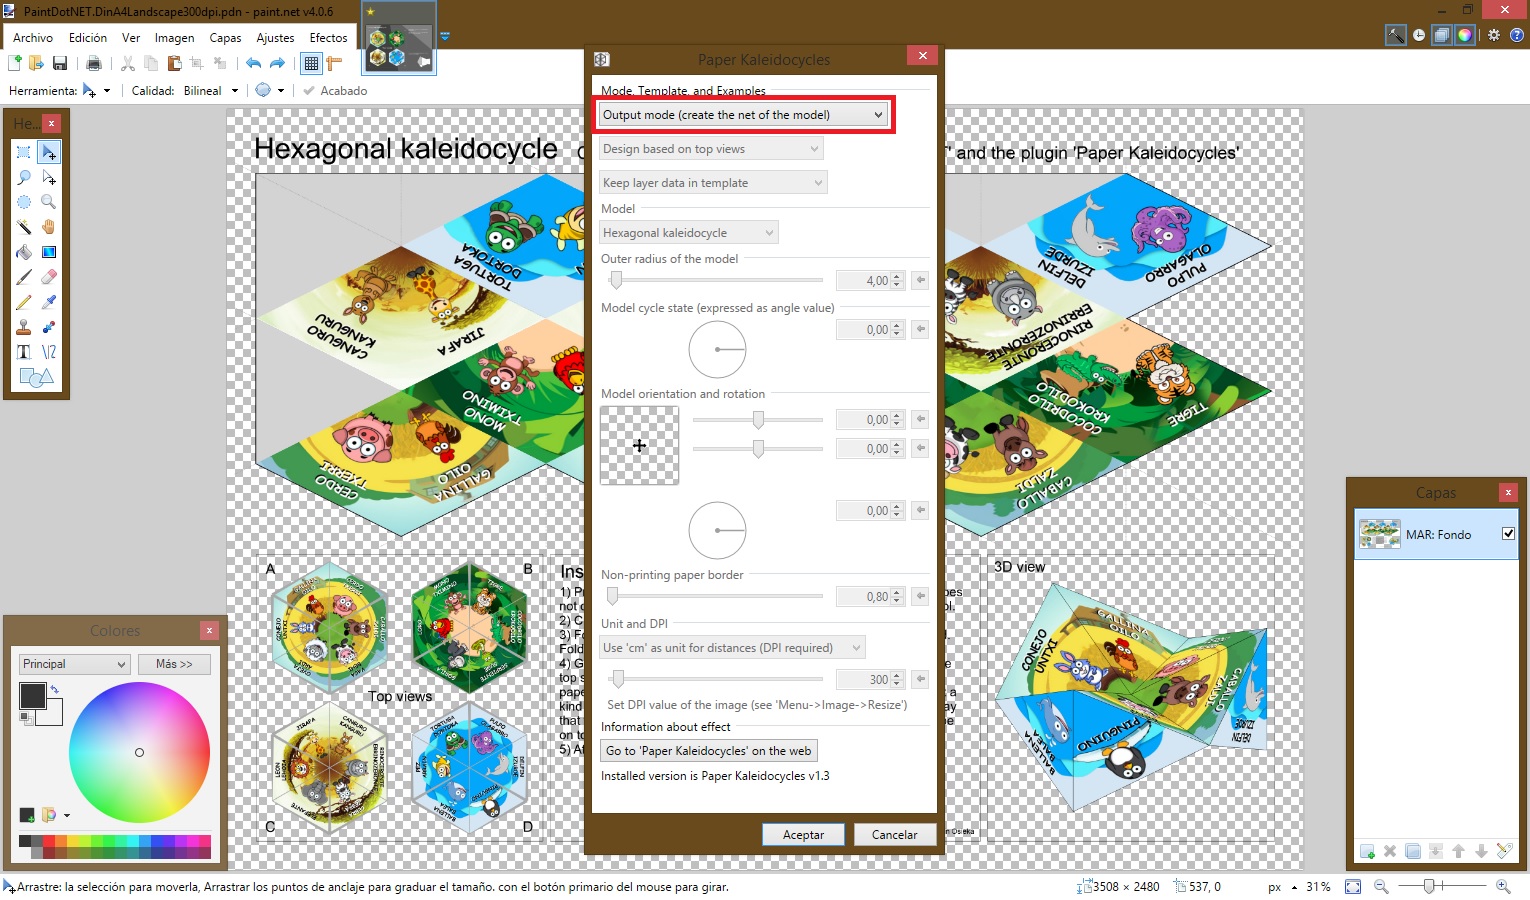
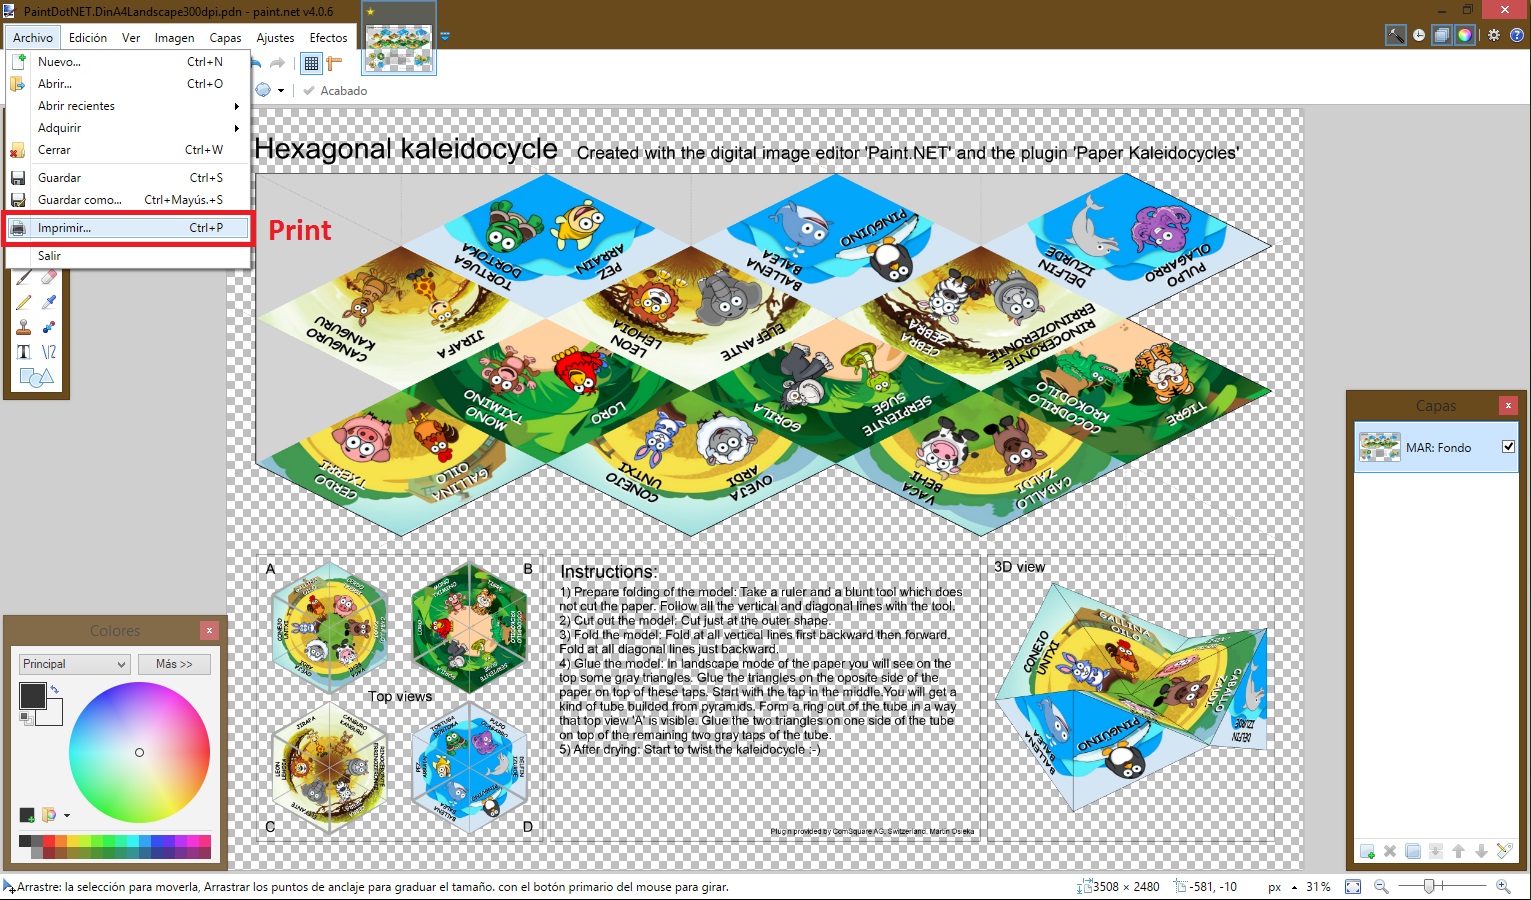
- Once you have installed Paint.net, download the plugin from step "Materials" and copy it (.dll file) into the "Effects" folder of your Paint.NET installation. A typical location is "C:\Program Files\Paint.NET\Effects". After a restart of Paint.NET you will find the plugin under Menu > Effects > Tools.
- Open the template in this step by double clicking on it.
- Open plugin (Menu > Effects > Tools > Paper Kaleidocycles)
- Set the mode to "Design". Select "Hexagonal kaleidocycle" and you will see the shape of four hexagons in the selected size in the main window. The content of the shape is the previous layer data. Change the other parameters to the ones in the picture above.
- Select the areas of the hexagons and erase their inner content. You can use the "erase tool" or just press "supr".
- Now you have to fill the hexagons with your four habitats.
- Drag the hexagonal habitats to this file clicking on the option "add layers".
- Rearrange the layers so that the background is on top.
- Change the size of each habitat to make them fit in the hexagon by pulling from the cornes of that layer.
- Merge all layers.
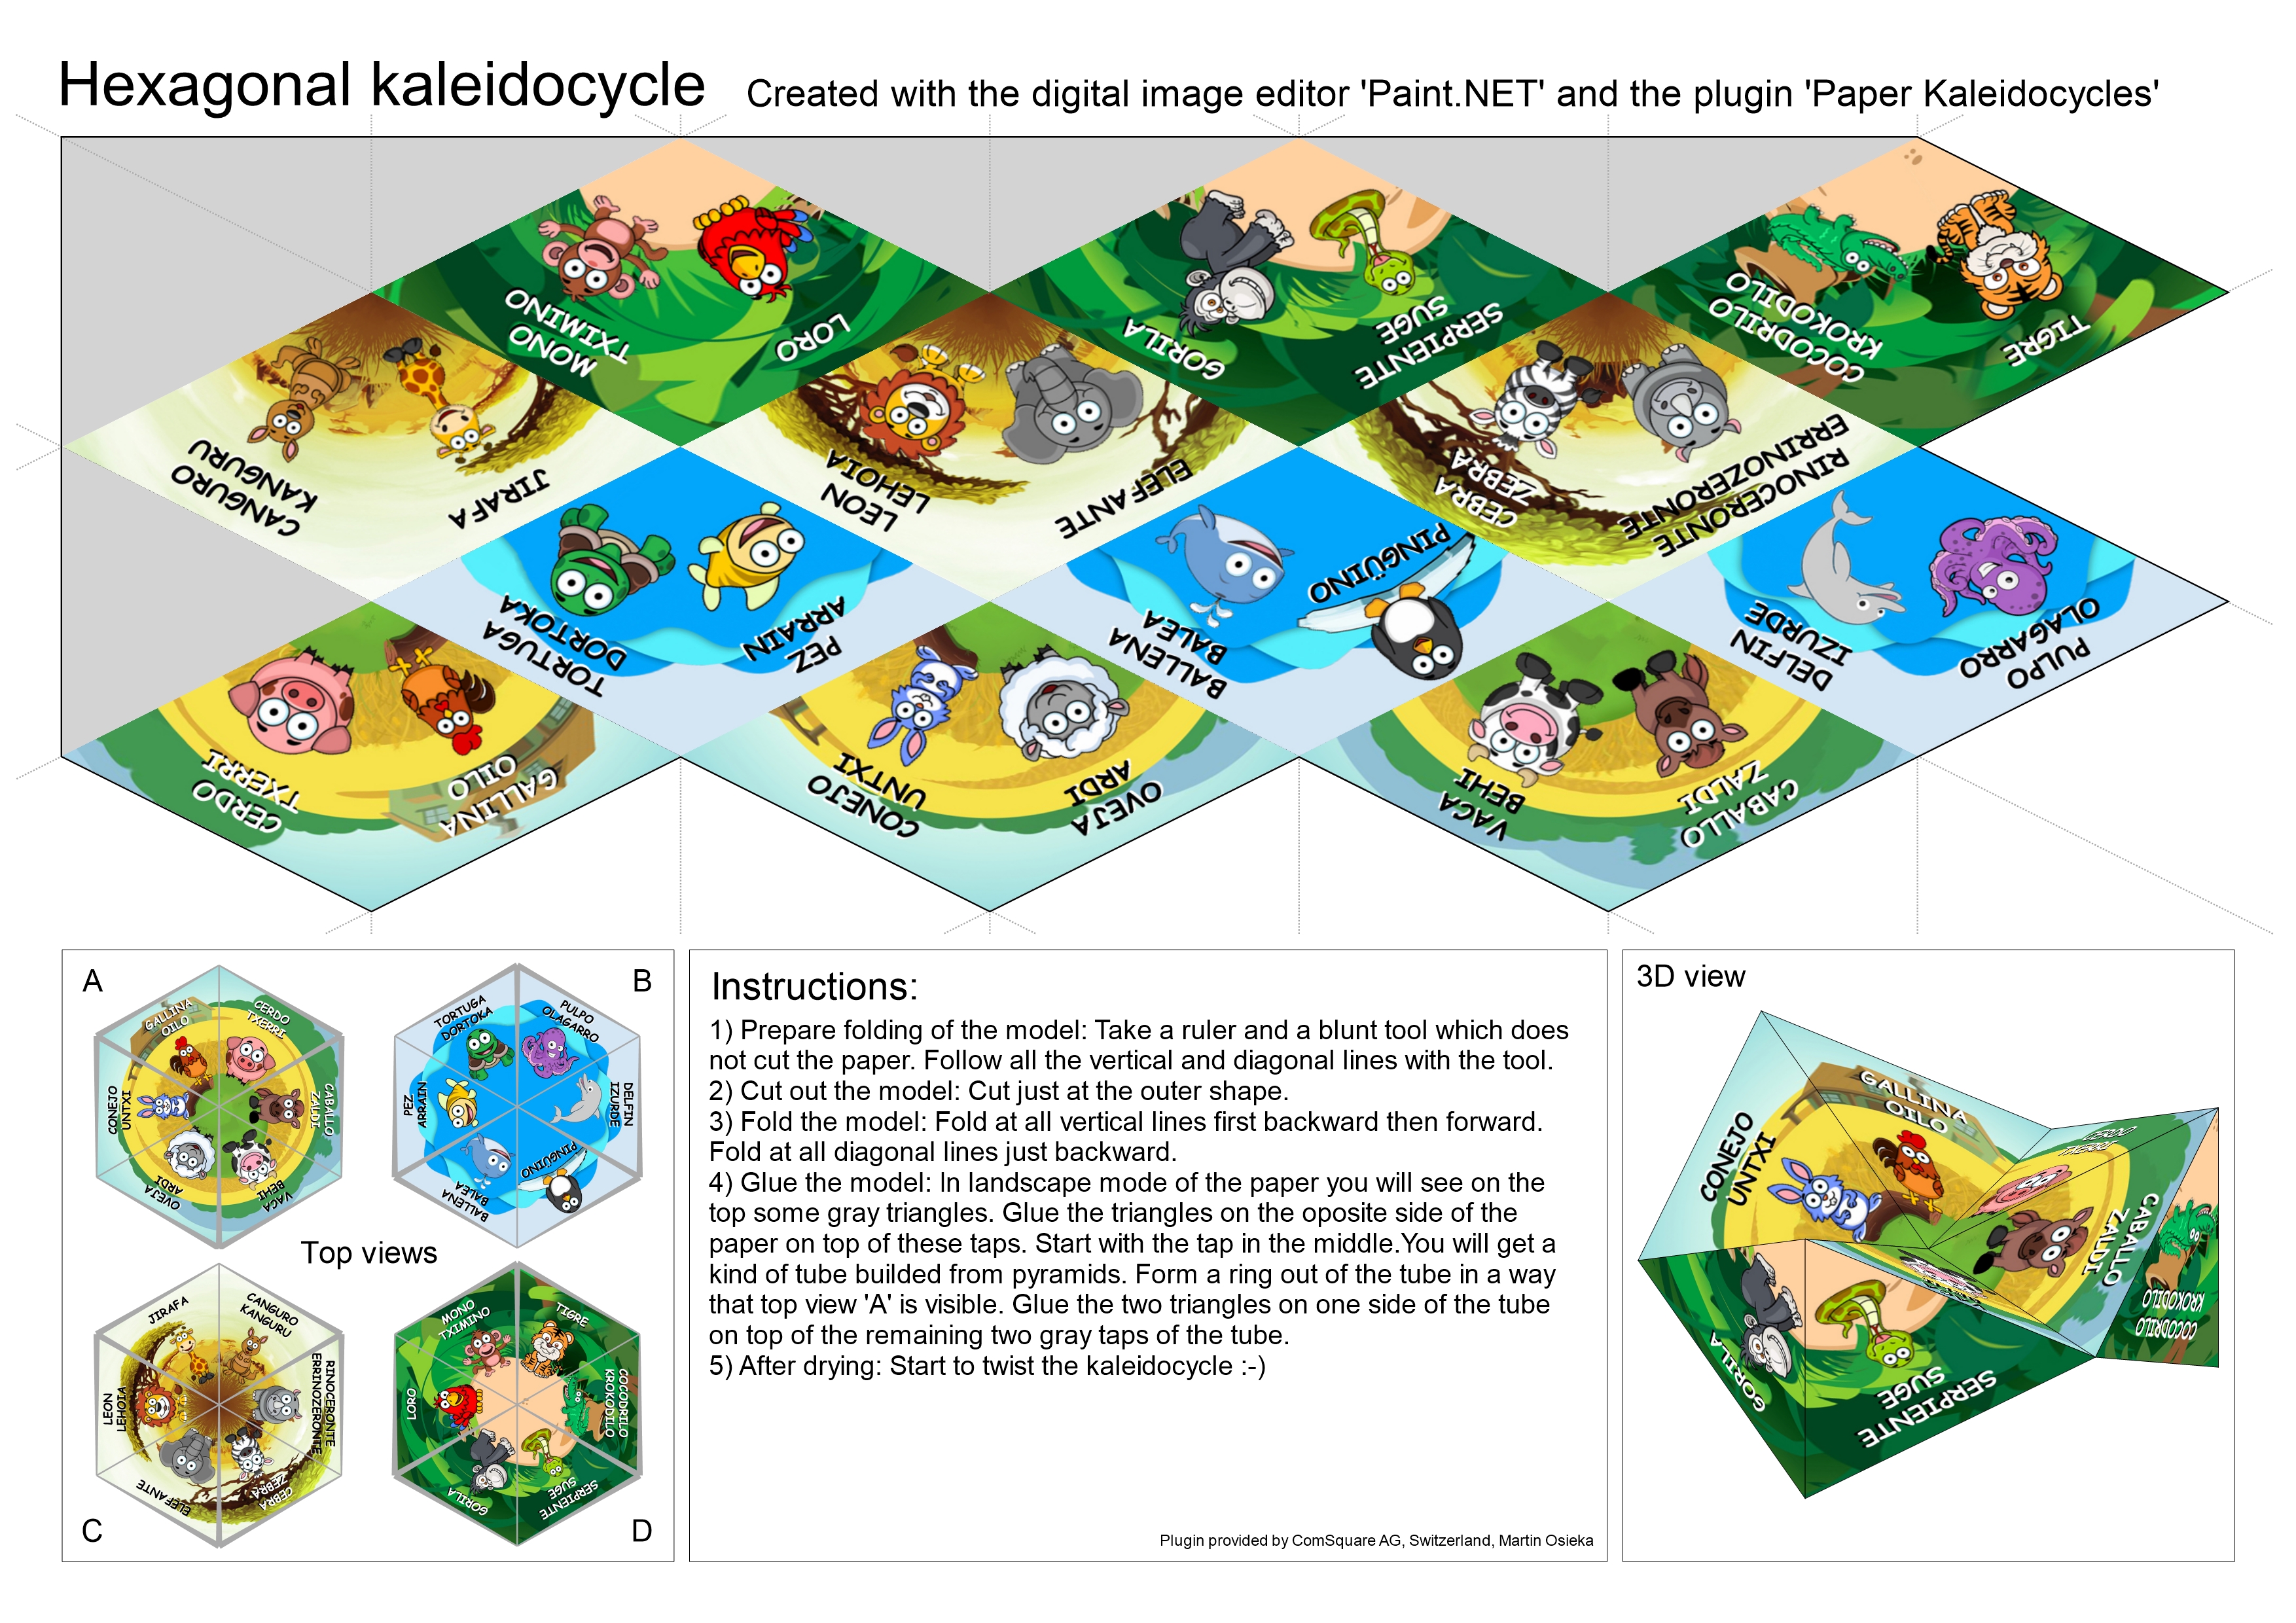
- Open plugin (Menu > Effects > Tools > Paper Kaleidocycles) again. Now set the mode to "Output" (don't change the other parameters). Click OK.
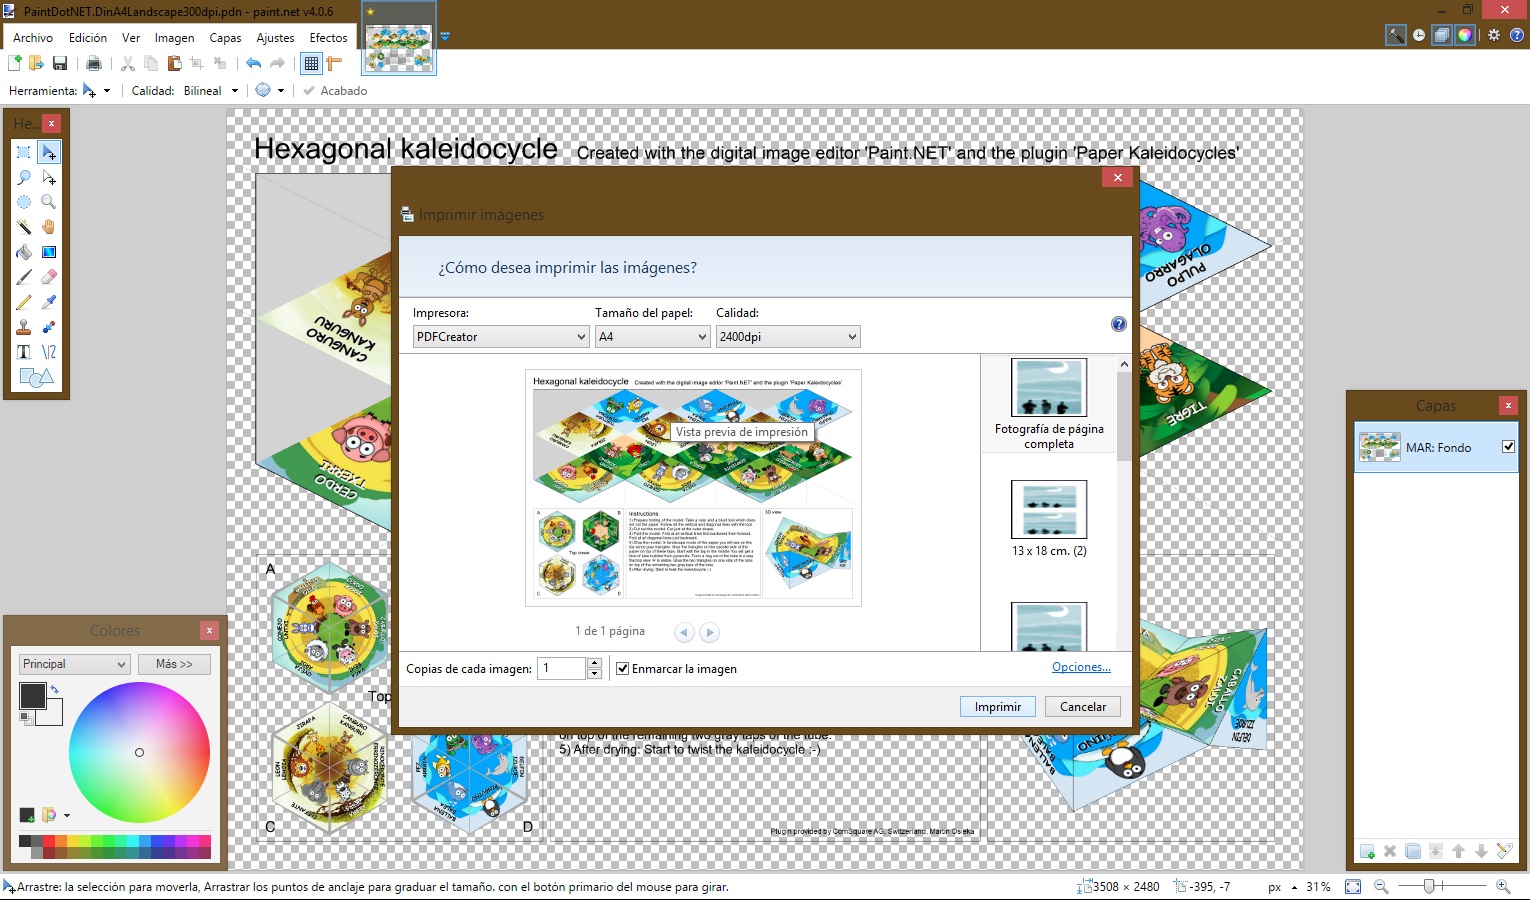
- Then print the Kaleidocycle with a PDF creator (Set 'Page Scaling' to 'None' in the print dialog).
Downloads
Assembling
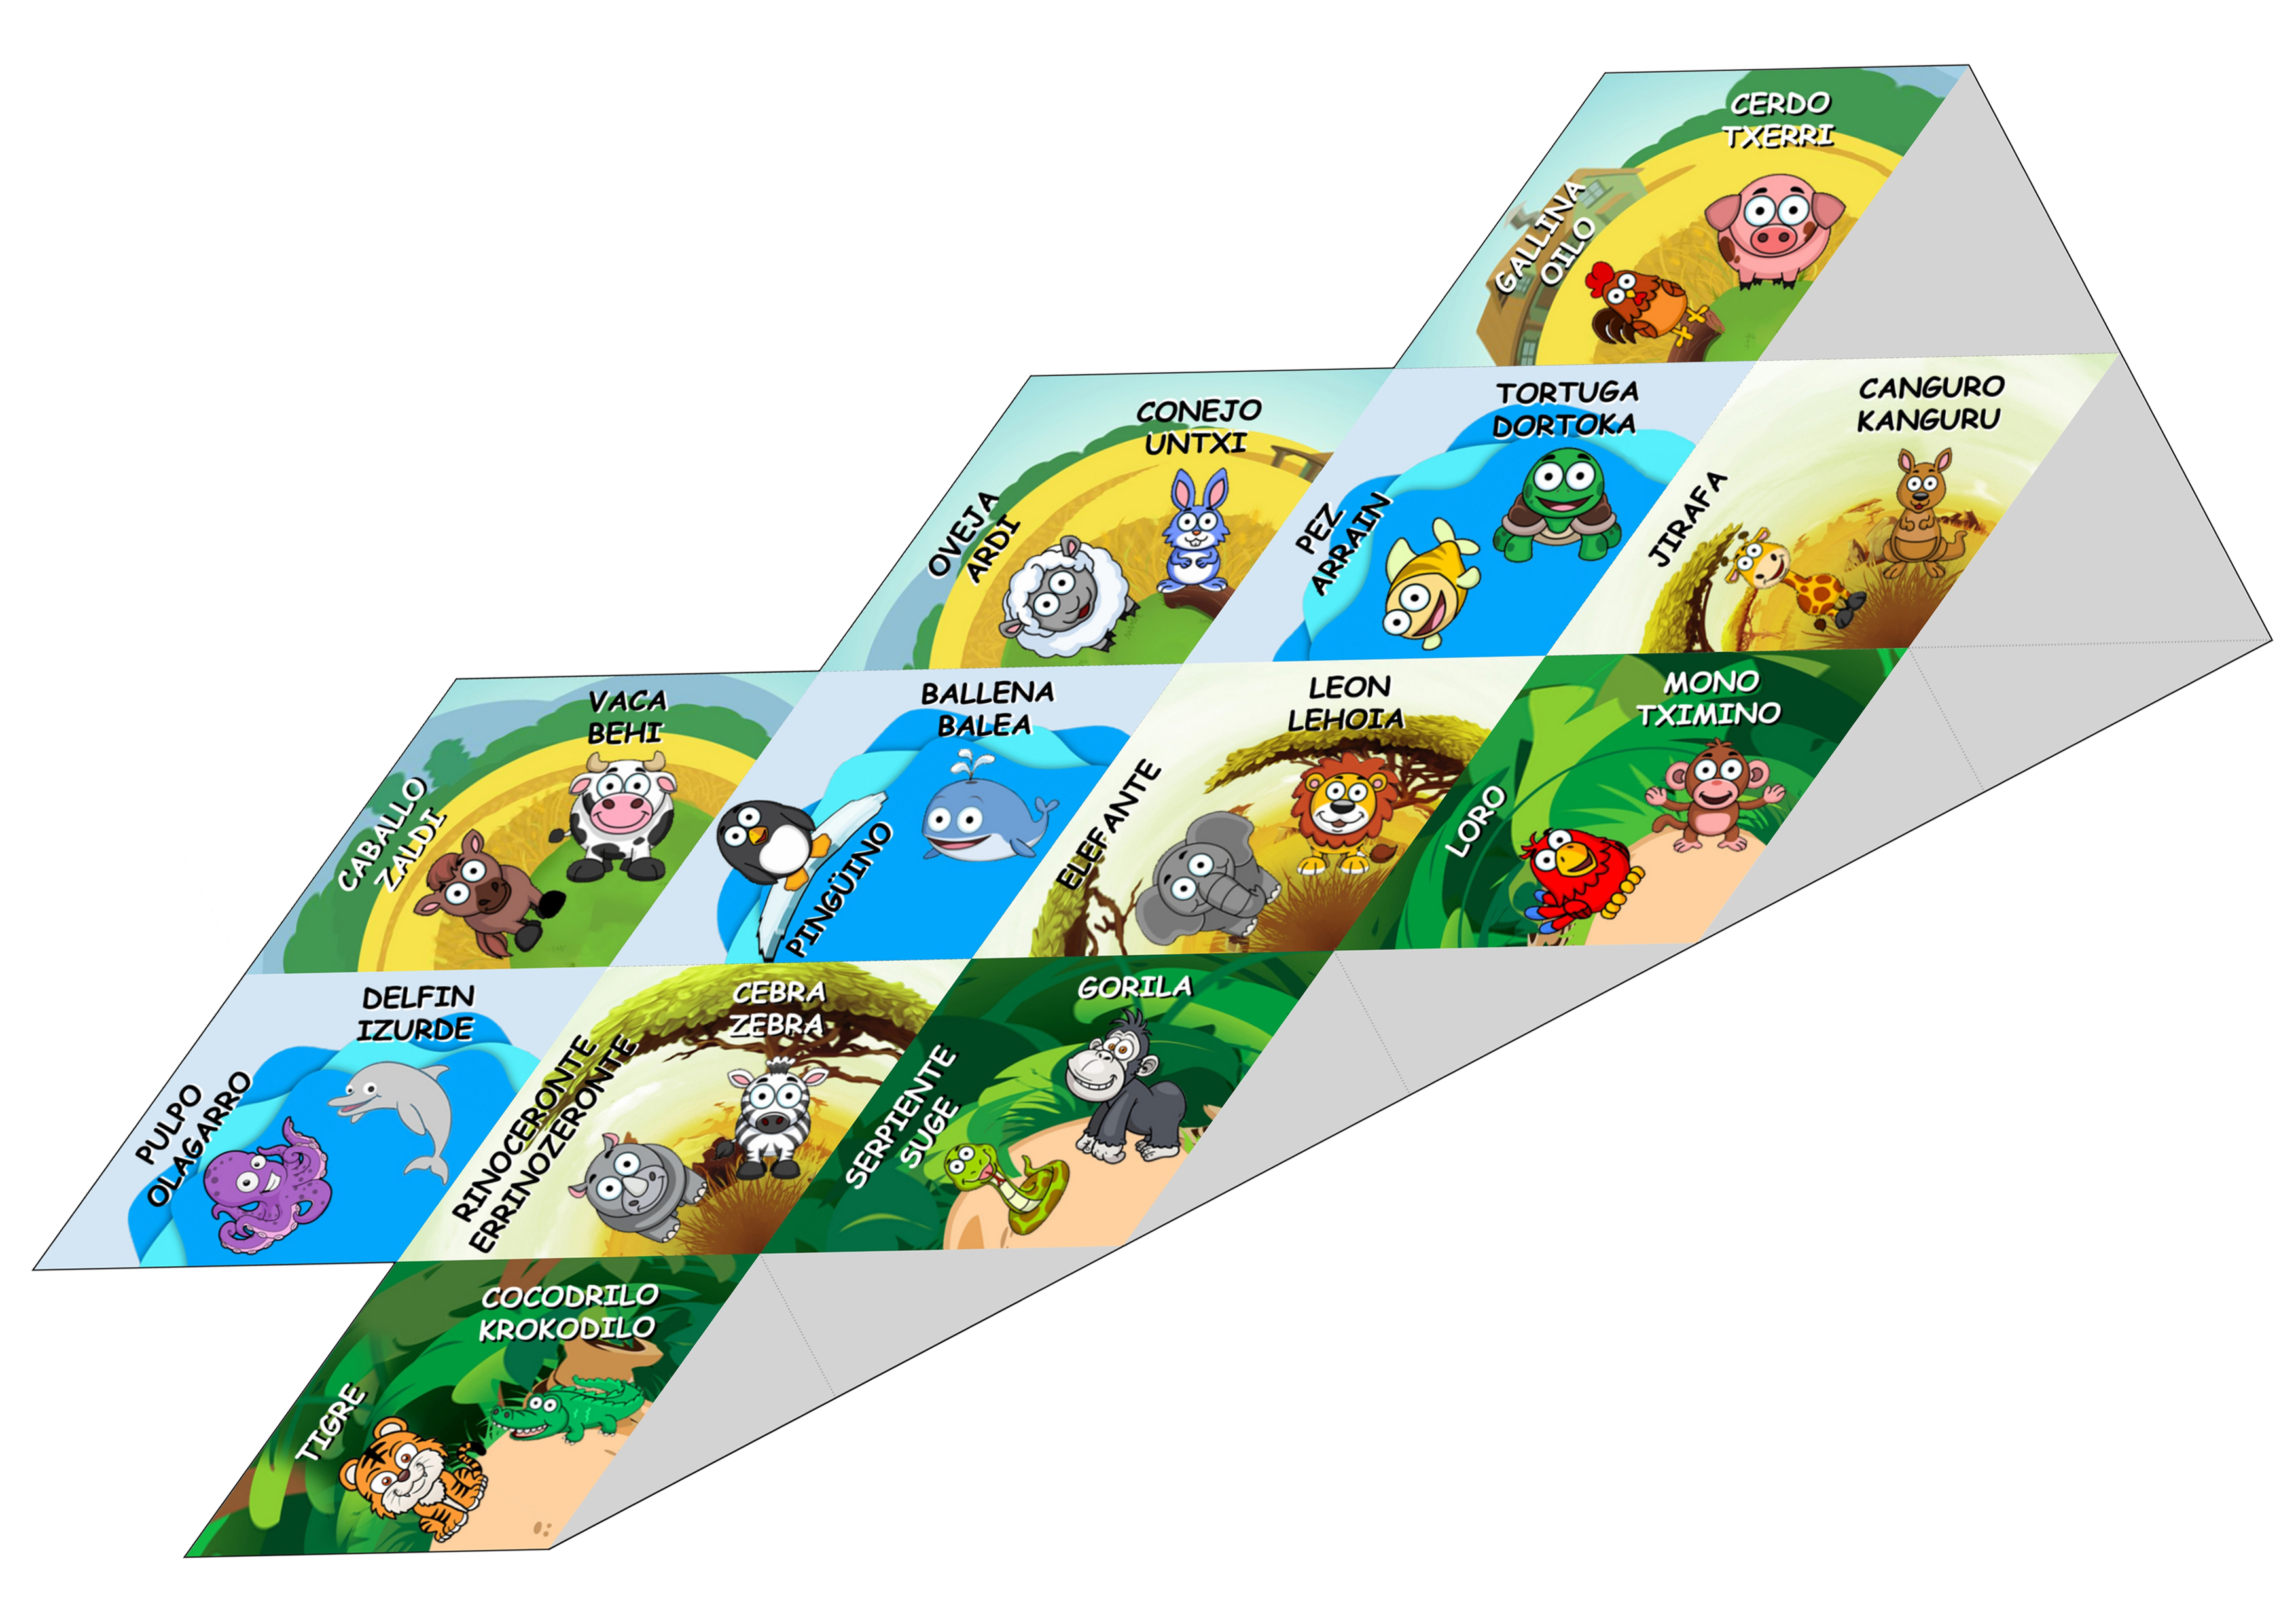
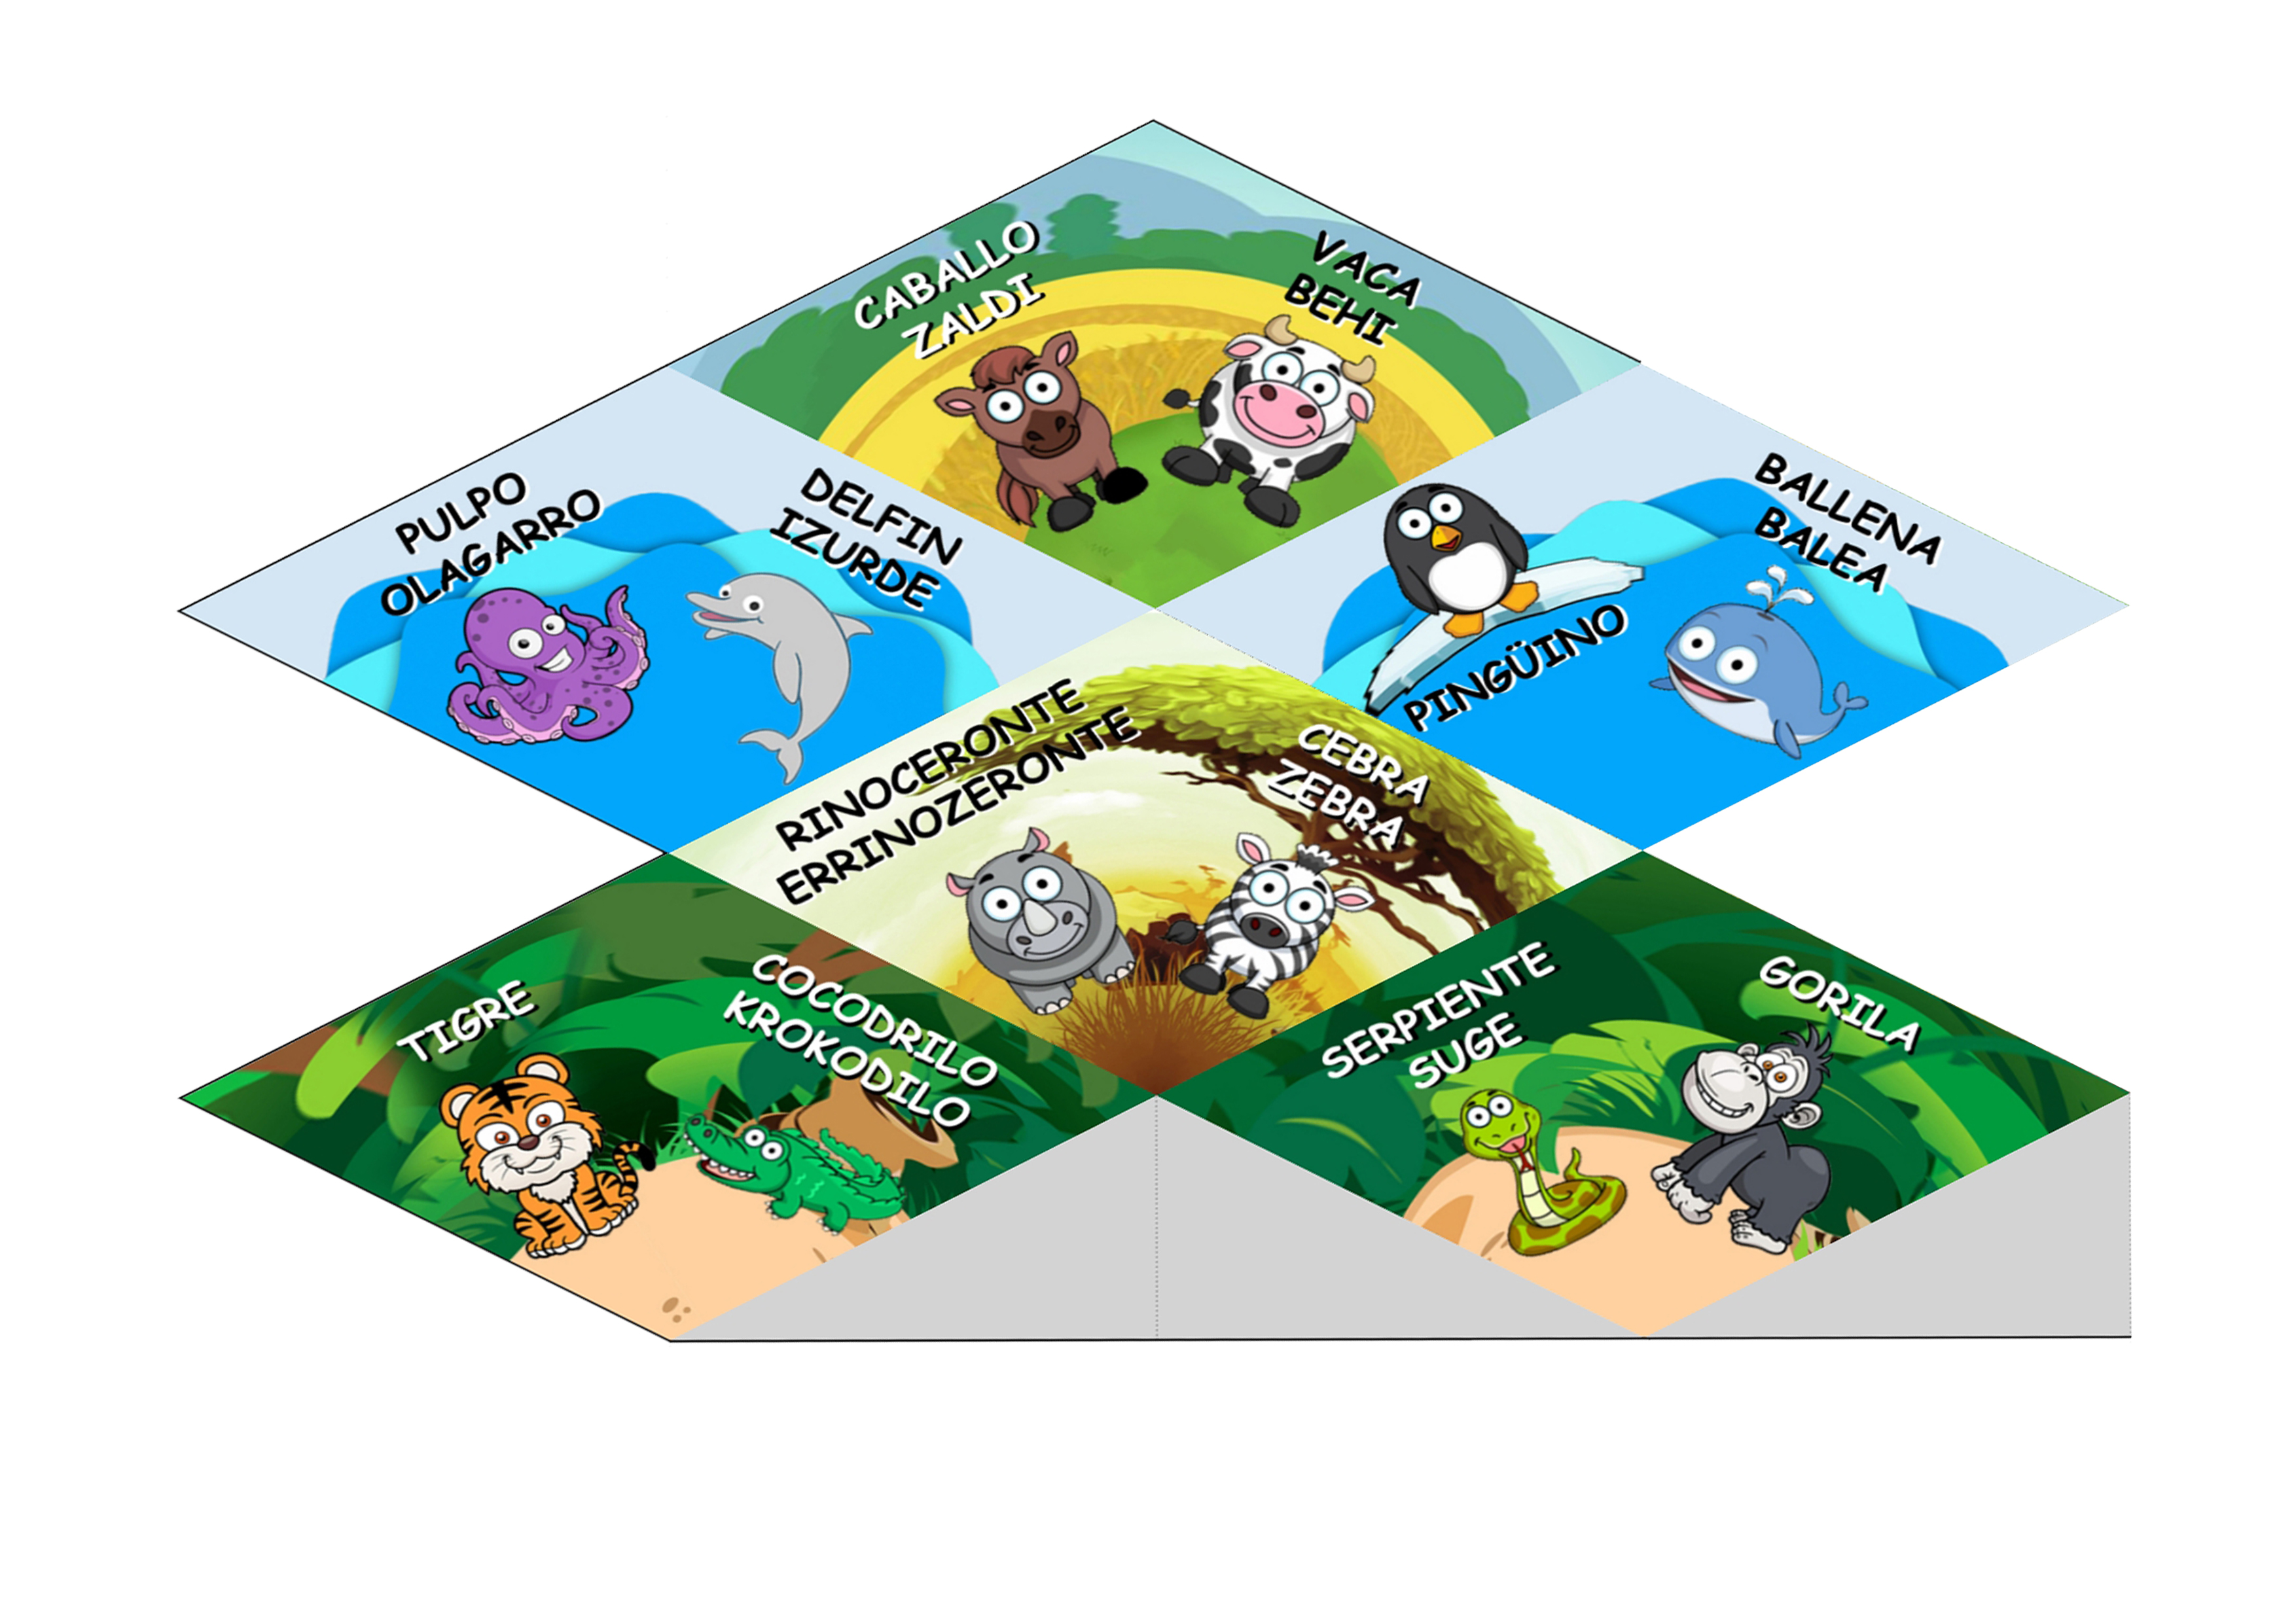
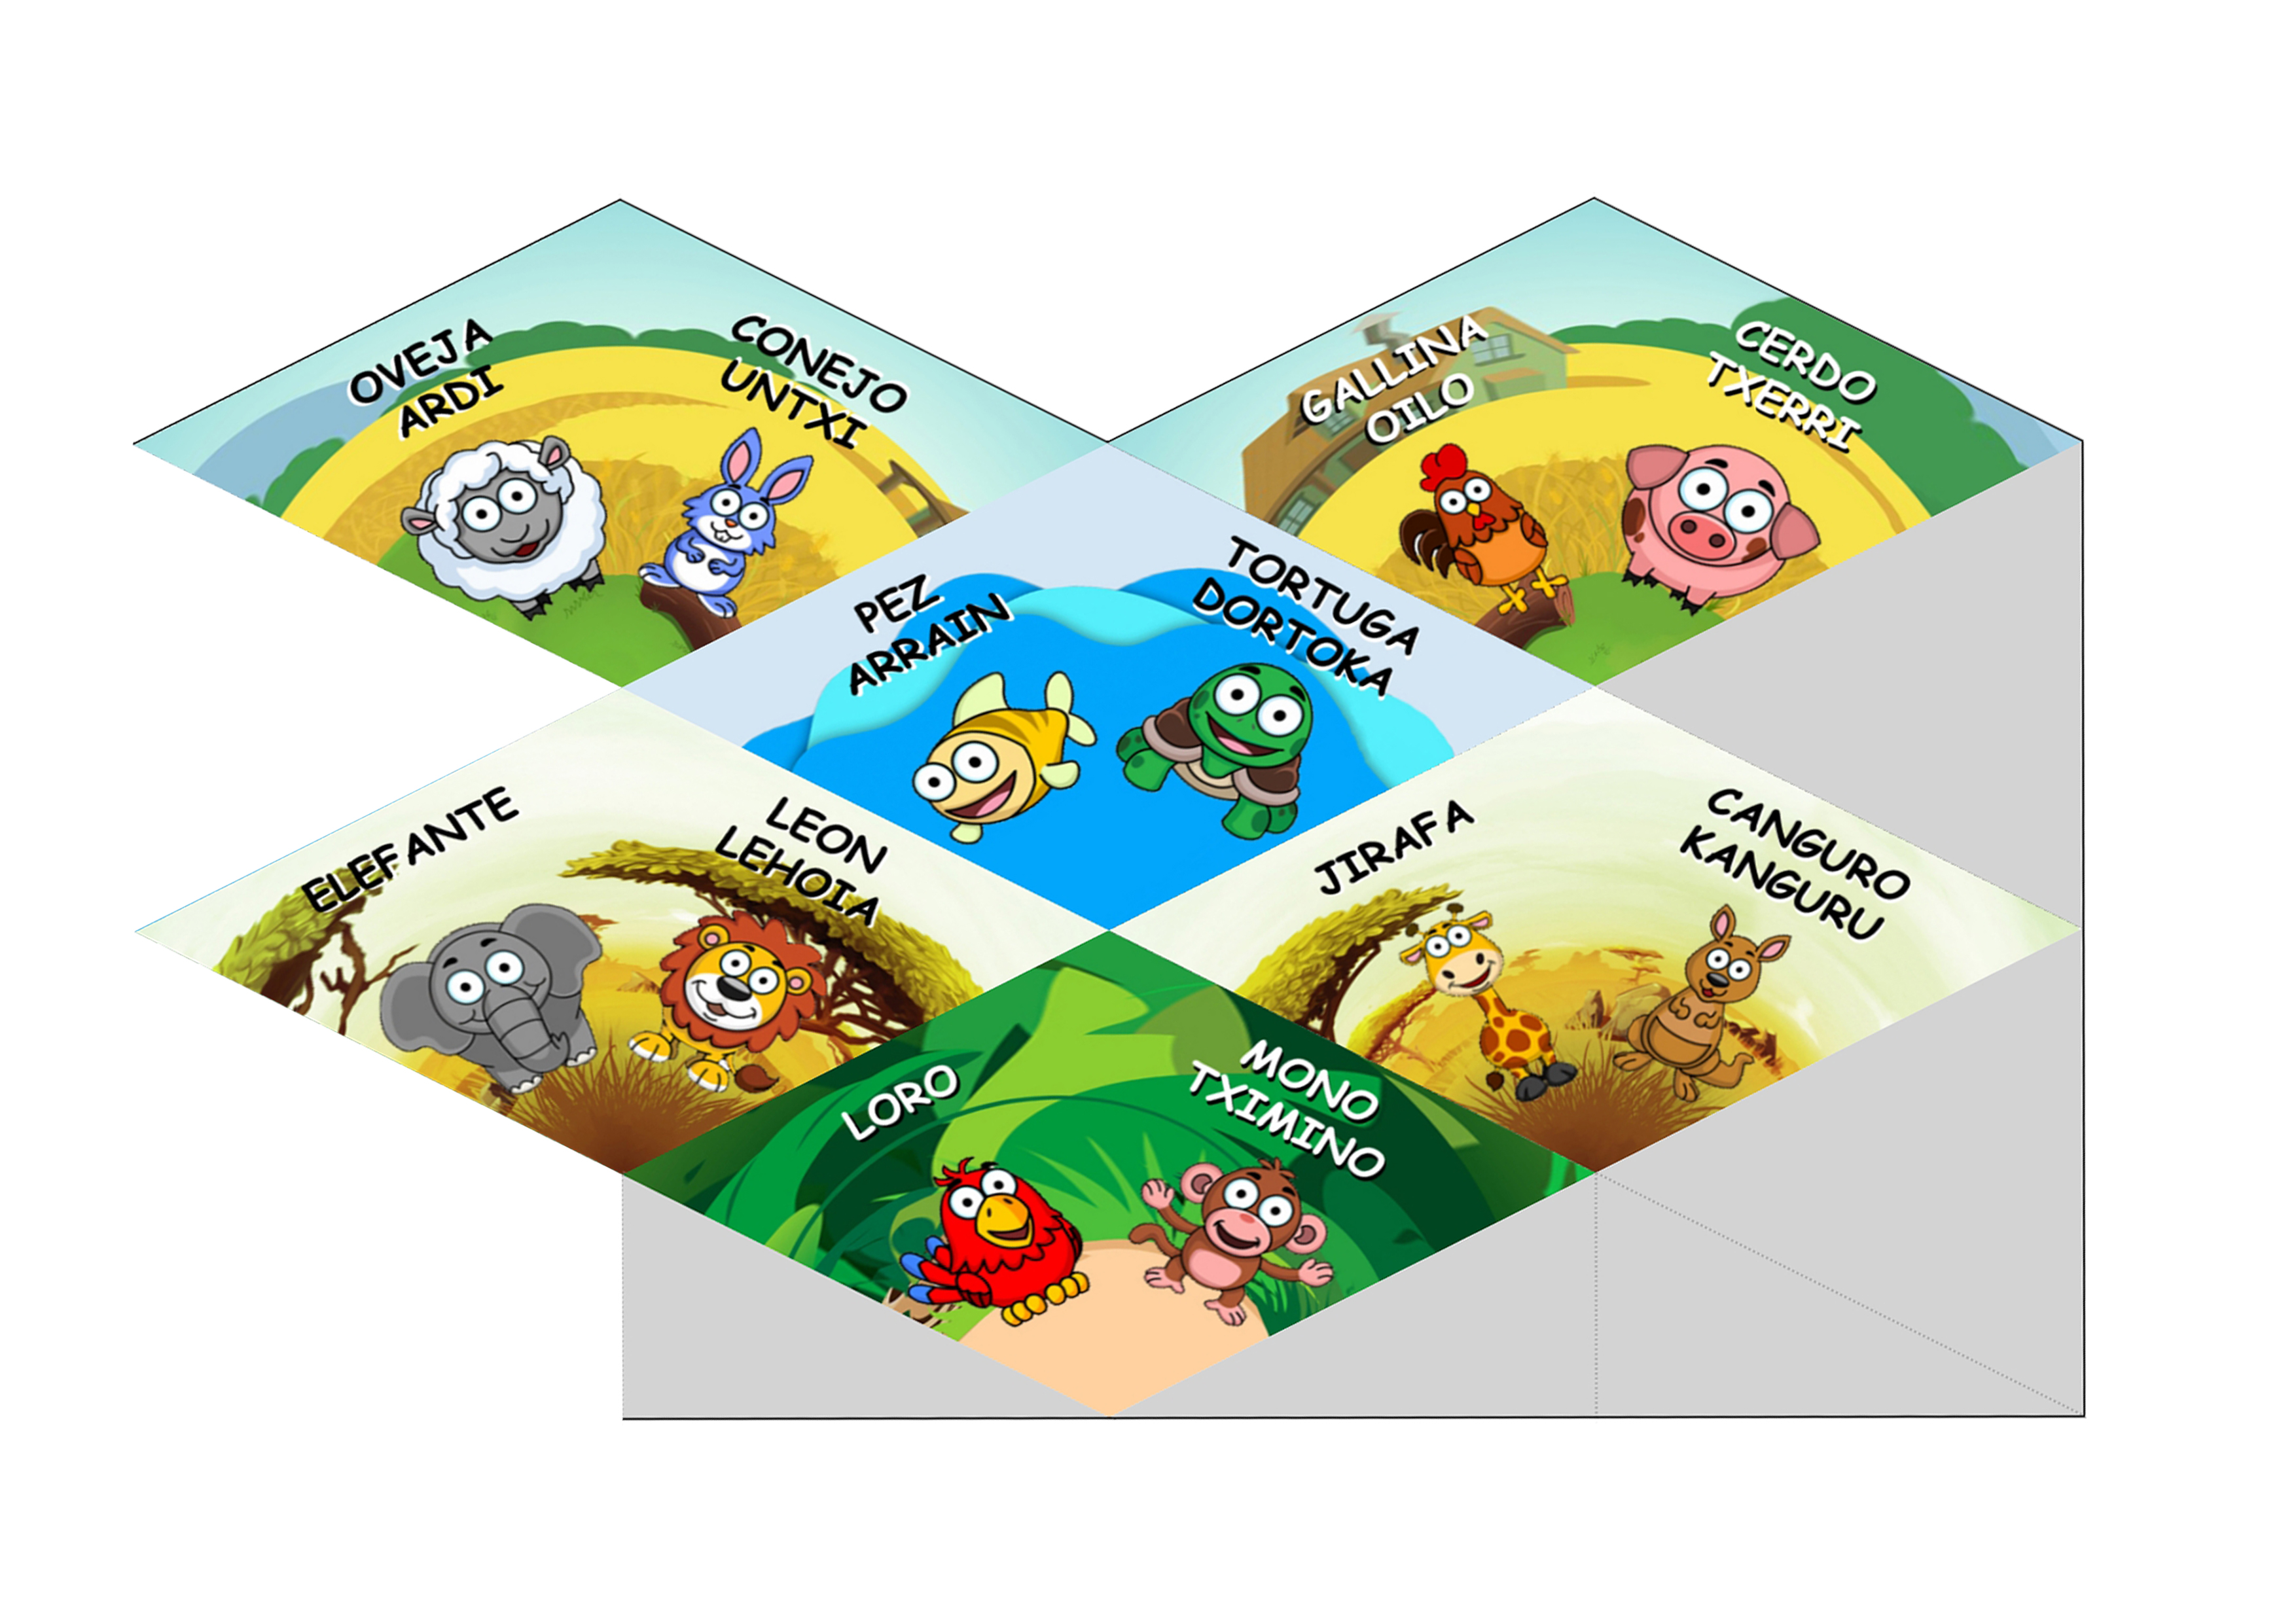
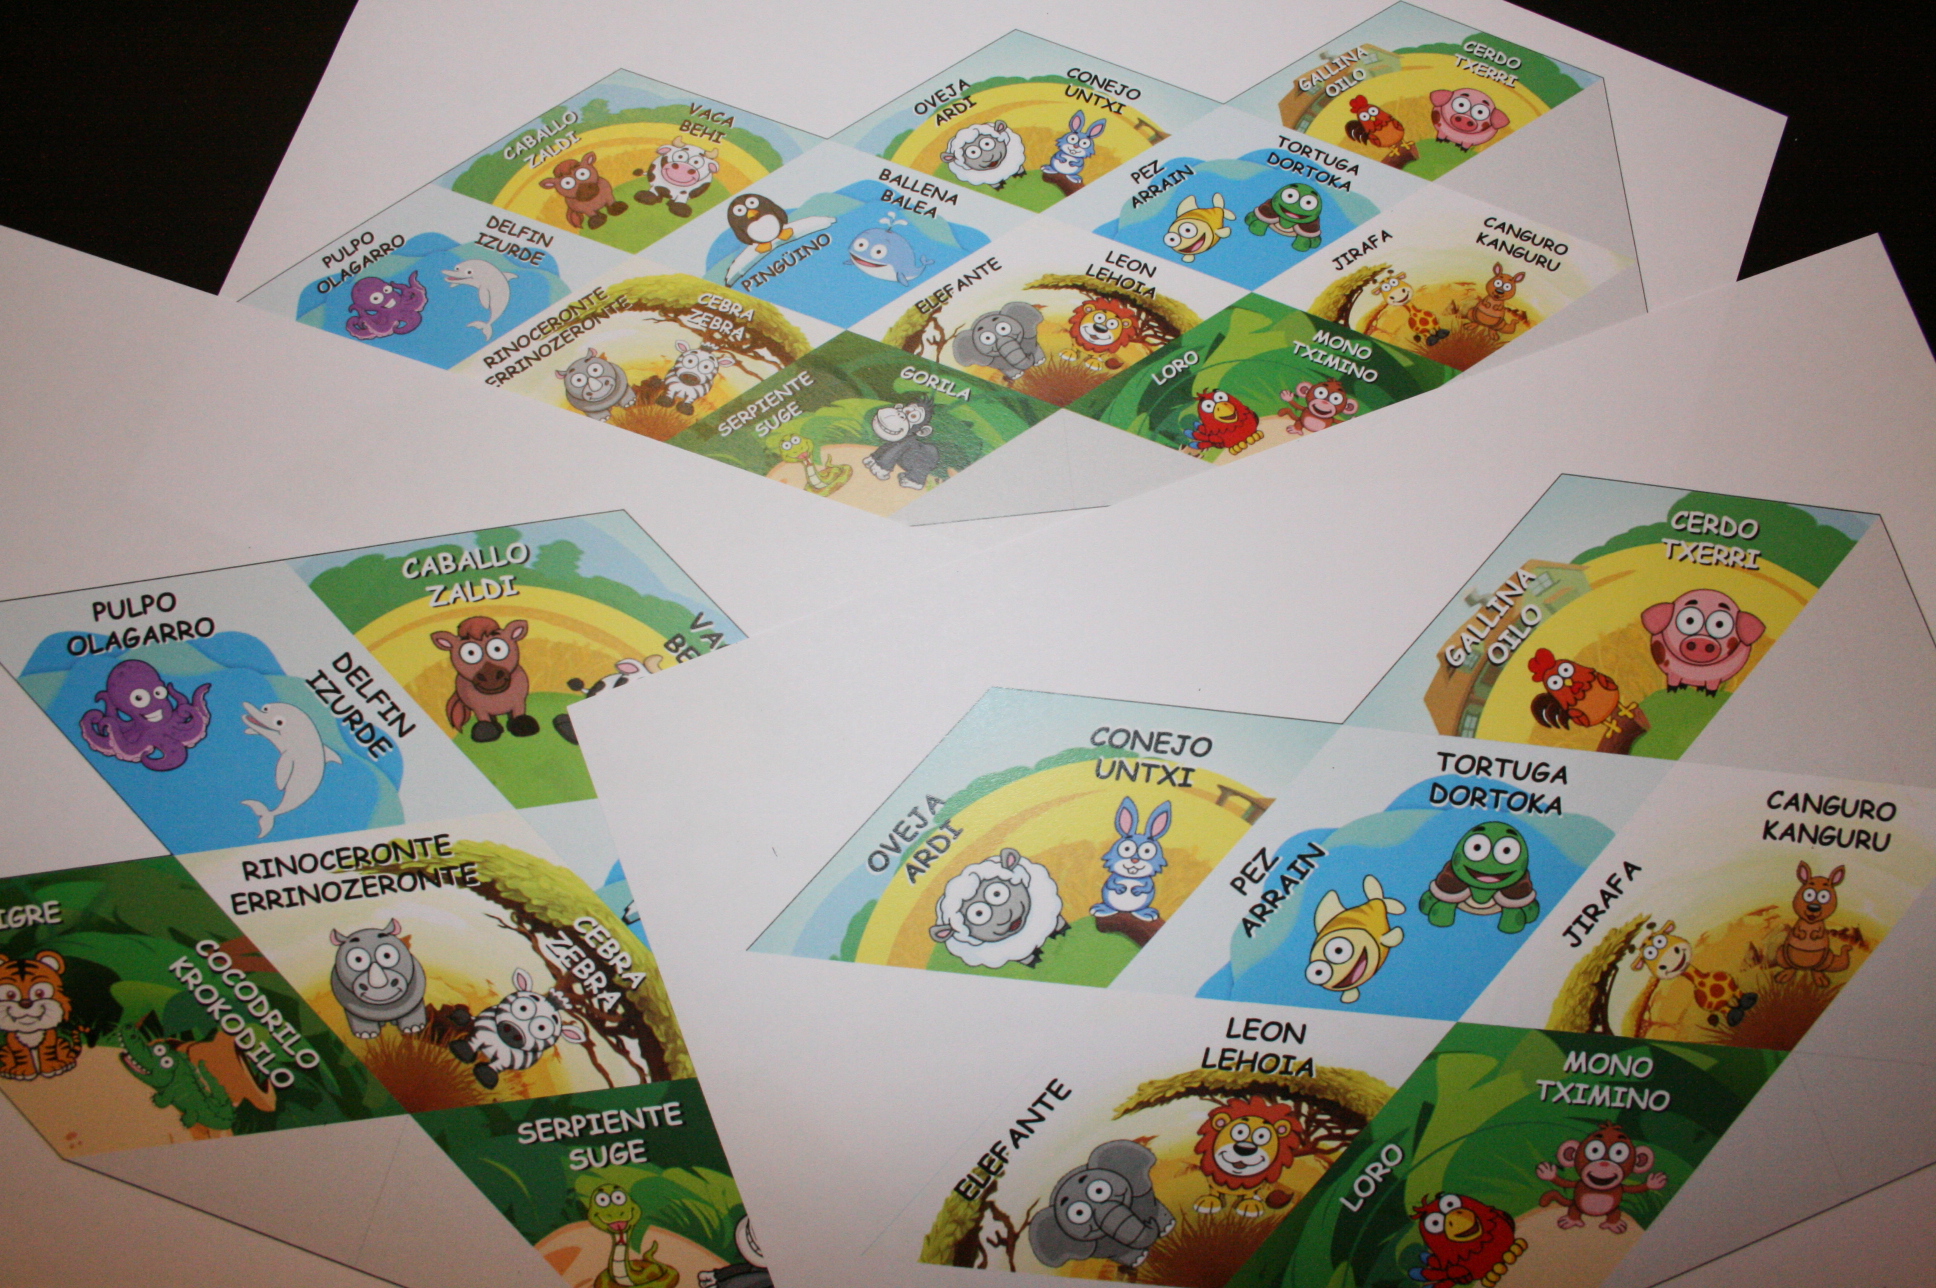
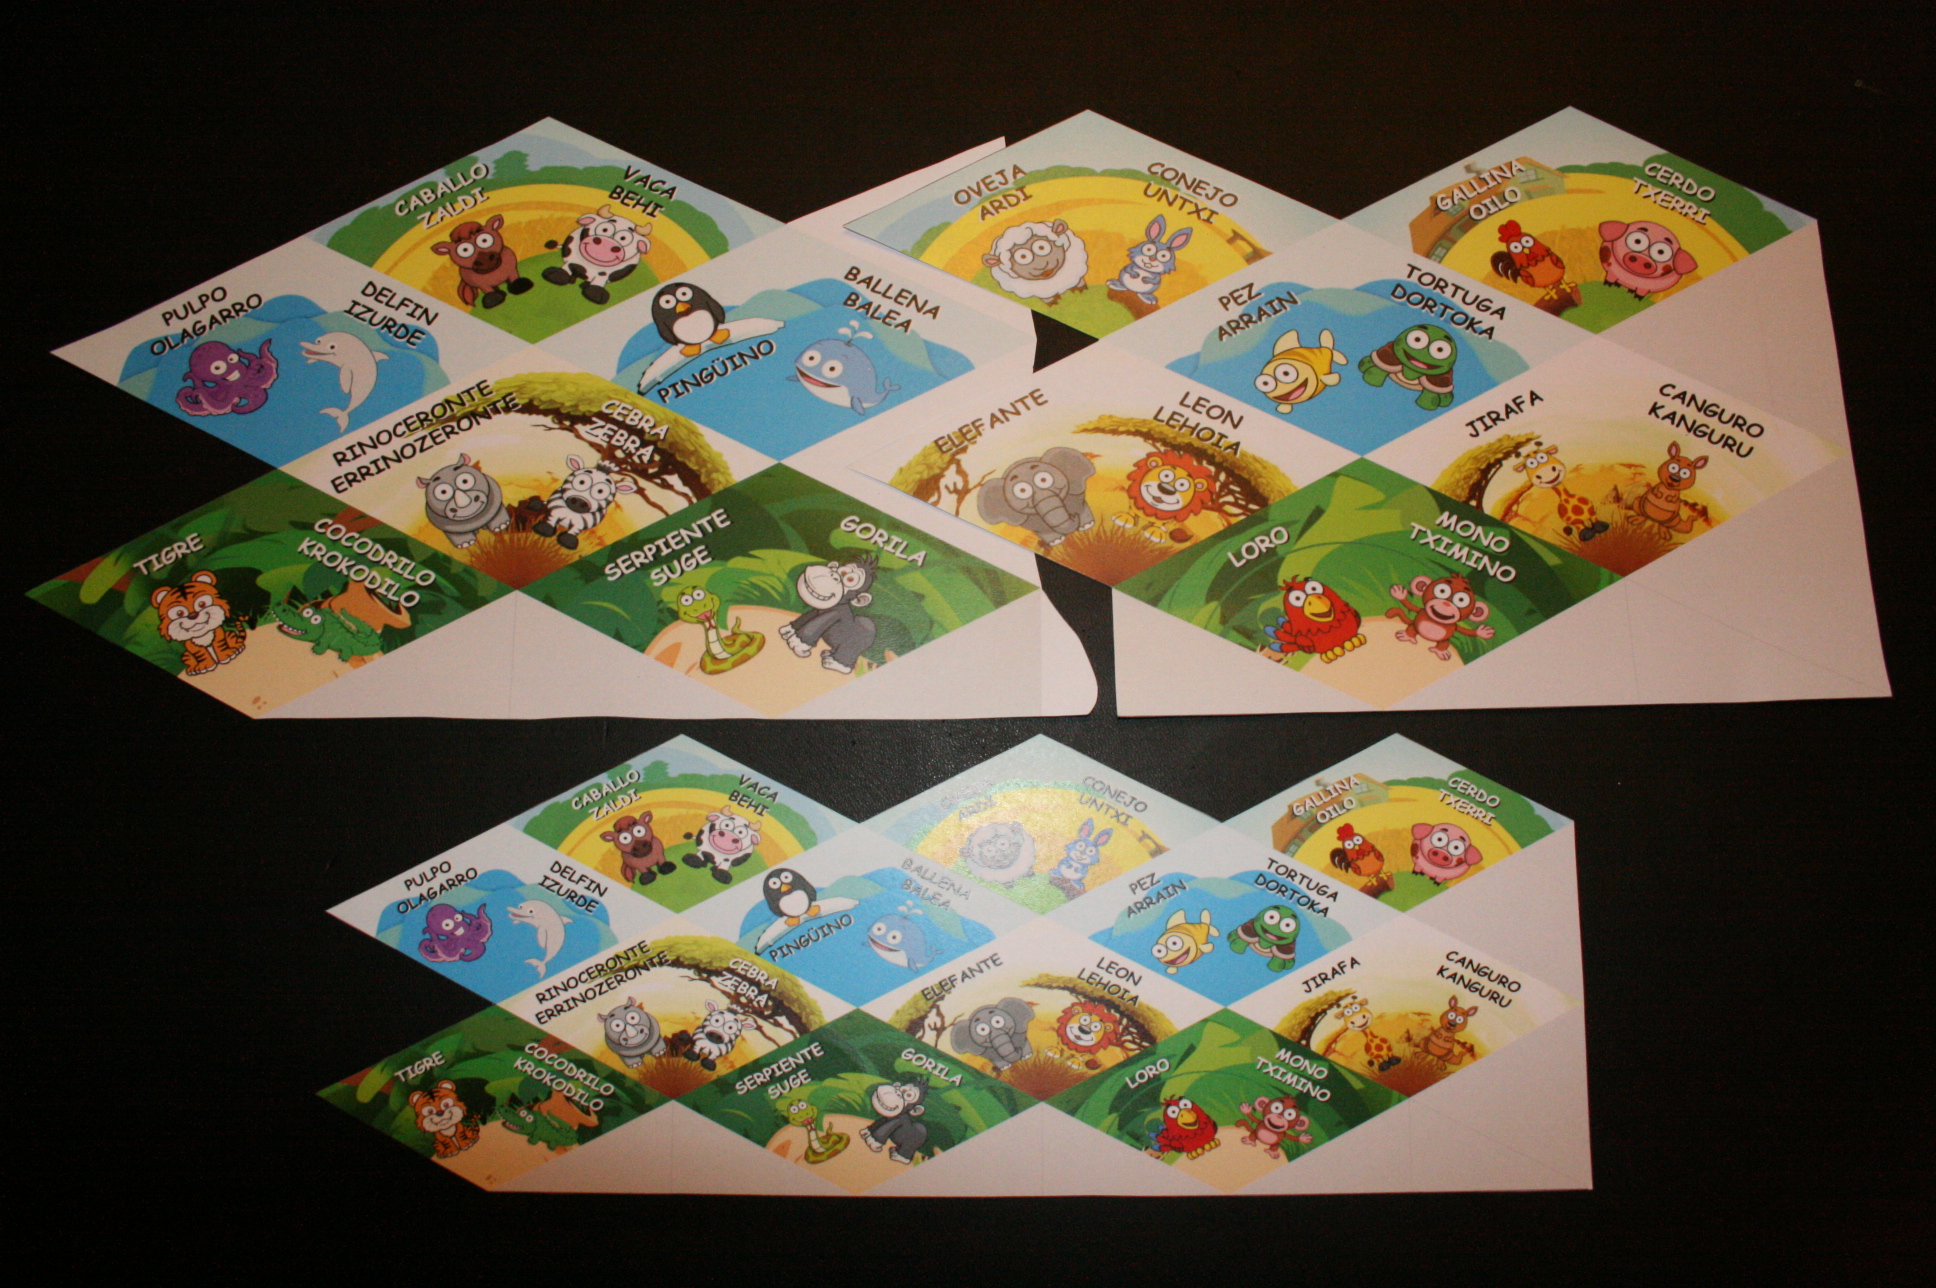
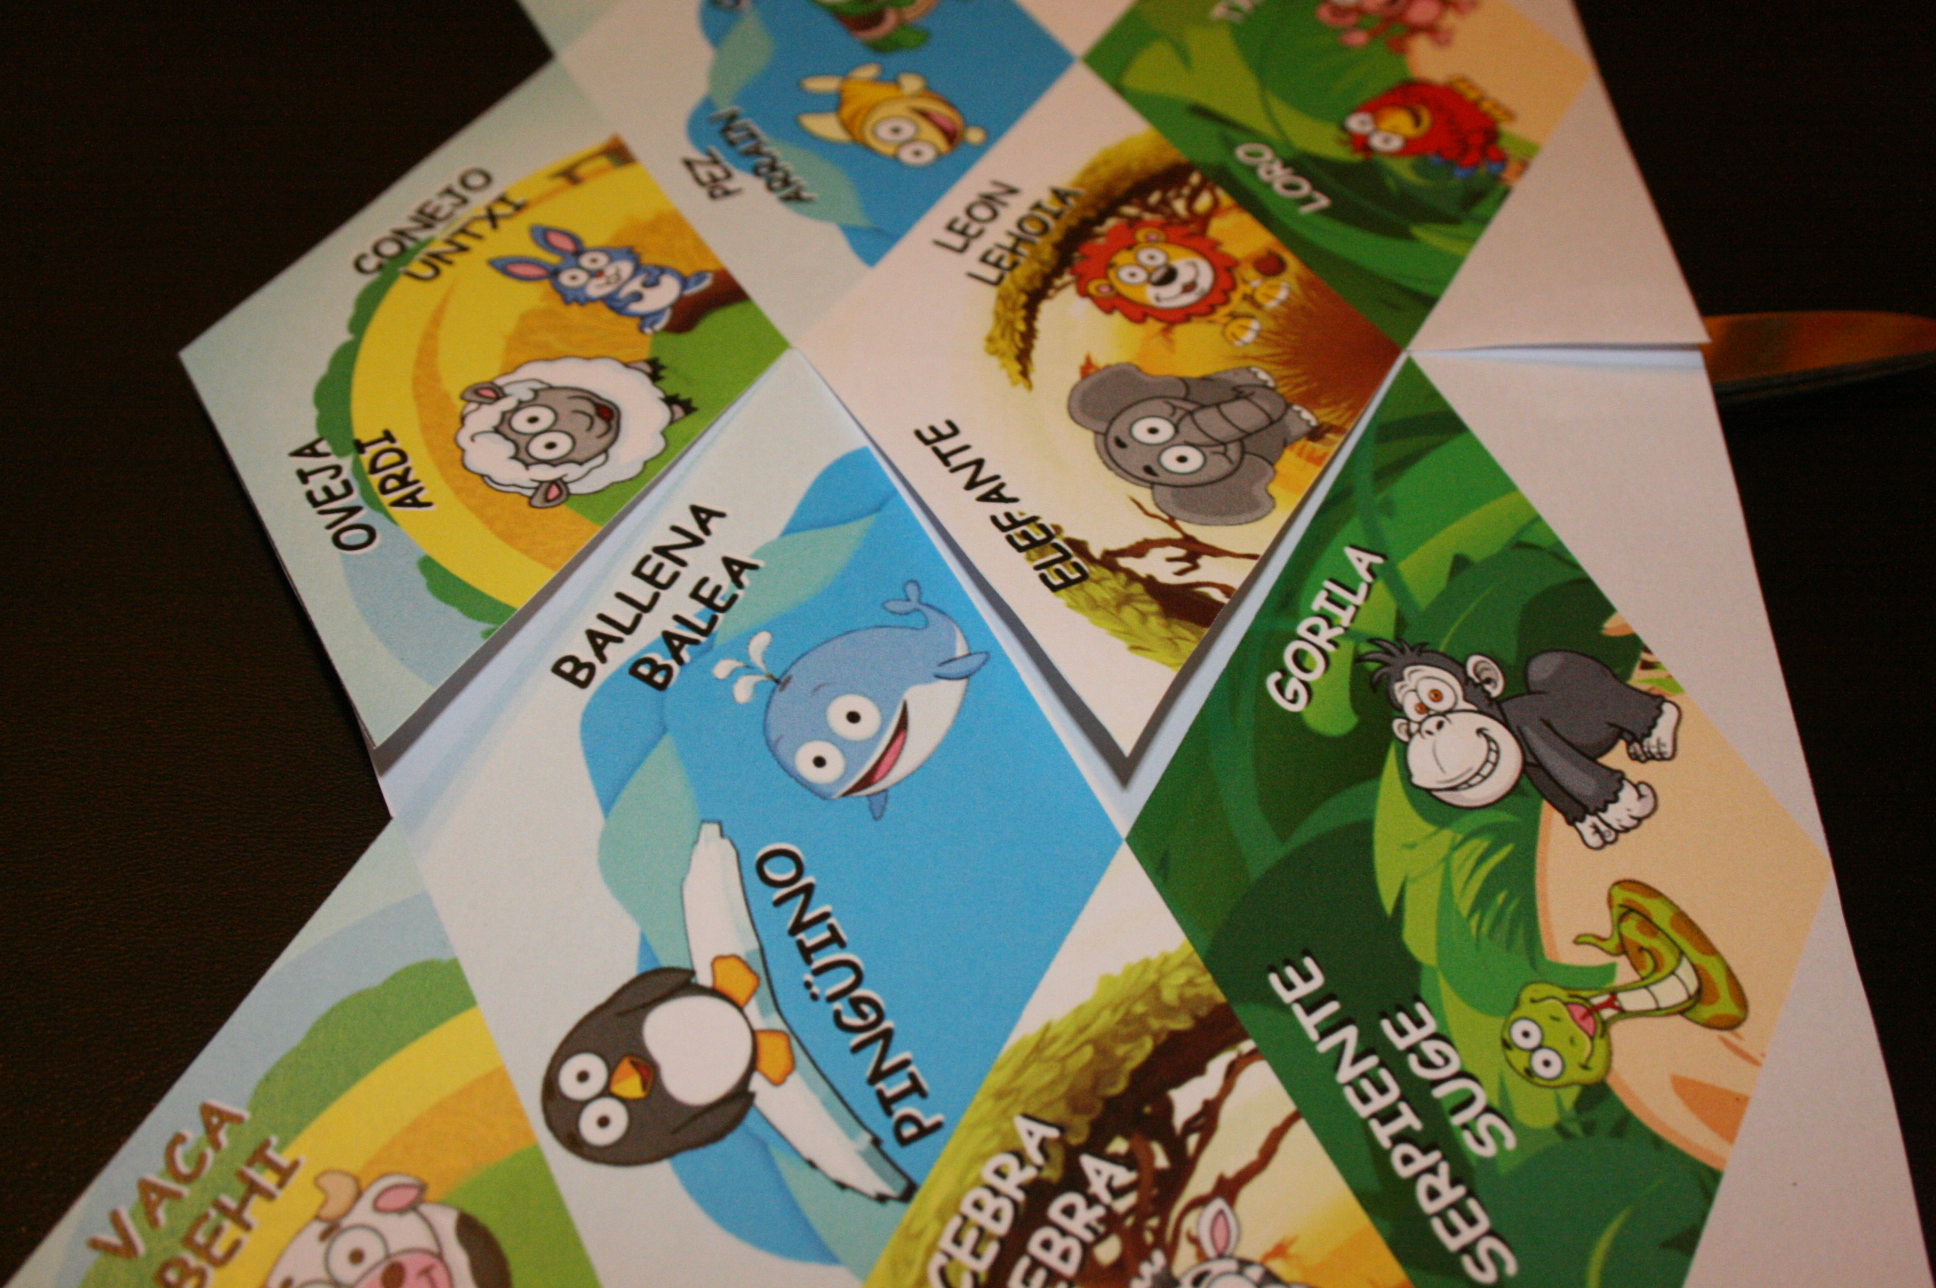
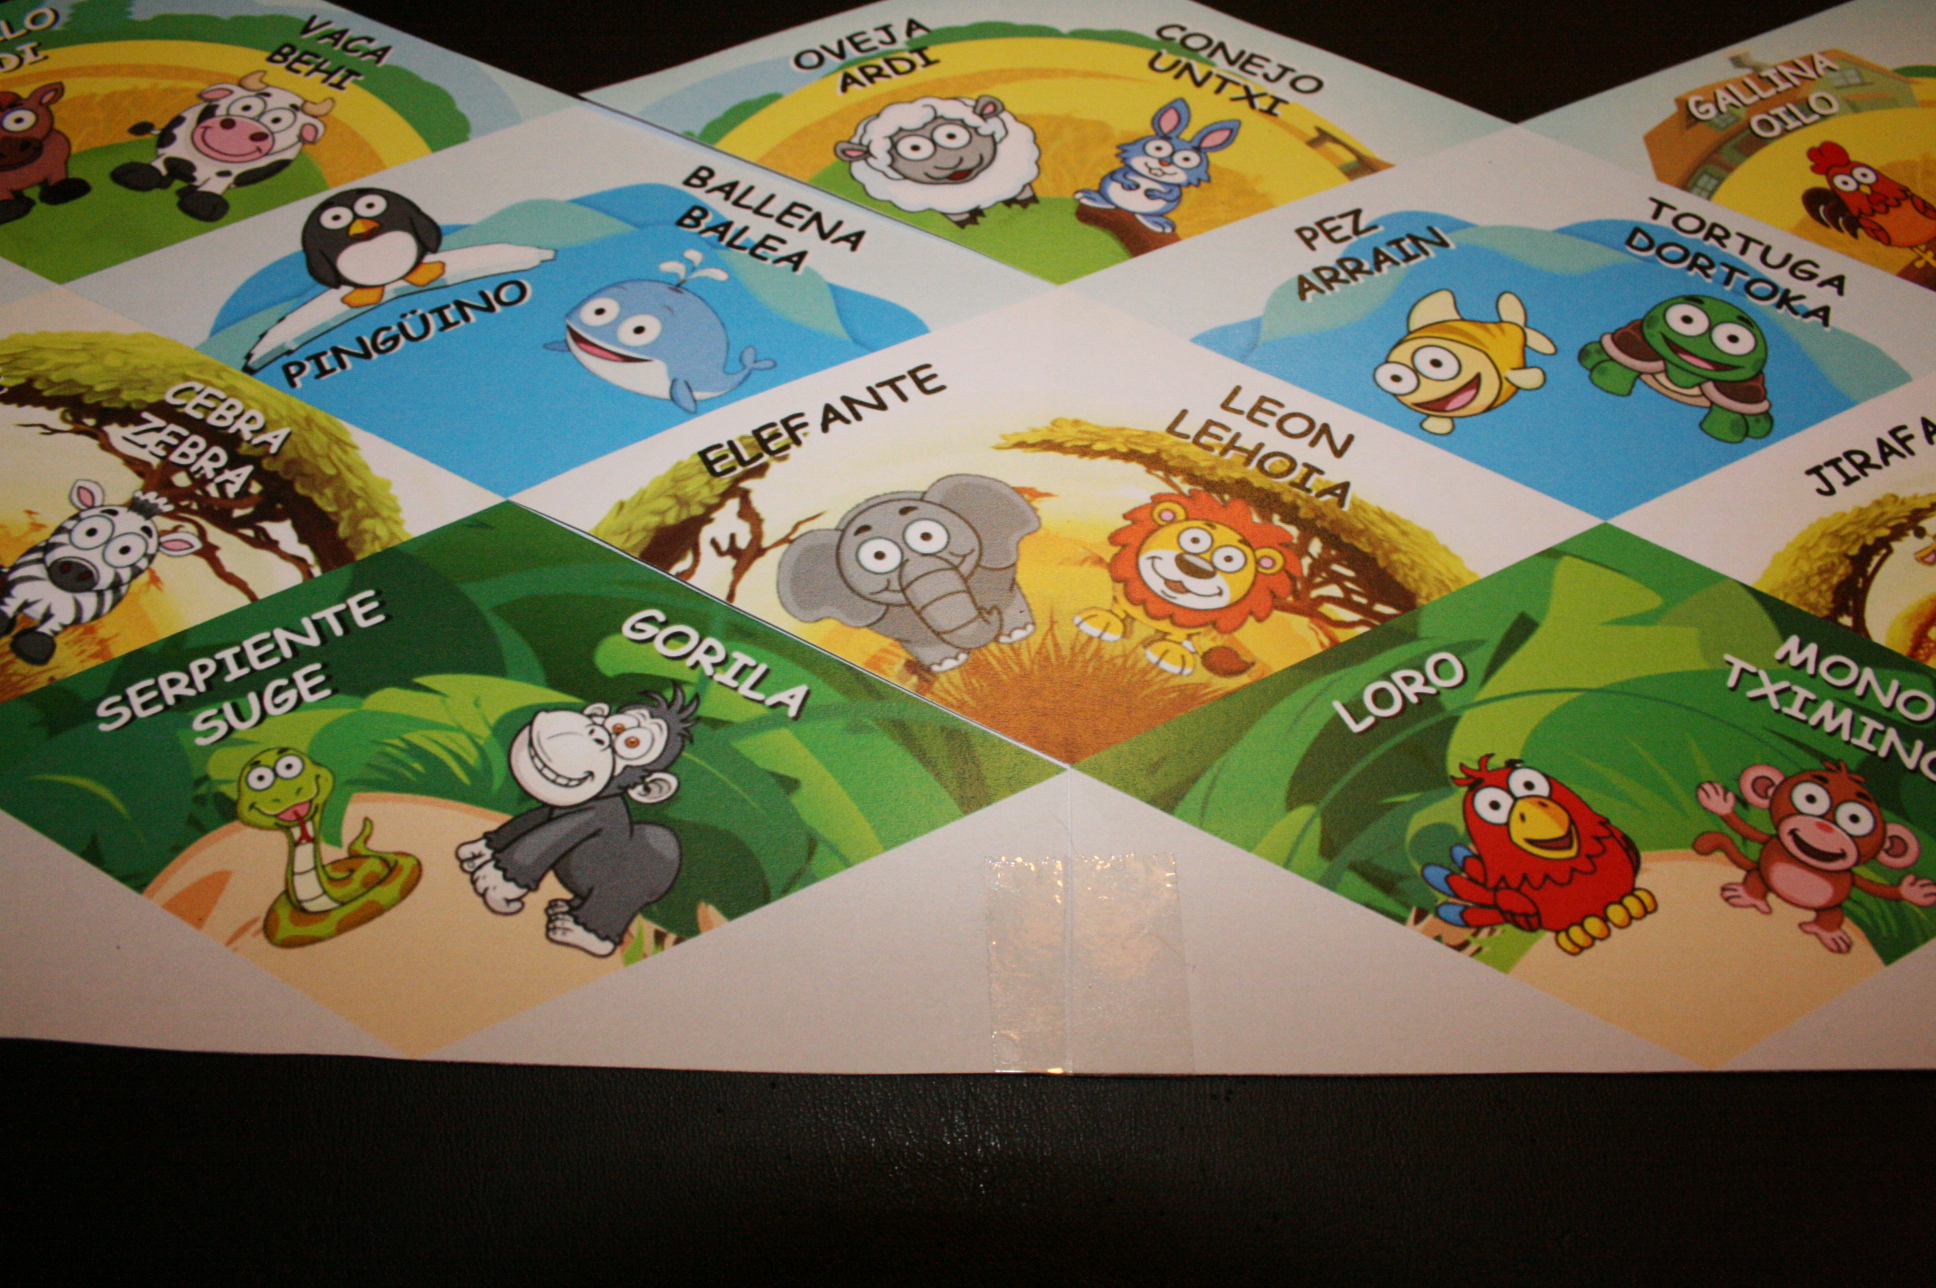
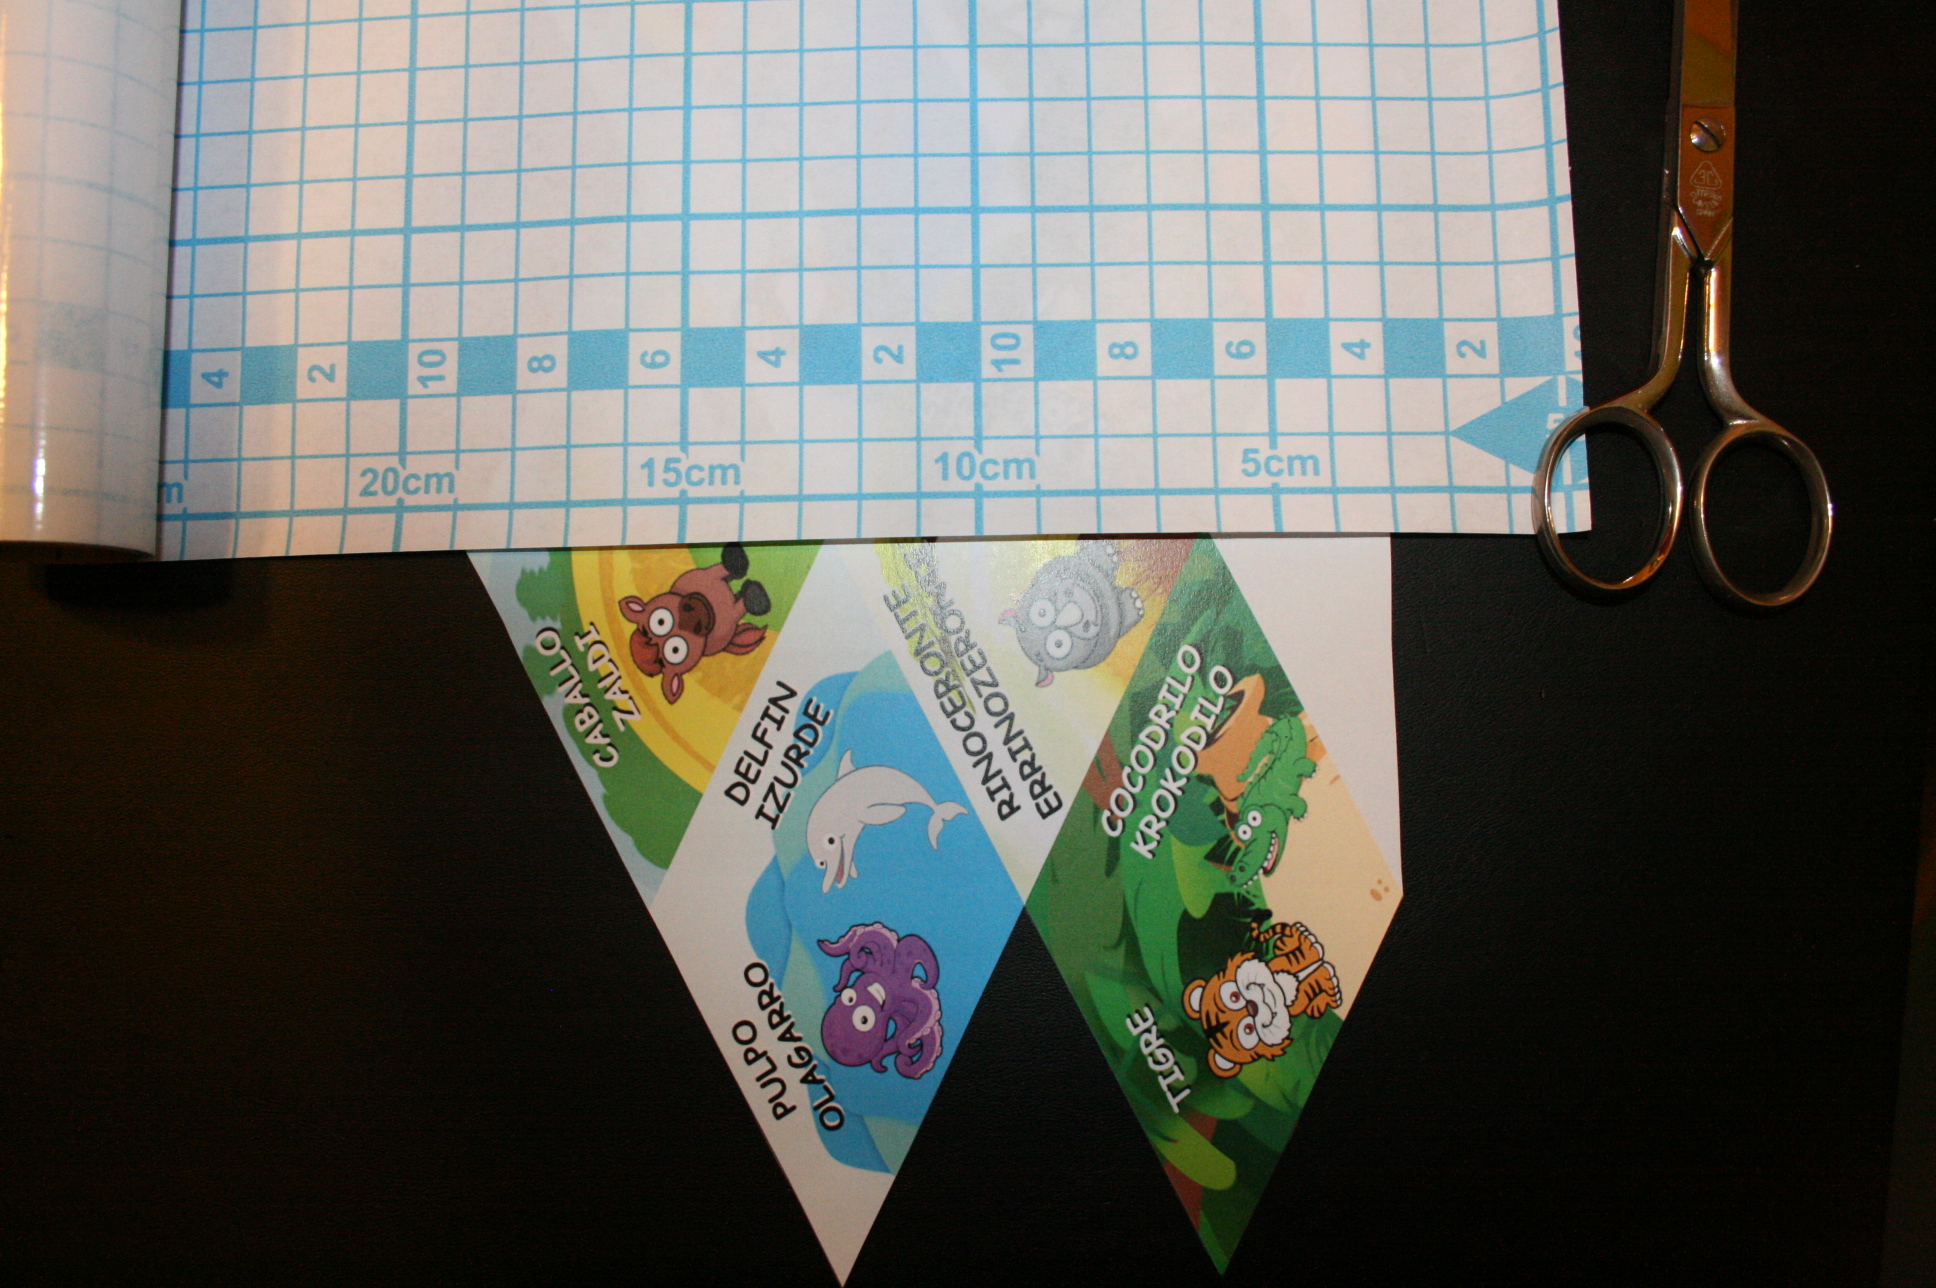
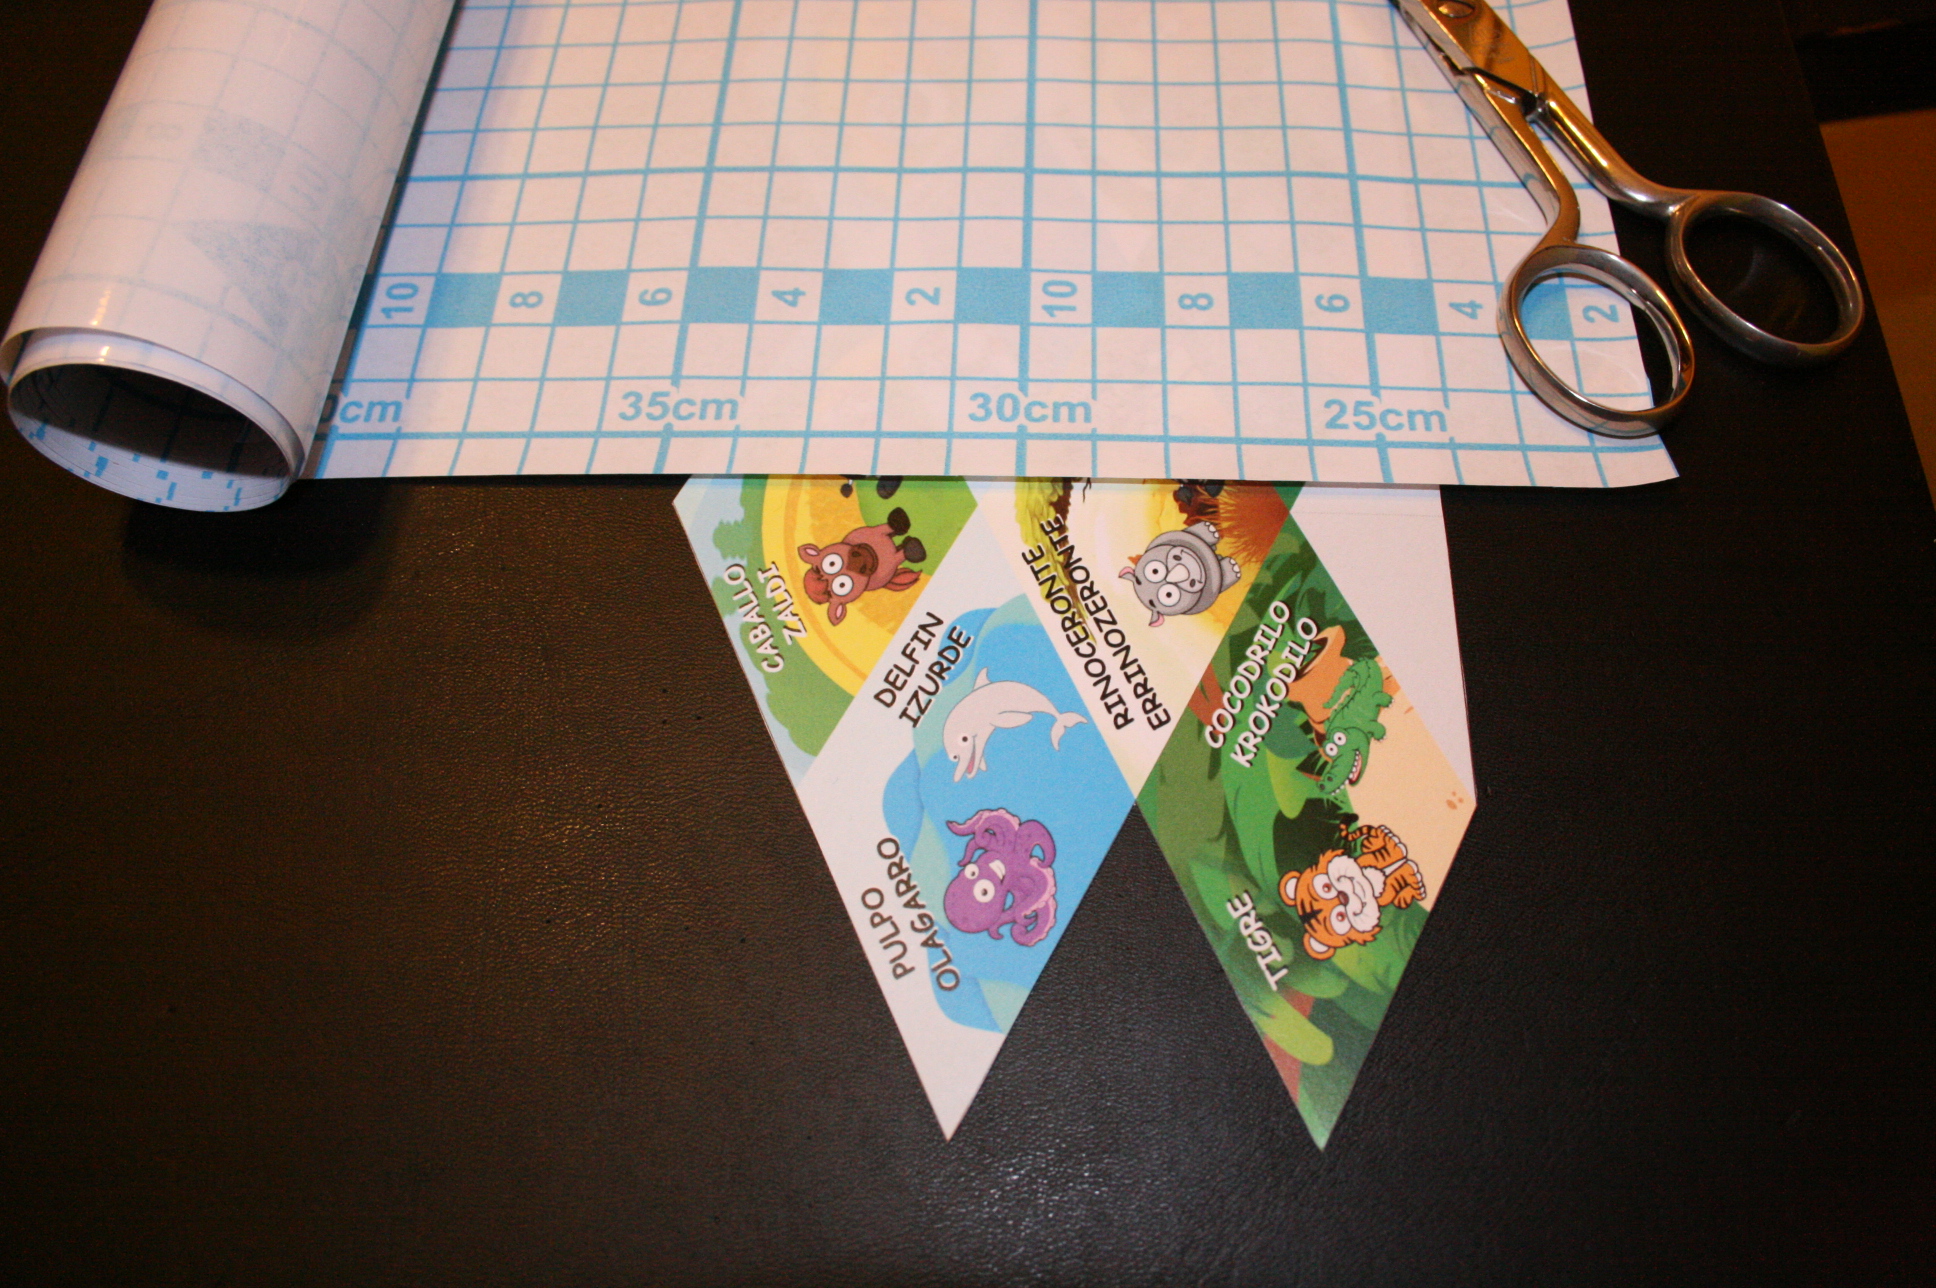
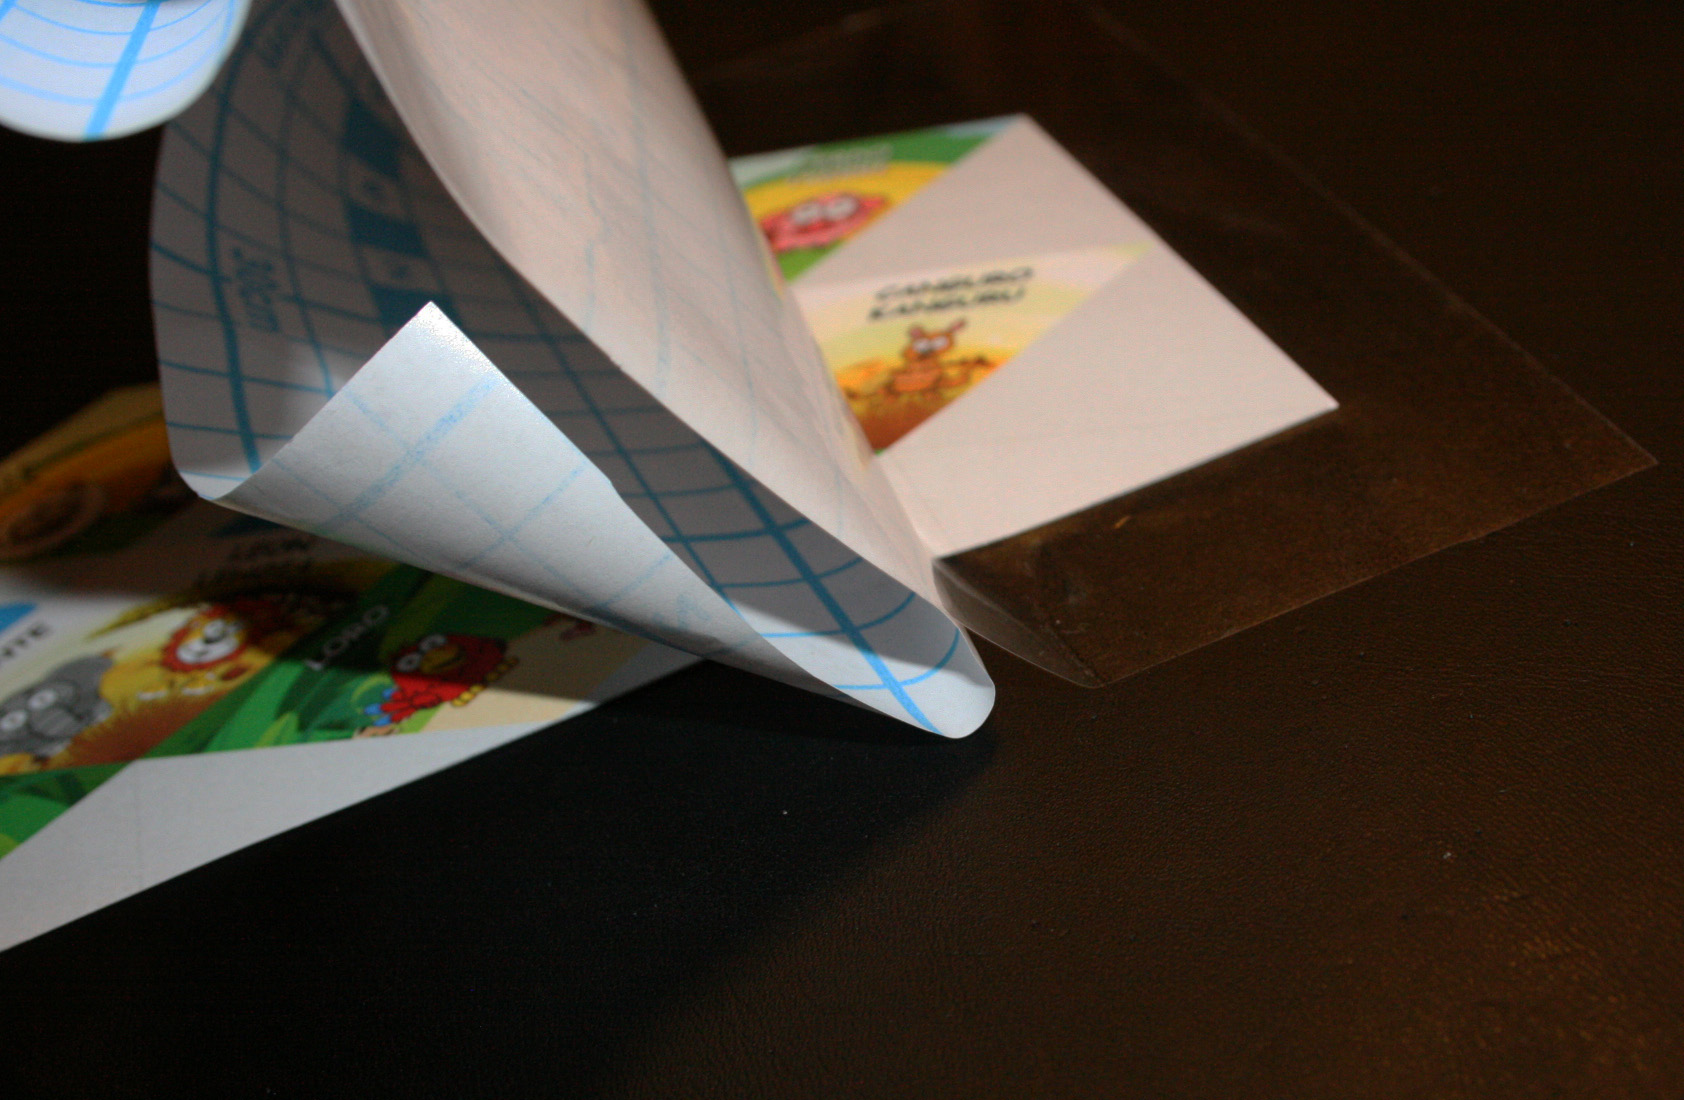
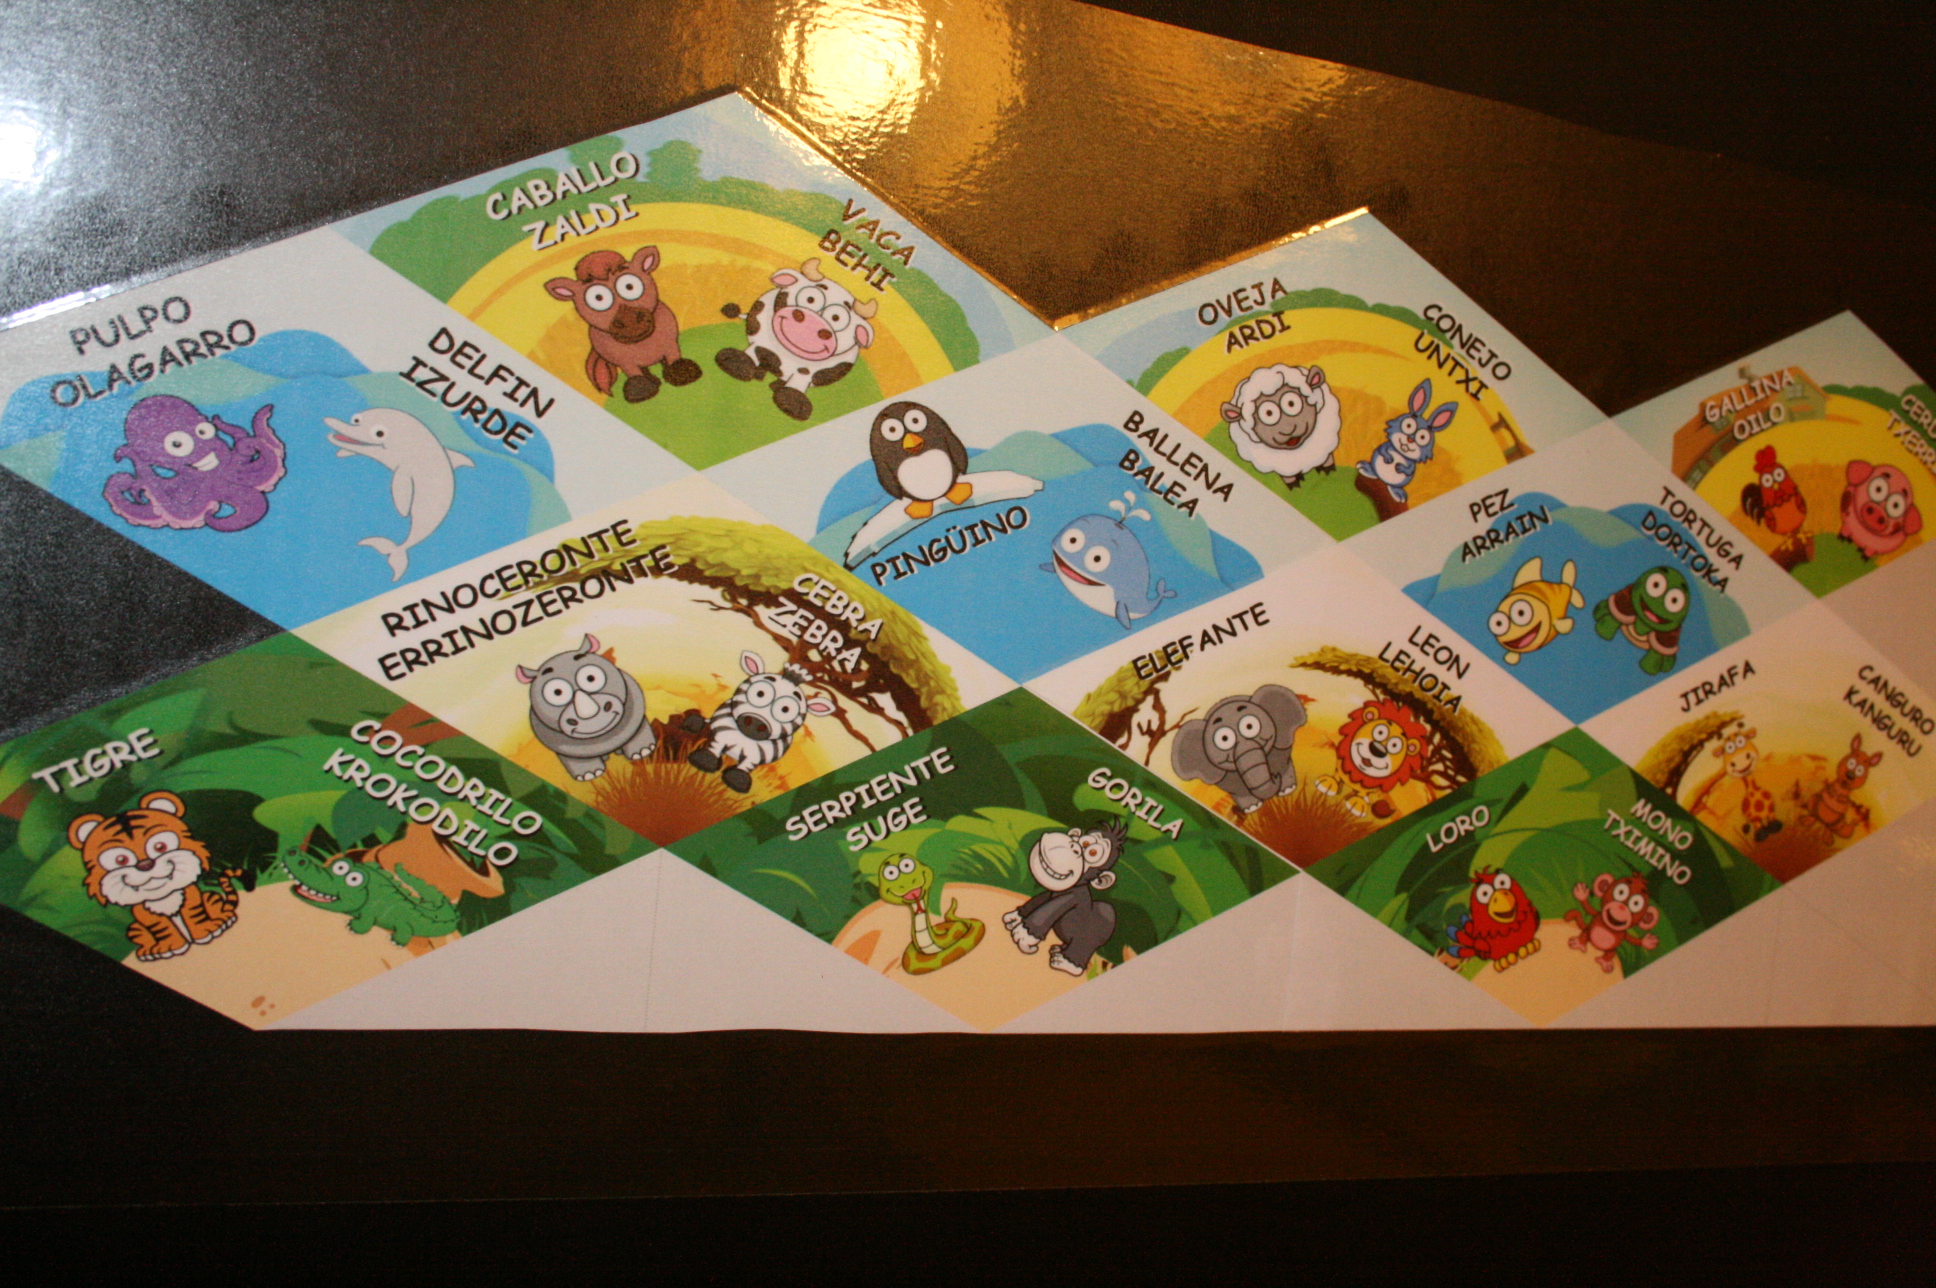
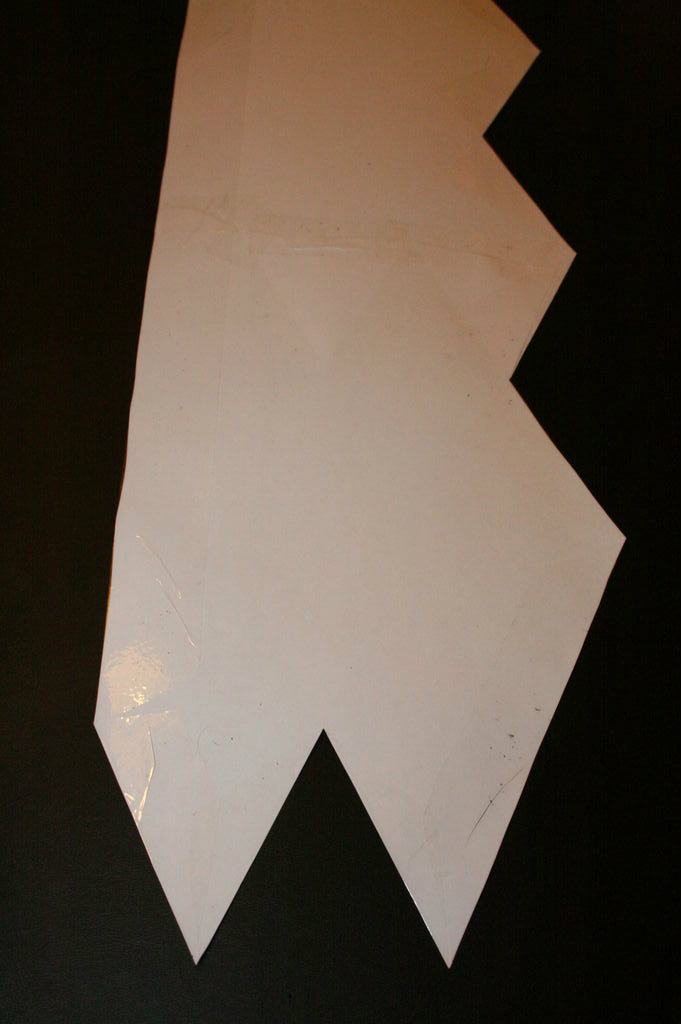
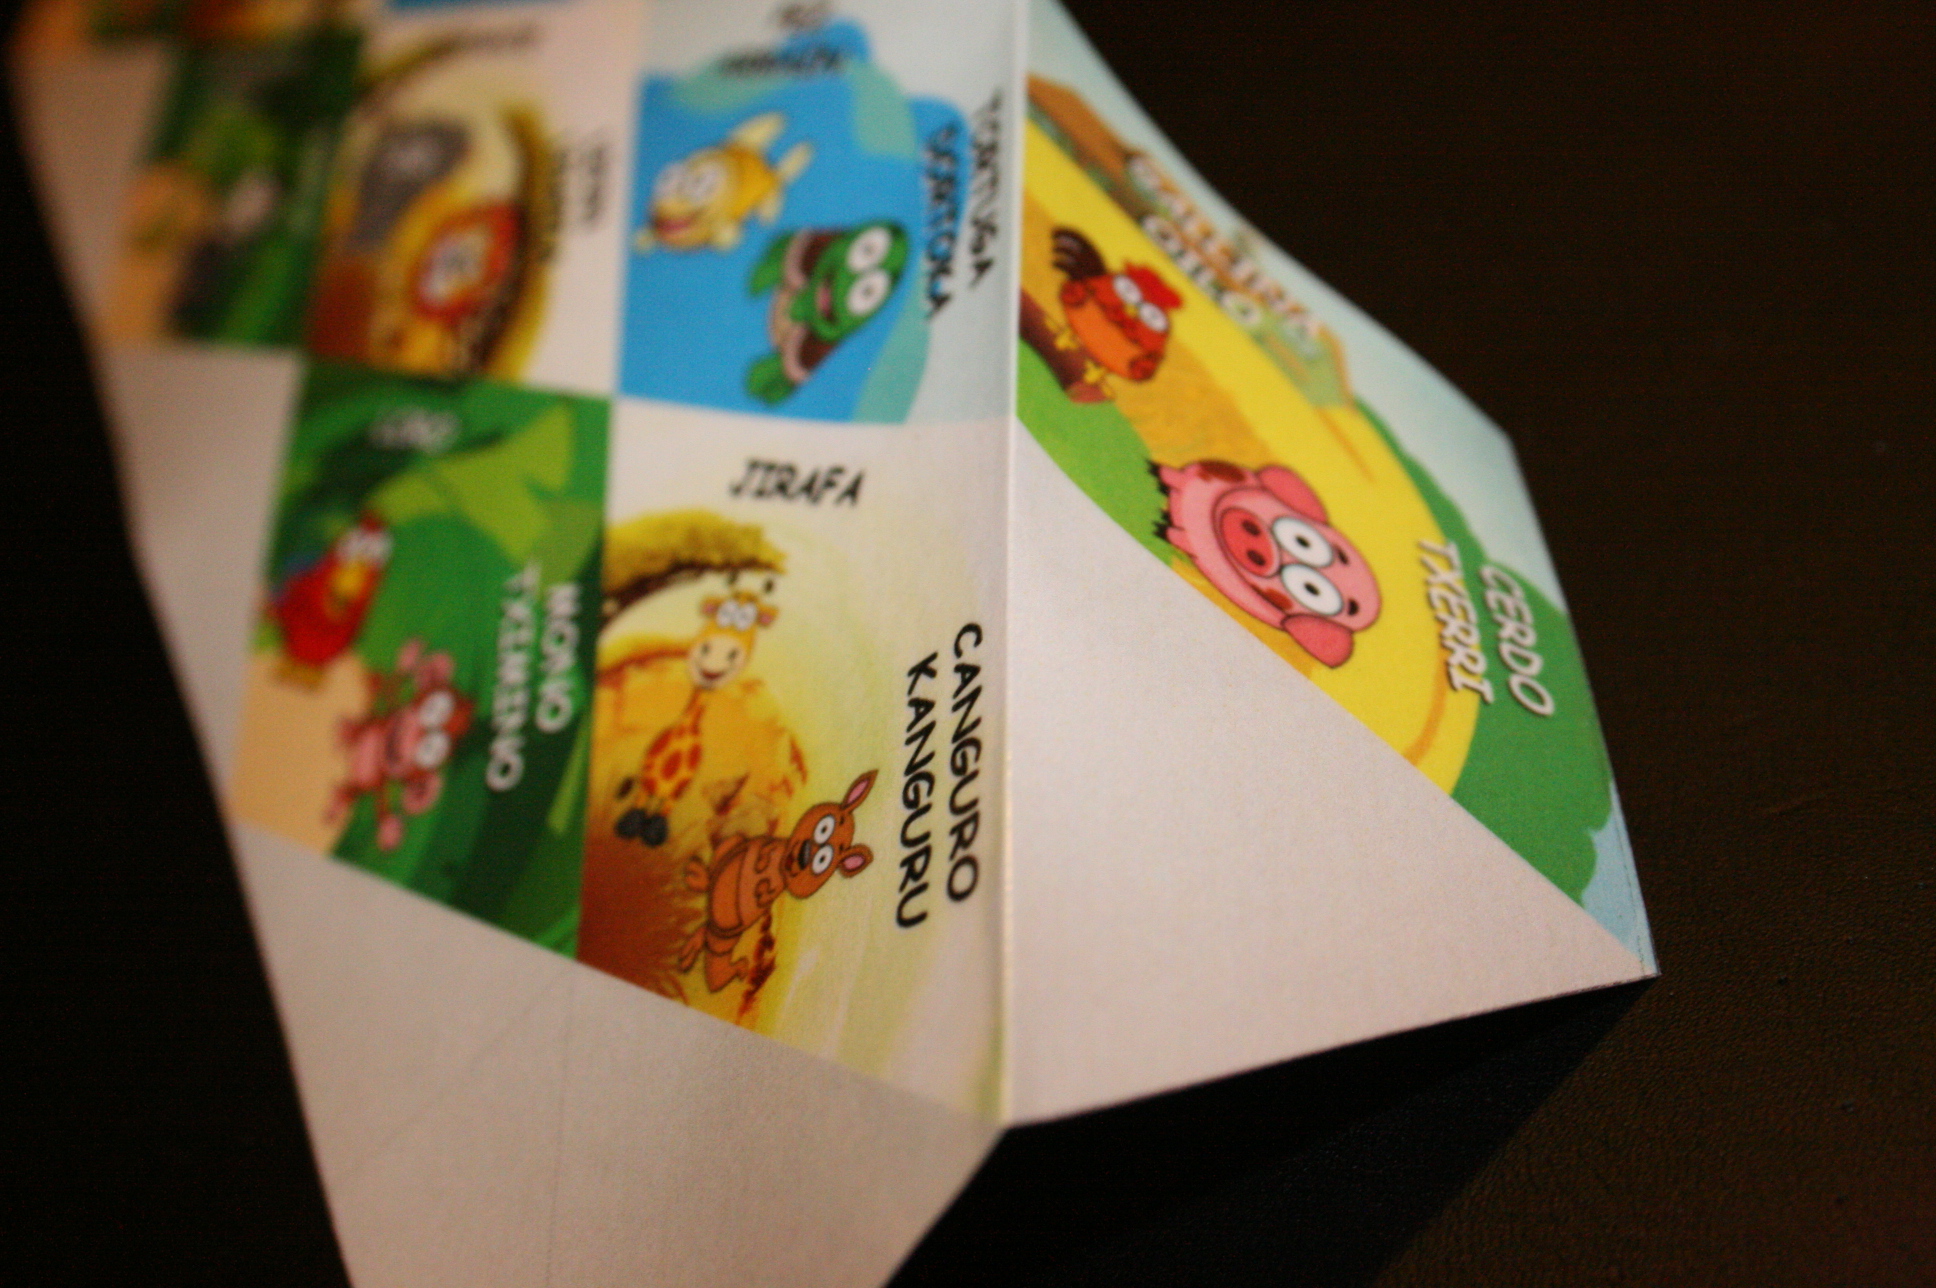
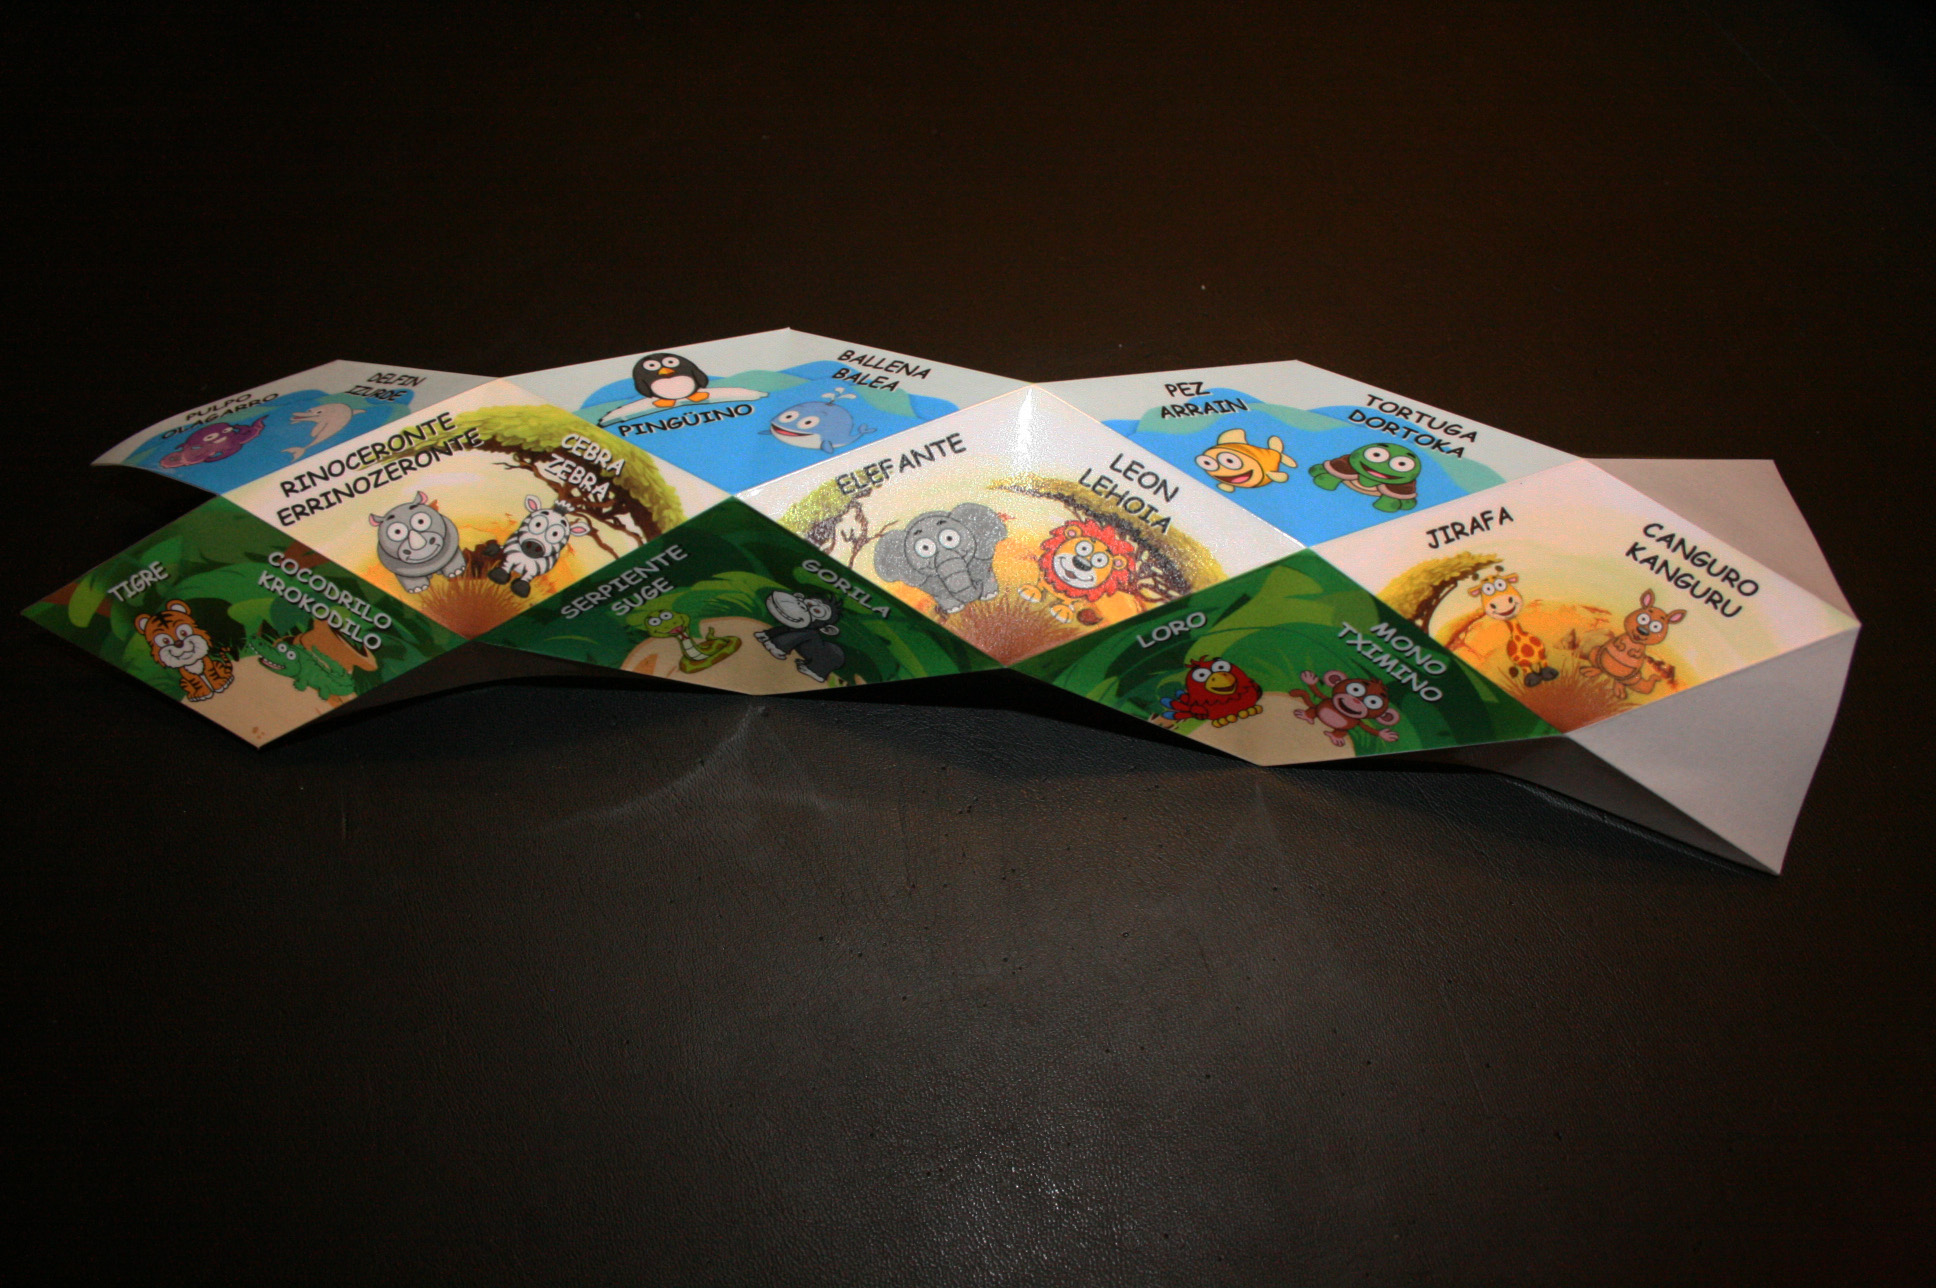
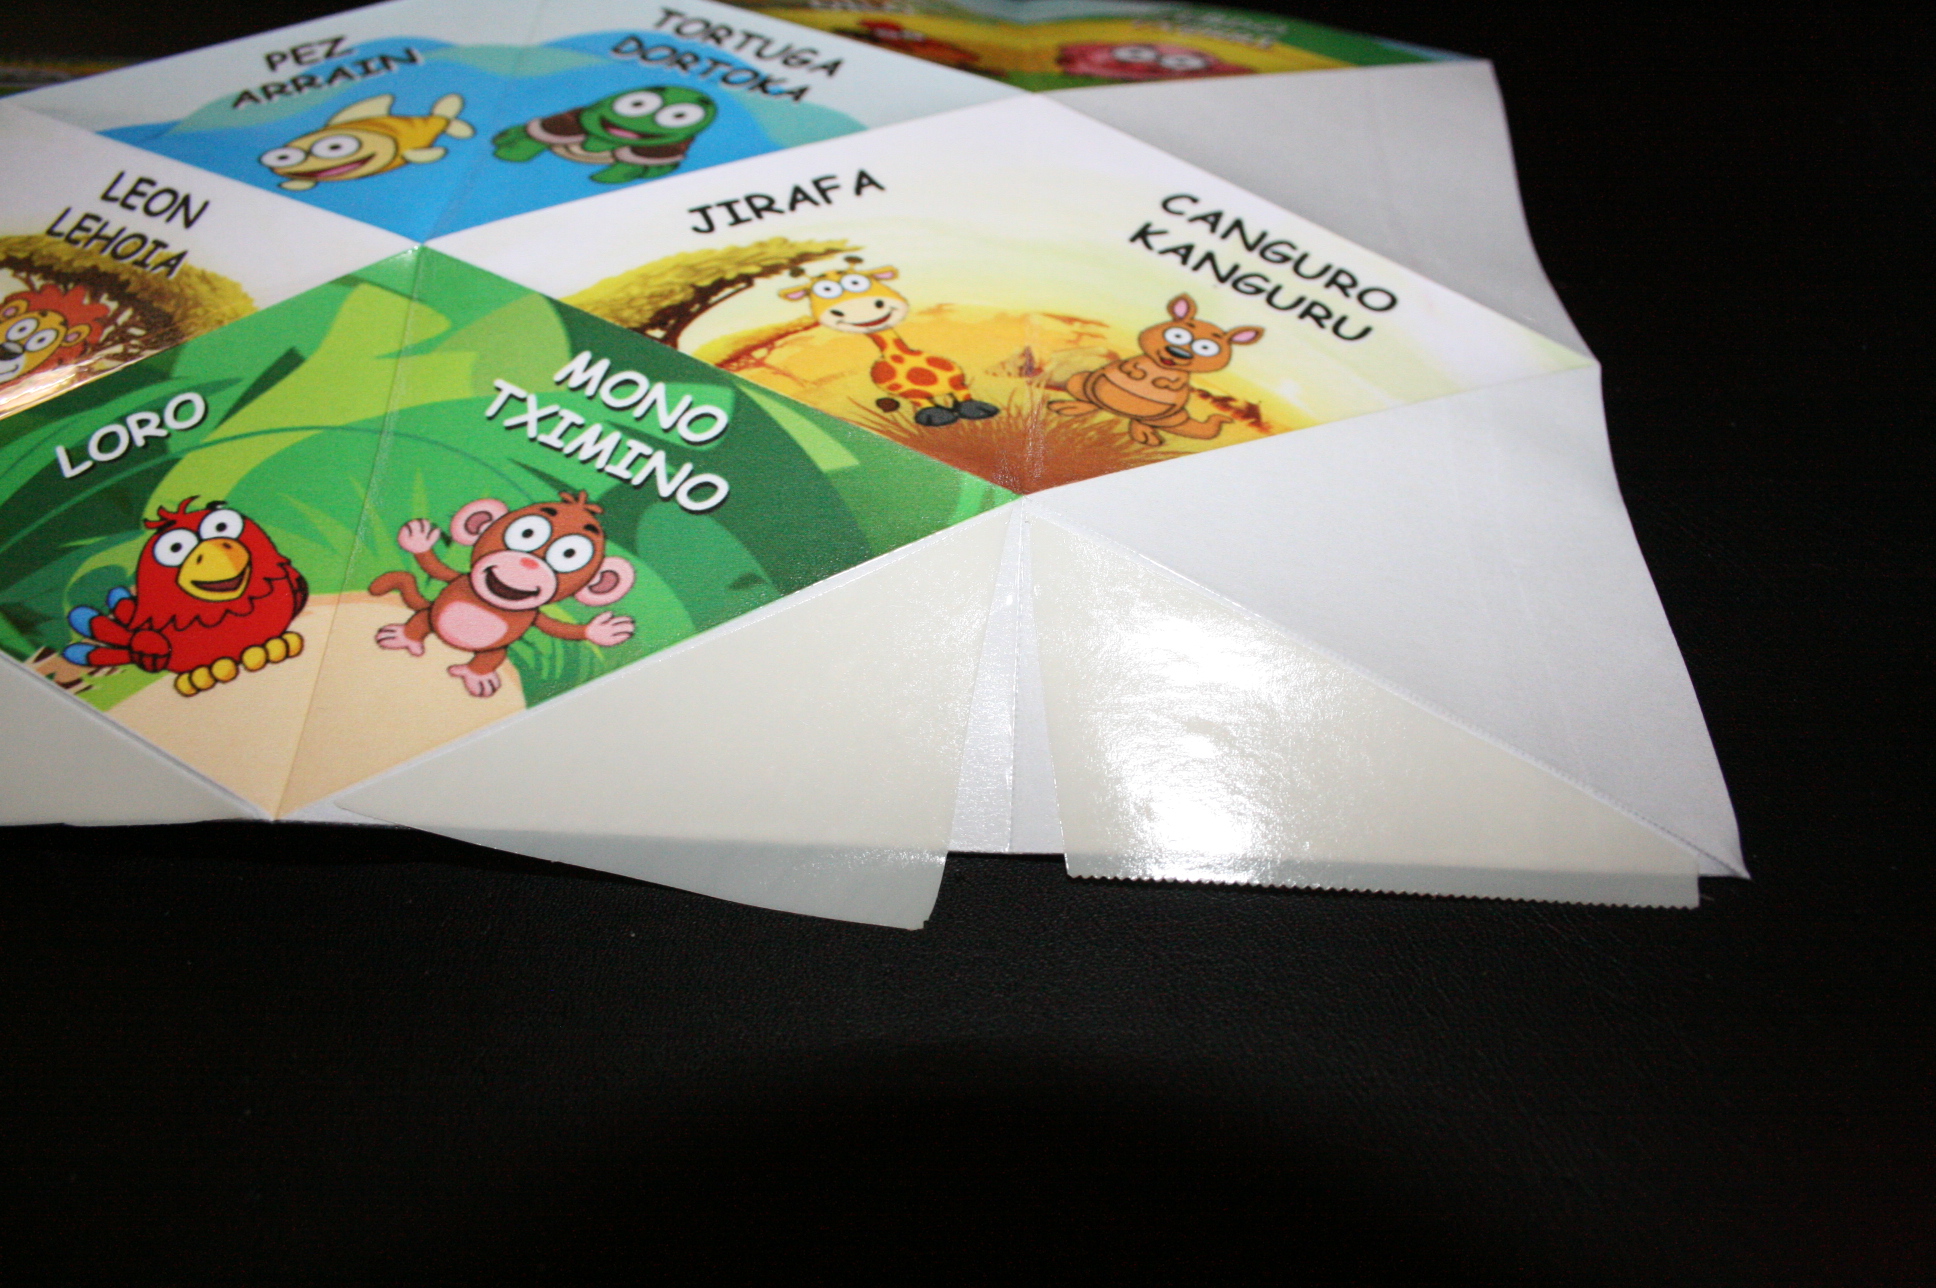
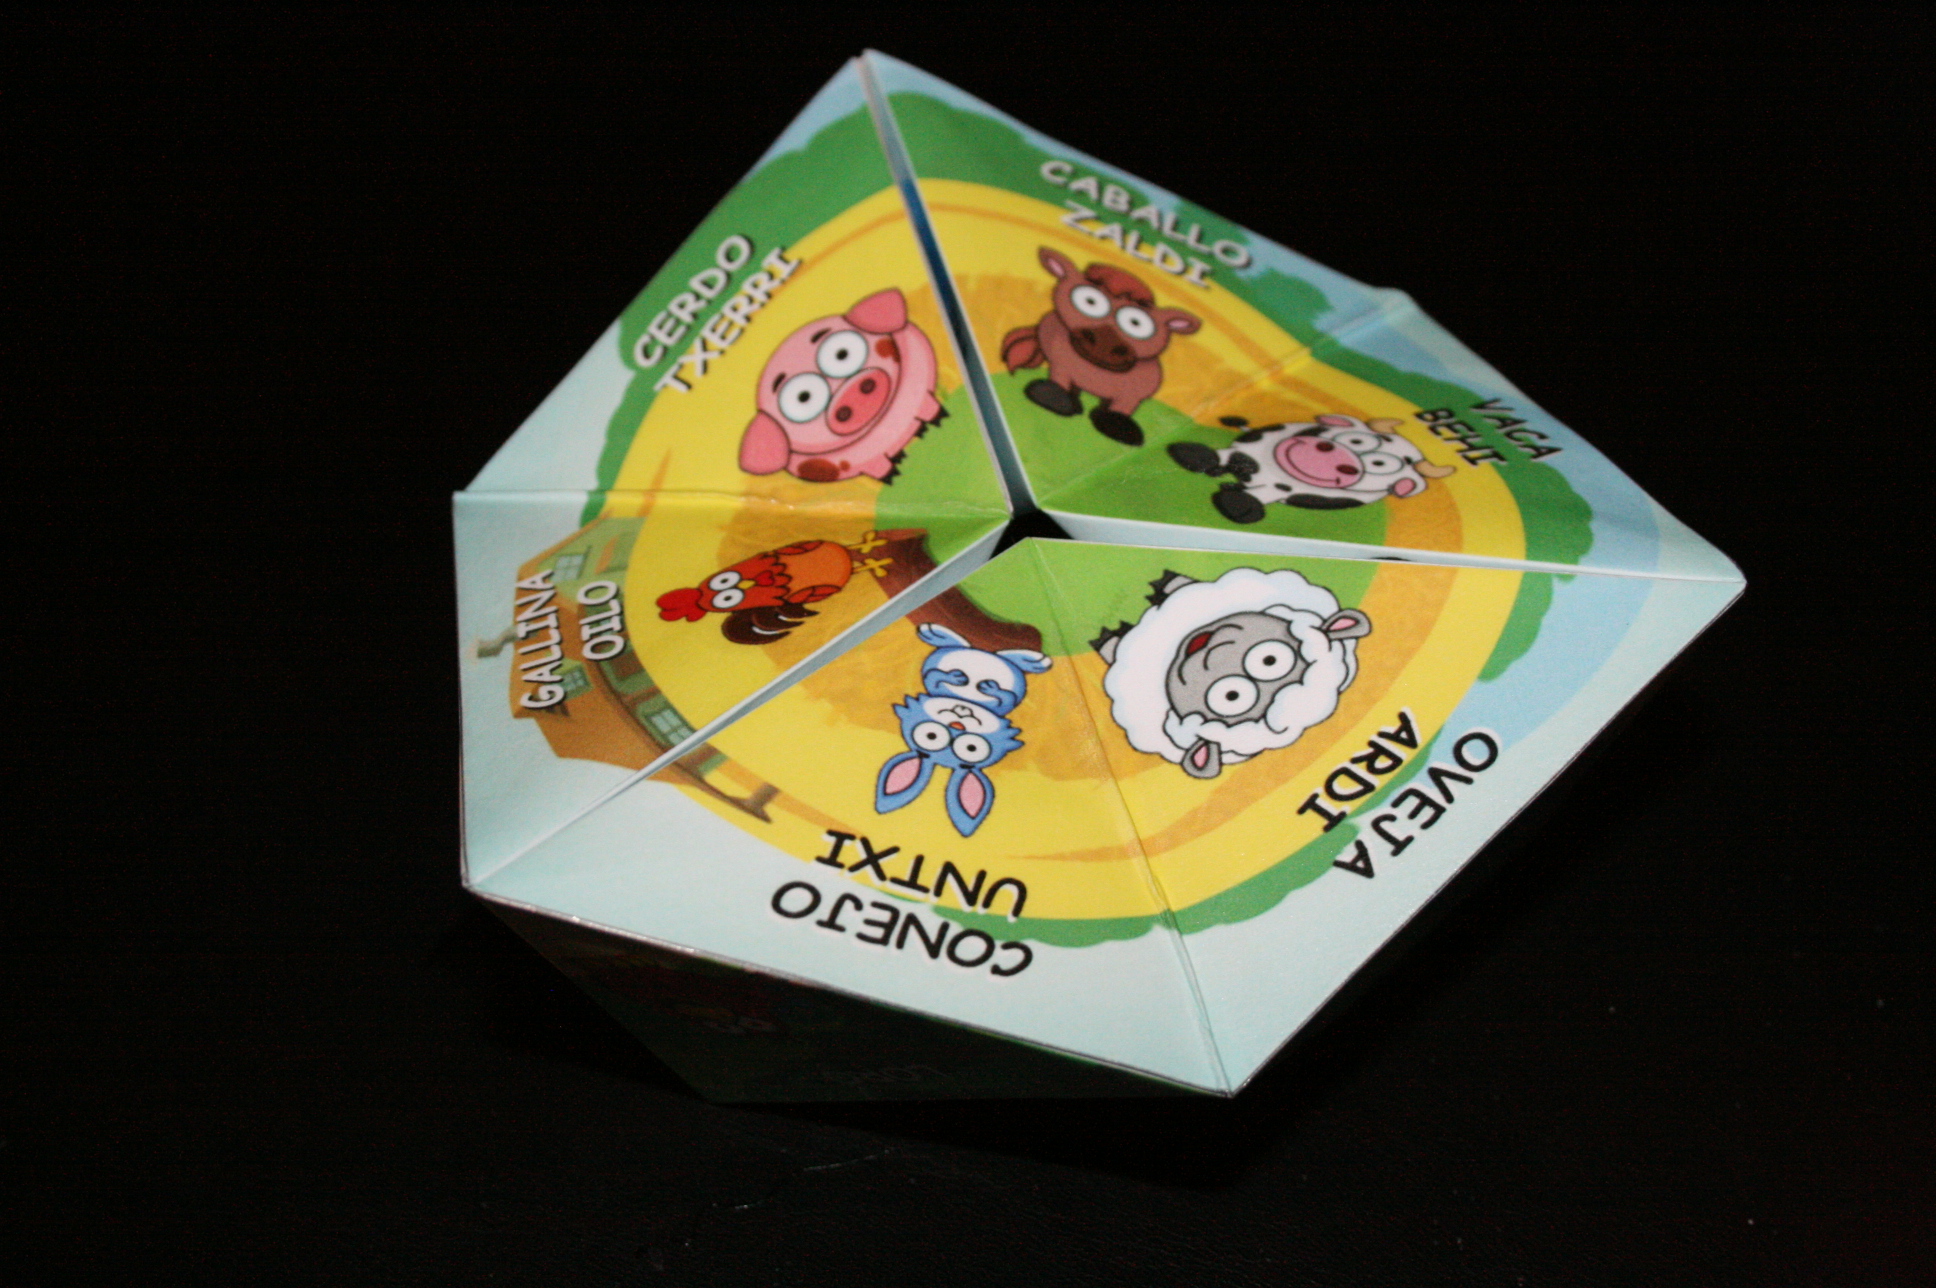
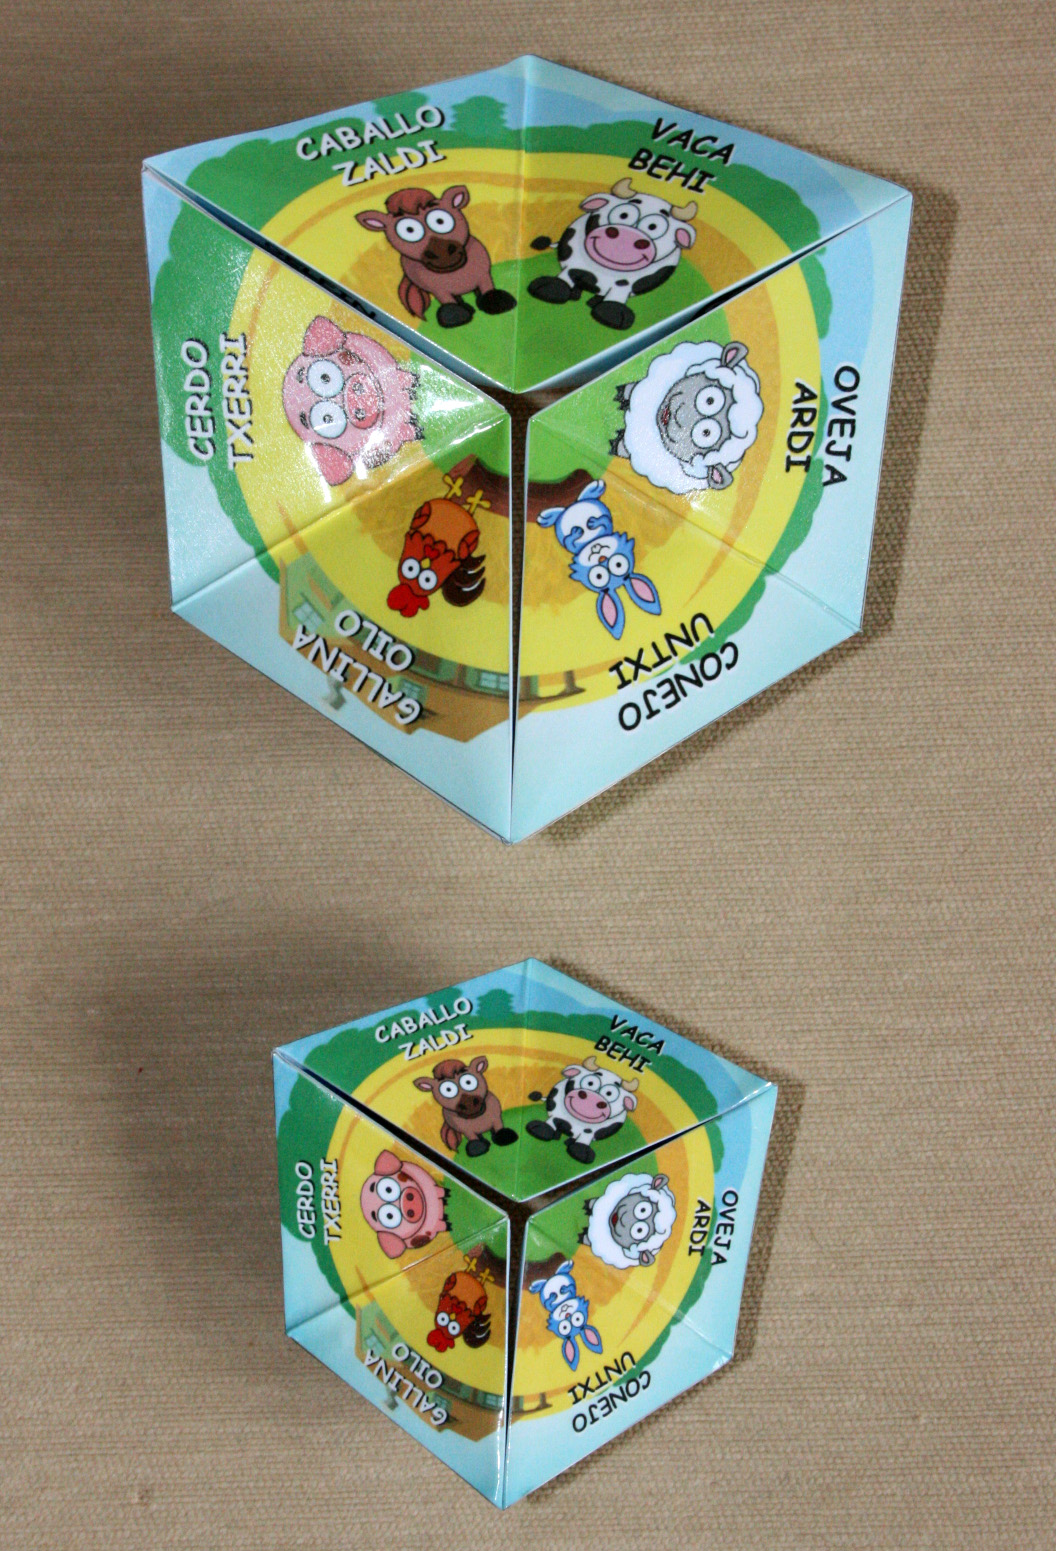
Print the kaleidocycle as big as you want (A4, A3...). For the small kaleidocycle, I decided to edit the picture in the pdf and make it a little bit bigger. For the big kaleidocycle, I divided the output image in two parts and printed it in two A4. I made the big one (12cm) so that my nephew could easily identify the letters with no problem.
- Cut the kaleidocycle.
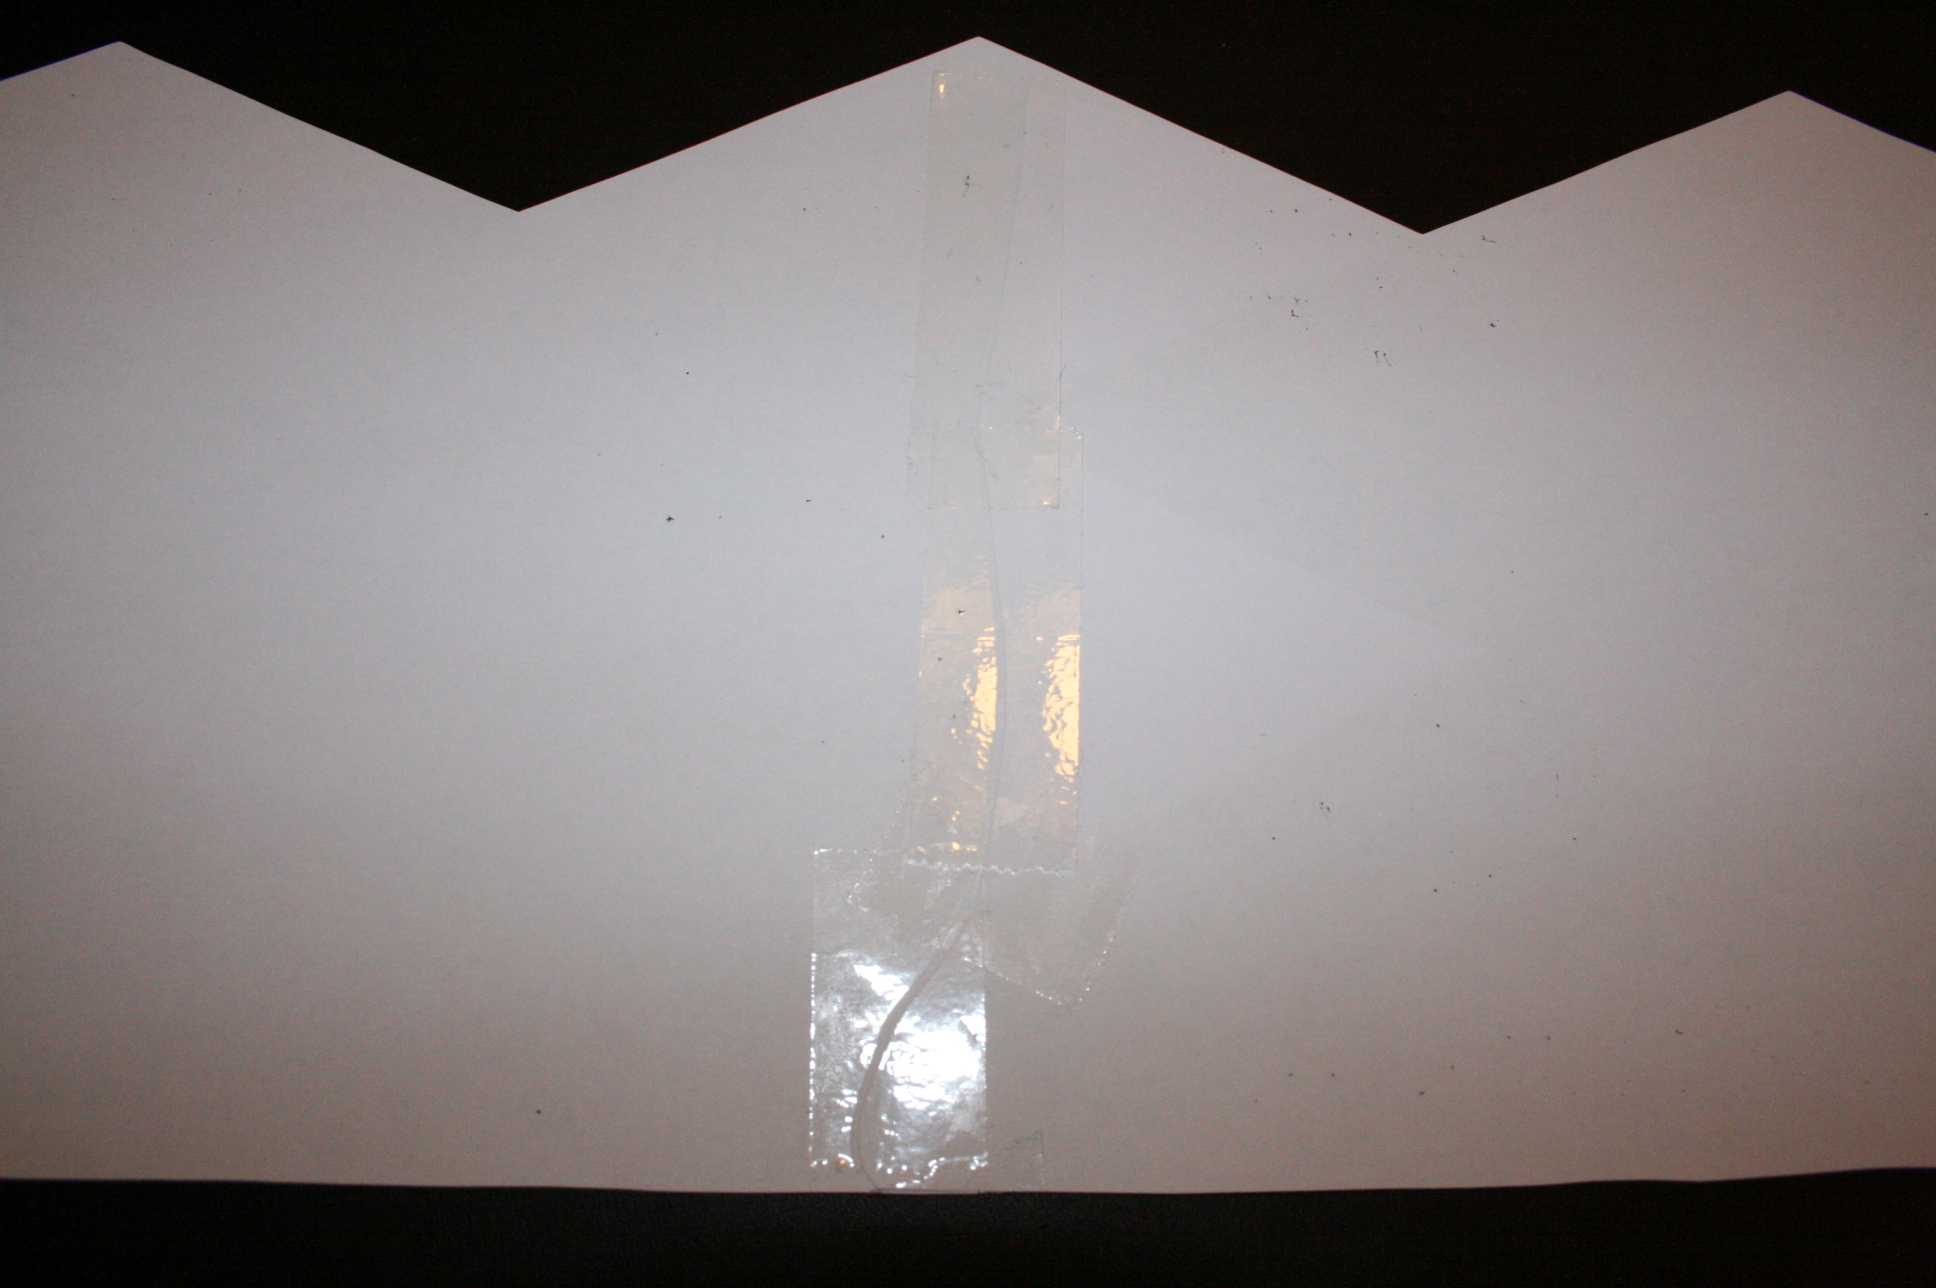
- For the big kaleidocycle, put both parts together using tape (only on the back, not on the pictures).
- Use transparent adhesive book film to cover it. Cut the film to correct size leaving about 2cm surplus at each edge. Remove backing paper little by little and cover the kaleidocycle with the film. Fold back the surplus film.
- Fold the kaleidocycle as seen in the picture (all diagonals are mountain folds and all verticals are valley folds).
- Apply cyanacrylate glue on the shaded areas and stick it. You can use other kind of glue if you want, but try it first on a piece of film before you apply it on the kaleidocycle because it might melt the plastic film. I tried contact glue because the kaleidocycle is kind of elastic, but it dissolved the film, that's why I decided to try other glues.
Play and Learn
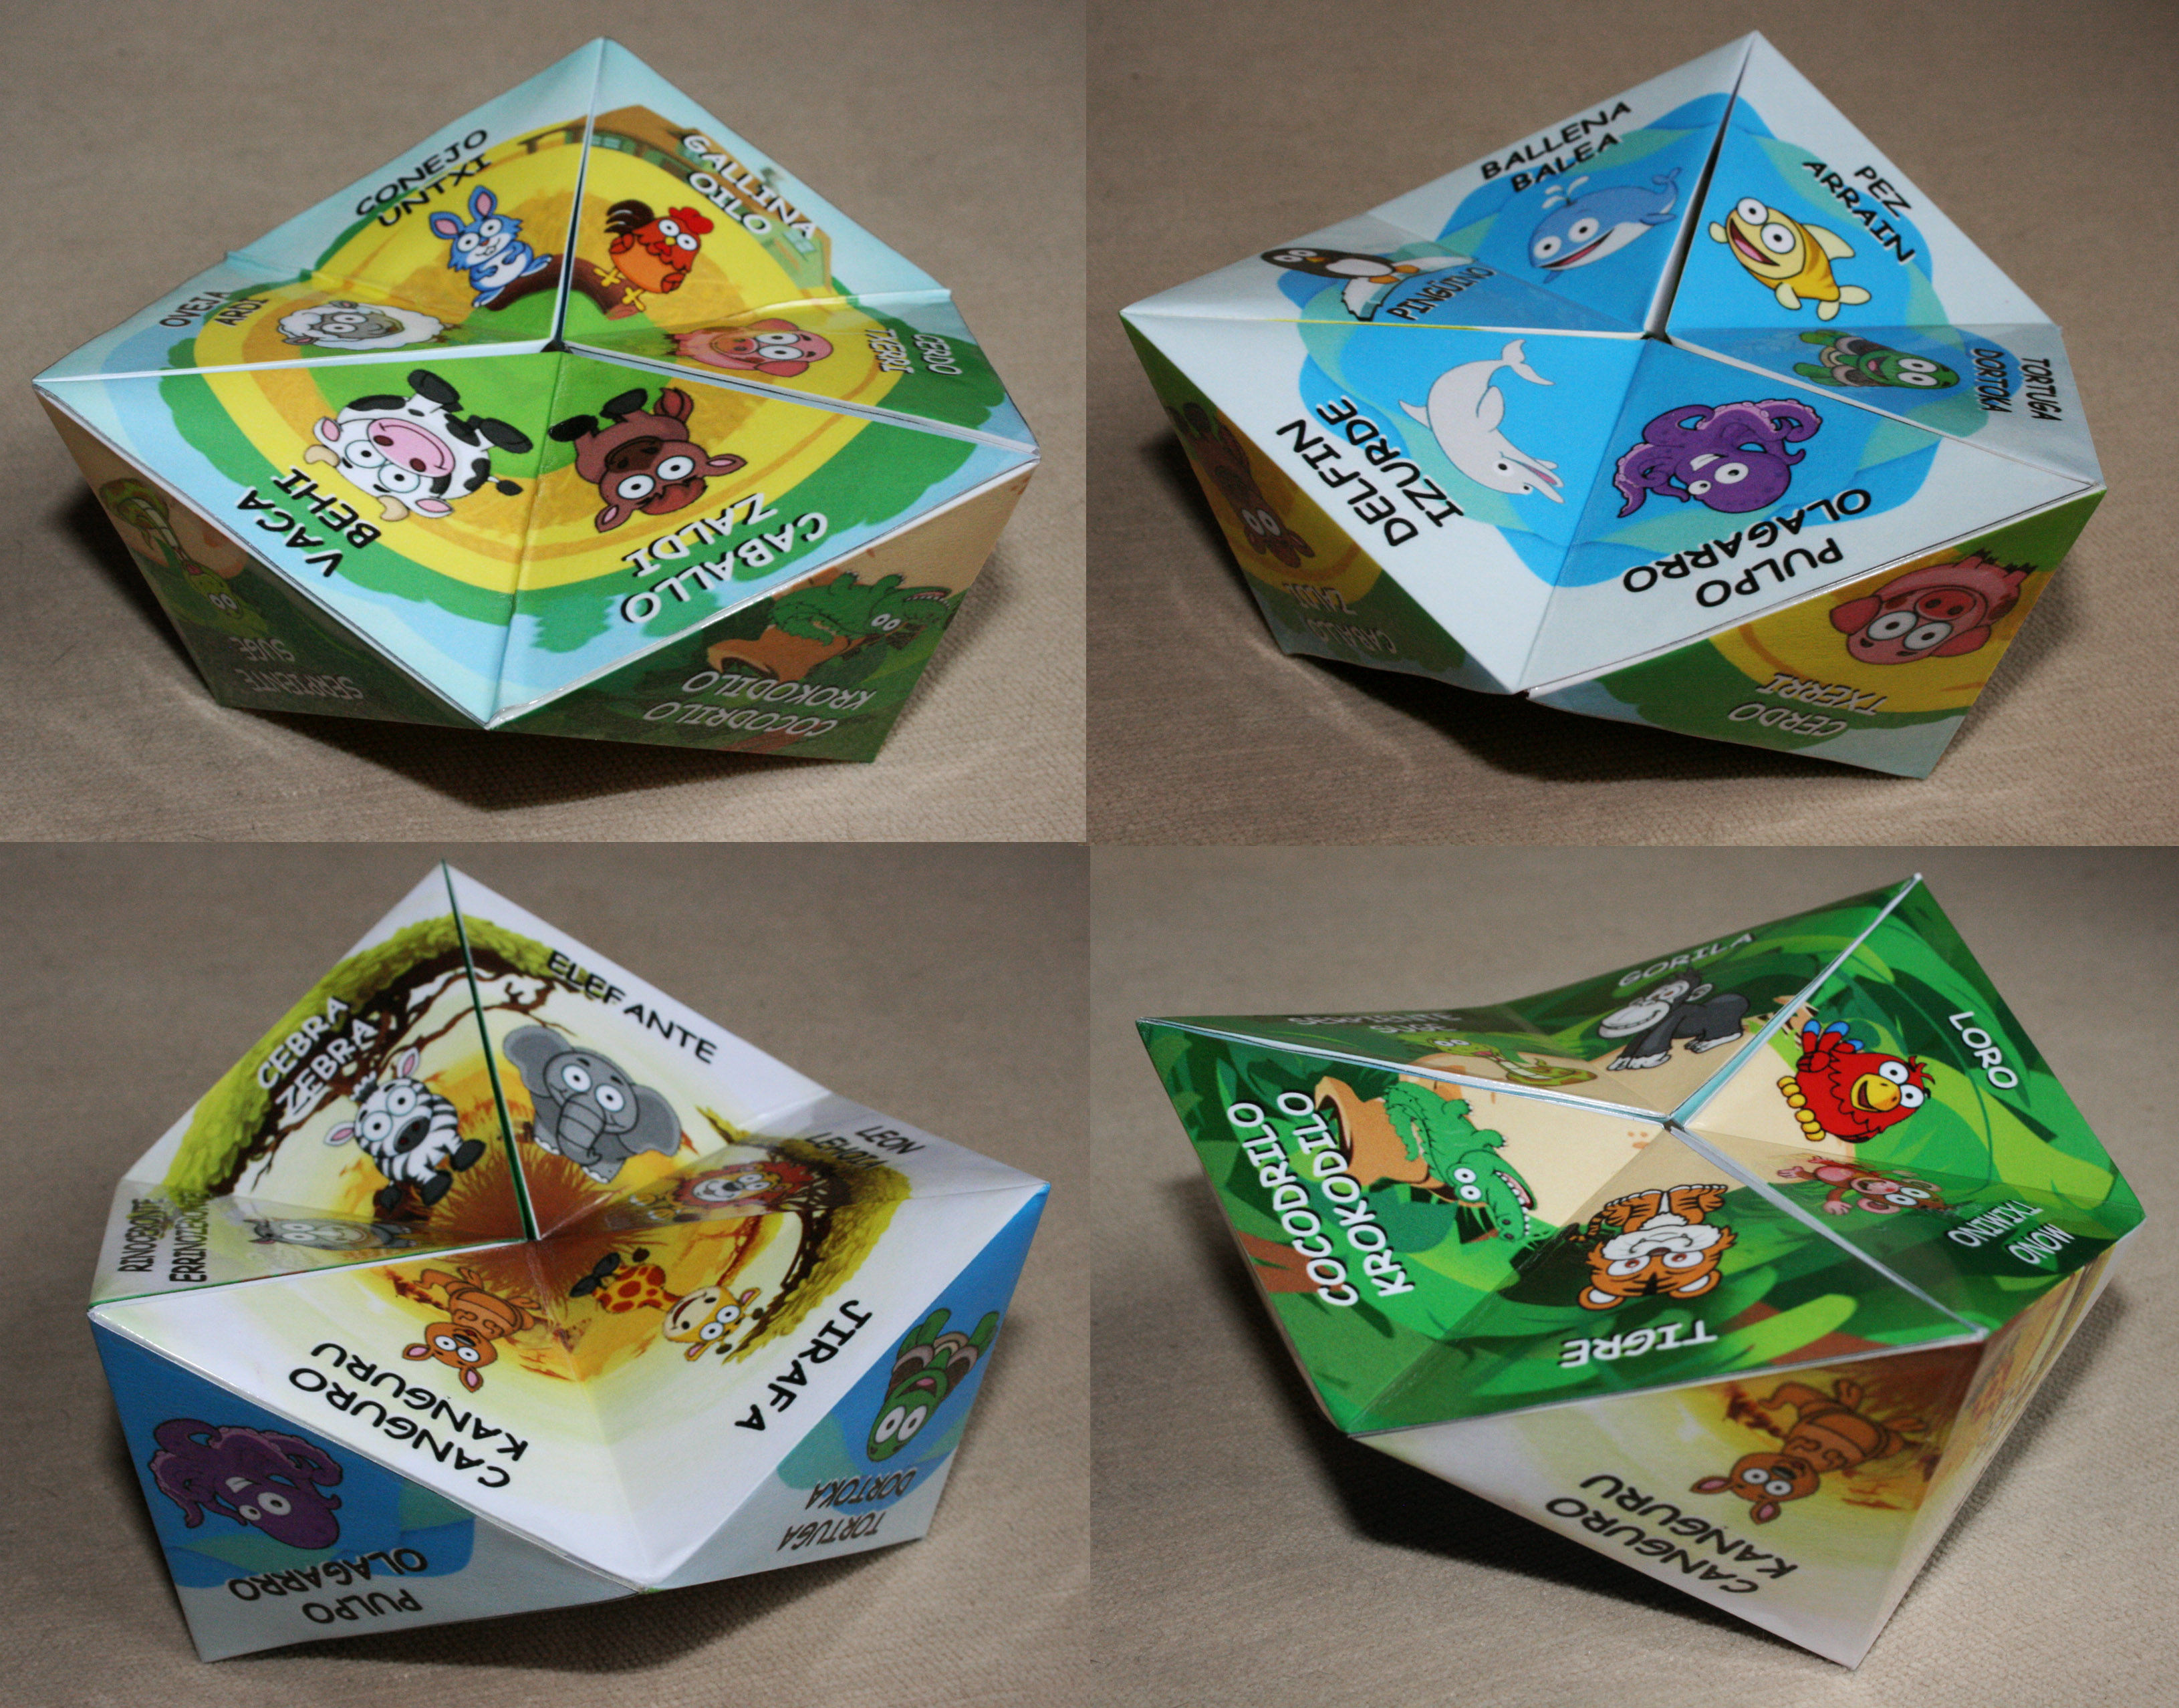
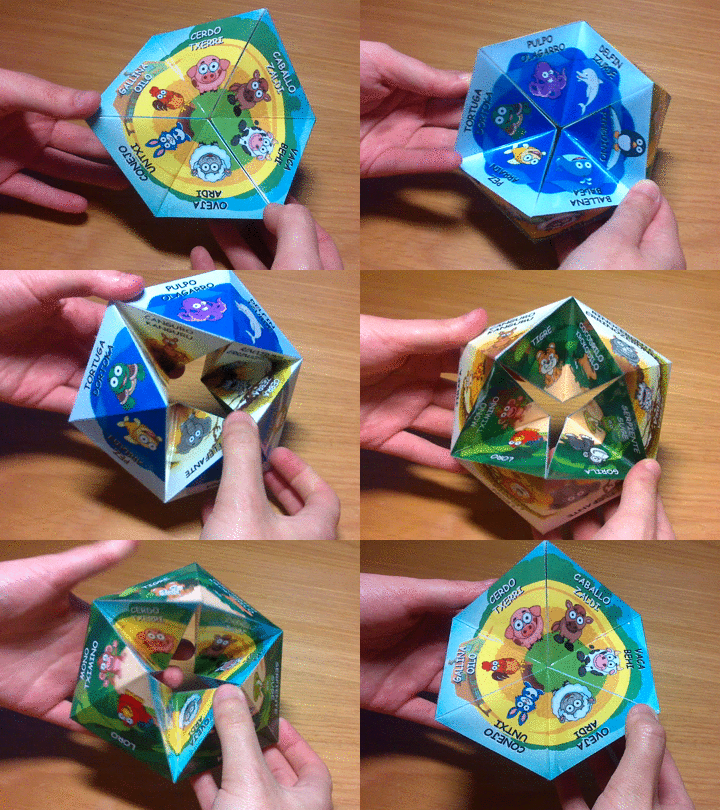
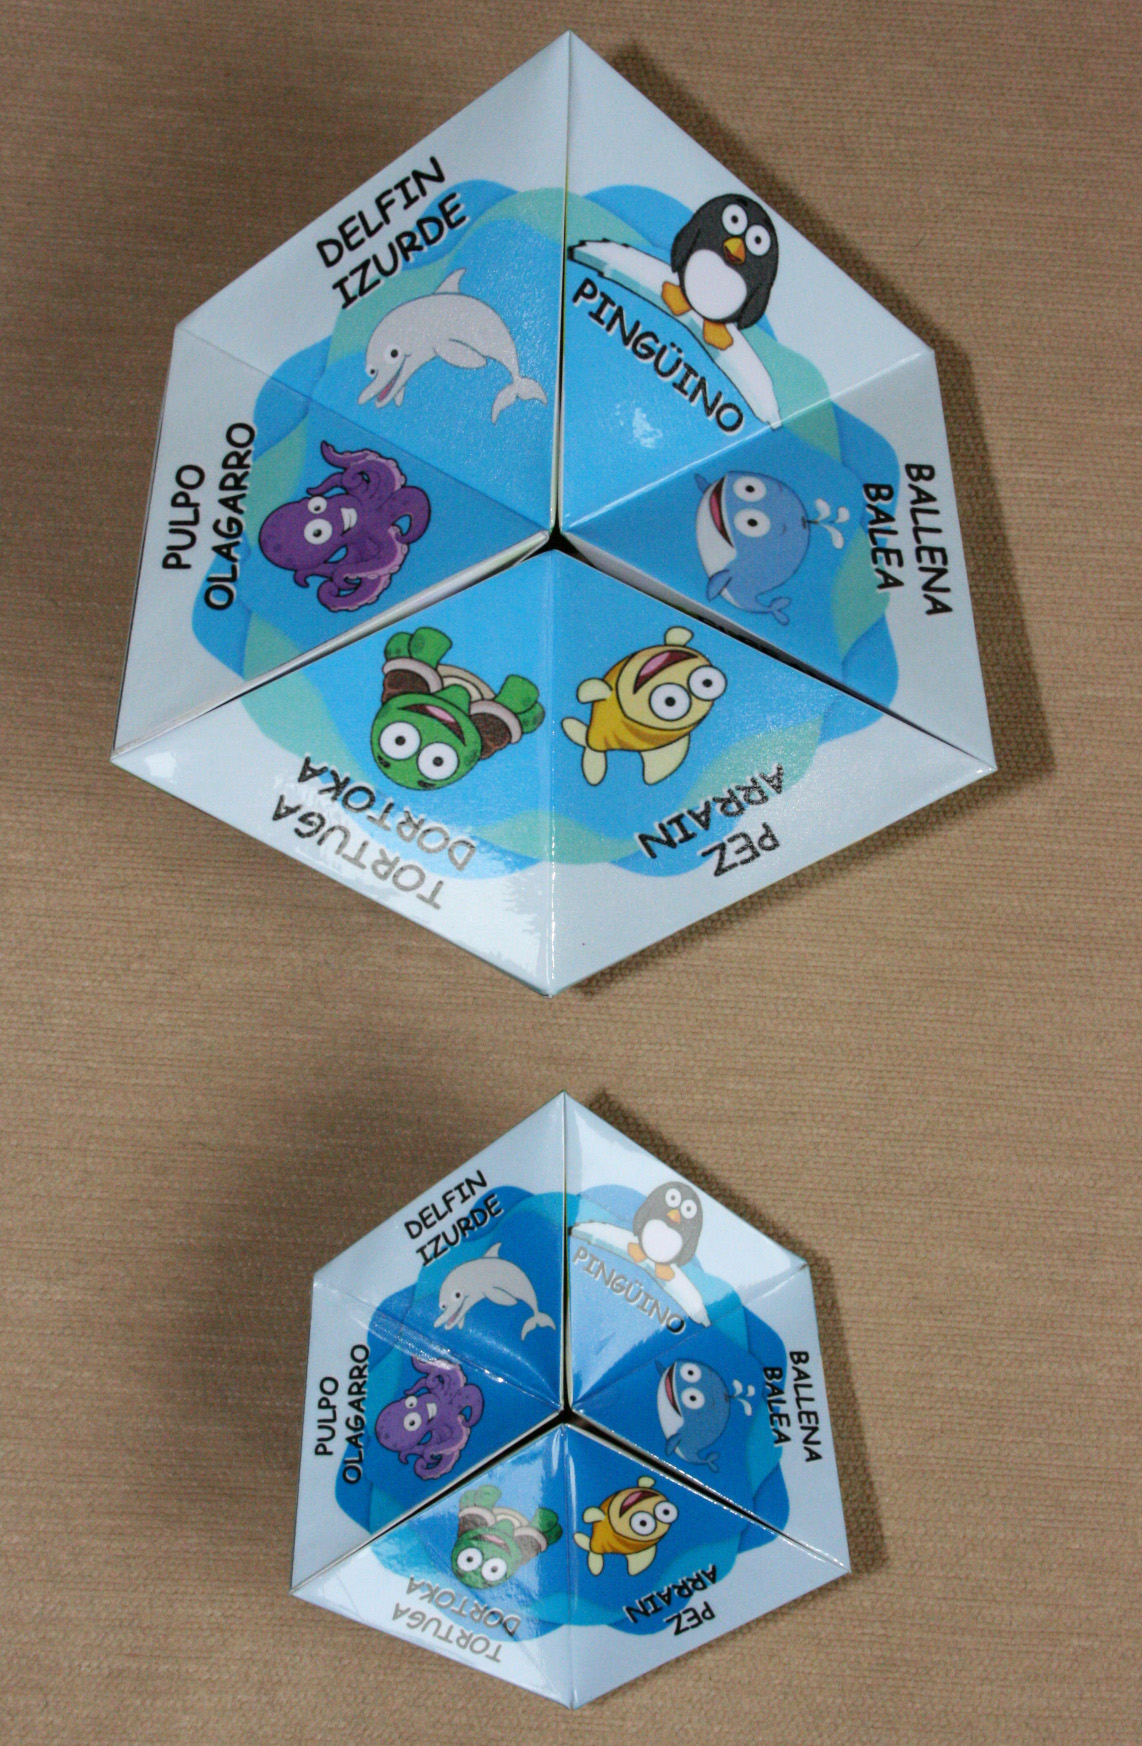
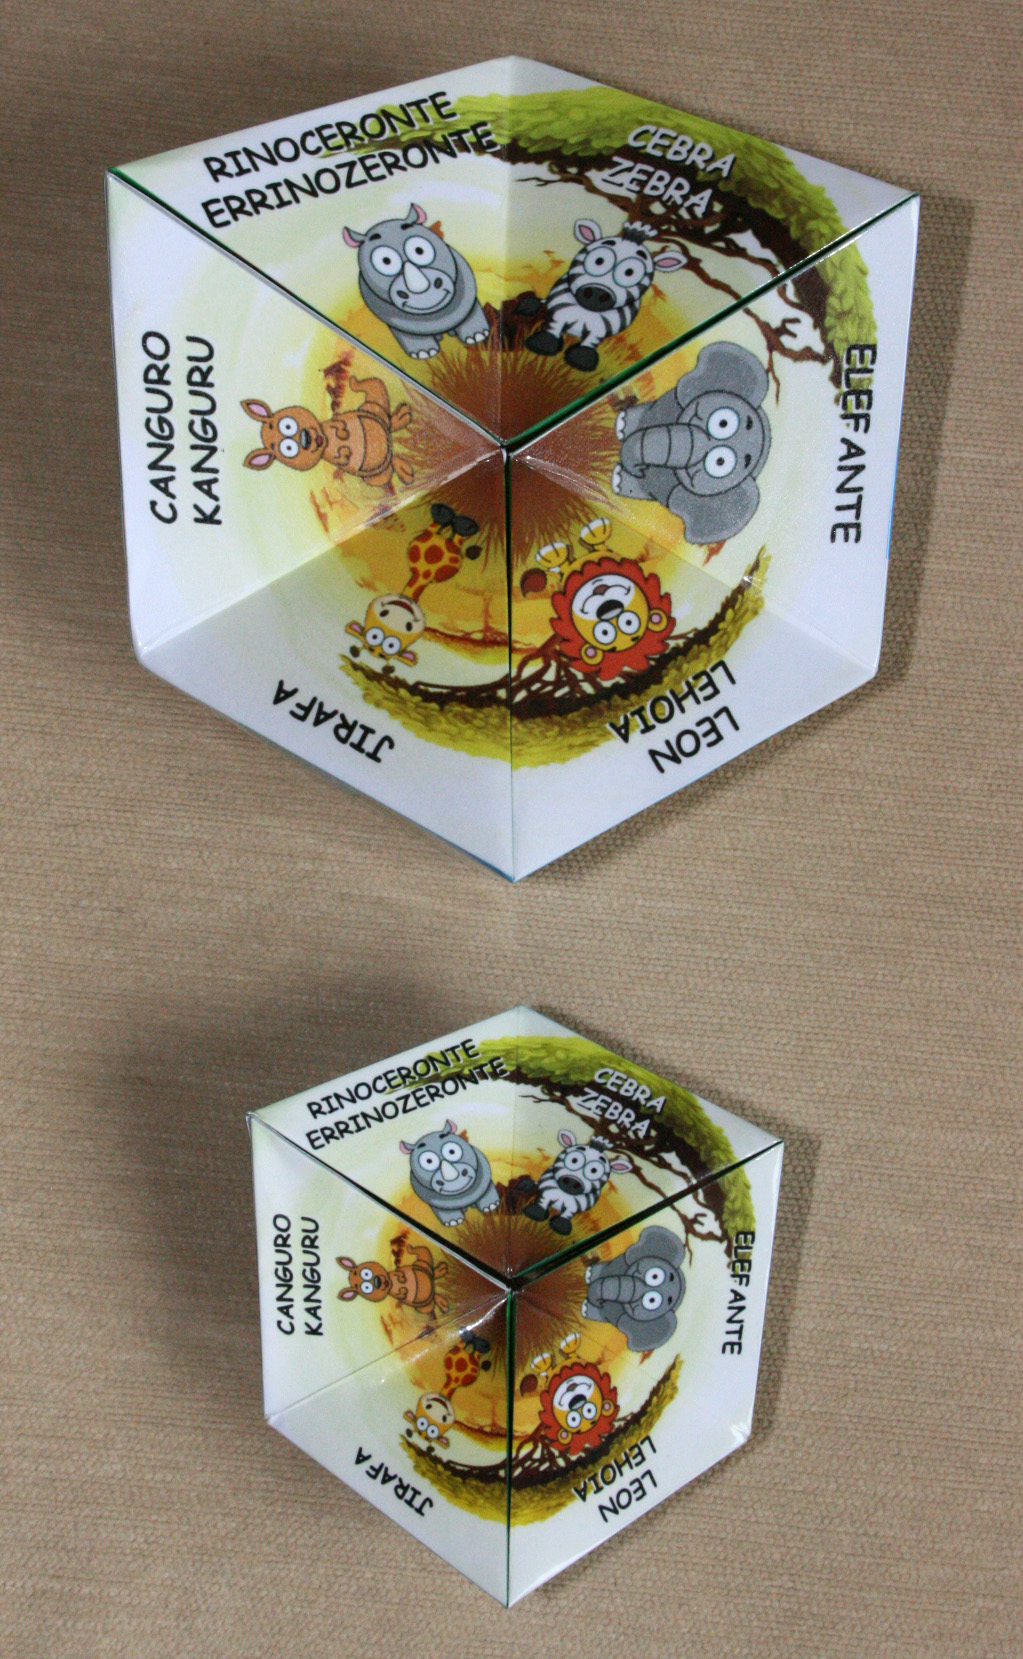
Well, so that's all. Just let the little ones do the rest.
There are three main games you can play:
- Ask the child to find an animal
- Ask the child the name of the animal you choose
- Ask the child to read the name of one animal
Enjoy your masterpiece!!