Angry Aunty - Turning Procrastinators Into Proactive Workaholics.
by rheabhandari in Living > Organizing
1738 Views, 14 Favorites, 0 Comments
Angry Aunty - Turning Procrastinators Into Proactive Workaholics.

There are two kinds of people in this world:
Procrastinators who need a mere reminder for them to start working and Procrastinators who need a shock, a slap and a scolding to start working. I fall into the second category. Do you recognise yourselves in the second category too? Do you start your work 4 hours before the deadline? Do you need your professors, parents and friends to publicly shame you in order for you to work? Come build this shocker with me!
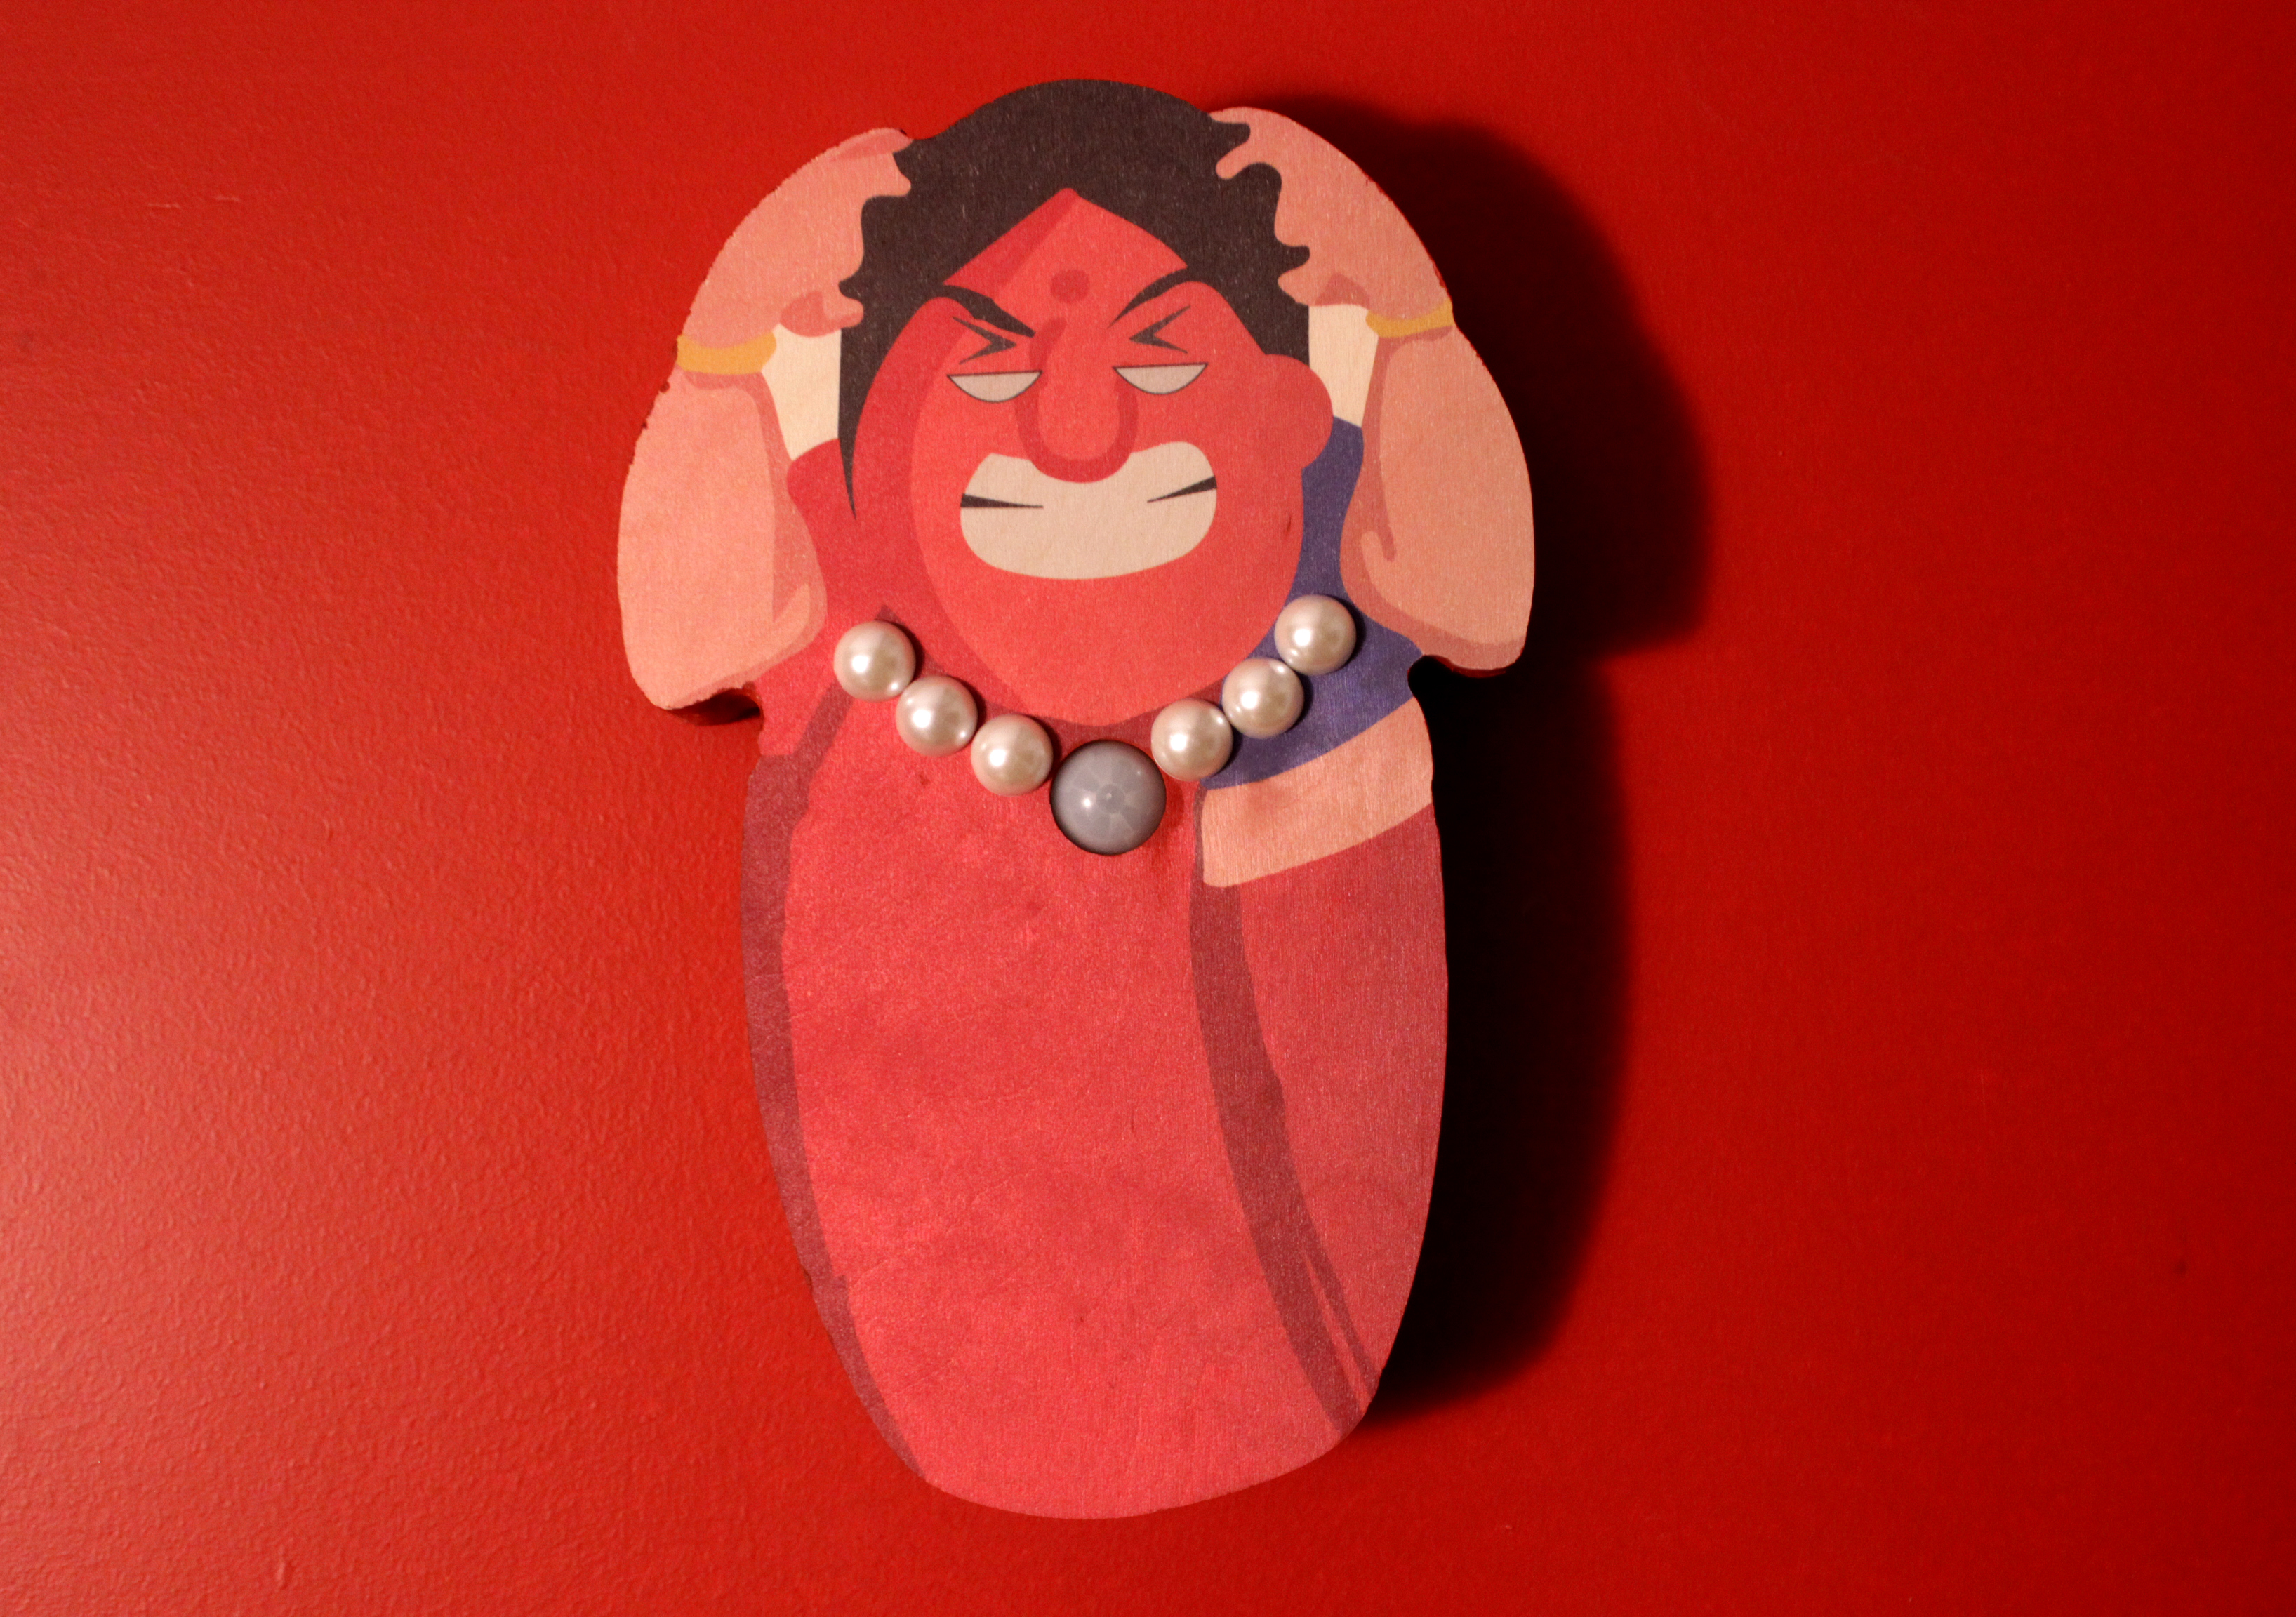
There could be multiple versions of this product. I'm going to make an Angry Aunty wooden doll because that is what resonates with me.
Some other forms could be a hand saying "Stop Procrastinating" or an hourglass. It could also be your parents’ face, an image of you shouting at yourself or even a sign commanding you to get your shit together.
So let’s try to make one of the versions. Let’s make an Angry Aunty!
Step 1: Designing the System

The system works like this:
The Angry Aunty doll that we’re making can be placed on the window sill of your room or on the wall next to the door to your house so that it detects motion as soon as you enter the room/house. After the sensor detects movement, it will get triggered so that your phone starts shouting out customised angry messages along with the latest task on your Trello board for you, which make you stop procrastinating and start working.
All of this will be done will the help of wifi and hence we’ll be using the Adafruit Feather HUZZAH board with ESP8266 wifi.
We will connect our Adafruit Huzzah board feed with Trello - which is an online task manager for your projects or just to organise anything - through IFTTT. We will also connect our Adafruit Huzzah board with IFTTT via Adafruit IO. IFTTT is an online platform that helps you connect apps and devices in some really cool ways!
It will take data from your Trello feed and shout that out when they call you. For example, it could say “Get your shit together Mary! Don’t get distracted. Refine prototype for Monday”.
Components
So, let's start off with getting hold of a few tools and electronics.
1. Electronic Components:
- Adafruit Feather HUZZAH with ESP8266 WiFi - This board allows you to connect with the internet so that you can make an internet connected smart device (IOT).
- Feather Stacking Headers - 12-pin and 16-pin female headers
- Solderless breadboard
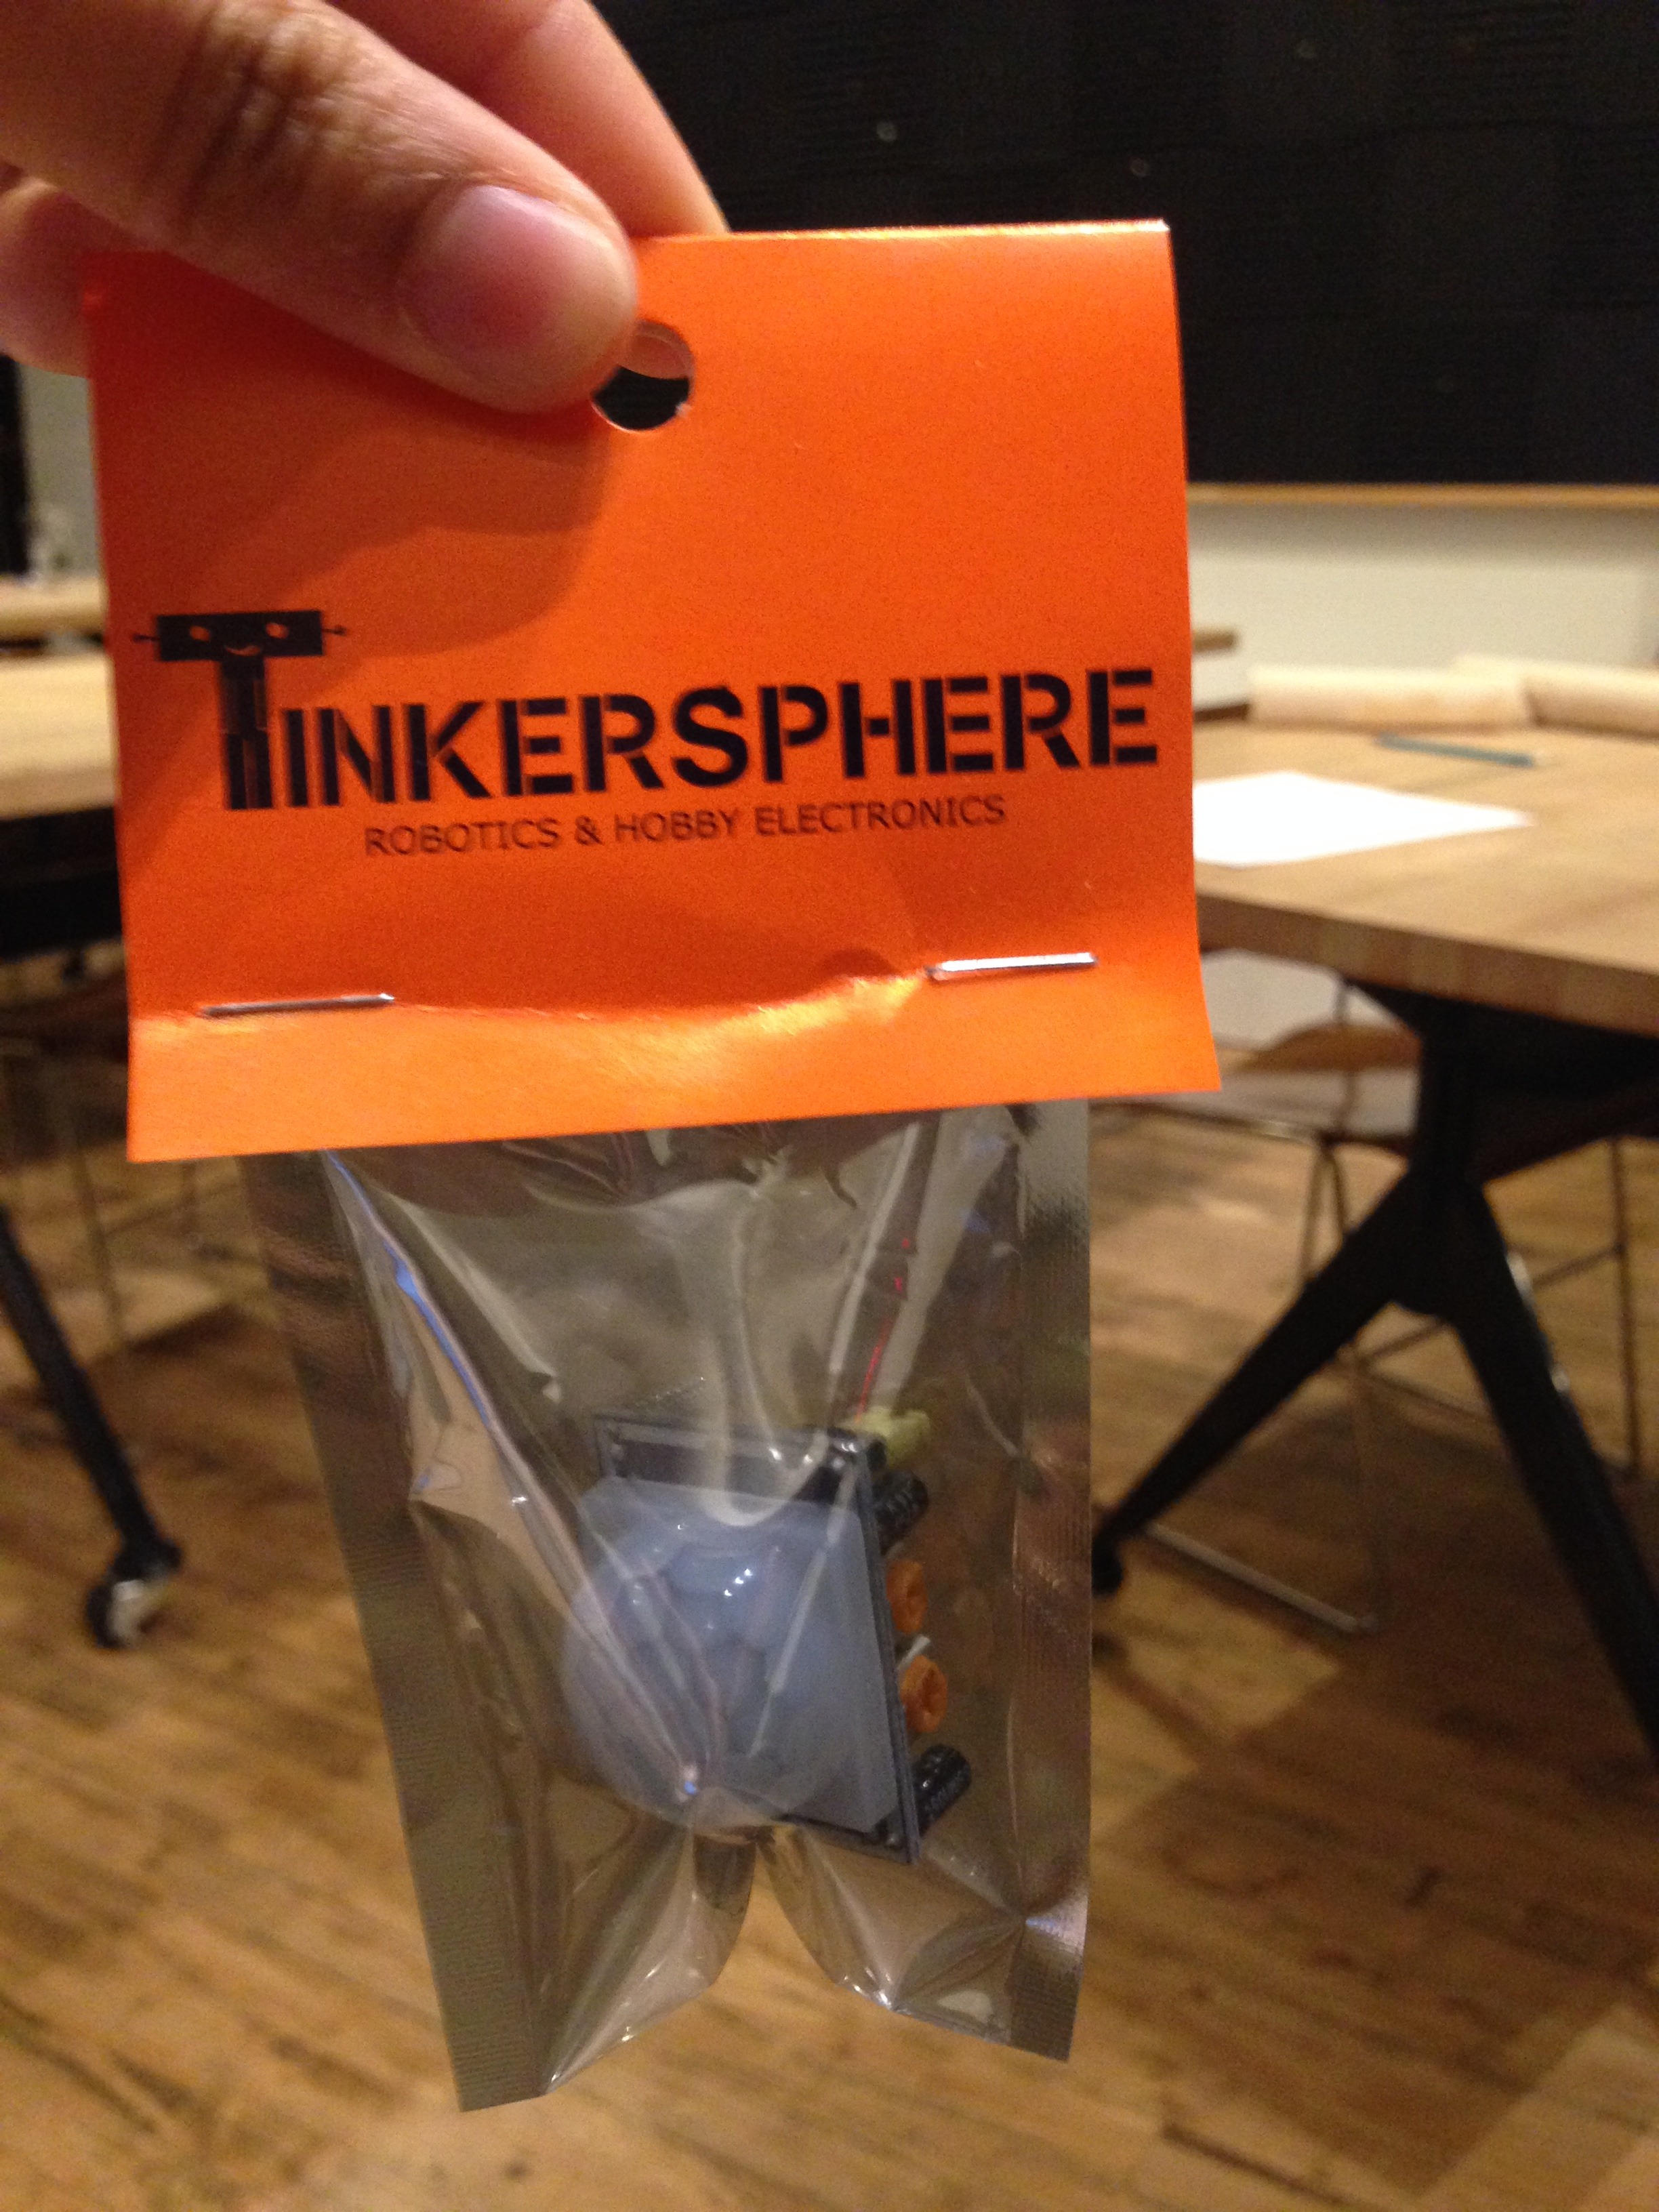
- PIR Motion Sensor (Pyroelectric (passive) InfraRed Sensor) – This is the only sensor we will use for this project. It gets triggered when it detects motion. In our case, we're using it to detect our motion when we enter our house. It's small, inexpensive, low-power, and easy to use.
- Breadboard wires
- 1-ohm resistor
- RGB LED
- Micro USB cable – remember to buy a data USB cable instead of a power only USB cable. A power-only micro USB cannot send data (your code in this case).
2. Material:
- Wood (4 layers of 11x8.5 inch) Velcro Paint
- Accessories (pearl like accessories in this case)
- Blu Tac
3. Tools:
- Wire strippers
- Drill press CNC Router - it is capable of cutting and/or scoring (engraving) a variety of materials like wood, plastics, aluminium, etc.
- Roland VersaUV FlatBed Lef-200 Printer – it can print virtually on any material for example PVC, plastics, acrylic, leather, metal, wood, cardboard, etc.
- You could also paint by hand, or use the vinyl printer to paste a sticker onto the surface.
- Forstner drill bit (for drilling large holes)
- Safety glasses (are a must!). Your computer
- Grizzly Belt Sander, Laguna Spindle Sander
SETUP - ADAFRUIT IO, TRELLO, IFTTT


ADAFRUIT IO SETUP
Follow the tutorial links below to set up your wifi board:
1. Review Adafruit Huzzah Board setup
4. Add Boards to Arduino
(i) Add link to Preferences of Arduino program
(ii) Arduino > Preferences > Additional Boards Manager URL: add below link http://arduino.esp8266.com/versions/2.3.0/package...
(iii) Below was my primary resource to set up board, library, and accounts: http://arduino.esp8266.com/versions/2.3.0/package...
TRELLO BOARD SETUP
1. Go to www.trello.com
2. Set up new to-do board.
SET UP IO FEEDS
2. Create a feed called ‘sensor’.
3. Create a feed called ‘todo’.
Primary resource: https://learn.adafruit.com/adafruit-io-basics-fee...
SETUP IFTTT FEED
We’re using IFTTT so that we can connect Adafruit IO, Trello, and your phone to get the task done.
1. Create new applet
2. Click on +this
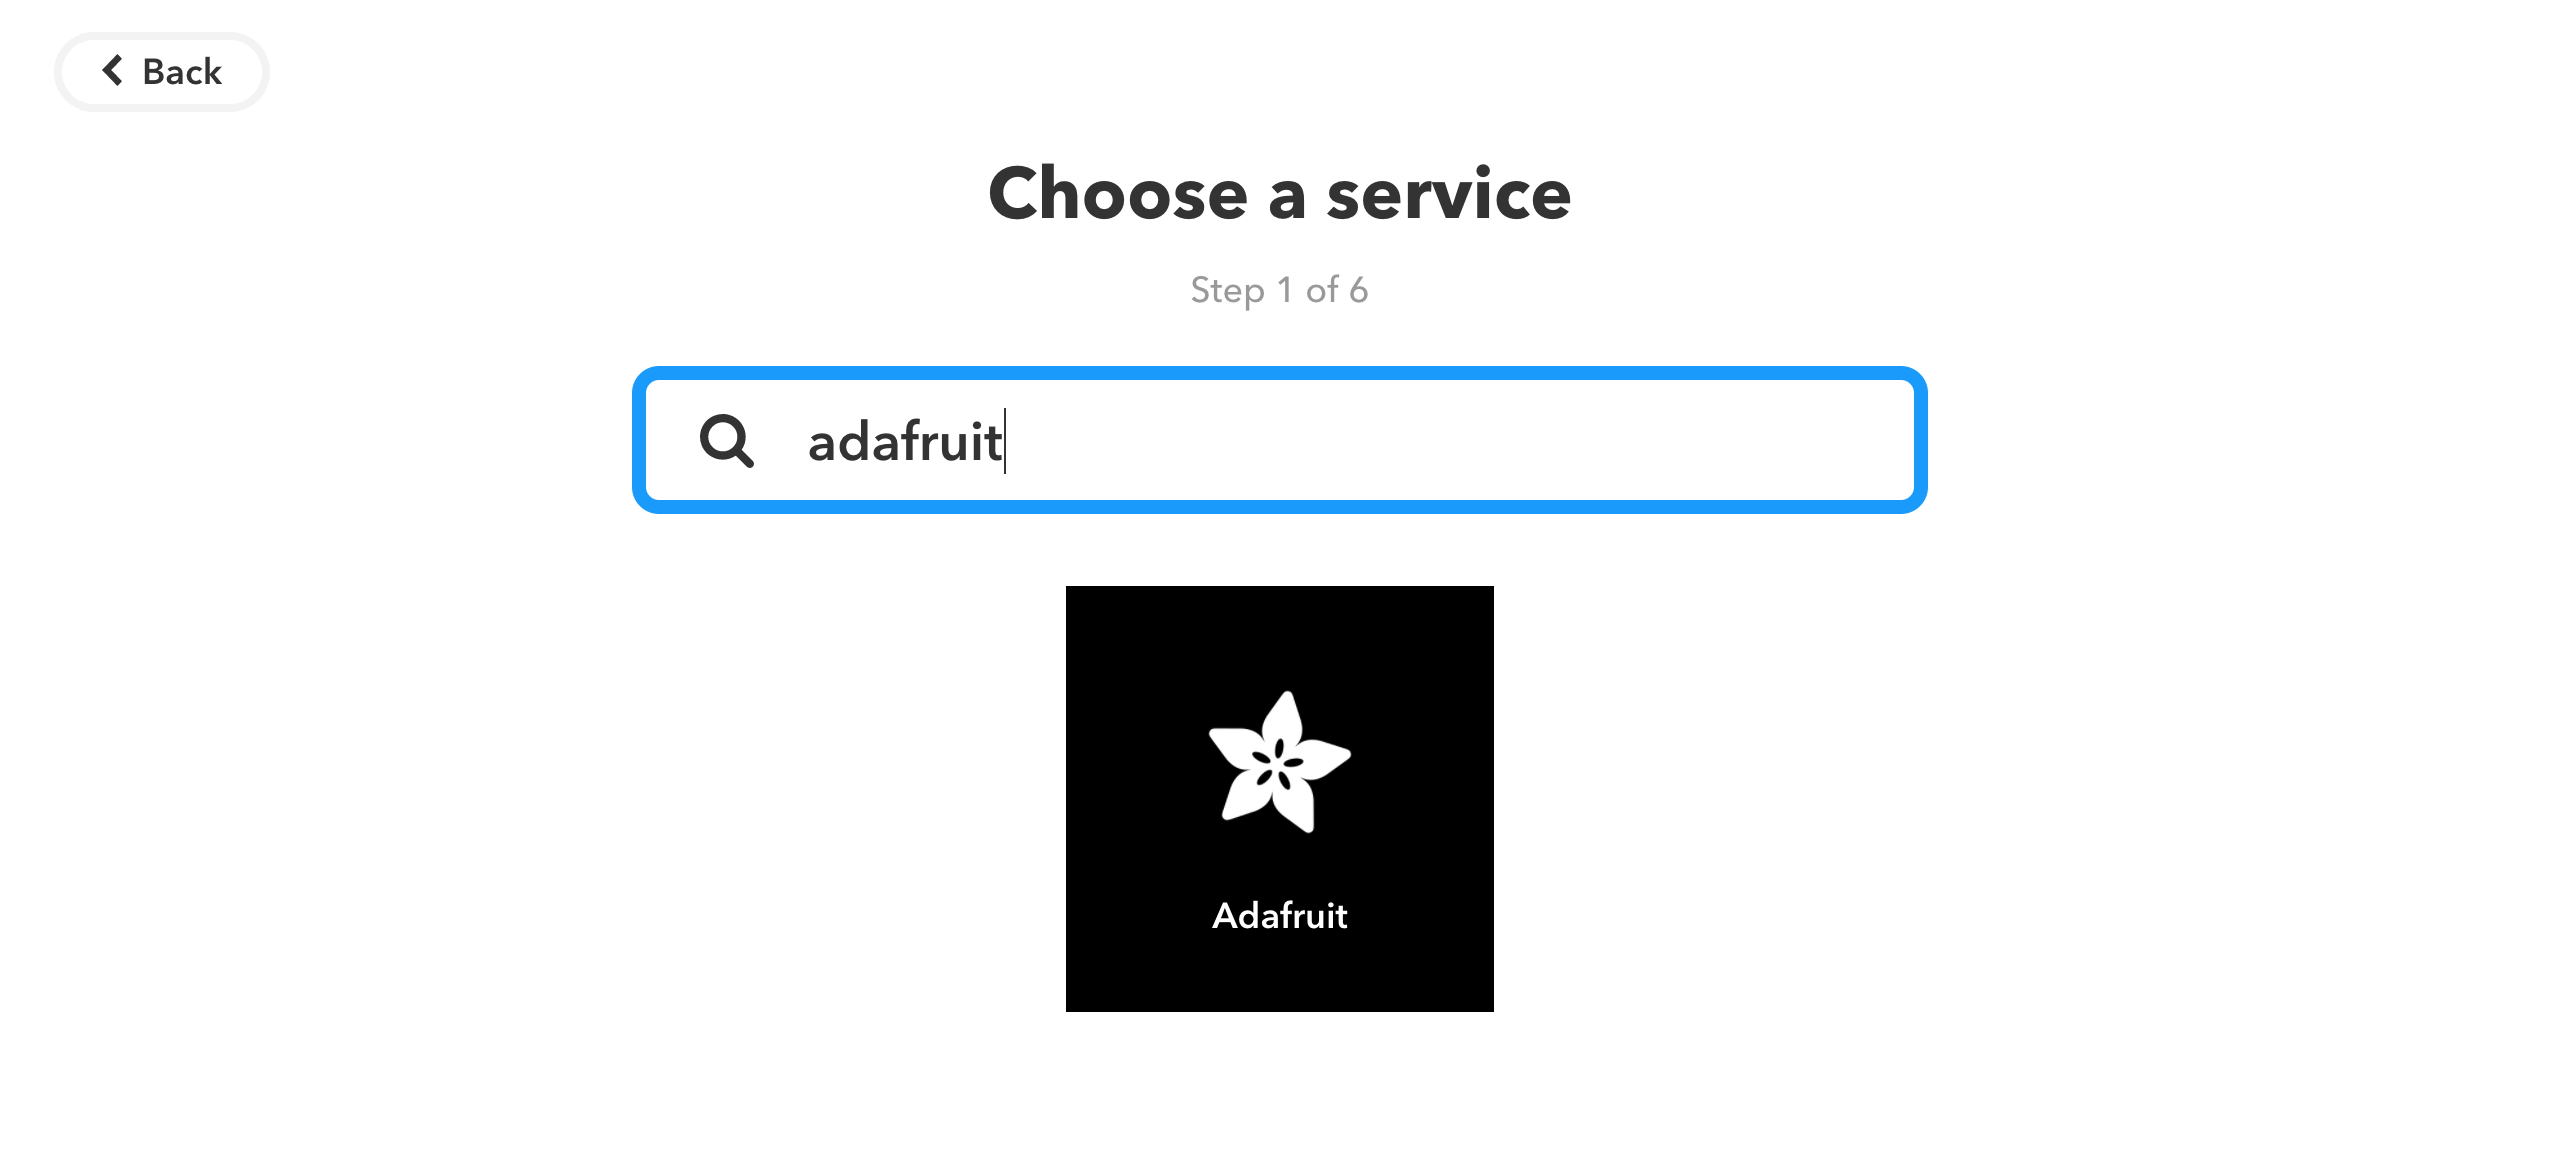
3. Select Adafruit
4. Select ‘Any new data’
5. Select “sensor” for feed name
6. Click on +that
7. Select Phone Call
8. Select ‘Call on my phone’
9. Write a customised message in the text box that says - Message to say.
(For example - Get work done Mary! {{Value}}).
This means that every time the sensor gets triggered, it sends a notification to Adafruit IO’s ‘sensor feed’. It would then connect to your phone via IFTTT and send you a message.
Circuit Building and Coding - BASICS
If you’re familiar with PIR sensors and know how to program and get your object internet connected, you can go to step 5 directly. If not, have a look at this wonderful tutorial on the world of IOT and how to program your products to become internet connected things.
You can also have a look at this tutorial to get more basic knowledge about Arduino and how to code using an Arduino board. Both of these tutorials are the ones I used to learn Arduino and Huzzah coding. They’re great for beginners as well as people who know what they’re doing!
Okay now that you’re well versed with the internet of things and Arduino, let’s get going with our code and circuit!
CIRCUIT BUILDING AND CODING - FOR THIS PROJECT
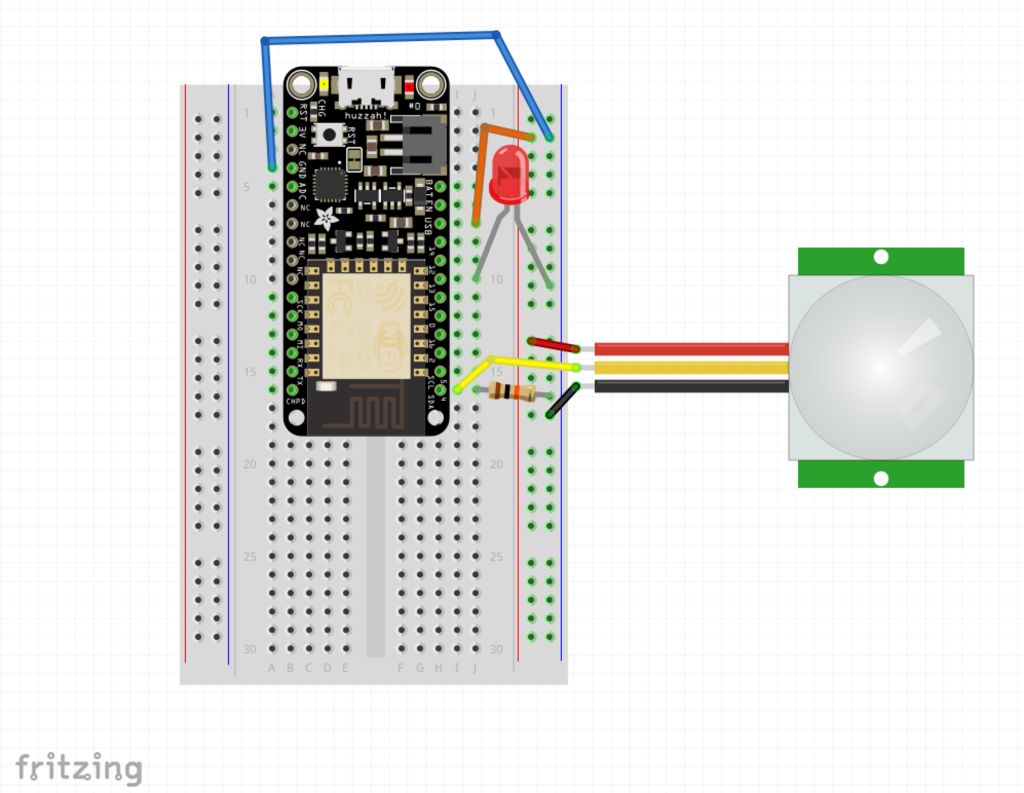
Construct your circuit using the diagram illustrated. This initial setup will be used to prototype and confirm all connections work with the code.
The code we are going to use is based on Adafruit's ESP8266 sample code. It has been tweaked according to this project.
Note - don't forget to replace the text in the code containing your Wifi info and Adafruit IO info:
Wifi network name
Wifi network Password
io.adafruit username
io.adafruit key (this can be found on your io.adafruit dashboard)
Try uploading the code. Does it work?
If it does, CONGRATULATIONS!!!!!! You’re so close to the finish line. Treat yourself by procrastinating a bit more until you finish building it.
If it doesn’t work, try troubleshooting it. Check all of the things mentioned below and see if it works: Check whether or not all your settings on the Tools menu are correct.
1. Double check if your micro USB is connected to your laptop/computer.
2. Your micro USB should be a data holding USB and not just a power USB.
3. Have you put in your wifi details and IO key correctly? (Remember to never give away these details to anyone) 4. Check if your wifi is working properly.
5. Check if all the libraries have been added -ESP8266WiFi, AdafruitIO, Adafruit_MQTT, ArduinoHttpClient.
You can add them by going to Sketch ---> Include Library ---> Manage Library ---> Search for the following libraries
6. Try testing if your LED works by using a coin cell battery.
7. Test if your PIR sensor works by building the push button circuit. You are looking for the sensor to get triggered in order for the LED to turn on. The tutorial for the same is this.
Downloads
MAKING

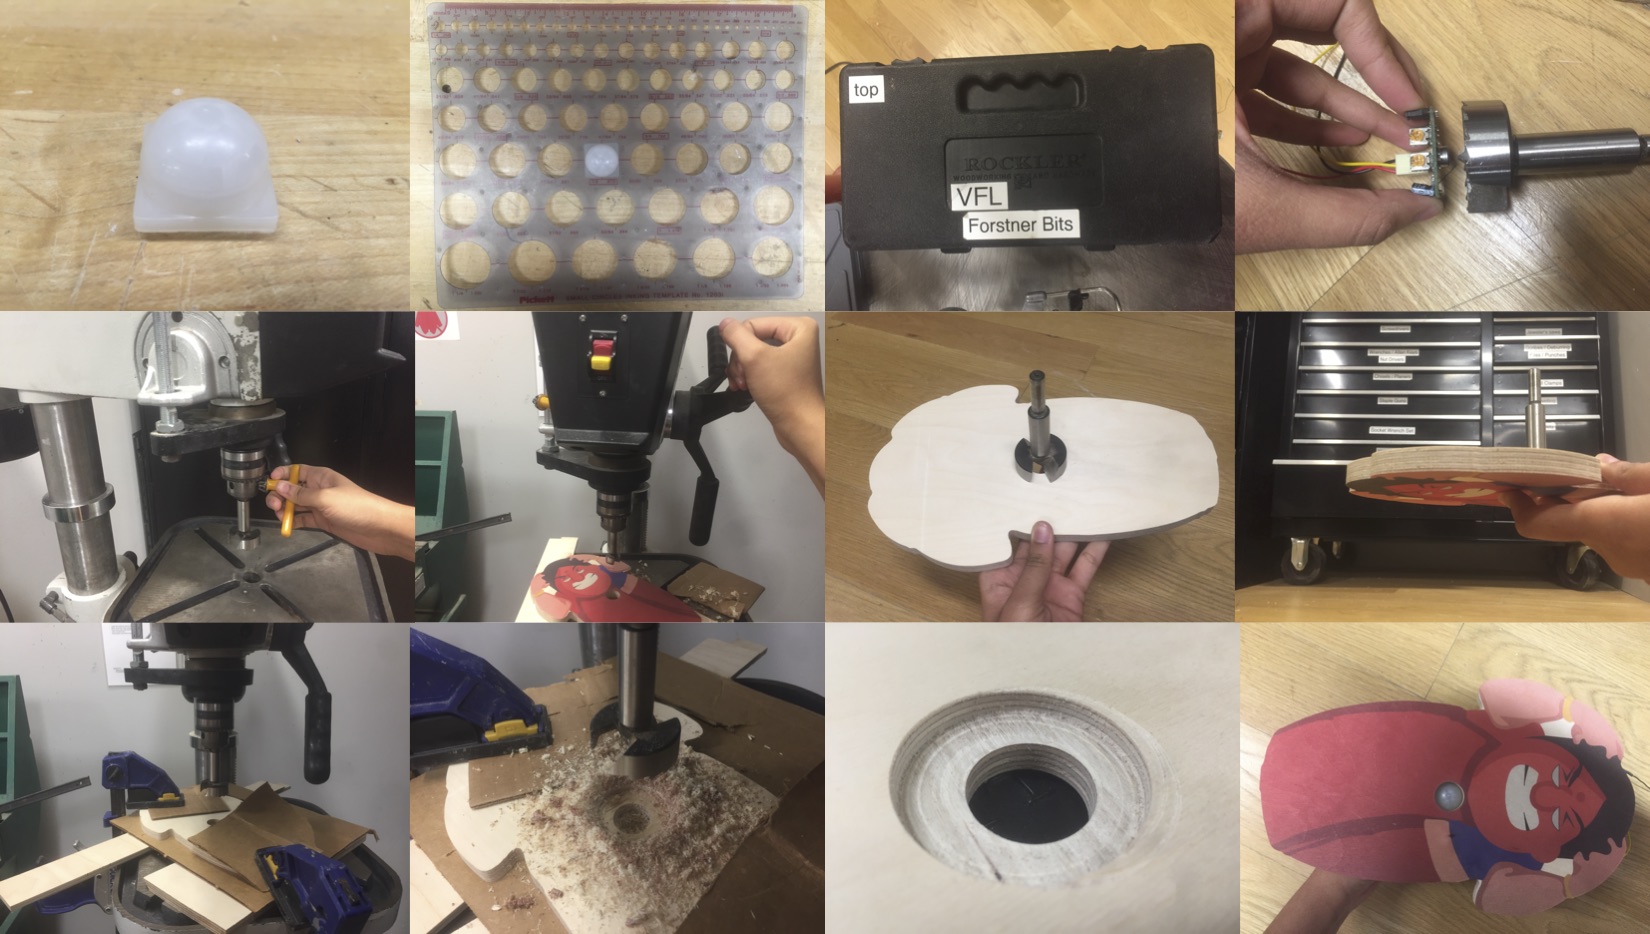
- 1. Start off with making your shape on Illustrator.
- Create an outline of your shape in Illustrator.
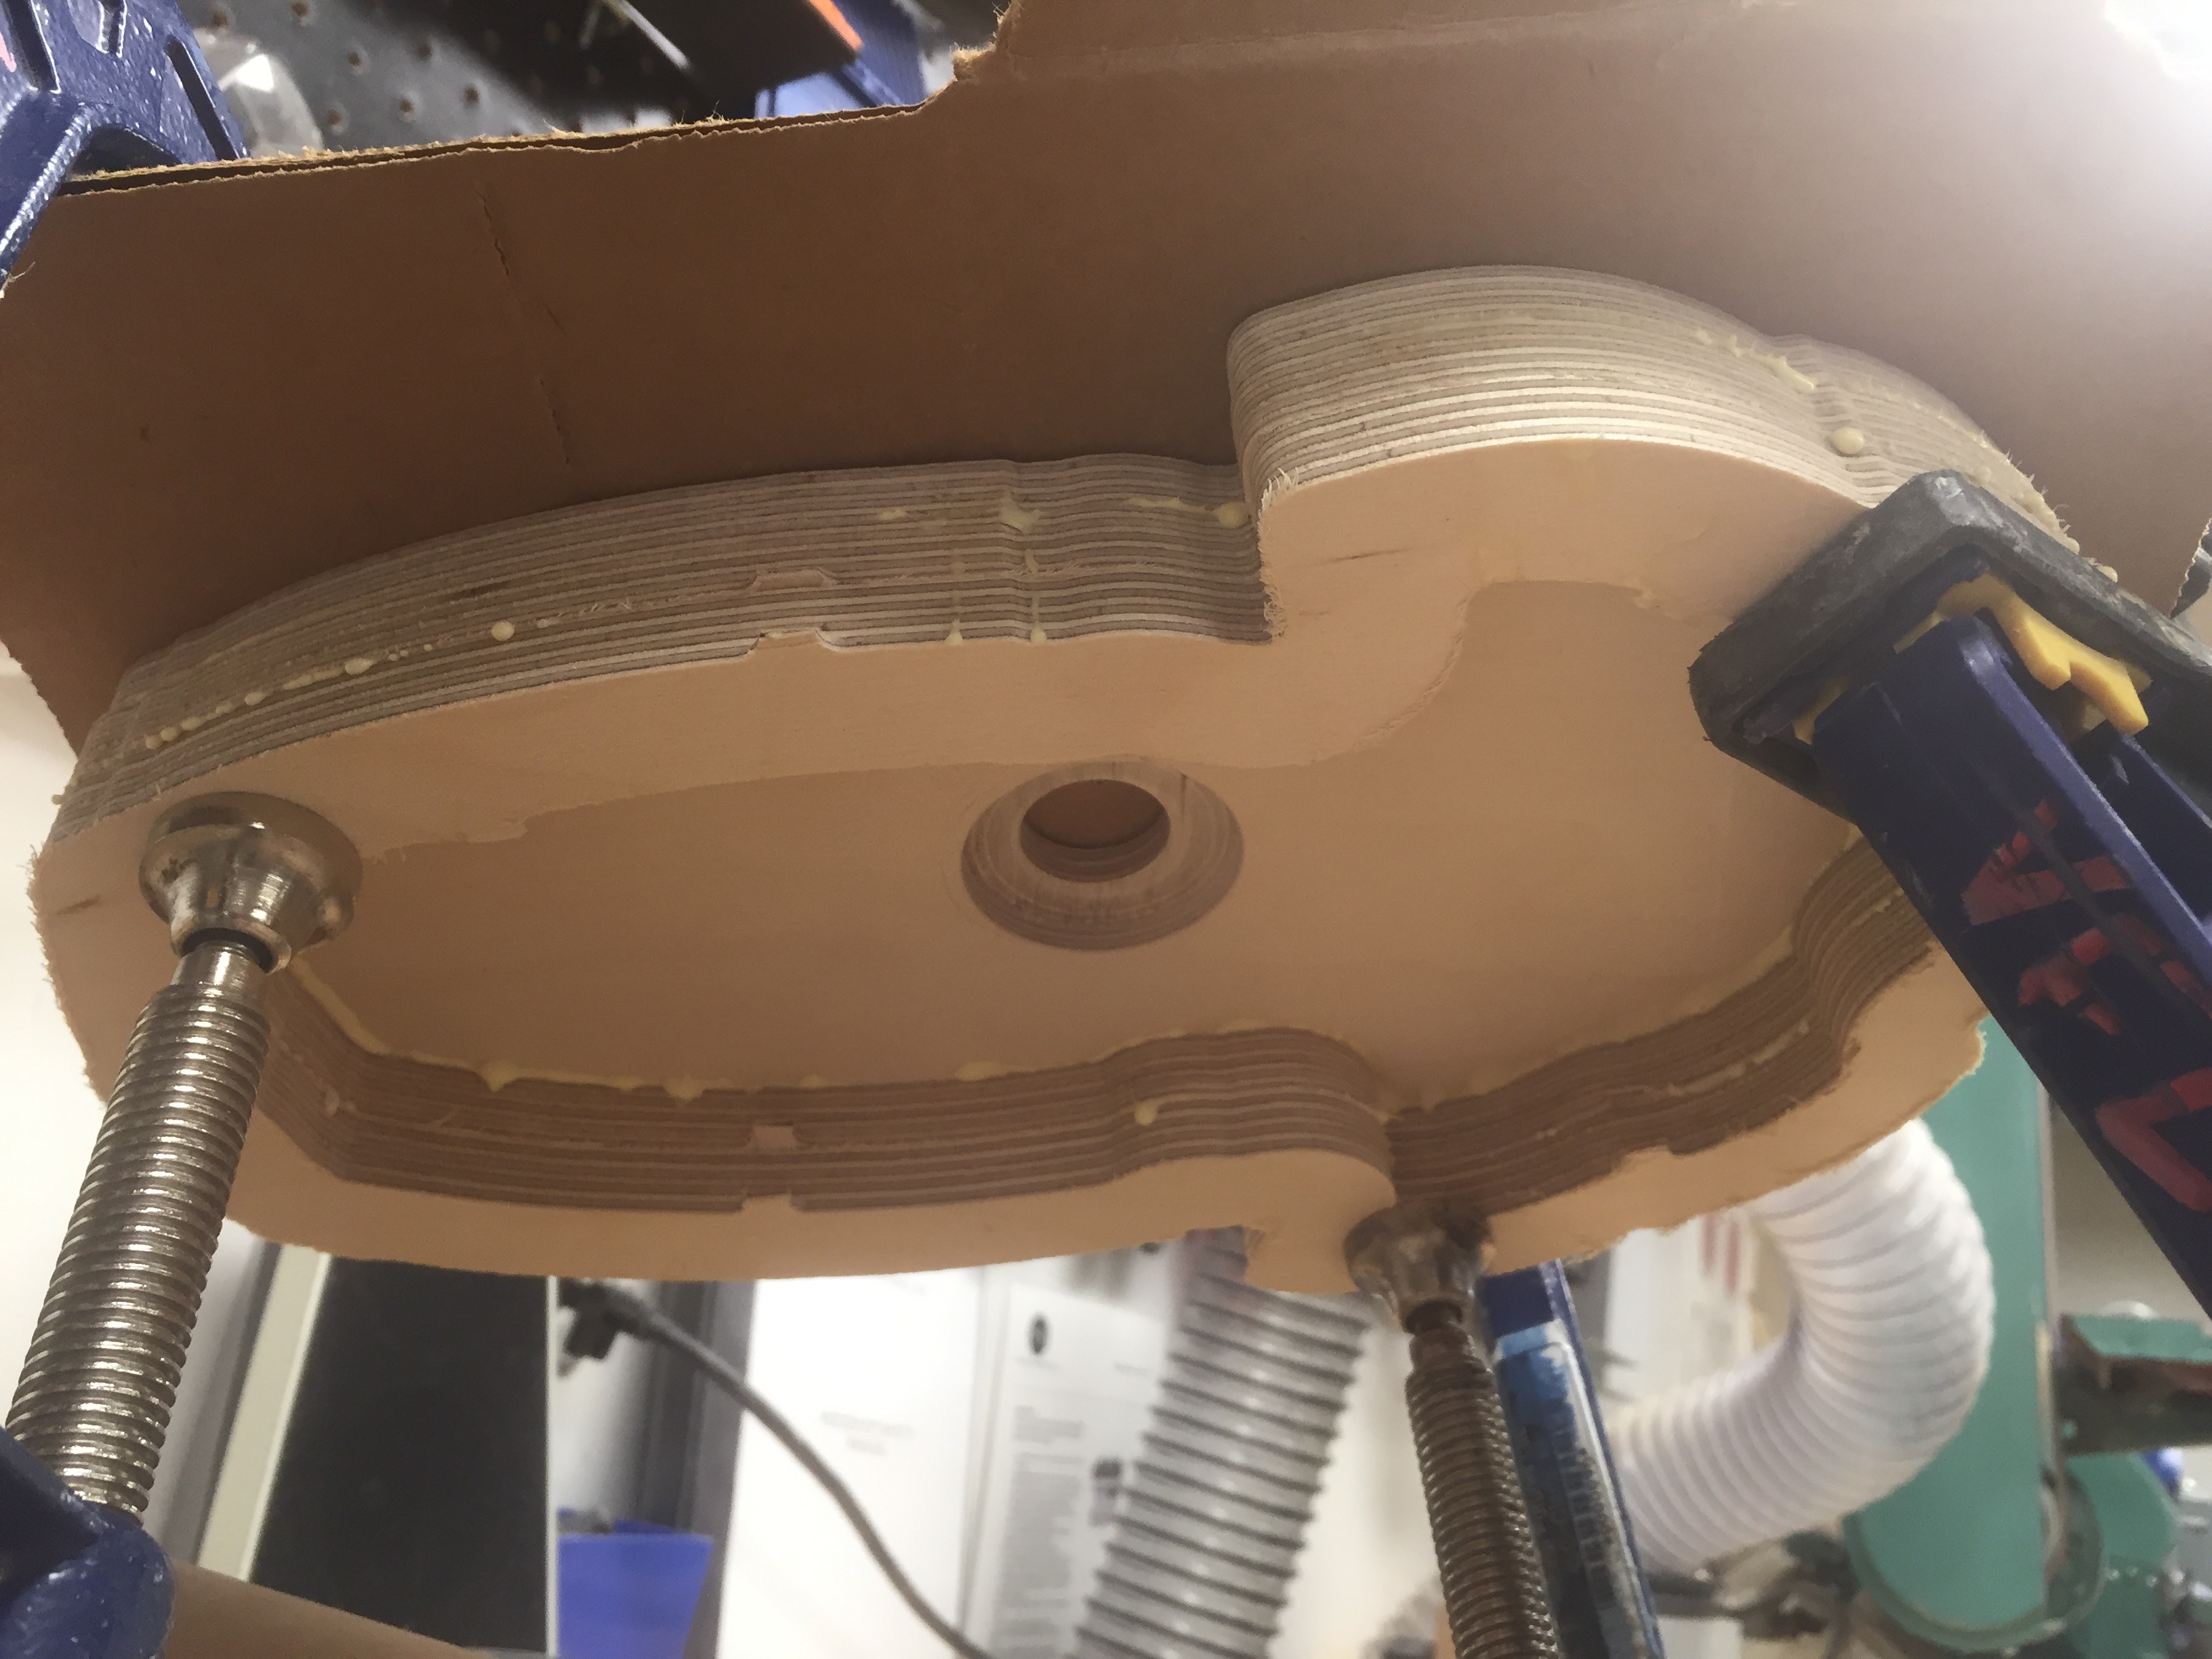
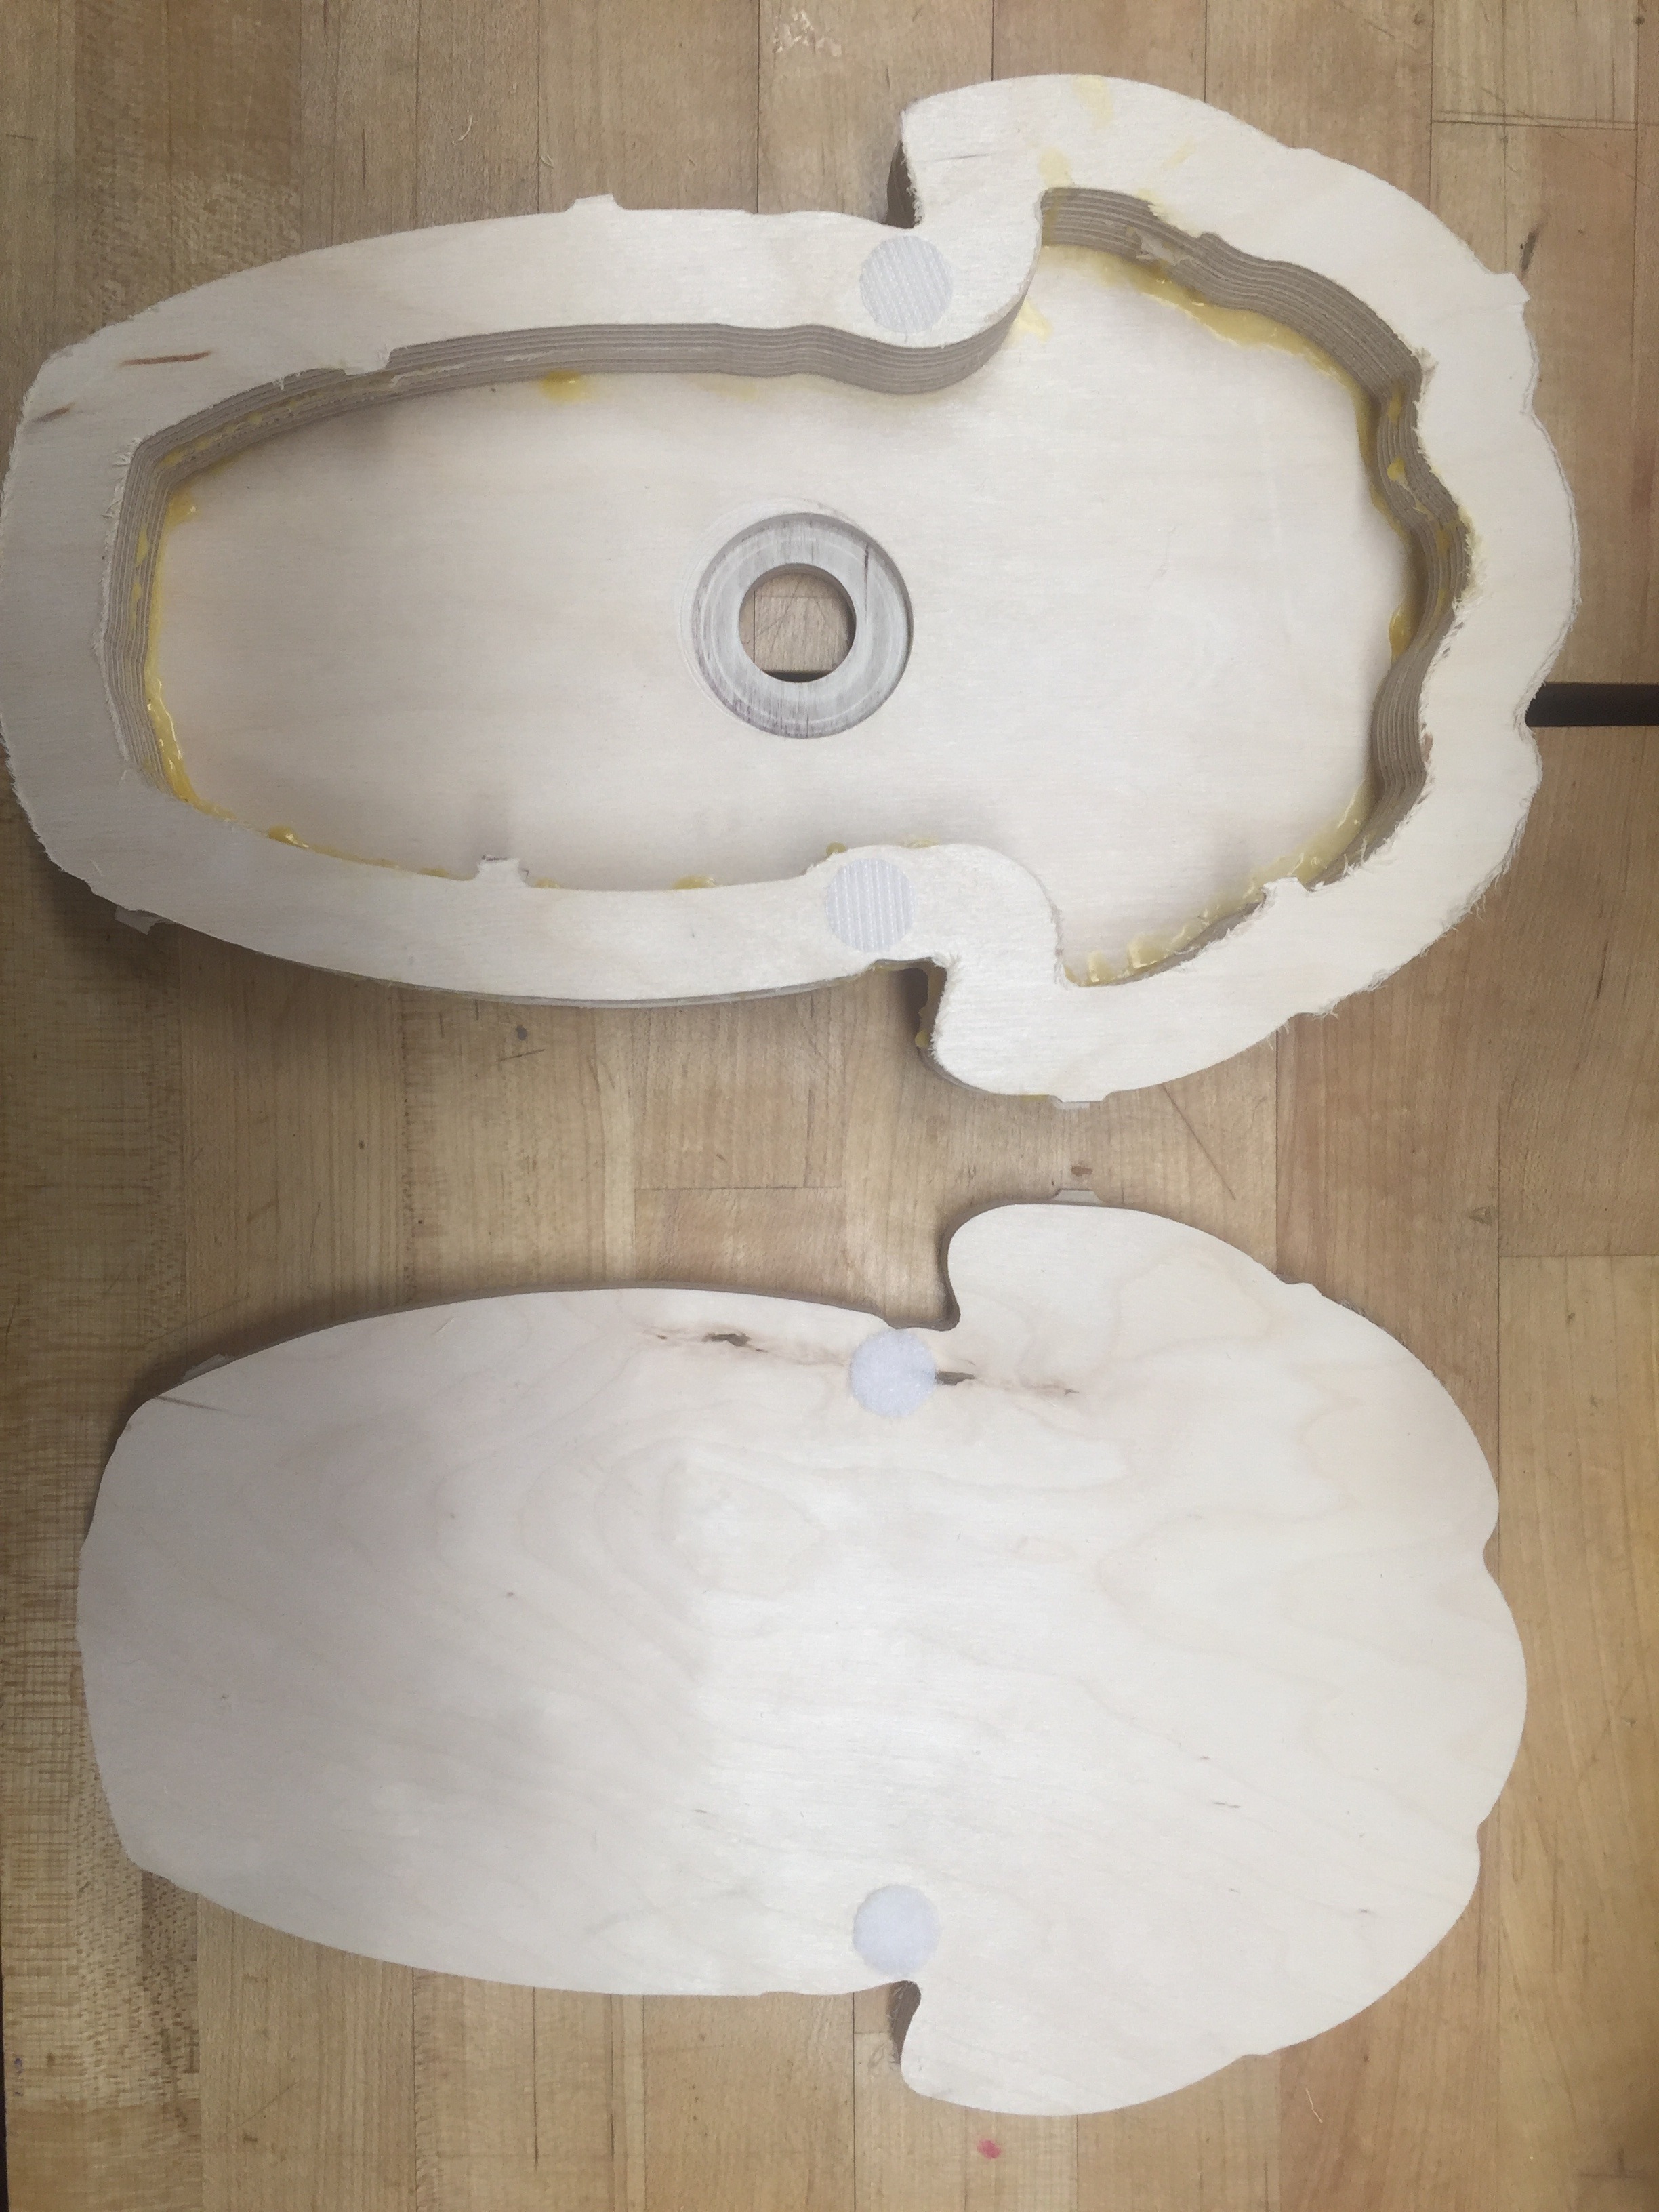
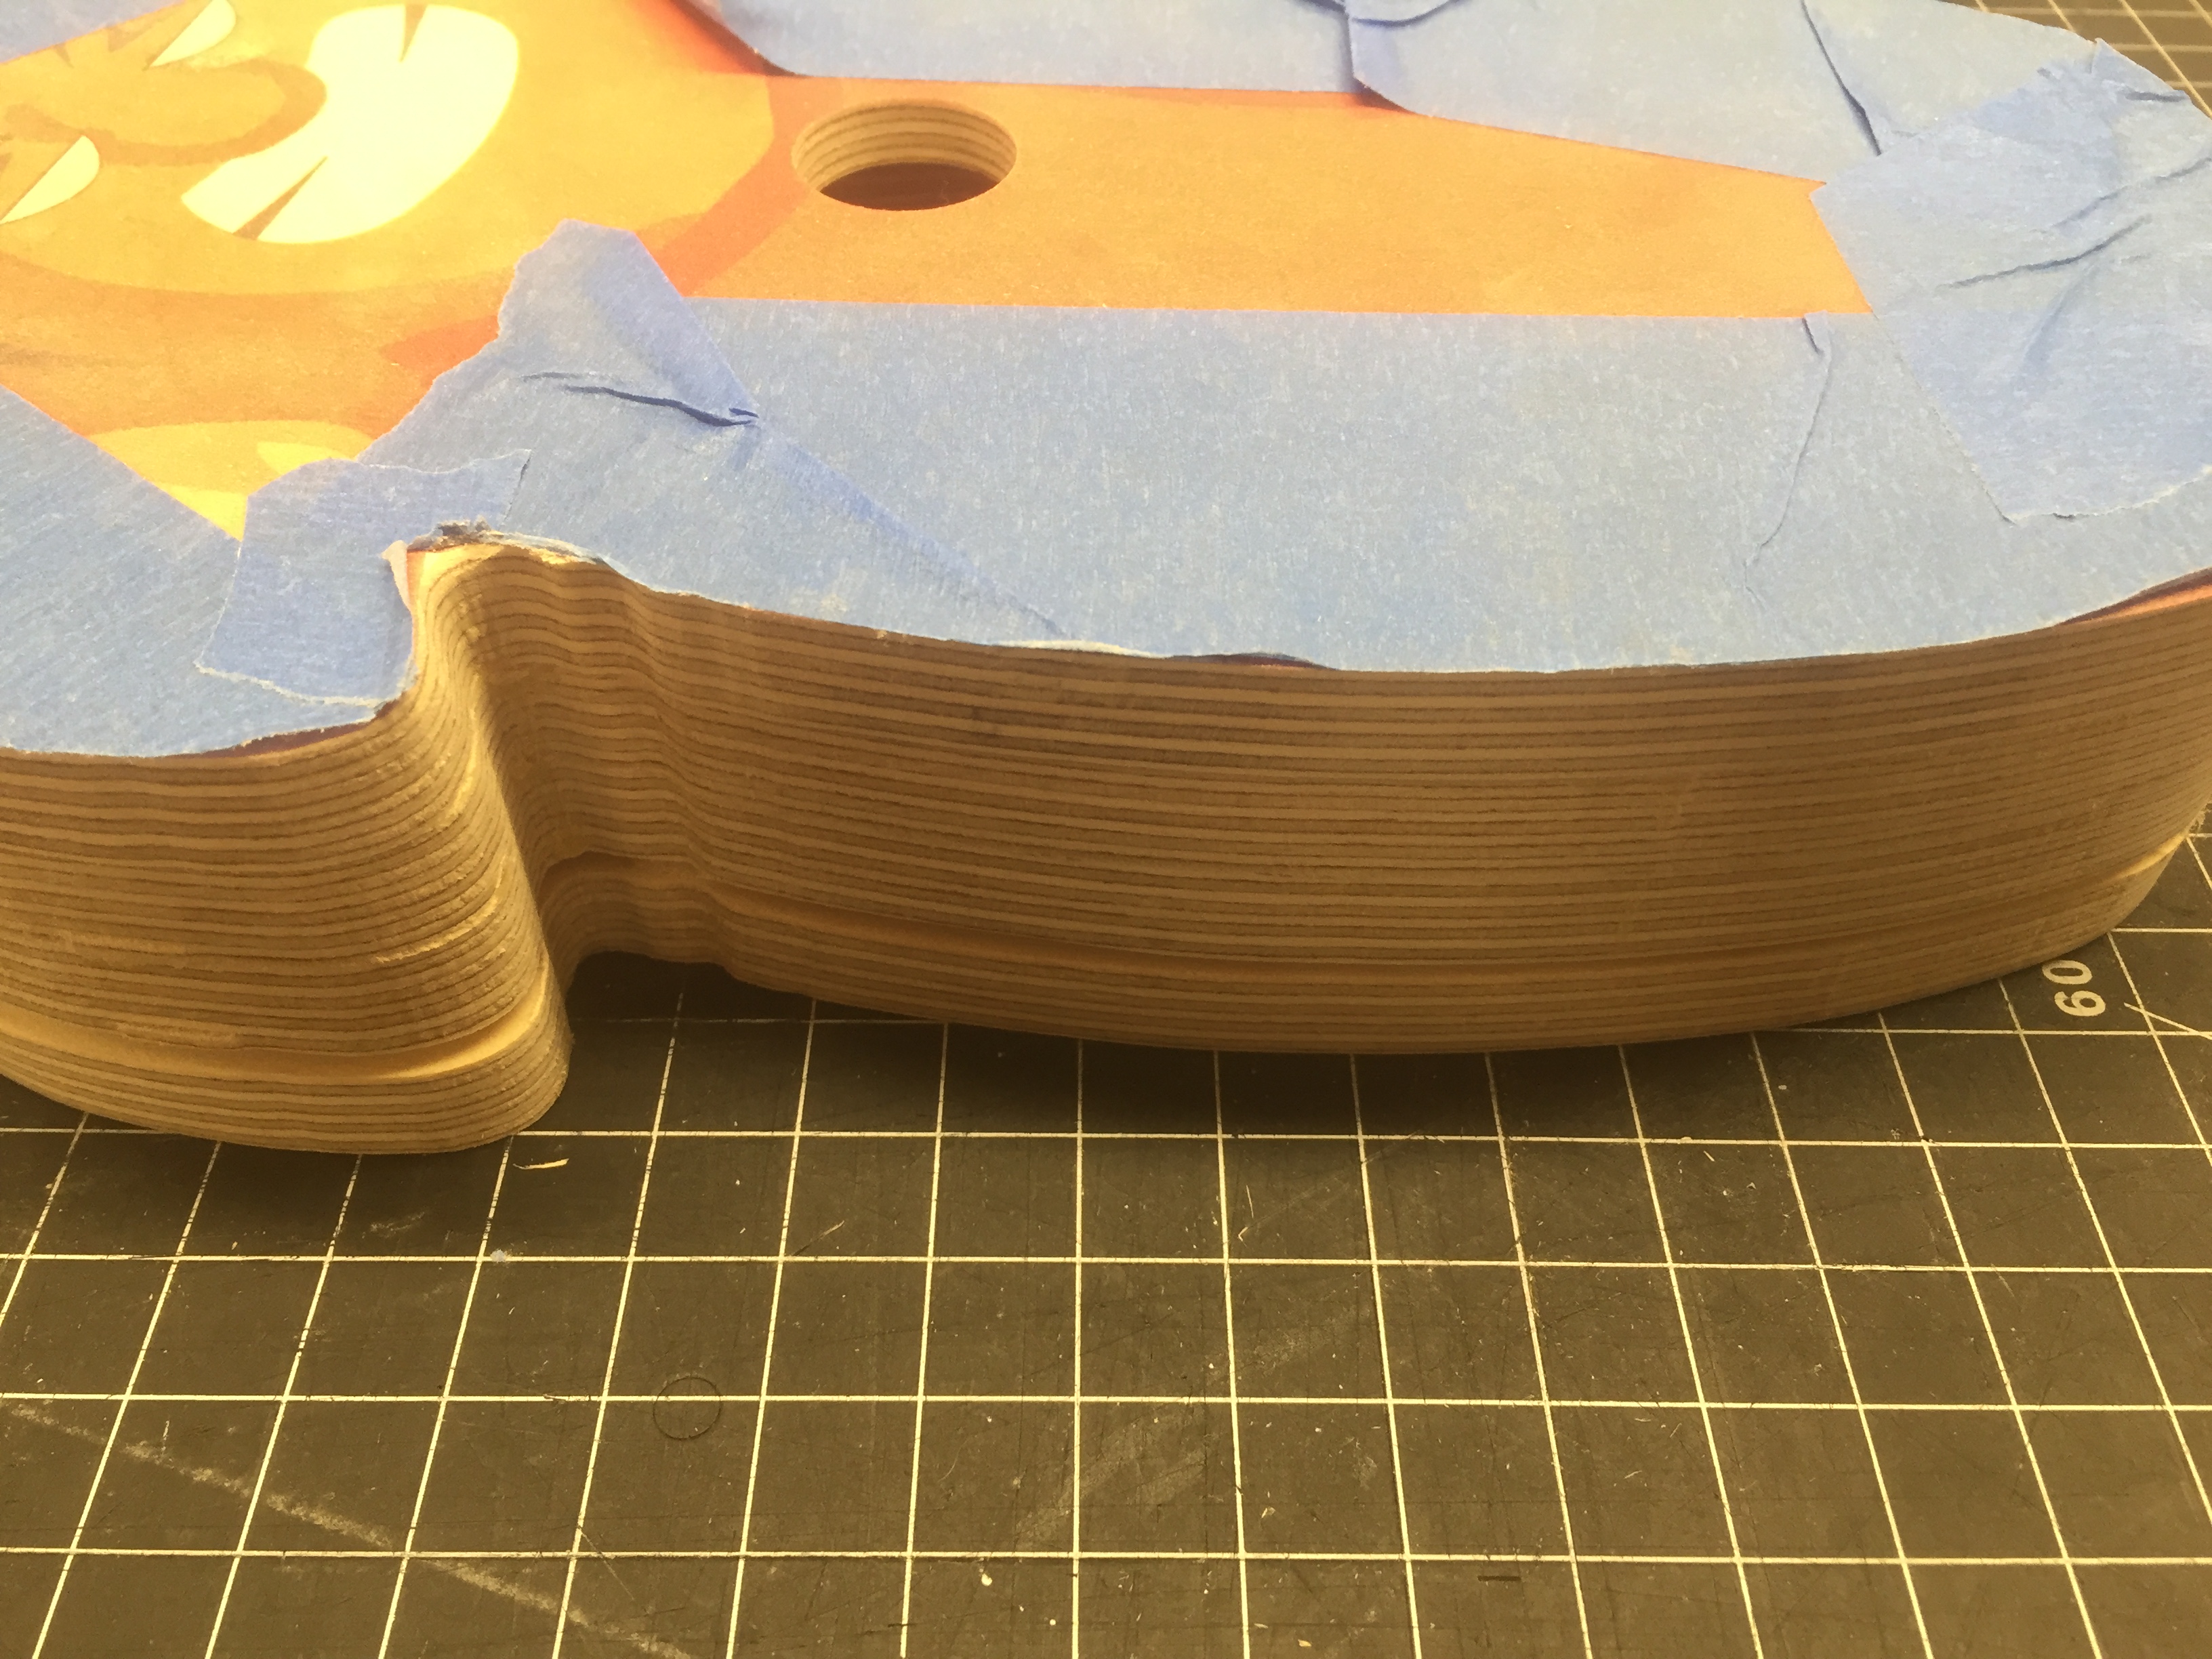
- As the object will have the sensor, battery and the Feather Huzzah board enclosed in it, we want it to have a suitable thickness. Hence we will make 4 layers for the doll. The front and the back layer will be solid and the two layers in between would be hollow.
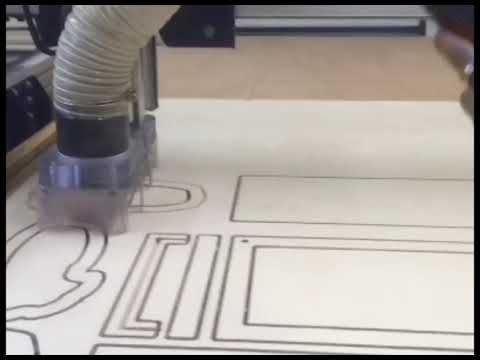
- Lay the four-layer outlines on the Illustrator document ready to be CNC cut. There is a picture above of what the layers should look like.
- Export them to be CNC cut. There's a video above of the same.
- If you don’t have access to a CNC router, I encourage you to consider other options like tracing the shape on wood and roughly cutting it according to those lines with a belt sander and then using a belt sander and then sanding it with a fine grade sandpaper by hand. You could also laser cut the shape or use cardboard or foam board for the same.
- Once you have the CNC cut wood pieces, start sanding the edges.
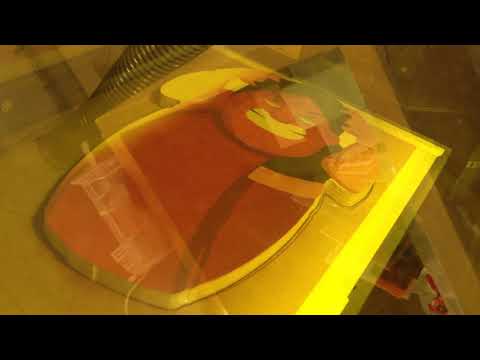
- Now put the print of Angry Aunty (made in Illustrator first and converted to an eps file after) on the UV printer. The video of the same is shown above.
- If you don’t have access to a UV printer then you could do three things. First, print on a paper printer, cut it to shape with a scissor and then stick it on top of the first layer. Second, you could vinyl print stickers that could go on top of your first layer. And third, you could draw and colour/paint it by yourself which could be so much fun too!
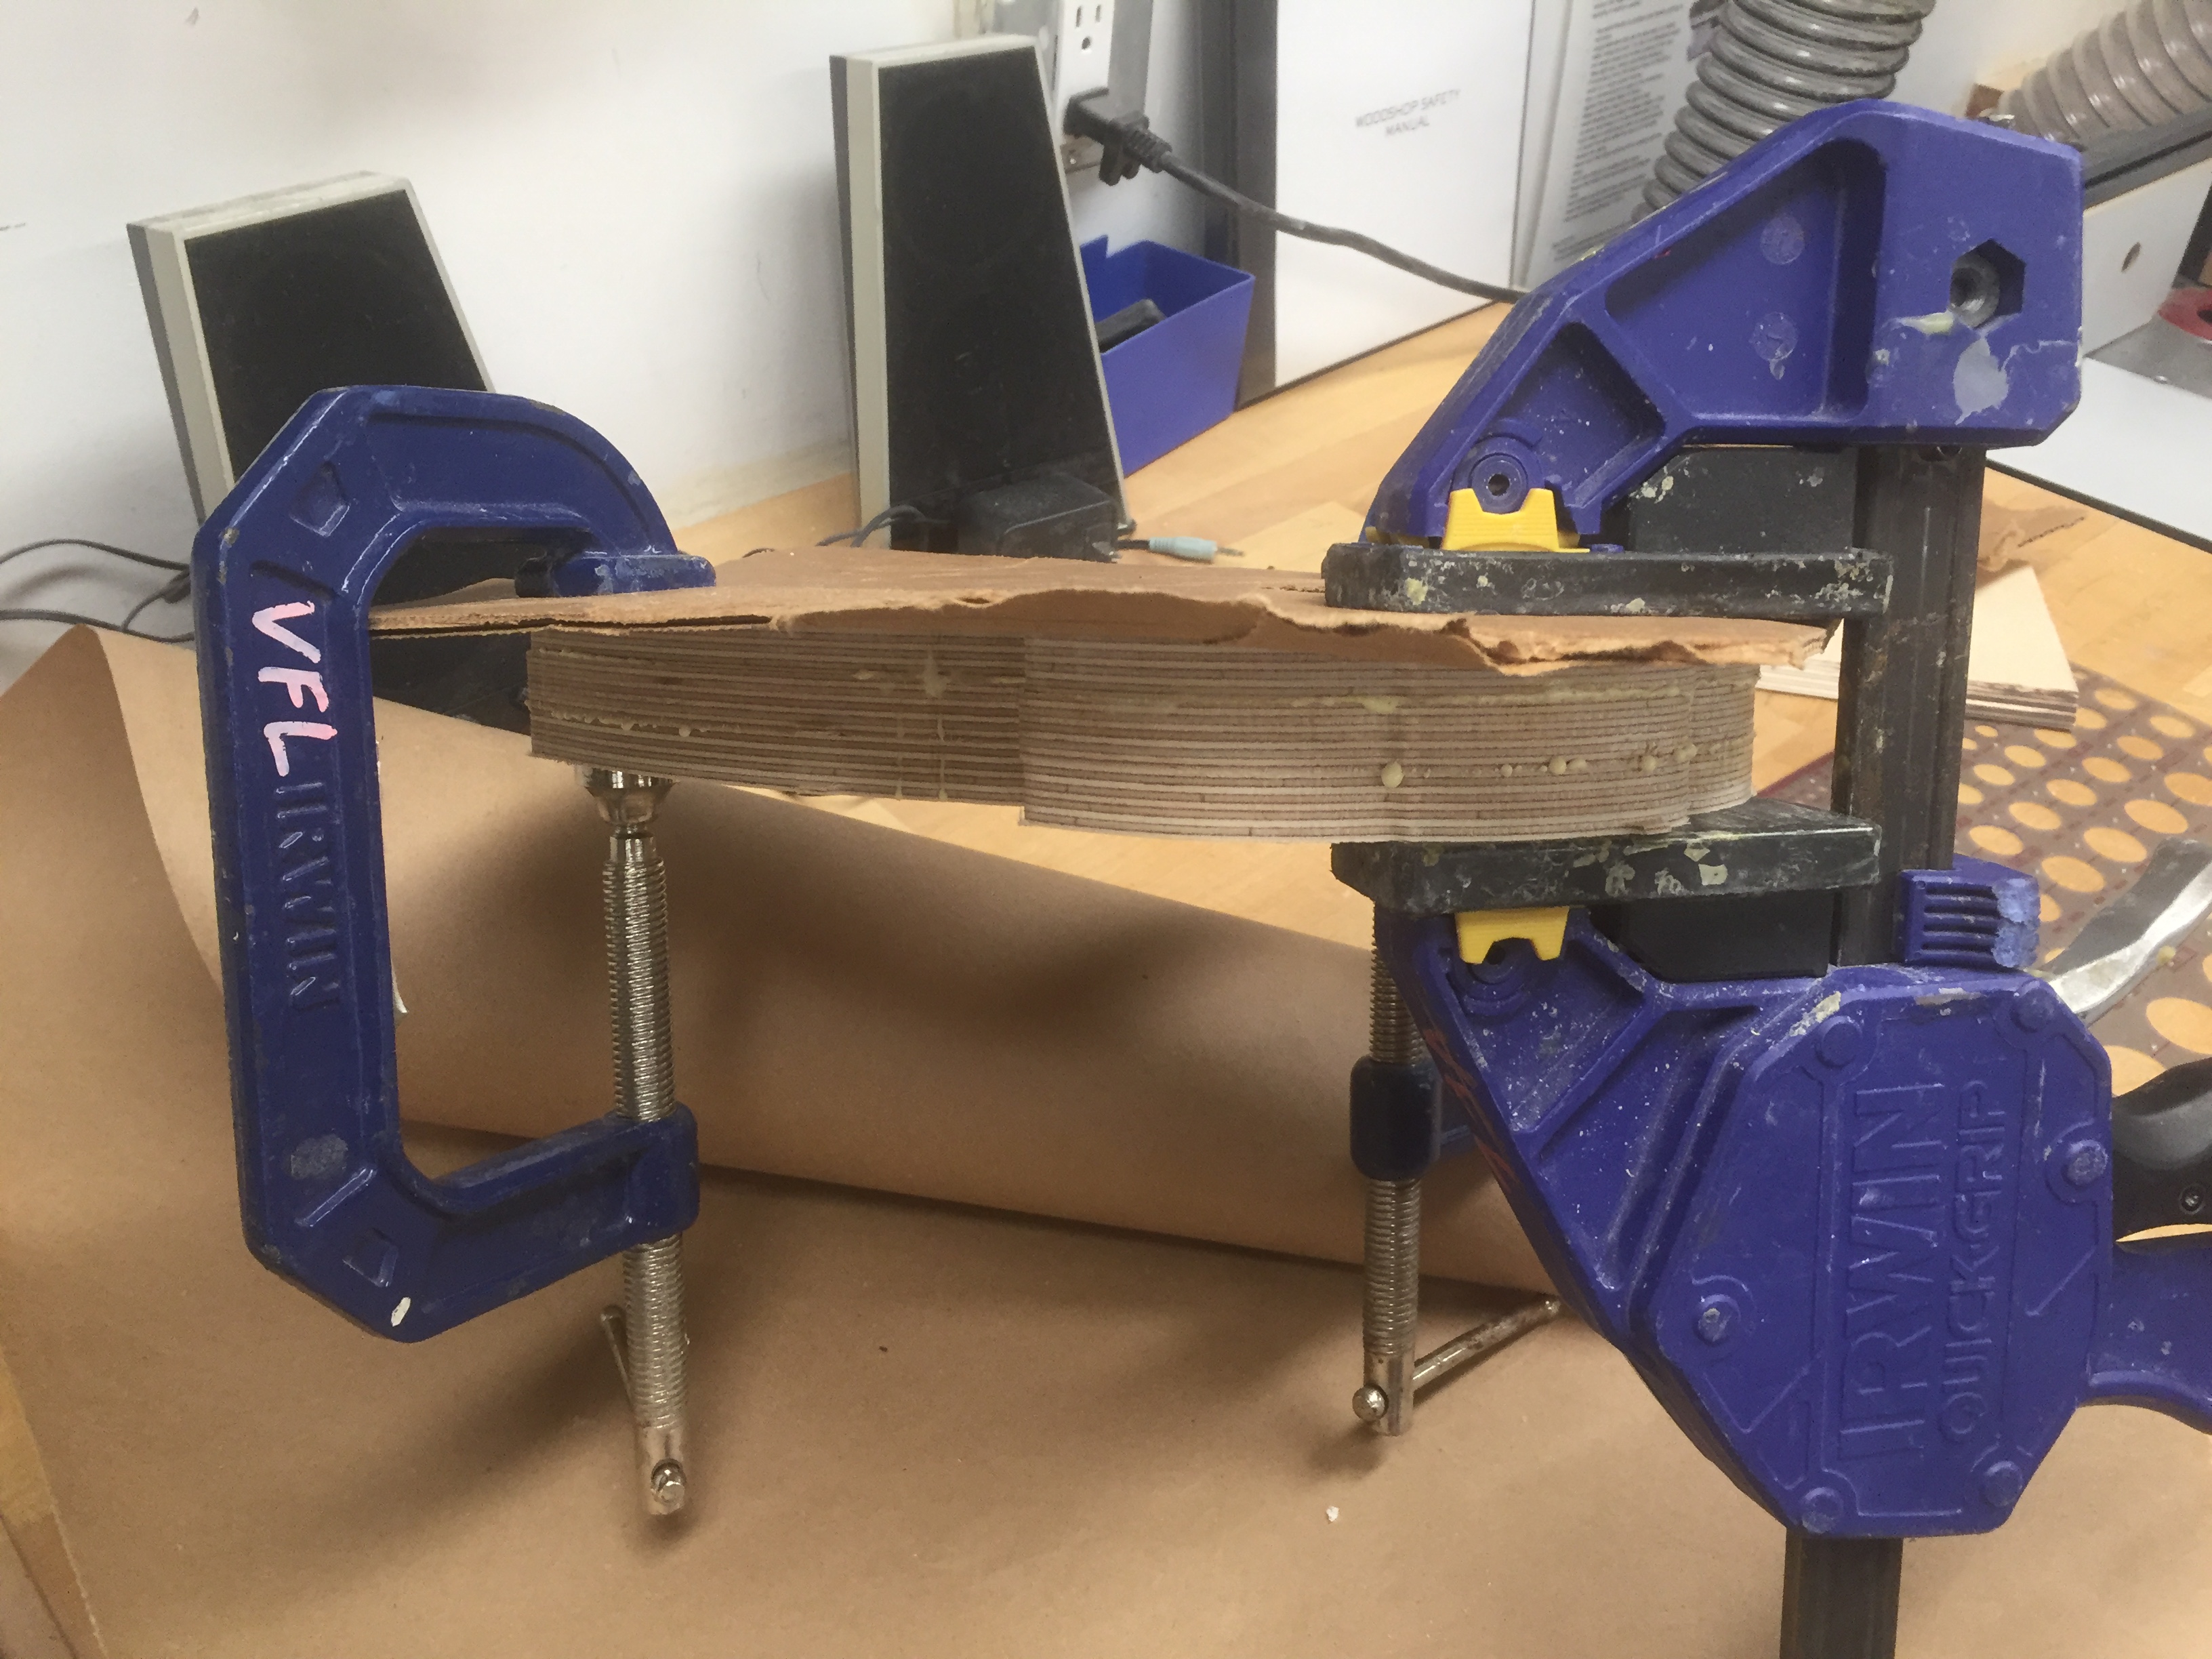
- Now when it comes to sticking the layers together, we should make sure that we don’t stick all the layers at the step permanently because then we won’t be able to put in our circuitry or even change any part of the doll.
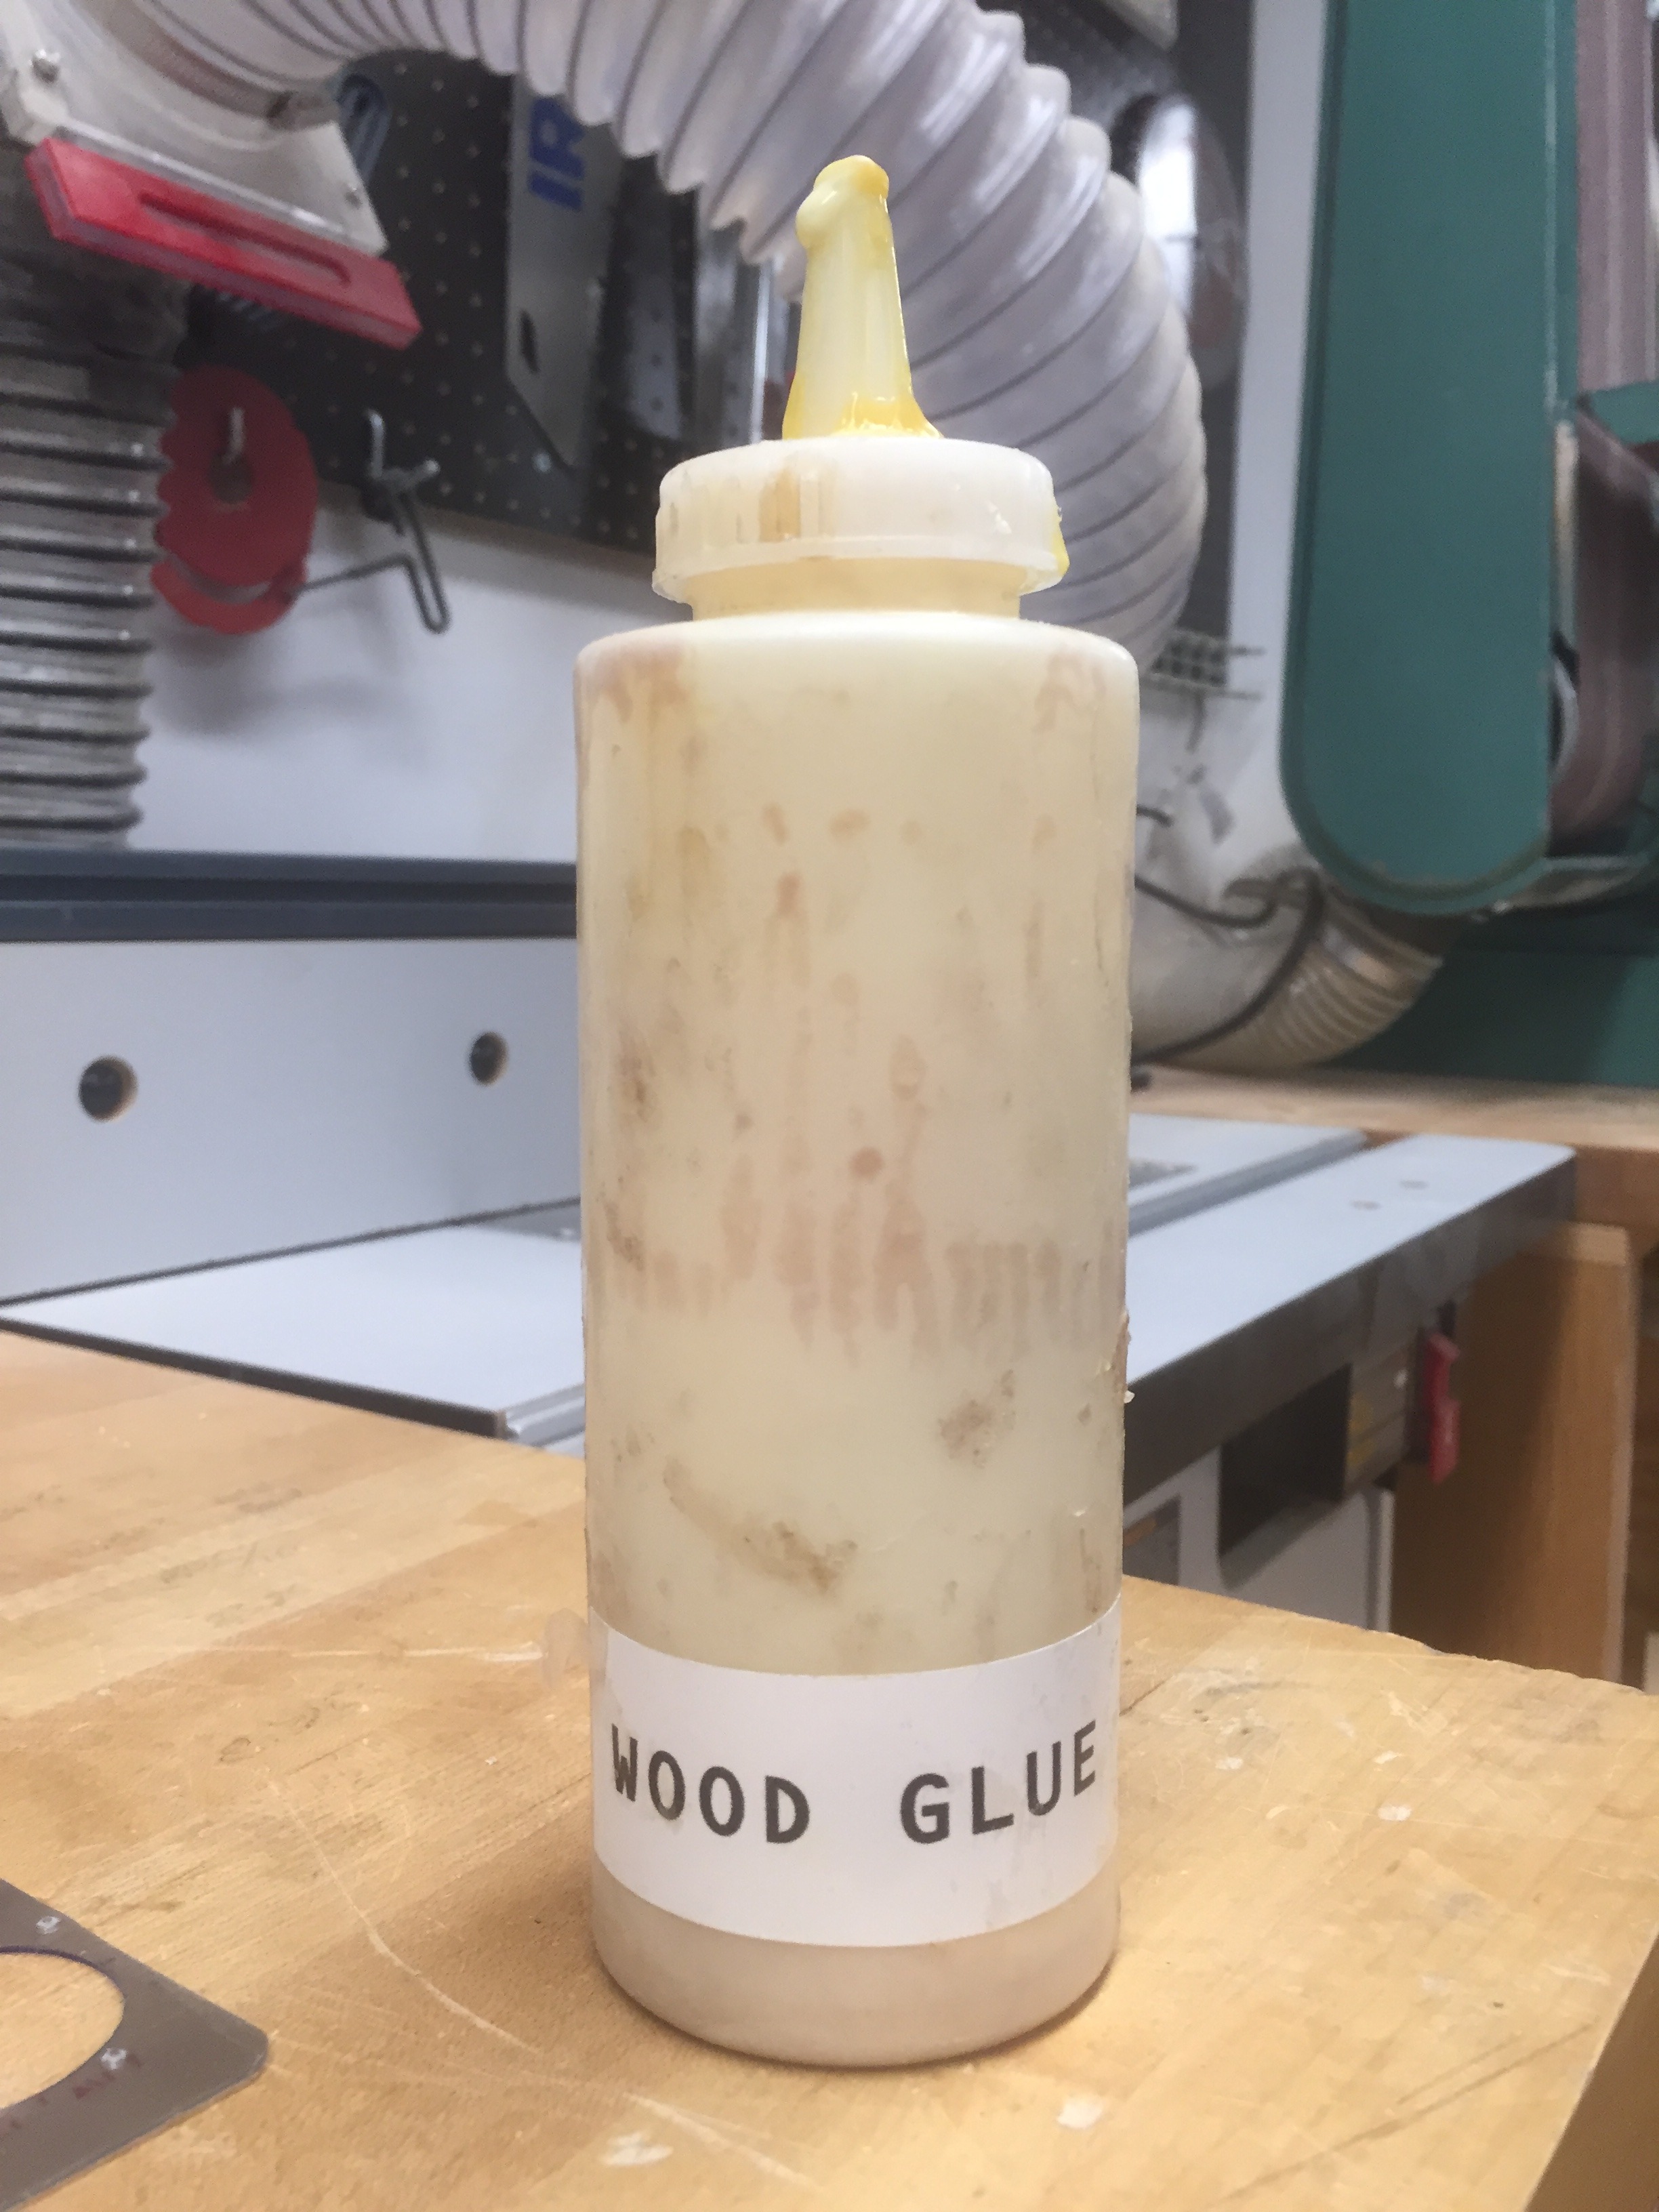
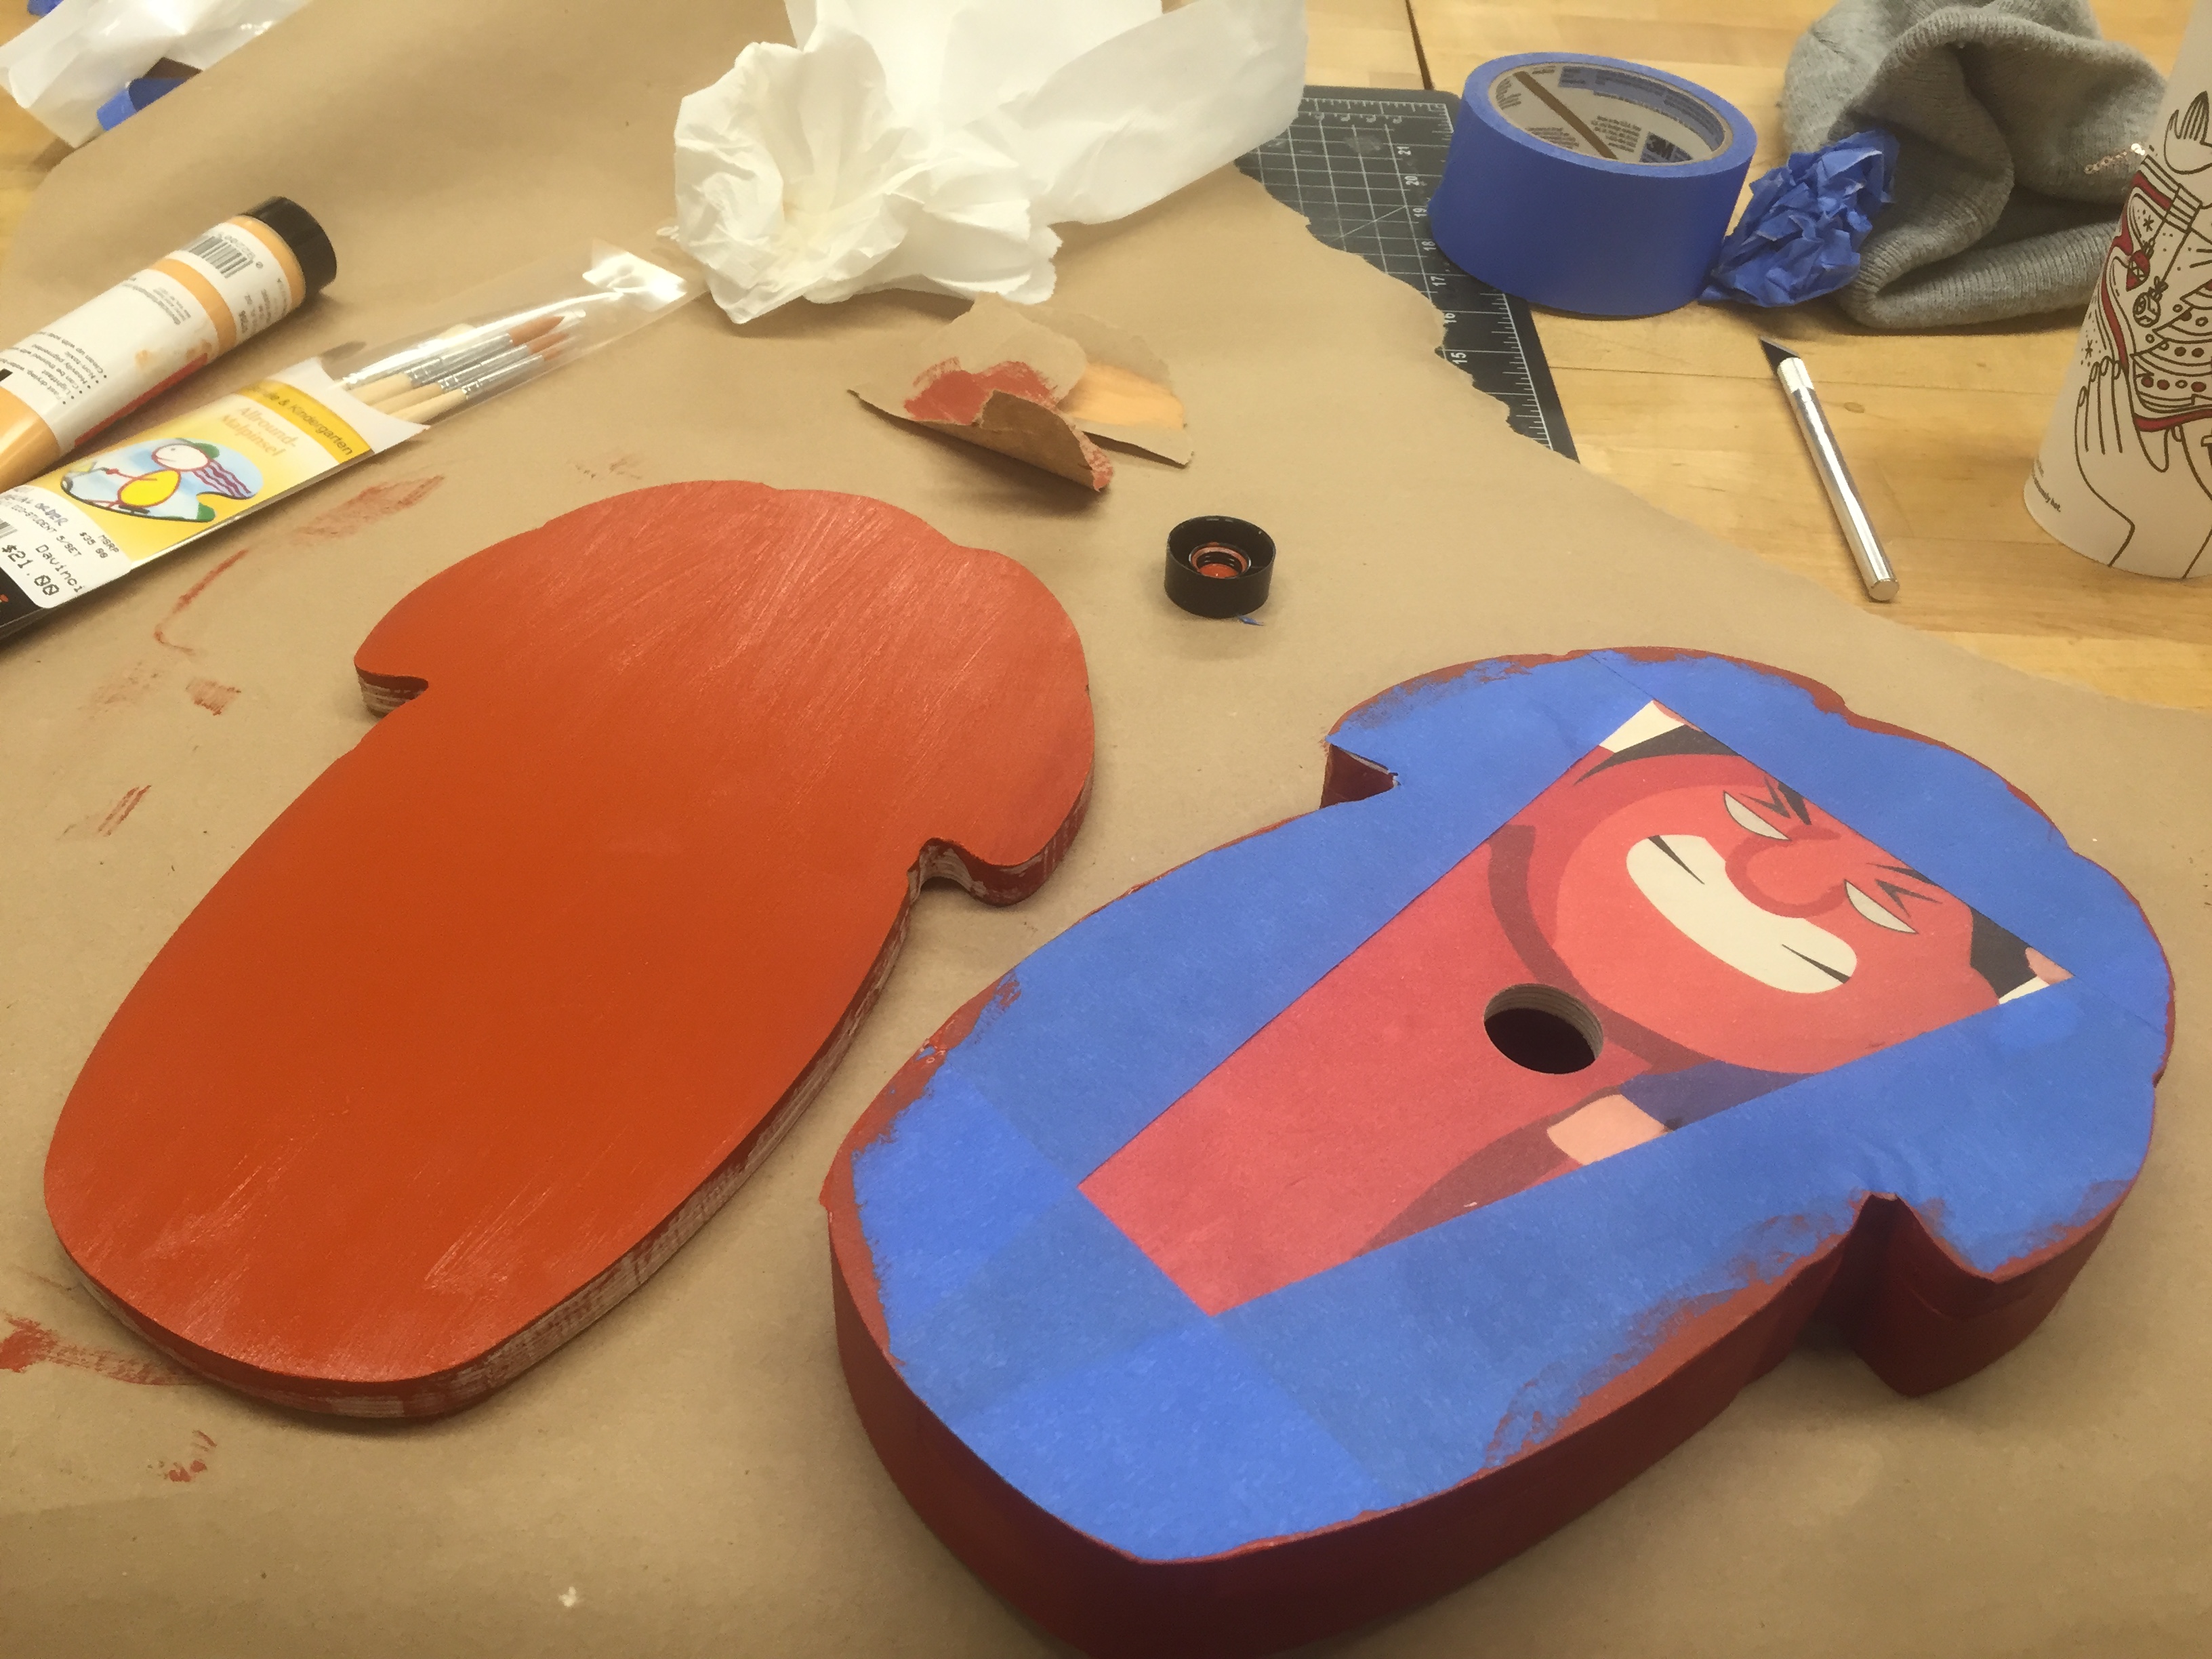
- So we will stick the first three layers with wood glue and keep the last (solid layer) separate.
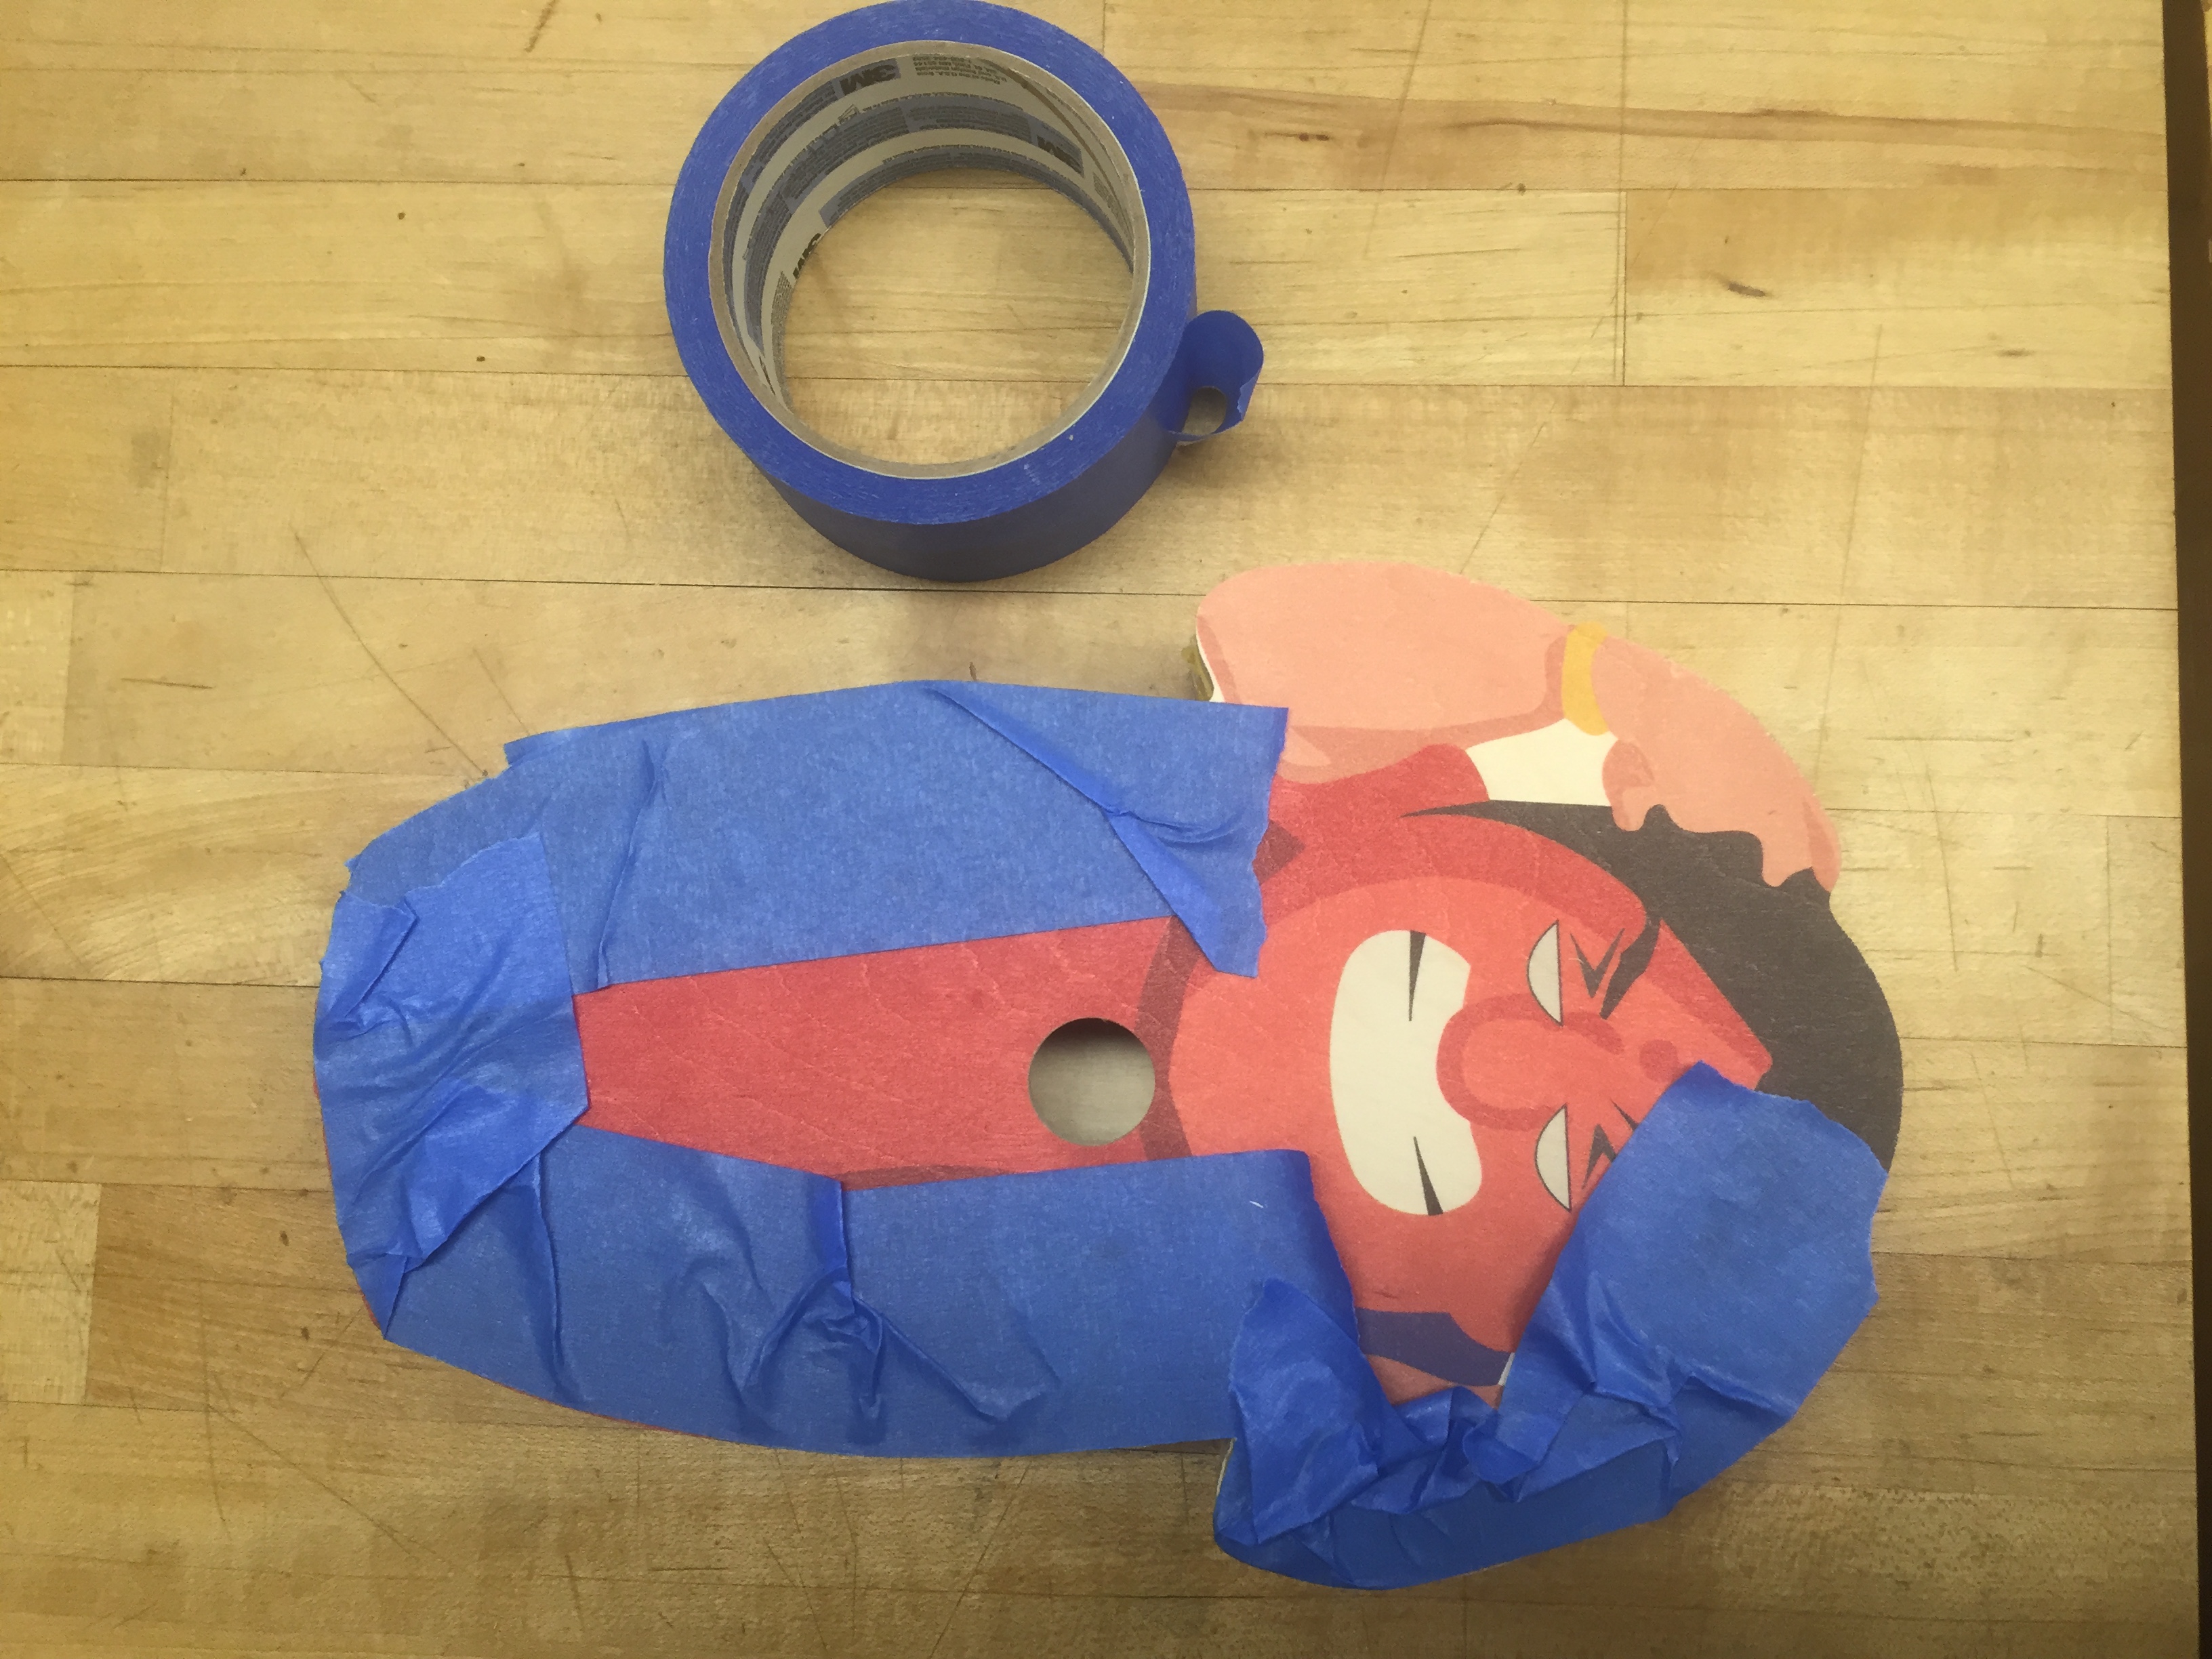
- *While gluing and painting, carefully put a layer of painter’s tape (it’s a tape that doesn’t take the paint of when you peel the tape afterwards) on the first layer so that the UV printed first layer is not damaged by glue or paint*
- Our next step would be to paint the edges. As most of the front is red, we can paint the edges and the back of the doll also a similar red. Paint the edges of the first three layers (now stuck to each other) together and the last layer separately.
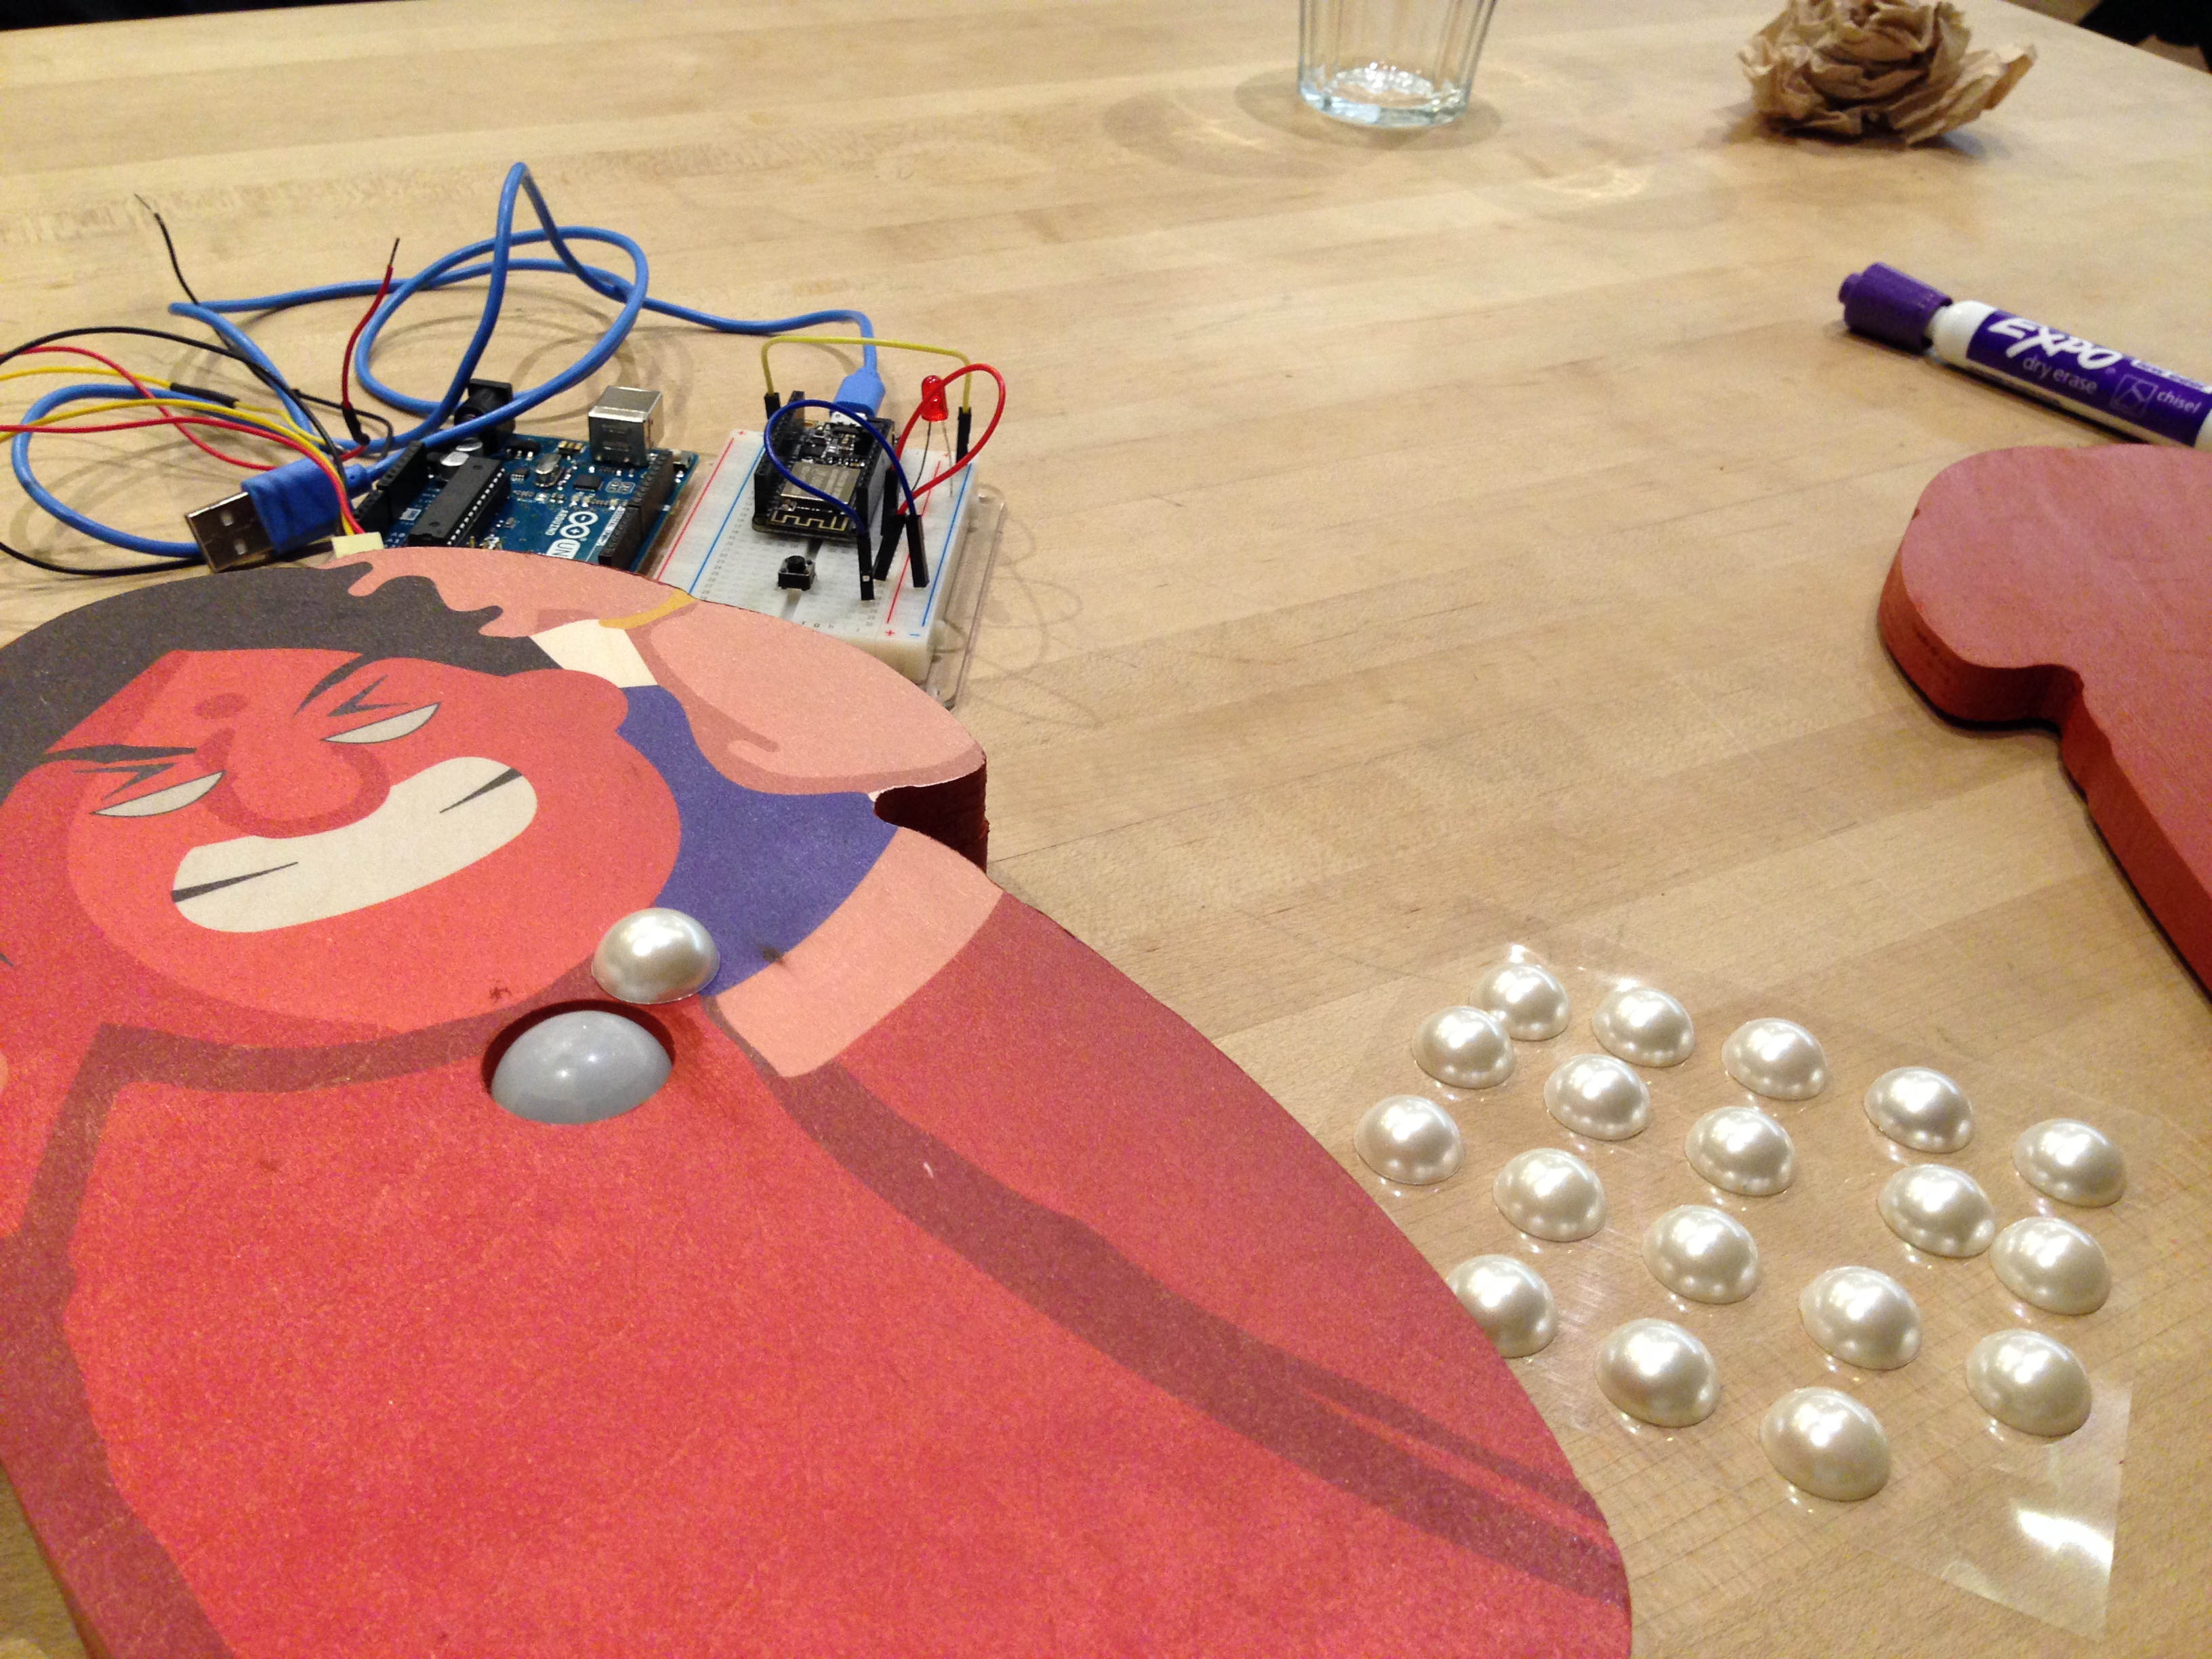
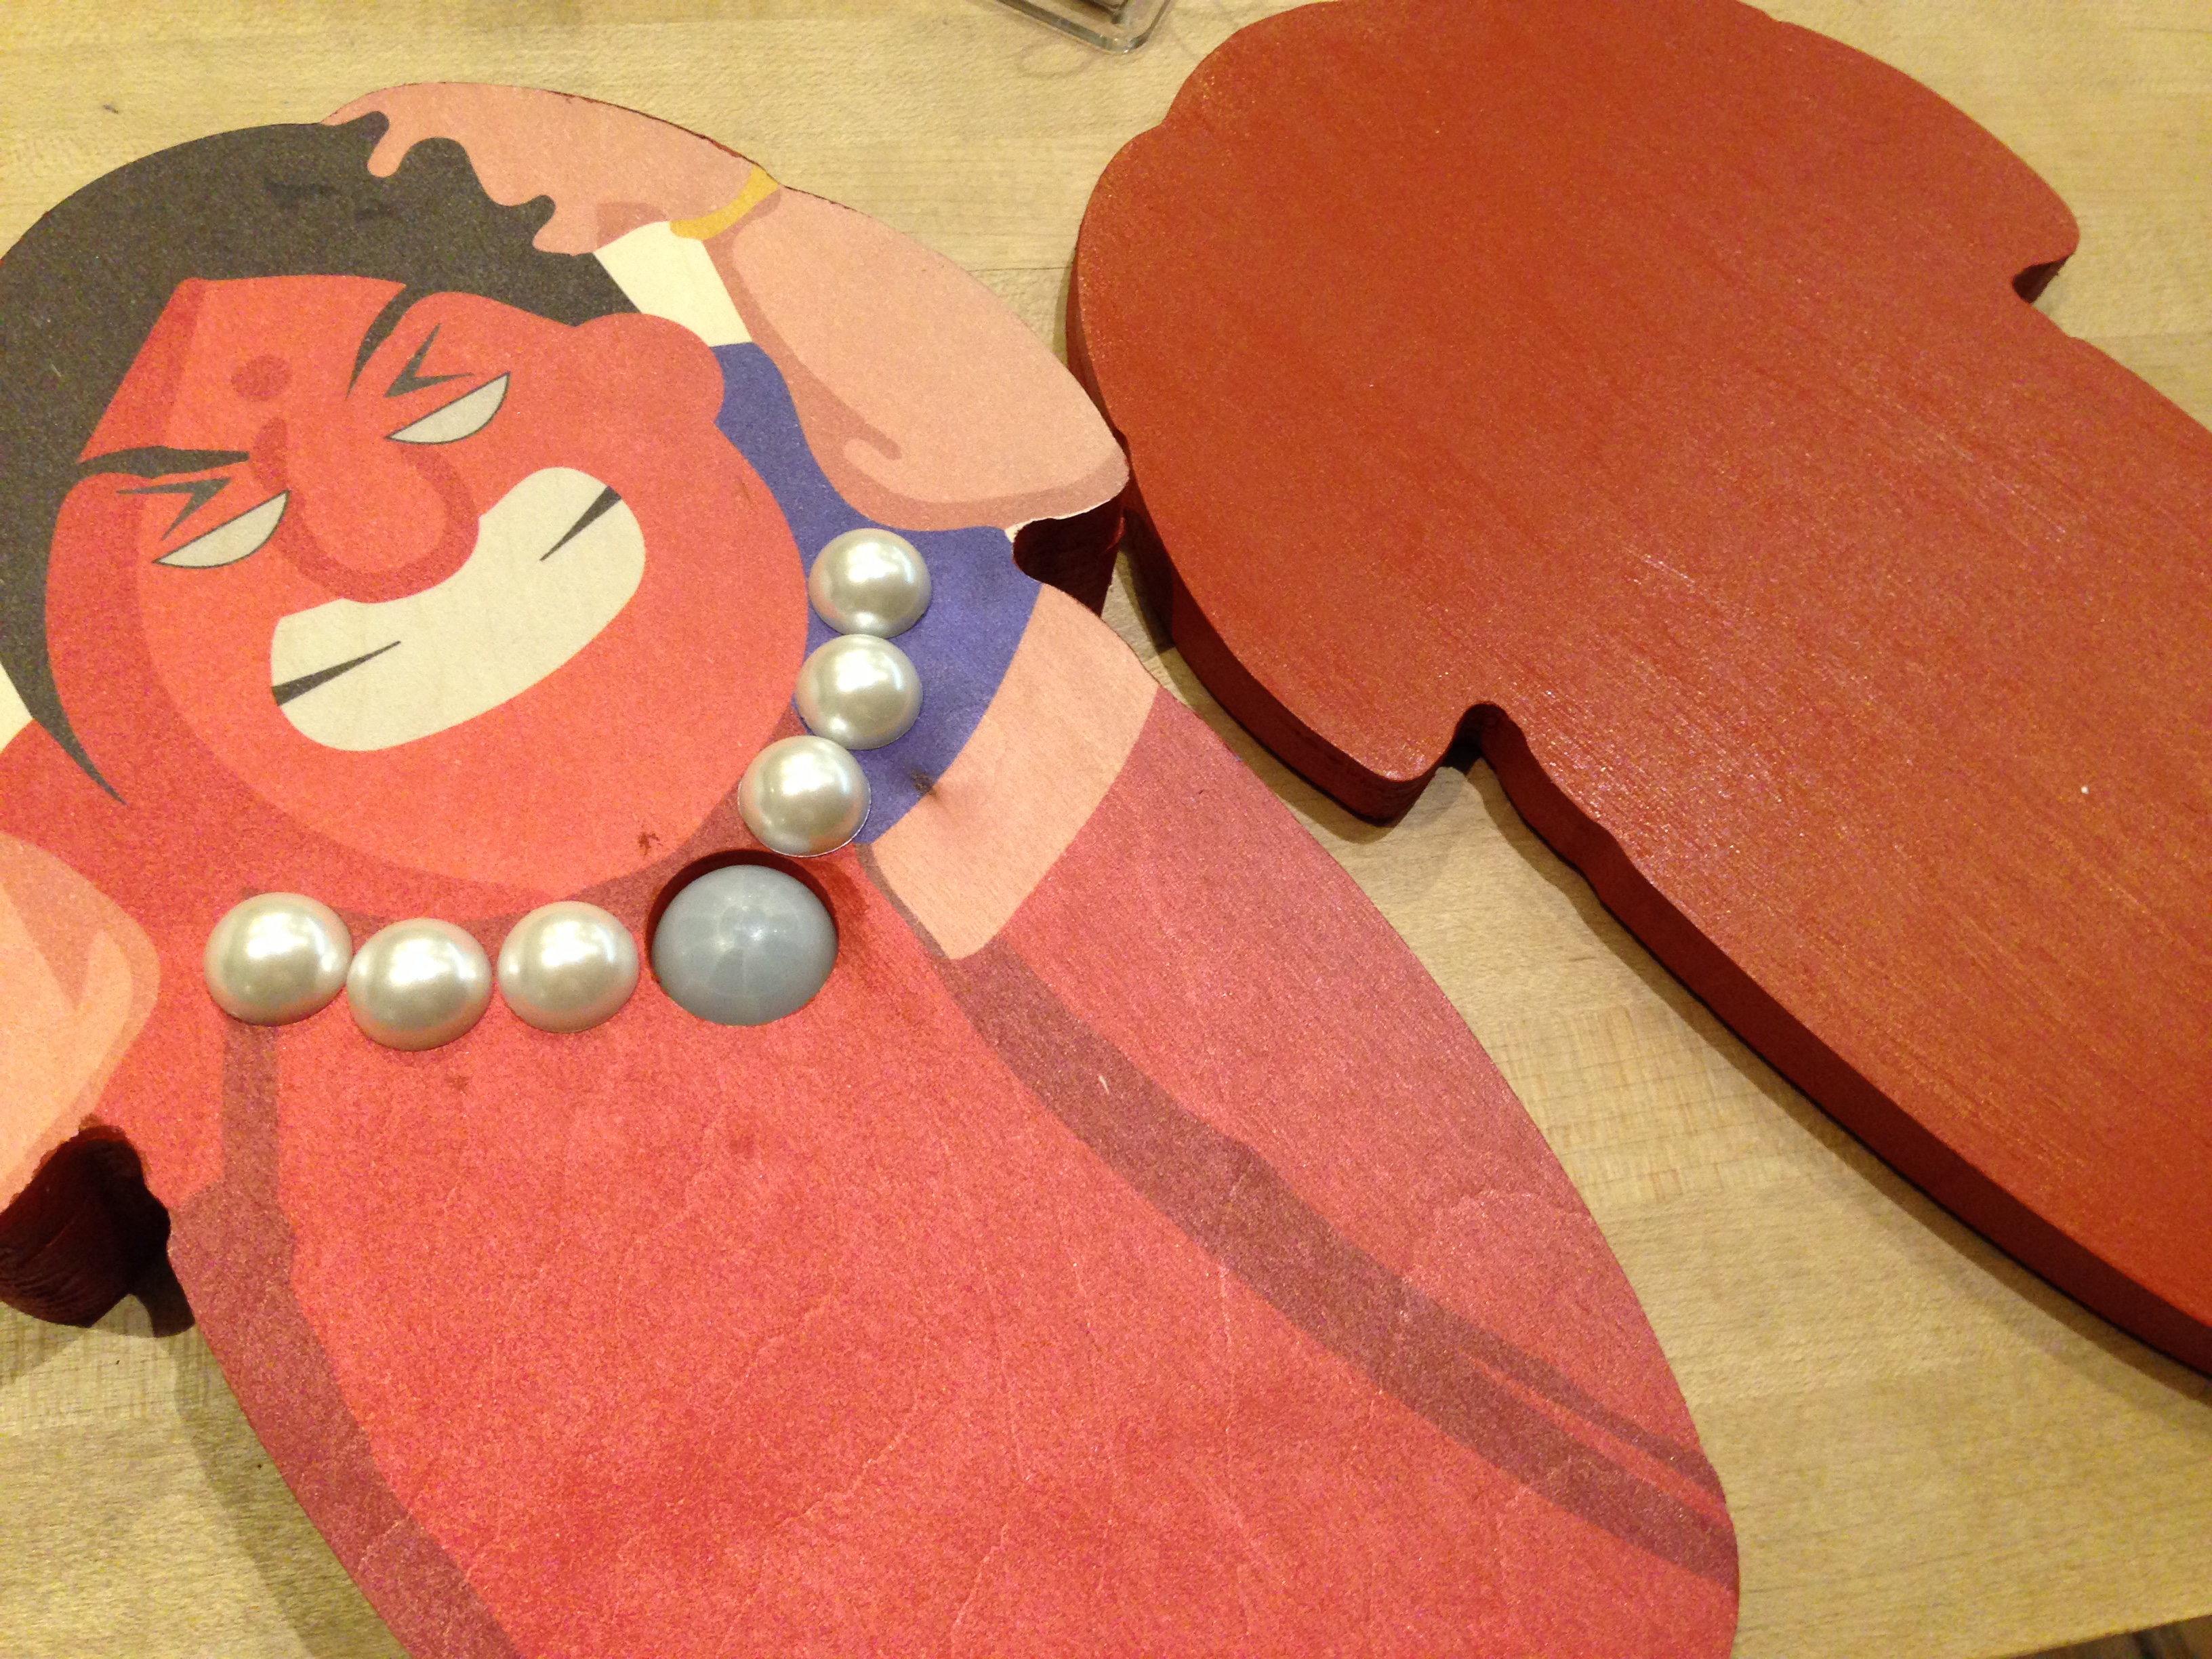
- The next step is to attach the motion sensor. Where on the doll do you wish to put the sensor? Based on the shape (pearl-like) of the sensor, I decided to use it as a pearl necklace. Now you have to drill a hole which is the size of the PIR motion sensor.
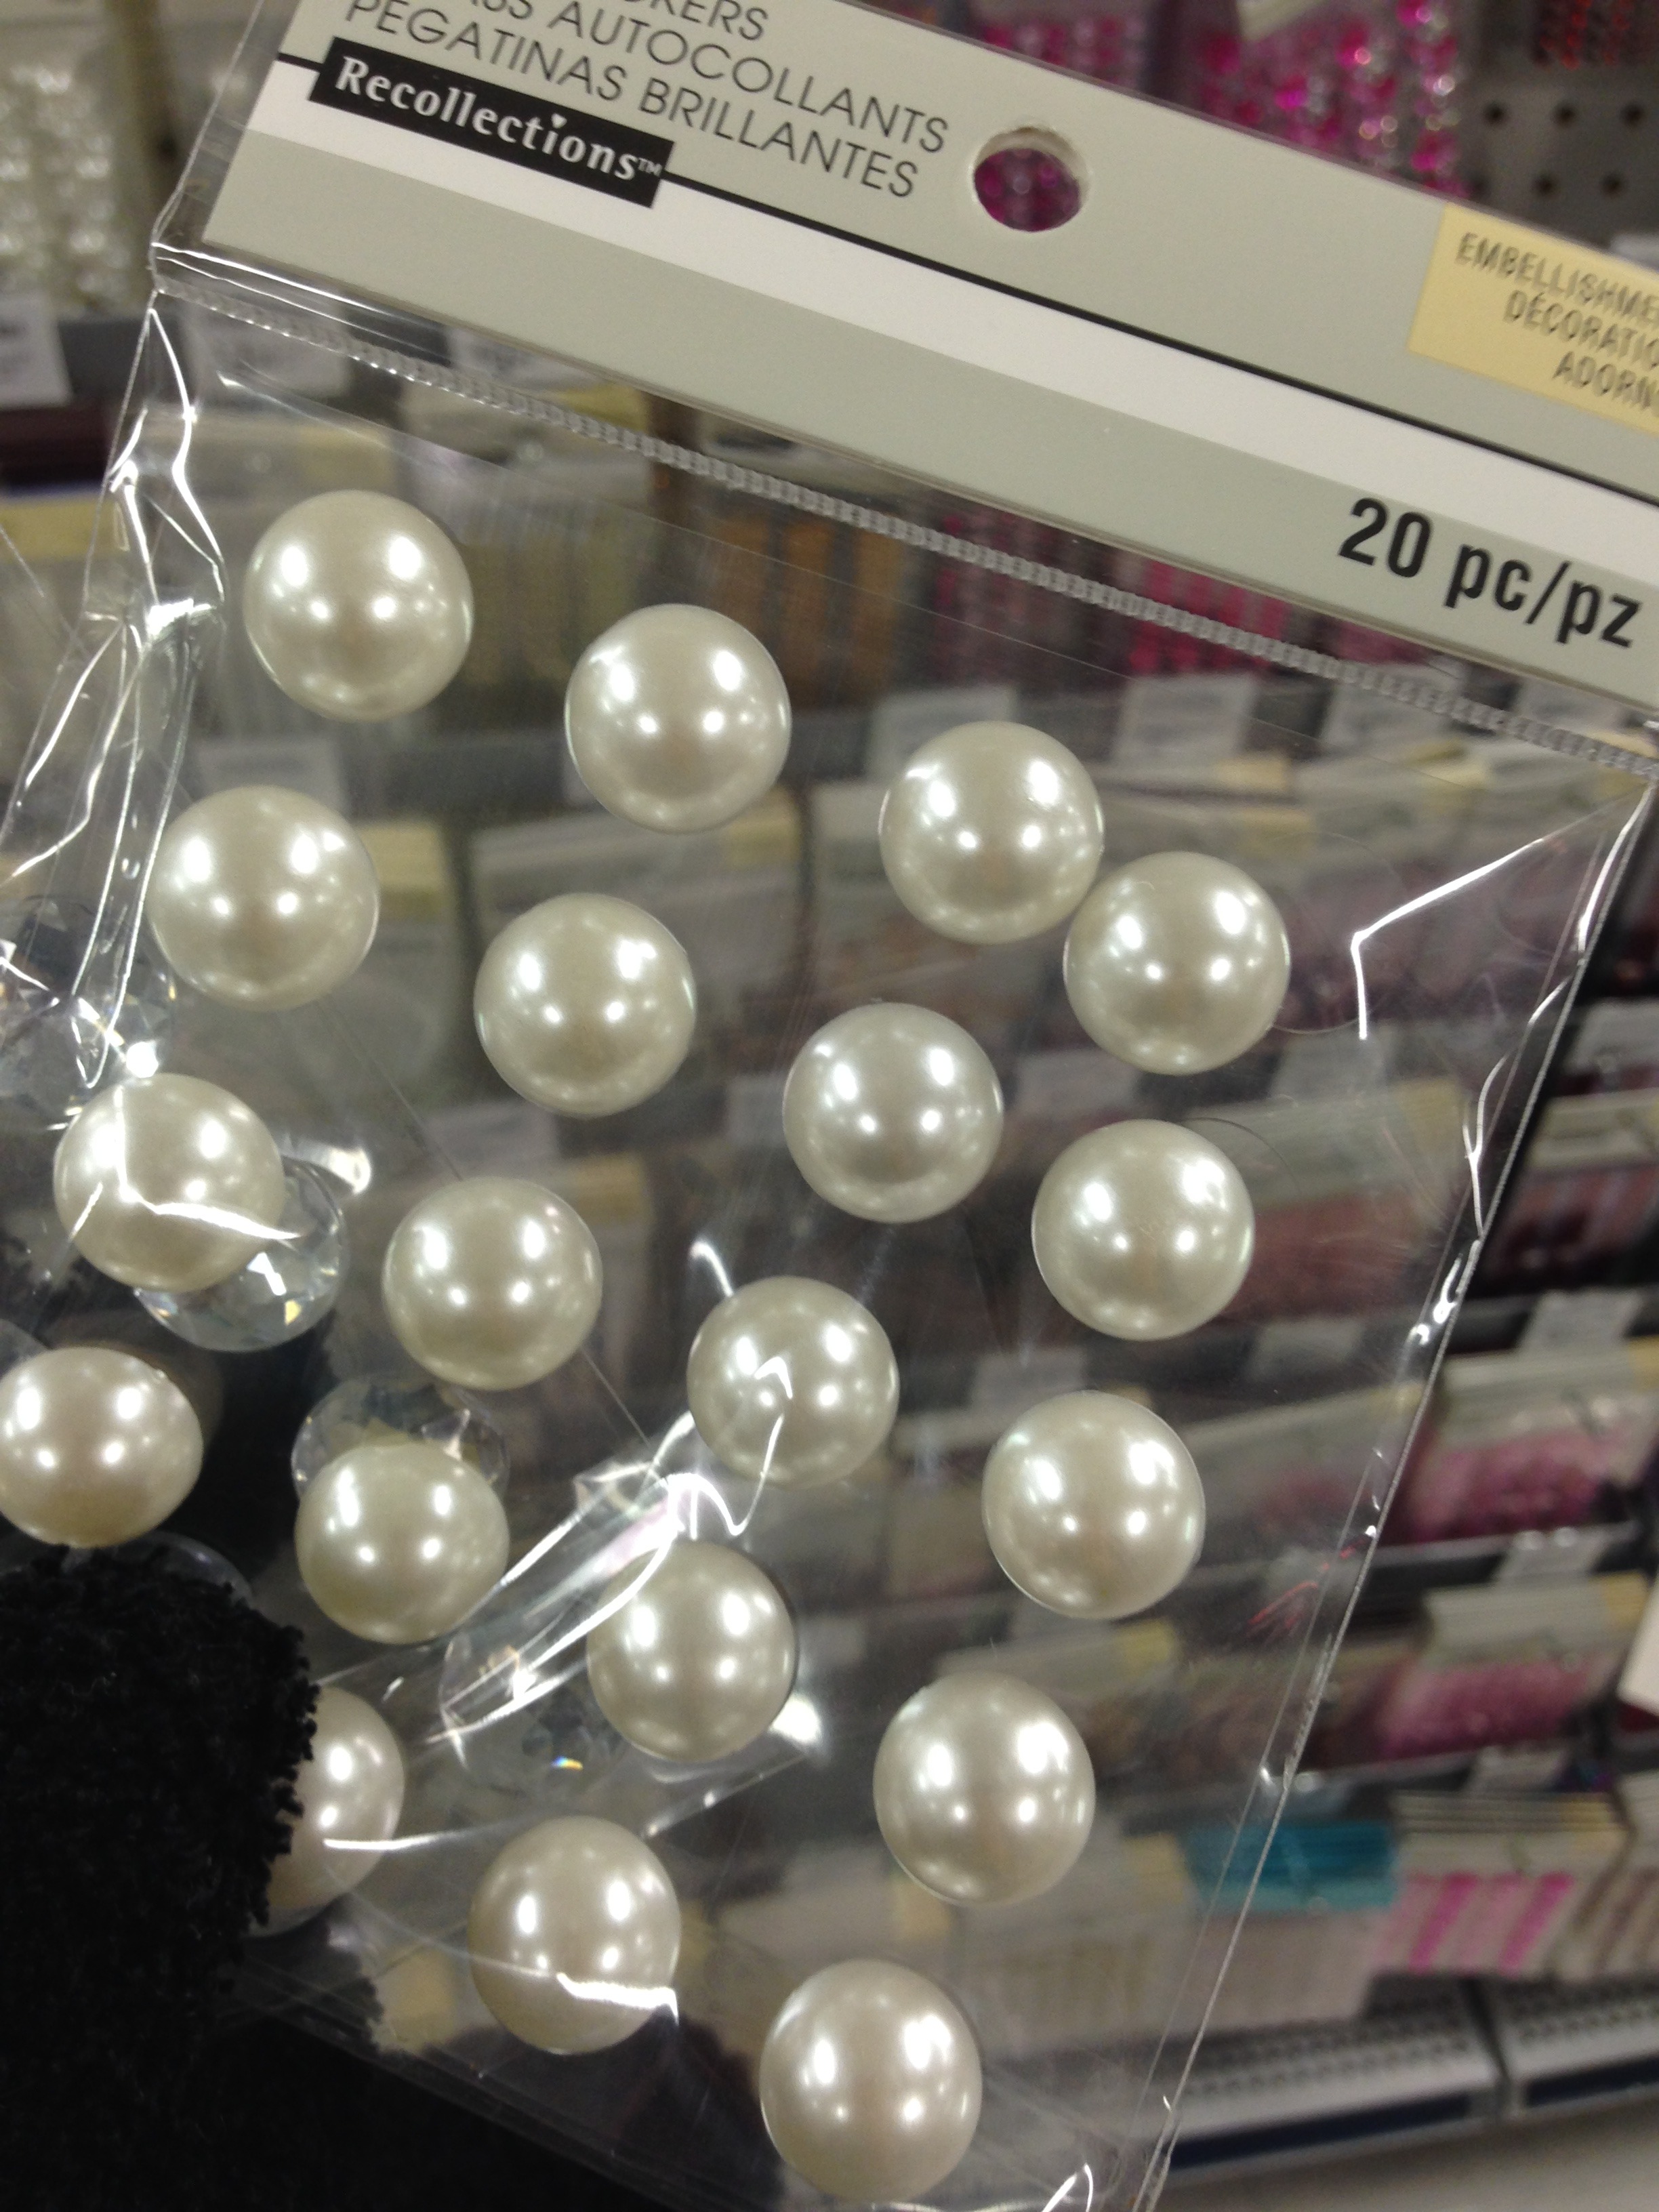
- For your PIR motion sensor not to look too conspicuous, add more bling! You can find a picture of this above.
- The next step would be to add velcro to close the whole thing.
- Buy velcro (preferably small pieces of it - so that it can be stuck on the outer edge of wooden layers of the doll.
- Stick velcro on both the layers so our doll can finally be closed and is good to go!
- Wait, don’t forget to put the circuitry inside and then you can velcro it back together.
- Did you finish all the steps until now? Well done you!!! You made it!!!!!!!!!!
- Export the code and test if Angry Aunty works!
- Replace the micro USB cord connected to the Huzzah board and your laptop with a battery pack.
- Replace the input and output wires on the circuit with the red and blue wires ((+) and (-)) of the battery pack.
So you’re all set now! Hope Angry Aunty really helps you work! Remember, the end goal is for you to stop using Angry Aunty because you don’t need it anymore :)