Andy Warhol Style Butterfly Card
by Penolopy Bulnick in Craft > Paper
3874 Views, 35 Favorites, 0 Comments
Andy Warhol Style Butterfly Card
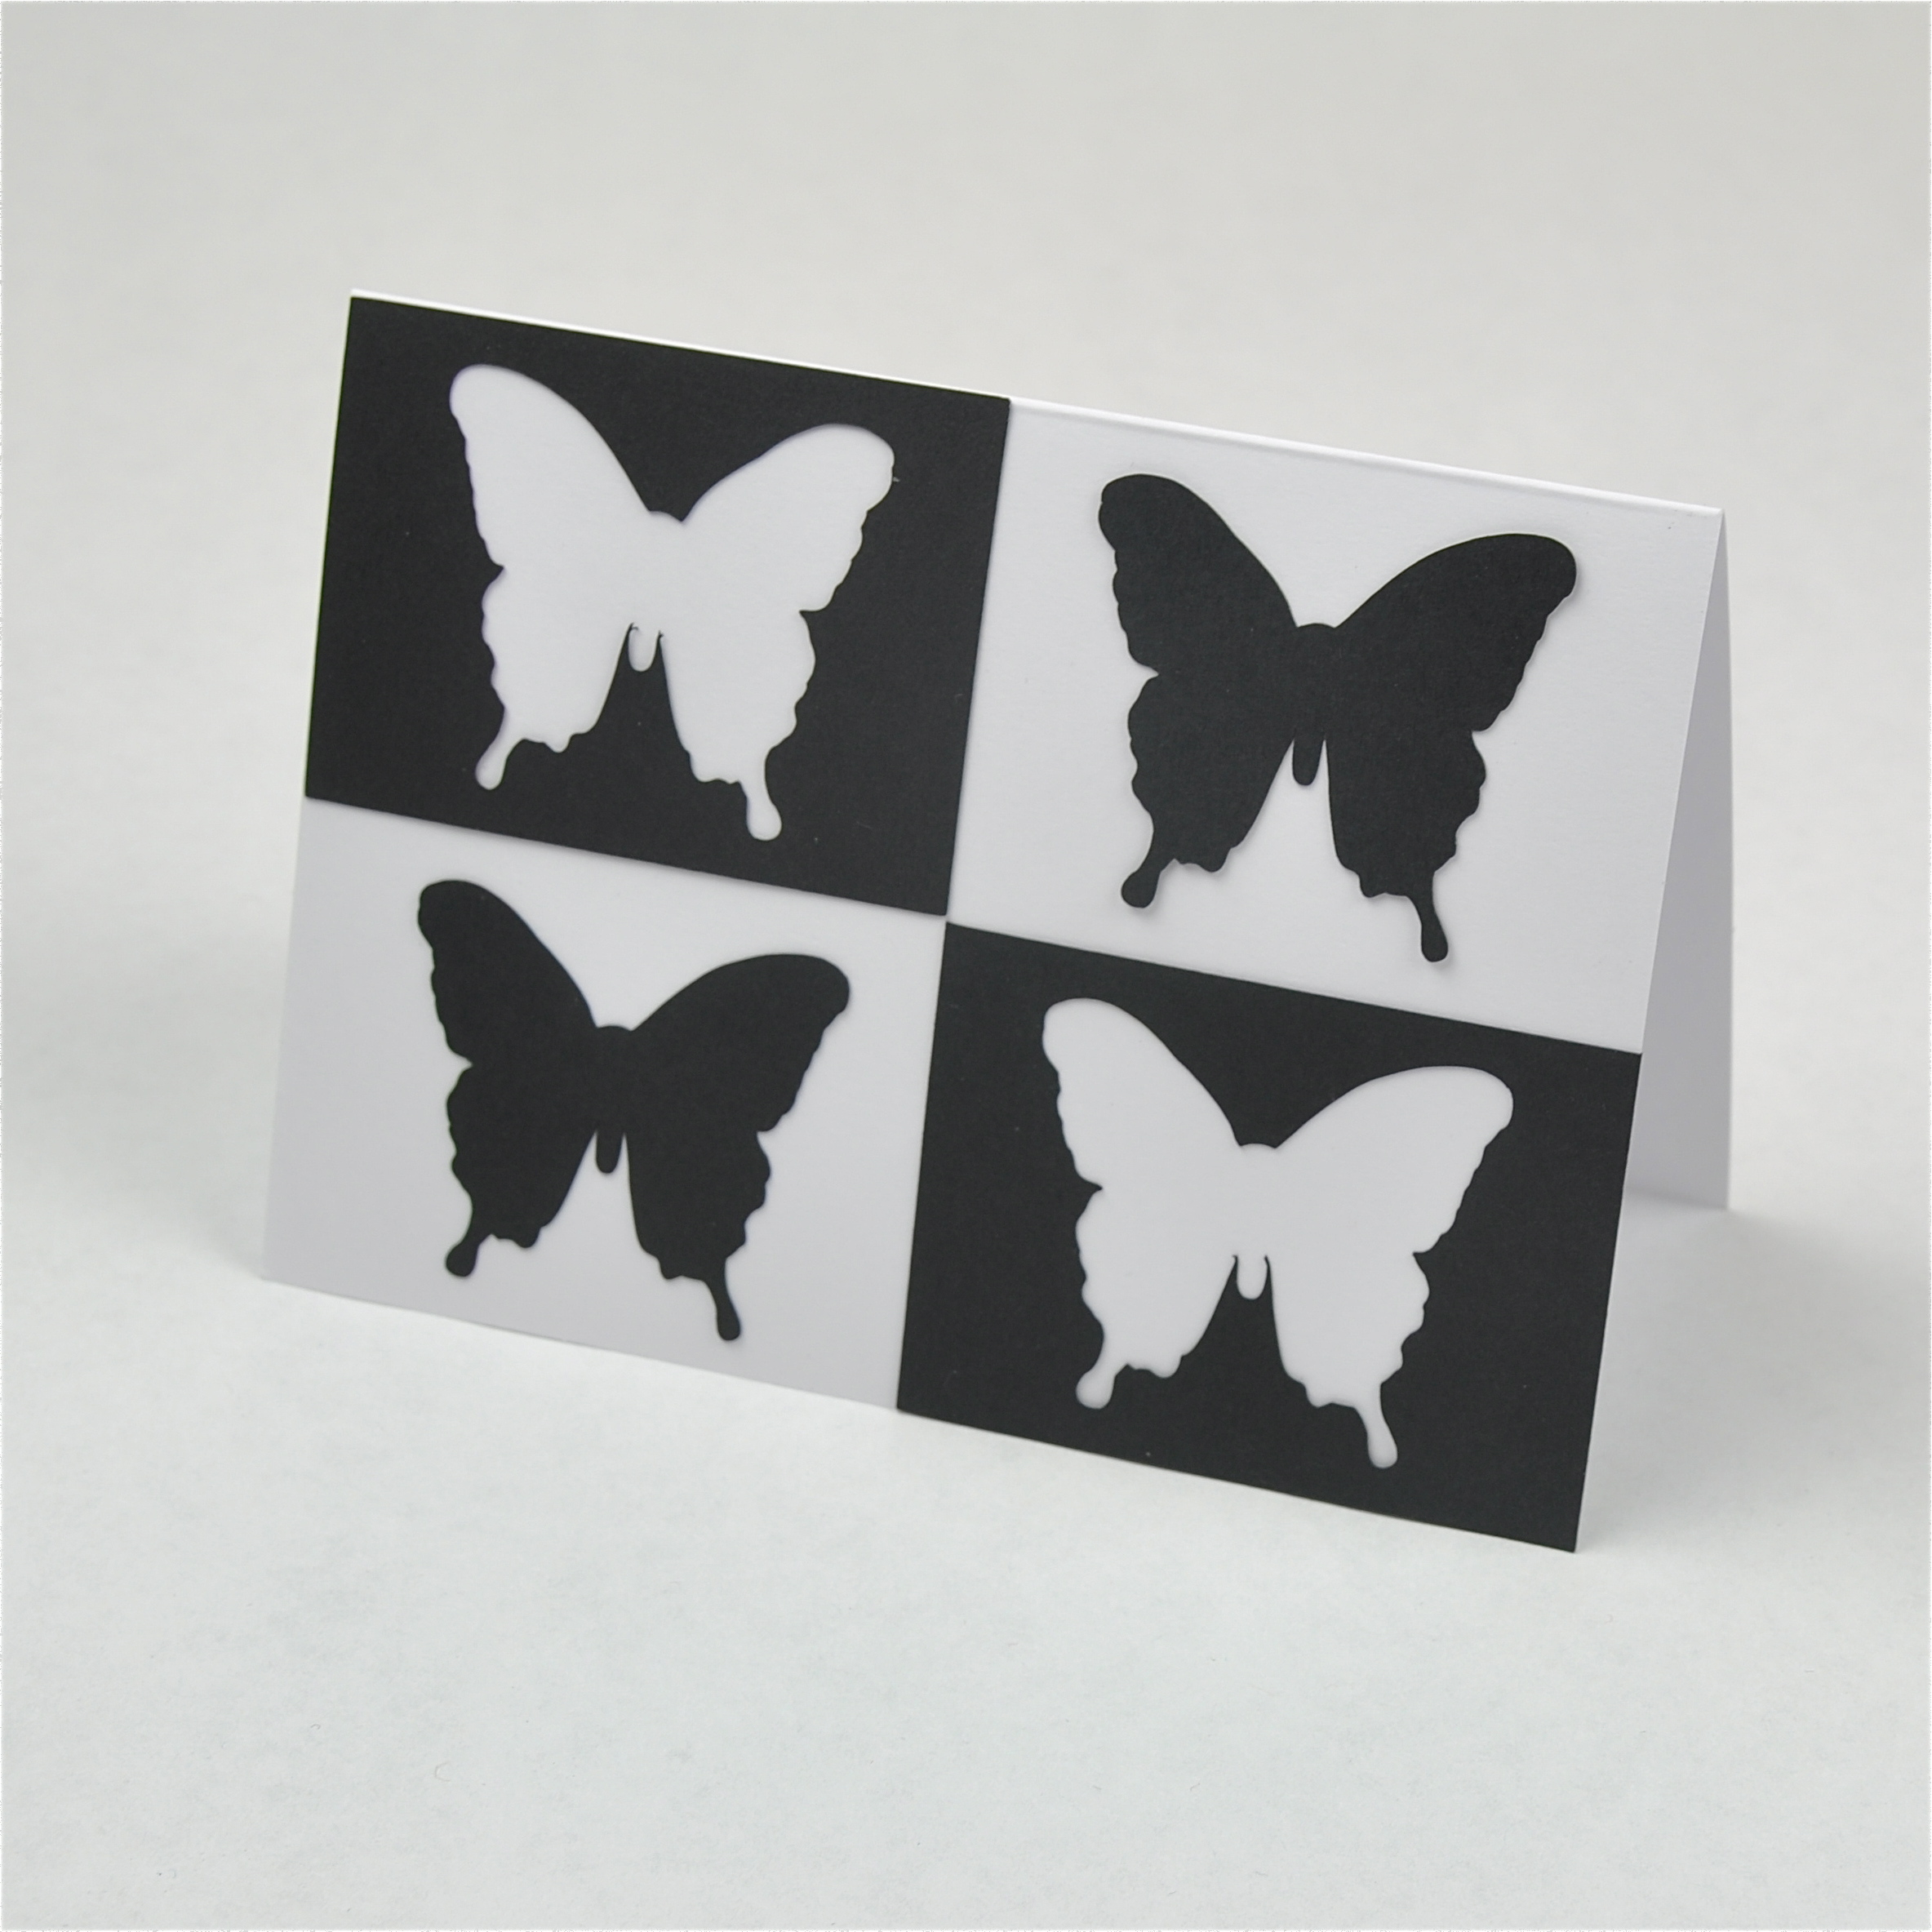
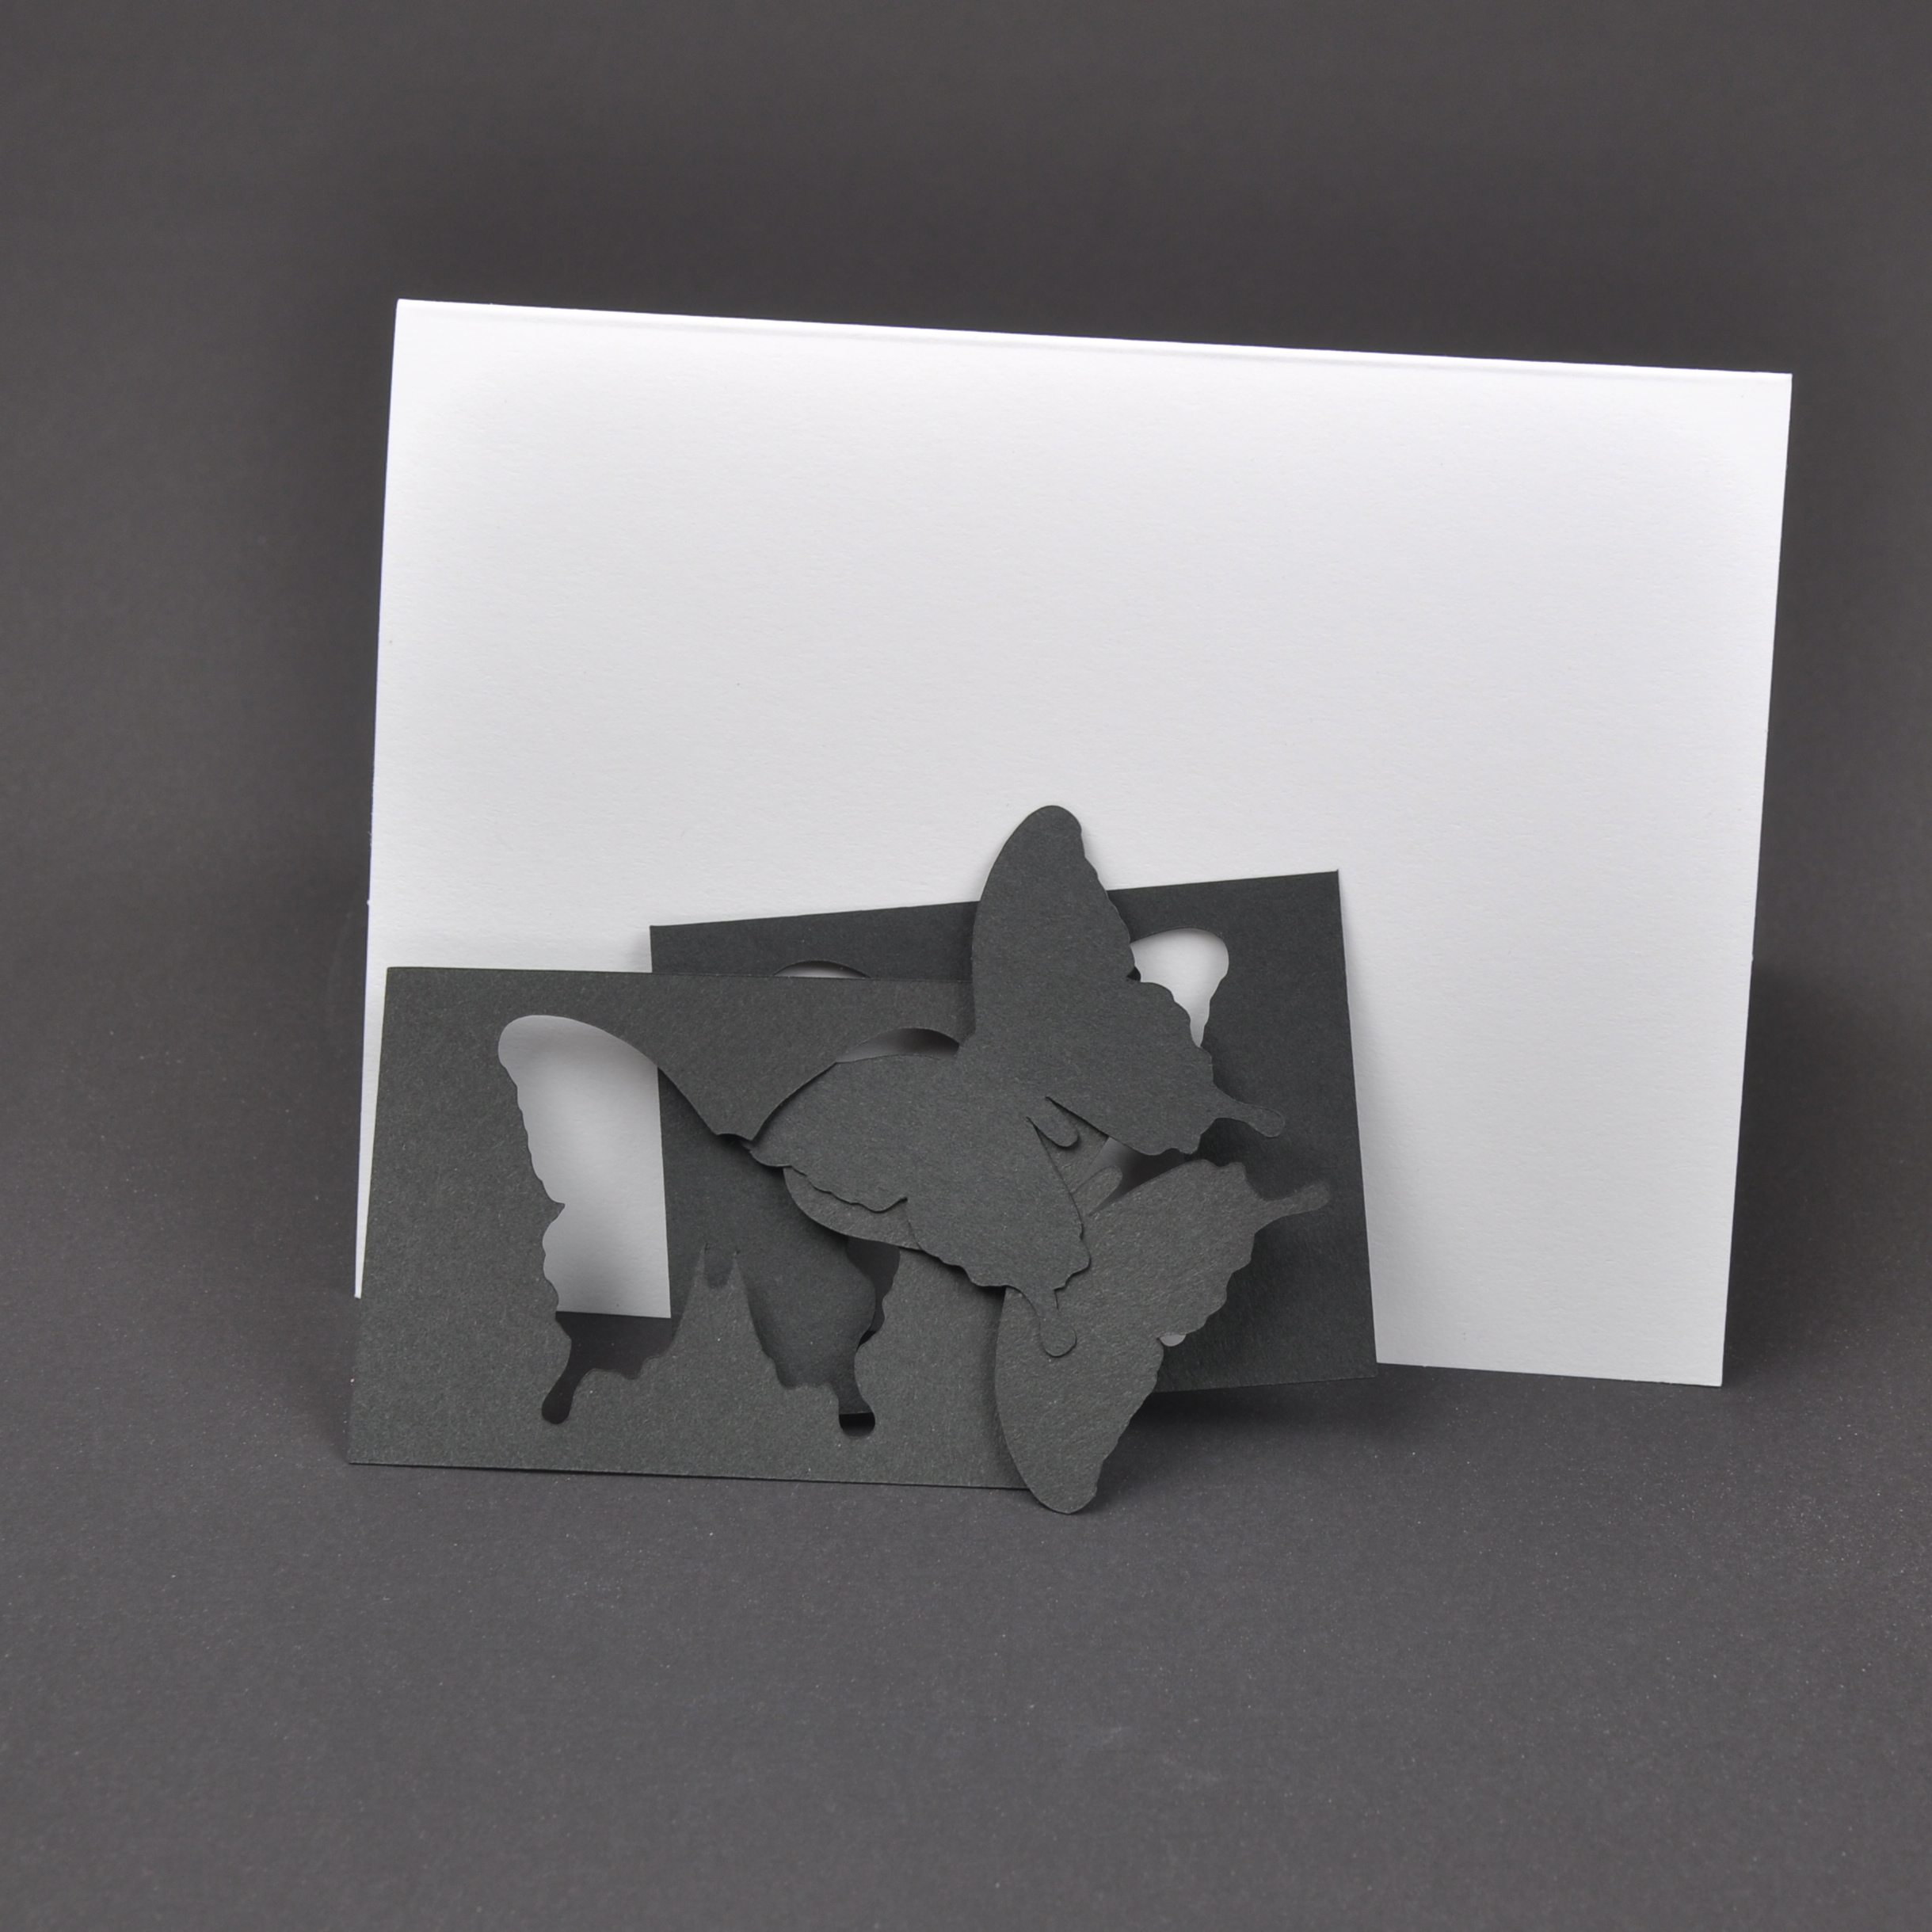
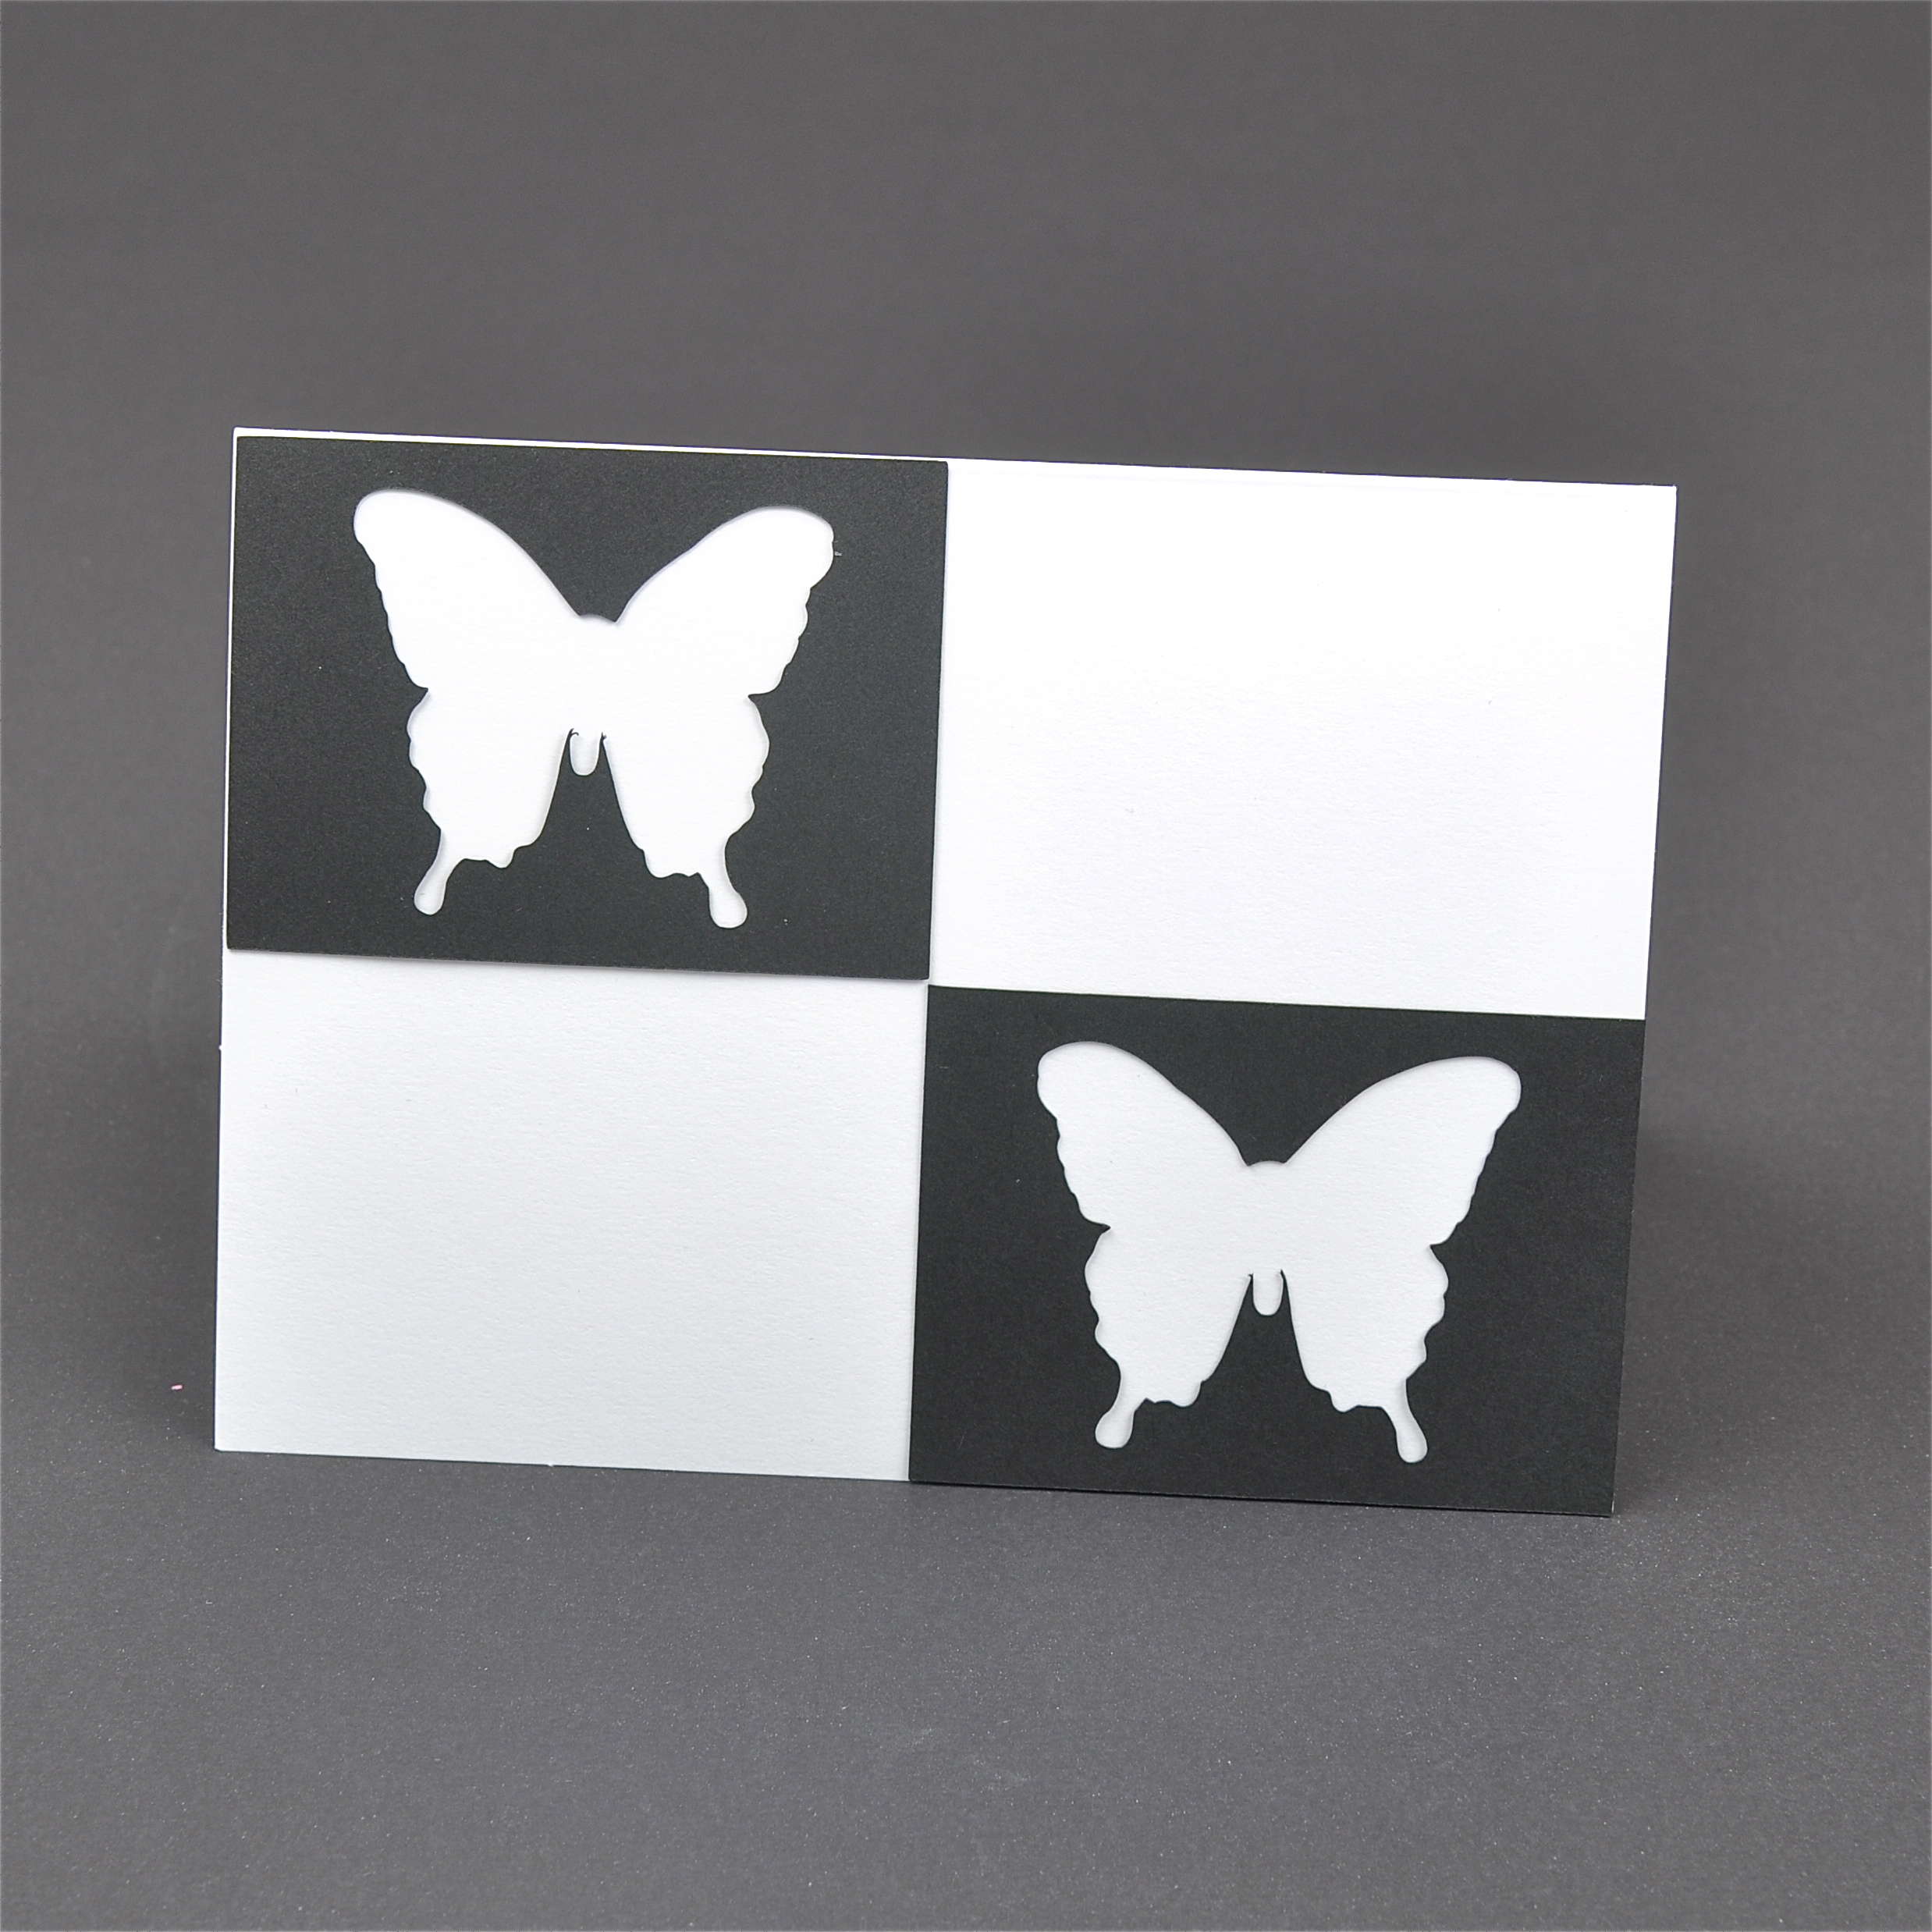
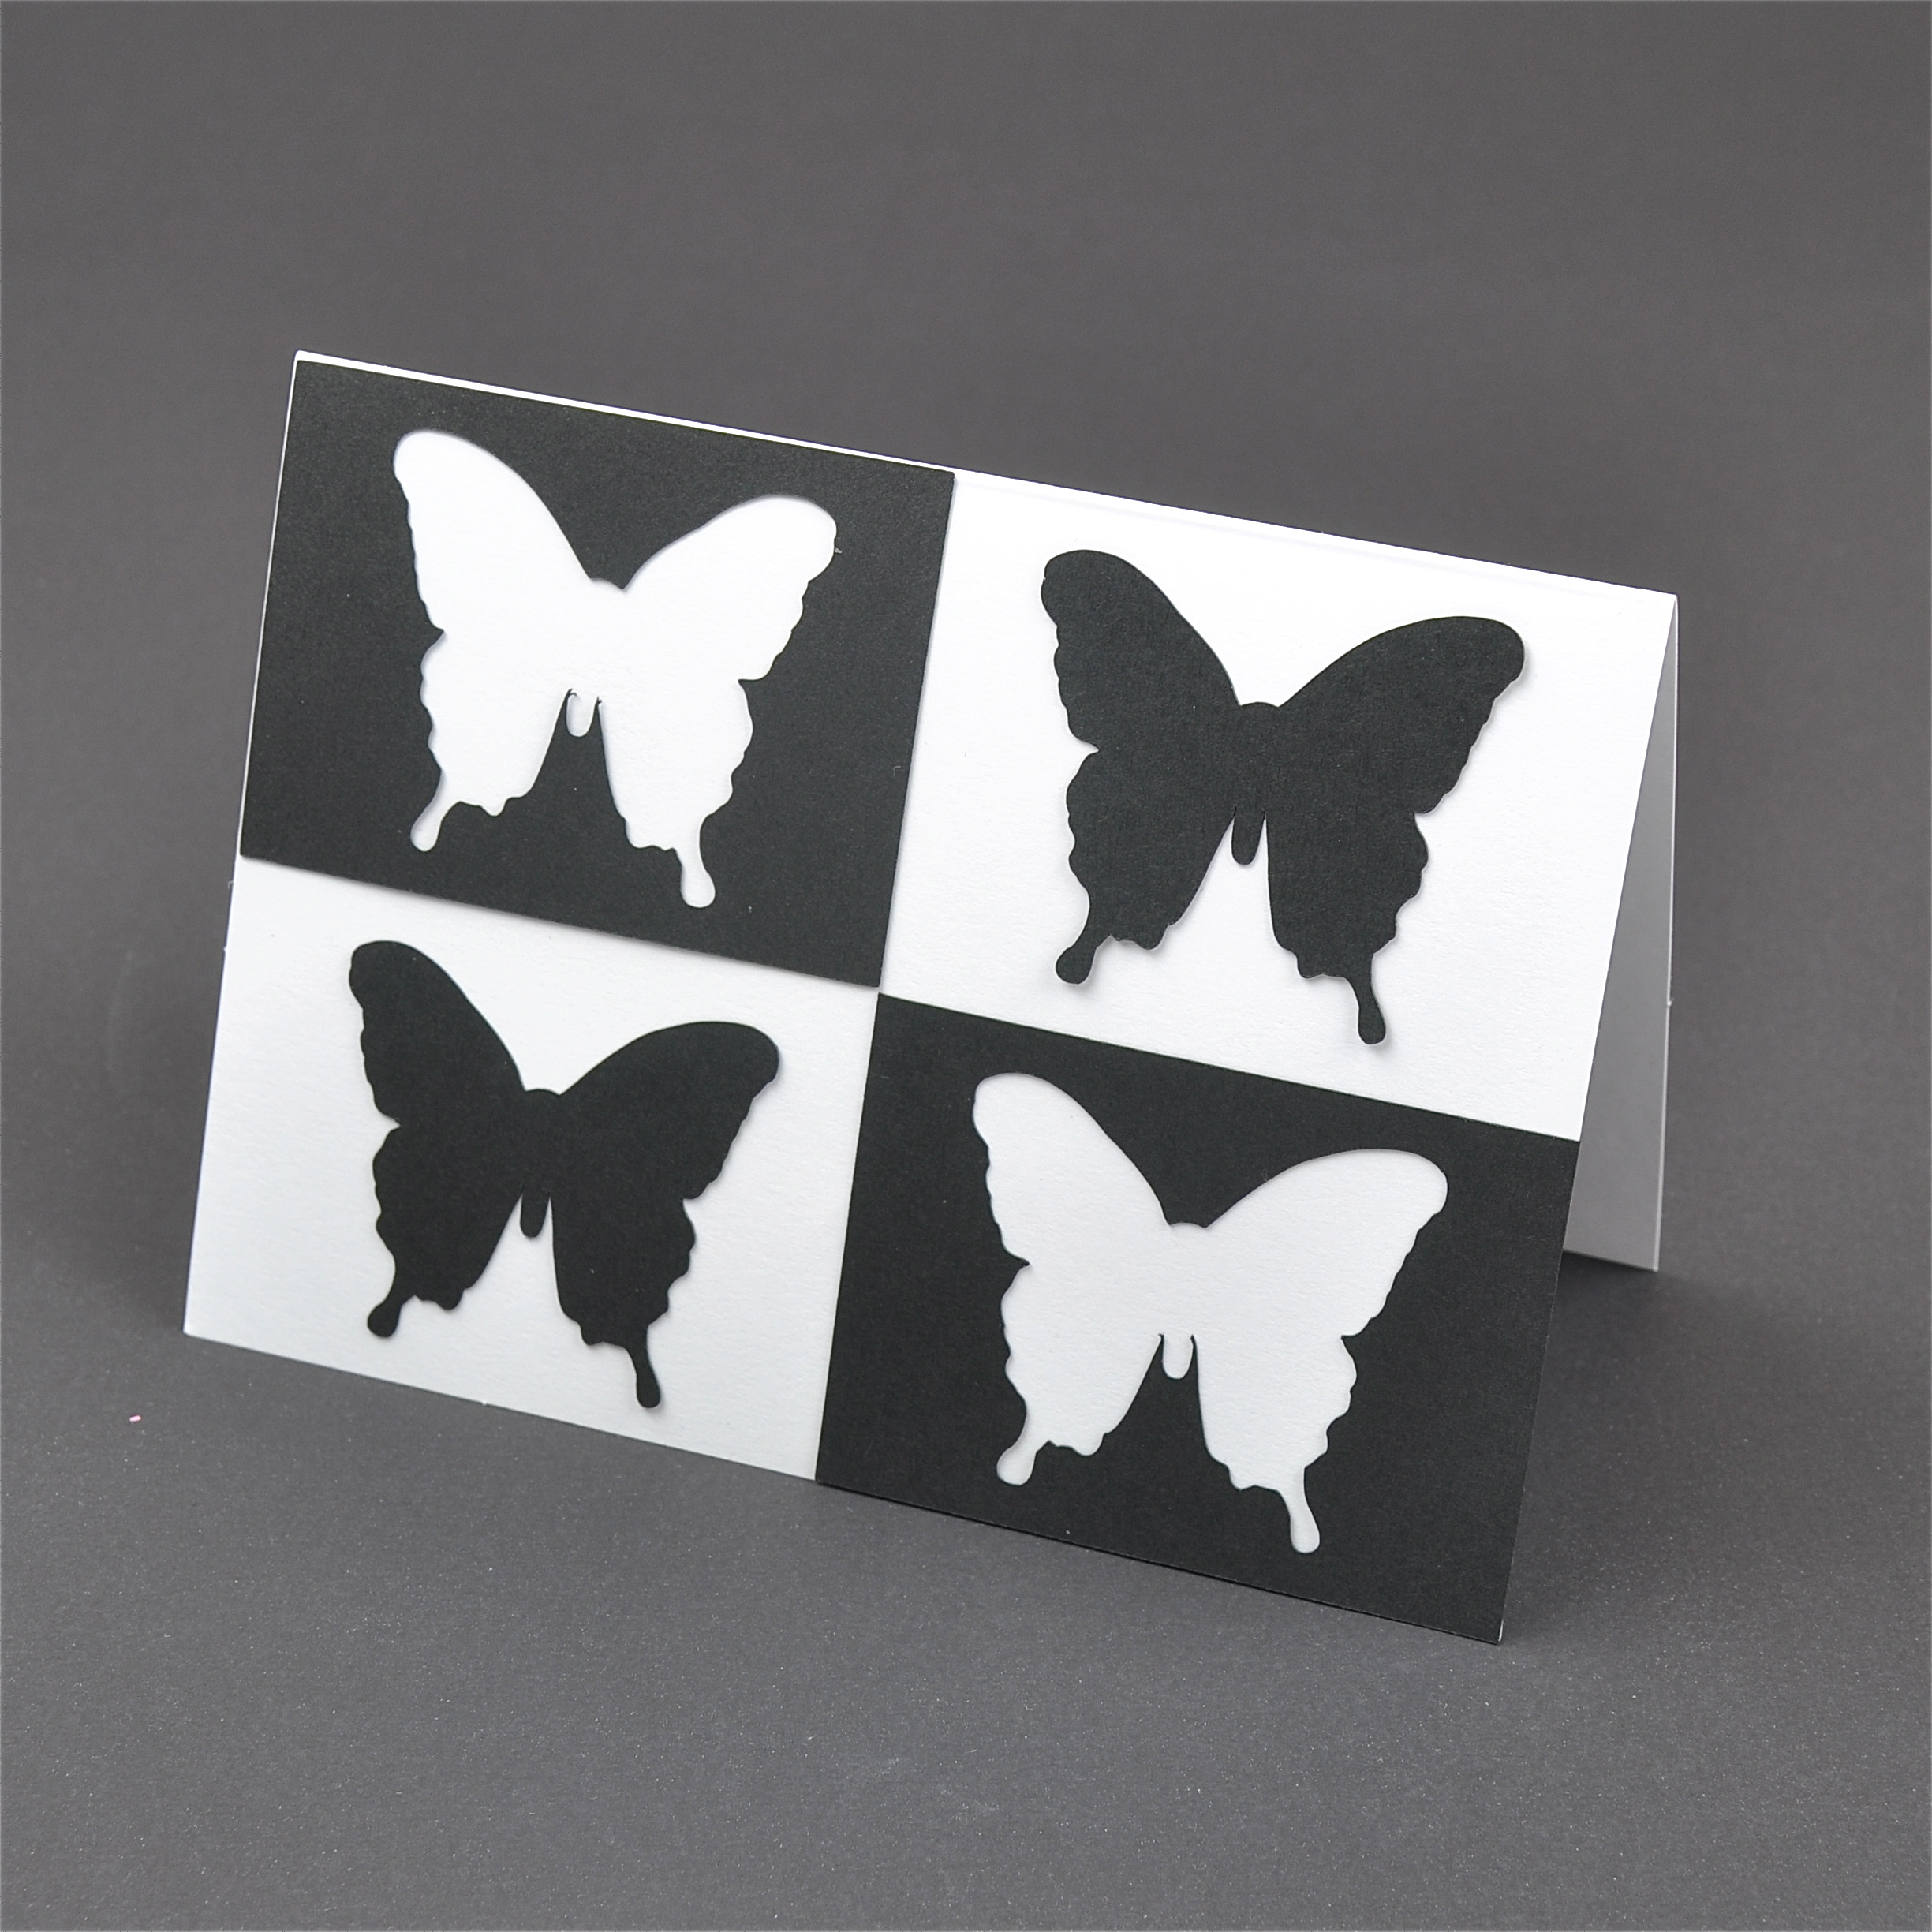
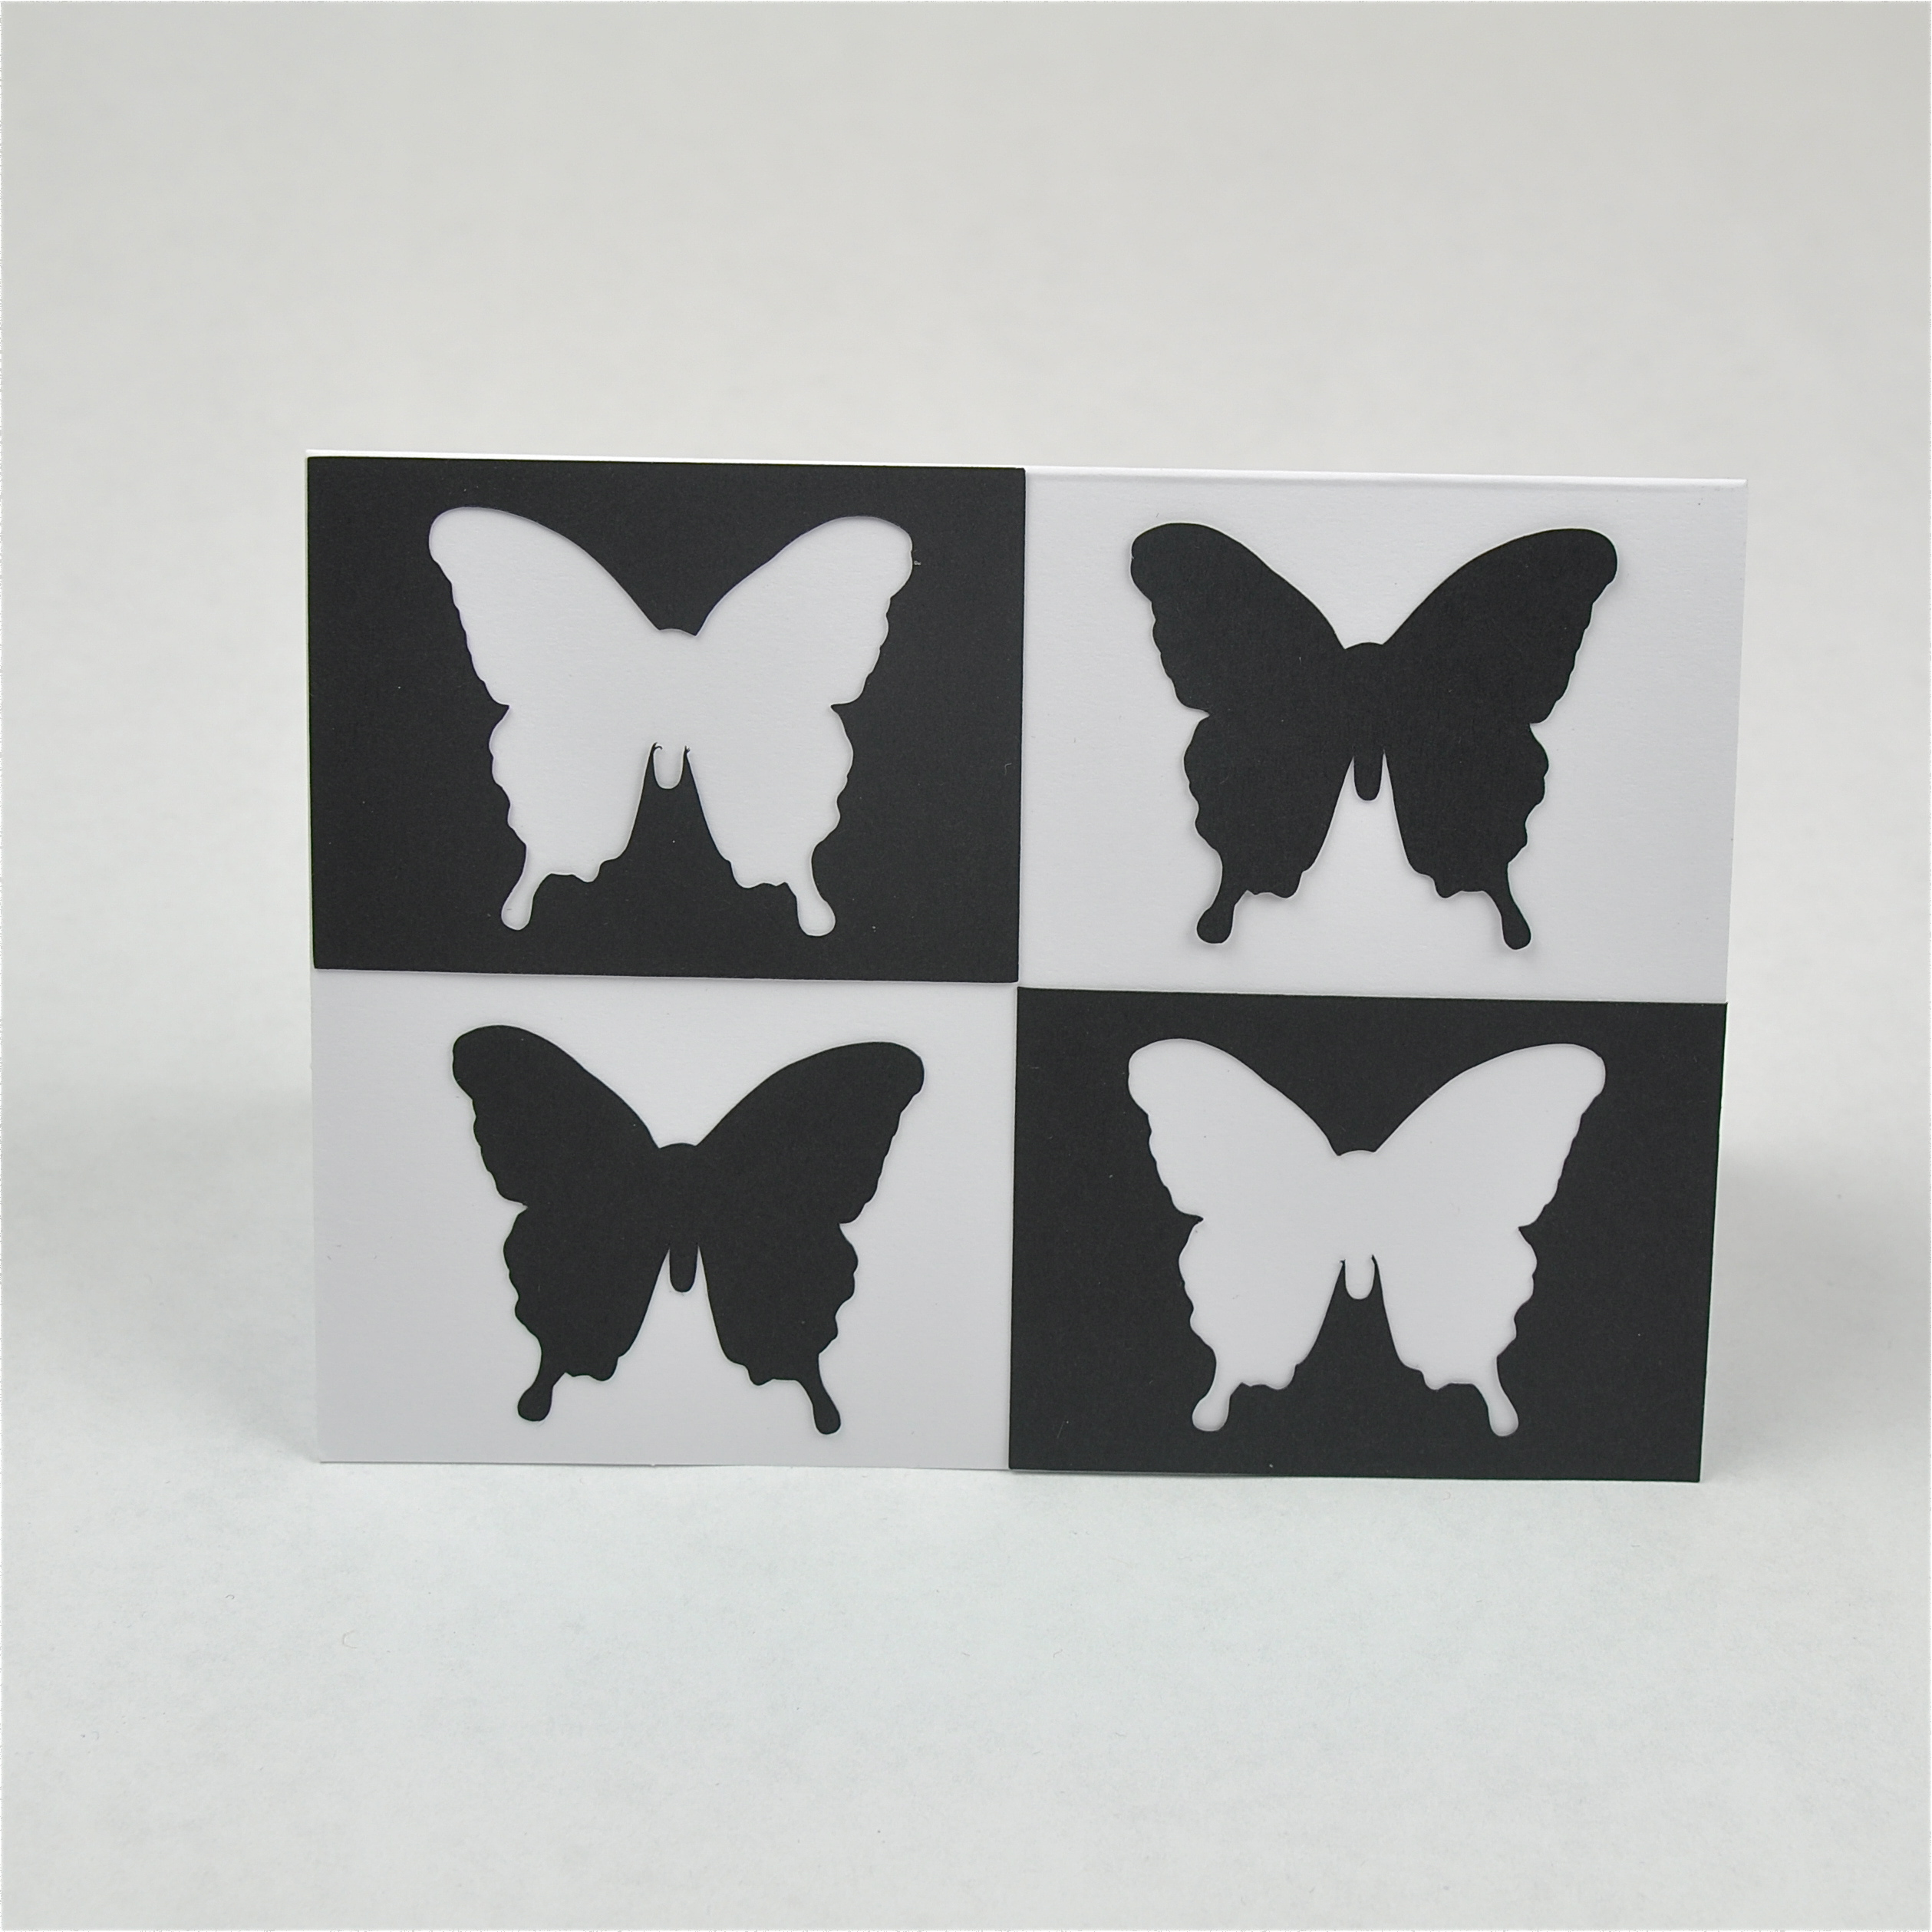
This is a really easy way to use silhouettes on a card.
Supplies:
Creating the Cutout:
Take all of your cutouts, your blank card and some type of adhesive. Take the rectangles with the middle cutout and glue them on in diagonal corners. The bottom right corner of the top one and top left corner of the bottom one should just touch. Now take the cutouts and paste them on in the opposite corners. Make sure to center them in their white rectangles.
Done. Told you this was easy :)
Supplies:
- Silhouette Cameo
- Black Paper
- White Card (Mine is 4 inches by 5.5 inches)
- Glue or Sticky Squares
Creating the Cutout:
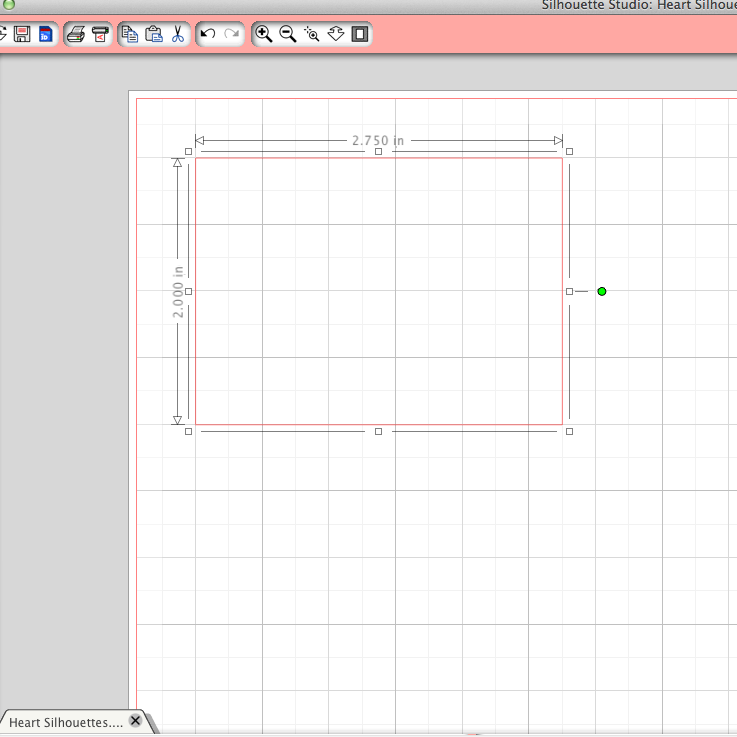
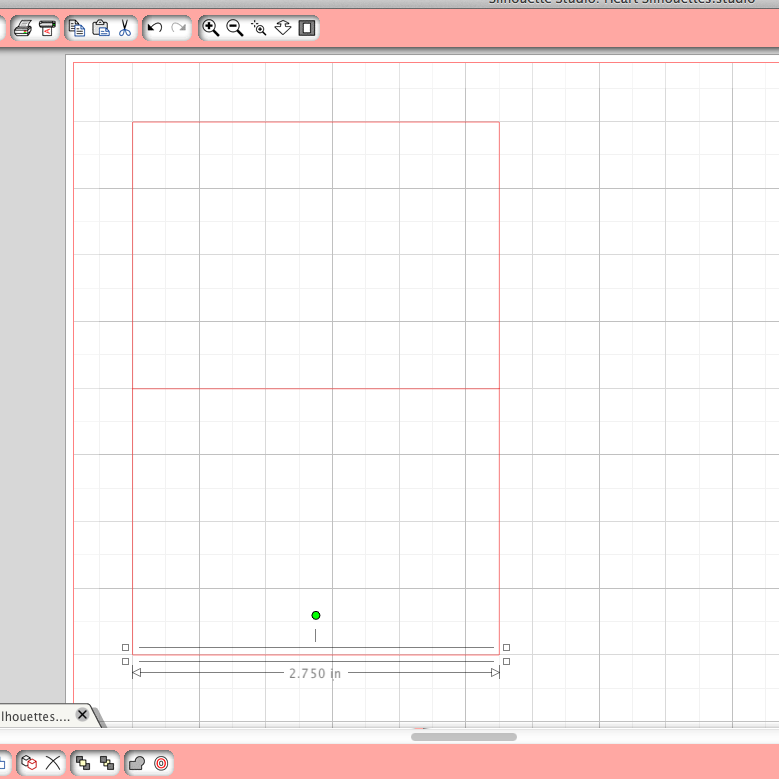
- Decide which way you are going to have the card. Mine is landscape so my dimensions for my rectangles are 2 inches by 2.75 inches each so together it is a large rectangle that is 2.75 inches wide by 4 inches long with a line dividing it in half. If you are creating a card that is landscape, your lengths should be half of the width (5.5 inches/2 =2.75 inches) and the total of the length (4 inches). If your card is portrait, your rectangle will be the same but the amounts will be different. The first length is half the width (4 inches/2 = 2 inches) and the total of the length (5.5 inches). Hope this all makes sense.
- I created one rectangle and then used the line feature and added three more lines to make up the whole of the rectangle.
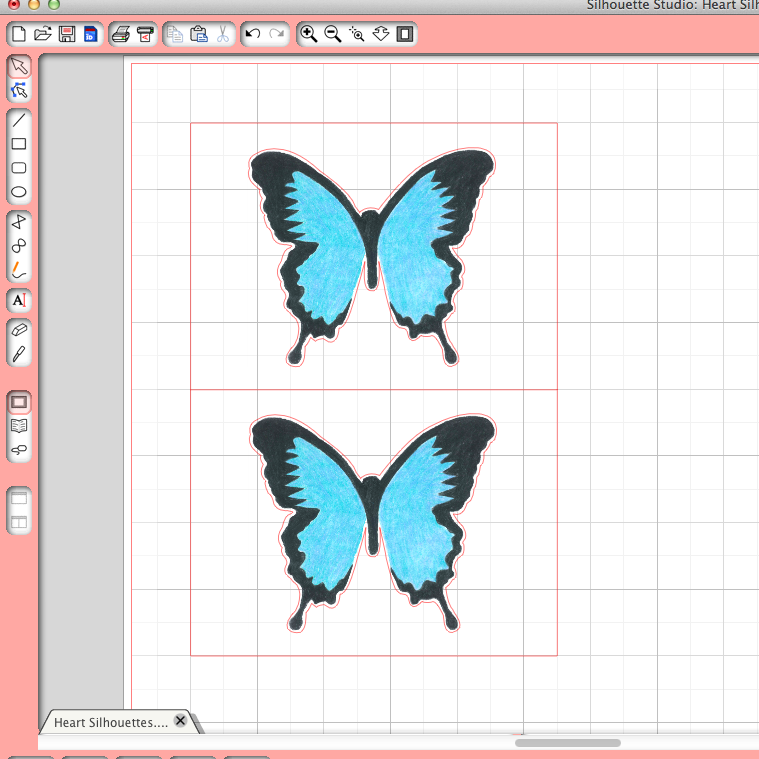
- Choose your Image and line it up in the center of one of your rectangles.
- To make sure the images are the same size, copy the first image when it is the size you want and line it up in the other rectangle.
- Send the the Silhouette cutter.
Take all of your cutouts, your blank card and some type of adhesive. Take the rectangles with the middle cutout and glue them on in diagonal corners. The bottom right corner of the top one and top left corner of the bottom one should just touch. Now take the cutouts and paste them on in the opposite corners. Make sure to center them in their white rectangles.
Done. Told you this was easy :)