Android RC Car


Hello and welcome to my second instructable, where we'll be modifying a cheap RC car to drive it with an Android smartphone over Bluetooth.
Actually, this was my school project at the Lycée Jules Fil , so I had to produce a complete write-up. Unfortunately, it is in French, but if you want a really in-depth description of the system, and you understand french, you can download it HERE .
I recommend that you read my first Instructable for a more detailed explanation on how the thing works.
The cost of following this instructable is something around 30~40$ if you already have the RC car.
Disclaimer : In this instructable, you will be using dangerous chemicals (Acetone and Ferric Chloride) and dangerous tools (drill, saw, soldering iron,etc...). I can't be held responsible if you harm yourself following this guide. If you follow this instructable carefully, and protect yourself you won't get hurt.
So, the RC car will be driven using the accelerometer sensor (like in iPhone/Android racing games) over bluetooth. For that, we'll be using an android app and arduino library named Amarino 2.0 . The system works a little bit like that :
Accelerometer
|
| I²C
\ /
Android Smartphone
|
| Bluetooth
\ /
Arduino
|
| PWM / simple logic
\ /
H-Bridge
|
|
\ /
Rear motor + Dir motor
Dont forget : If you liked my Instructable, please rate it , and let me know in the comments what you think about this Instructable, and what I could do to make it better ! Thanks !
Below is a little video demo :
Required Stuff


Required tools:
- solder iron with fine tip
- tiny solder wire
- good magnifying glass
- "Third hand" helping tool
- small drill press with small bits (~0.02 inch)
- good soldering skills
- hacksaw (used for cutting and shaping the pcb)
- 400 grit sandpaper (otionnal, used for smoothing rough edges after cutting the pcb)
- latex gloves
- Laser Printer (for the Toner Transfer method )
- iron (used to transfer the toner on the pcb)
Required chemicals:
- copper etchant (I use Ferric Chloride)
- Acetone
Required Parts:
- Arduino
- cheap RC car
- Android smartphone
- Bluetooth serial adapter
- 10k and 20 kOhm resistors
- 9V battery or LiPoly 2S (7.4V) battery or 7~8v RC battery pack (Using a rechargeable battery is MUCH better)
- small wires (IDE cable style, see the photo)
- 28 break away headers
- L293E H-Bridge (or any 16-pin L293 variant)
- 16-pin DIP socket
- 9v battery clip
- blank PCB (Printed Circuit Board)
- magazine paper (for the Toner Transfer)
Required Software:
- Arduino IDE : get it here .
- Eagle CAD freeware edition : get it here .
Now that you have gathered all this stuff, let's go to step 2.
Print the Arduino Shield


I've designed a simple Arduino shield to hold the h-bridge and the voltage divider (needed by the bluetooth module).
- download the Eagle CAD project (in zip format) HERE .
- unzip it in your Eagle project directory (located in "My Documents" for winXP or in "Documents" for win7 or in your home directory if you're on linux)
- open Eagle CAD, load the project and open the board (see the screenshots below)
- disable all layers, the enable only the "Top", "Bottom", "Pads" and "Vias" layers.
- you should get something like the third screenshot
- click the print button
- check the "Black" and "Mirror" checkboxes, align the print to the center, and pay attention to the scale factor : it must be set to 1 ! If it's not, you will fail the pcb.
- take a magazine page (I use "Speakeasy magazine", it works really well), load it in your laser printer and print by clicking the "ok" button
- cut the shape of the shield with scissors
- you should get something like the sixth image.
Now head over to step 3: preparing the PCB...
Preparing the PCB


Now it's time to get your hands dirty !
- take the printed design, lay it down (facing the pcb's copper side) on the blank pcb.
- now draw with a pencil/knife around the edges of the design on the pcb.
- cut the pcb into shape with the hacksaw
- after cutting, the edges are a bit rough. Use the sandpaper to clean and smooth them.
- If you've got presensibilized PCB, like me, peel of the protective plastic, and wipe the uv-sensitive layer with acetone.
- Voila ! You should get something like the last picture.
Transferring the Toner


- Empty the water from the iron, and power it on at the highest temperature.
- Now, lay down the design, facing down, on the blank pcb (pic. 1)
- wrap the pcb in a paper towel (pic. 2)
- put it against the iron for ~30 seconds, make sure the design doesn't slip on the pcb. (pic. 3)
- lie it flat on a table, and press the iron against it for ~1min (pic. 4)
- rub gently the pcb with the edge of the iron for ~30secs (pic. 5)
- fill the plastic container with water and drop in the (hot) pcb. (pic. 6)
- let the pcb in the container and head to step 5
Etching the Pcb


- Very important : put on your latex gloves to avoid skin injury.
- boil water in a small pot, fill the small cup with Ferric Chloride, and put the cup in the pot for ~3min (pic. 1)
- while the Ferric Chloride is heating, take the pcb and scrub off the magazine paper. Watch out for shorts. (pic. 2)
- you should get something like pic. 3 (or better !).
- now empty the water from the container and pour the Heated ferric chloride in it. (pic. 4)
- close the lid (if any), and tilt the container back and forth for 1min.
- open the lid, get the sponge, soak it with Ferric chloride and rub gently (using the soft side) on the pcb. This will make the board etch much faster.
- when you see no more copper on the board, rinse it in water, and you should get something like the last picture.
- pour the used ferric chloride in the glass jar. DON'T pour it in the sink !
- clean up everything, take off your gloves, and head to step six.
Drilling the Pcb


- Fire up the drill press
- choose the right drill bit
- drill down the holes
- You should get something like pic. 3
- That's it ! Head to step 7
- choose the right drill bit
- drill down the holes
- You should get something like pic. 3
- That's it ! Head to step 7
Soldering (part. 1)


- Solder the IC socket (pic. 2)
- solder the 10k and 20k resistors (pic. 3)
- solder the break away headers
- you should get something like pic. 4 and 5.
- solder the 10k and 20k resistors (pic. 3)
- solder the break away headers
- you should get something like pic. 4 and 5.
Soldering (part. 2)
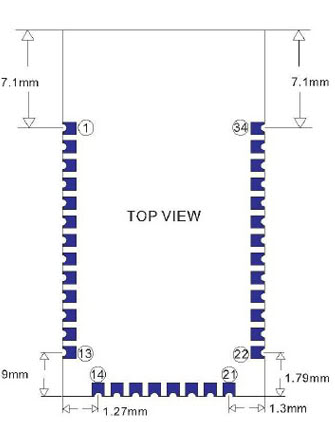
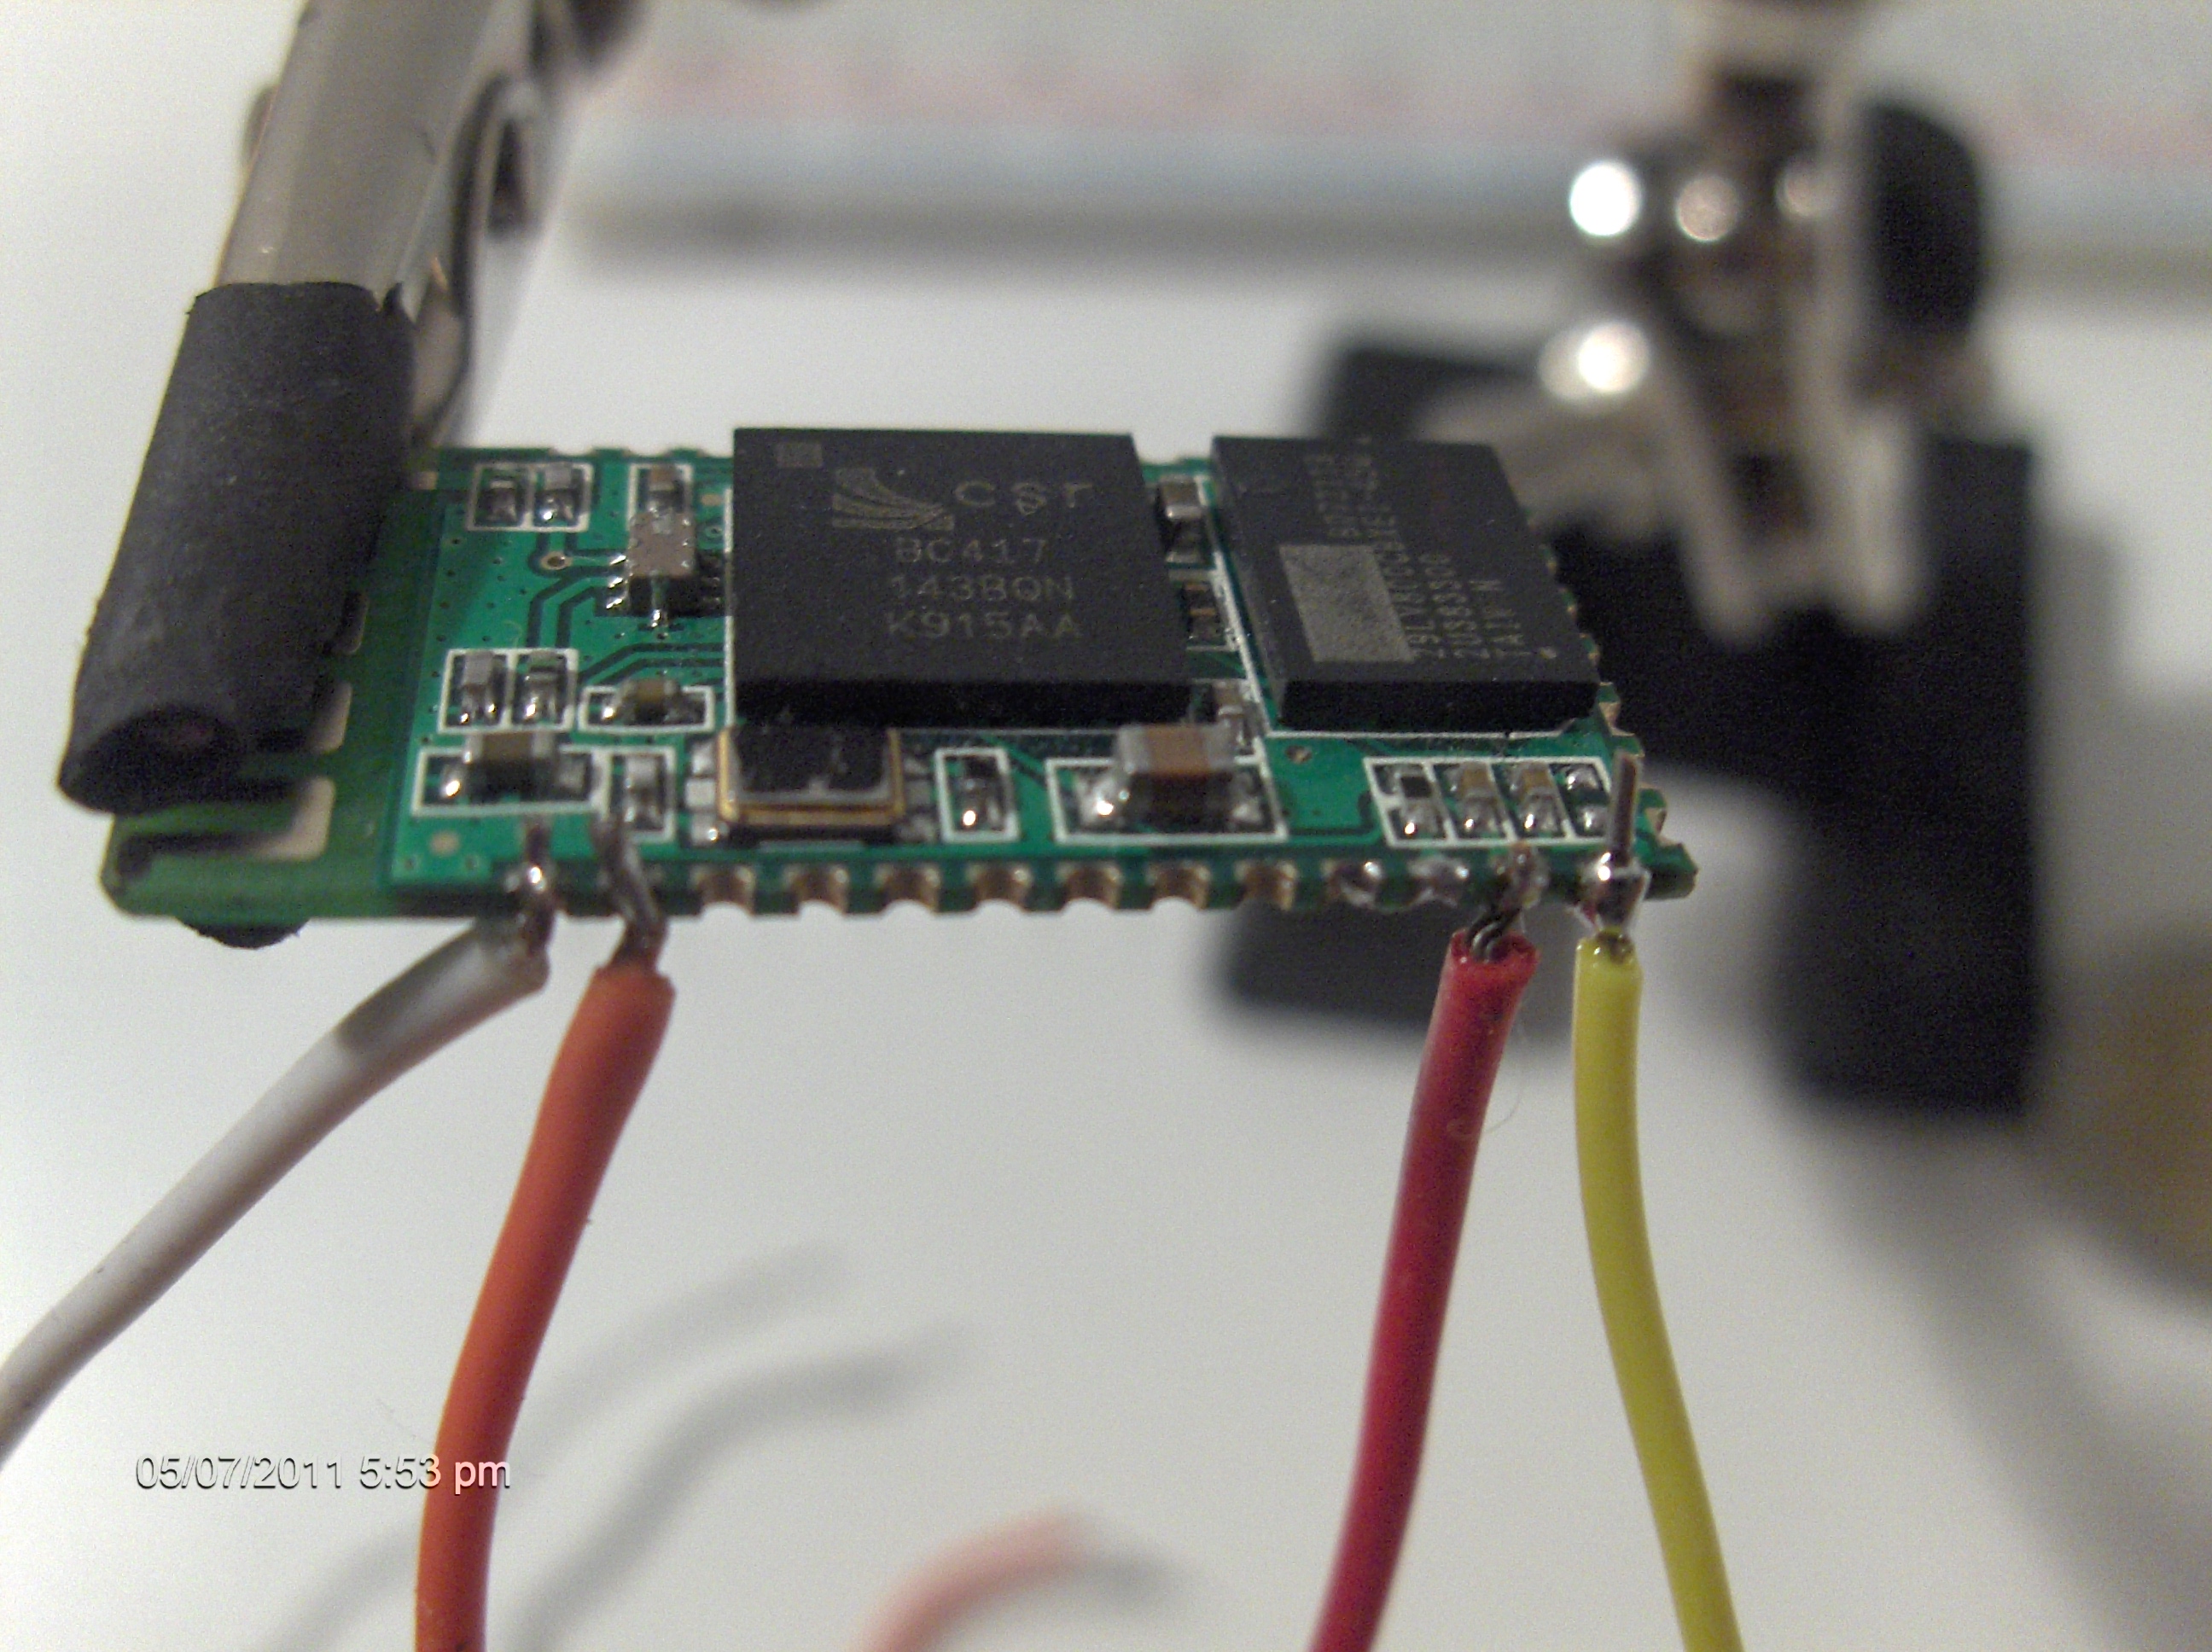
In this step, we are going to solder the bluetooth serial module :
- Solder the yellow wire to the GND pin
- solder the red wire to the 3.3v pin
- solder the orange wire to the RX pin
- and finally, the white wire to the TX pin
- Solder the yellow wire to the GND pin
- solder the red wire to the 3.3v pin
- solder the orange wire to the RX pin
- and finally, the white wire to the TX pin
Soldering (part. 3)


In this step, we're going to assemble the two parts : the bluetooth module and the arduino shield.
- Solder the white wire to the pad labeled RX on the shield. (pic. 1)
- solder the orange wire to the pad labeled TX on the shield (pic. 1)
- solder the yellow wire to the the shield's ground using a connector (the pin will have to be disconnected when programming the Arduino) (Pic.2,3,4)
- solder the red wire to the shield's 3.3v pin (pic. 5)
Soldering (part. 4)


- Take your RC car, open it up to reveal the circuit board and the motors (pic. 1)
- Remove the old circuit board and solder some wires to the motor leads (pic. 2)
- take the 9v battery clip and solder the + to the pad labeled 9v (on the top-right of the IC)
- solder the 9v pad to the shield's Vin. (see image 3's annotations)
- solder the two main motor leads to the two pads labeled "Motor"
- solder the direction motor leads to the two pads labeled "Dir"
- solder the pad labeled GND to the shield's ground. (see pic. 3's annotations)
- solder the - of the battery clip to the power switch, then to the second pad labeled GND.
- insert the H-Bridge in its socket
- head to step 11.
Software Setup
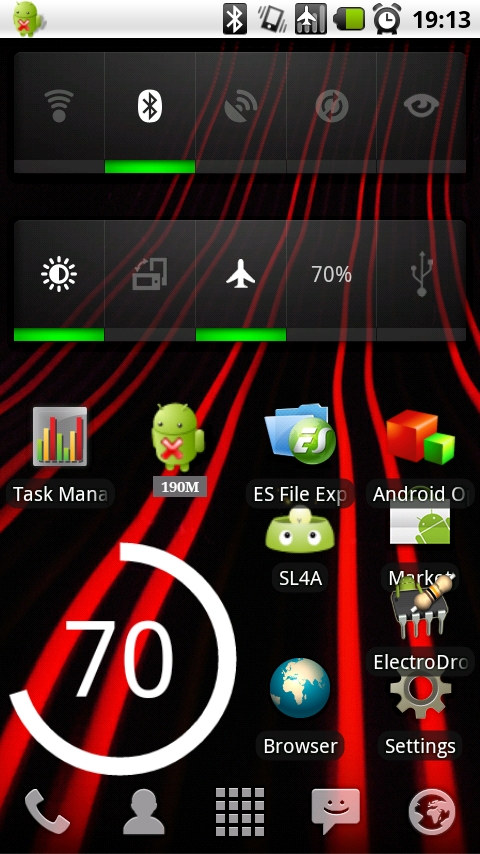
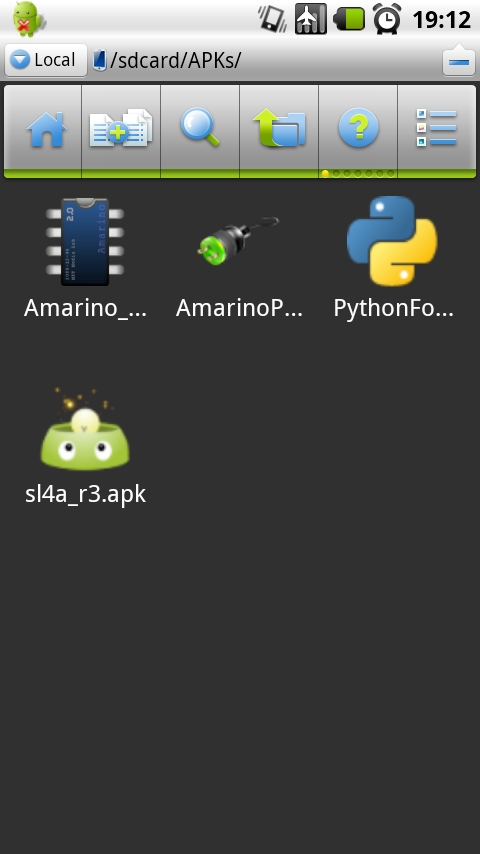
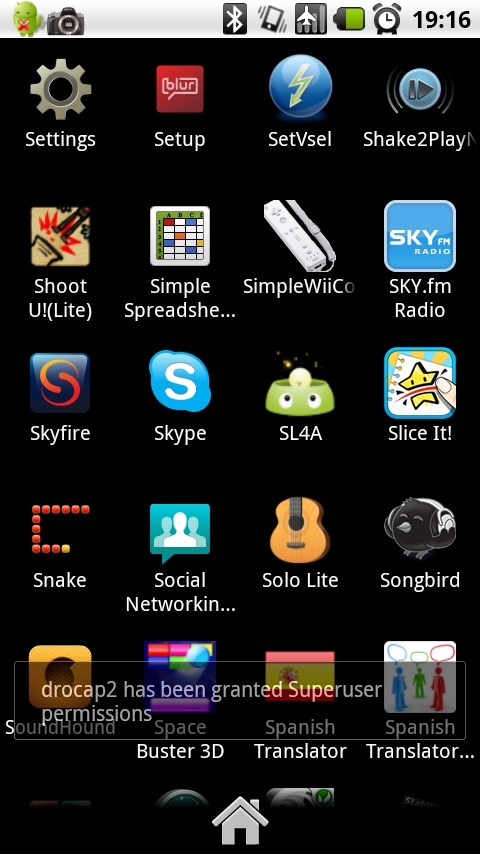
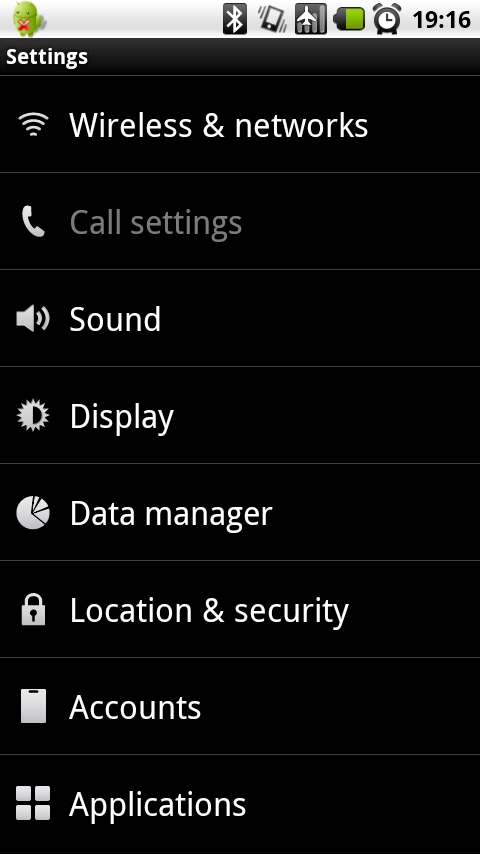
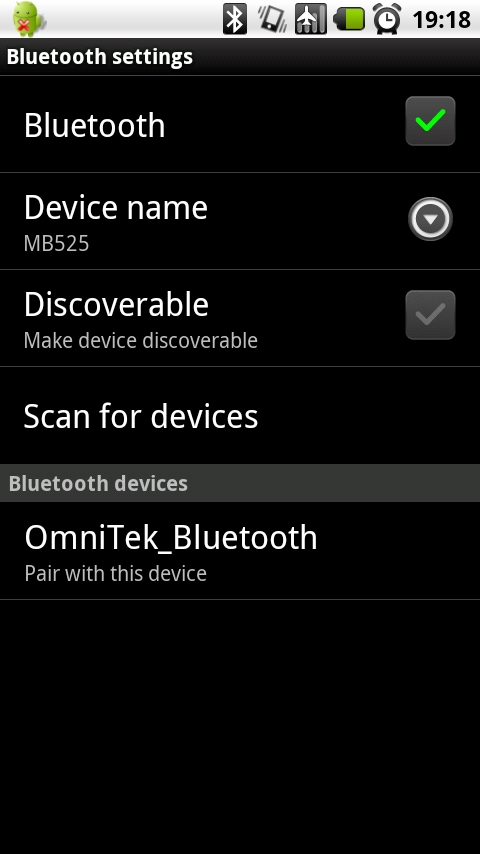
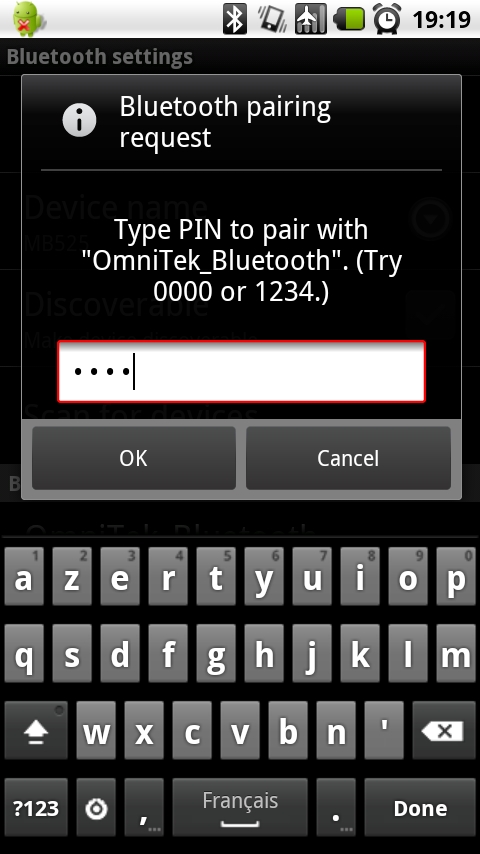
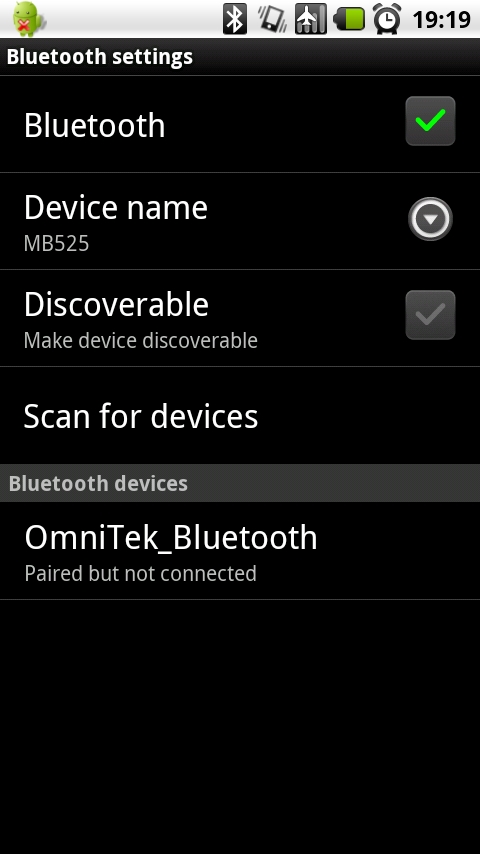
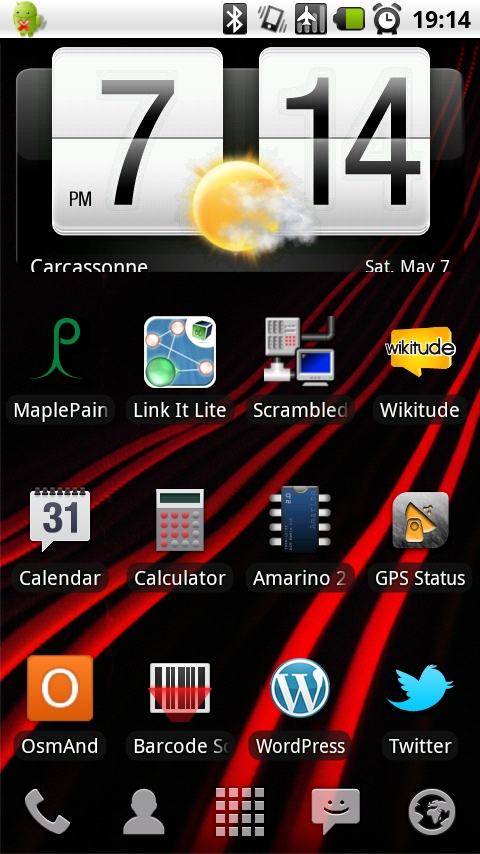
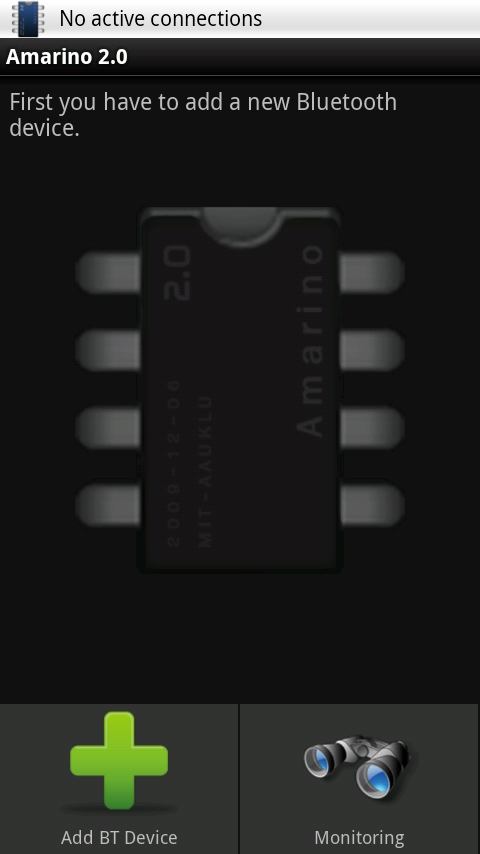
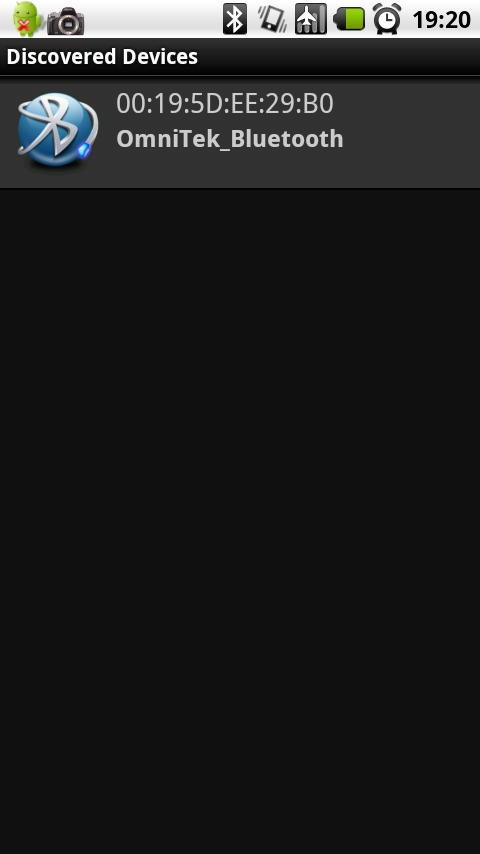


Now that we've done the physical setup, it's time to work on the software side.
I've made some screen captures to help you out.
- Take your Android phone
- Install ES file explorer from the android market (any other file browser will do)
- Download the Amarino application
- Download the Amarino plugins
- Put those two files on your smartphone's SD/microSD card.
- Install Amarino and Amarino plugins (pic.2)
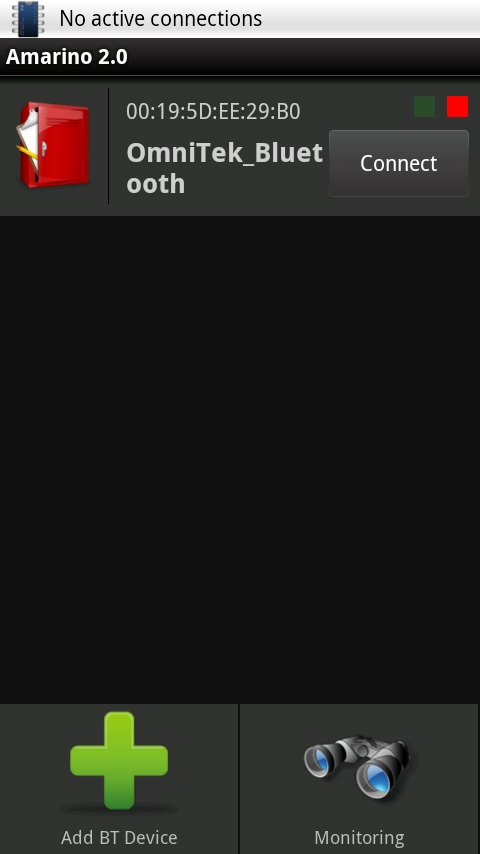
- Pair your bluetooth module (pincode is 1234) (pics 3,4,5,6, 7)
- Open the Amarino application (pic. 8)
- Add the newly paired device (pic. 9 and 10)
- Dont connect yet. Add an accelerometer event by clicking in the red box. (pic. 11). You should get something like pic. 12
- You're done with the android-side setup. Now onto the Arduino IDE :
- Download the Amarino library:
Arduino Library(updated)
Arduino Library(old)
- Extract it in your libraries folder : arduino_install_dir/libraries/extract_meetandroid.zip_here
- Restart the Arduino IDE
- If everything went well, you can find the library under "Sketch->Import library"
- Now, download the Arduino sketch HERE .
- unzip it and open it in the Arduino IDE
- unplug the bluetooth module connector (See last picture. If you don't unplug, the code upload will fail !)
- connect your arduino with your computer with an usb cable
- upload the sketch to the arduino
- disconnect the usb cable
- plug back in the bluetooth connector.
- put your RC car back together
Making the Car Move !

- Open the amarino app
- power on your rc car
- click the "connect" button in the amarino app
- Your car should now be moving !
Troubleshooting:
- If you have reset issues, make sure there are no electrical shorts. Changing the 9v battery to a rechargeable type (NiCad, LiPoly, etc...) can also help : Sometimes, the car drains more amps than the 9v battery allows (~150mA), this causes a voltage drop and the Arduino resets, making the car go crazy and unresponsive.
- If your car goes backwards when you tilt the phone forward, invert the wires going to the main motor (eg. the red wire to the minus and the black to the plus).
- If your car turns left instead of right or right instead of left, invert the wires going to the direction motor.
You should get something like in the video. Thanks for following this instructable !