Ancient Bladesaw - 3d Printed - Legend of Zelda: BotW
by PowerUpProps in Craft > Costumes & Cosplay
7442 Views, 59 Favorites, 0 Comments
Ancient Bladesaw - 3d Printed - Legend of Zelda: BotW
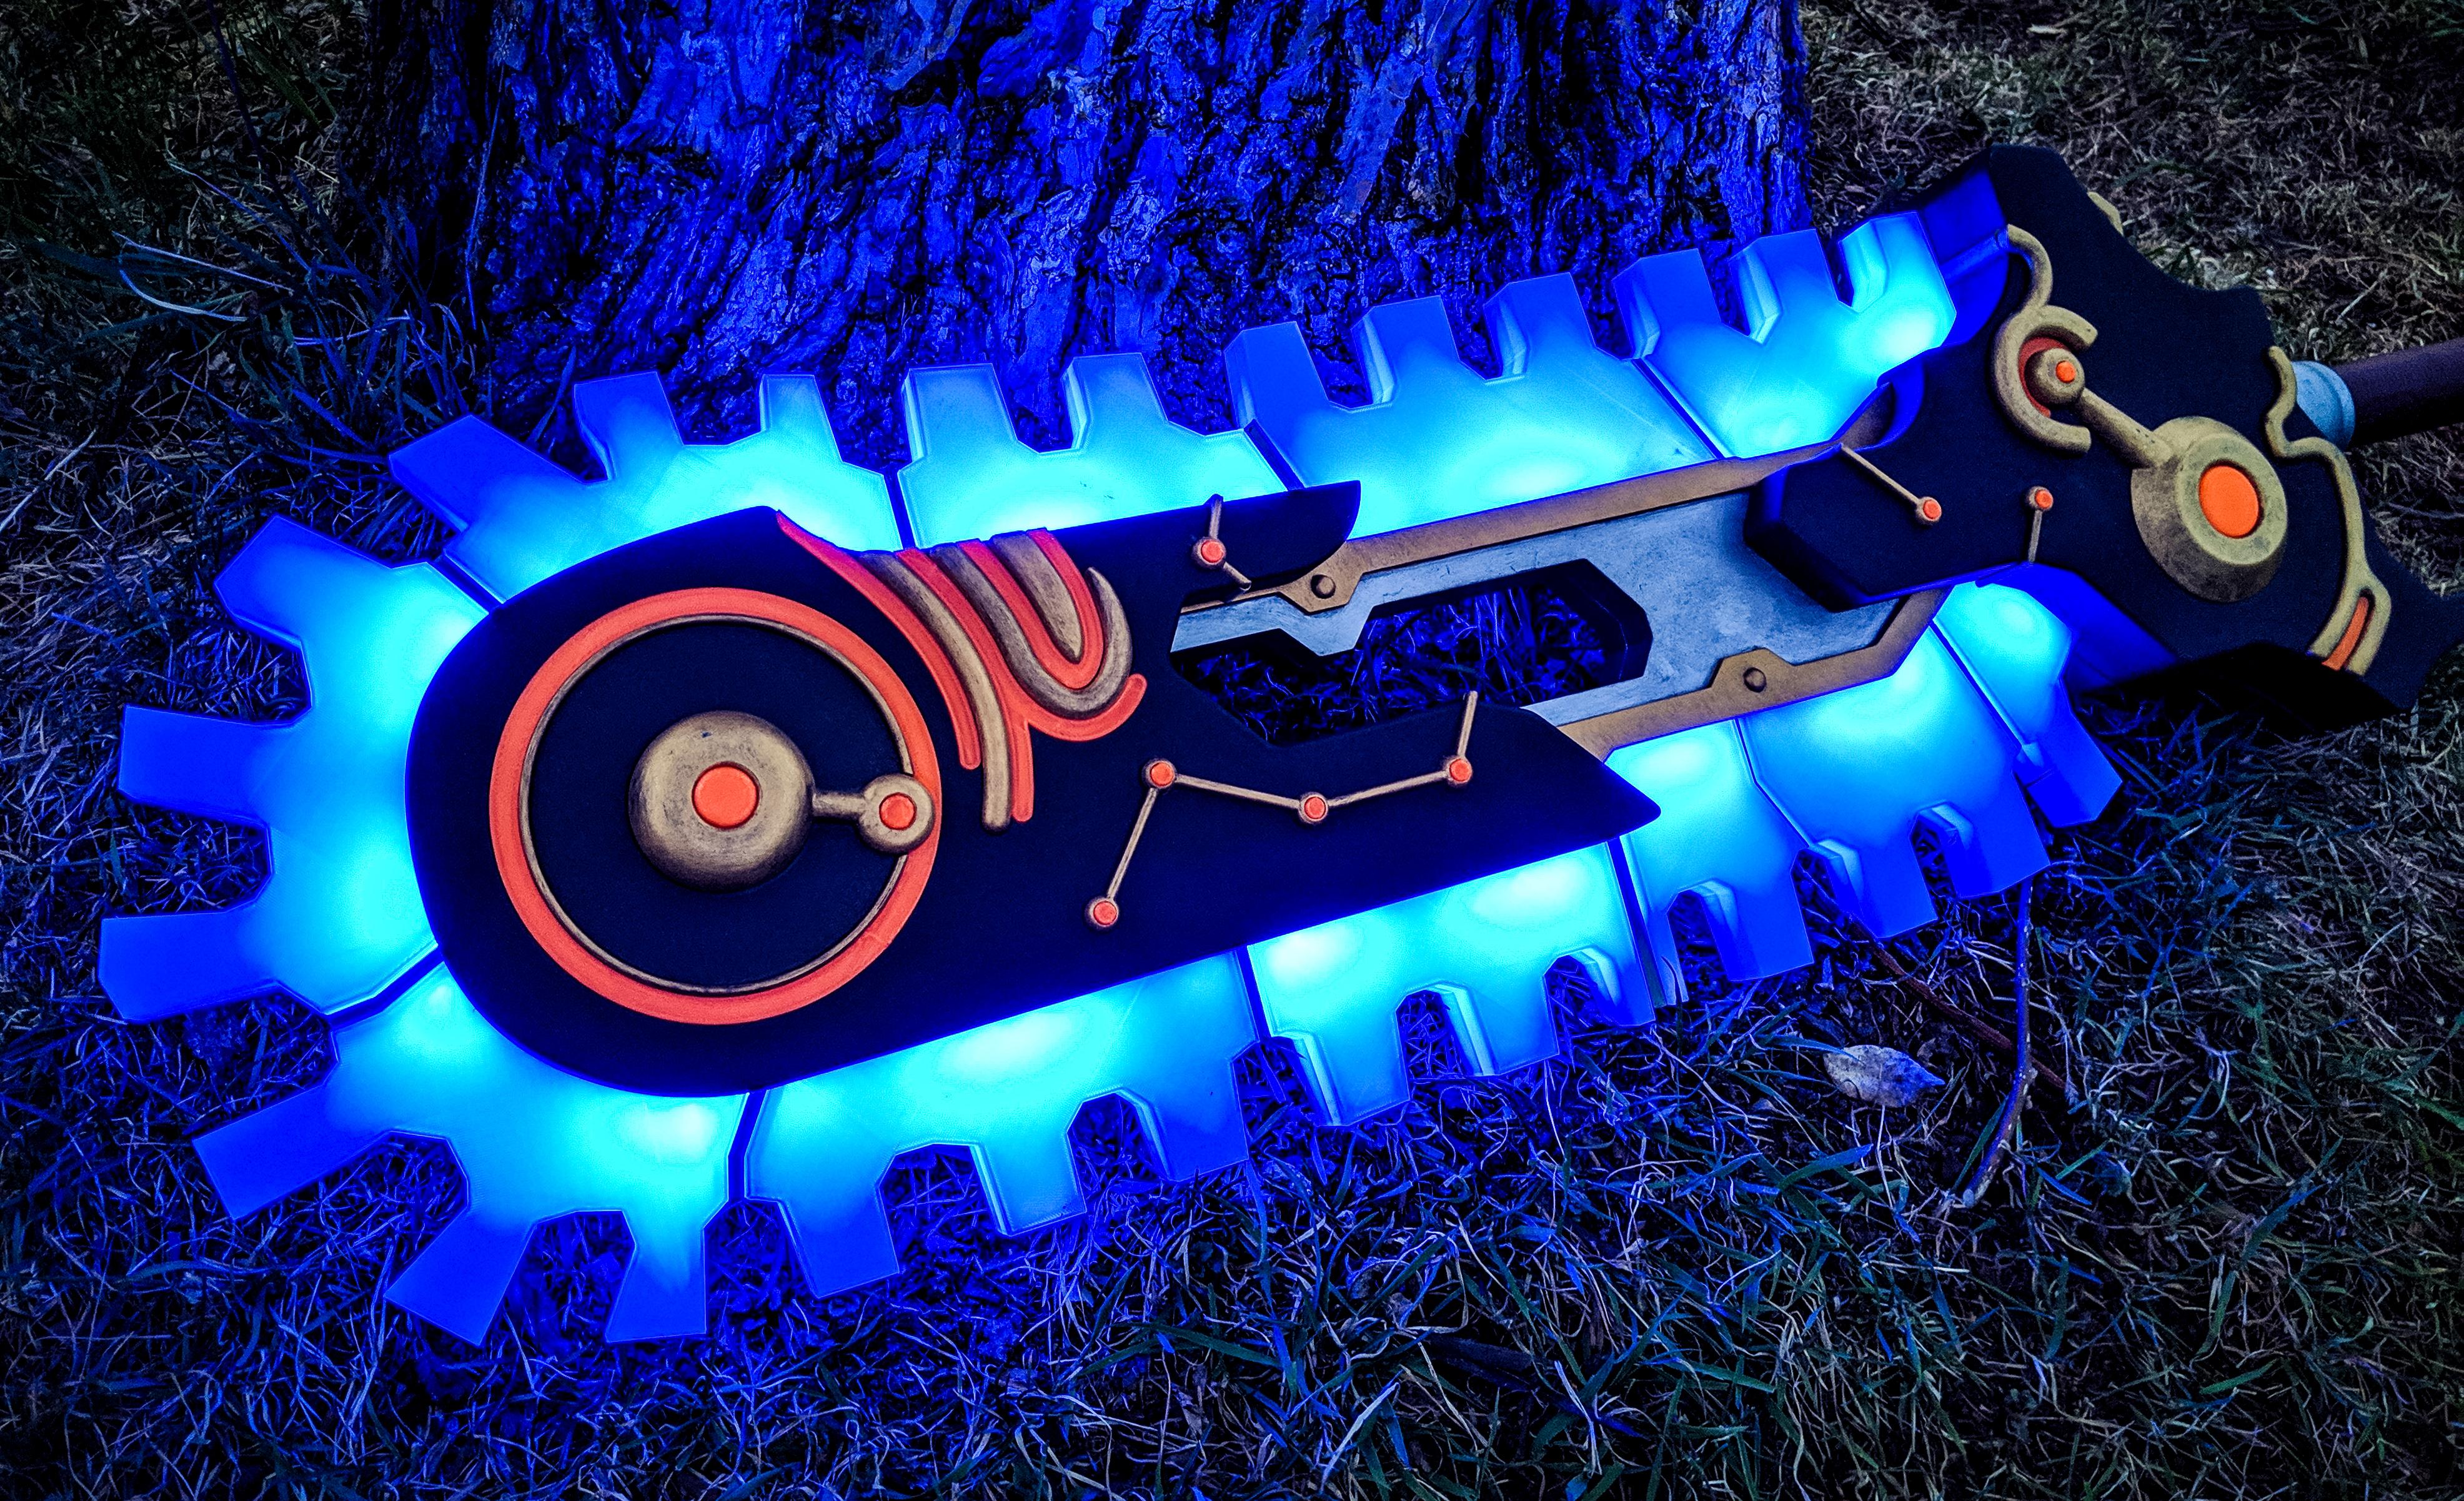
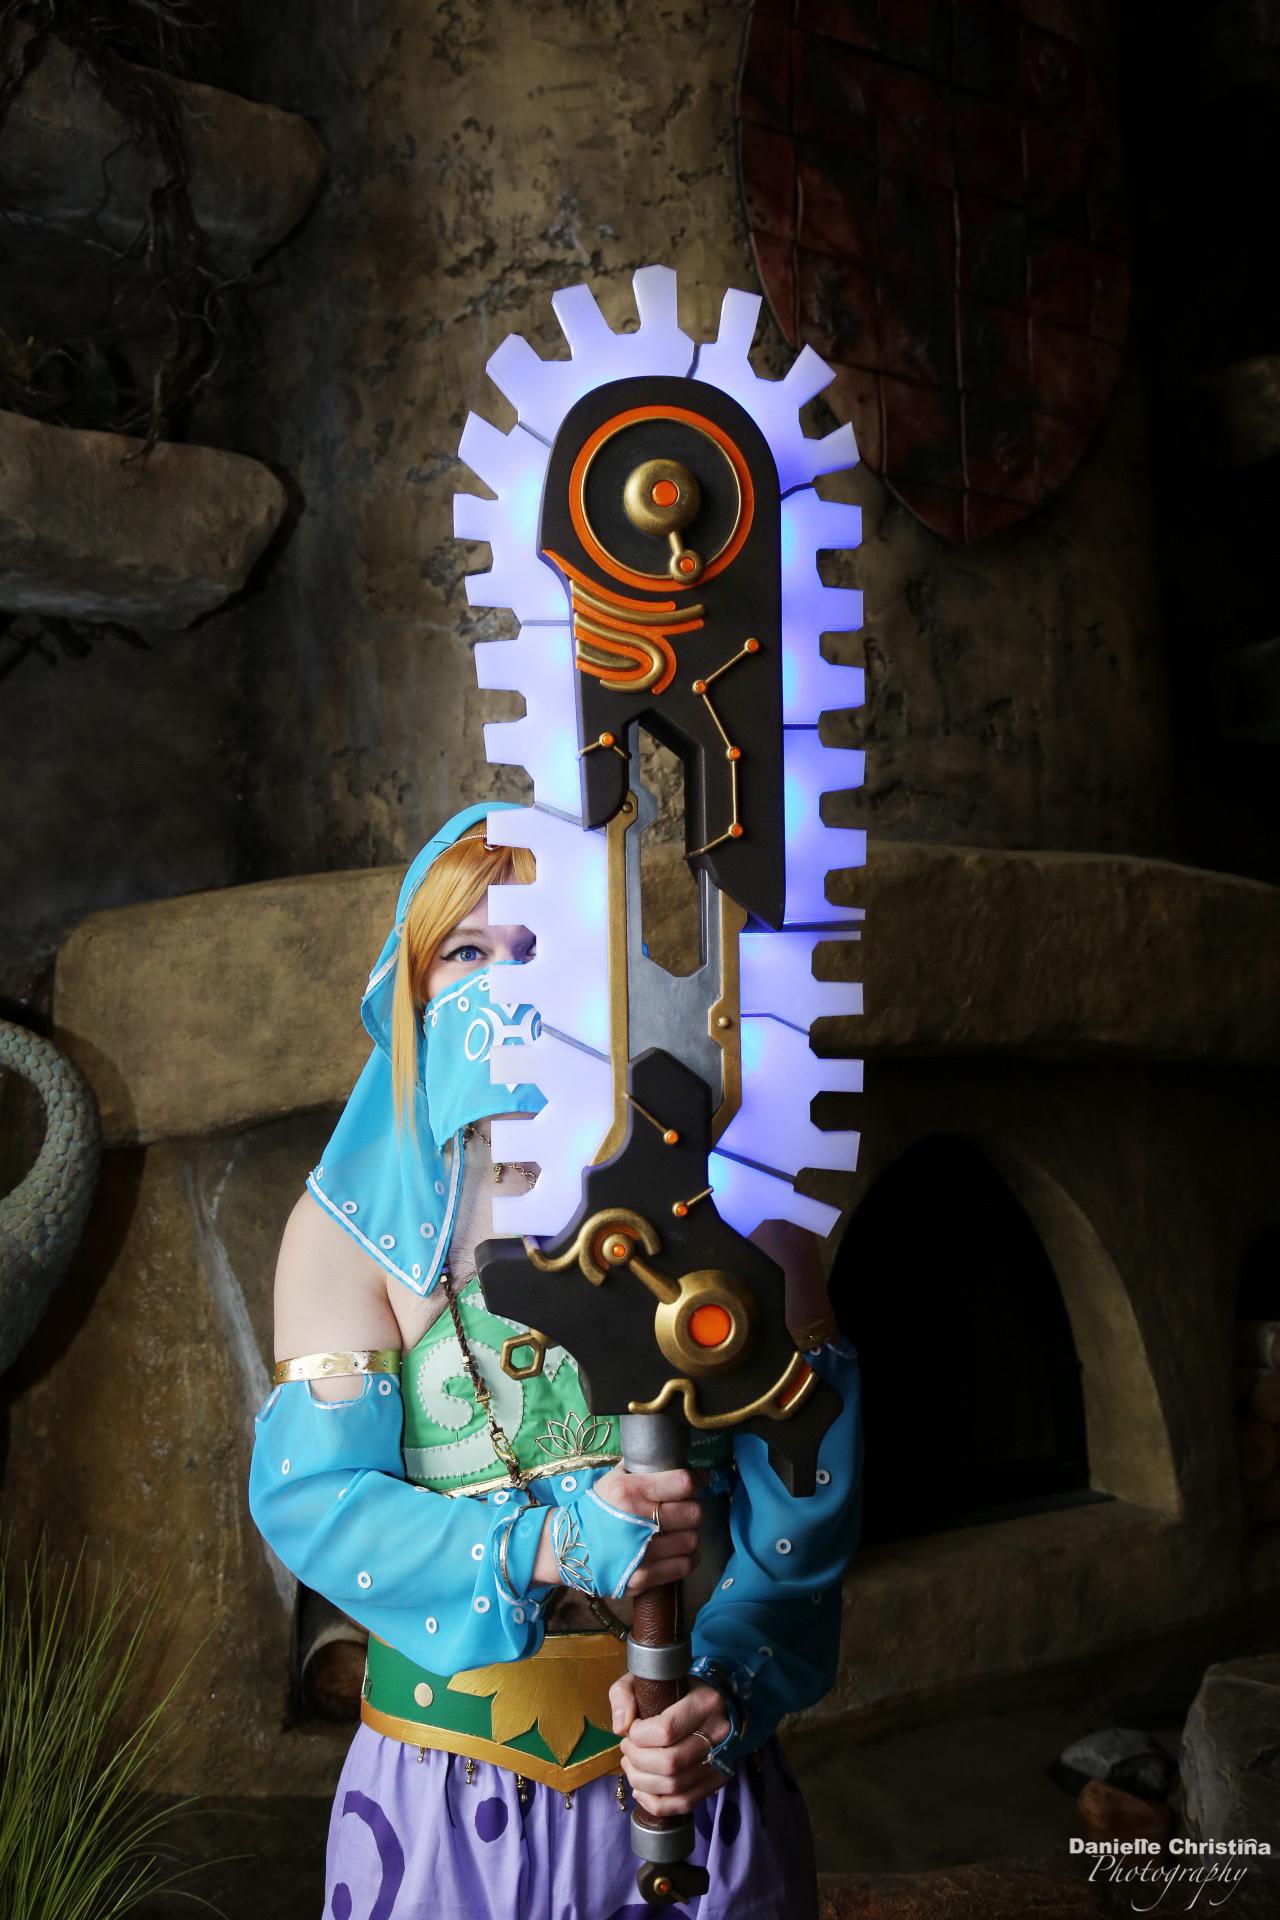
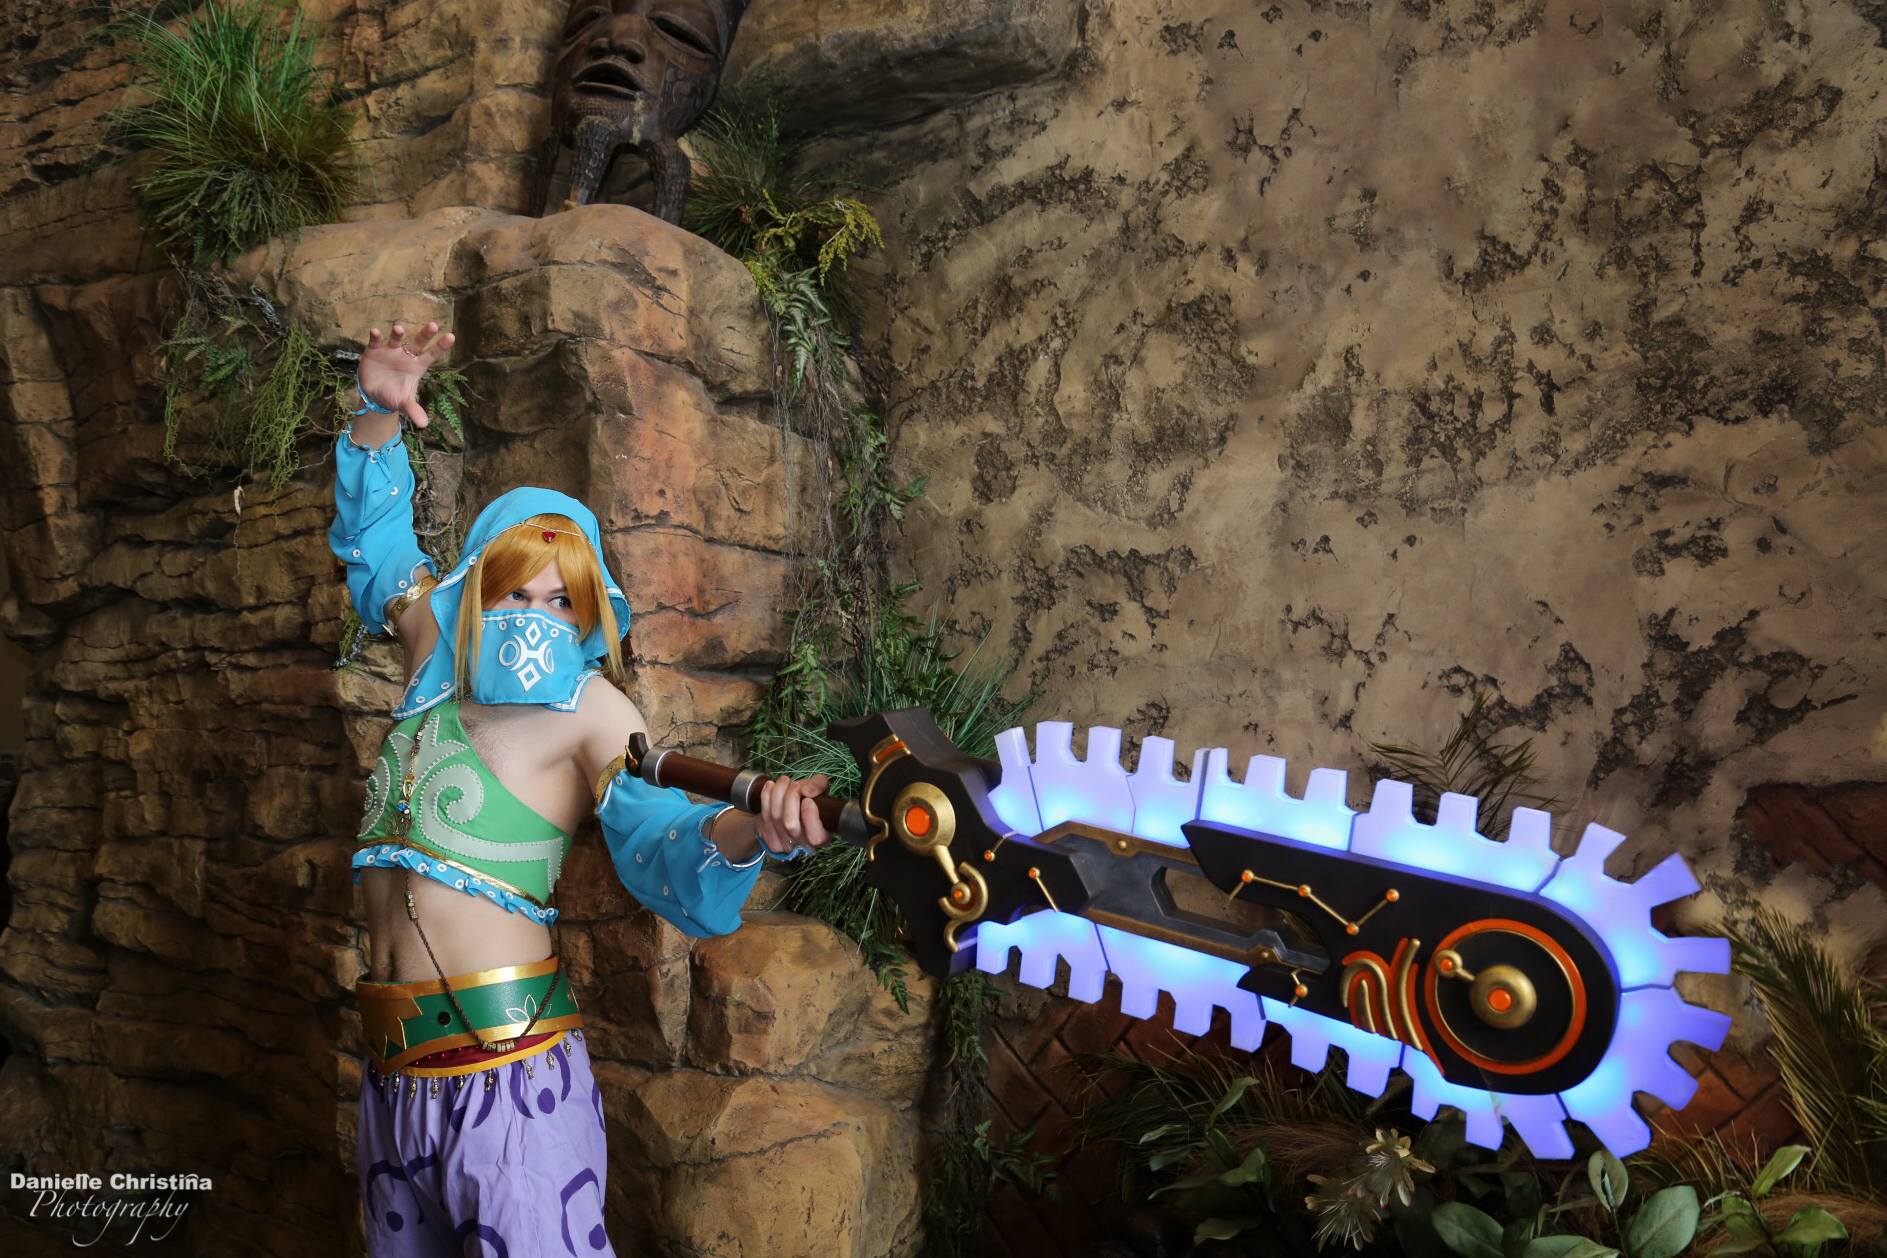
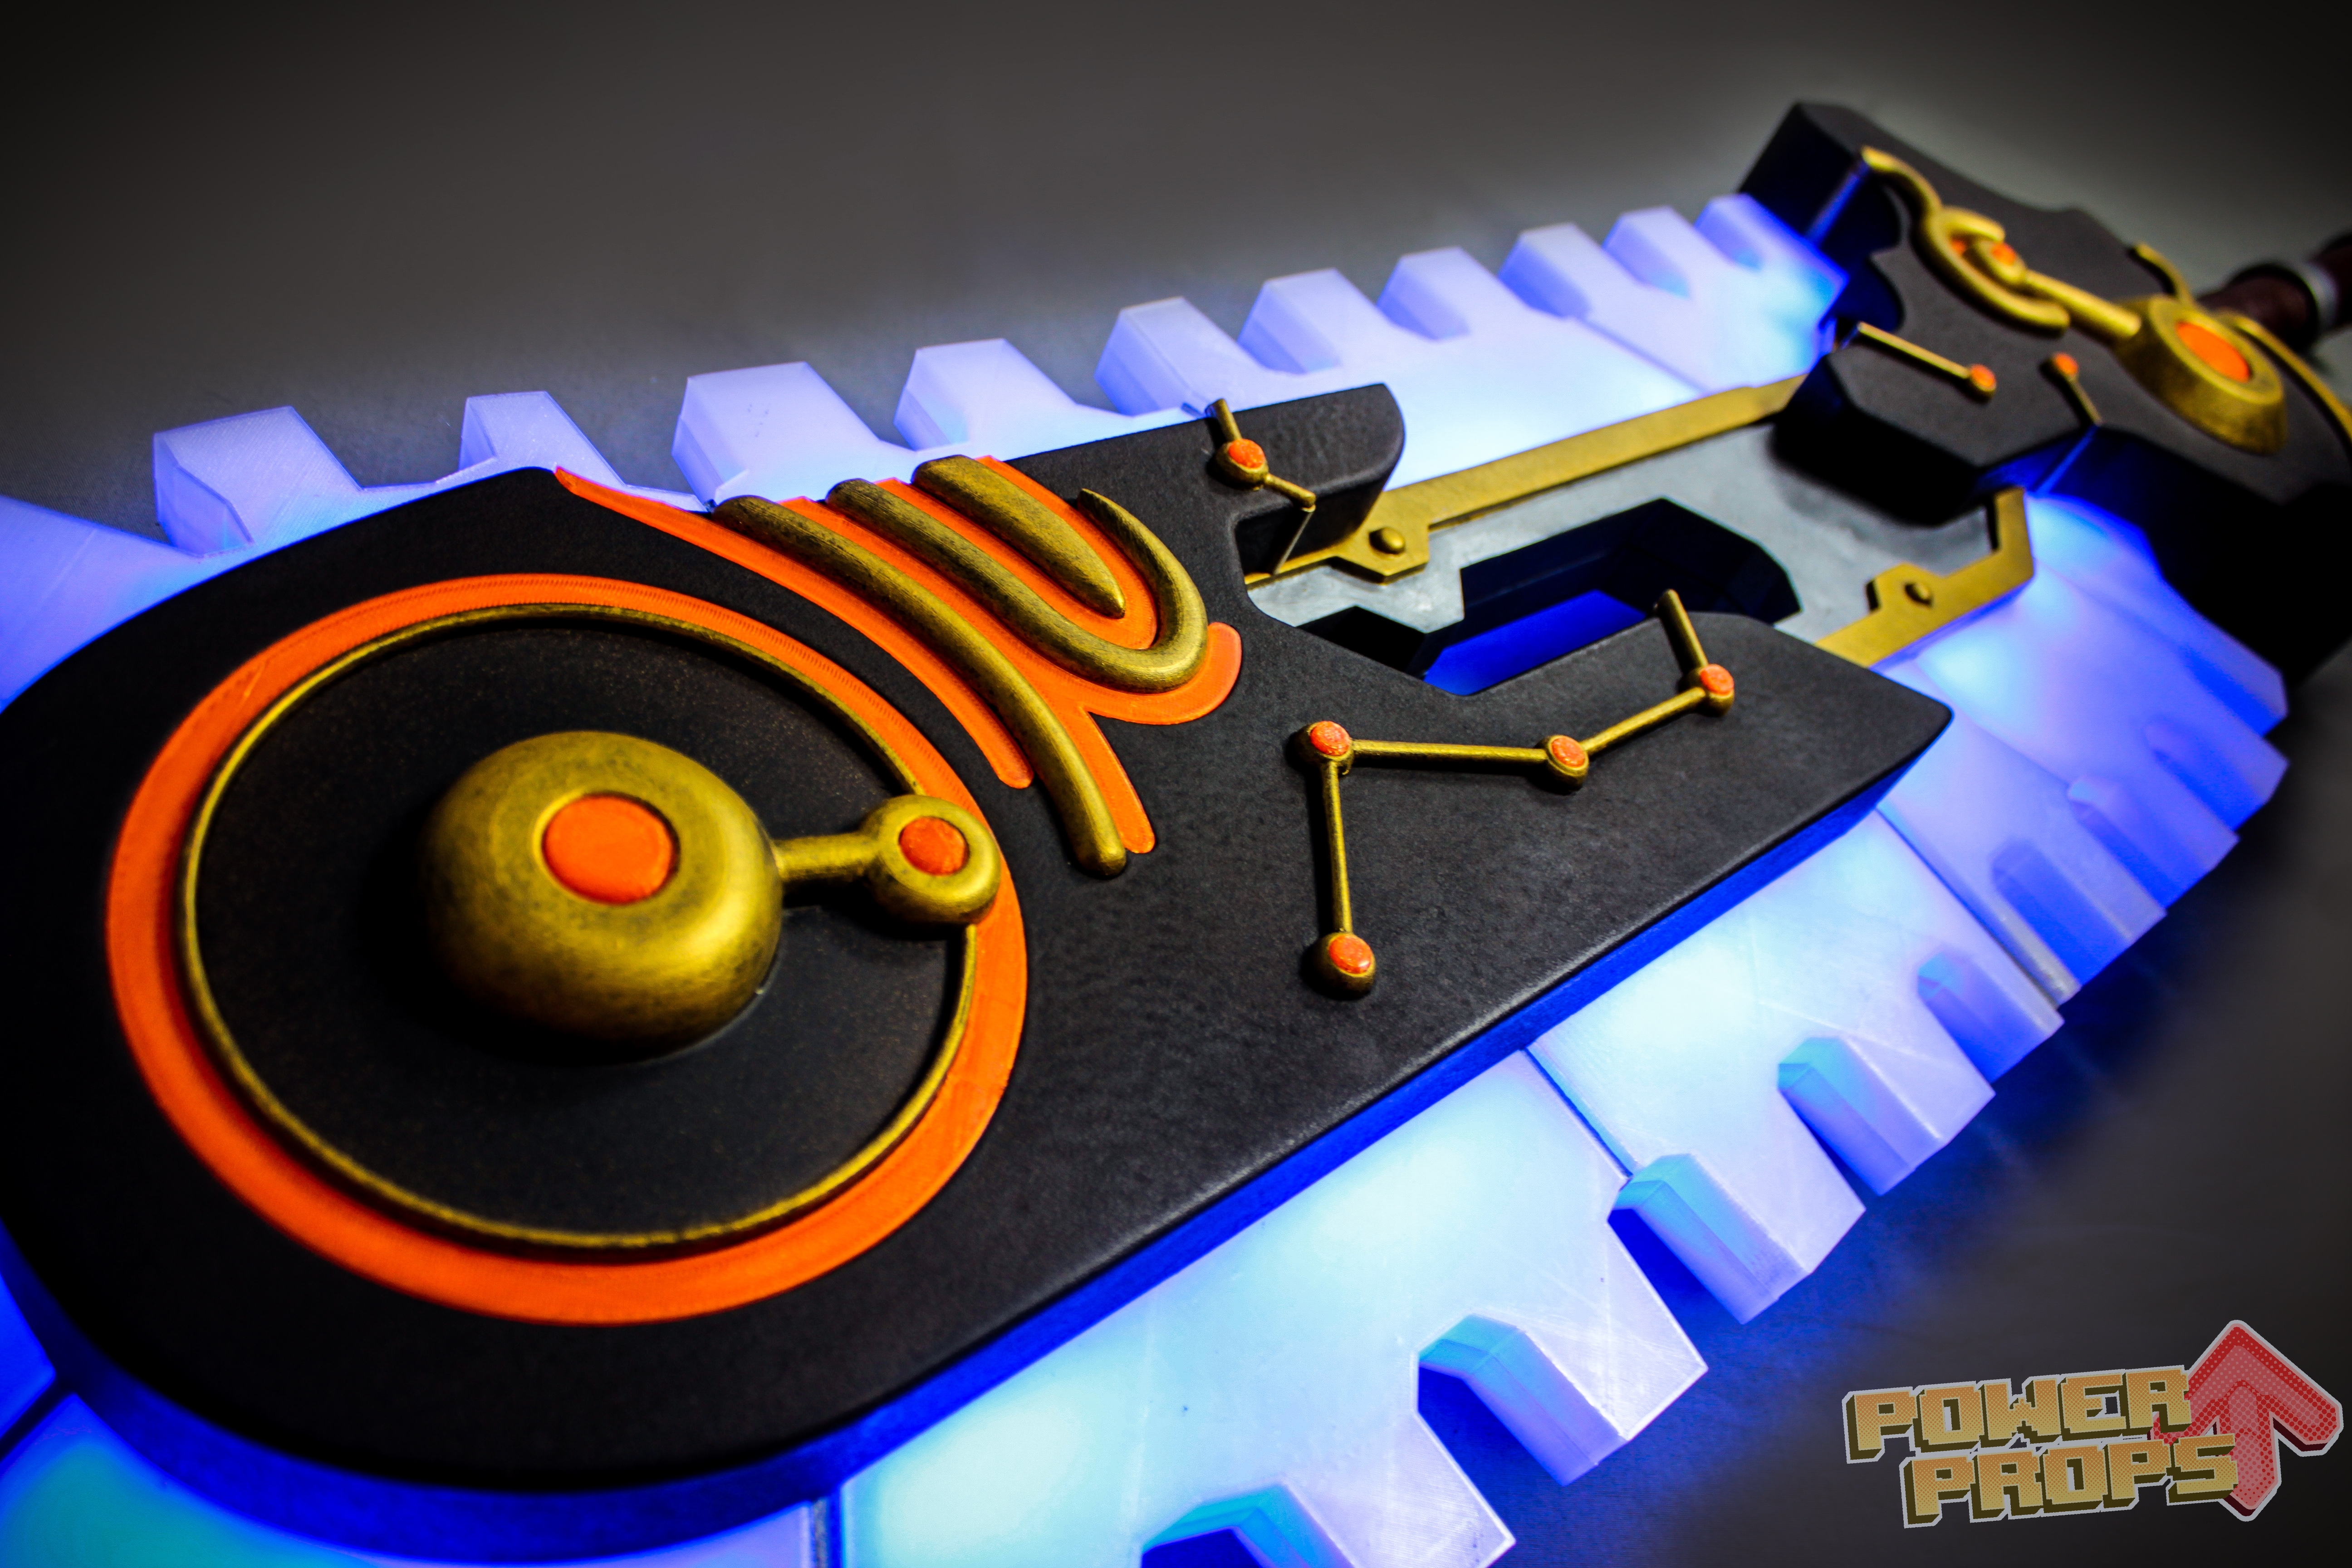
For my second Instructable I'm tackling the Ancient Bladesaw from the Legend of Zelda: Breath of the Wild. I made it in just under a month for DaishoCon 2018. This build features 3d printing, Neopixel LEDs, and a crazy amount of parts.
Note: I am not a professional. I am mostly self-taught and have learned these techniques over years of trial and error or from tips from others. Hopefully I can help you learn from my mistakes. Have fun, take your time, read chemical warning labels, and use proper personal protective equipment.
Shout out to Thats Nice Deer Cosplay for making the Gerudo Link costume and Danielle C Photography for the shoot of the completed cosplay. Go check them out and give them some love.
Gather References
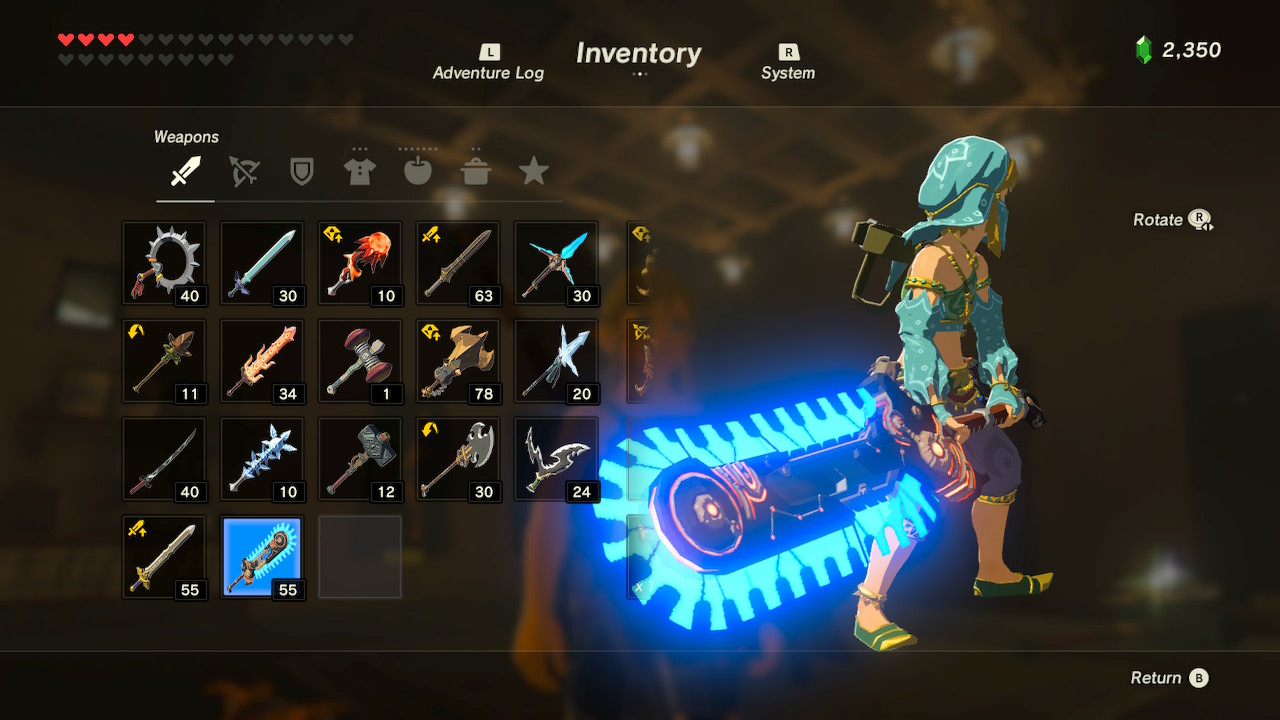
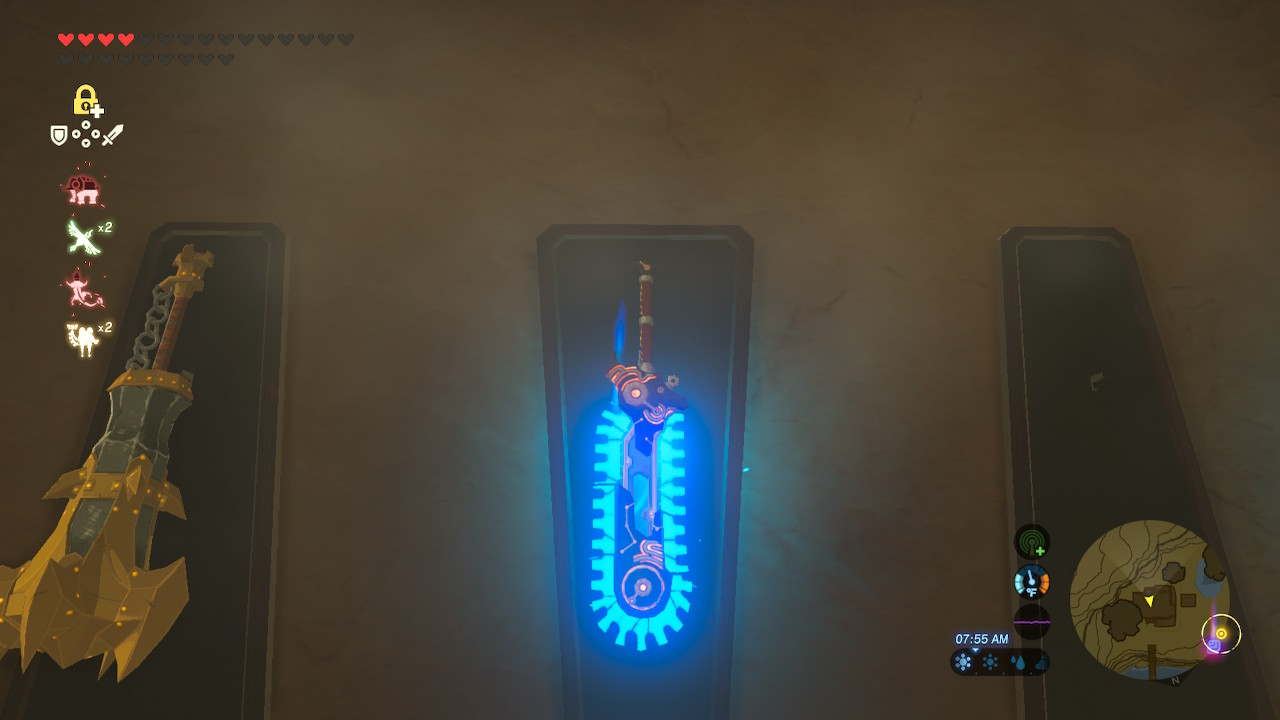
This step may seem obvious, but for modeling purposes it is extremely important. My first step is usually a mix of google images and Pinterest to get a good variety of image sources, but pictures of the Ancient Bladesaw were scarce so I took a different approach.
I hate to admit this, but I spend too much time making things from video games to actually get around to finishing video games, so I don't actually have the Ancient Bladesaw on my Breath of the Wild save file. To remedy this, my wonderful friend Dan came over with his switch and his super duper completed BotW save file to let me do some screen captures.
I used the Elgato HD60 to hook the Switch up to my computer and took as many screenshots as I could of the Ancient Bladesaw on the wall and in Link's hands. The Switch itself can take screenshots, but it compresses the resolution. The Elgato setup got them in full resolution.
With a folder overflowing with references we move on to the next step!
3D Modeling
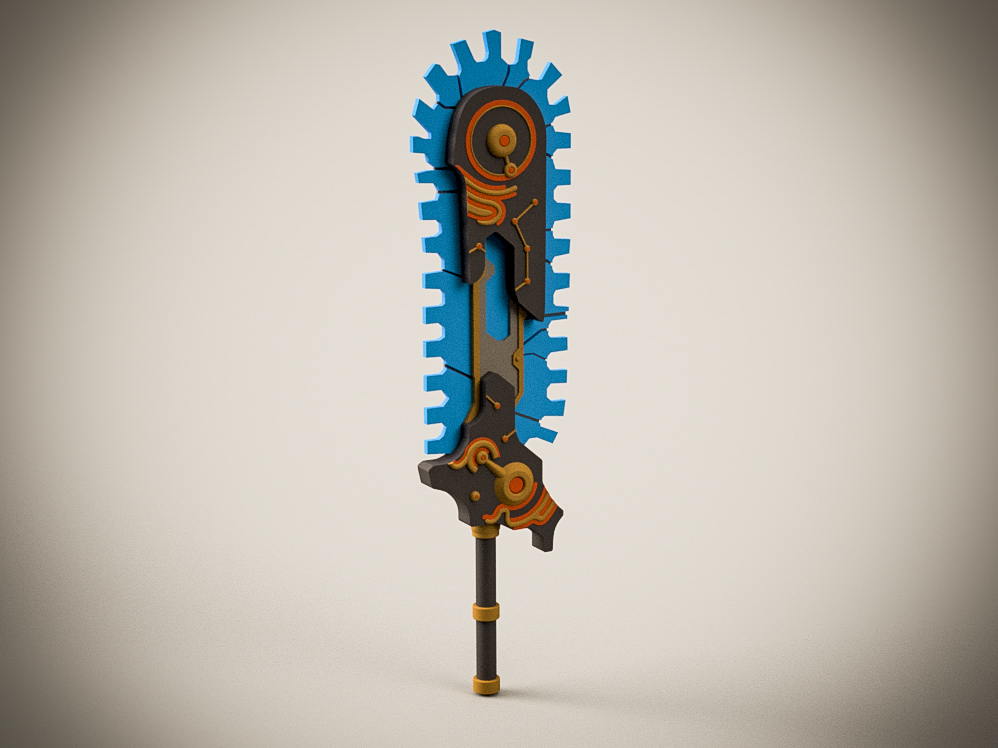
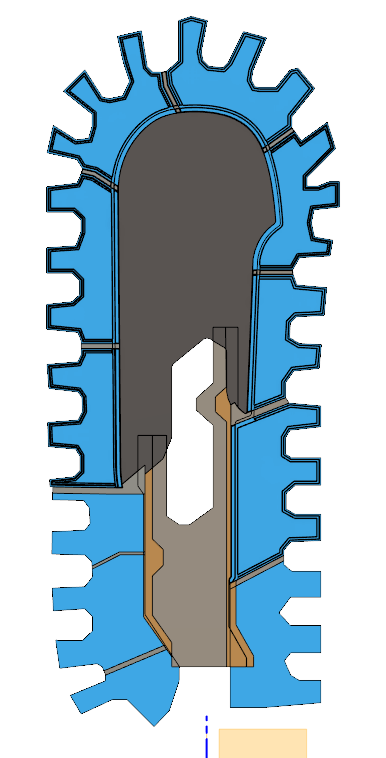
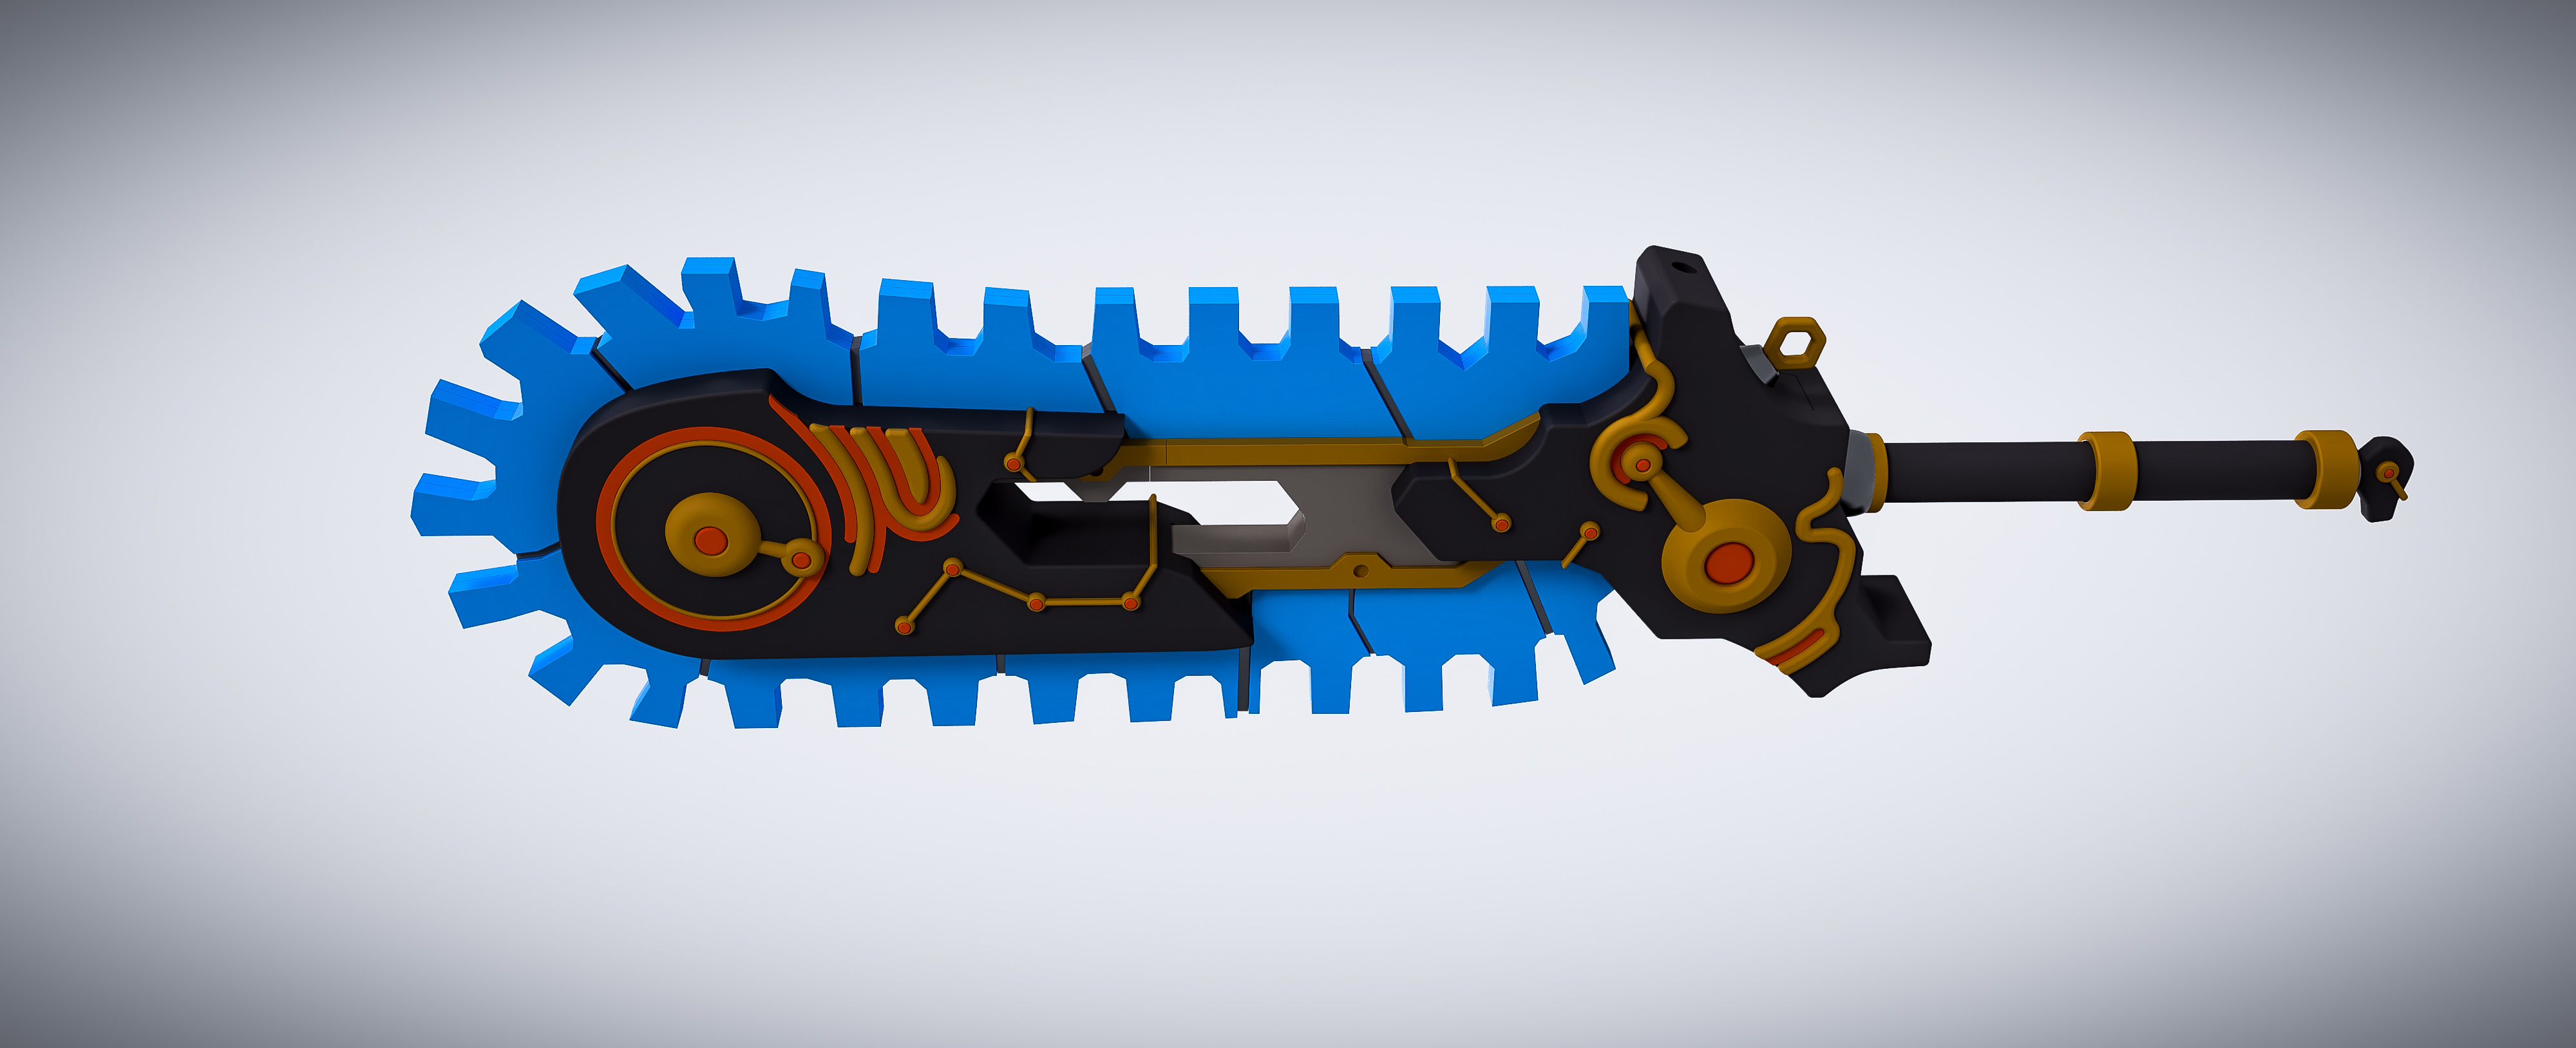
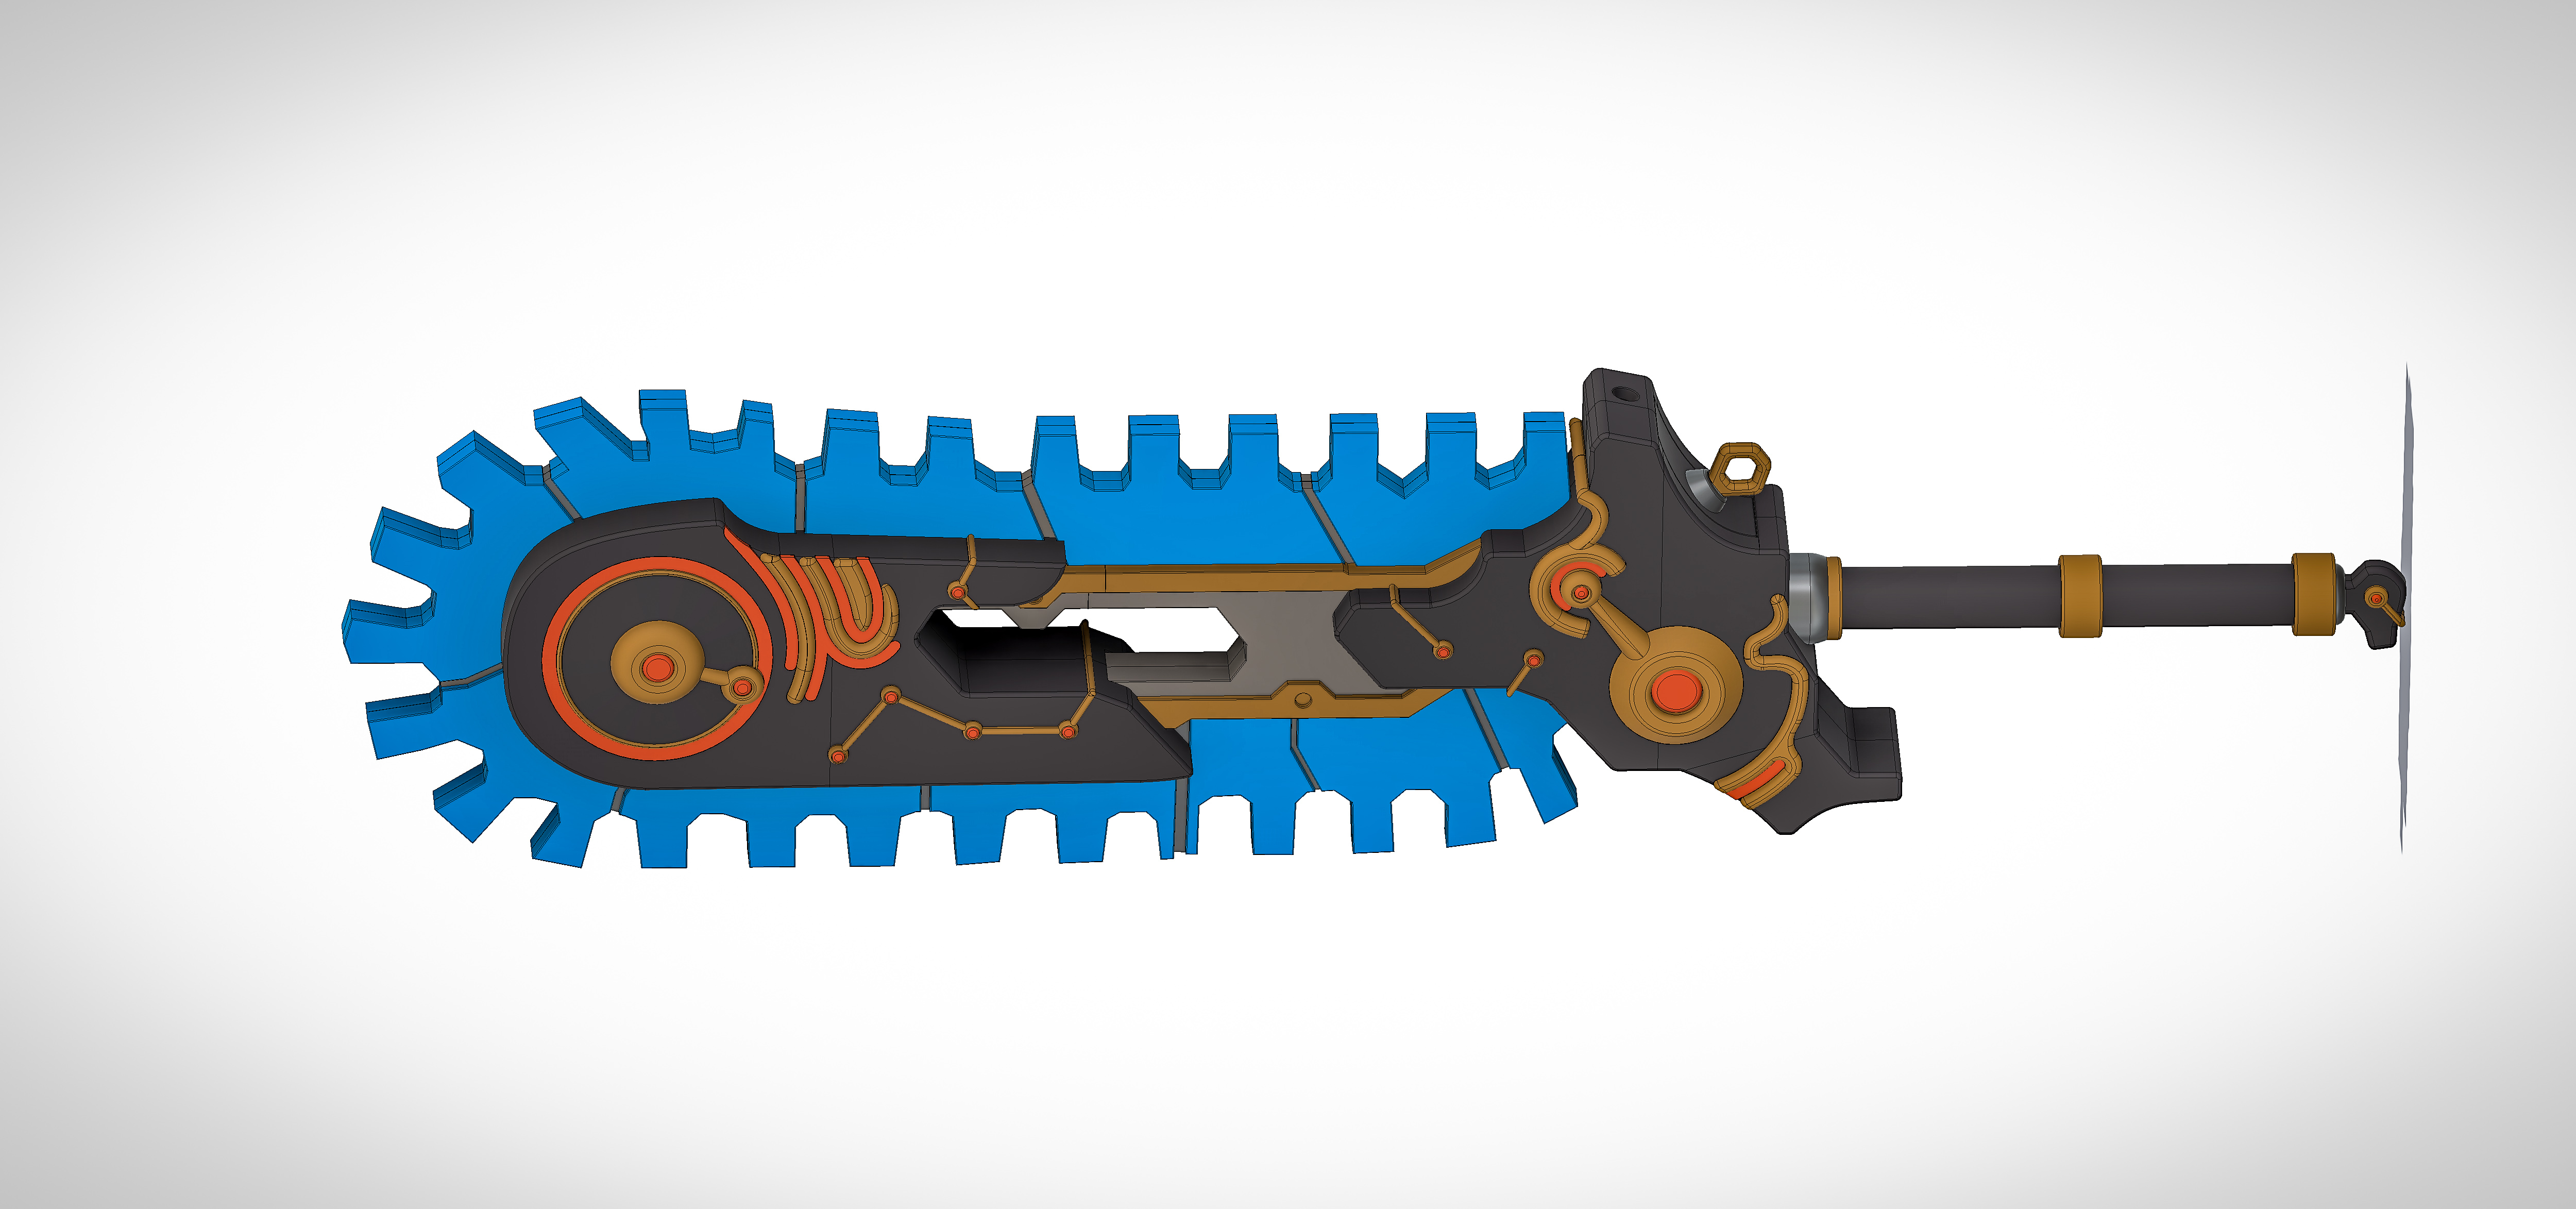
.png)
.png)
.png)
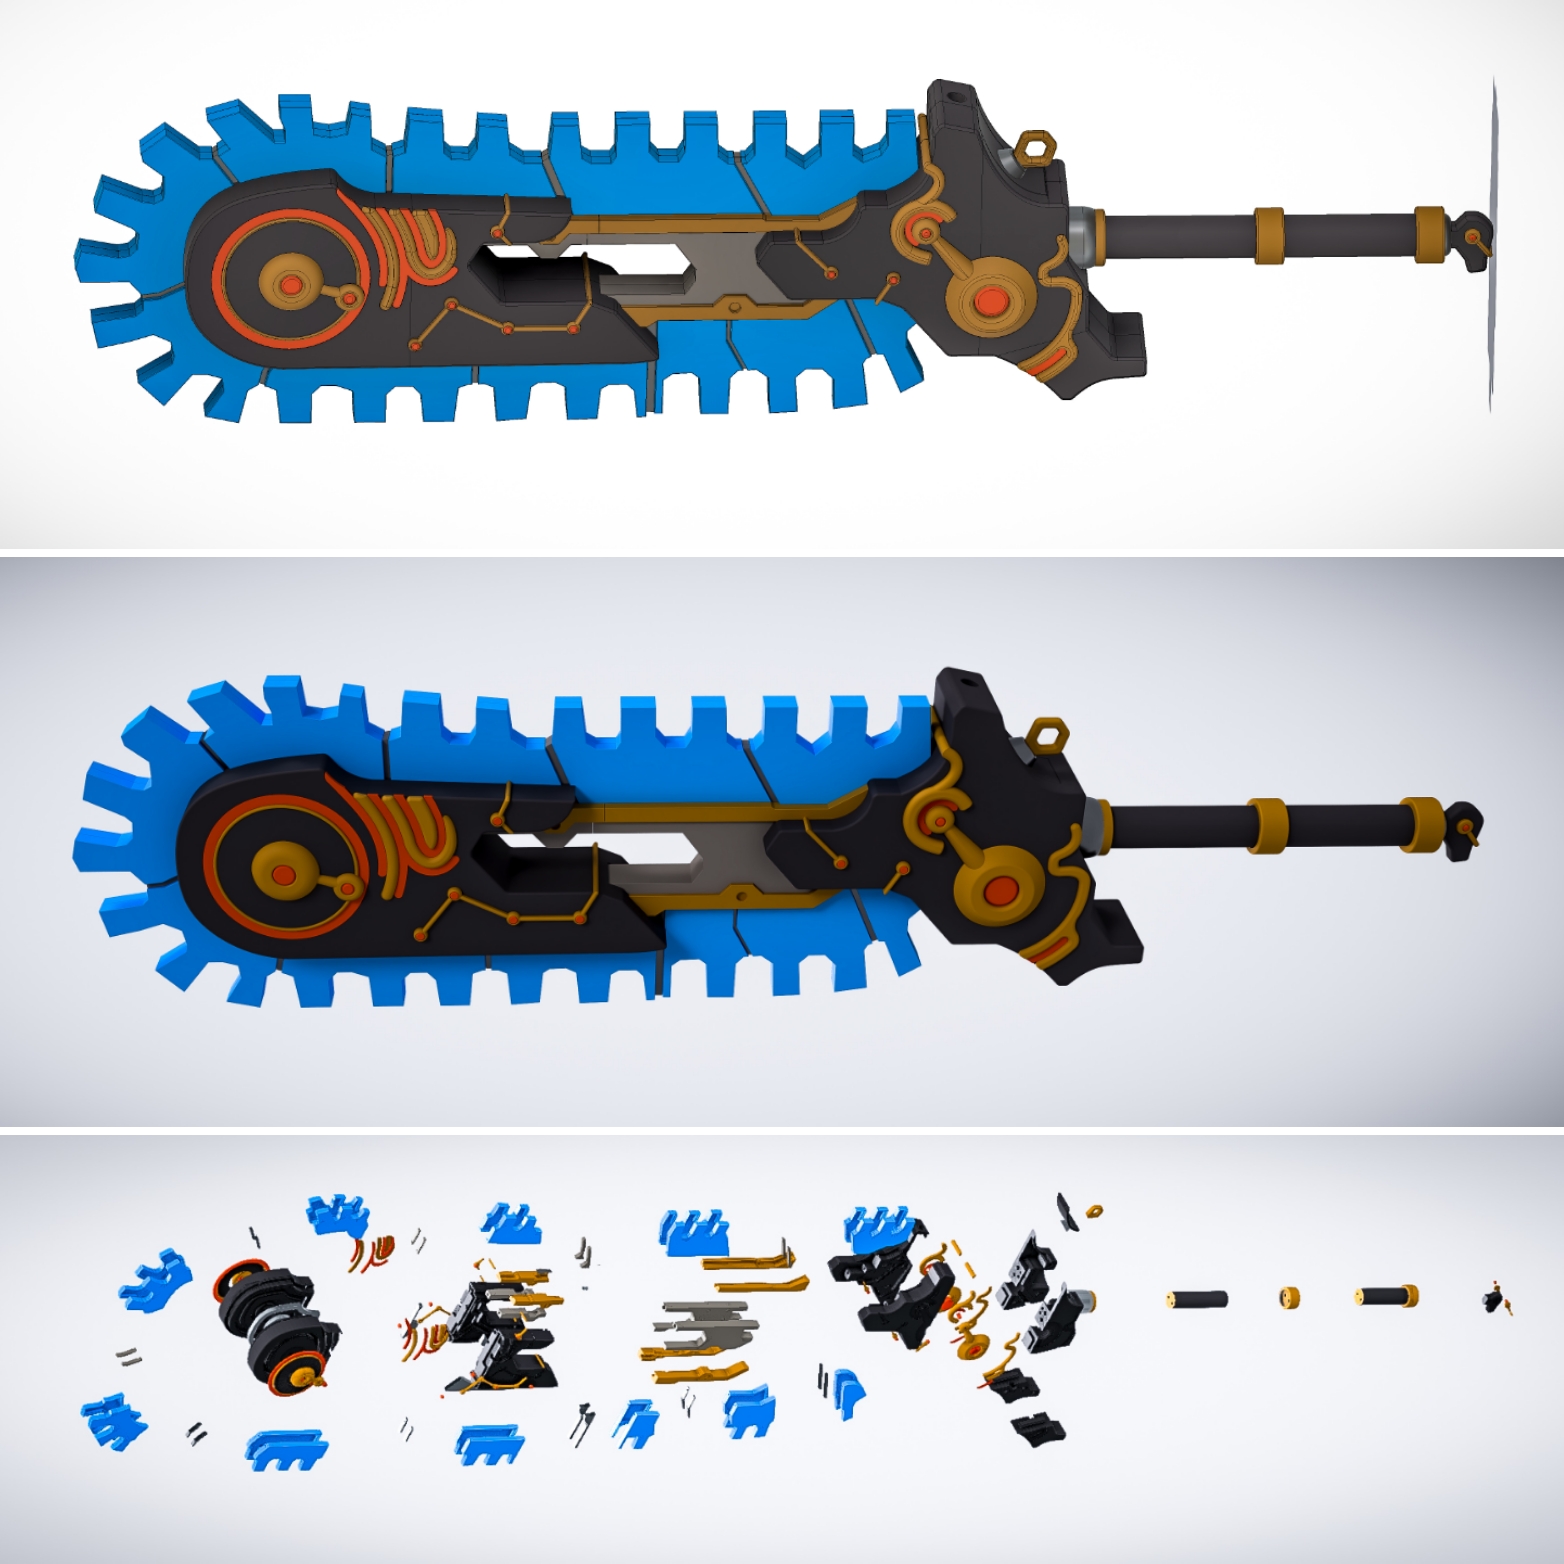
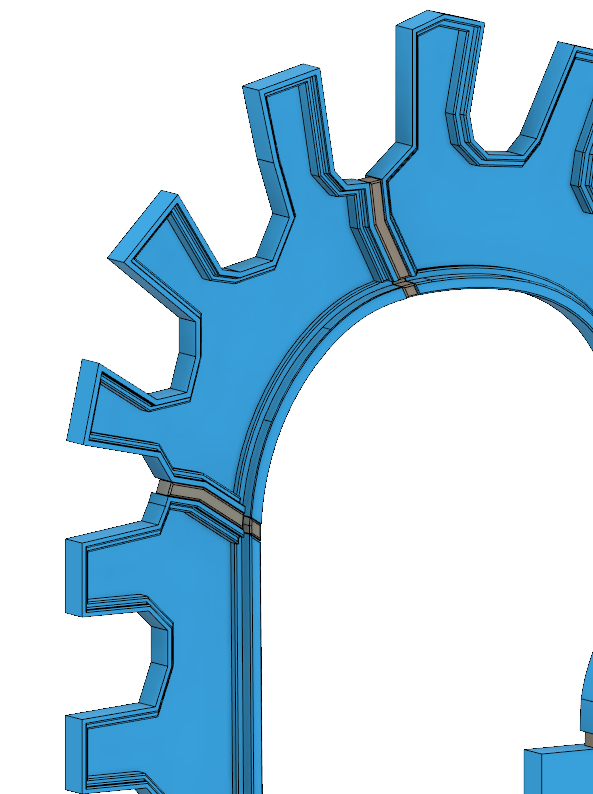
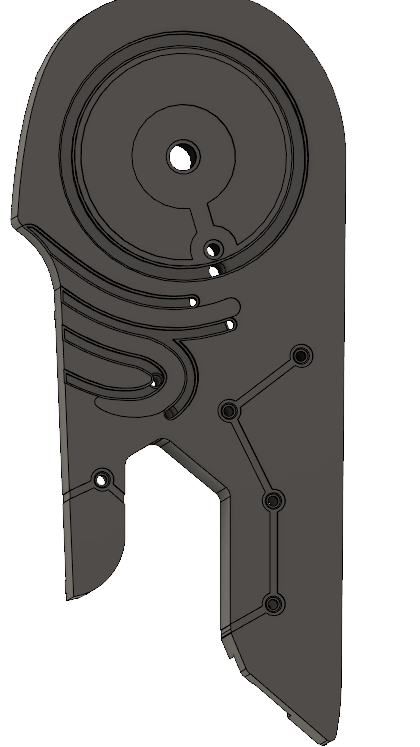
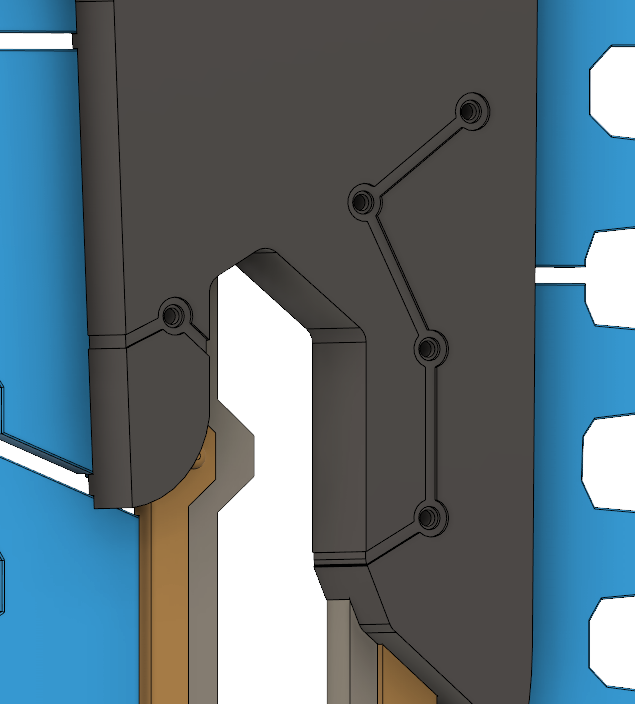
The complexity of this step can range from "Pulling My Hair Out" to "Setting Myself On Fire." This project fell somewhere in the middle, mainly due to the complexity of routing the LEDs.
Luckily for you, I already modeled the Ancient Bladesaw and the files are available for free on my MyMiniFactory page. If you'd like to go that route, skip to the next step.
3d modeling is a long and complicated process that I won't get too in depth with here, but I will share with you a few tips and tricks that apply to this project in particular.
Before actually diving into the model, step back and think about how exactly you are going to break it up for 3d printing. I try to reduce the amount of seams by using natural lines in the object itself. Another consideration is the color of each area. I typically have different colored parts separate, to make the painting and finishing process easier. The size of the parts varies based on the bed size of your 3d printer. I have Prusa MK2Ss so I typically keep parts under 8", slightly less if they are interlocking.
My 3d modeling software of choice is Autodesk Fusion 360. It's free for hobbyists and has several different workspaces that allow for different types of modeling styles. The folks over at Autodesk have a bunch of great tutorials to help you get started.
My usual workflow is as follows:
1. Setting up the canvas(es)
2. General massing of parts
3. Details and more details
4. Internals (Channels for LEDs/Wiring/Electronics, this could be combined with step 5 depending)
5. Splitting the parts for 3d printing / creating snap joints and/or pins (I usually do a new "save as" of my model before this step for archiving purposes)
6. Creating offsets to account for 3d printing tolerances (snap fits)
7. Adjusting STL orientation/units in 3d Builder (free with Windows 10)
3d Printing (with Transparent Filament)
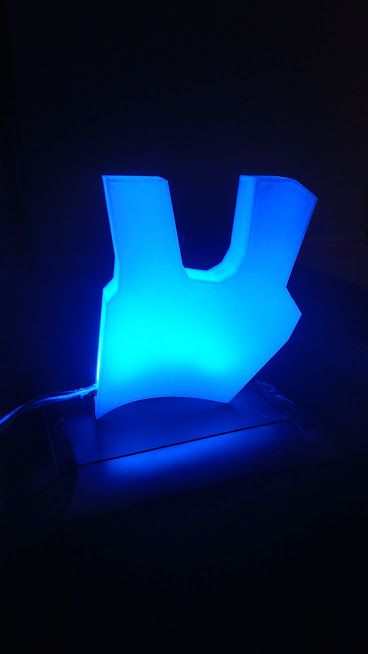
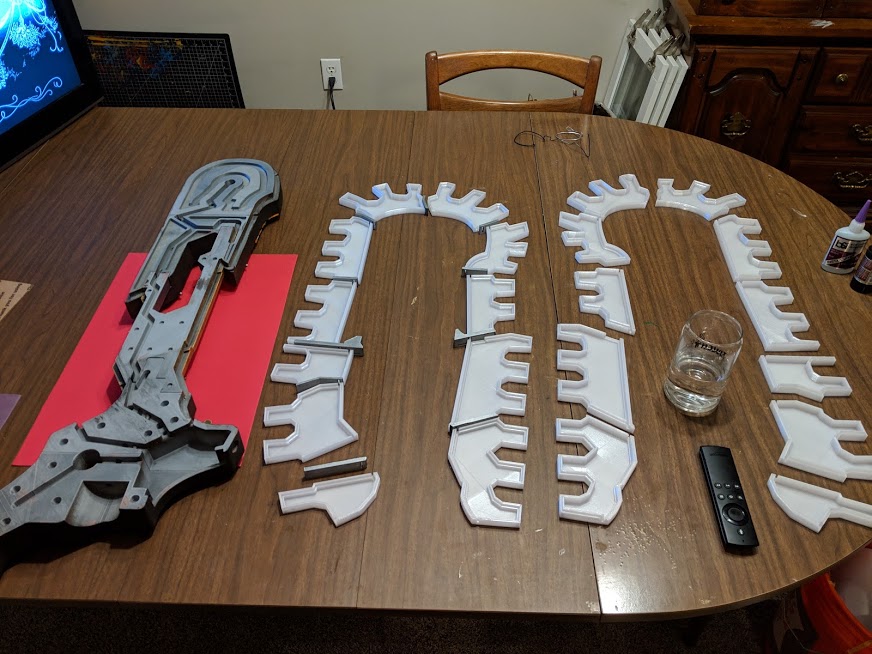
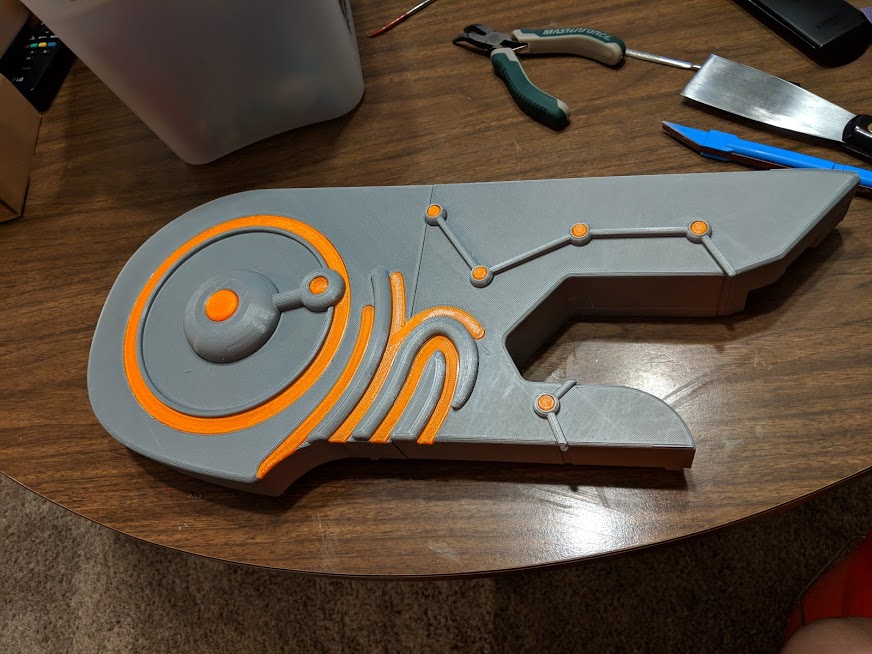
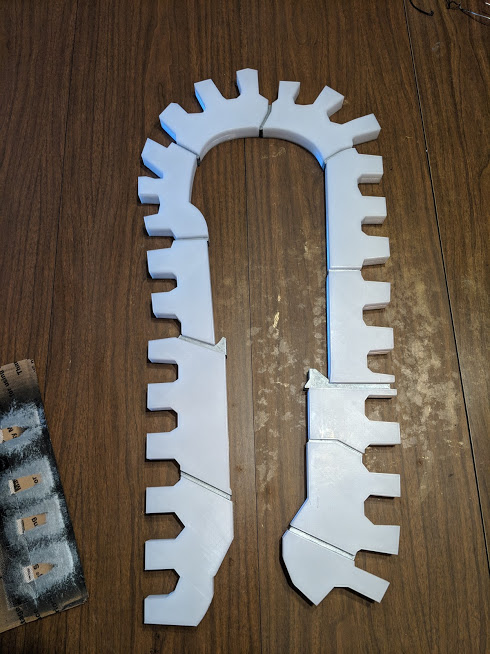
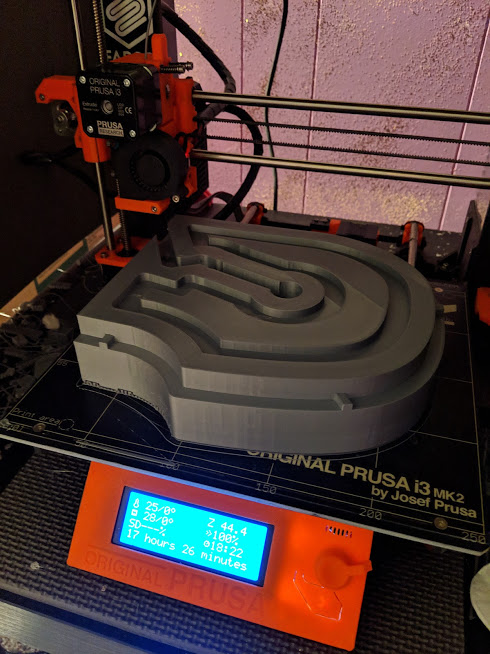
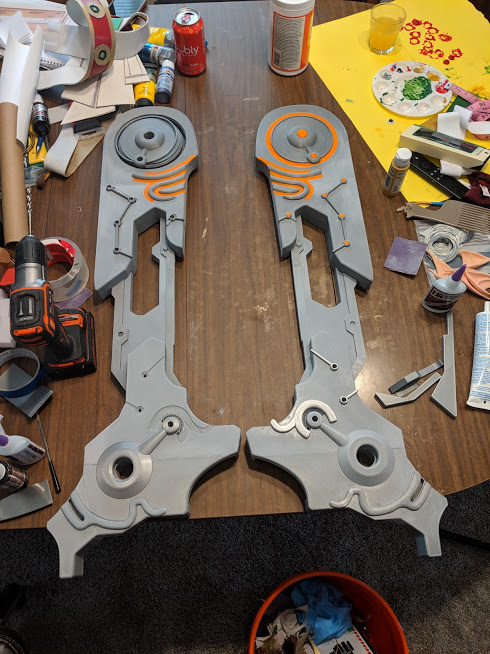
This replica has 152 individual STL files and is the first time I've used transparent filament as a major component of a prop. I'm not going to explain the 3d printing process as every printer is different, but here is an overview on 3d printing with transparent filaments.
The parts that are backlit with LEDs were printed with a transparent "natural" colored PETG. Natural, undyed PETG (or PLA) is a light, transparent color, similar to clear acrylic that has been frosted (sanded). When layered, this is great for diffusing LEDs.
There are several considerations to keep in mind when printing with transparent filament. It can be sanded but no filler can be used. Since light is being diffused by it, the printed parts need to be solid, with no infill grids/honeycomb showing (printed at 100% or 0% infill). To get the smoothest surface possible on the side that is seen, I printed the teeth in half, with the exterior face down on the bed. When a printer is adjusted properly, the first layer of a print should mimic the smoothness of the printer surface. This made the exterior of the teeth smooth with no print lines. I printed these at a 150 micron (.15mm) layer height but you could do less if you want a smoother edge.
PETG can be tricky to print with and requires a full metal nozzle and heated bed due to the higher print temperatures required. It is prone to warping if conditions aren't optimal and I usually print slightly slower as well to make sure it adheres to both the bed and itself appropriately. Transparent PLA is an easier option, but I prefer the look of transparent PETG. Either works, use what works best for you (and your printer)!
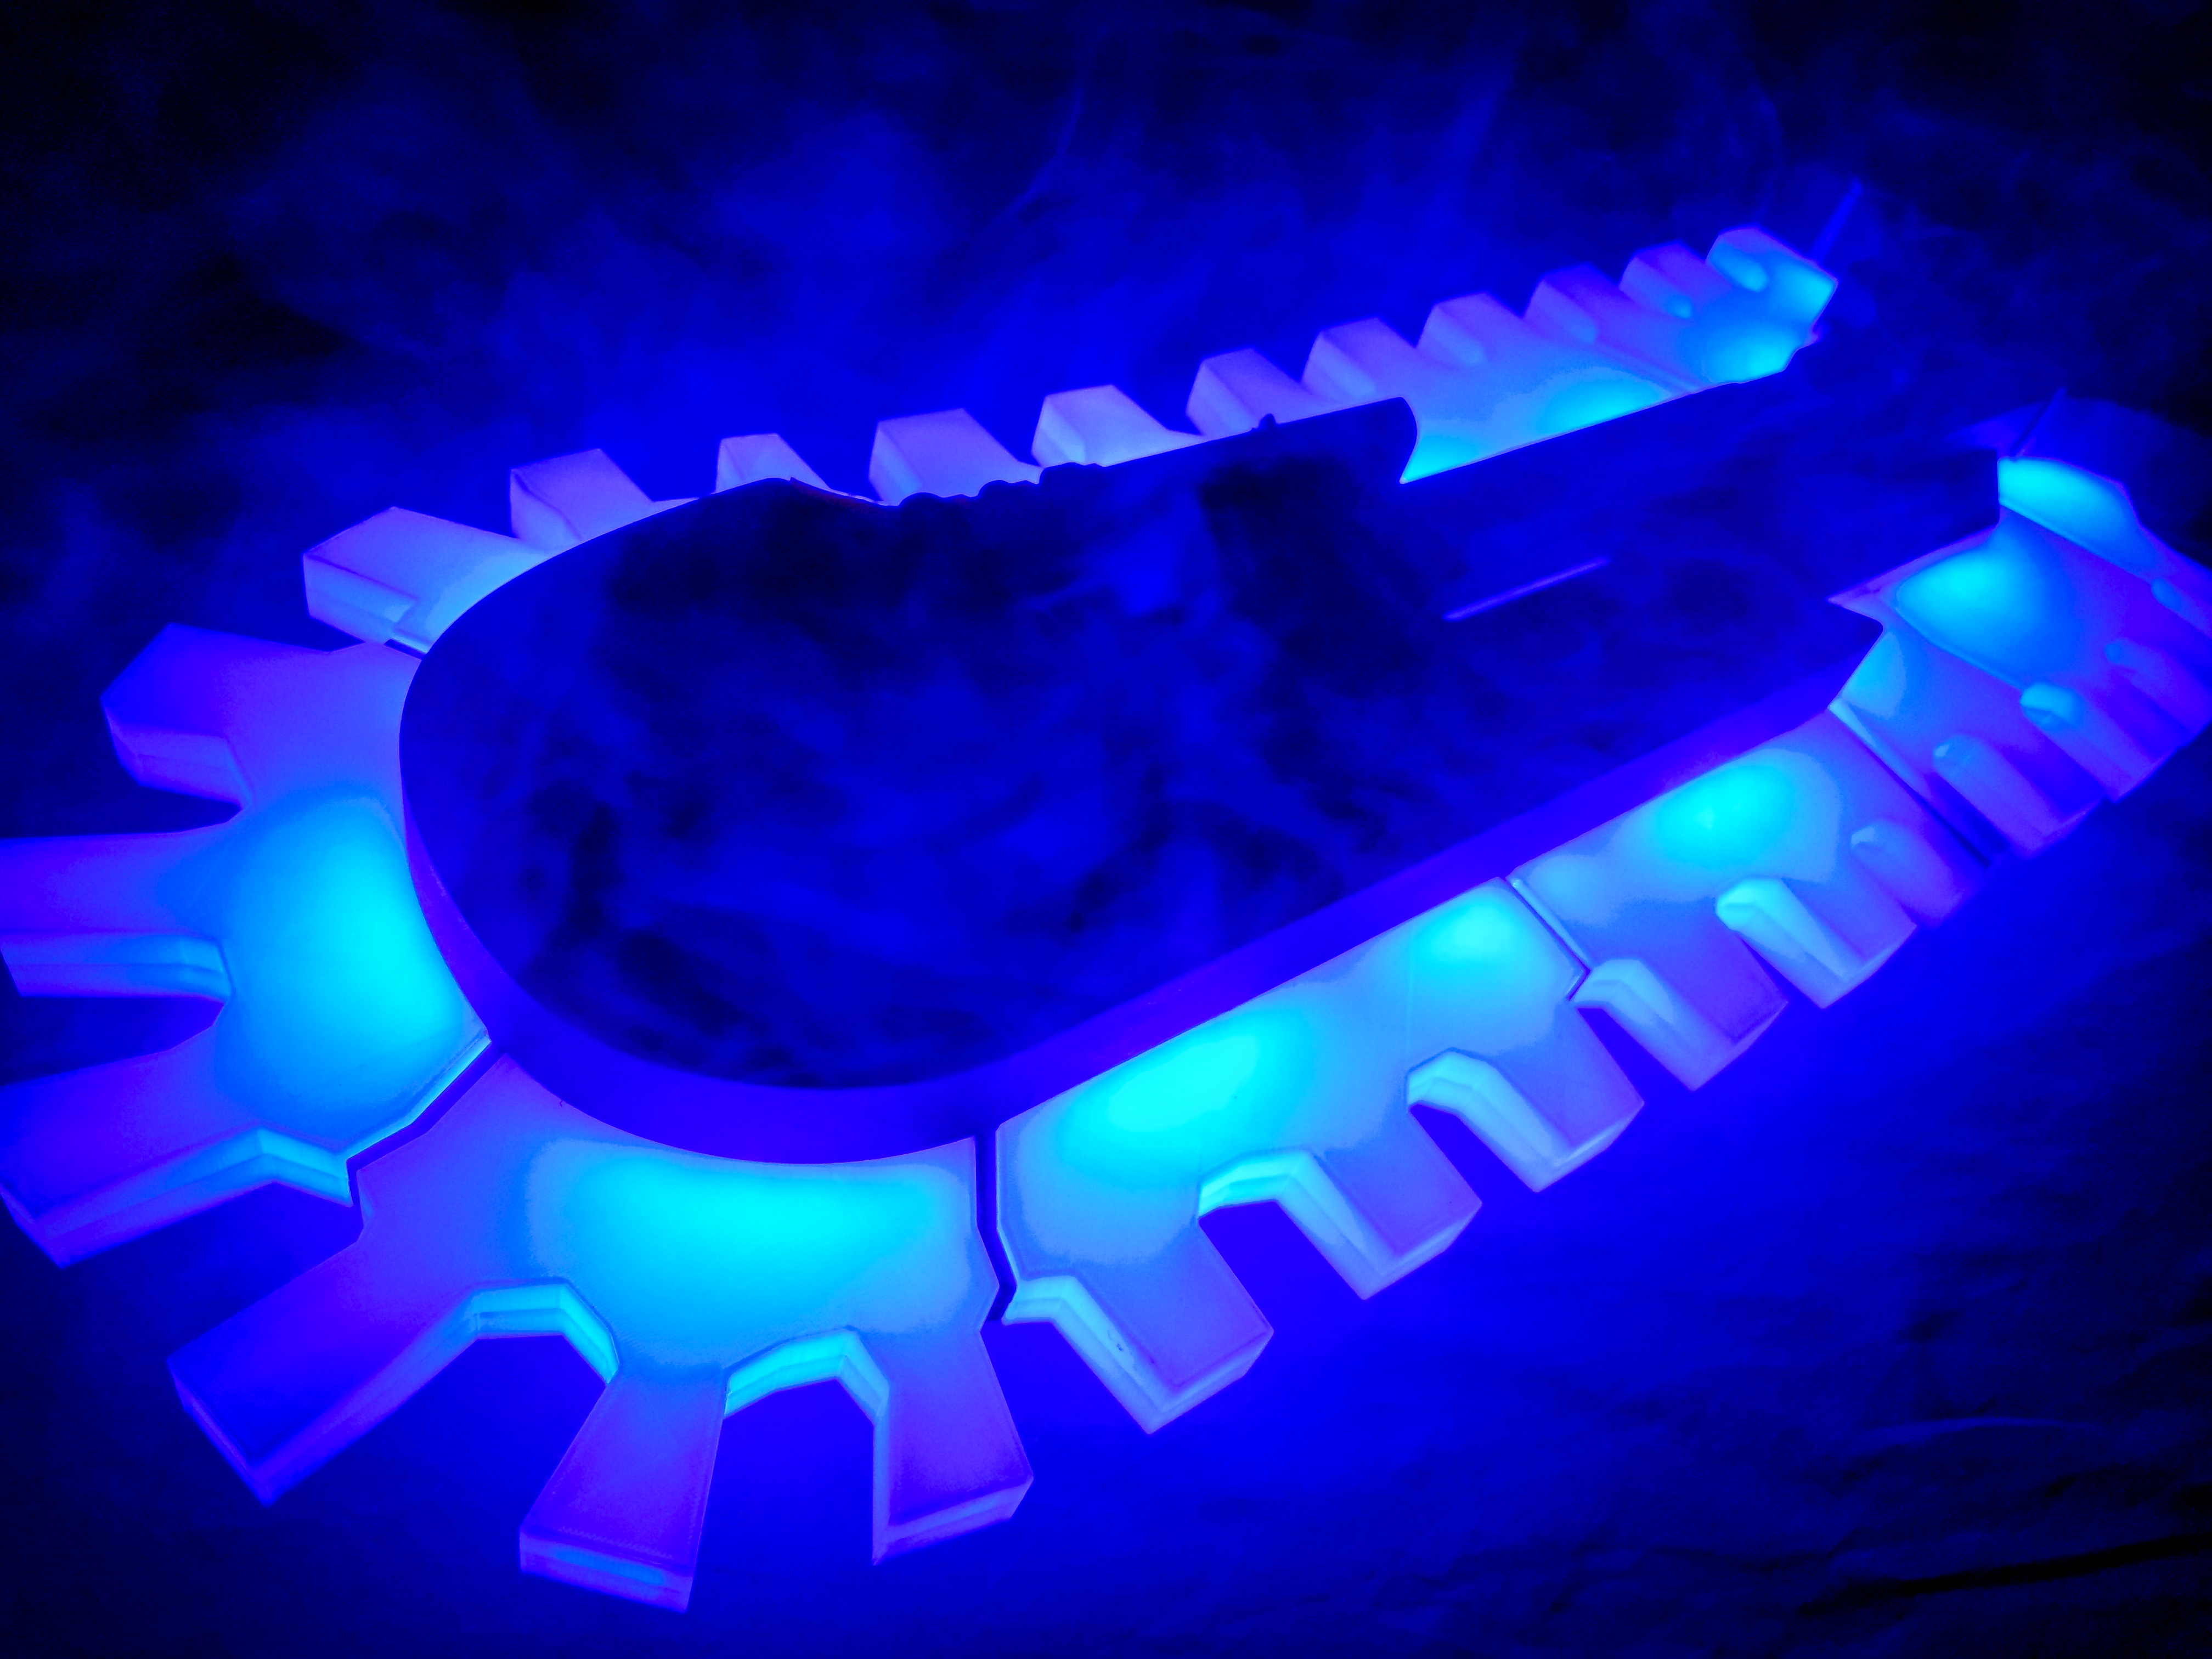
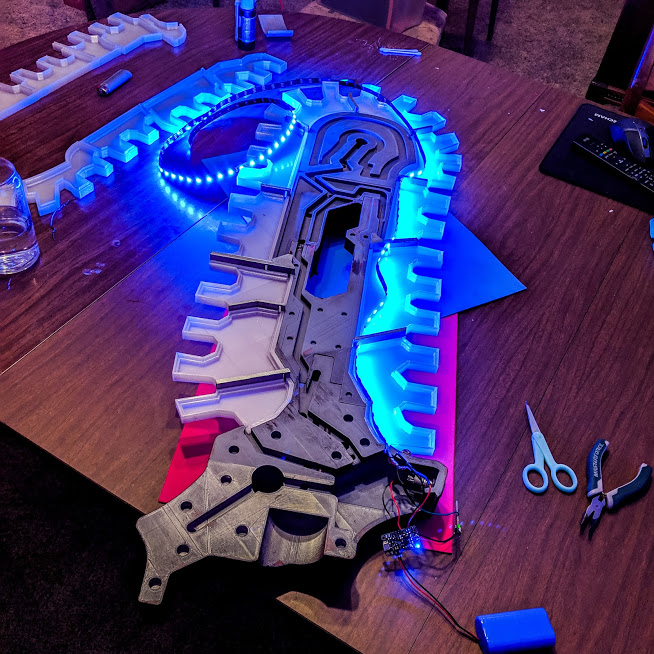
There are 11 "teeth" with spacers that make up the "blade" portion of the Bladesaw. These were all printed in halves, for a total of 22 pieces printed with "natural" (transparent) PETG. I did several tests (the final one is the first picture) and ended up with a 1/8 inch (3.18 mm) shell. They were printed at 100% infill and while still hefty, 1/8" was the sweet spot.
The orange parts were printed with a transparent orange PETG and were printed solid. These didn't actually have LEDs behind them but when the light hits it, they appear have a slight glow to them.
The rest of the parts were printed in silver PLA, using both Hatchbox and Inland filament, on two Prusa i3 MK2S 3d printers.
Other methods considered for the teeth were vacuum forming and clear resin casting, but were both expensive and time consuming methods.
Post-processing 3d Printed Parts (Eat. Sleep. Sand. Repeat)
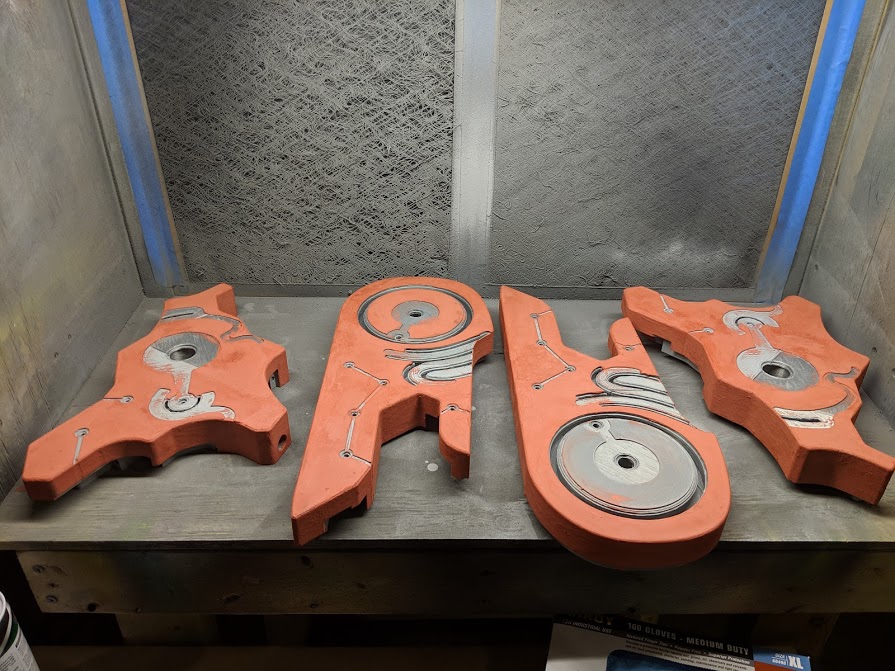
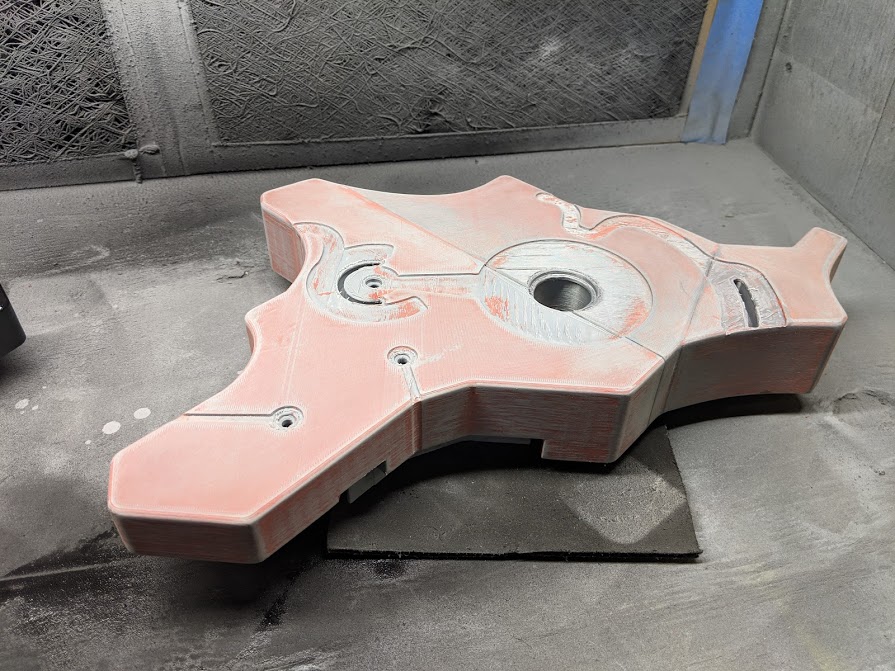
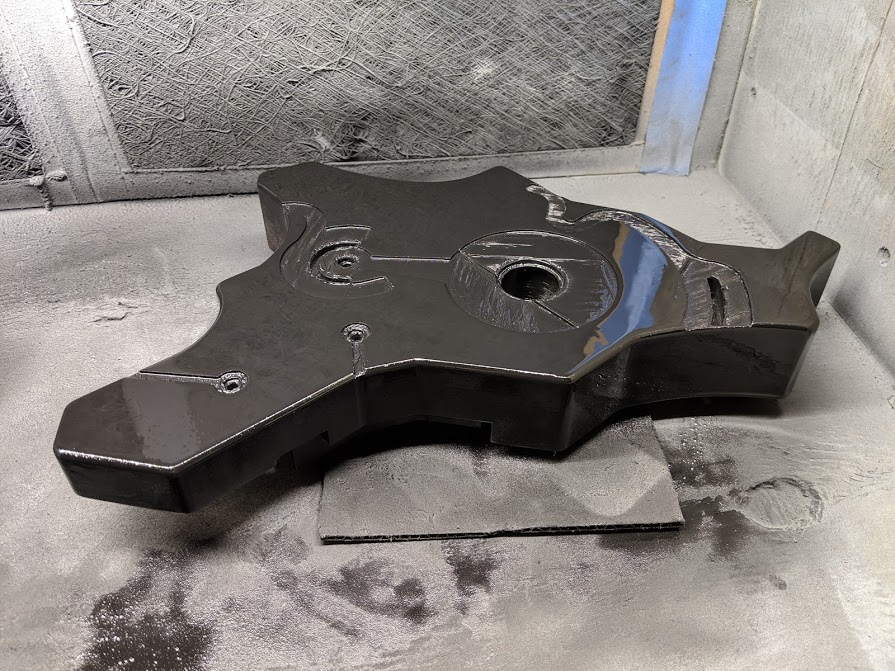
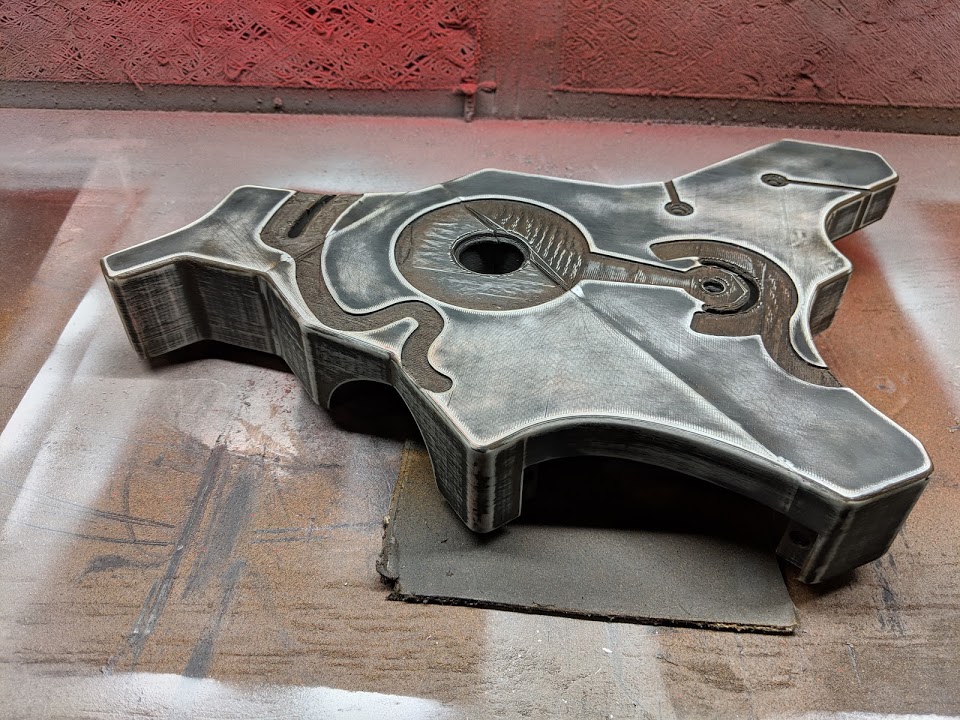
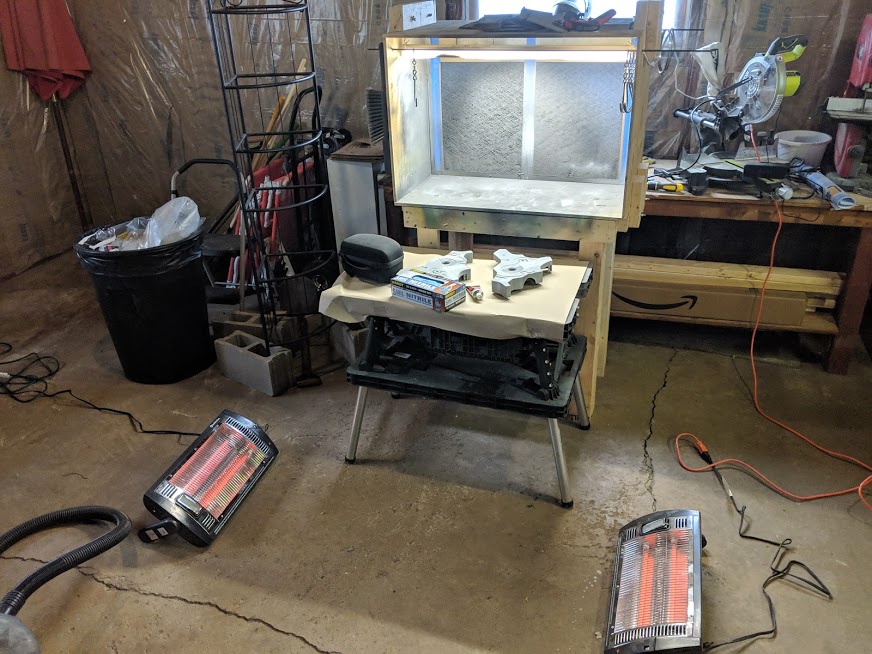
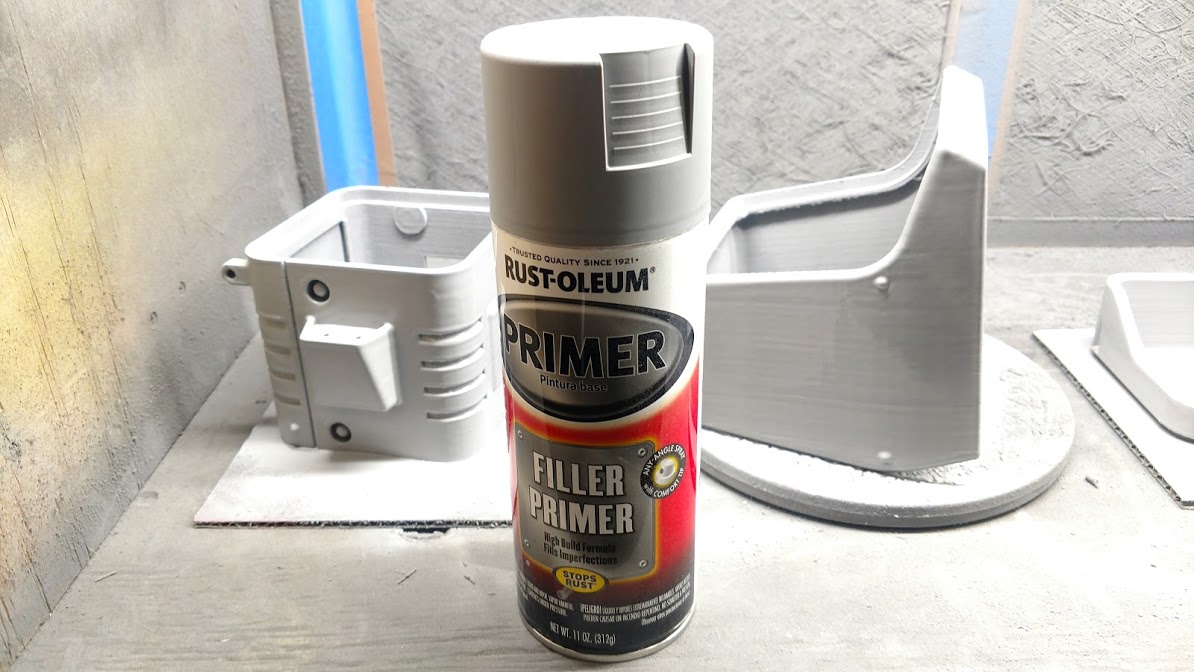
Now that you've got some parts 3d printed, it's time to move on to the step I like to refer to as: Eat. Sleep. Sand Repeat.
My previous Instructable Noctis' Engine Blade goes in depth on this process. I want to teach additional techniques with these Instructables, not repeat myself. Check that out for details, but here is an outline of the process I typically use:
1. Initial prep work (gluing certain parts together, cleaning dust off of the surface)
2. Filler primer (and/or Spot Filler Putty, depending on your preference)
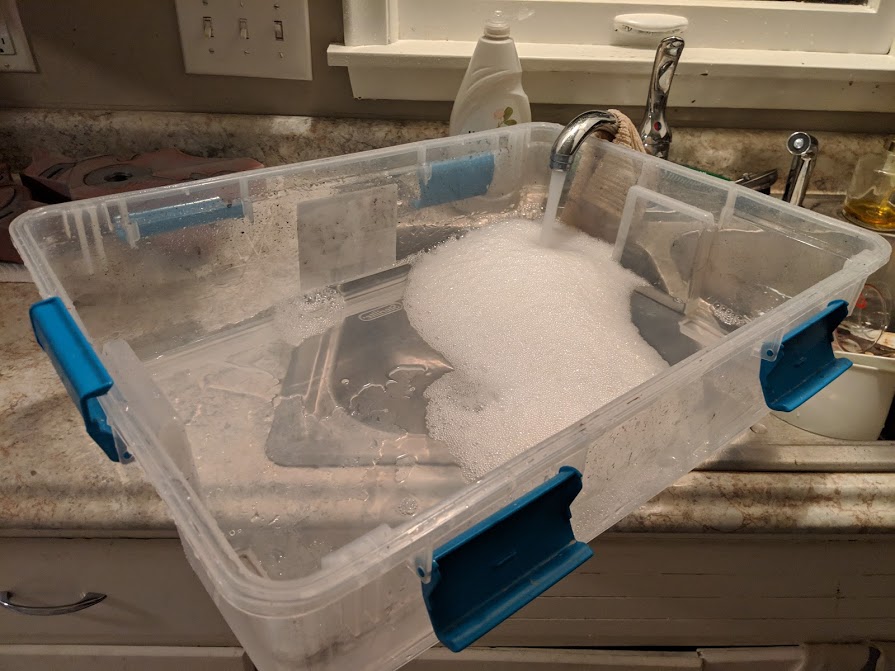
3. Wet sanding (see step 4 of my previous instructable for the breakdown, I like to use a tub as picture above)
4. More filler primer (and/or "spot filler putty")
5. More wet sanding
6. Repeat steps 4 and 5 until smooth (increasing grit as you go, I usually start with 220 and move up to 400)
7. Primer (matte black primer, compatible with plastics)
8. One last wet sanding at a higher grit (I usually do 800, unless it's a gloss finish, then go higher)
9. Another layer of matte or gloss black primer
Alright, still with me? You may be thinking "Brian, that's a lot of work, isn't there a quicker or easier way to get smooth 3d printer parts!?!"
In short, no. You can make it easier on yourself by printing parts at a higher resolution (100 or 50 microns if you have the time) and that may reduce the amount of filler you need. Cleaning up 3d printed parts time time and effort. If you don't want layer lines to show, you need to put in the time and elbow grease. There are other methods and materials, such as XTC-3D, wood filler, etc, but you will still need to do a ton of sanding, and I've had mixed results with those anyway.
Take this step with a grain of salt and find what works for you.
Disclaimer: I have a spray booth that vents outside of my shop and I still use a rated respirator and eye protection when using spray paint and airbrushes. Spray paint, bondo, and other chemicals are no laughing matter, be safe, be smart, and use caution. Filler primer is even more potent than your average spray paint.
Top Coat (Painting)
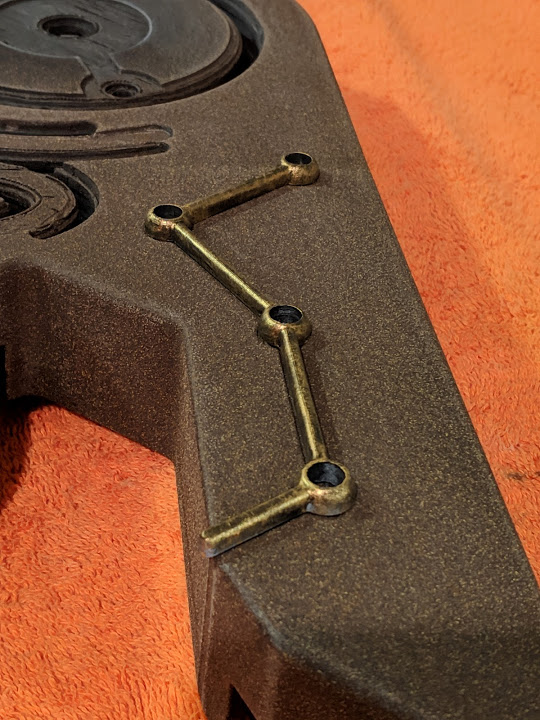
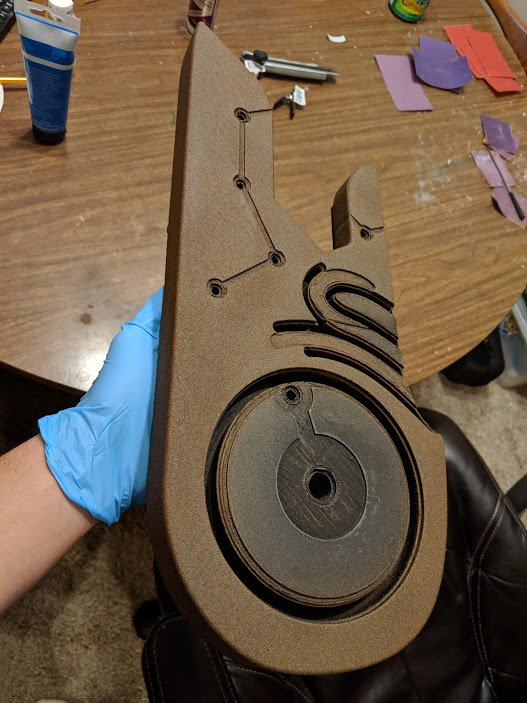
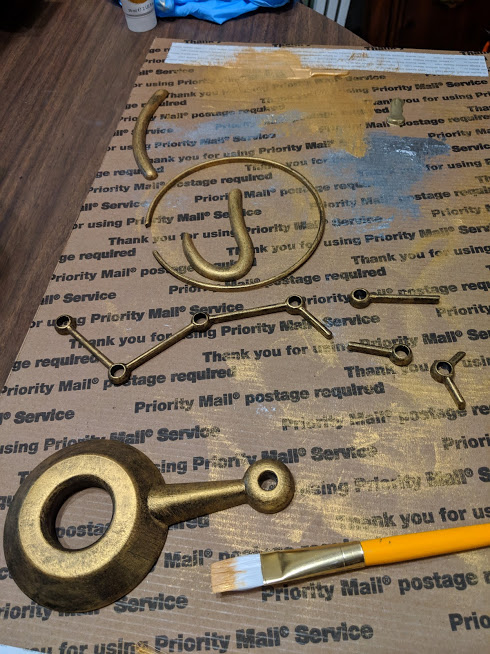
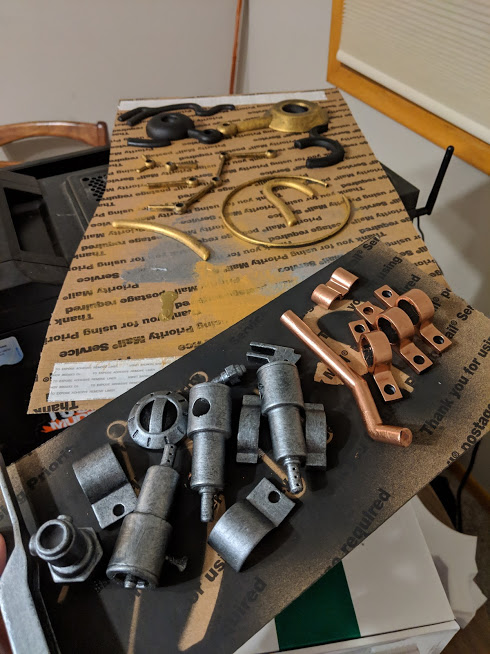
This step is always one of my favorites. Here is where we see the prop come to life with color and texture!
For the Ancient Bladesaw I used two techniques for getting the final finishes: "dry-brushing" and textured spray paint.
Dry-brushing is painting with a "dry" paint brush. If you haven't used the technique before that probably sounds ridiculous. It can be achieved using various paints and in multiple applications (such as weathering) but for this project I used it to get a worn metallic finish on the gold and silver pieces. I used Hard Body Acrylic paints by Liquitex. Rich Gold/Silver is your main paint, with the corresponding bright gold/silver as a highlight. If you want to give additional accents and highlights, mix a tiny amount of blue or red into the bright gold/silver to give it a slight color variation. Each of these steps takes practice to find the right balance. Practice this process on a scrap piece first to get the technique down.
How to dry-brush:
- When starting this process, your part should be primed with either a glossy black primer or a matte black primer depending on what level of shine you are going for. I used a matte black because I wanted a worn, dull finish.
- I like to use a piece of cardboard as a palette. Squeeze out a thin line of paint. Gently dab a little bit of paint on the tip of your paintbrush.
- Lightly dab your paintbrush on the palette until there's only a light amount of paint left on the paintbrush.
- Since this isn't dry-brushing for weathering but as a top coat, use long, light brush strokes over the surface, barely touching it, but enough so there is contact. This process takes a while, but will give you a nice brushed metal look. This will take a few passes since you are using minimal paint. Be patient, don't get frustrated or start using too much paint. The end result is worth it.
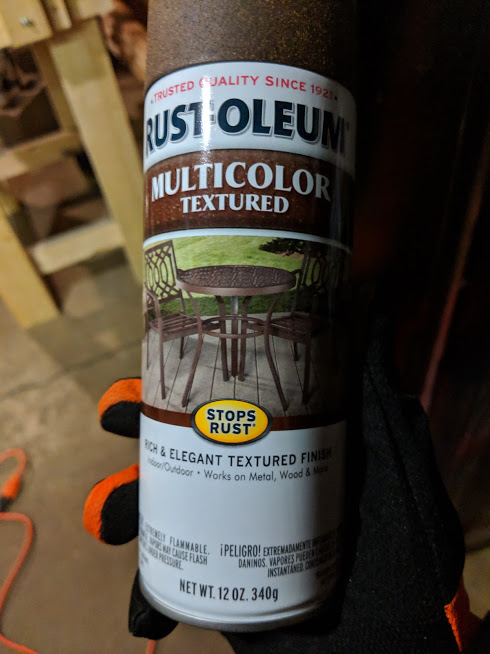
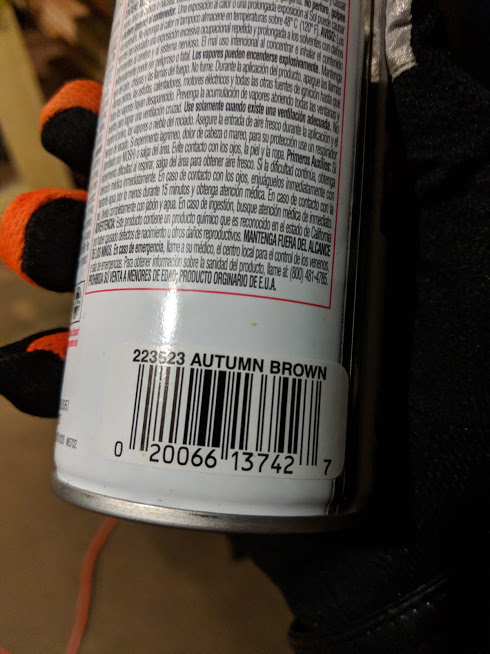
For the bulk of the body, the Ancient Bladesaw appears to have an "earthy" and "wood-like" appearance. I'm told that it's actually stone or pottery based on a Japanese style of pottery known as Jomon. To achieve this look I did a few different test methods, eventually settling on Rustoleum Multicolor Textured spray paint in "Autumn Brown." I've used this technique on grips for a handgun to make it look like "wood" and it's an easy way to cover a large surface quickly.
- Like dry-brushing, this process starts with a black primer. I used matte black primer for this.
- Spray a coat of the multi-color textured spray paint on your part. Be careful not to over do it, this paint goes on very thick. It may look like a weird oatmeal at first but will dry as an even coat. Don't panic, let it dry fully before moving to the next step.
- The textured paint isn't as dark as I wanted, so I did a light wet sanding with 400 grit. Be careful not to overdo it or you'll take off too much paint. Be gentle with the sanding, you just want to lightly scuff the surface.
- After your part has dried off it's time to do a light color wash. If you aren't familiar with a "color wash" here's a quick rundown. A color wash is a quick and easy way to weather your props. I used a black color wash to darken the overall top coat. Time for a step by step inside of a step. It's "learnception."
- A color wash uses standard acrylic paints, such as Liquitex basics or the off brand equivalent. You're going to be mixing this heavily with water, so it doesn't need to be expensive paint. If this is your first time, pick out a brown (such as burnt umber) and a black (ivory black). Little plastic paint mixing cups are also handy for this process. If you're at the craft store anyway, pick a few of those up.
- If you want to take this a step further, pick up the standard primary colors (red/yellow/blue). They are usually named "primary red/yellow/blue." I don't know a lot about color theory, but I do know if you mix those three together, it makes brown. Test out different ratios to get different hues of brown. Think about where your prop would have been and what color dirt would be there.
- Now that you have your paint ready, put a little in your plastic cup. Put approximately the same ratio of water in the cup as paint. Mix them together! The ratio to paint varies depending on how dirty you want to make your prop. Since this is mixed with water, it will flow into crevices and nooks, naturally weathering it.
- Like I've mentioned before, practice this on a test piece before actually doing it to your finished prop. I like to use a paint brush to dab a little of the mixture from the cup onto to the prop. Use a paper towel (I use blue shop paper towels for this) to lightly smear and wipe up the mixture. If you let the paint set for a minute or two, more will be left behind. Think of this like intentionally smearing grime onto your prop. Using various color mixtures will give it more layers of grime but be careful not to overdo it. Odds are your prop wasn't laying in a swamp for 20 years (unless it's from Fallout, then maybe it was).
- I keep a pile of latex gloves from Harbor Freight handy at all times. The paint you're using for this is acrylic so it washes off easily, but I wear gloves anyway.
- A color wash uses standard acrylic paints, such as Liquitex basics or the off brand equivalent. You're going to be mixing this heavily with water, so it doesn't need to be expensive paint. If this is your first time, pick out a brown (such as burnt umber) and a black (ivory black). Little plastic paint mixing cups are also handy for this process. If you're at the craft store anyway, pick a few of those up.
- Apply several washes to get the color your heart desires. For this project I didn't actually do any weathering since the top coats were weathered, but both dry-brushing and color washes can be used to do surface weathering.
At this point let's assume you're done with your top coat. Congrats! Before you pop that Champagne (or sparkling cider) don't forget to clear coat your parts. You can clear coat now or after full assembly, that's up to you. I use Liquitex spray varnish or Rust-oleum clear coats. Matte, semi-gloss, or gloss are your choices, depending on what you want the final prop to look like. The clear coat seals in your weathering and gives it a protective layer.
I've ruined many a paint job in my day, here's a few tips and tricks to avoid having to sand off your top coat and start from primer.
- Practice on scraps. I sound like a broken record but seriously, practice first. Test your paints in layers before applying them to a final part, from primer to final coat.
- Always use a primer appropriate for the type of material you're painting. Read the labels. A primer is designed to adhere to specific surfaces and creates a binding layer between the paint and the part. For 3d printed parts use a primer compatible with plastic.
- Warm paint sprays better. If you're using spray paint, fill a small container with "warm" water and let the can of spray paint sit in the warm water for a few minutes.
- Do light passes. More coats are better than spraying paint too heavy and having to sand off a bad coat. Be patient.
- If you use spray paint, get one of these. Your hands will thank you.
- Wear a respirator and only use spray paint in a well ventilated area. I have a spray booth that I built for around $100 that vents outside of my shop, I highly recommend going that route if you have room. I'll do an Instructable documenting that process next.
- Don't be afraid to try out different paints, textures, and techniques. I've learned a lot by accident.
Wiring Electronics
.jpg)
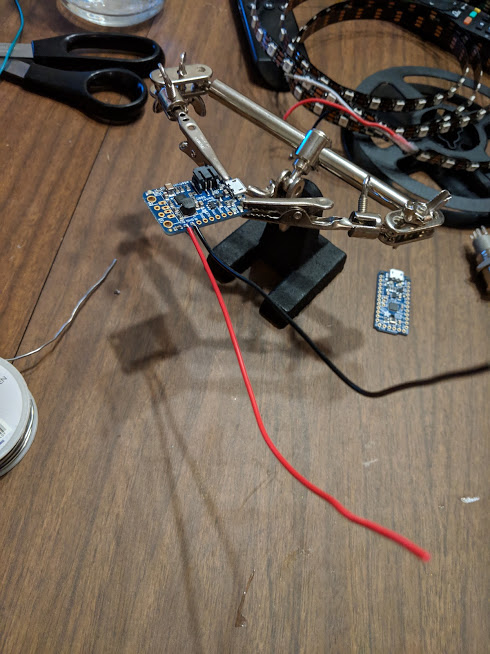
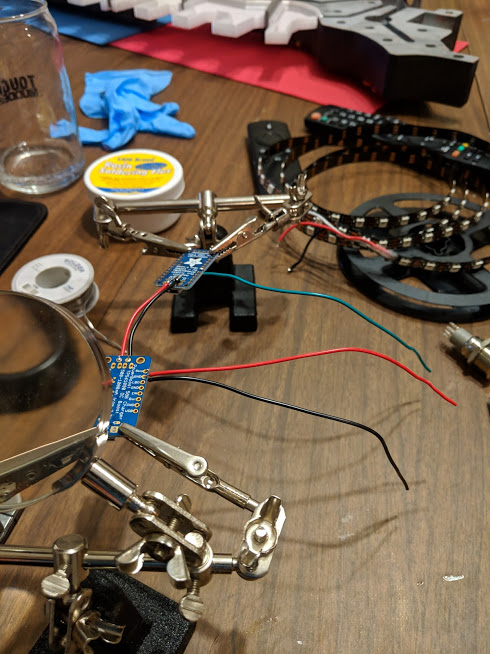
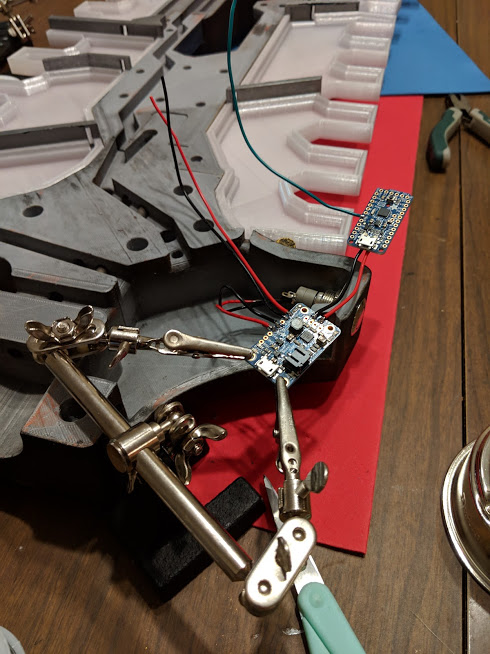
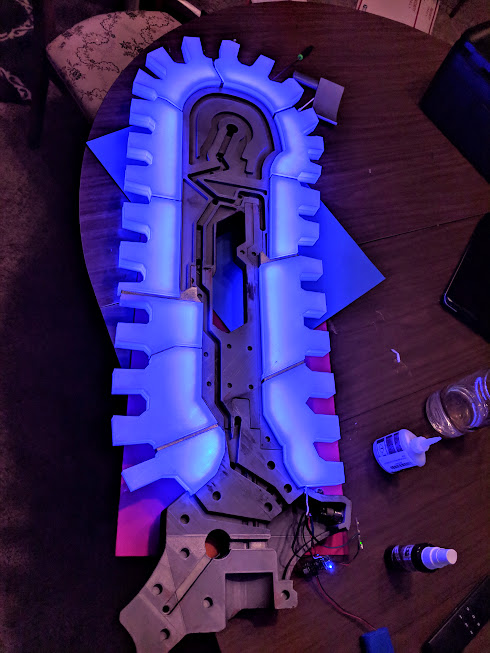
For this project I used Neopixel LEDs by Adafruit. They are programmable digital LEDs that are controlled by a microcontroller and run off of 5V power (3.7volt battery).
Tools Needed:
- Soldering Iron
- Solder
- Wire Cutter/Stripper (if you don't have one like this, I highly recommend it)
- Flux
- Heat Shrink Tubing
- Heat Gun/Lighter
- Helping Hand / Third Hand
- Wire
Shopping list:
- Neopixel digital LEDs (I used two meters for this project)
- Adafruit Pro Trinket - 5V 16MHz
- Powerboost 500C
- Wire - Green, Red, Black
- Lithium Ion Battery Pack (I used 4400mAh, you may need more or less)
- USB A to Micro-B Cable
- On/off switch (this is what I used, you can use something else, like this)
Optional:
- USB LiIon/LiPoly Charger and/or this version
- Arduino Uno (or off brand equivalent) and USB A to B cable
- Breadboard
Note: I've only used Neopixels twice for projects. They are amazing but they add an additional level of complexity and cost to a project. I am not an expert and will link additional resources below.
There are multiple ways to use and control Neopixels. This is the method I used. Take it with a grain of salt and experiment with them!
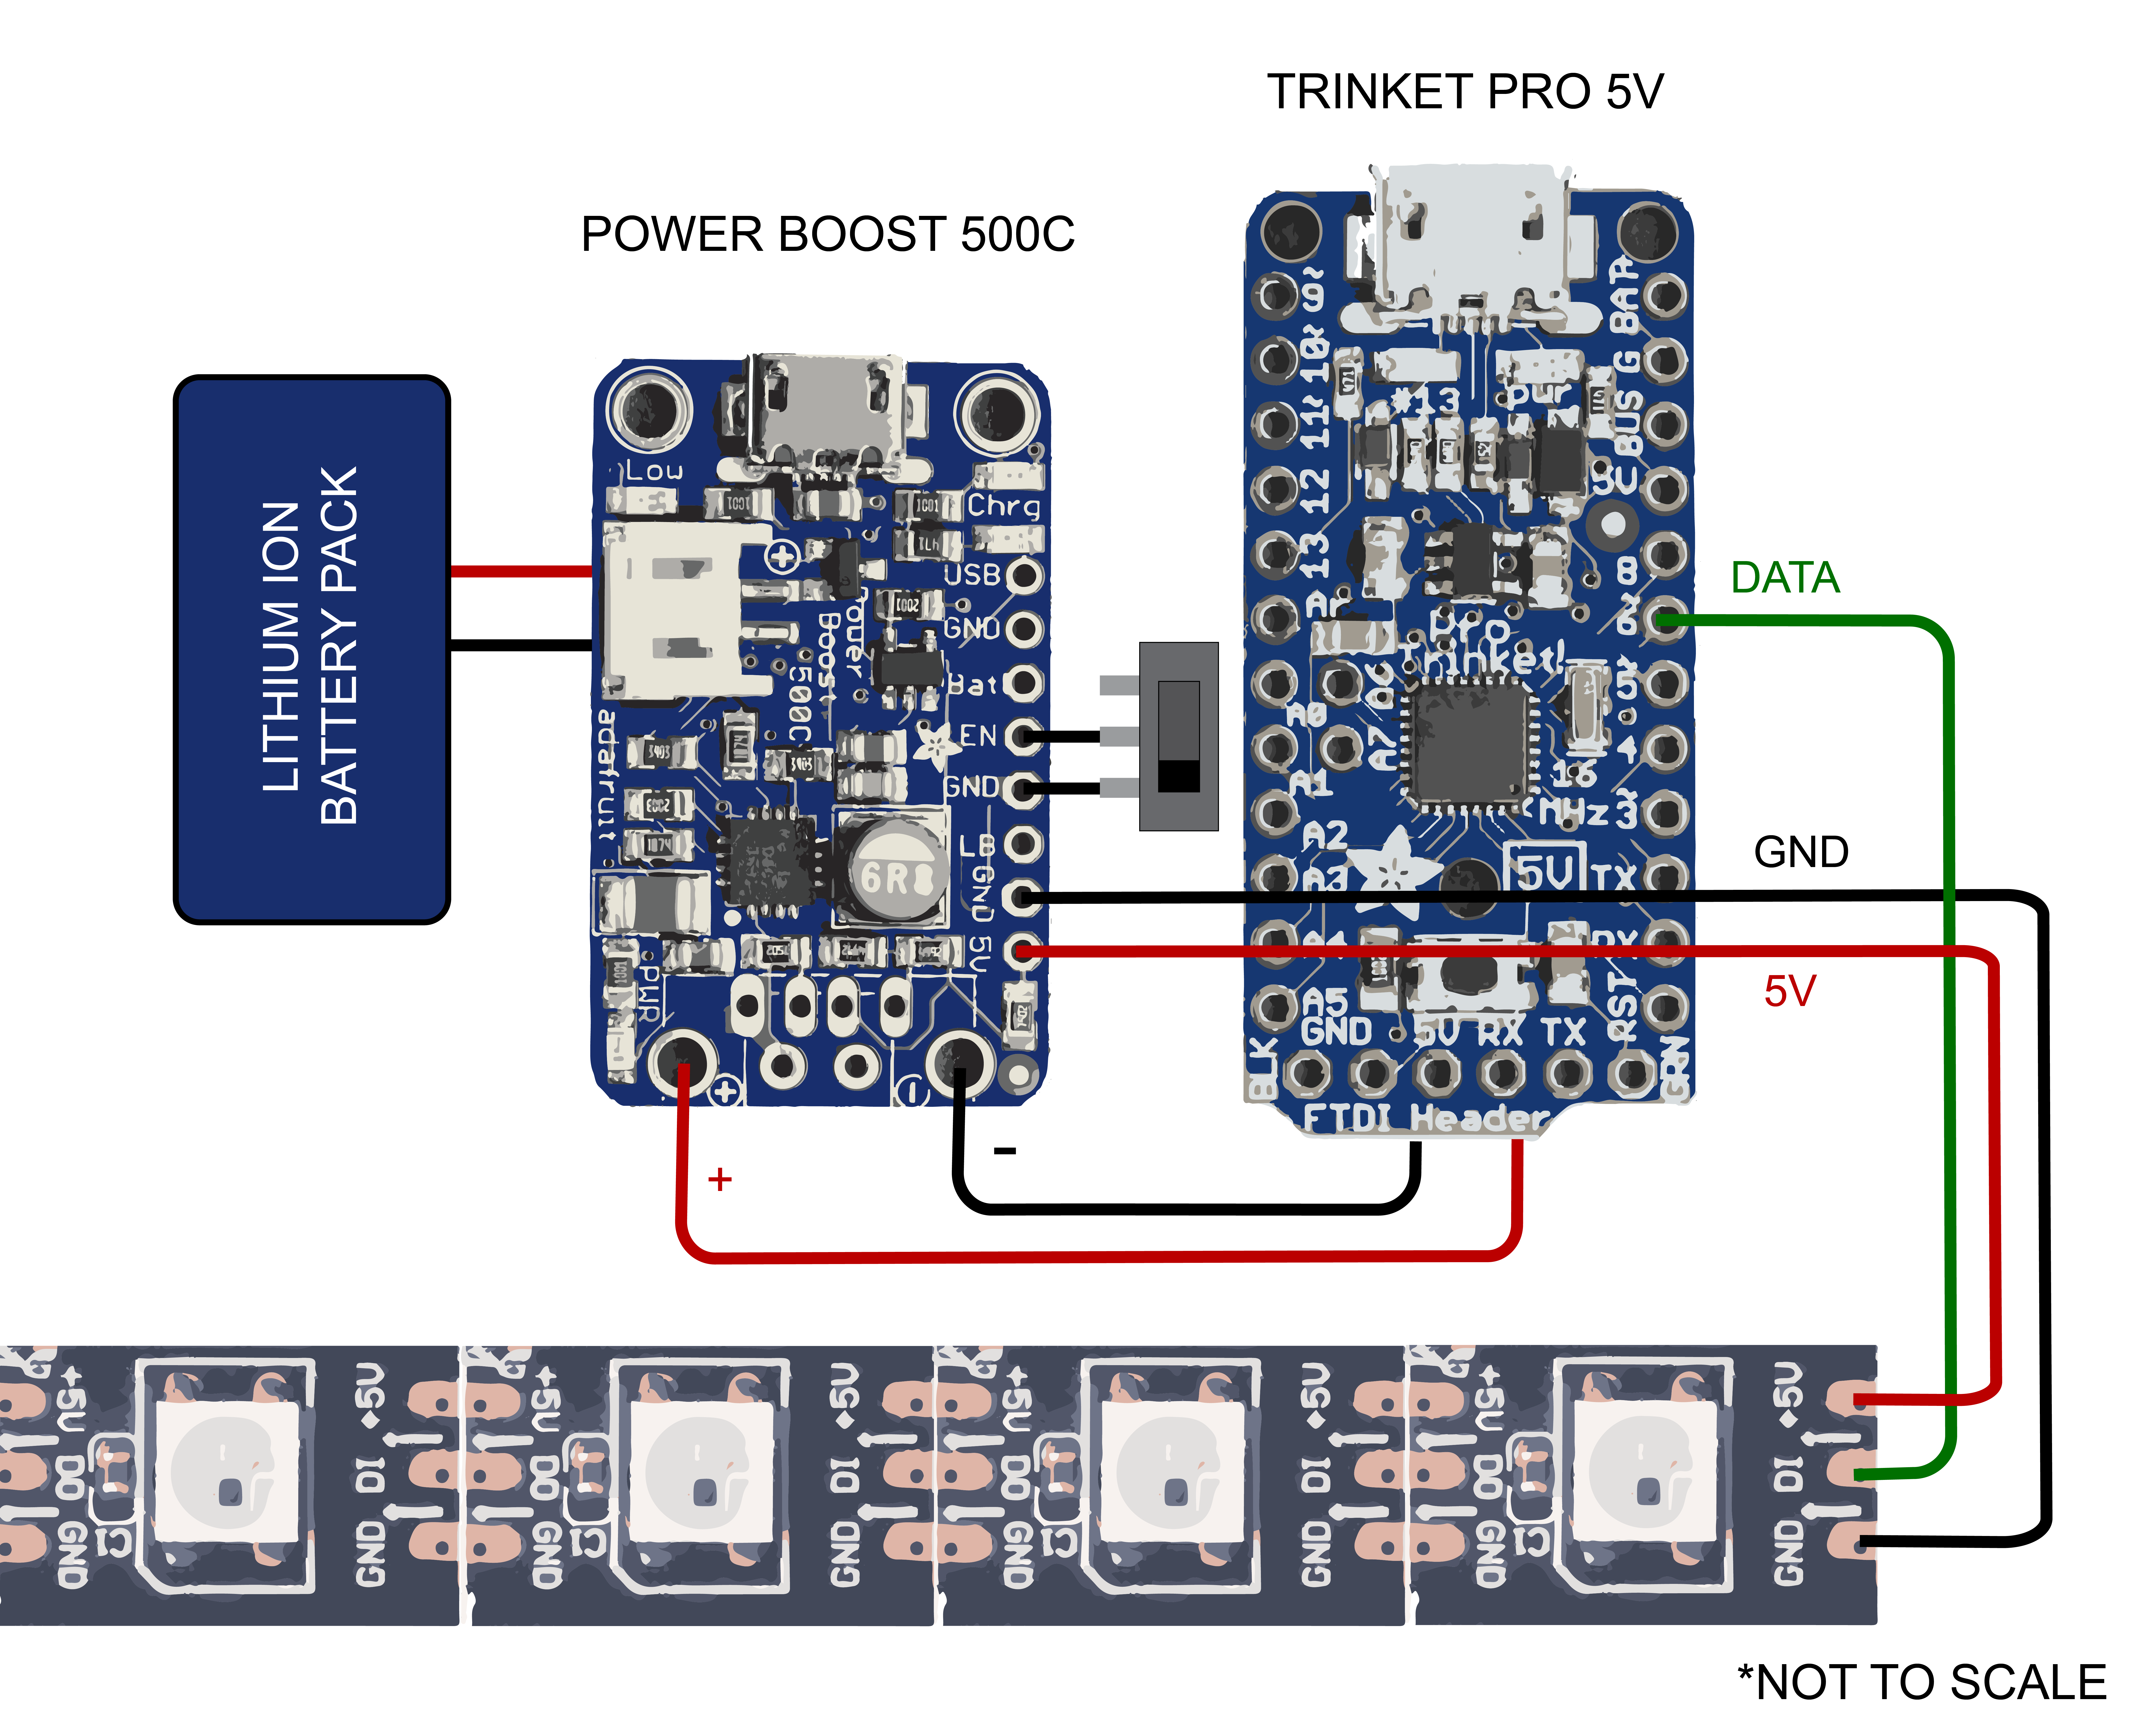
The battery we are going to use for this is a 3.7v Lithium Ion battery, but the Neopixels and the Trinket run off 5 volt. Brian that math doesn't add up. Nope, it sure doesn't. This is where the POWERBOOST 500C (PB500C) comes in. The battery connects to that board and it converts the battery output to 5.2v, which is then connected to the Trinket. Huzzah! Now we're cooking with coconut oil.
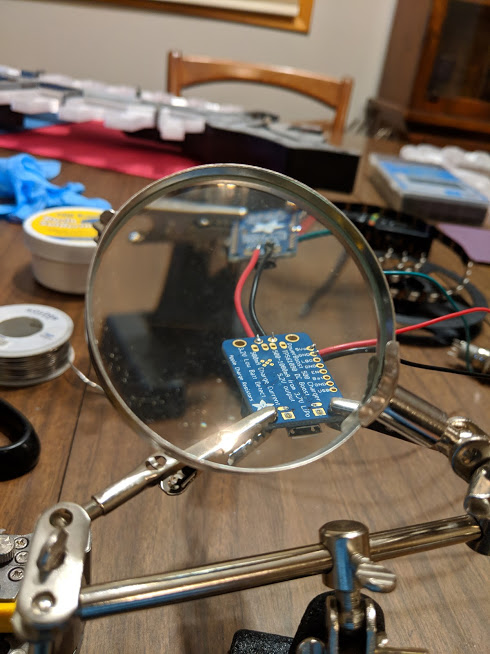
Alright, so now that we kind of understand what's going on, let's start soldering things together. If you are rusty or don't have a lot of experience soldering, practice on a breadboard first. I like using red for positive/5v, black for negative/ground, and green for data lines. That keeps things nice and neat. 22AWG wire works great for this. (Wire gauge is backwards, the bigger the number, the smaller the wire). Refer to my chart above for the wiring diagram.
- Solder the positive and negative on the PB500C to the positive and negative on the Trinket (reverse side).
- Solder wires to the GND (ground) and 5V to the powerboost. Solder the corresponding wires to the LED strip.
- Solder a green wire to the data ("din" center pin) on the LED strip. Attach this to the 6 pin on the Trinket.
- If you want to use a switch to turn the power on and off, solder the center pin of the switch to the EN pin on the PB500C and bottom pin of the switch to the GND pin (right below the EN pin).
- Plug in your battery to the PB500C.
Wait. Nothing happened?! Don't worry, you haven't programmed the code yet for the Neopixels. This is normal.
I am not experienced enough with this next section to try to explain it to you. Arduino code is a foreign language to me and I am still learning. I will defer to the below resources on the setup process of the software and code required. Feel free to leave any questions below and I will do my best to point you in the right direction!
Additional resources:
- Kamui cosplay has a wonderful ebook with an introduction to Neopixels. Buy her books.
- Adafruit has an awesome "Uberguide" to Neopixels
- Tweaking4All.com has a great guide to different Arduino codes for Neopixels. This is what I used to learn how to adapt codes for different effects.
A few quick tips for dealing with Neopixels
- Take your time. This isn't a quick process. If you aren't willing to be patient, use standard 12V LED strips, it will cause far less of a headache and heartbreak for you.
- Practice soldering before actually soldering onto the boards / LEDs. Buy a breadboard and practice your solder points. Invest in a decent soldering iron with a nice tip. Tin the tip before use.
- While learning to use the arduino code, an Arduino Uno is quicker to test code on. Use a test strip of LEDs to test your code.
- Use heat shrink to cover the connections of the LED strips. It's a quick and easy way to make sure everything stays nice and neat. I have a pack of precut heat shrink tubing I got off of Amazon.
- You can charge your batteries with the PB500C, but I usually keep a couple of extra USB chargers on hand to charge extra batteries.
Final Assembly
.jpg)
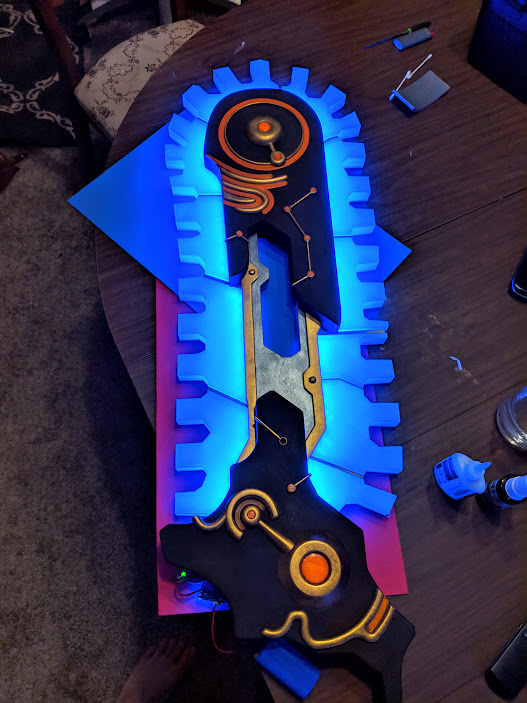
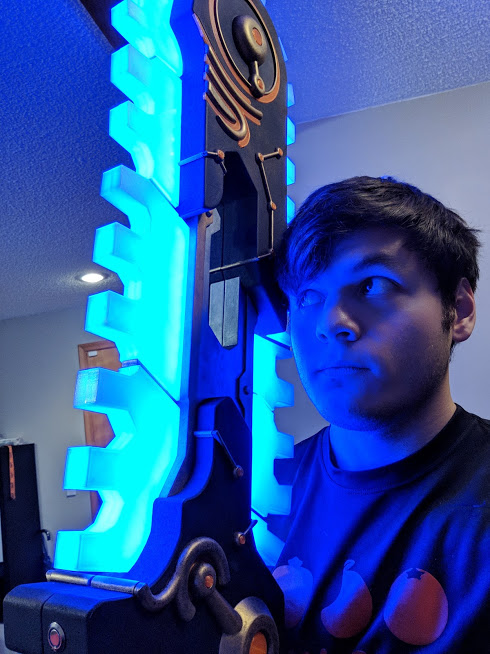
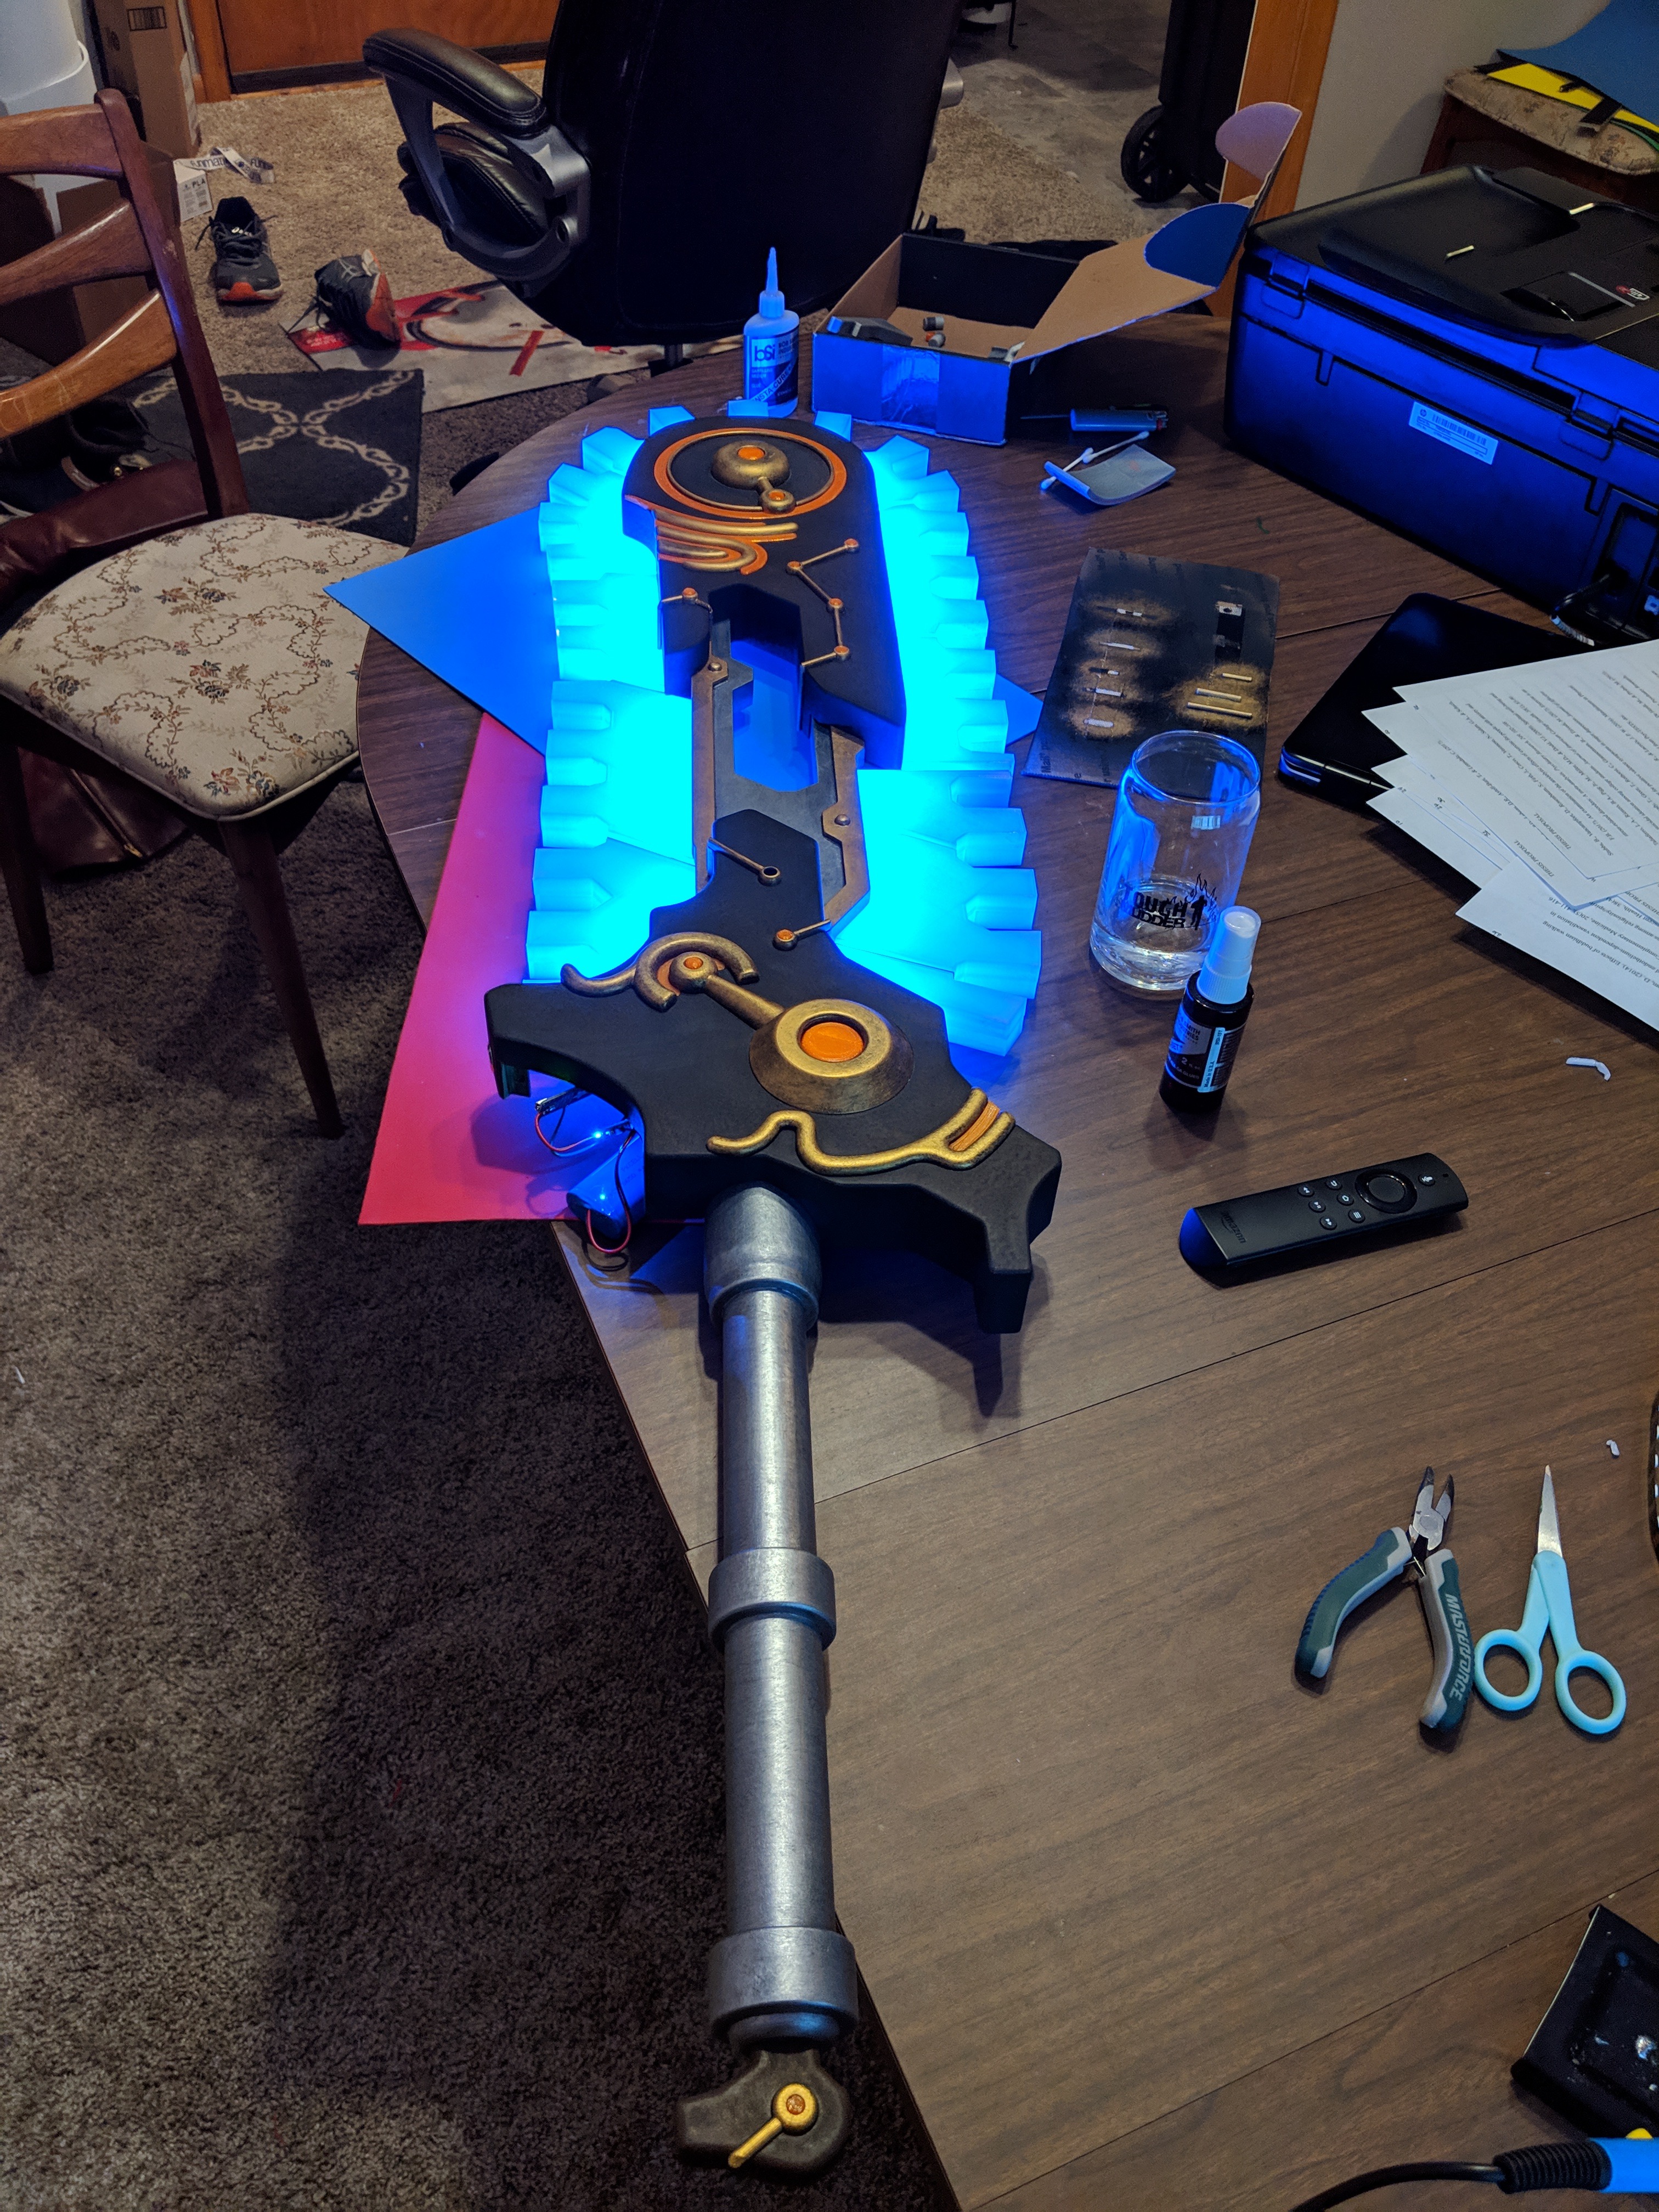
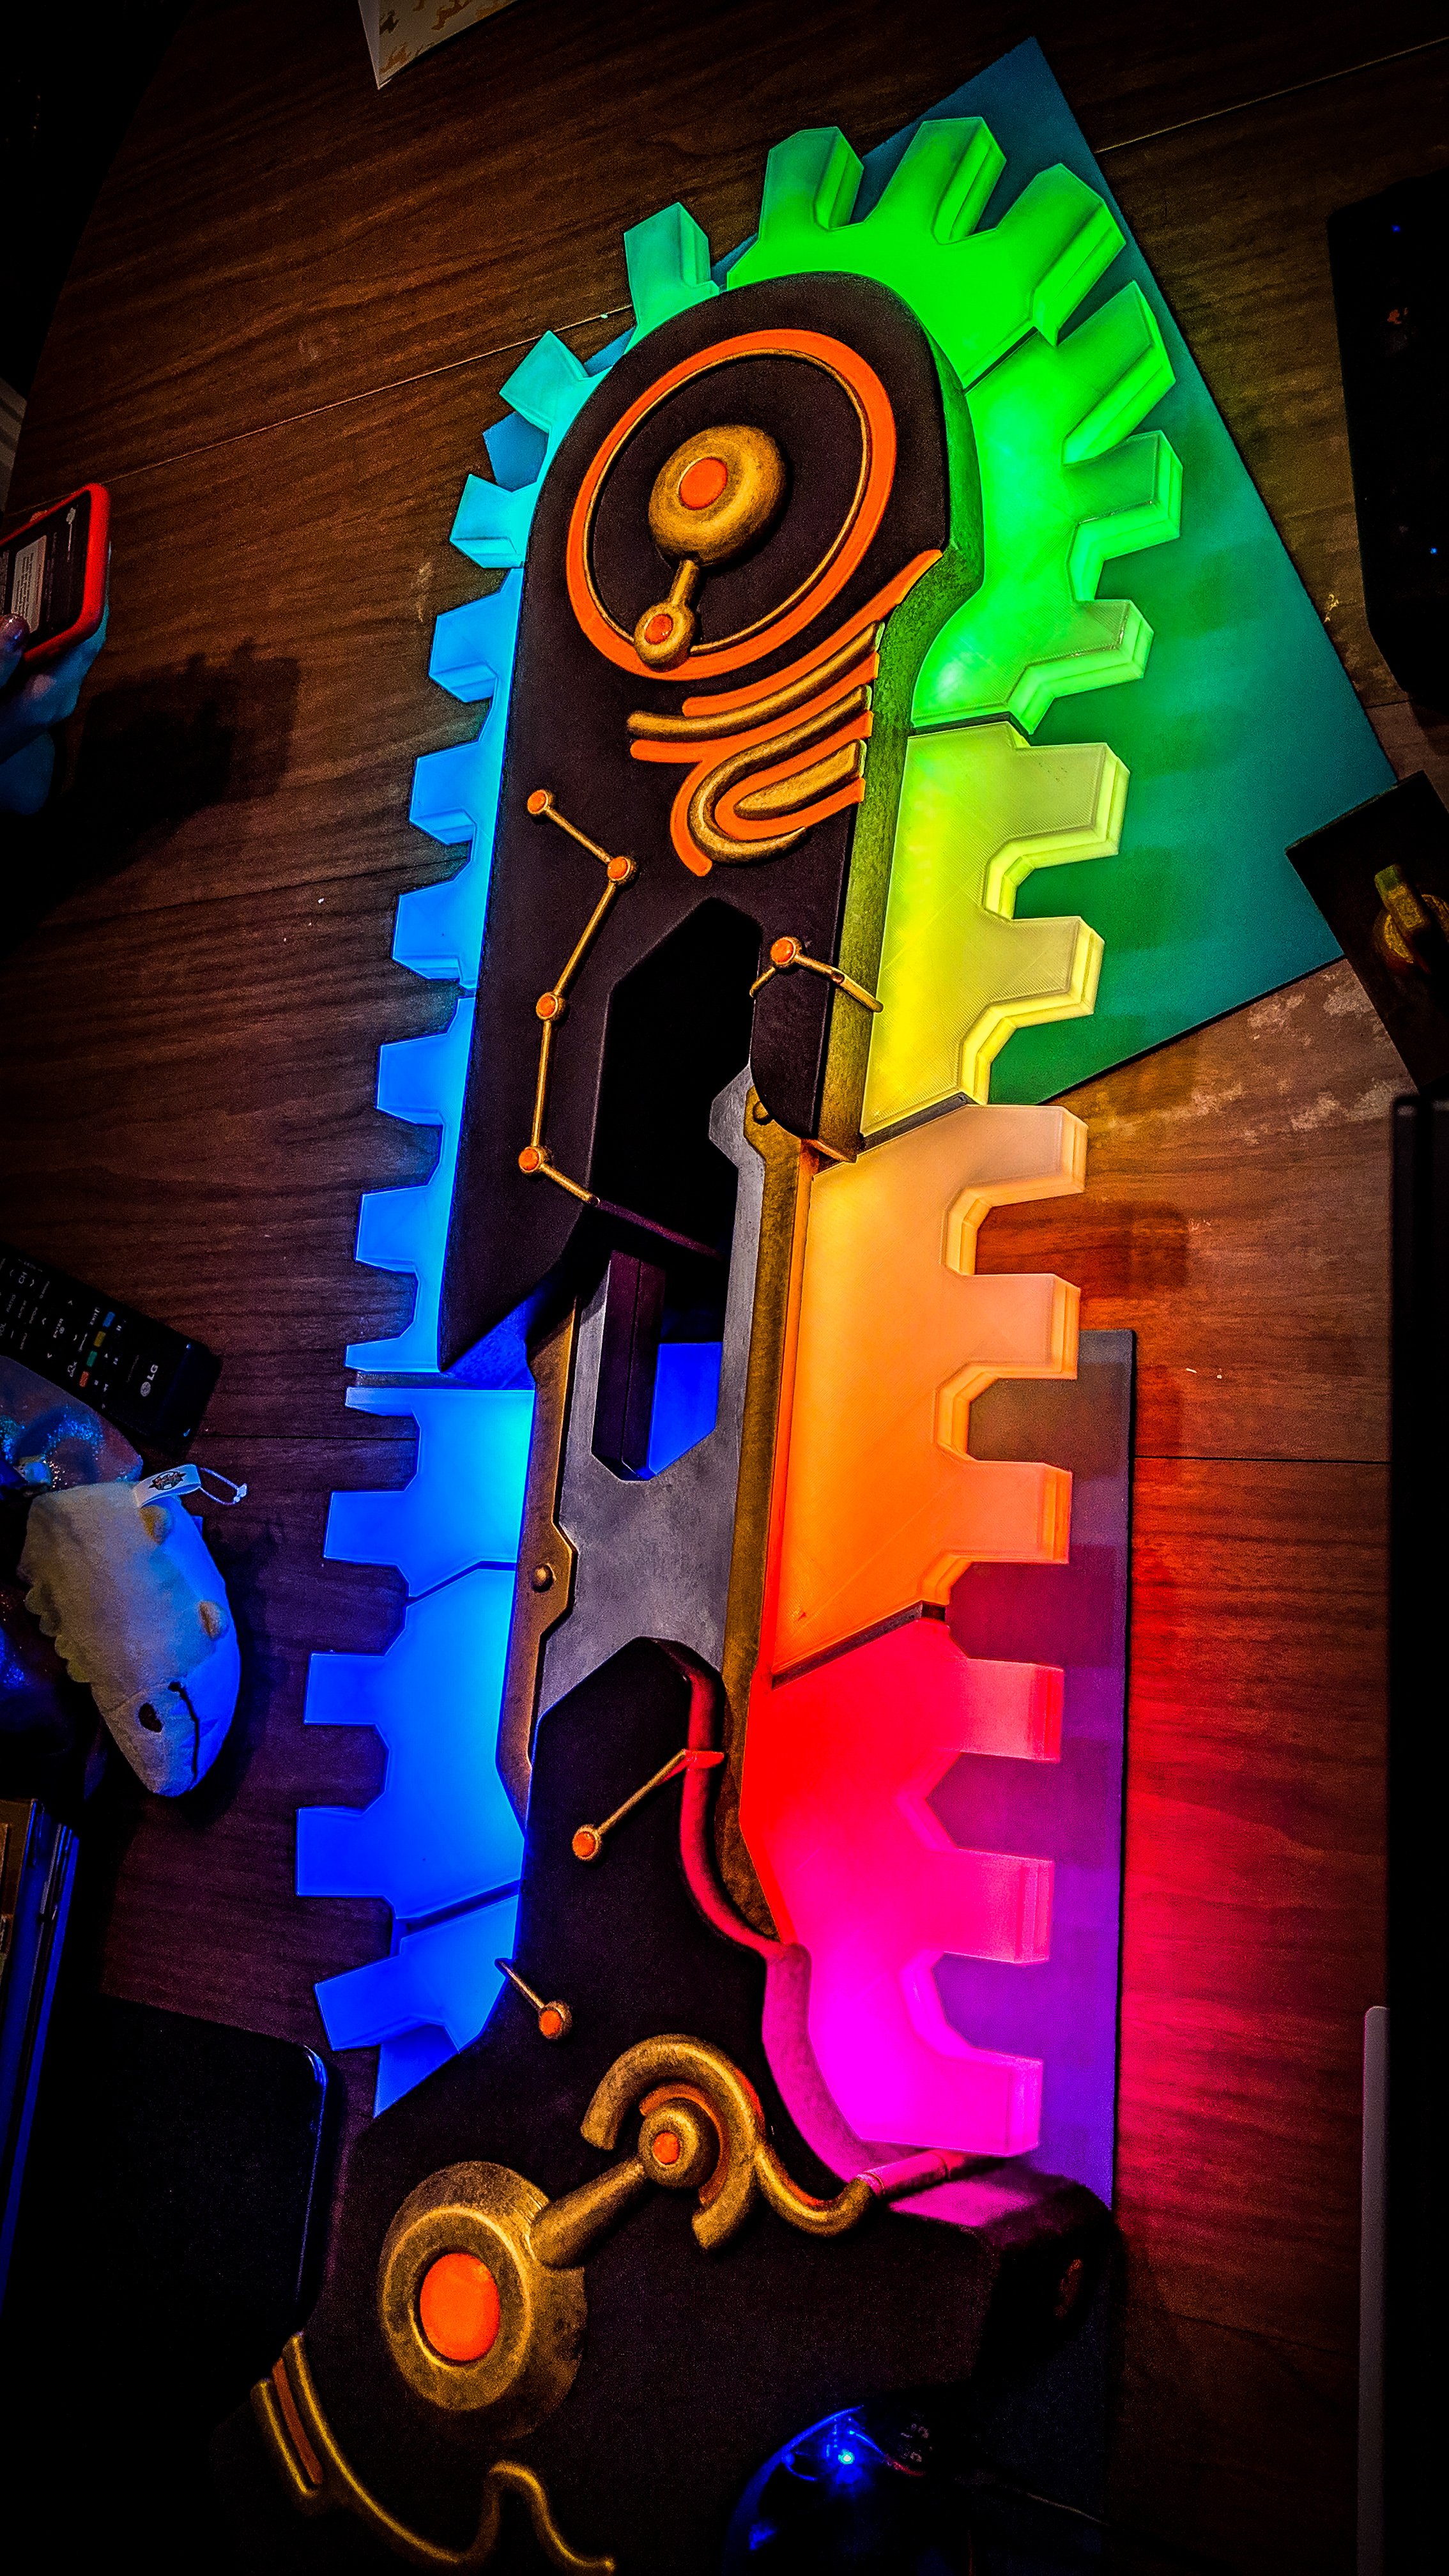
This step is both my favorite and the most nerve wracking. At this point I had two halves of the main body, one with the LED strip and teeth attached to it at, and one without the teeth.
I've been working on getting snap tolerances as close as possible and this was a stress test of those skills. Luckily every groove fit together and I heard the satisfying click of the pins locking together.
An important note about snap fitting joints: when painting, either mask the joints (they aren't going to be seen anyway) or take care to avoid getting paint in/on them. I had to go back and sand paint off several areas to get pieces to fit together. The tolerances I mentioned early do not account for paint, only the shrinkage of the filament. You could add a little extra wiggle room but that's hard to gauge.
The parts making up the halves themselves were glued together but the two separate halves are held together by the pins, no glue. This was partially because I was afraid to pry them apart, partially because I wanted to be able to access the internals if there was a problem with the LEDs, and partially because it worked.
For assembly, Bob Smith Industries super glue is my go-to. Their accelerator is also a must have. When connecting two parts, put super glue on one and spray accelerator on the other. They will almost instantly bond.
Cosplay
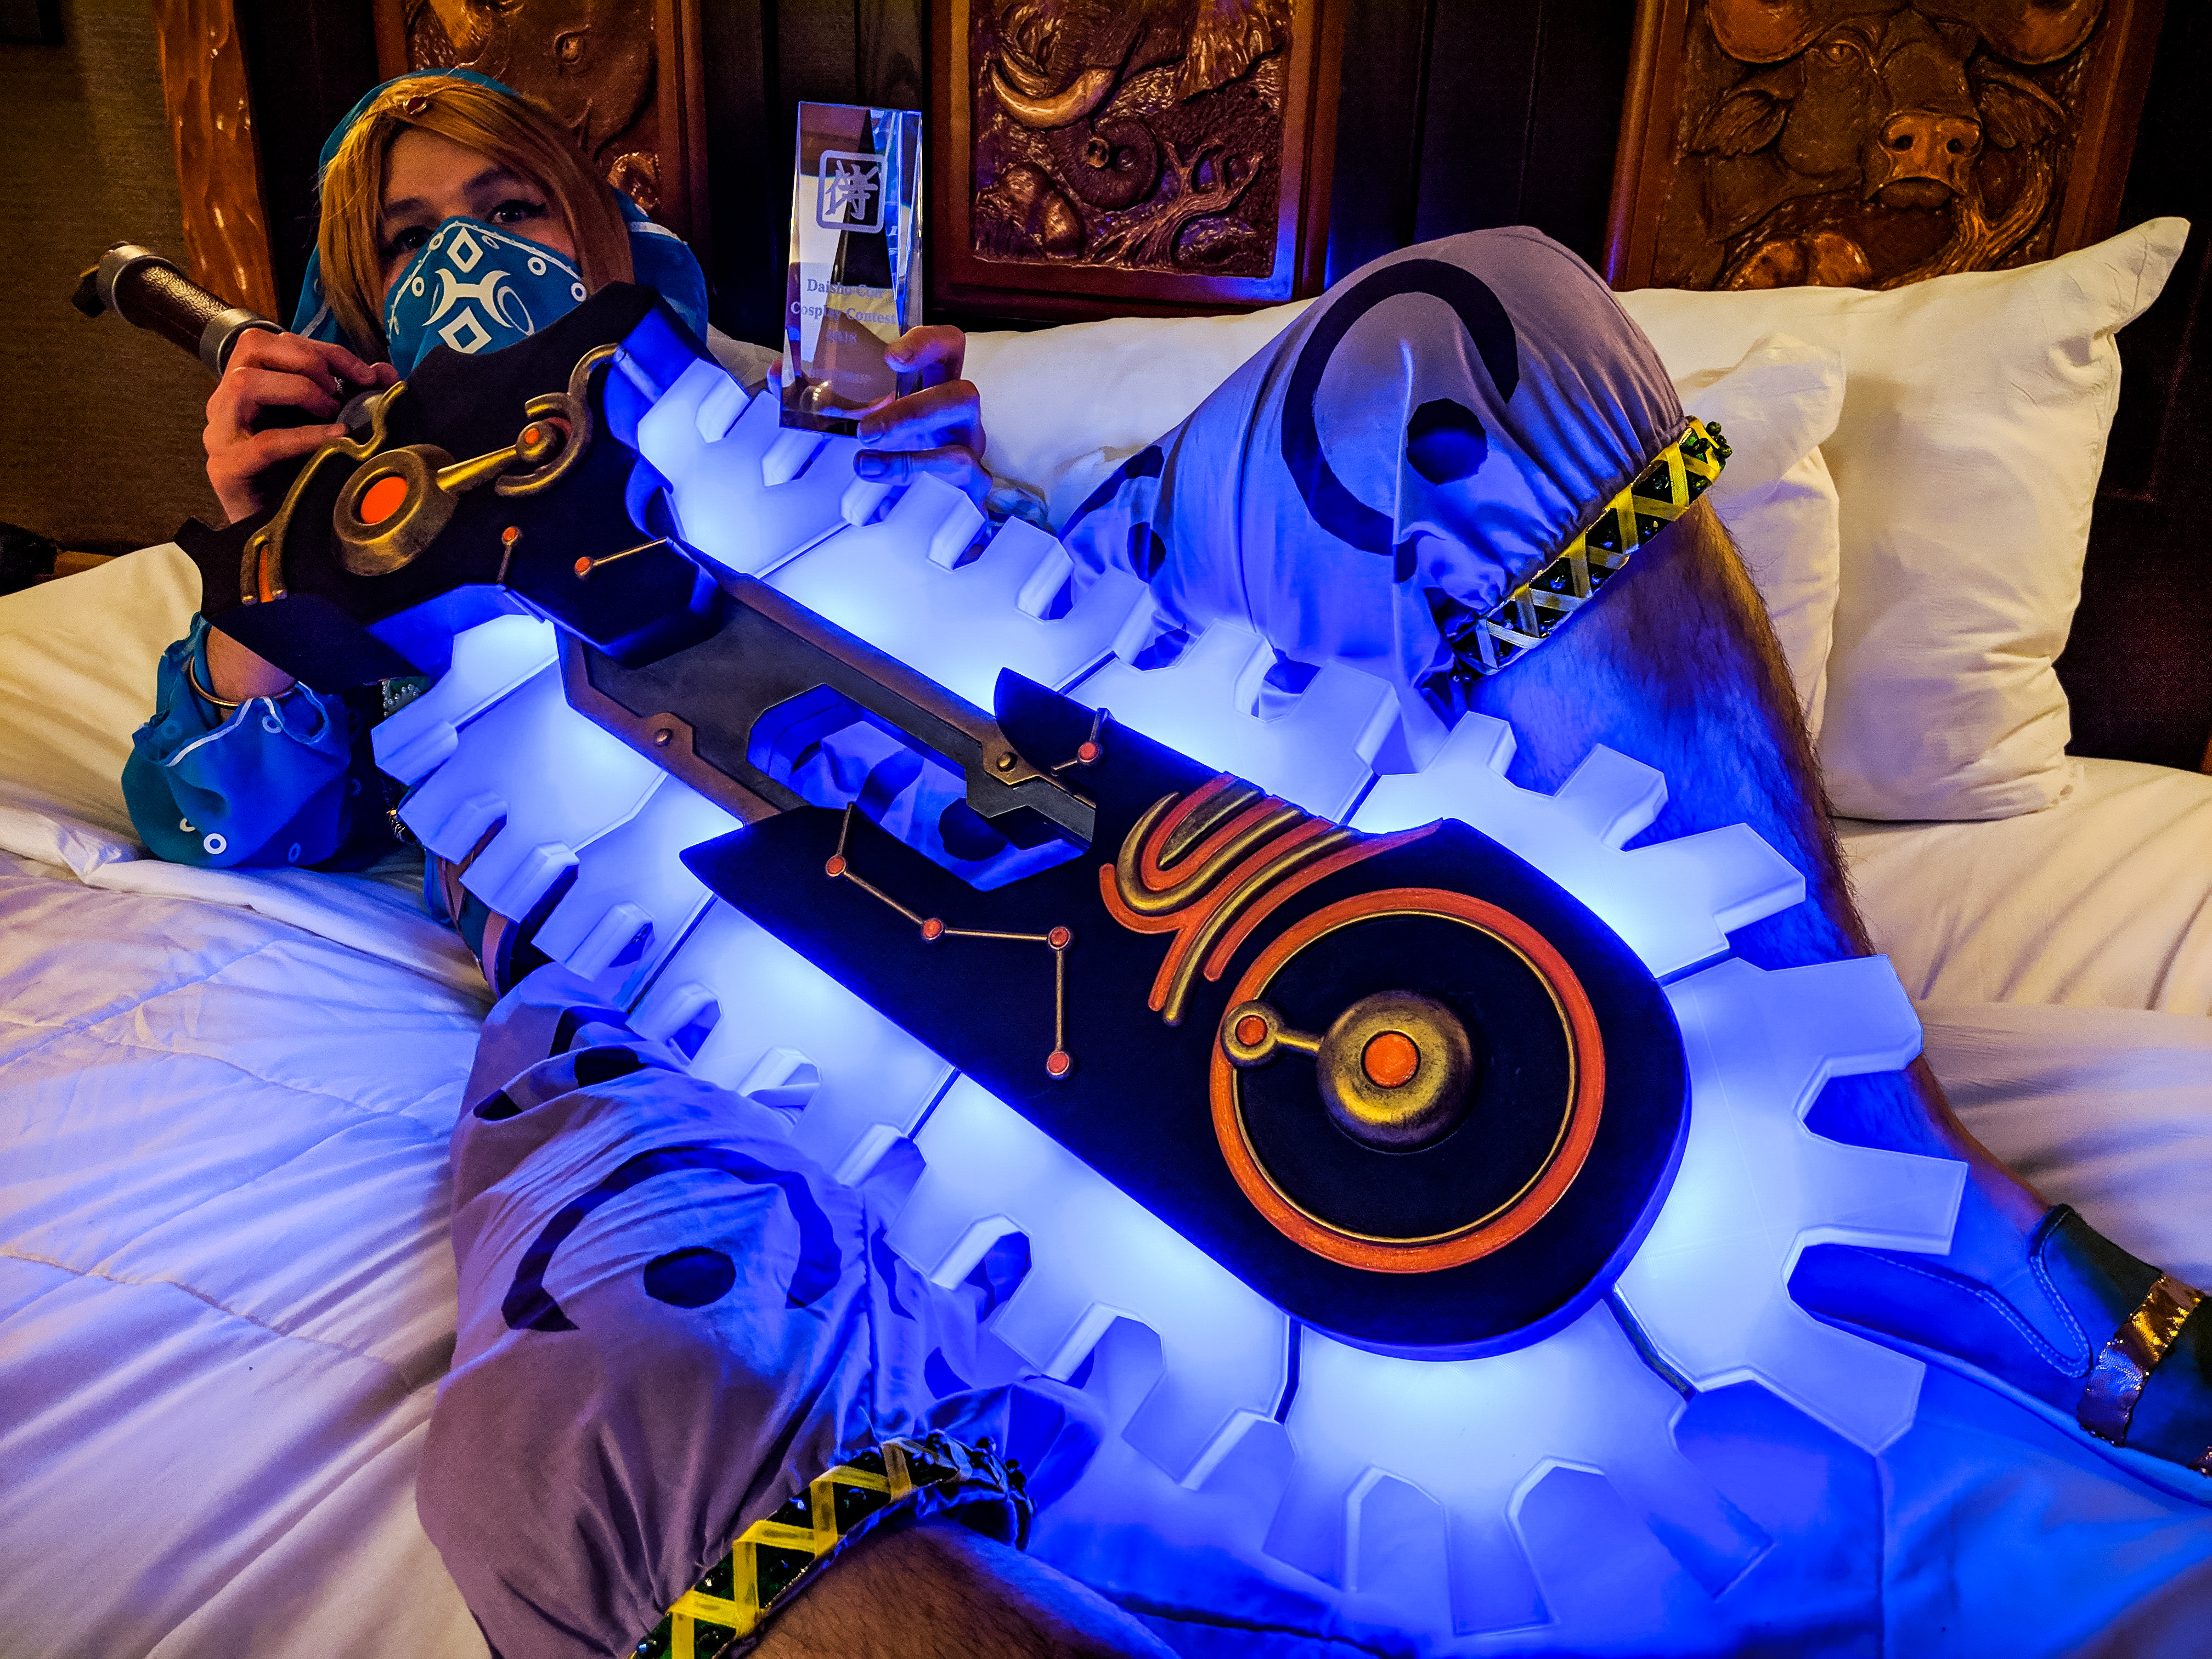
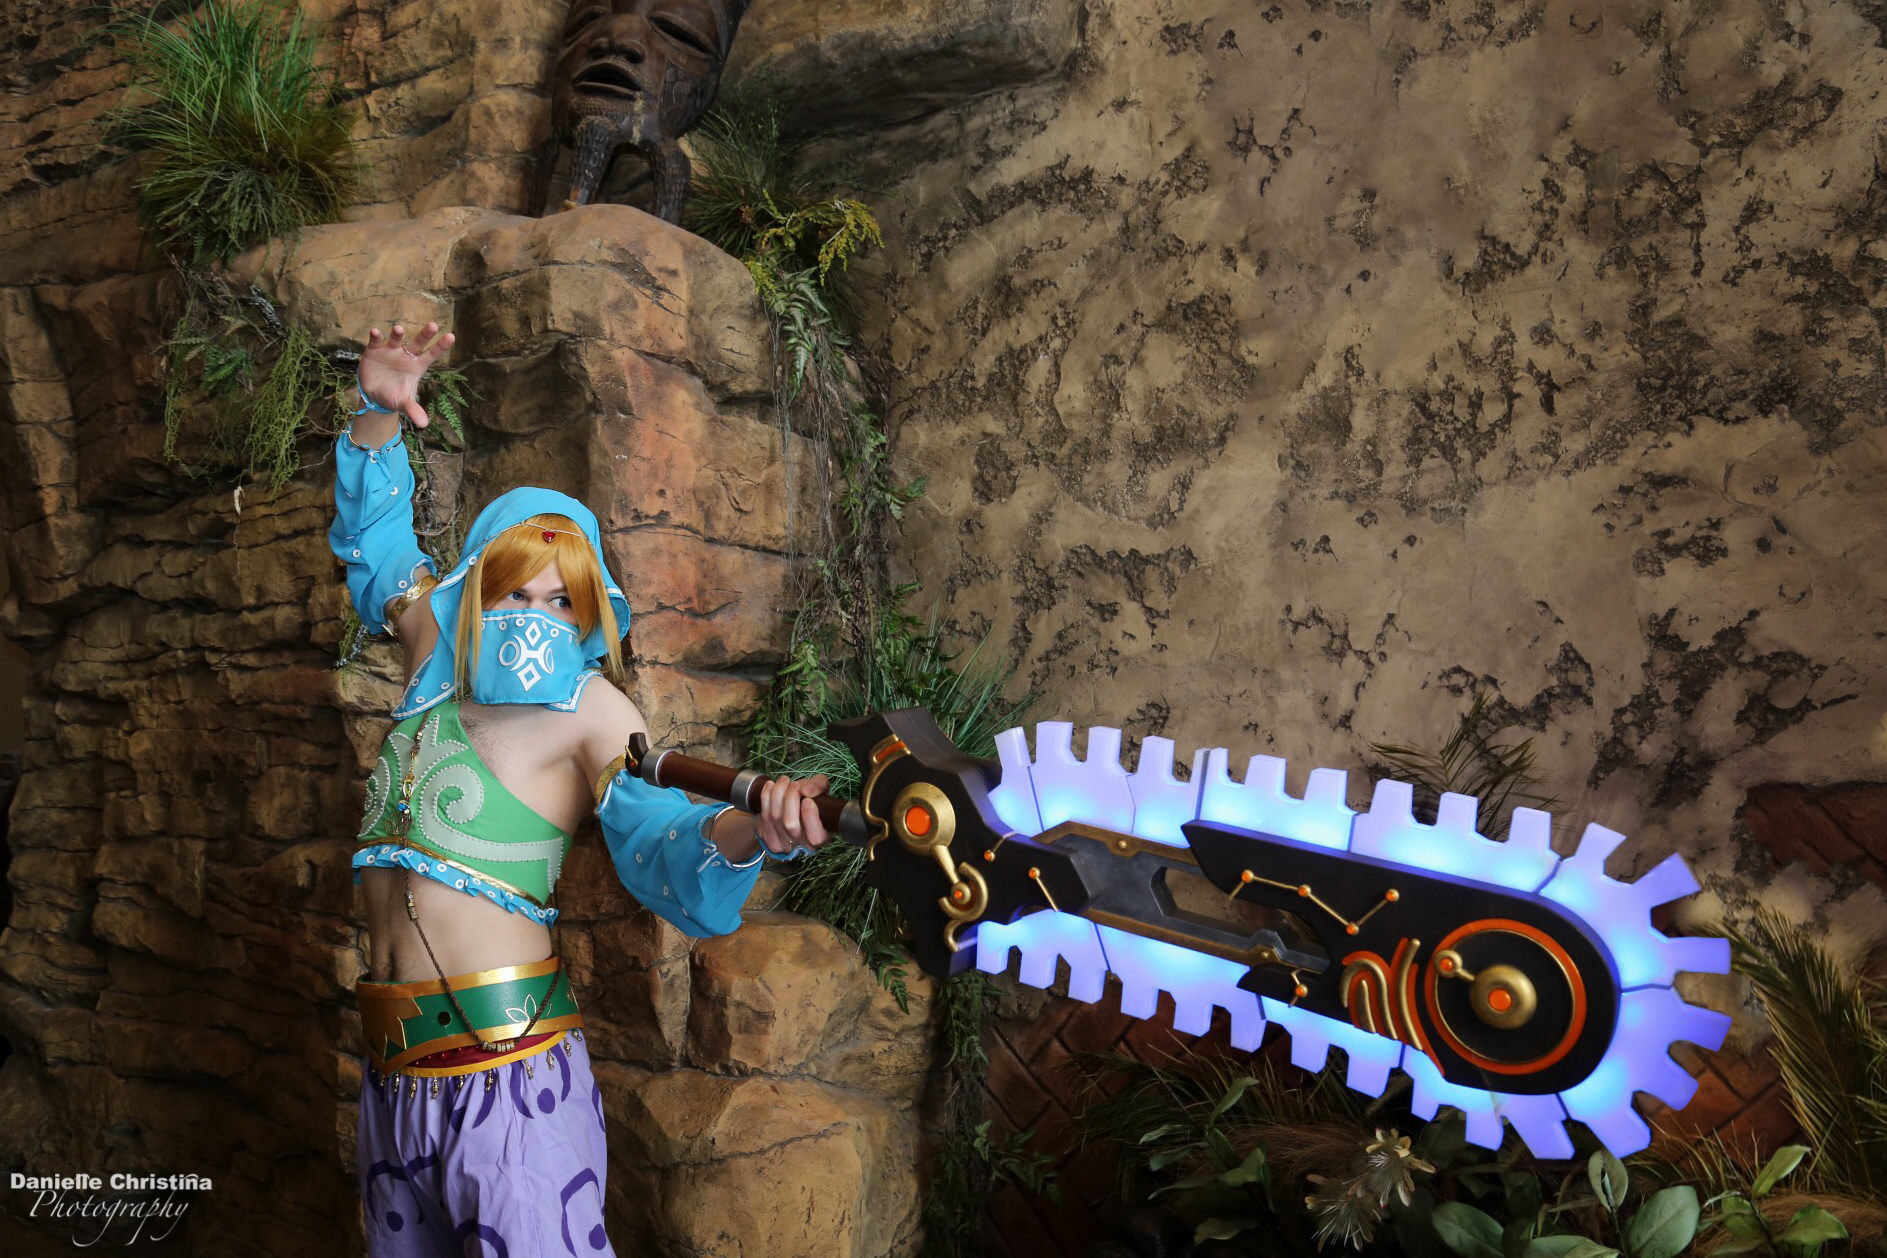
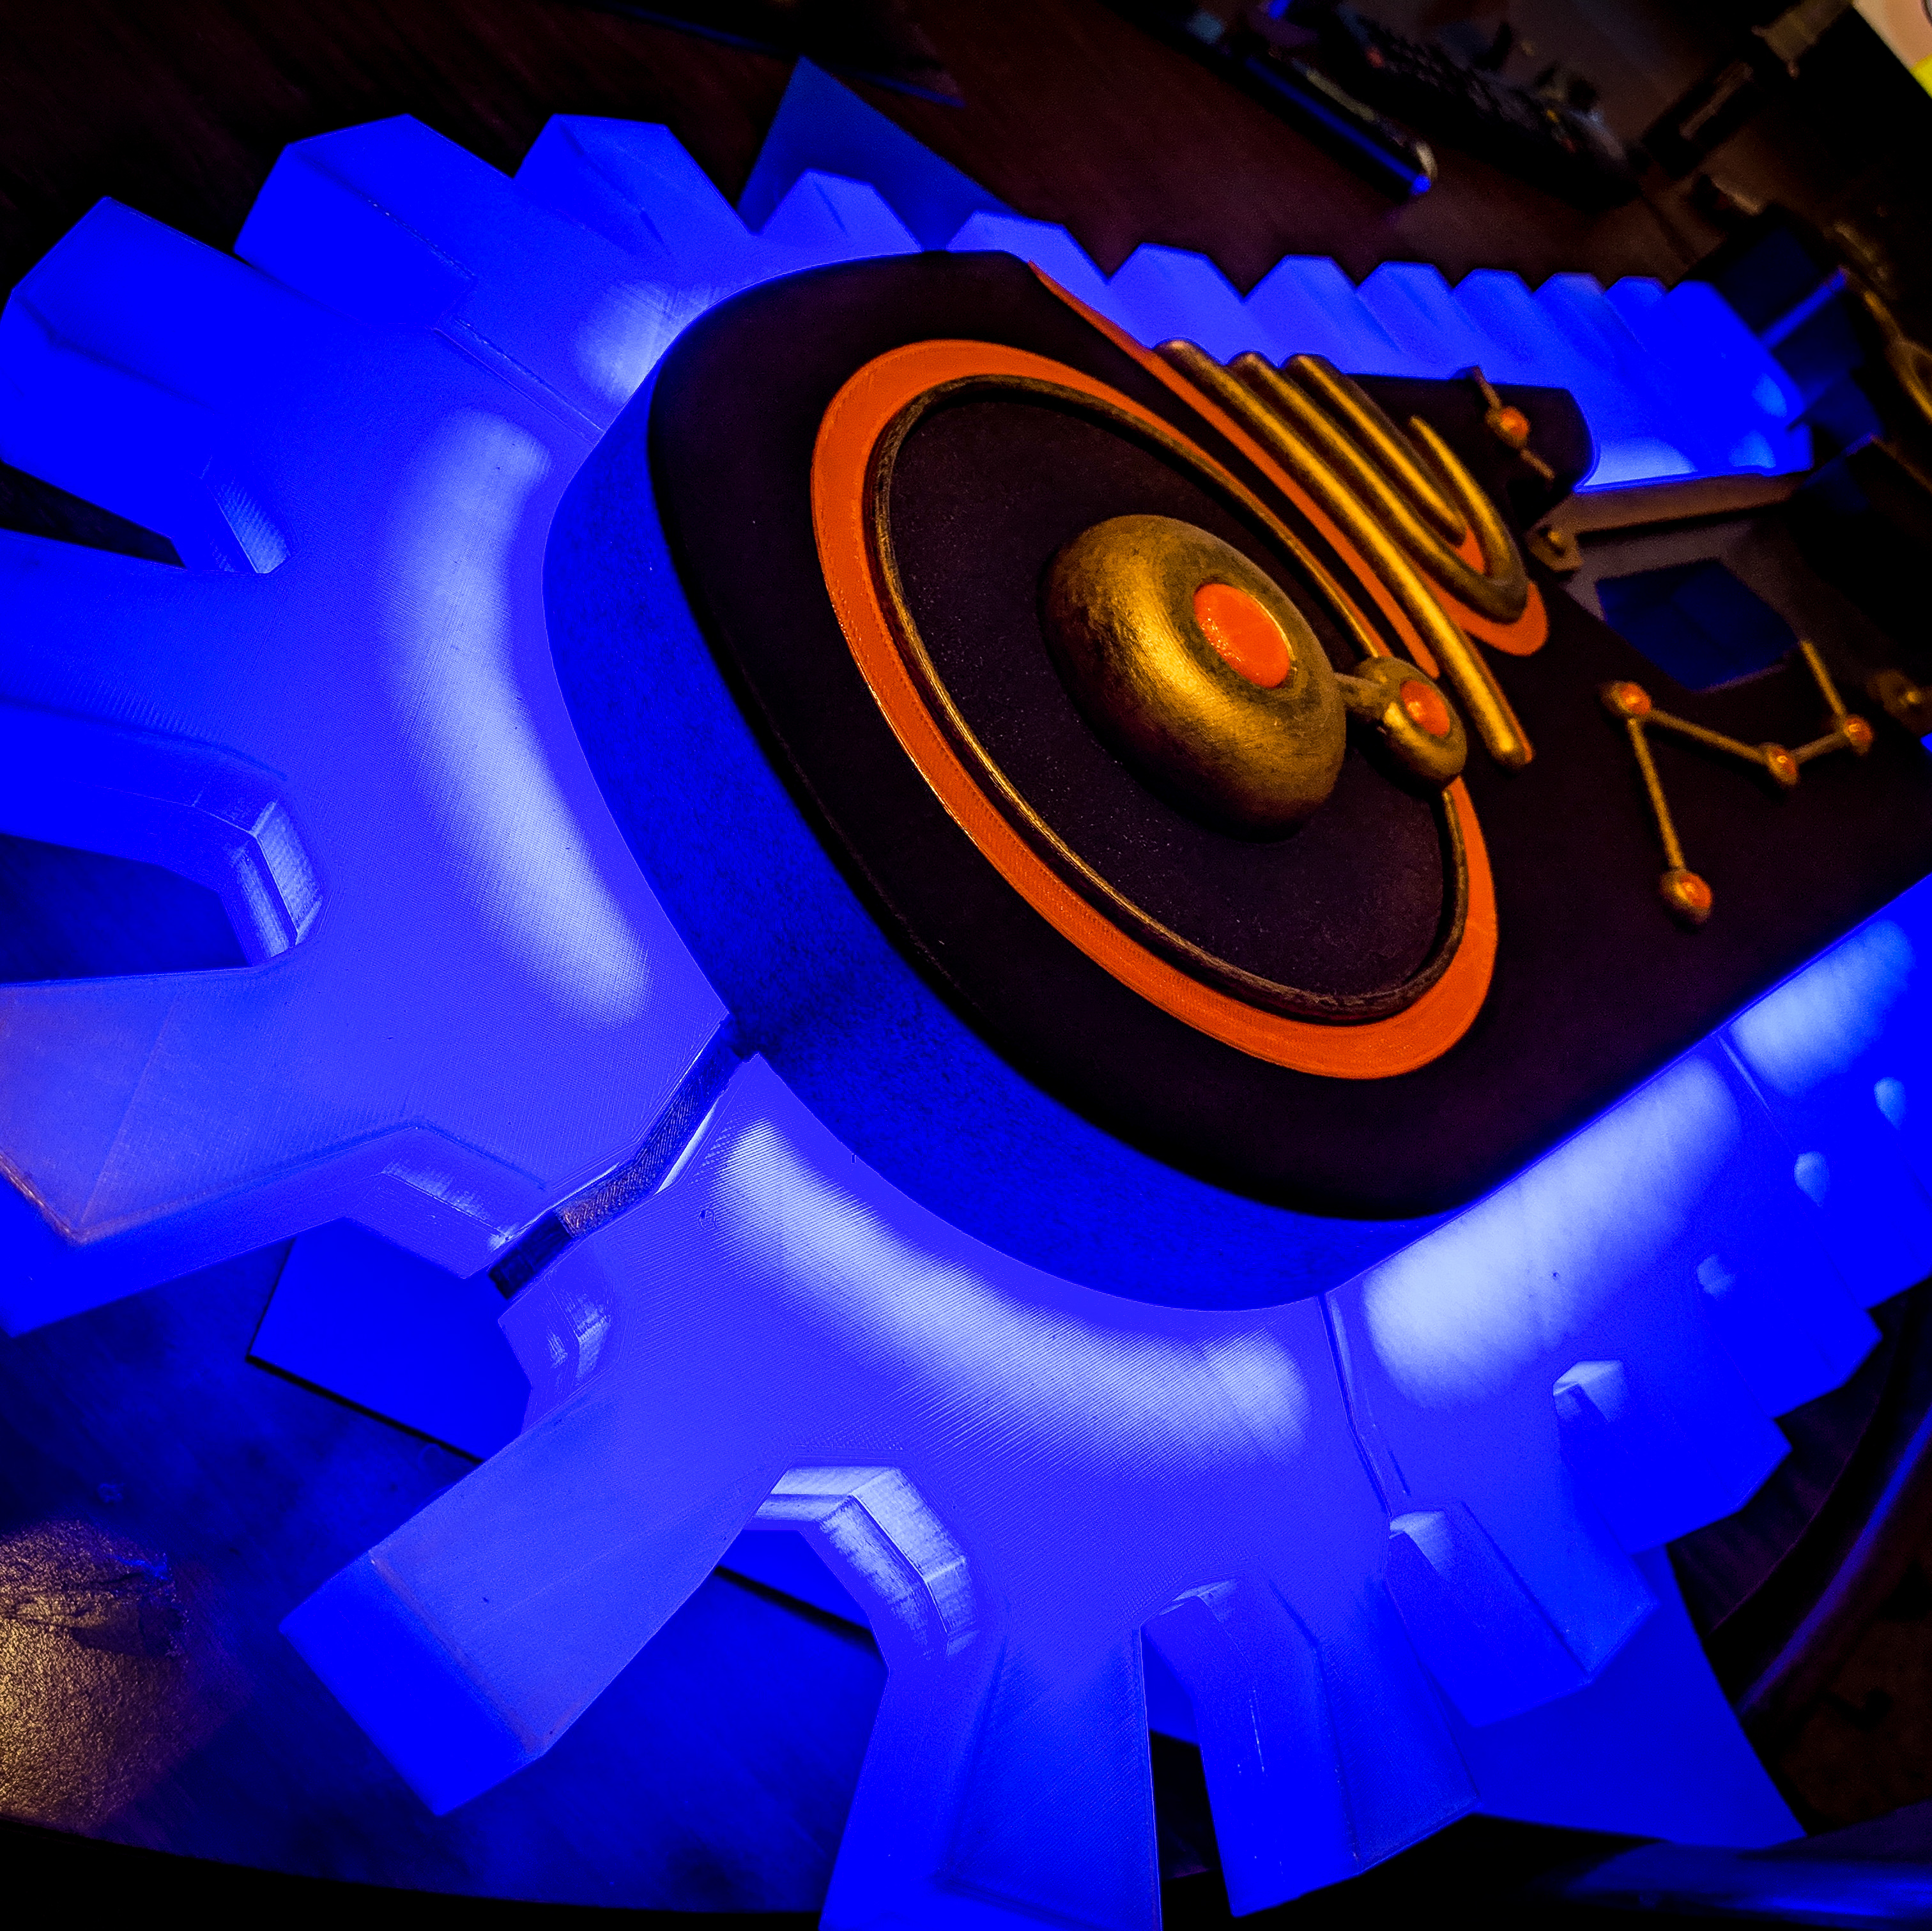
If you've made it this far it's time to sit back and enjoy your work.
Cosplay is about having fun. I hope you had fun following along and remember that whatever your end result is, it's amazing and you should be proud of it.
To quote Daft Punk, "buy it, use it, break, fix it, trash it, change it, mail, upgrade it." Keep practicing different techniques, make mistakes, learn from them, and make new mistakes. Every new project is a new opportunity to try new things and make new mistakes. Don't be afraid to fail, nothing is a failure, it's just not your final draft.
Leave any questions you have down below! I'm most responsive via Instagram if you have any questions!