Anamorphic Lense Flares in Photoshop Elements (7)
by digitech in Design > Digital Graphics
22505 Views, 21 Favorites, 0 Comments
Anamorphic Lense Flares in Photoshop Elements (7)
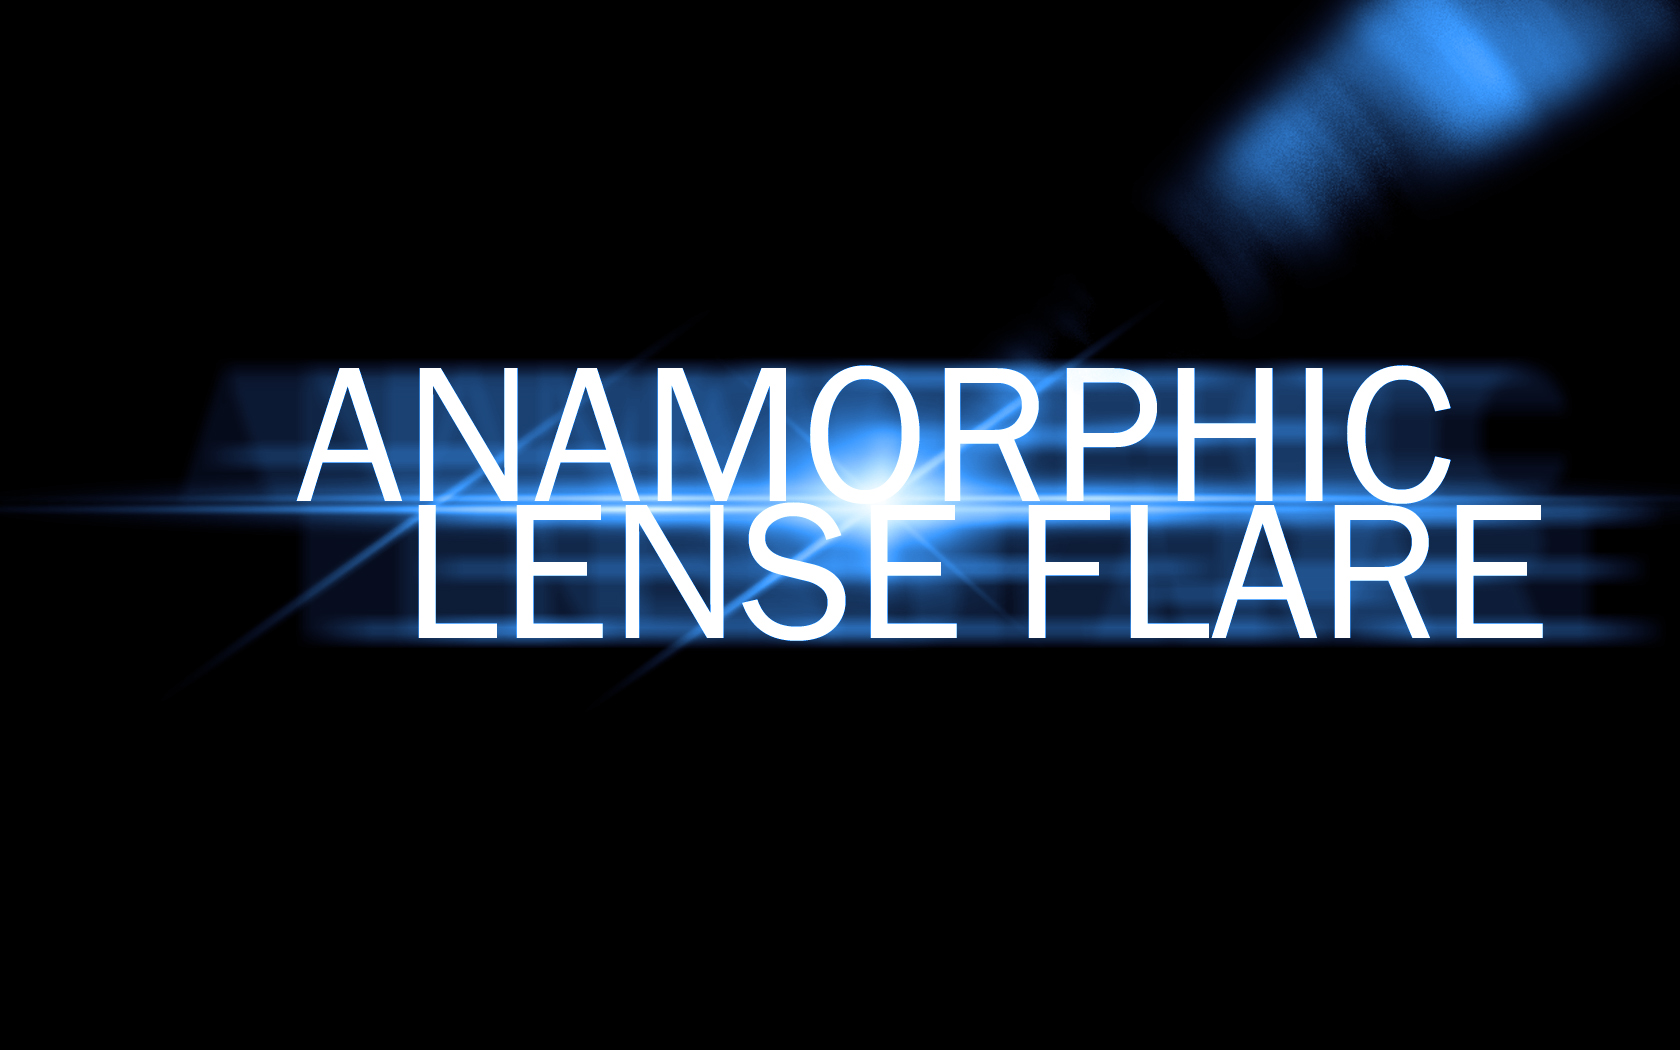
The Lense Flares included in PhotoShop Elements are great, but lets create a better, anamorphic one.
The Elements
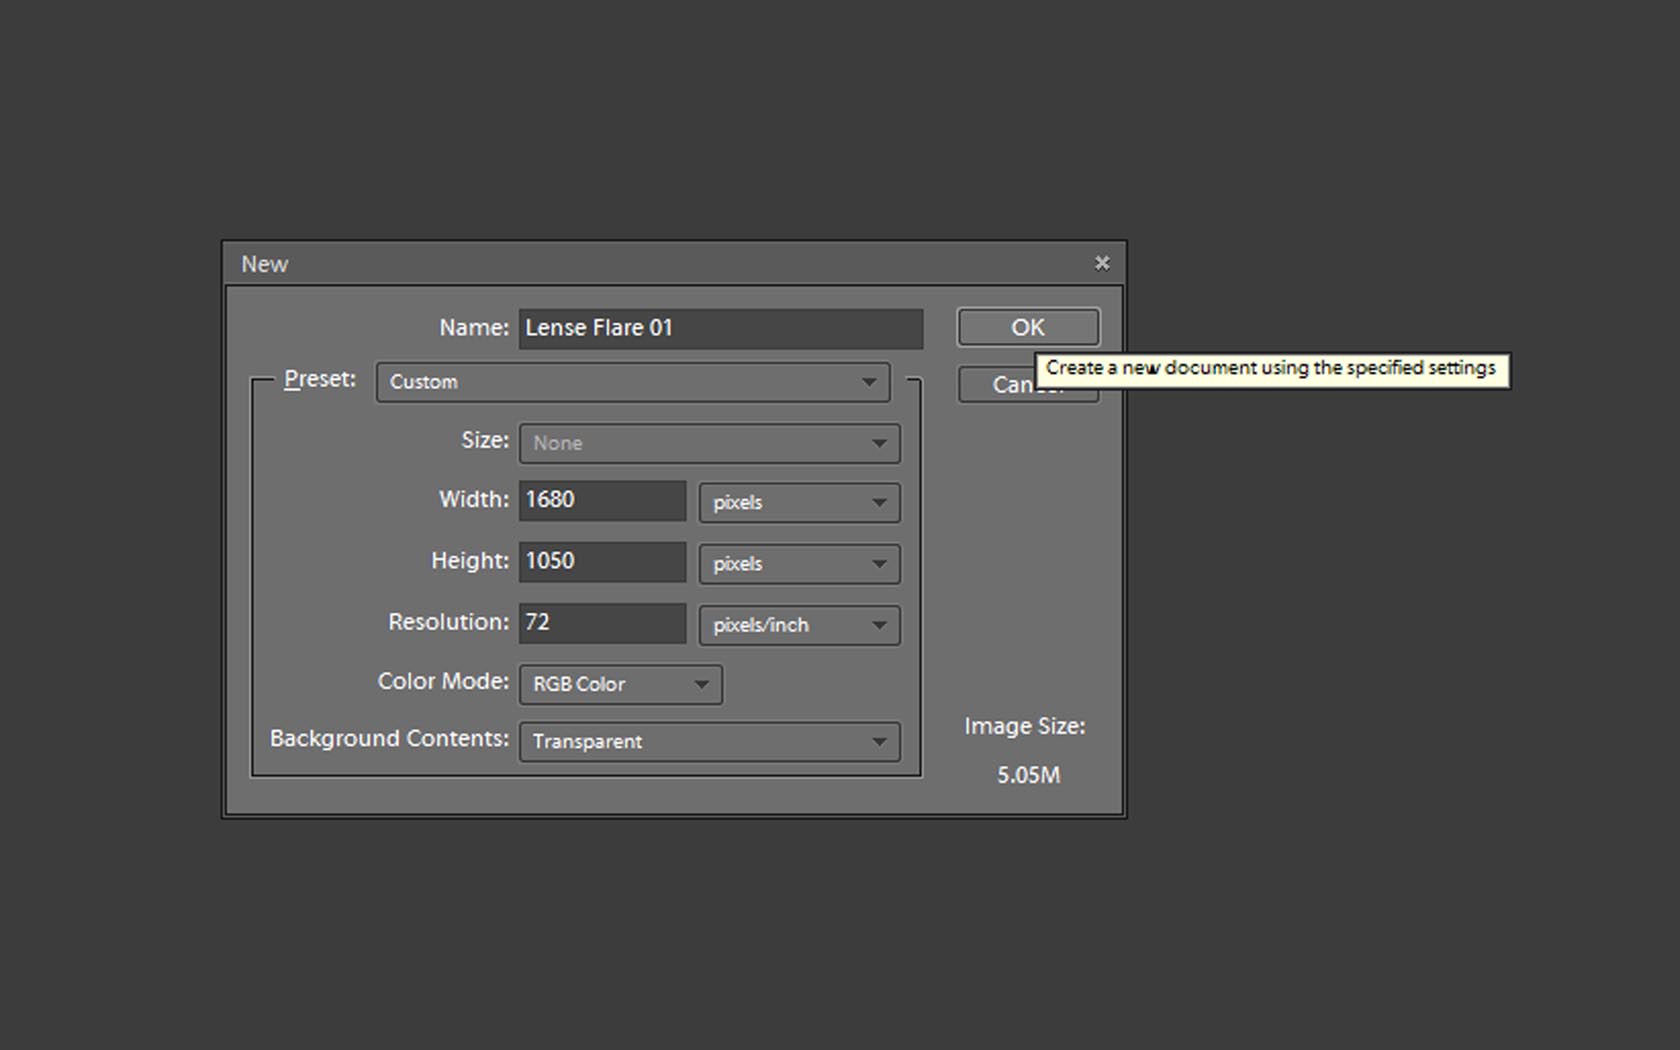
Create a new project in Photo Shop with a transparent background.
adjust the size depending on the type of application your working on.
The Flare will be composed of the following:
The Main Shiny Thing (MST)
The Other Shiny Things That Make The Flare Look Even Cooler (OSTTMTFLEC)
These Will Be Explained In Depth Later (TWBEIDL)
adjust the size depending on the type of application your working on.
The Flare will be composed of the following:
The Main Shiny Thing (MST)
The Other Shiny Things That Make The Flare Look Even Cooler (OSTTMTFLEC)
These Will Be Explained In Depth Later (TWBEIDL)
Main Shiny Thing
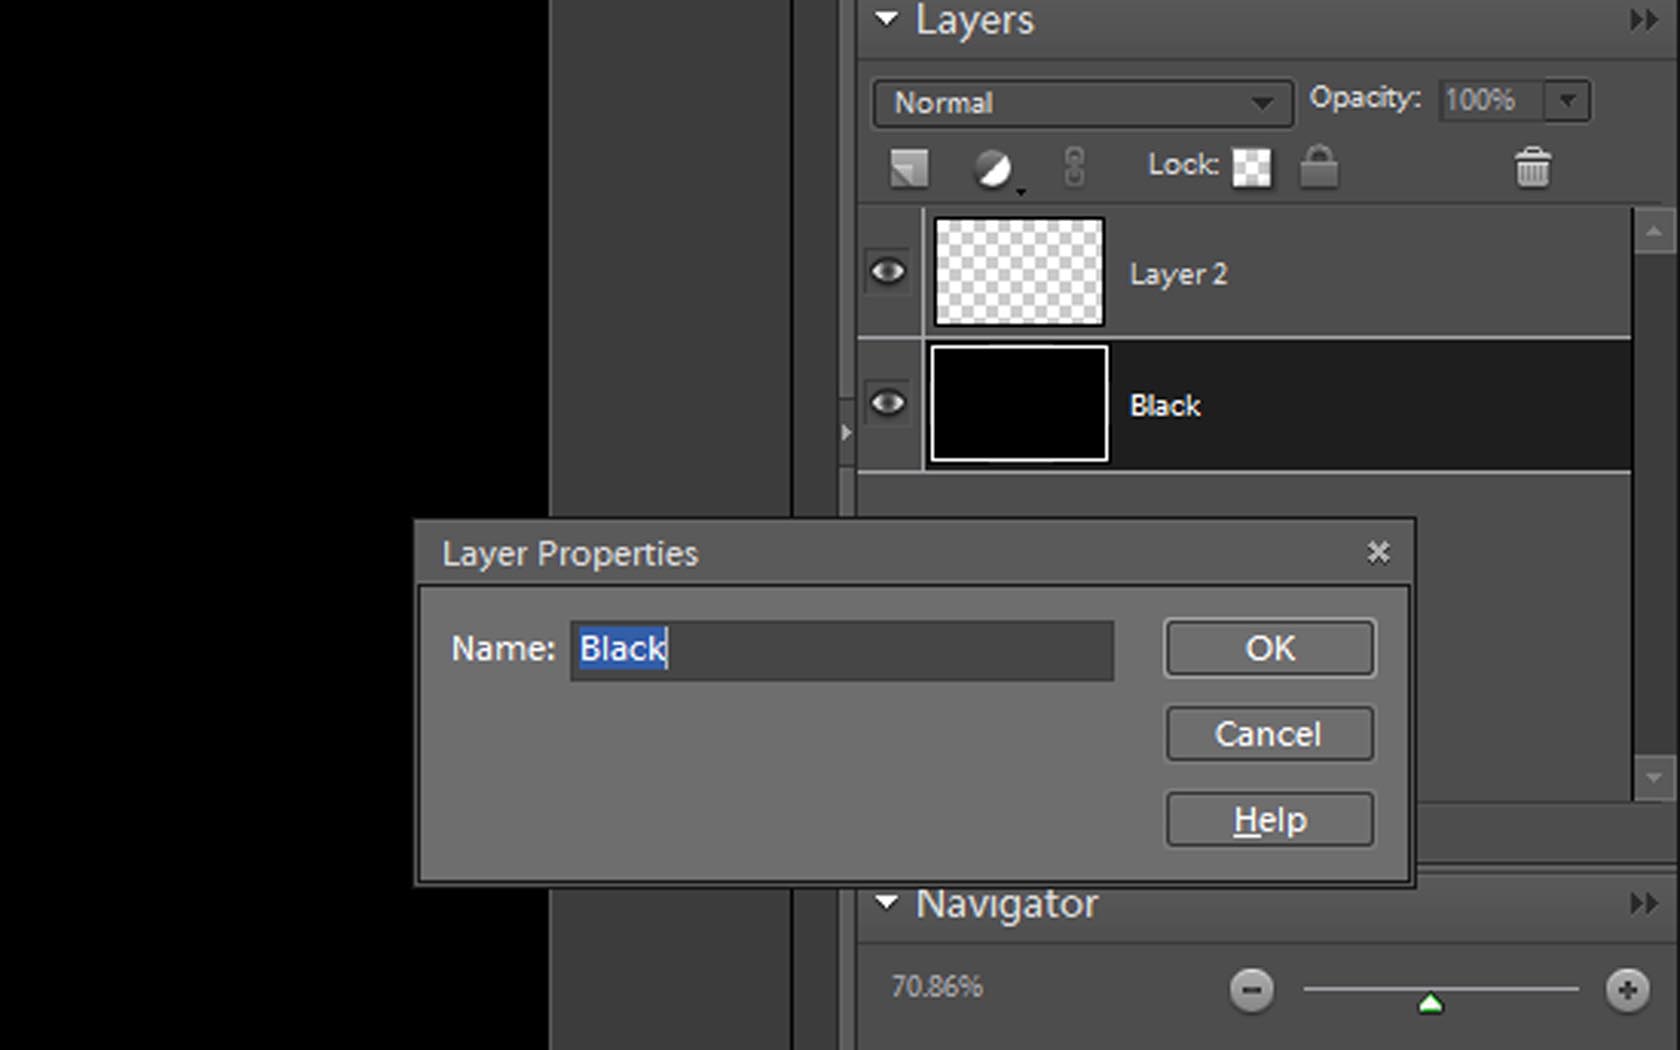
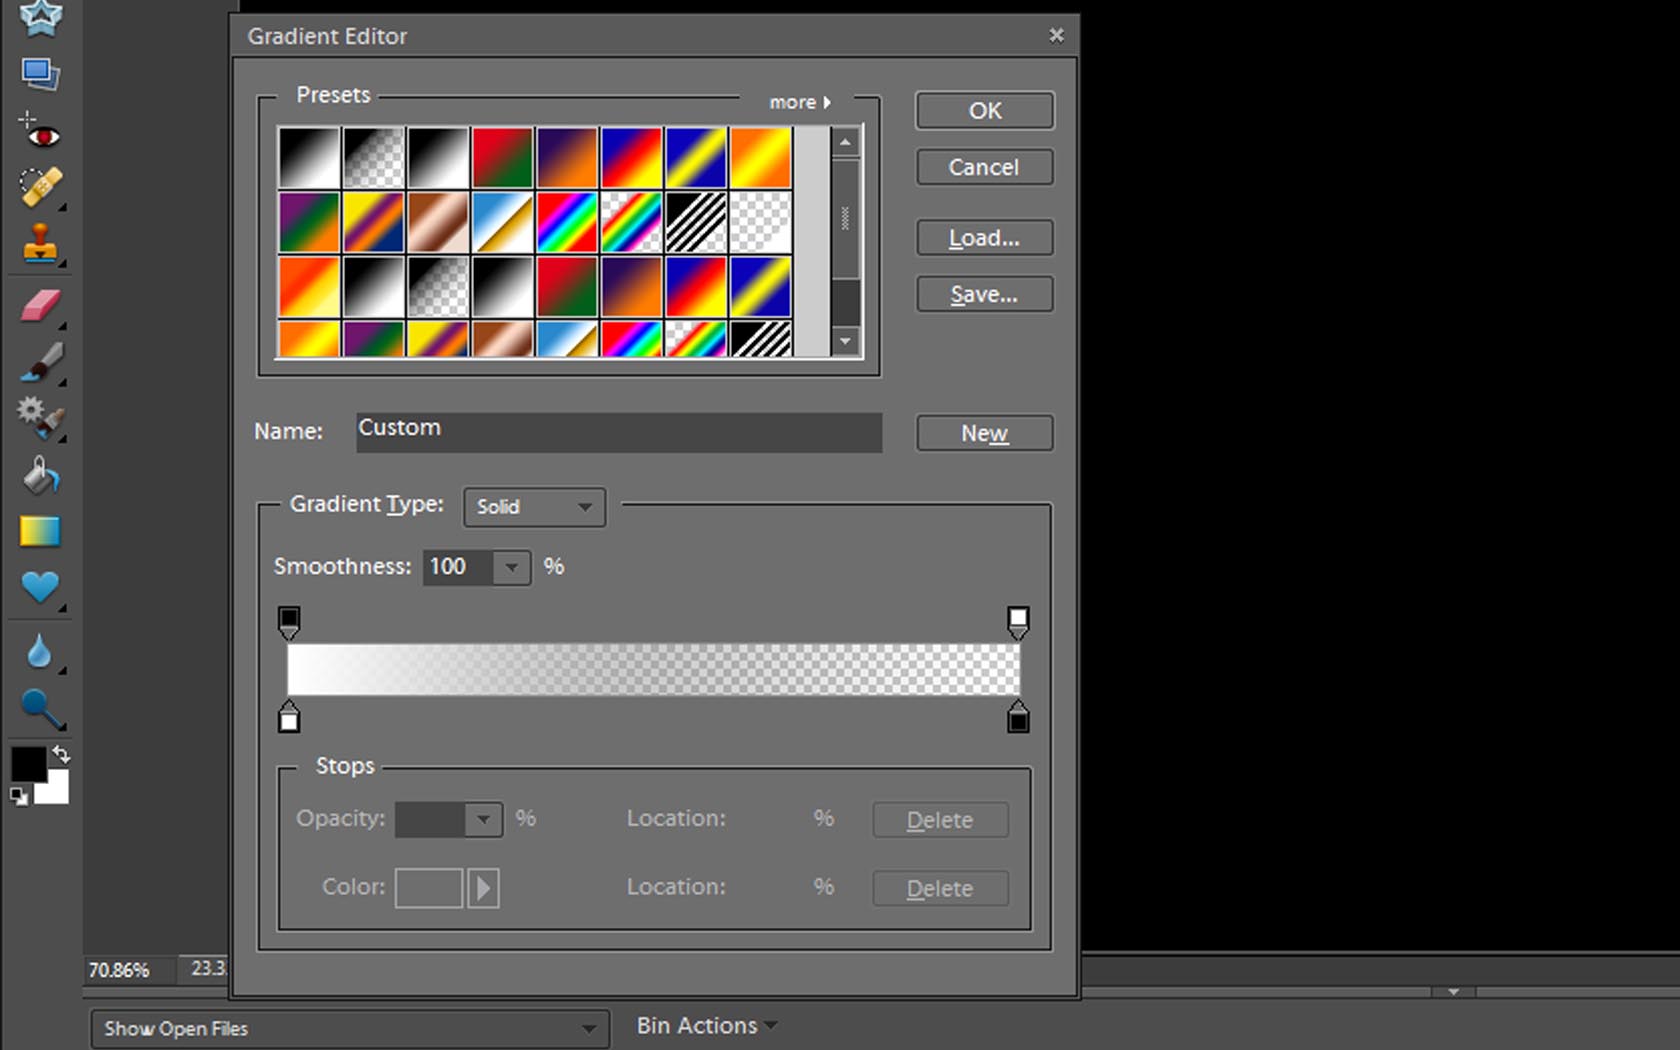
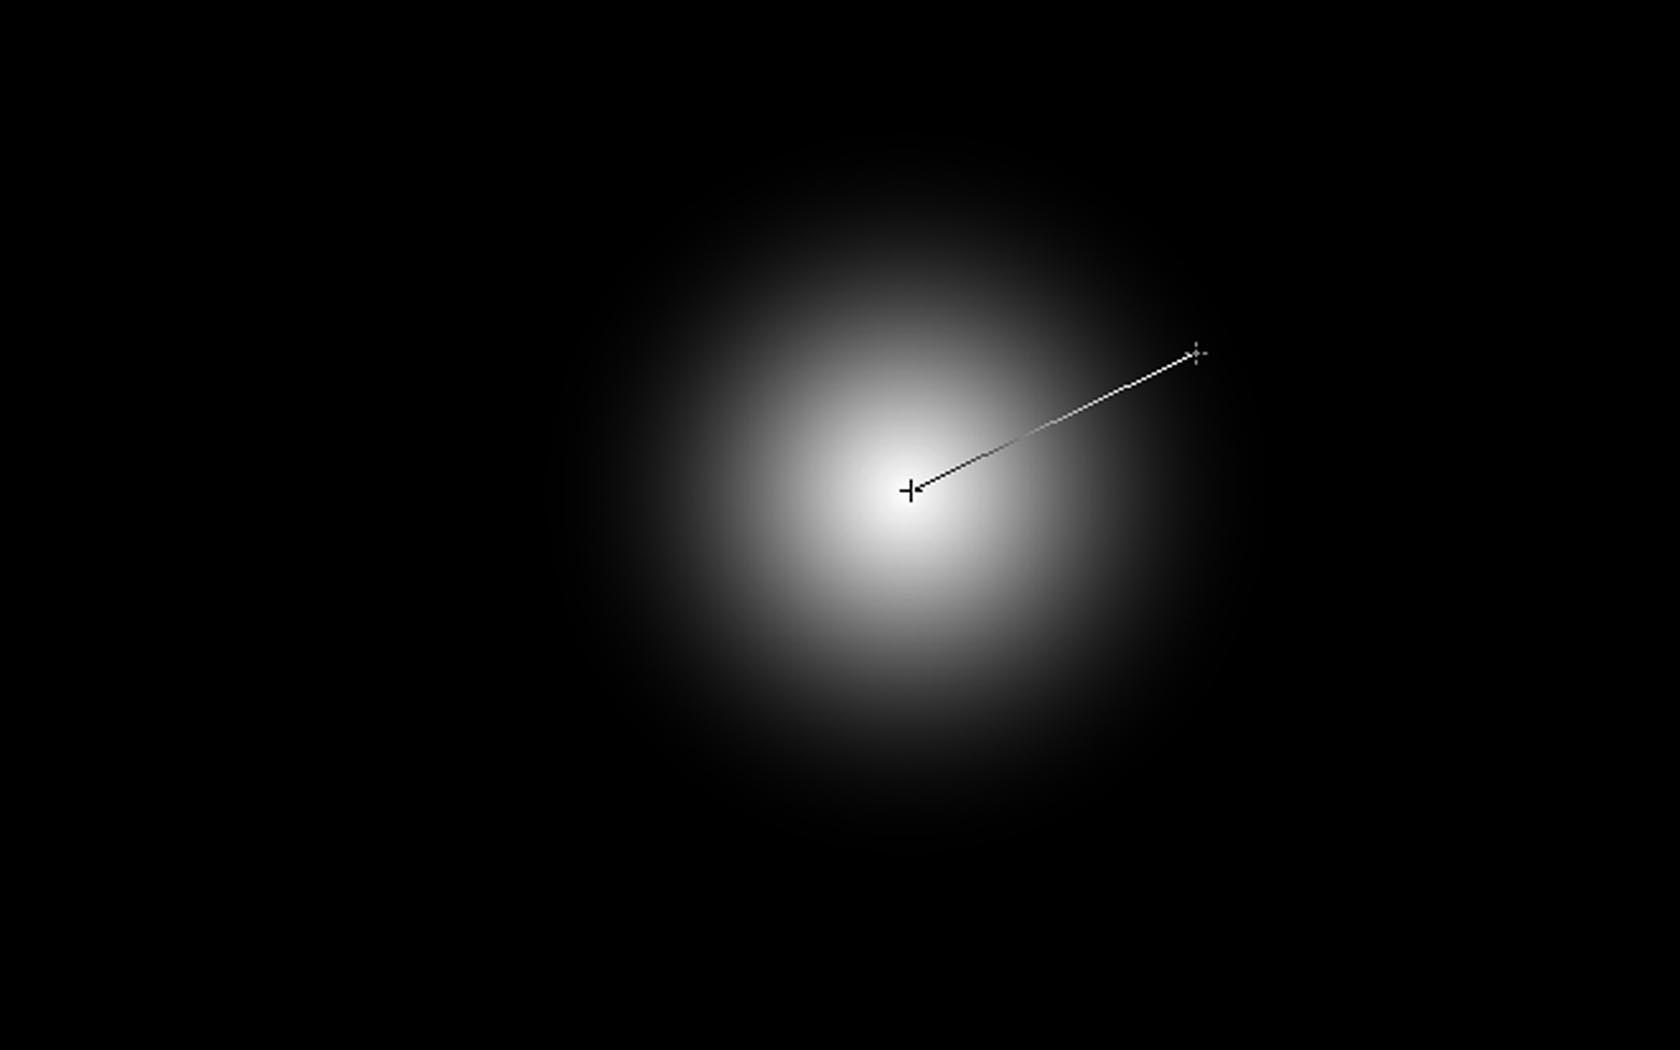
First, Create a new layer and color it black (just for the sake for seeing the flare more easily)
The MST is a simple radial gradient.
The MST is a simple radial gradient.
Other Shiny Things
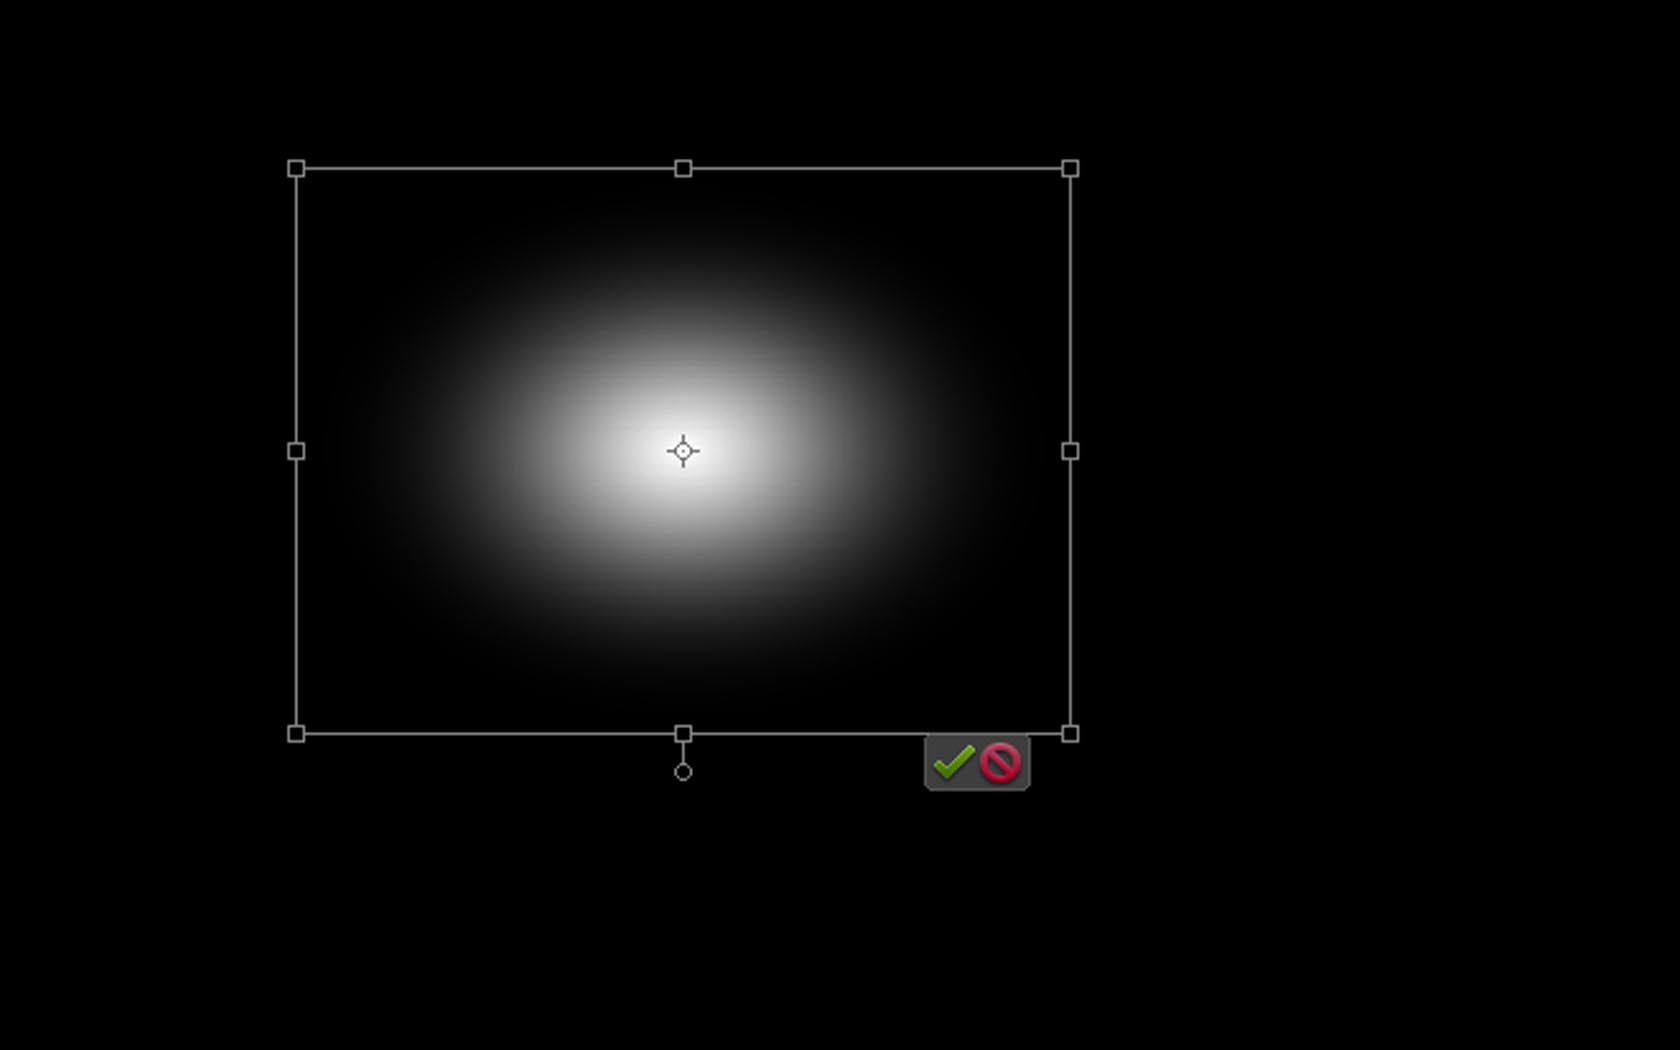
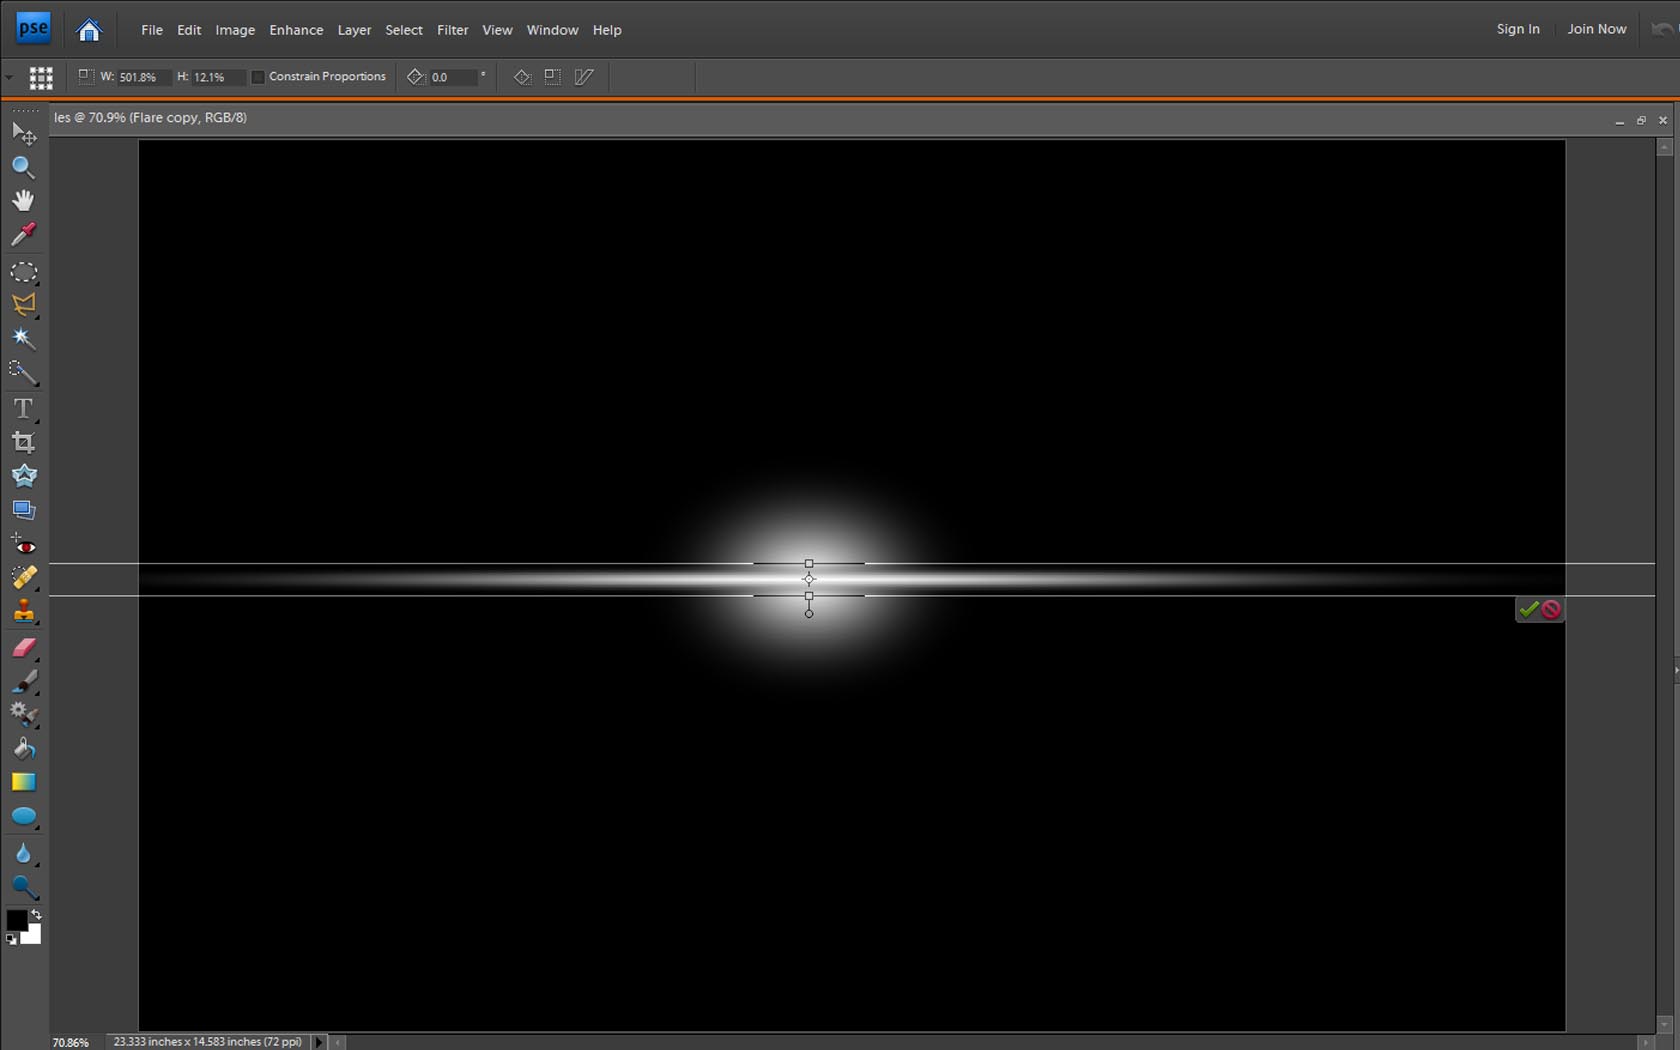
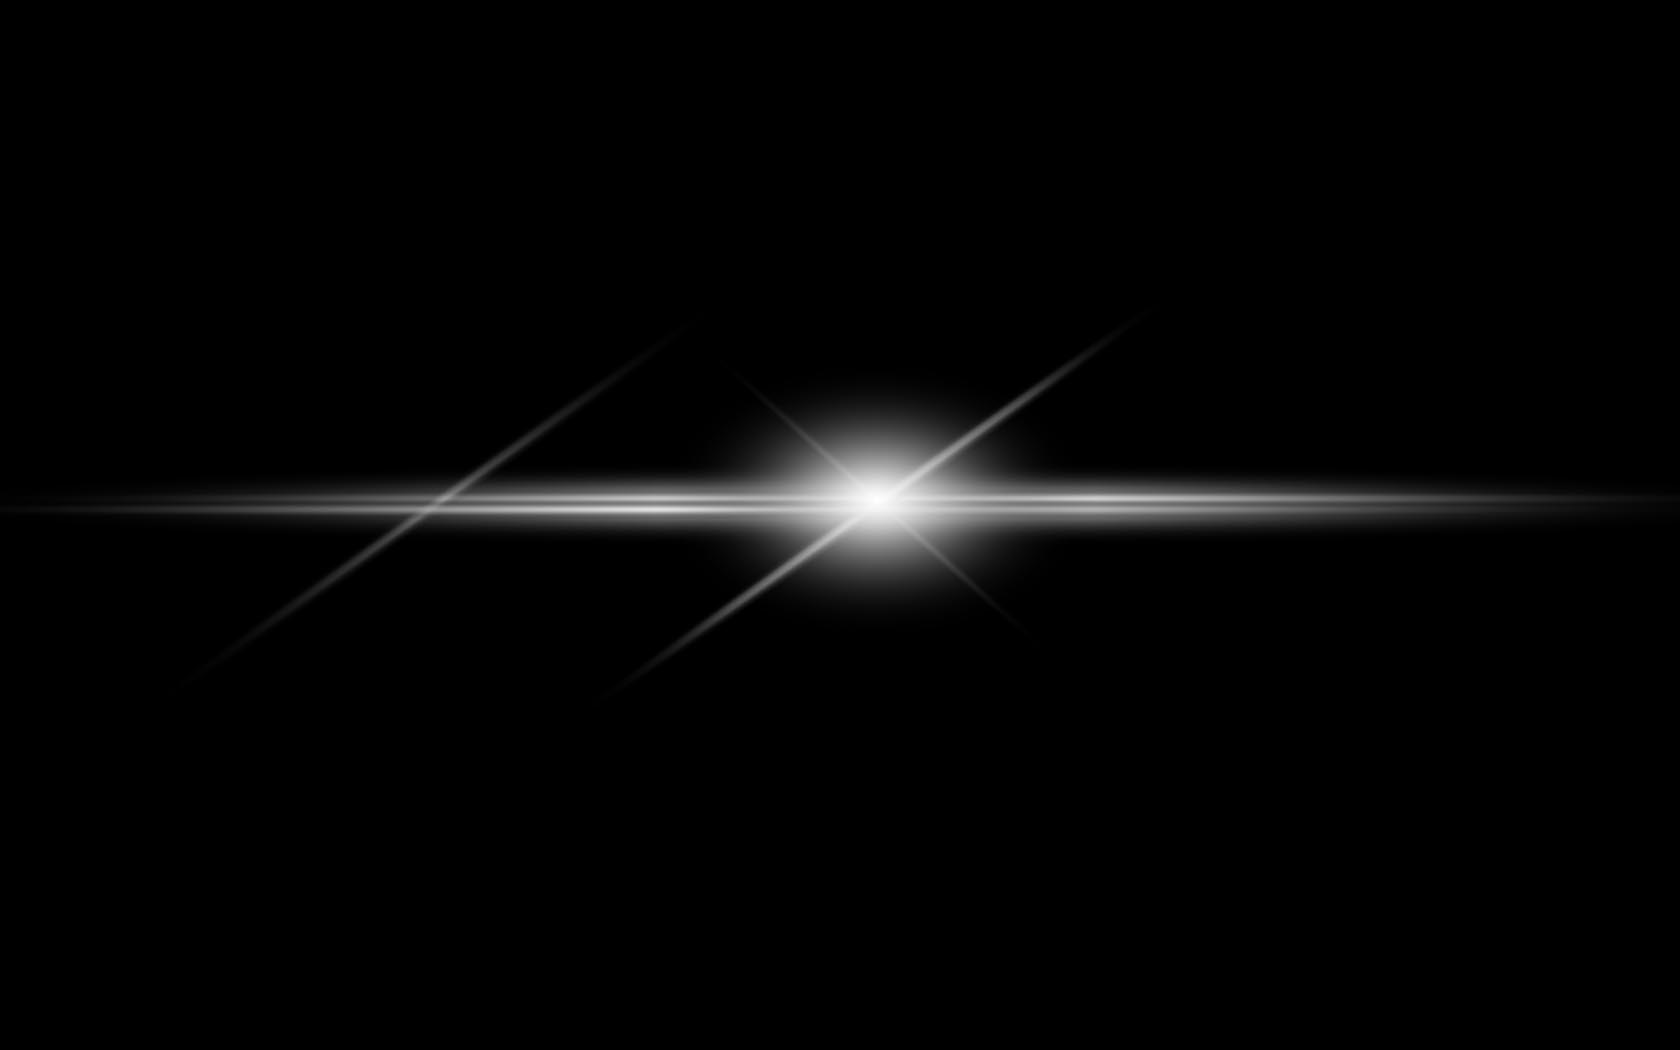
You may want to smush the gradient to produce the desired effect.
Then duplicate the layer and smush again! (make sure you adjust the layer order so that the duplicated layer is on the bottom)
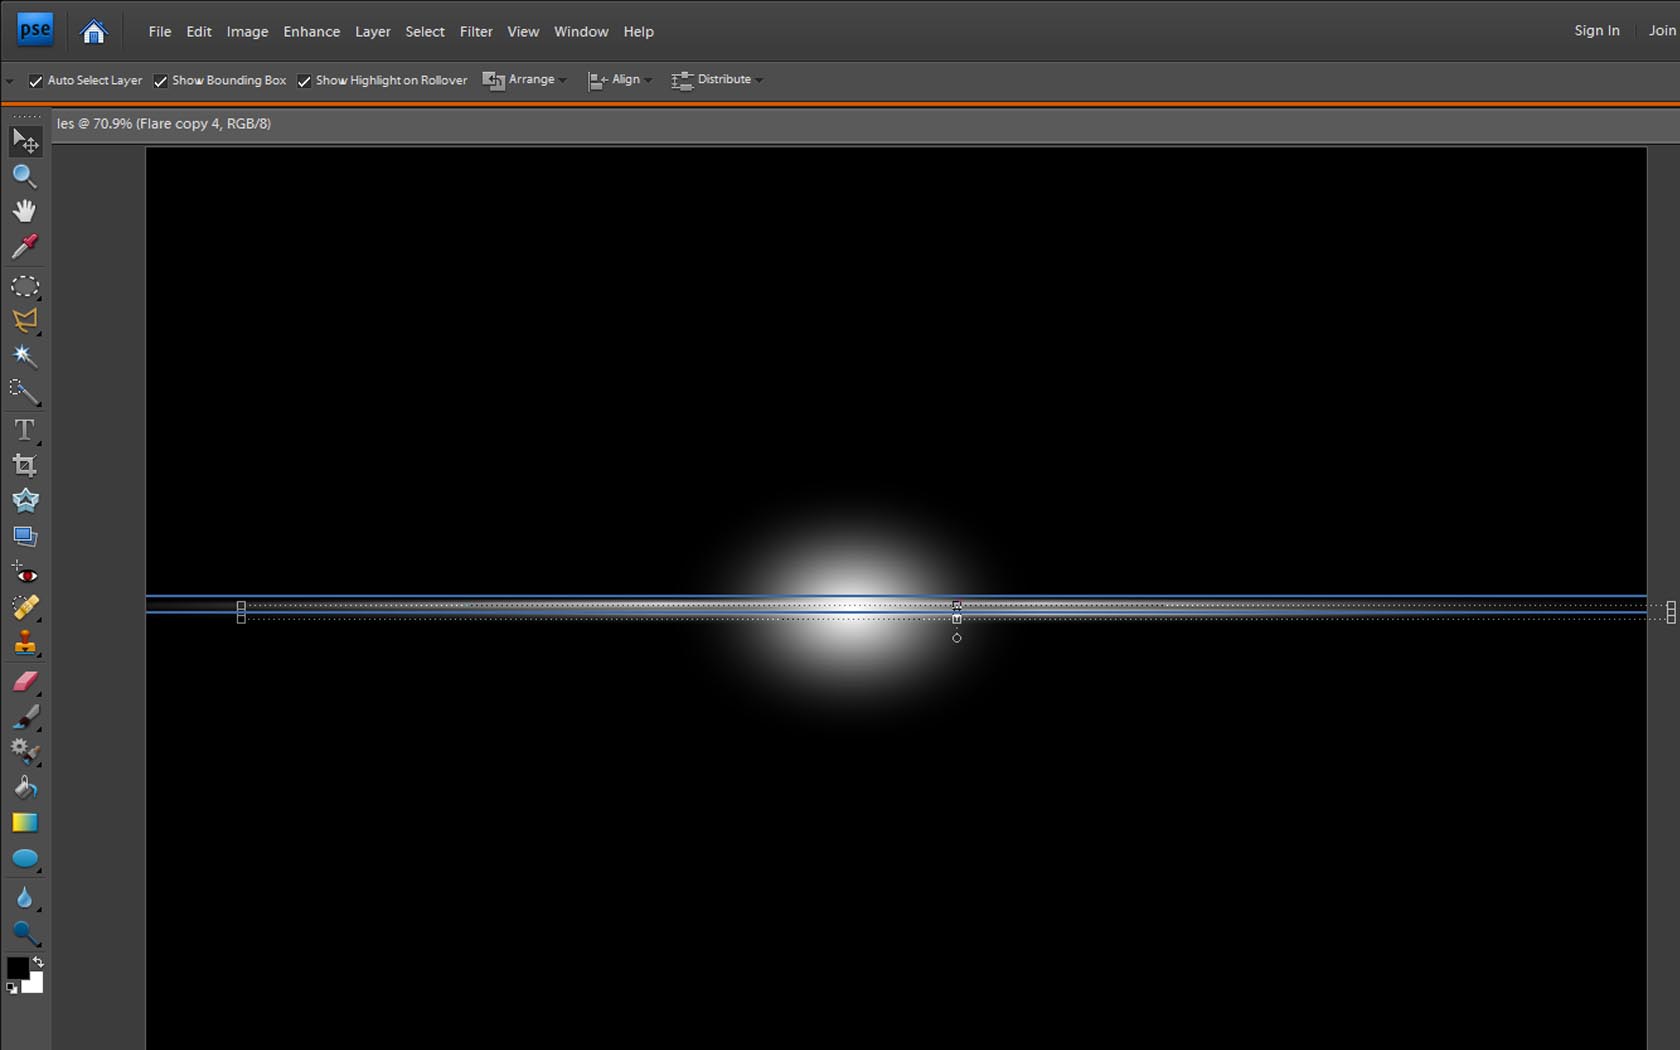
Duplicate twice more, then squish them even thinner, place them slightly over and under the middle, slightly offset.
continue with the duplicating, resizing, and repositioning untill you are satisfied.
Making It Look Cool
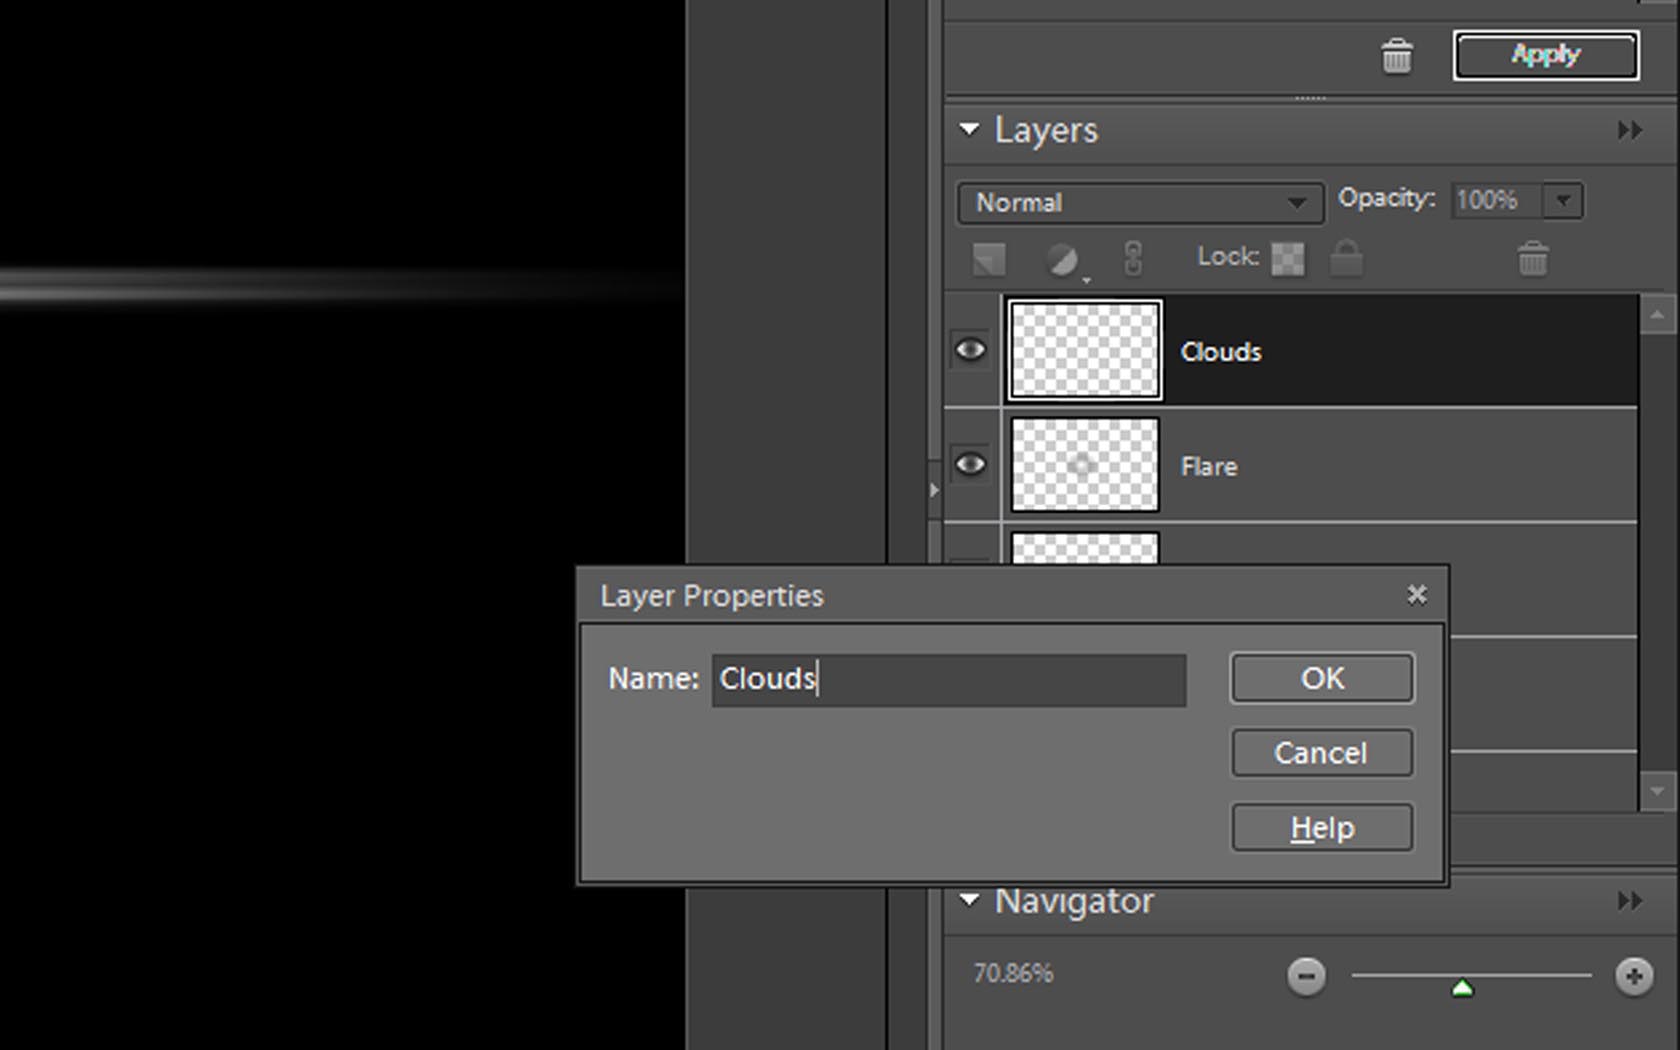
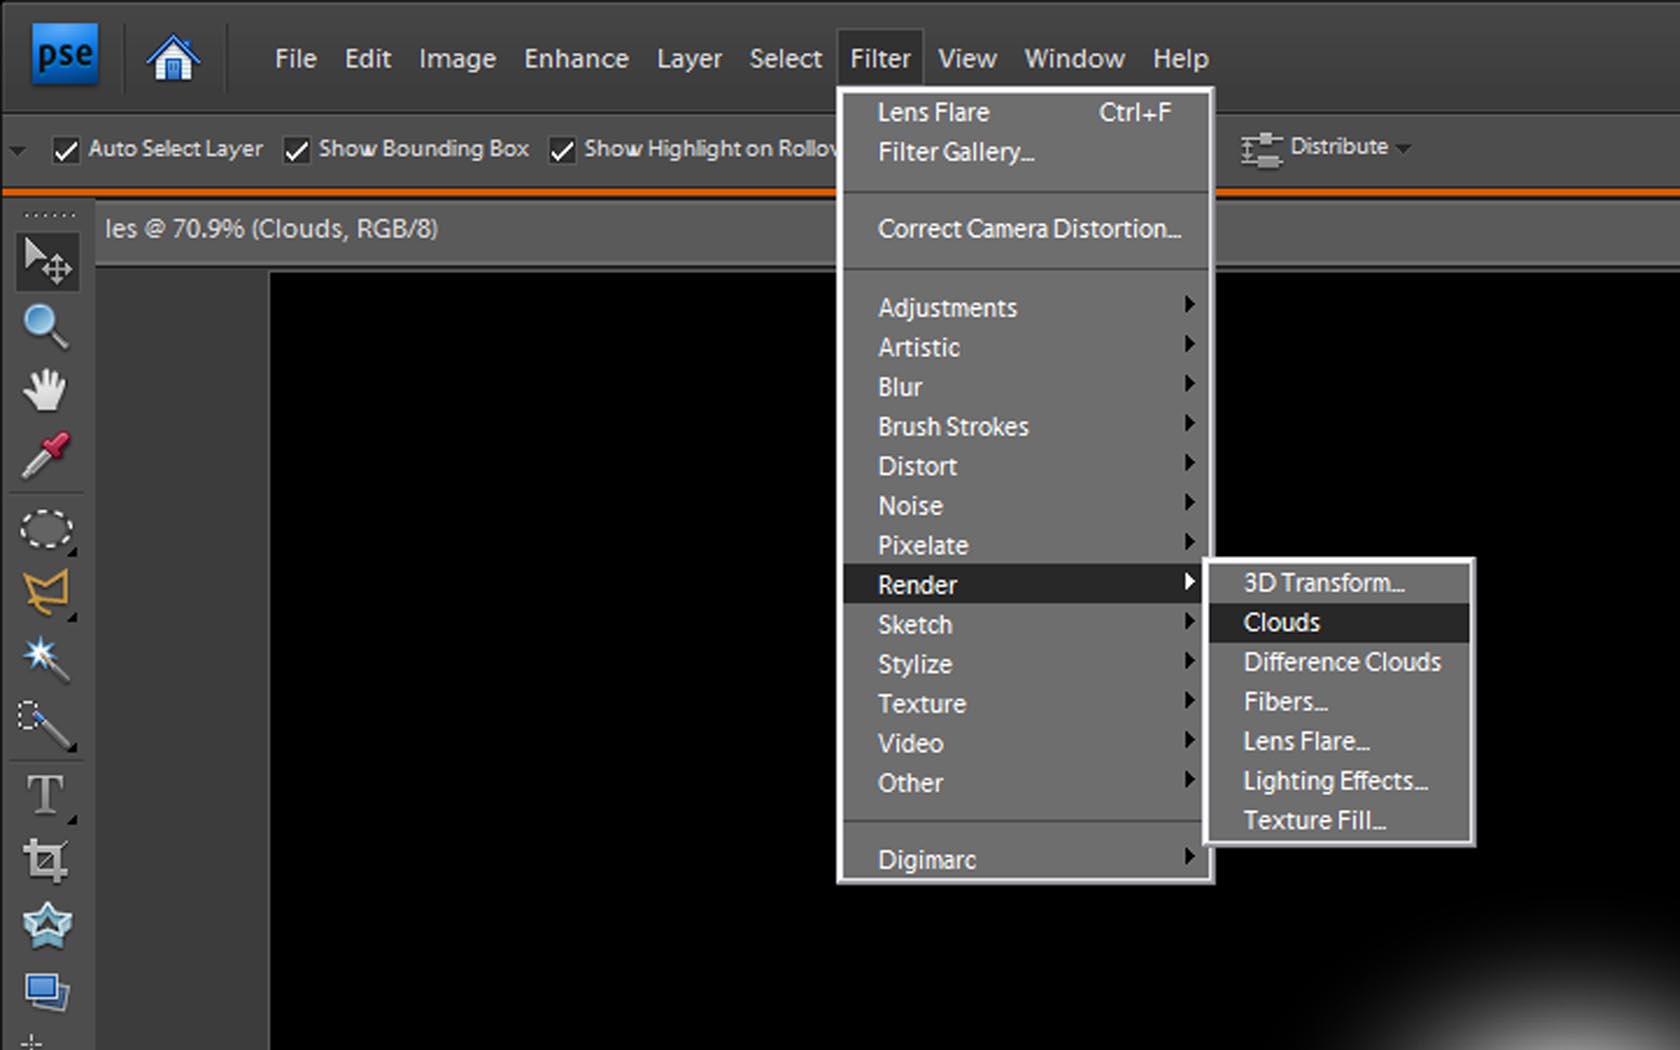
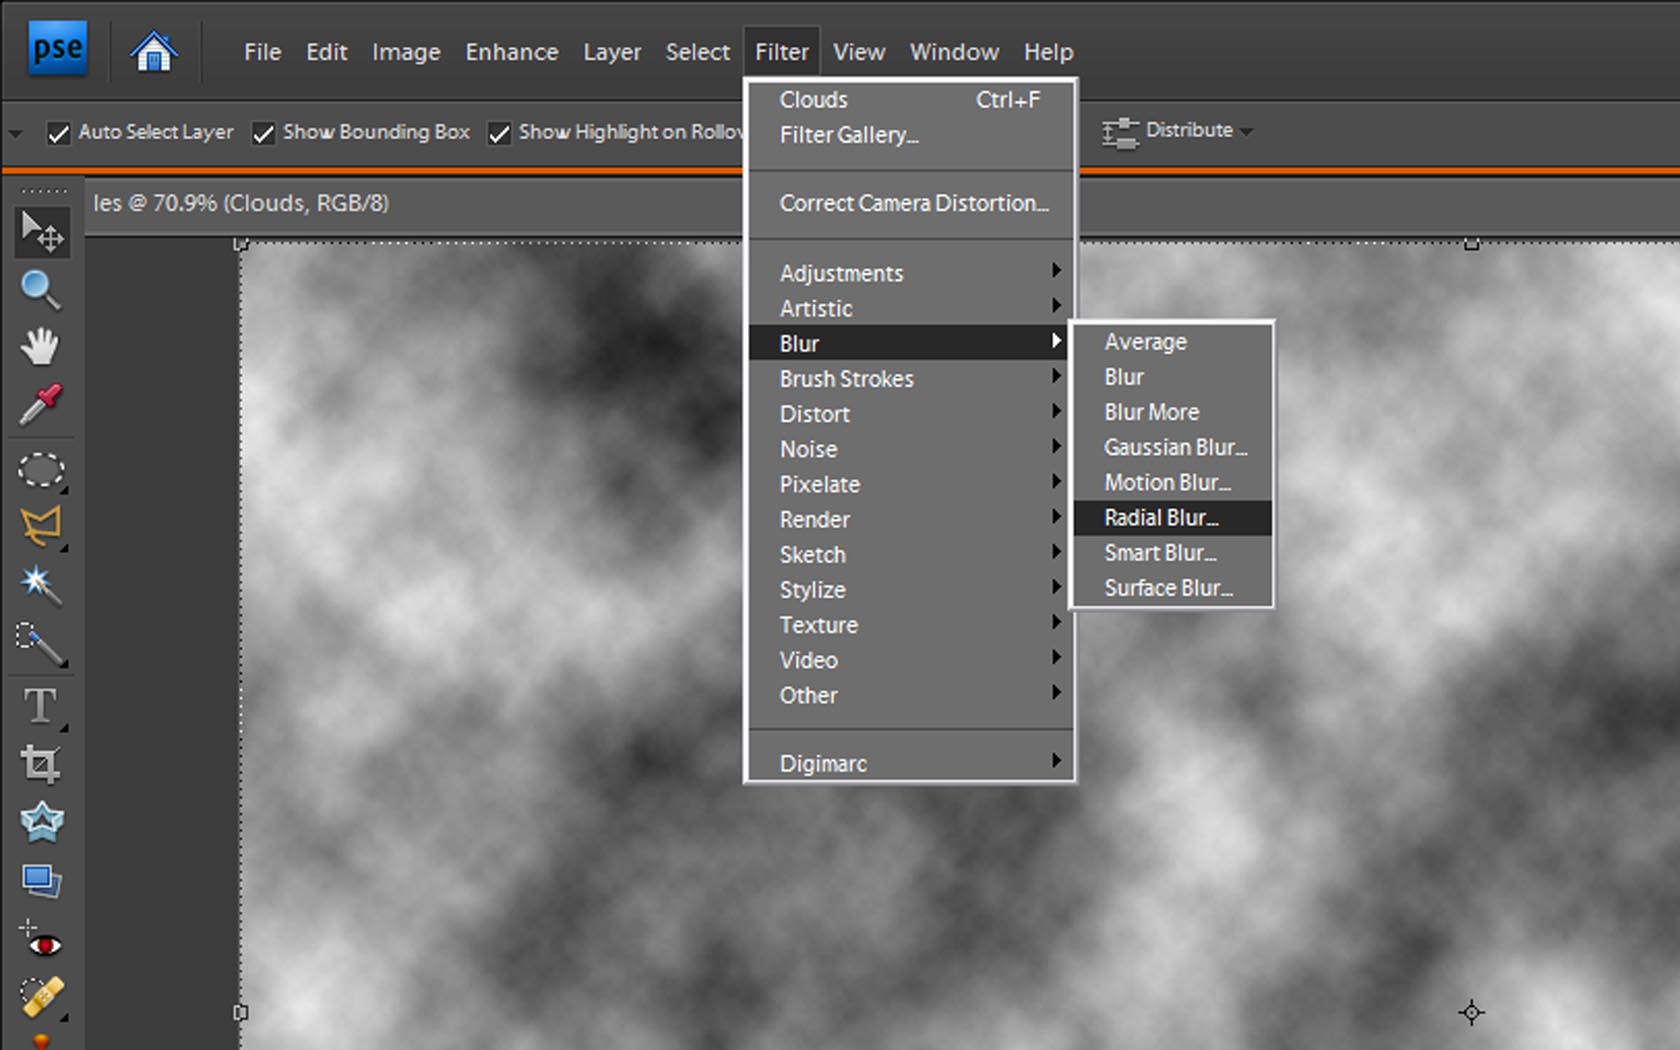
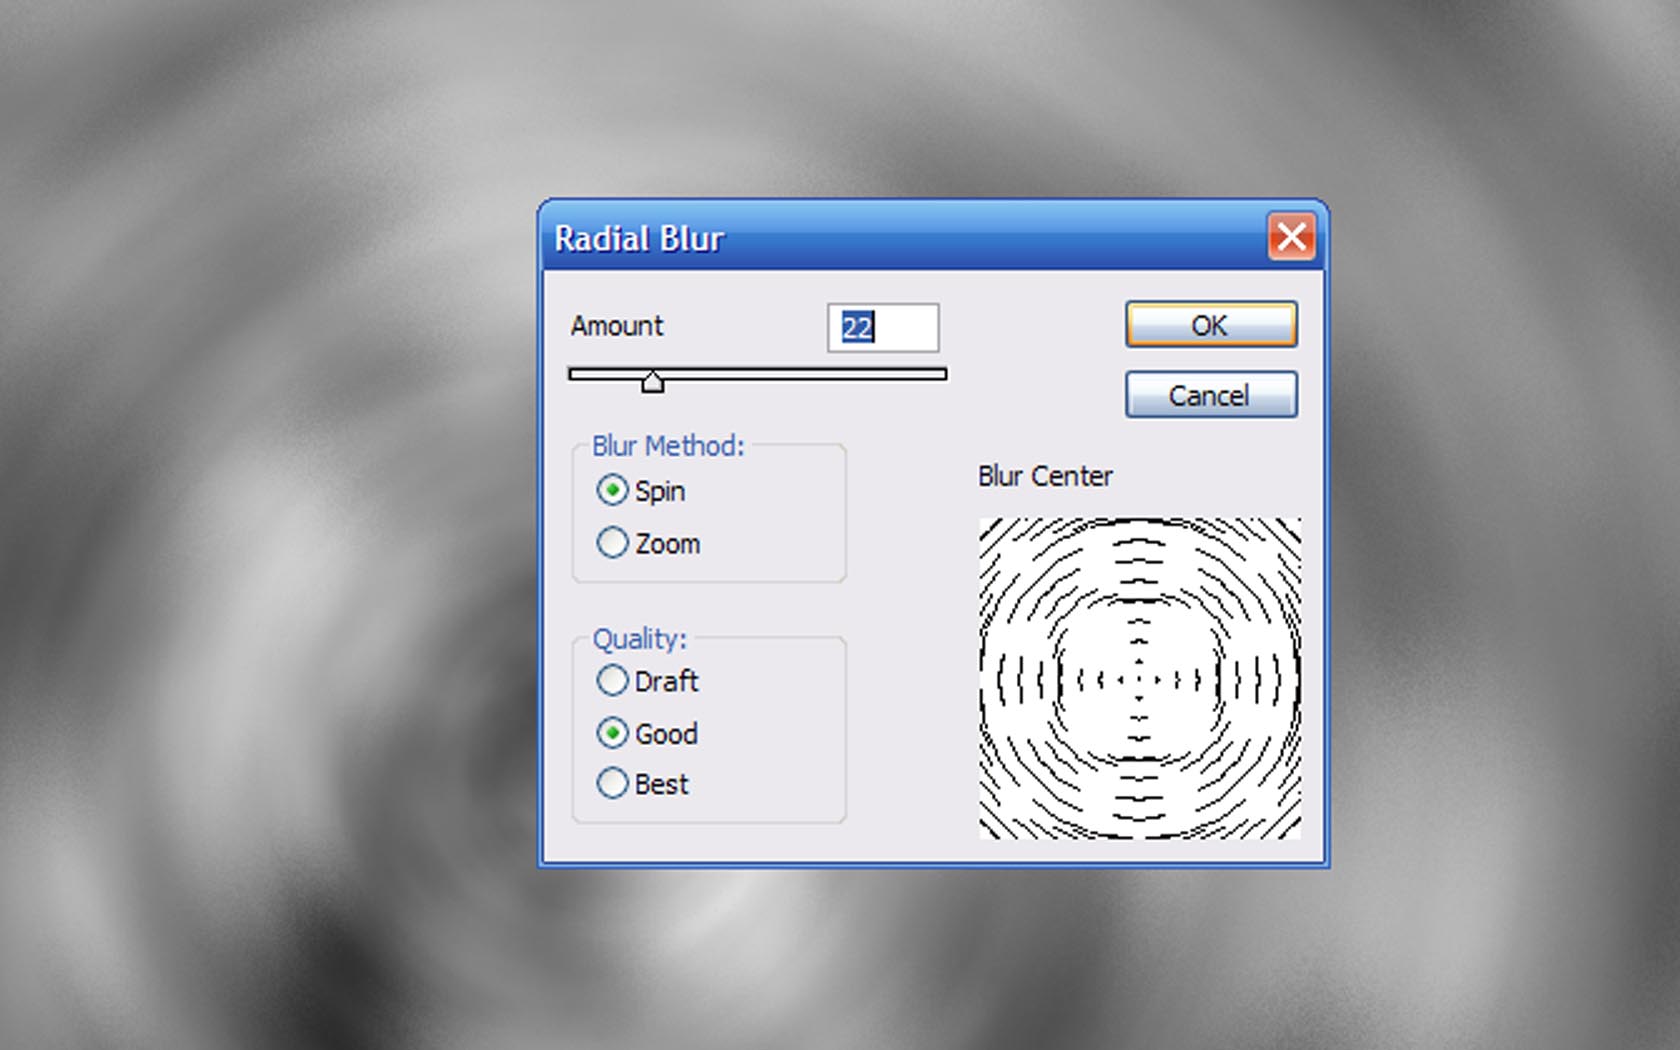
Now we need to add the little diagonal band that add a little flare (Ha!Ha!, get it, flare to a lense flare! O.K. sorry)
Create a new layer and label it clouds.
Then apply the effect, guess what, CLOUDS!
You Have the CLOUDS! now,Apply a radial blur.
Create a new layer and label it clouds.
Then apply the effect, guess what, CLOUDS!
You Have the CLOUDS! now,Apply a radial blur.
Making the Actual Cool Part
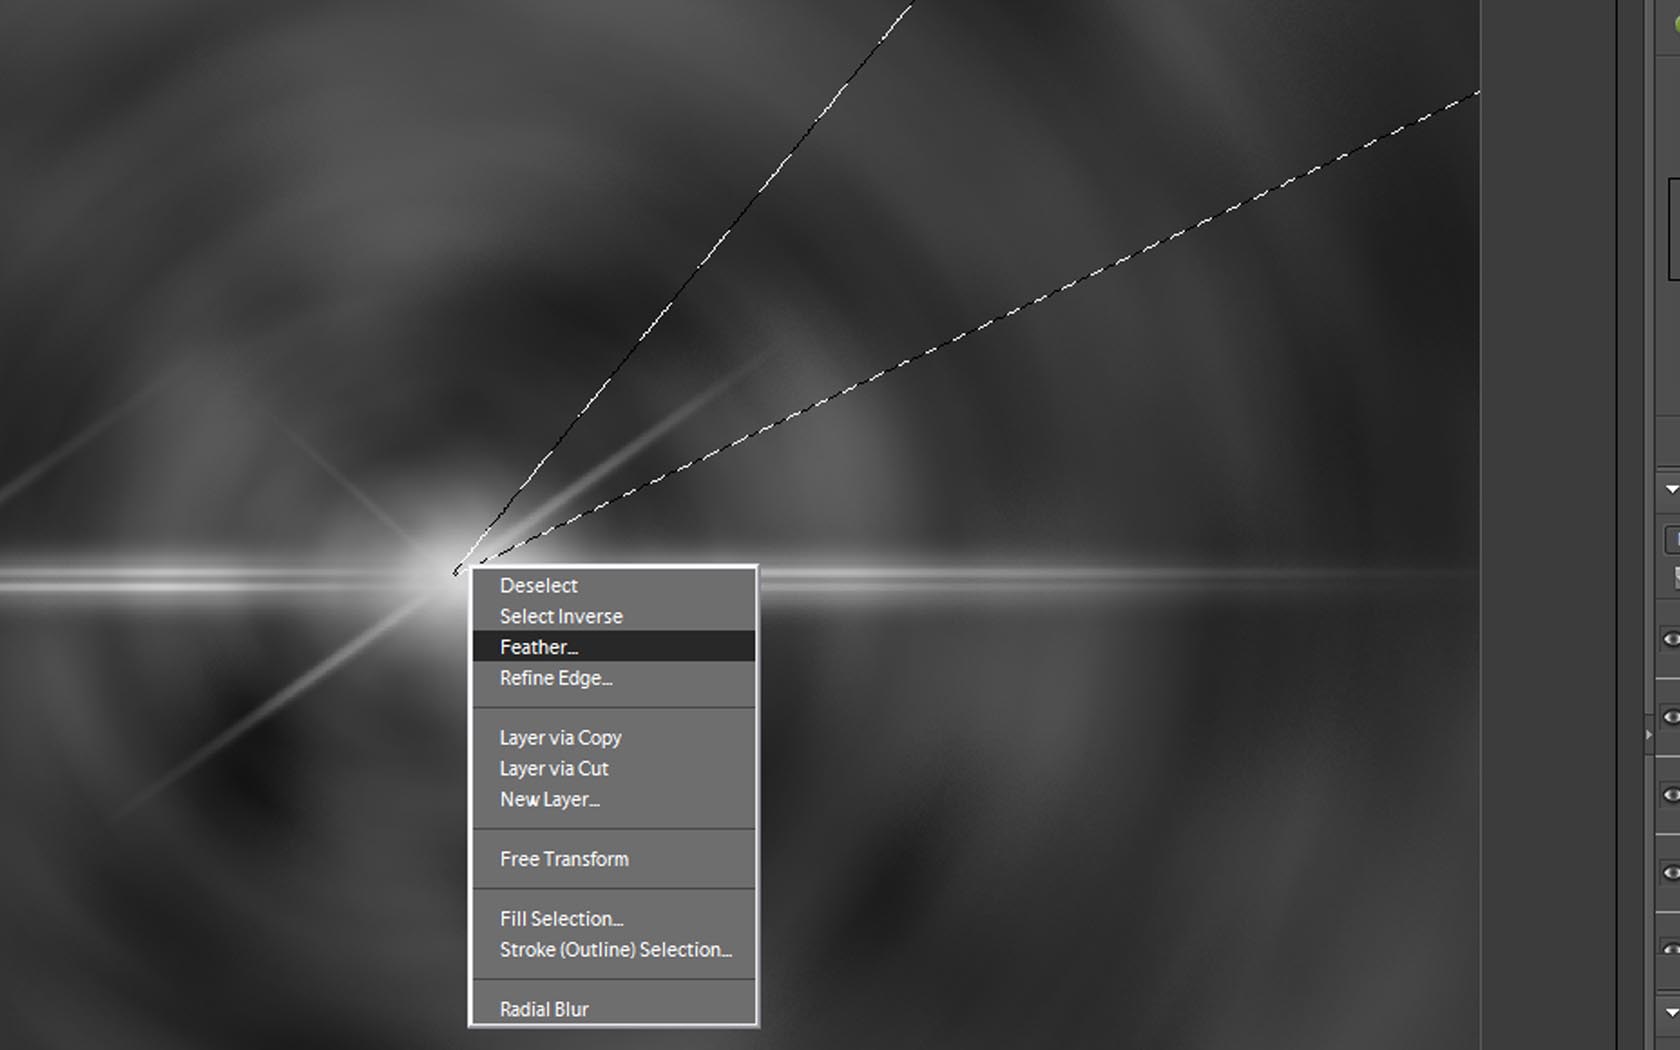
Use the POLYGONAL LASSO tool and select a triangle shaped wedge colinear with the diagonal stripe. (lowering the opacity of clouds tempoararily helps)
then right click and feather it.
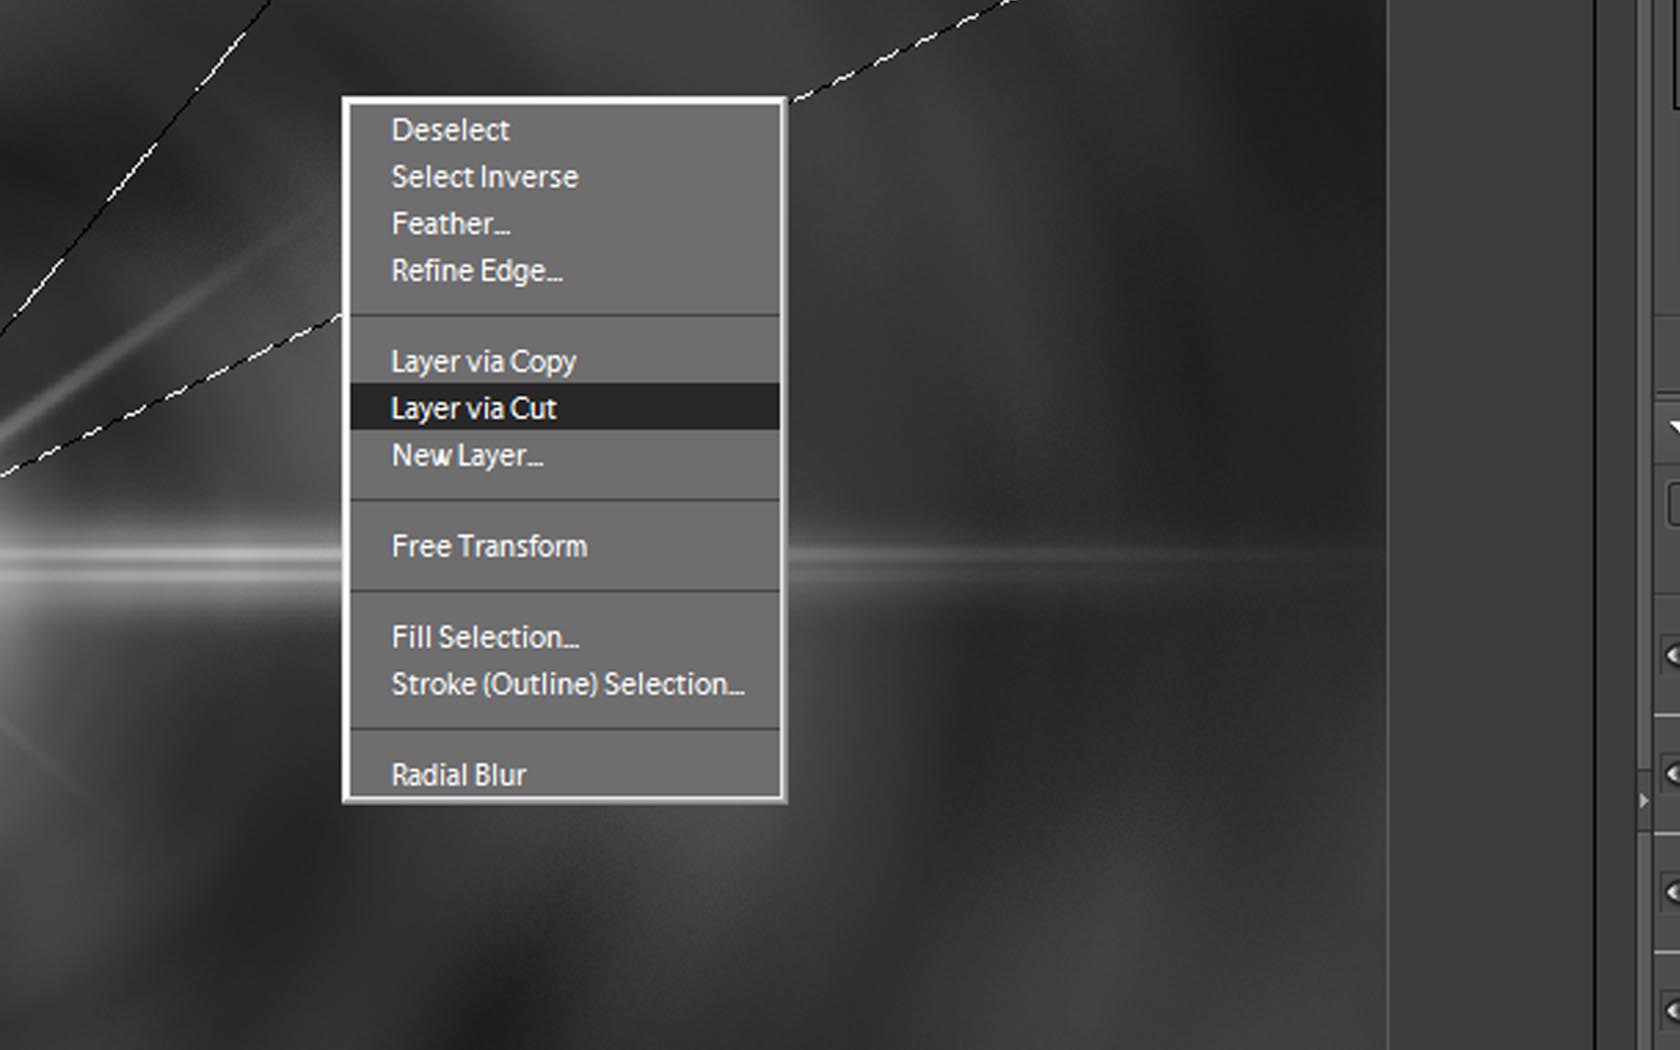
right click again and select Layer Via Cut
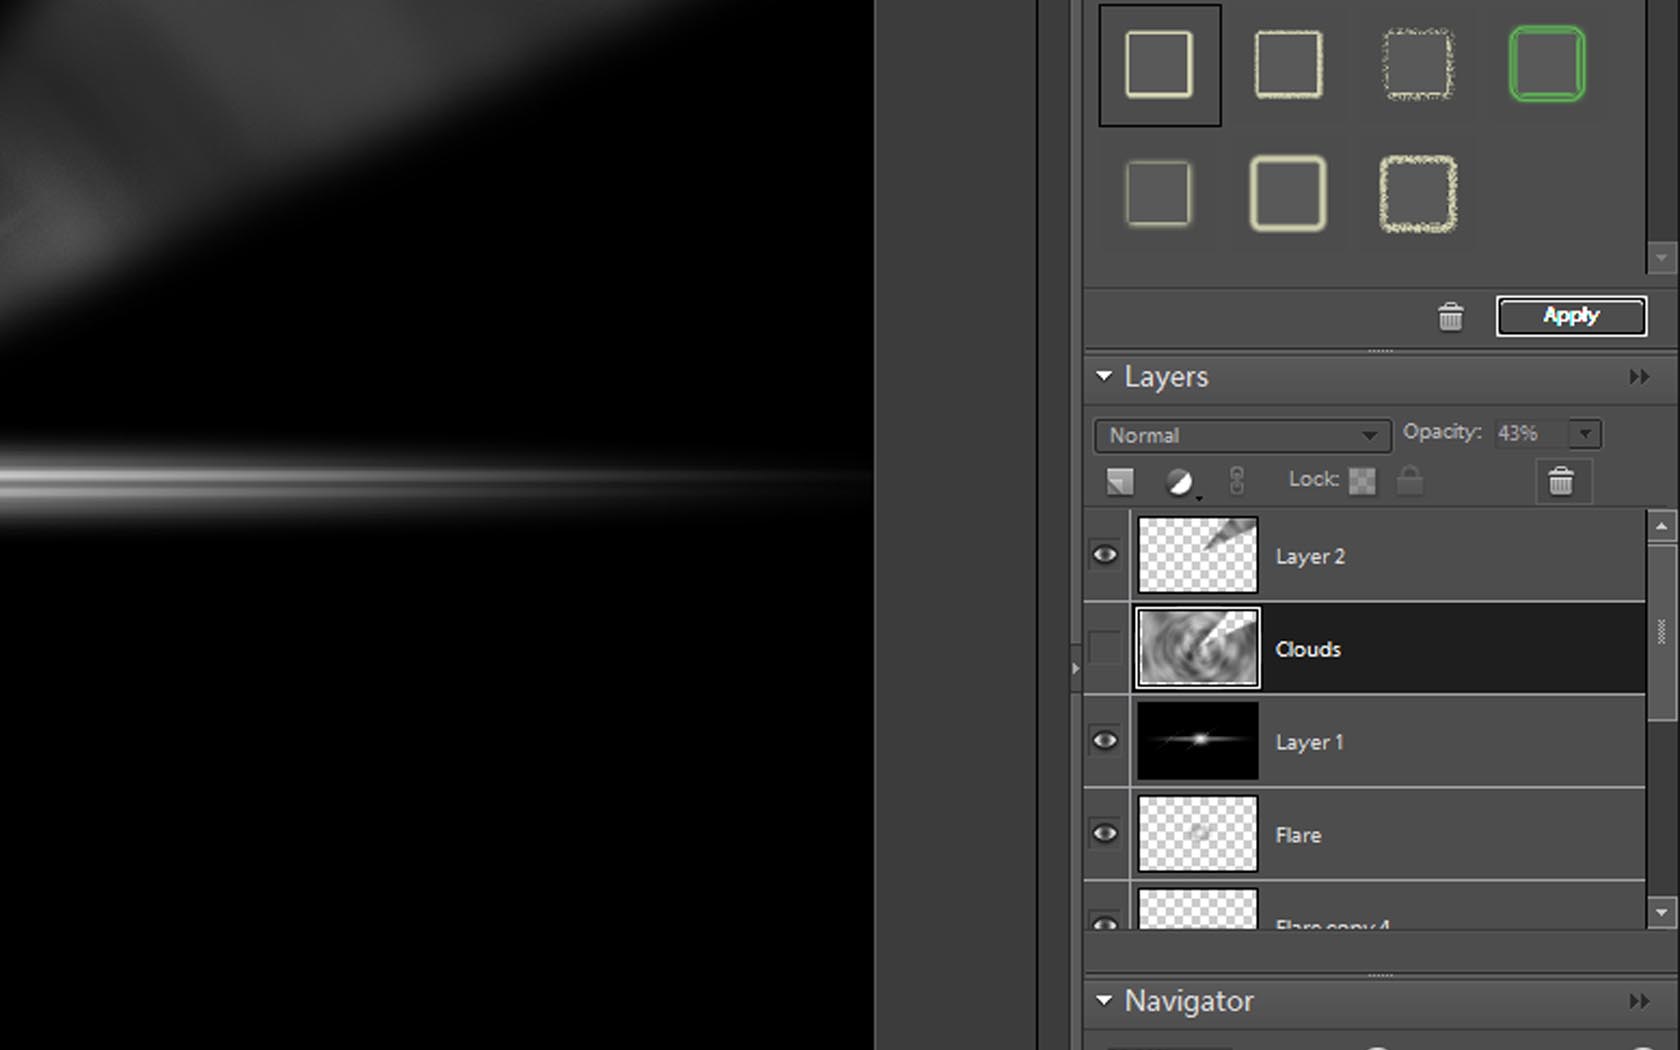
delete or hide the layer clouds
then right click and feather it.
right click again and select Layer Via Cut
delete or hide the layer clouds
Completing the Flare
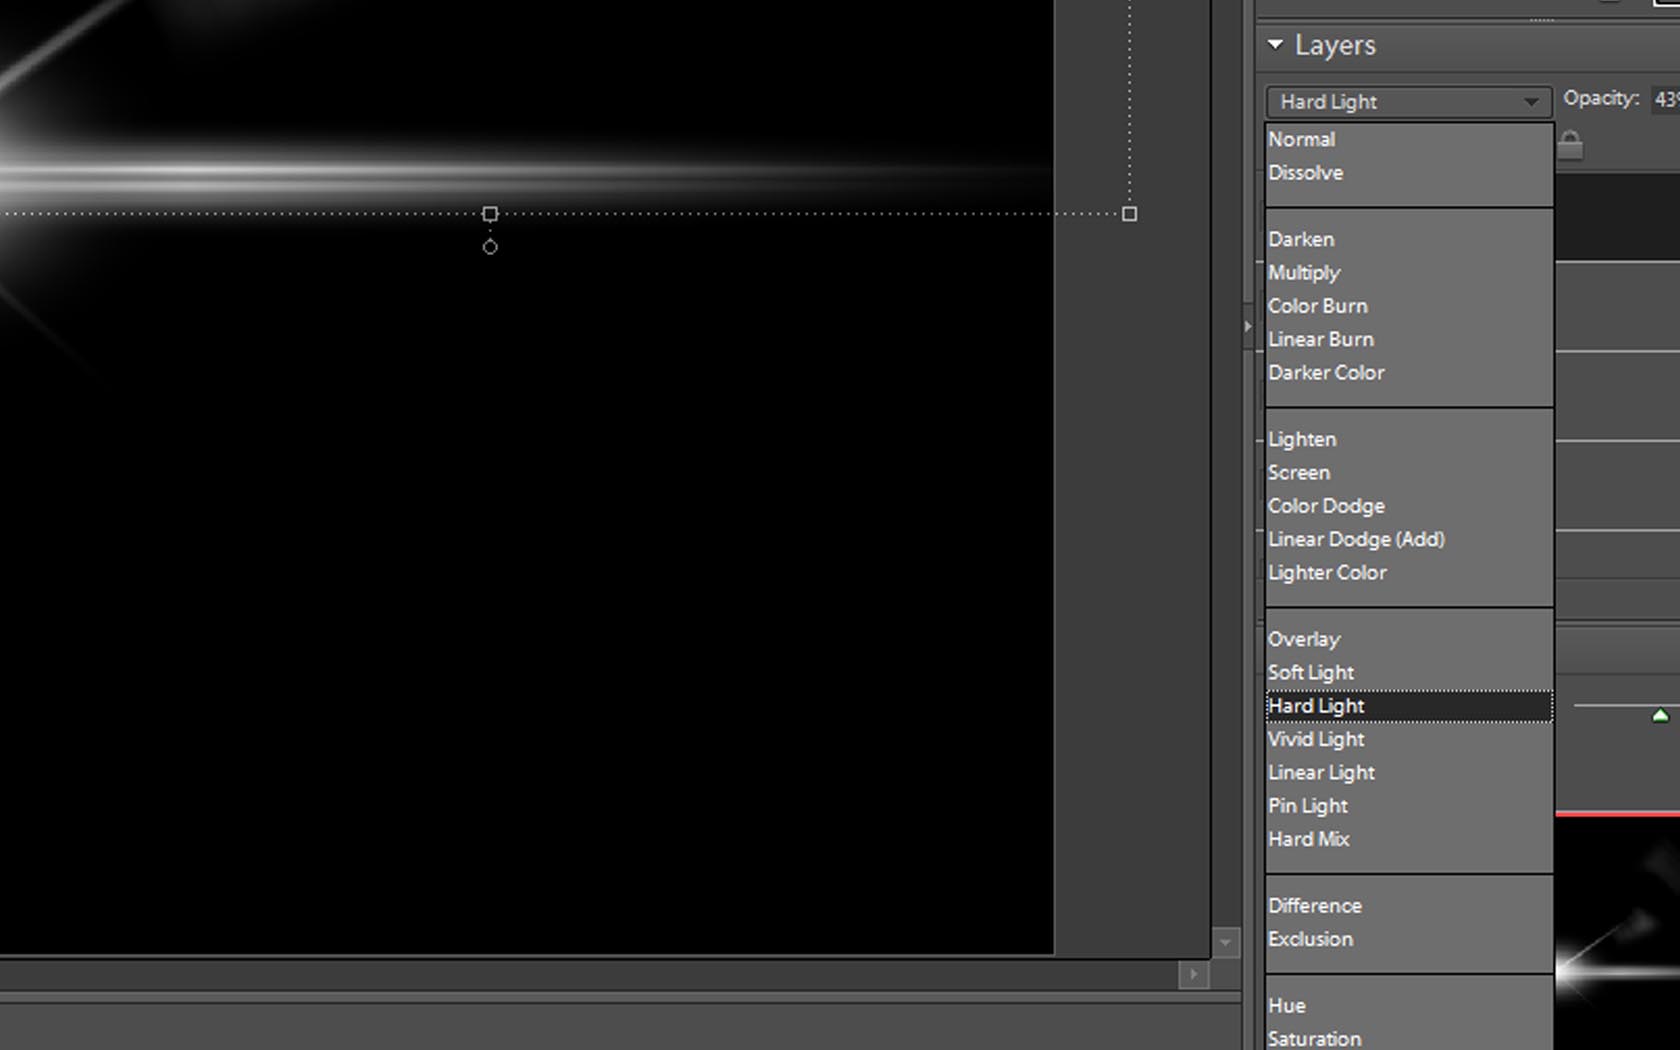
Change the Transfer Mode of the layer we just worked on to Hard Light
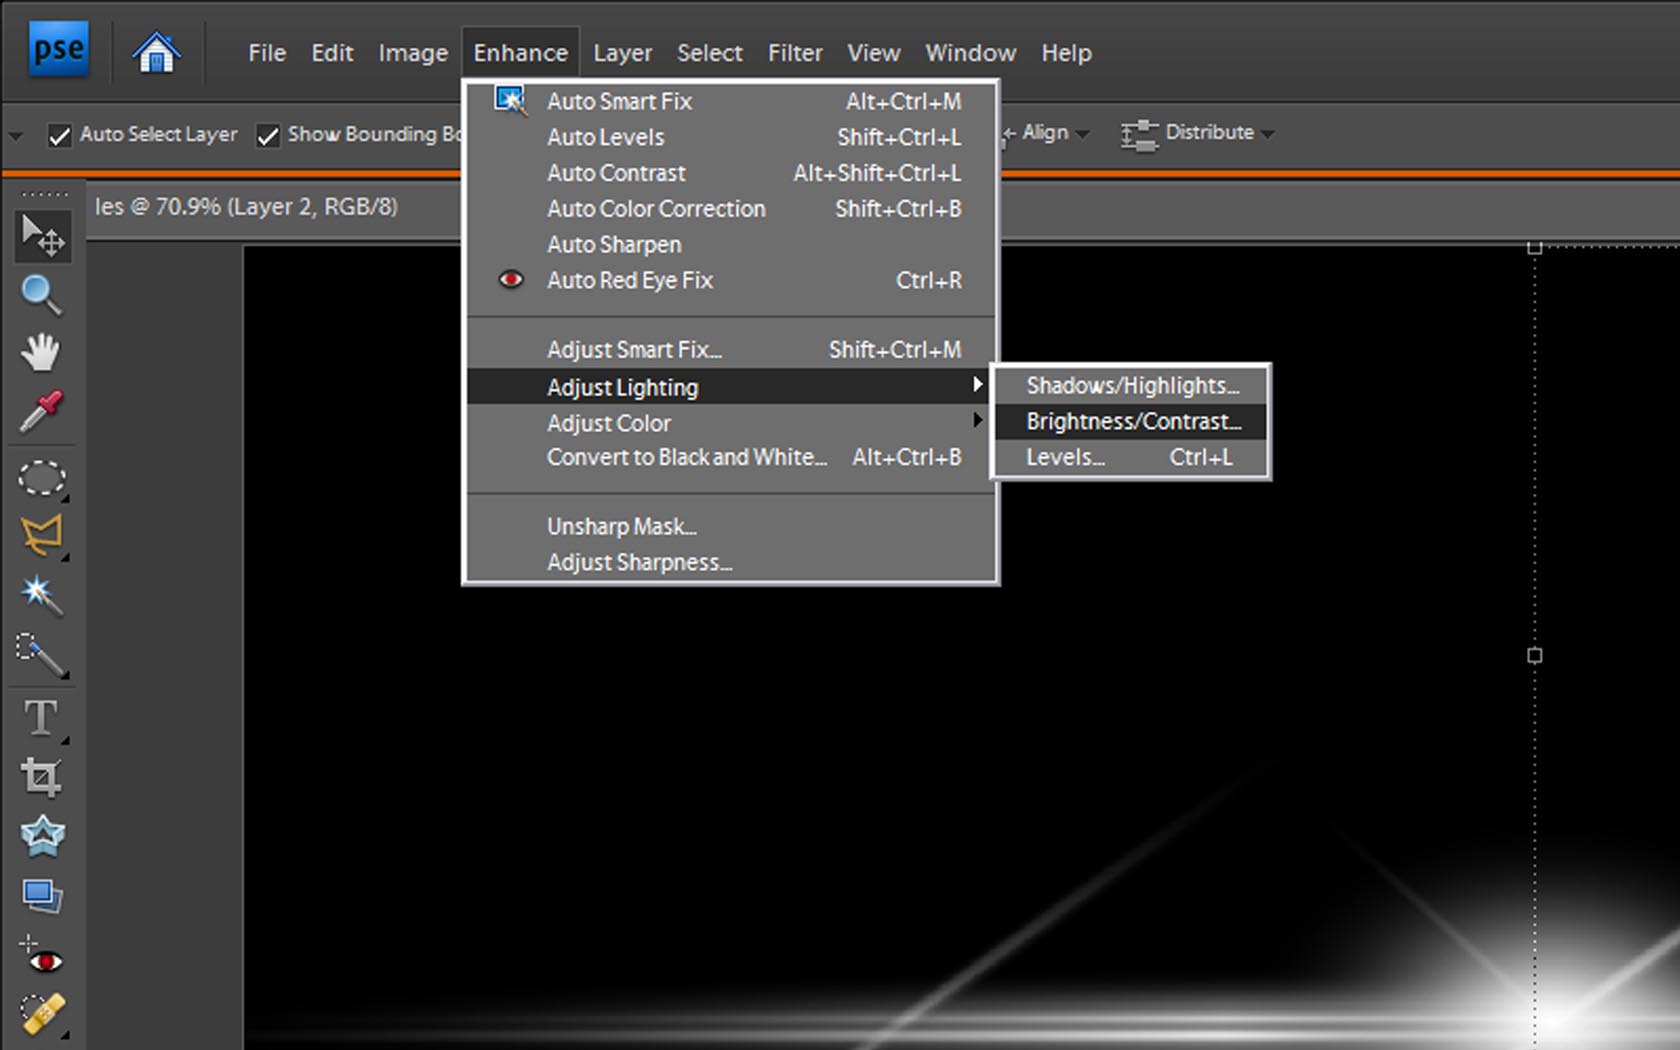
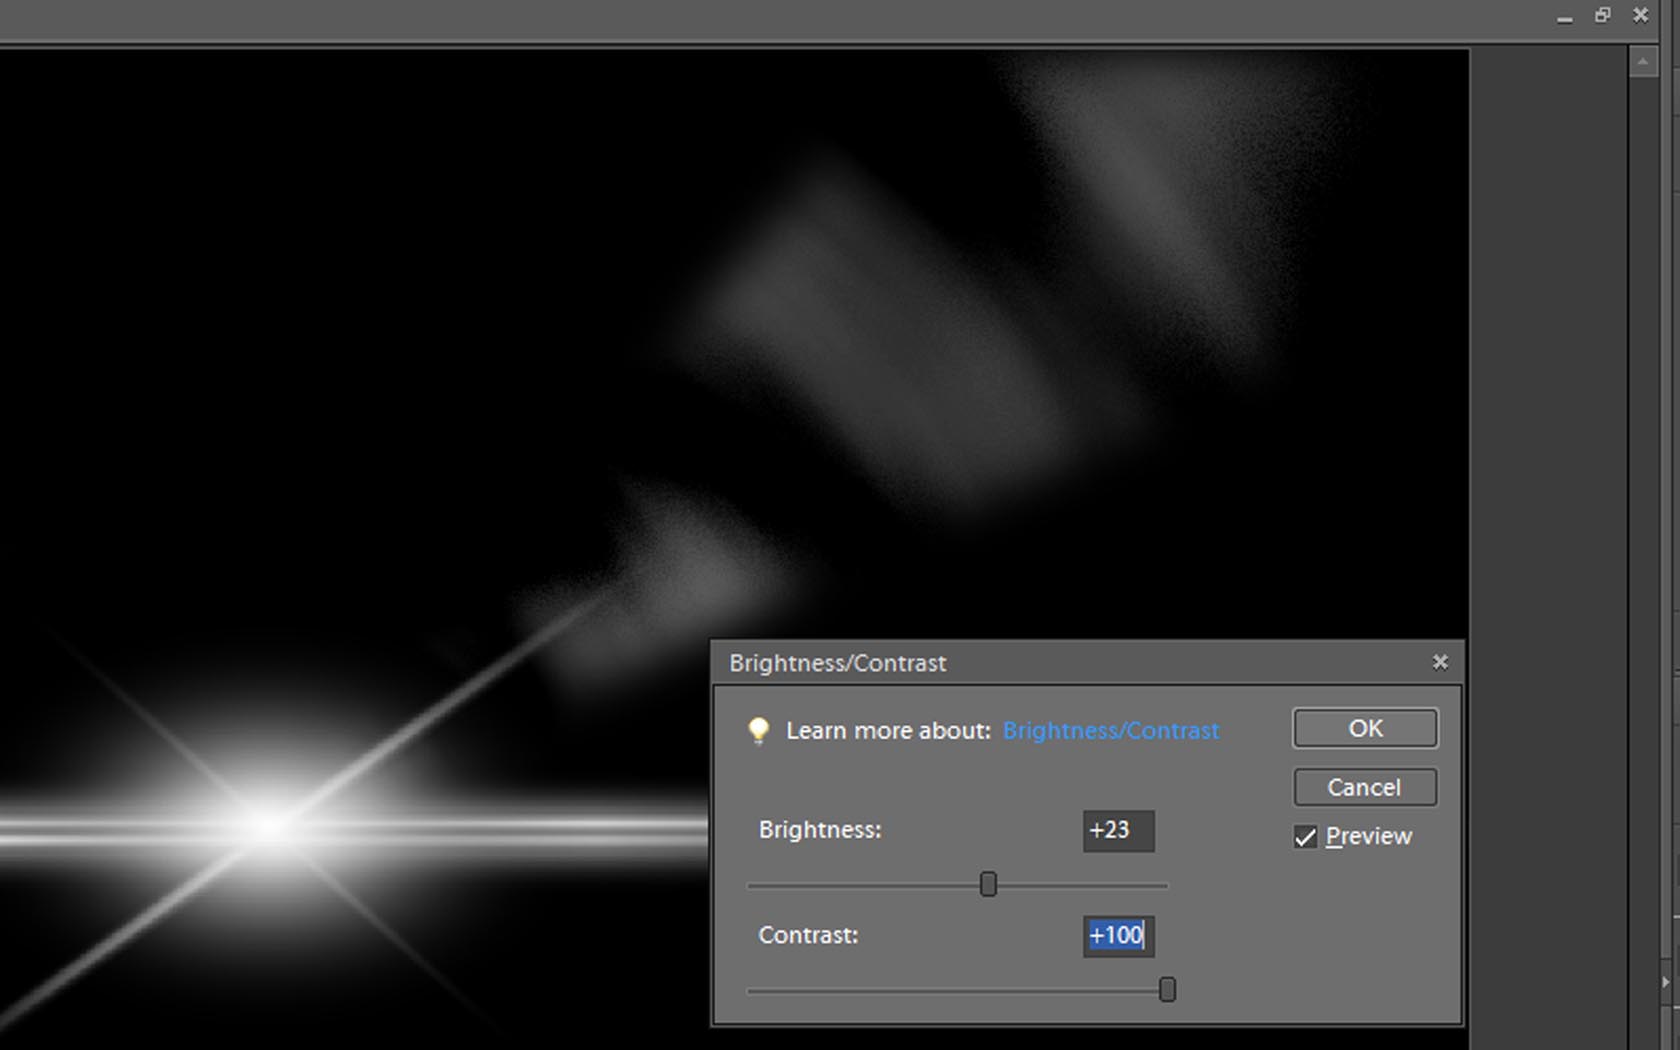
If the definition of the light streak is too faint, then adjust the contrast and brightness
If the definition of the light streak is too faint, then adjust the contrast and brightness
Coloring the Flare
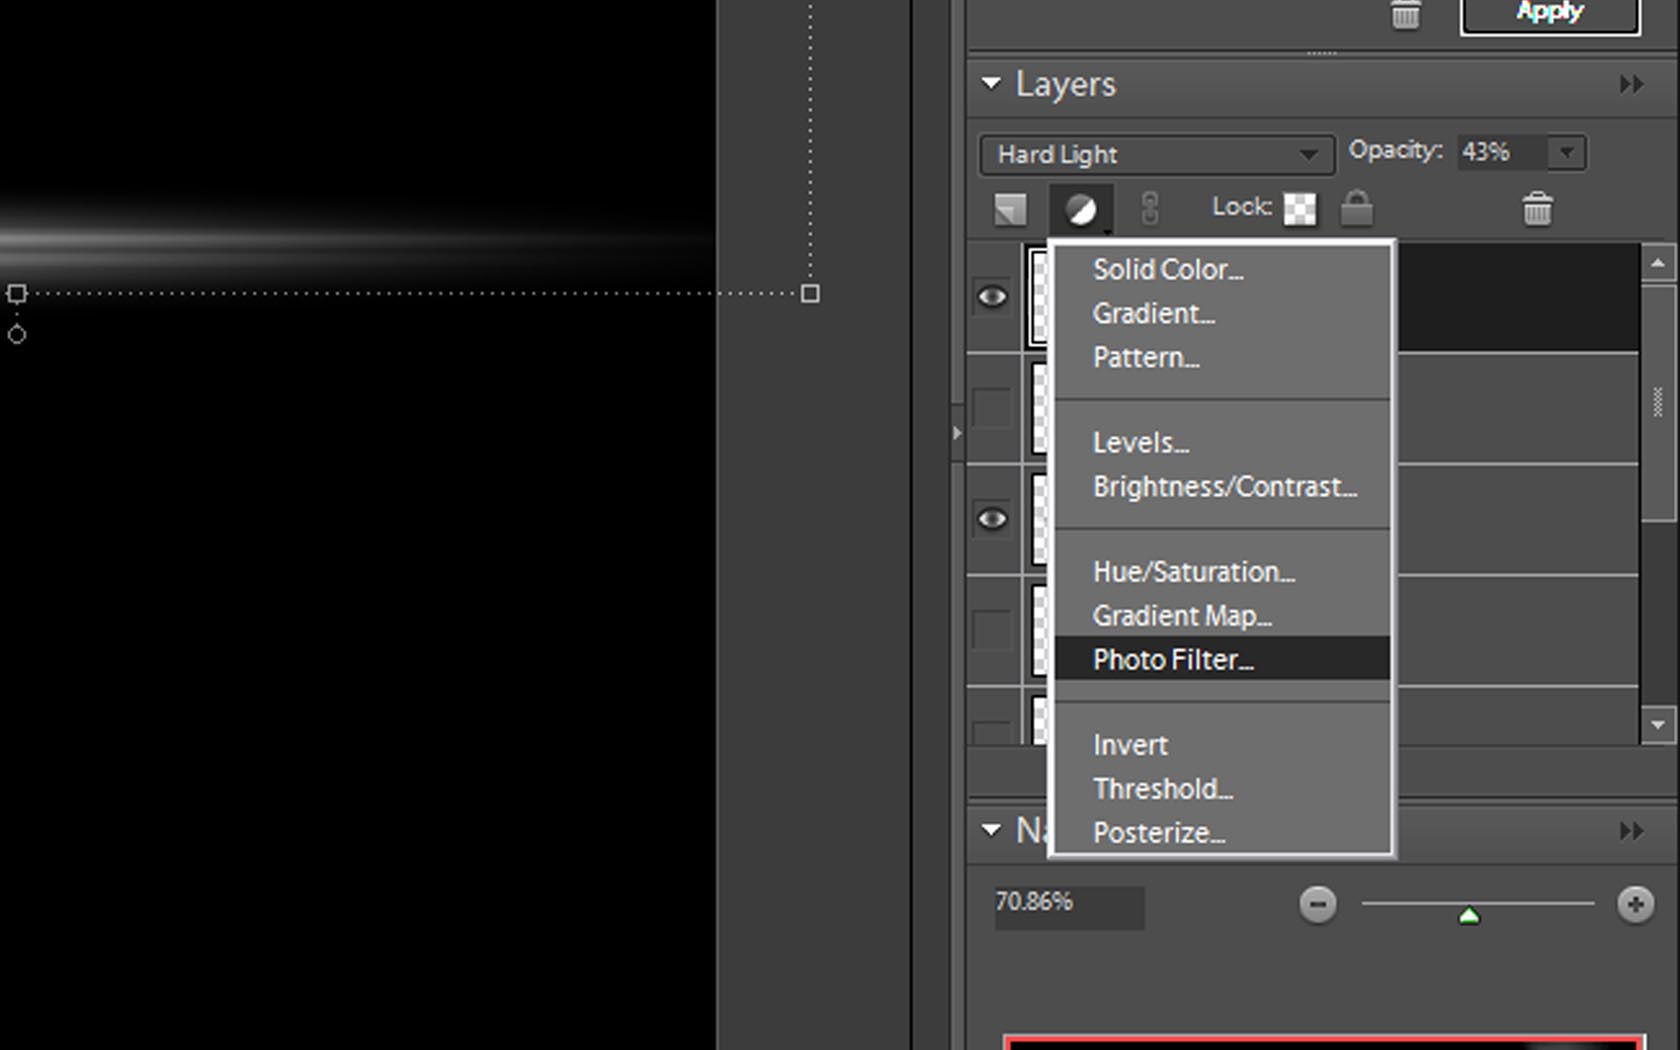
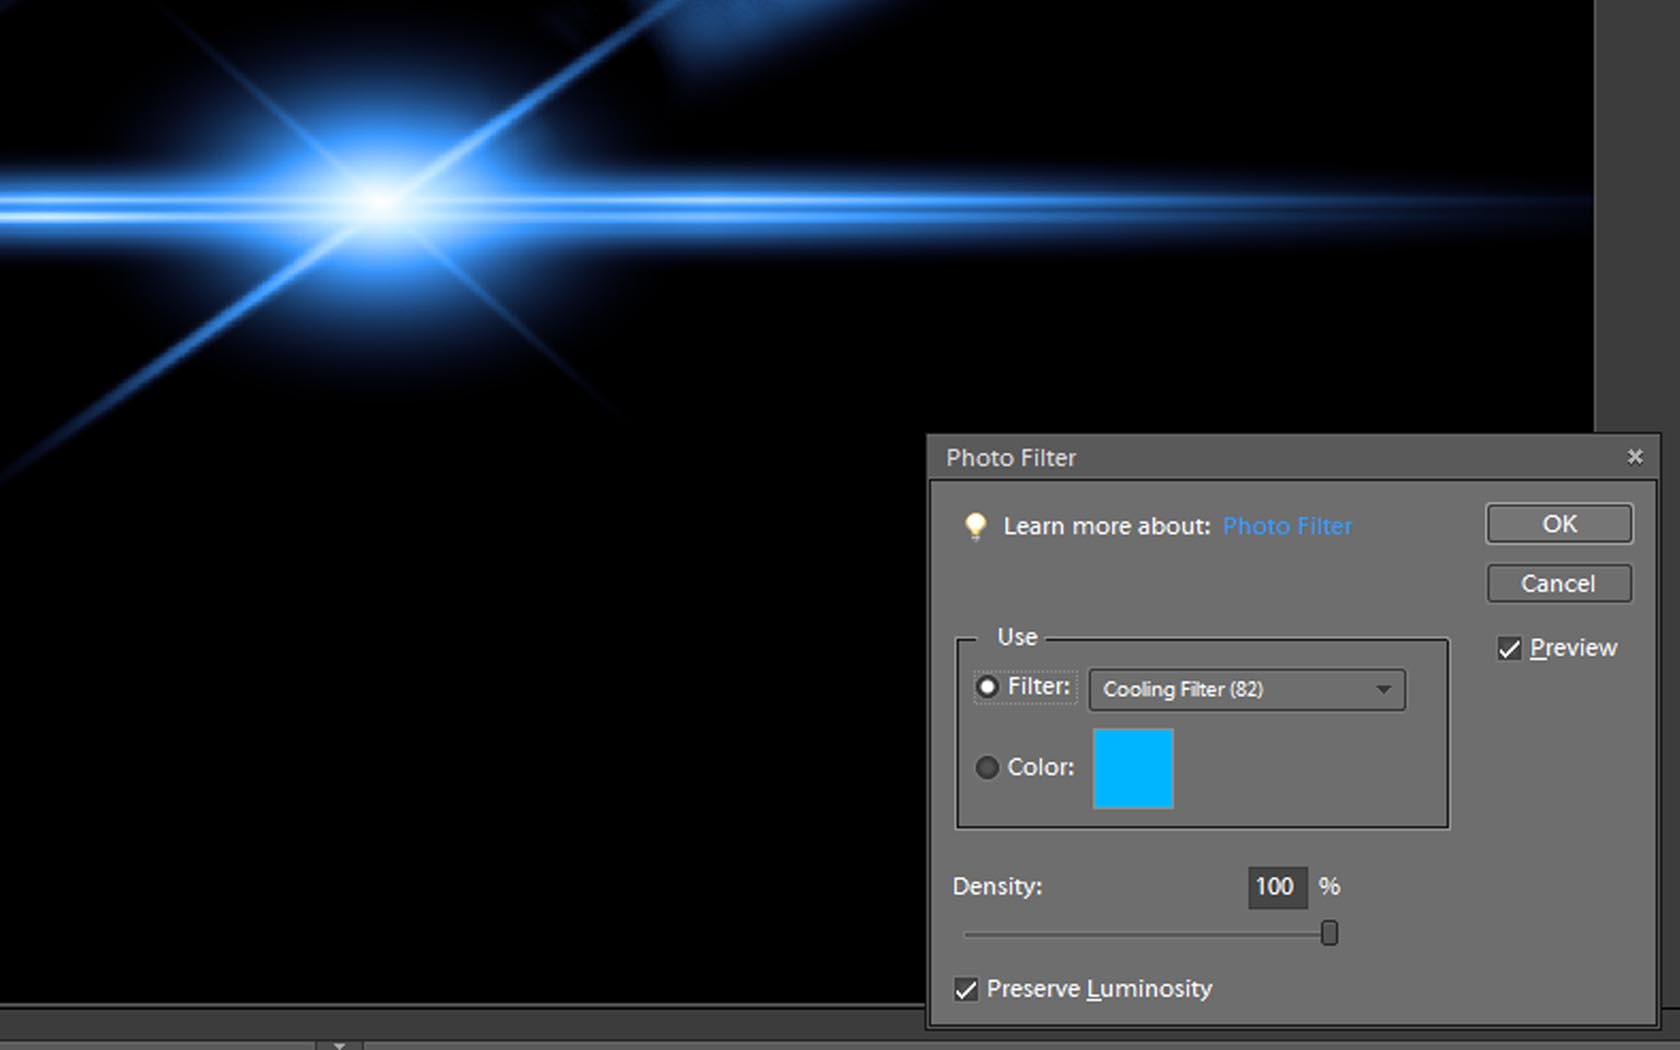
A plain old white flare is a little boring, so were going to color it
Create an Adjustment Layer called photo filter
(the reason were using a photo filter instead of anythin g else is so we can change the color of the whole flare and not have to tweak ech layer one by one)
Create an Adjustment Layer called photo filter
(the reason were using a photo filter instead of anythin g else is so we can change the color of the whole flare and not have to tweak ech layer one by one)
An Extra Tip
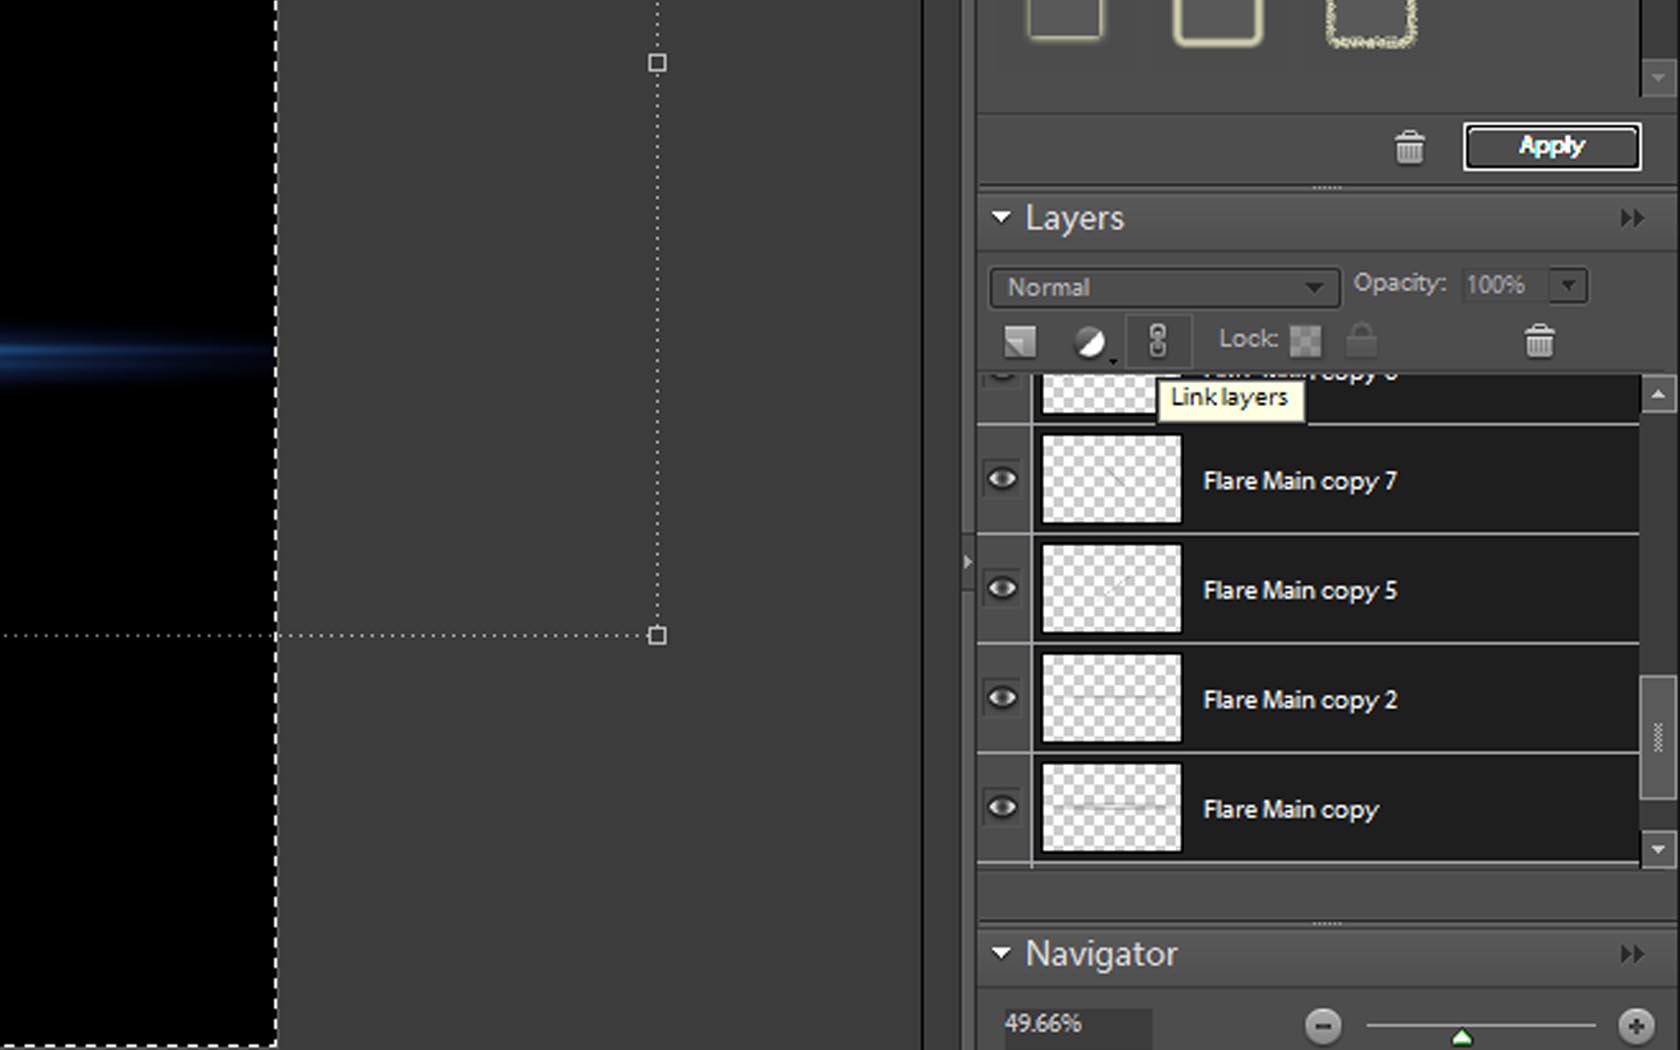
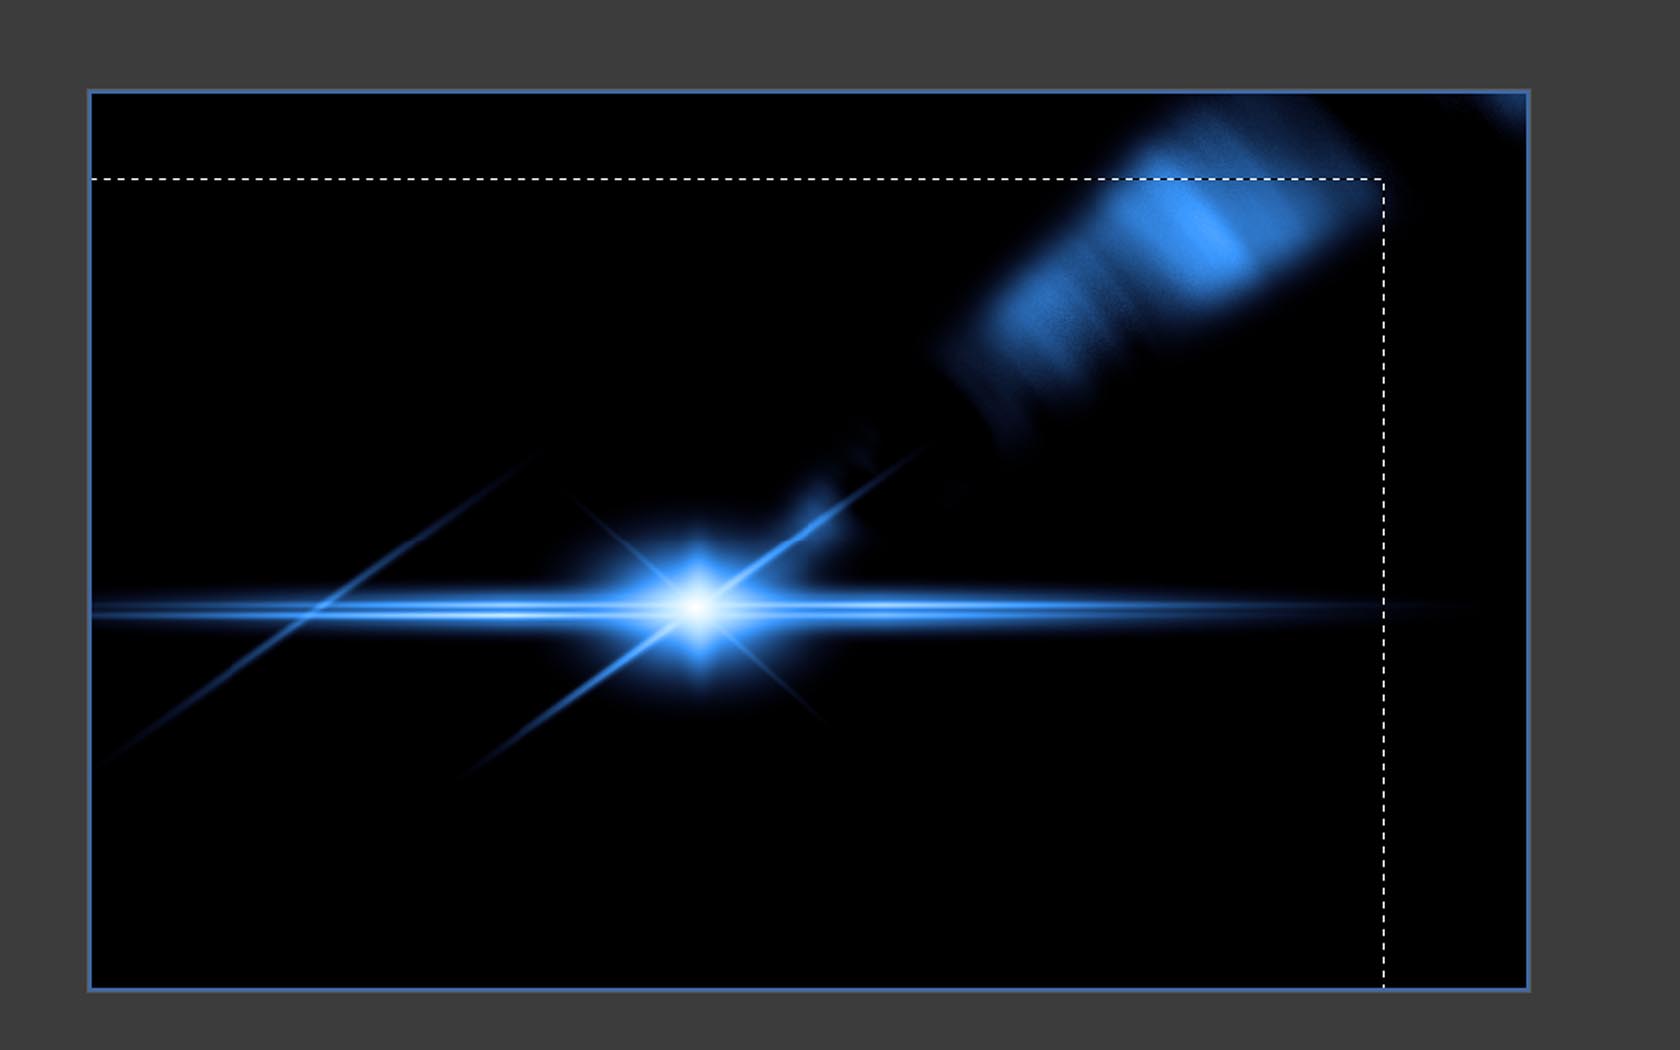
Give a general description of the Step if you want, you can select all the layers except black and link them togeter.
That way, you can select only one layer but move the entire flare.
That way, you can select only one layer but move the entire flare.
The End!
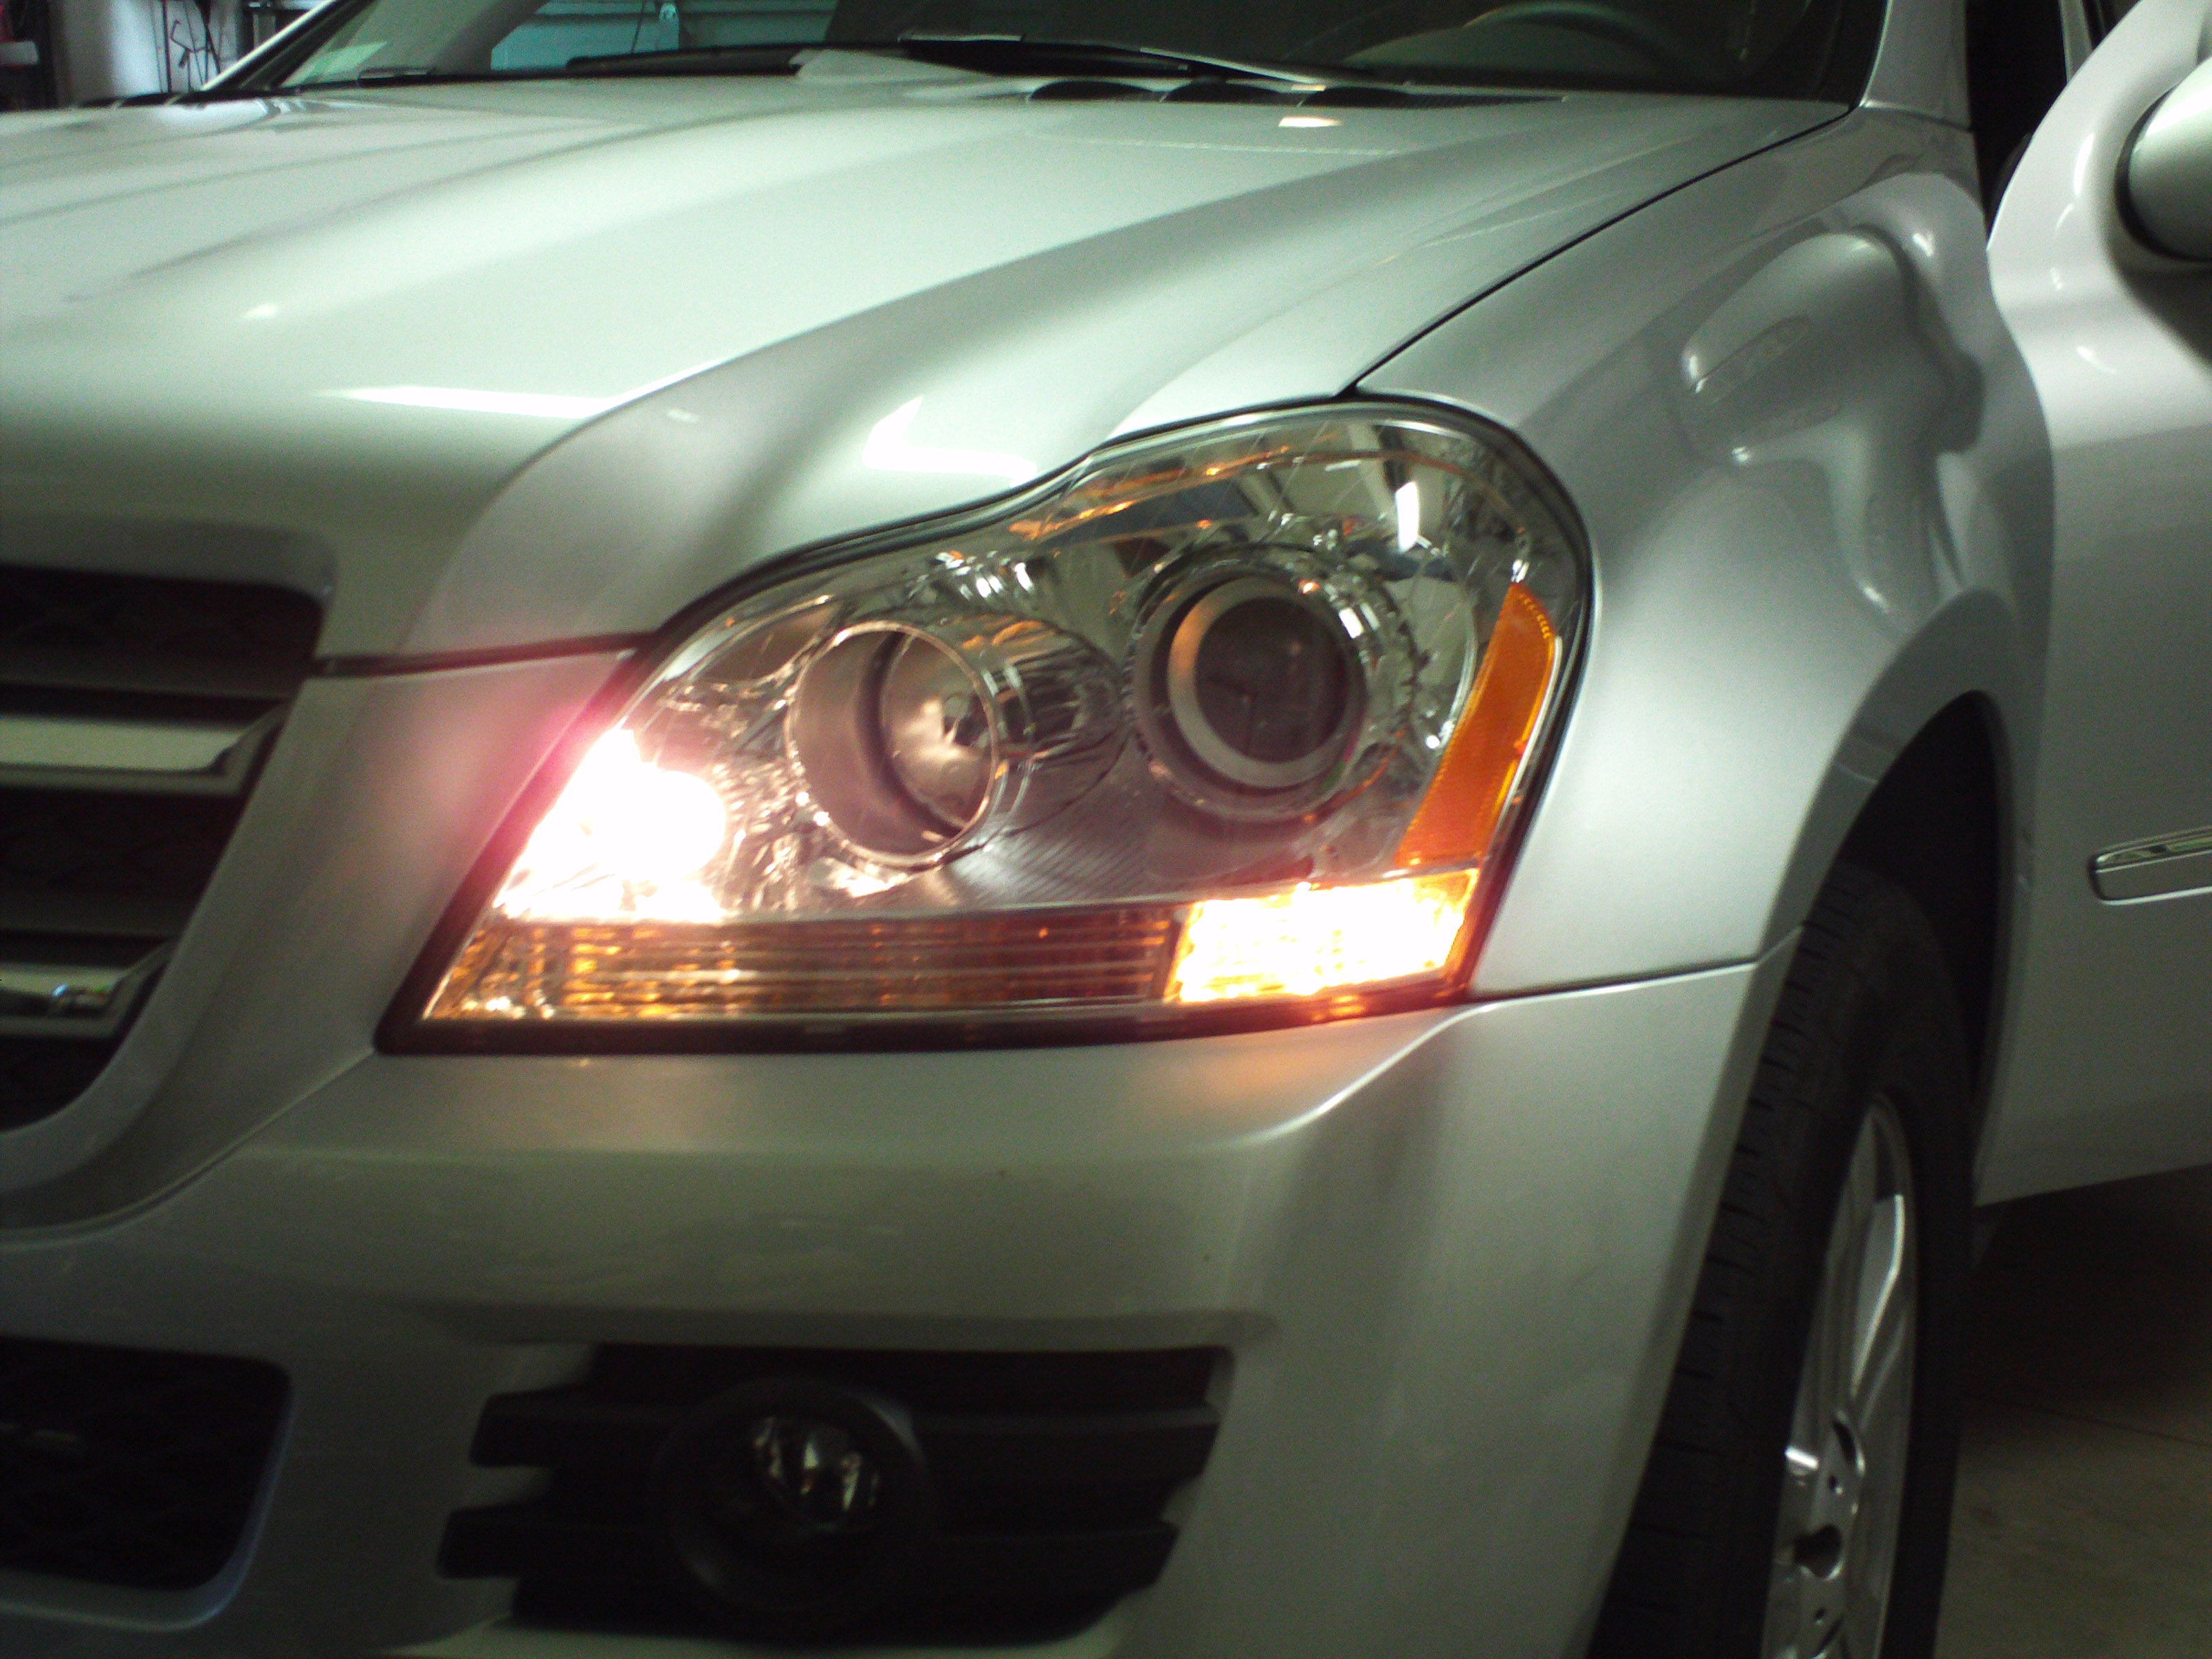
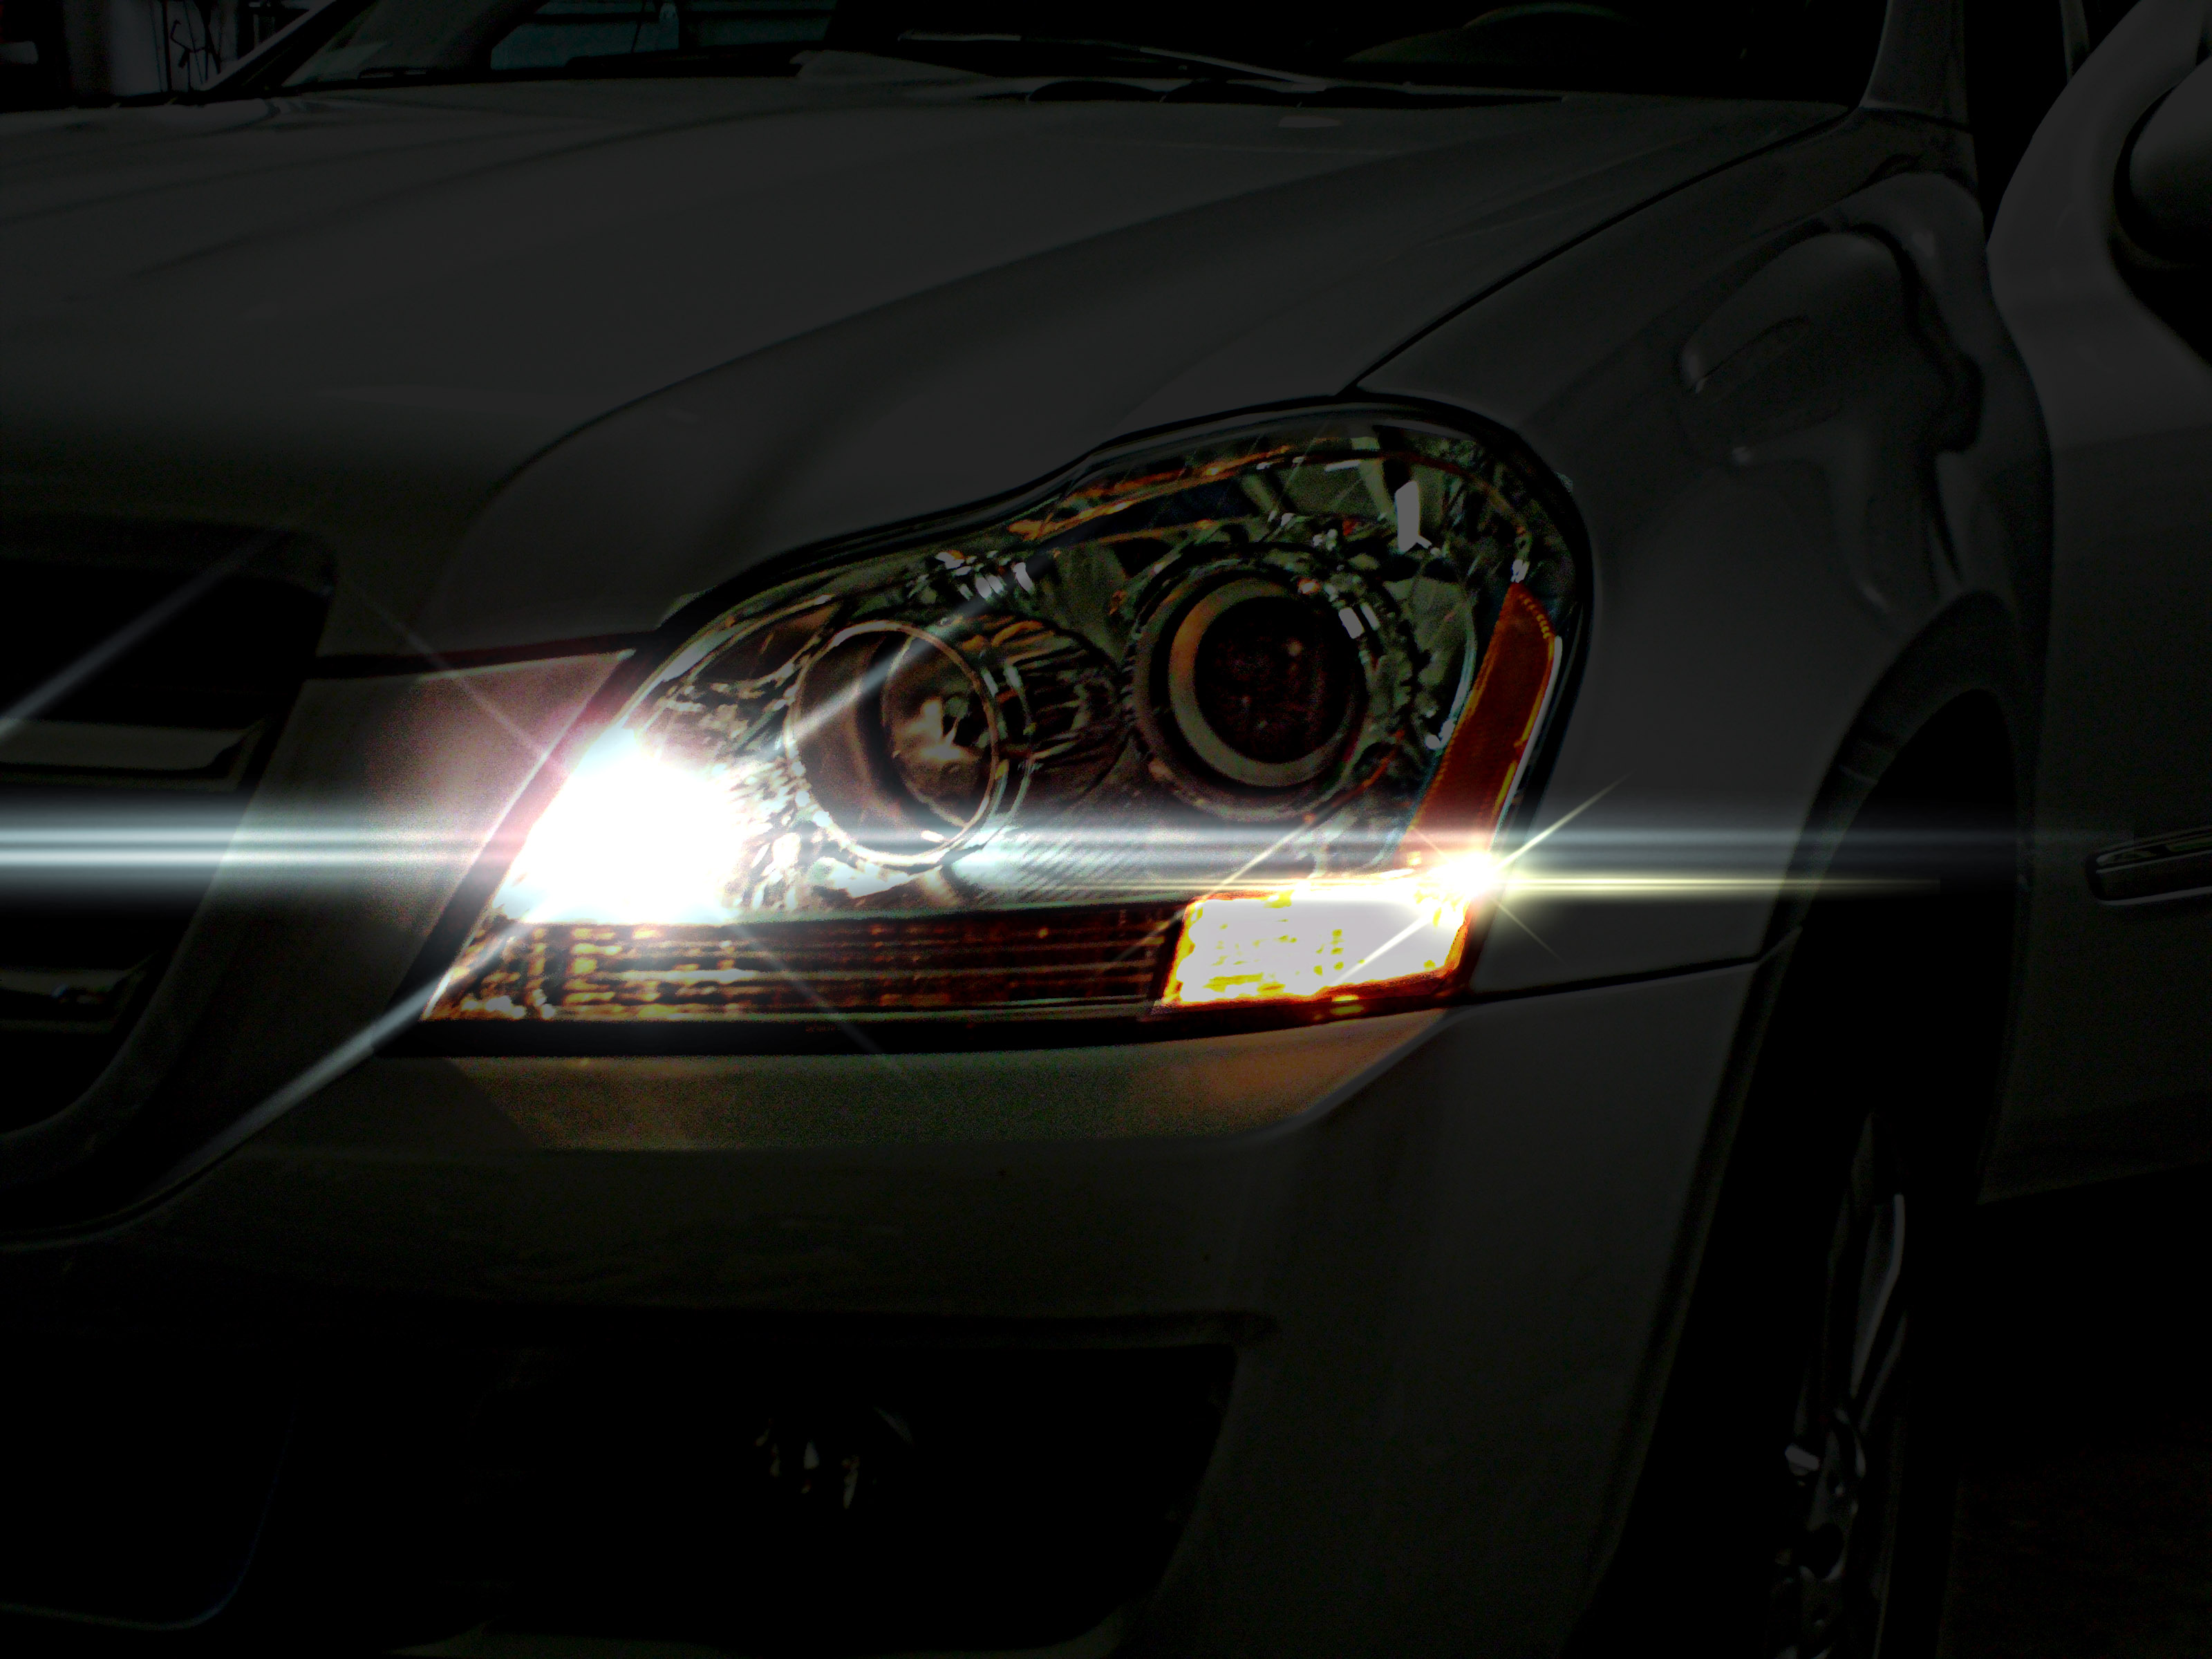
Now you have an awesome looking lense flare.
tip:save as a photoshop format to change the flare position and color later
EXPORT IN PNG WITH THE BLACK BACKGROUND
you can drop that on a photo or video and change the transfer mode to SCREEN or LUMA and you have a great lense flare! (only export without the black when you are not using the light streak element)
(Feel free to be creative and add more elements)