An Easy Guide to Creating Digital Comics
by Arpan Mondal in Craft > Art
8626 Views, 17 Favorites, 0 Comments
An Easy Guide to Creating Digital Comics

Hola! If you've clicked on this instructable, you probably love comics, but never really tried creating them. Well you don't need to be an artist to be an artist.
I'm sorry if there are any mistakes in the previous line. But hey, it's really simple to create comics. Take me for example. I'm an engineering student. Never went to a drawing school or any other art coaching. But I had a passion towards art and learnt it by doodling random stuff during my free time. Be it in college or in the hostel (Yes, I live in my college hostel). But I rarely find people interested in art. So I'm going to break the myth that art is difficult.
First let me make a list of things:
A tablet
A stylus
A good and expensive drawing app
Lots of free time Drawing experience
These are things that you'll NOT require. Yes, you read it right.
All you need to make digital comics are:
Any smartphone
And one free app
Yes, only one app which is free for lifetime. It's called Adobe Sketch. If you think of the word 'expensive' when you hear the word 'adobe' , don't panic. Only Adobe's pc / Mac apps are paid. Smartphone apps are generally free. Okay, no more wasting time, let's get sketching.
A Little Basics

Adobe Sketch basics:
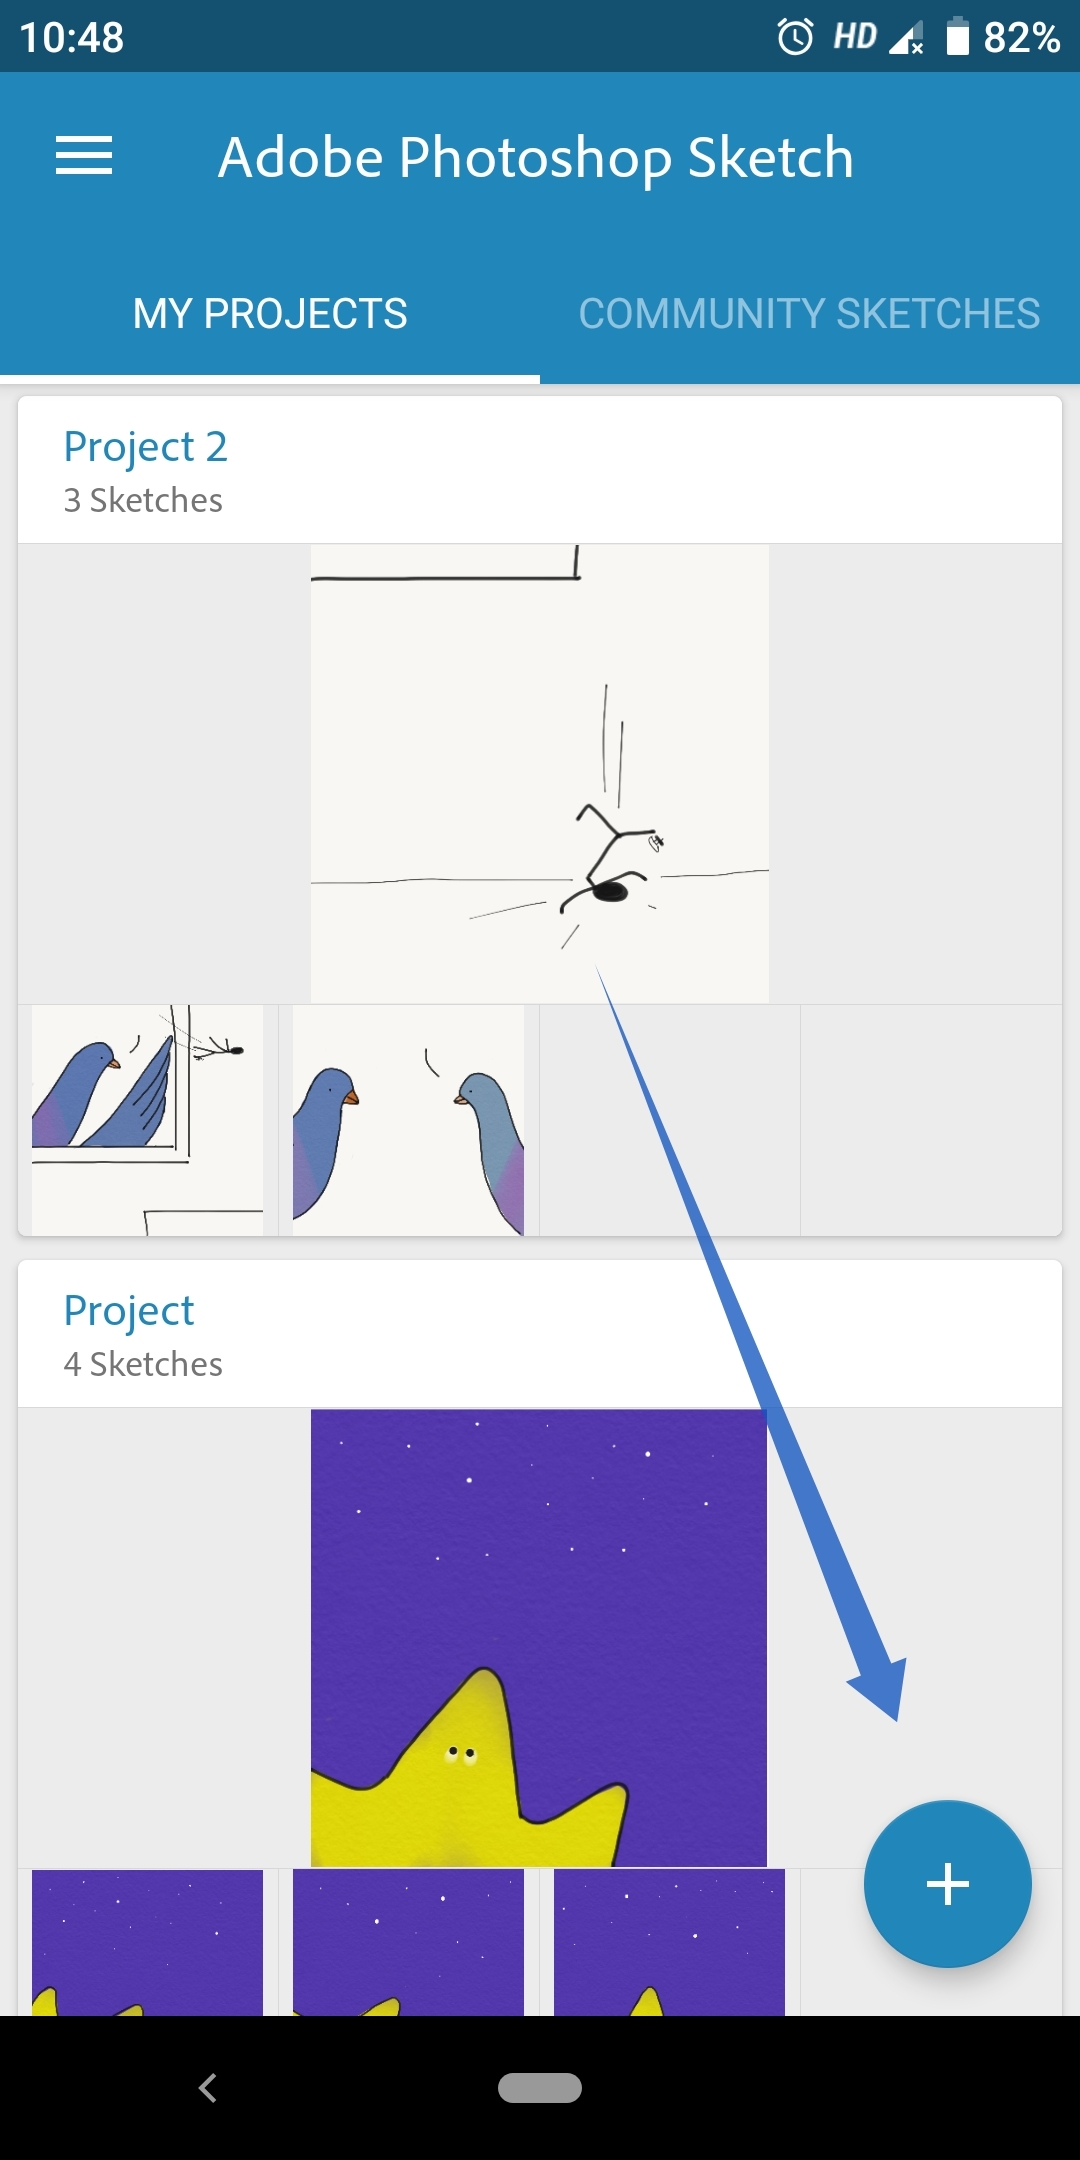
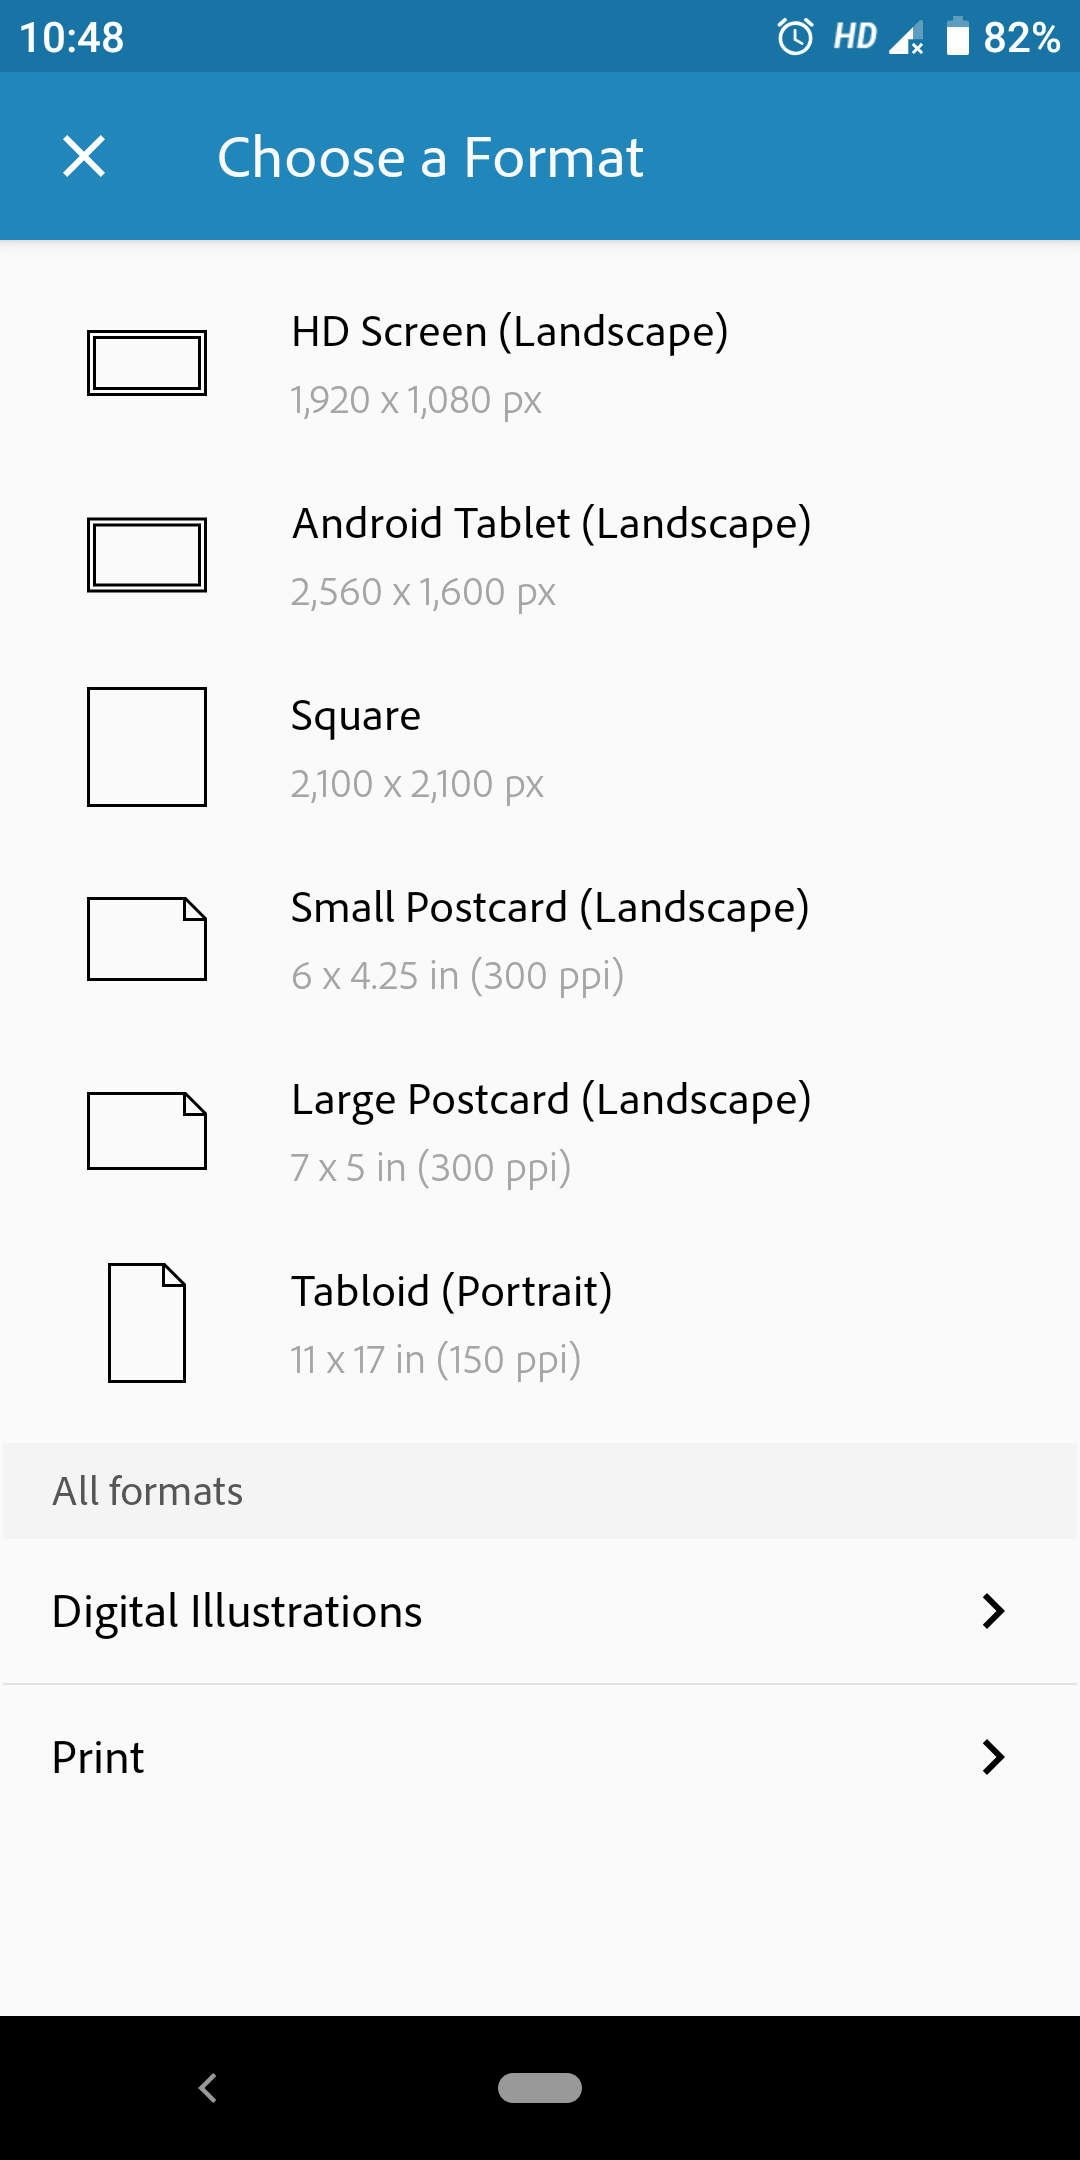
Make sure you've installed Adobe Sketch in your phone. Open it and tap on the '+' symbol to open a new project.
On the left, you'll find a list of brushes. I don't think I'll have to elaborate on what it means.
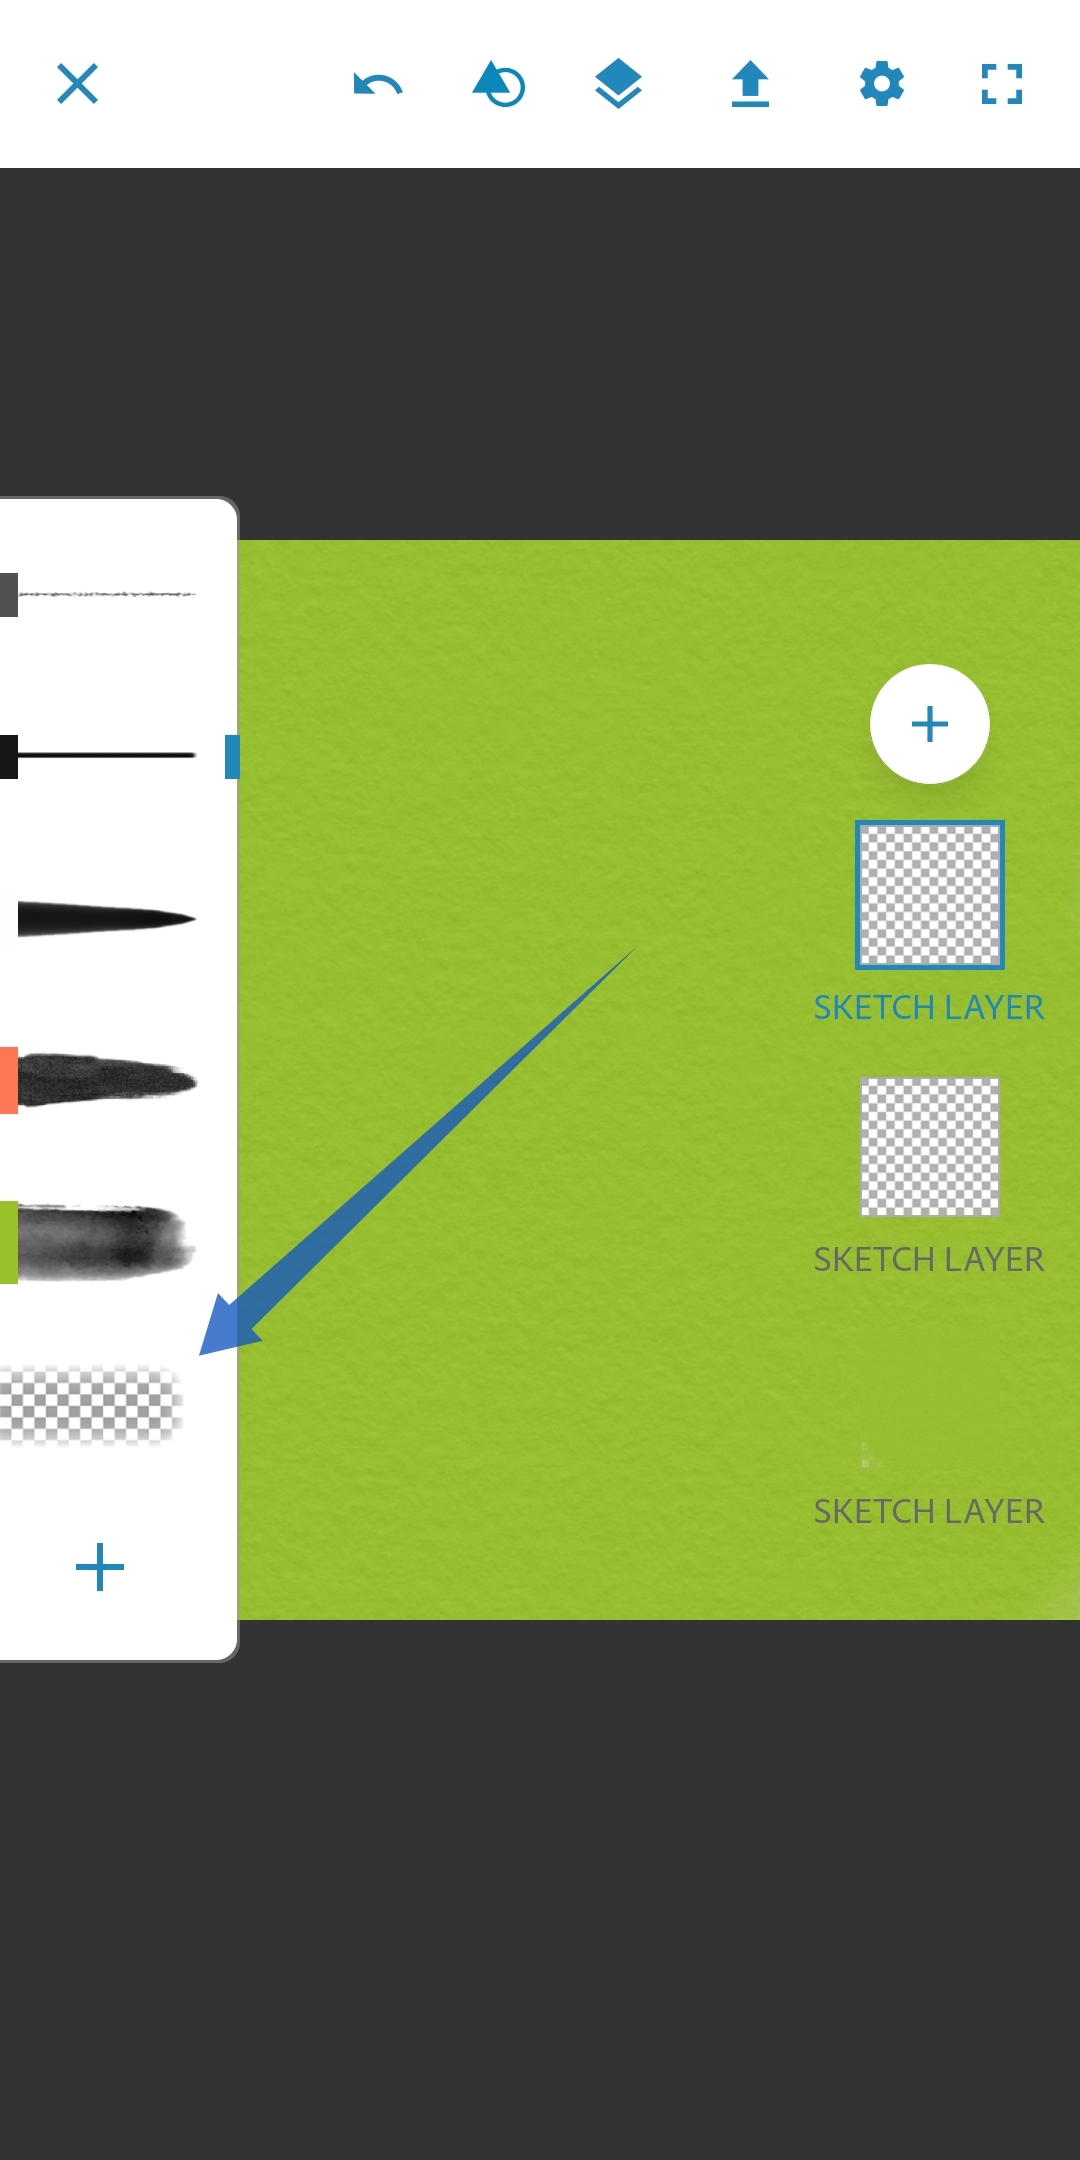
On the right you'll find the layer you're sketching on. But hey, WHAT IS A LAYER? Well, it's self explanatory. You can draw on multiple layers stacked on top of each other so that it doesn't get messy. No worries, it's easy. You'll learn how to do it in the coming steps.
The middle portion is the paper you'll sketch on. Works like any other paper, except that it is digital. Fun fact: when you use a watercolor paint, the paper looks like a watercolor paper. You can actually see the wavy surface after applying the paint!
Drawing basics:
I usually draw on my smartphone directly using my index finger. In case you have a stylus, great! But if you don't, and you don't even want to use your finger directly to draw, there's another way.
Take a cotton bud and dampen one side with a little water. Now hold the bud like you would hold a small pencil, making sure your finger touches the cotton a little. You just made your own stylus! Go have fun!
Begin Doodling
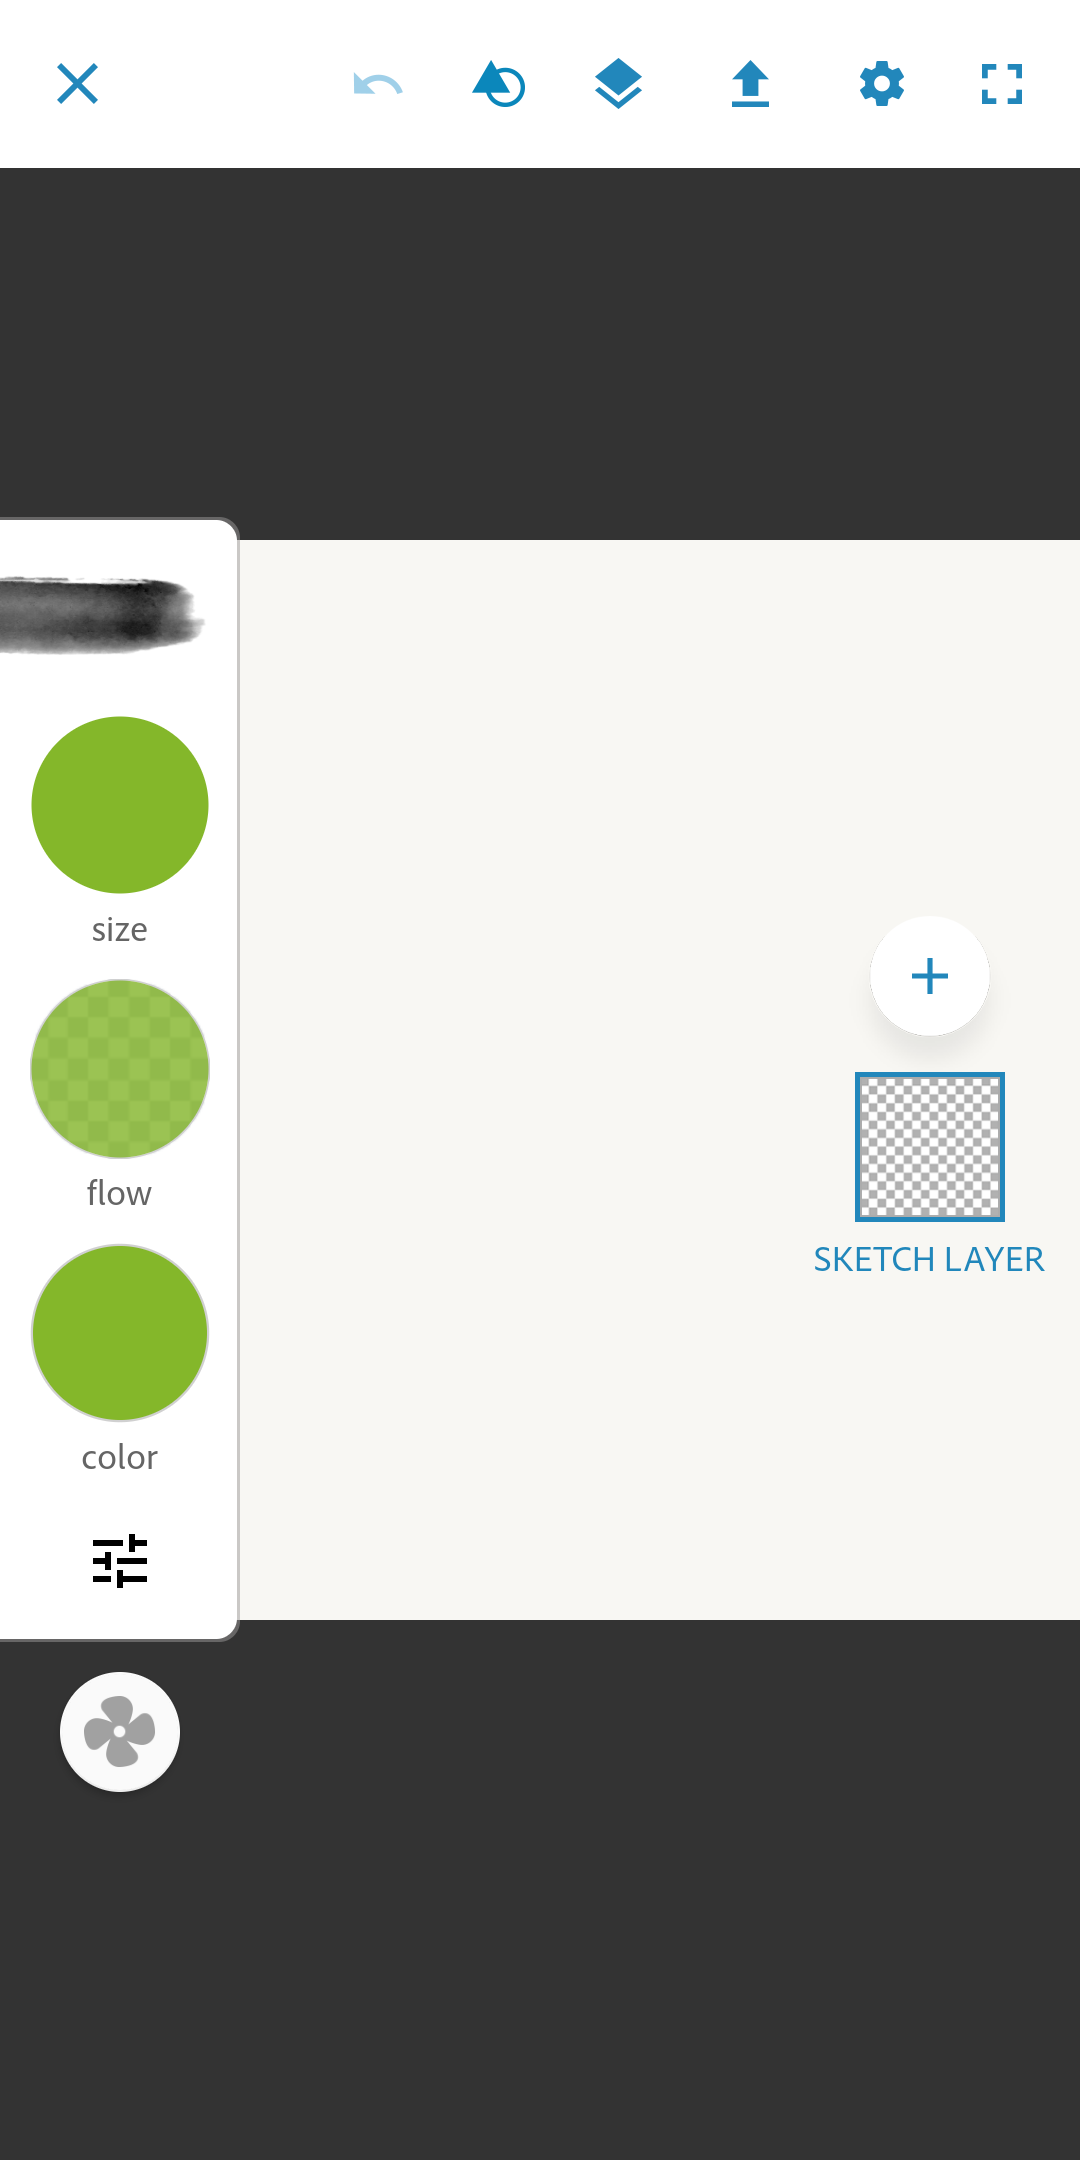
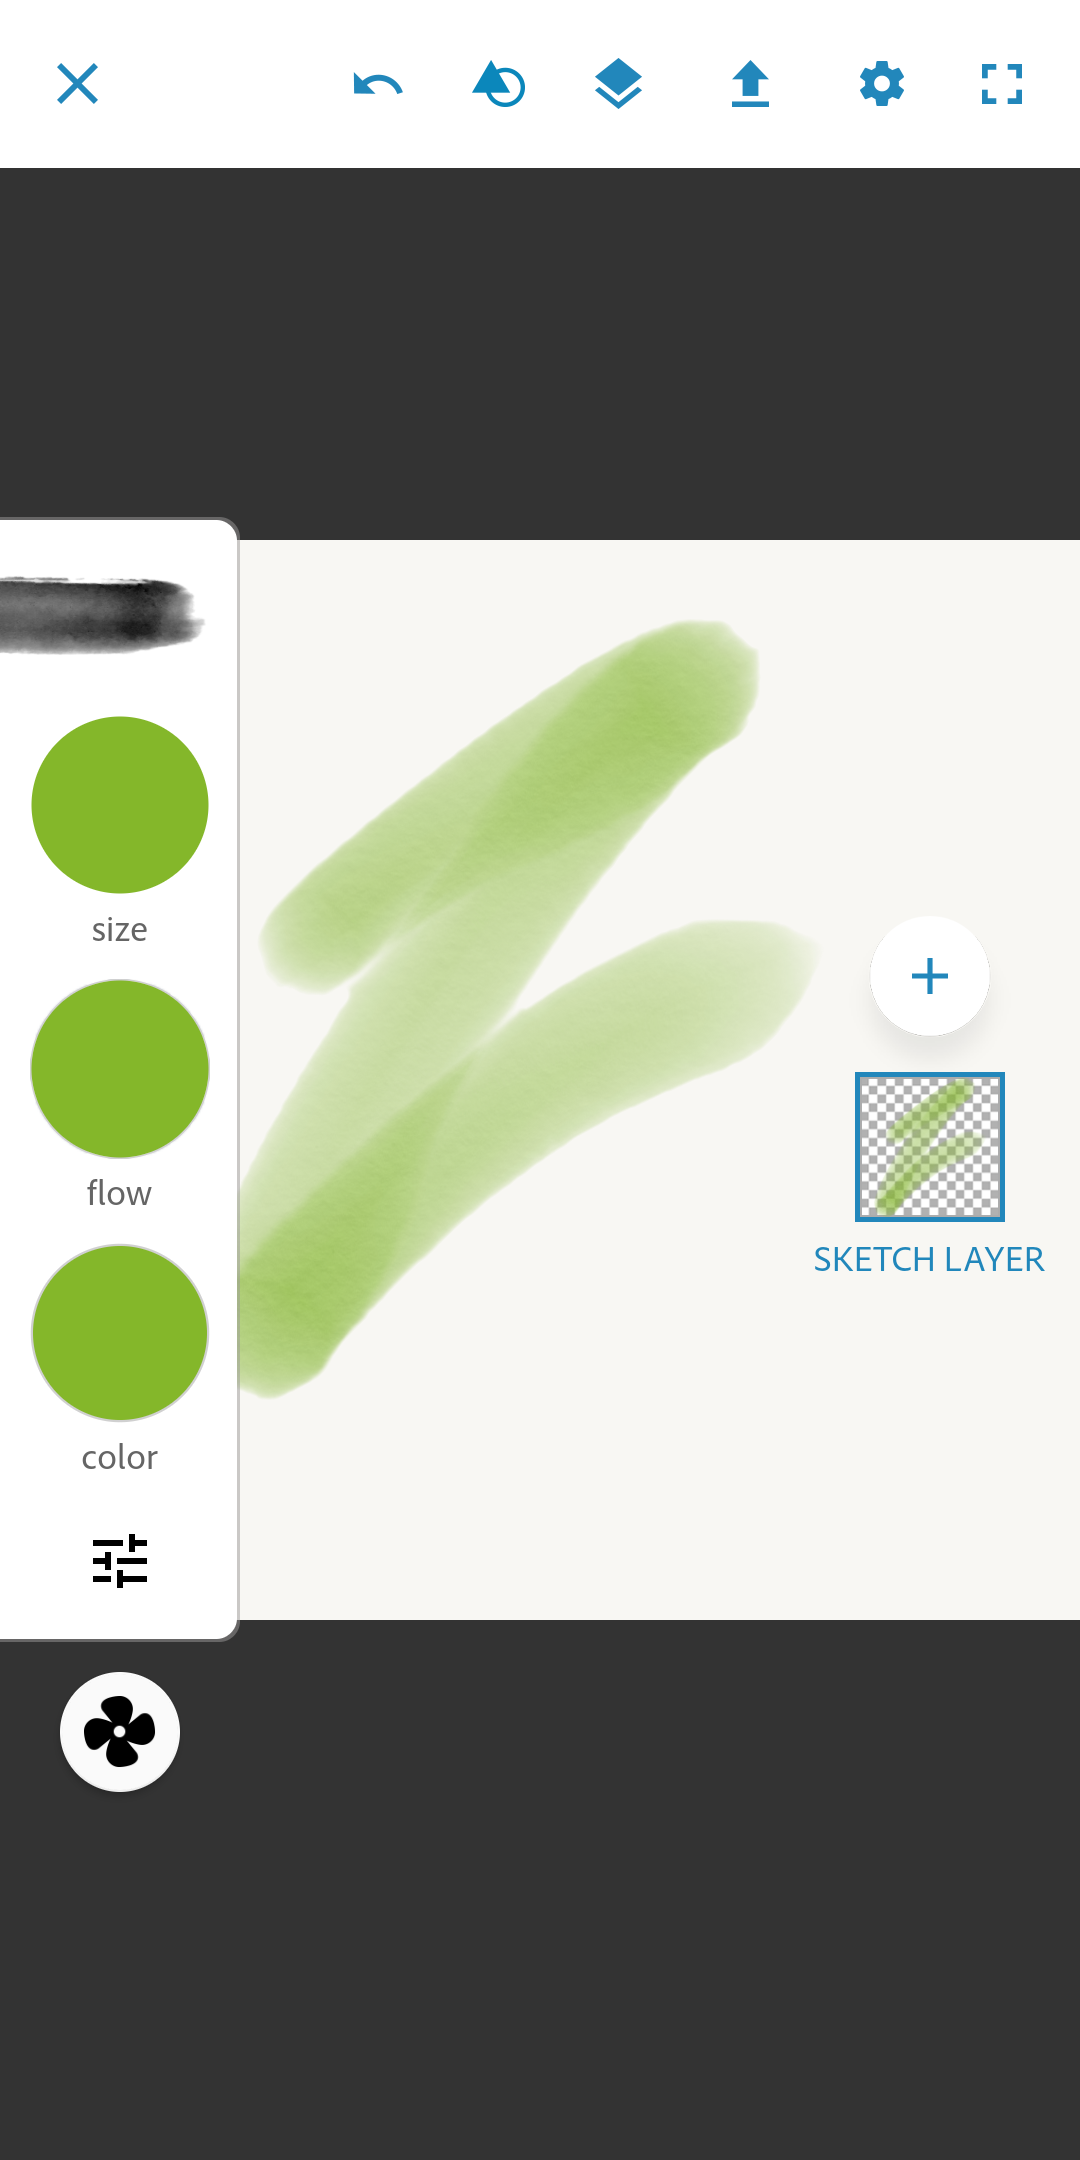

After opening a new project, we will make the background a solid colour. Tap on the watercolor brush. It's generally before the eraser tool. If you can't find it, long press on a brush and a list of brushes with their names will appear. Select watercolor brush.
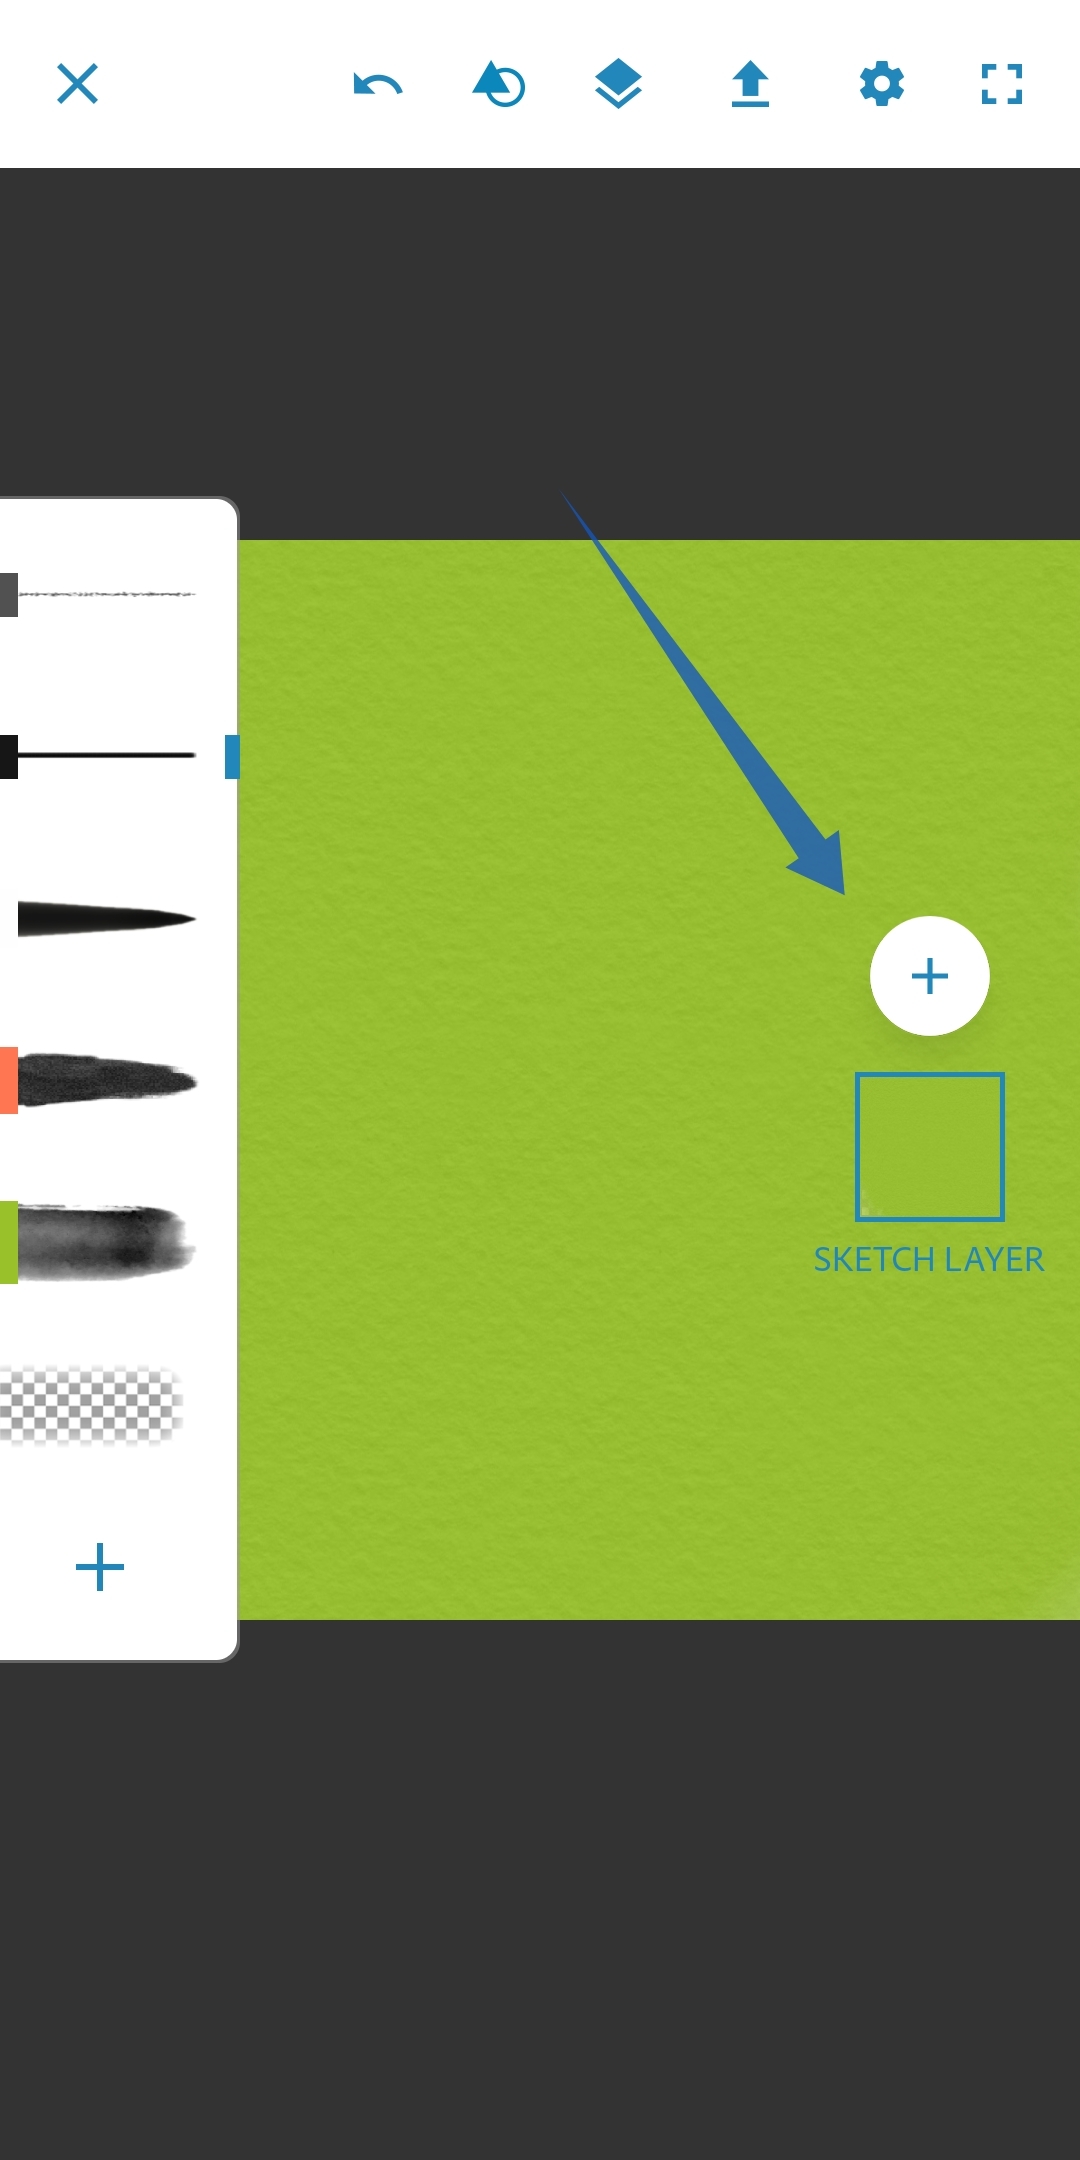
Adjust the size if you want to. Now just paint all over the paper to get a solid colour background. Tap on the '+' above the first layer (on the right) and select 'sketch layer'. If you would want to import an image from your device, you may select 'image layer' , but for now, we will just do sketching. I usually create two sketch layers above the background. The top most is for the outline of the comic characters and the middle one is for colouring. Let's do the same.
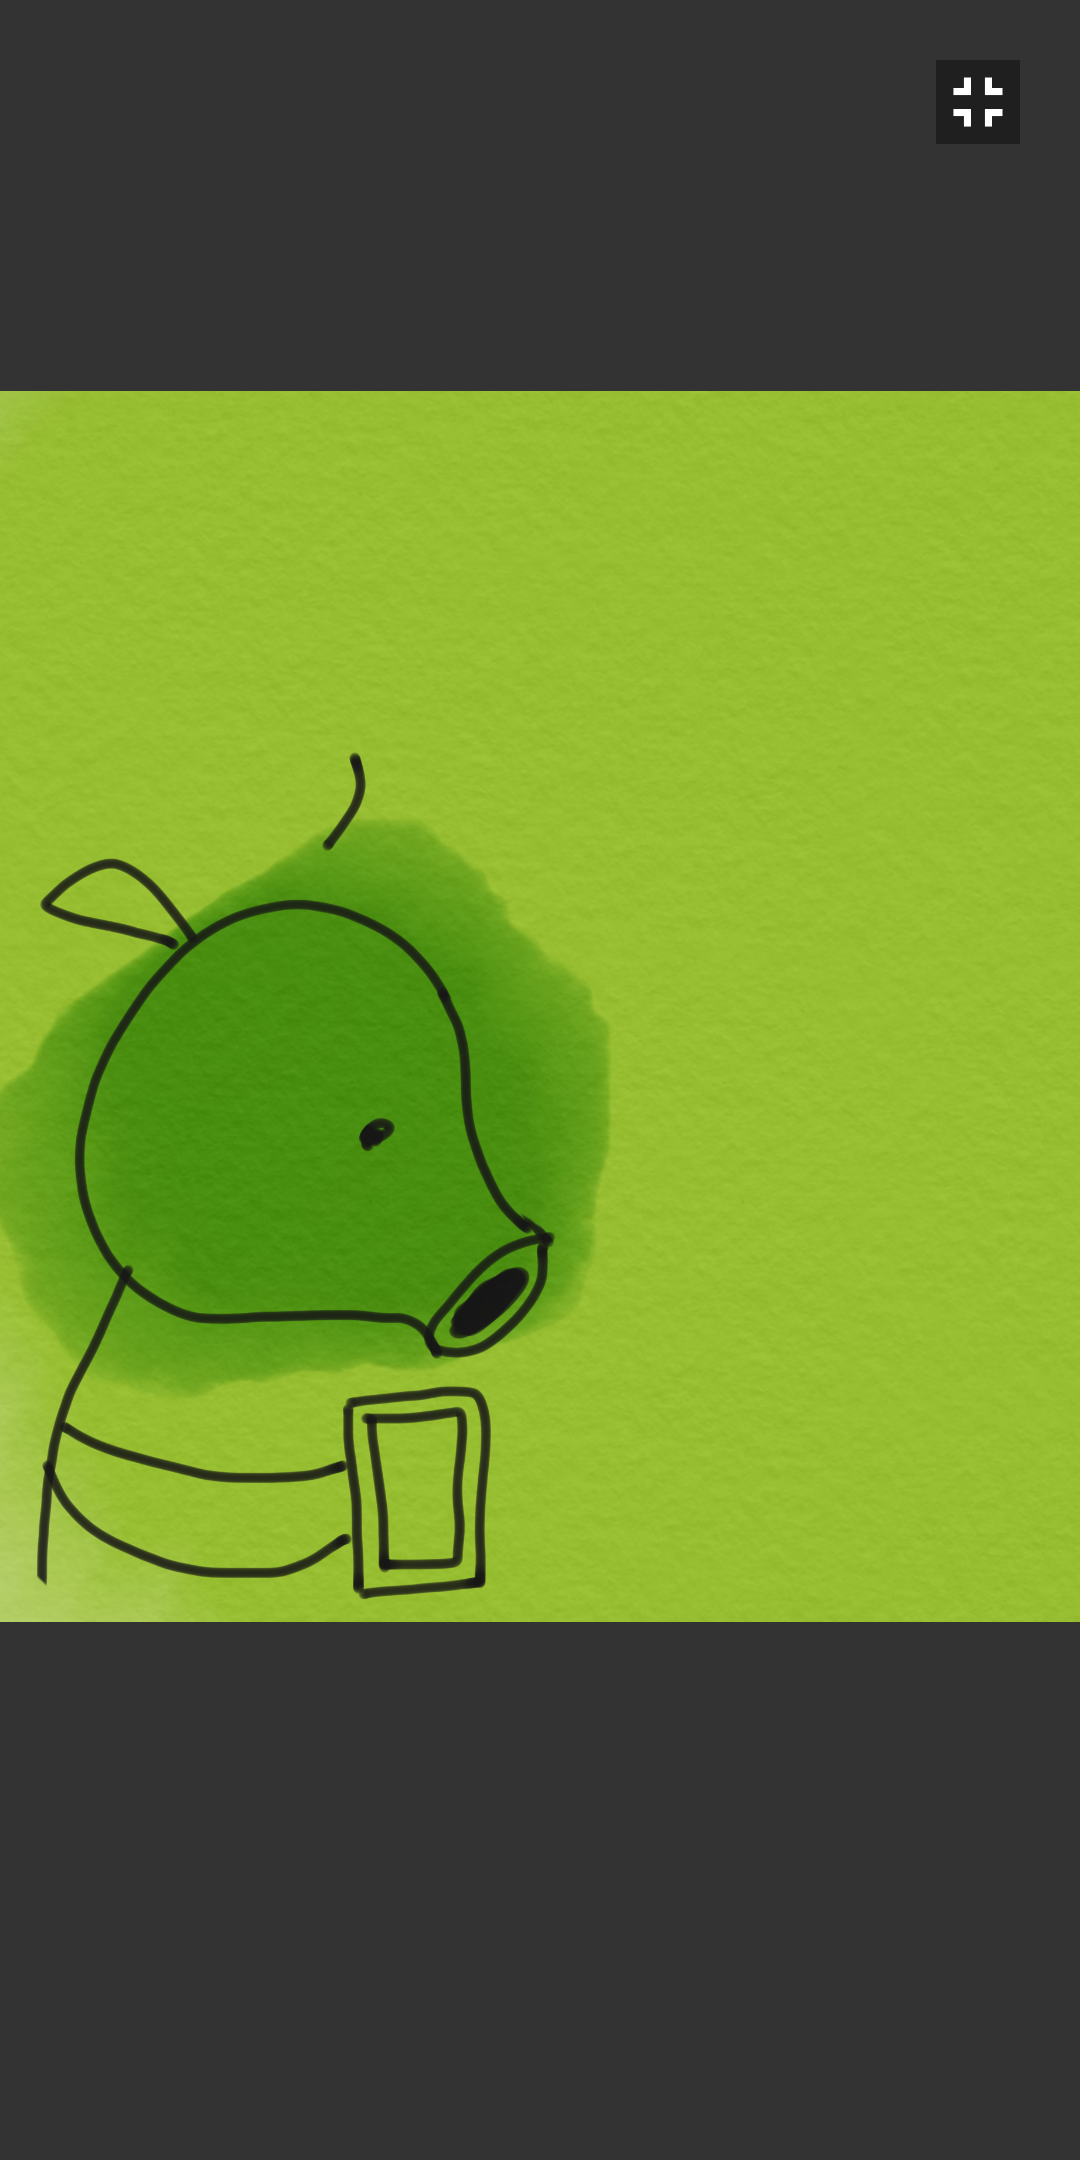
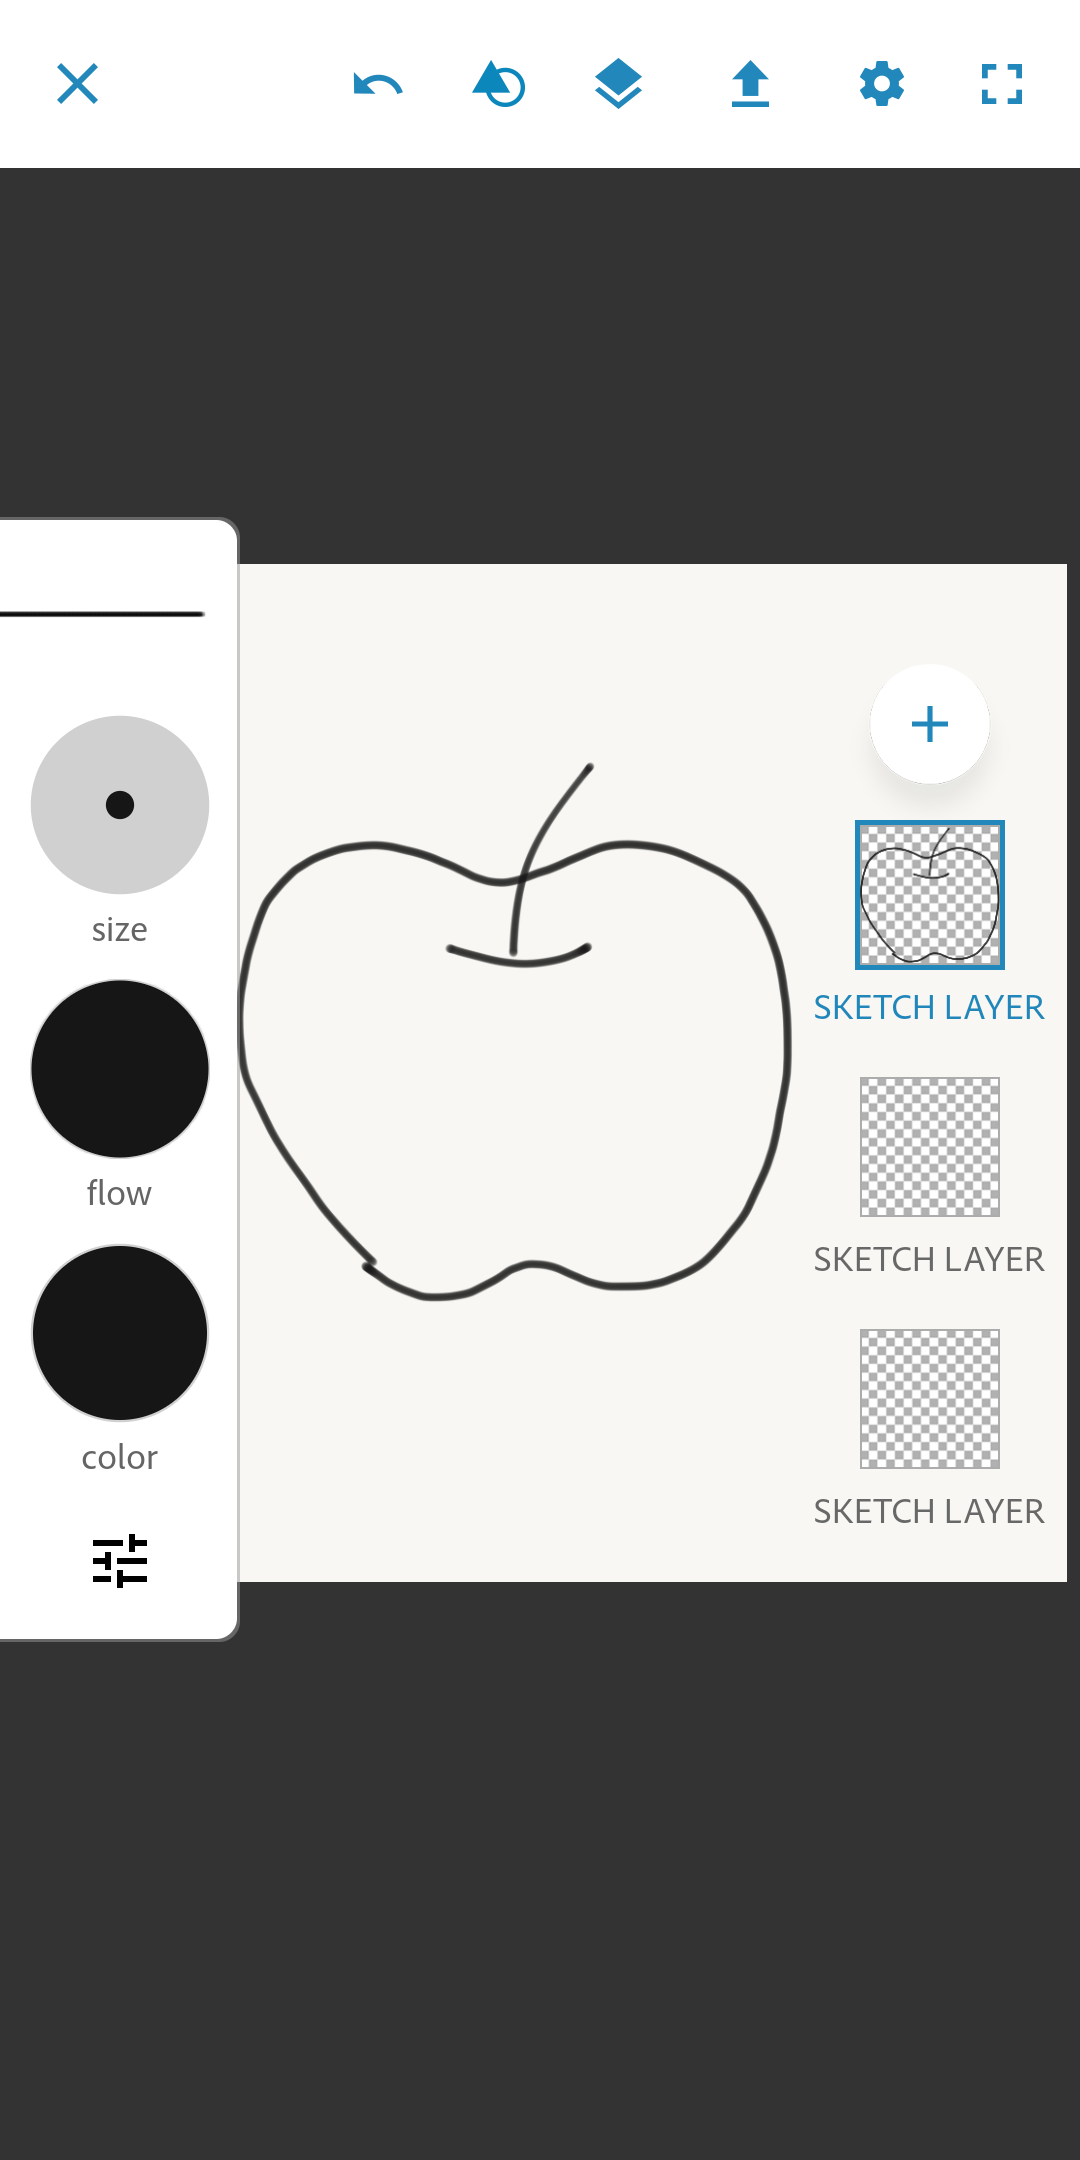
The Outline
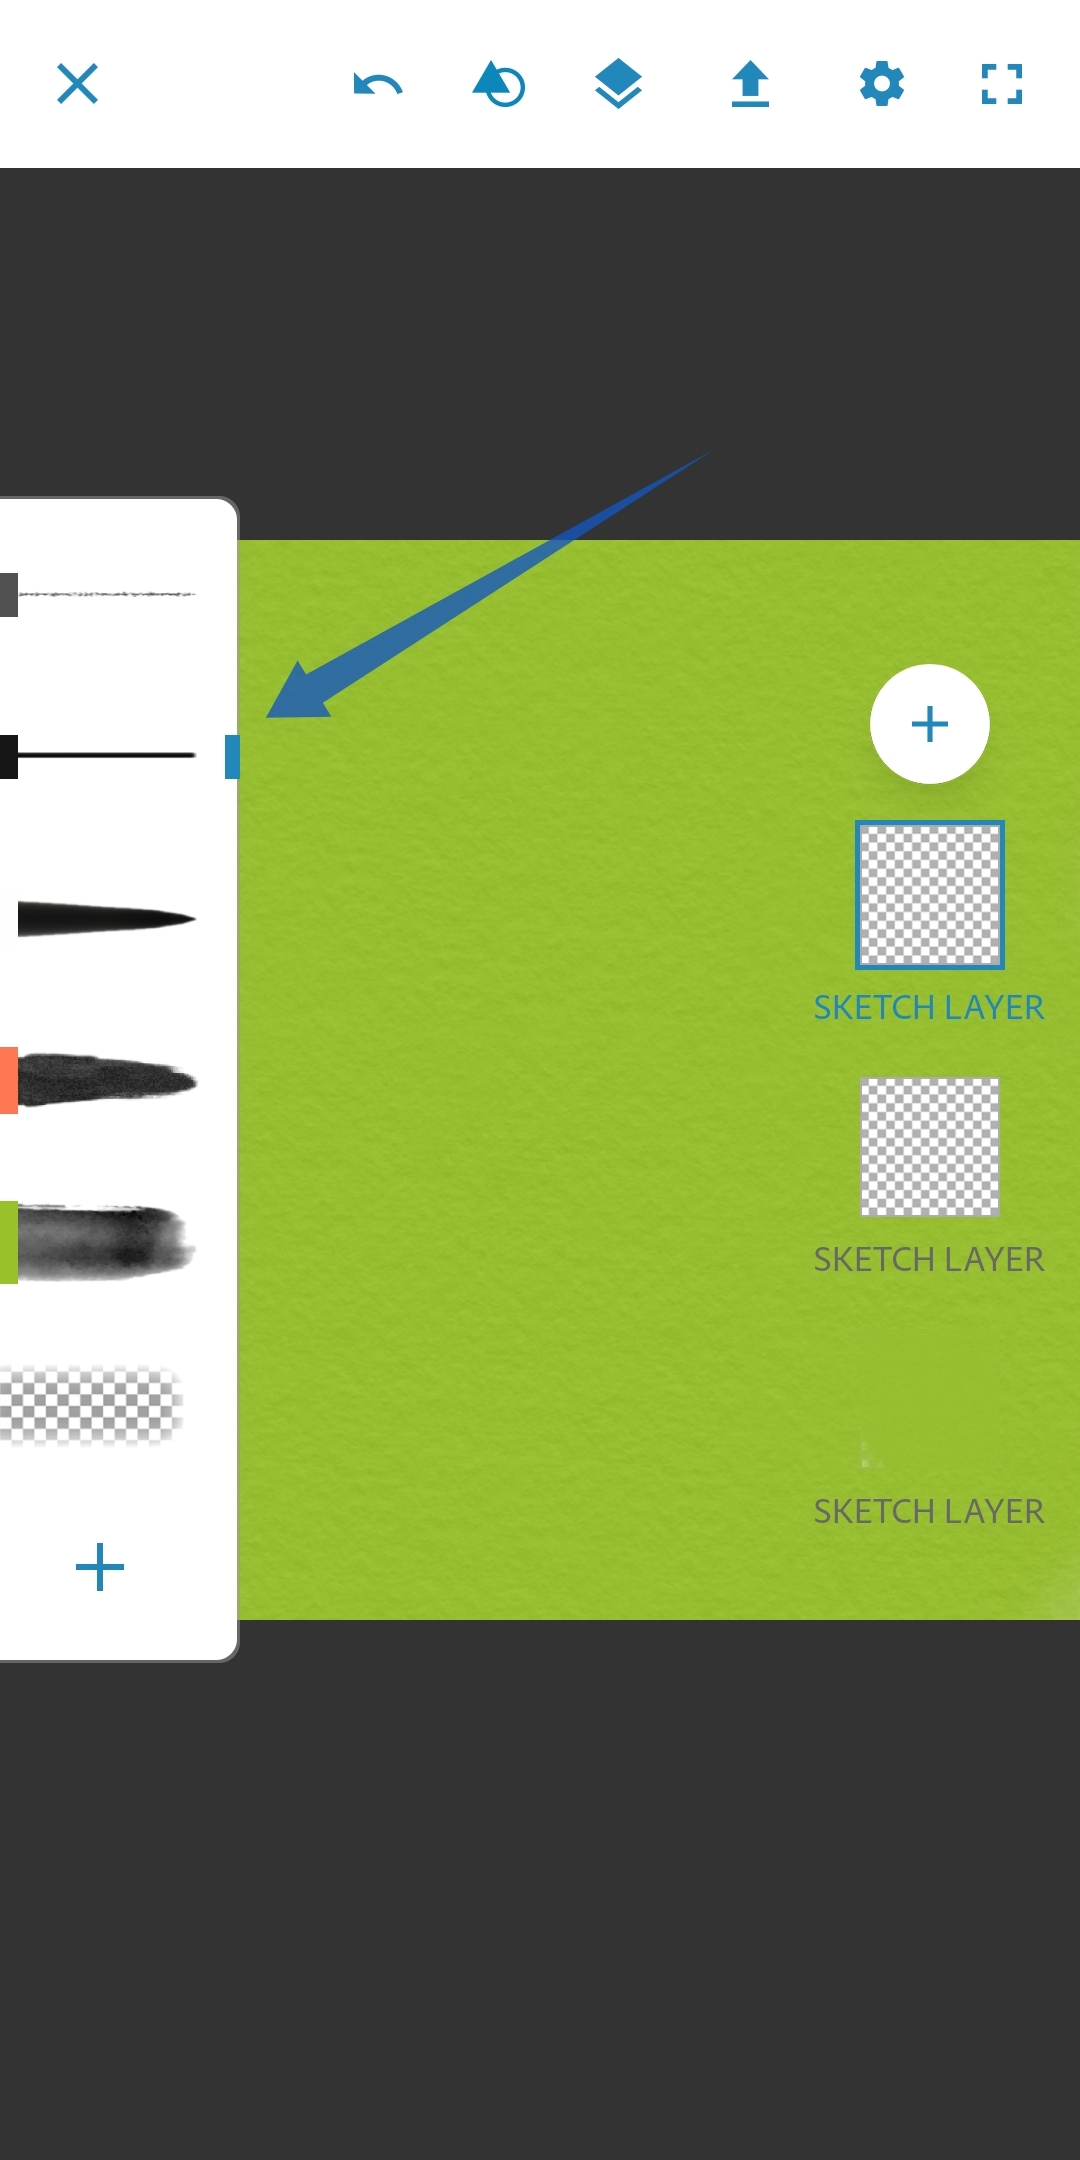
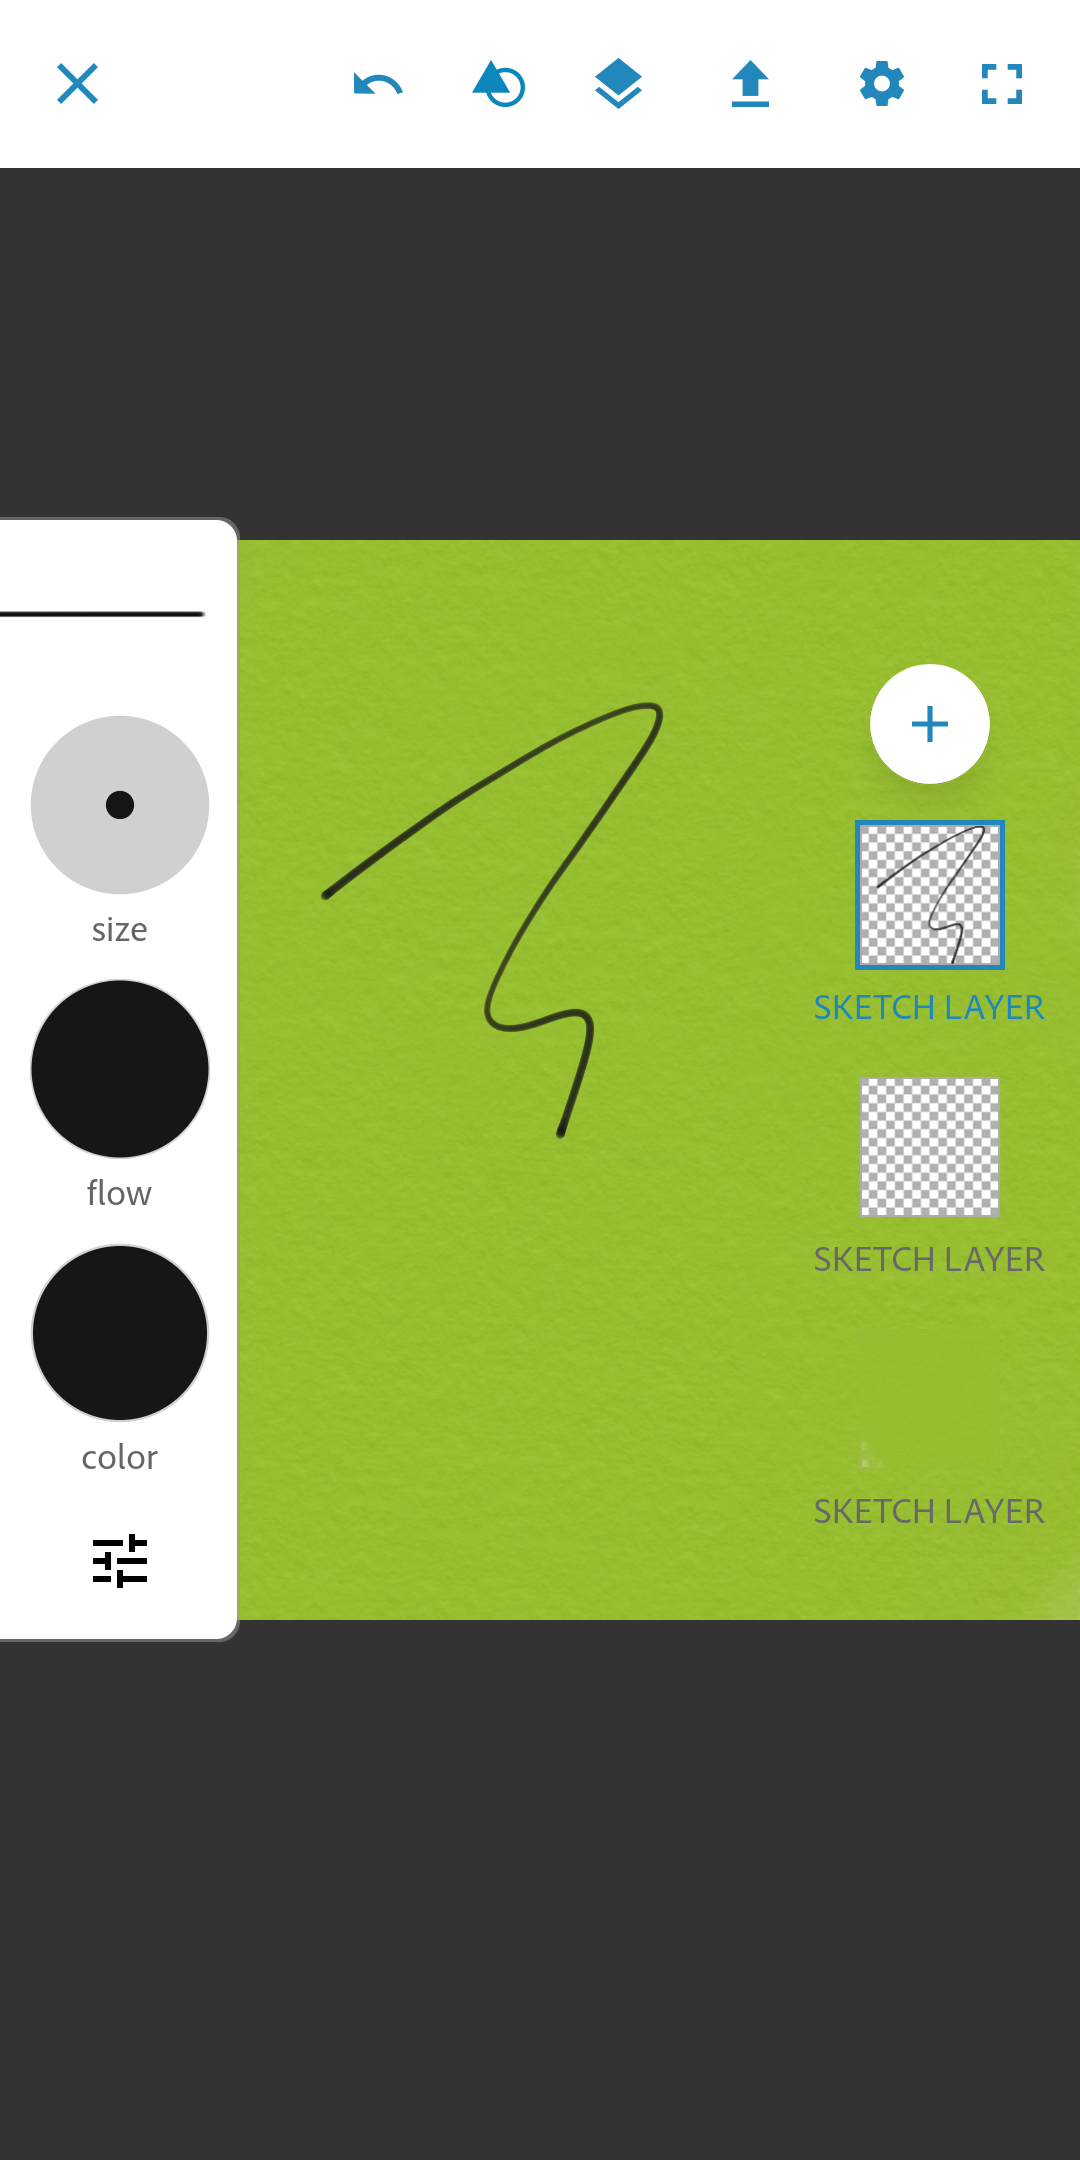

Create two sketch layers and select the top one. Now in the brush section from the left, select the ink pen. It is usually the second one from the top. Or you can do the same long-press and search method as before. You can scribble and see how good the velocity dynamics of the stroke is. You can also adjust the size if you like. Now just draw something with it. Anything random will work for the beginning. A rat, a butterfly, an apple or just a circle. Let your fingers flow however they like. Once you're done, you may begin colouring.
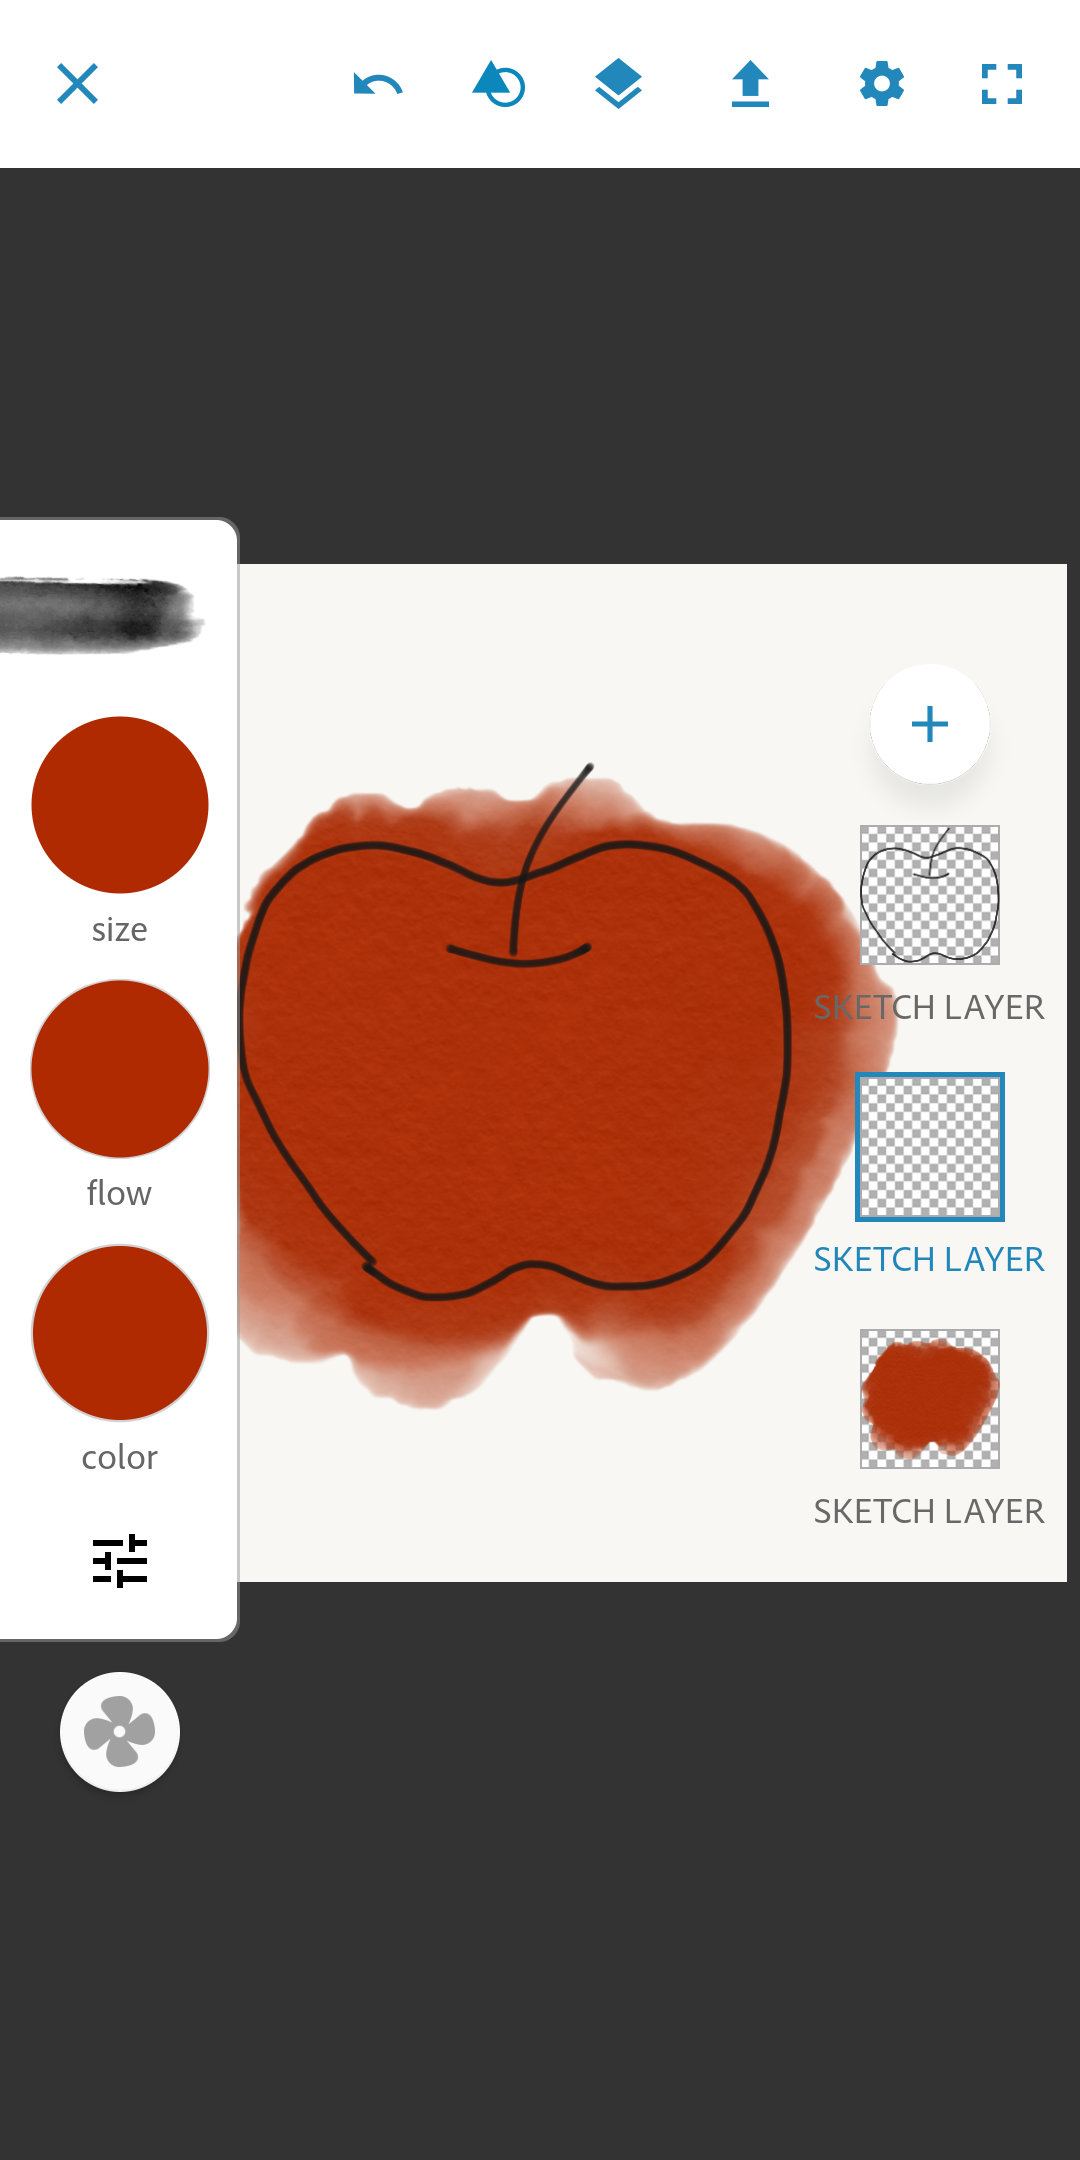
Colour!
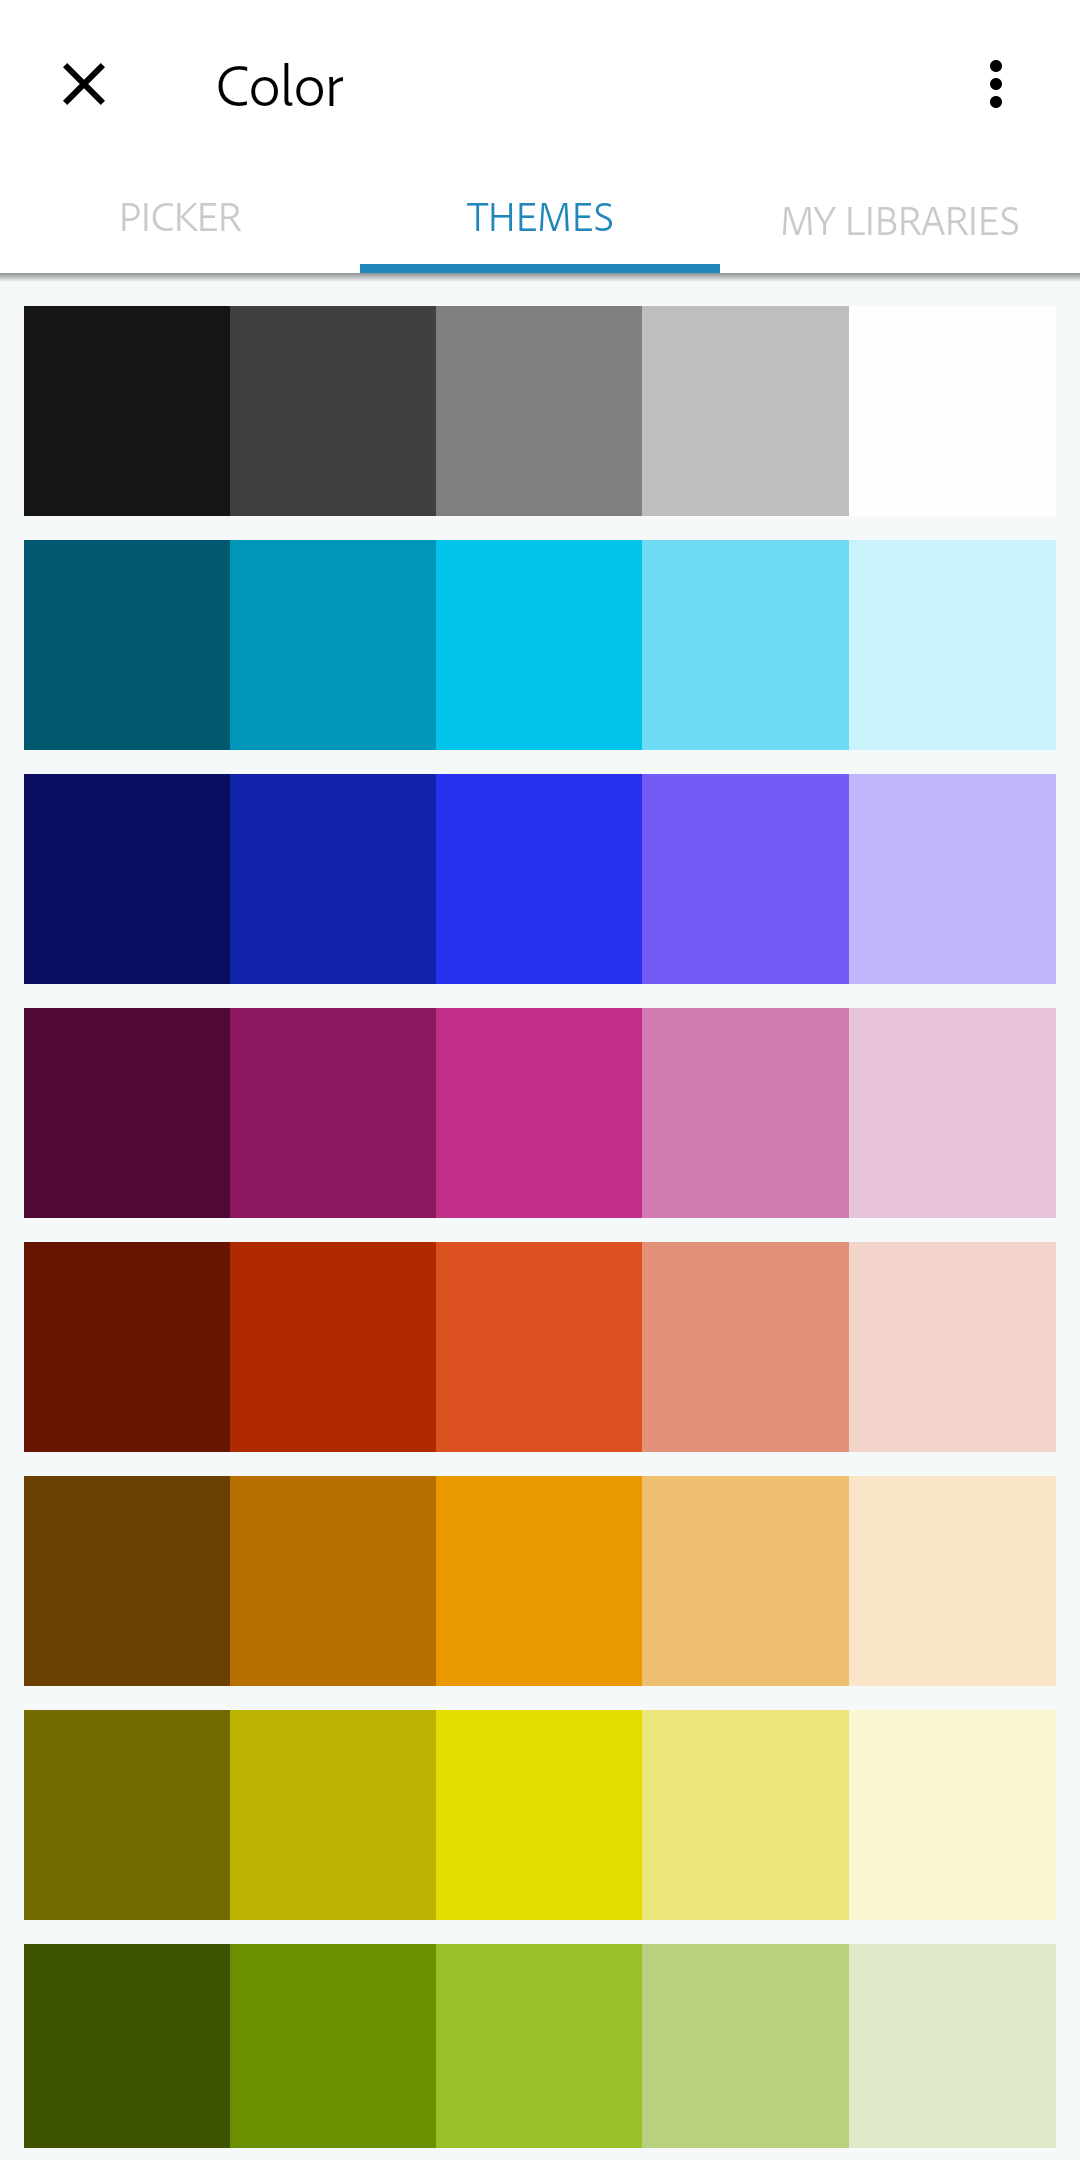
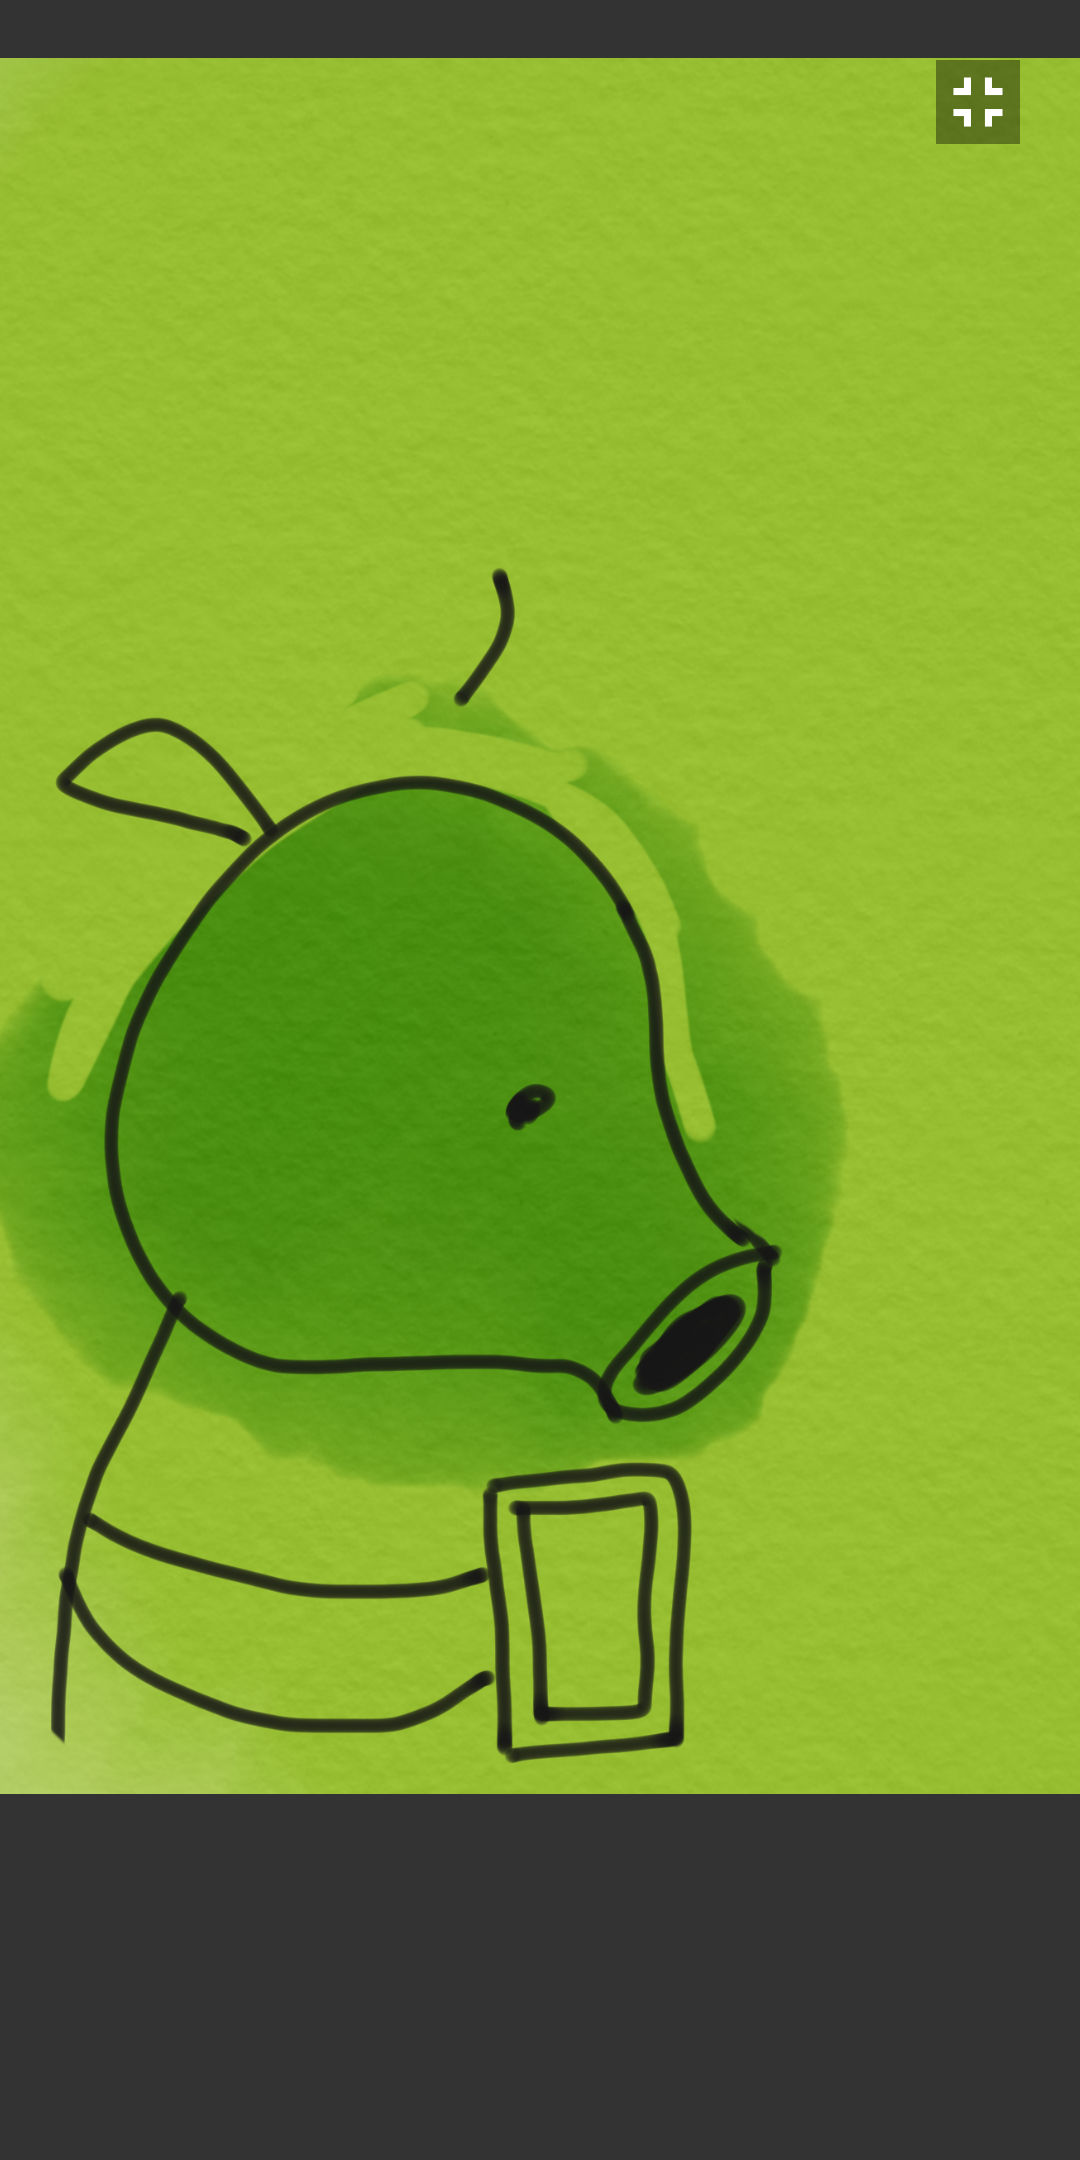
Select the layer below the outline layer. Colouring is easy. First, select the watercolor brush and then select the colour you like. Now just fill the colour randomly. Don't worry if it goes out of the outline. You'll notice one thing. Even if you colour on the outline, the outline still remains clearly visible. This is because the outline is on top of the paint. Cool isn't it? Once you're done painting, select the eraser tool and simply erase the paint that has crossed the outline. It's that simple! You may add more layers on which you can draw shadows, highlights, or just a different colour. Ok let's try it.
More Layers
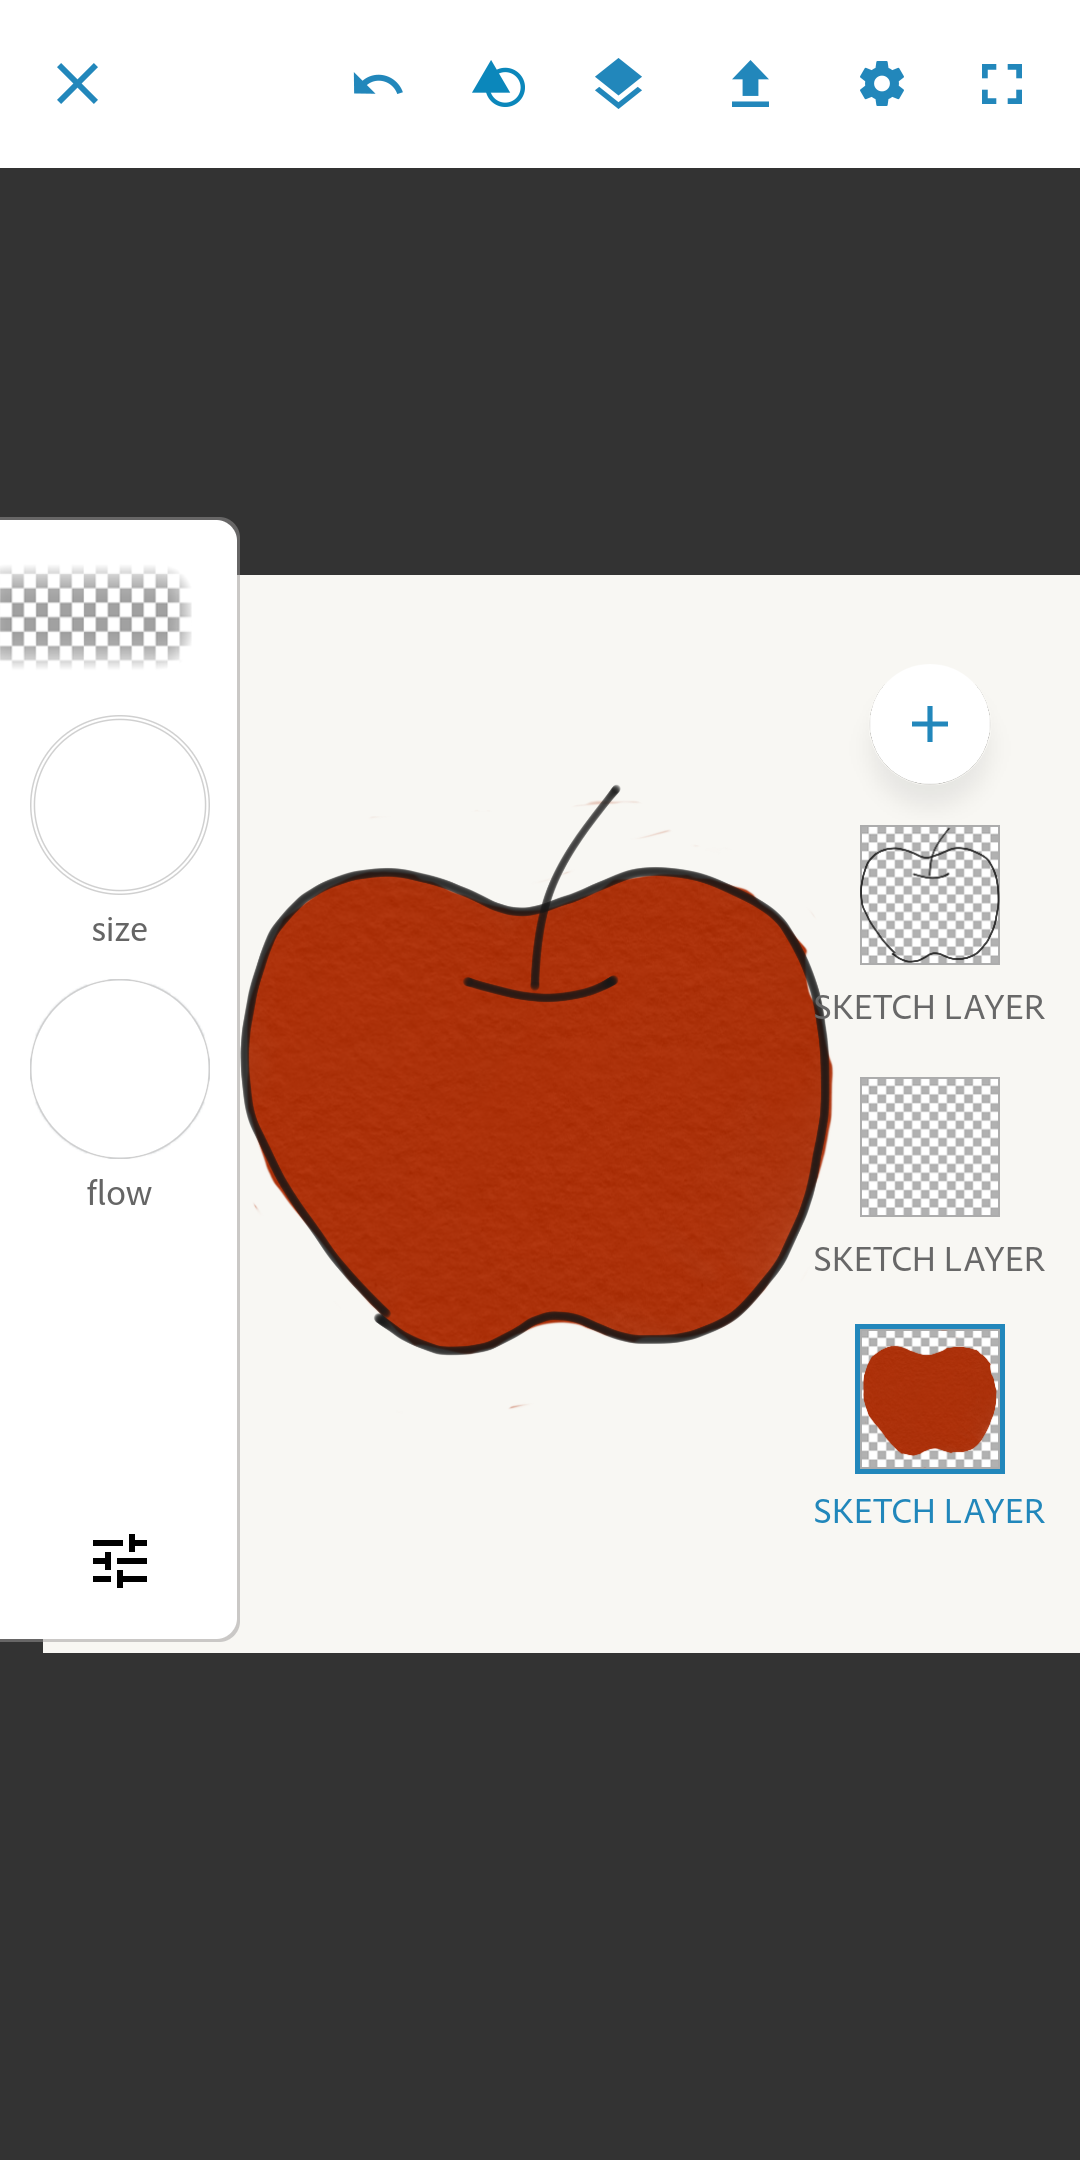
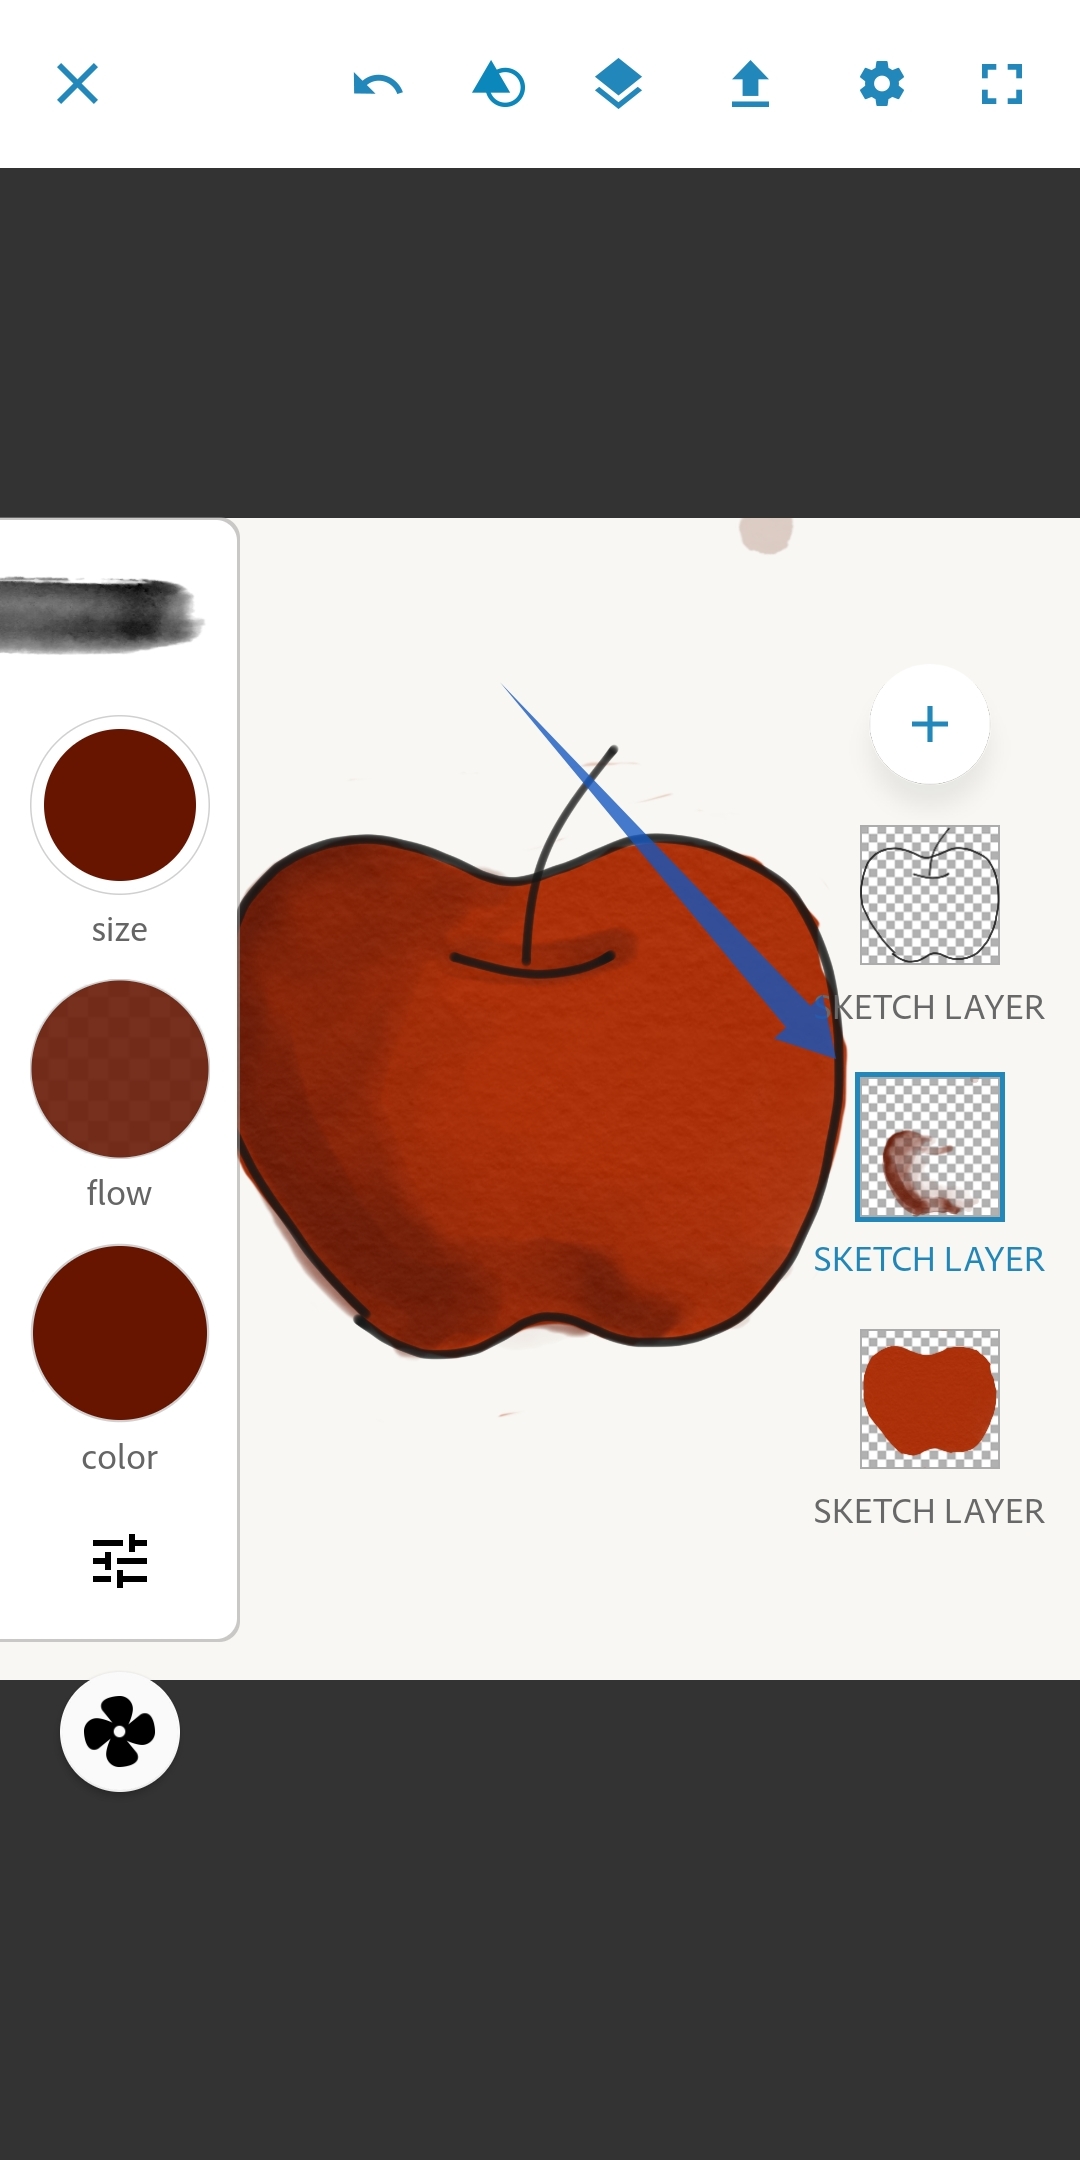
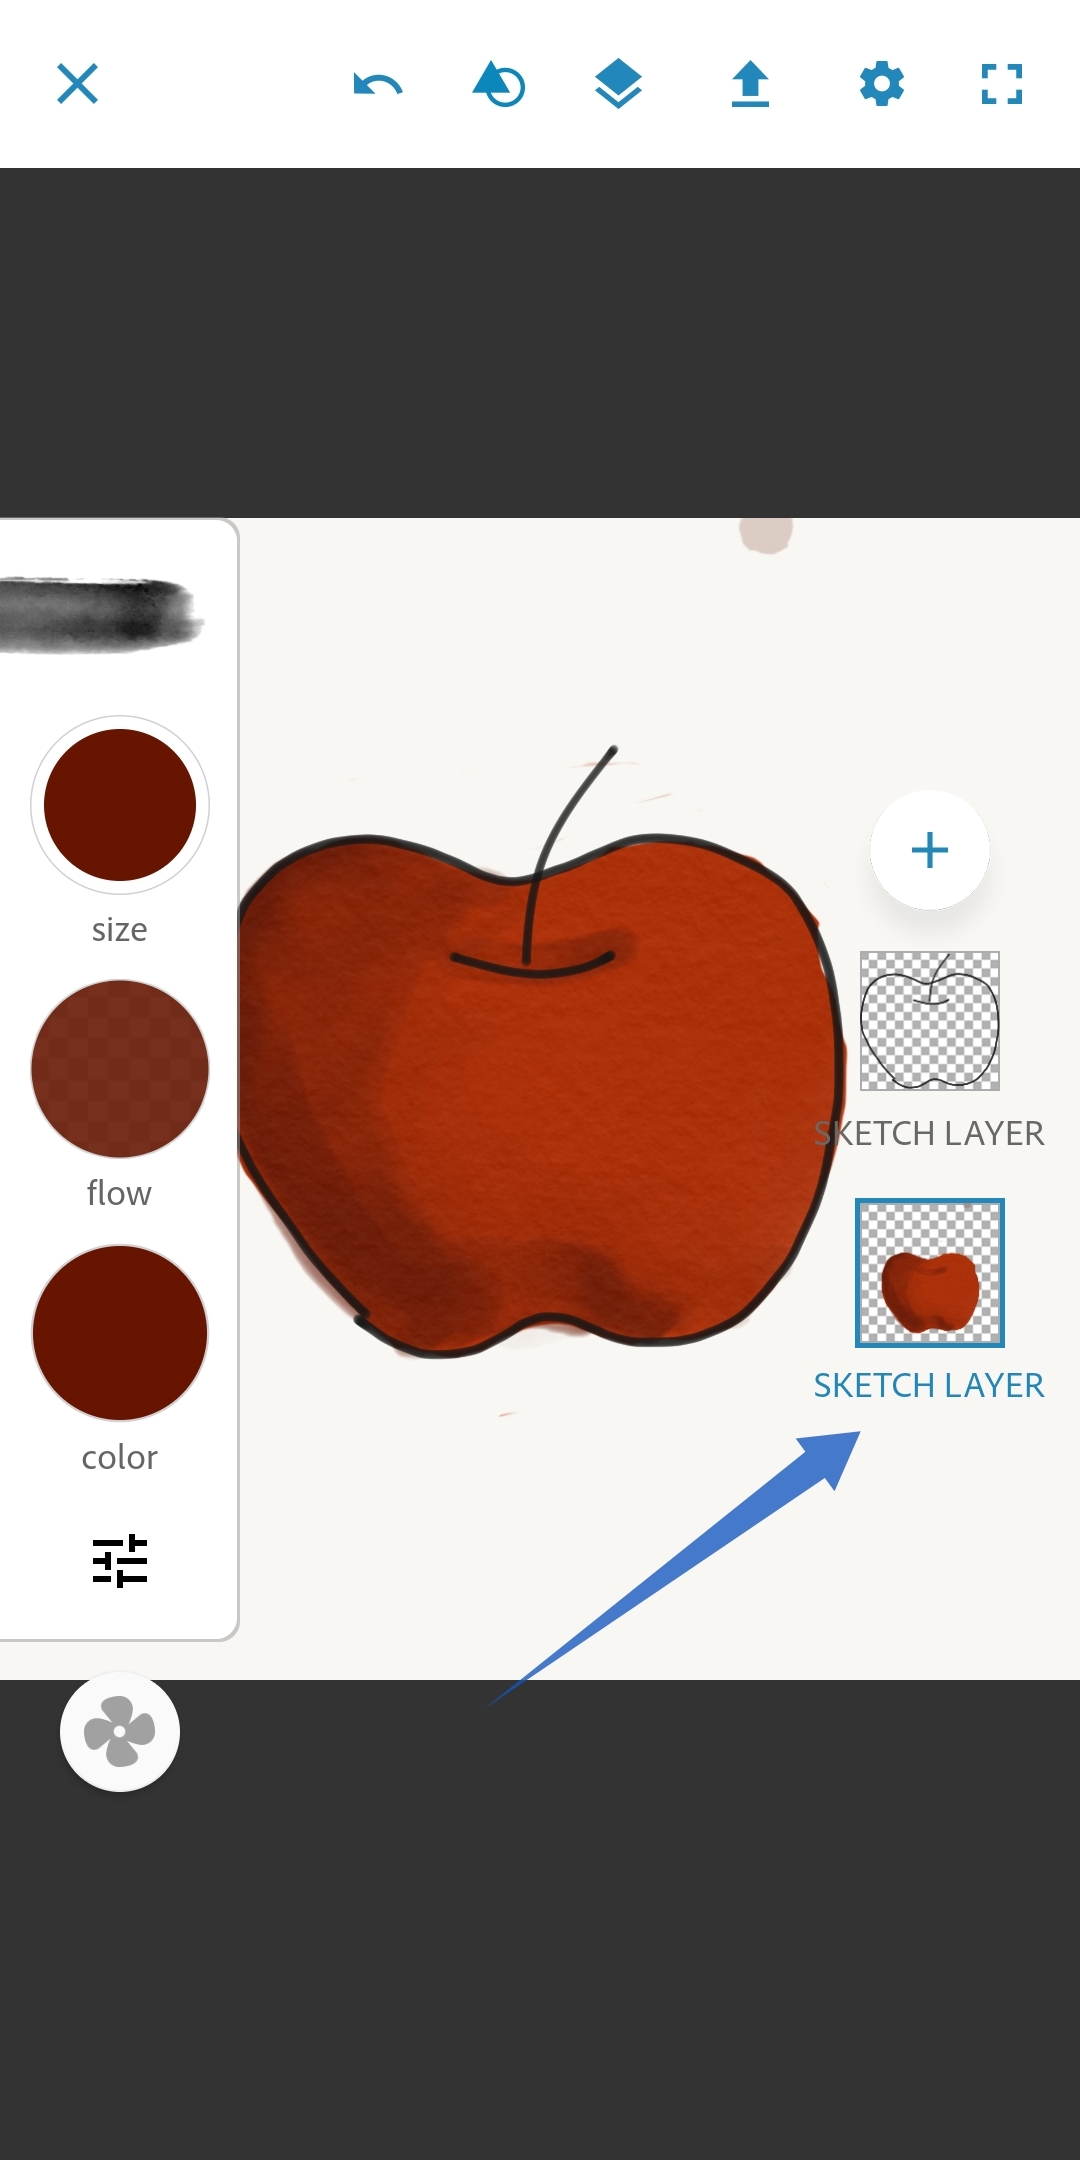
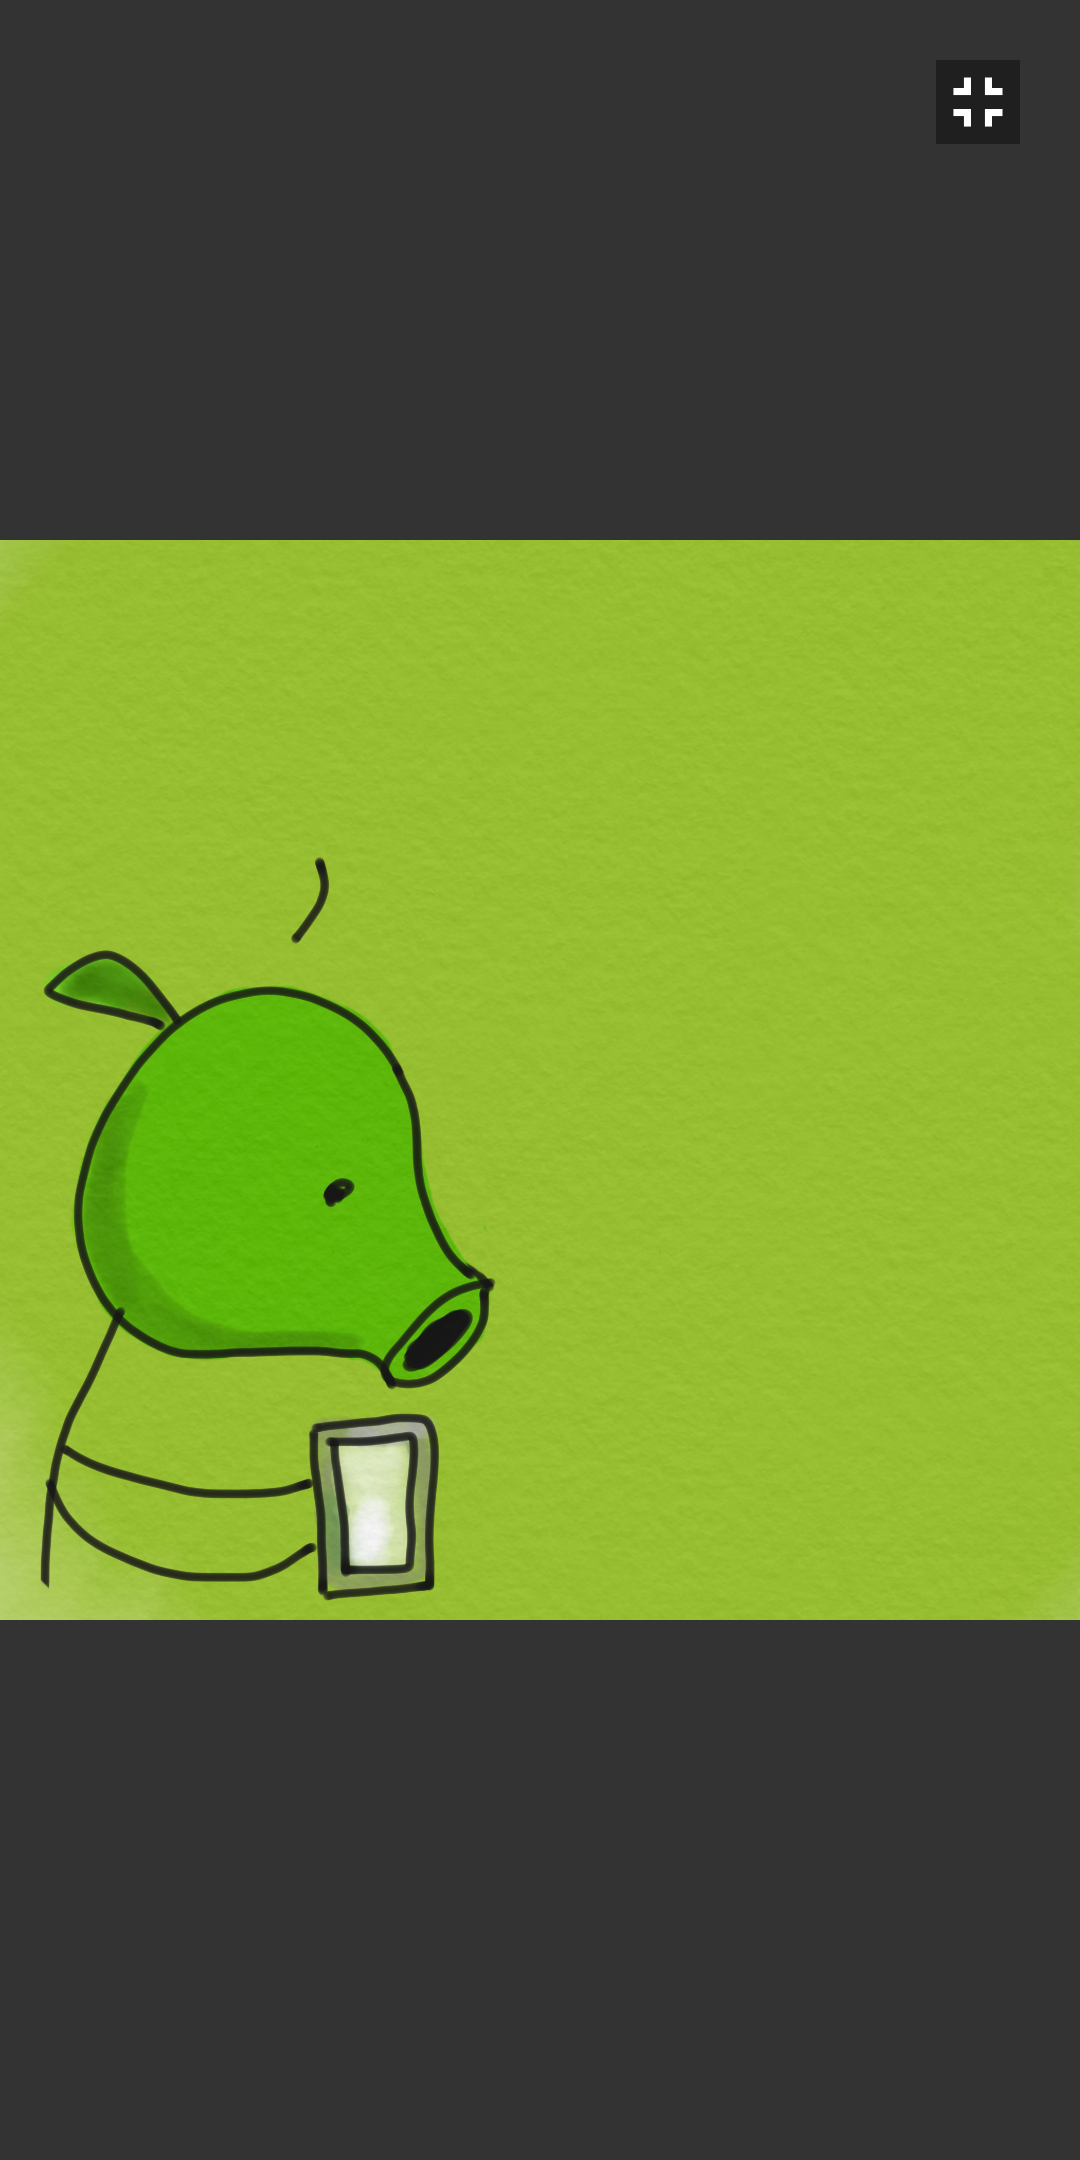
Here, you can see, I'm drawing an apple. Using the same method as above, I colour it. Now I want to add shadows for depth effect. I can use a deeper red on the same paint layer if I want to, but this might result in unwanted mixing of the deep red with the light red that is already there.
So, I tap on the '+' again to create another layer above the existing paint layer. Now tap on it and make the shadows with a deep red. See, they don't mix anymore! Because the two layers are different now.
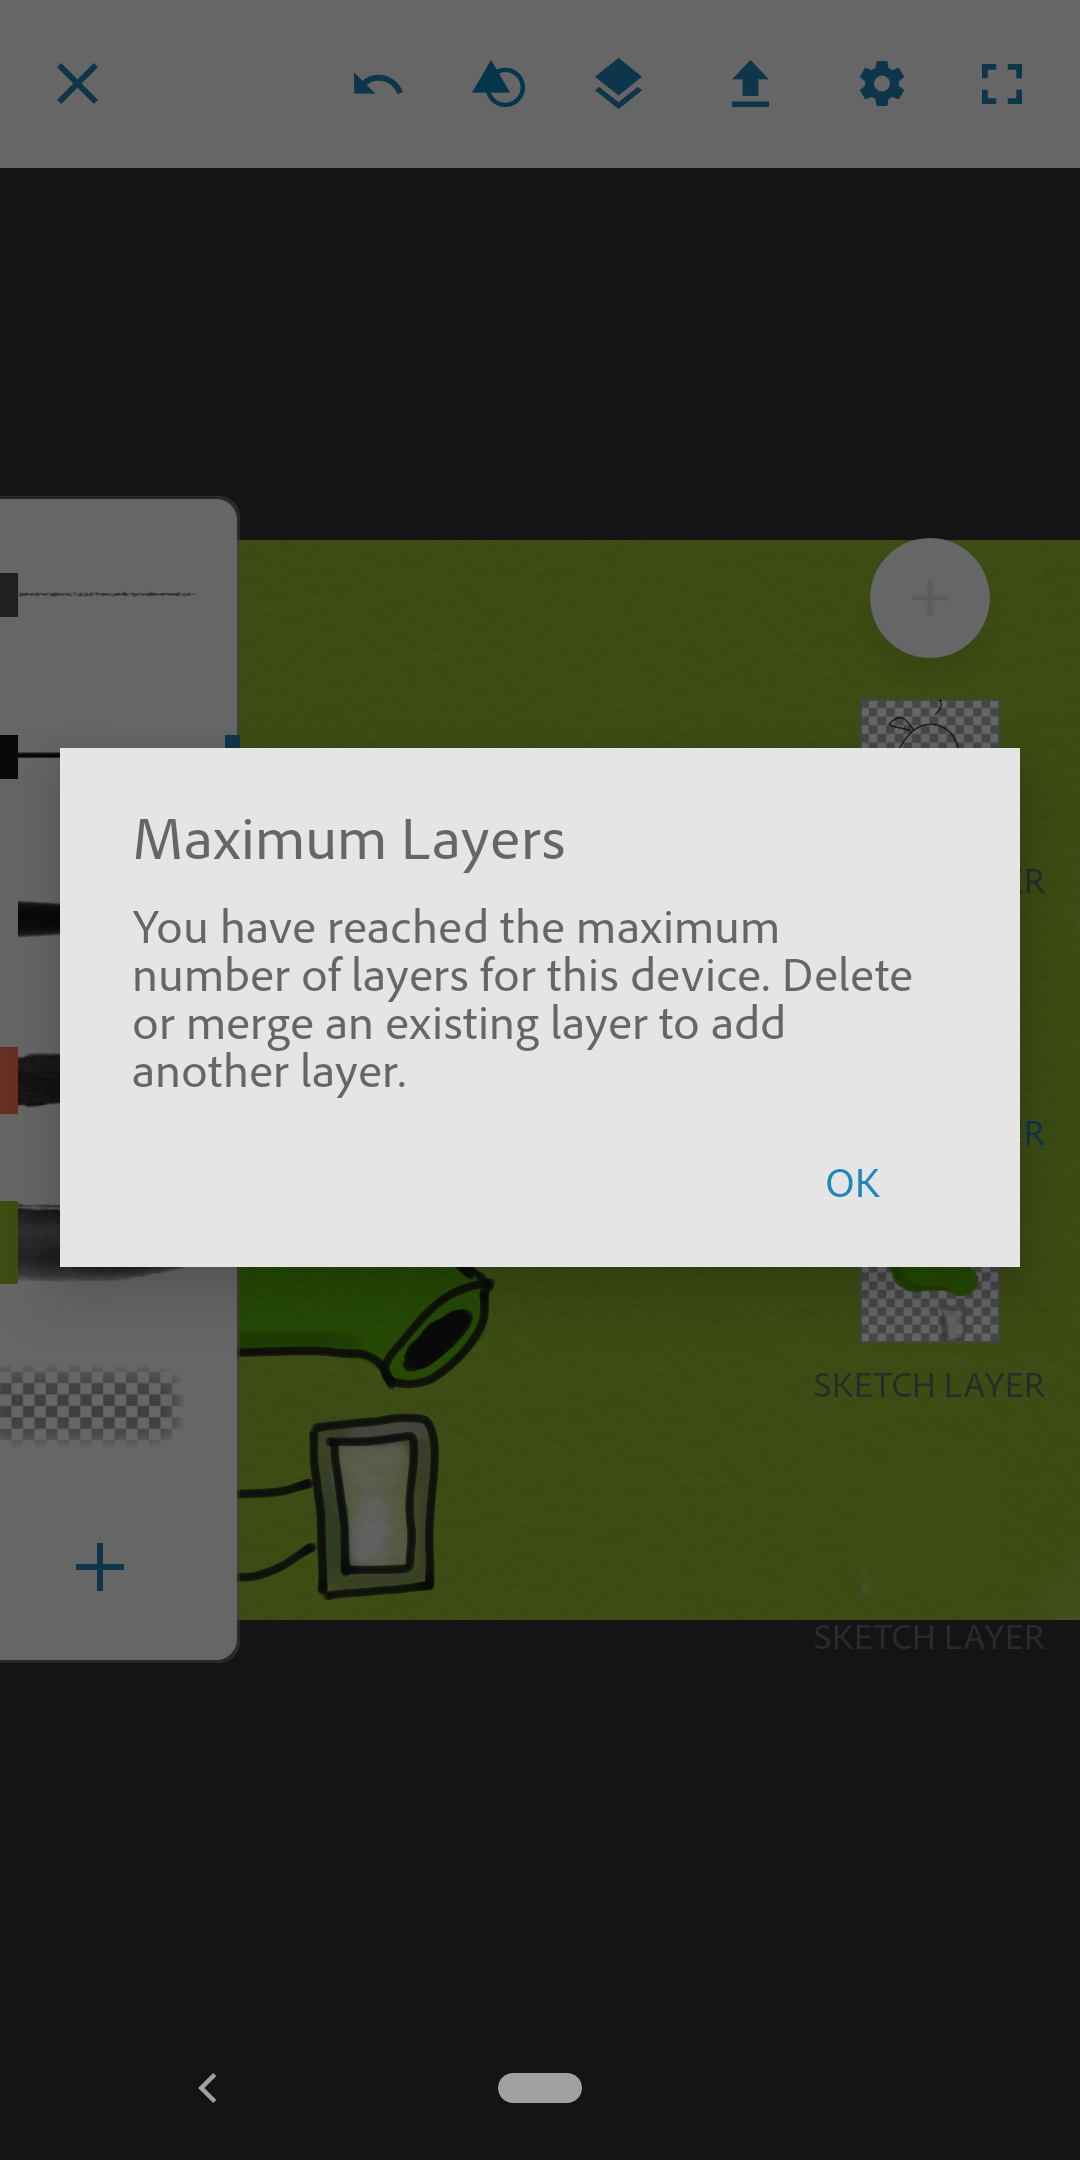
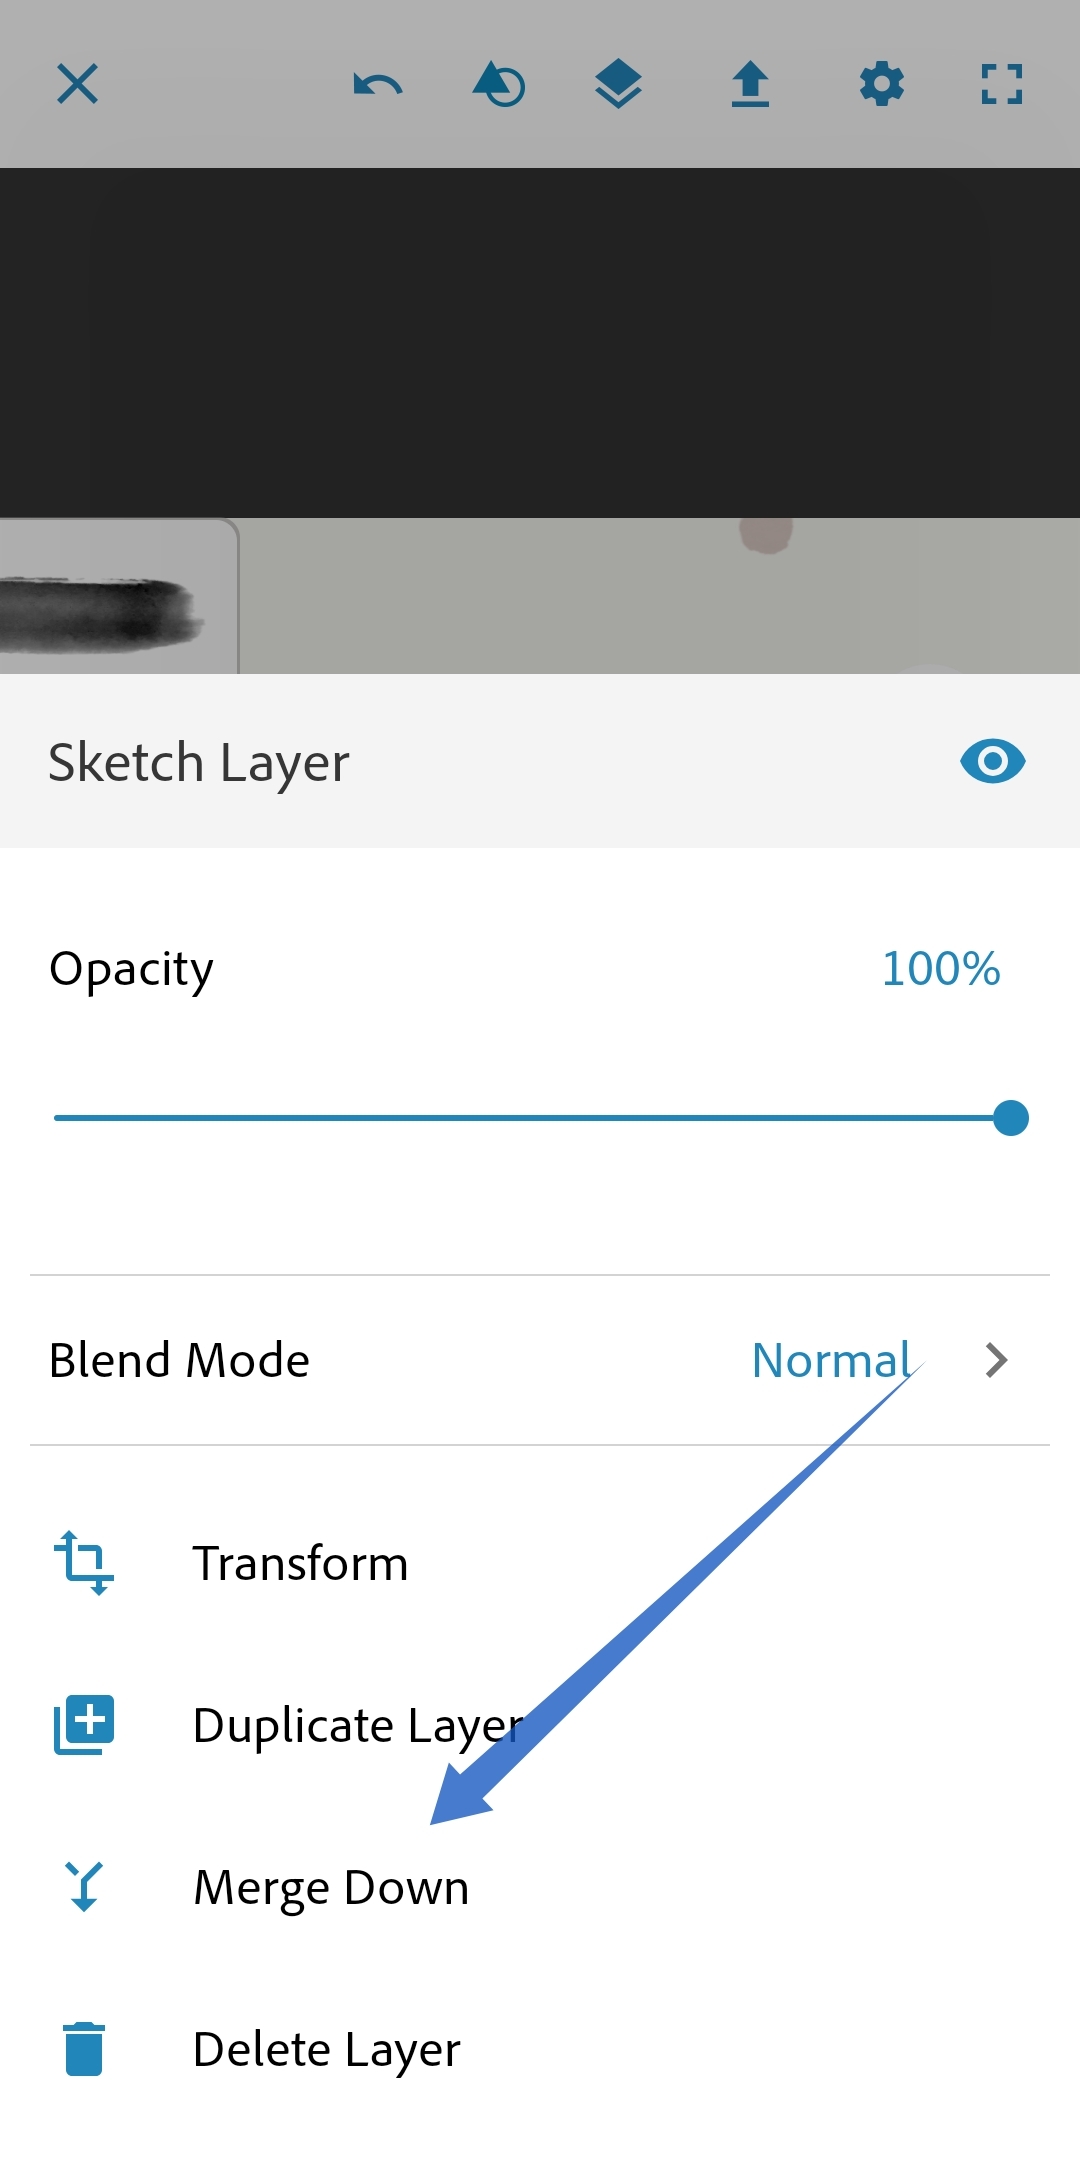
But wait, what do we have here. In most devices, maximum layers that can be created are four. So now what? Simple. Click on the layer you made shadows on and select 'merge down' This will merge the shadow and base paint layer! Done! You may merge all layers if you feel like. Finally they'll all become a single layer. And the best part is, the paint doesn't mix even after you've merged them!
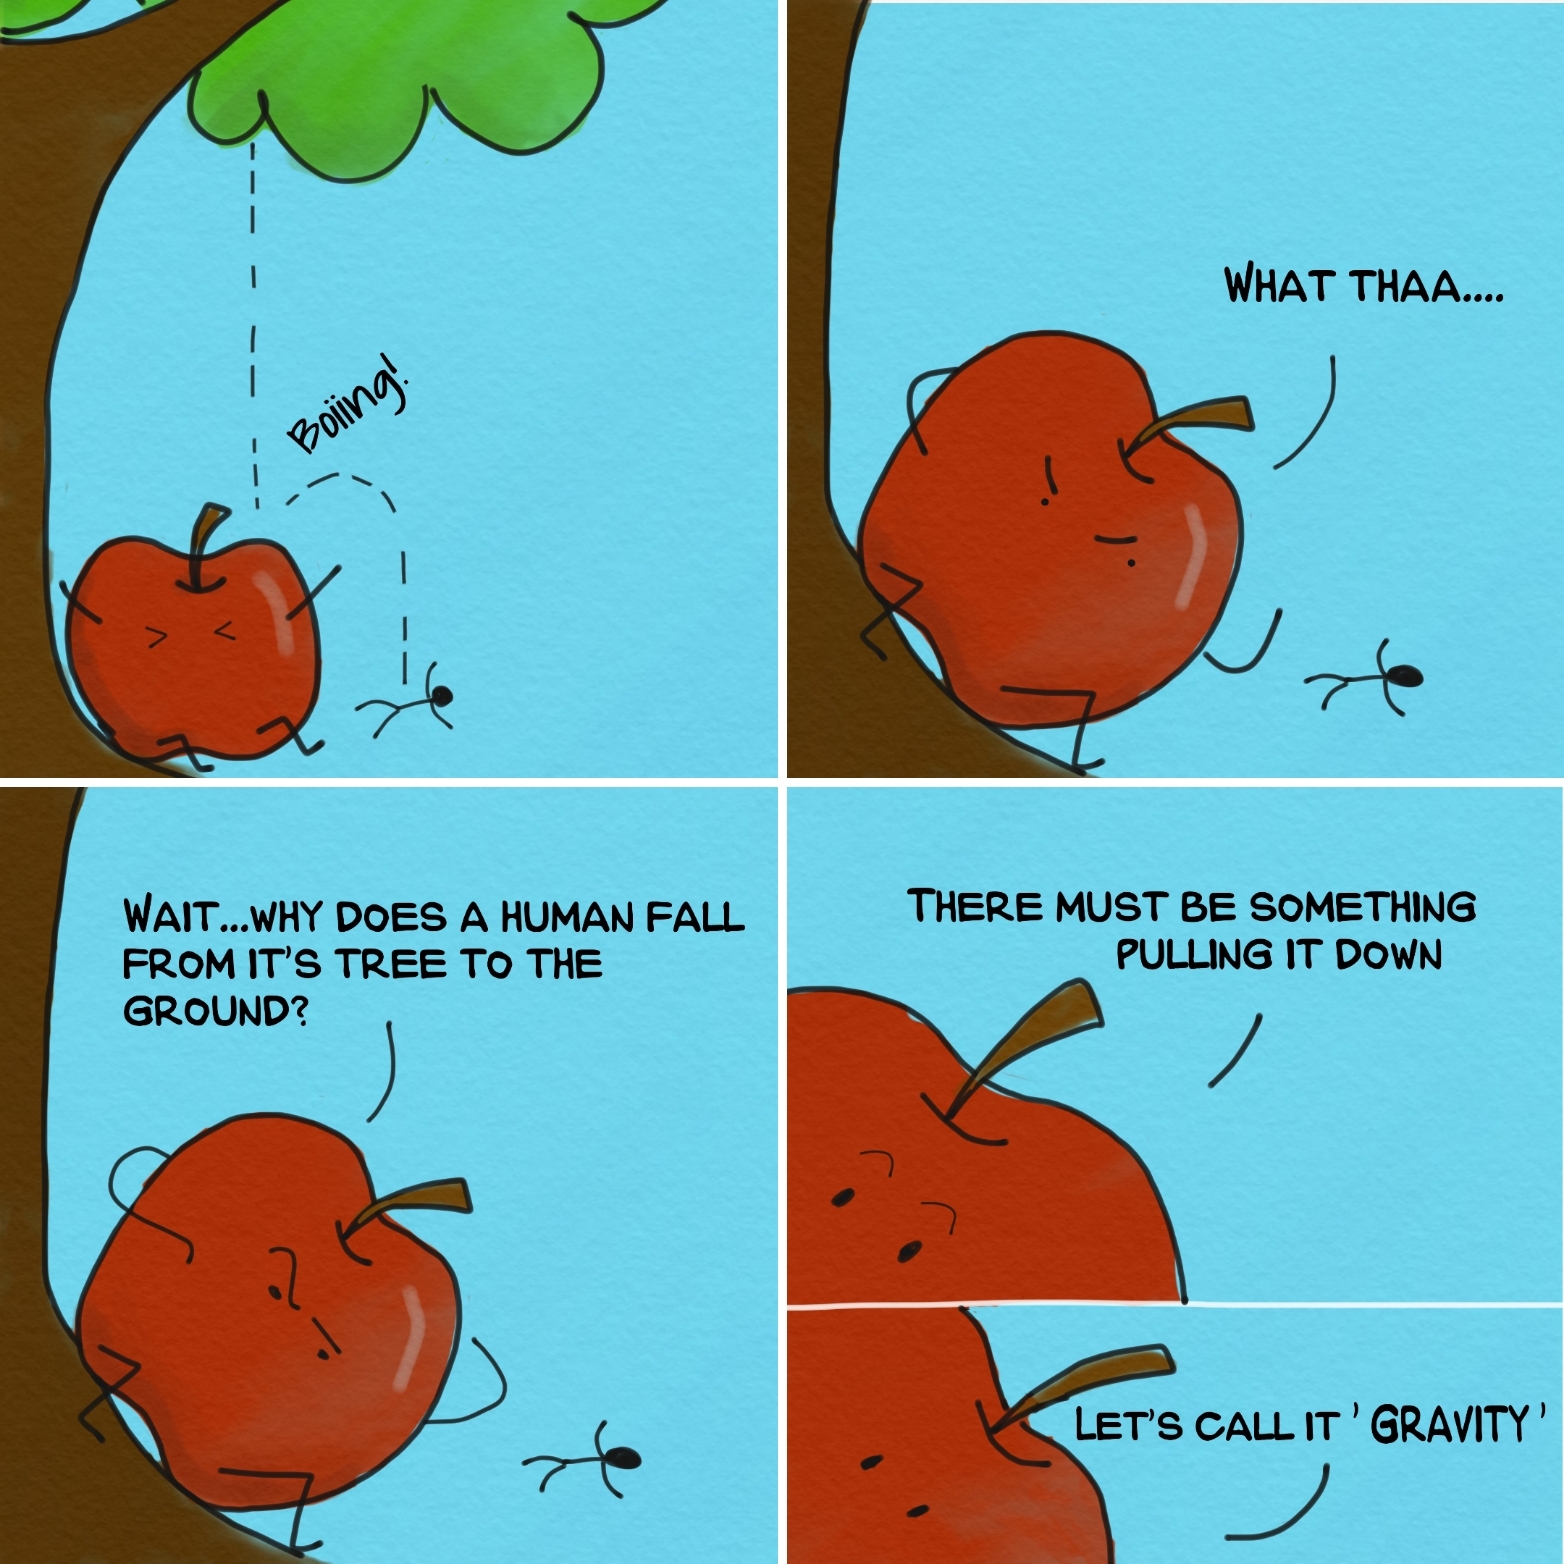
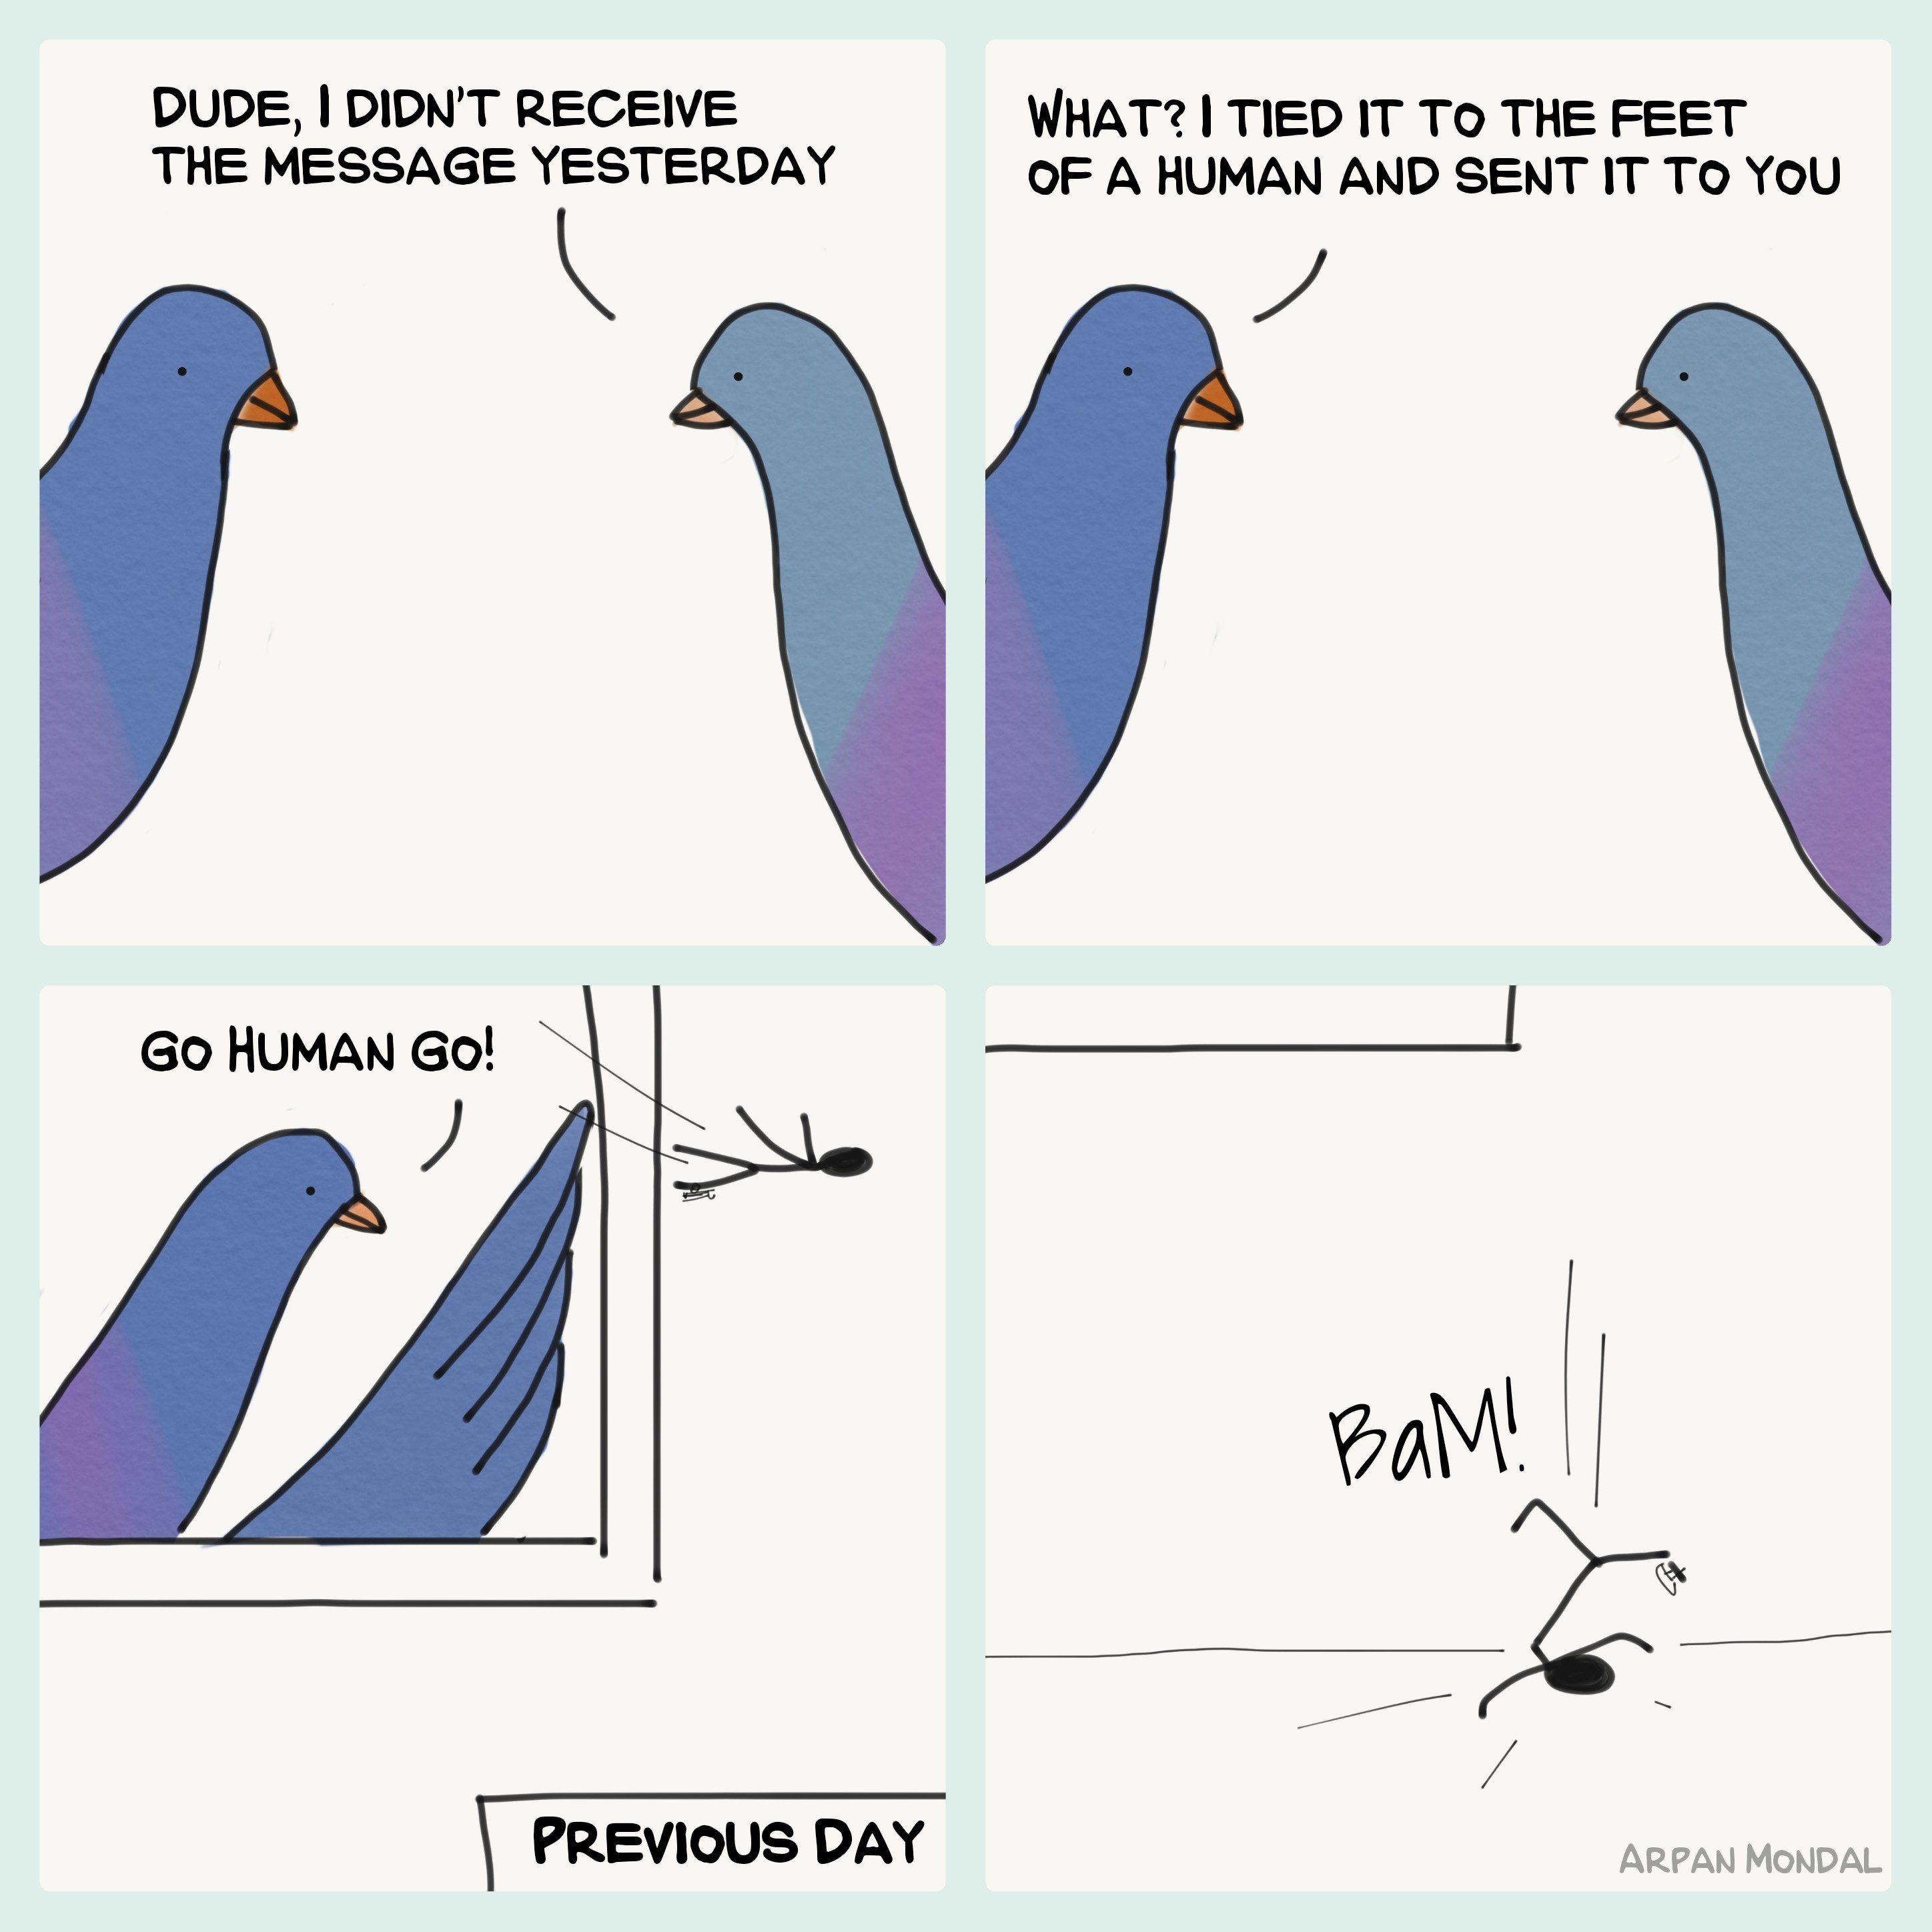
Make It a Comic!
To make a comic you may have to create two or more of such sketches. Finally you can download all of them and use a simple collage maker like layout from Instagram.
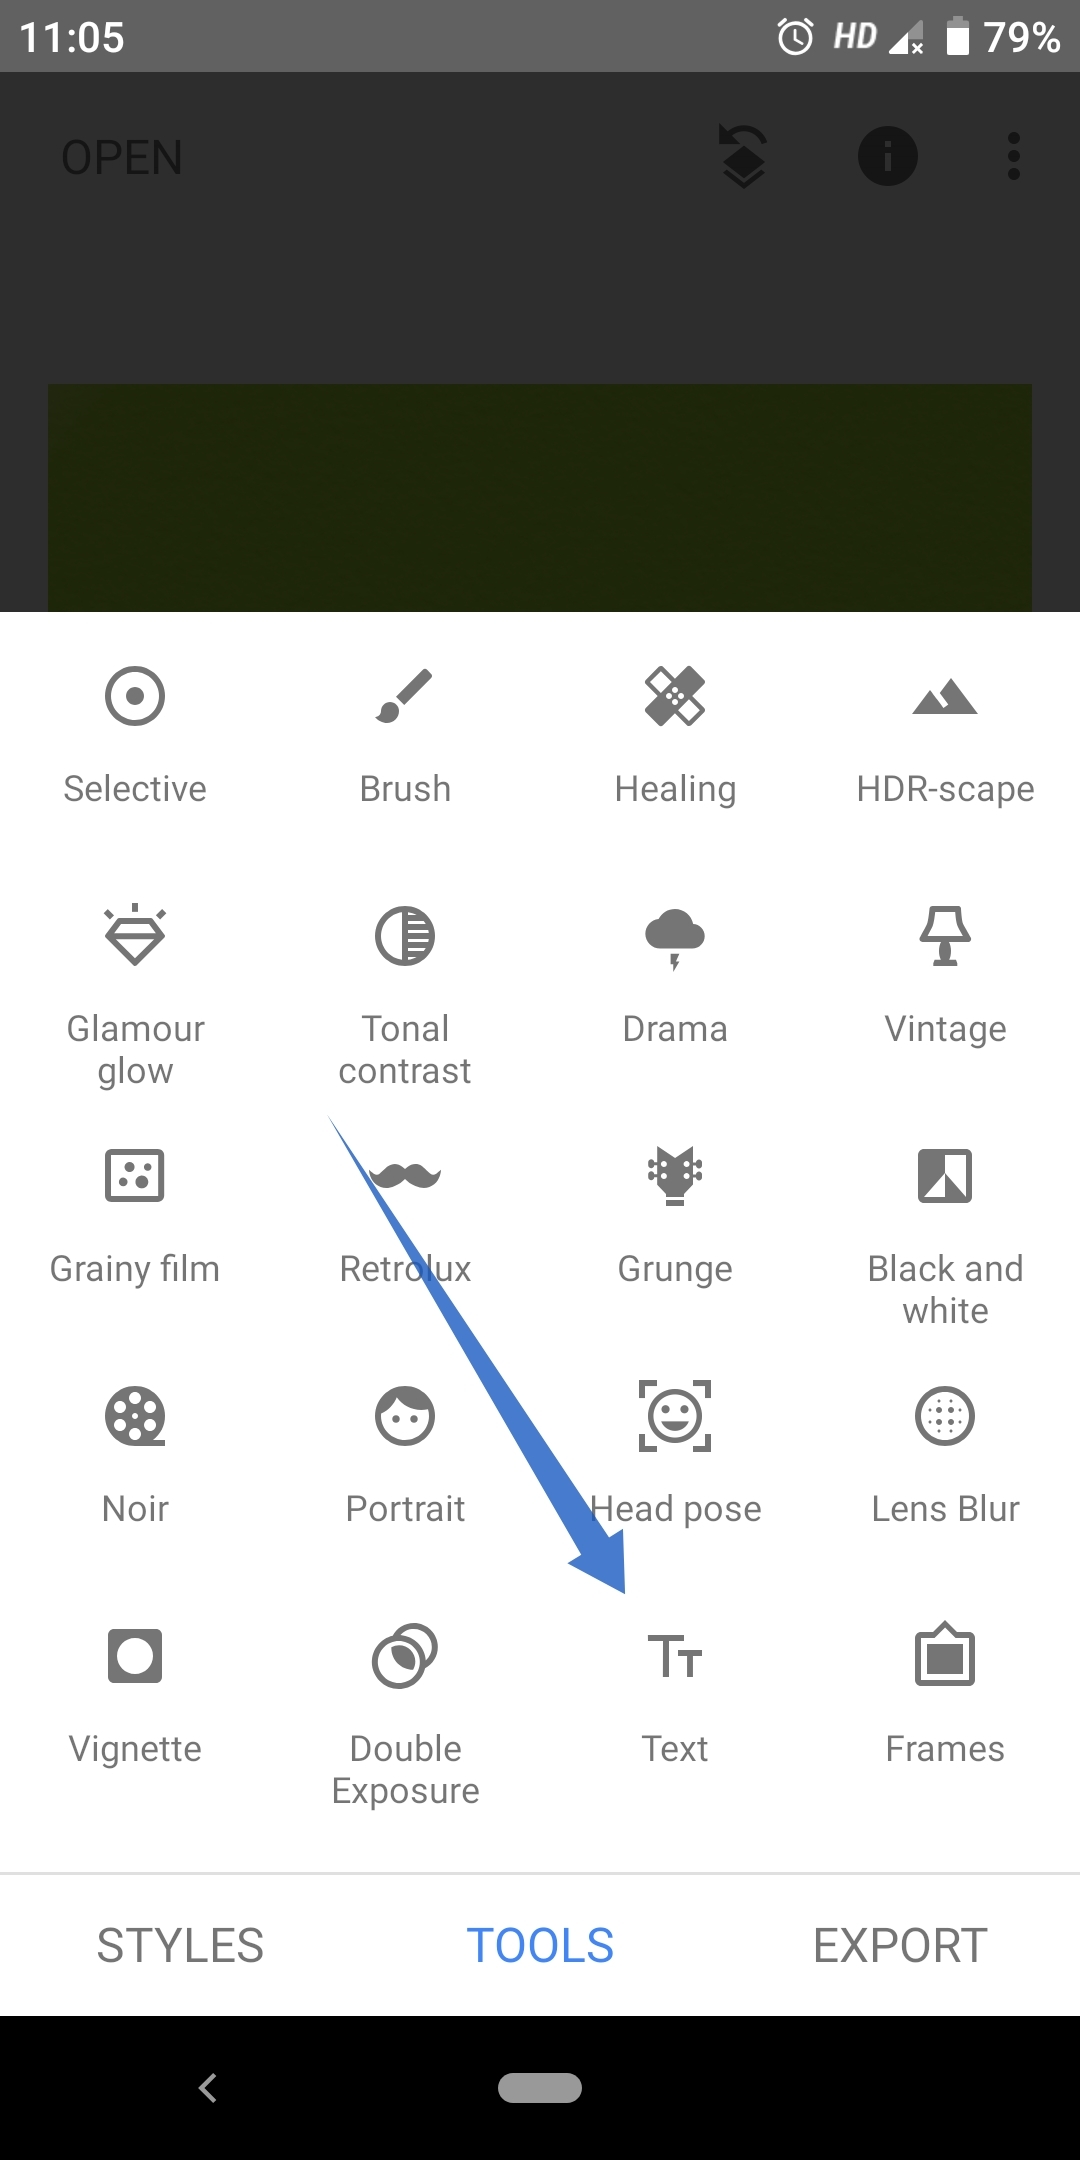
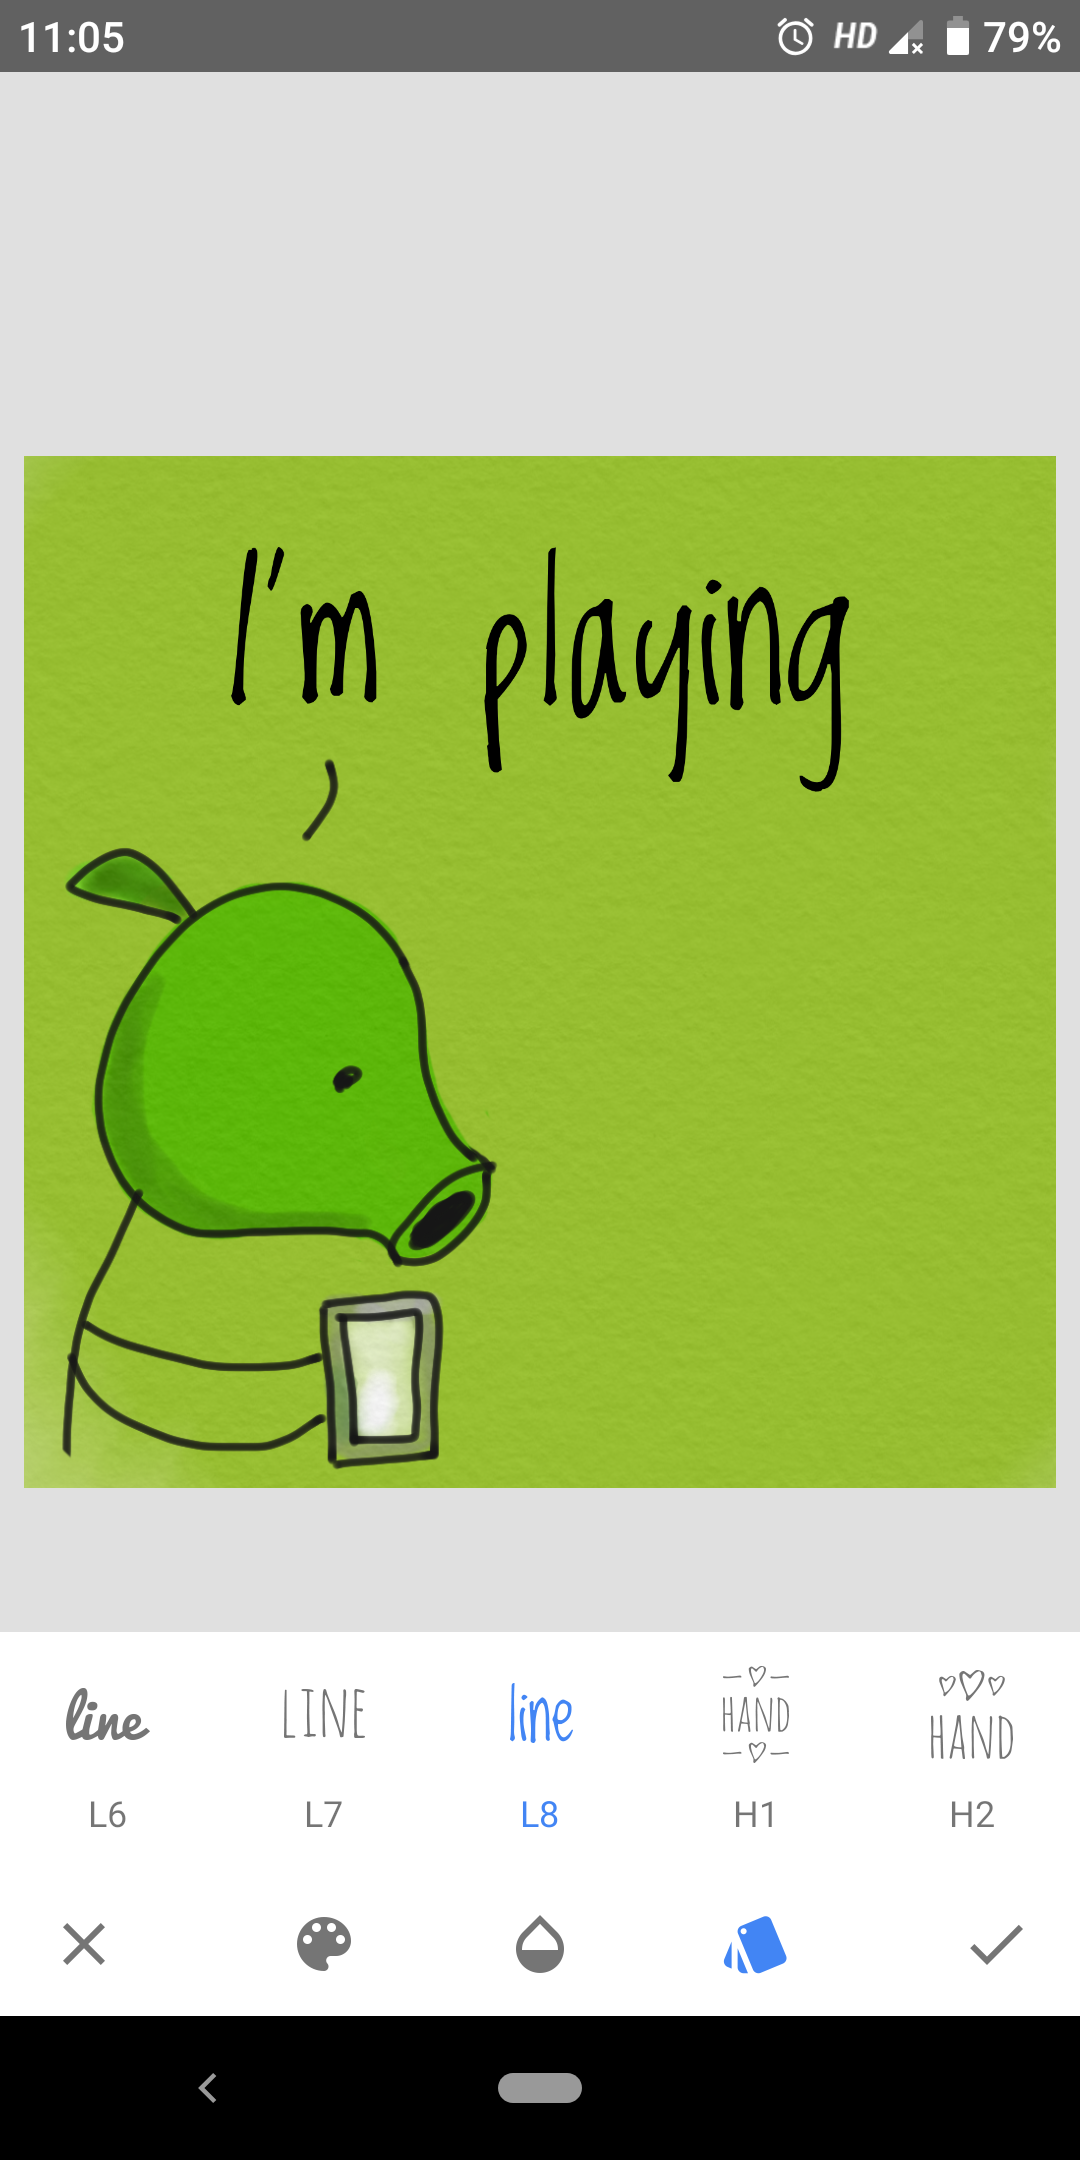
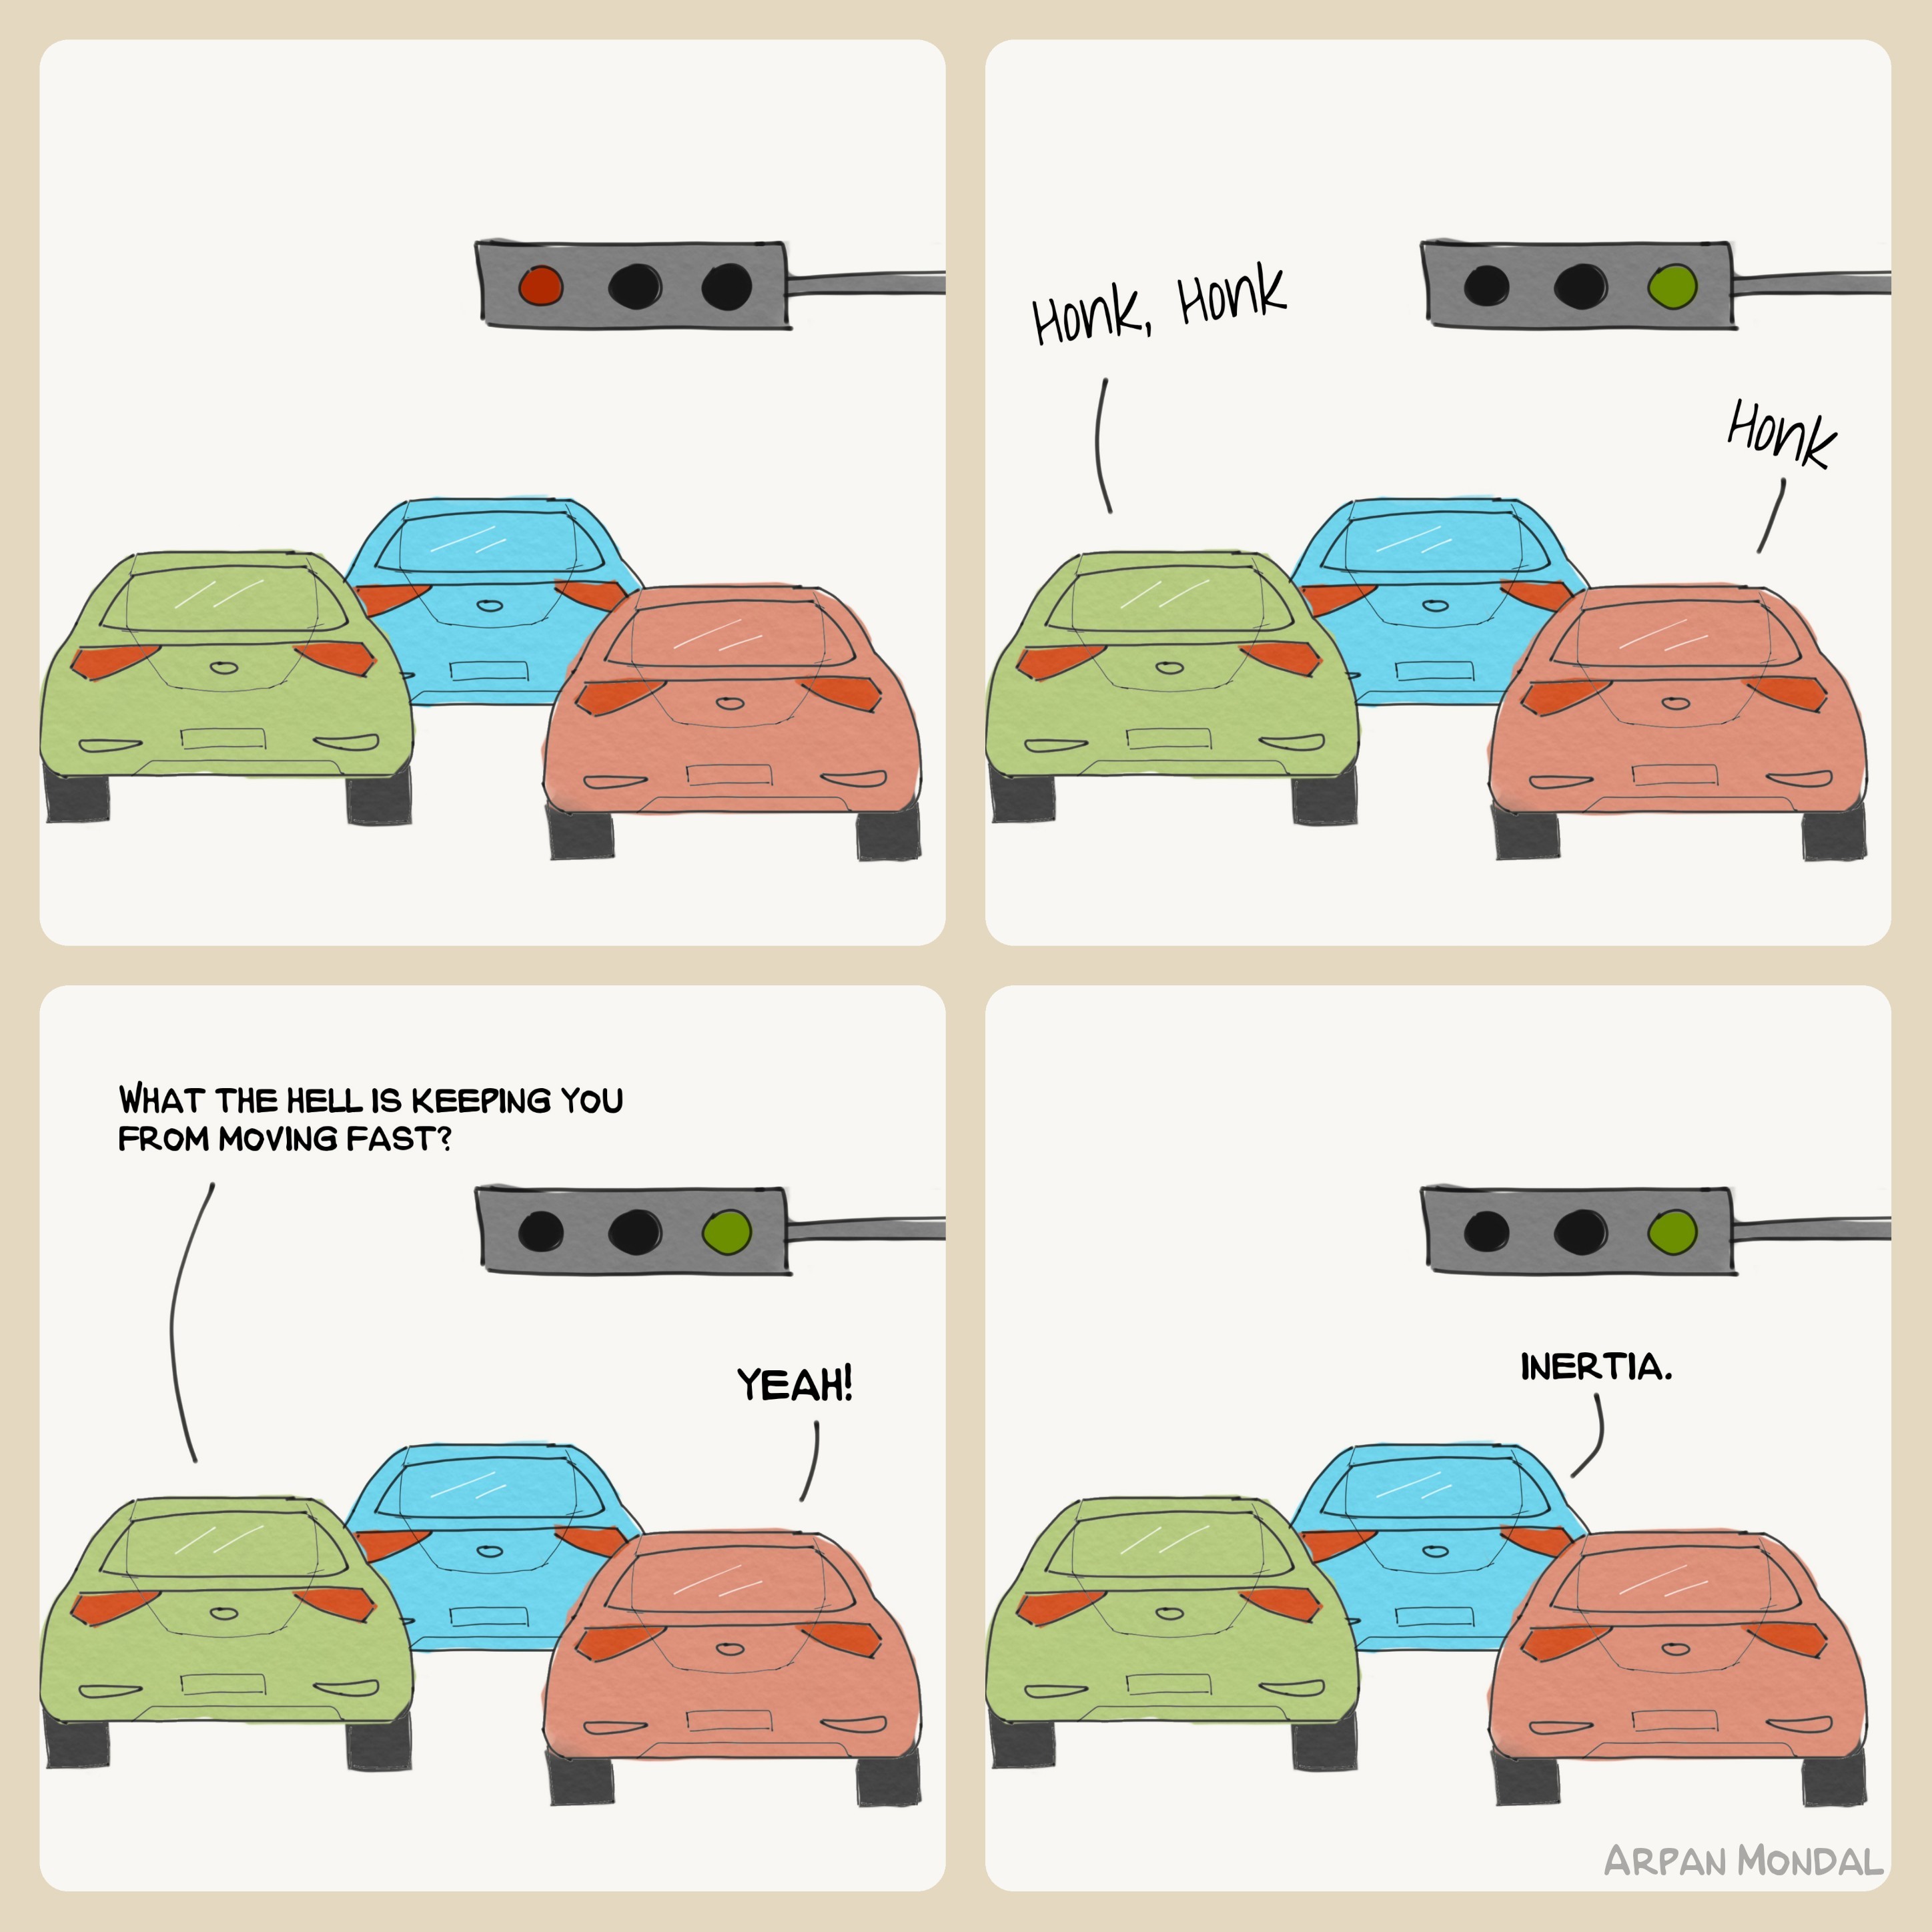
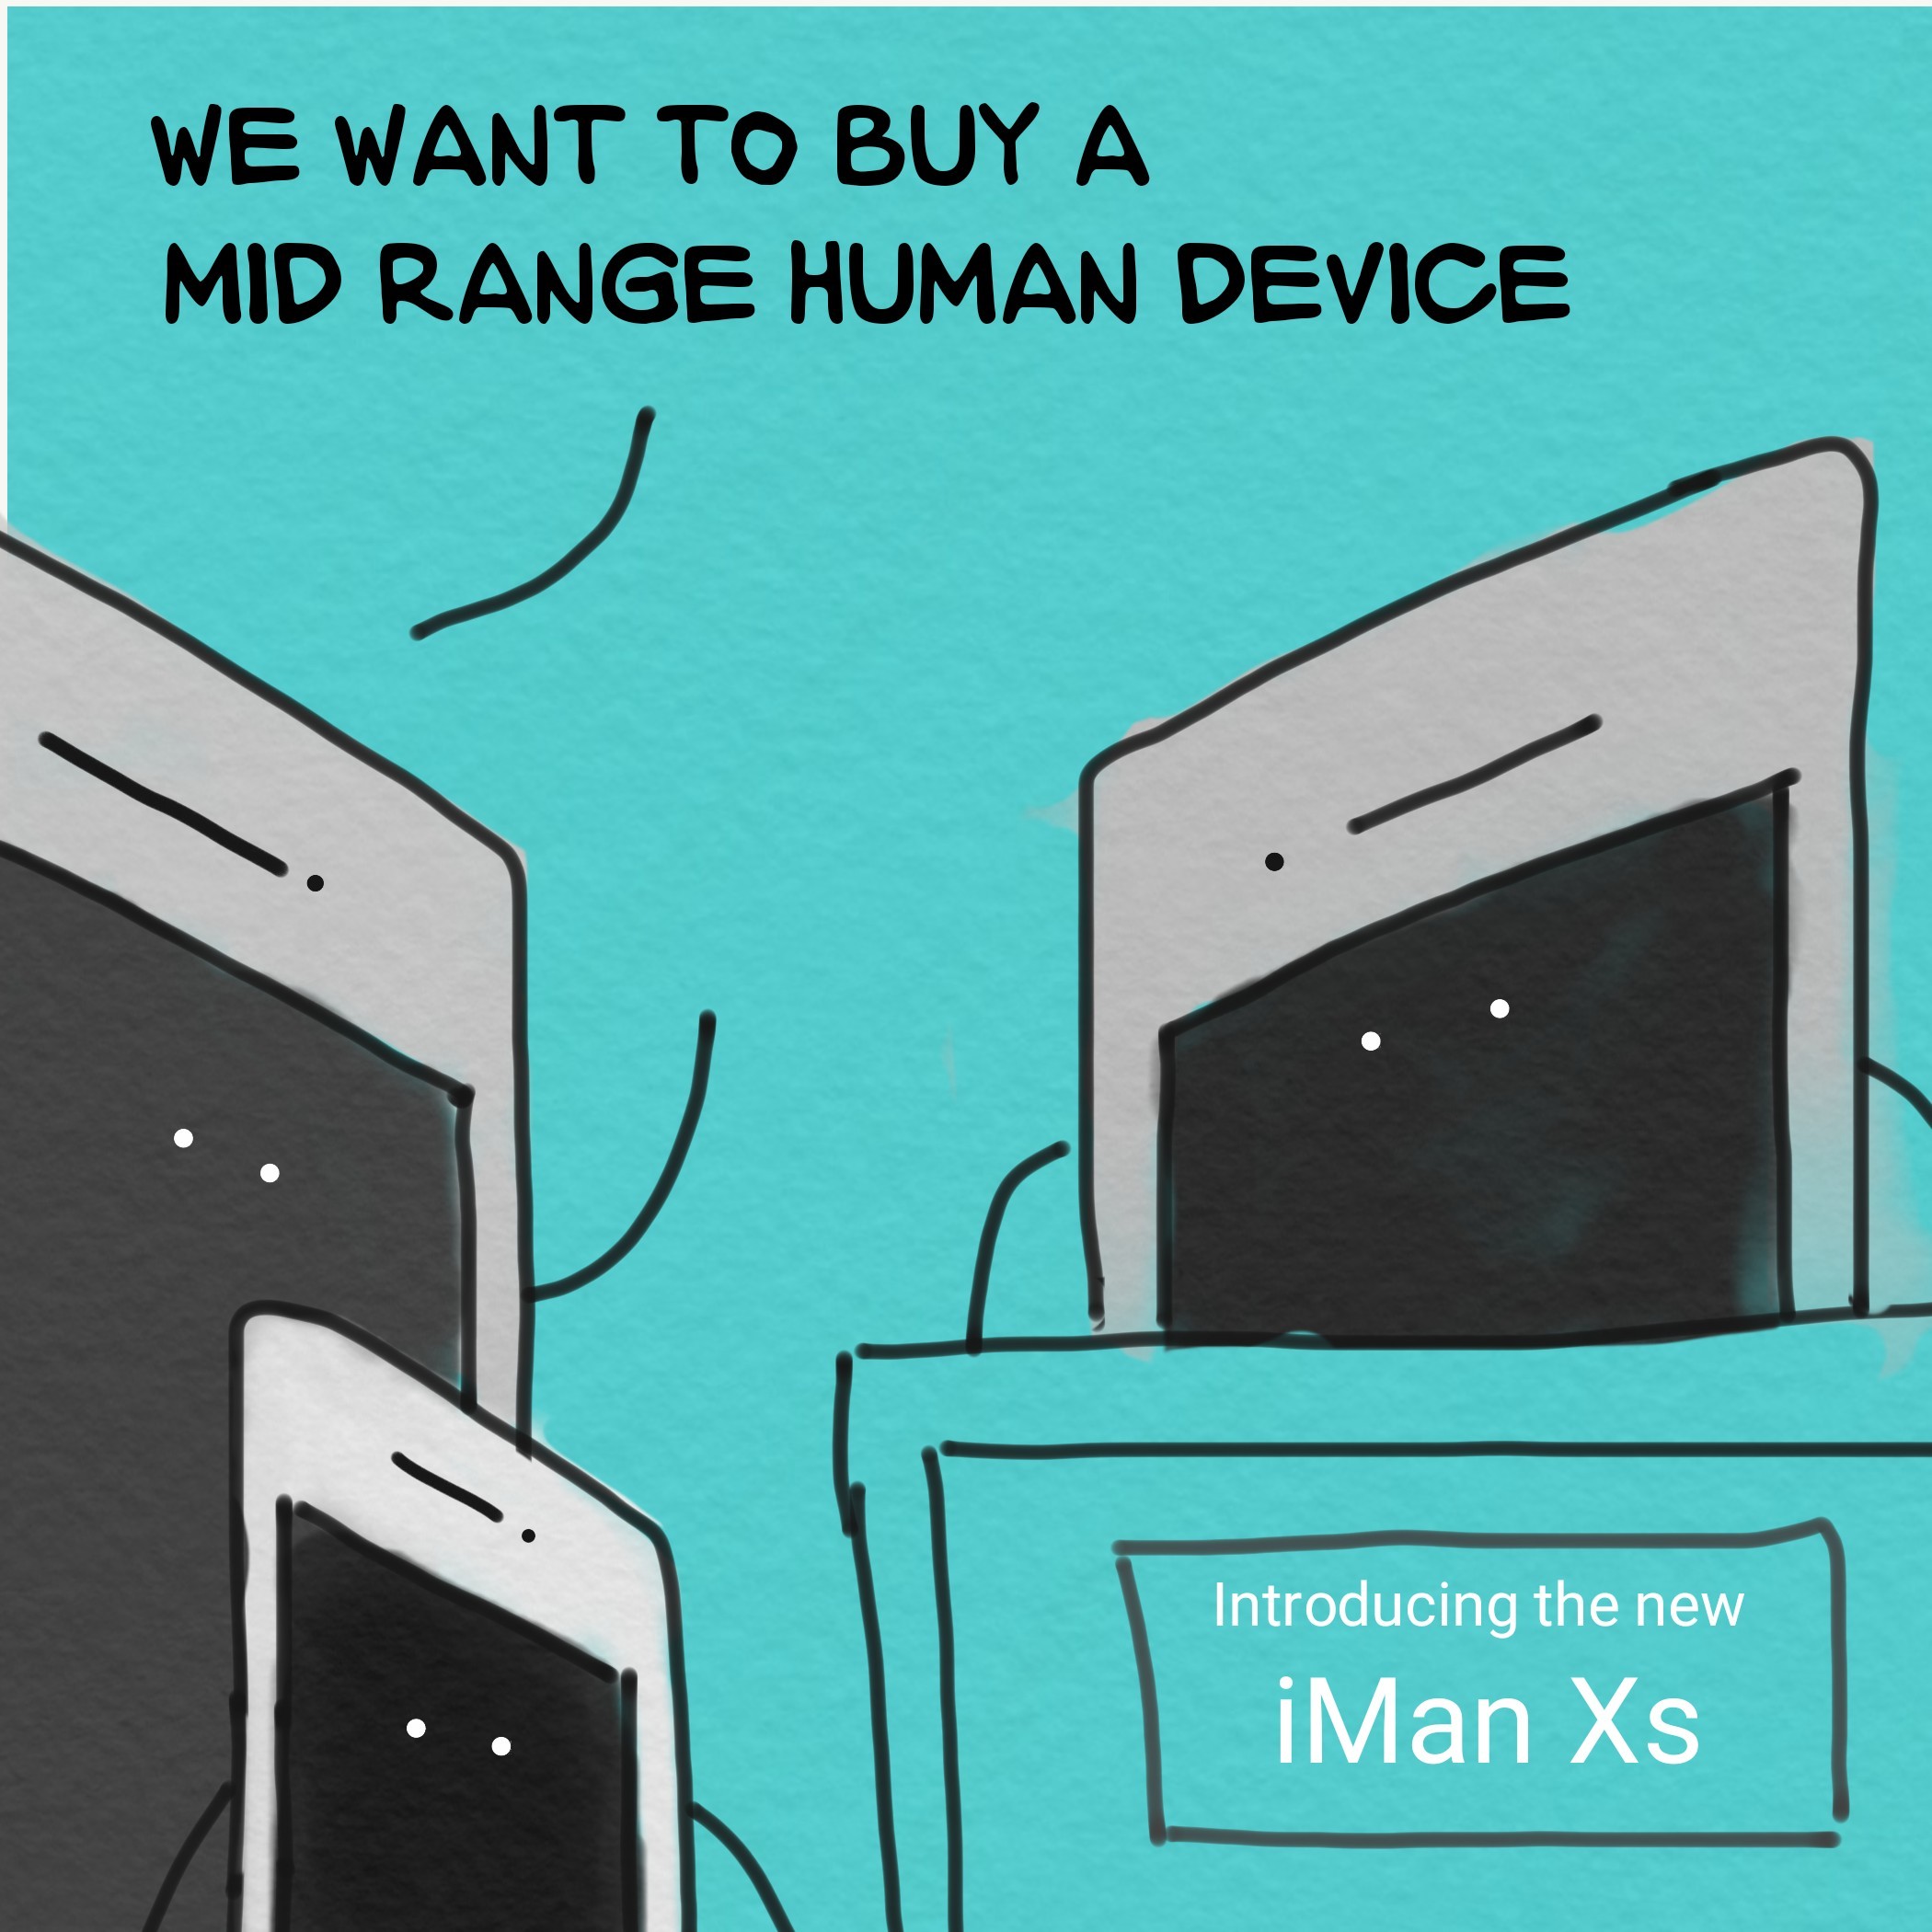
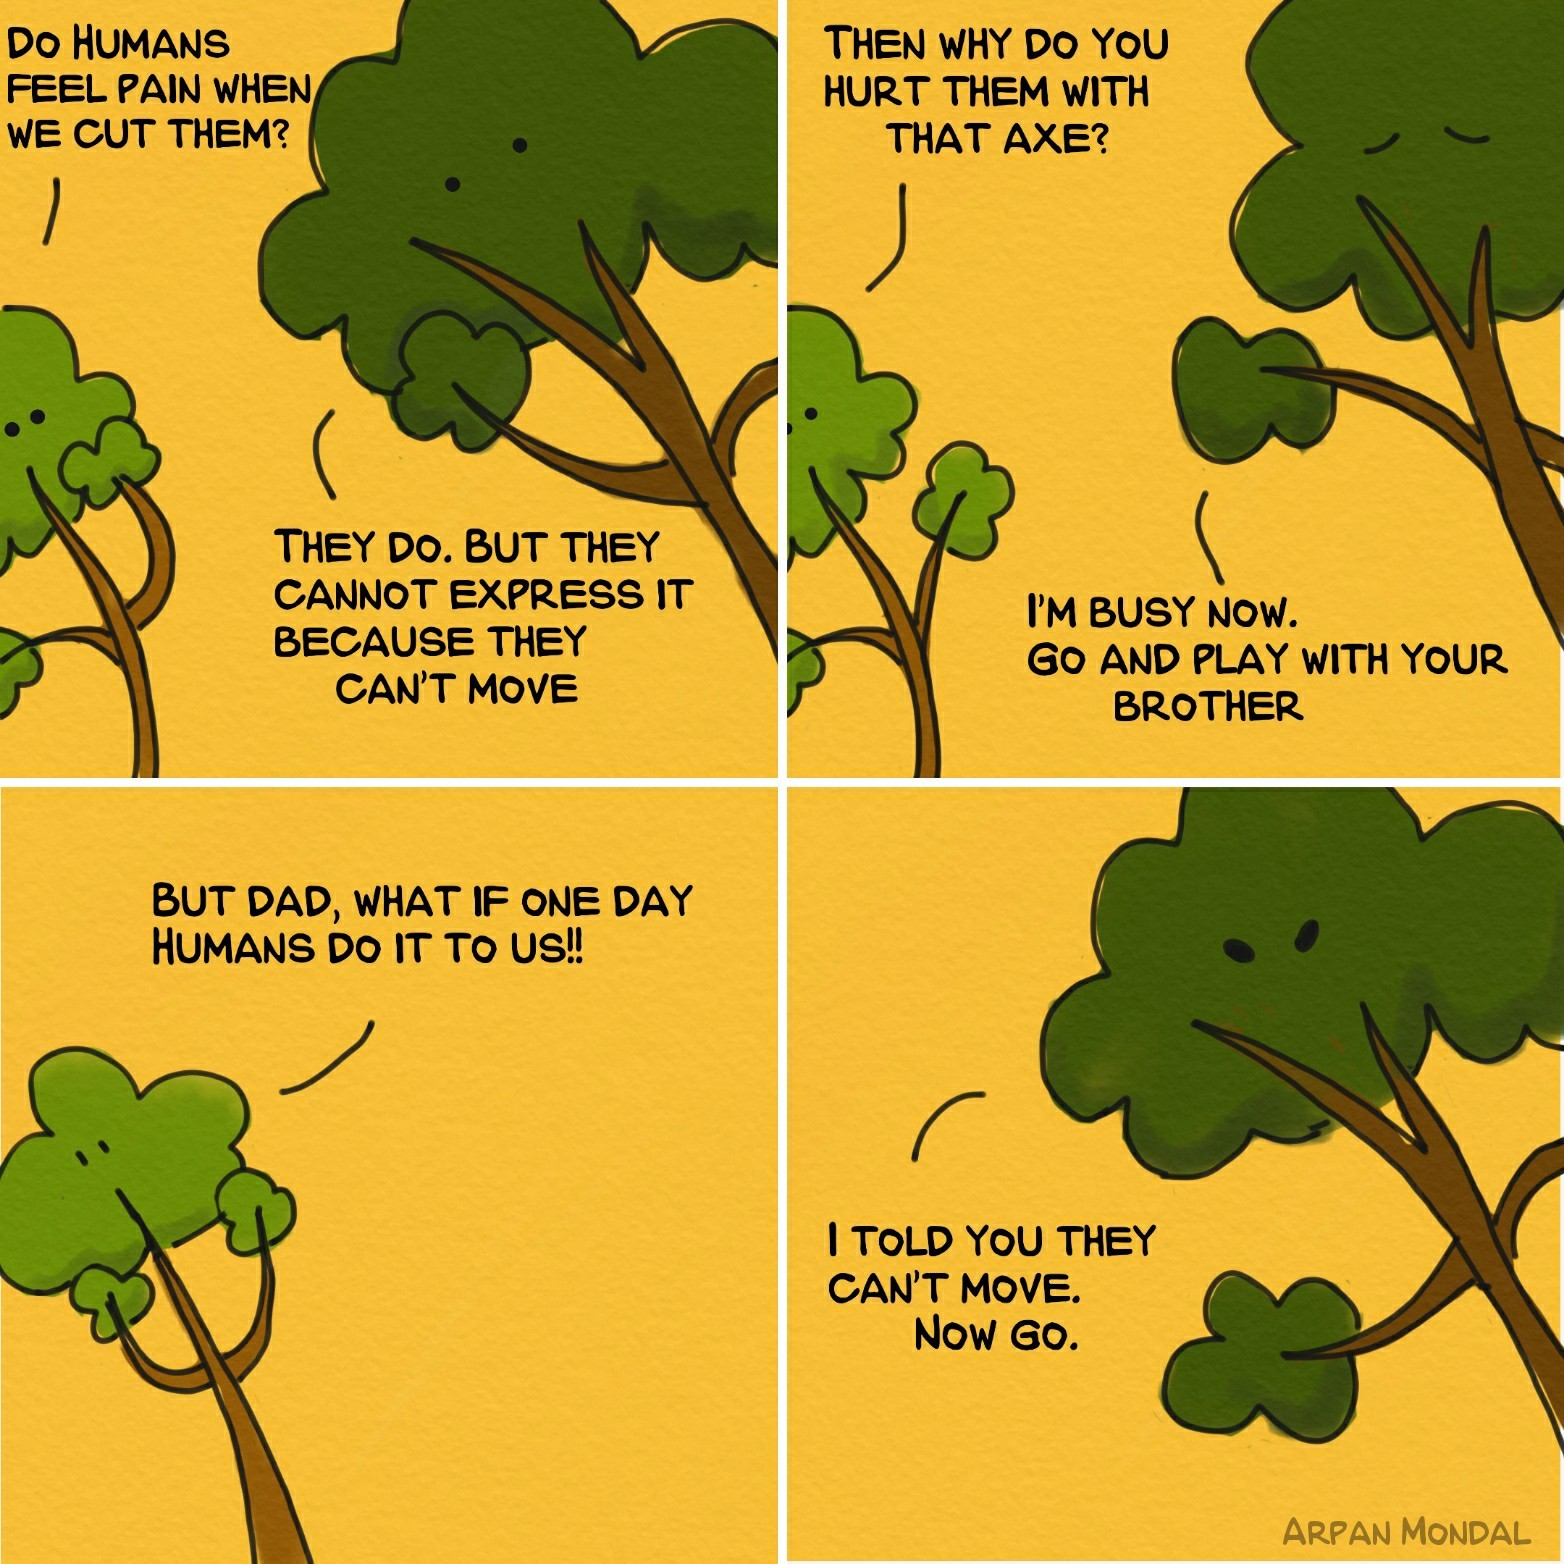
Adding text can also be done in any photo editor. For example, in the above images you can see how I used Snapseed to add text to my comics.
And there you have it! Your very first digital comic. Trust me, it gets more and more interesting as people start appreciating your work.
Final Words...
Ideas can come from anywhere. Comics are a way to express what you imagine in the form of art.
If you've noticed carefully, my comics are made by replacing Humans with other objects or creatures. It's from an alternate reality! If you liked the comics I made in the above images, you can visit my Instagram profile for more such comics.
Good luck on your next comic!