Amazon Alexa Powered Automatic Fish Feeder
by madhurgupta10 in Circuits > Raspberry Pi
1424 Views, 9 Favorites, 0 Comments
Amazon Alexa Powered Automatic Fish Feeder
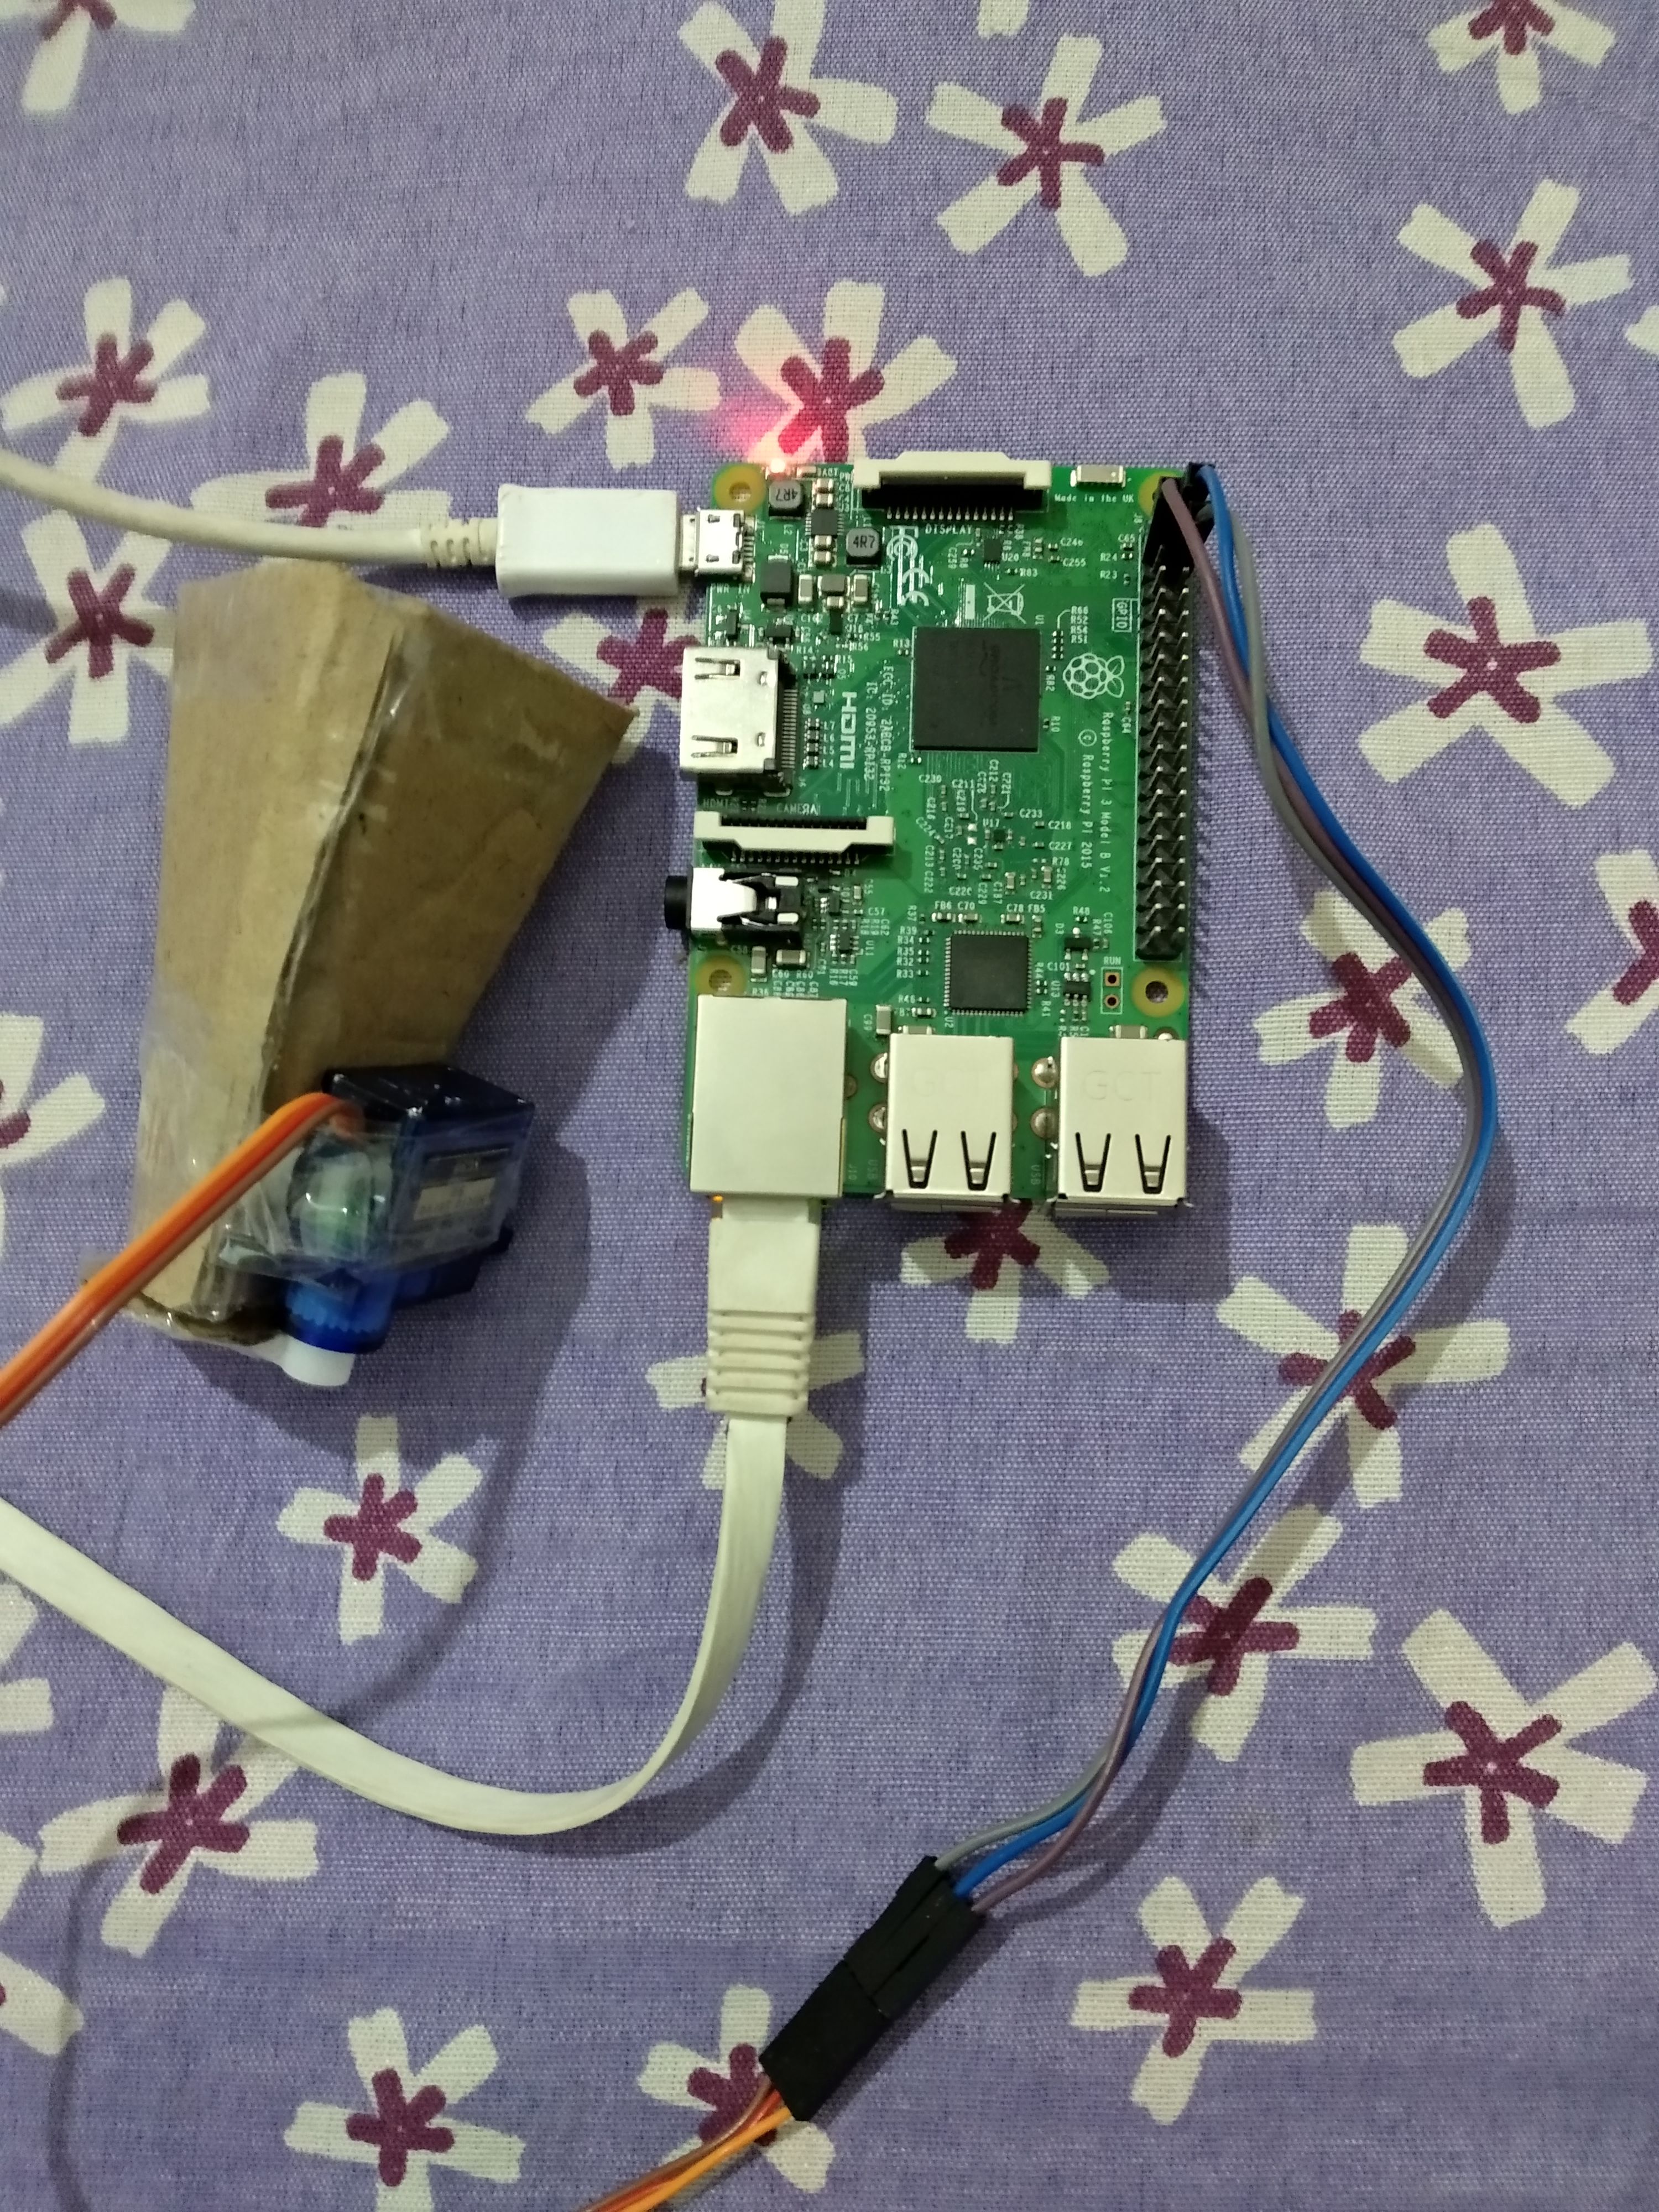
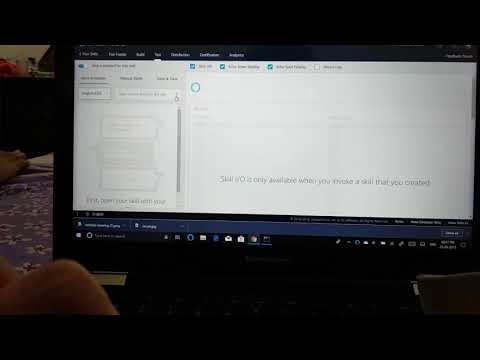
Forgot to feed your fish?
Now let Alexa feed your fish, from anywhere in the world, yes anywhere. This Project is designed to that you can feed your pet from anywhere in the world, using any Alexa device/app.
Want to feed some other pet?
No Problem just make the container of an appropriate size and rest you are good to go.
Things You Need
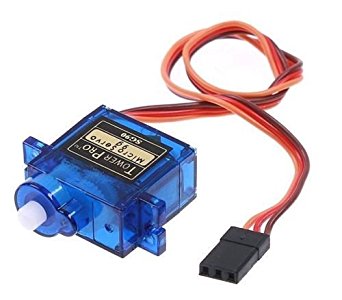

- 1 X Servo Motor
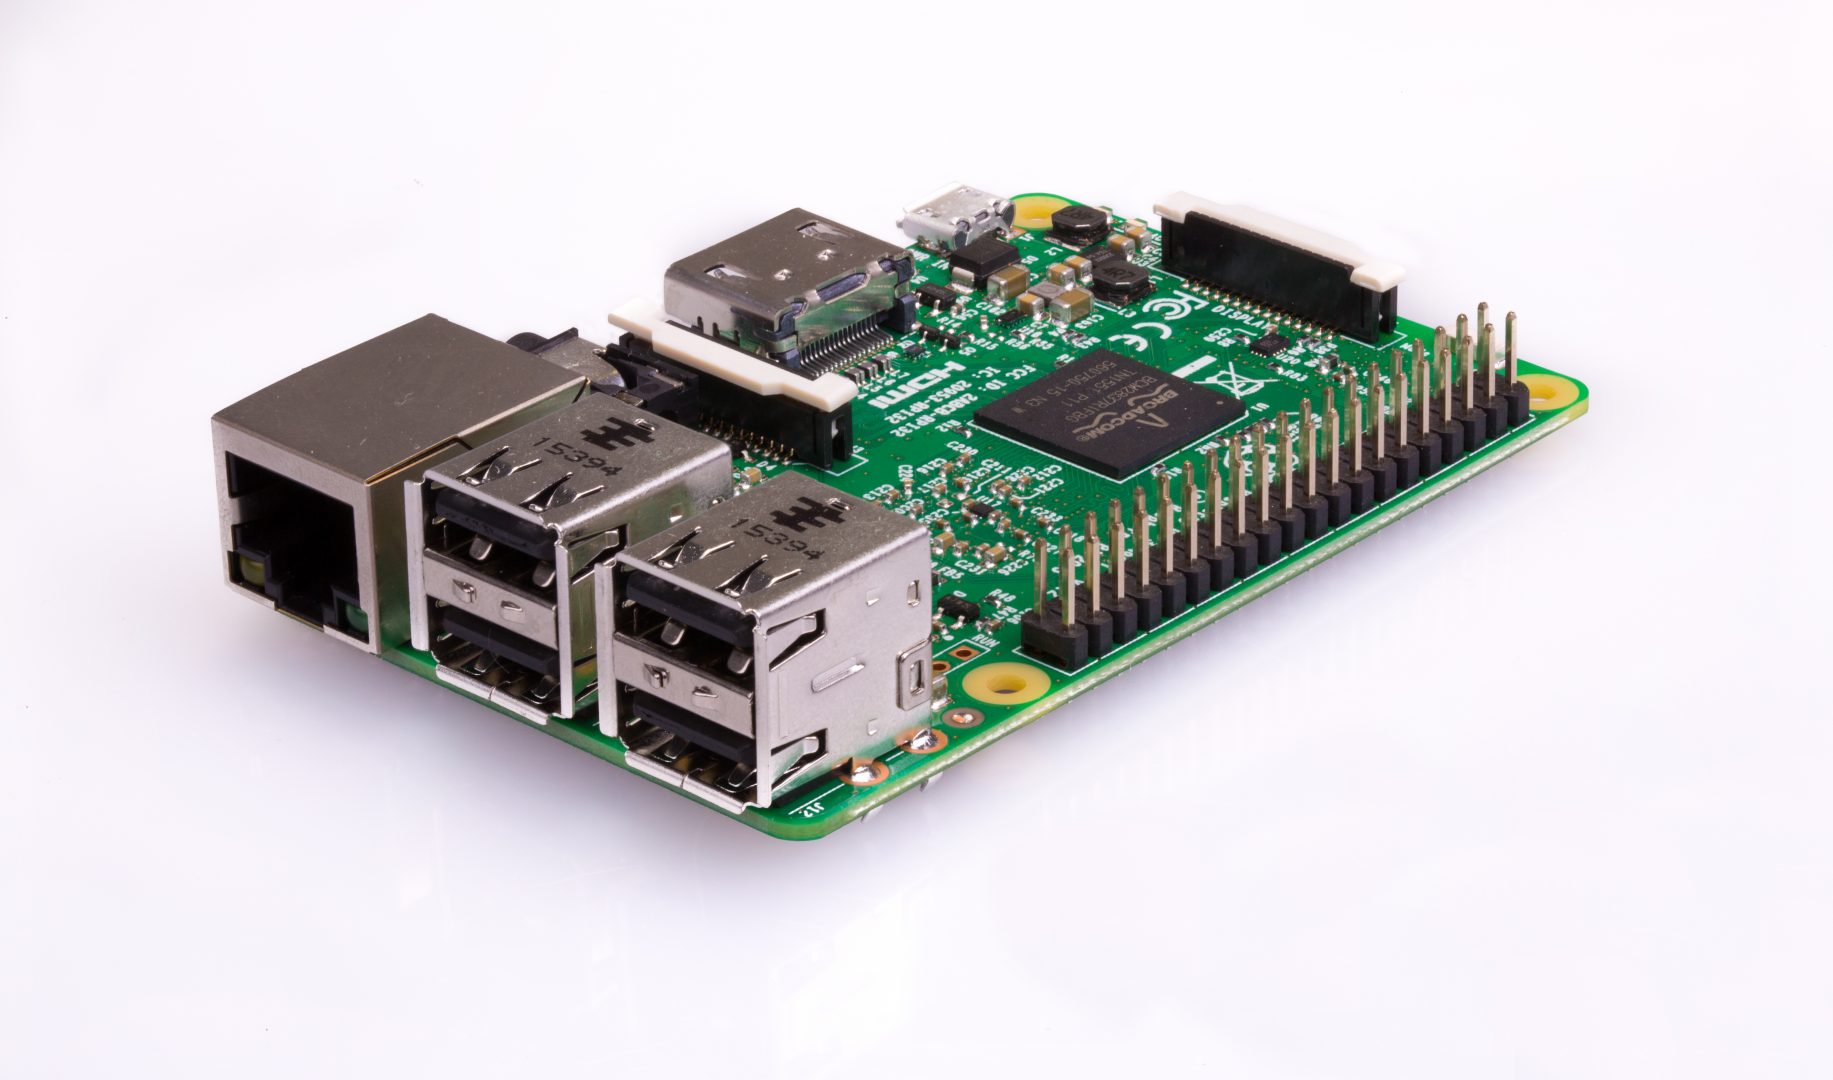
- 1 X Raspberry Pi 3 (any Raspberry Pi with internet would work)
- 1 X Raspberry Pi Adapter
- 1 X MicroSD Card with Rasbian OS
- 3 X Jumper Wires Male to Female
- 1 X Cardboard
- 1 X Scissors
- 1 X Marker/Pen
- 1 X Scale/Ruler
- 1 X Tape Role
- 1 X Echo Dot (optional)
Make the Container
.jpg)
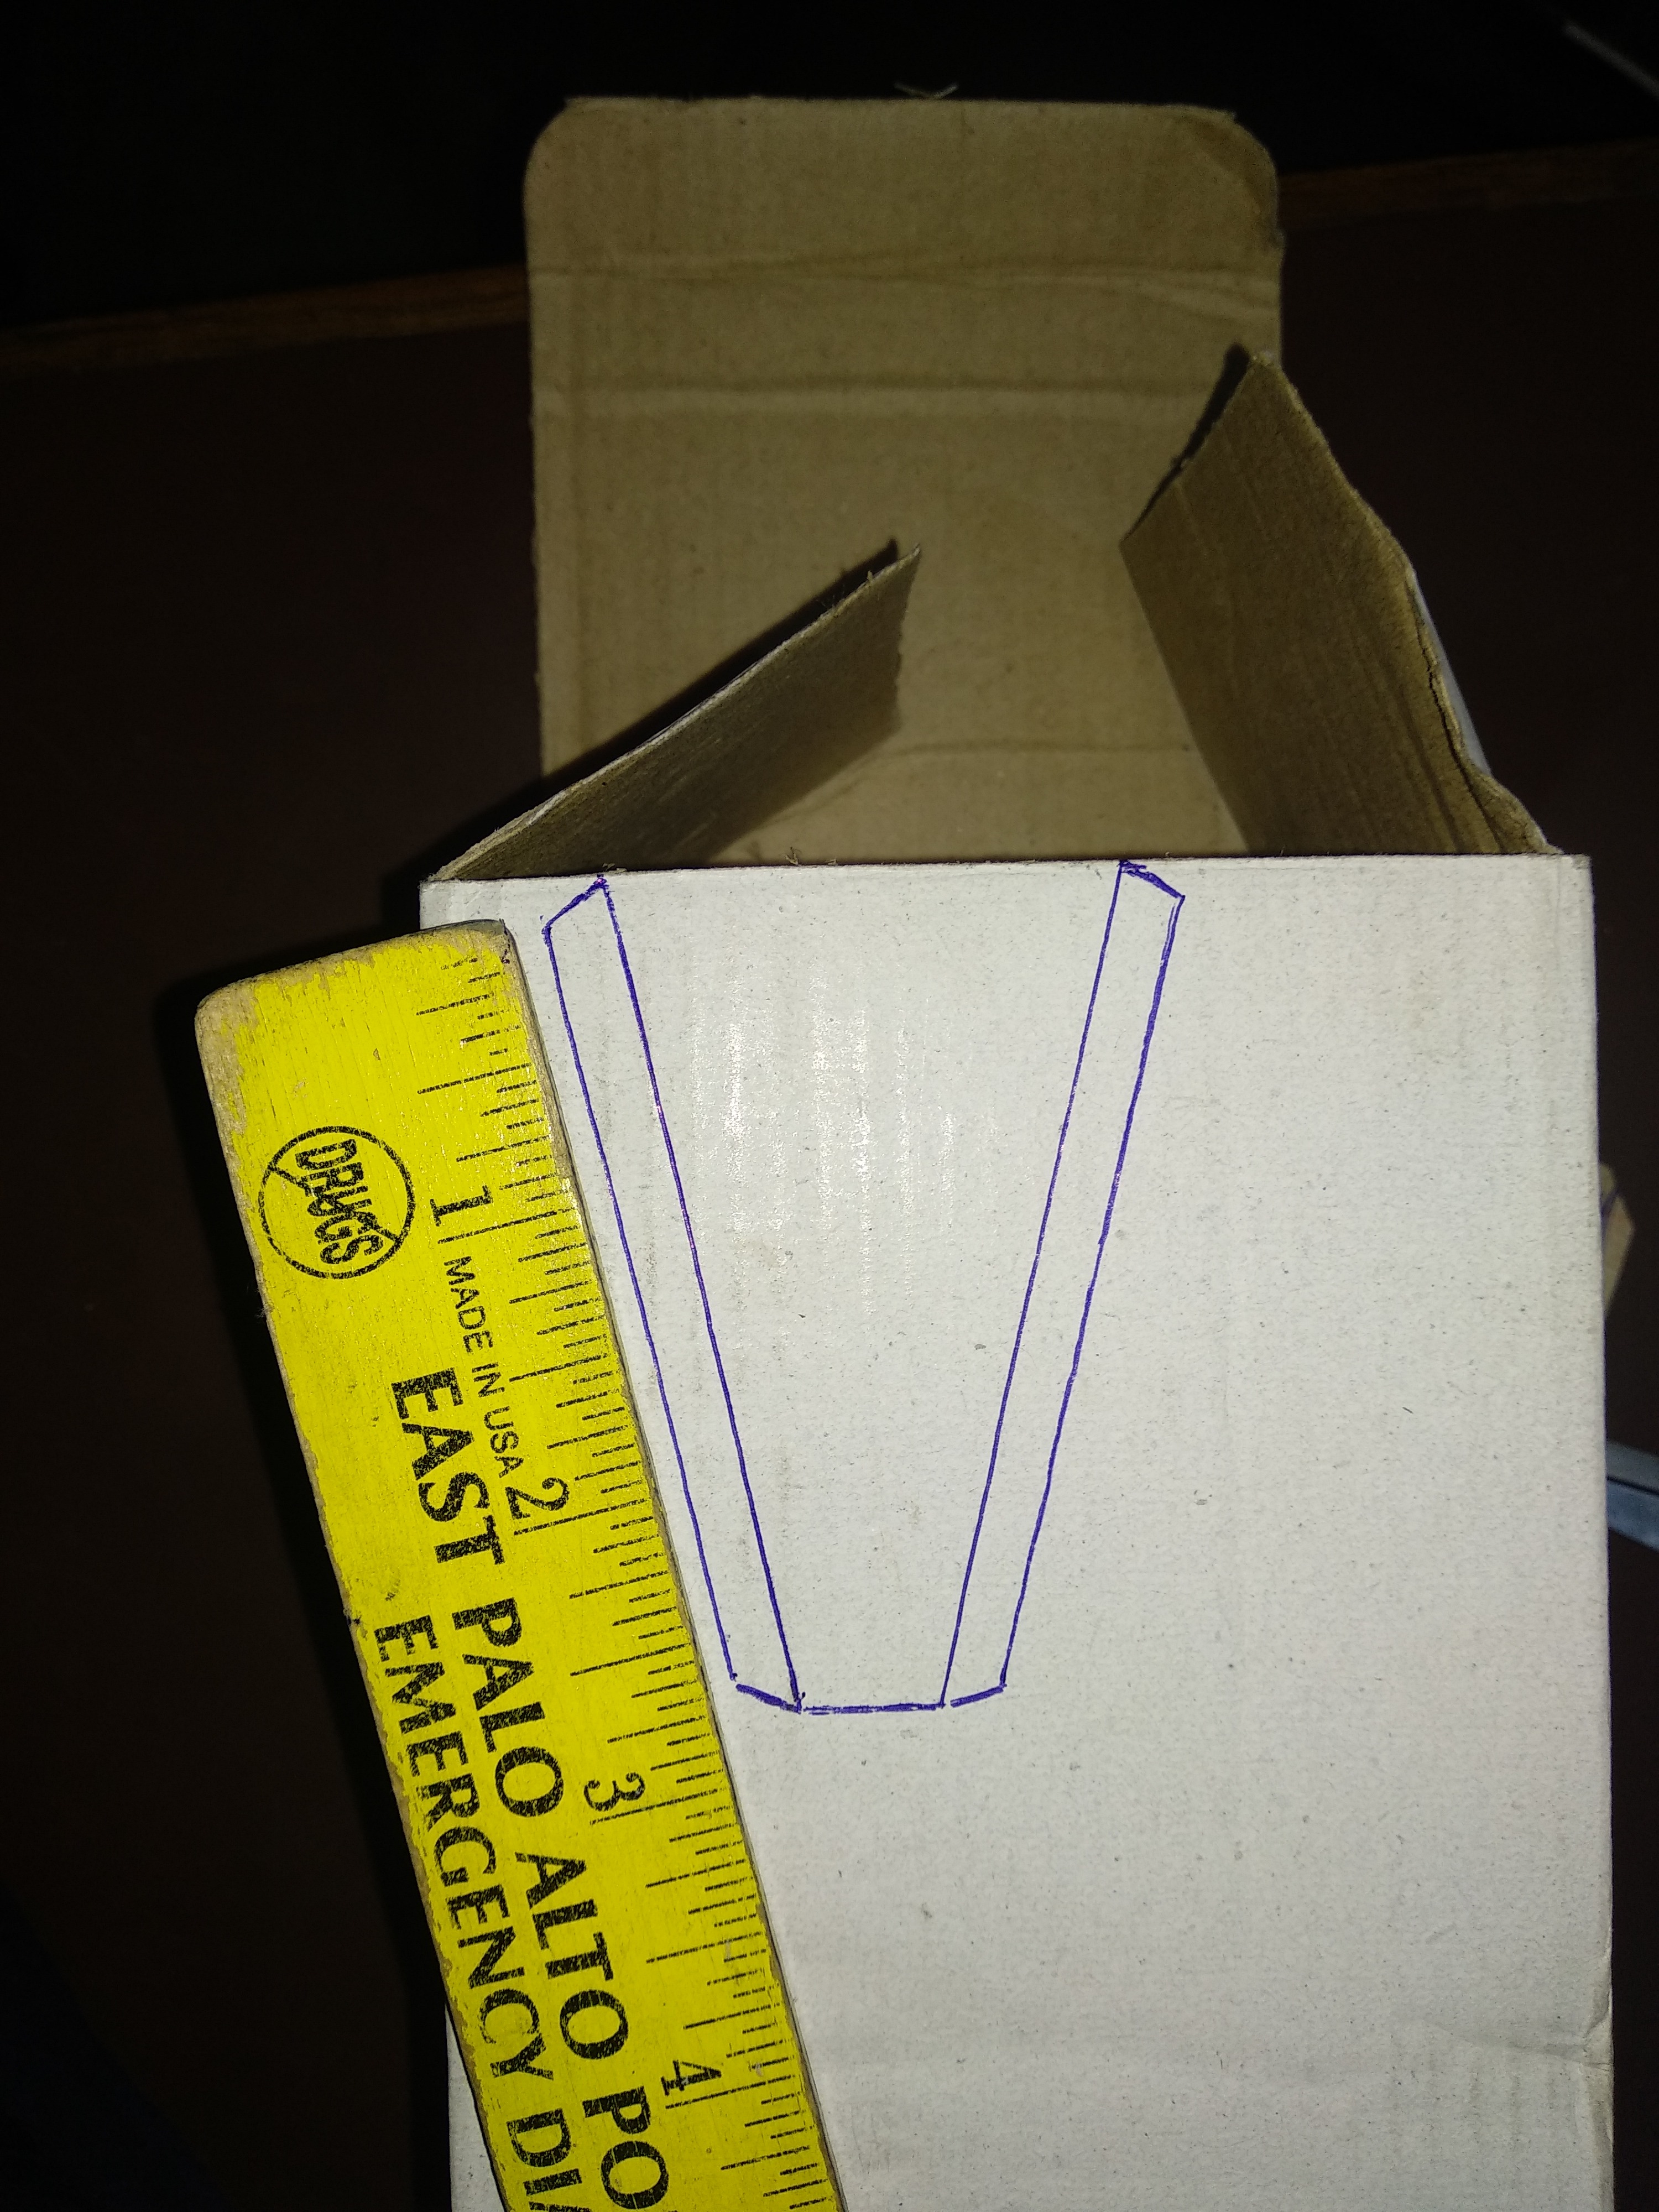
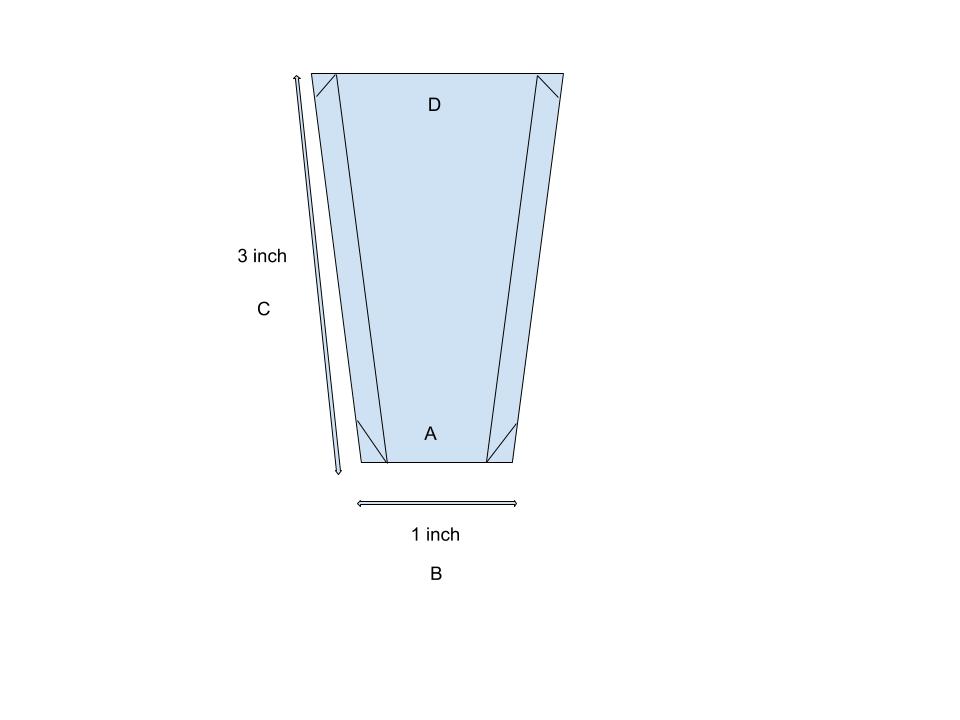
- Mark these dimensions on cardboard (you can make it as big/small as you want)
Use a marker/pen along with a ruler and make exact three shapes like these.
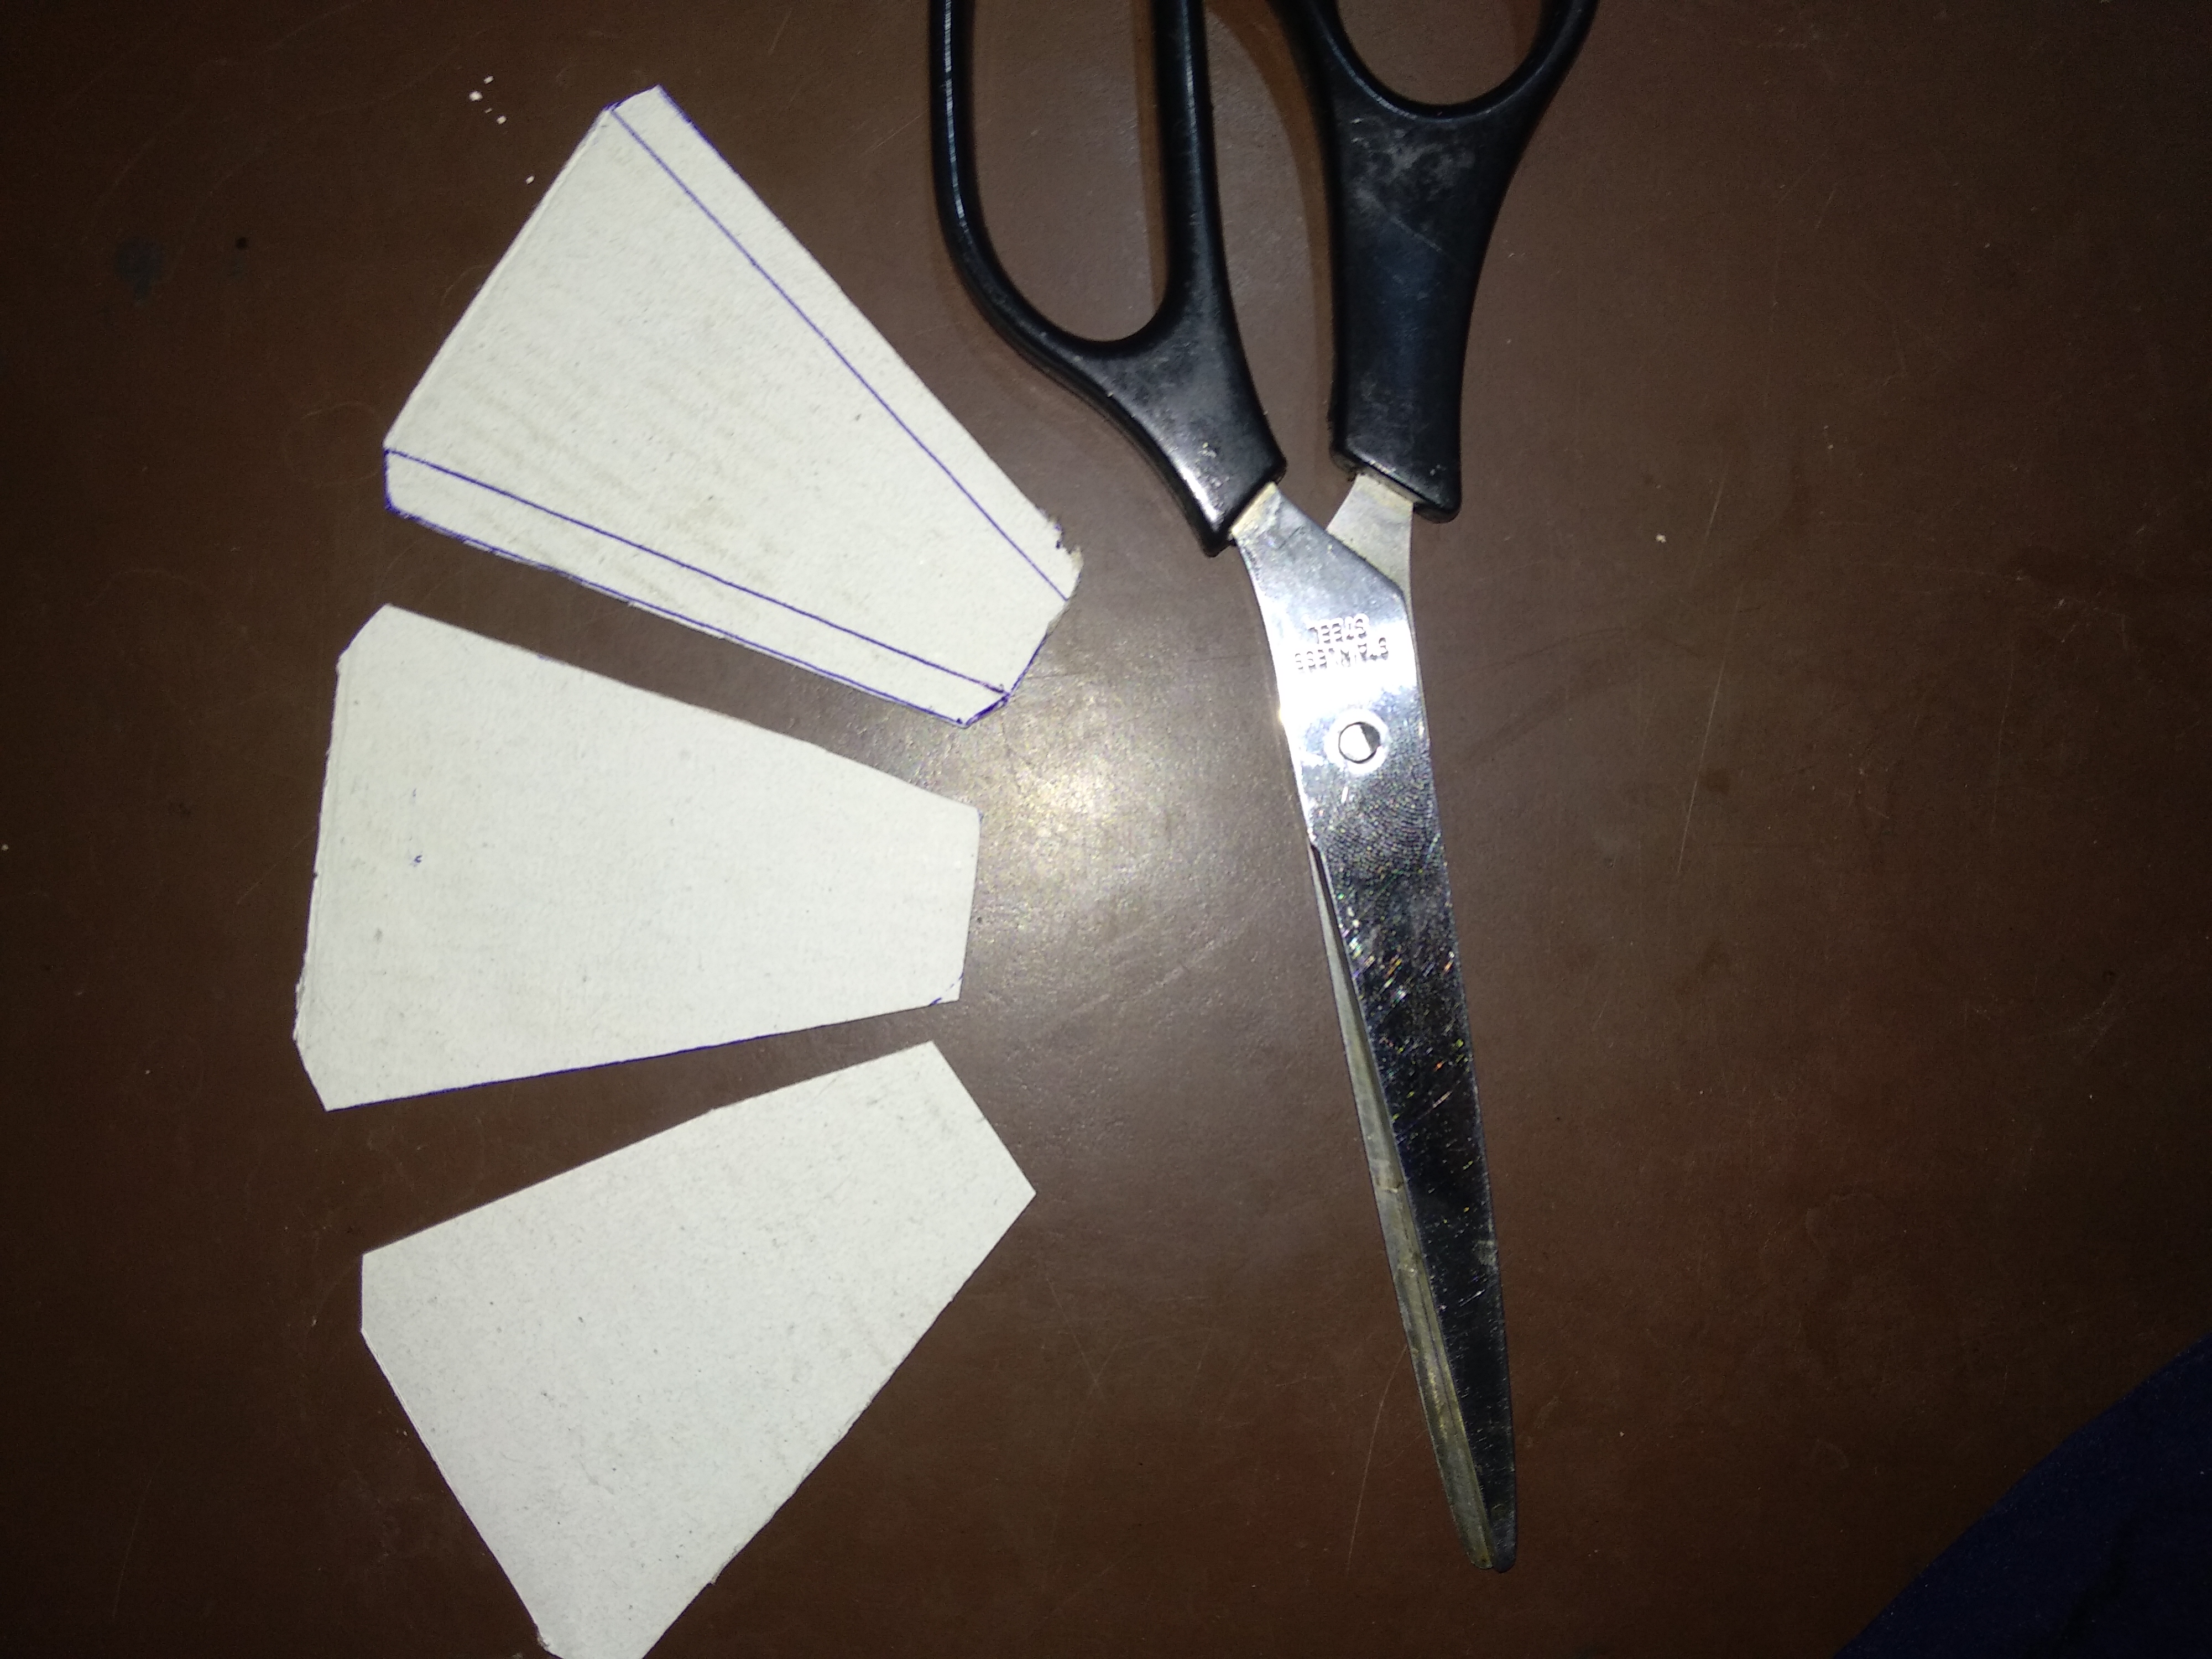
- Now cut these pieces using a scissor
Please note that A (the inner line) depends upon the amount food you feed to fish.
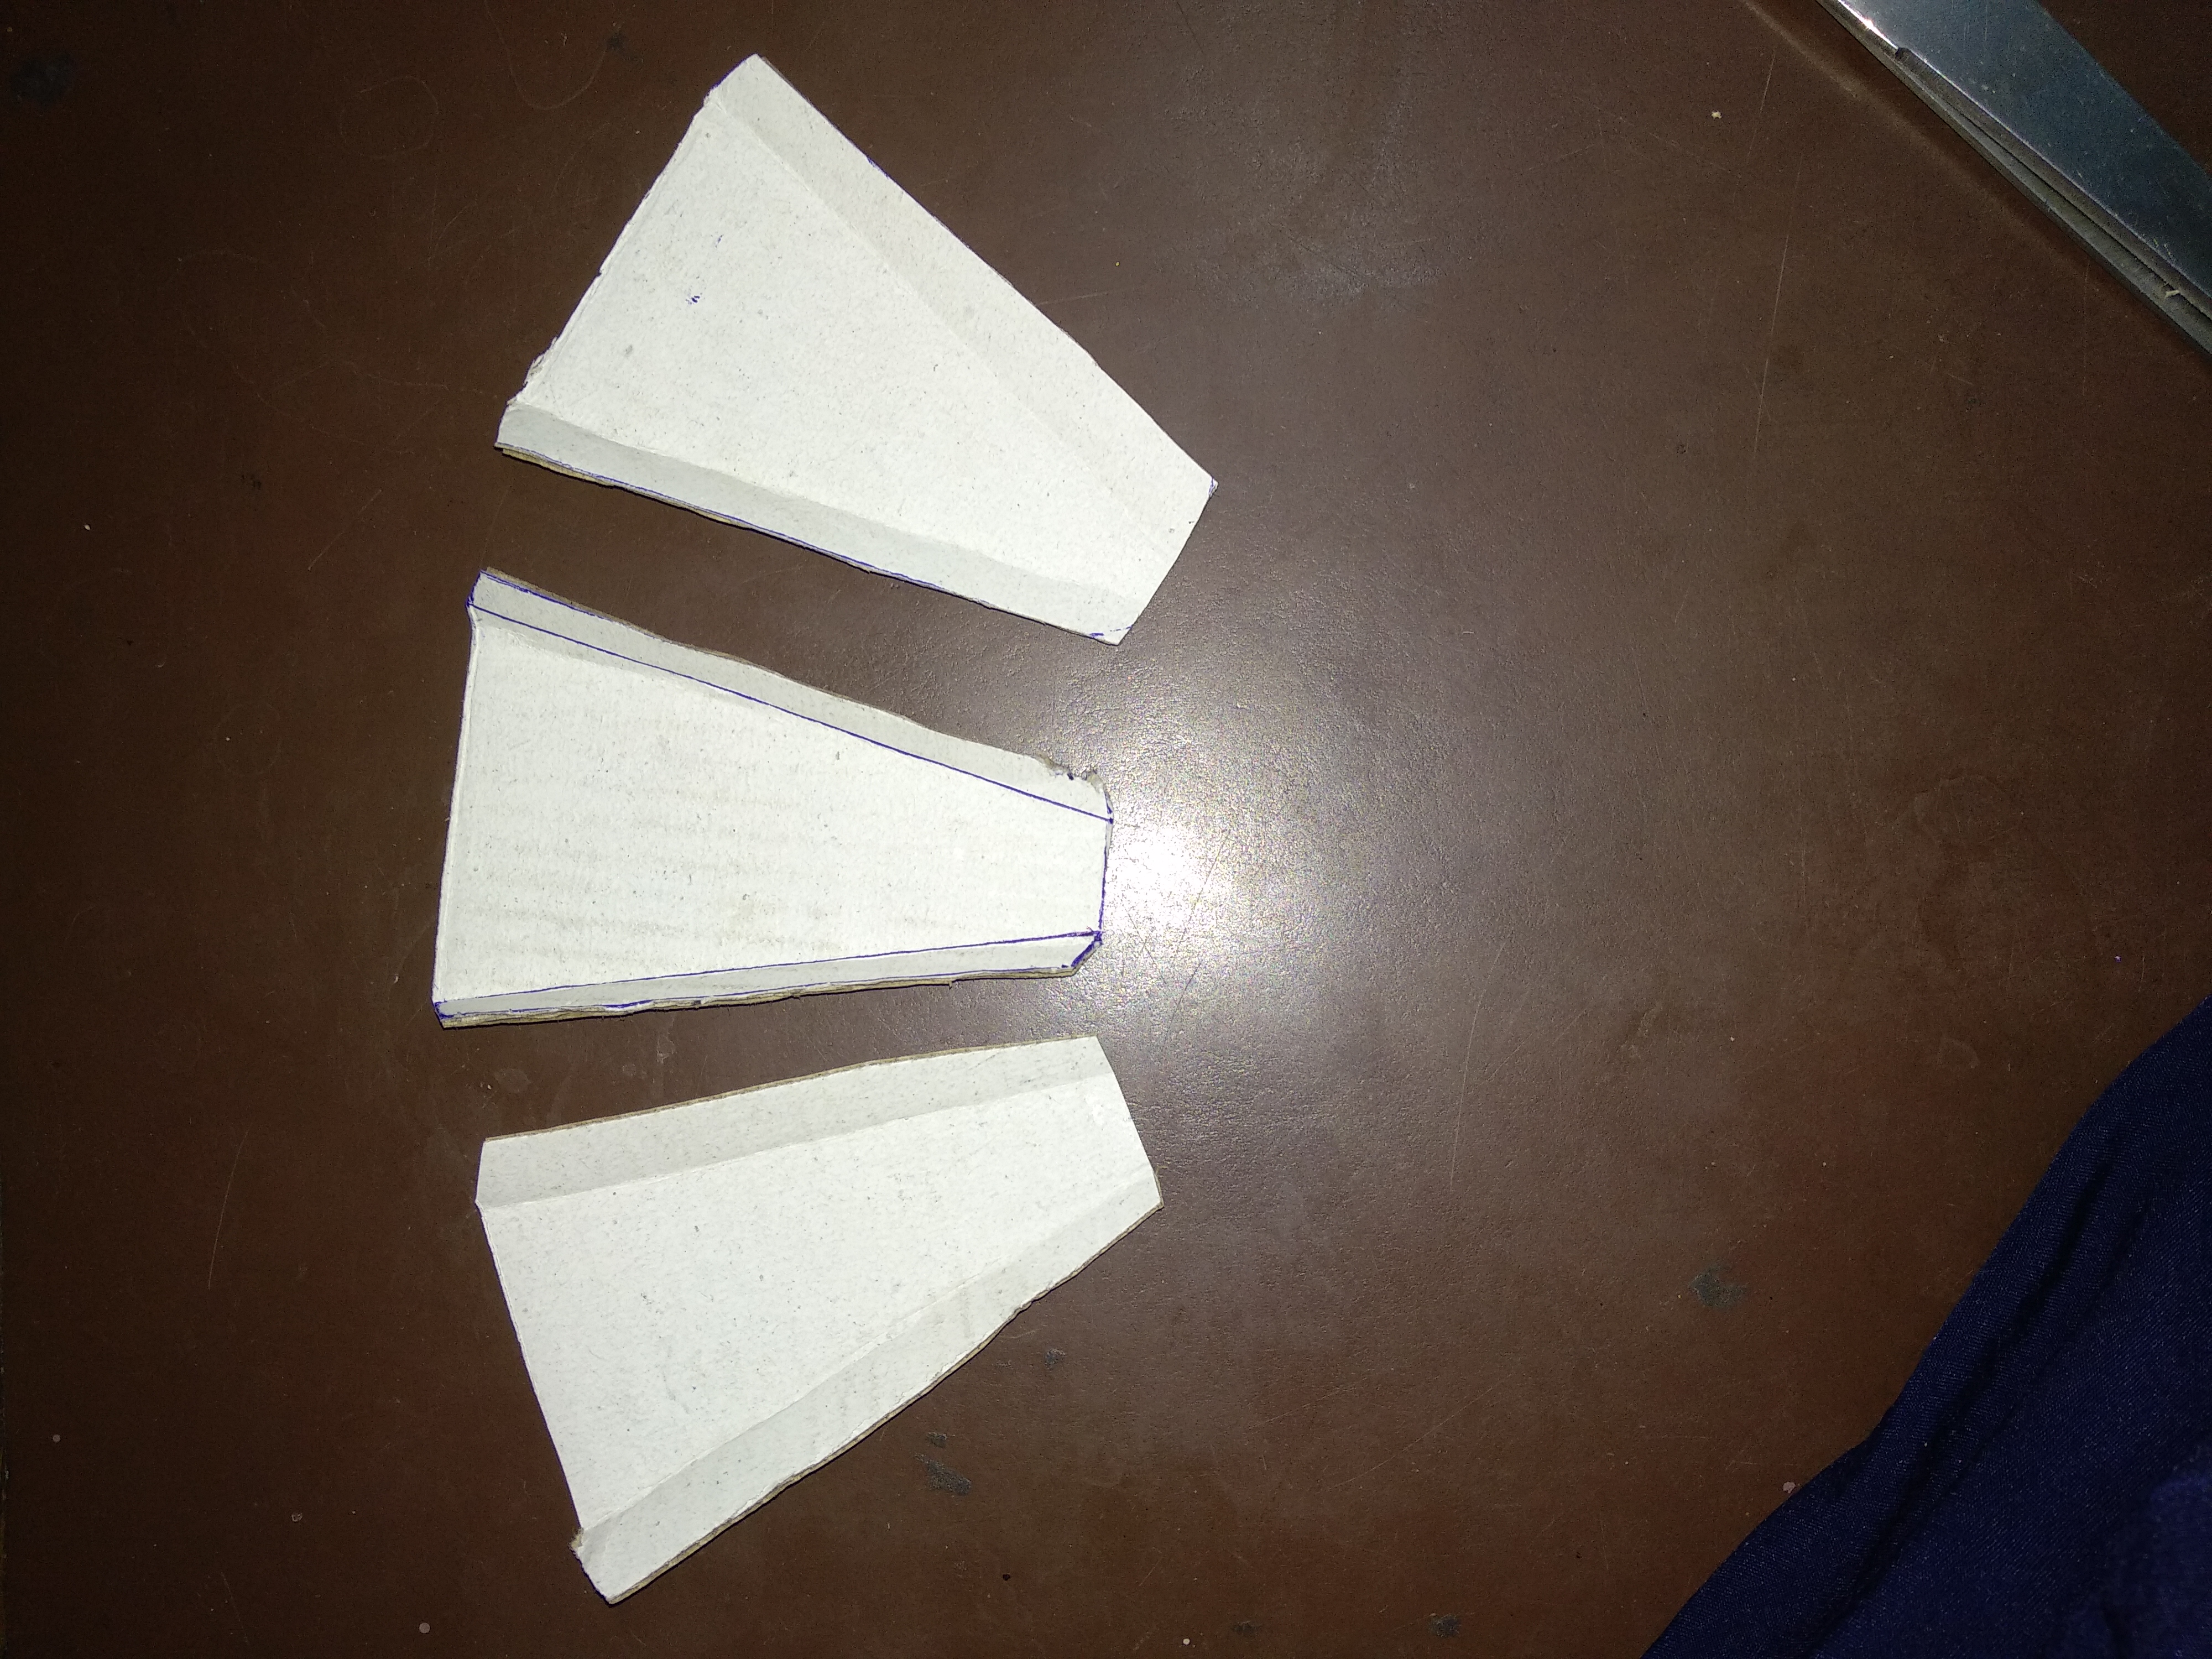
- Now fold along the inner lines
Fold each piece along the inner lines facing upwards as shown in the picture.
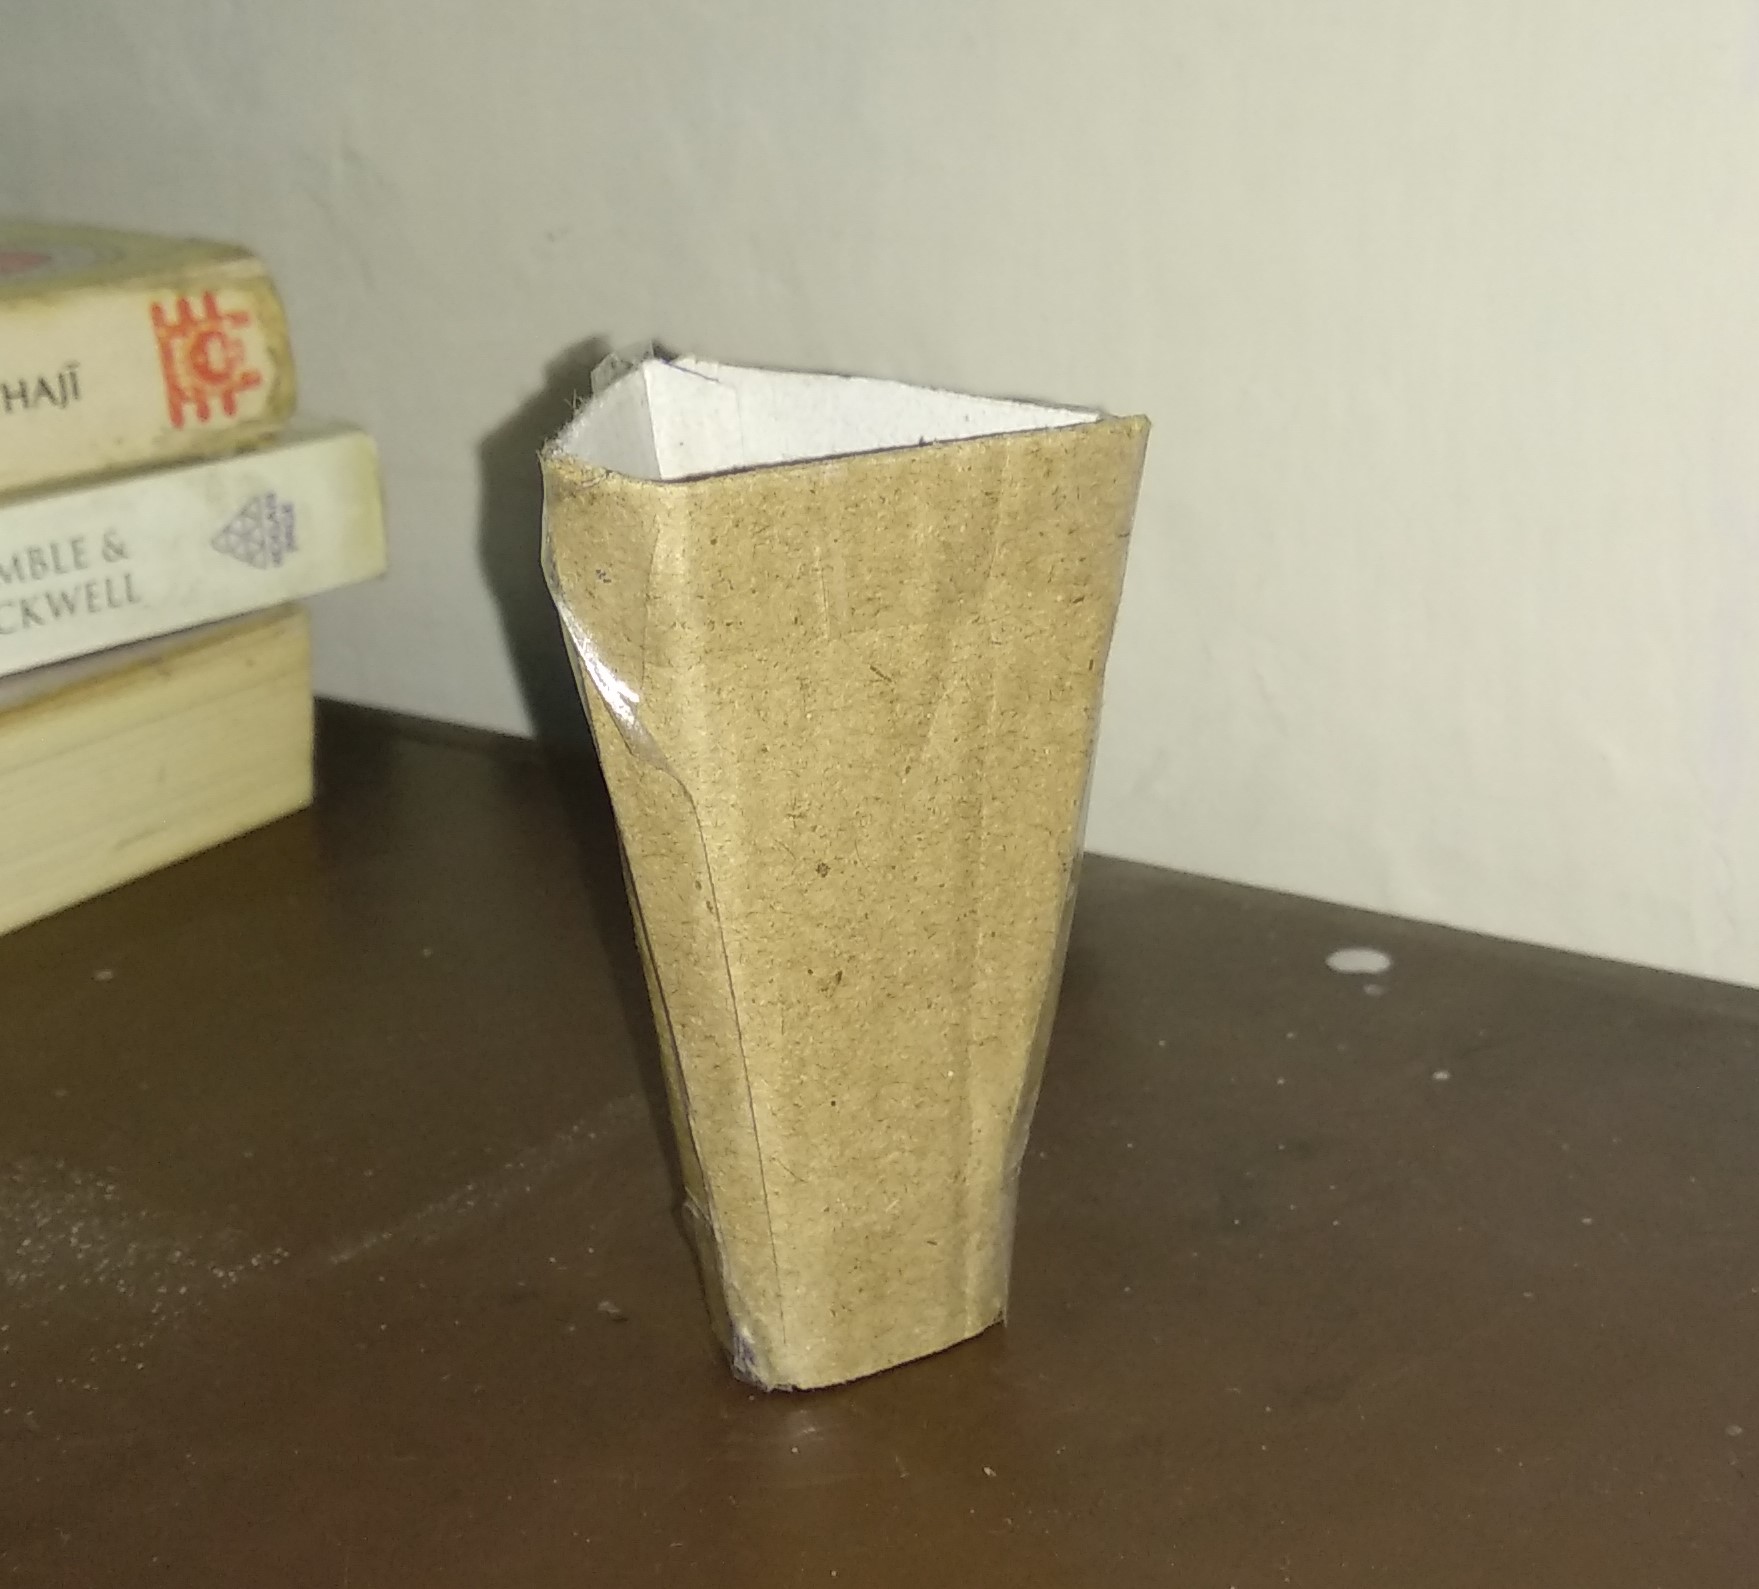
- Now Tape them together like a pyramid
Tape them together such that they form a pyramid-like structure, as shown in the picture.
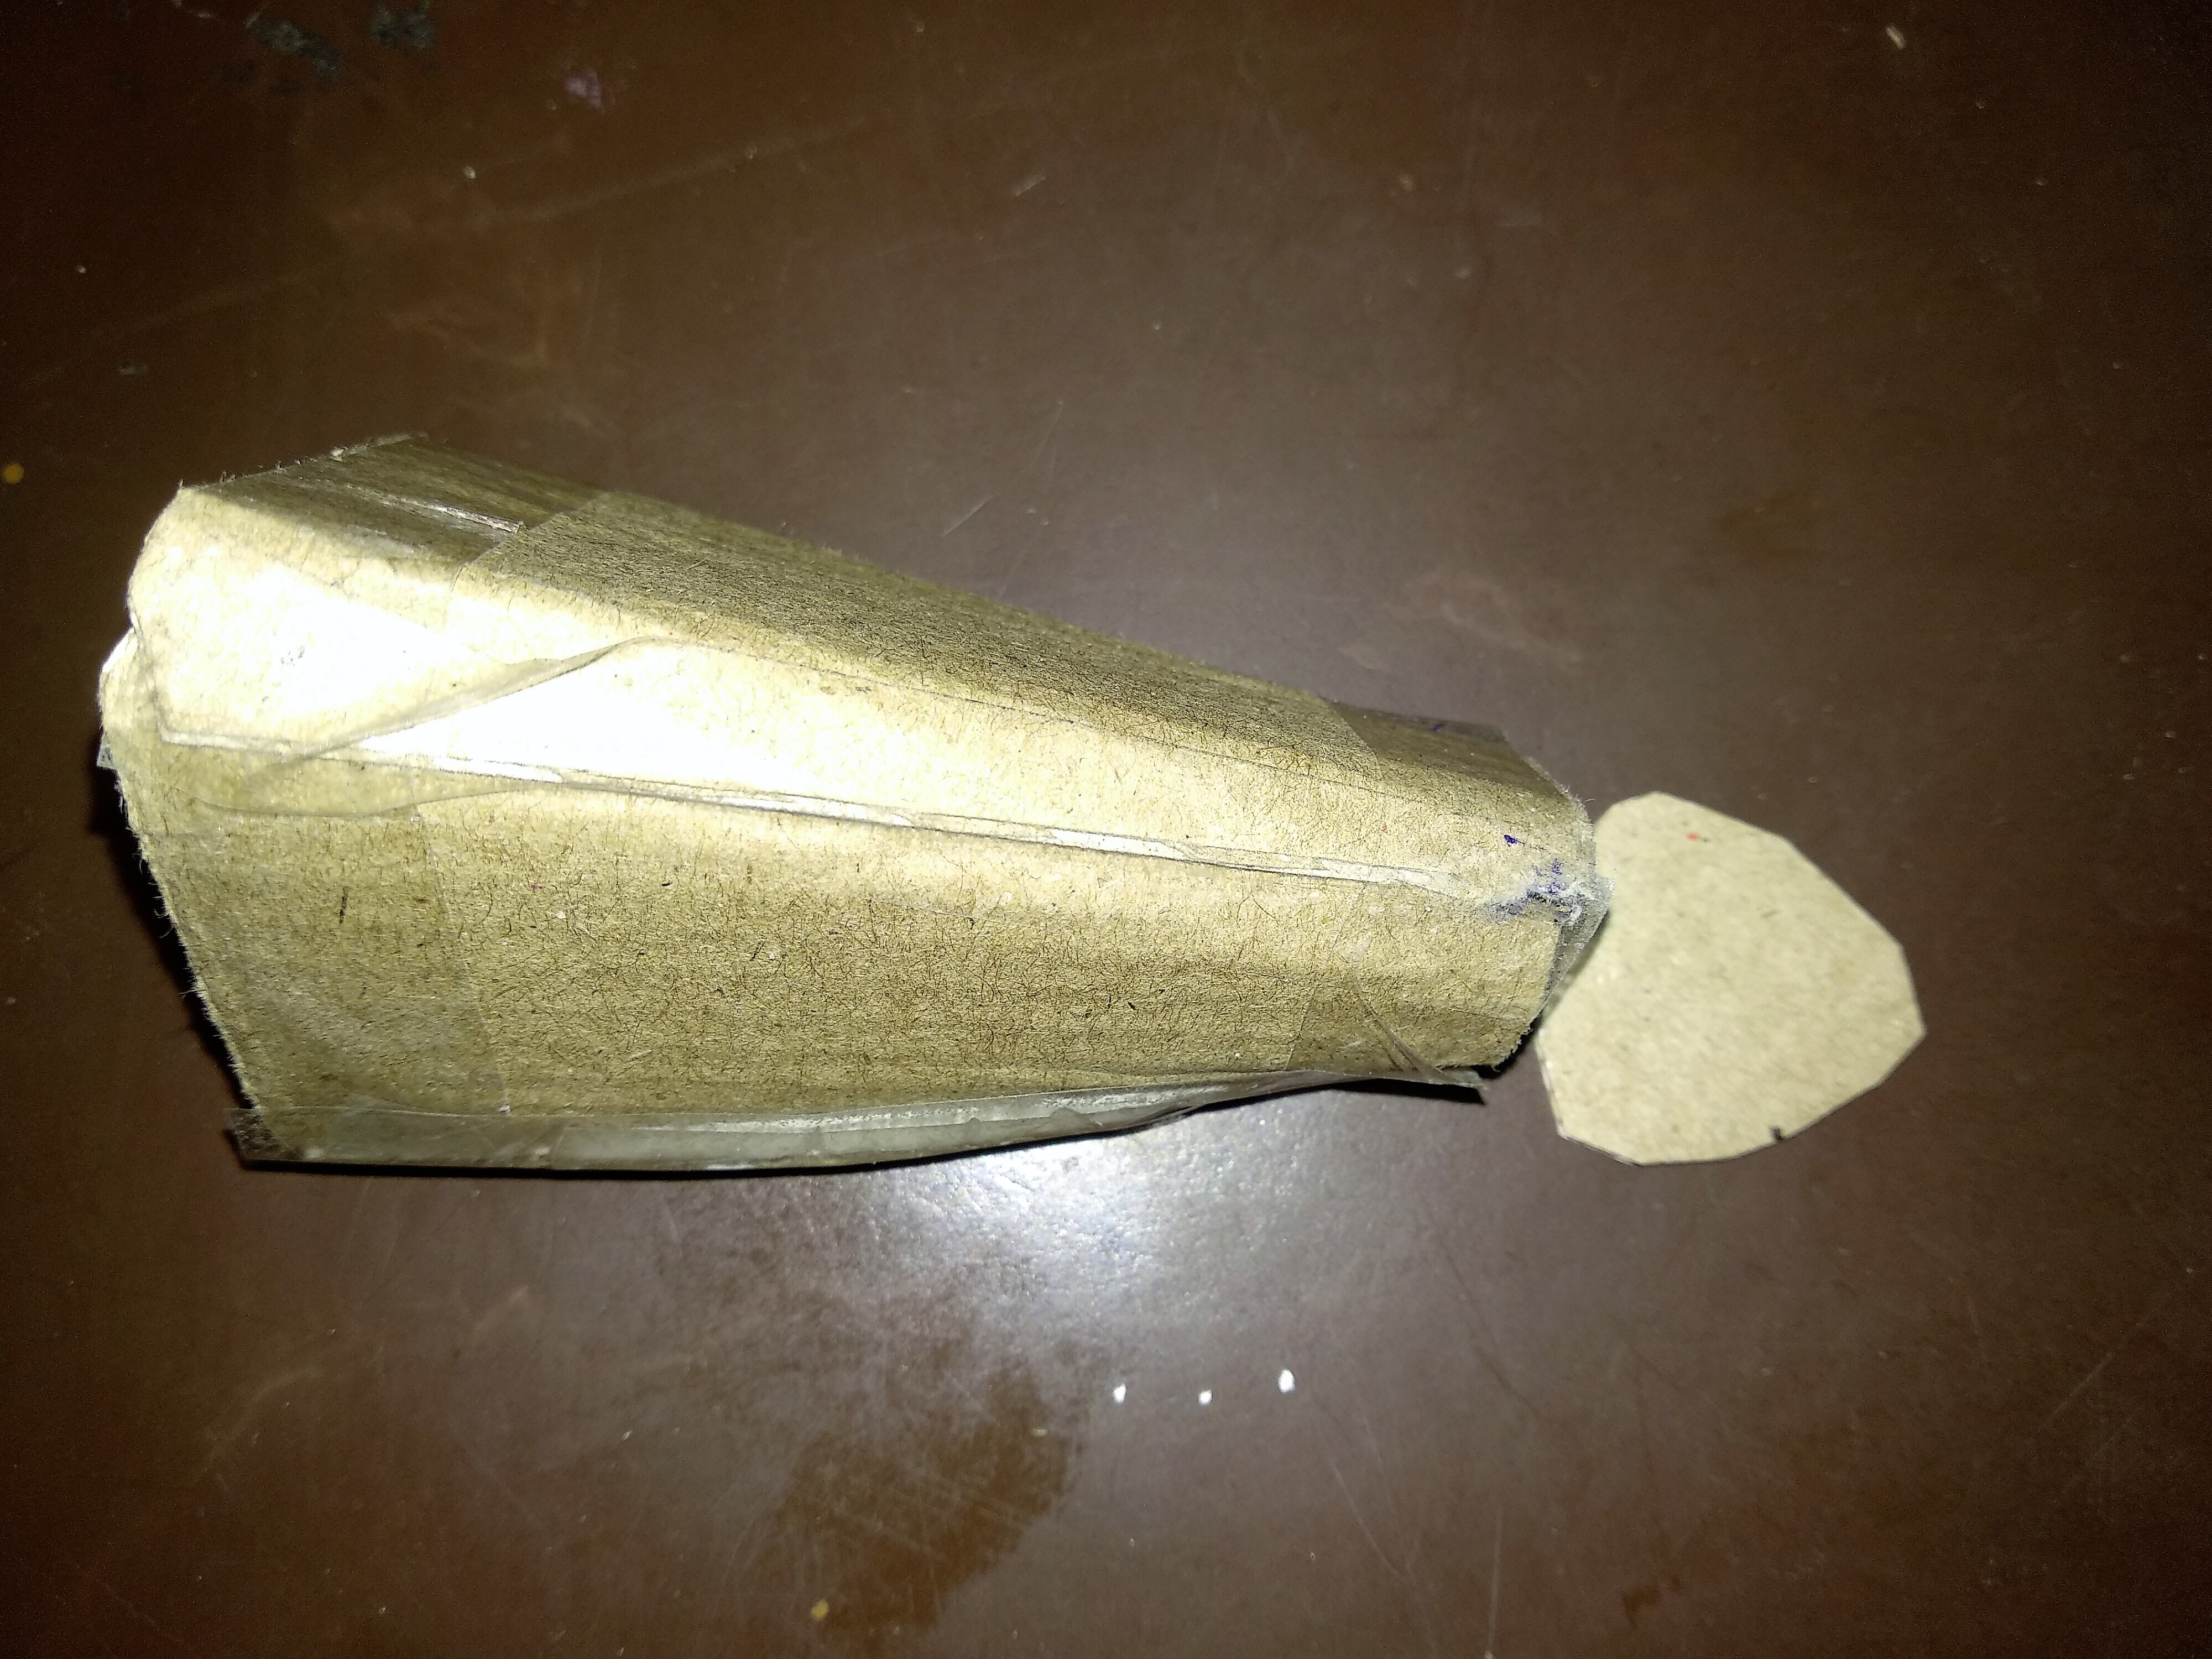
- Now make a cap
Now make the cap for the smaller mouth of the pyramid, this needs to a little bit big so that it does not leak.
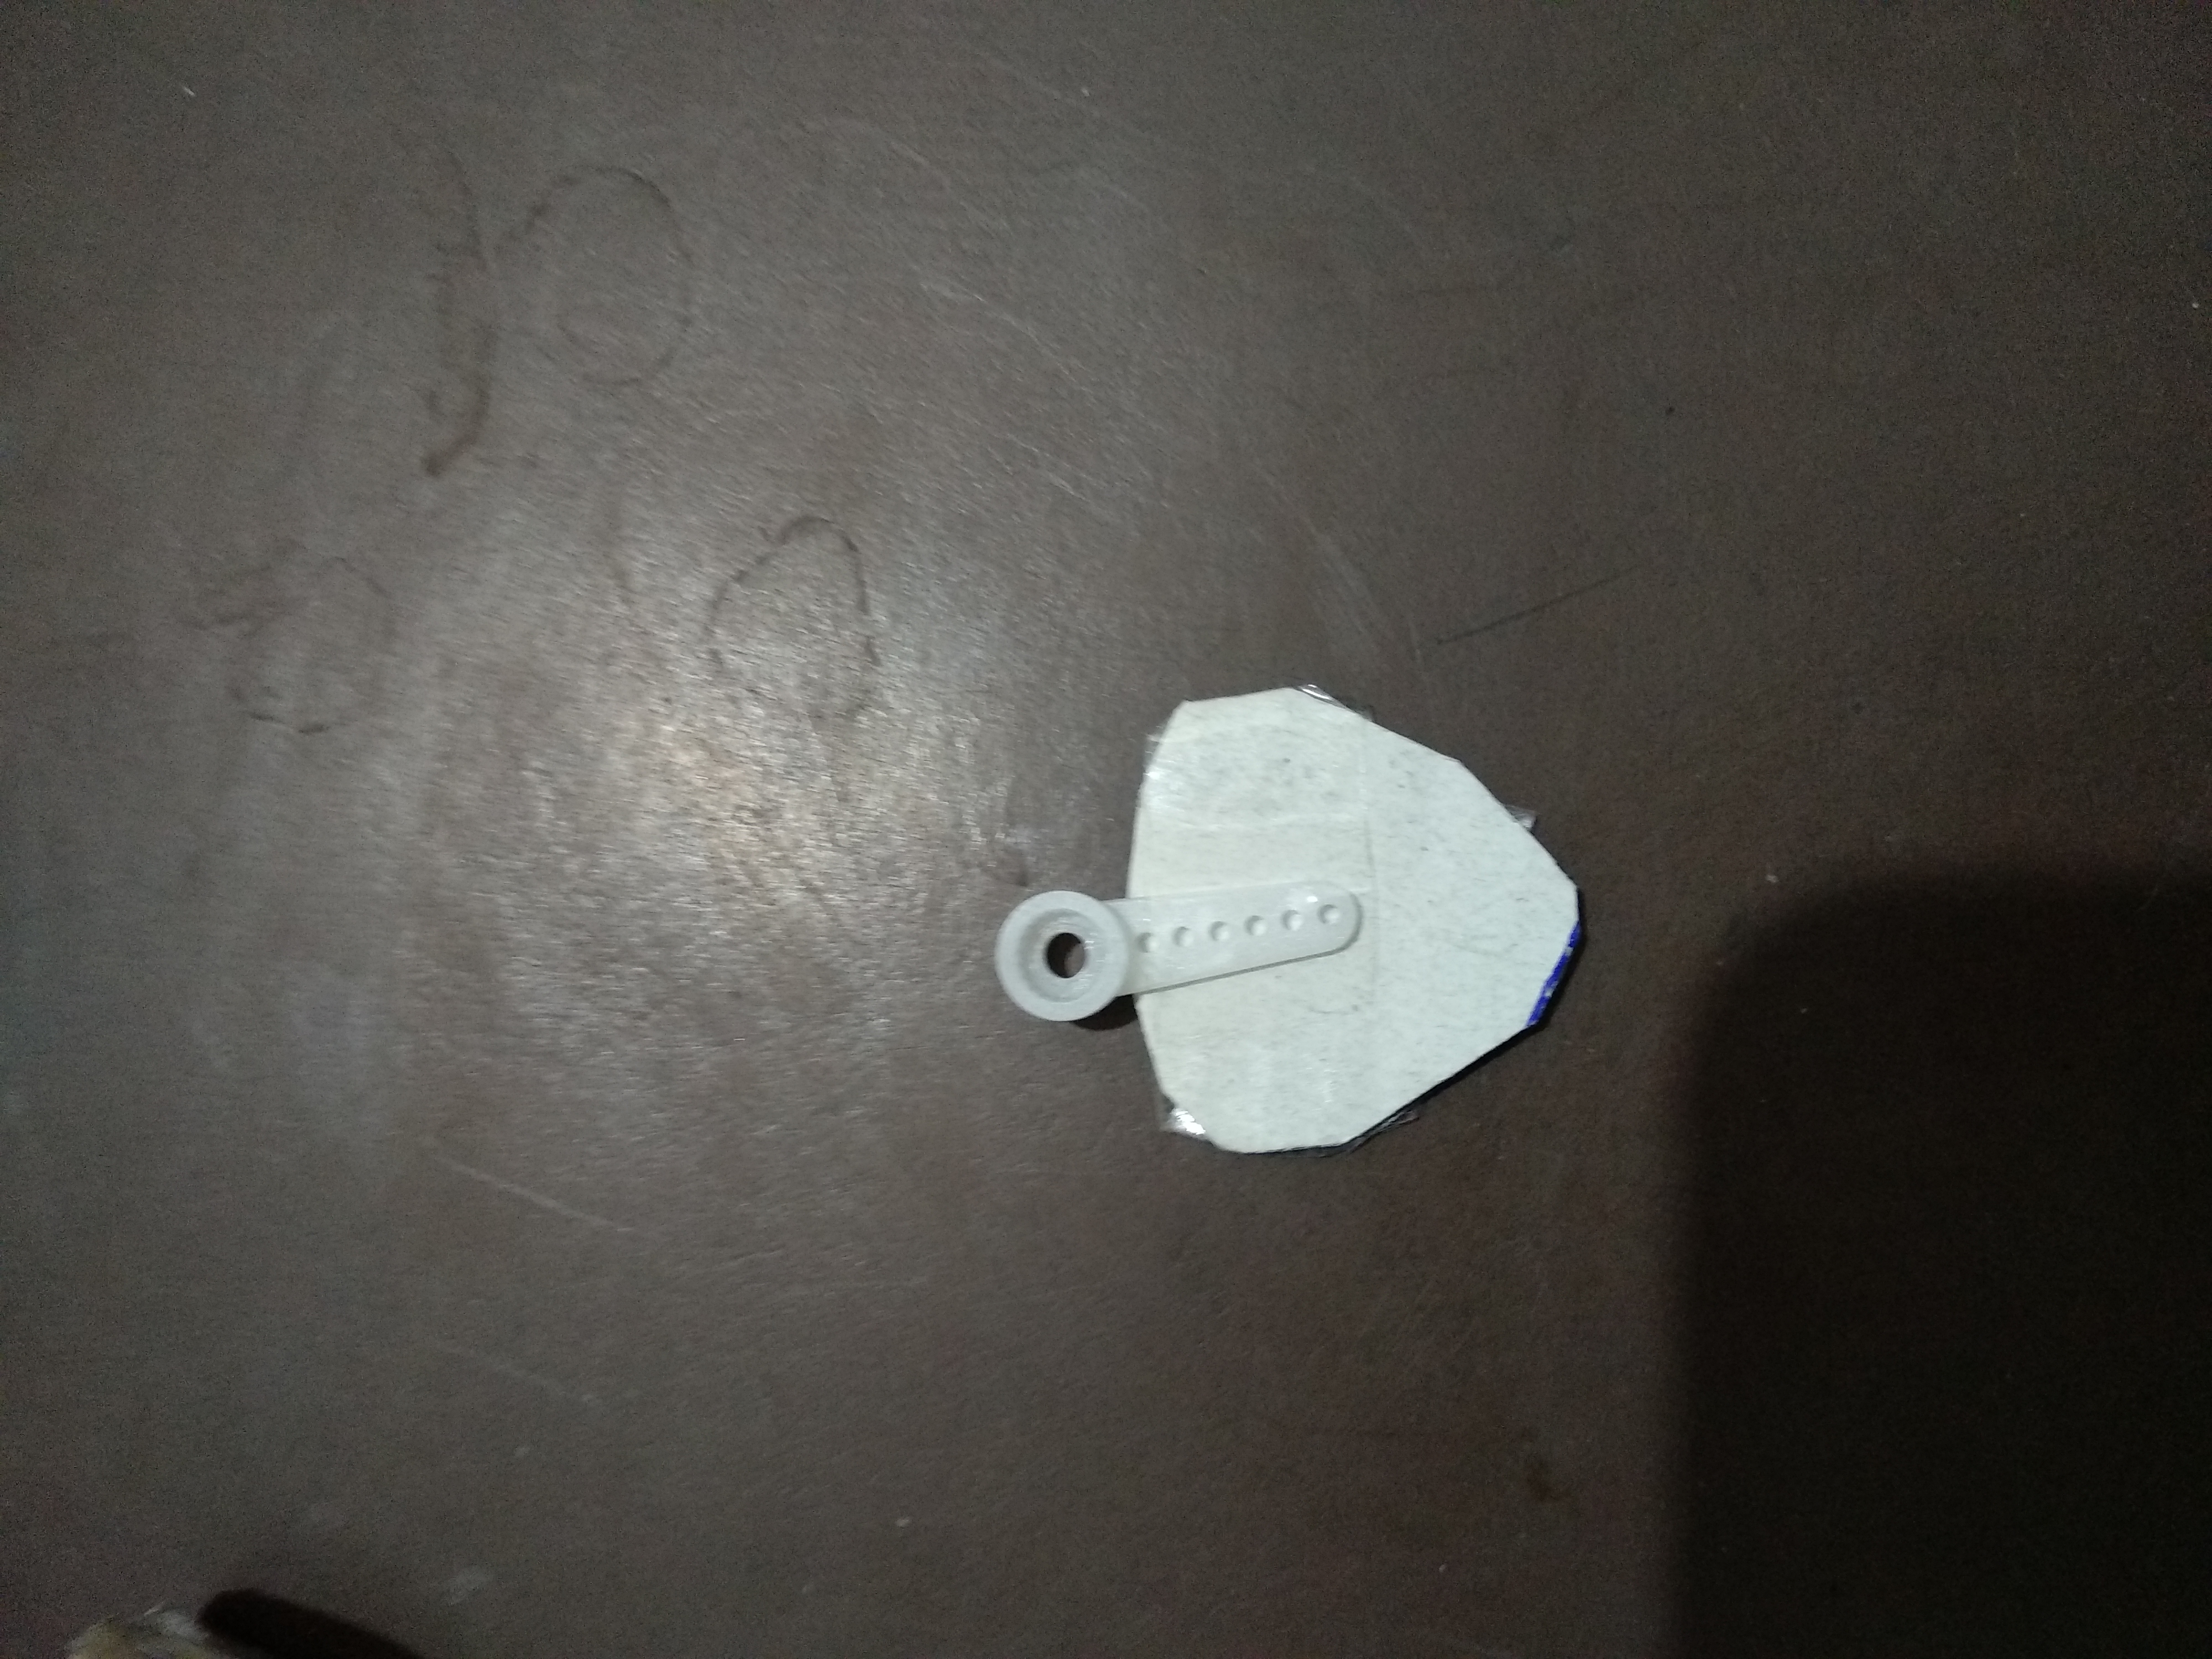
- Stick the cap on the servo motor dial
Paste the cap on the servo motor dial using some tape/glue.
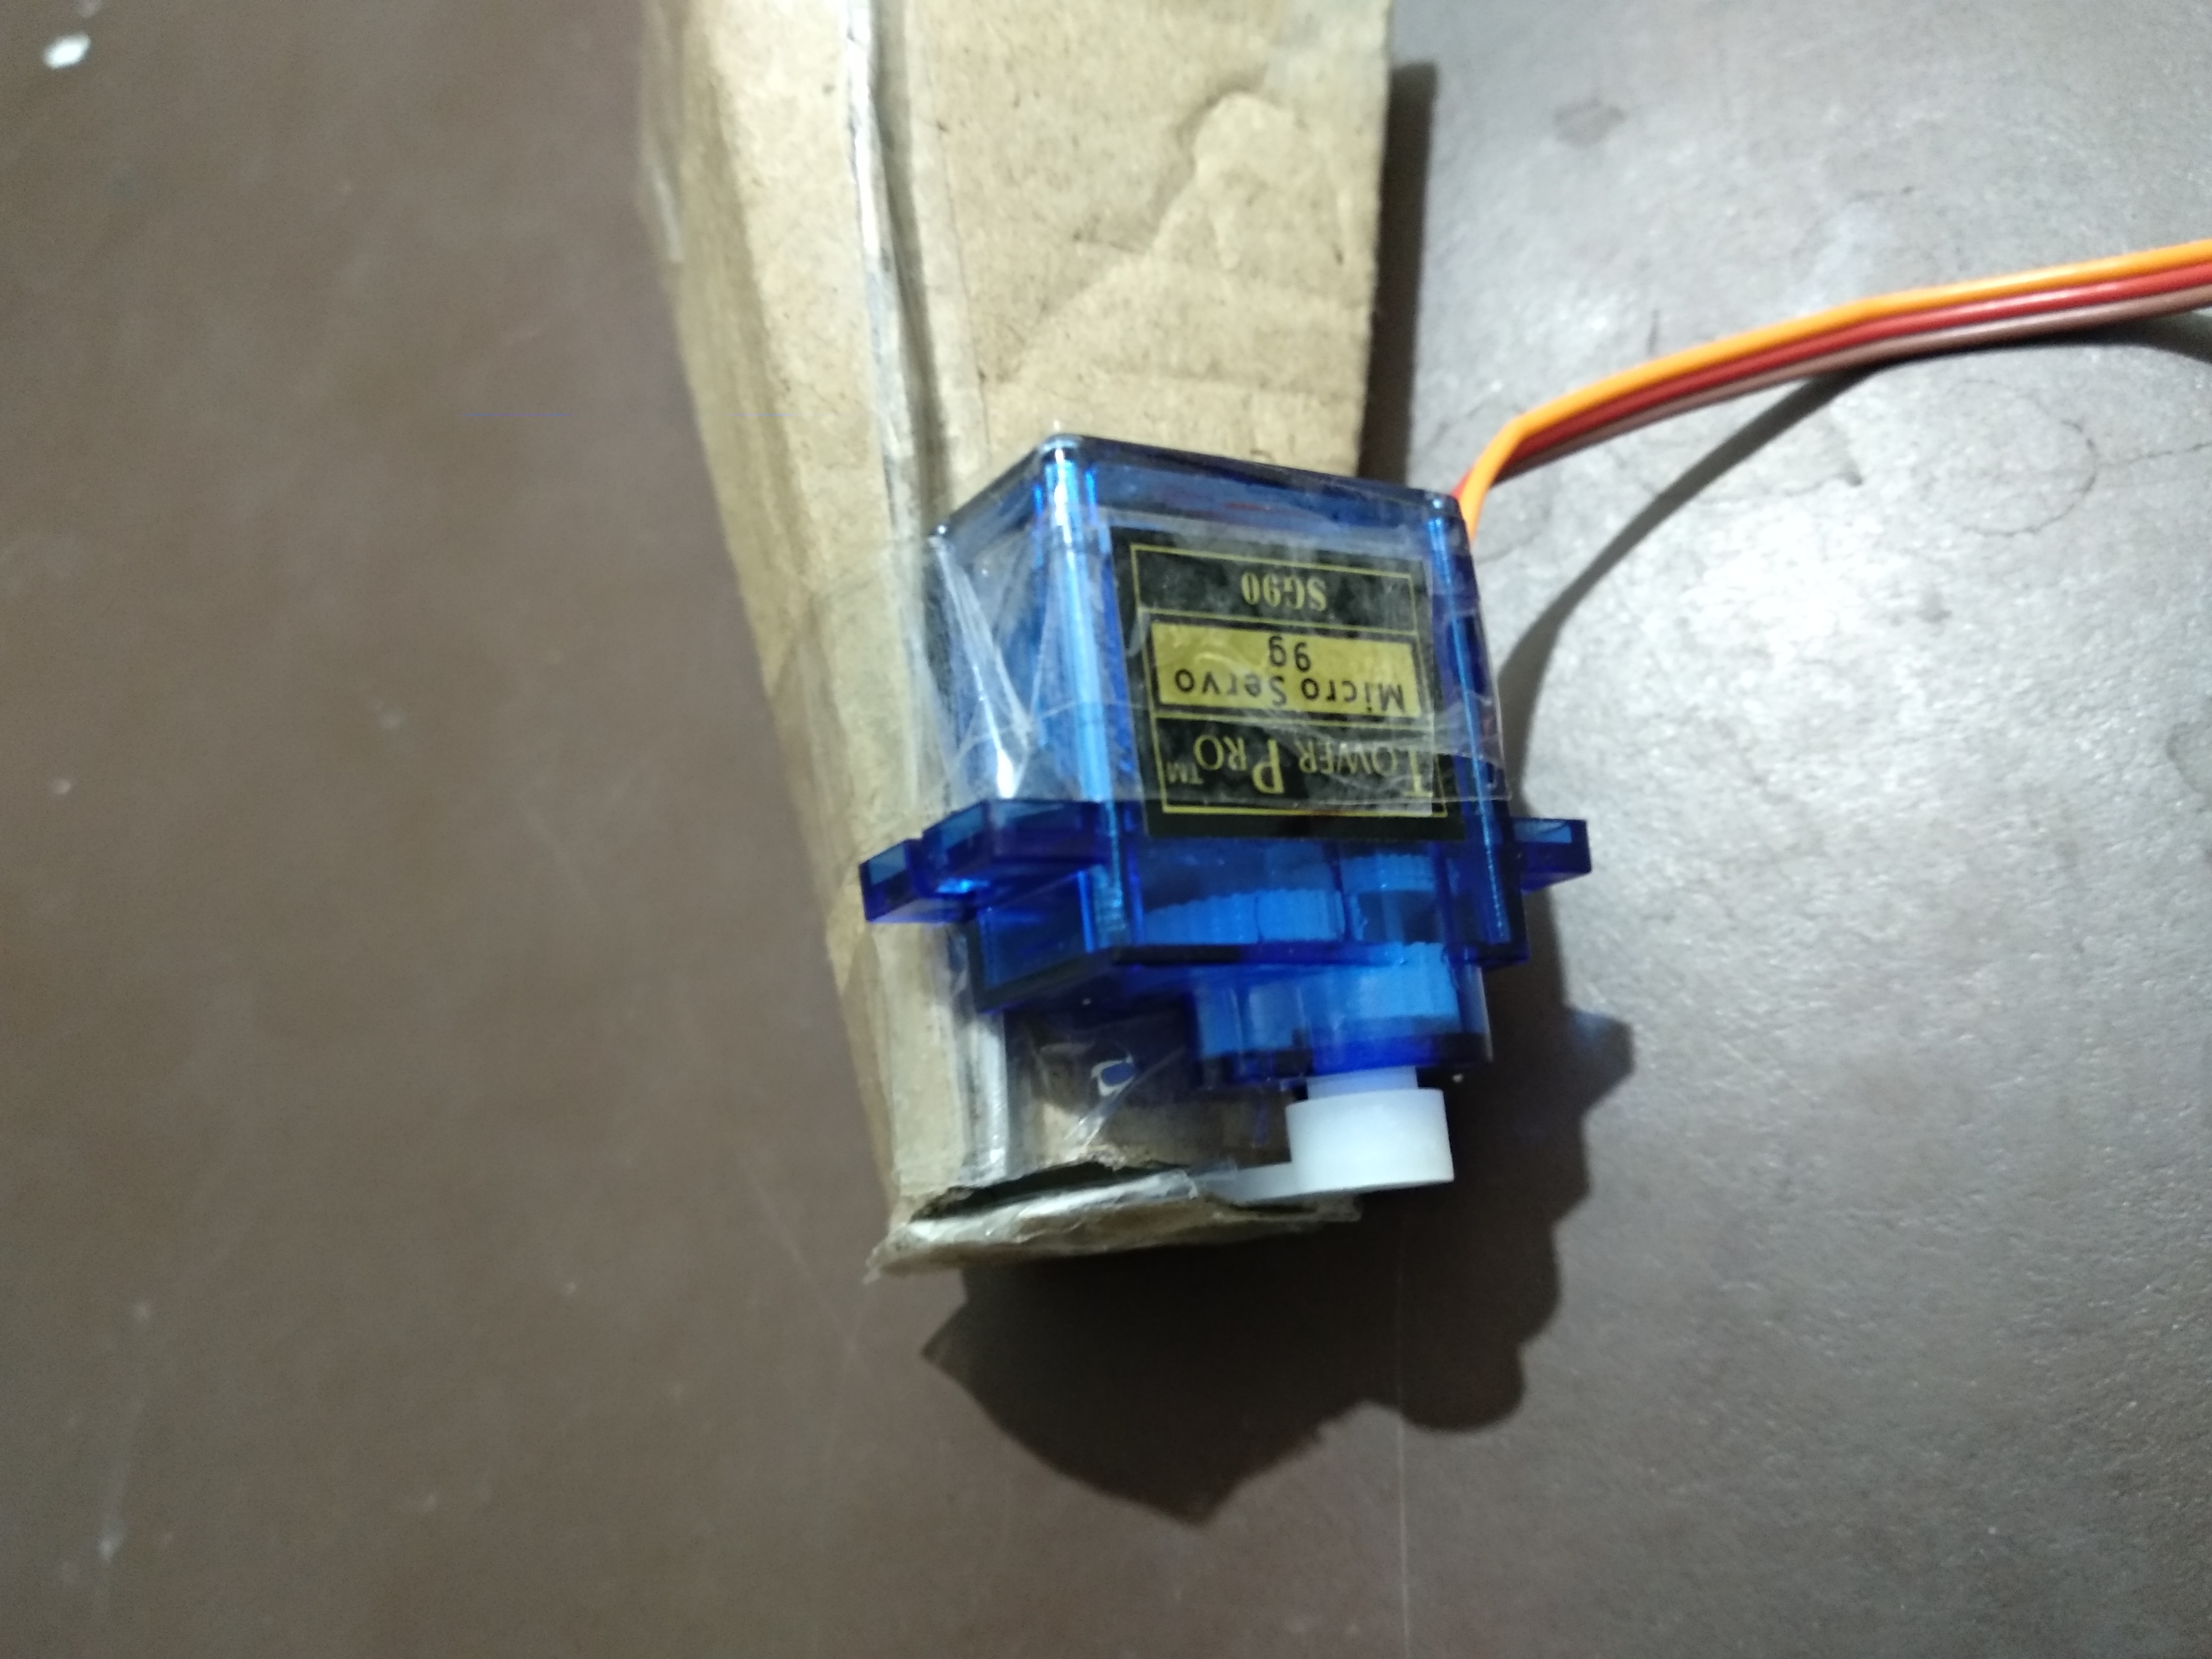
- Tape the servo motor on the container
Finally, tape the servo motor on the container, make sure it closes the mouth properly.
Create Firebase Database
.png)
.png)
.png)
.png)
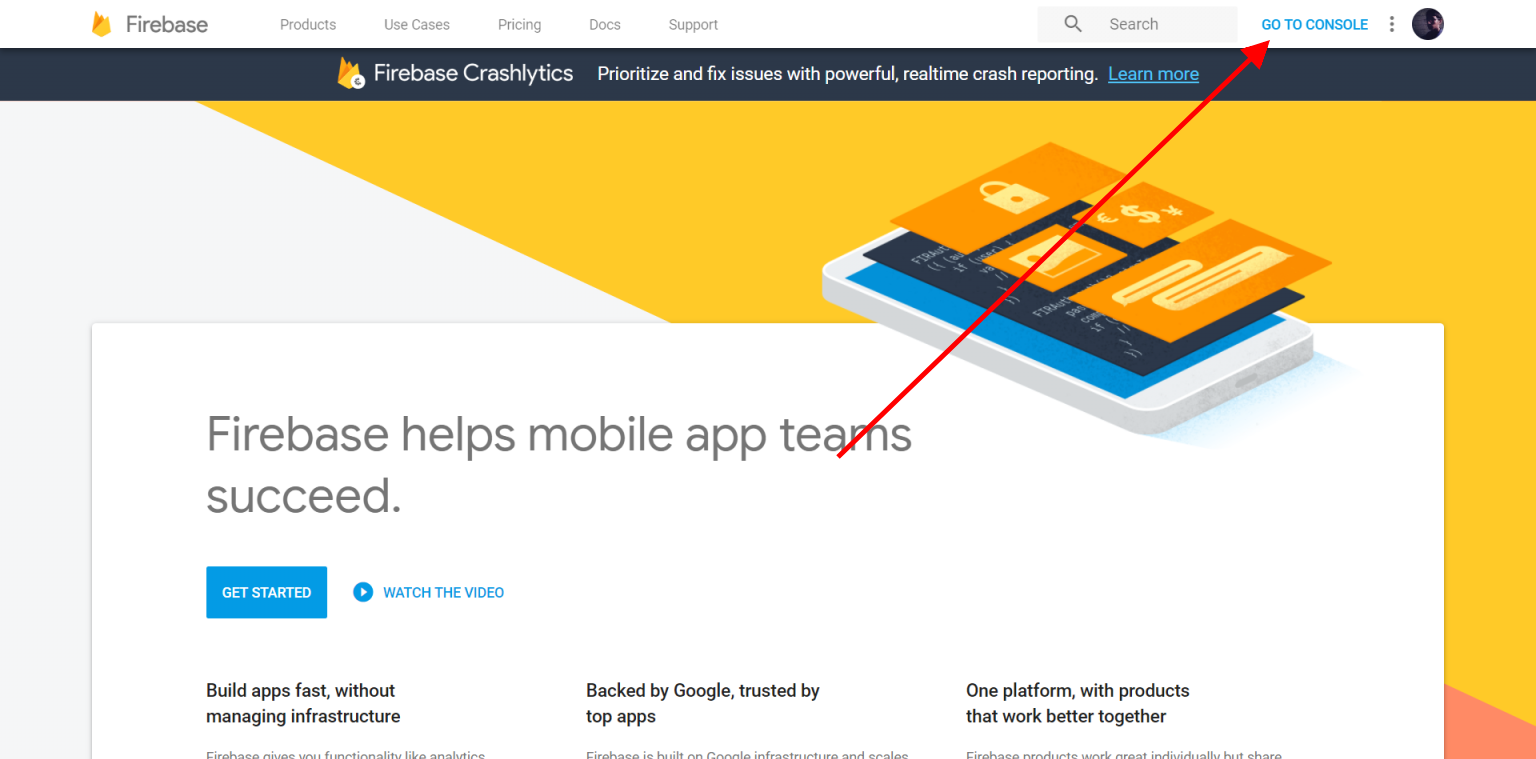
- Open firebase.
- Click on Go to Console.
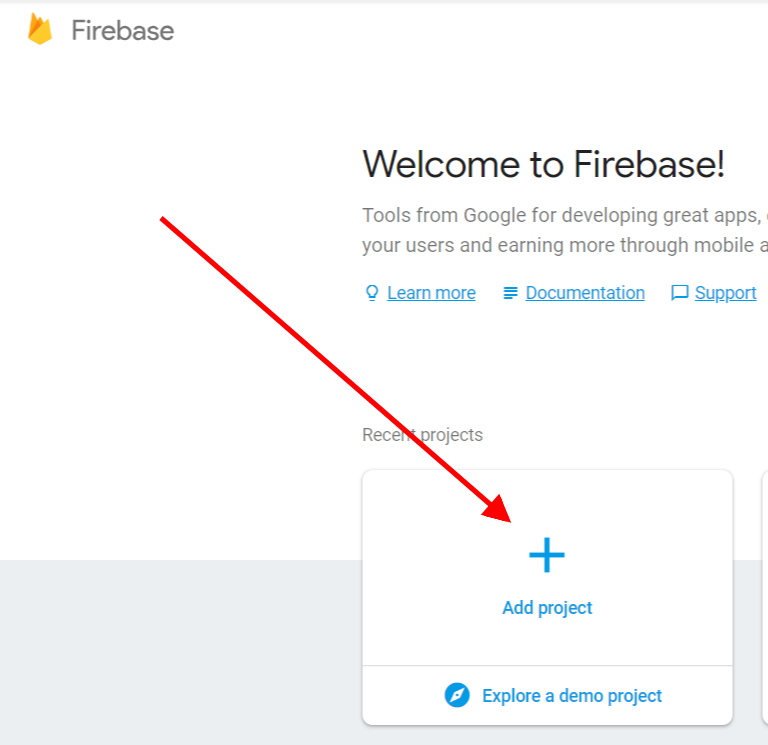
- Click on Add Project.
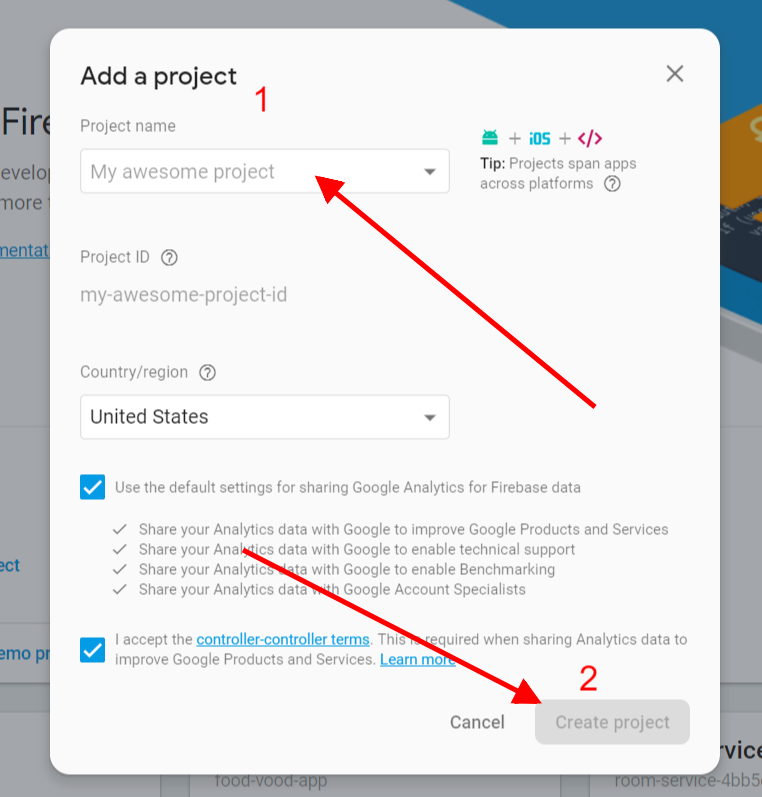
- Name your Project.
- Click on Create Project.
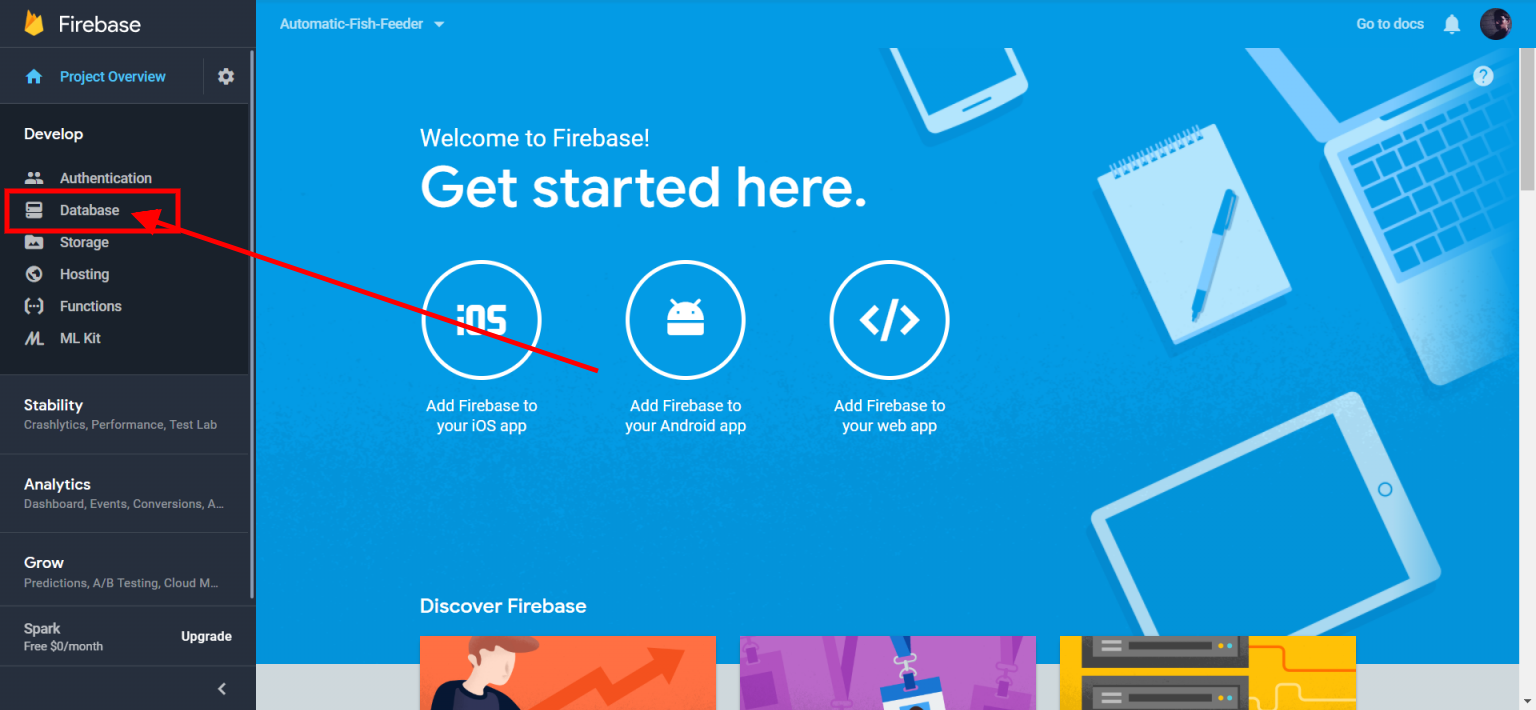
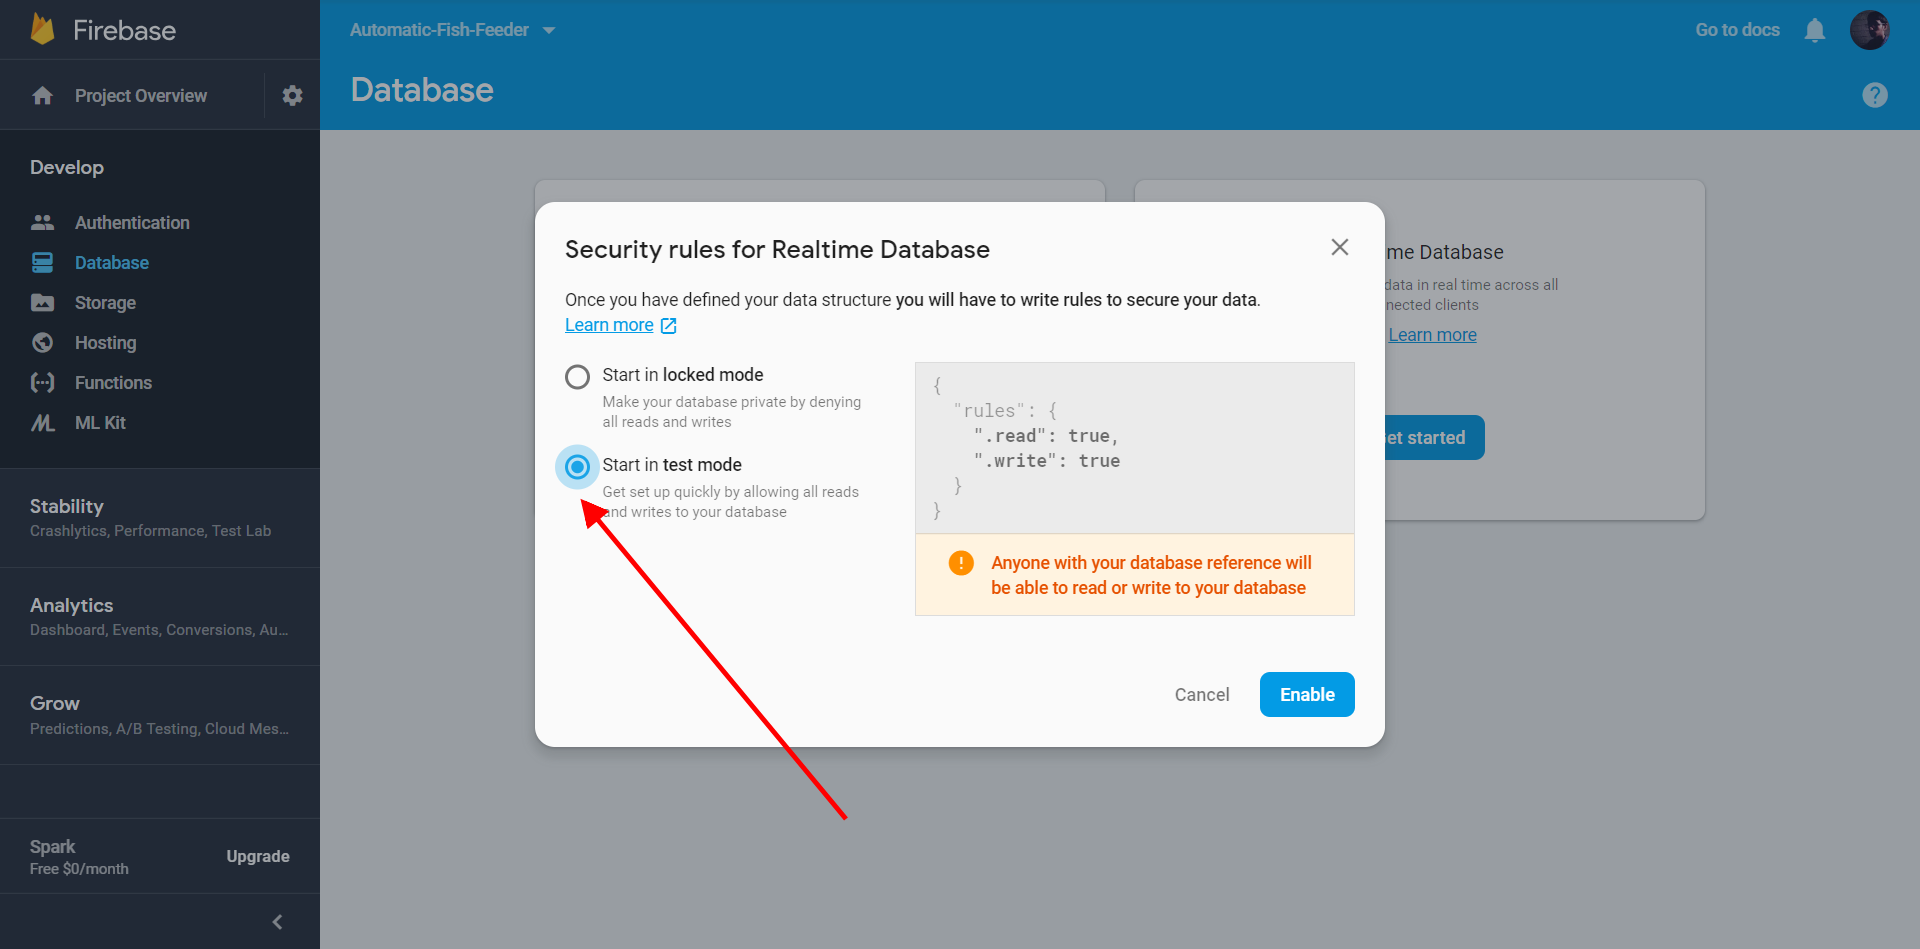
- Click on Database.
- Select Start in Test Mode.
- Note down your firebase id.
Create Alexa Skill
.png)
.png)
.png)
.png)
.png)
.png)
.png)
.png)
.png)
.png)
.png)
.png)
.png)
.png)
.png)
.png)
.png)
.png)
.png)
.png)
.png)
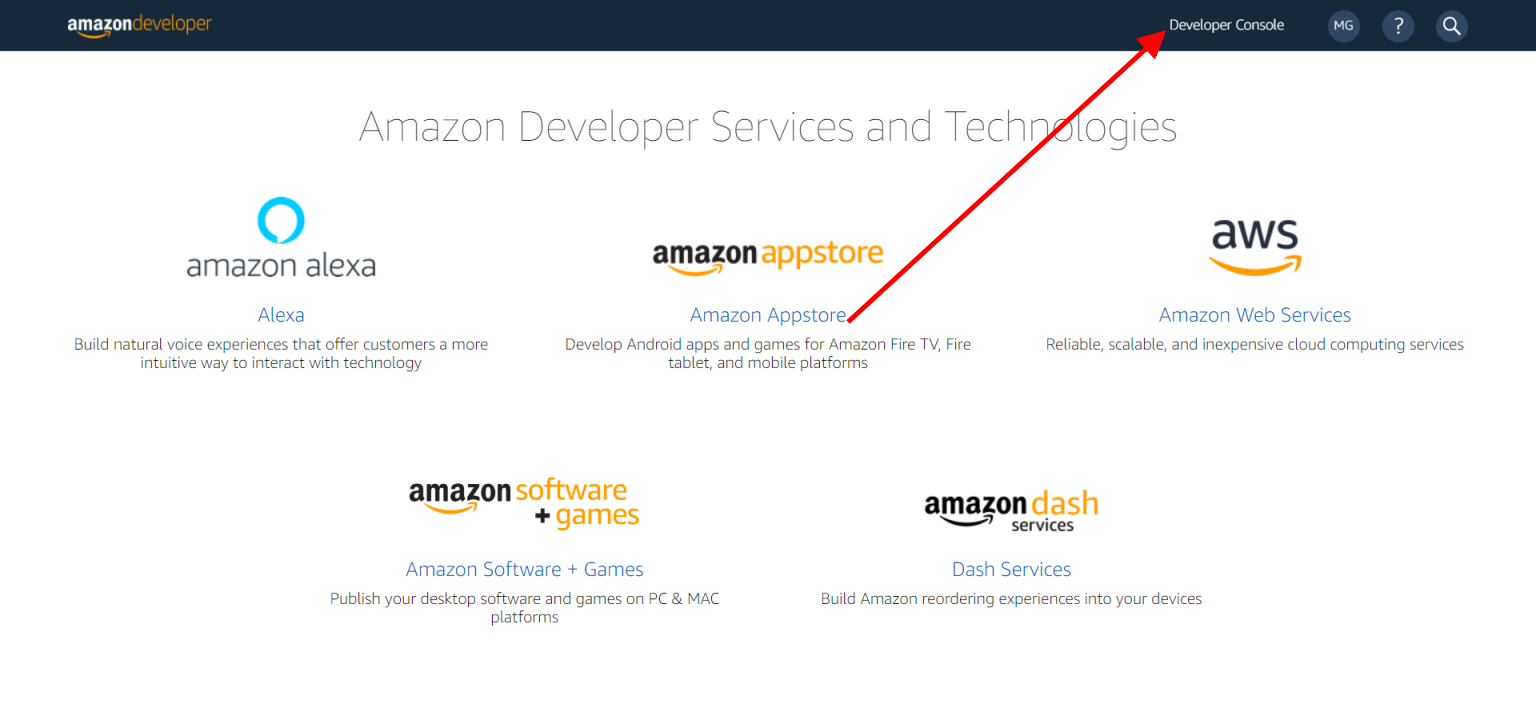
- Visit developer.amazon.com.
- Log in with your amazon credentials.
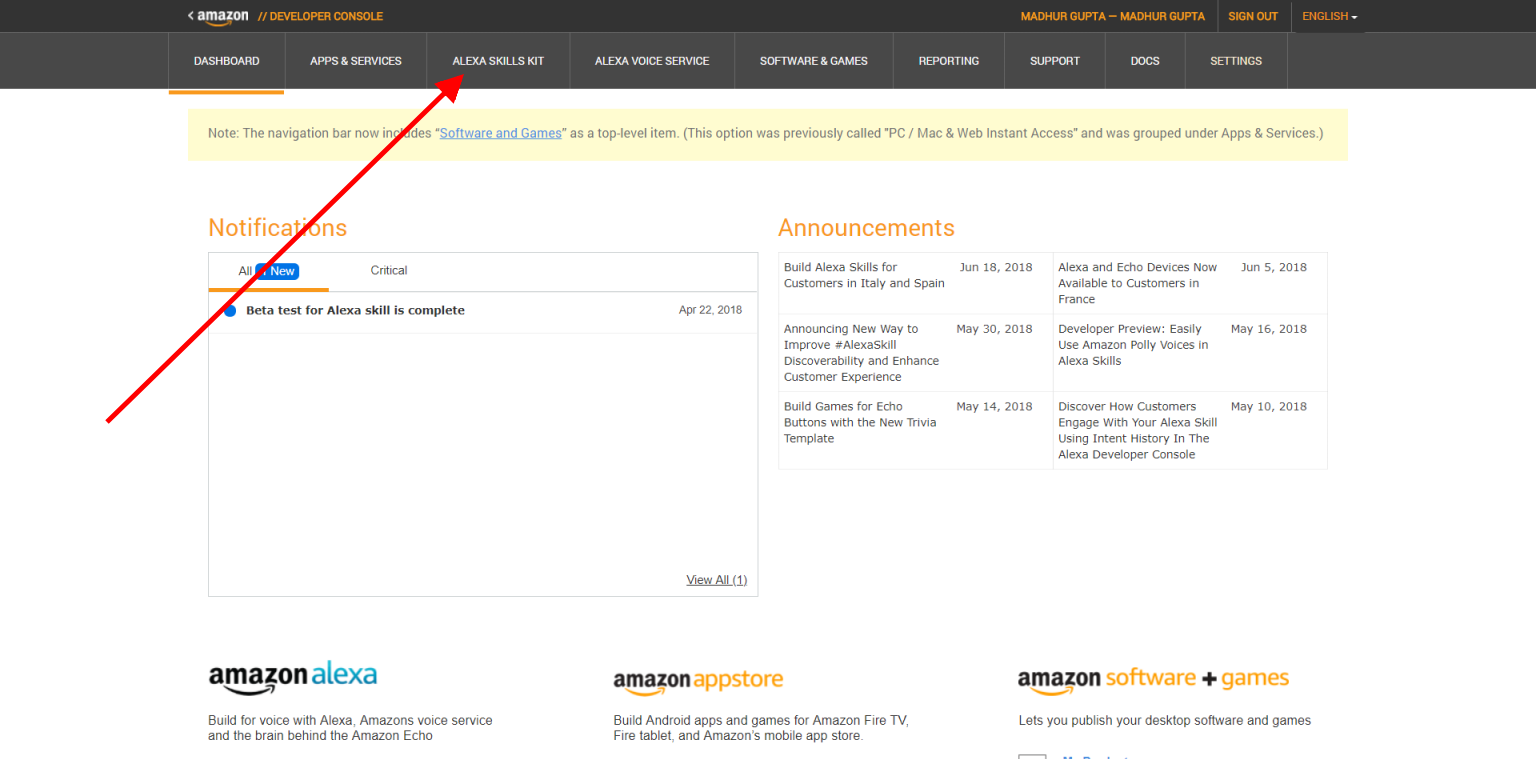
- Click on Developer Console.
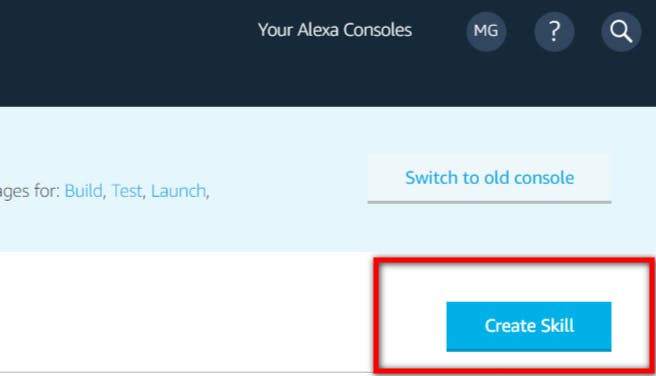
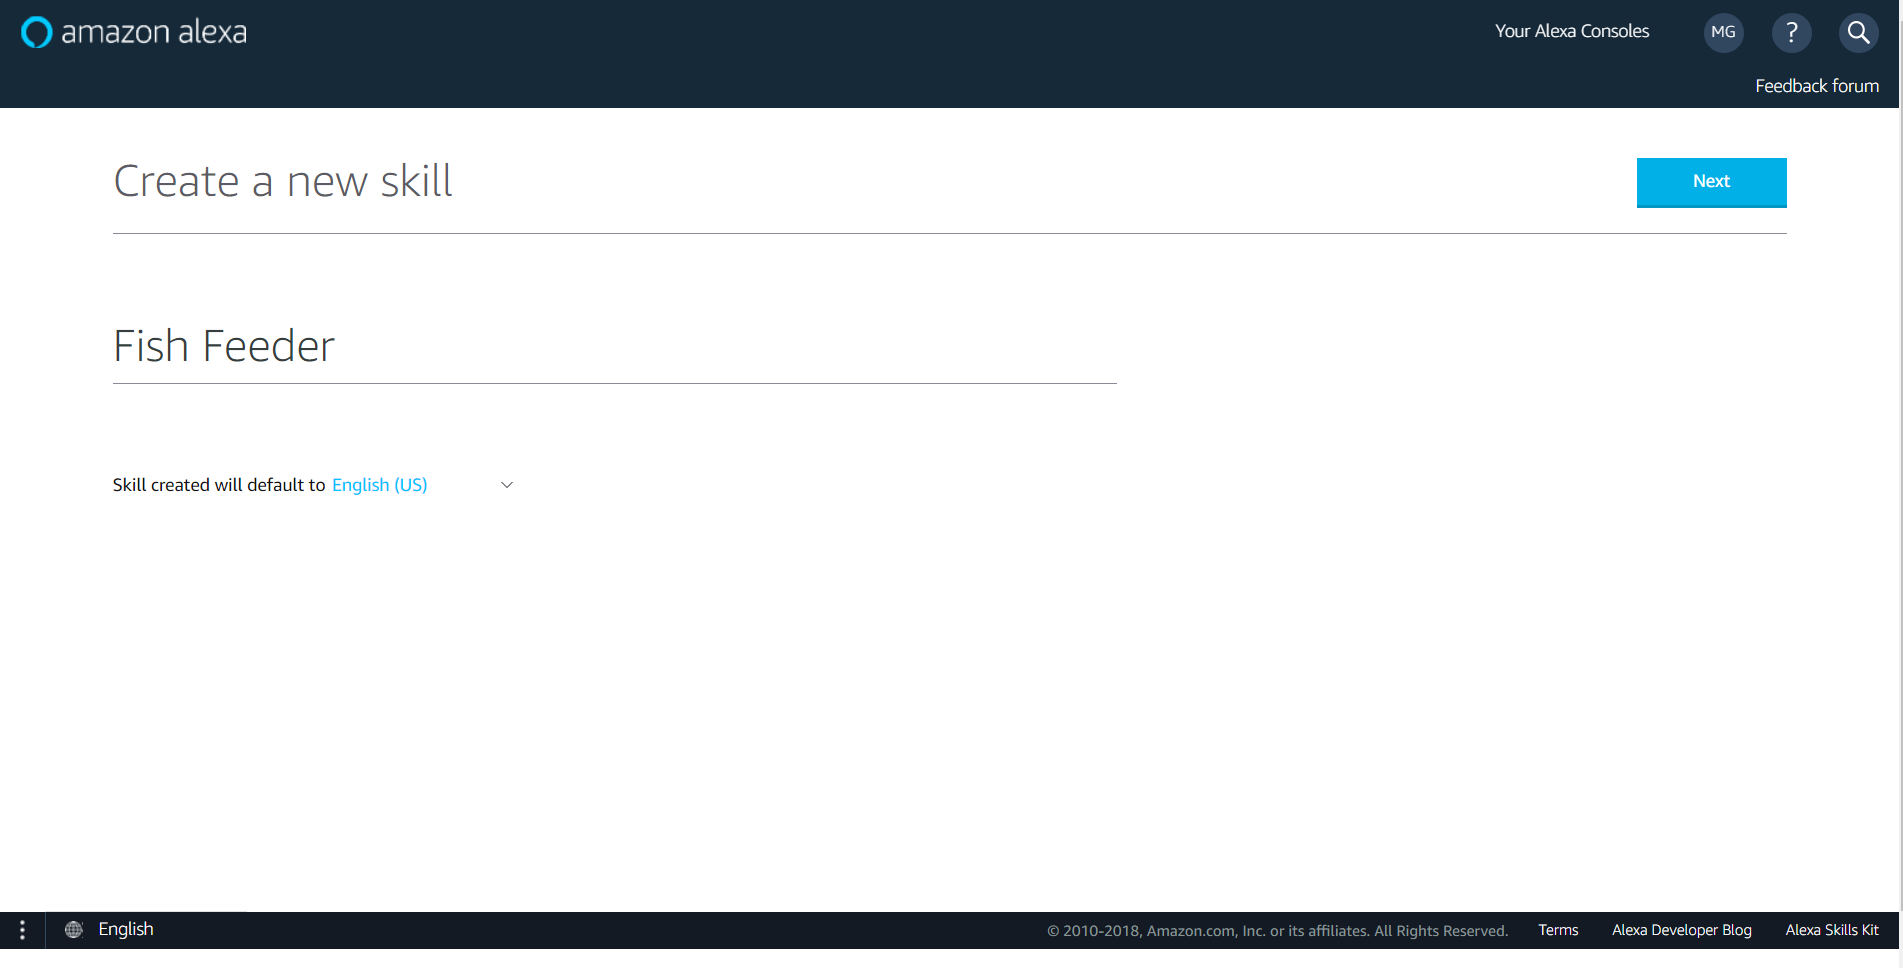
- Click on Create Skill.
- Name the Skill.
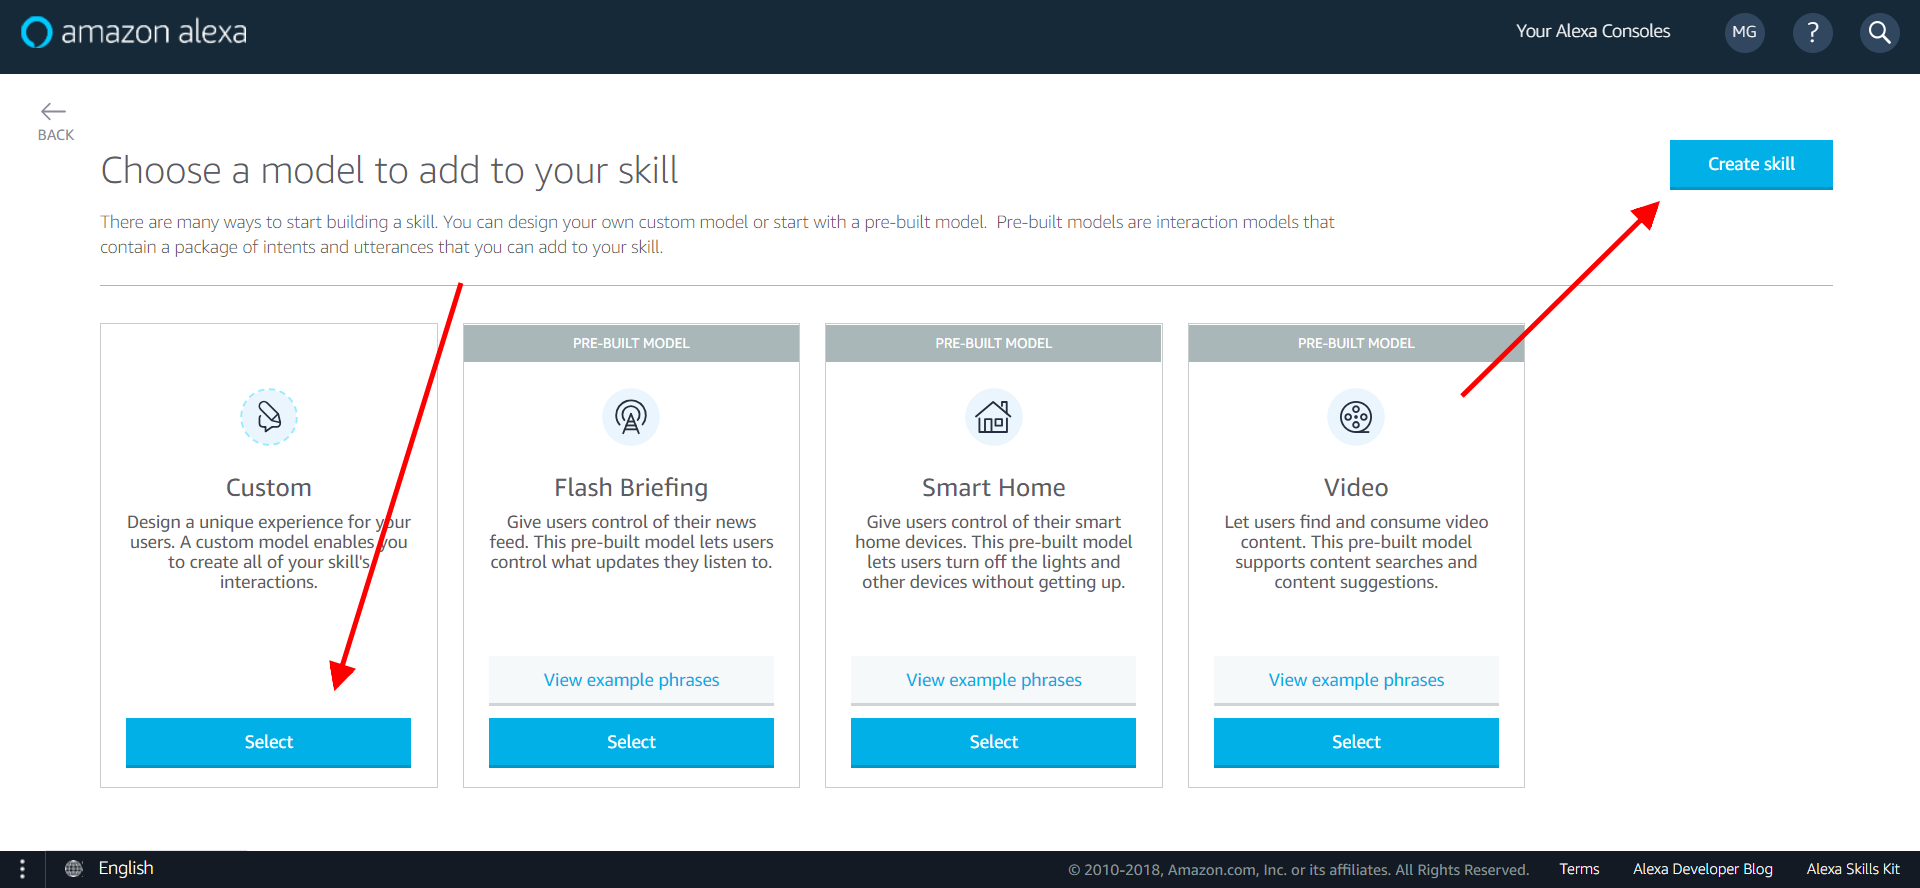
- Click on Select (Custom Skill) and then Create Skill.
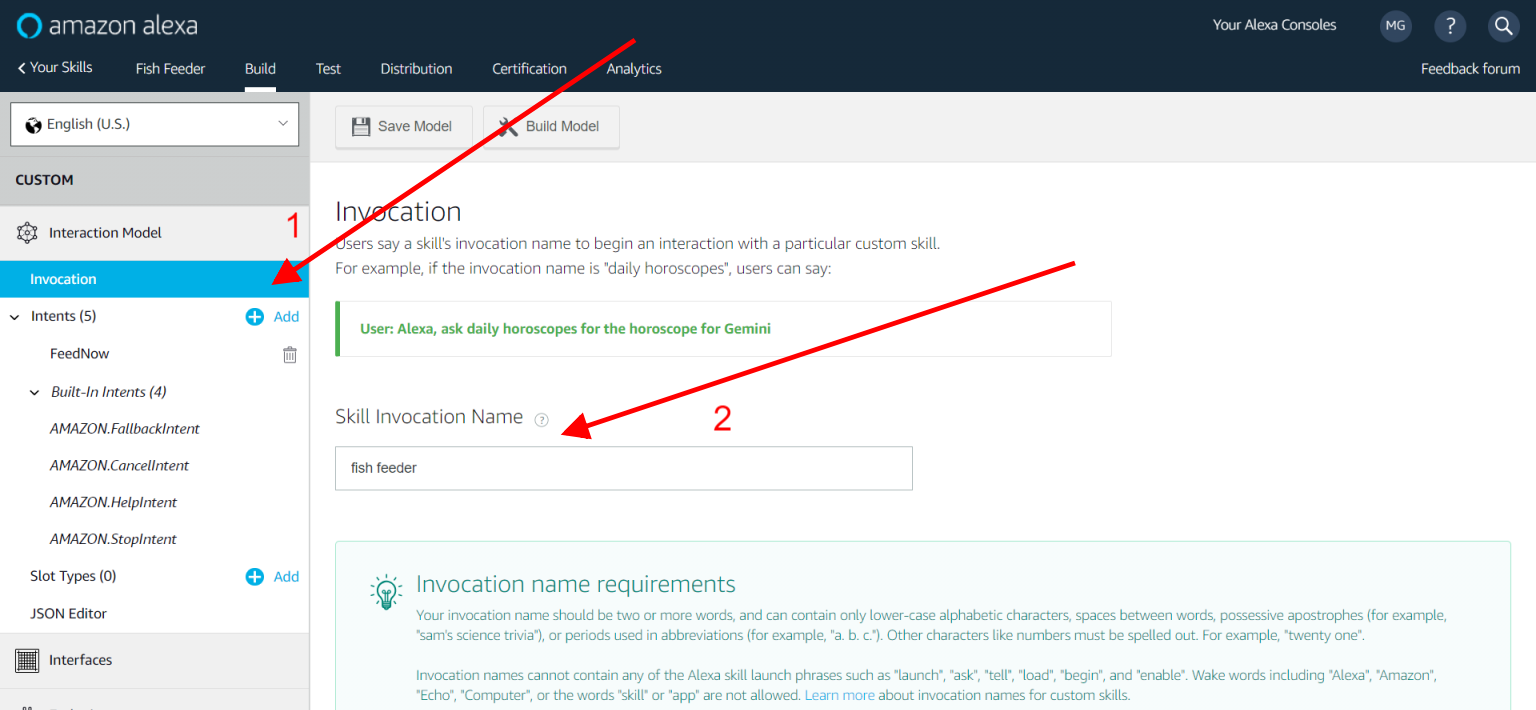
- Click on Invocation Tab and fill invocation name as fish feeder.
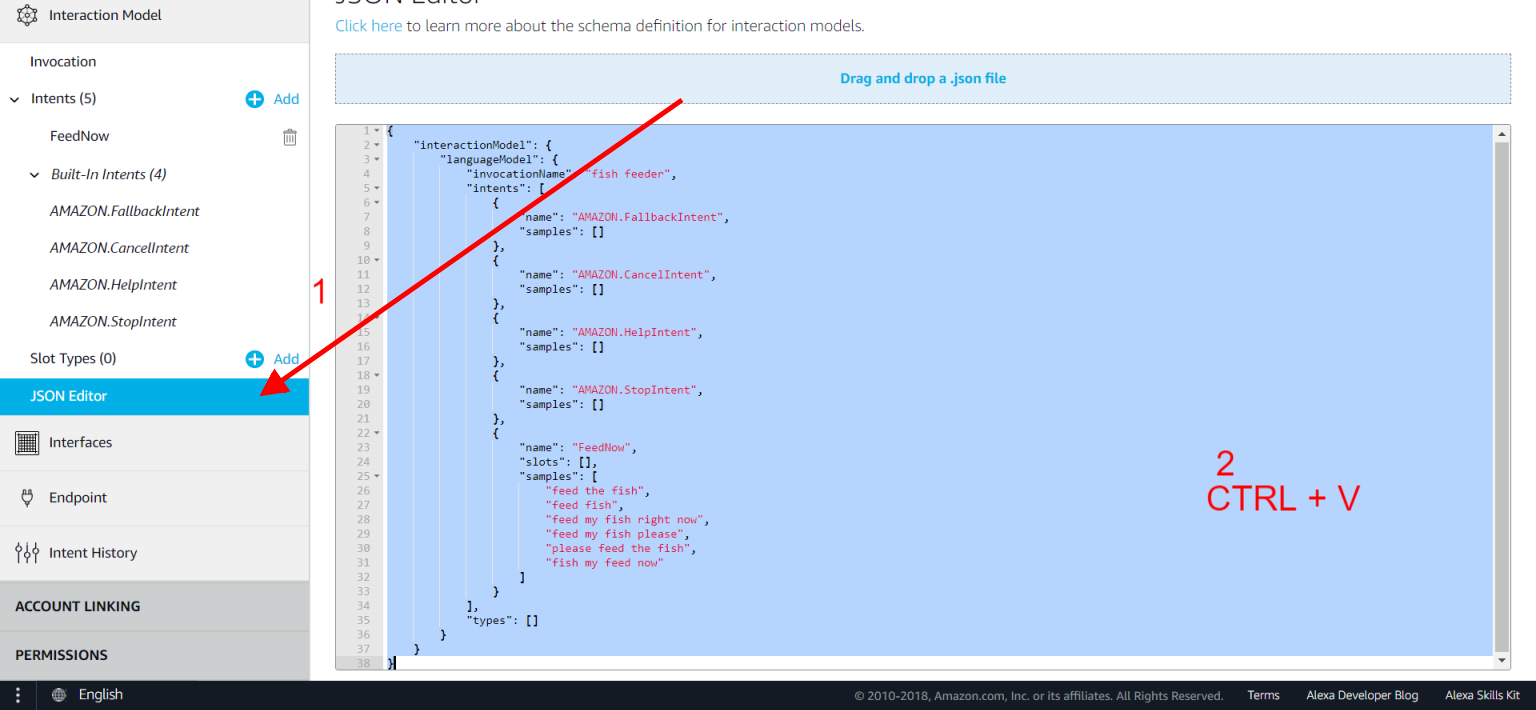
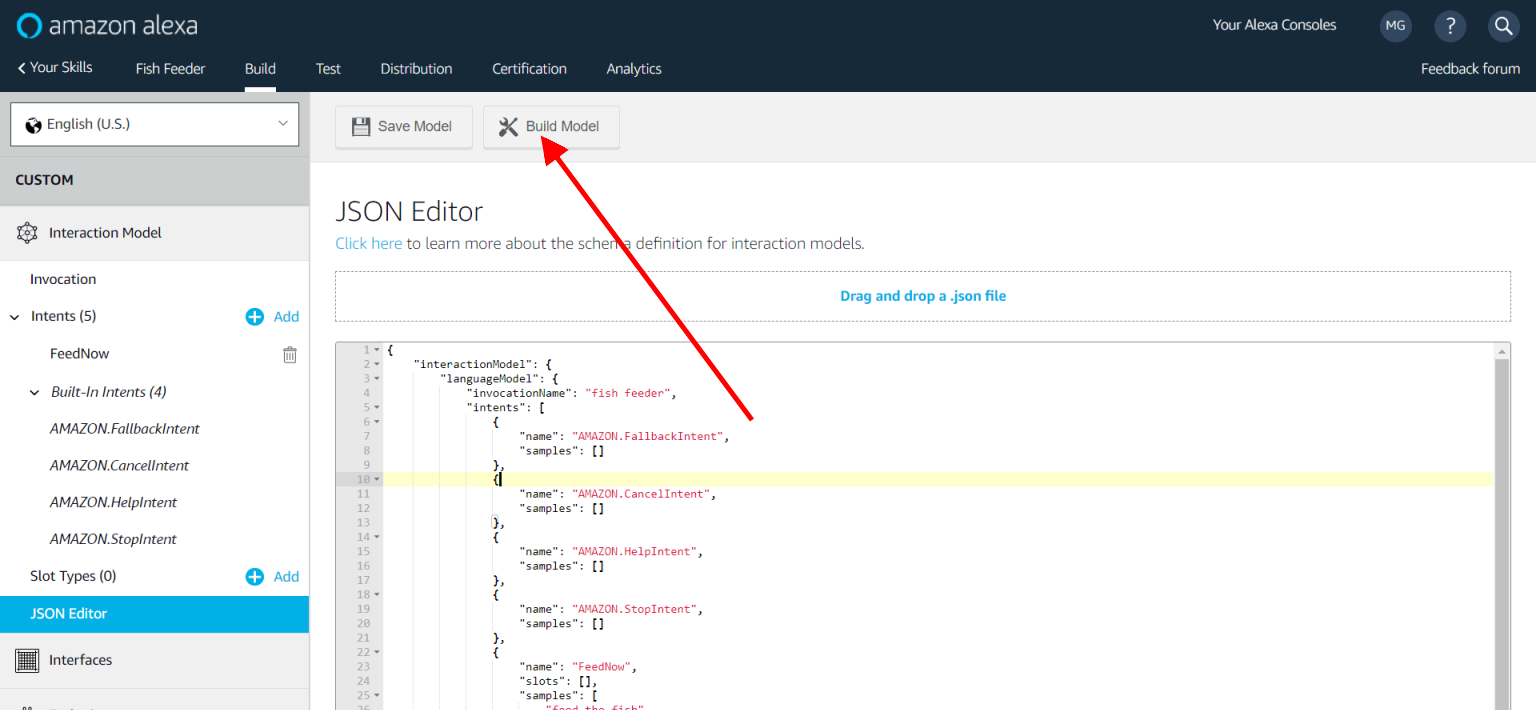
- Click on JSON Editor Tab and Paste the code below (look at the end).
- Click on Build Model.
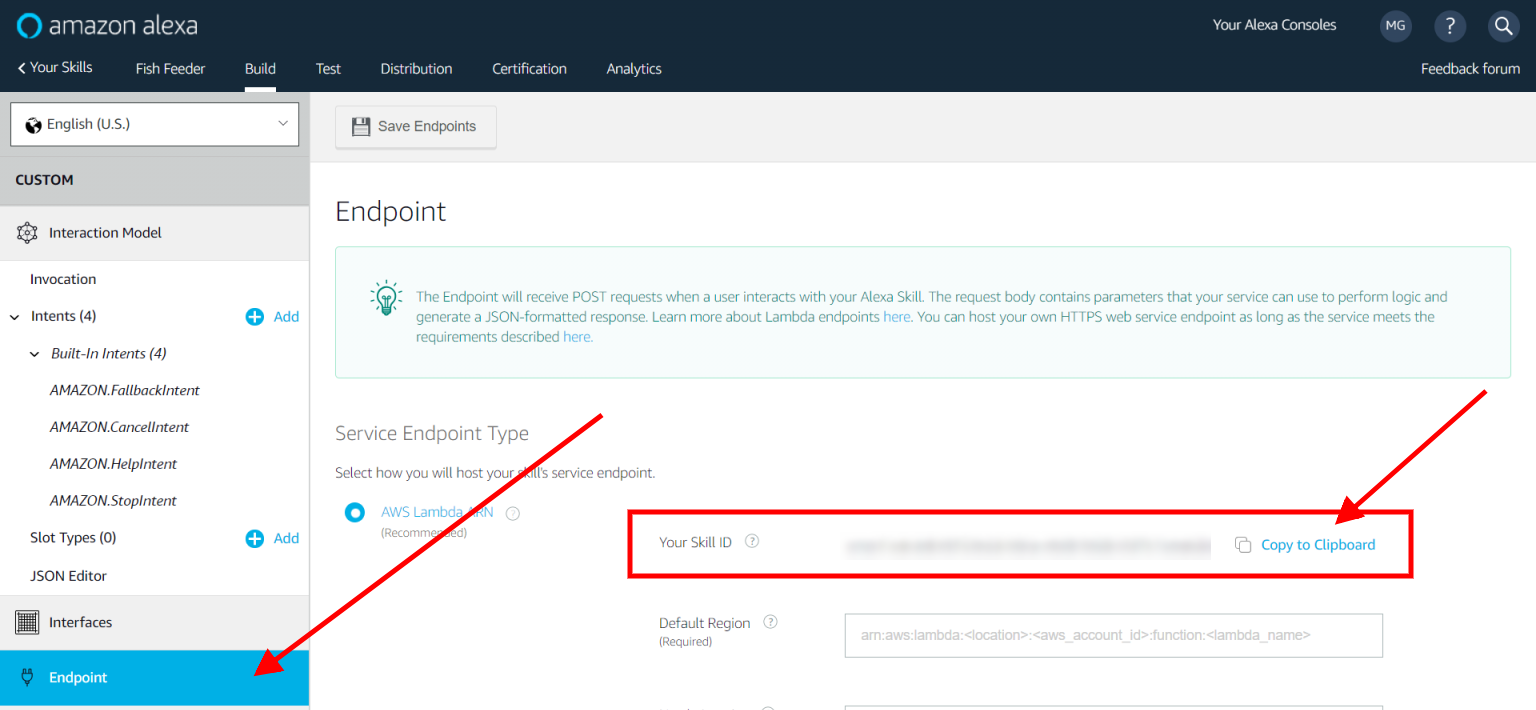
- Click on Endpoint Tab.
- Copy your Skill Id.
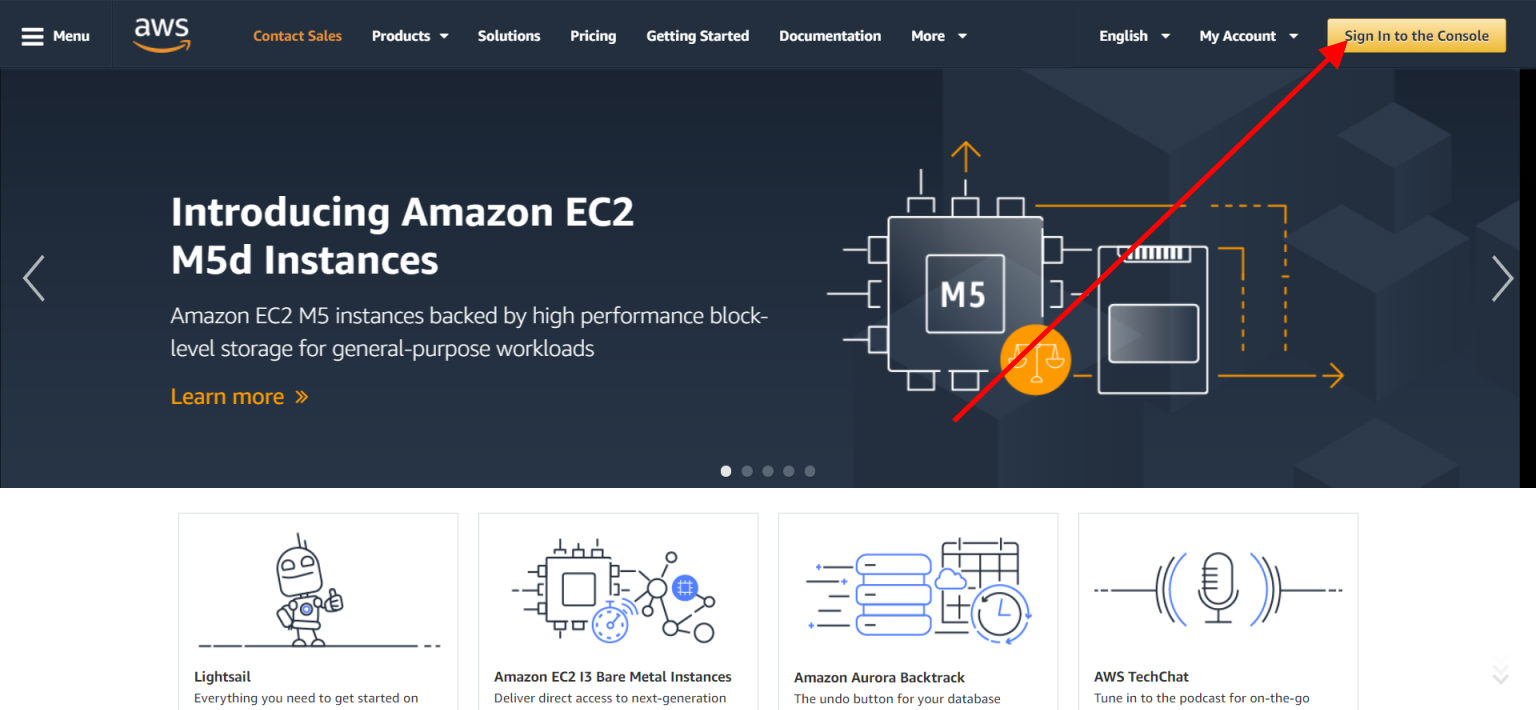
- Visit aws.amazon.com. (in new tab)
- Click on Sign in to console.
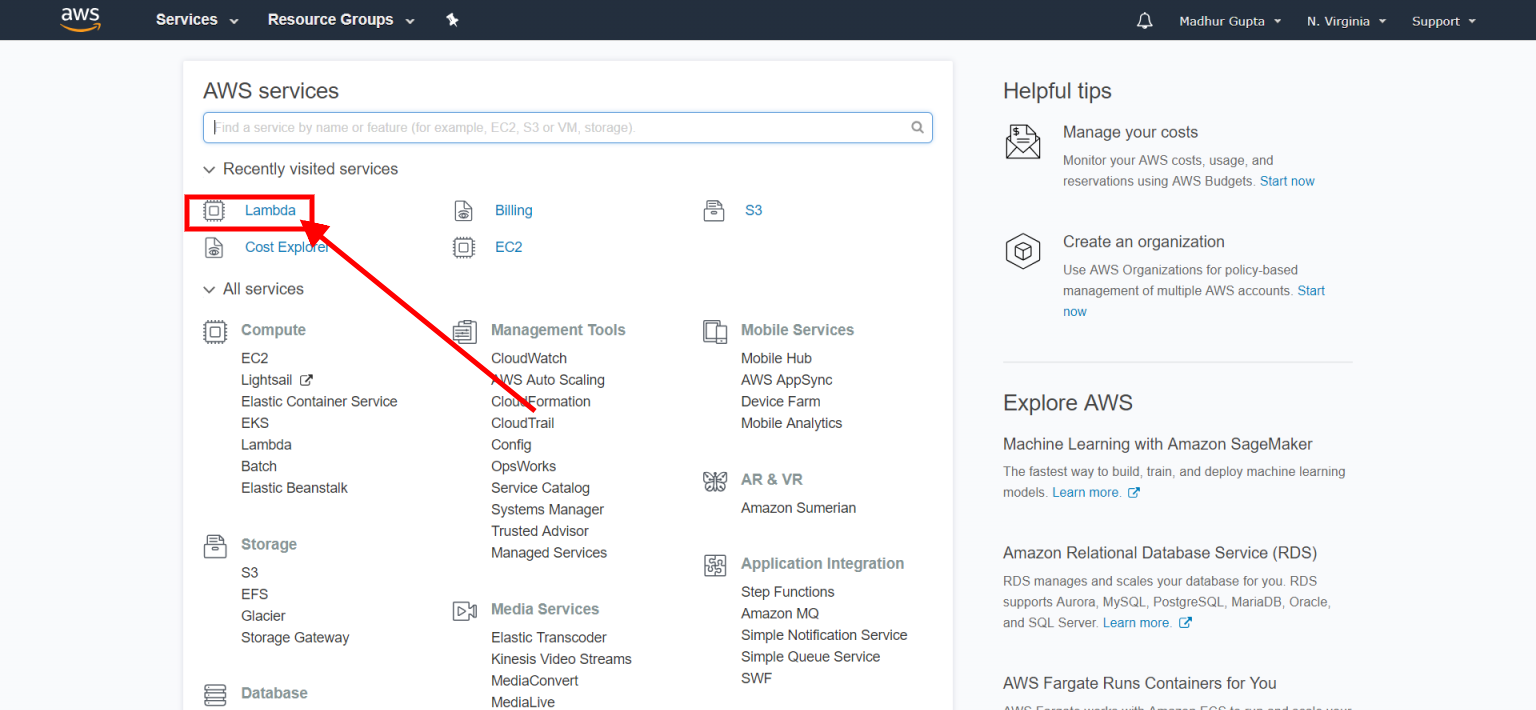
- Click on Lambda (search, if not on front page).
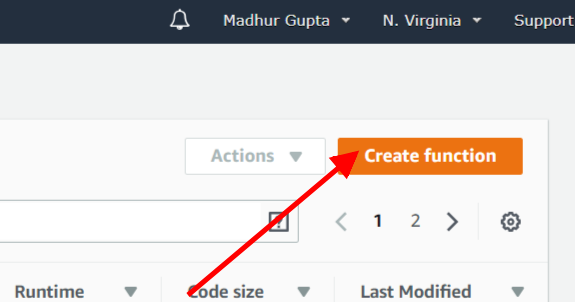
- Click on Create Function.
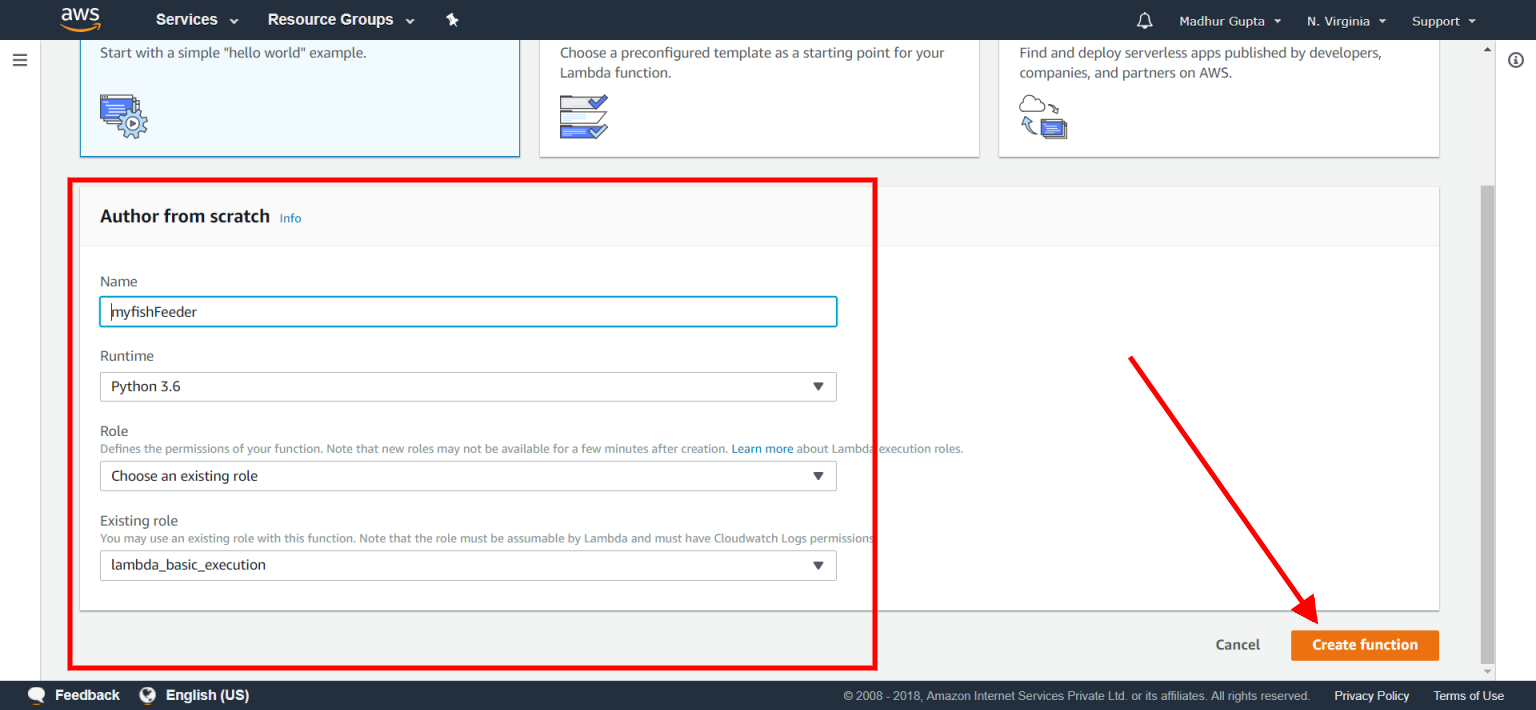
- Fill the details (check out the pic).
- Click on Create Function.
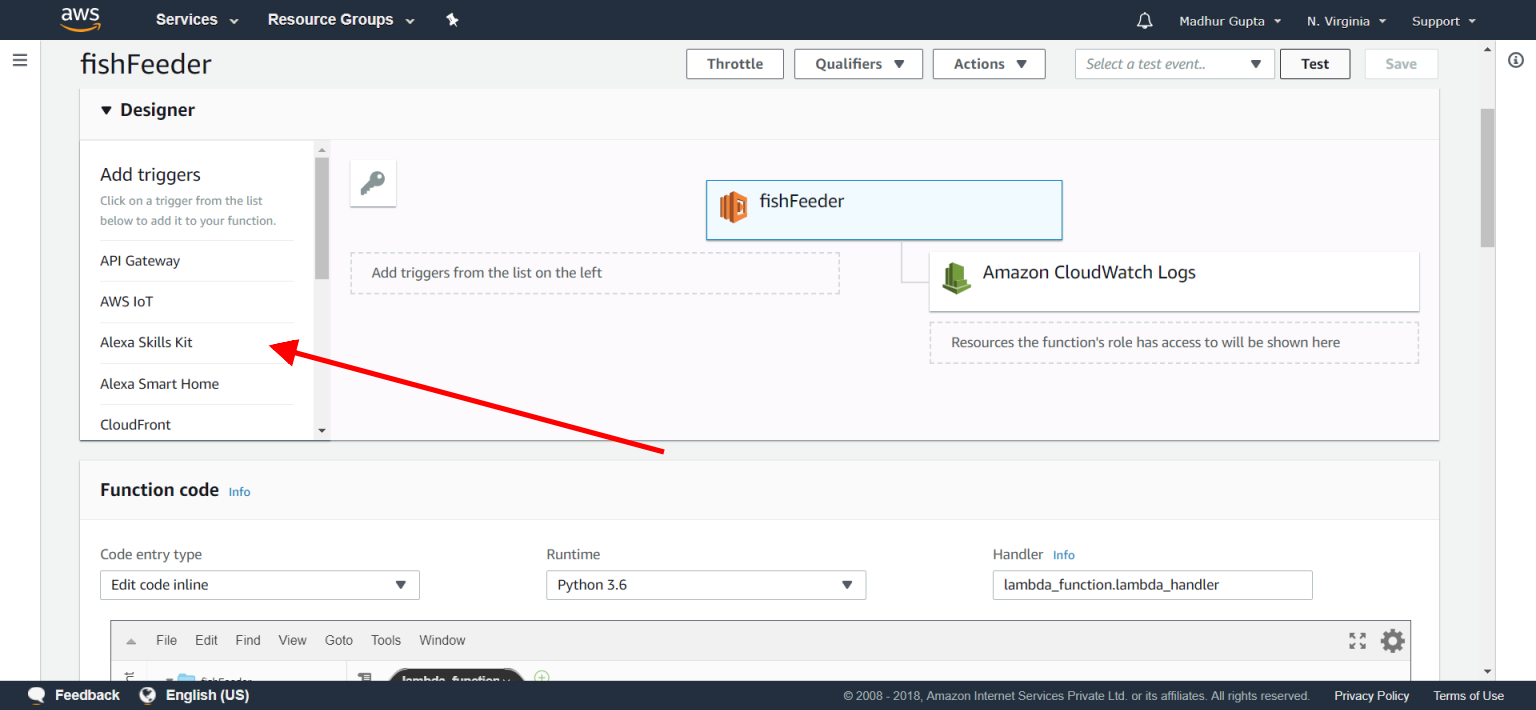
- Click on Alexa Skill Kit.
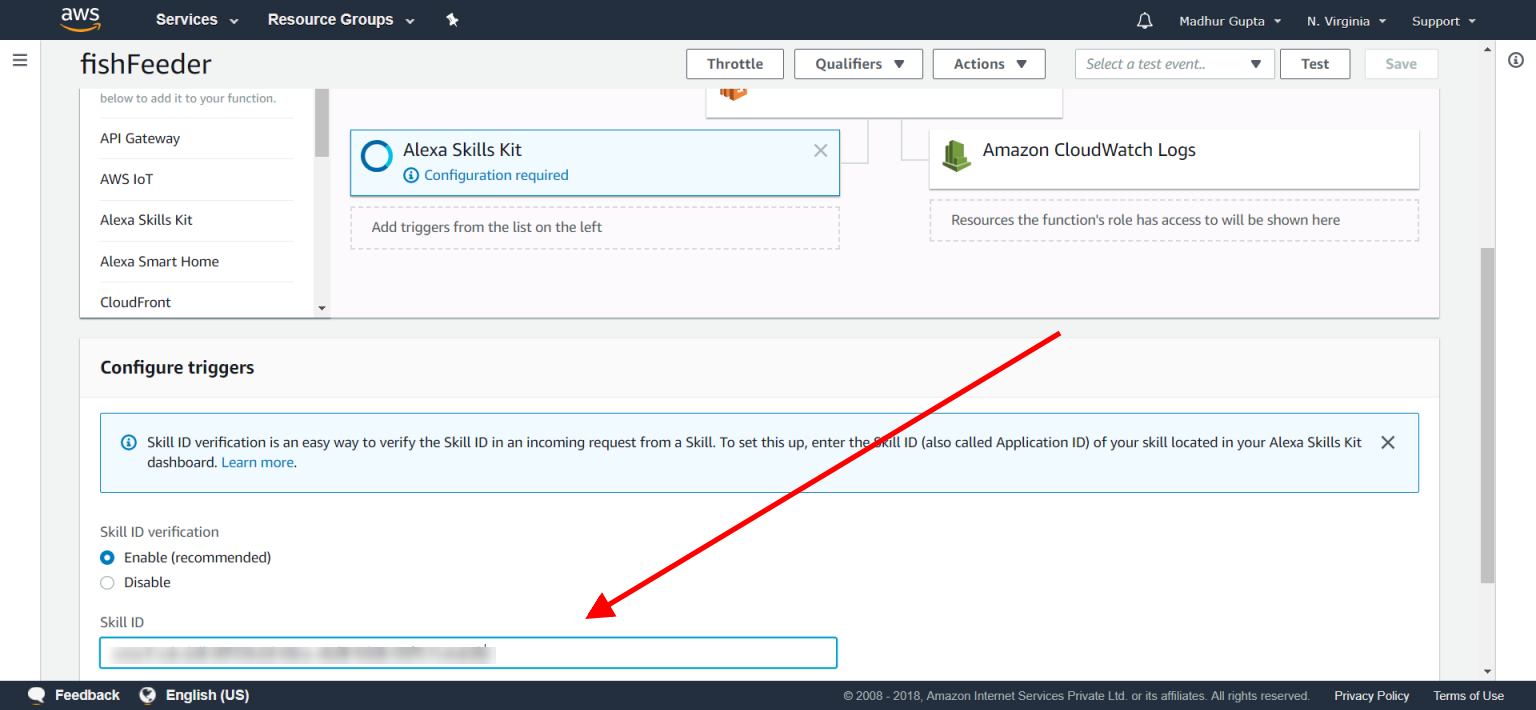
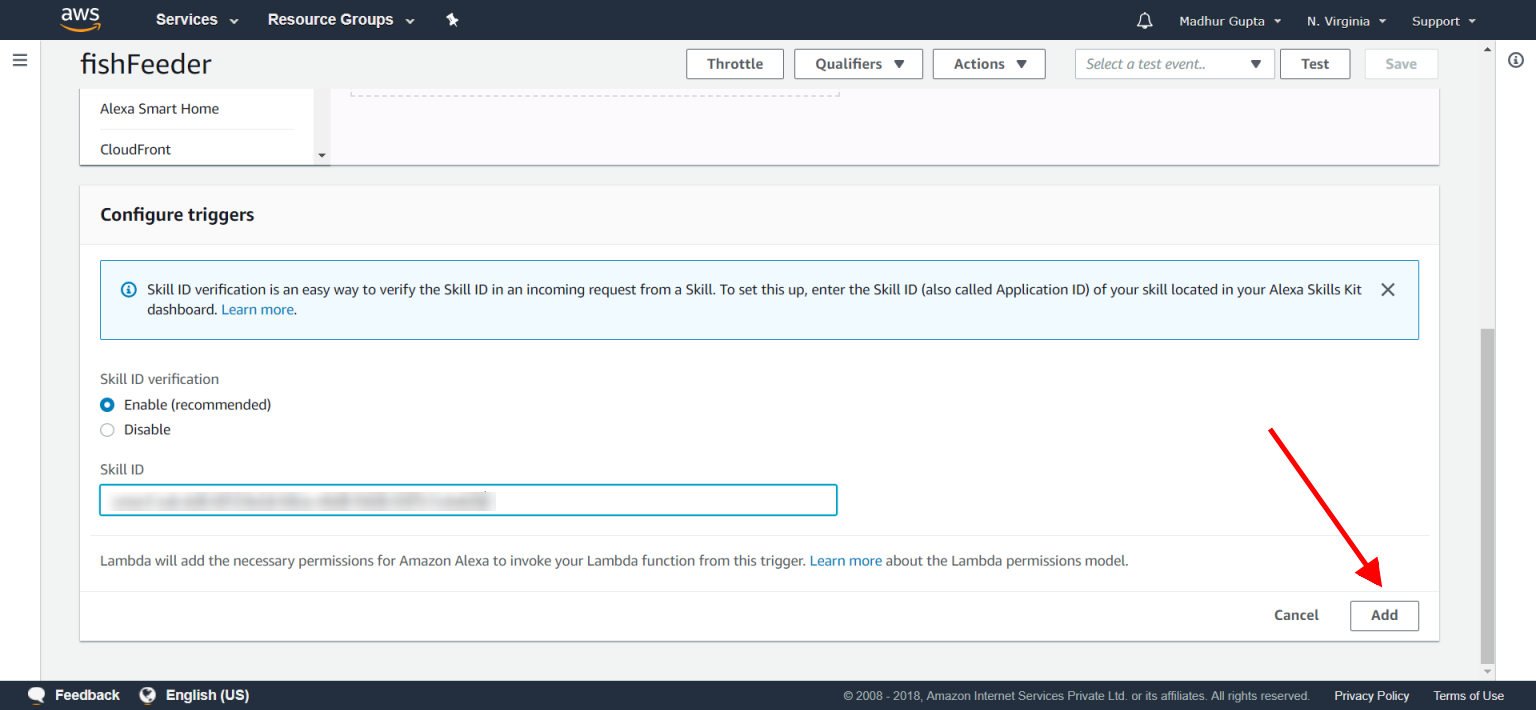
- Click on Enable and paste your skill id.
- Click on Add.
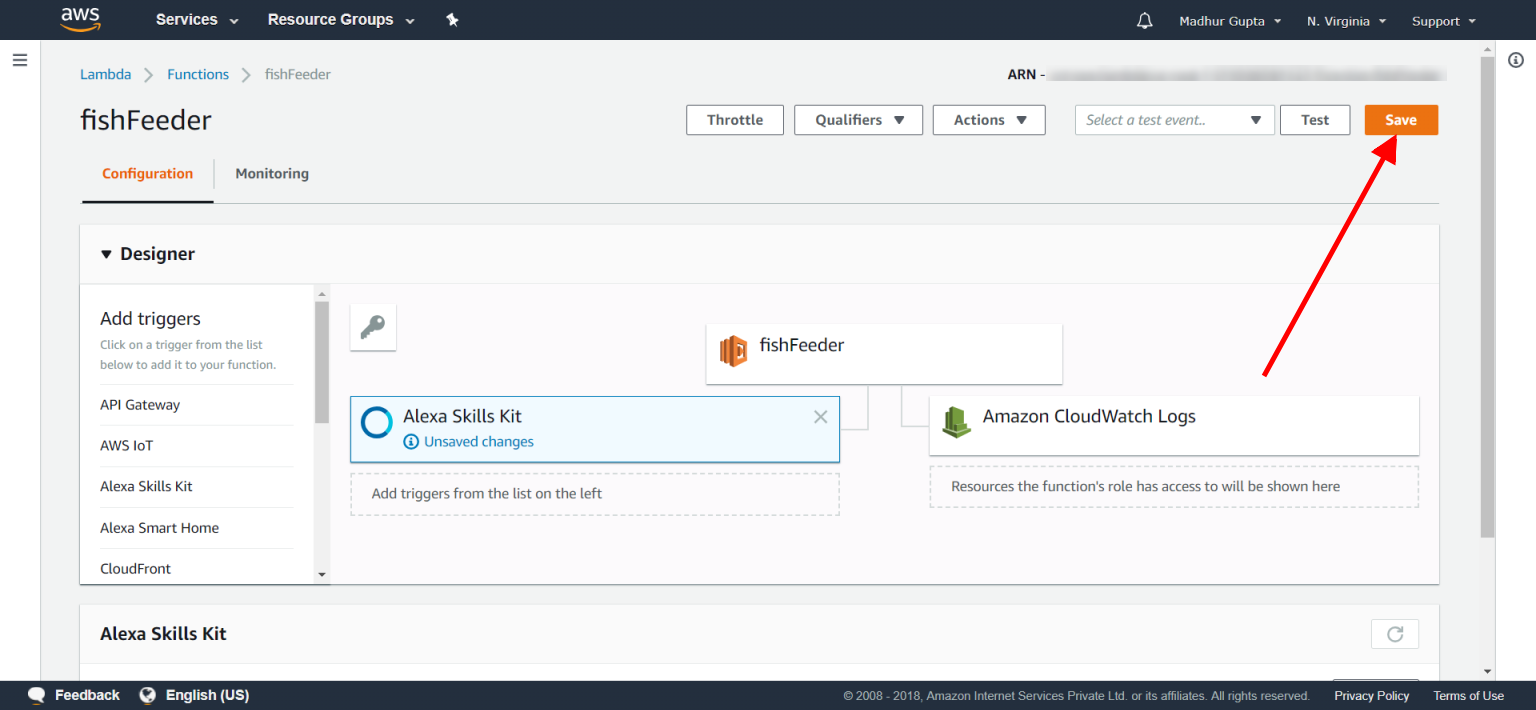
- Click Save.
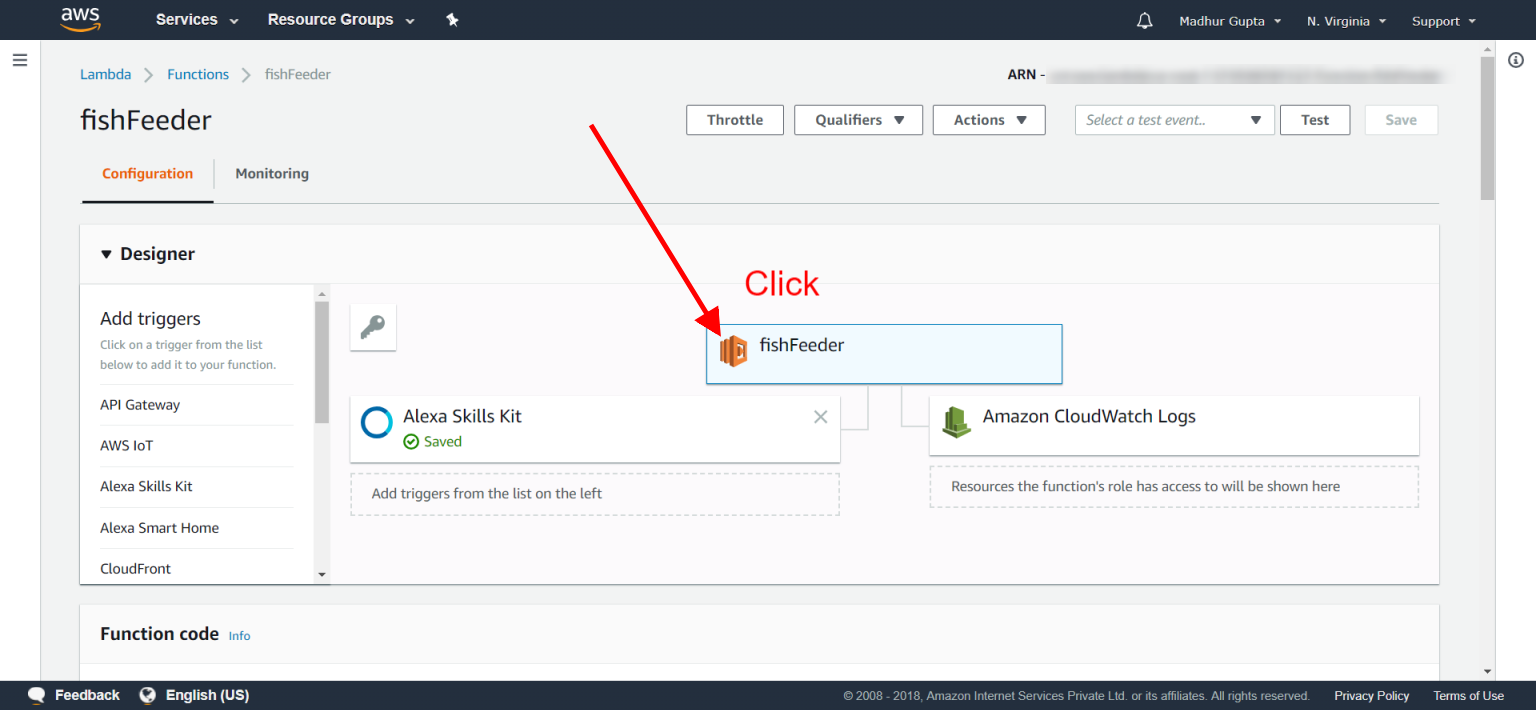
- Now Click on your skill name (check out the pic).
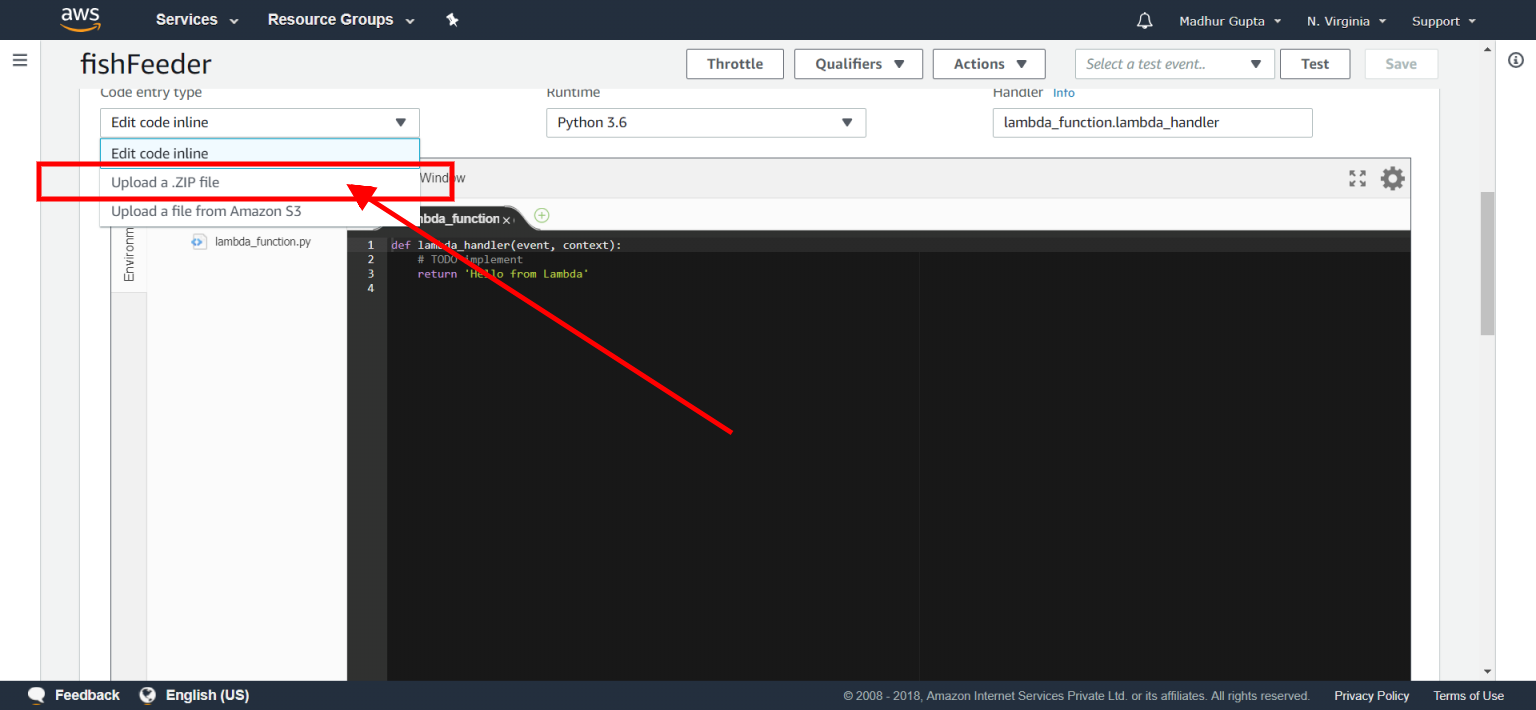
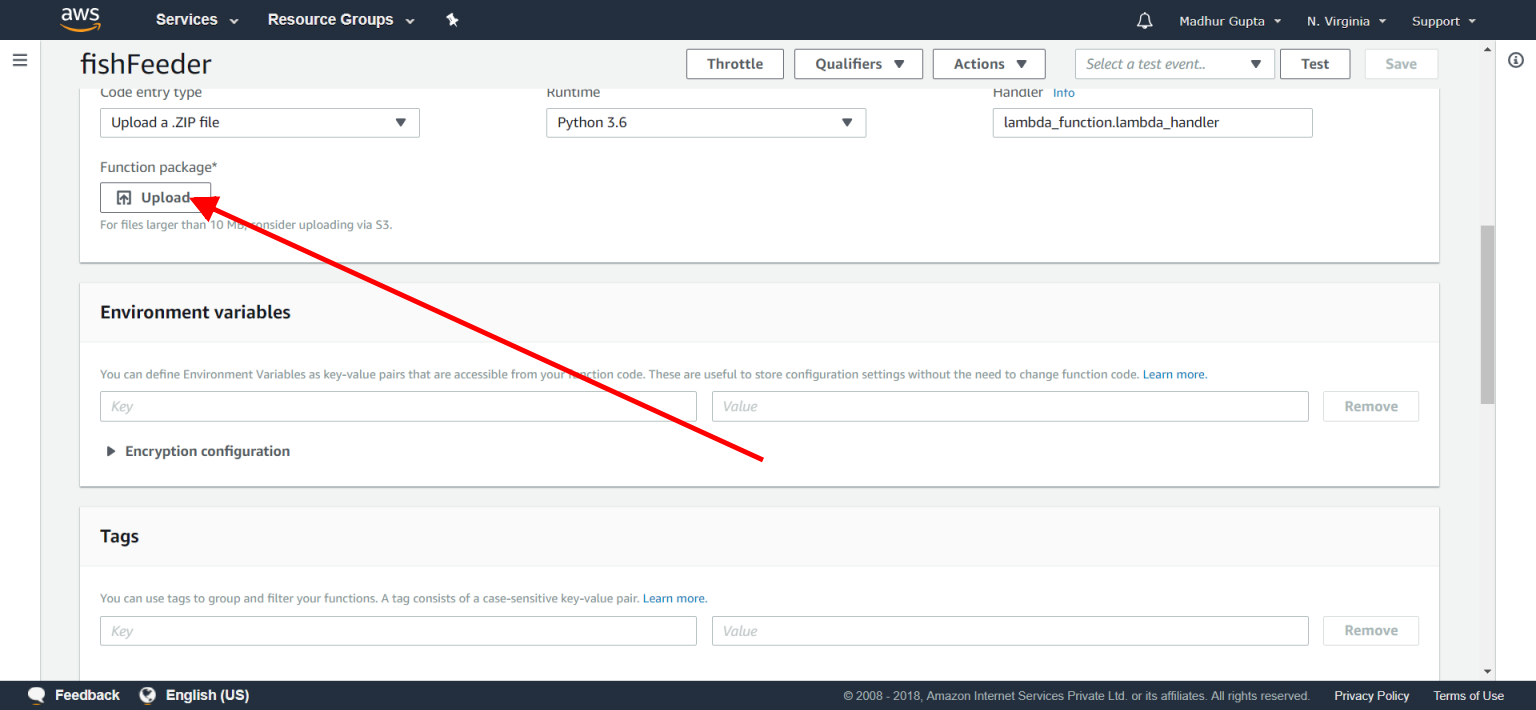
- Scroll Down and Select Upload a .Zip file.
- Download the Github repo from here.
- Unzip the repo.
- Navigate into the folder called Alexa/Lambda.
- Open the file named as lambda_function.py in any text editor.
- Now paste the firebase id into the line 3 (replace {your firebase url} with your firebase id)
- Now move this file to the lambda-zipped.zip archive. (if using WinRAR just drag and drop it to the archive)
- Now upload this lambda-zipped.zip to aws.
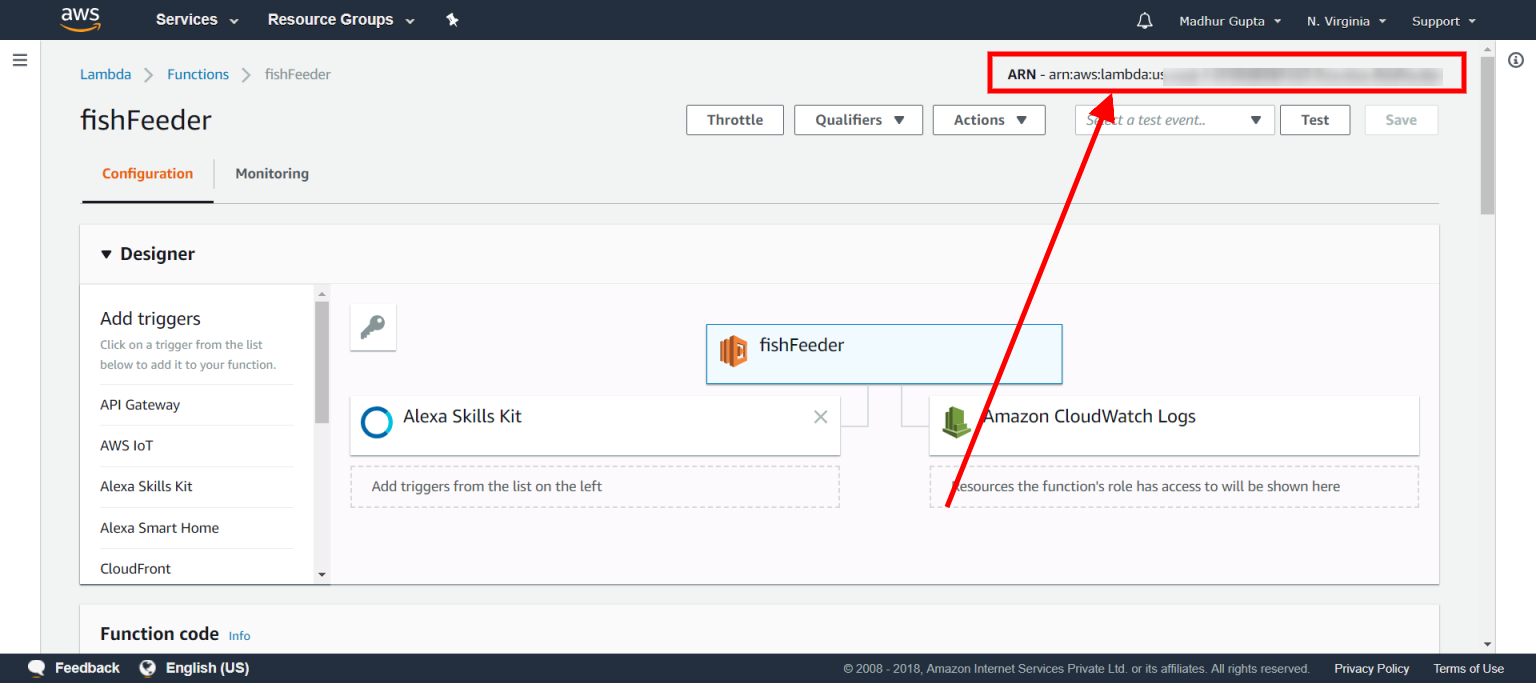
- Copy your ARN (see the pic)
- Now go back to developer.amazon.com.
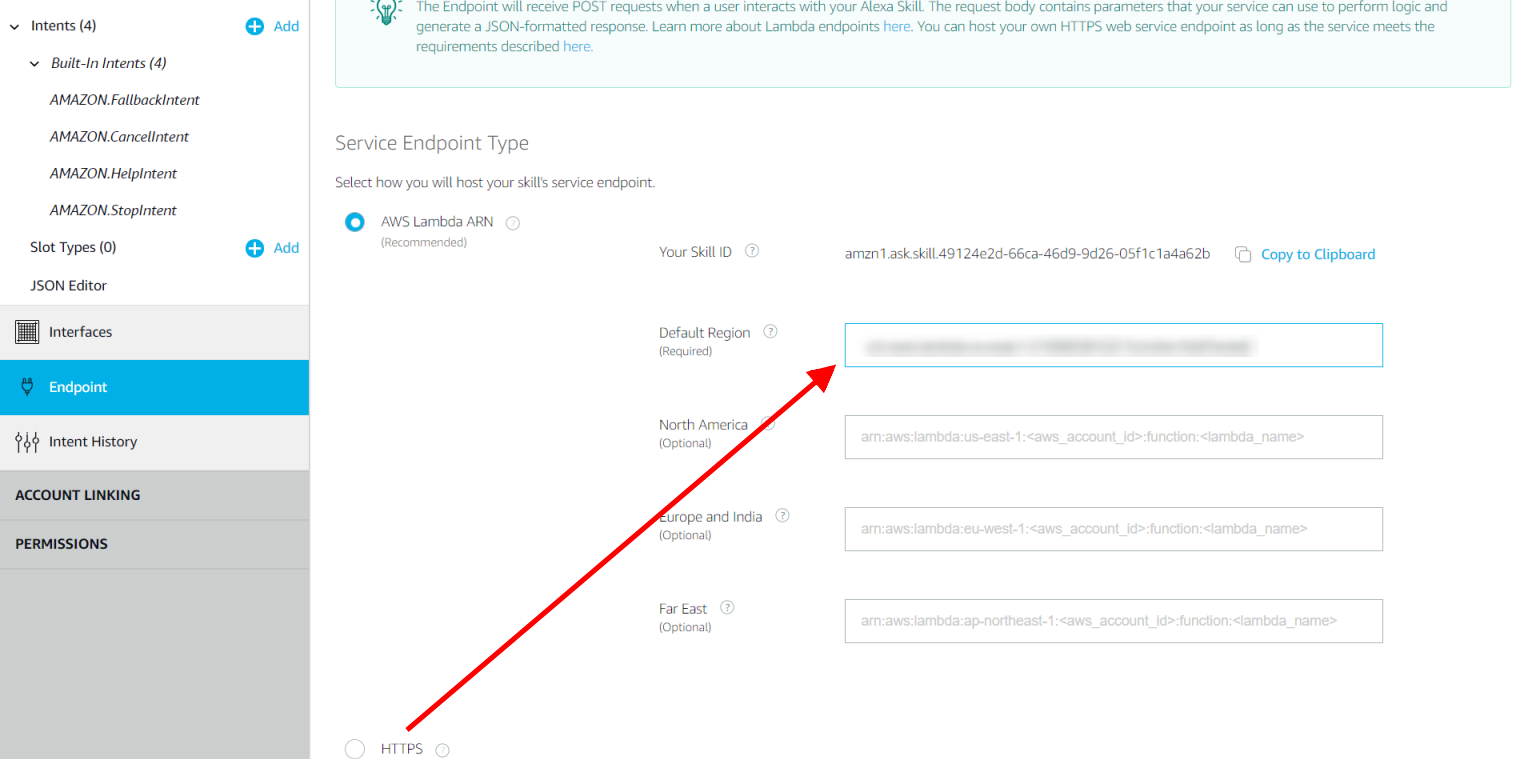
- Paste the ARN and click on Save Endpoints.
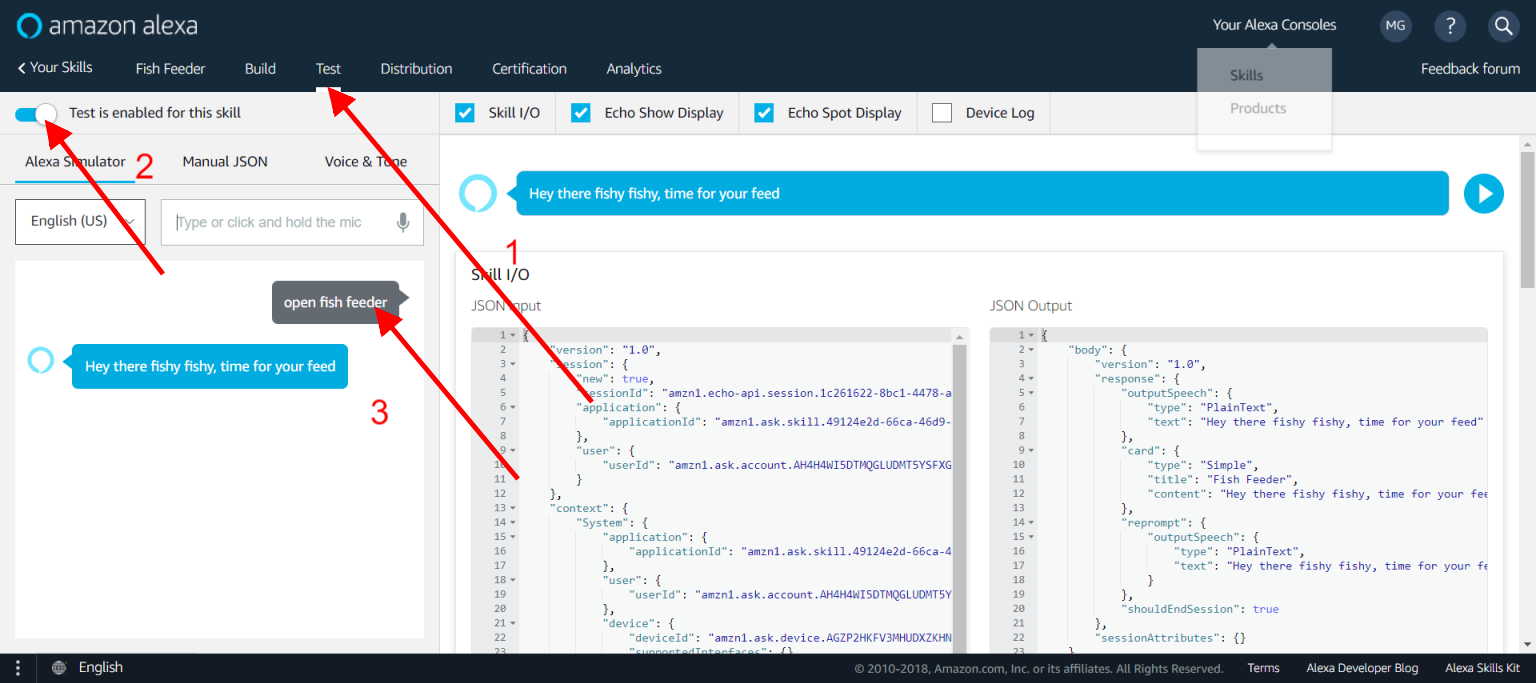
- Click on Test Tab.
- Toggle the Switch.
- Type the command - start fish feeder
- if reply received you are good to go.
{
    "interactionModel": {
        "languageModel": {
            "invocationName": "fish feeder",
            "intents": [
                {
                    "name": "AMAZON.FallbackIntent",
                    "samples": []
                },
                {
                    "name": "AMAZON.CancelIntent",
                    "samples": []
                },
                {
                    "name": "AMAZON.HelpIntent",
                    "samples": []
                },
                {
                    "name": "AMAZON.StopIntent",
                    "samples": []
                },
                {
                    "name": "FeedNow",
                    "slots": [],
                    "samples": [
                        "feed the fish",
                        "feed fish",
                        "feed my fish right now",
                        "feed my fish please",
                        "please feed the fish",
                        "fish my feed now"
                    ]
                }
            ],
            "types": []
        }
    }
}
Setting Up the Raspberry Pi 3
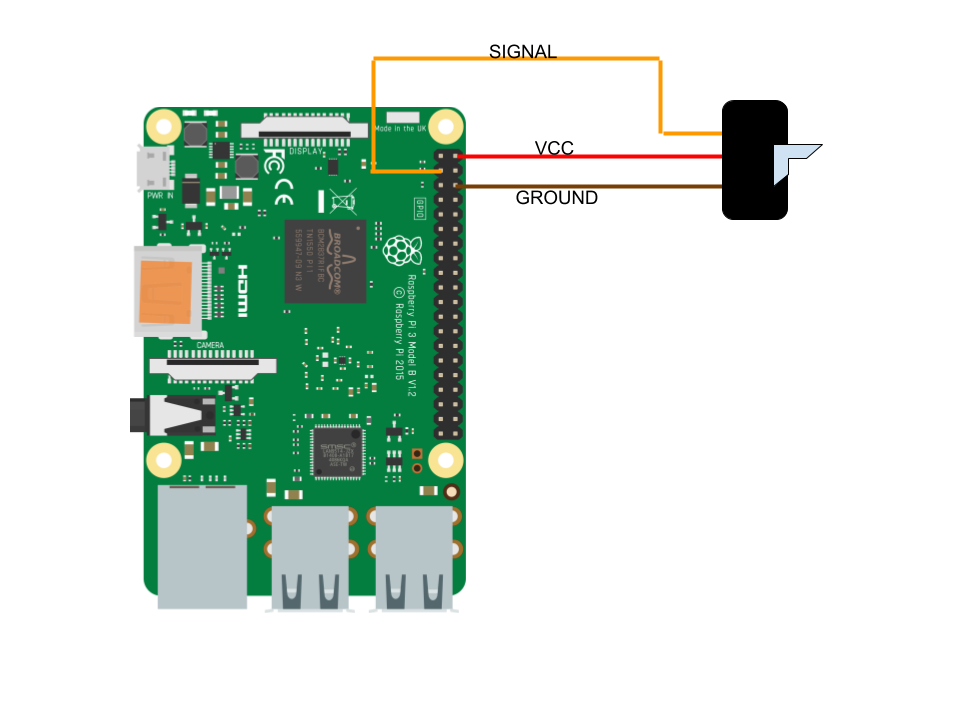.png)
- Connect your Servo Motor to the following pins.
- Middle Most (RED) -> VCC (PIN 02)
- Dull Color (BROWN) -> GROUND (PIN 06)
- Bright Color (ORANGE) -> PIN 03
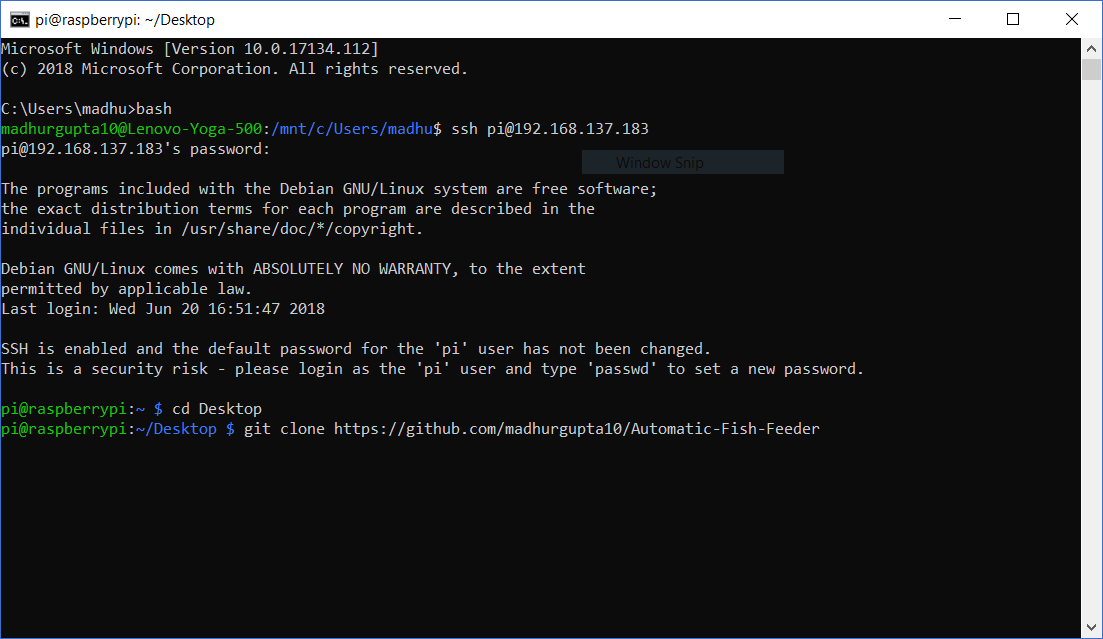
- Log in to your Pi (Using SSH or using Monitor/Keyboard/Mouse)
- Open Terminal and run the following commands -
- cd Desktop
- git clone https://github.com/madhurgupta10/Automatic-Fish-F...
- Now open the folder Automatic-Fish-Feeder
- Navigate to folder Pi
- Open app.py in a text editor.
- Replace line 5 with your firebase url.
- Save it.
- Now open Terminal and run the following commands -
- cd Desktop
- cd Automatic-Fish-Feeder
- cd Pi
- python3 app.py
- Now use your Alexa device or app and say - Alexa, start fish feeder
- If everything works you are good to go.
- Note that in app.py you can edit the arguments of FeedNow function in line 11, the first argument is delay and second argument is the angle.