Alphabet Origami - a Mesmerizing Pop-Up Book From a to Z
by Rustickraft in Craft > Books & Journals
1007 Views, 5 Favorites, 0 Comments
Alphabet Origami - a Mesmerizing Pop-Up Book From a to Z
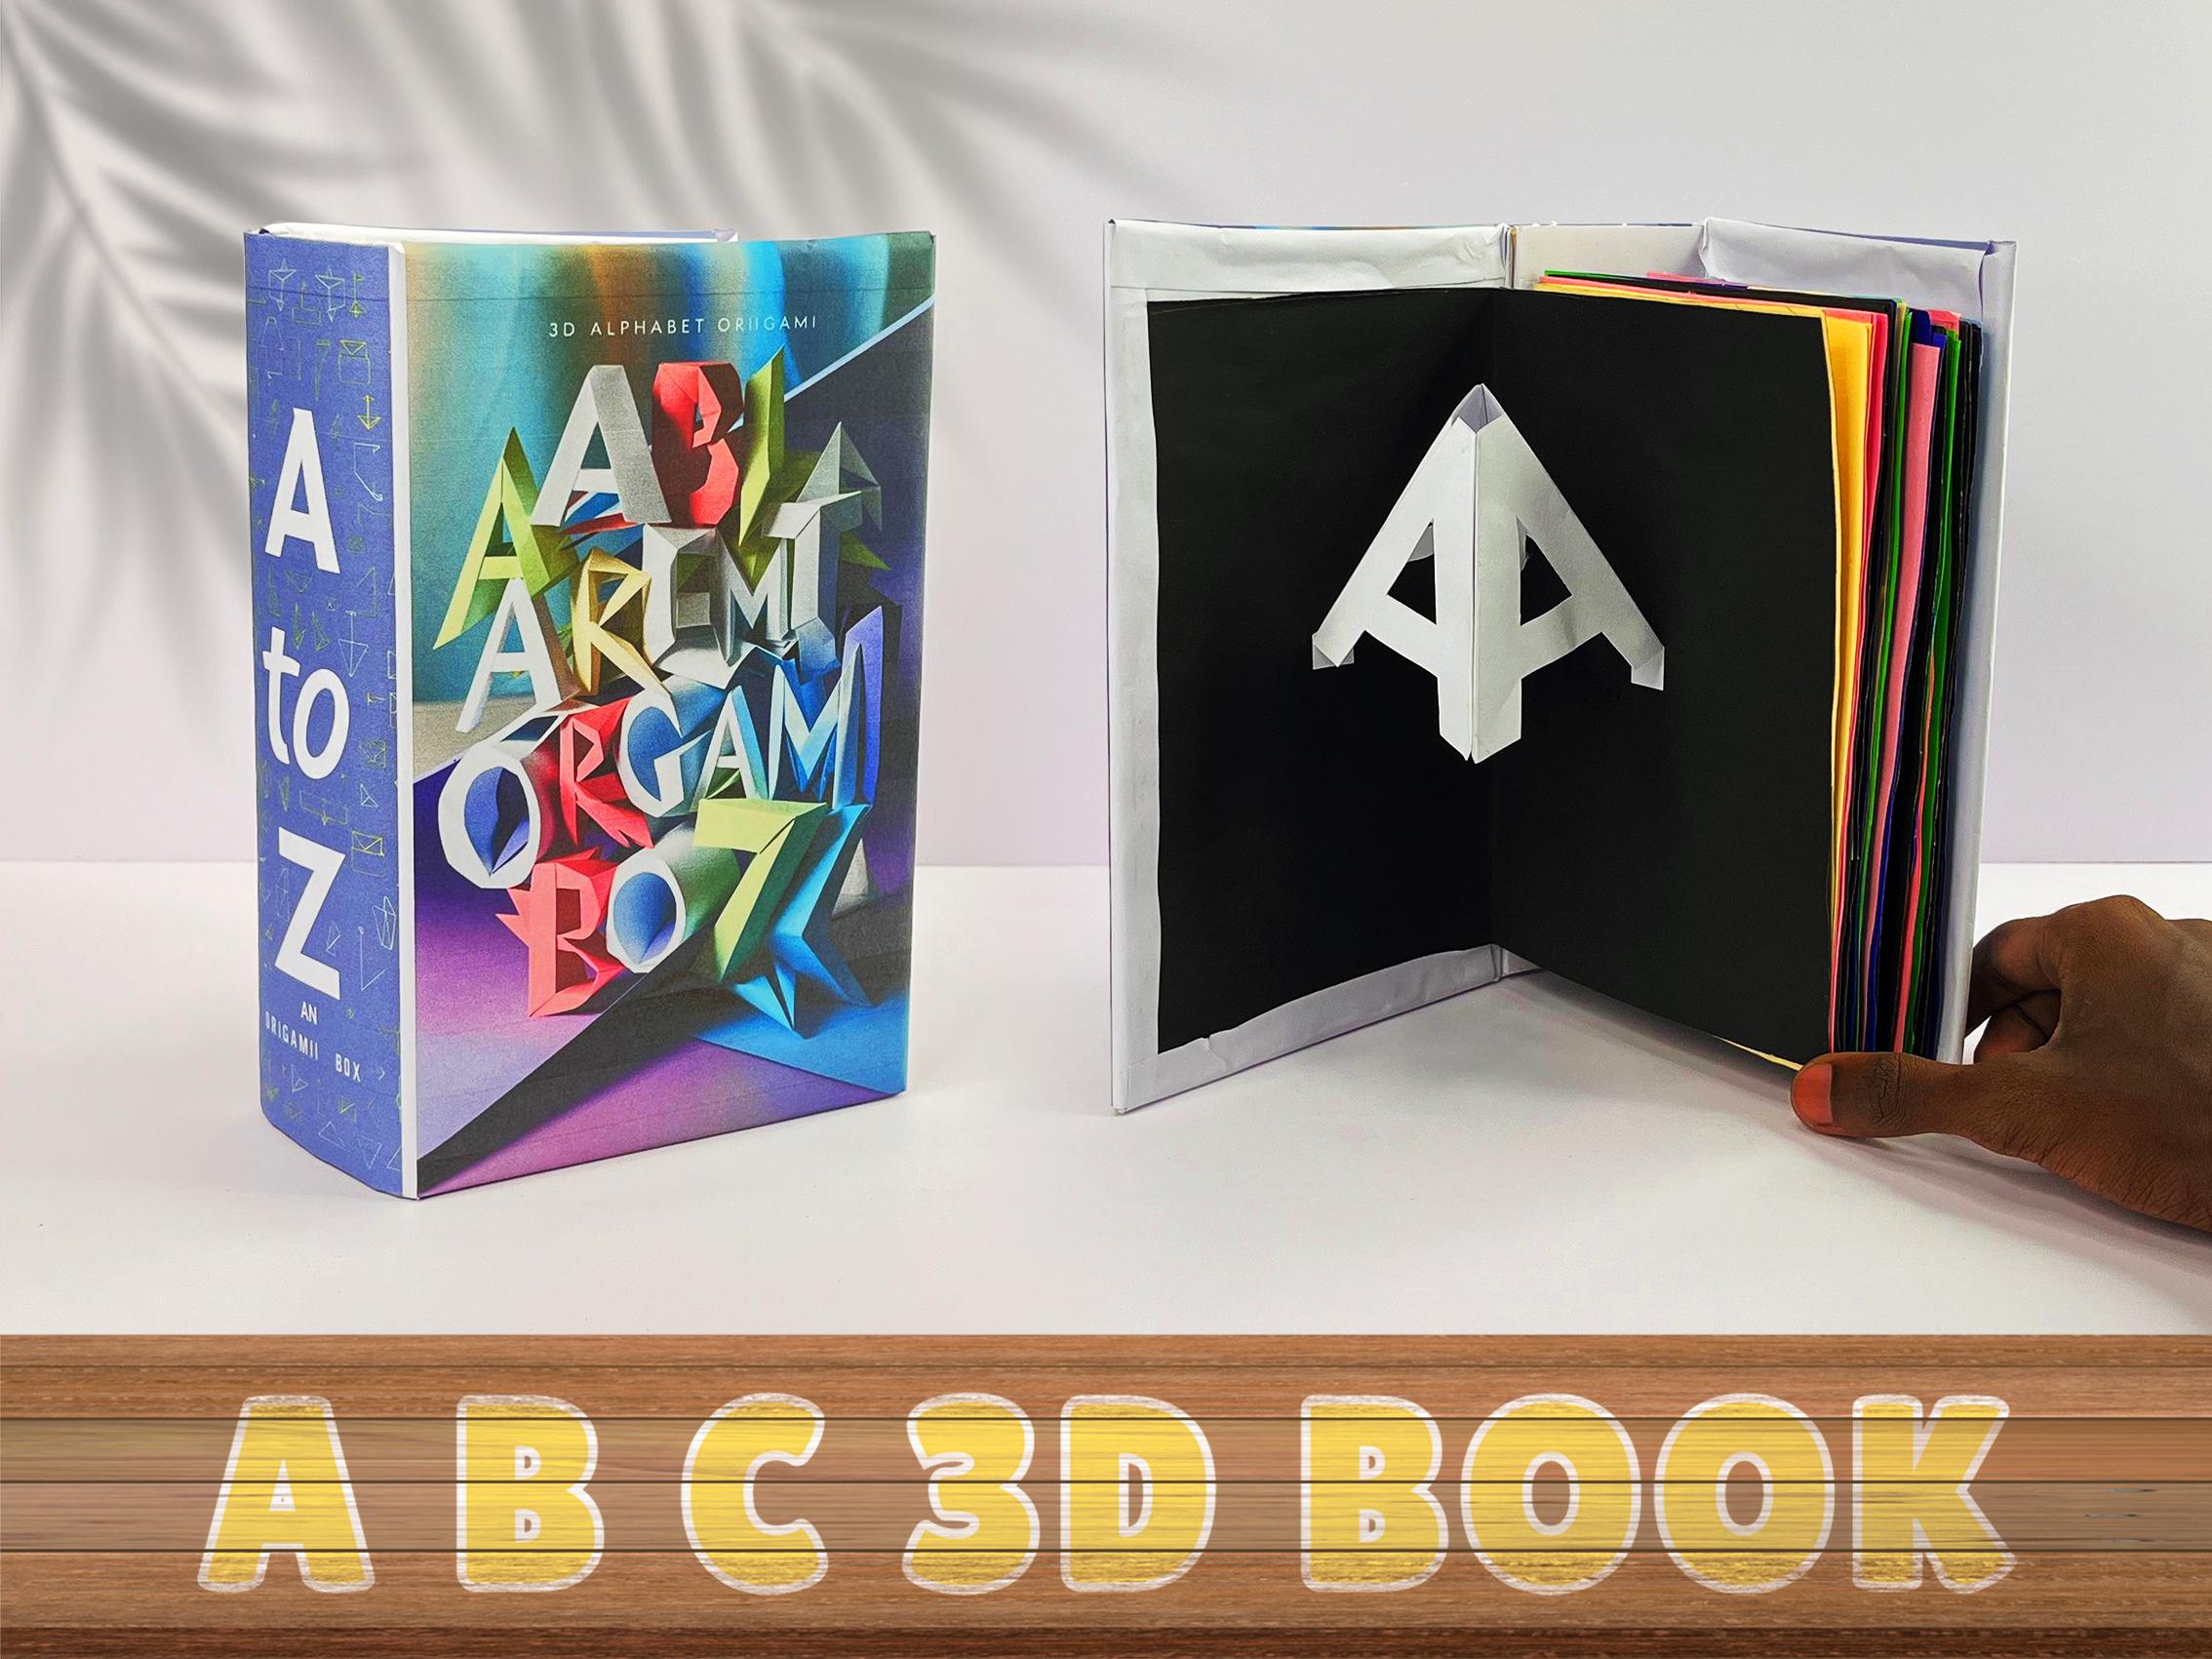
Welcome to our latest project, where creativity meets the art of paper folding. In this mesmerizing book of origami, we've crafted all the alphabets from A to Z. Each letter is intricately folded and pops up as you turn the pages, creating a captivating and interactive experience. This unique book showcases the beauty of origami while offering an educational and entertaining journey through the alphabet.
Supplies
- Art Papers - White, Black
- Chart Papers - Green, Yellow, Red, Blue, Pink
- Paper min 200 GSM
- Craft Glue
- Scale
- Scissors
- Utility Knife
- Inkless Pen
- Clean Hands
- Much Patience
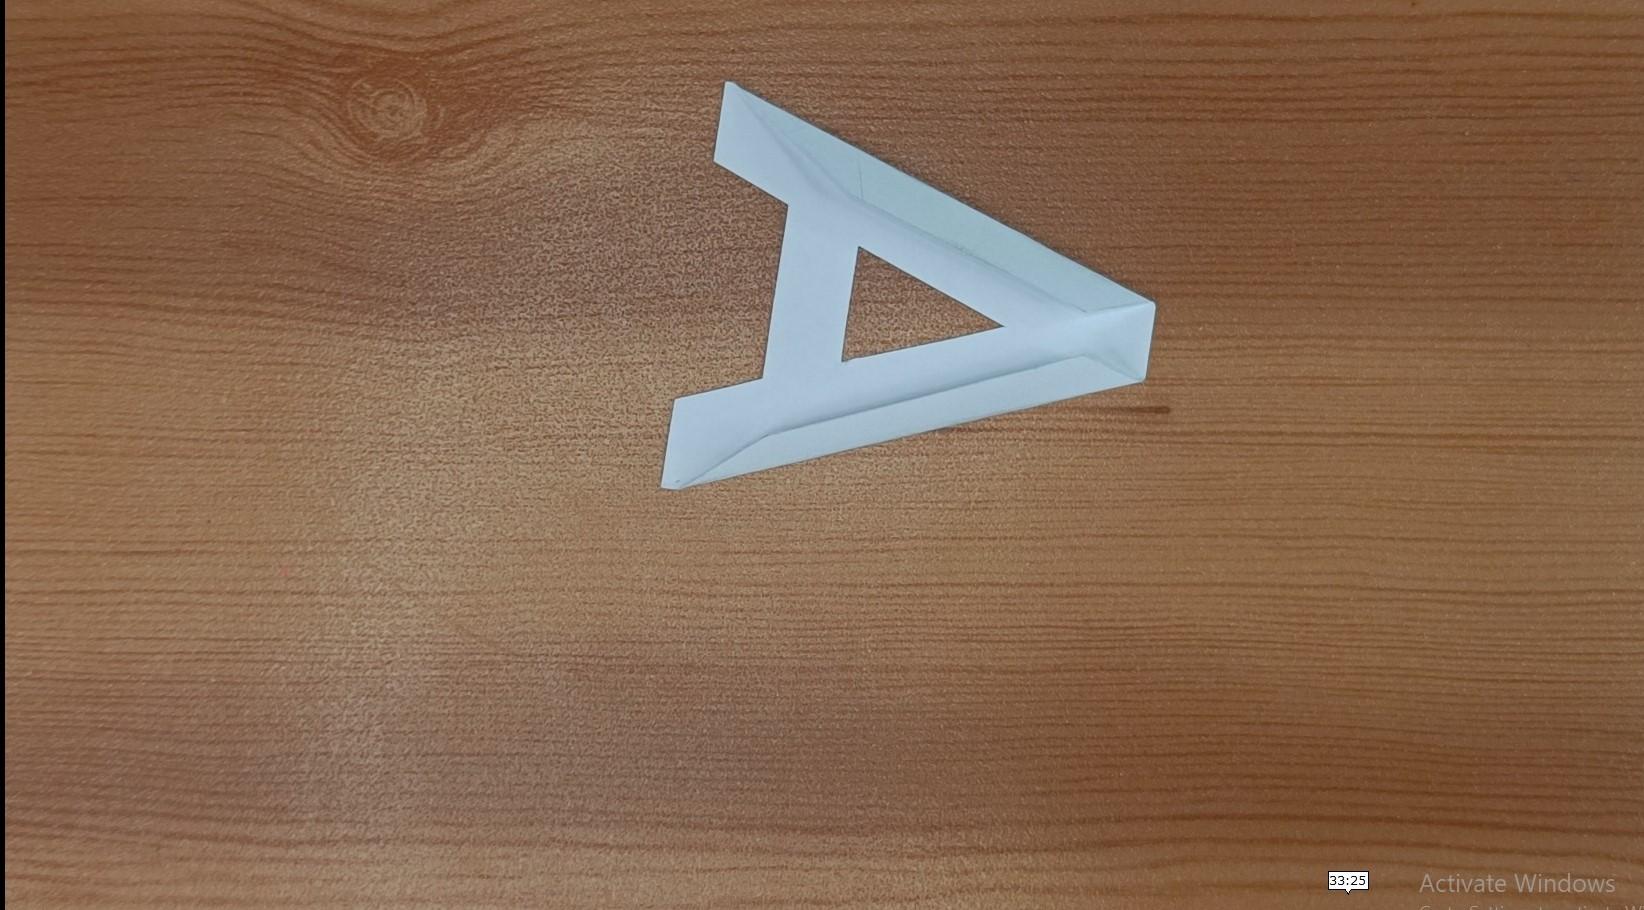
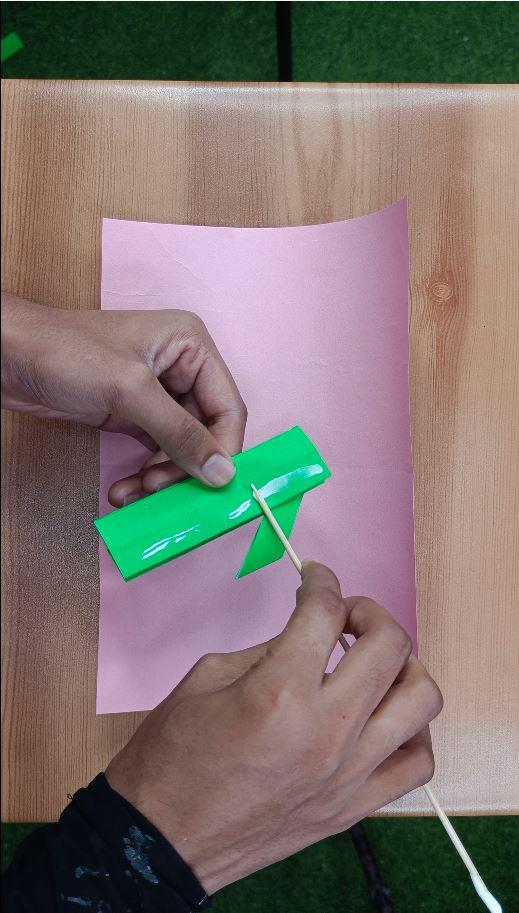
Making Letter 'A'


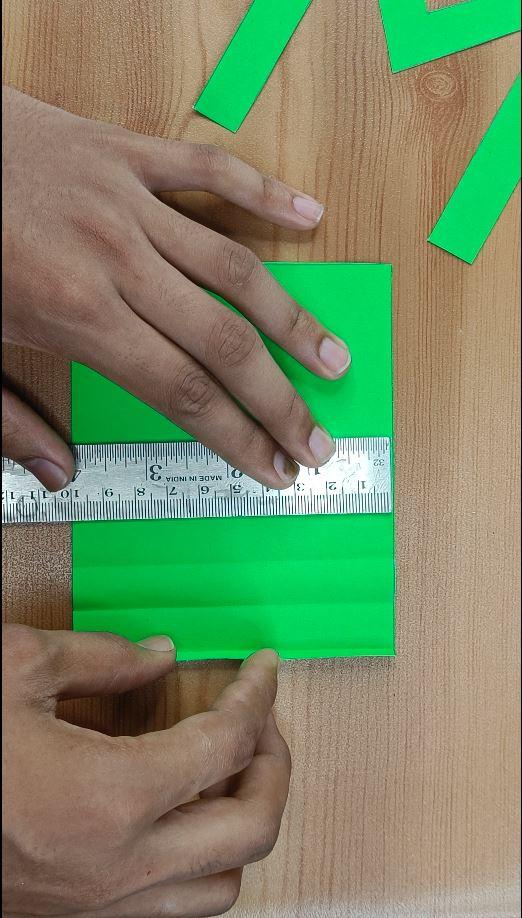
- Use ruler and inkless pen to force along the folds.
- By dint of ruler with utility knife cut out parts of paper.
- For the 3d popup of the letter 'A', we have made and cut 4 A's.
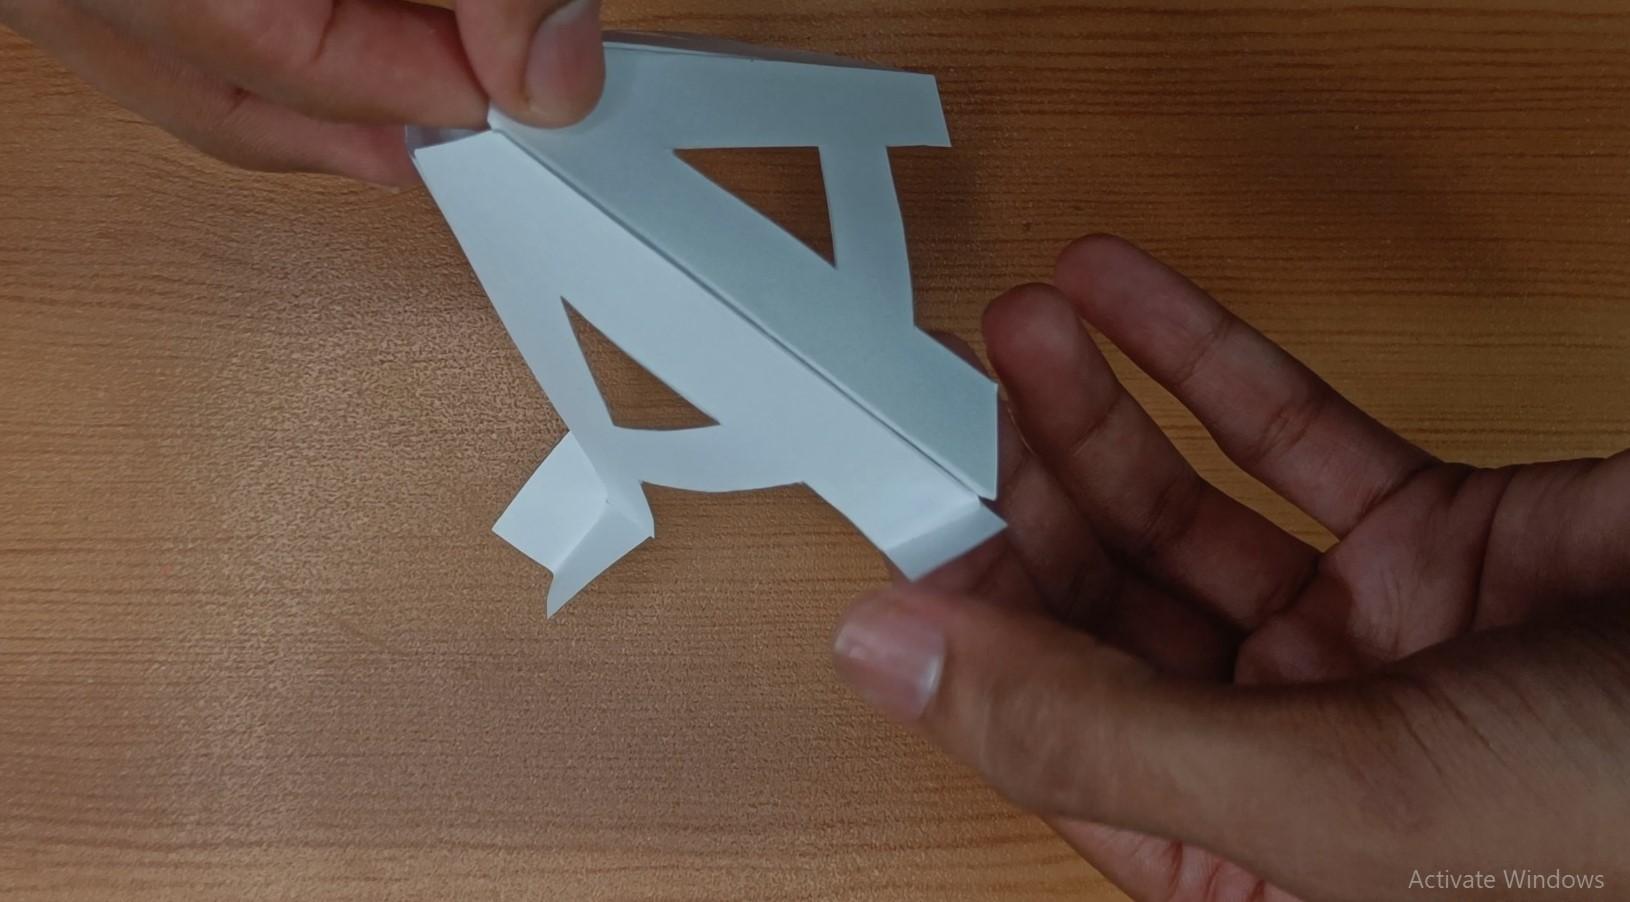
- We kept extra edge of paper to help attach onto other pieces.
- With help of 1-2 drops of glue we have adhered the 4 pieces from all the sides and made a 3D looking figure 'A'.
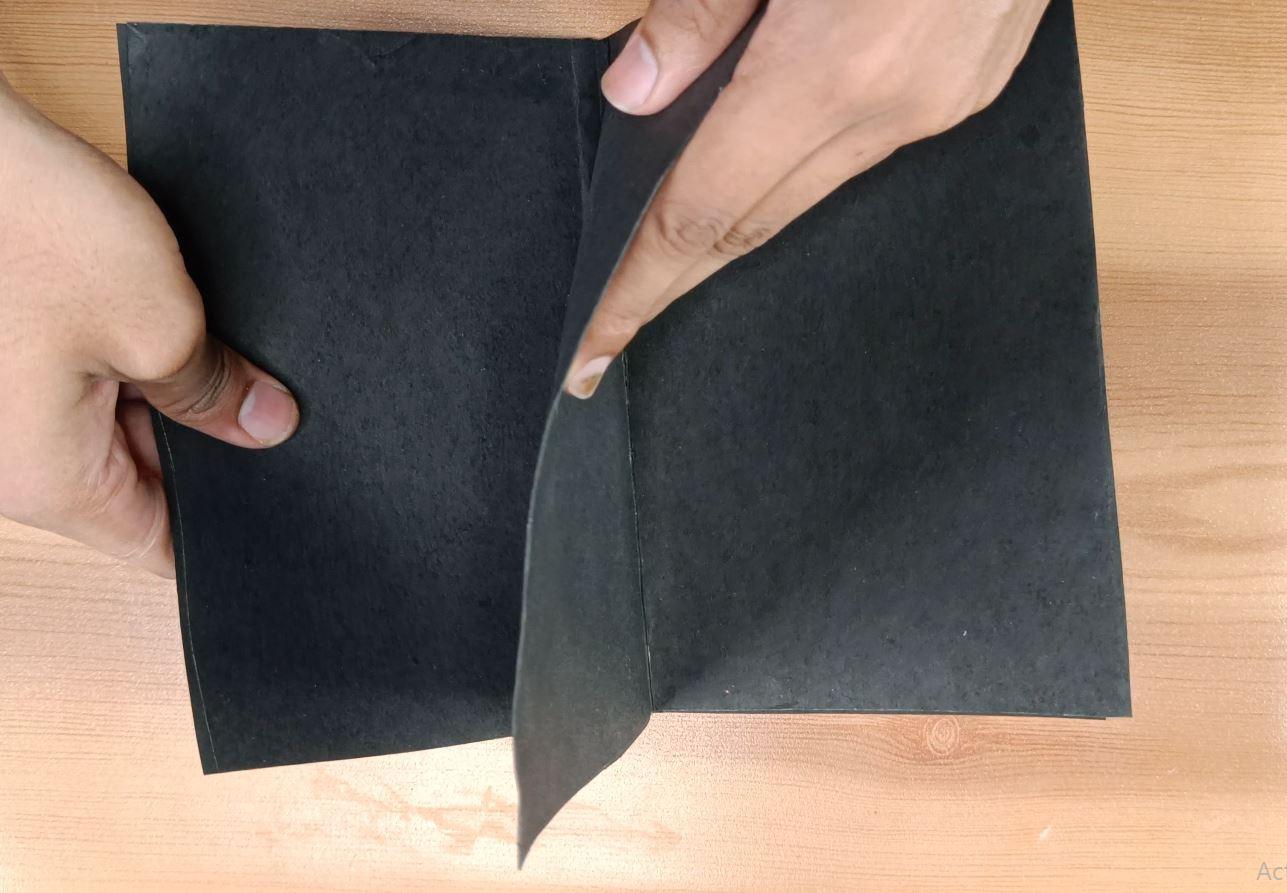
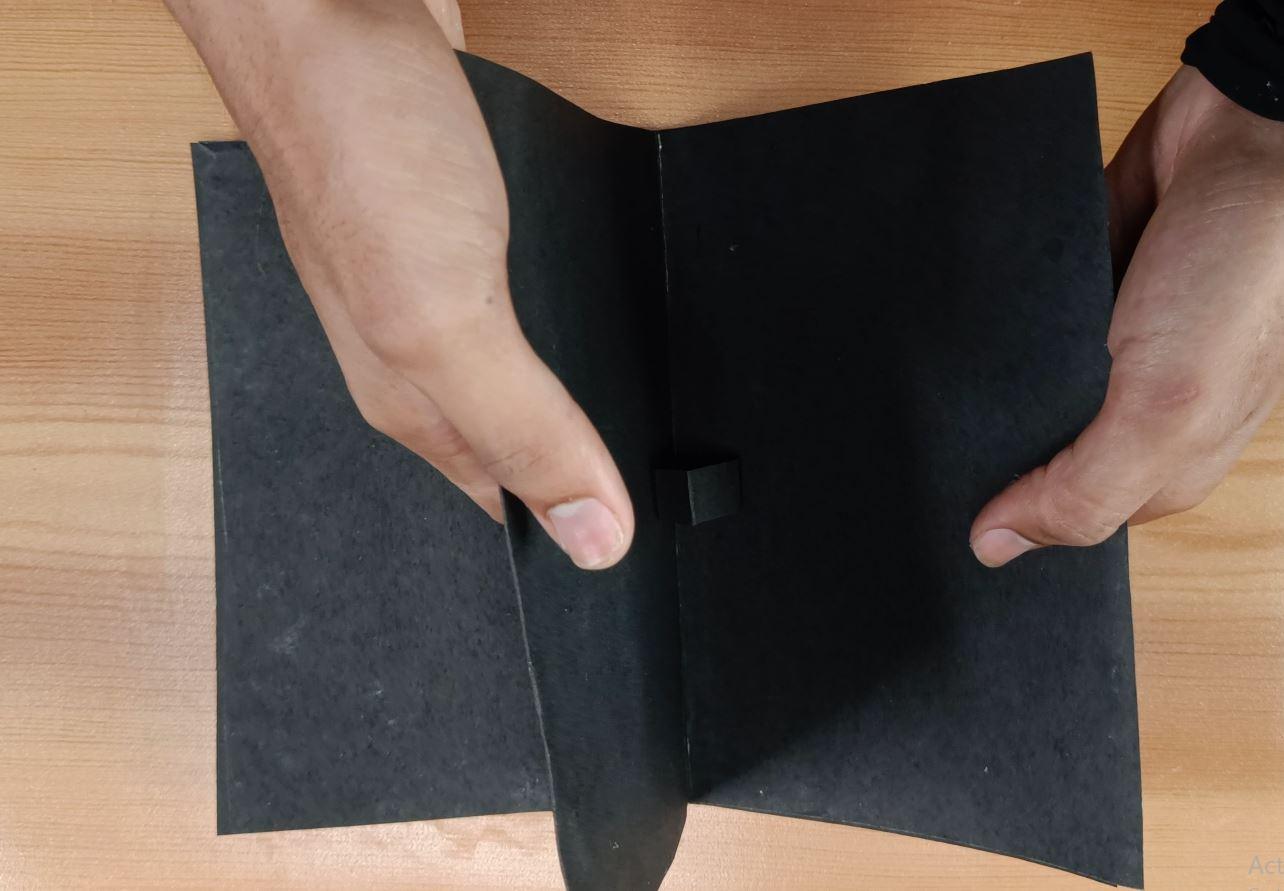
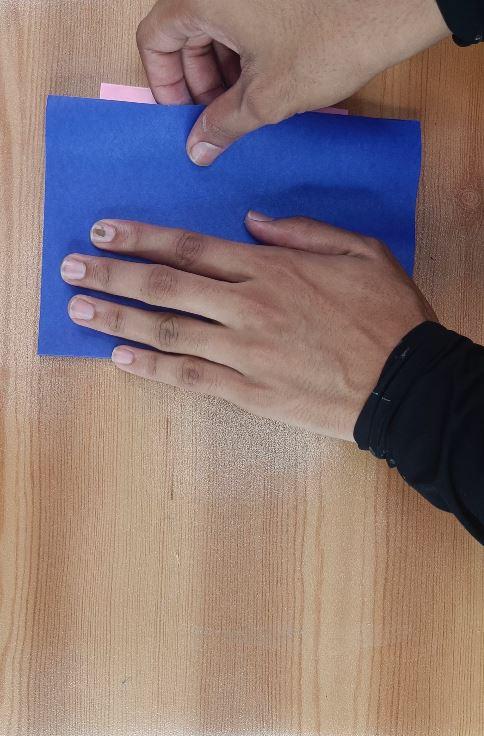
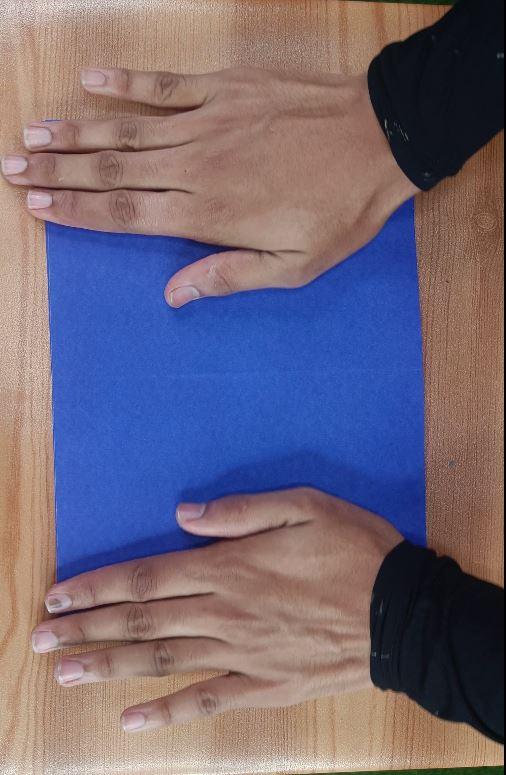
- Now to make it pop-up on the card as the pages turn, we need to attach the figure on the center of our card's fold.
- Two of the hind-legs were extended with some extra bits of paper and adhered in the center of the card's fold.
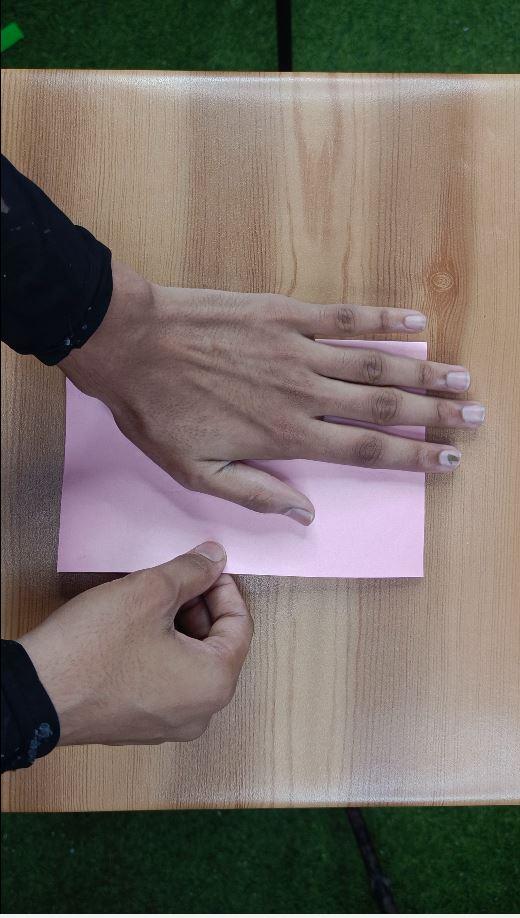
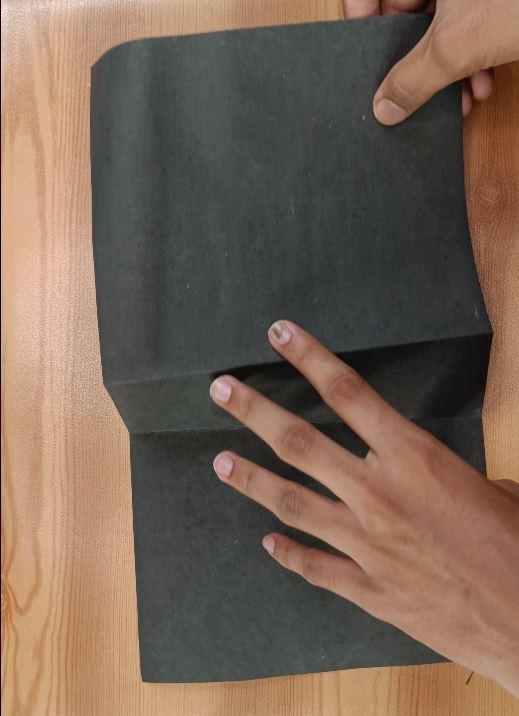
**Each letter is created individually and then adhered in the center of the cards. This cards are made of folding landscaped A4 art papers from the center half.
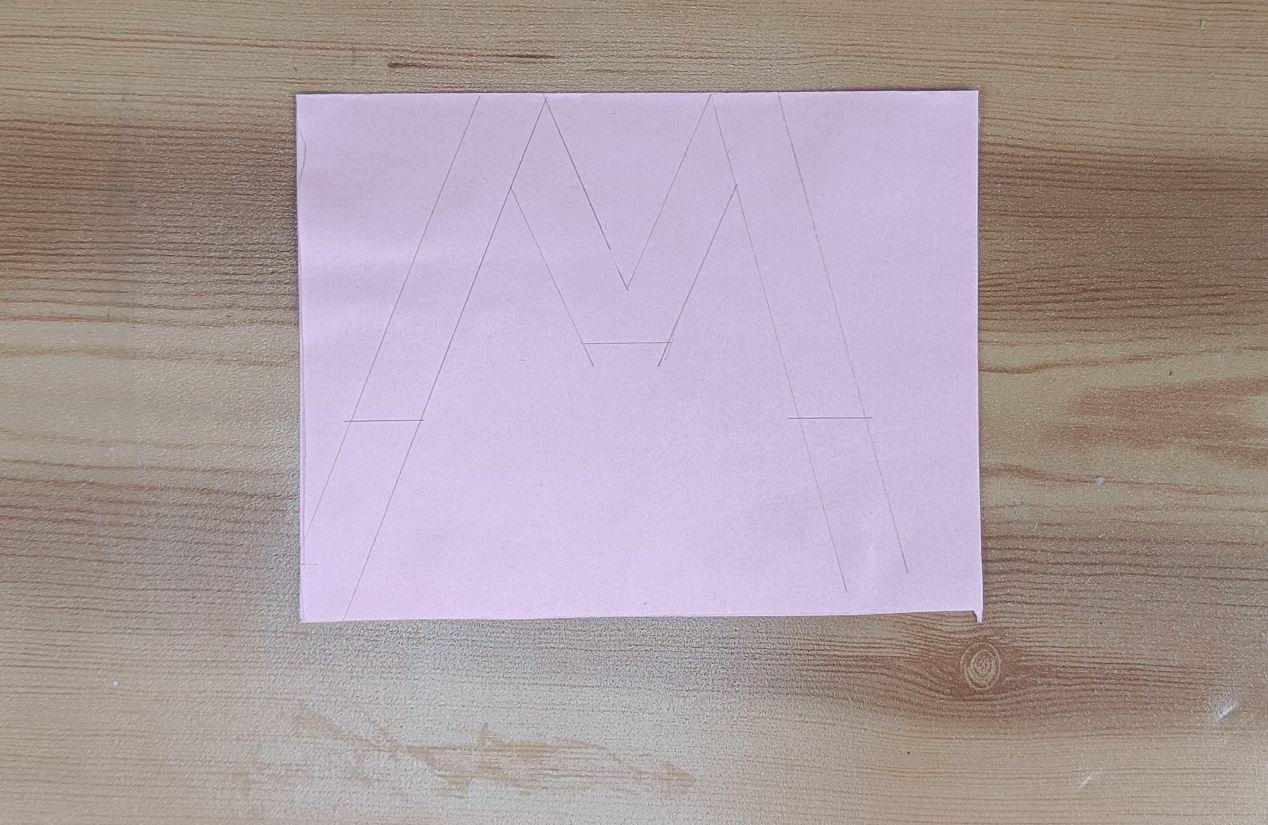
Making Letter 'M'


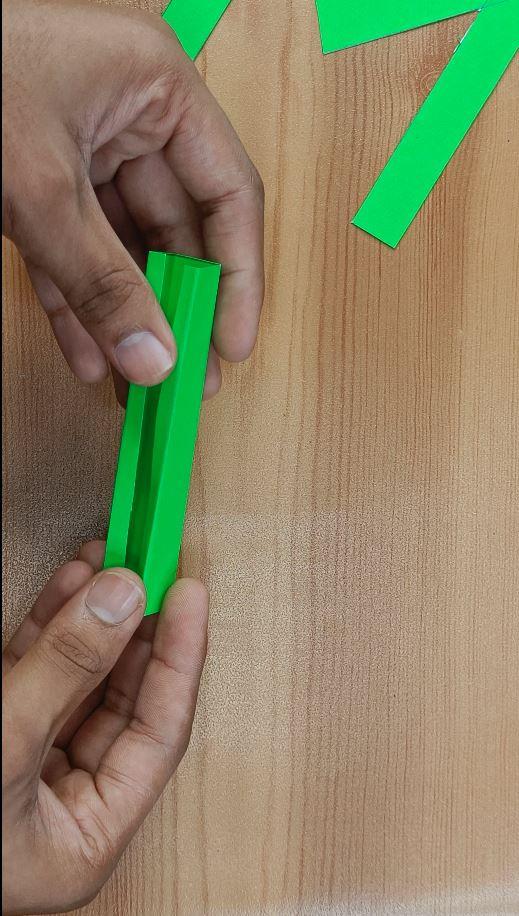


- The letter 'M' was measured, drawn, and cut in 2D.
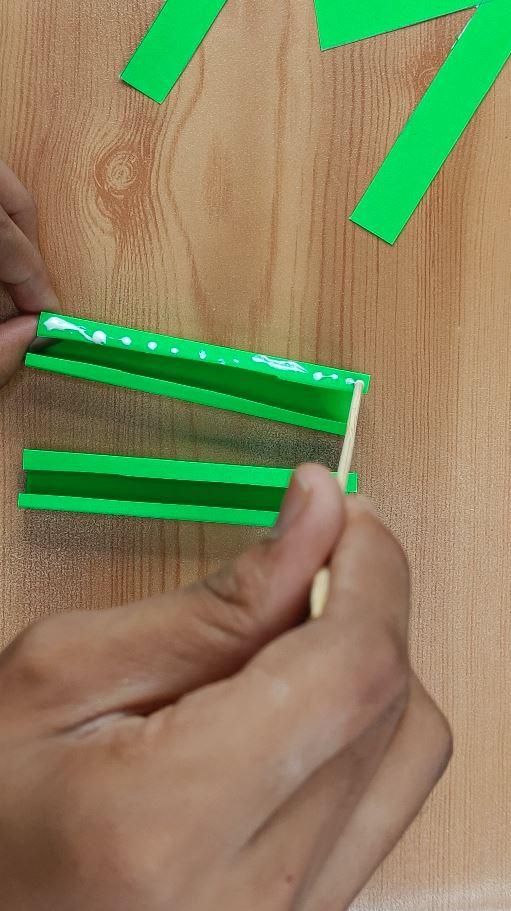
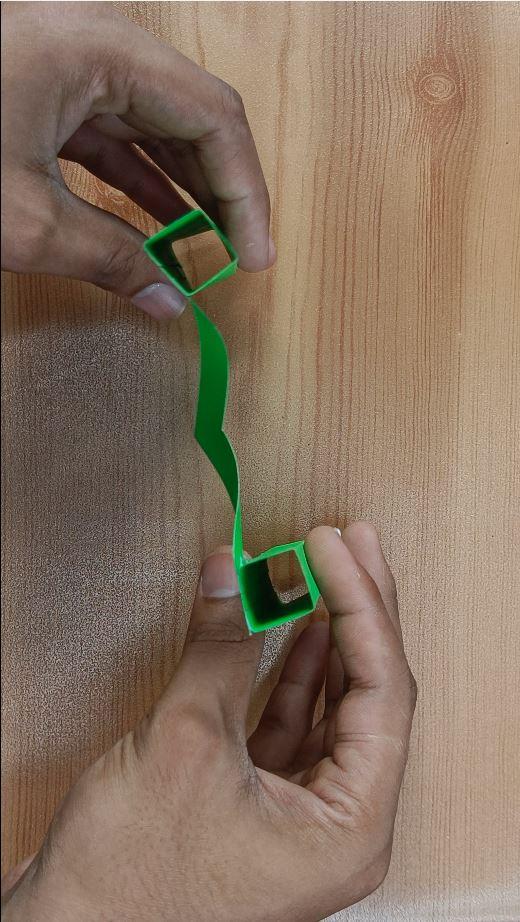
- The legs were measured. On a new paper 2 x 3D hollow legs were made by folding paper in to 3 parts.
- Glued the legs to the 2D 'M''s leg.
- Valley folded the 'M' from the center.
- Glued one half of 'M' to the left and another to the right side of the card (aligned to center).
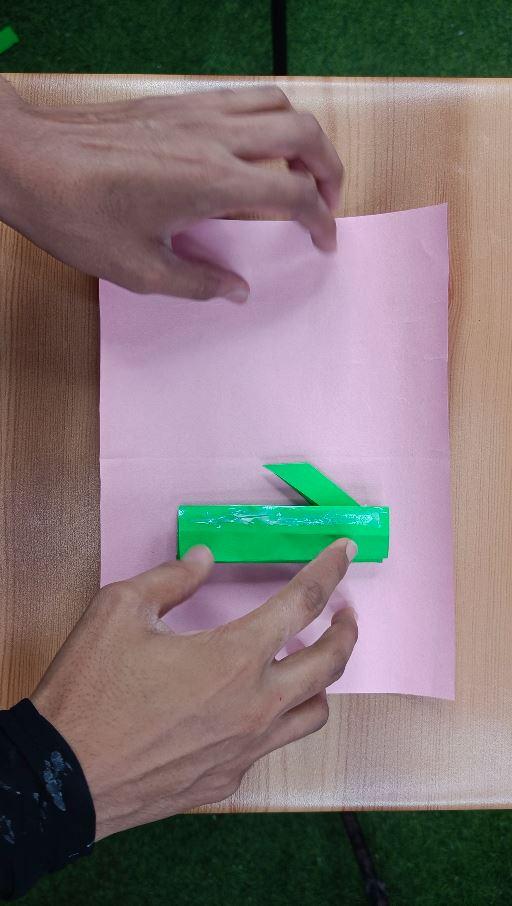
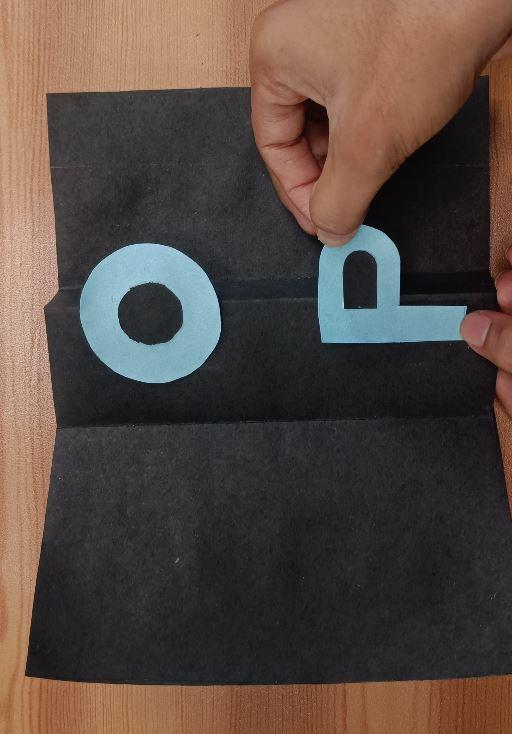
Making Letter 'O-P-Q-R'


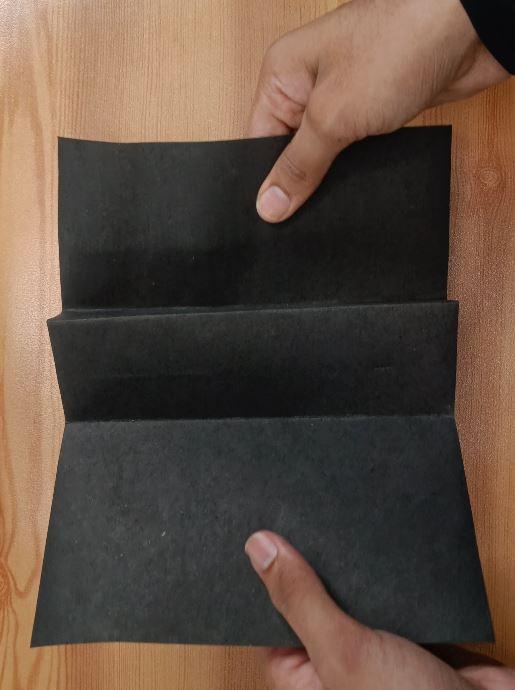


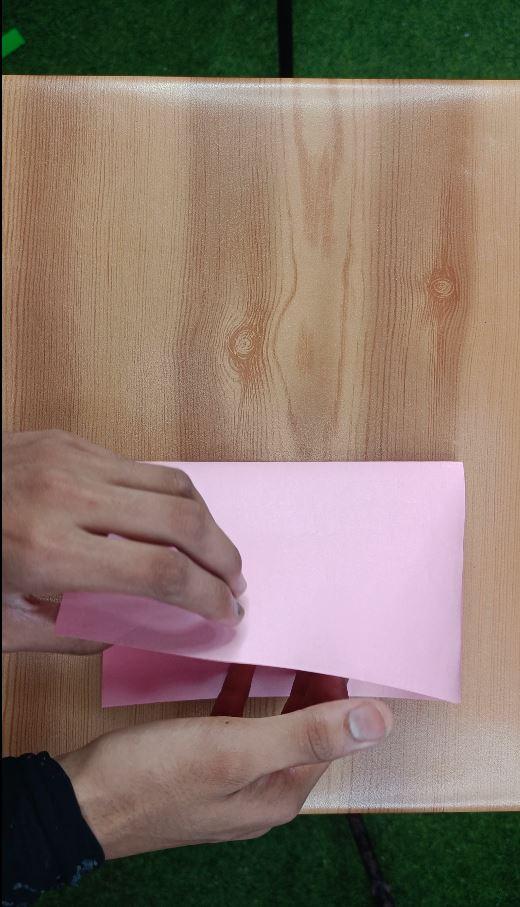
- Take a long paper, approximately 40 X 15 cm in length.
- Divide the page in three parts.
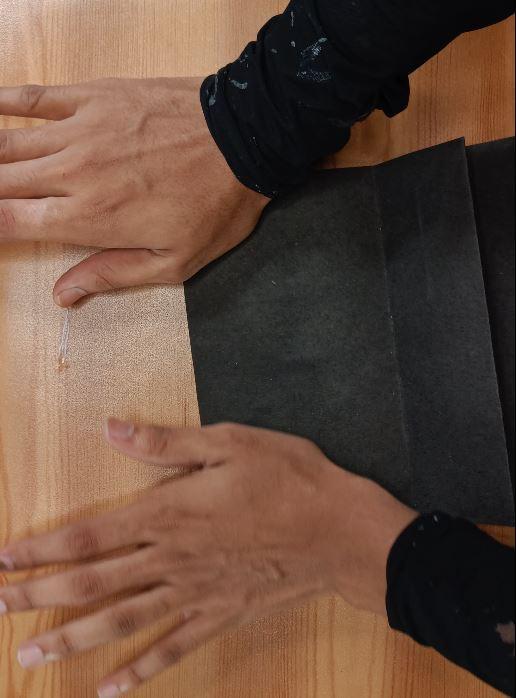
- Again, do a mountain fold the mid section so that the page forms a chair in the center.
- Take another sheet for the card, and paste the card from the back of the previous page, end-to-end.
- The pop-up shape is now ready.
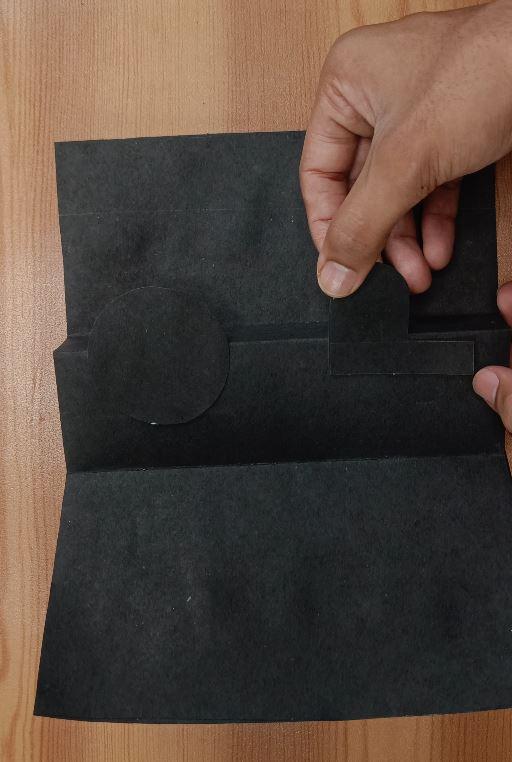
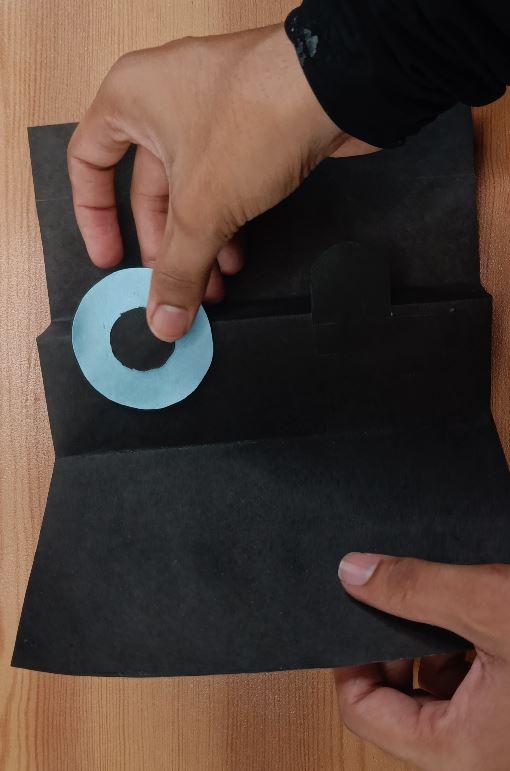
- Cut-out the letter 'O' and 'P'. Paste the letters partially on the chair and partially suspended outside.
- To highlight the letters, a different color of 'O' and 'P' is pasted onto the affixed 'O' and 'P'.
- To make the 'Q' and 'R' we have modified the 'O' and 'P'.
- On the lower side of the 'O' and 'P', the arms of 'Q' and 'R' is being glued using a different color paper.
- This arms were attached on the legs of the chair.
- When the book is unfolded, 'O' and 'P' is visible first and then 'Q' and 'R'.
Making Letter 'W'

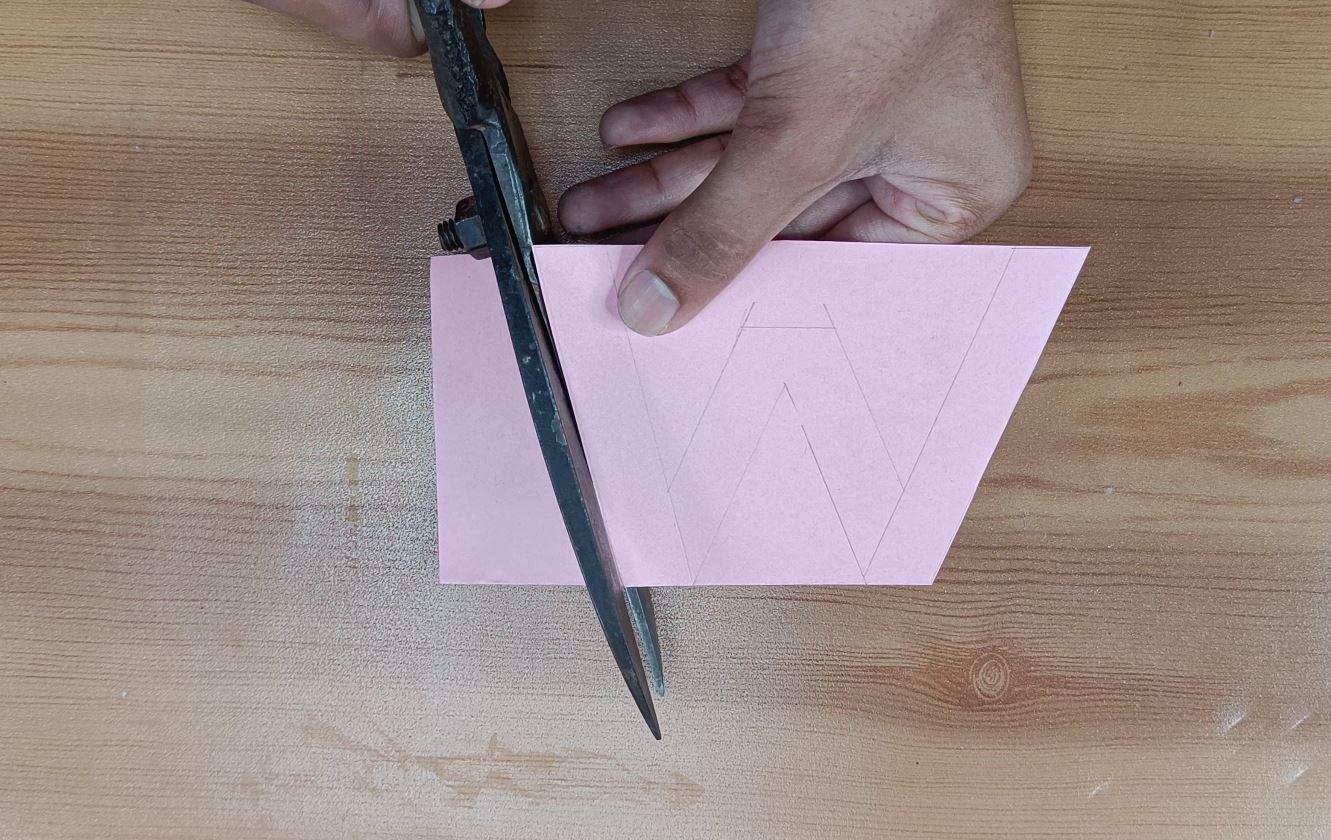
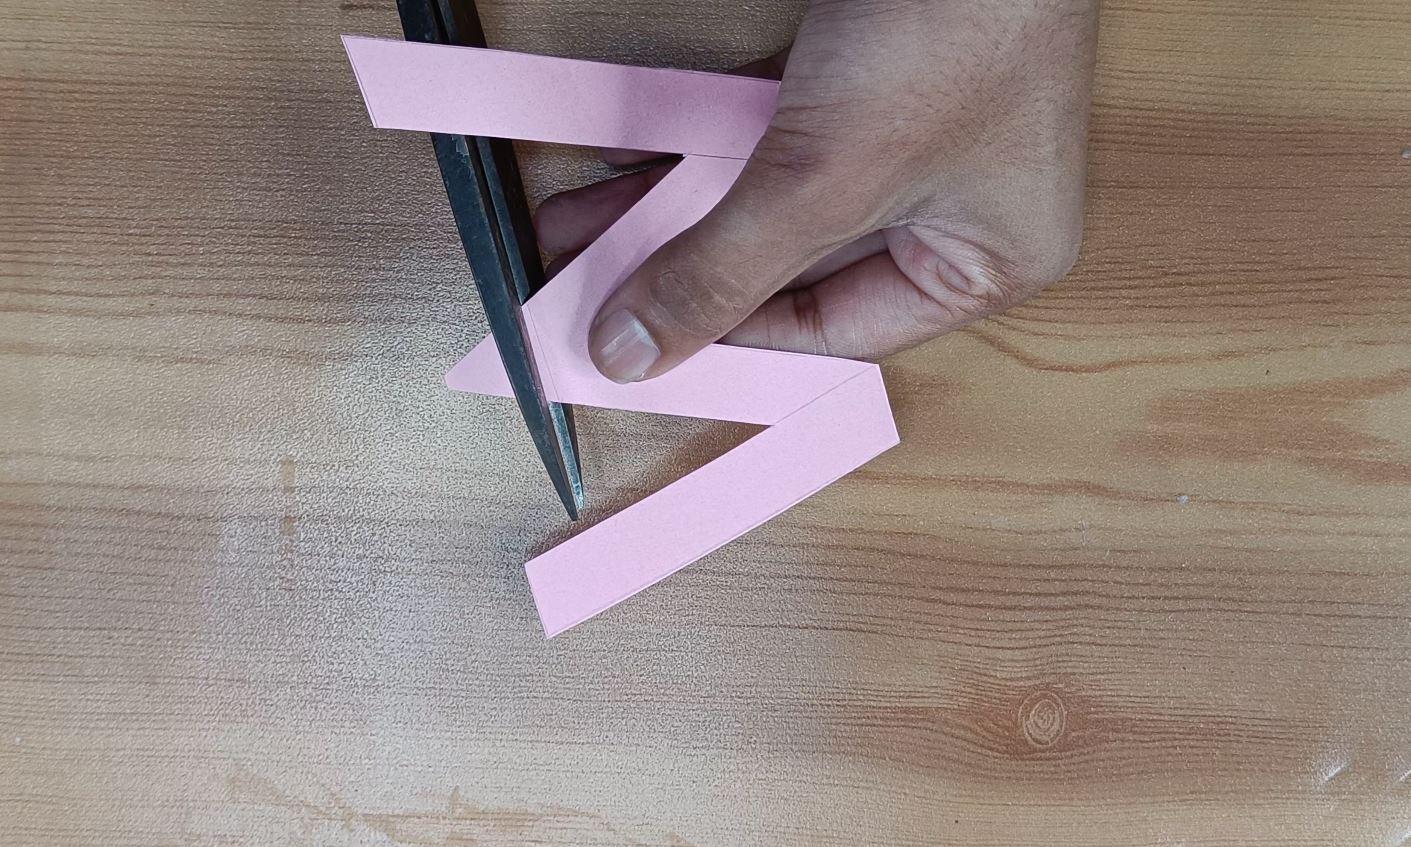


- The cut-out of letter 'W' was made after drawing its outline.
- Then it was slit into two parts from the center.
- To create a mirror effect the 'W' was affixed on either sides of two pages.
Making Letter 'X-y'


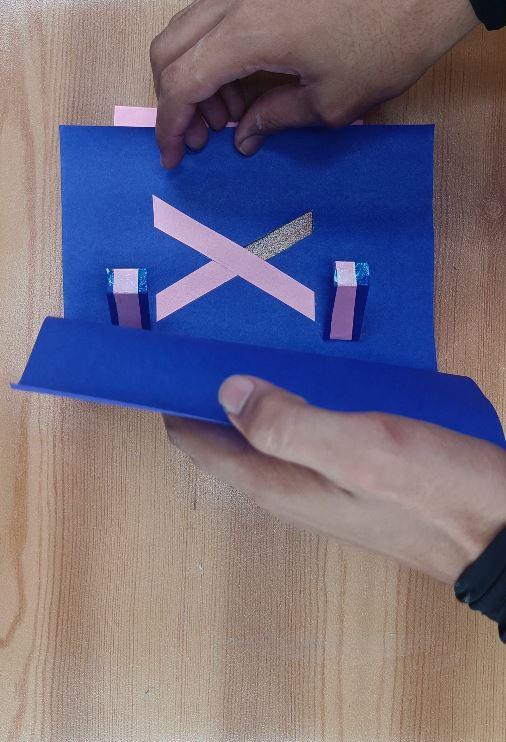


Here we have amalgamated X and Y. On unfolding the X at full stretch the Y will appear.
- On paper the X is drawn in 2D. One part of its leg was cut, this part will be guarded later to form Y in the following transition.
- The Y part is highlighted with a different color paper.
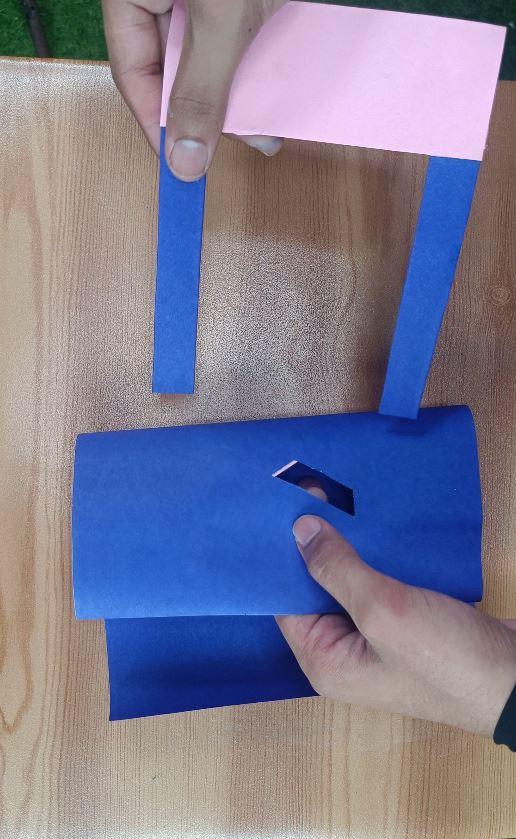
- For the transition a slider is introduced, and fixed to the left half of the card. This slide should be large enough to cover the X entirely while partially opened and fully expose when the card is widely opened. This slider will be laid behind and will be of the same color as the Y.
- The slide is aligned at the starting position of X and marked. Two slits are made above the marks and the slider's arms are inserted from behind.
- Once the slider's arms get inside the card, the arms are glued to the left side of the card.
- Then the entire card is turned over and the slider is hidden using another layer of blue art paper, this sandwitches the slide in between layers.
Conclusion

Thank you for exploring our Alphabet Origami book! We hope you enjoyed the enchanting experience of seeing each letter come to life through the magic of paper folding. Don't forget to share this project with friends and family, and let us know which letter was your favorite. Stay tuned for more creative and inspiring projects!
Postscript
We've tried our best to document the letters, but some parts were so long and intricately detailed that we couldn't document them properly. This entire project was made from our imagination, inspired by many tutorial videos on various pop-up variations. A special mention to artists like Robert Sabuda, a renowned pop-up card maker, whose work greatly inspired us. We hope this artwork will inspire you to create something similar!