Almost Diskless Boot From a Web Server.
by Computothought in Design > Websites
8372 Views, 17 Favorites, 0 Comments
Almost Diskless Boot From a Web Server.
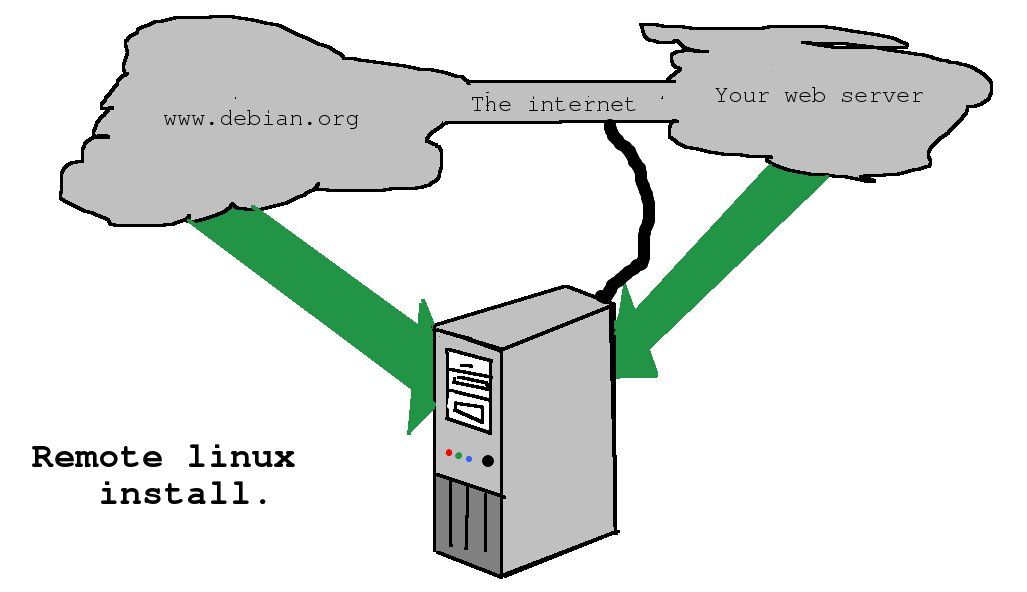
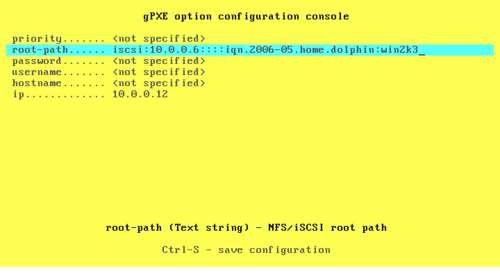
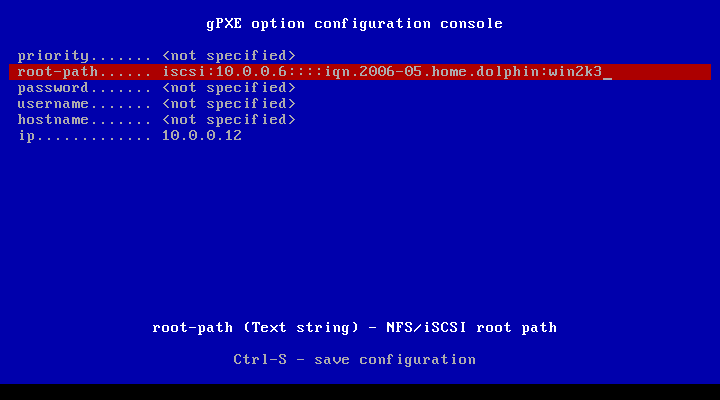
This is instructable if for advanced computer administration users. If you want to try this please get a trained linux administrator to help you. Traditionally if you wanted to do diskless booting, you would have to set up a tftp server and modify your dhcp server to deal with diskless booting. The could be a real hassle. With gpxe all you have to have is the normal dhcp server and a web server. Now you can virtually boot a machine without an operating system anywhere in the world if you web server was accessible. This is great for doing operating system installs or using virtual live cd's. Another advantage of this is that you can still use a machine that is either diskless and or has a dead drive. An excellent way to keep downtime at a minimum.
Note: if you have a gpxe compatible network interface card or a machine with a built in nic that supports gpxe, you can boot diskless to a web server.
Update: Ipxe has now replaced gpxe.
Upload the Disk Image to the Web Server.
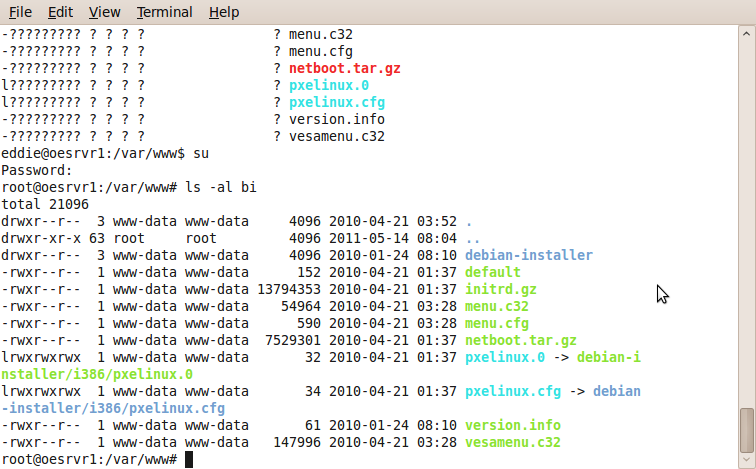
You may have to modify you menu.cfg depending on the version of linux. mine is set up for two different boot images. menu.cfg allows you to choose at boot time which image to use.
menu.cfg
----------------------------------------------------------------------------------------------------------------------------------------
PROMPT 0
ALLOWOPTIONS 0
MENU ROWS 6
MENU TITLE PLEASE CHOSE A SYSTEM TO BOOT
LABEL -
MENU LABEL NETBOOT
MENU DISABLE
LABEL SuSe
MENU LABEL ^1 SUSE
MENU INDENT 1
KERNEL vmlinuz-suse
APPEND ro root=/dev/hda1 initrd=initrd-suse.img
MENU SEPARATOR
LABEL -
MENU LABEL DEBIAN
MENU DISABLE
LABEL DEBIAN
MENU LABEL ^1 DEBIAN
MENU INDENT 1
KERNEL vmlinuz-debian
APPEND ro root=/dev/hda1 initrd=initrd-debian.img
LABEL UBUNTU
MENU LABEL ^2 UBUNTU
MENU INDENT 1
KERNEL vmlinuz-ubuntu
APPEND ro root=/dev/hda1 initrd=initrd-ubuntu.img
Get Your Script Ready.
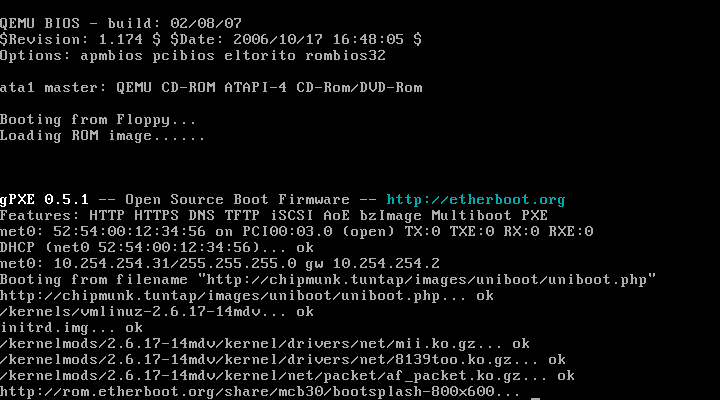
Booting from HTTP with gPXE is as simple as replacing the DHCP filename field with an http:// URL. For example, if you currently have /etc/dhcpd.conf containing
next-server my.tftp.server; filename "/pxe.0";
then you can just copy pxe.0 to your web server and edit /etc/dhcpd.conf to contain
filename "http://my.web.server/pxe.0";
HTTP can handle much larger files than TFTP, and scale to much larger distances. You can easily download multi-megabyte files, such as a Linux kernel and a root filesystem, and you can download from servers that are not on your local area network. We have successfully tested booting across the Atlantic using HTTP!
PXELINUX versions >= 3.70 can use gPXE-provided HTTP. (See syslinux/NEWS “Changes in 3.70”)
By default, PXELINUX will look for its configuration file using TFTP. To override this behaviour, you can specify DHCP options 209 and/or 210. (See syslinux/doc/rfc5071.txt)
You can specify these options with your DHCP service or you can specify them in a gPXE script:
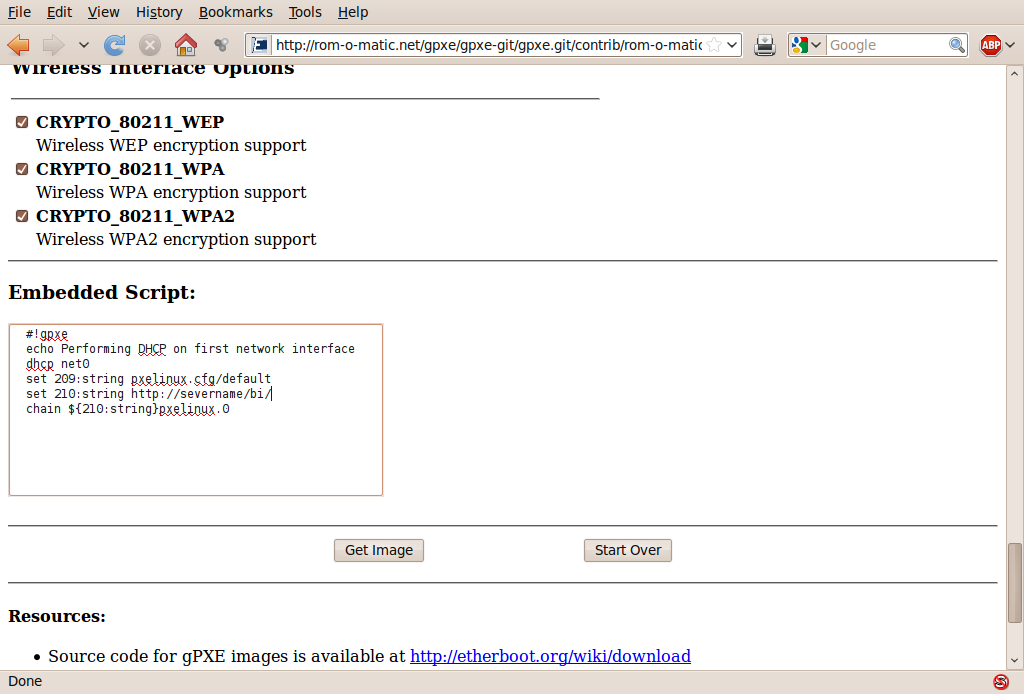
#!gpxe echo Performing DHCP on first network interface dhcp net0 set 209:string pxelinux.cfg/default set 210:string http://example.com/ chain ${210:string}pxelinux.0 The 'chain' command above will be expanded by gPXE to:
chain http://example.com/pxelinux.0
and the chained-to PXELINUX will look for its configuration file using the 210 prefix. All relative paths specified in the PXELINUX configuration file will also have this prefix prepended to them.
Since SYSLINUX 3.85 there is also the option of using gpxelinux.0 with pxelinux.0 embedded, example:
#!gpxe echo Performing DHCP on first network interface dhcp net0 set 209:string pxelinux.cfg/default set 210:string http://example.com/ imgload pxelinux.0 boot pxelinux.0
Get Boot Image for Client.
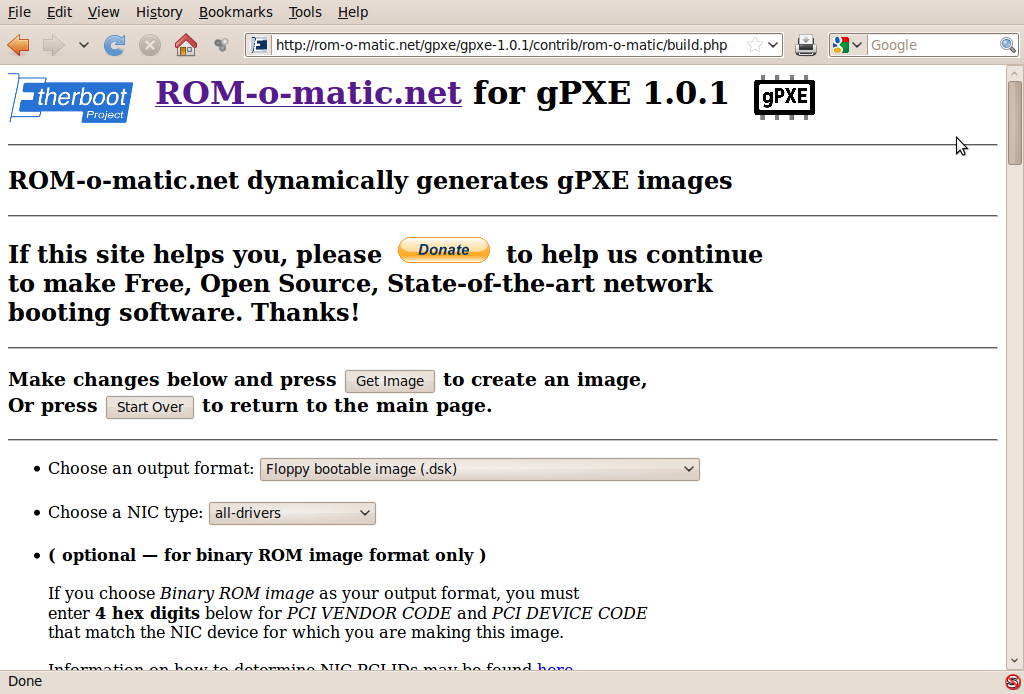
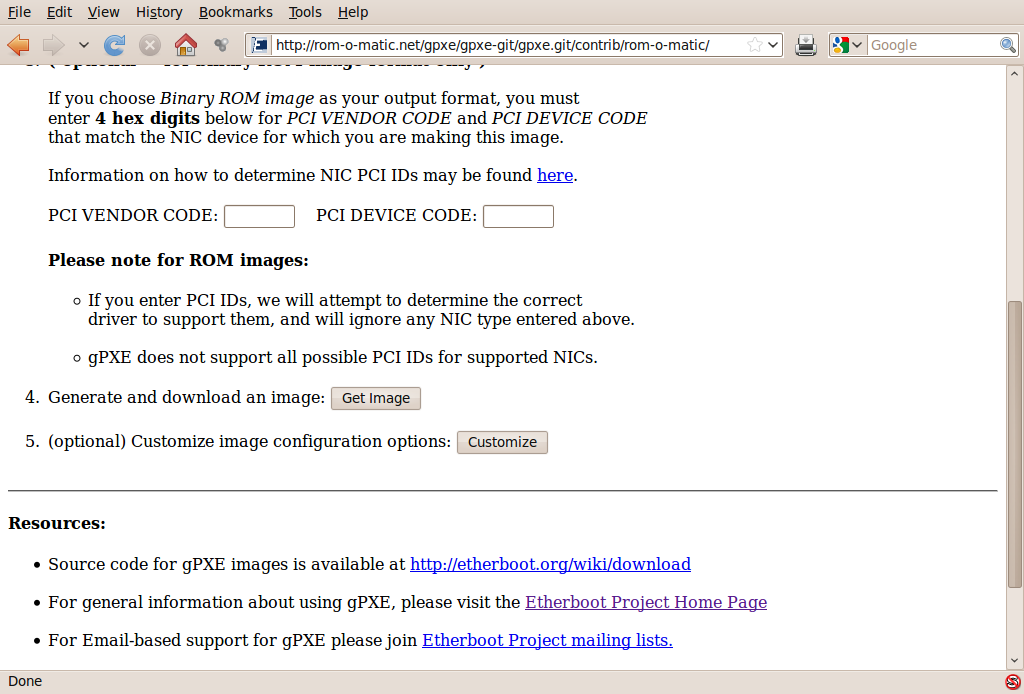
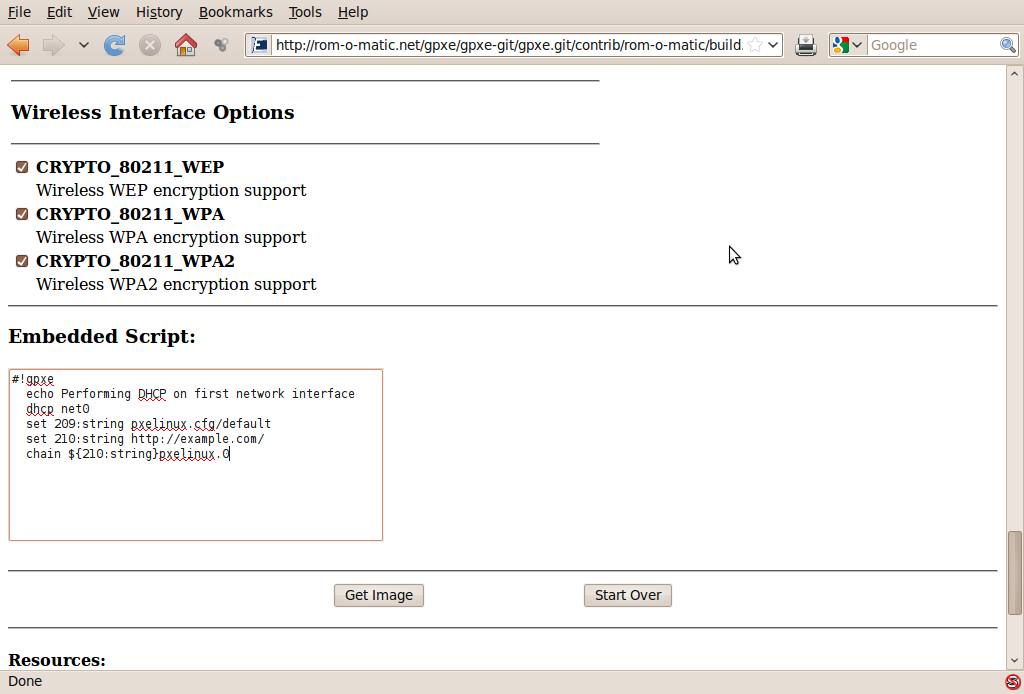
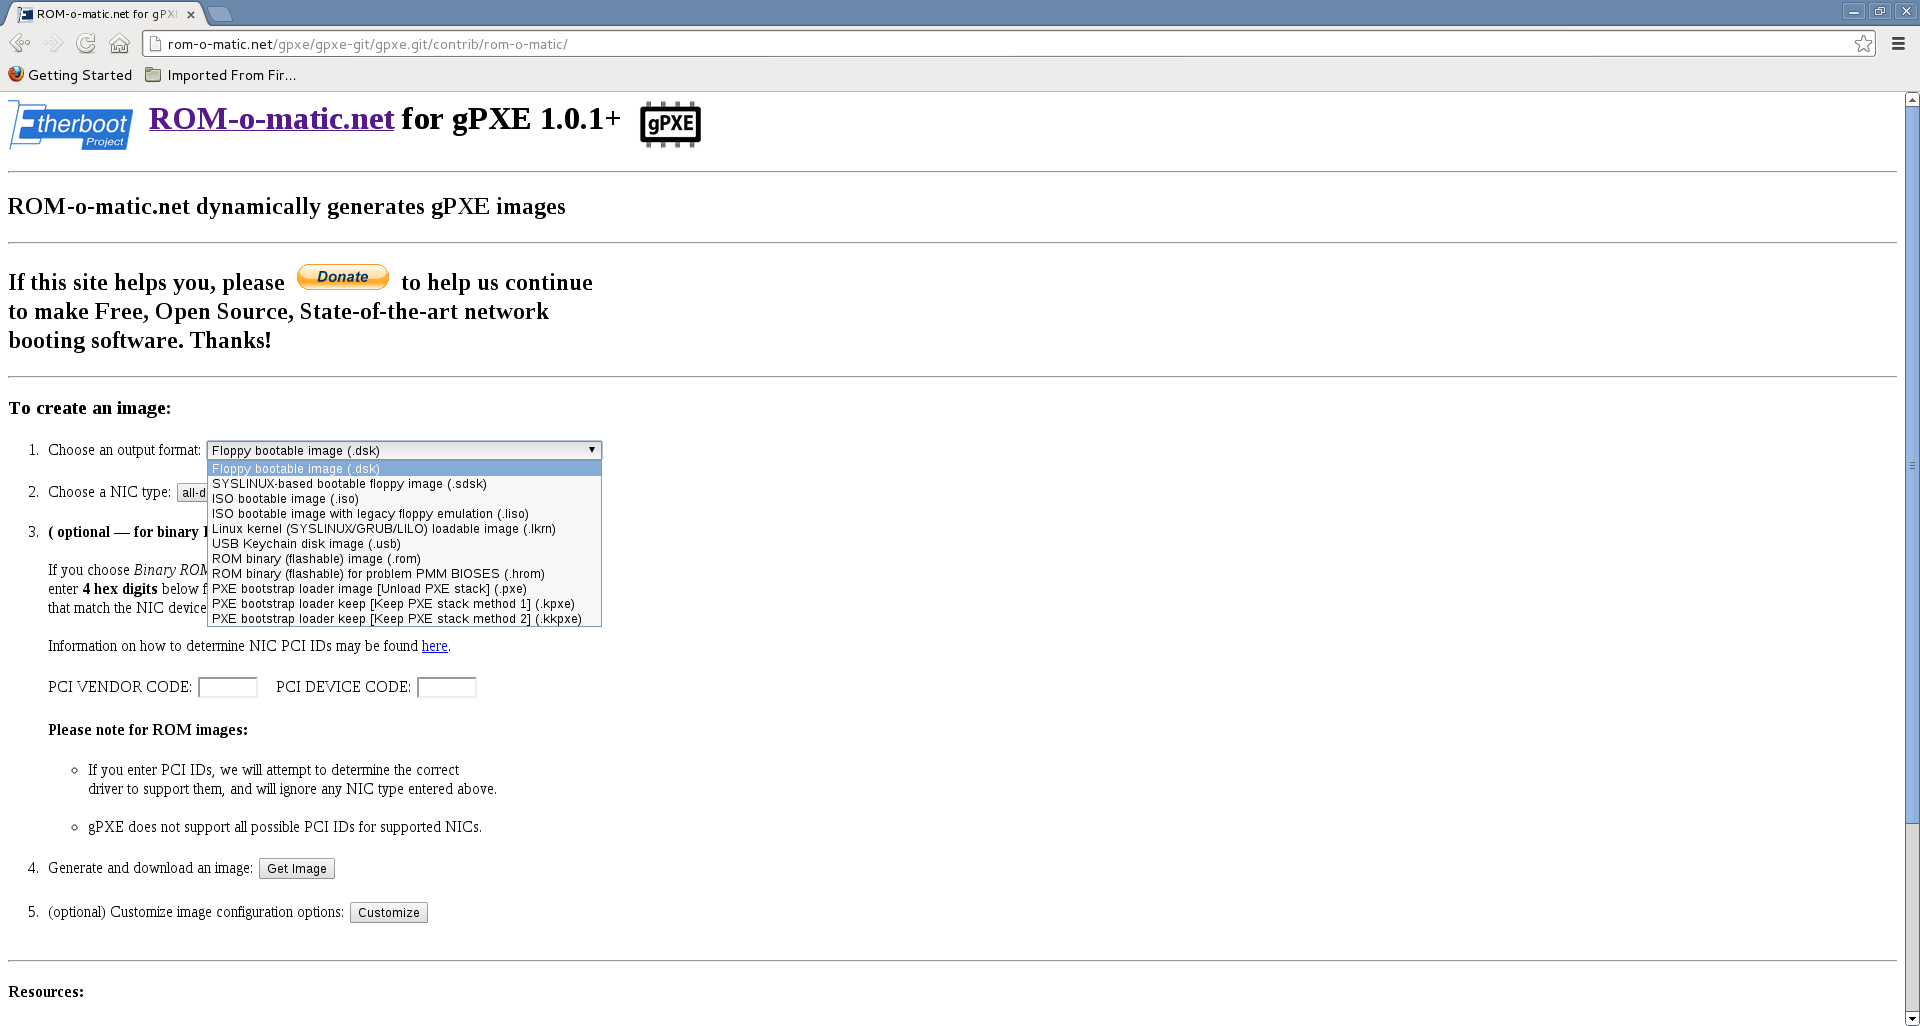
http://rom-o-matic.net/gpxe/gpxe-1.0.1/contrib/rom-o-matic/
Since cdroms are still fairly used, you want to get probably the iso version. There is a usb version also.
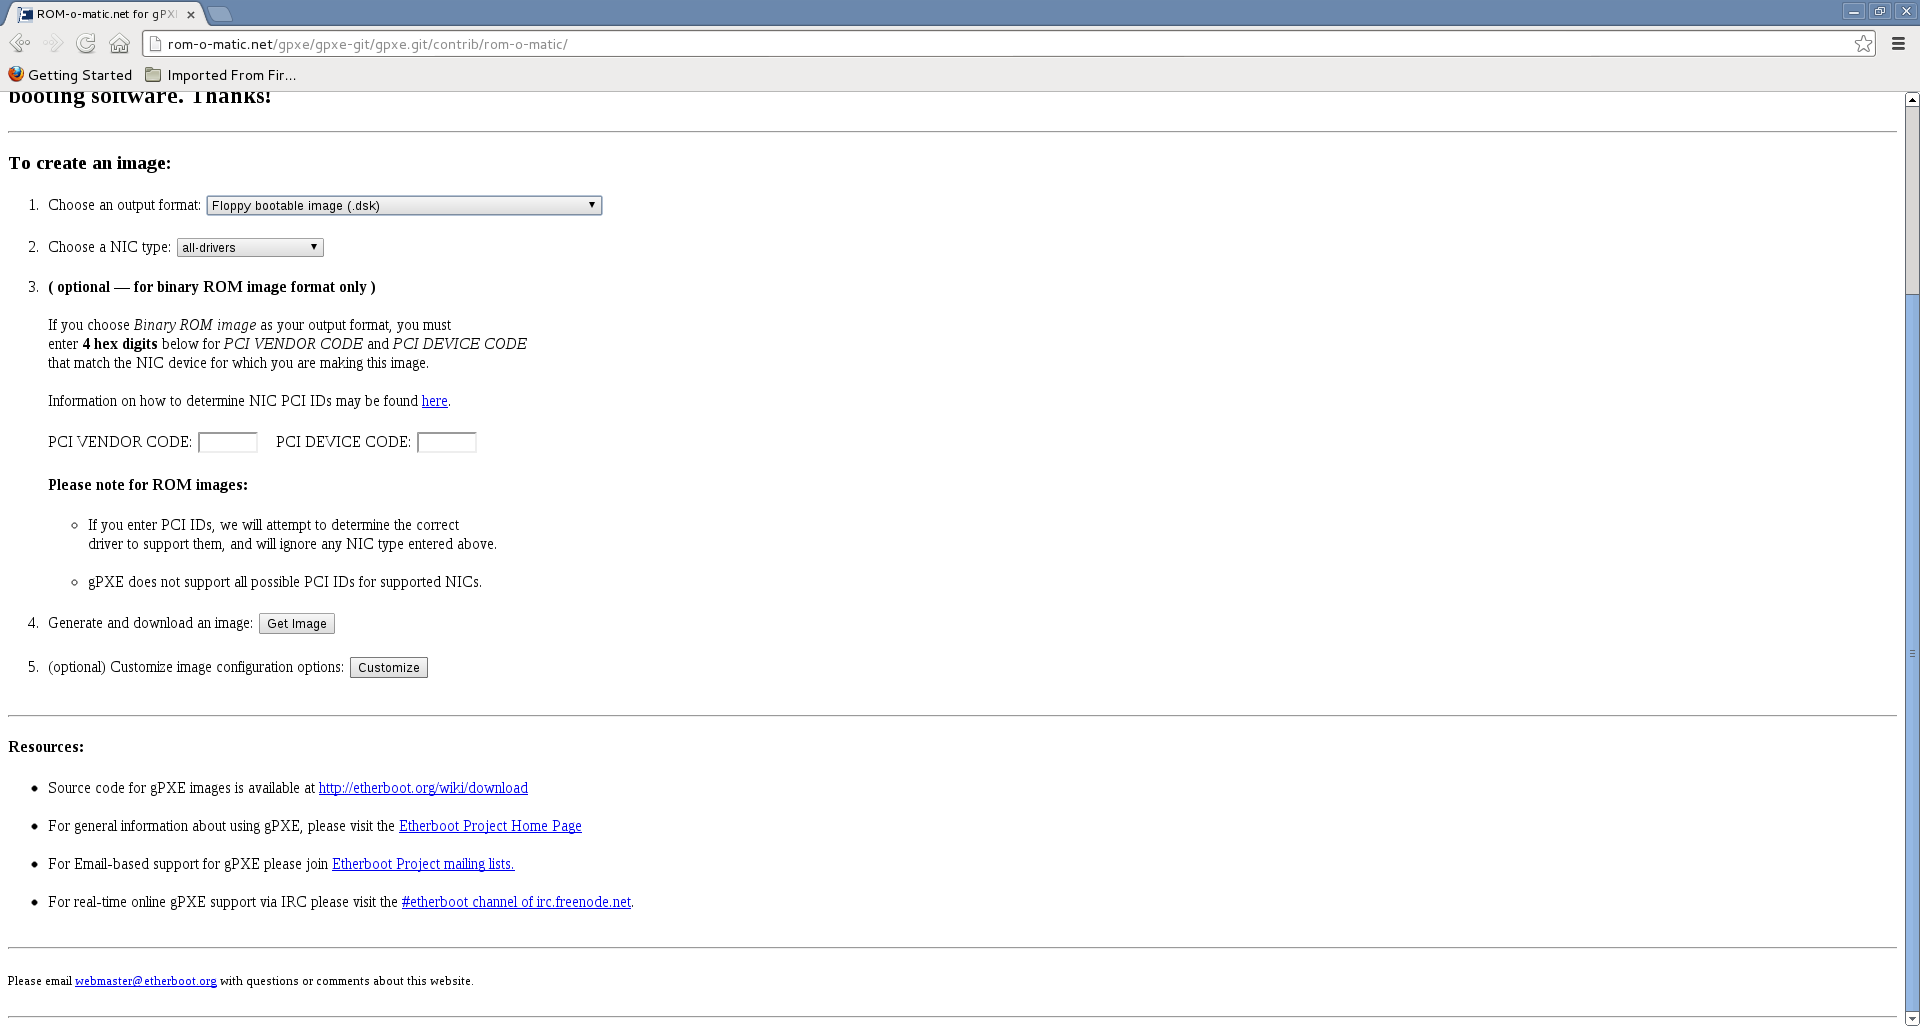
Choose current with all drivers.
then you want to click on customize.
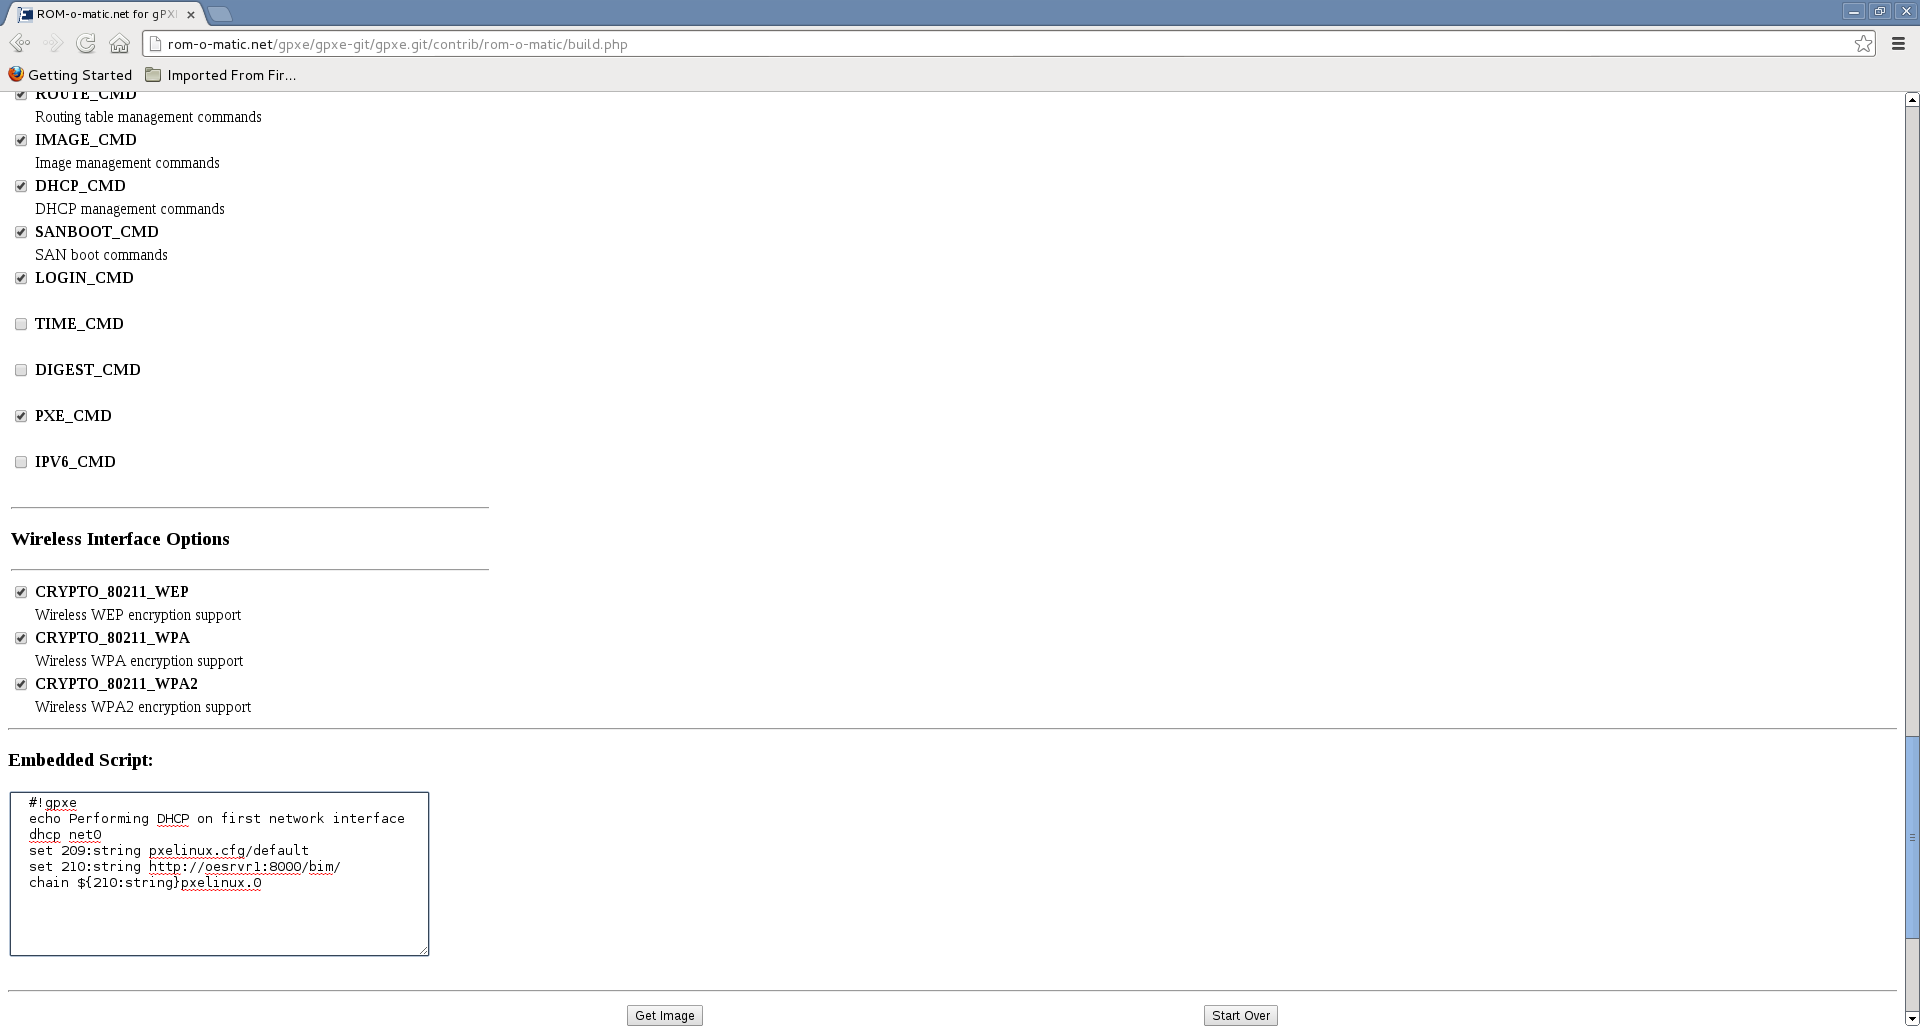
Then you will want to enter your customized script in the box.
then say get image, A disk image will be saved to your current machine.
Now you will want to burn this image with your favorite tool to an unused cdrom disk.
Test.
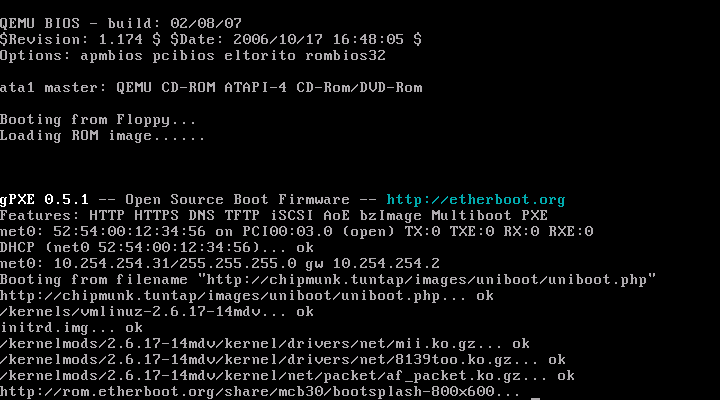
Give it a minute or two and you should be in business!
For more info see: http://www.etherboot.org/wiki/
net boot.zip is not a complete dir You need all the files listed in step6 such as the debian installer directory, .
pxelinux.0, and the mini.iso. These files were too large to upload.unzip
Move the directory to a directory within your /var/www apache2 framework.
$ sudo chown -R www-data:www-data netboot
$ sudo chmod -R 755 netboot
Go to www.romomatic.net and get your boot image for your client (do not forget to add the web address where the netboot directory is as part of the setup). (hints for script set up: http://reboot.pro/11512/)
Boot with your client machine.
Downloads
Debian File Locations.
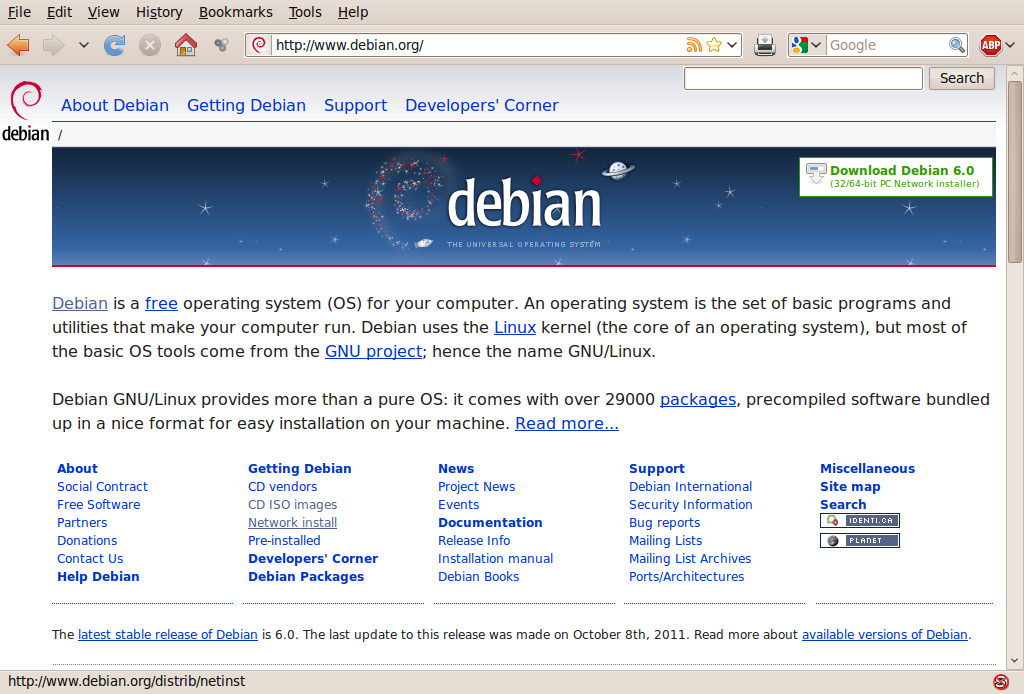
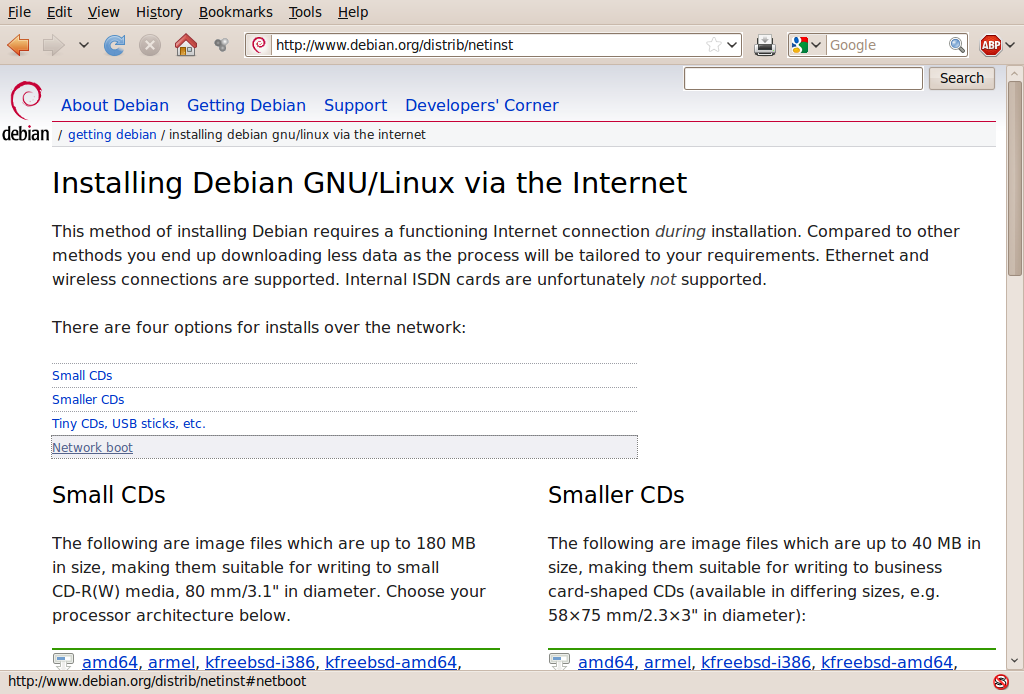
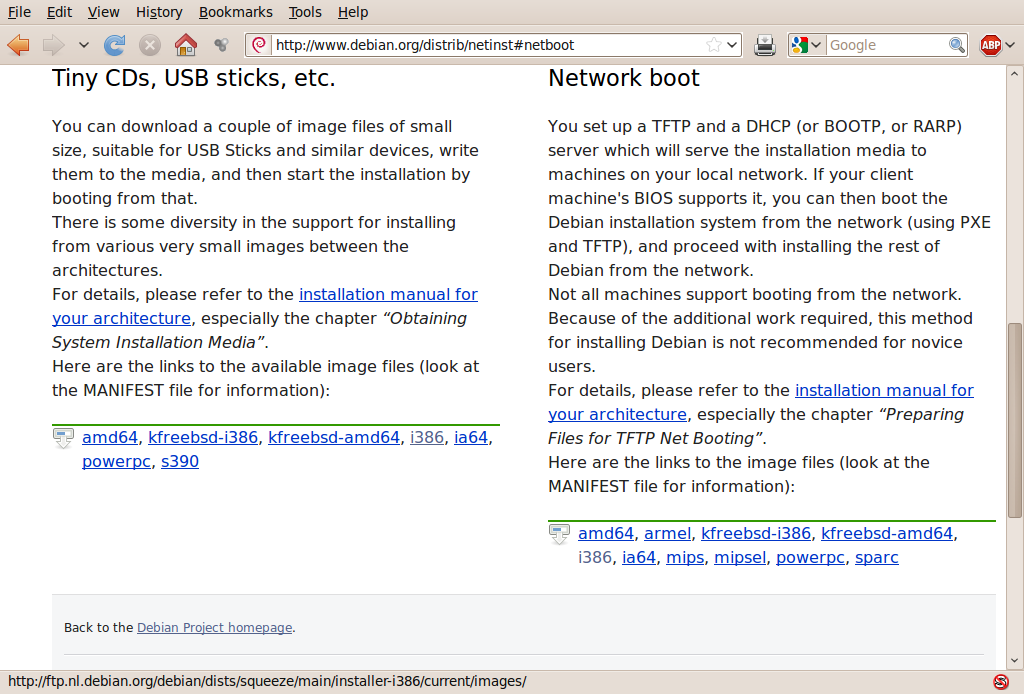


Overview for a Net Install.
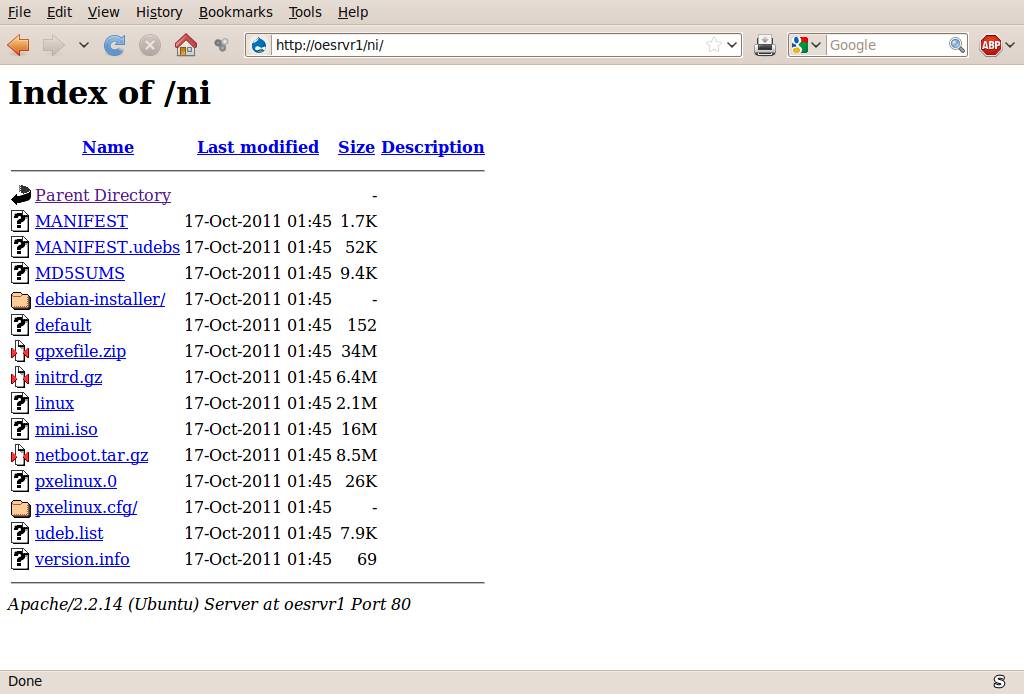
$ :/var/www$ sudo mkdir ni
$ cd !$
$ :/var/www/ni$ ls
debian-installer initrd.gz MANIFEST.udebs netboot.tar.gz udeb.list
default linux MD5SUMS pxelinux.0 version.info
gpxefile.zip MANIFEST mini.iso pxelinux.cfg
$ _
(Files are for debian squeeze install)
You may have to untar netboot.tar.gz to have all the files.
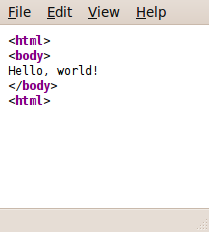
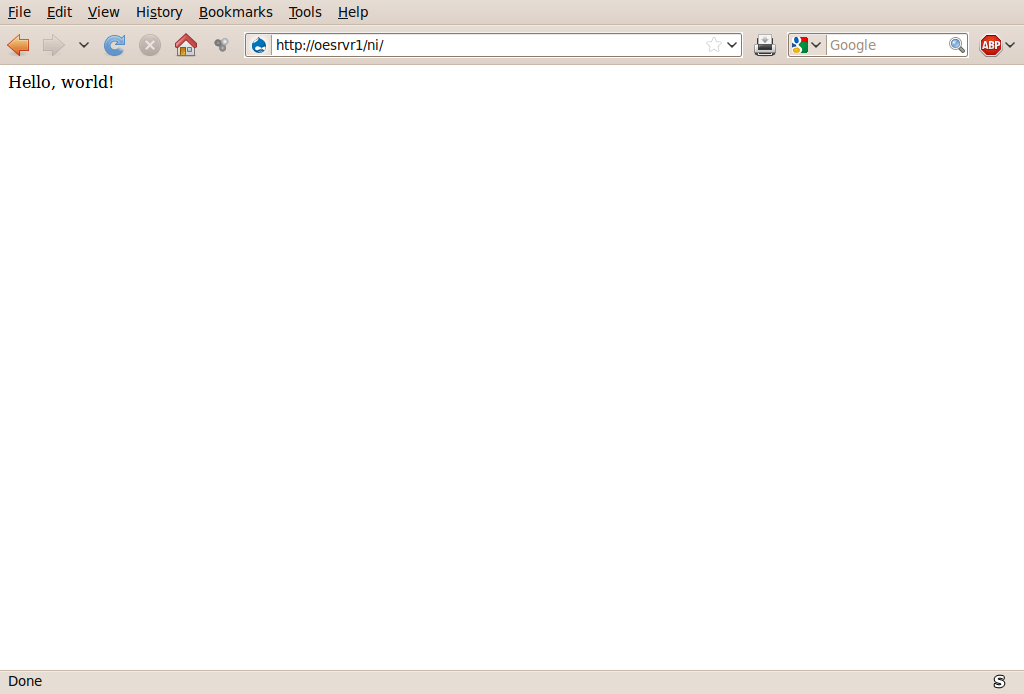
You want to change the permissions as in the last step. You should be able in your web browser to go to http://servername/ni and see the files. I usually put an index.html file to hide the files from prying eyes.
The go to romomatic.org and create your boot media. Click on customize;
(Default to all net cards for just for simplicity. it will even fit on a floppy)
You can specify these options with your DHCP service or you can specify them in a gPXE script:
#!gpxe echo Performing DHCP on first network interface dhcp net0 set 209:string pxelinux.cfg/default set 210:string http://severname/bi/ <<<<<<<<<<<<<<<<< Change to your server and directory name chain ${210:string}pxelinux.0 The 'chain' command above will be expanded by gPXE to:
chain http://servername/bi/pxelinux.0
and the chained-to PXELINUX will look for its configuration file using the 210 prefix. All relative paths specified in the PXELINUX configuration file will also have this prefix prepended to them.
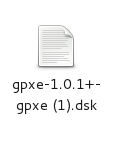
"Get image" when you have prepared your script. The file will be saved to your local machine.
If you are going use a floppy to boot the intended machine then you will need to create a floppy.
Put a clean or unneeded 1.44m floppy in the drive (assuming it is the first drive)
$ sudo dd if=gpxe-1.0.1+-gpxe.dsk of=/dev/fd0
It will let you know when it is done. With the files on the server, then go boot with the floppy you just made!
(note: the computer needed to be attached to the network!)
Have fun!
Note
Ithink I am using the bi instead of ni directory now. In any caseit must be the same directory the boot disk is looking for..
Update: Things Are Much Easier Now!
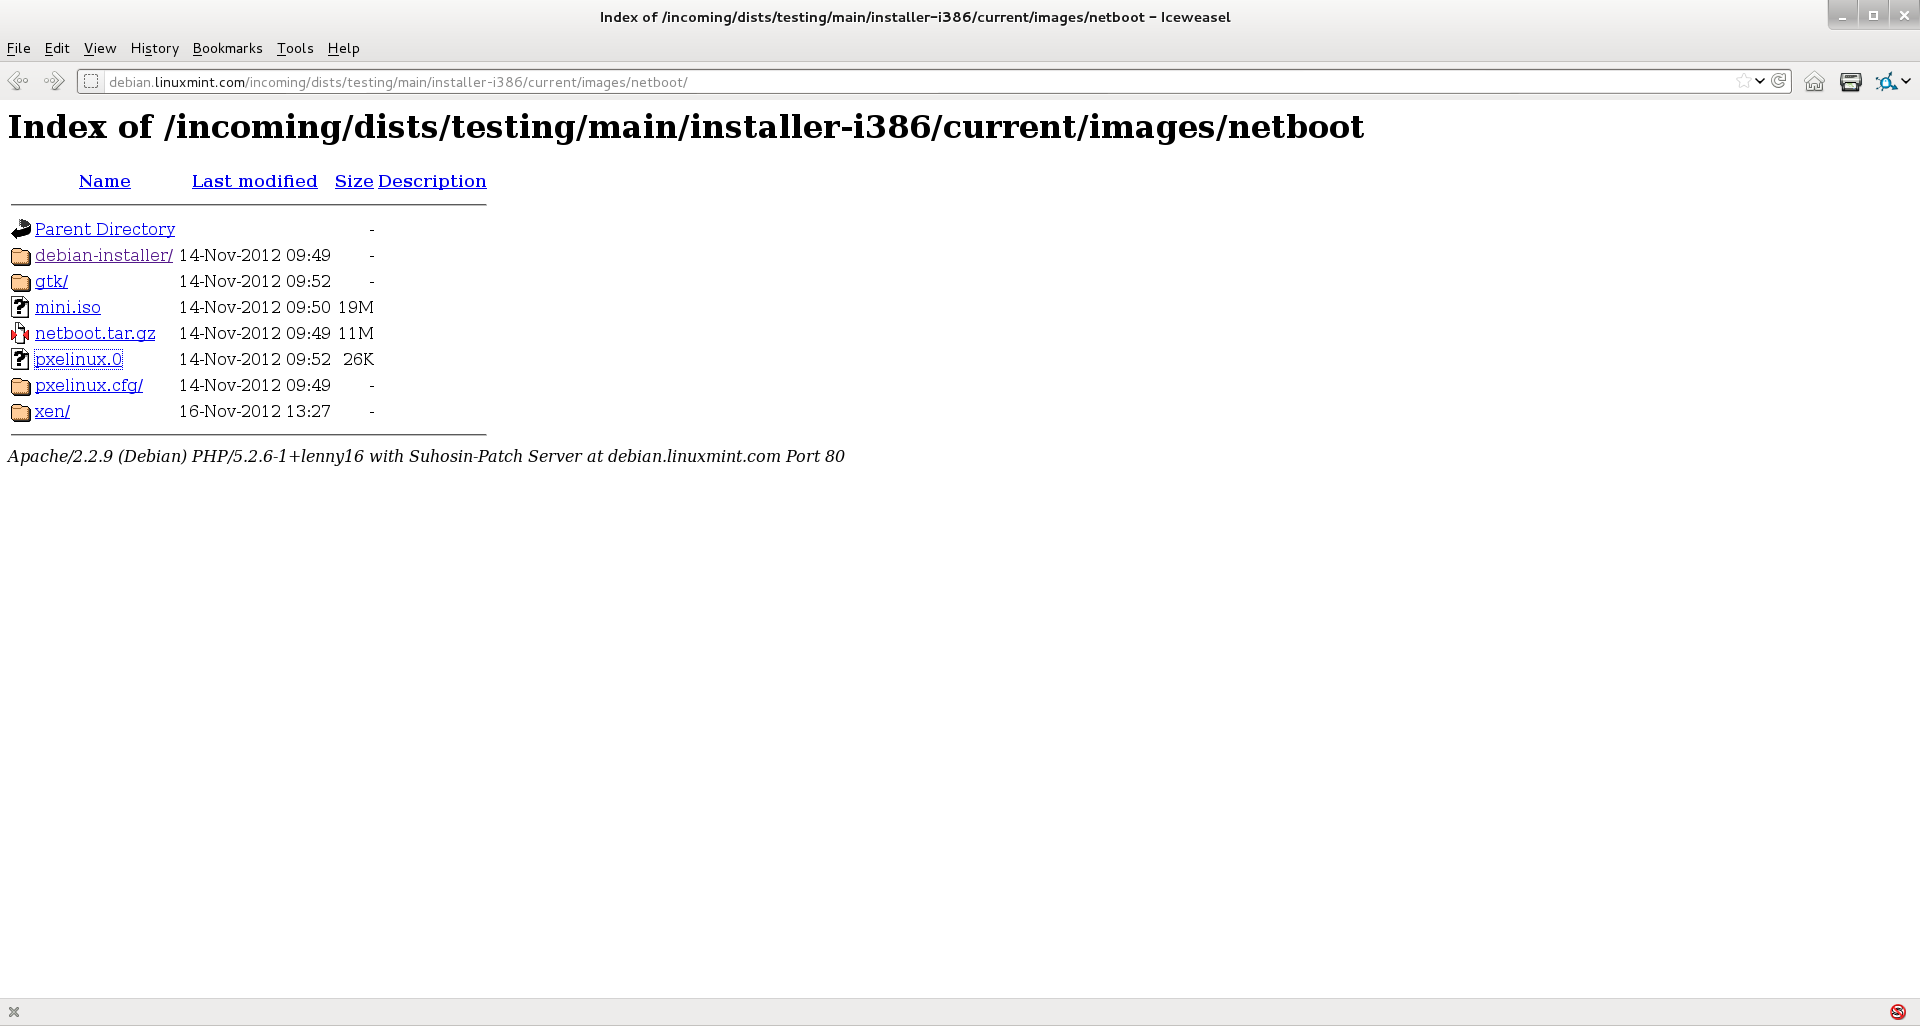
Linux Debian is kind of taking of the reigns of being one of the most
popular linux distros. Like installing any operating system the traditional way, you can run into roadblocks. For example, you may not be able to burn a linux cd, the machine you want to load linux on has a broken cd/dvd rom, or a host of other reasons. What we are about to do is what is known as pxeboot networking. Another words we will use a web server to get us started with a linux install on a system. Traditionally you actually had to have several servers to do the network install. You had to modify a Dhcp (Ipaddress servers) server, a Tftp (boot files) server, and among other systems which general required a lot of setup and the blessing of the system administrator,
Tried this with the python web server, but you have to have all the files in one directory from what I could see. I just did not want to take the time to do it.
$ python -m SimpleHTTPServer
I went ahead and used the Apache2 web server. You can get portable versions of the Apache2 web server so that there is not much to install. But before I get ahead of myself, we need a way to boot the target computer to access the network.
Etherboot led the way in this direction and had now graduated to Ipxe. (more information at www.etherboot.org). So we need to make a boot disk for the computer we want to install linux on. You have severaal choices. For our purposes a floppy will be used. You can also use a cd/dvd rom disk and or a very small usb stick. We need to go to www.etherboot.org). to create the boot media for our system.
We chose the floppy disk. Now even though we can use the floppy disk to access the network, we need to add a short script to let the floppy know about the web server we want to use. in our case the script was for oeorgan1 using the debian in /var/www directory. The script is pretty standard so all we had to do was to change one line of the script.
#!gpxe echo Performing DHCP on first network interface dhcp net0 set 209:string pxelinux.cfg/default set 210:string http://oeorgan1/debian/ chain ${210:string}pxelinux.0
You will press the customization button to get the text box where to enter the script. If the script is ok, the you want to save it to your existing system. It is usually saved as a very long name so I use the gui to rename it to test.dsk.
Now we need to get the image written to the floppy and that is pretty easy,
$ sudo dd if=test.dsk of=/dev/fd0
The client machine is ready to go, so now let us look at the server. You probably want to make a special directory such as debian in your document root. /var/www/.
$ sudo mkdir debian
$ cd debian
Now that we have a place to store the files we need to download them. Remember we will not have to burn a dvd. Here is where the files are, so all you have to do is download them directly to your web server,
$ sudo wget http://debian.linuxmint.com/incoming/dists/testin... i386/current/images/netboot/netboot.tar.gz
The we need to expand the archive in the /var/www/debian director.
$ tar zxvf netboot.tar.gz
Then you also need to get the cdrom image file for your system. In this case we are going for the i386 version,
$ wget http://ftp.nl.debian.org/debian/dists/wheezy/main...
That is all you need! Make sure your apache2 web server is running though.
$ sudo service apache2 status
Apache is running (pid 12345)
Now it is time to boot up your client machine with the ffloppy media!
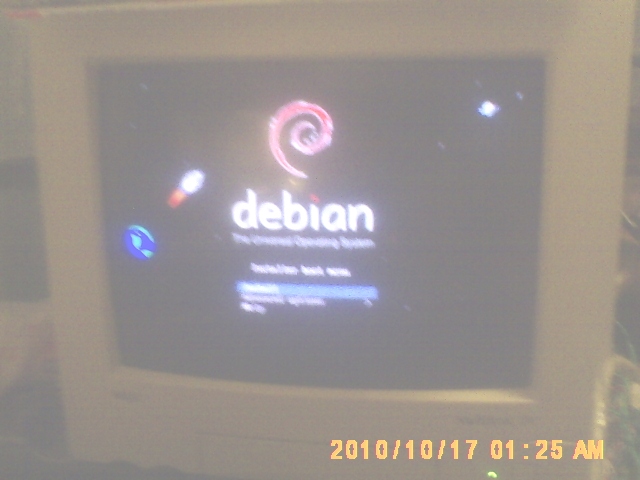
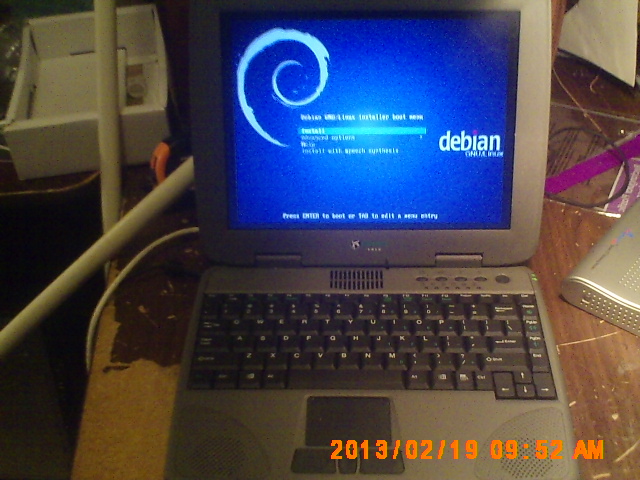
In just a few seconds you should get the install menu. Now the rest of the install should come from the internet. That is another article. We have our server set up to support several linux distros. i.e. Debian, Mint, Ubuntu, and others. Using a standard boot media, there is.no need to burn new cd's every time a new version of linux comes out. Have fun!
Even if your computer does not have a floppy drive you can get a usb floppy drive fairly cheap. Since the data on the floppy is so small, it should not take long to load even with a usb floppy drive.. For mass installs we recommend the cobbler, drbd/clonezilla, or as a last resort the Fog software. I will talk about them later. Last but not least you can also use this method to install MSWindows systems..
Minimal Netboot.

https://releng.archlinux.org/pxeboot/
If you fell limited by Ubuntu linux, Arch is a nice alternative.
Boot.kernel.org which has evevoled over the years had a nice multiple floppy, cd, and usb boot media. (not sure how up to date it is).
Mirror: http://boot.rit.edu/
It is easy enought to build your own setup with the help of www.etherboot.org amd http://rom-o-matic.net/
----------------------------------------------
Openbsd, netbsd, and etc will also let you boot insto a network installl from a set of floppys.
Additional Notes.
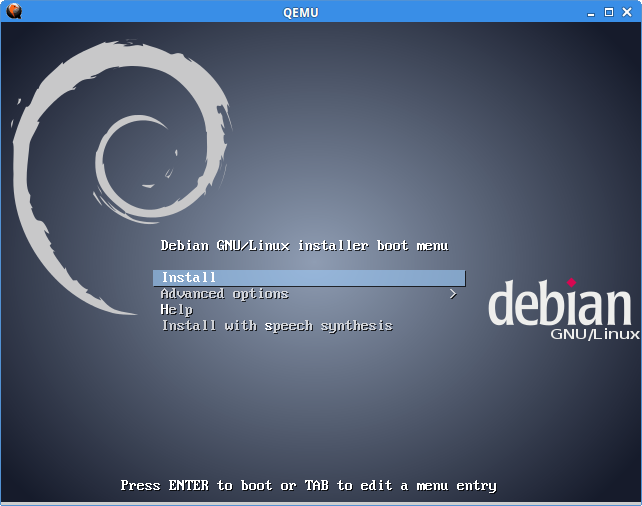
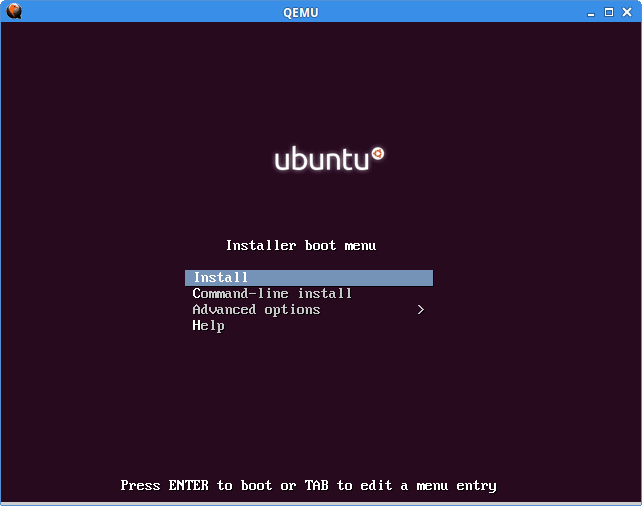
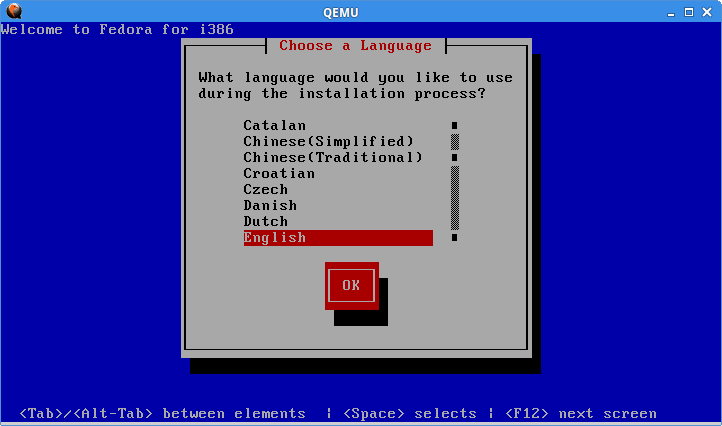
Just a few notes about doing an http based linux install.
Linux Debian is kind of taking of the reigns of being one of the most popular linux distros. Like installing any operating system the traditional way, you can run into roadblocks. For example, you may not be able to burn a linux cd, the machine you want to load linux on has a broken cd/dvd rom, or a host of other reasons. What we are about to do is what is known as pxeboot networking. Another words we will use a web server to get us started with a linux install on a system. Traditionally you actually had to have several servers to do the network install. You had to modify a Dhcp (Ipaddress servers) server, a Tftp (boot files) server, and among other systems which general required a lot of setup and the blessing of the system administrator,
Tried this with the python web server, but you have to have all the files in one directory from what I could see. I just did not want to take the time to do it.
$ python -m SimpleHTTPServer
I went ahead and used the Apache2 web server. You can get portable versions of the Apache2 web server so that there is not much to install. But before I get ahead of myself, we need a way to boot the target computer to access the network.
Etherboot led the way in this direction and had now graduated to Ipxe. (more information at http://www.etherboot.org). So we need to make a boot disk for the computer we want to install linux on. You have severaal choices. For our purposes a floppy will be used. You can also use a cd/dvd rom disk and or a very small usb stick. We need to go to http://www.romomatic.org to create the boot media for our system.
We chose the floppy disk. Now even though we can use the floppy disk to access the network, we need to add a short script to let the floppy know about the web server we want to use. in our case the script was for oeorgan1 using the debian in /var/www directory. The script is pretty standard so all we had to do was to change one line of the script.
#!gpxe
echo Performing DHCP on first network interface
dhcp net0
set 209:string pxelinux.cfg/default
set 210:string http://oeorgan1/debian/
chain ${210:string}pxelinux.0
You will press the customization button to get the text box where to enter the script. If the script is ok, the you want to save it to your existing system. It is usually saved as a very long name so I use the gui to rename it to test.dsk.
Now we need to get the image written to the floppy and that is pretty easy,
$ sudo dd if=test.dsk of=/dev/fd0
Note: on newer systems it might be something like:
$ sudo dd if=gpxe-1.0.1+-gpxe.dsk of=/dev/sdb
The client machine is ready to go, so now let us look at the server. You probably want to make a special directory such as debian in your document root. /var/www/.
$ sudo mkdir debian
$ cd debian
Now that we have a place to store the files we need to download them. Remember we will not have to burn a dvd. Here is where the files are, so all you have to do is download them directly to your web server,
$ sudo wget http://debian.linuxmint.com/incoming/dists/testing/main/installer- i386/current/images/netboot/netboot.tar.gz
The we need to expand the archive in the /var/www/debian directory.
$ tar zxvf netboot.tar.gz
Then you also need to get the cdrom image file for your system. In this case we are going for the i386 version,
$ wget http://ftp.nl.debian.org/debian/dists/wheezy/main/installer-i386/current/images/netboot/mini.iso
That is all you need! Make sure your apache2 web server is running though.
$ sudo service apache2 status
Apache is running (pid 12345)
Now it is time to boot up your client machine with the floppy media!
In just a few seconds you should get the install menu. Now the rest of the install should come from the internet. That is another article. We have our server set up to support several linux distros. i.e. Debian, Mint, Ubuntu, and others. Using a standard boot media, there is.no need to burn new cd’s every time a new version of linux comes out. Have fun!
Even if your computer does not have a floppy drive you can get a usb floppy drive fairly cheap. Since the data on the floppy is so small, it should not take long to load even with a usb floppy drive.. For mass installs we recommend the cobbler, drbd/clonezilla, or as a last resort the Fog software. I will talk about them later. Last but not least you can also use this method to install MSWindows systems.
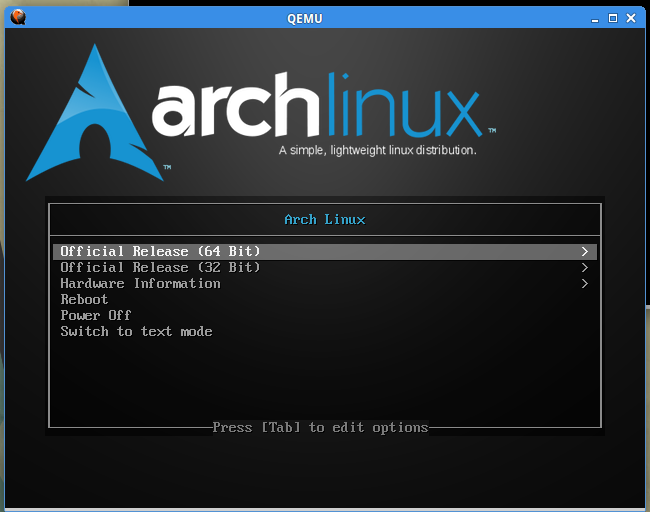
Arch Linux Netboot Live System
The Arch Linux netboot environment allows booting Arch Linux live media directly over the network. It will boot into a menu where you can choose from a list of available mirrors. The image will be downloaded into memory.
Requirements: A computer that connects to the internet via LAN and DHCP.
If your ethernet NIC is not supported by iPXE, you must use your NIC’s netboot capabilities. This is only possible if you select “Boot from network” in the BIOS and configure your DHCP server to load the PXE image provided below. In this case, the UNDI driver will be used for downloads until Linux is booted. The first stage of the download can be extremely slow.
Test netboot with qemu
Download an iPXE kernel image.
ipxe.lkrn Graphical Menuipxe_text.lkrn Text Menu Run qemu with the kernel image:
qemu -m 1G -kernel ipxe.lkrn Boot with any Linux bootloader
Download an iPXE kernel image to /boot.
ipxe.lkrn Graphical Menuipxe_text.lkrn Text Menu Add the image to your bootloader configuration:
GRUB 2:
menuentry 'Arch Linux Netboot Environment' { set root='(hd0,1)' linux16 /ipxe.lkrn } Syslinux:
LABEL archnetboot MENU LABEL Arch Linux Netboot Environment KERNEL /ipxe.lkrn GRUB Legacy:
title Arch Linux Netboot Environment kernel (hd0,0)/ipxe.lkrn Boot from USB
Install a bootloader (e.g. GRUB or syslinux) onto the USB drive and use the .lkrn file as described above.
Boot from Floppy
Download an iPXE floppy image.
ipxe.dsk Graphical Menuipxe_text.dsk Text Menu Write the image to your floppy:
dd if=ipxe.dsk of=/dev/fd0 Boot from CD
Download an iPXE ISO image and write it to a CD.
ipxe.iso Graphical Menuipxe_text.iso Text Menu Boot from the network (from the Arch documentation)
There are two ways to do this:
Using an iPXE image
Download an iPXE PXE image into your TFTP root.
ipxe.pxe Graphical Menuipxe_text.pxe Text Menu Set the PXE filename to ipxe.pxe (using the filename option in dhcpd or the -M option in dnsmasq).
This method is recommended, as it will always work – if iPXE lacks a native NIC driver, the UNDI driver will be used.
Flashing your boot ROM
You can build a custom iPXE images and flash it to your boot ROM. You must include one of the following iPXE scripts:
arch.ipxe Graphical Menuarch_text.ipxe Text Menu If you do this, your computer will always boot the Arch netboot environment when you netboot your computer.
Been spending time looking at booting systems to the net to install linux operating systems. So far we have looked at Arch and Debian based systems. Both Fedora and Centos have pre-made iso’s for network install.
Centos:
http://www.centos.org/download/
Fedora:
http://fedoraproject.org/en/get-fedora
But if you want to roll your own, here are some scripts to look at:
Fedora
#!ipxe
dhcp any
# Set source URI
set mirror http://download.fedoraproject.org/pub/fedora/linux/releases/20
# Detect CPU architecture and calculate repository URI
set arch i386
set repo ${mirror}/Fedora/${arch}/os
# Start installer
kernel ${repo}/images/pxeboot/vmlinuz initrd=initrd.img repo=${repo}
initrd ${repo}/images/pxeboot/initrd.img
boot
or
#!ipxe
dhcp any
# Set source URI
set mirror http://download.fedoraproject.org/pub/fedora/linux/releases/18
# Detect CPU architecture and calculate repository URI
cpuid –ext 29 && set arch x86_64 || set arch i386
set repo ${mirror}/Fedora/${arch}/os
# Start installer
kernel ${repo}/images/pxeboot/vmlinuz initrd=initrd.img repo=${repo}
initrd ${repo}/images/pxeboot/initrd.img
boot
or older releases
#!ipxe
dhcp any
# Set source URI
set mirror http://archives.fedoraproject.org/pub/archive/fedora/linux/releases/14
# Detect CPU architecture and calculate repository URI
set arch i386
set repo ${mirror}/Fedora/${arch}/os
# Start installer
kernel ${repo}/images/pxeboot/vmlinuz initrd=initrd.img repo=${repo}
initrd ${repo}/images/pxeboot/initrd.img
boot
———————————————-
Centos
dhcp any
set base http://mirror.centos.org/centos/6/os/x86_64
kernel ${base}/images/pxeboot/vmlinuz stage2=${base}/images/install.img ksdevice=${netX/mac}
initrd ${base}/images/pxeboot/initrd.img
boot
=================================
Our local server ipxe script
dhcp any
set base http://oeorgan1/distro/centos
kernel ${base}/pxeboot/vmlinuz stage2=${base}/install.img ksdevice=${netX/mac}
initrd ${base}/pxeboot/initrd.img
boot
Files for local server needed:
${base}/
boot.iso
install.img
${base}/pxeboot/
initrd.img
vmlinuz