Laser Cut Algebra Balance - Teaching Tool
by gasserwoodshop in Workshop > Laser Cutting
4201 Views, 47 Favorites, 0 Comments
Laser Cut Algebra Balance - Teaching Tool
.jpg)
.jpg)
.jpg)
I am a middle school math teacher (woodshop and "maker" teacher too) an am always looking for a way to explain things in different ways. We are working on balancing simple equations in class. We use algebra tiles to help describe what these problems looks like and have used online tools like this one. I was looking for a better way to make things more tangible and logical for my students. Then I came across this very interesting balance and decided that this is something that a laser cutter could make!
So here is my journey!
What does it do!!!???
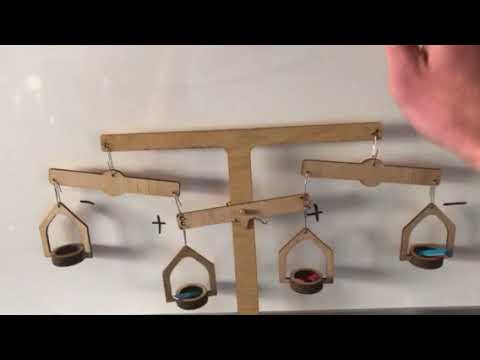
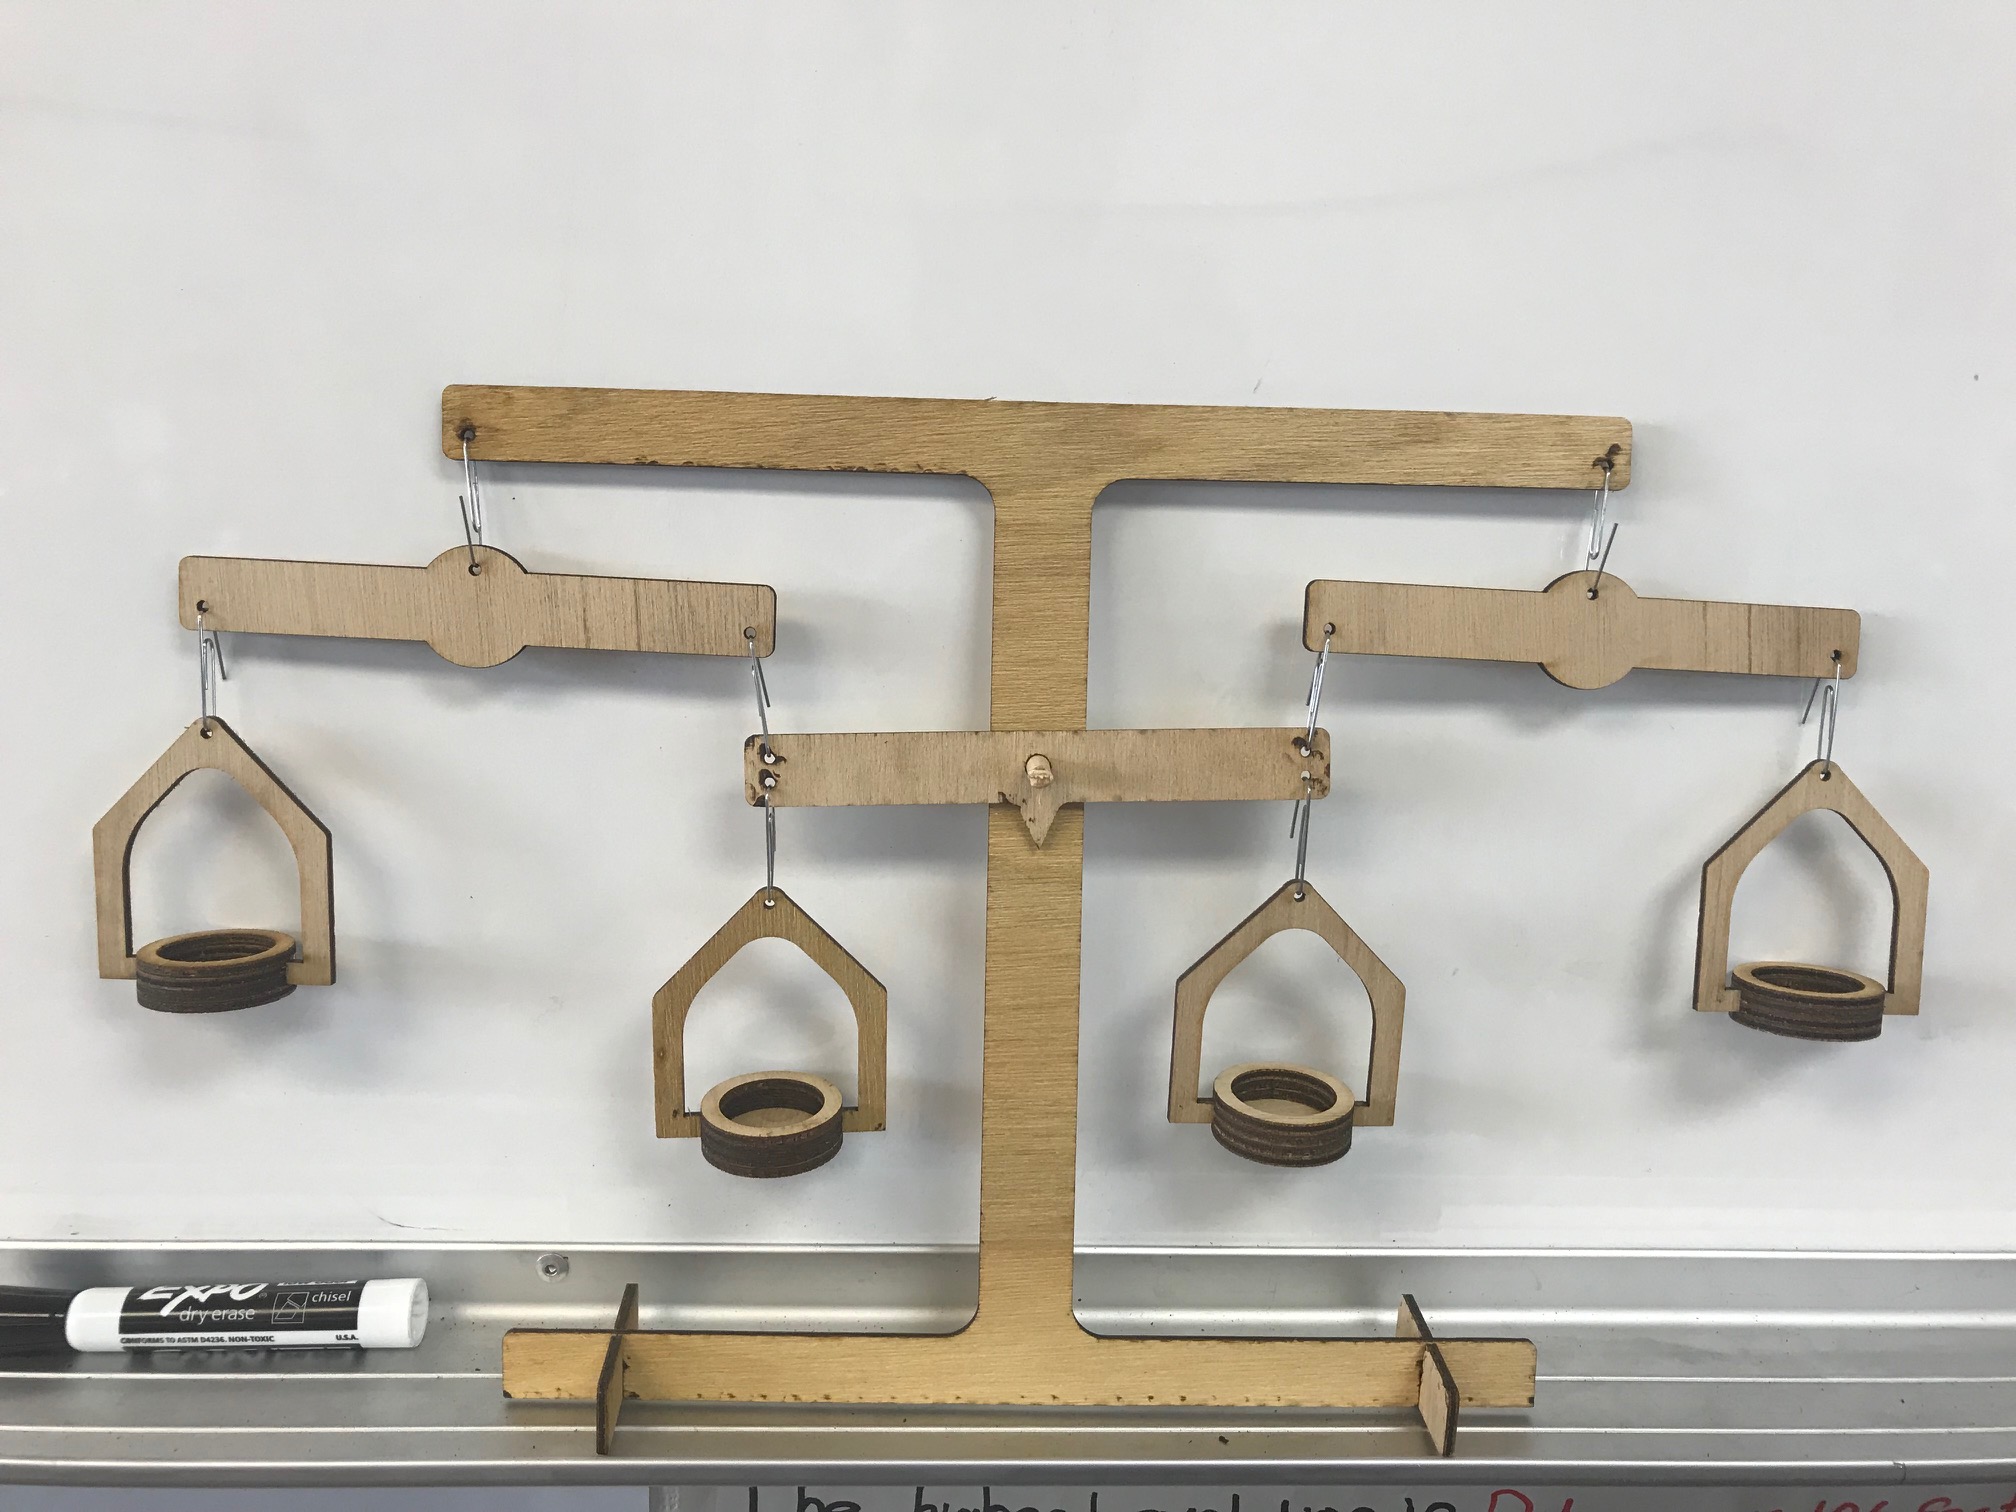
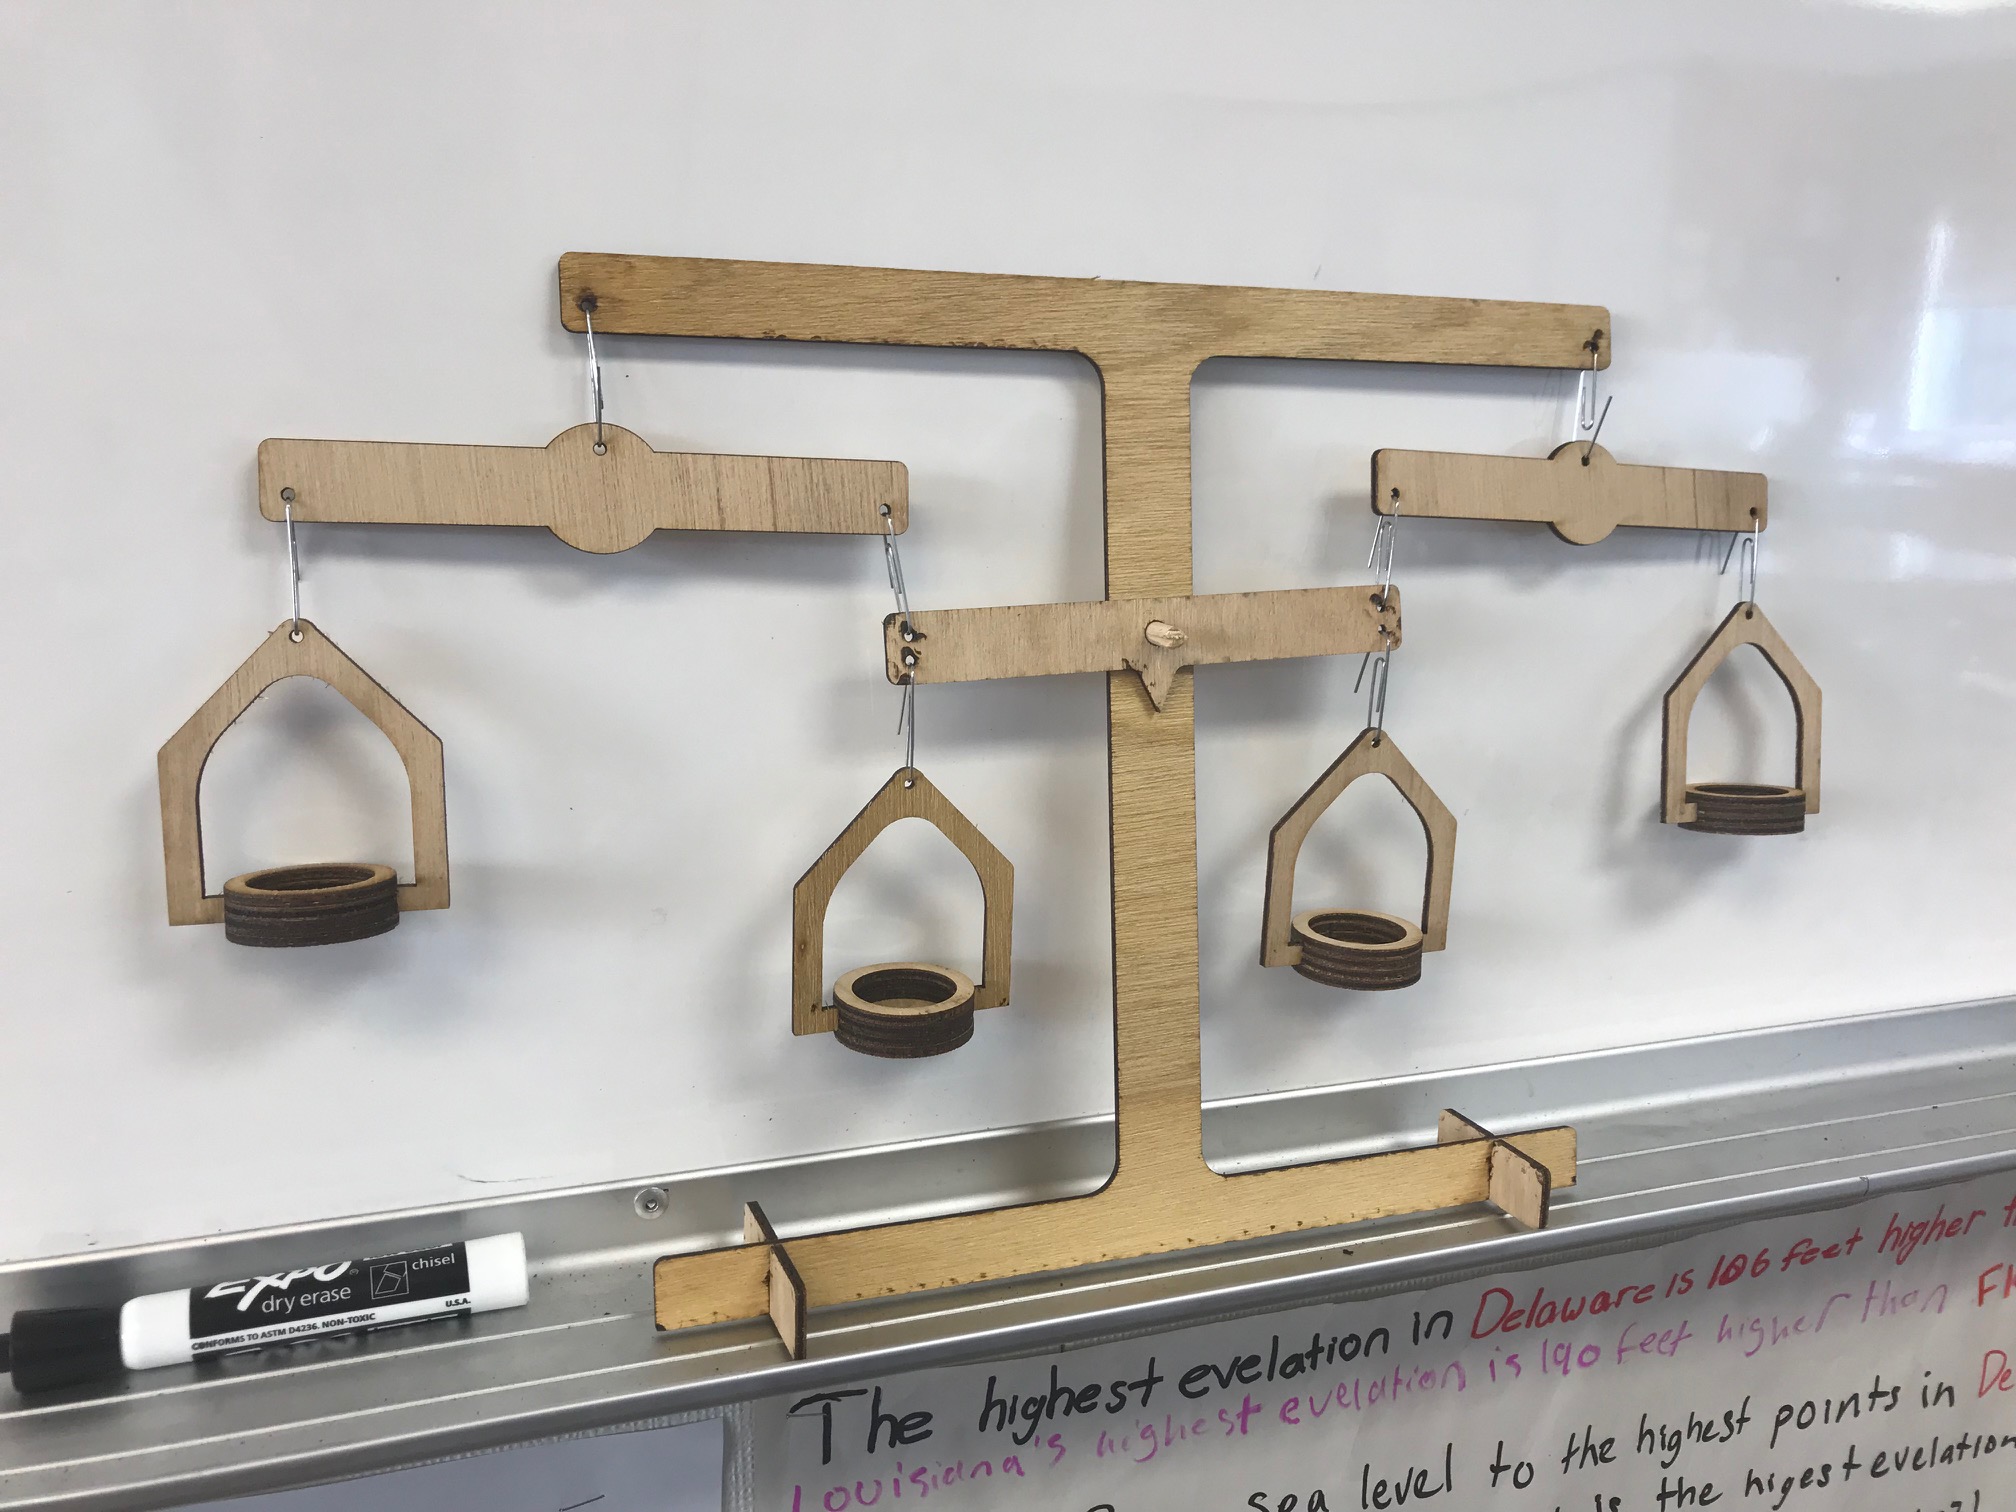
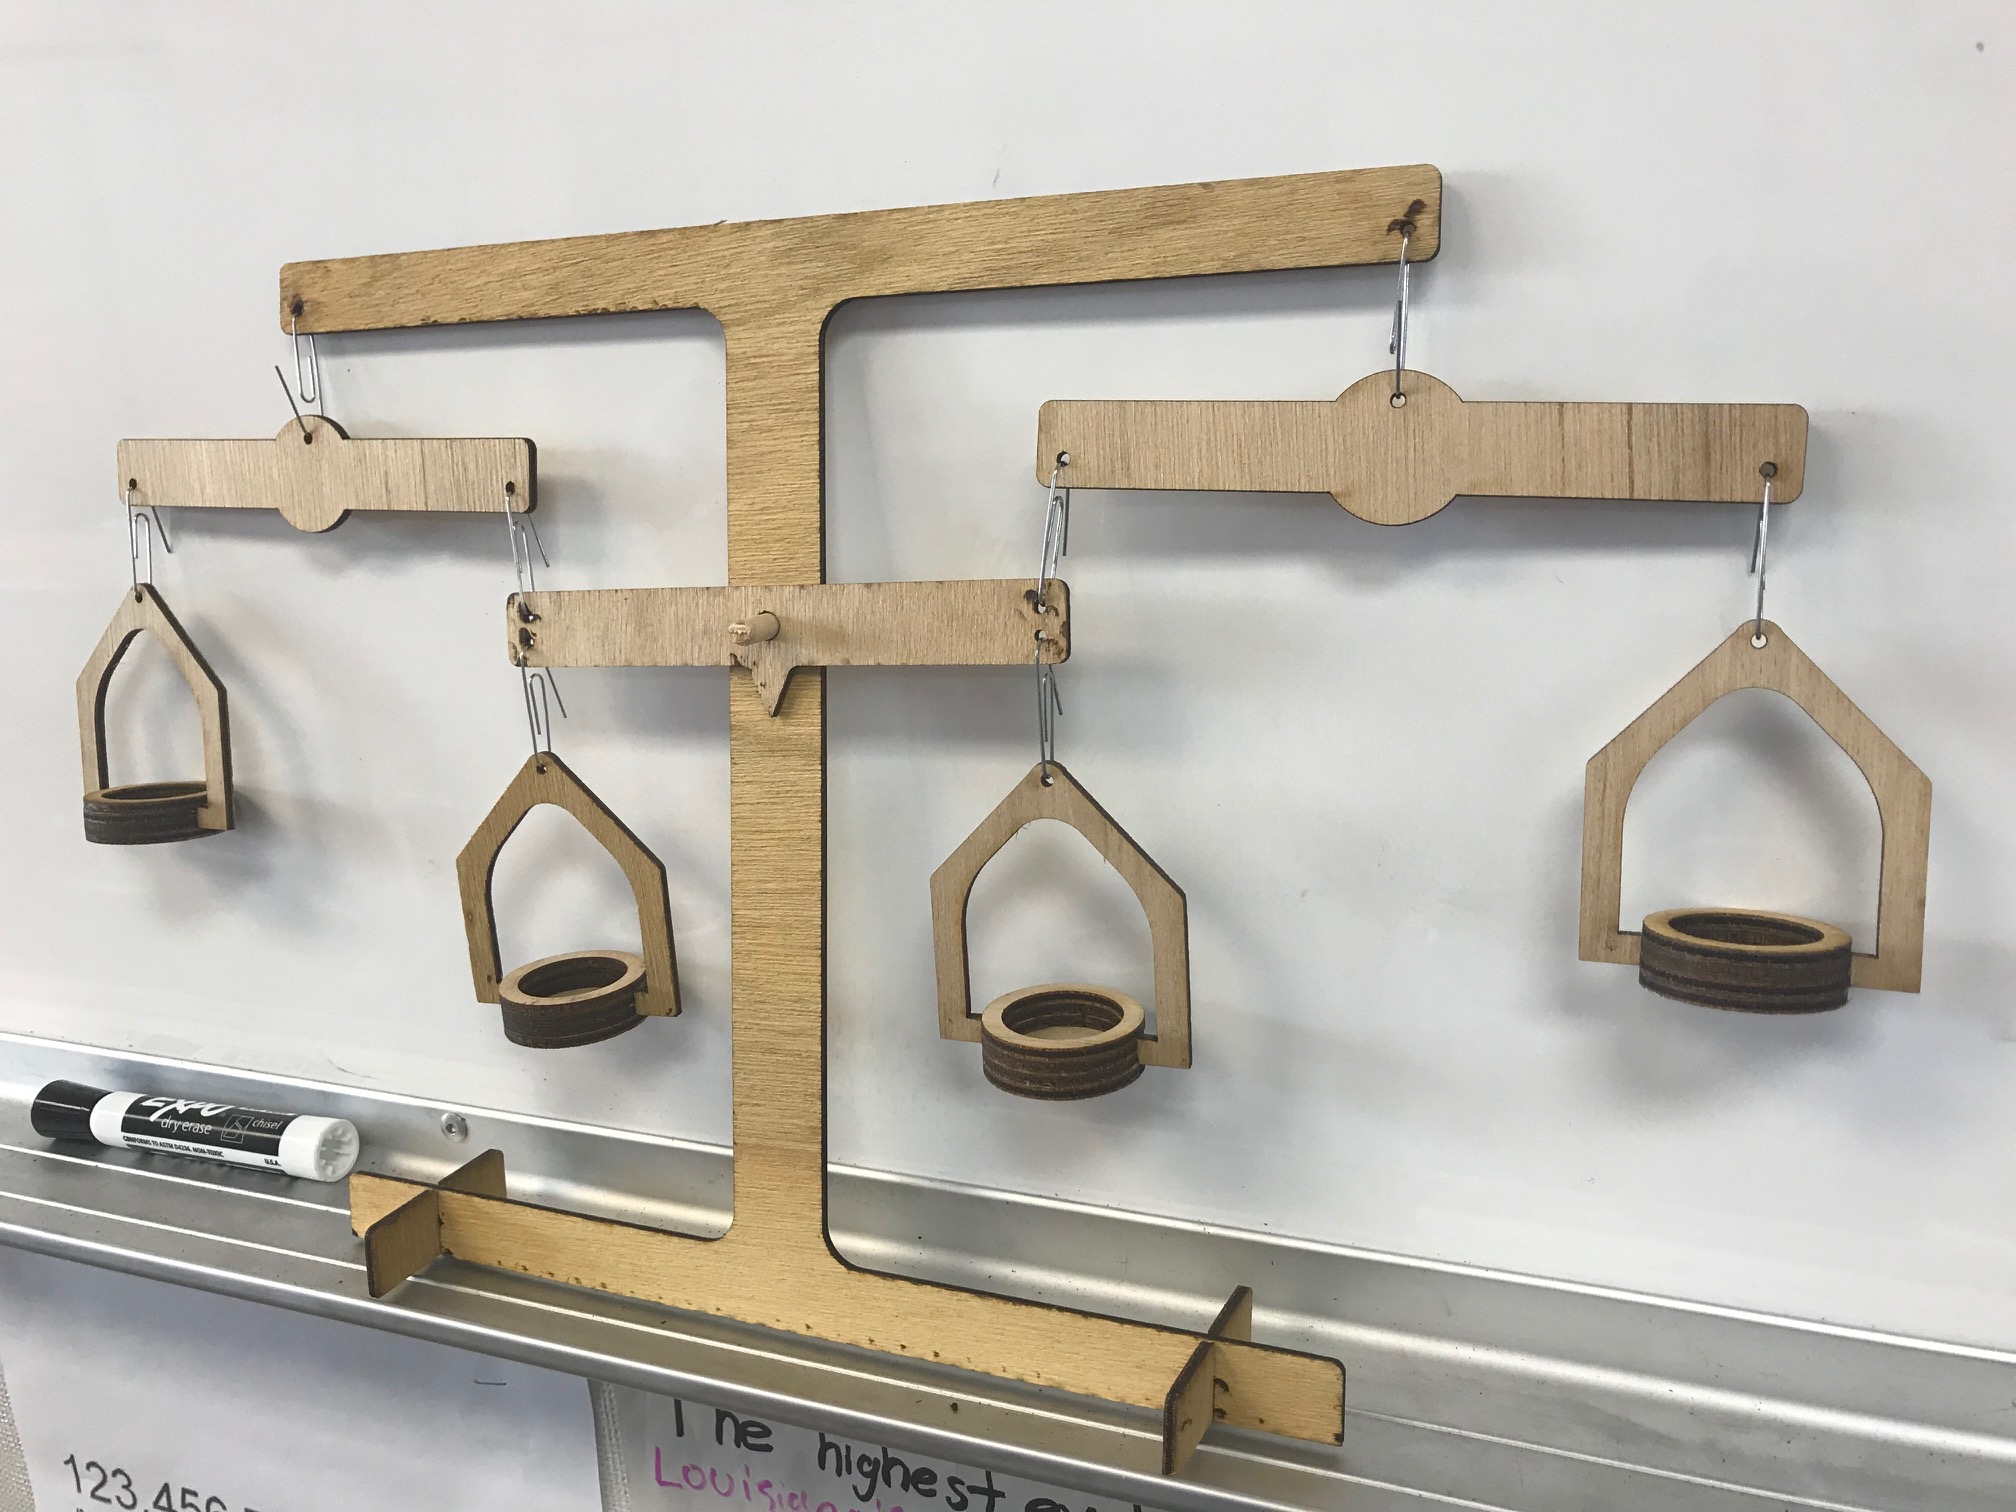
This tool allows for students to balance equations physically as they learn the rules of algebra. The center balance is the equal sign. The two inner baskets represent anything that is positive in the equation. So + is downward. This is just like in the game that is linked above. The issue is that negatives are hard for students to visualize. So if + is down this must mean - is up! The outer balances allow for this. As things are placed in the outer basket it is weighted down, but the other side of the lever is pulled up creating a negative on the main center balance.
Materials
- 1/8in ply - about $12 at hardware store, could make several for your class with one sheet.
- paper clips
- 1/4 bolt and lock nut
Design in Fusion 360
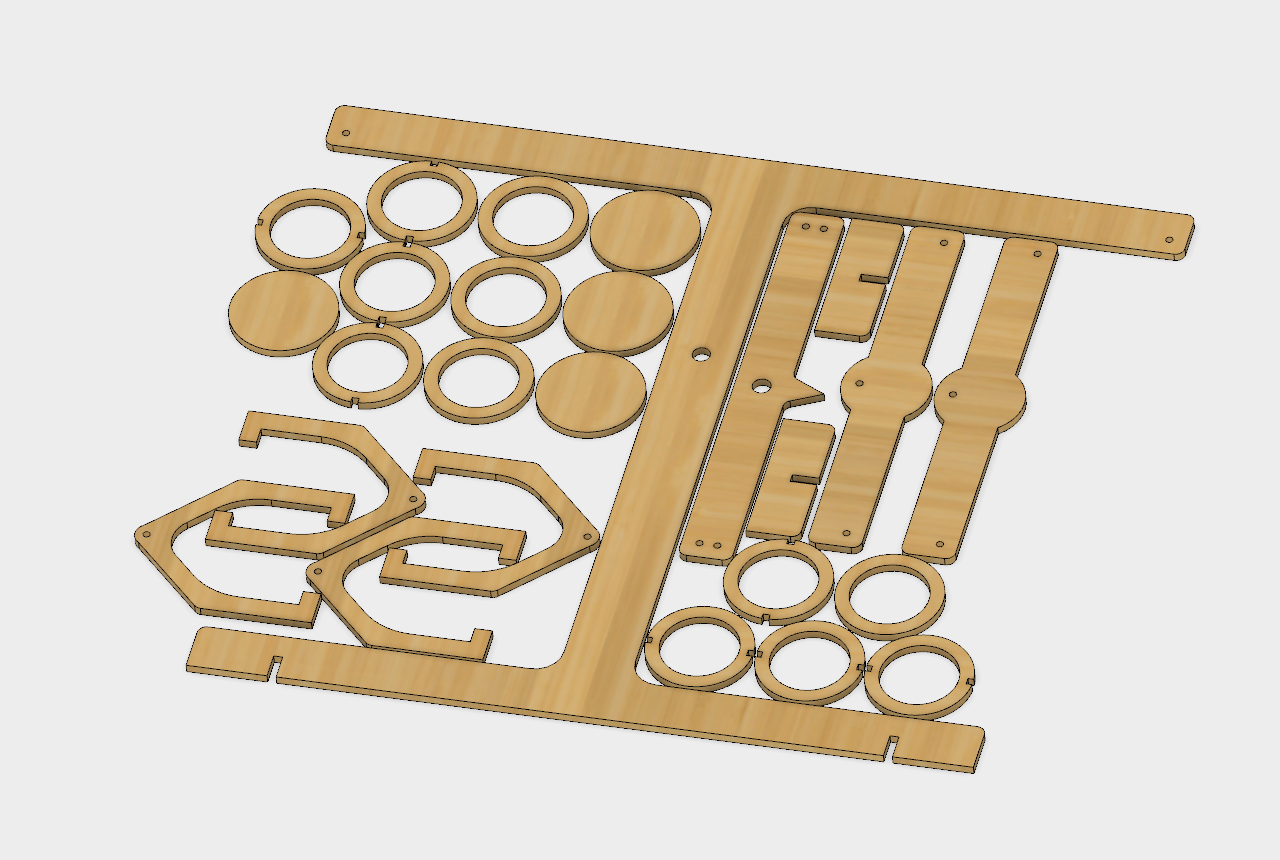

I decide to make my design in F360. I have had some experience in this software but this was just a 2D drawing for the most part so it would be a good place to start if you are new to the software. Link to design here
Most of my measurements and scaling of parts were estimated. They best part of the laser cutter is that remaking parts is fast and cheap! Here is the order of my design process (excluding all they repeats for mistakes).
- Main support structure
- Balance arms making sure they are symmetrical
- Stabilization feet
- Scale baskets
Here is a little video walk-through since I like doing these for my students as they get the hang of this software and others.
Downloads
Design Tips
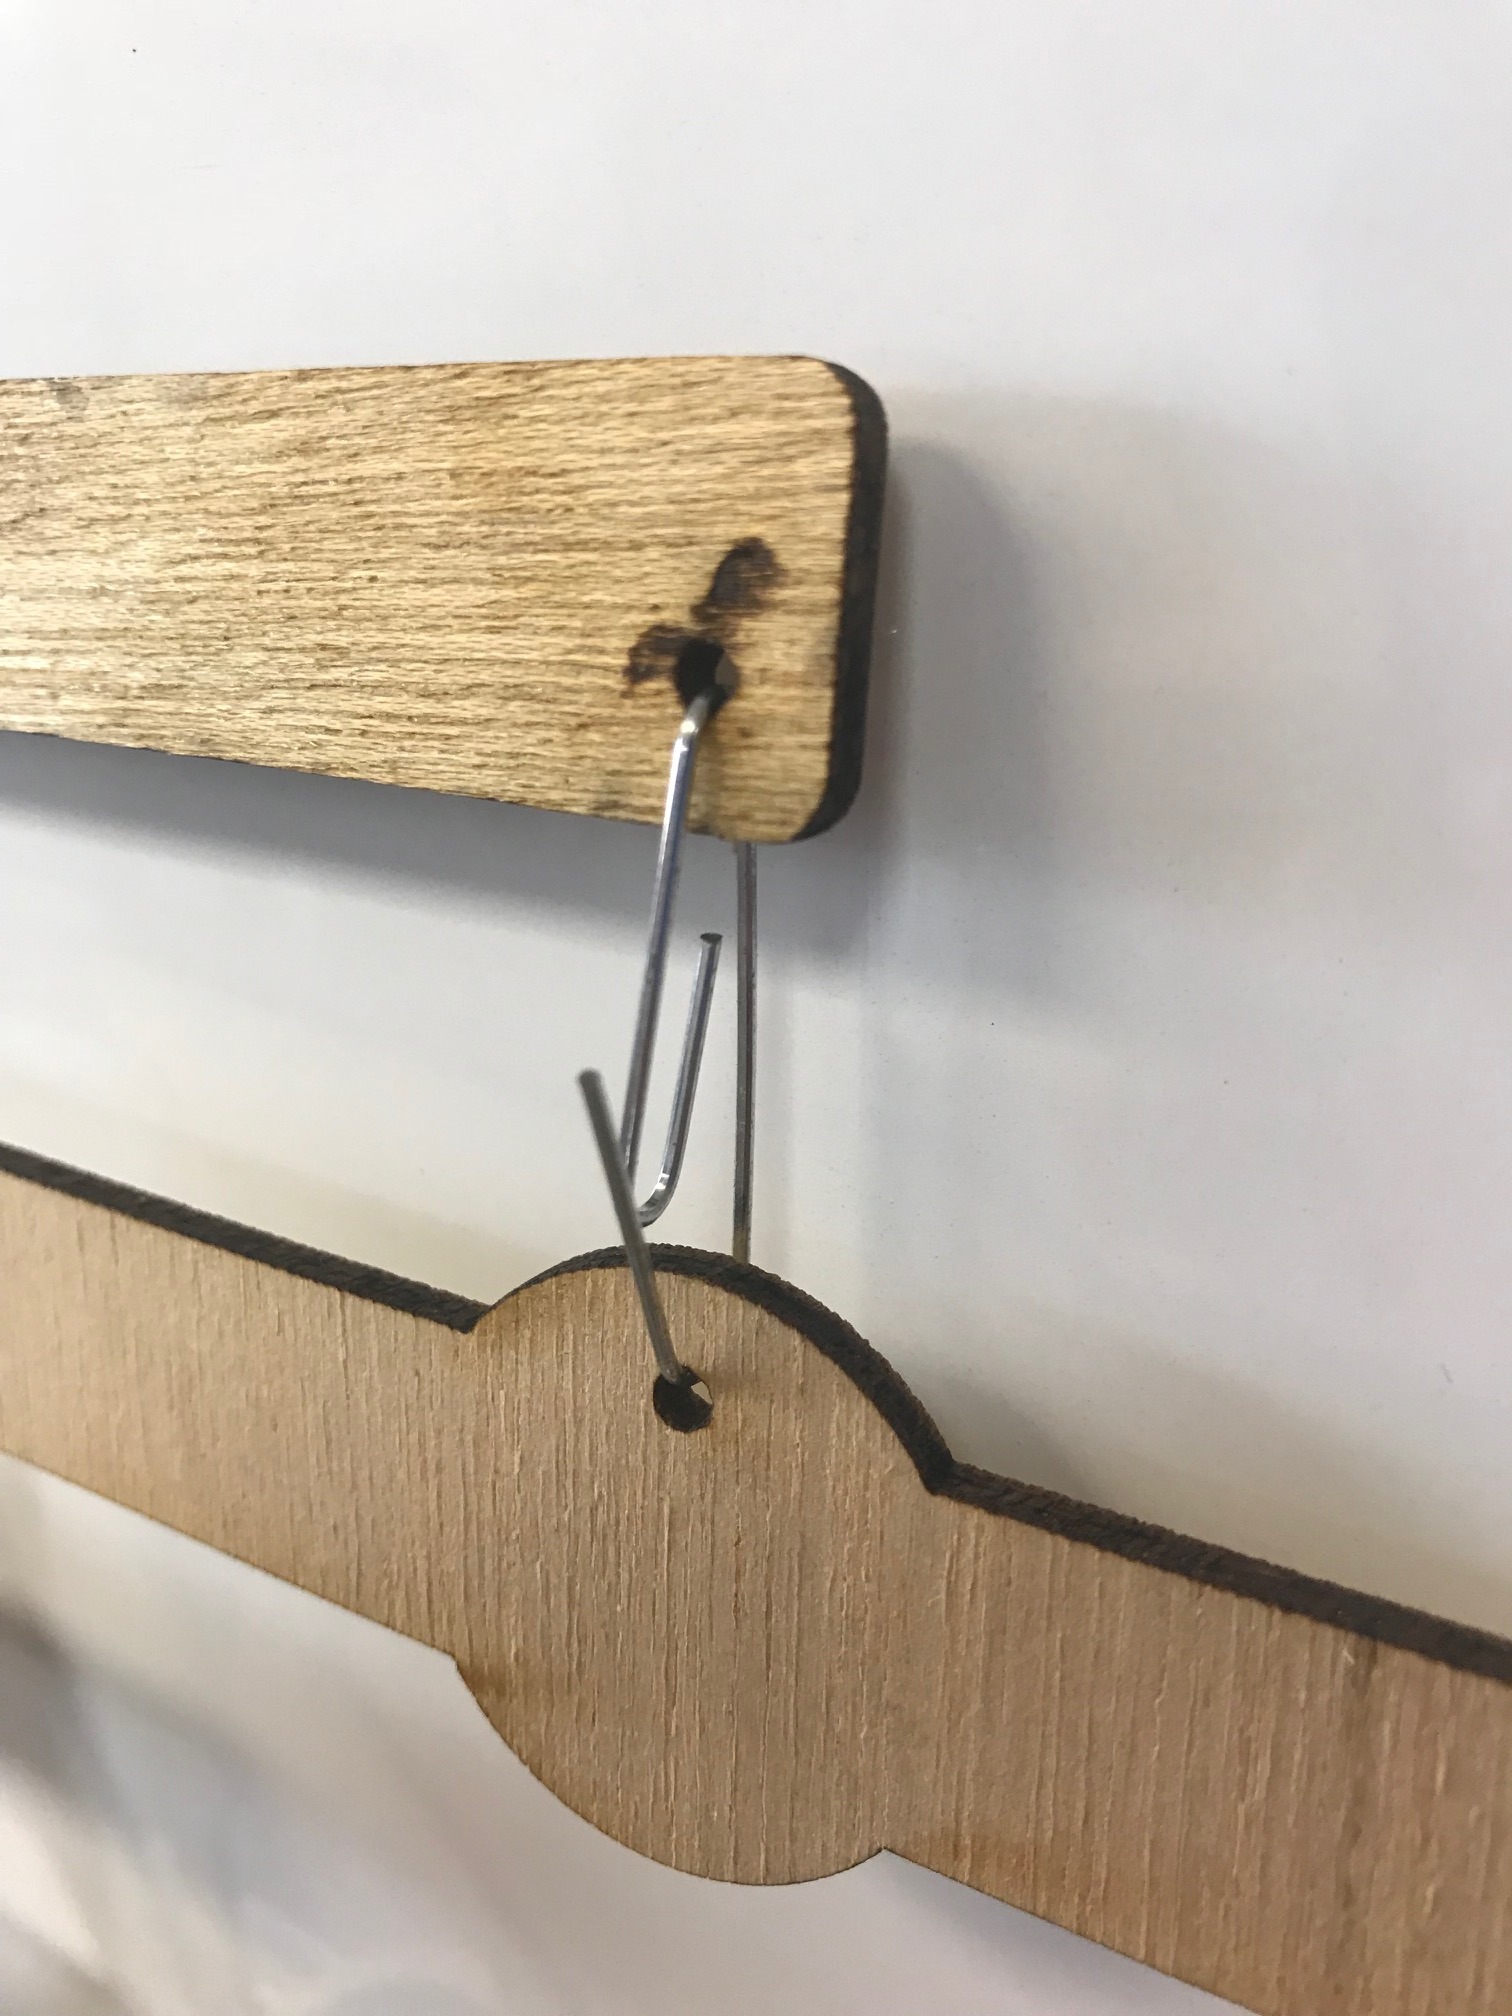
- The alignment of the holes that the paperclips fit into should line up from the upper arms to the lower arms. This allows for the paperclip to hang vertically and does not change the fulcrum or pivot point of the levers. Also makes all loads go straight down, normal to the arm of the balance.
- The hole in the main structure is dictated by they length of the paperclips used and how low the balance arms will hang at the balanced position. I used standard sized paper clips so that this would be easy for anyone to recreate.
- Keep in mind the thickness of the material you use. The width of my material was 1/8". The design file that I have made in Fusion 360 is parametric. This means that you can go and change this value in the menu and things should automatically update for different thicknesses.
- The legs that I have designed I think are too small and the whole thing falls over easier than I would like. I would recommend improving the base.
Importing to Inkscape to Save As .SVG
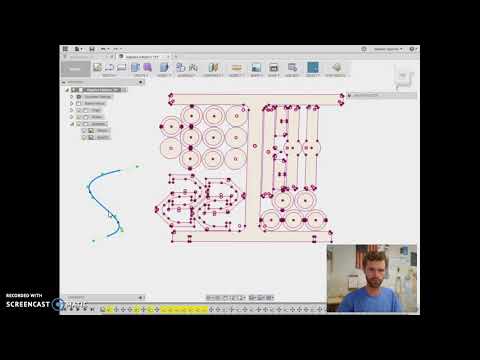
Our school has a glowforge laser cutter. To cut the file we needed to have a .SVG file. I think this is true for most laser cutters. To do this I used inkscape but other software could work too.
In the interest of helping my students I have also made a video to help them with this step since file management and organization do not seem to be in most middle school students vocabulary.... ;)
Assembly
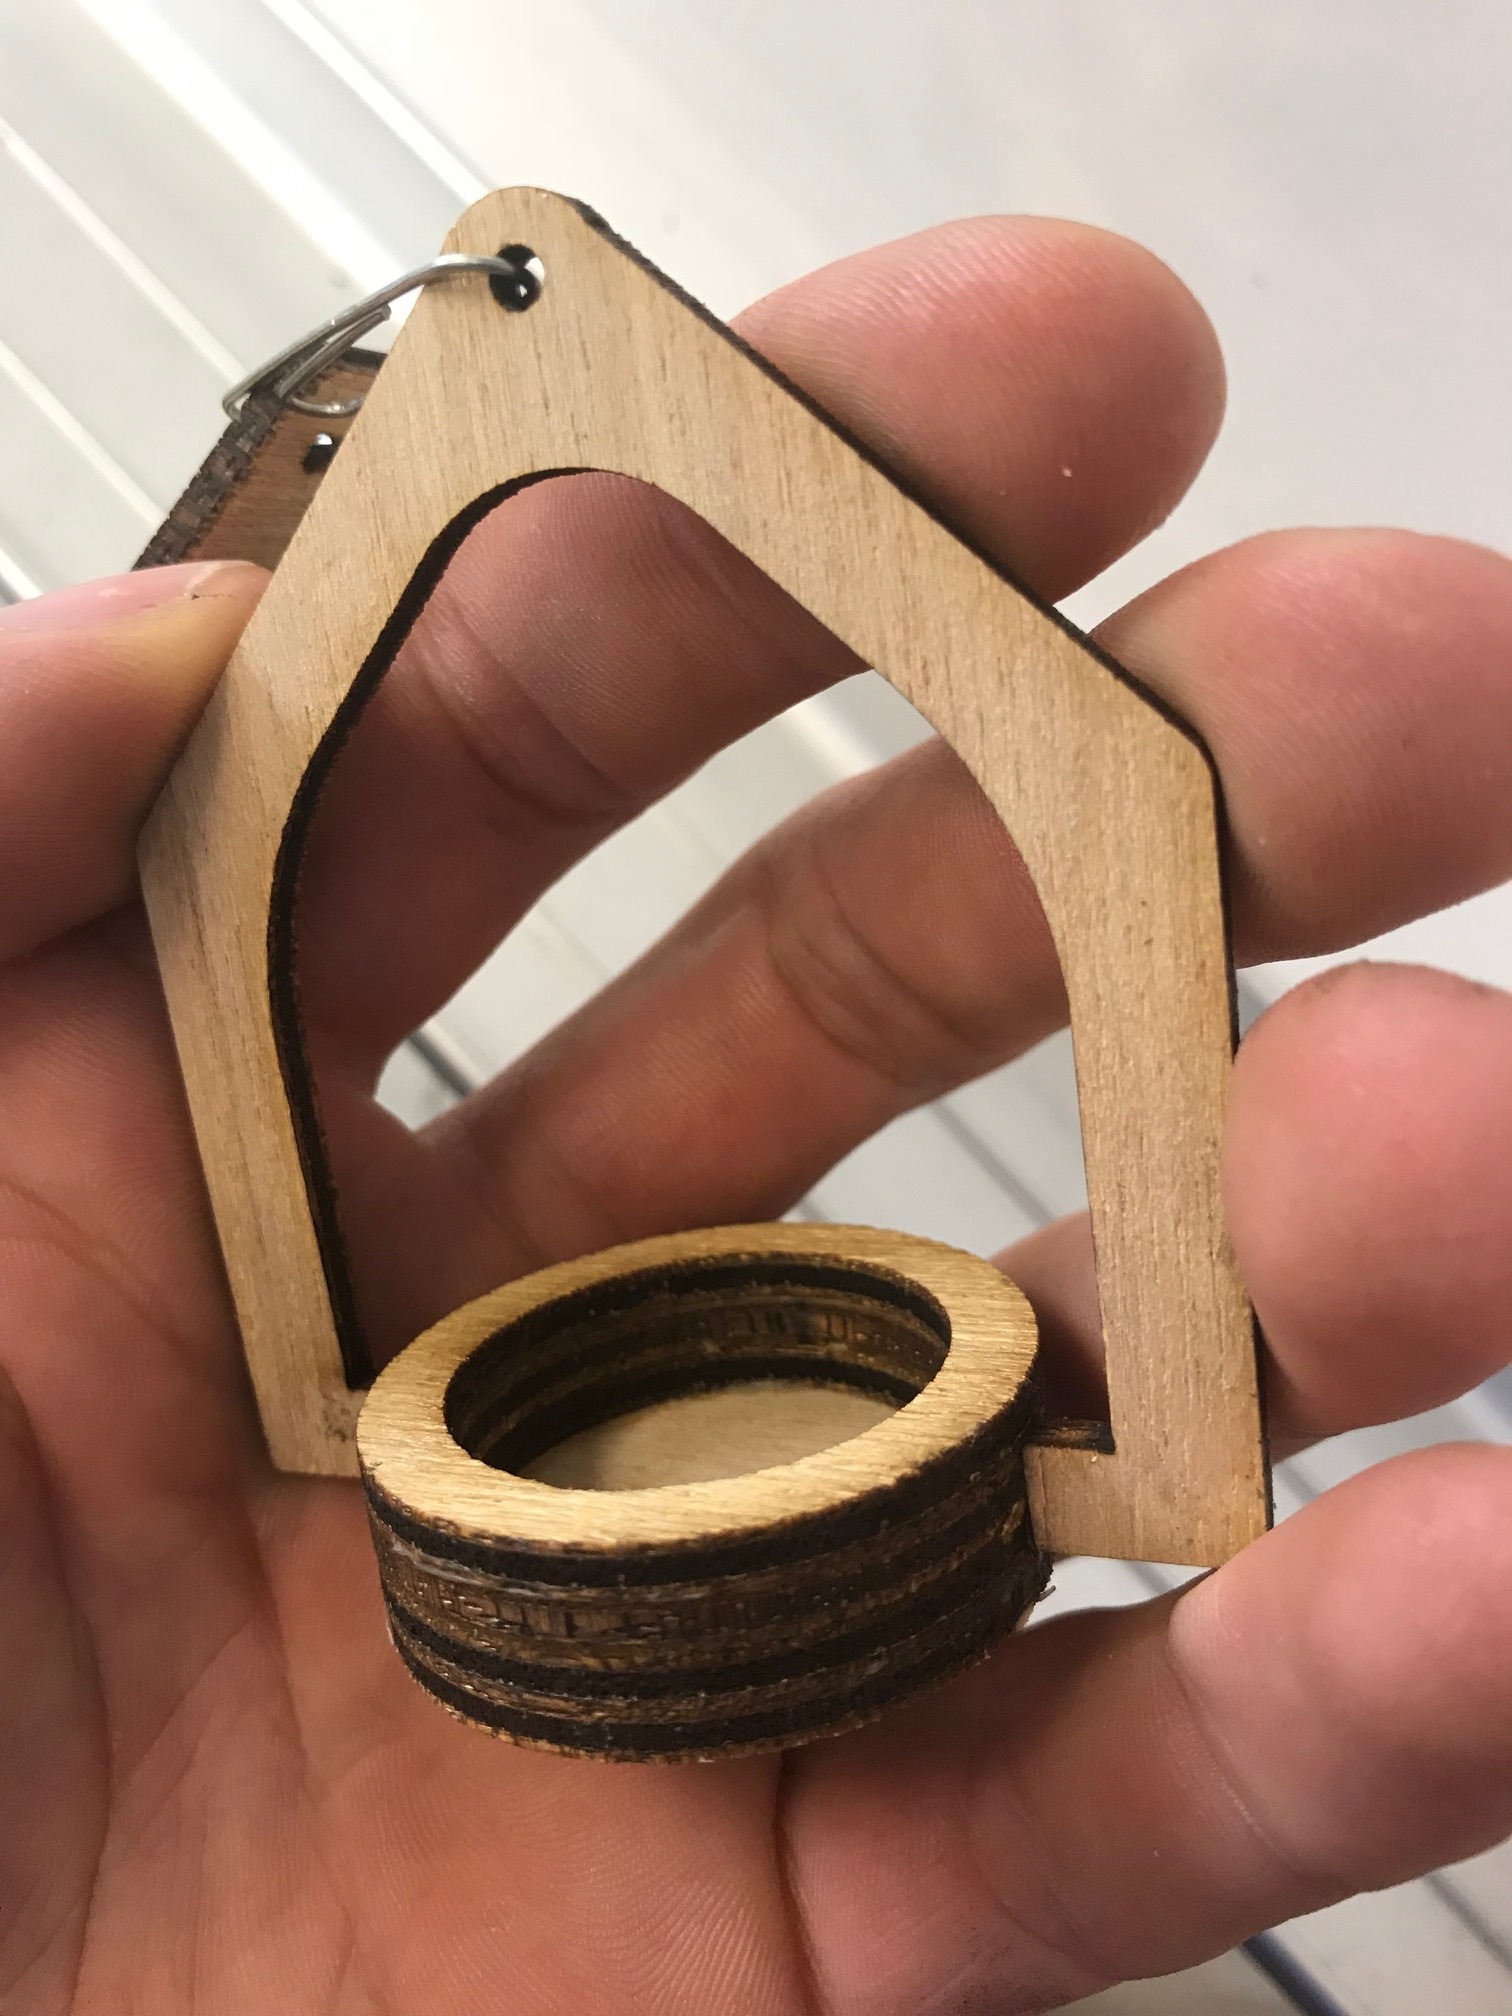
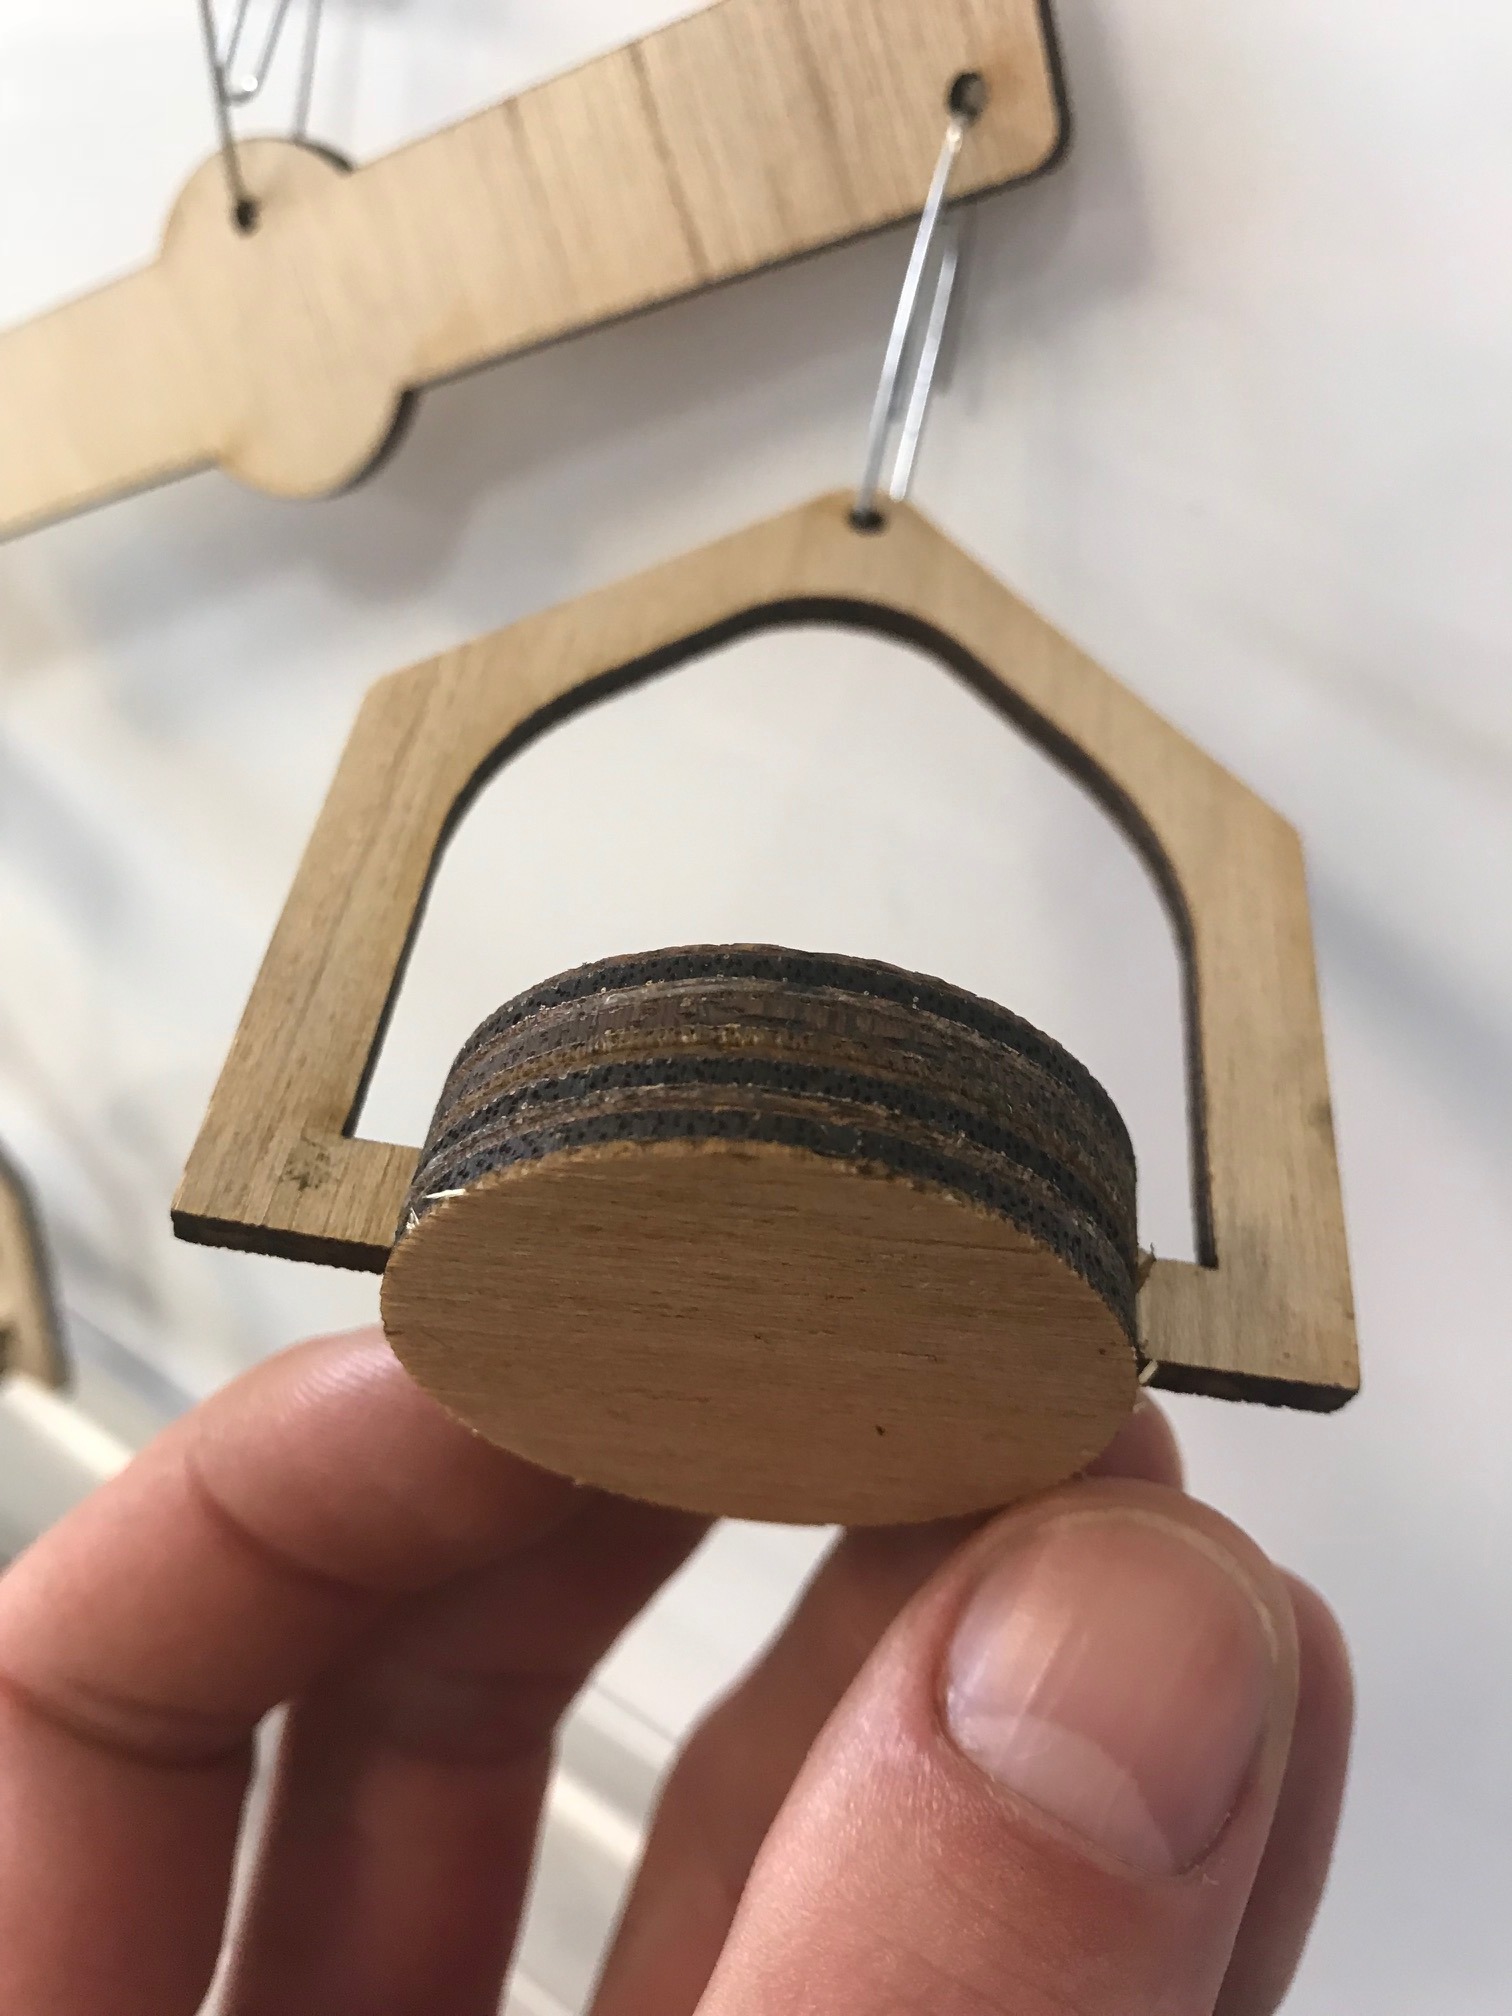
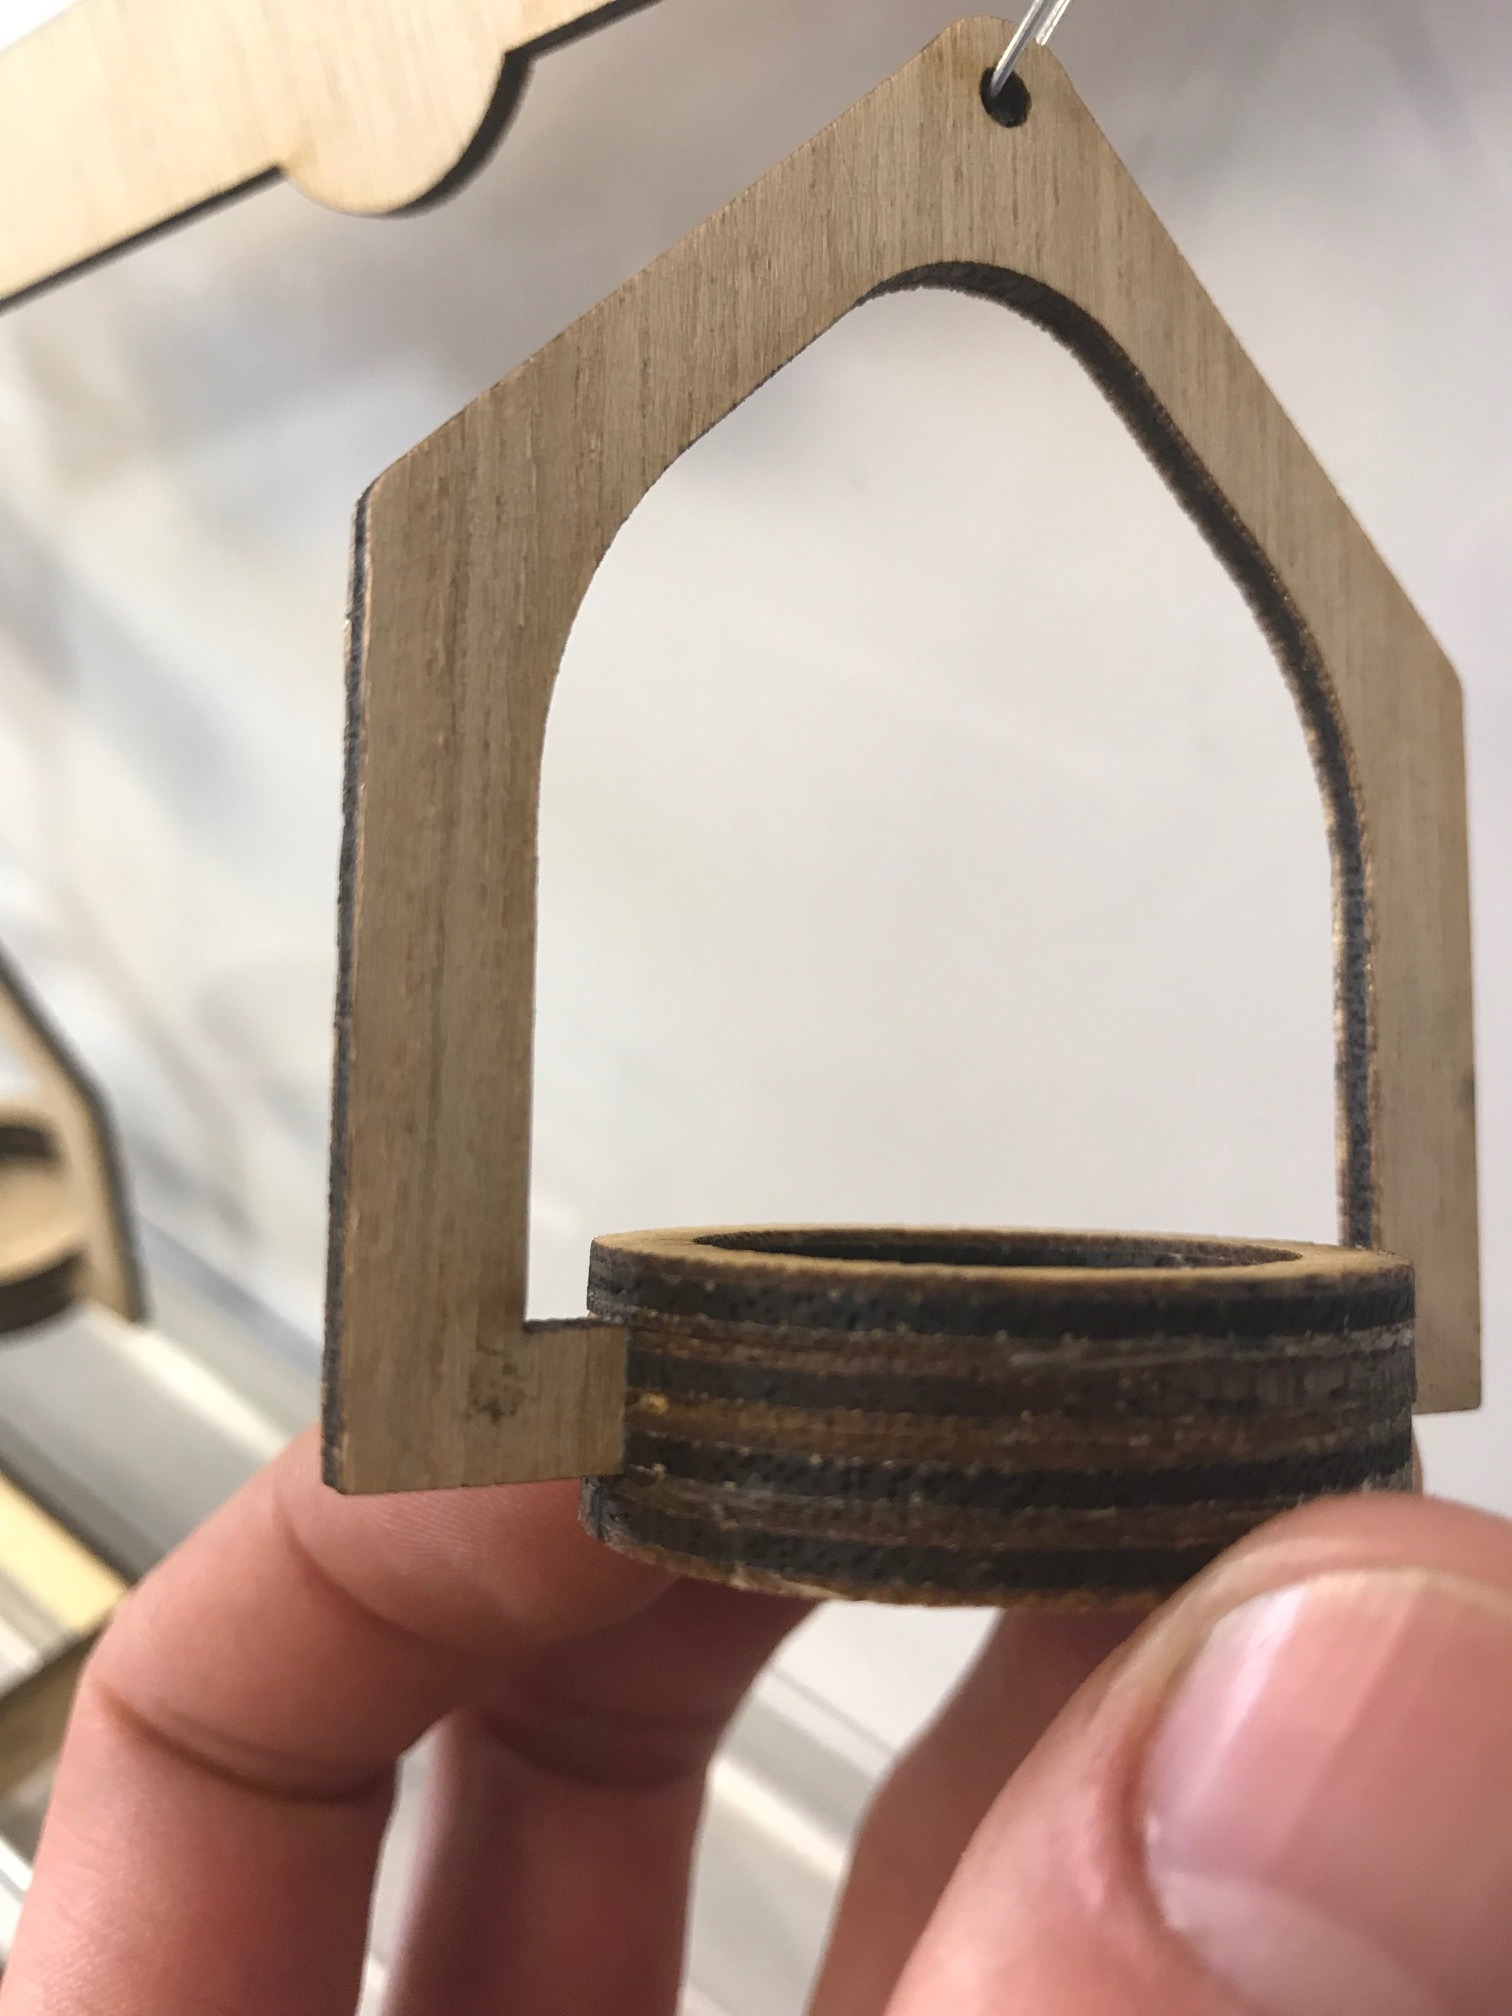

I sized the center balance hole to fit a 1/4" bolt with a nyloc nut so it does not fall off.
The paper clips need to be slightly bend to go onto the arms. Do not bend them too much or the device will not be symmetrical and could act oddly.
The basket parts were glued together. The two center rings have the key holes to attach the upper part of the basket. There is one ring on top that helps hold it and not slide out. Make sure that everything comes together and there are no gaps. I had to push the top ring down firmly to make sure the basket handle seated properly.
What to Use As Weights
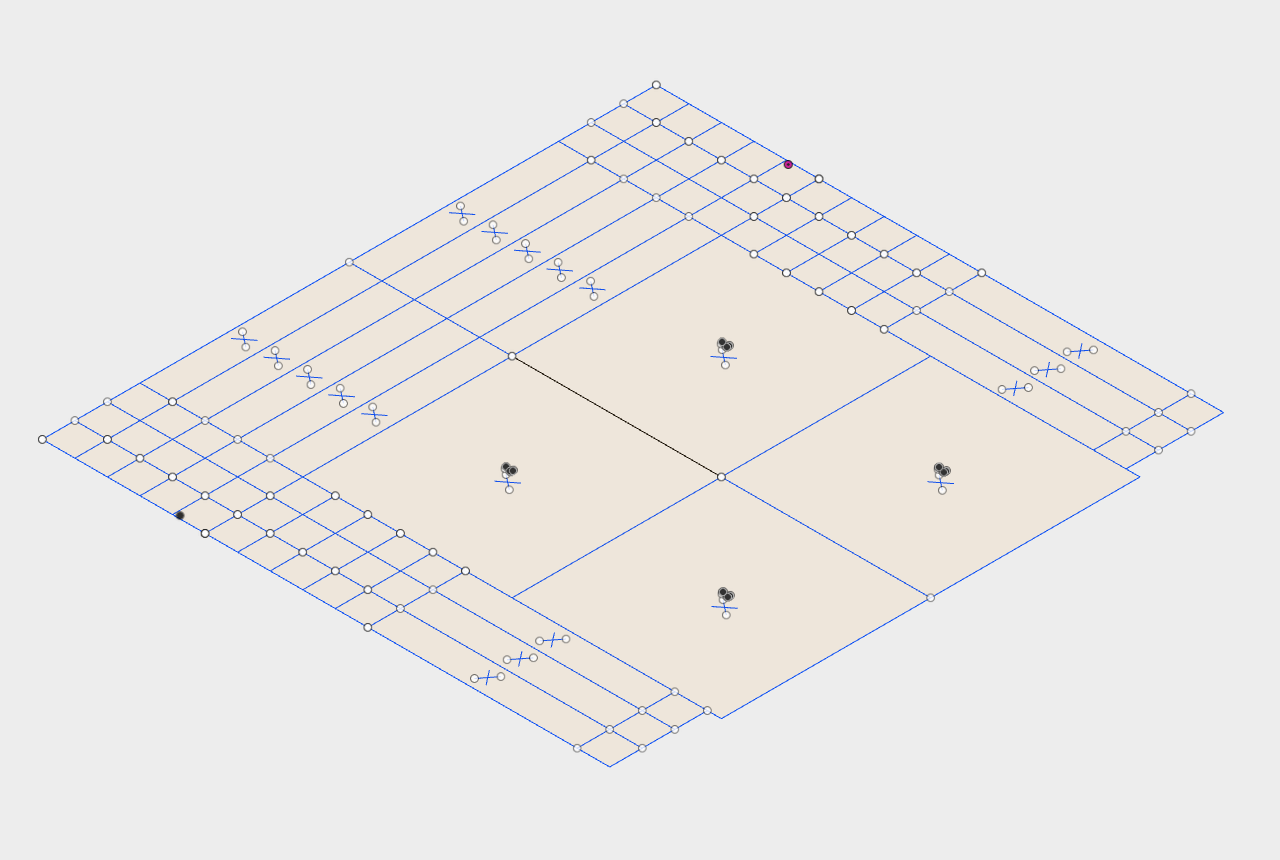
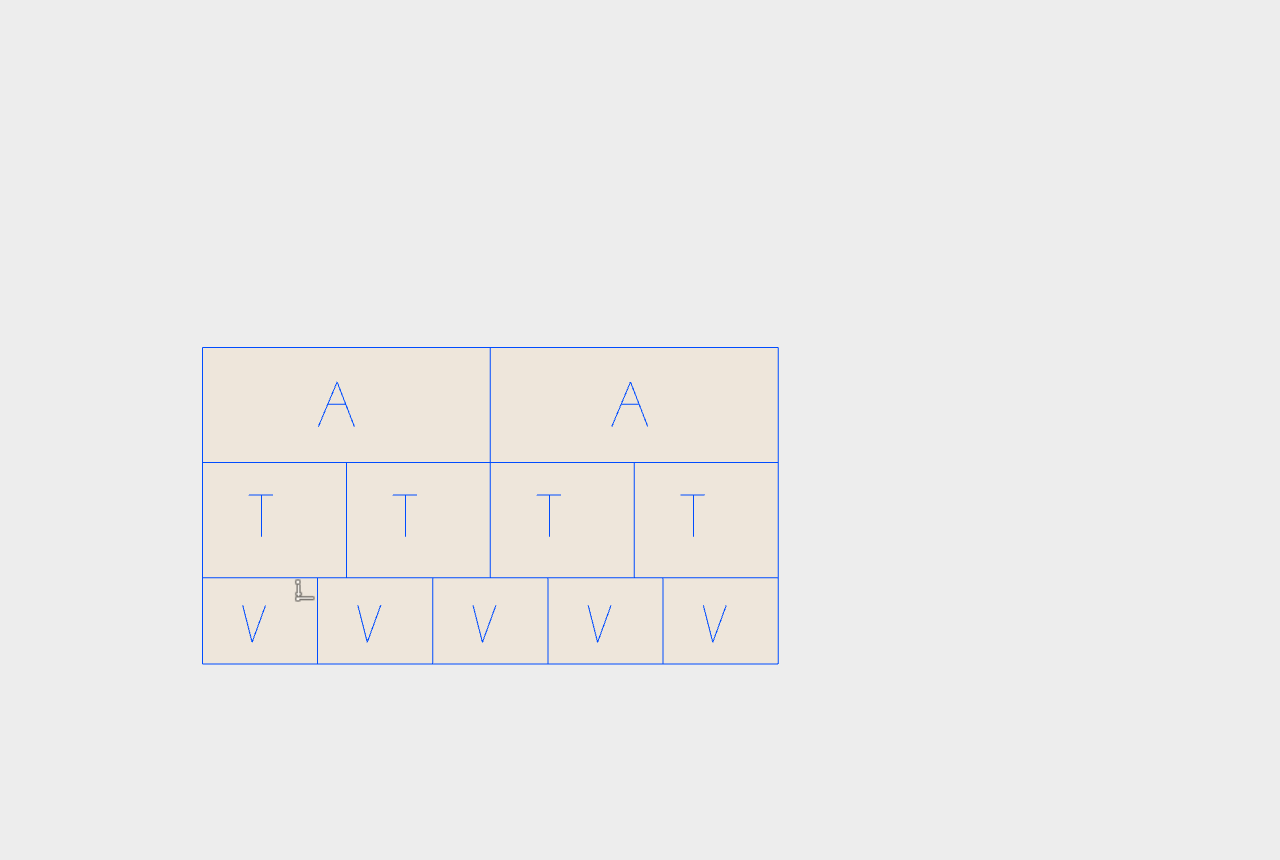
My students are familiar with using algebra tiles. I wanted to keep it consistent so I have created tiles that work in the same way. I have named each different tile with a different variable to help them identify them.
I also wanted to make it harder for them to estimate the answer right away and to do more challenging problems. I have also made these tiles that are based on the surface area of the tile to make it factor of the "one" tile. All my one tiles are 1cm by 1cm. You could also have the student make their own to challenge each other. The shapes of these tiles end up breaking the typical rules of algebra tiles. This is why I started with the more typical style of tiles. Both types of algebra tiles are in this one design file
- There is some error in this system since the plywood is not a uniform density.
- After testing weights seem to be too light. May need to get heavier objects/material or scale up algebra tiles.
Do Math!
Have some fun with it and see if your students can figure it out and or improve it too!
Hope this gets all you teachers excited. I know I am. Would love any tips on making it better! I have all the designs linked so you can tweak it too!