Alexa Powered Intercom

In my house I have quite a few items that work with Amazon Alexa. Such as my lighting, televesion,and thermostat controls. I was using a Amazon Echo Dot but it just looked kinda blah on the counter.
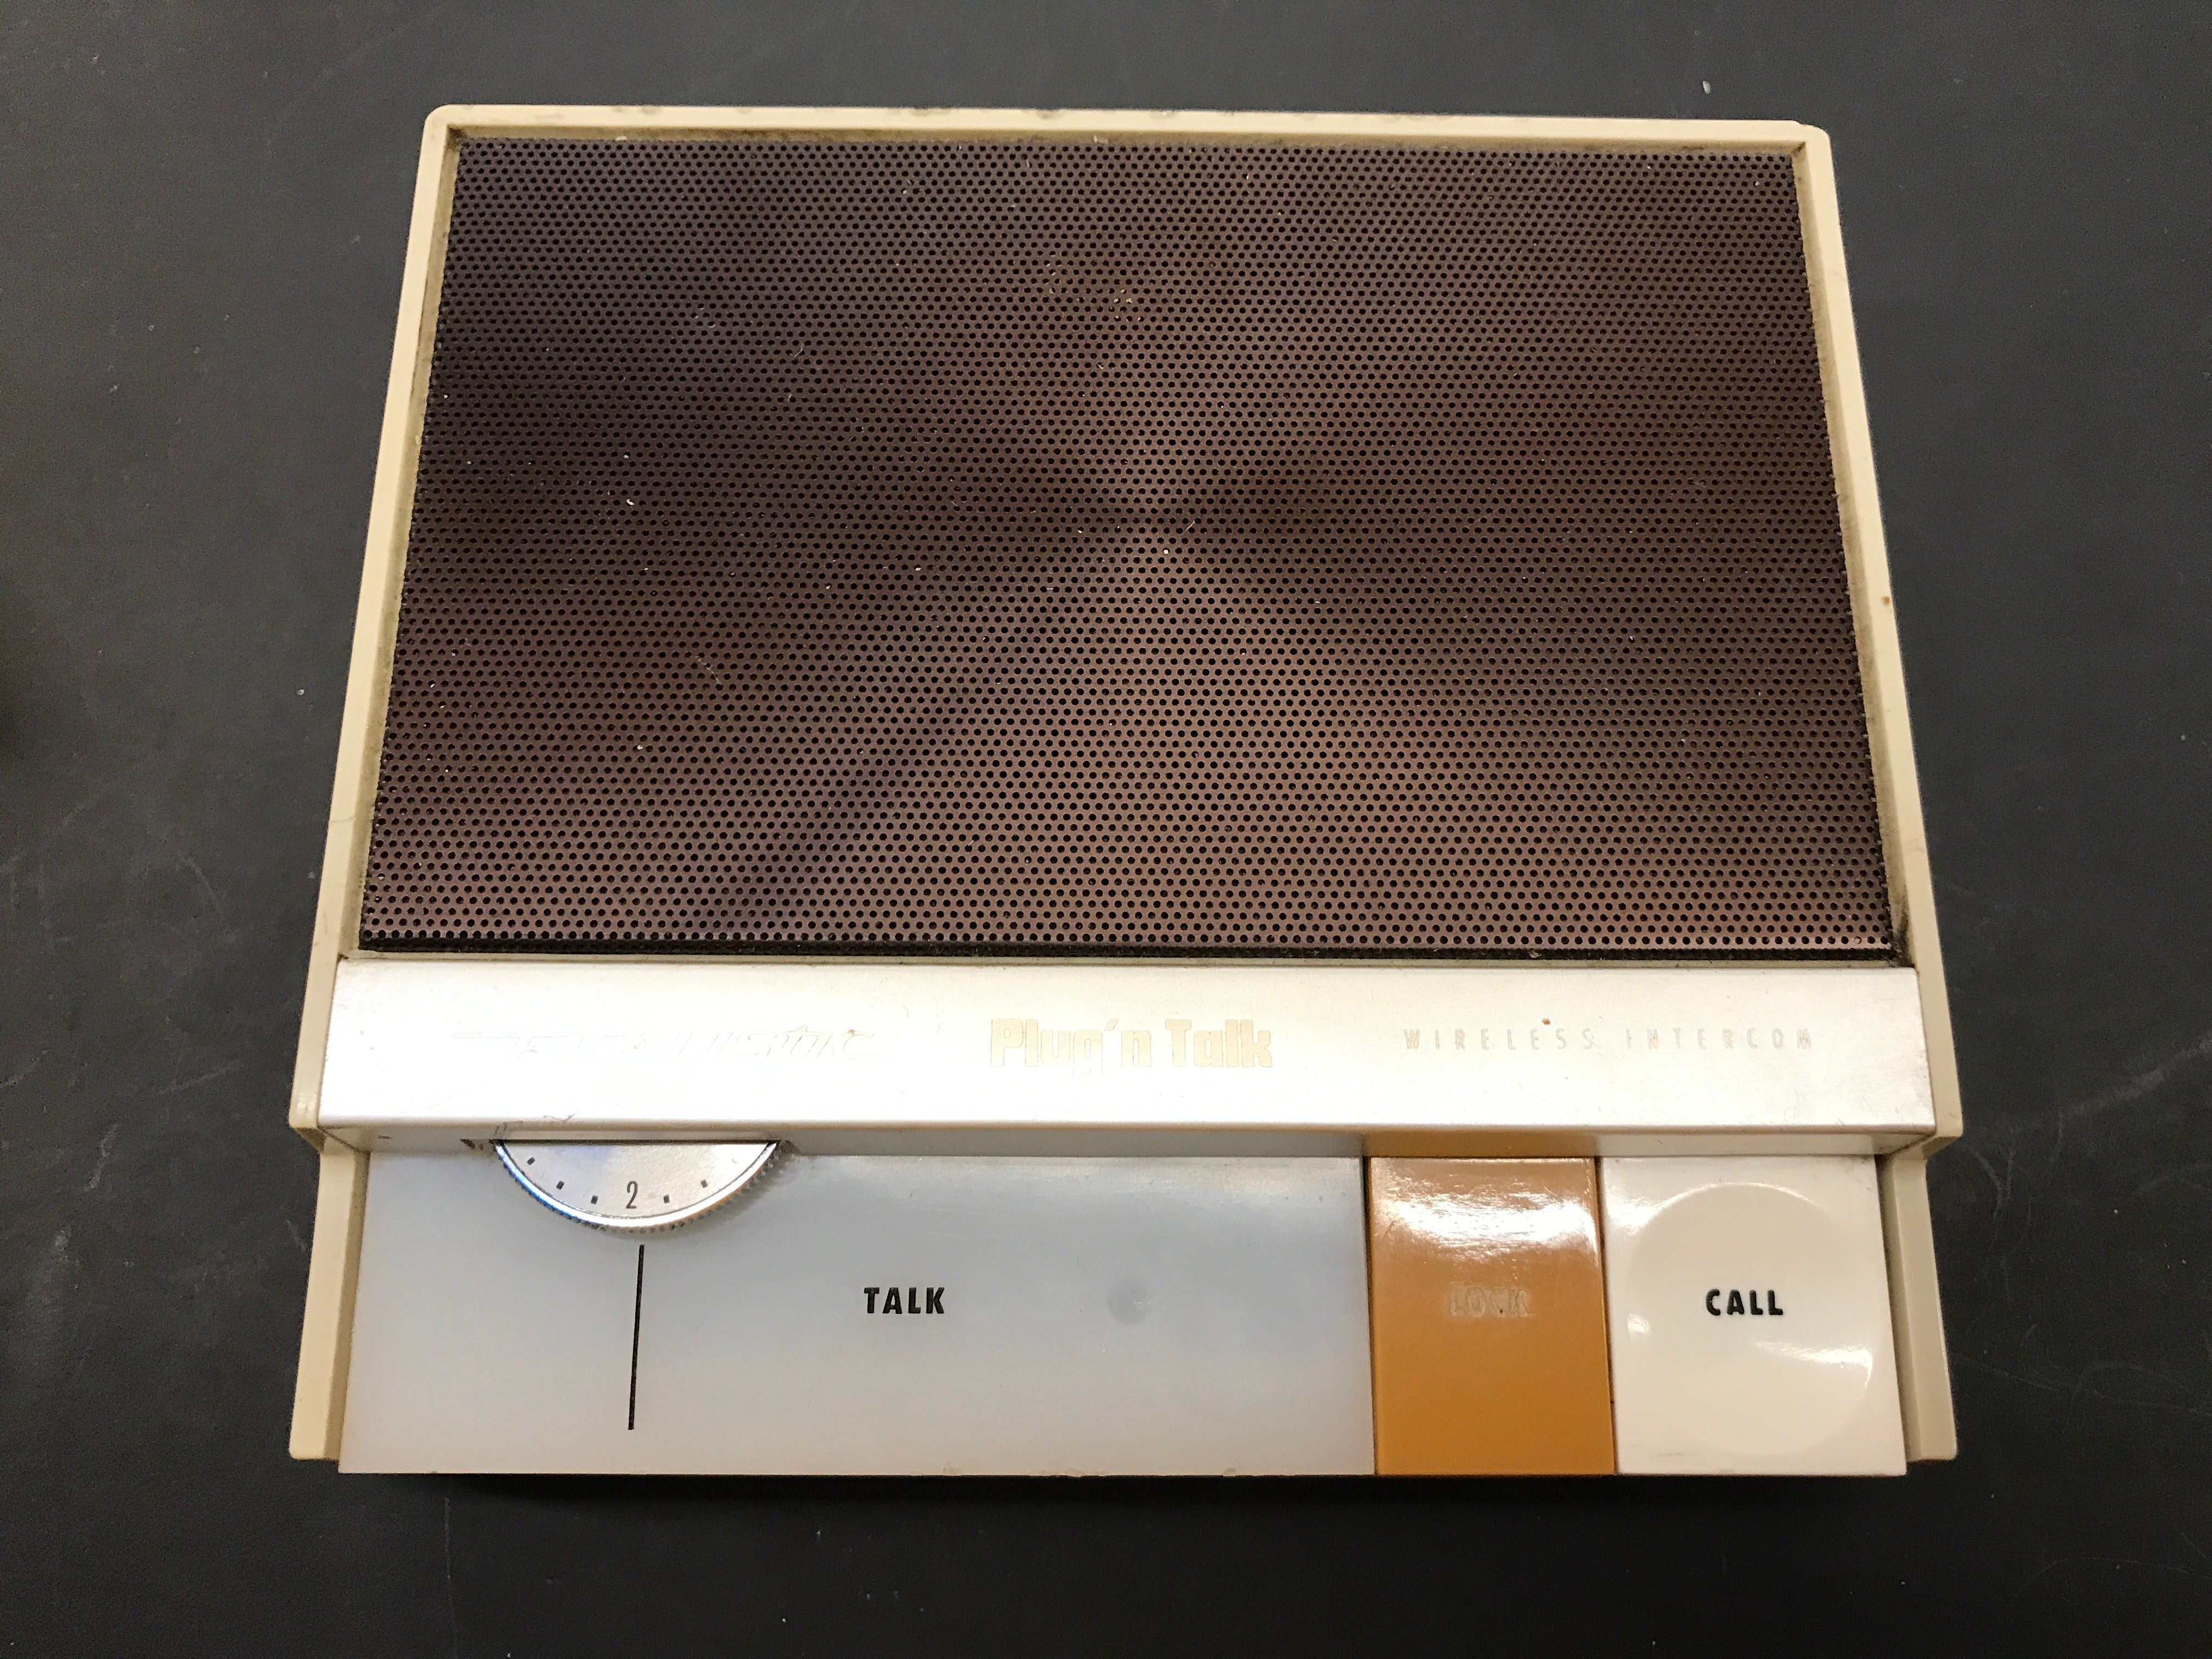
I had previously seen a guide by Martin Mander where he used an intercom with a Google AIY kit. I thought that was pretty cool and wanted to make something similar but using Amazon Alexa. I also remembered that I had an Amazon Dash Wand that I previously bought to try out but lost interest in shortly after. So I decided to use that in this intercom I found at an estate sale.
I like using the Dash Wand since it runs for long time on two AAA batteries. The microphone is only triggered after pressing the button. Being battery powered also gave me more options on where to mount it. It also removed the unsightly cord.
I also made a video showing some of how it was put together and a demo of it working.You can also follow this guide for step-by-step instructions.
Parts Used
For this project I used a few items.
Amazon Dash Wand - Currently only available to Amazon Prime members.
Intercom - Any old intercom will work. Check garage sales or ebay.
Loctite Fun-Tak - Also helpful for holding parts when soldering
The tools needed were
Jewelers saw - Works good, go slow so you don't snap the blade
Screwdriver - Probably have one already
Flush cutters - My favorite pair, comfortable to hold and cuts well
Soldering iron - Great item to have in the workshop
Silicone wire - Very flexible wire.
Take Apart Intercom
This model only had two screws holding the rear cover on. If it seems hard to open after removing the screws check for hidden screws. Sometimes screws may be hidden under the labels or rubber feet.

Now that the back cover is off look for screws holding the insides to the top cover

Once the insides were separated from the top cover, I was able to cut the leads to the speaker.

I removed the speaker and put it in my future parts bin, since it will not be used in this project.

Remove Unused Components

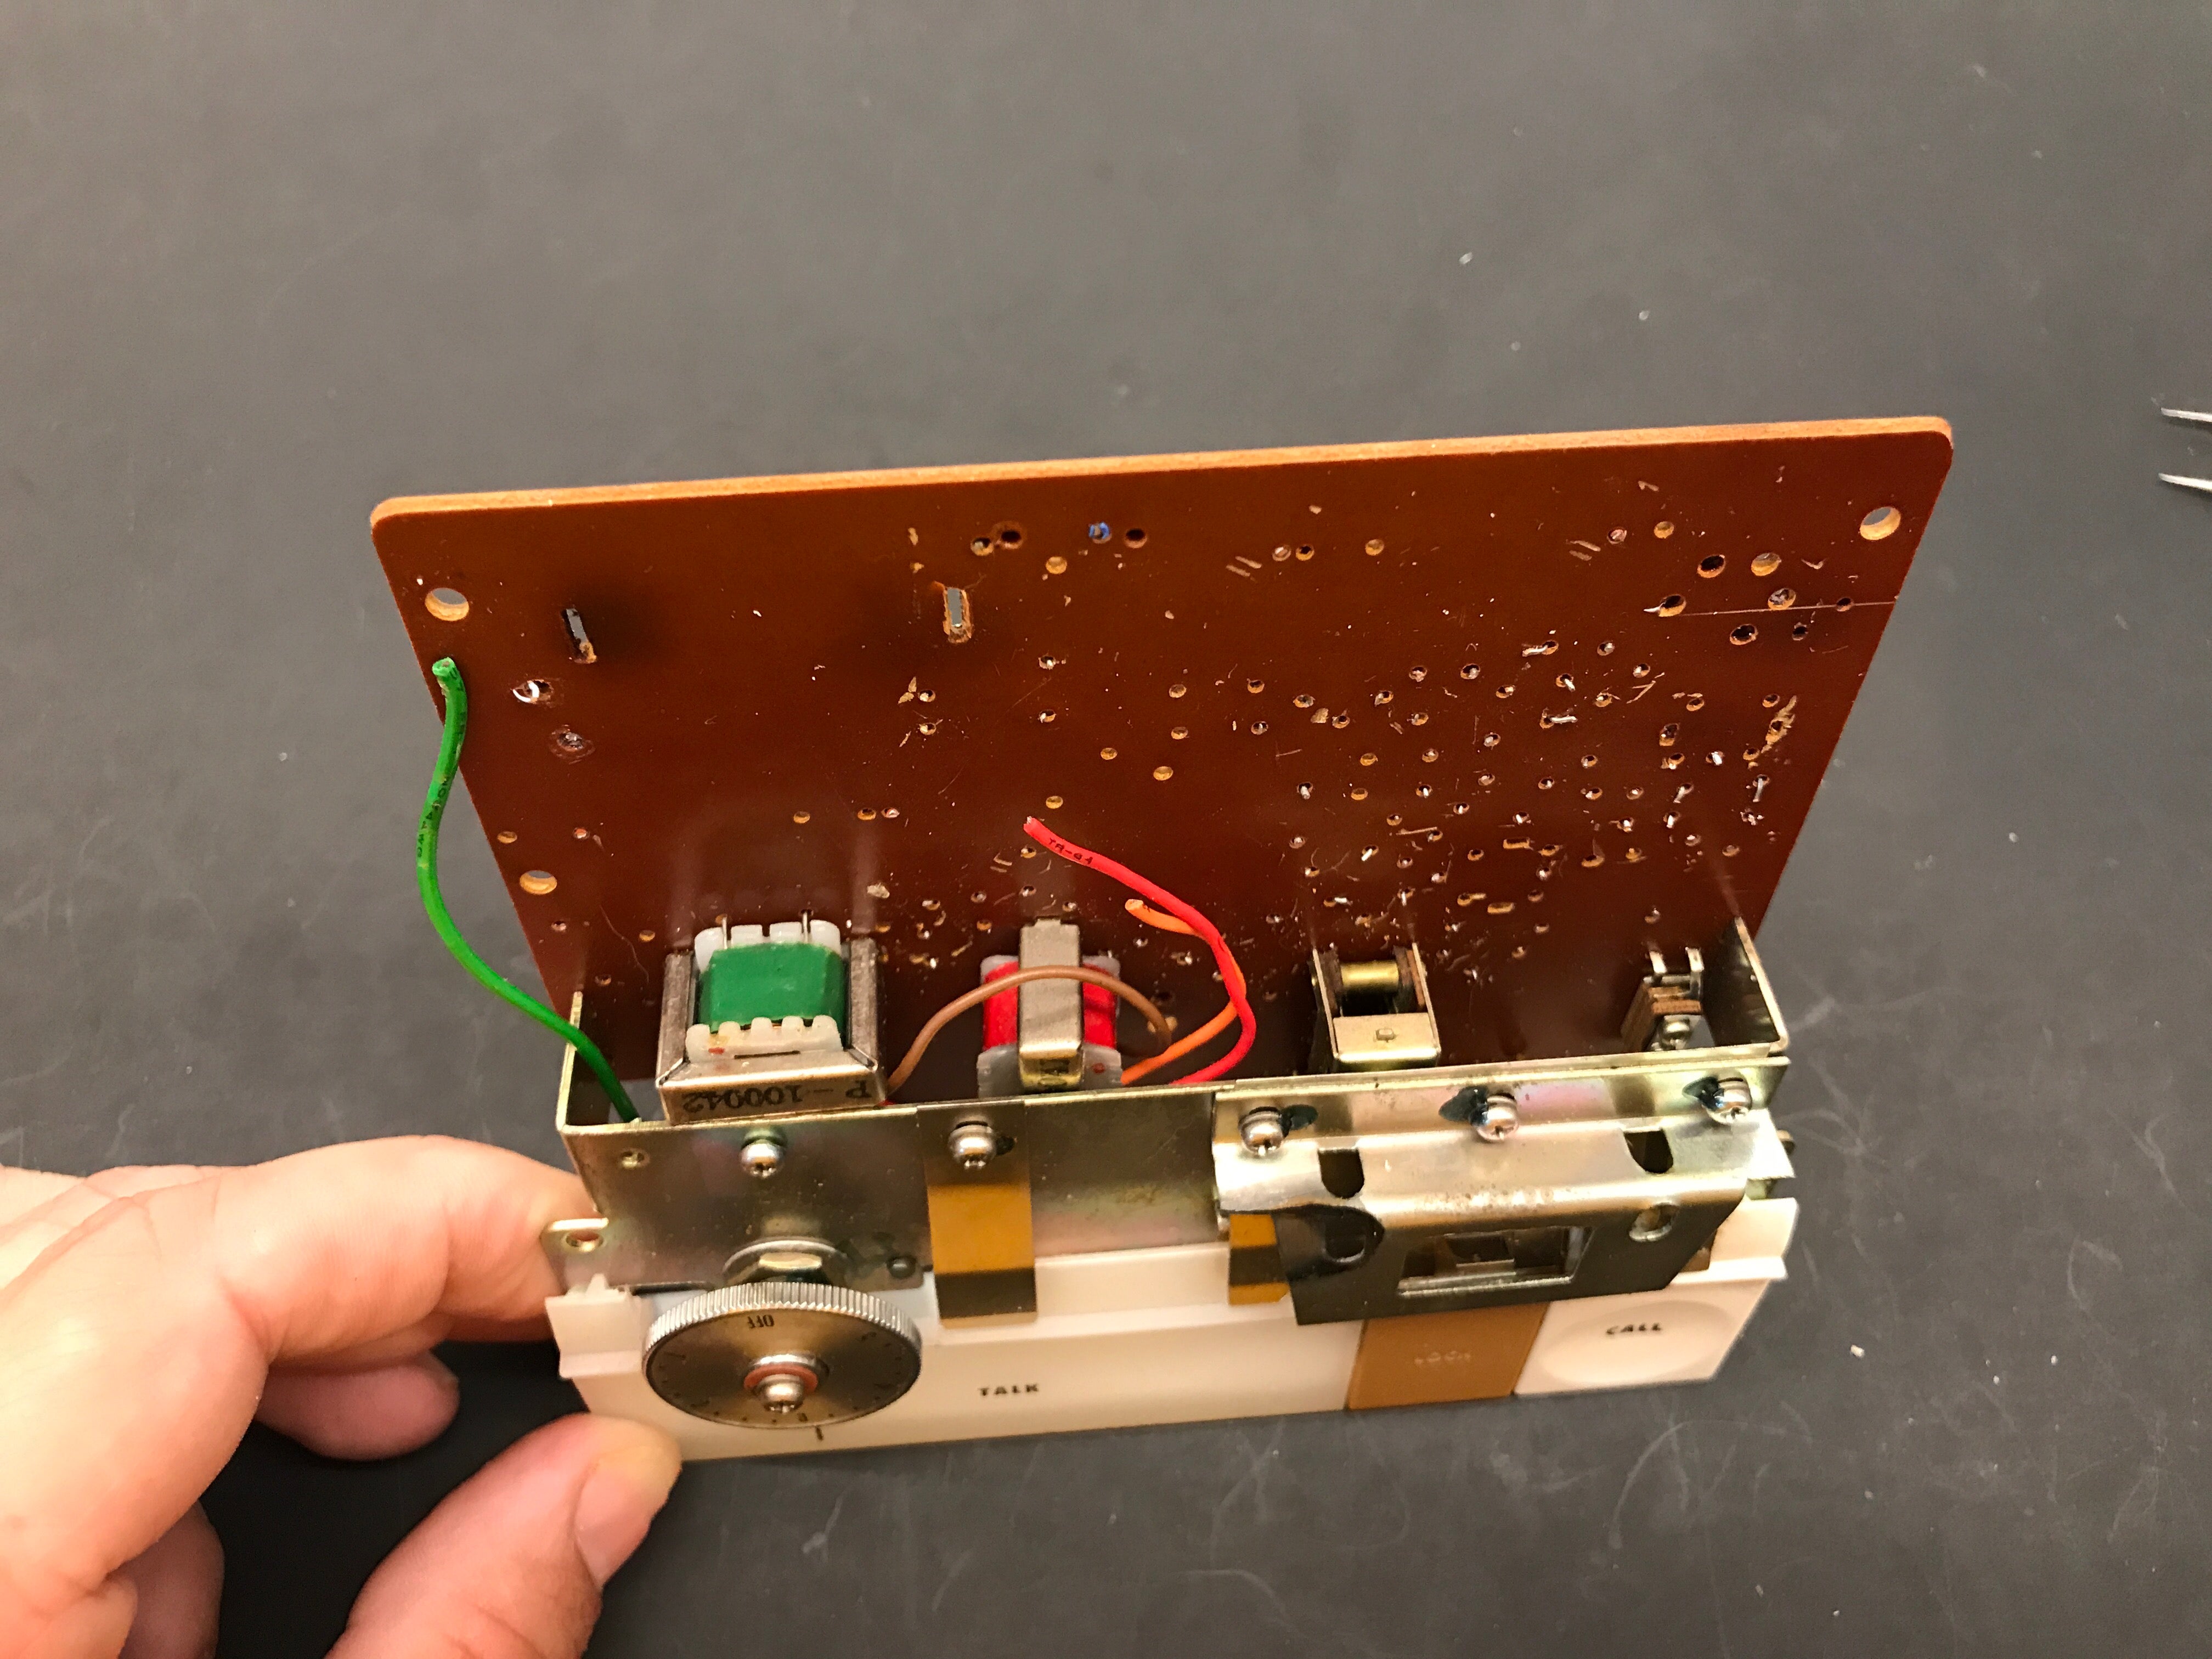
Now I need to make some room for the Amazon Dash Wand. The only component I will be reusing is the push button that is triggered when pushing the talk button. That is located in the picture below. When the talk button is pressed it pushes that in.

With a flush trim cutter I started cutting the components out. You can also use a soldering iron to heat up the solder on other side to remove the components. I also cleaned up the grime on the intercom after this.

I left the components in the hard to reach areas there, but made a spot above the lock and call buttons. This way I can put the battery holder in there later.
Take Apart Wand
Before I started taking the Dash Wand apart I set it up in the Amazon app and made sure it worked. Rather not go through all this work and have it not work at the end. This way I know it worked before I took it apart.

The two case halves are welded together..

I used a clam knife to break the weld along the seem. Be careful to not cut yourself while doing this.

Once the seam was broken I was able pull the two halves apart, there is some adhesive on the lens for the bar-code scanner. So that section pulls apart harder. Don't worry about breaking the ribbon cable, the bar-code scanner isn't used. Do be careful with the red/black twisted wire though, that is the speaker that we will be reusing.

Underneath the bar-code scanner is the speaker that we need. I removed the two screws holding it in, some adhesive may be holding it in also.

Then I pried the speaker out, it also has adhesive holding it in. I then disconnected it from the board and set it aside.

Then I took out the screws holding the circuit board and removed it. Keep track of the two metal caps in the battery tray, we need those later.

Make Battery Pack a Separate Module
Now we need to split up the battery half from the rest of the case to save on space. I put the battery parts back together to determine where to cut off the unused area.

I then used a jewelers saw to cut it apart.

Then I desoldered the battery lead springs from the circuit board.

Once those were removed from the board I soldered wire to them and also to the metal brackets that go over the battery case.

I also applied some heat shrink tubing to them.

Then I soldered the leads to the circuit board.

Then assembled the battery module back together.This also a good time to put the batteries in and verify that it still works.
Solder Wires for Button
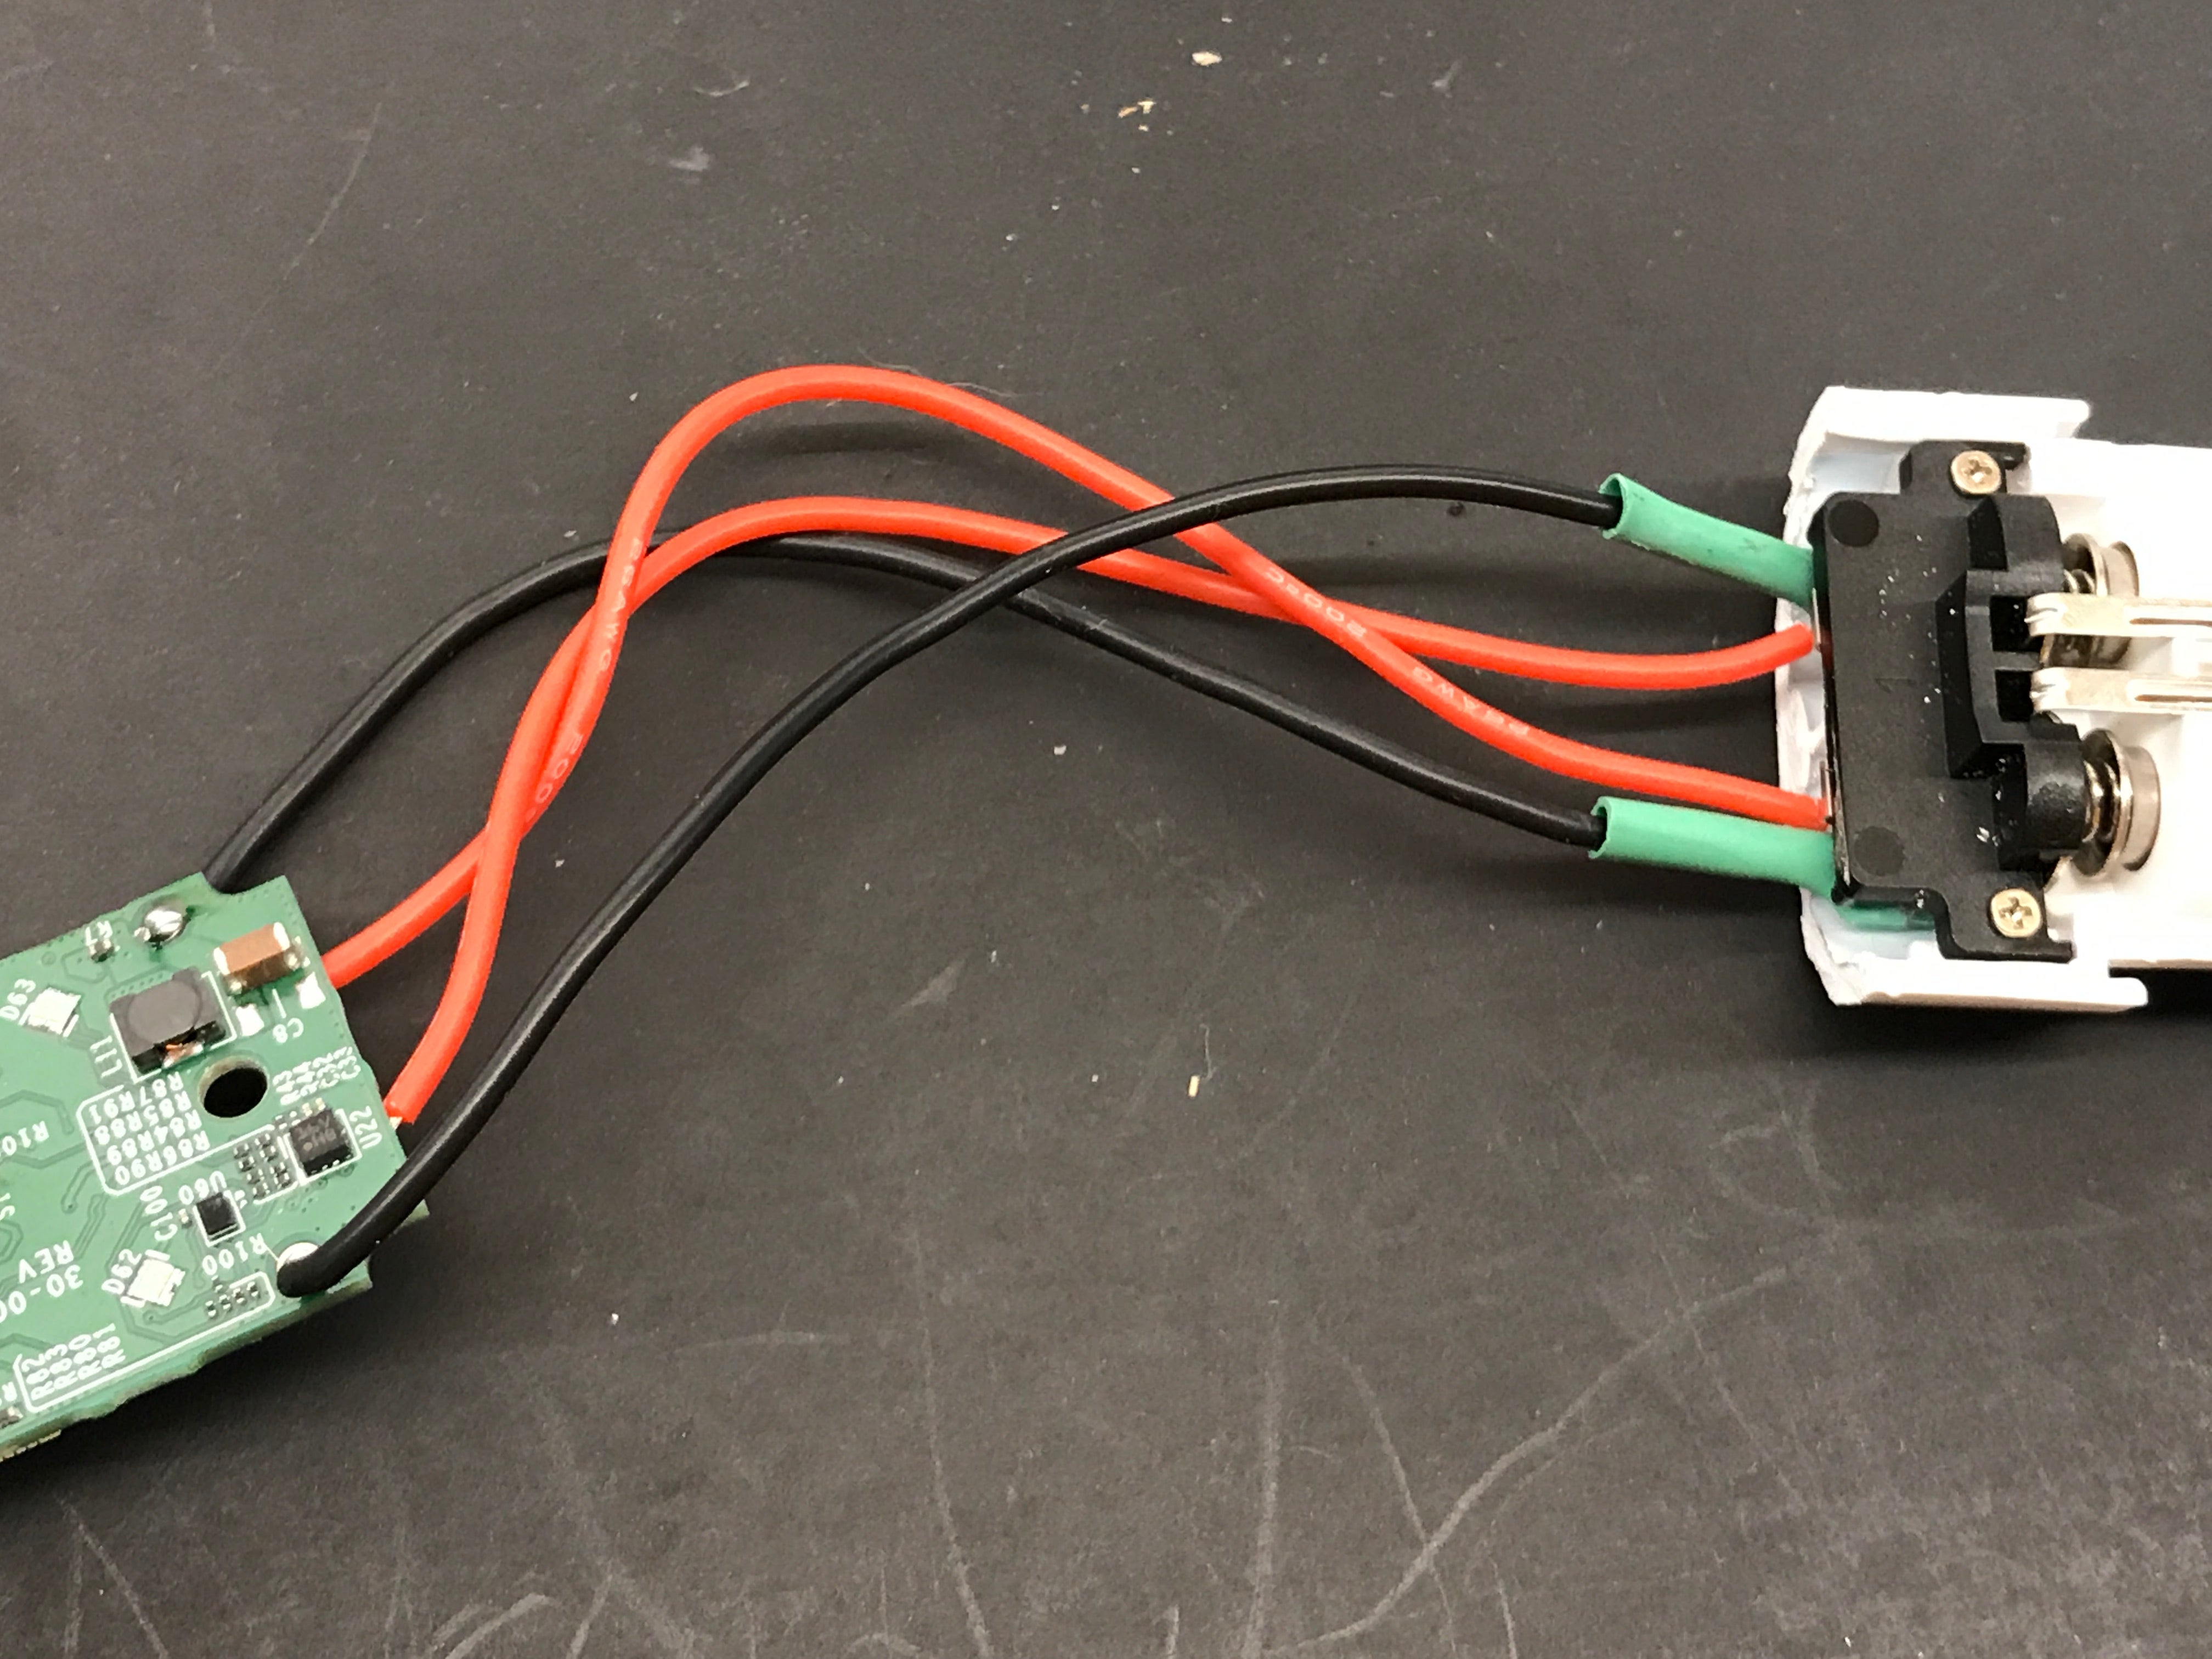
On the circuit board there is a button I soldered two wires to for connecting to the push button on the intercom circuit board. I have highlighted the two connection points.

I had some difficulties soldering to both pads so i took the button apart and soldered that way. Another possibility is using a rework station to remove the button. Thus having access to larger pads under it.

Now the other ends of these two wires get soldered to the push button on the intercom board. I poked around with my multi-meter until I found two connection points that shorted out when the button was pressed and were open when the button was released. I also cut the traces on the board just in case anything else could trigger it.

Test It Again
To get the boards to stay but be easily removable in the future I used Loctite Fun-Tak to hold them to the space I made on the intercom board.

I aligned the LEDs on the main board where the speaker grill cutouts are so I can see them light up through the grill later. Also remember to reconnect the speaker, its magnetic so it attached good the metal on the intercom.

When I press the talk button the LED lights should light up. Then while still holding the talk button down give the Dash Wand a command such as what time is it, then release the button. Alexa should now respond.

Put It Back Together
Now that it has been tested and works I can put the telecom enclosure back together.
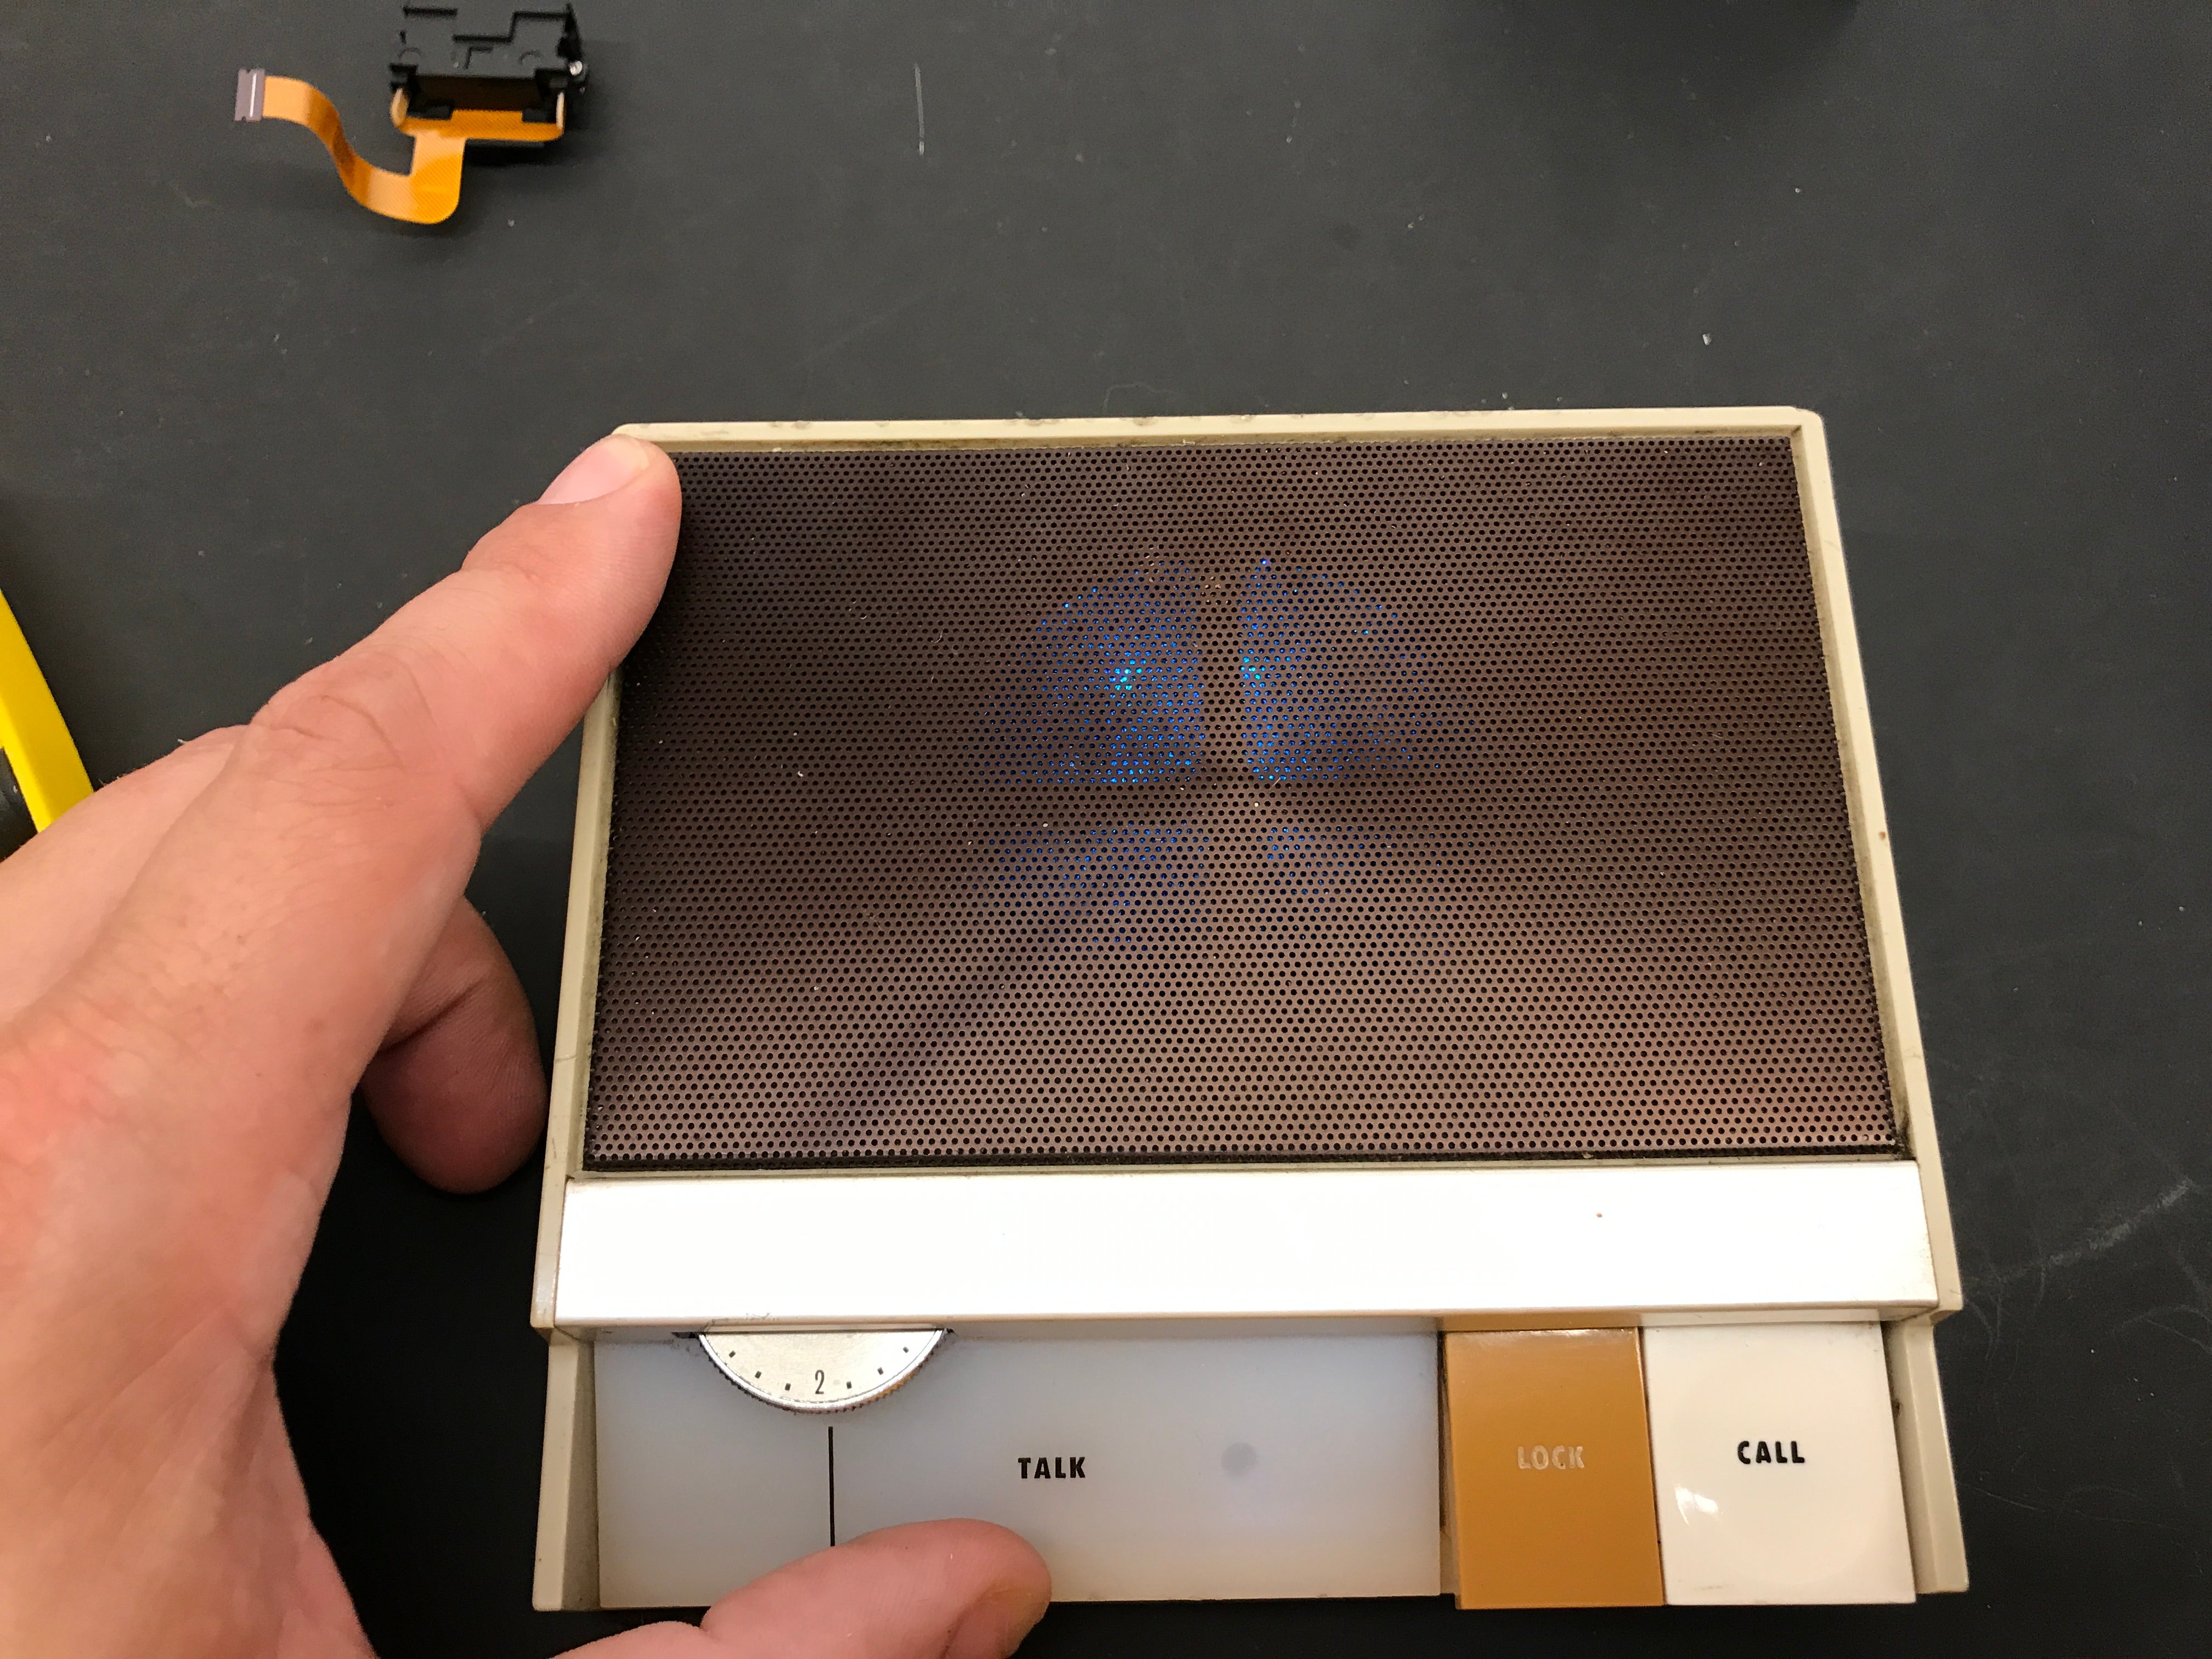
Now when the talk button is pressed I can see the blue LEDs through the speaker grill.
Conclusion
This project came out pretty good. I now have a nicer looking way to use my home automation items that work with Alexa.
A future change I would like to make is to amplify the sound and use a larger speaker. It can sometimes be hard to hear if there is other noise in the background.
Id be interested in seeing what other devices you can come up with putting the Dash Wand in. If you do make one let me know in the comments.