Alexa Go Go With RPi 3_part_1
by David_Lin in Circuits > Robots
1122 Views, 17 Favorites, 0 Comments
Alexa Go Go With RPi 3_part_1
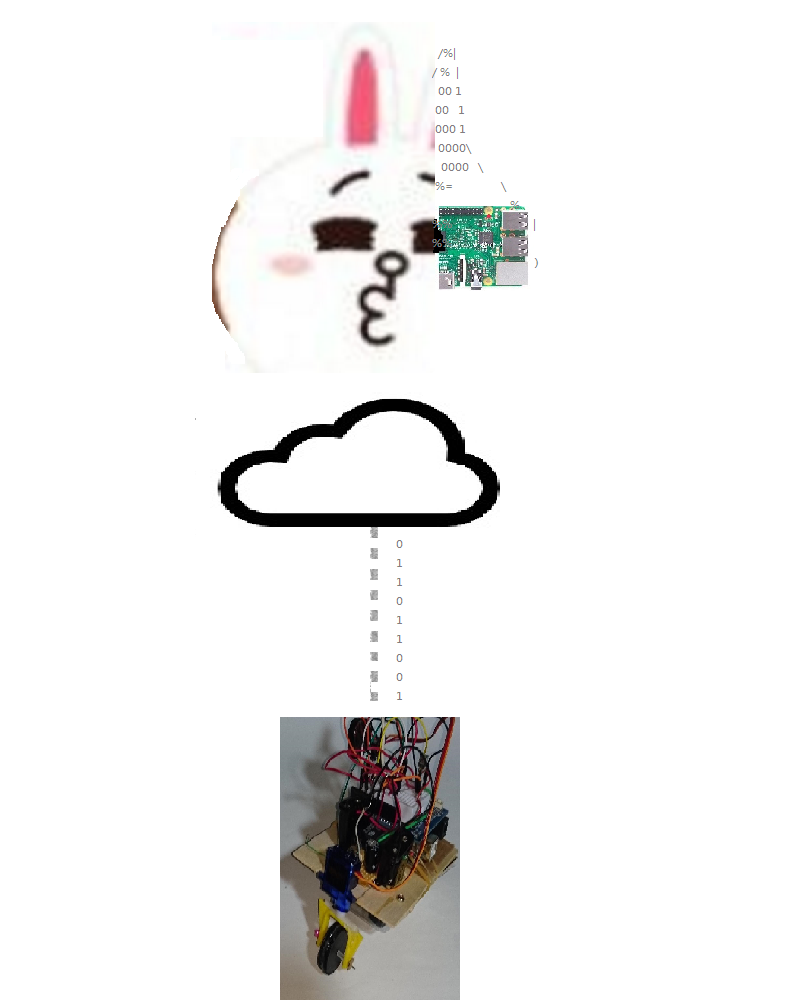
I am figuring about the AI ROBOT platform with RPi 3 out.
And control the Alexa Go Go wirelessly.
i use arduino nano controlling the wheels with servo
and dc-motor controlling by the remoter(part_4).
maybe there are someone wondering about the IR remoter
that is not smart enough. so that i make with an
Alexa to drive it from upon the cloud.
means, to control the moving of the robot using voice command .
Material

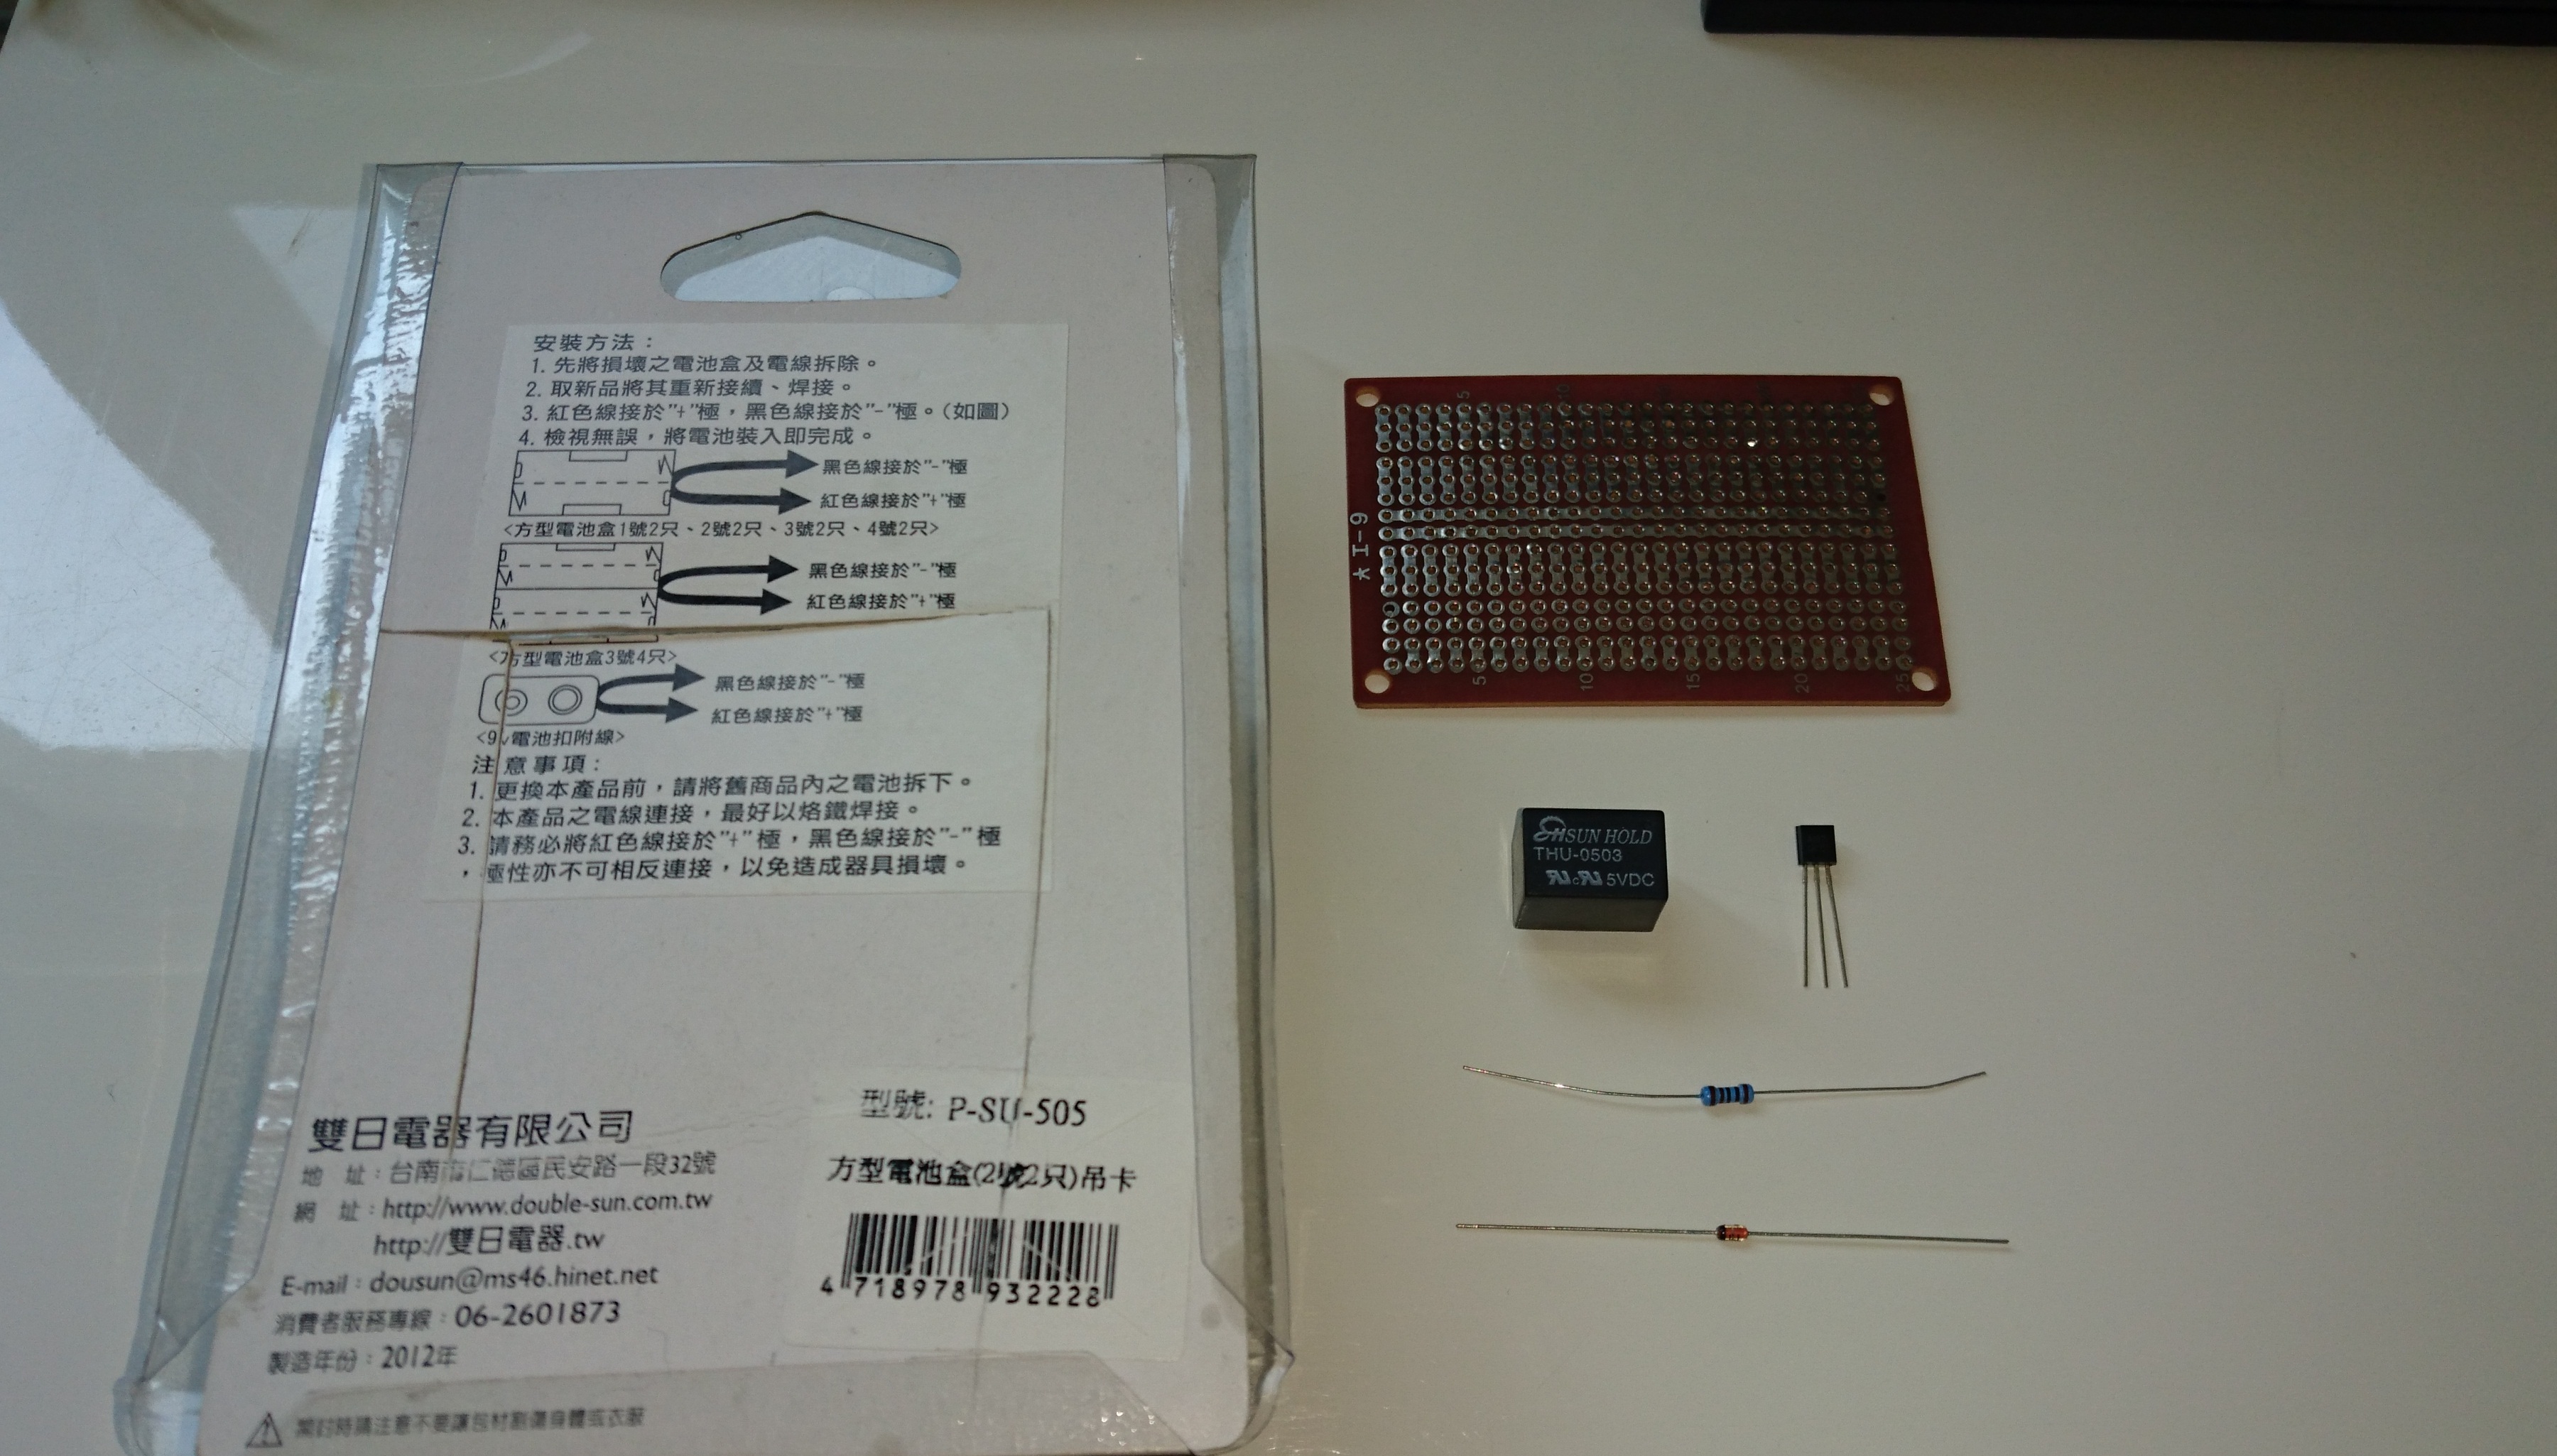
RPi 3 * 1
MIC * 1
USB sound card * 1
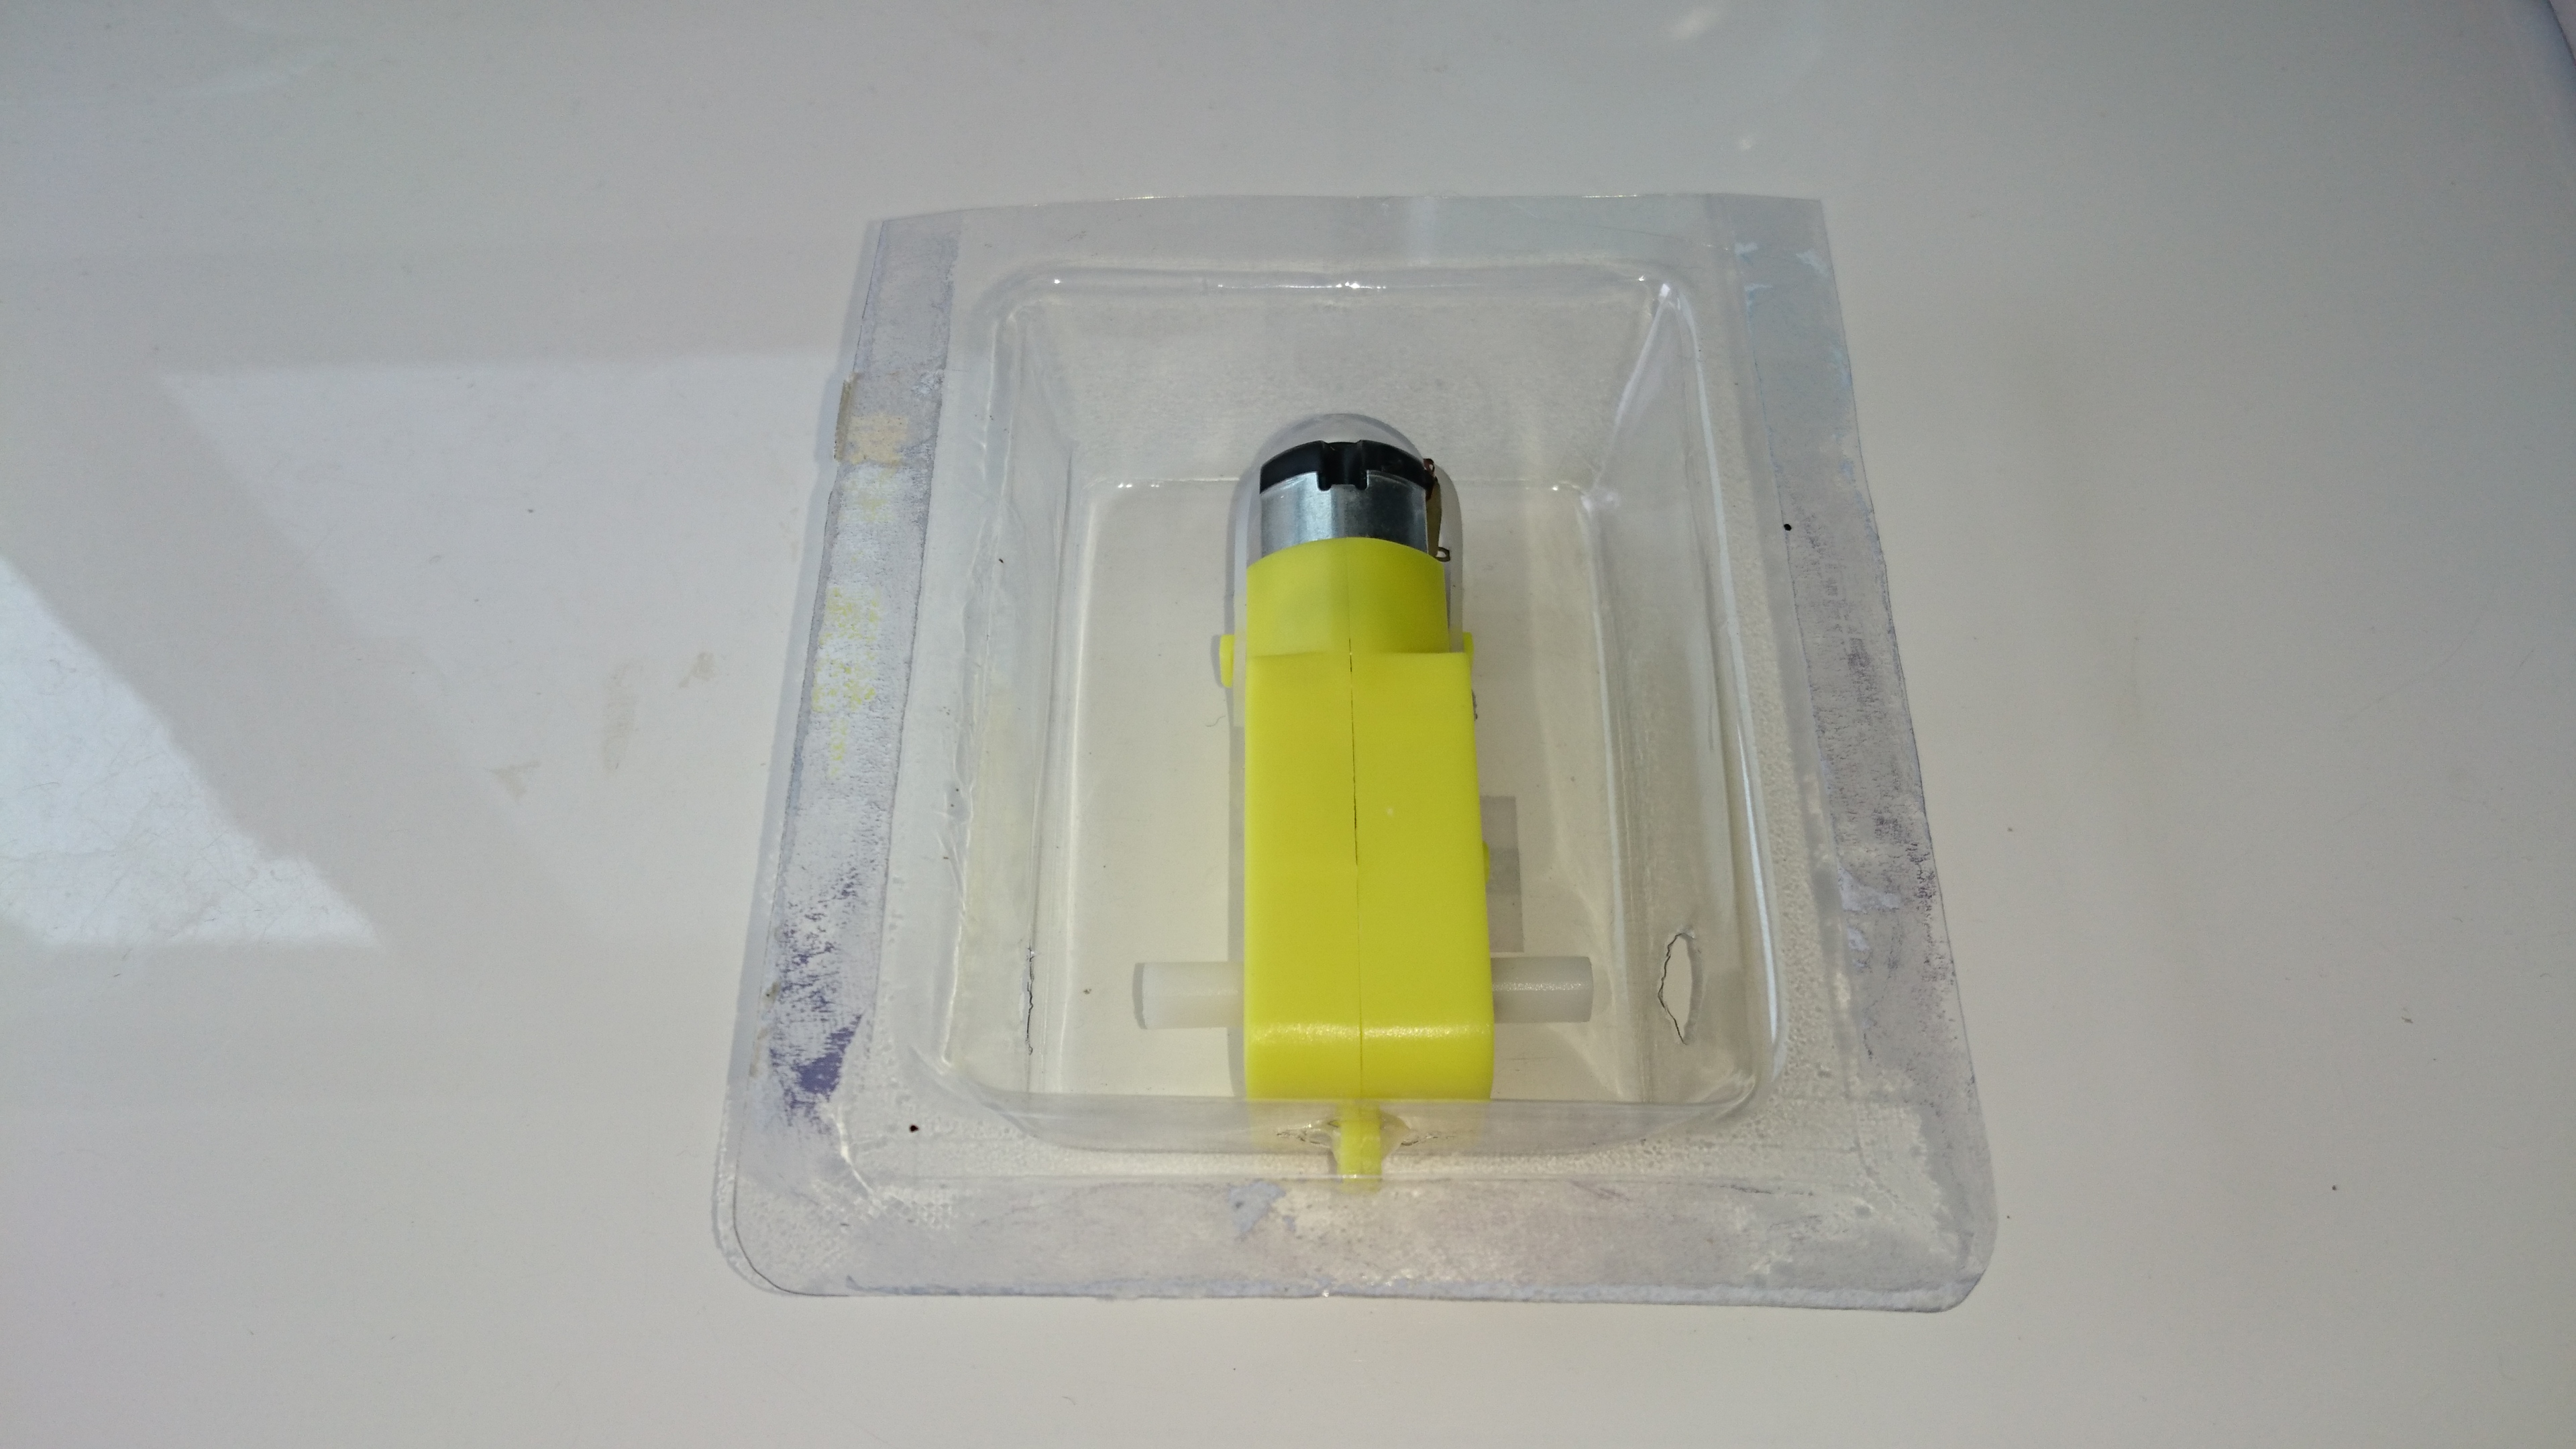
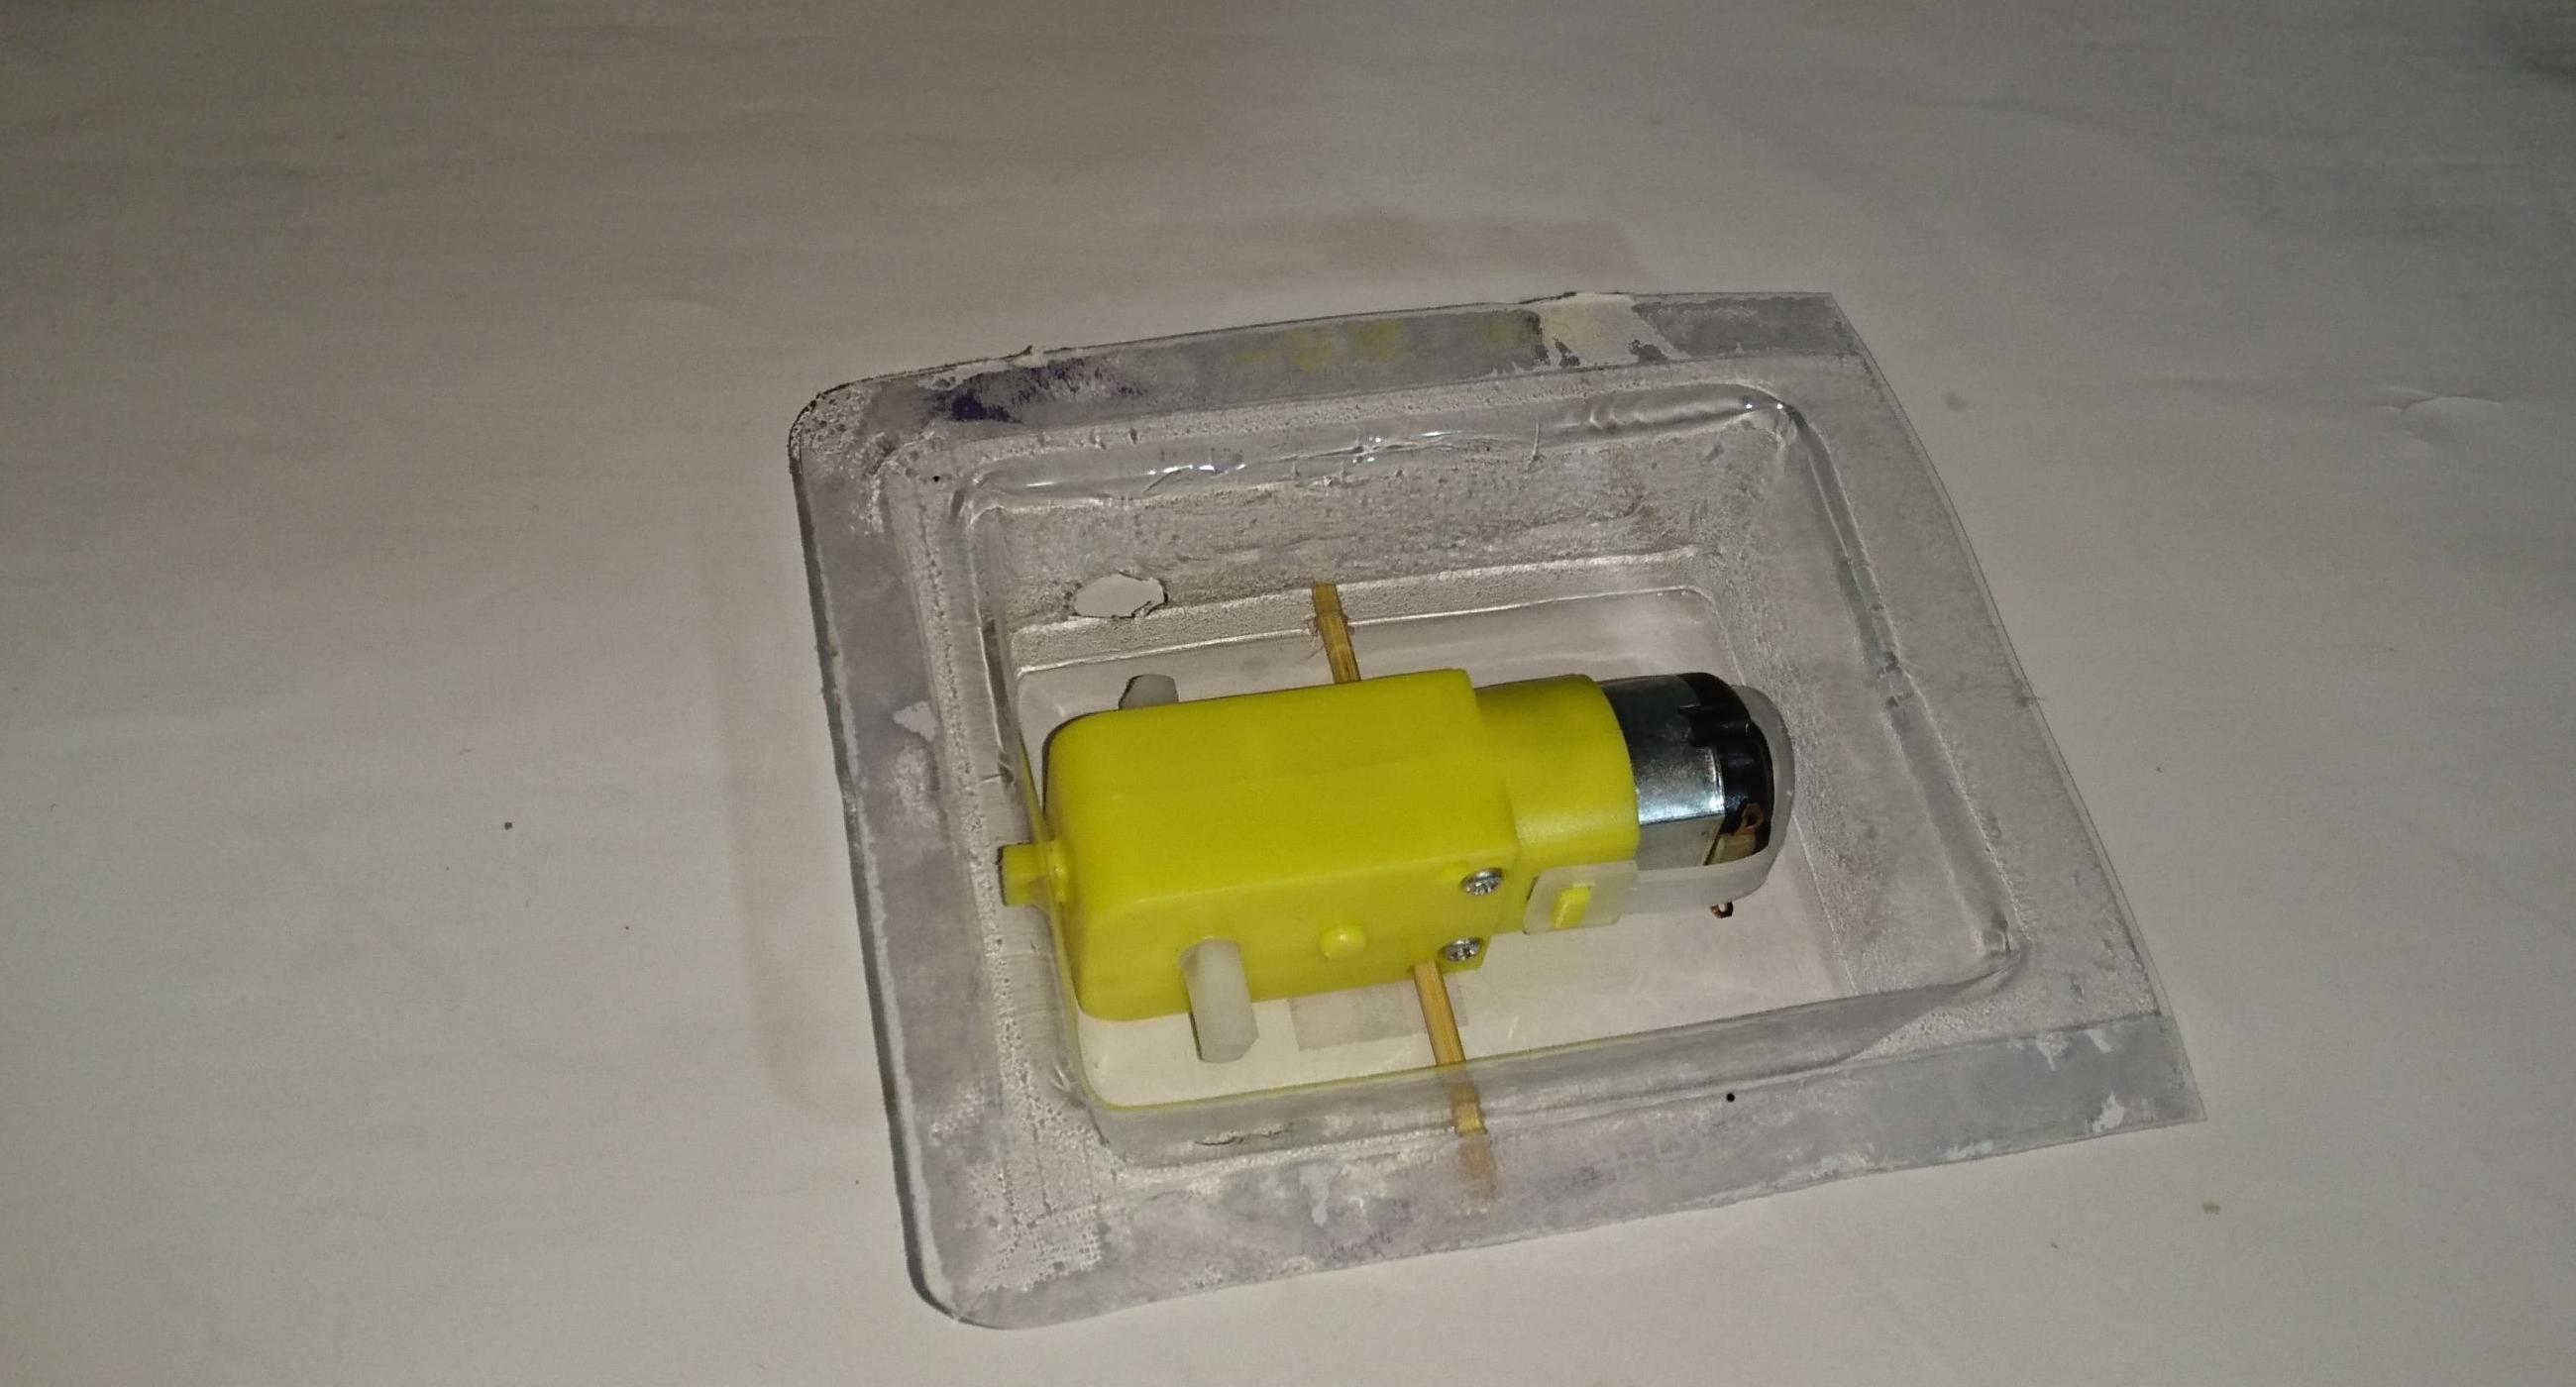
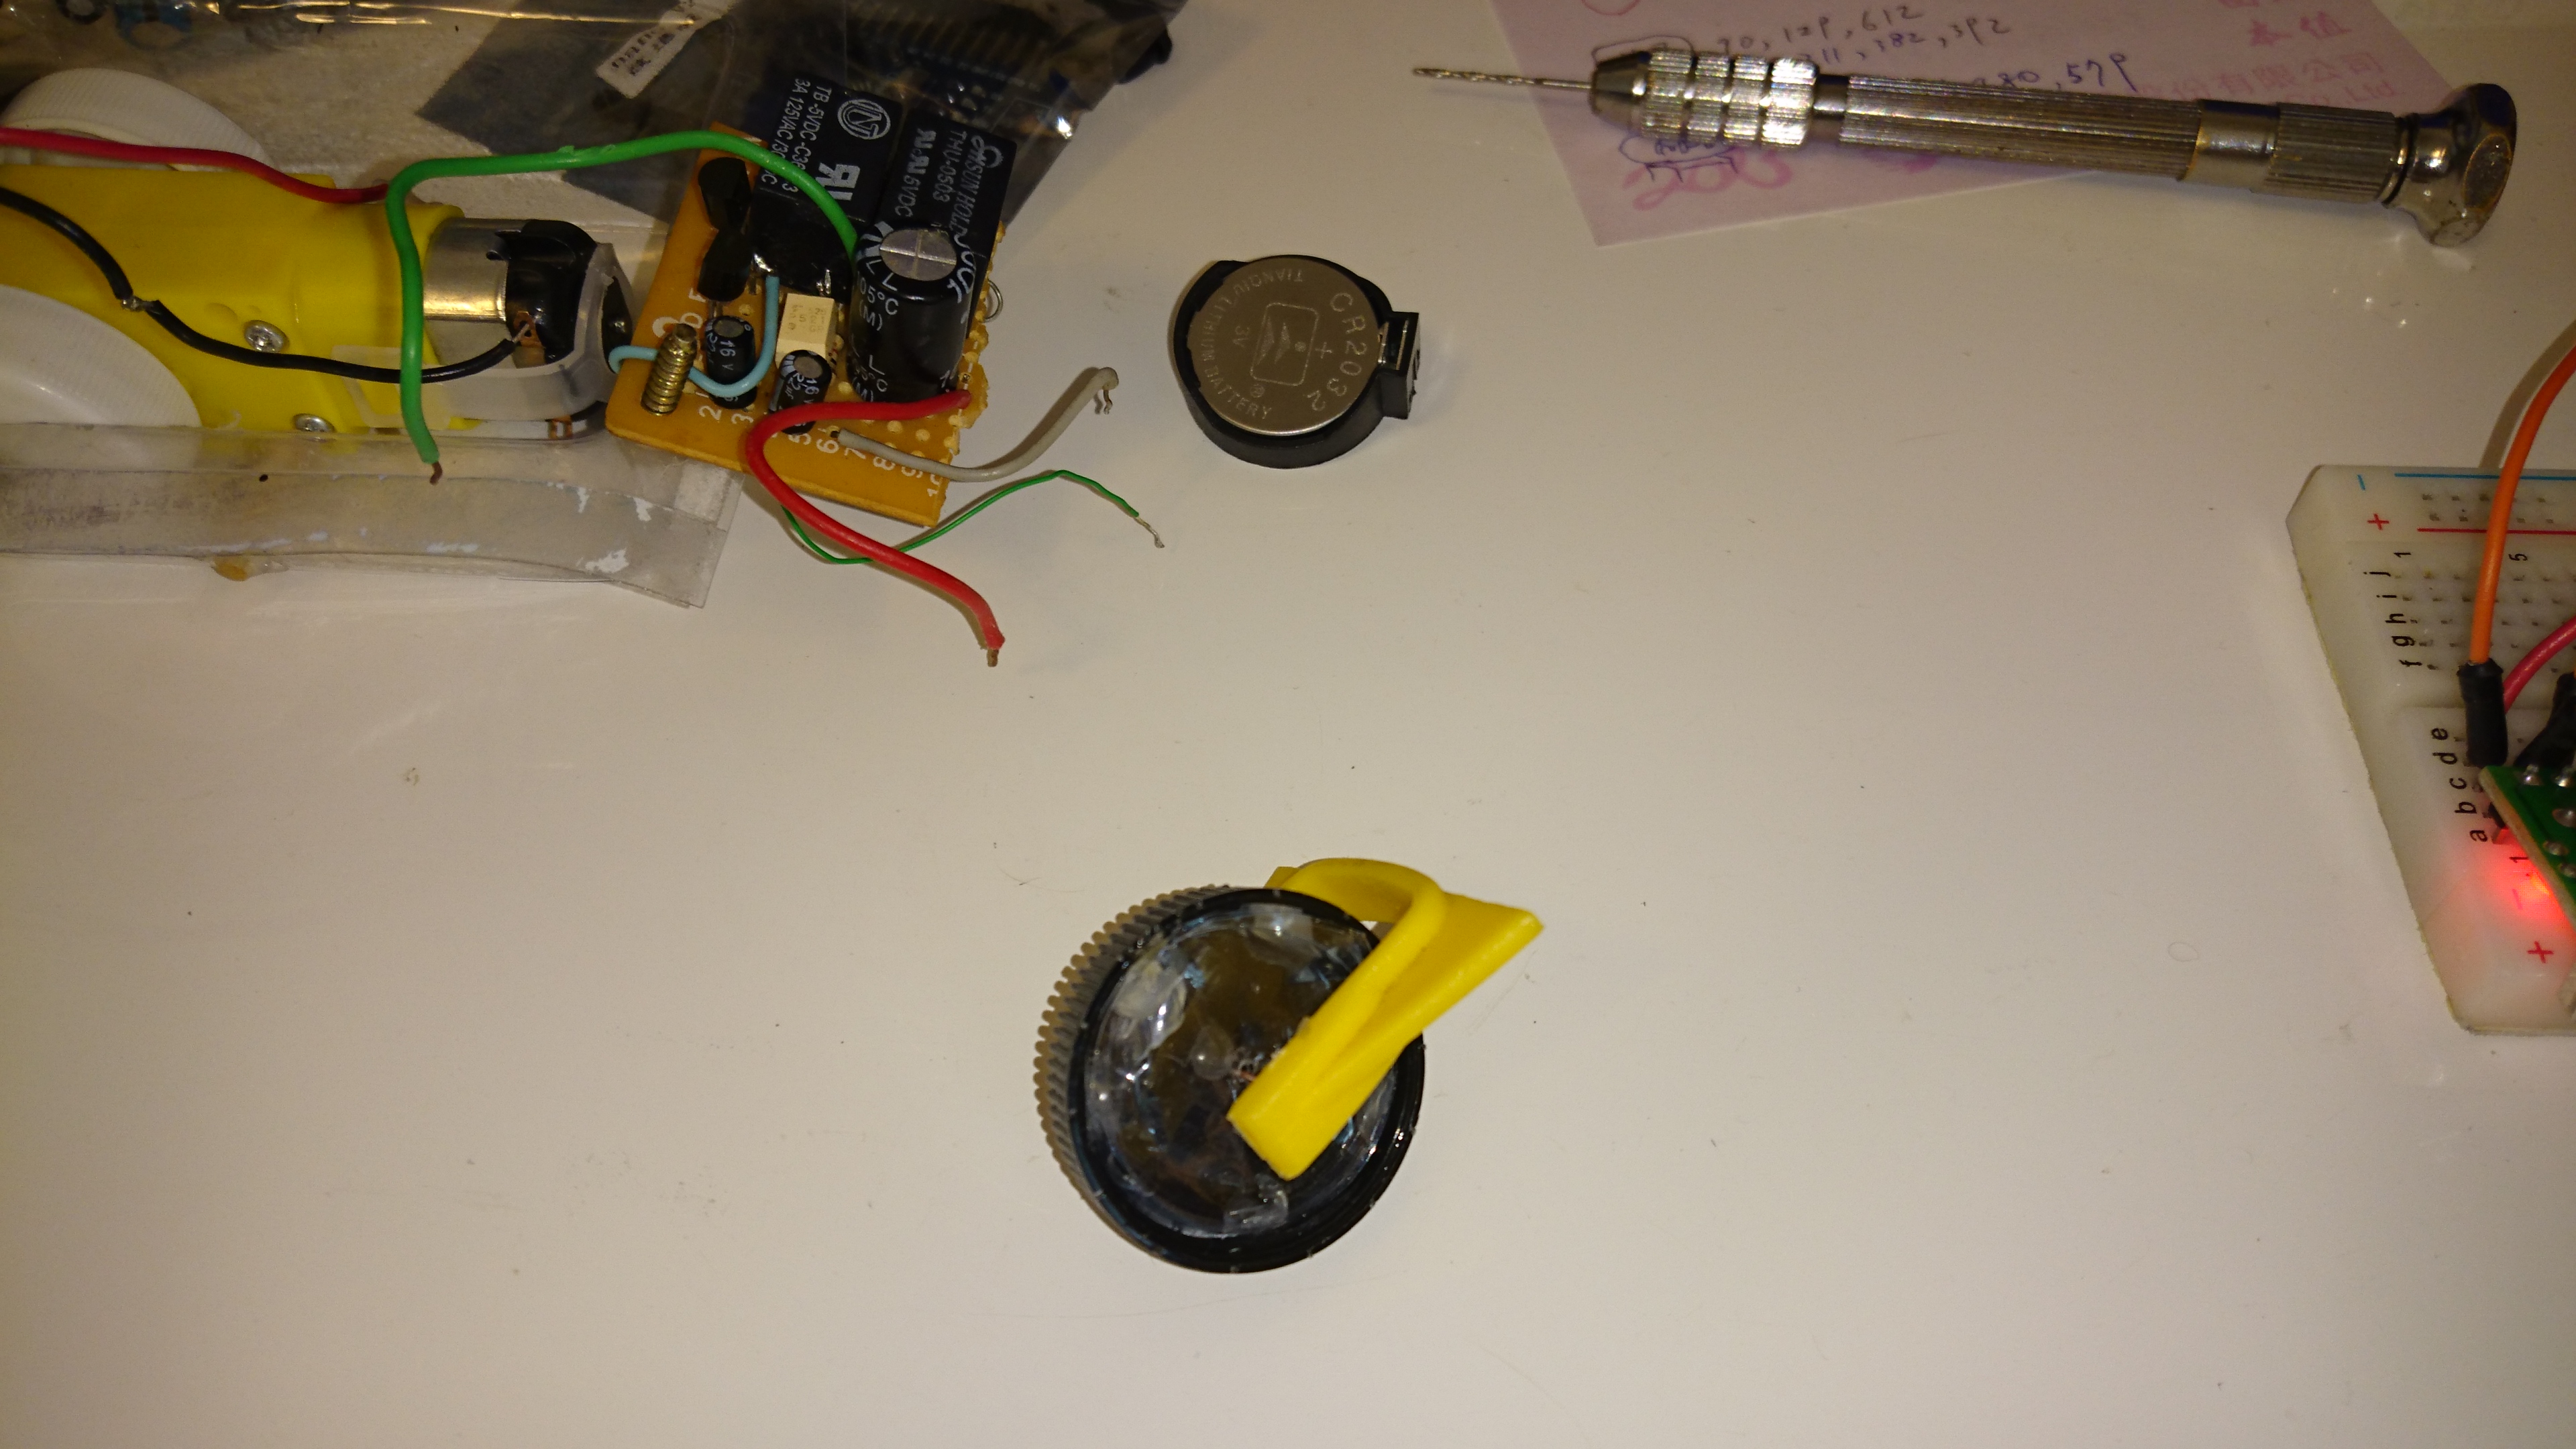
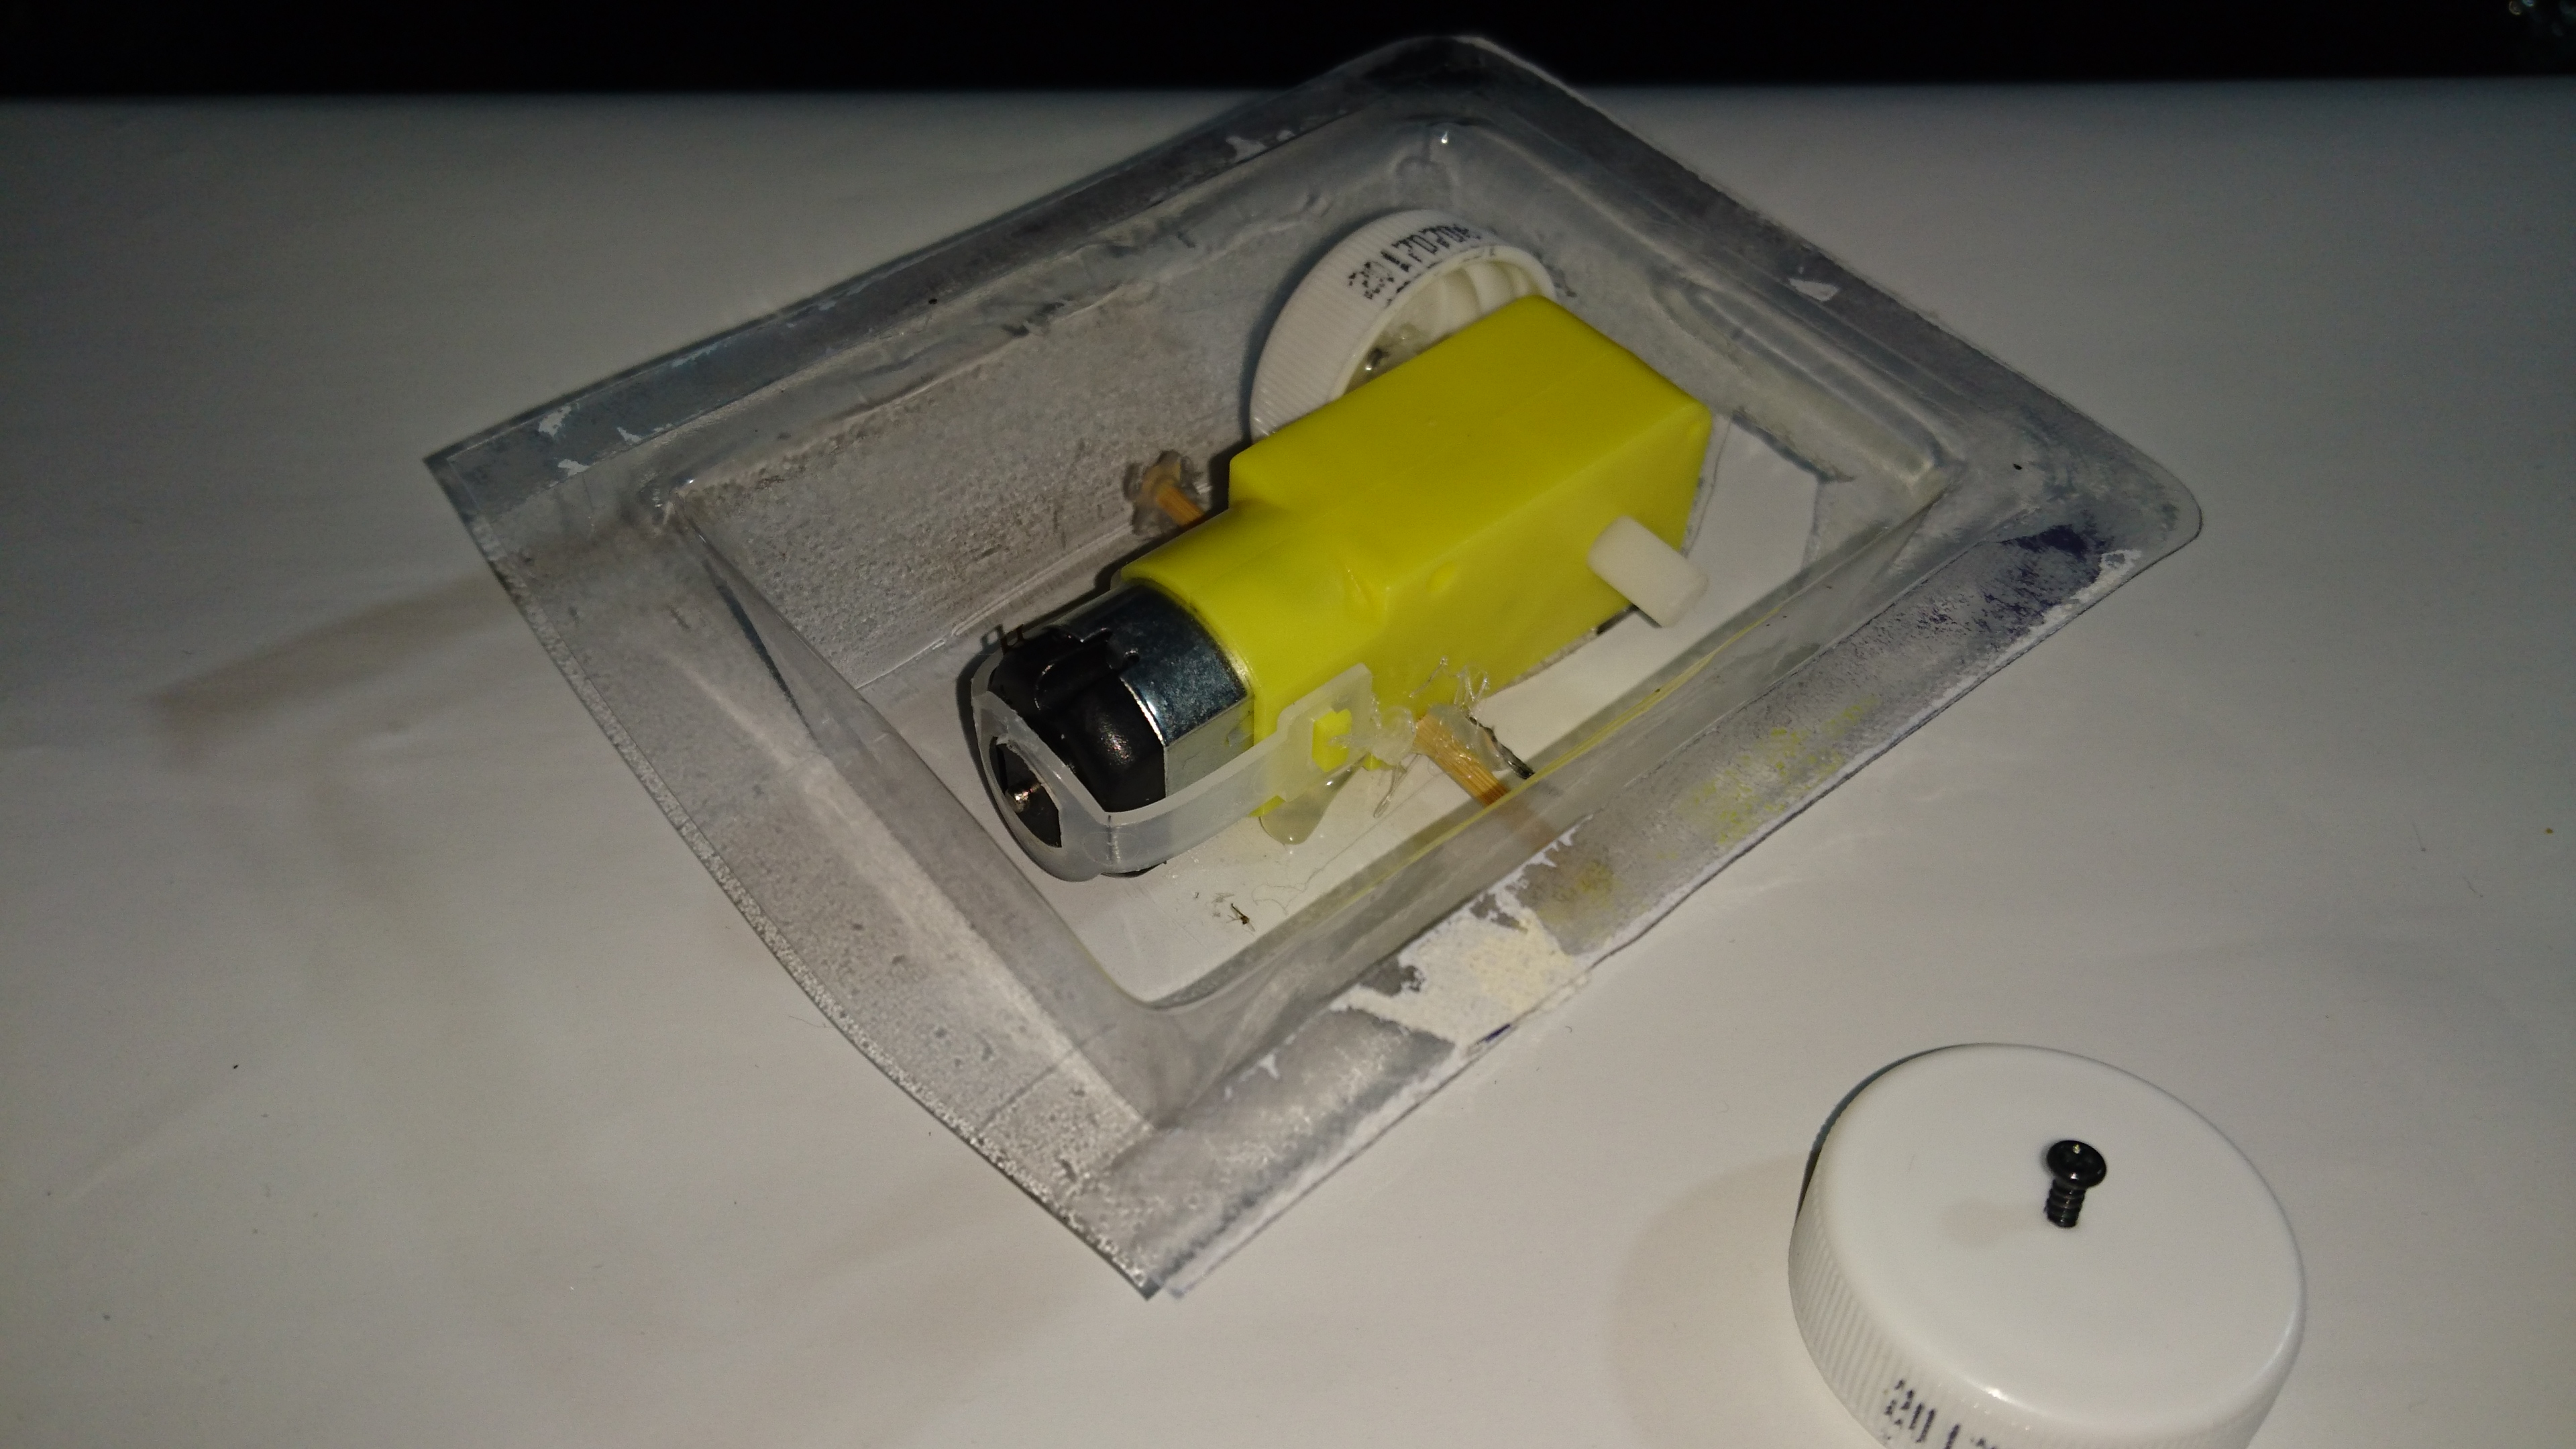
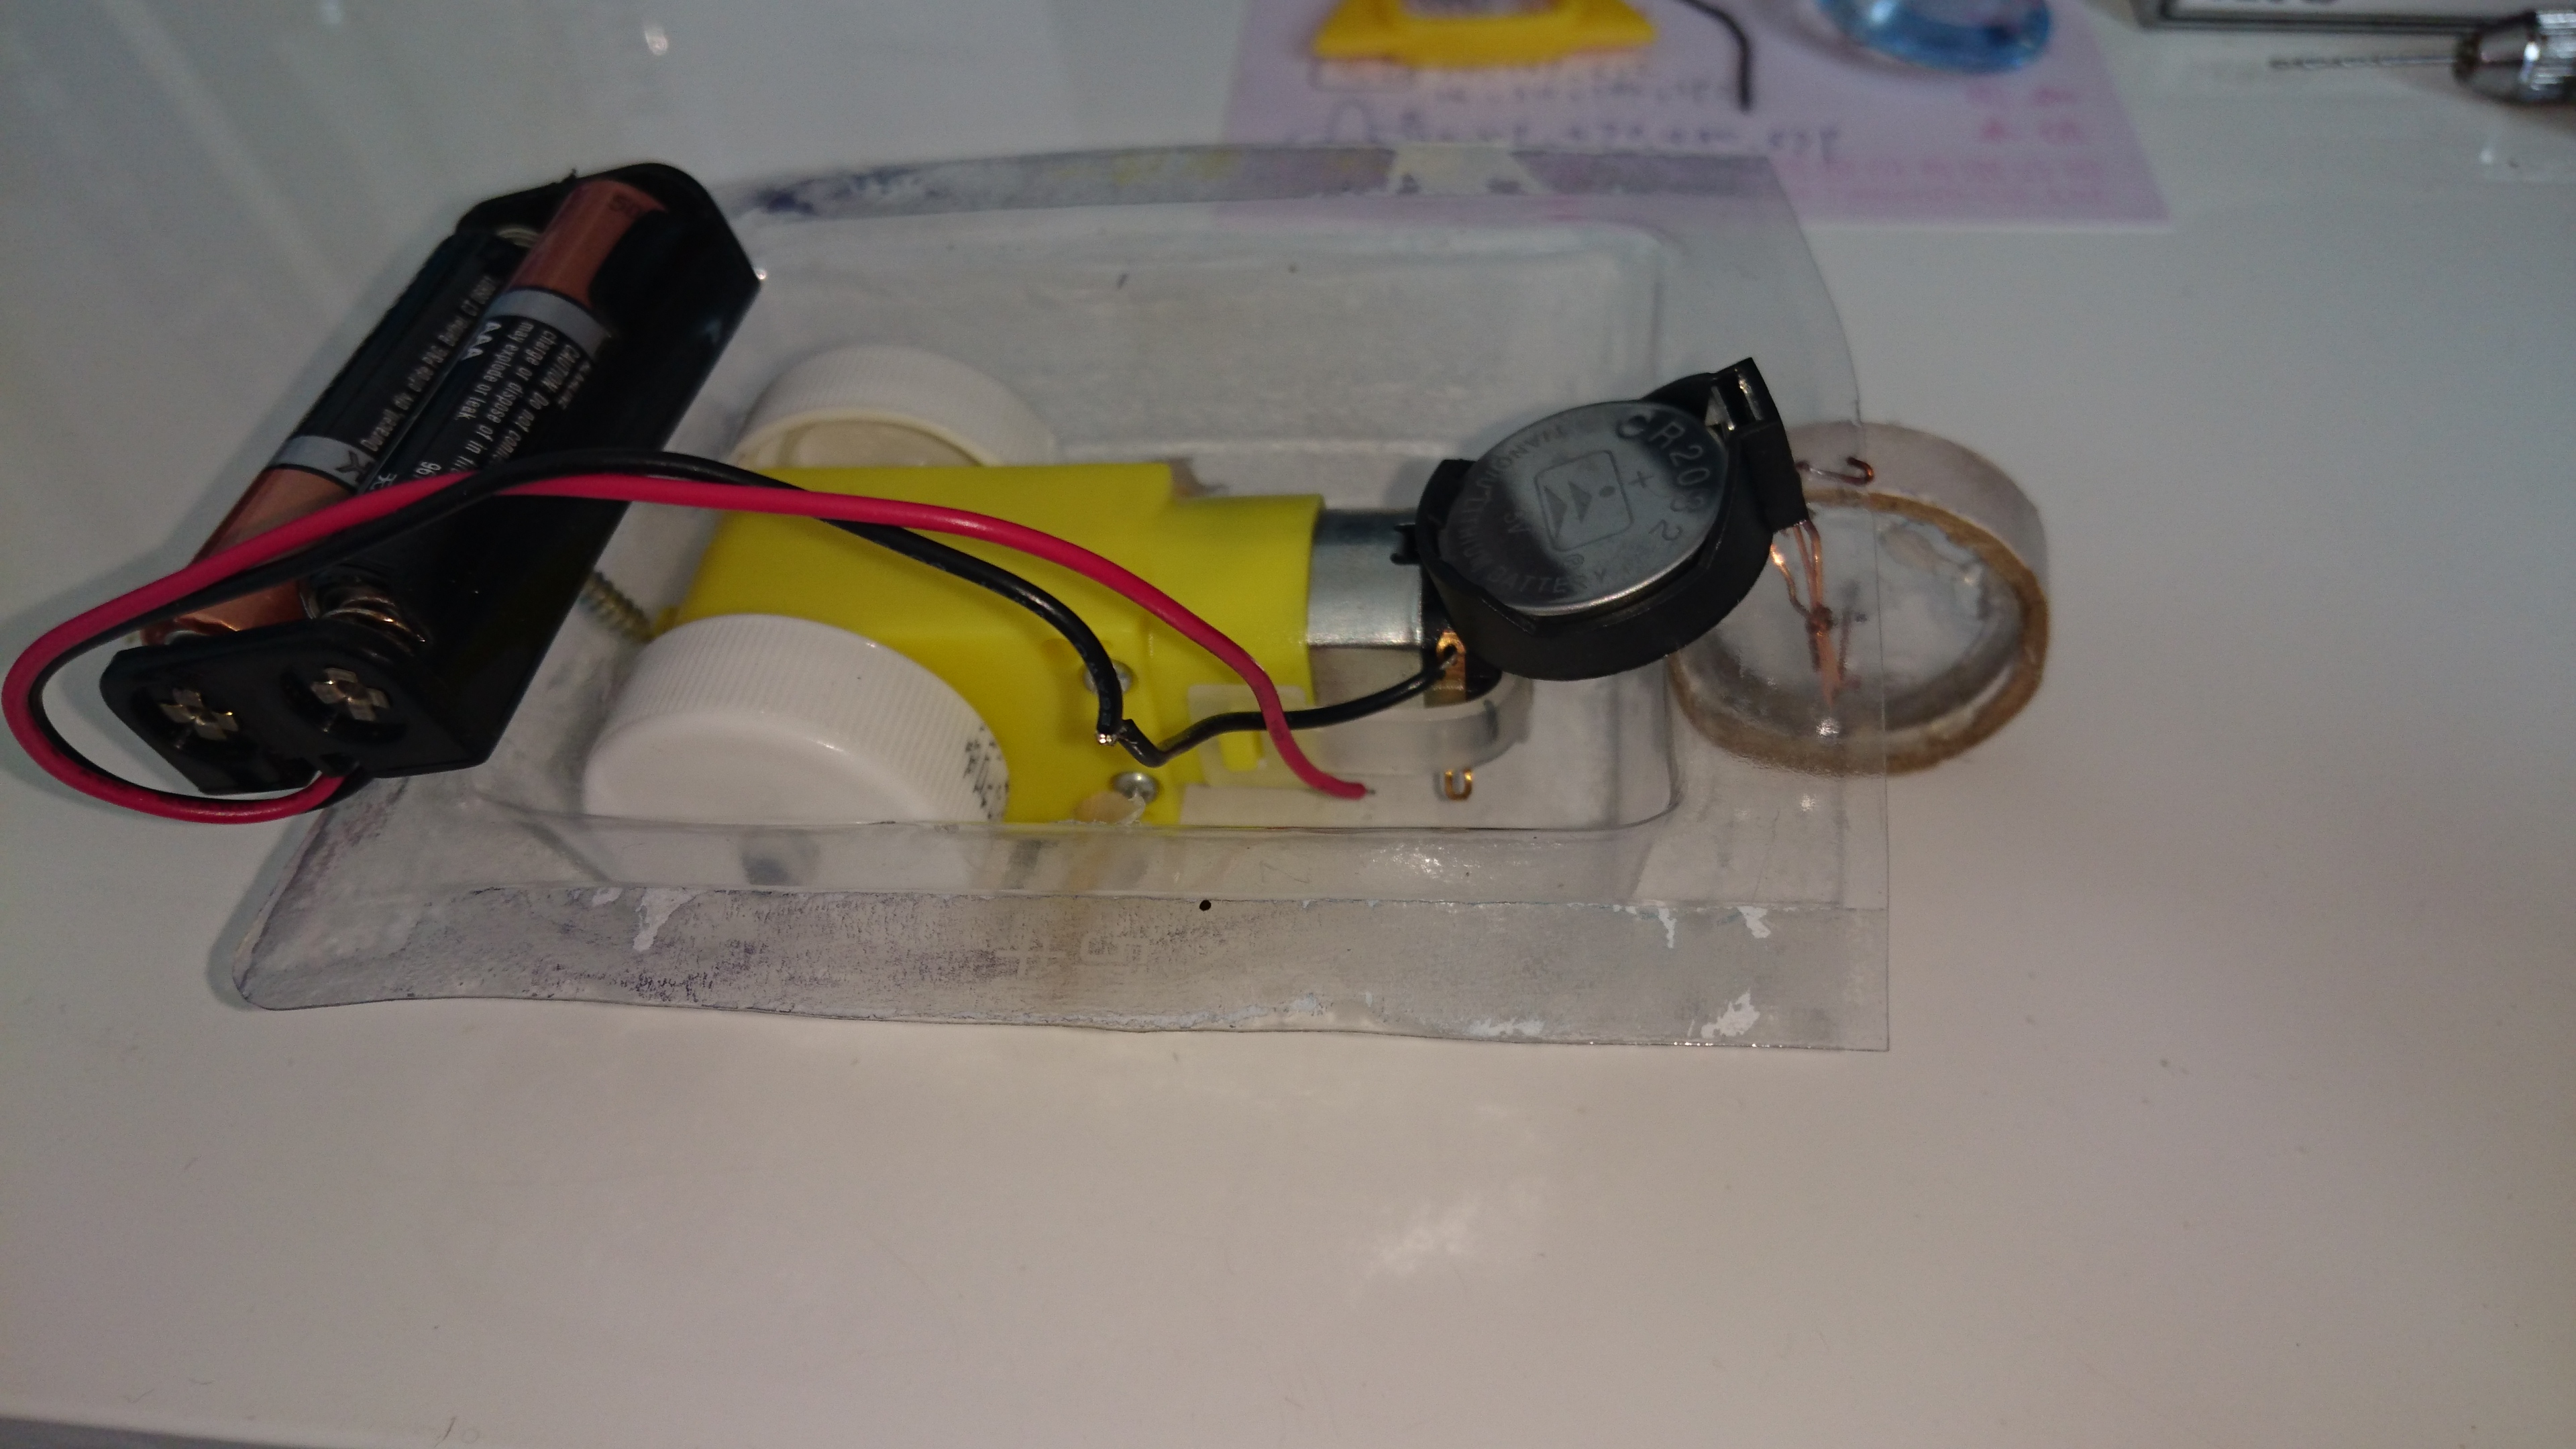
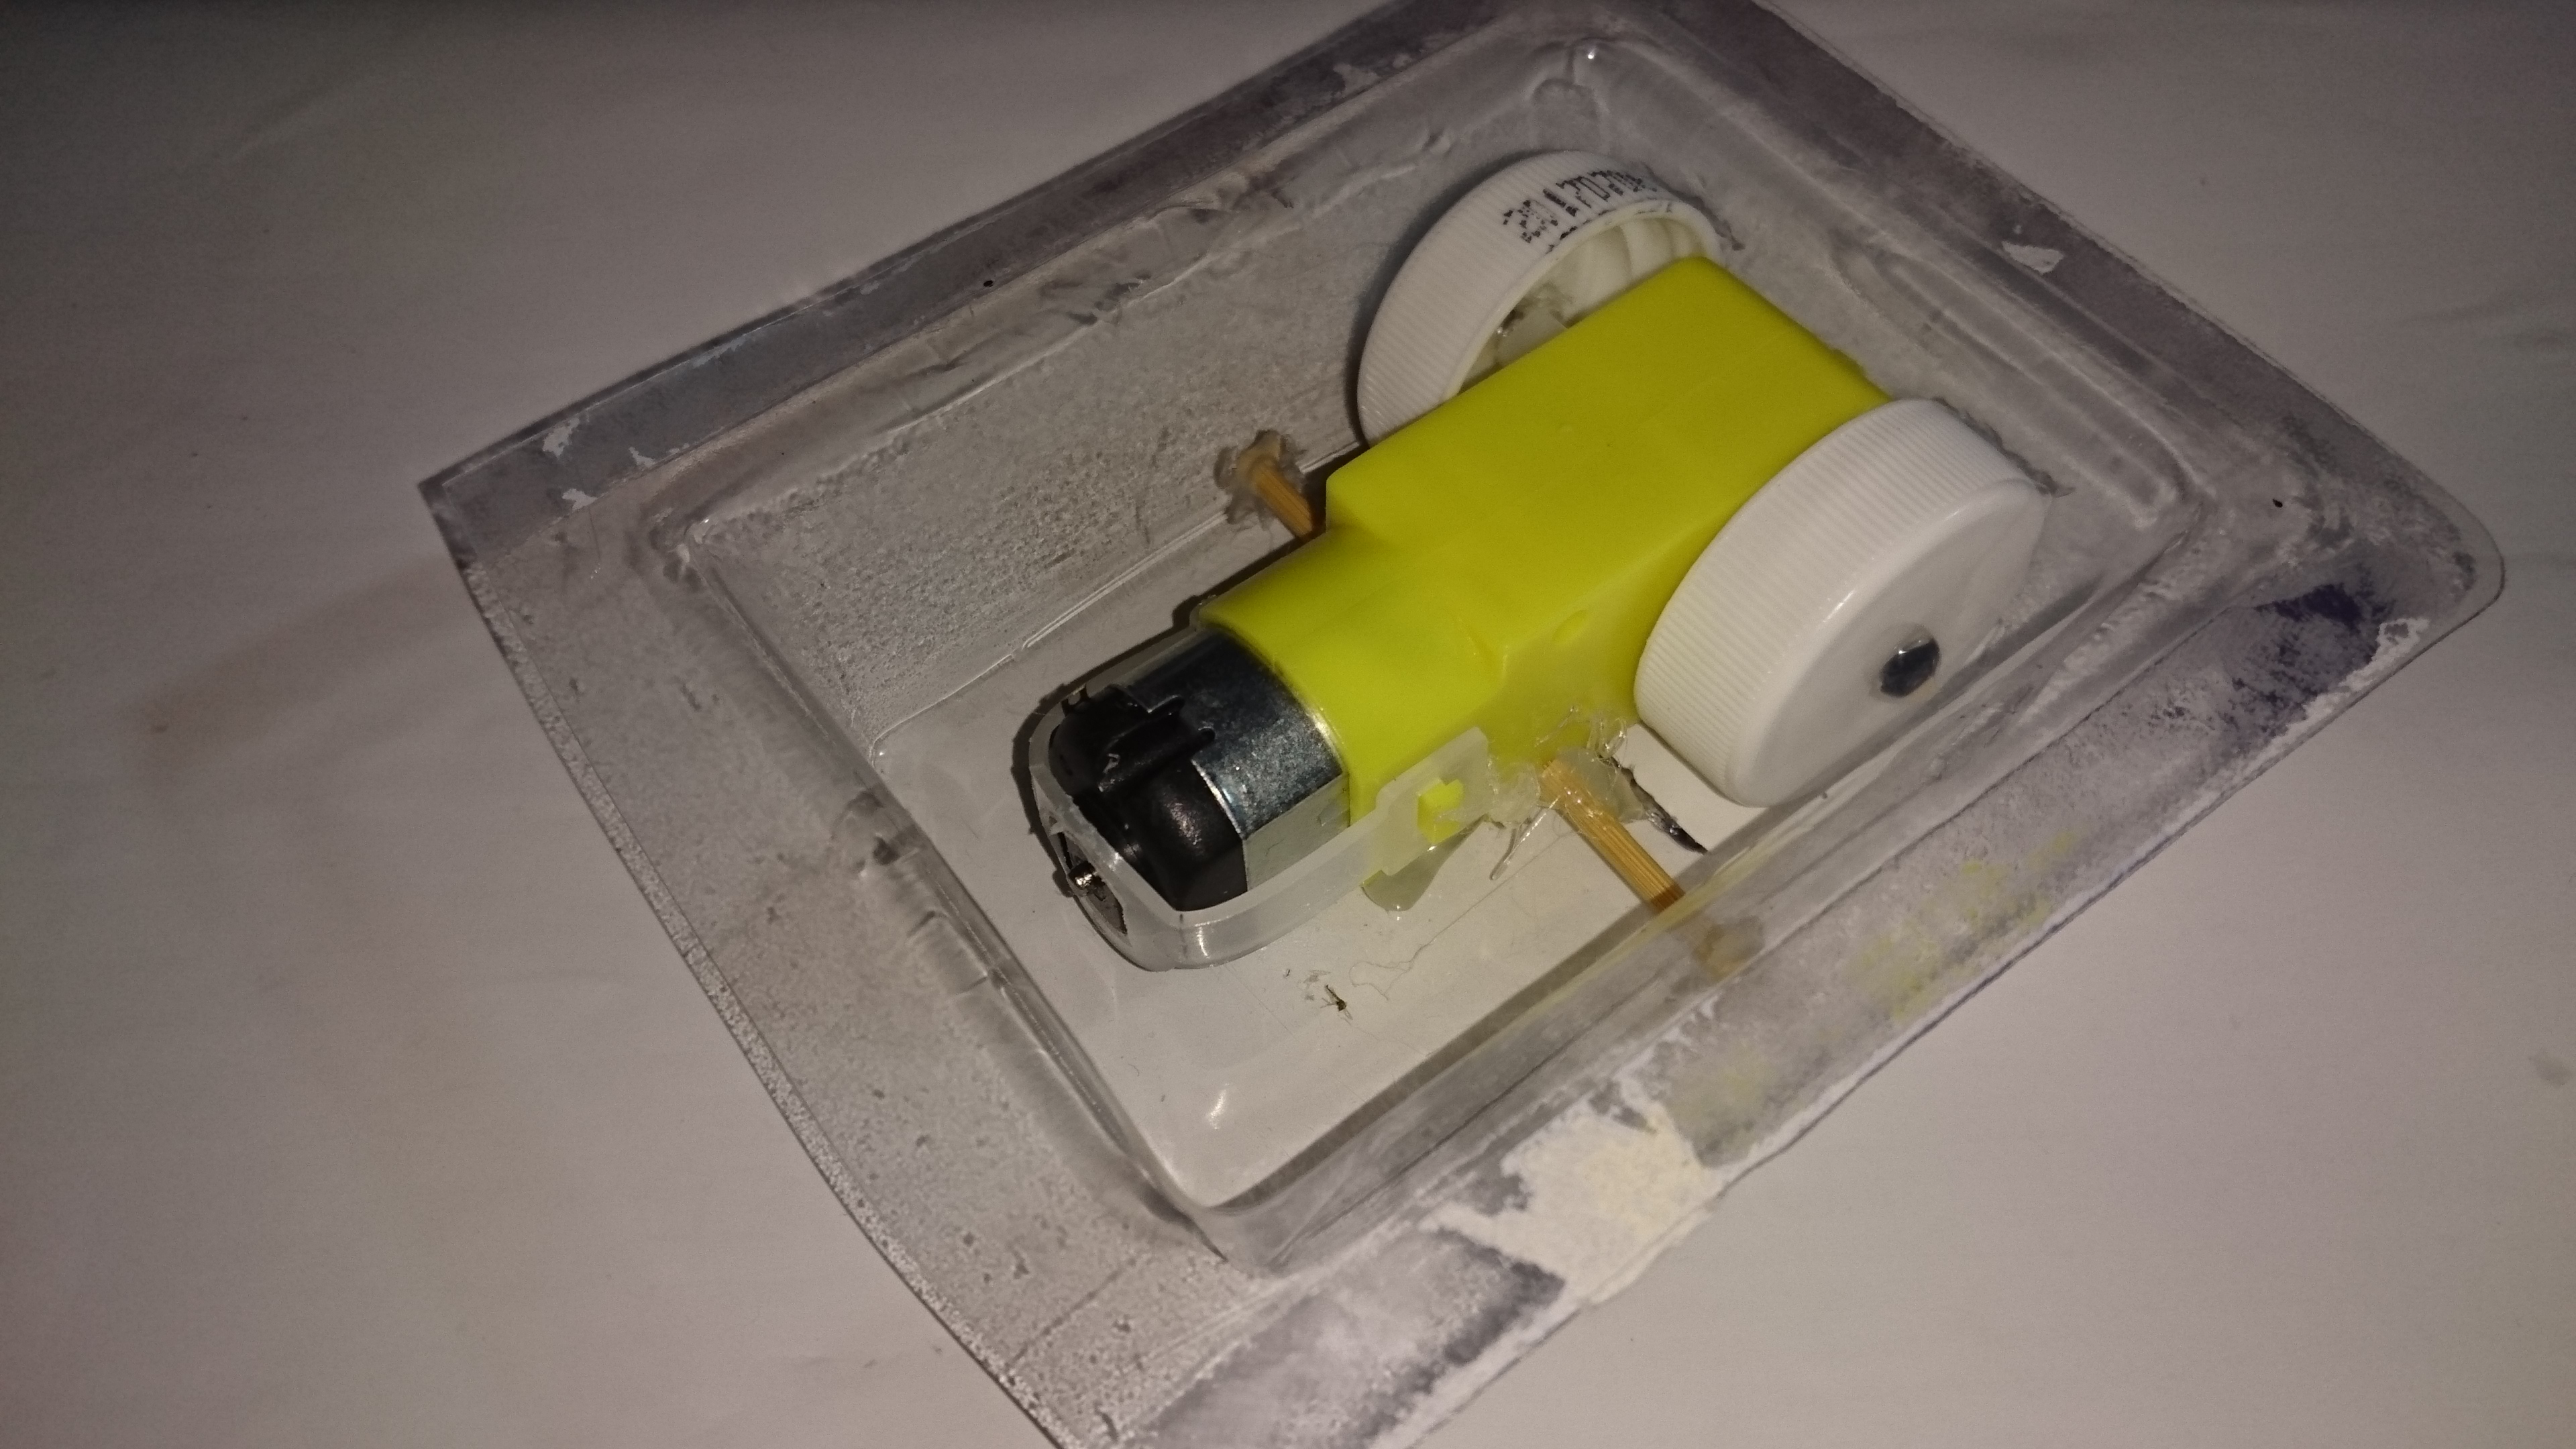
dc-motor gear * 1
micro servo motor * 1
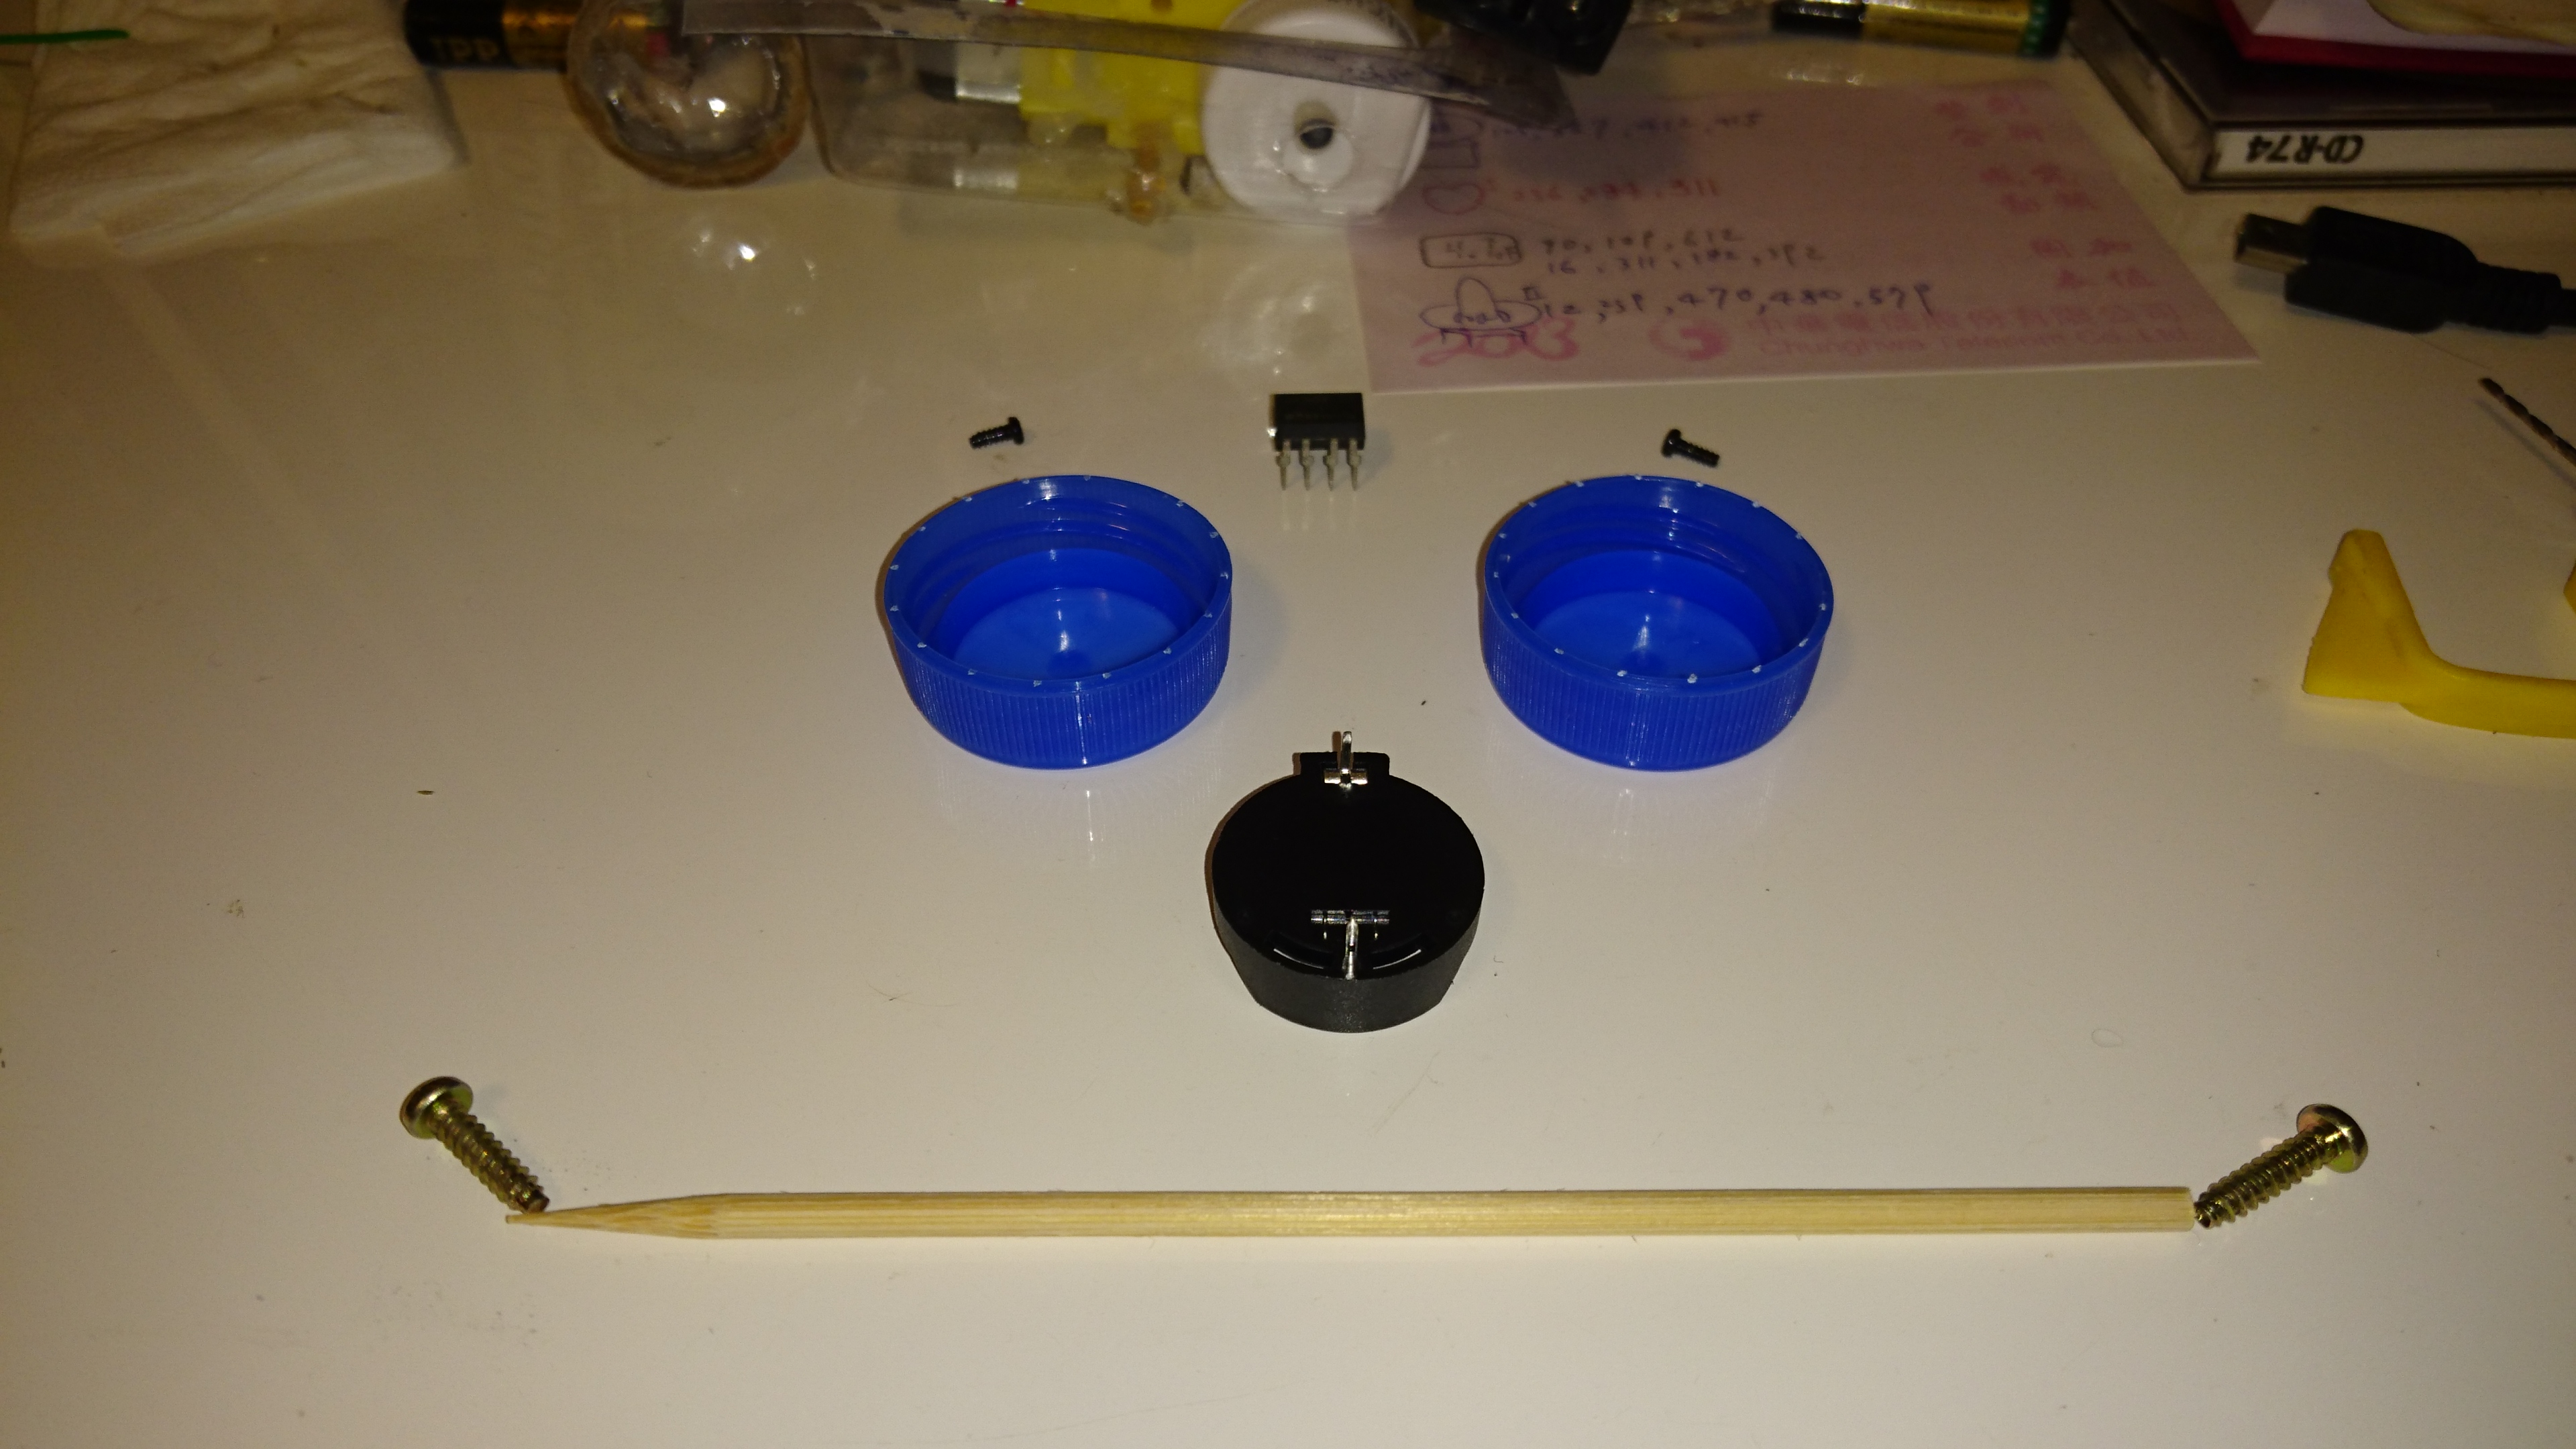
screw * 9
BBQ stick * 1
RPi 3 * 1
AAA battery * 4
AAA battery holder * 2
3.7 v Li battery(18650) * 1
3.7 v battery (18650)holder * 1
IR rcvr (arduino module) * 1
IR remoter(arduino module ) * 1
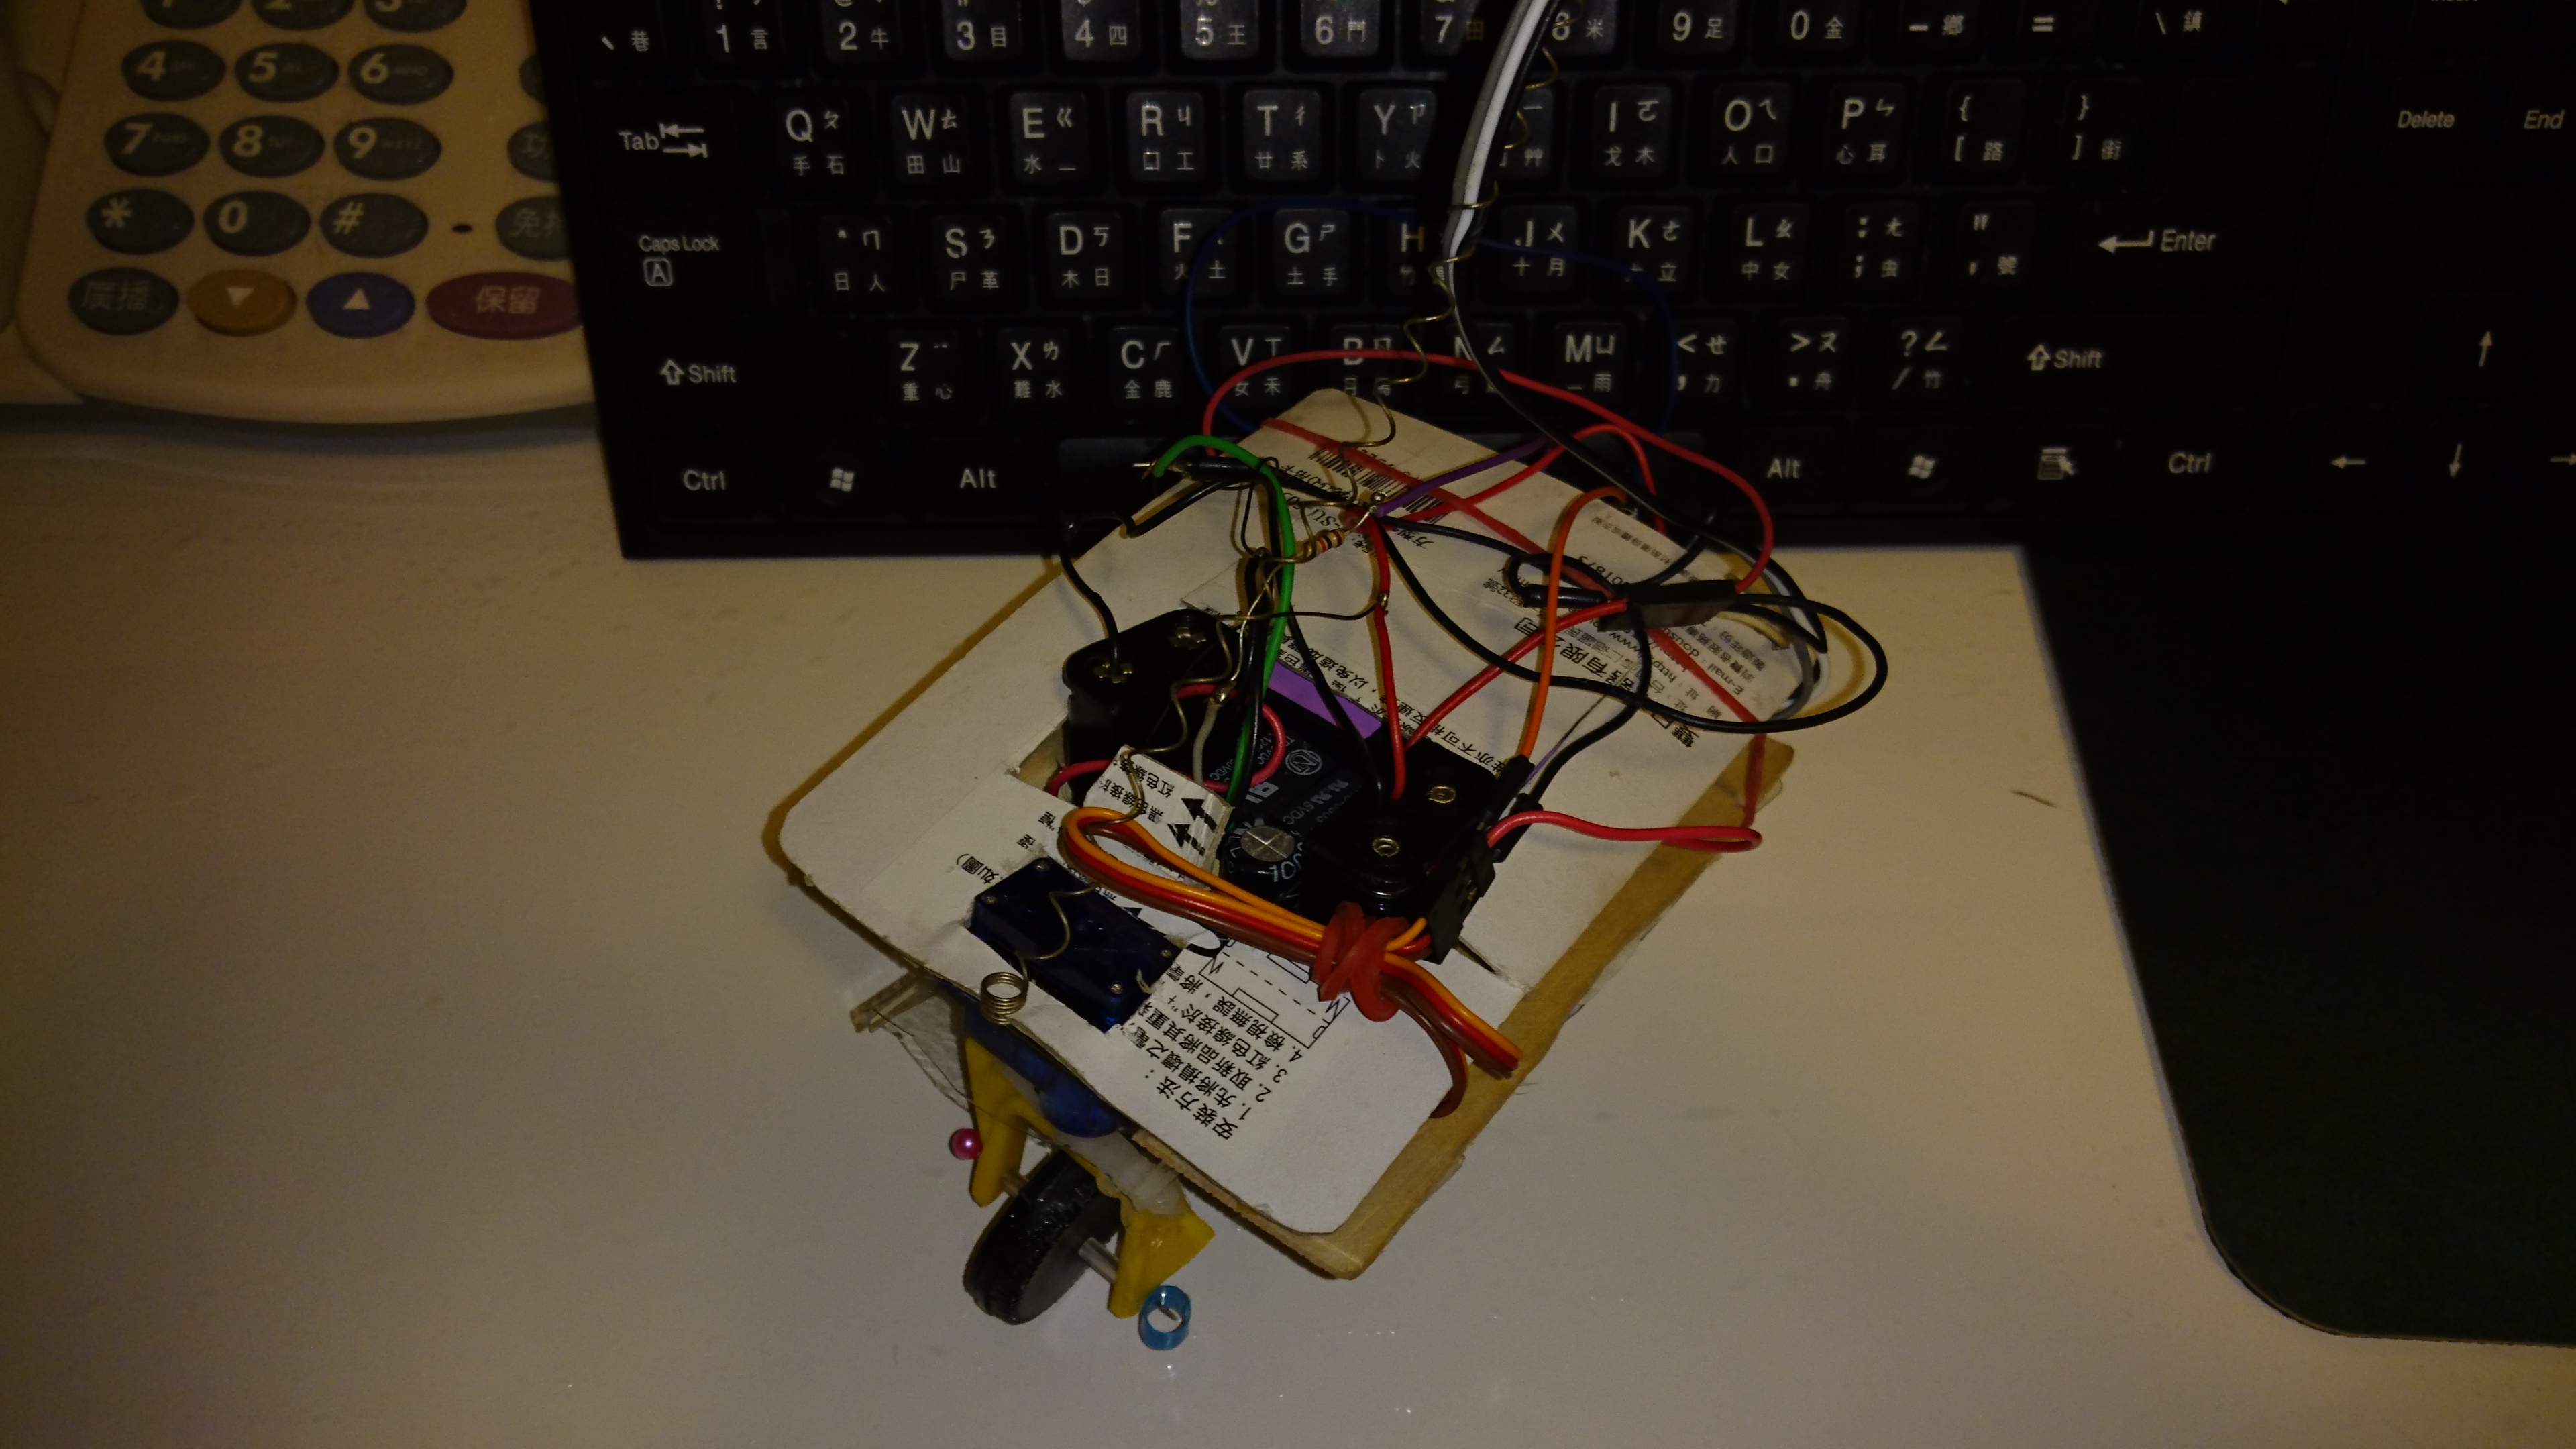
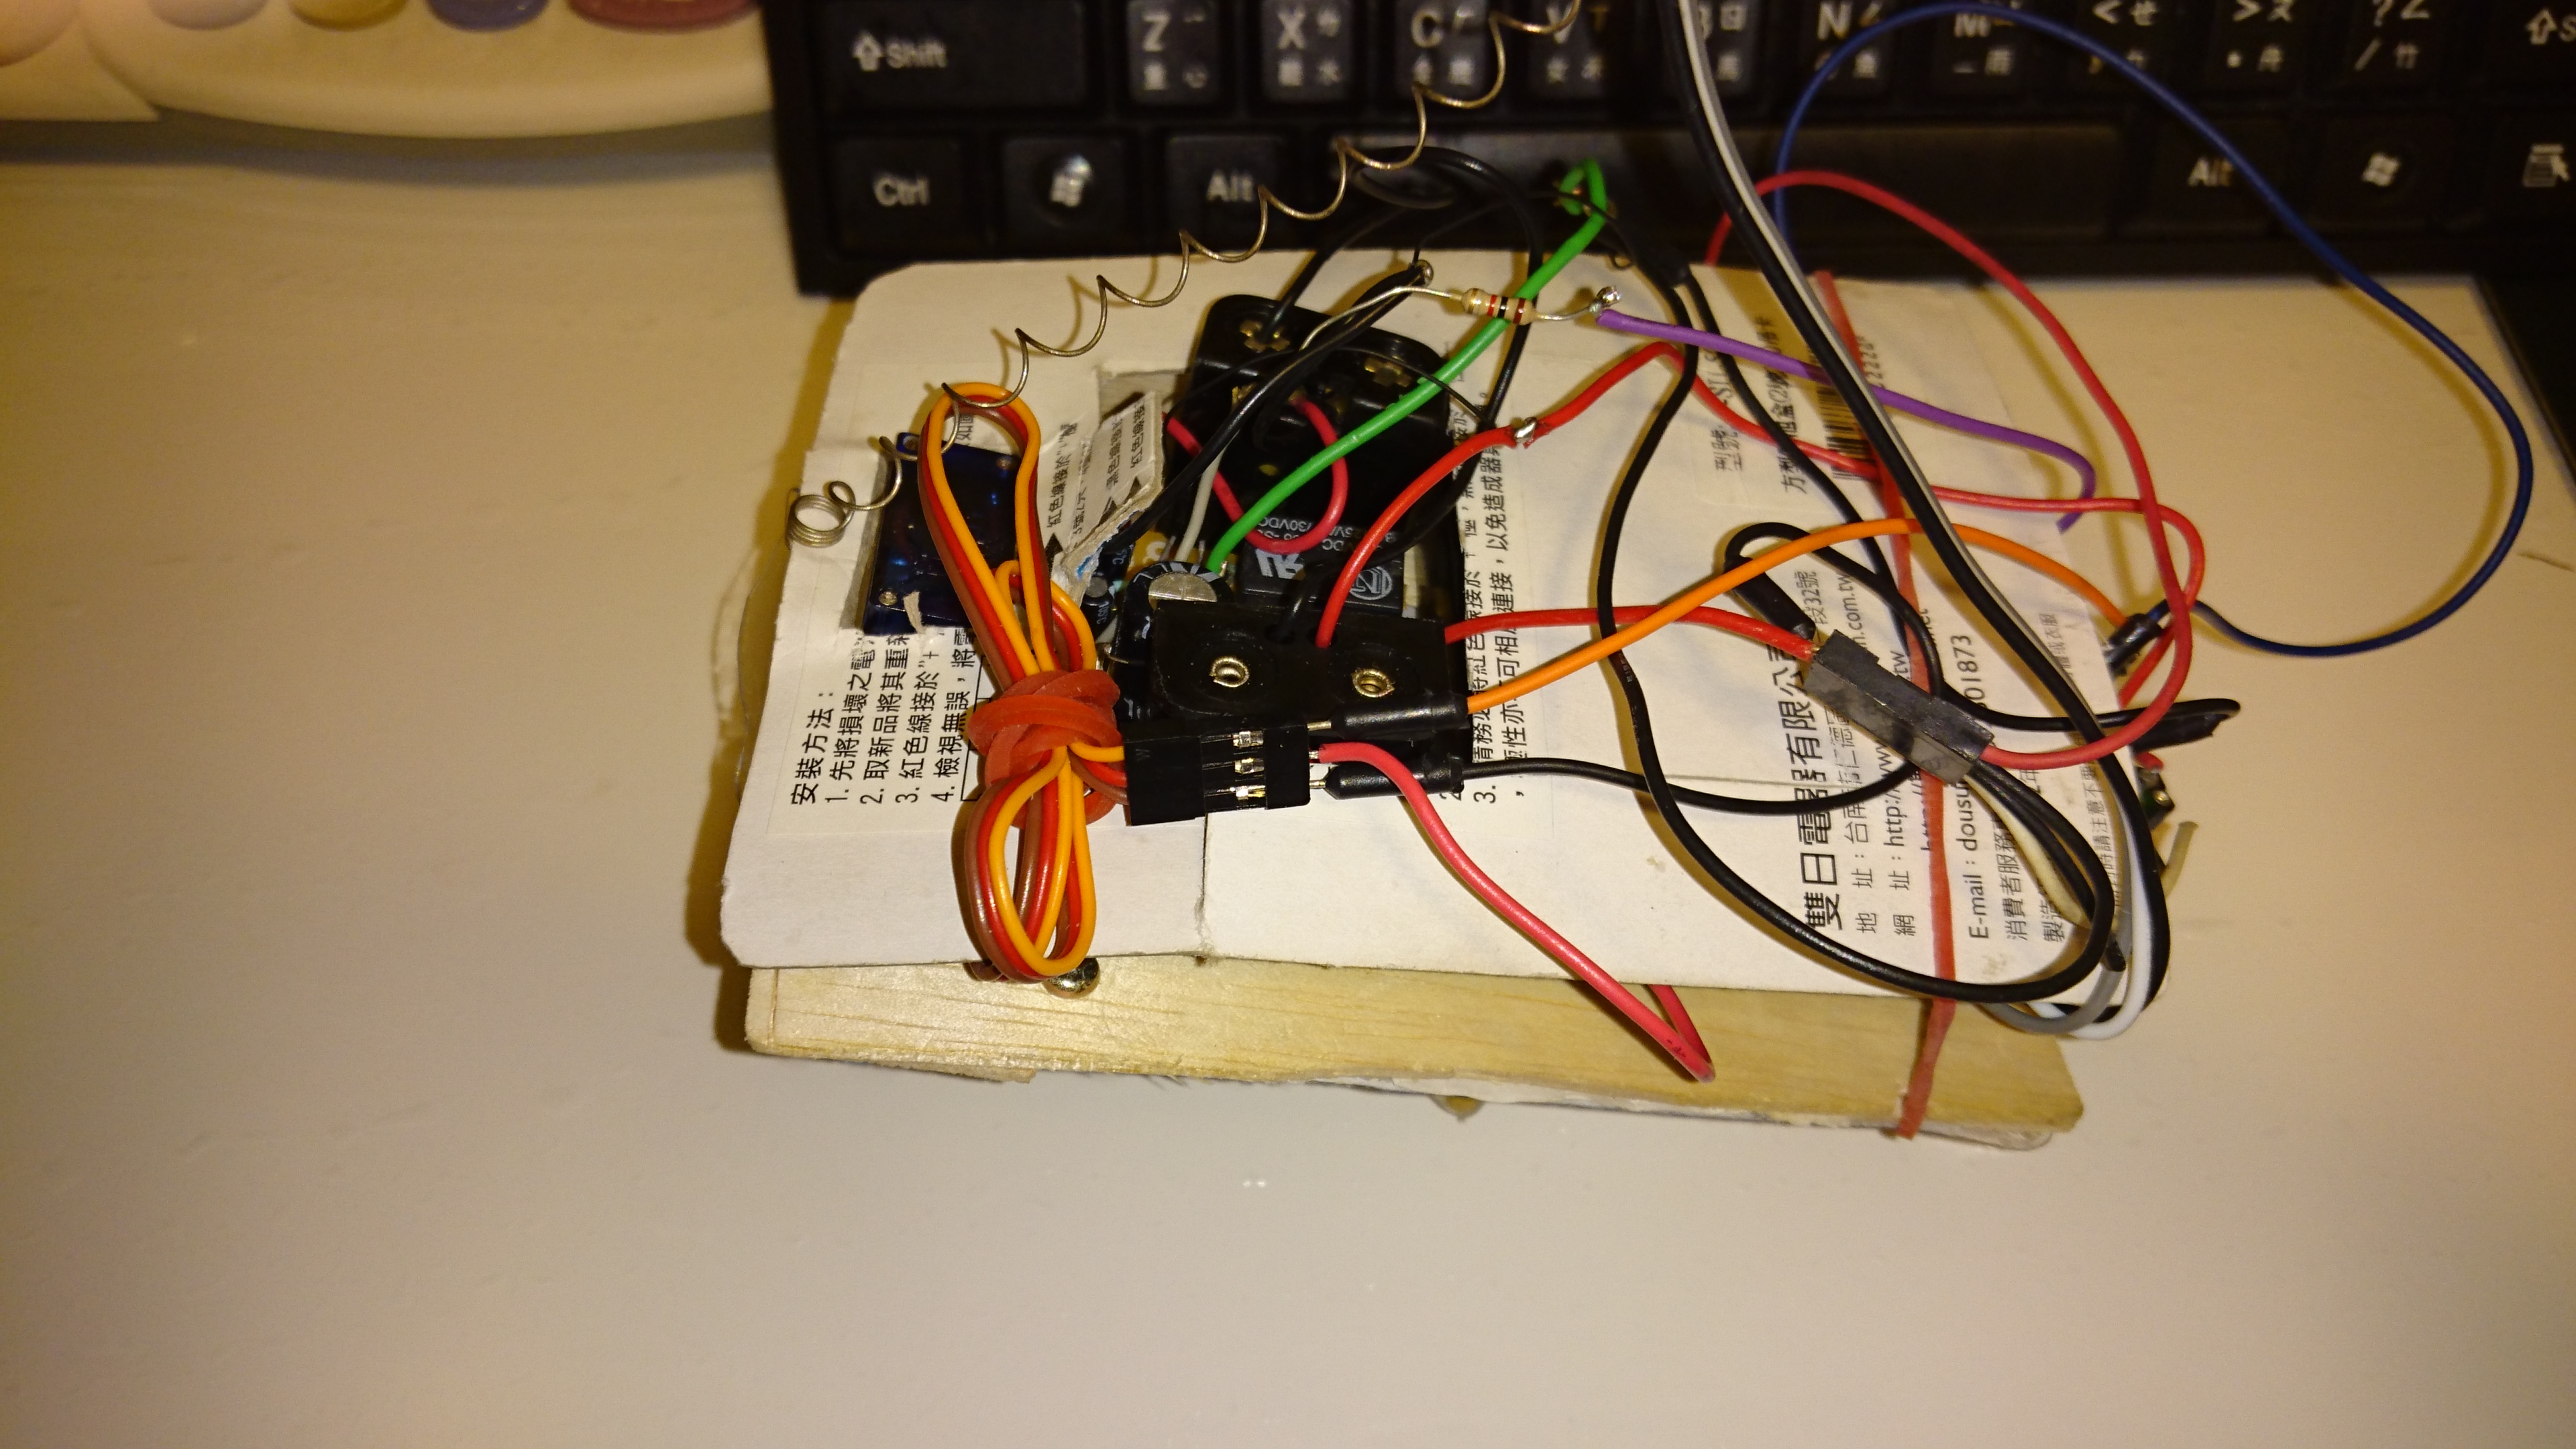
RY1 : Solid State Relay * 2
RY 2, 3 : relay 5 v * 2
TR 1, 2 : 2N 3904 * 2
D 1, 2 : IN 4148 * 2
C 1 : 100 uF * 1
C 2 : 0.01 uF * 1 (for bypass noise)
R1 : 10 K OHM * 1
R 4,5 : 1 K OHM * 2
PCB * 1
mini breadboard * 1(prototype use)
Make Alexa's Legs
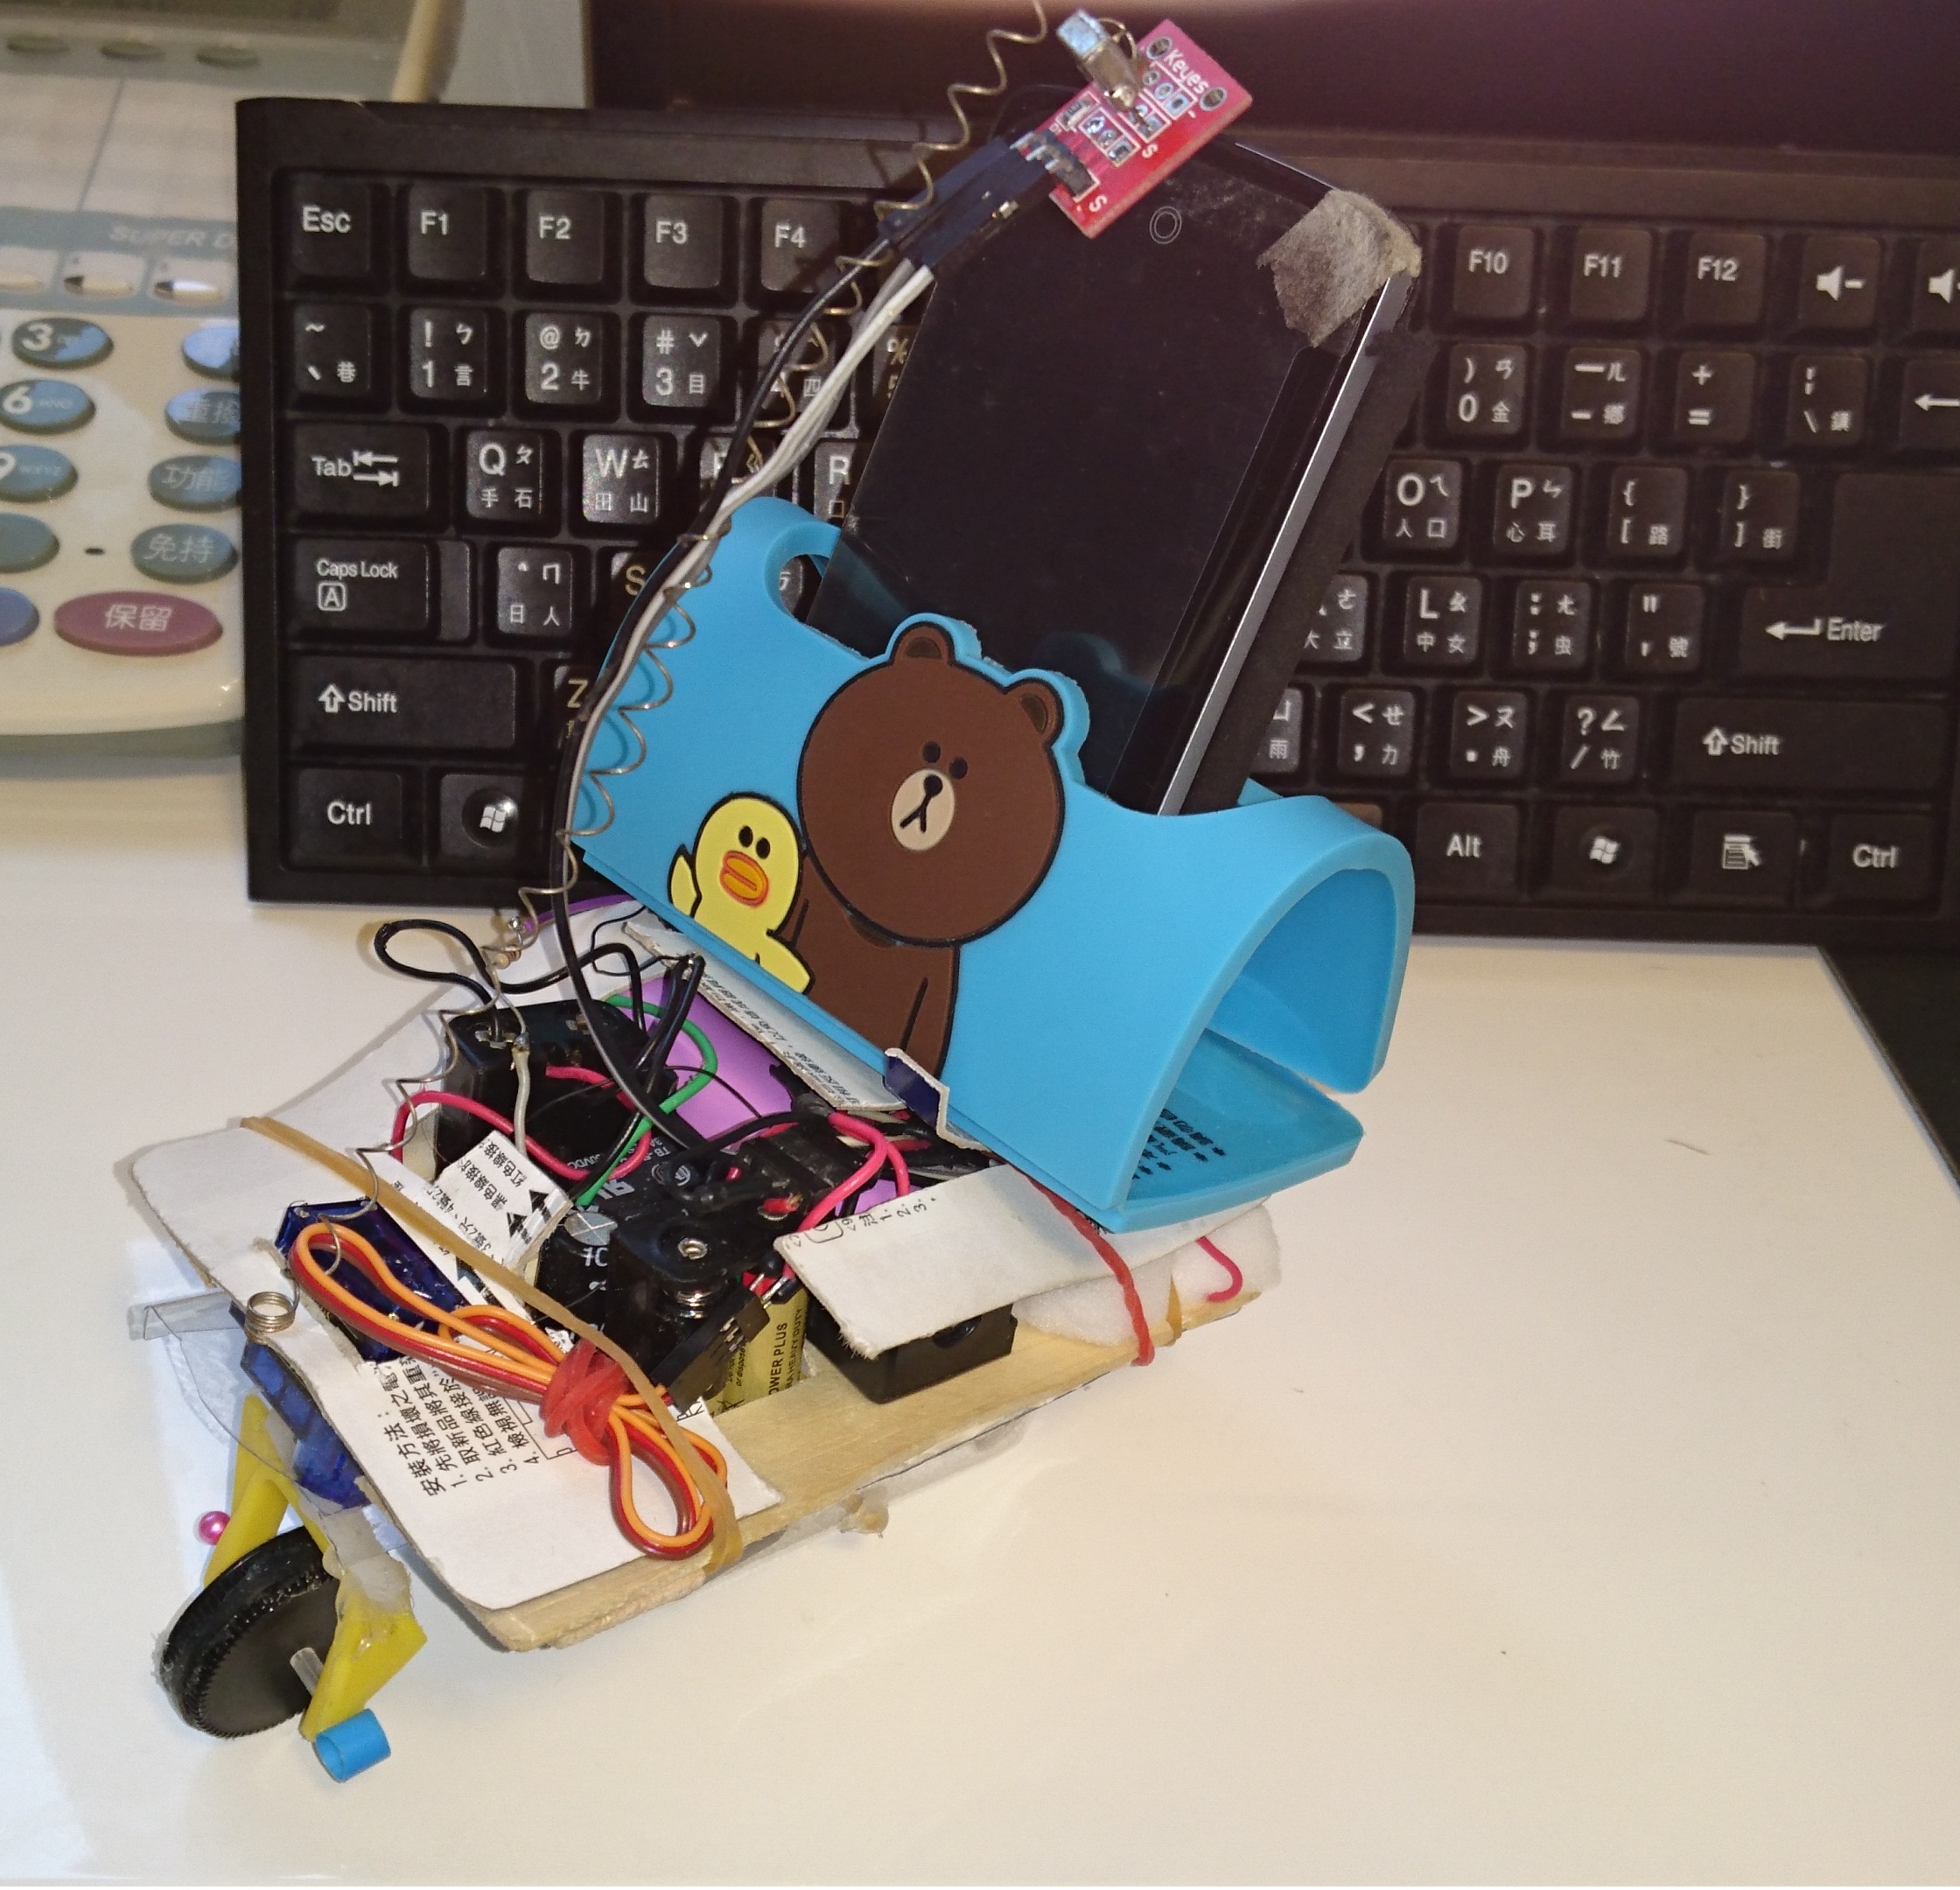
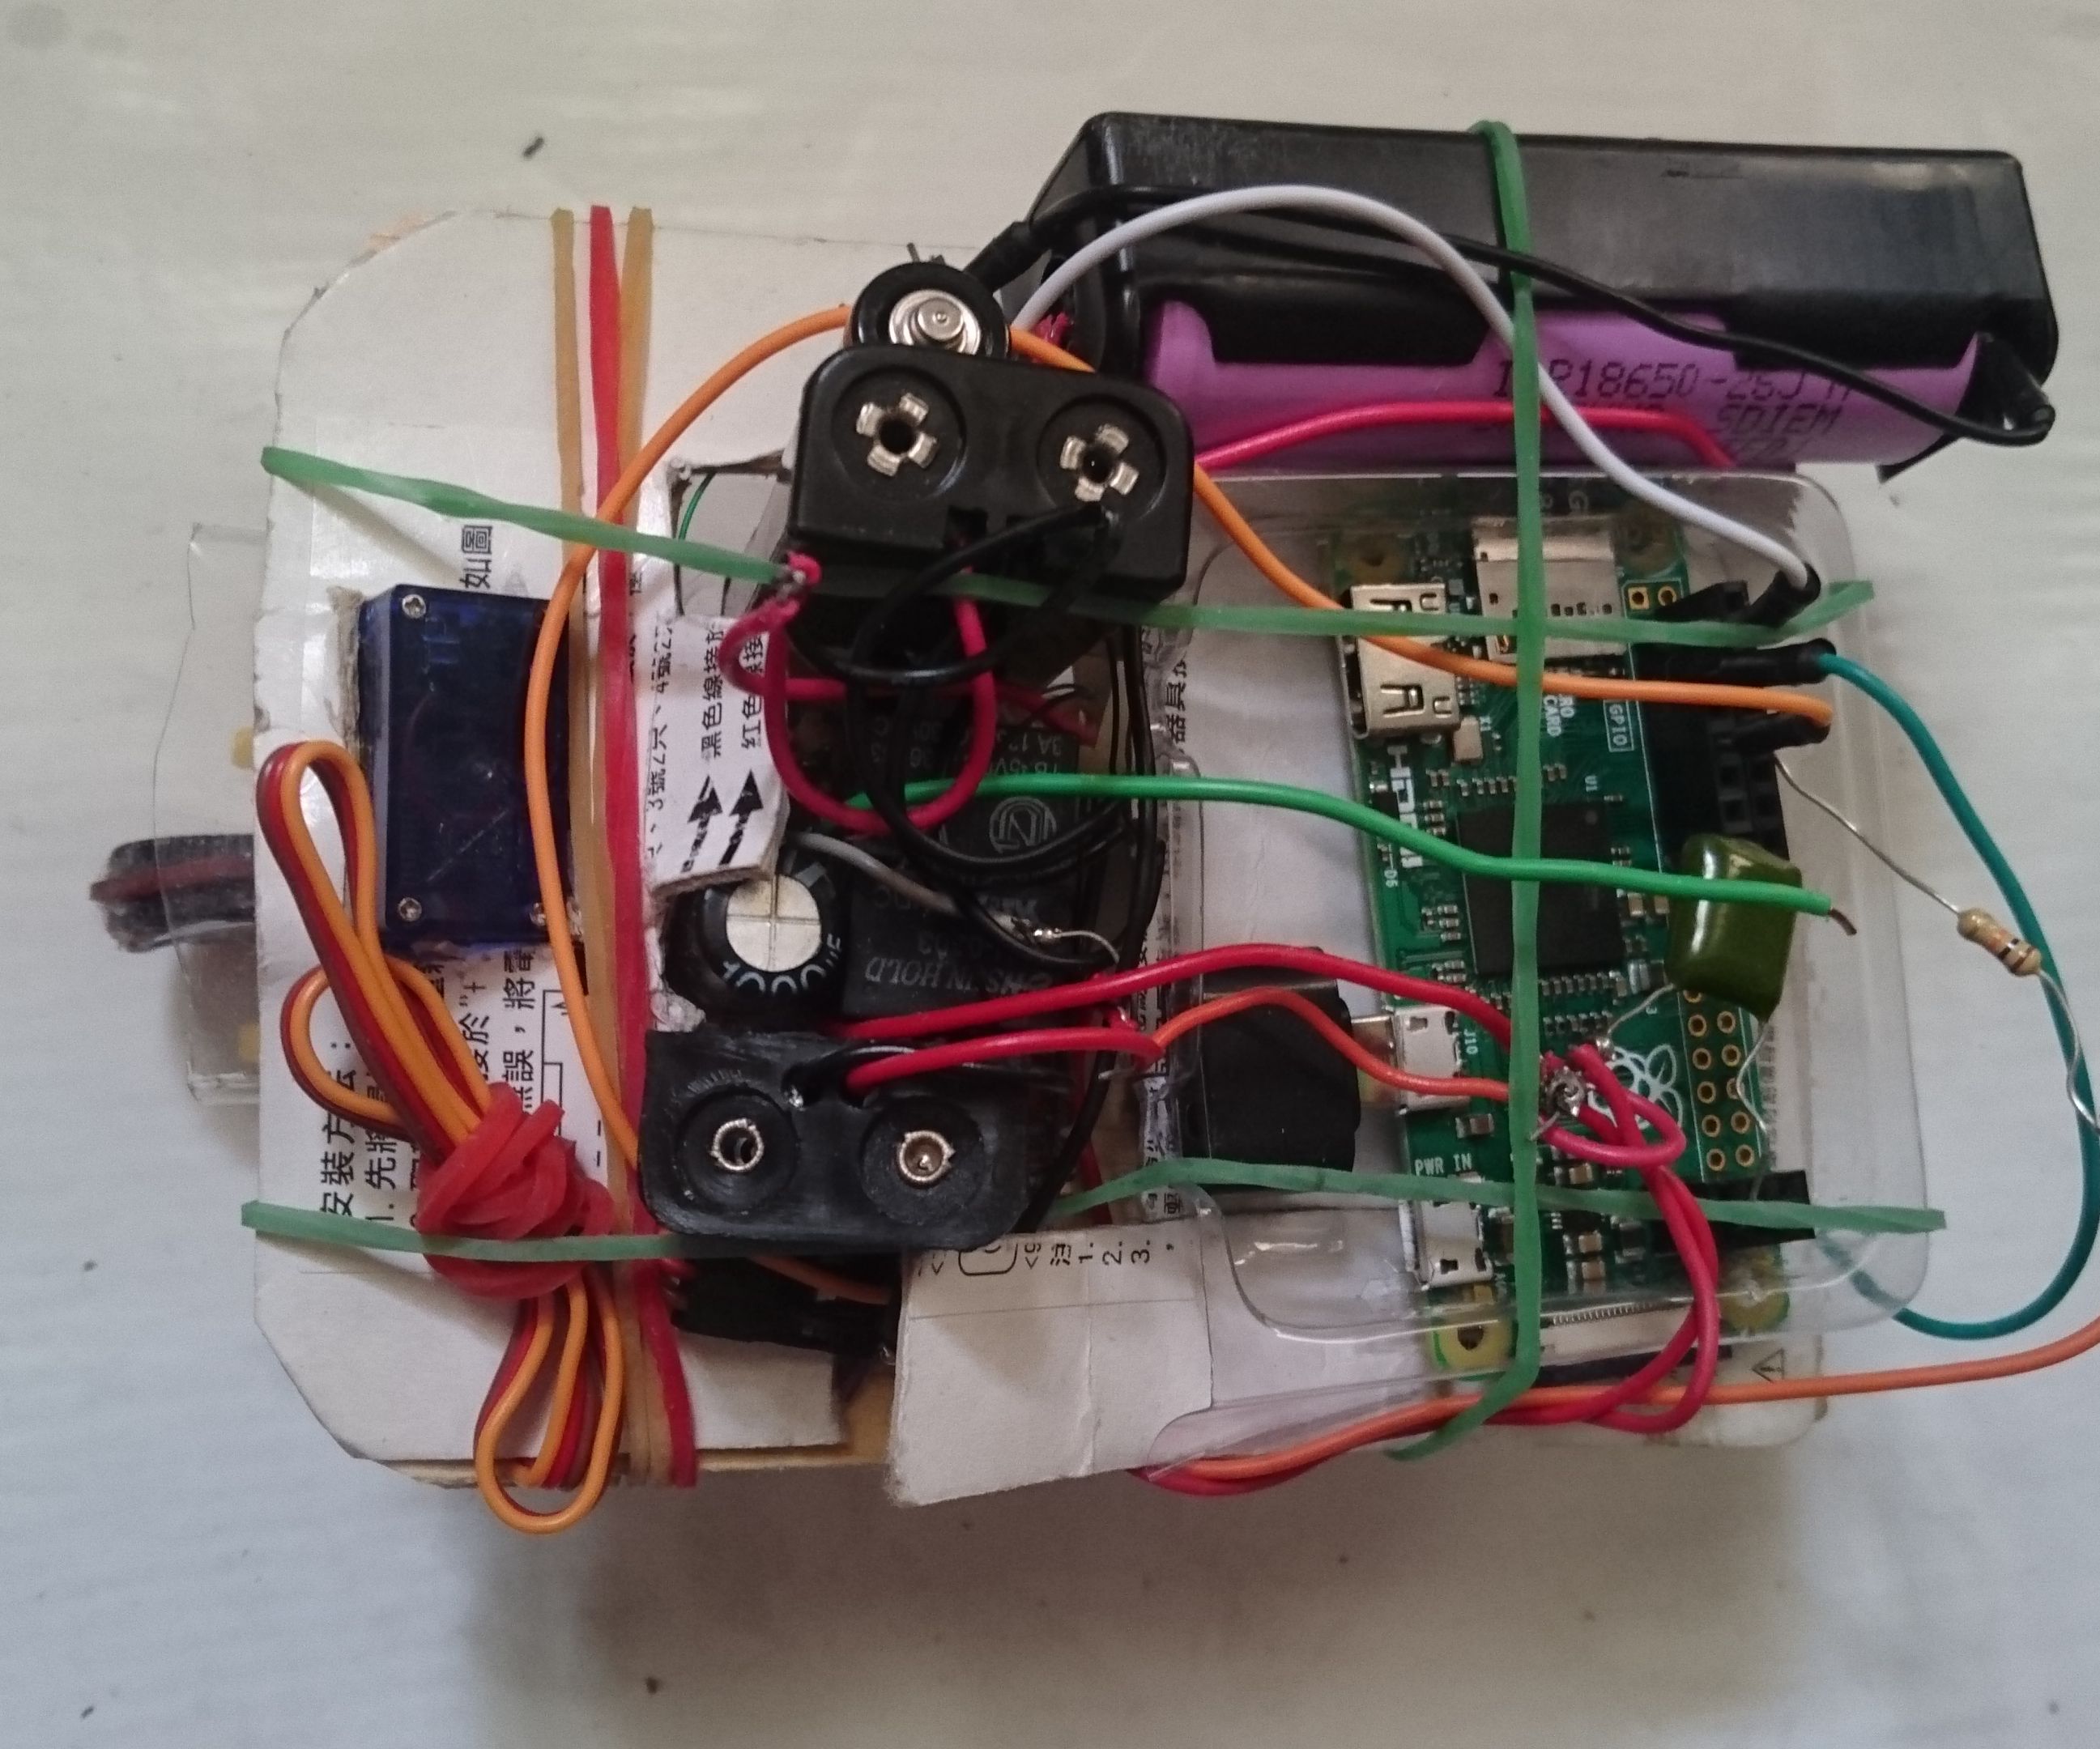
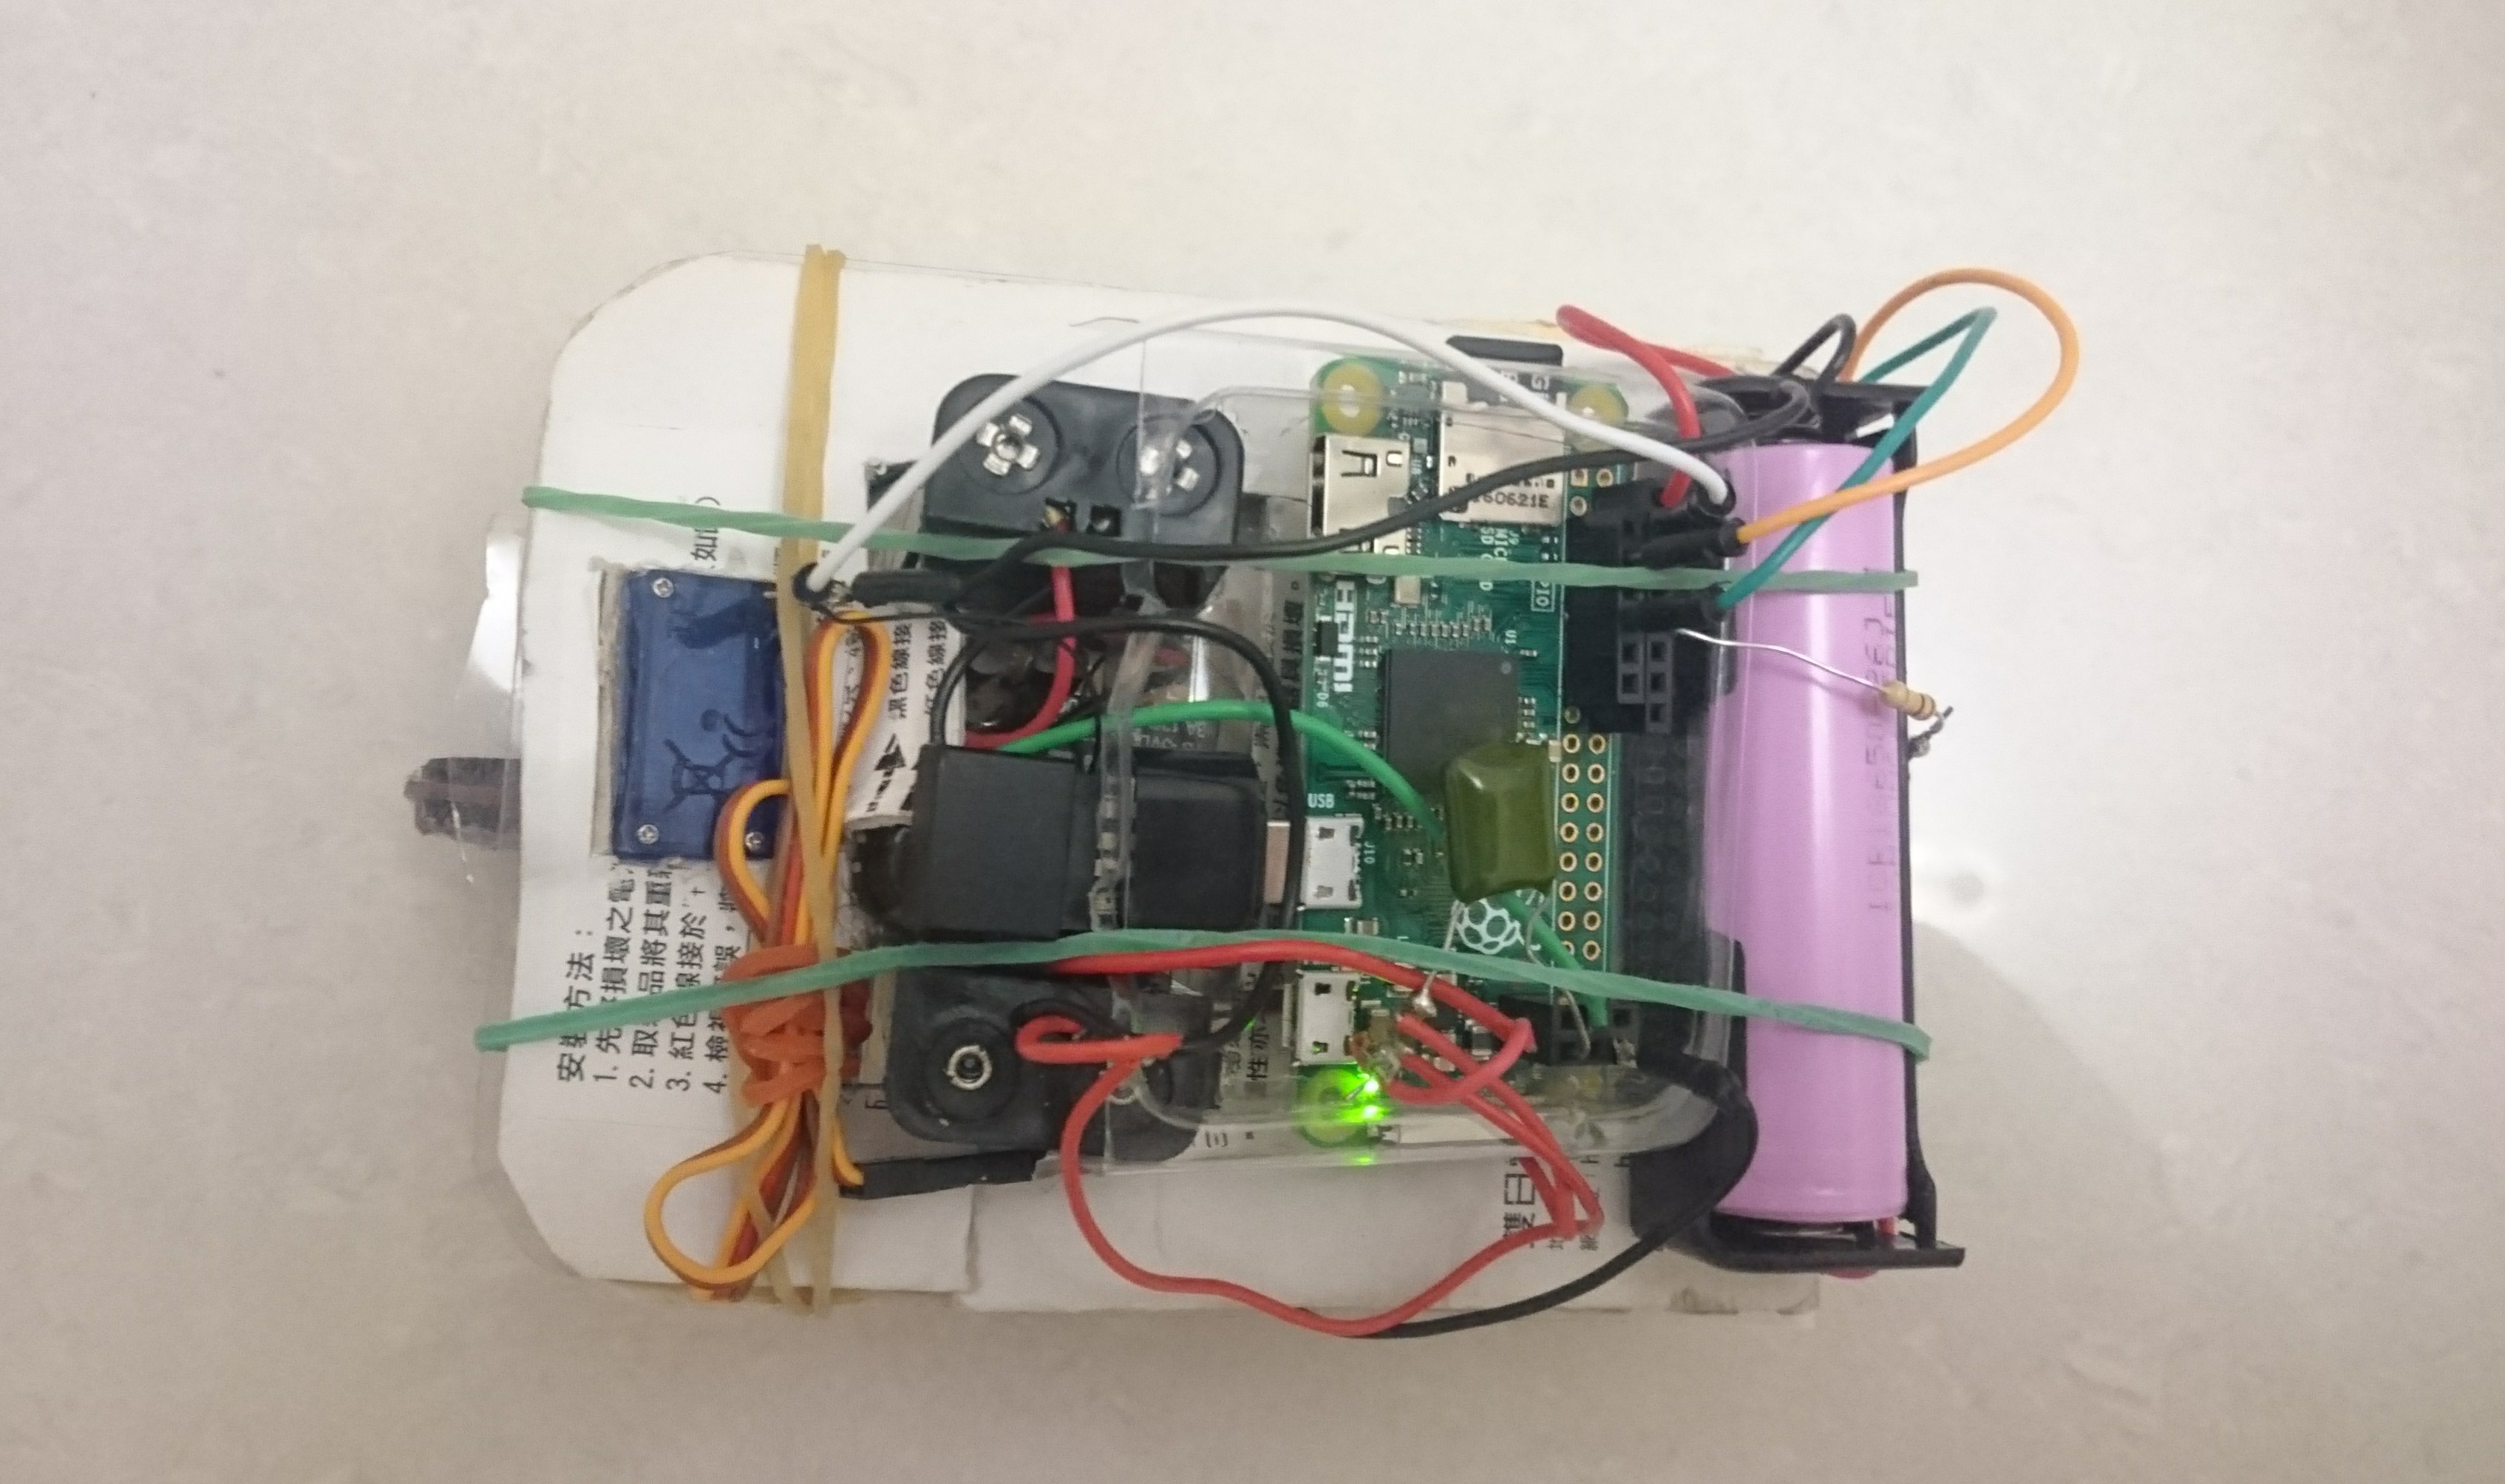
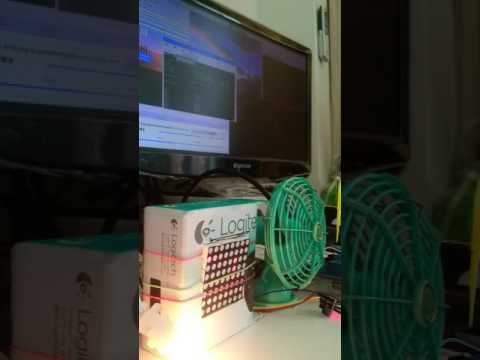
Install RPi 3 to Set Up Alexa
Install RPi 3 to Desktop
1. RPI 3 * 1 (as Alexa's body)
2. HDTV * 1(FOR setup Alexa & as her mouth)
3. USB MIC * 1 (as Alexa's ear)
4. wireless keyboard & mouse * 1(FOR setup Alexa)
reference link :
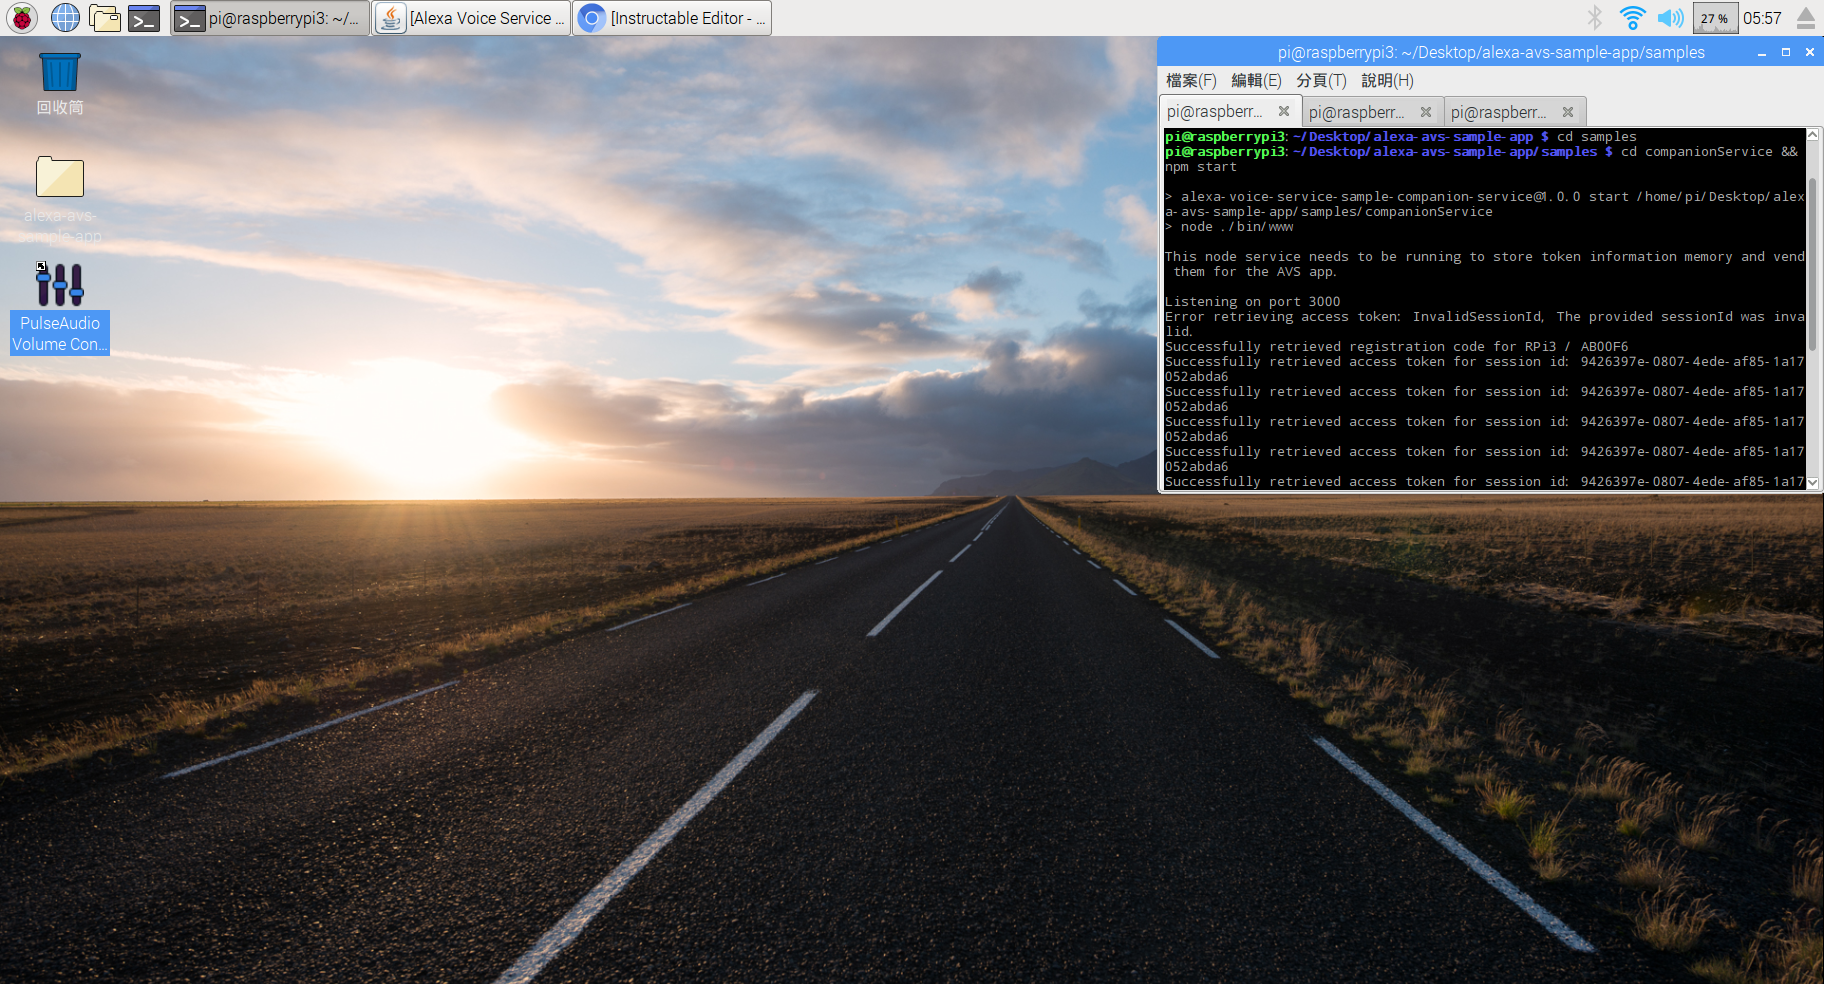
Set Up the Ngrok to Interchange to the Cloud


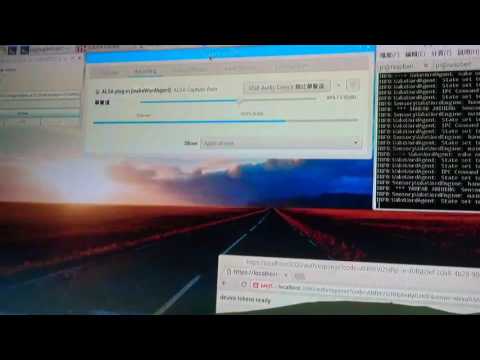
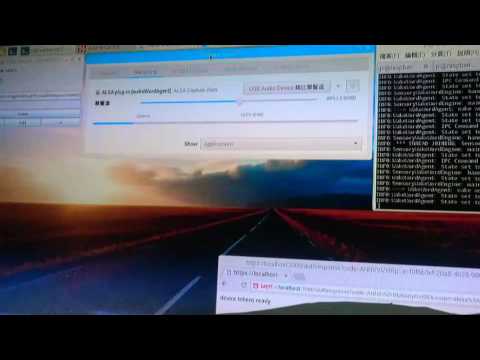
5. you need to build a security tunnel from the cloud to your RPi 3.
Visit https://ngrok.com/download and get the latest Linux ARM release as a zip
and unzip inside the home directory:
unzip /home/pi/ngrok-stable-linux-arm.zipNext,
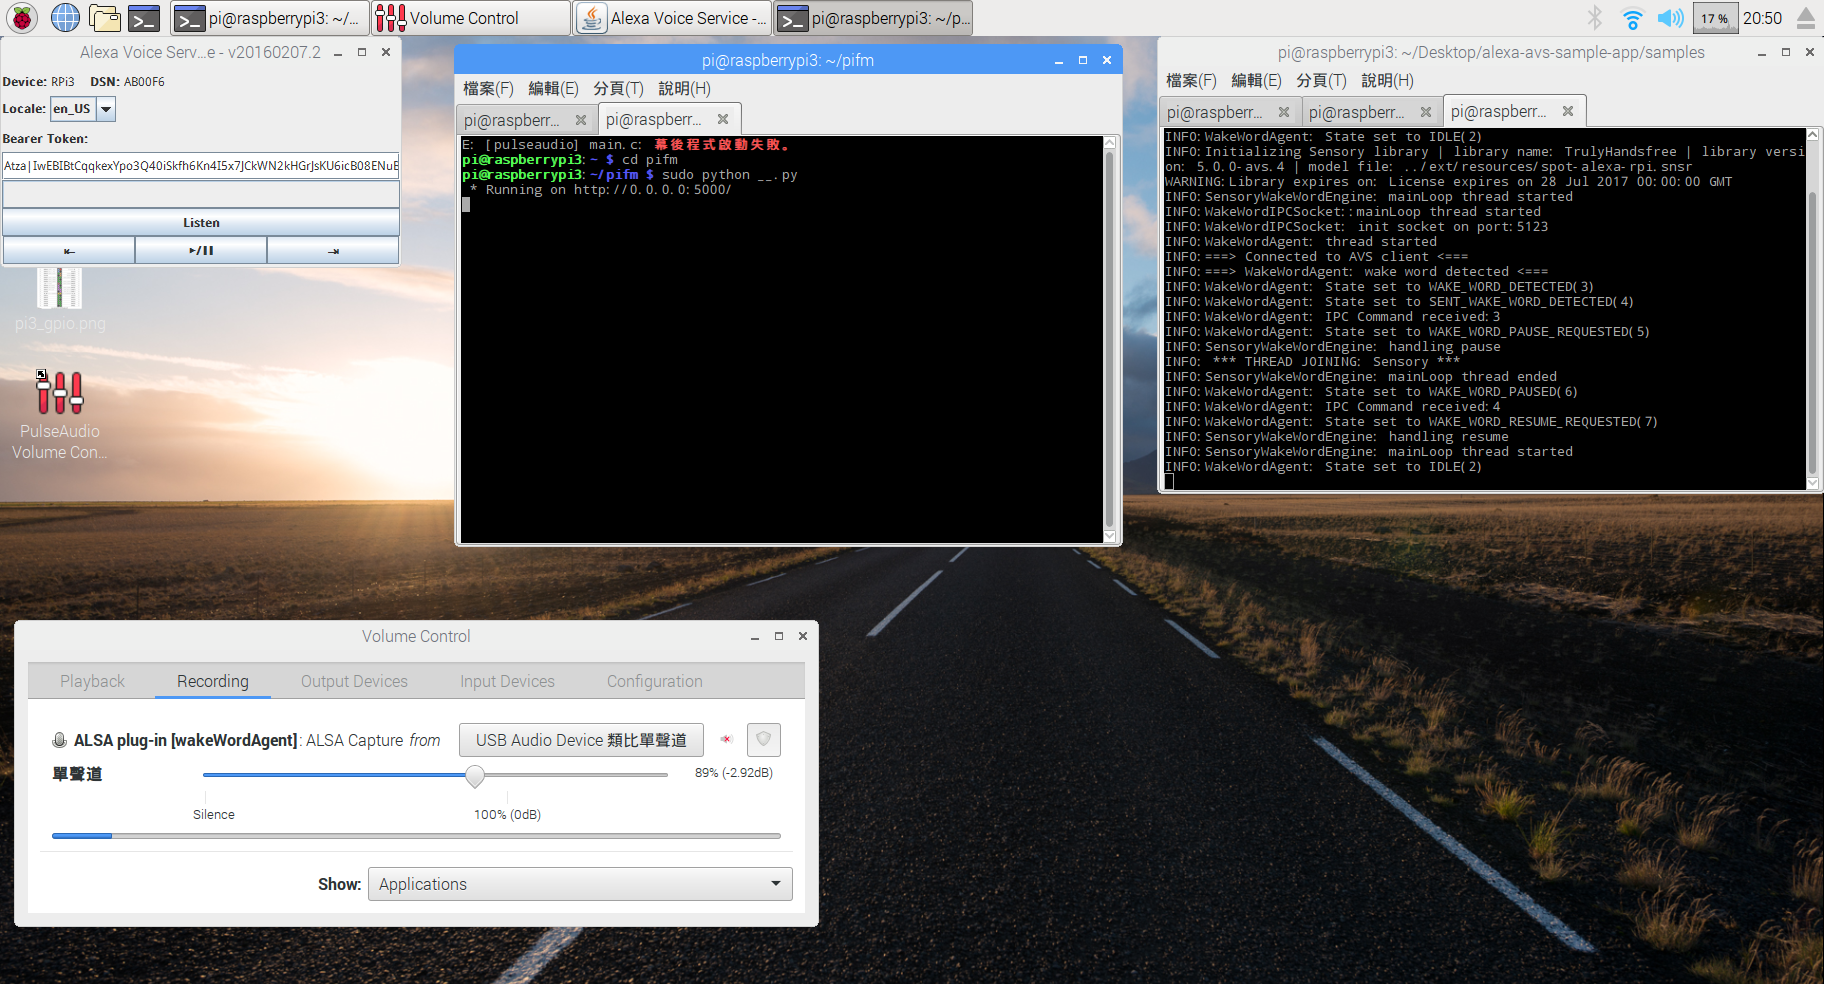
run : sudo ./ngrok http 5000 (to run in memory)
Your screen should look like the image above. Note the 'Forwarding' URL that starts with https, it will be used later.
Note: Unfortunately the ngrok URL changes every time the service is started so it is not a permanent solution if you are trying to run this full time. I'd recommend a service like Yaler or Page Kite if you need a more permanent URL to use with your new Skill.
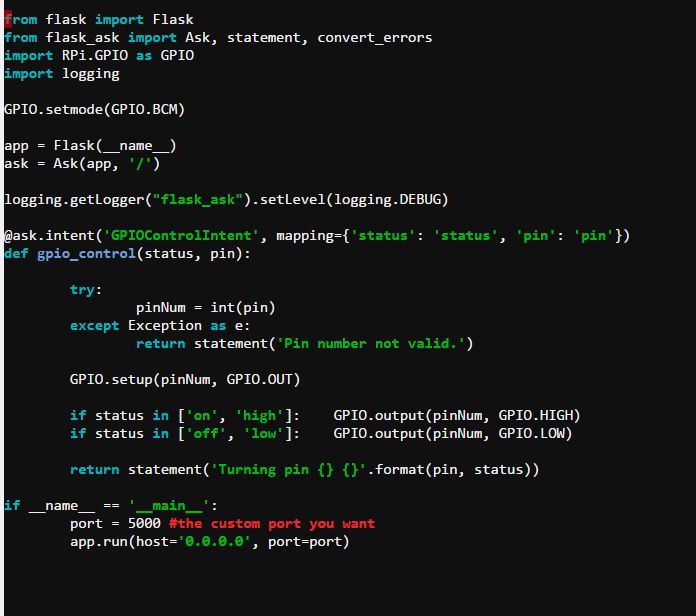
6. Python Script Open a new terminal session and create a new python file named gpio_control.py:
edit : nano gpio_control.py
example file:gpio_control.py
run : sudo python gpio_control.py (to run in memory)
Downloads
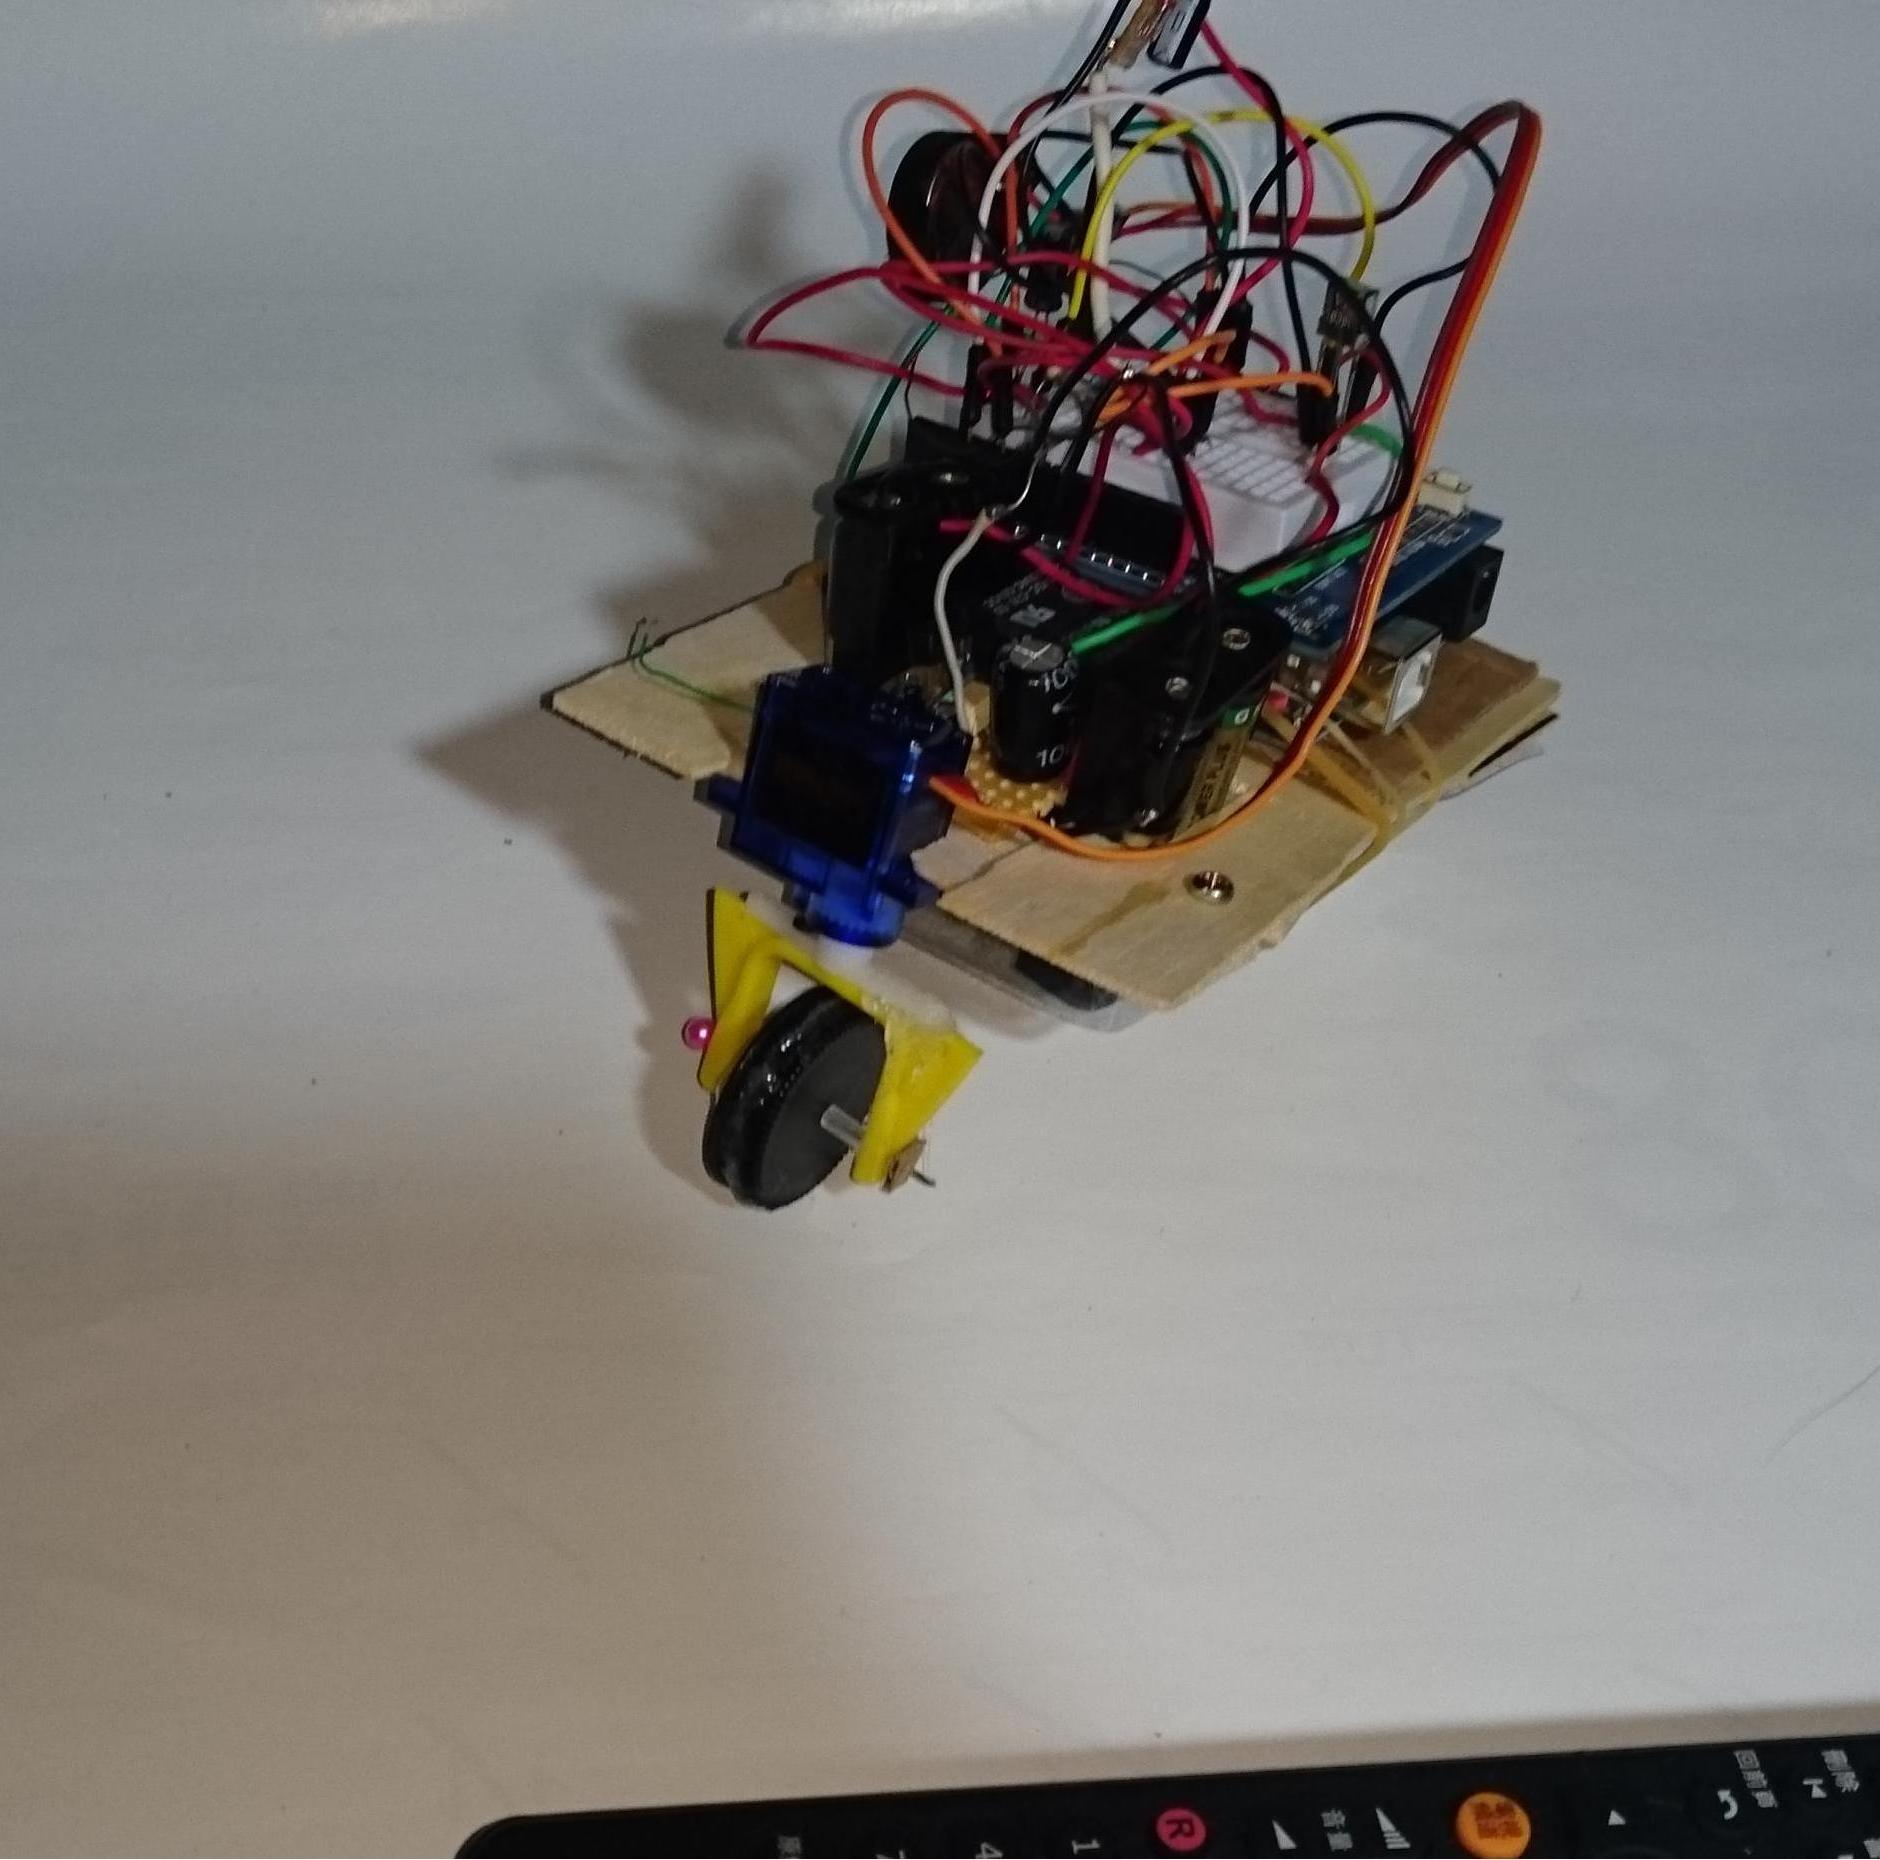
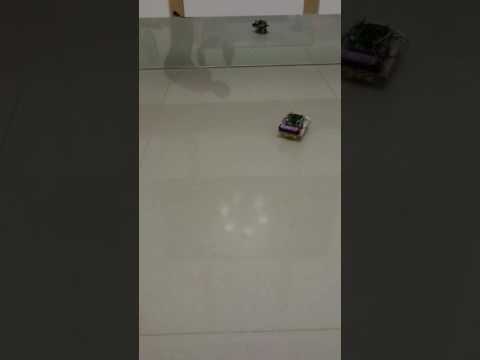
Assembling a Robot Platform
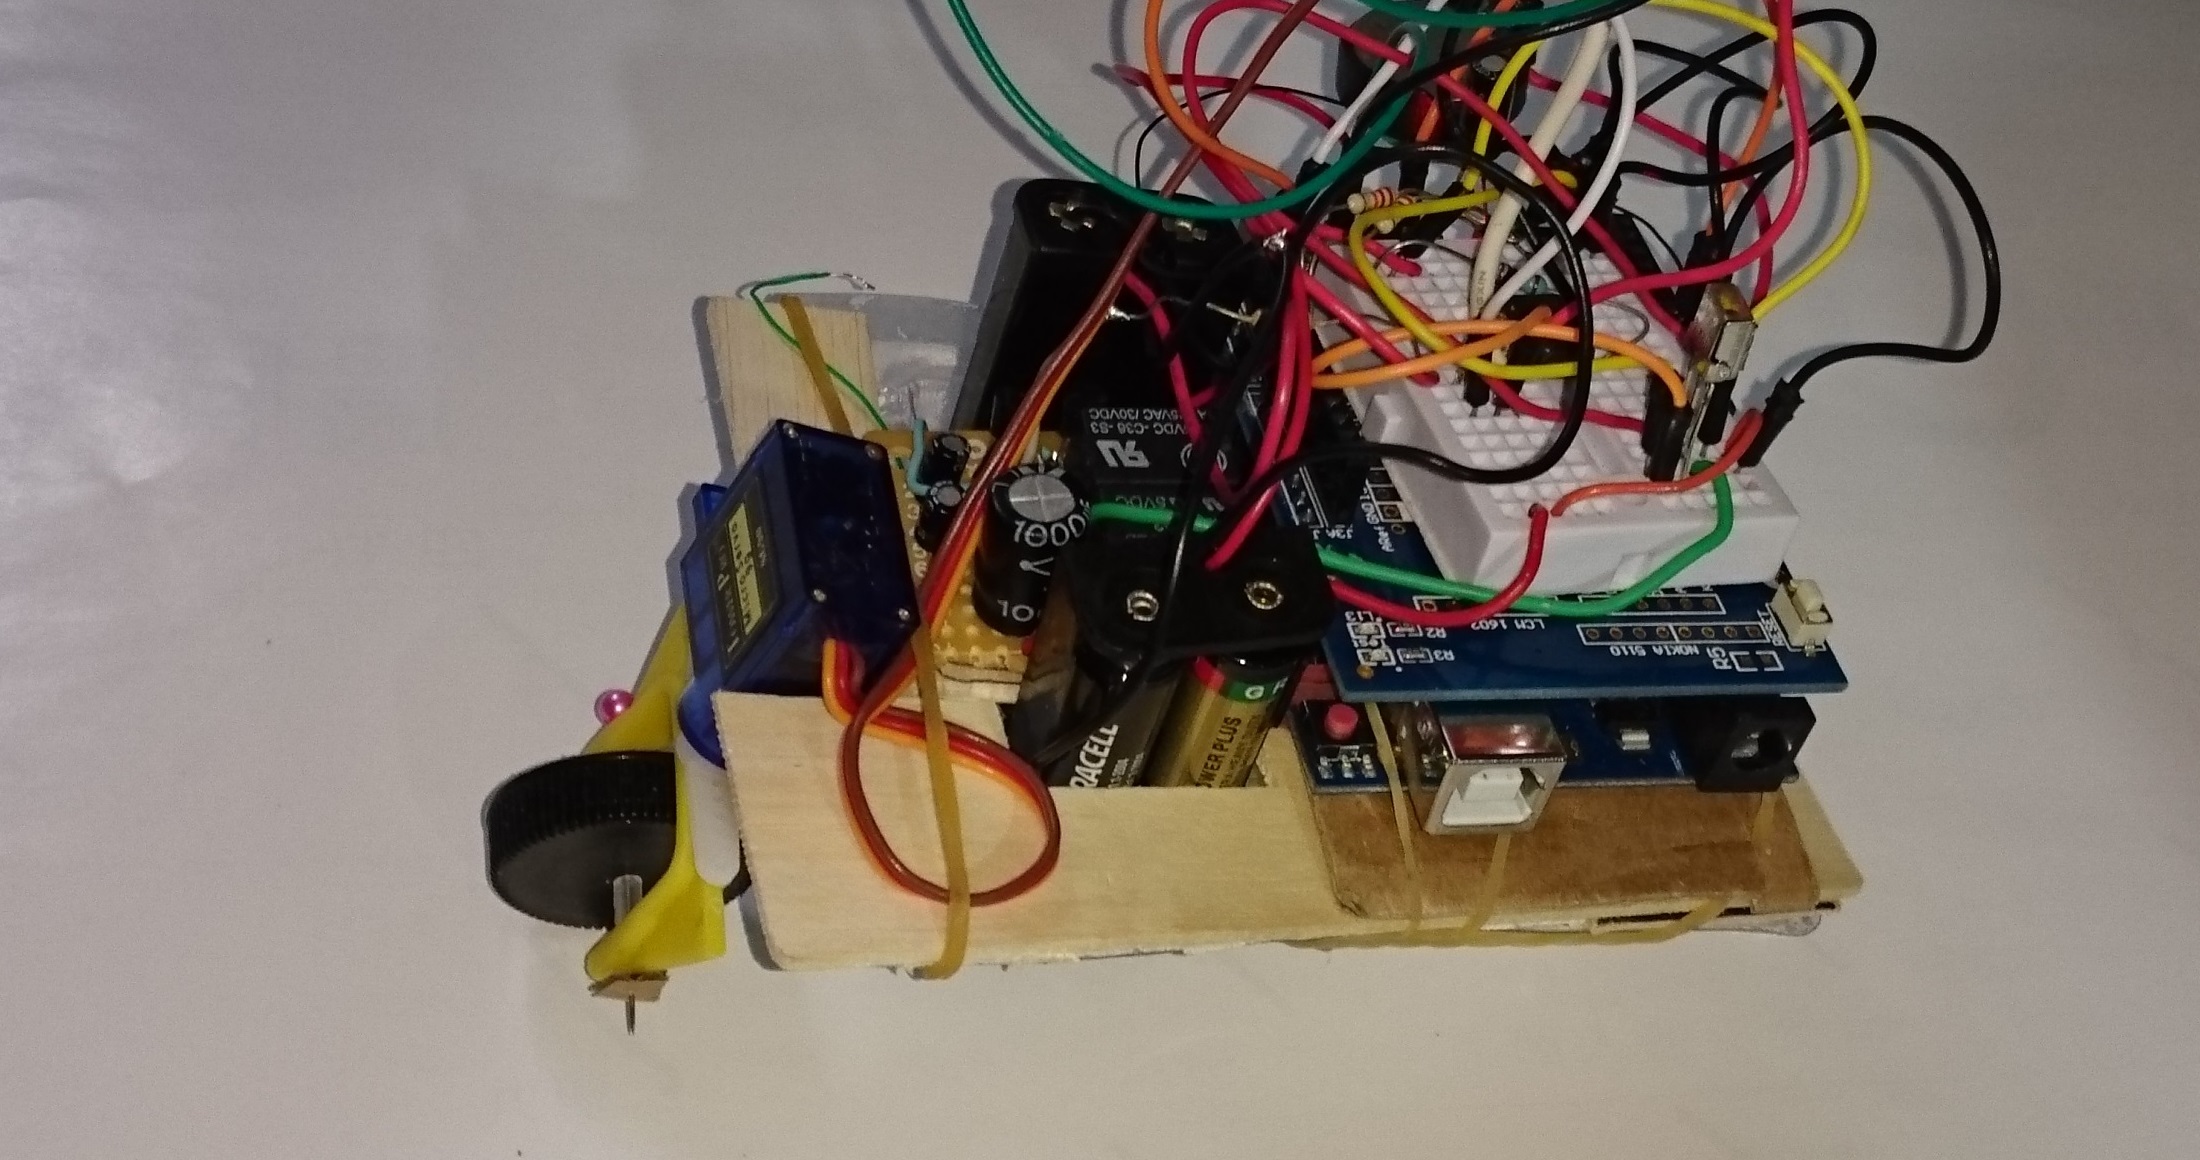
Connect Your Alexa on the Platform

Testing With Your Keyboard
reference link :
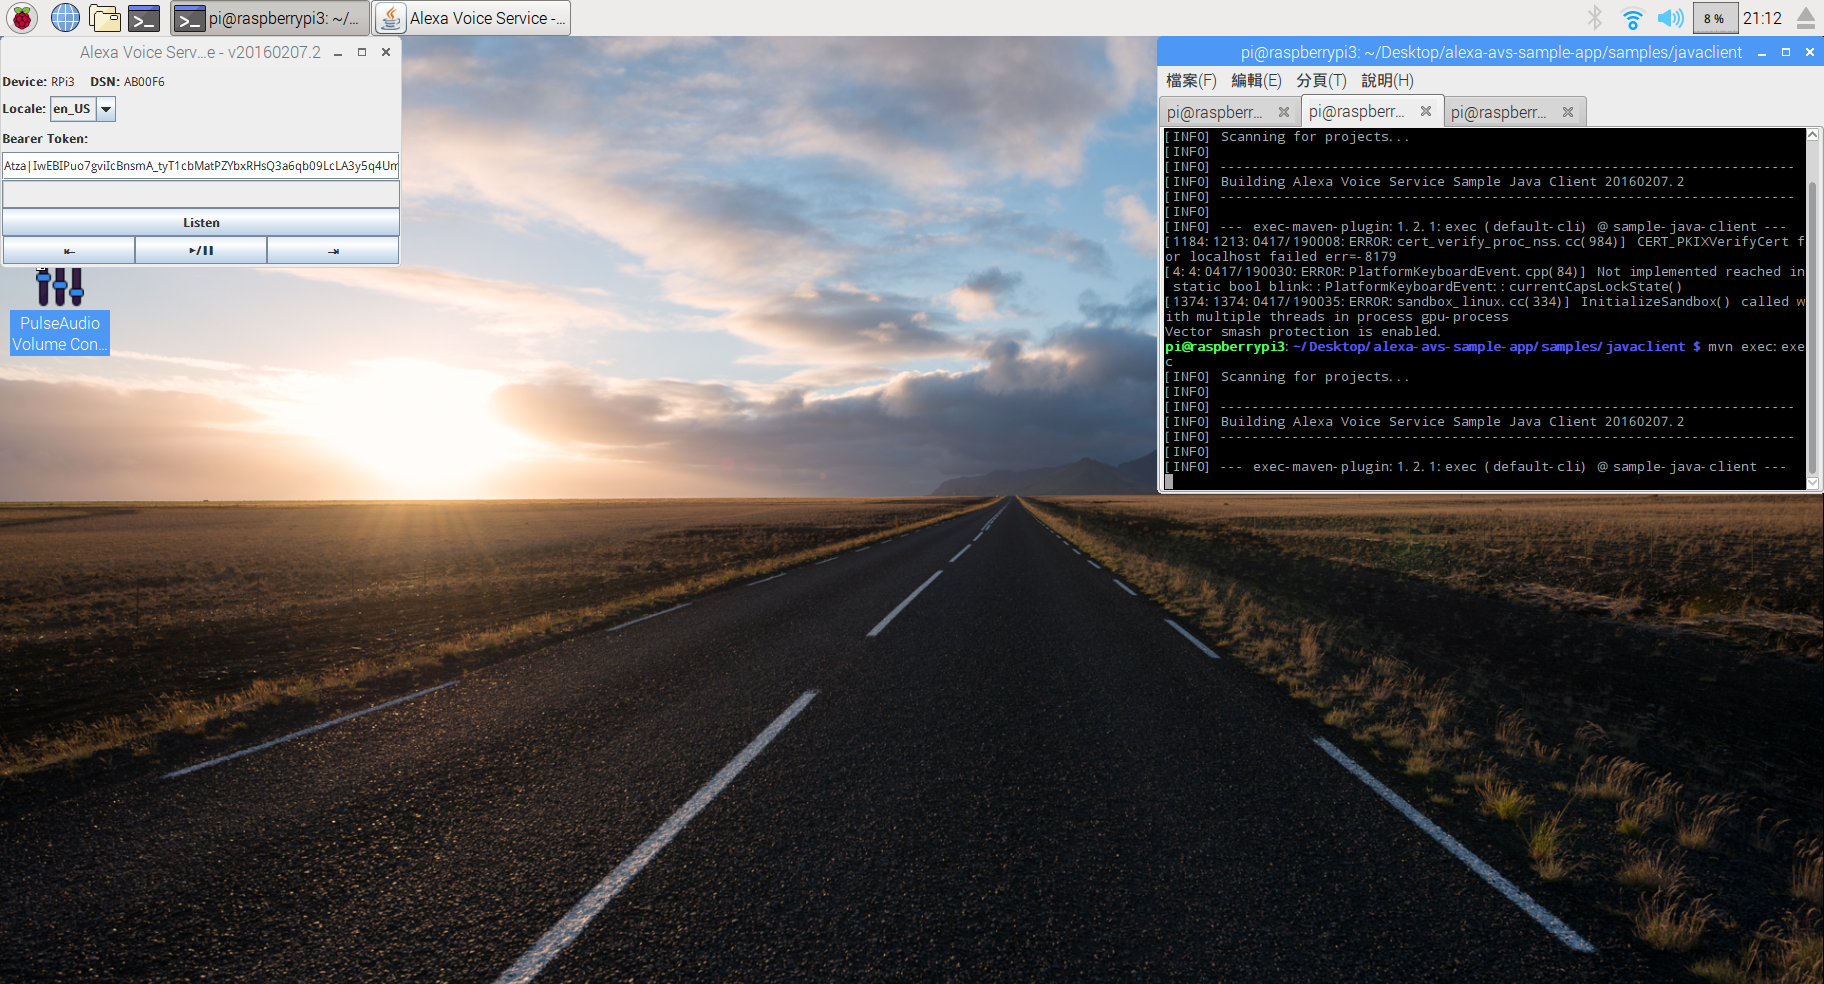
Testing the Code With Alexa Upon the Cloud
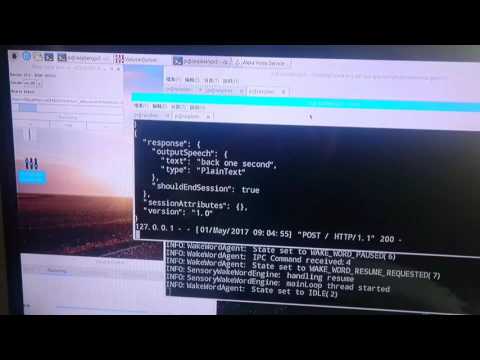
run : sudo python gpio_control.py (to run in memory)
because of that this file use flask to control , so
if you don't have it you need to
install flask:
sudo apt-get update && sudo apt-get upgrade -y
sudo apt-get install python2.7-dev python-dev python-pip
sudo pip install Flask flask-ask
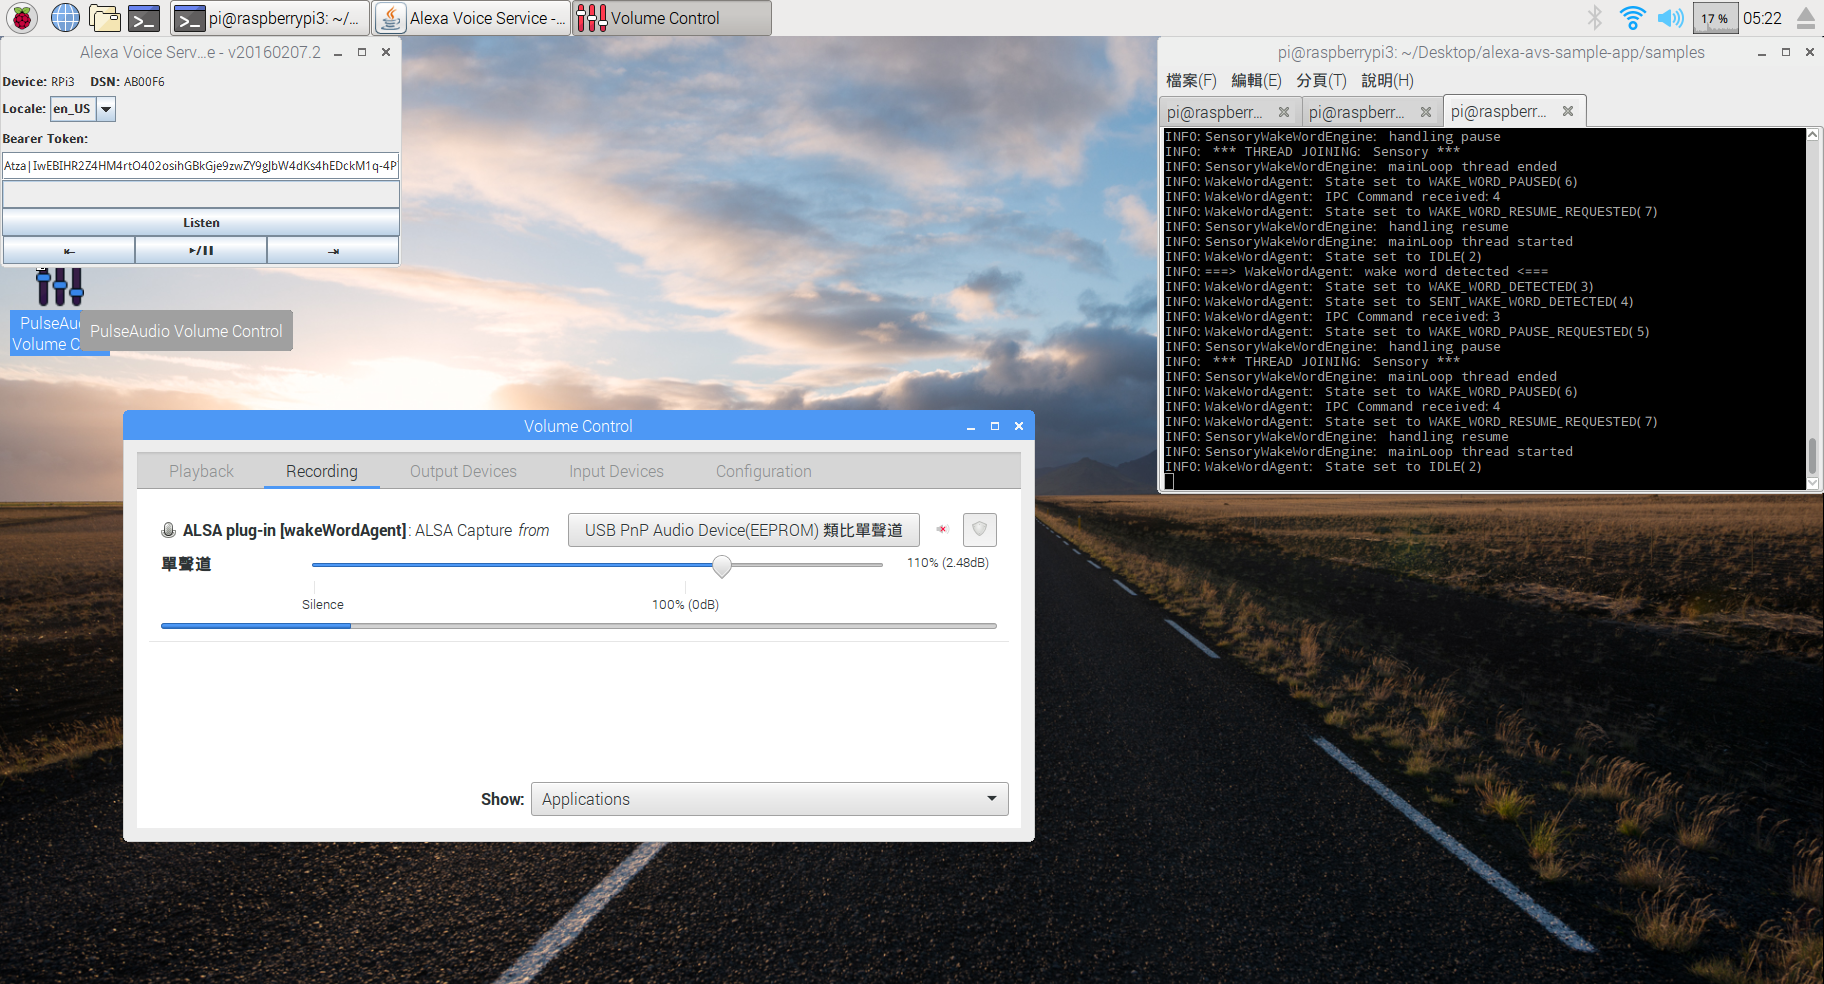
Test Run

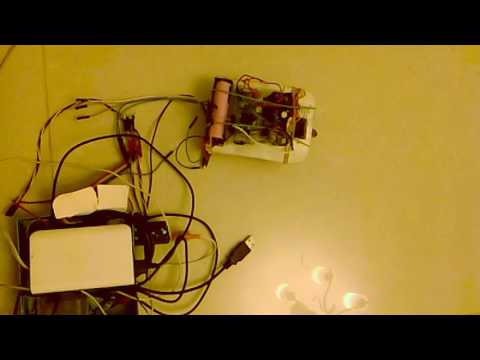
connecting RPi 3 and robot platform together.