Alexa Controlled Smart Light / Relay Using NodeMCU (ESP8266)
by Jovian_Dsouza in Circuits > Electronics
1333 Views, 8 Favorites, 0 Comments
Alexa Controlled Smart Light / Relay Using NodeMCU (ESP8266)

Hello Everyone, In this Instructable I want to share a cool project with Alexa. If you own a Alexa this would be very helpful, as it allows to control any appliance with the power of your voice. The beauty of this project is that this doesn't require any 3rd party application to control your devices and its designed in such a way that works similar or even better than the ready made products available in the market.
So lets get started
Supplies

Hardware
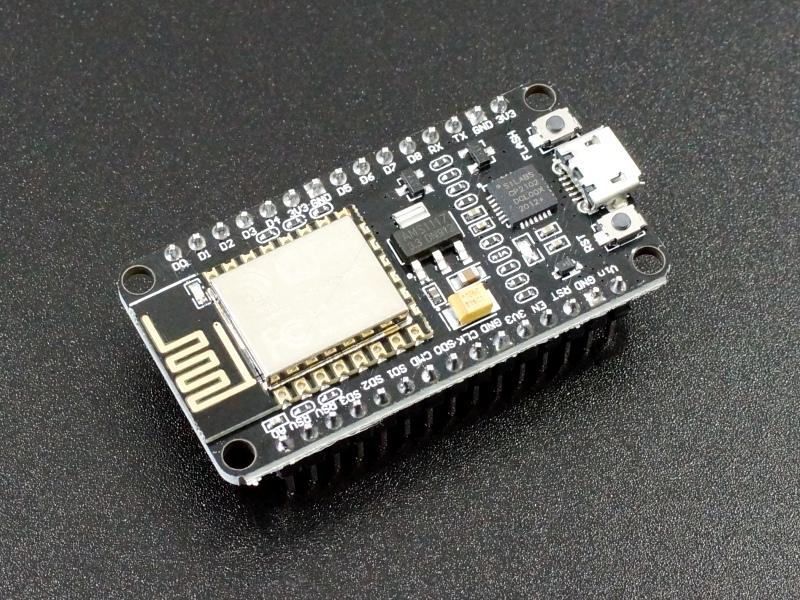
- NodeMCU
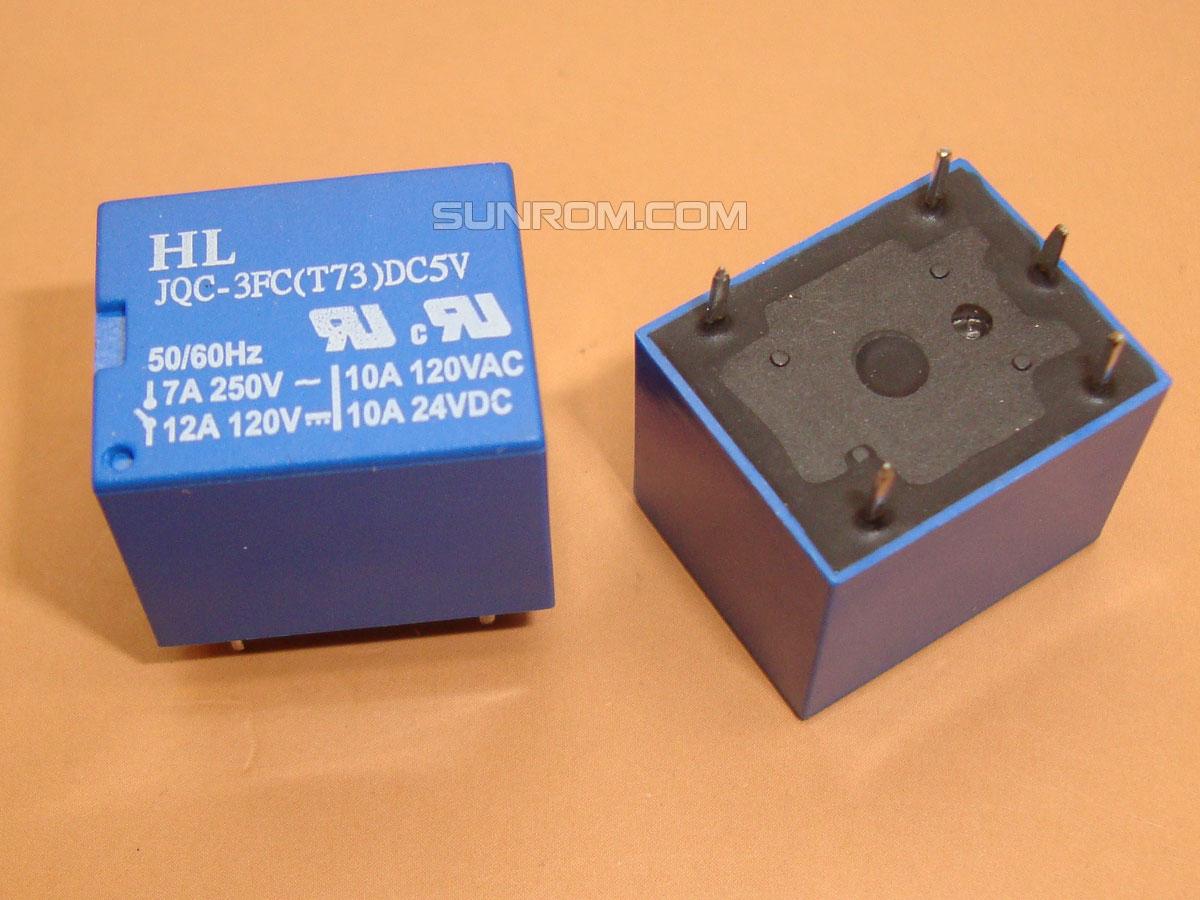
- 5v Relay
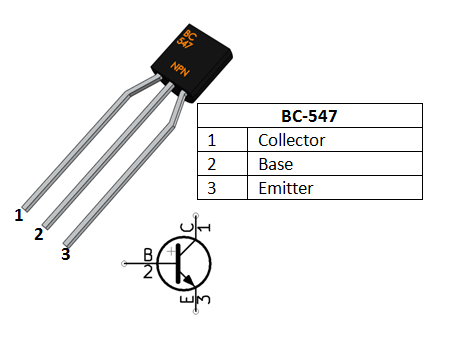
- BC547 transistor
- 1N4001 Diode
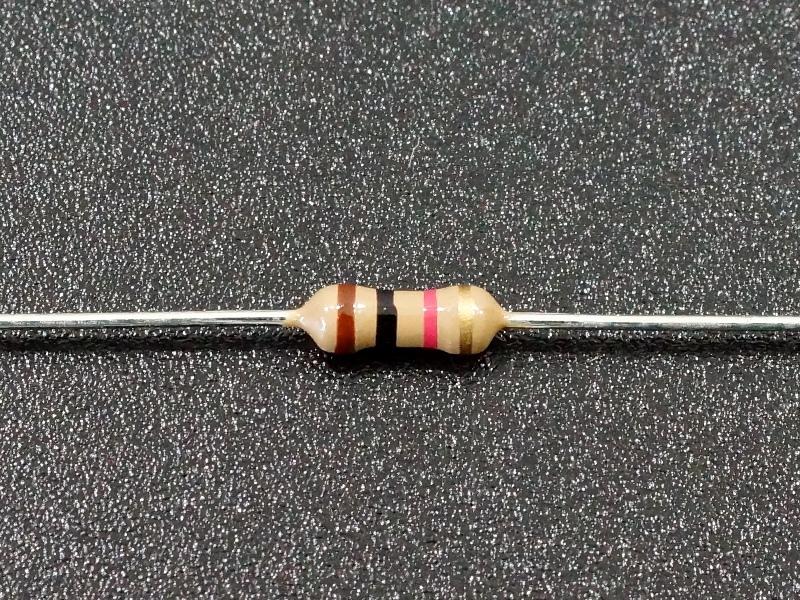
- 1Kohm resistor
- 5v AC-to-DC power supply module
- 2 pin and 3 pin screw connector
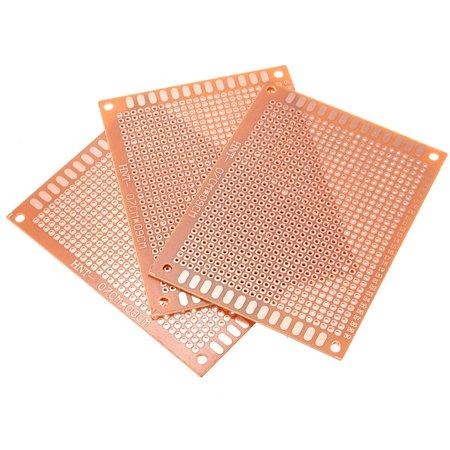
- Perf Board
3D Case file : https://www.thingiverse.com/thing:5200549
Software: https://github.com/Jovian-Dsouza/EspAlexaSmartlight
Electonics
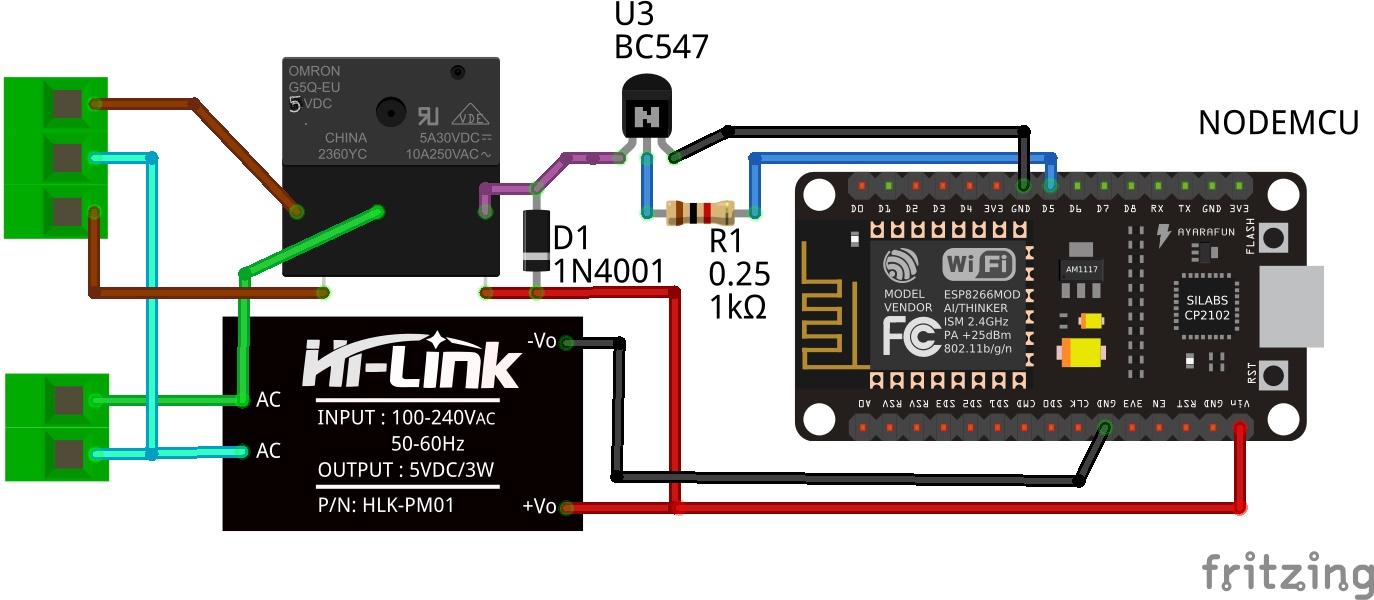
The heart and brain of the electronics consist of the NodeMCU module, which does all the processing and controls the devices. The relay is controlled using a transistor, via the D5 pin of the NodeMCU.
However if you want to control more than one devices simply attach them to either D1, D2, D5, D6 or D7 pin.
We also use a diode, between the relay to prevent the back emf and protect the transistor.
To power the circuit we use a AC-to-DC power supply module that provides 5v, using the AC input.
The circuit can be easily assembled using a prototyping PCB
Software
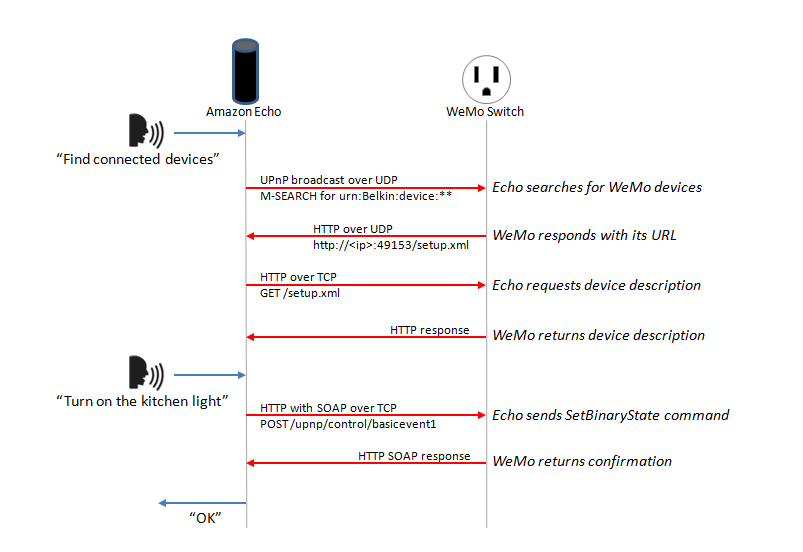
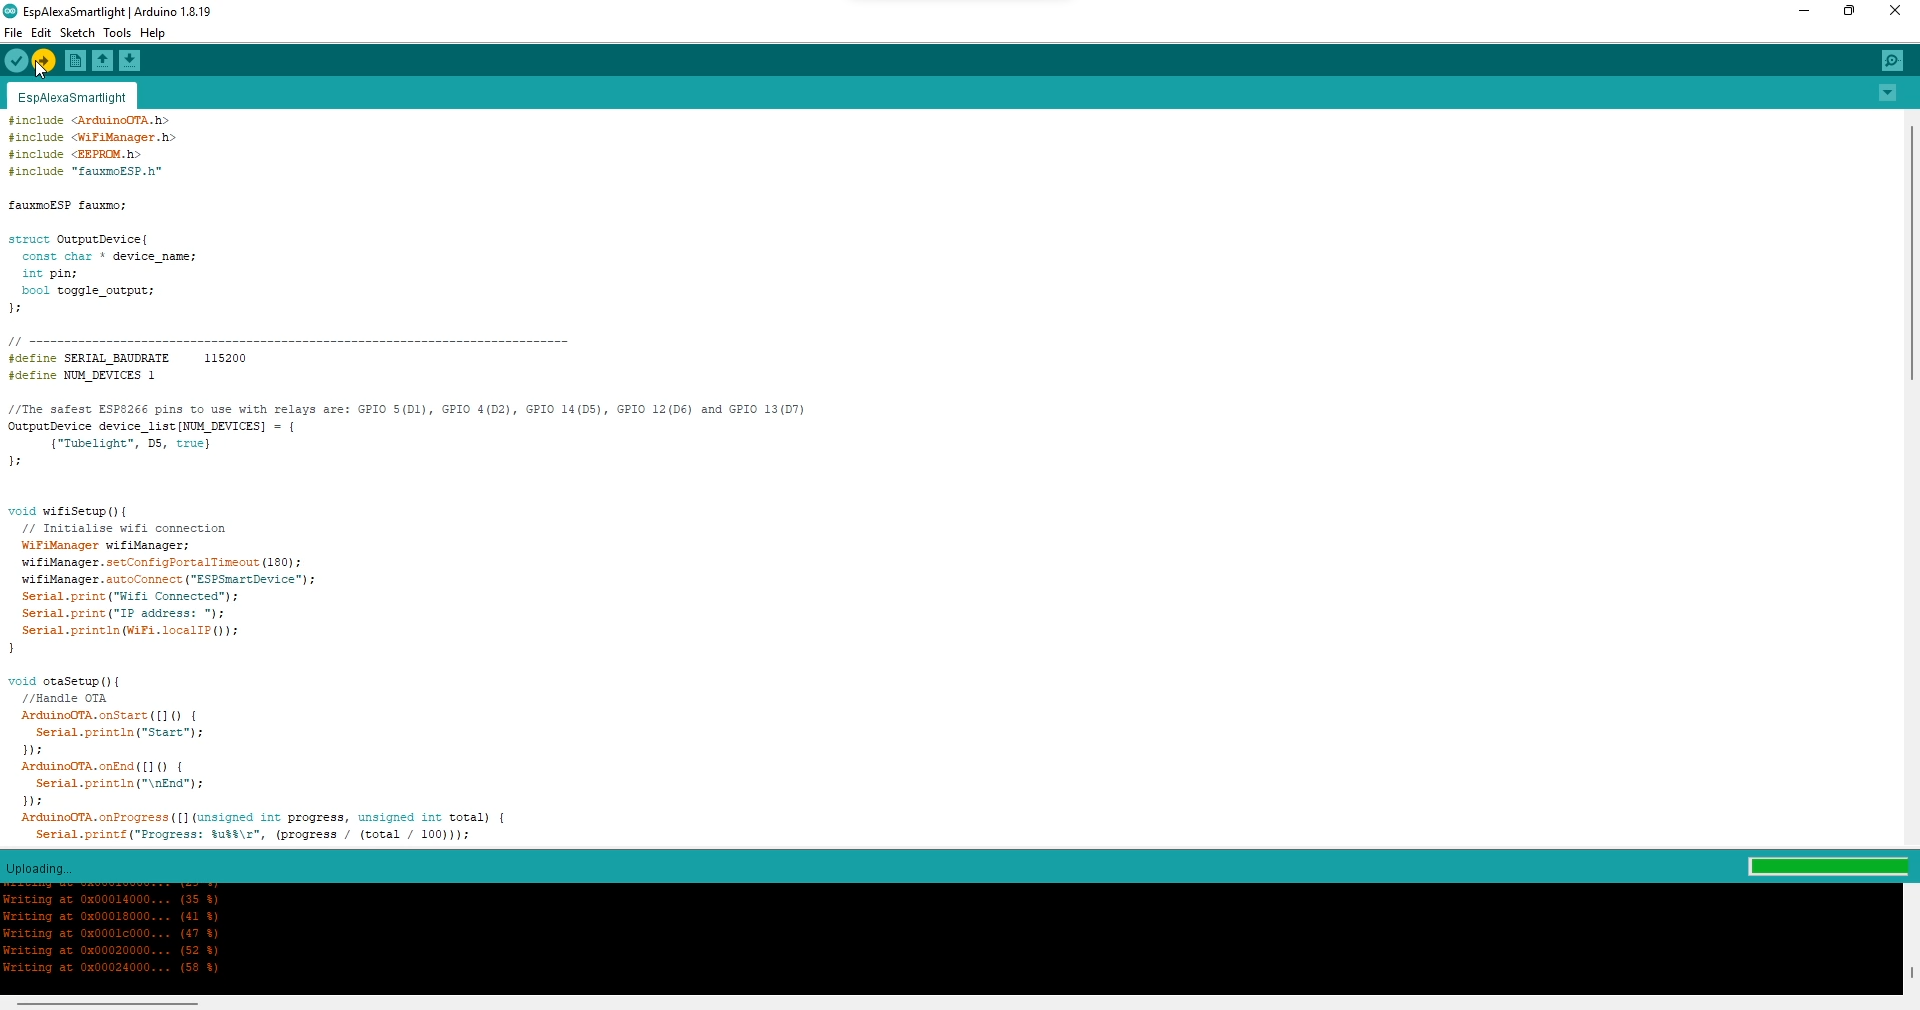
I designed the software to have the following features.
Features
- Alexa controlled ( obviously)
- OTA update (allows for easy firmware update)
- WiFi Manager
- Use eeprom to store the state of the device during power cuts
Setup
- Install Arduino IDE
- Install ESP8266 board learn more
- Install the libraries
This project uses the following libraries
- https://github.com/vintlabs/fauxmoESP
- https://github.com/me-no-dev/ESPAsyncTCP
- https://github.com/tzapu/WiFiManager
The fauxmo library is used to control the devices using Alexa and WiFiManager provides a neat interface of setting up the WiFi.
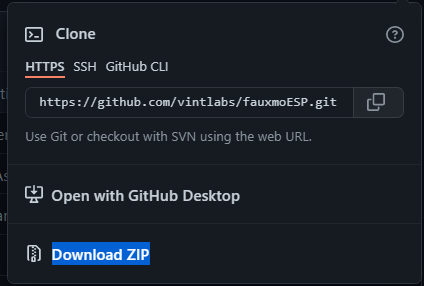
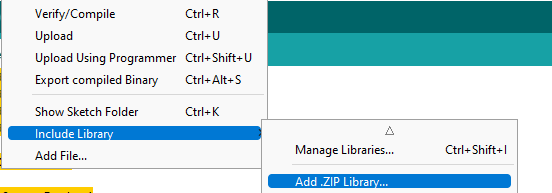
Installing the libraries in Arduino very easy, just follow these steps
- Download the zip file from Github
- In Arduino, got to Sketch > Include Library > Add .ZIP library
- Select the zip file and click open.
Configuration
In the Arduino sketch simply, modify the device_list to add more devices. Where each device has the following parameters
- Name - name used to identify the device
- Pin - the output pin used to control the device
- Toggle - to change the output behaviour, default is false
for example,
//The safest ESP8266 pins to use with relays are: GPIO 5(D1), GPIO 4(D2), GPIO 14(D5), GPIO 12(D6) and GPIO 13(D7)

OutputDevice device_list[] = {
   {"Tubelight", D5, false}, // NAME, PIN, Toggle
   {"NewLight", D1, false},
};
Design and 3D Print the Case
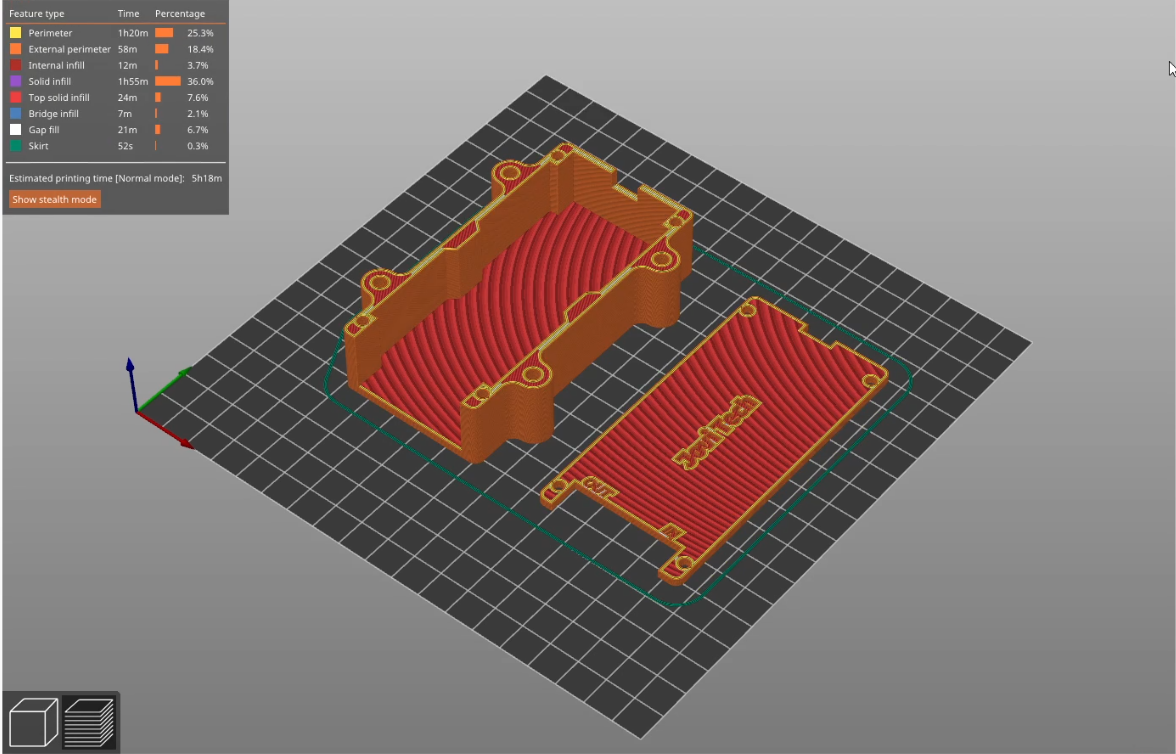
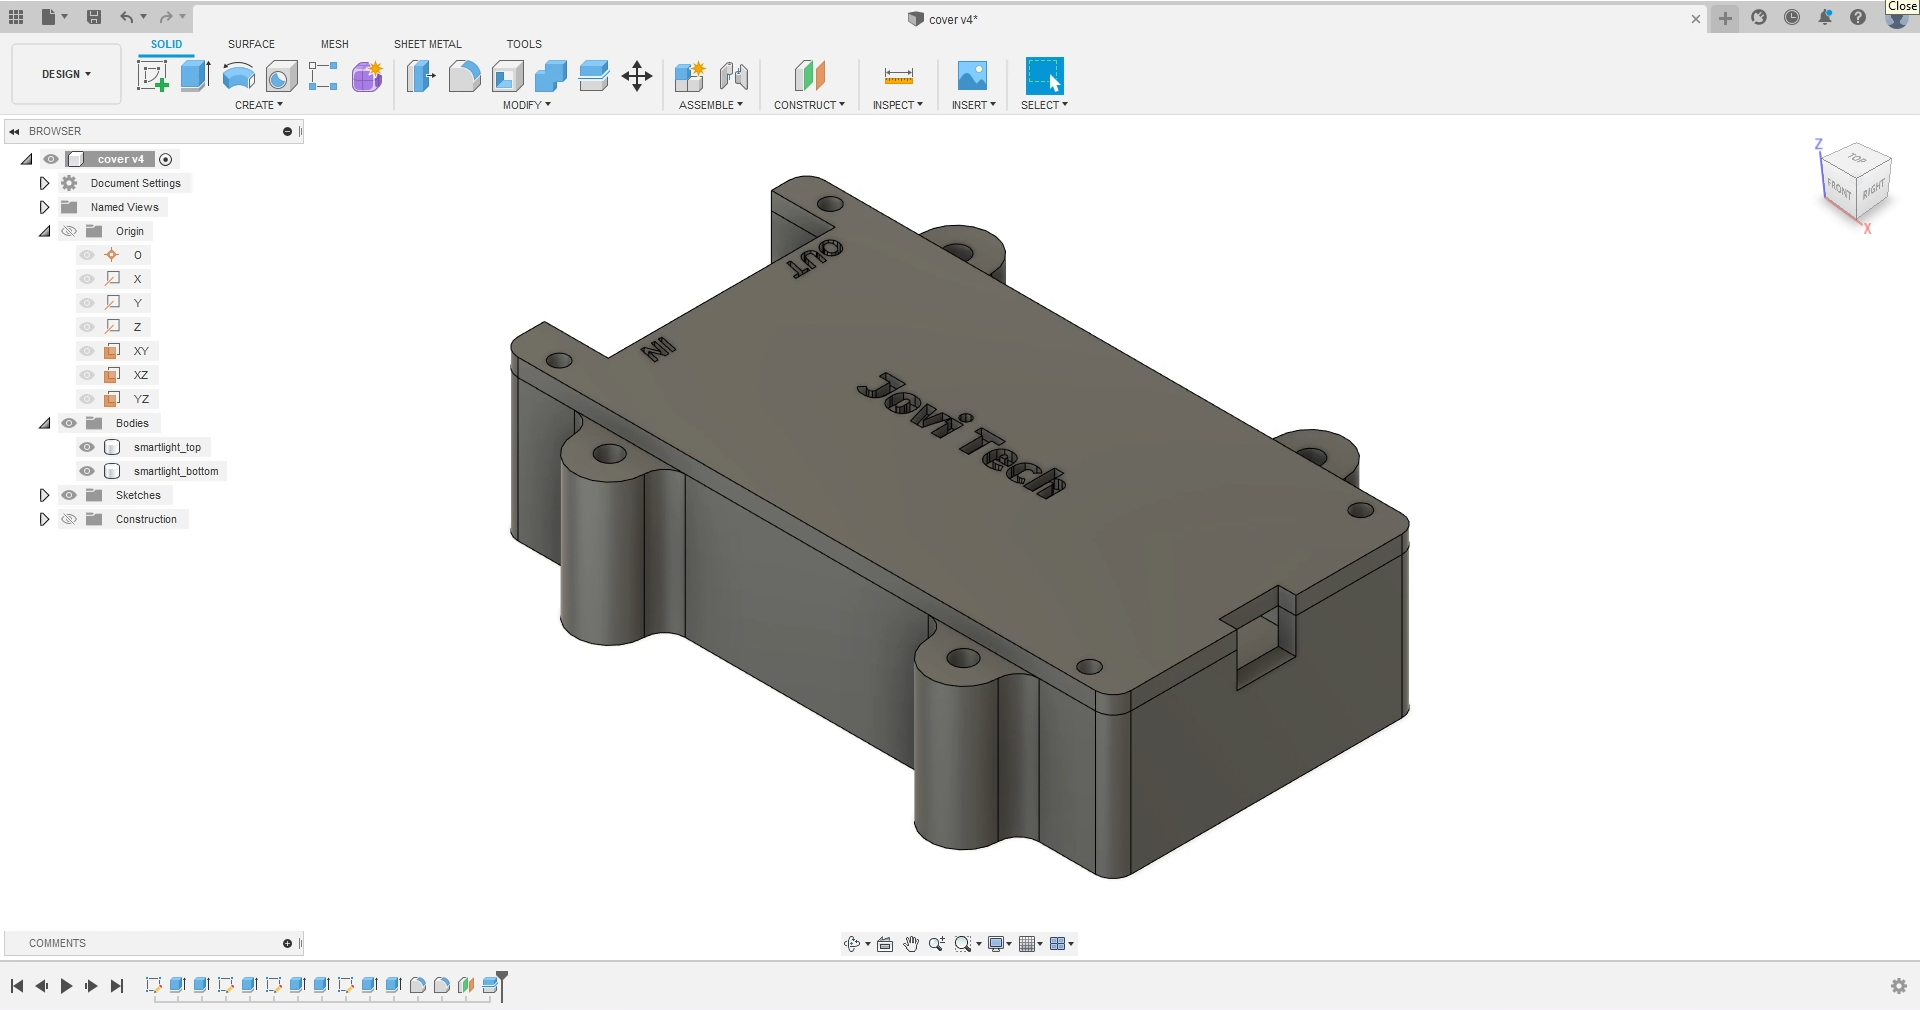
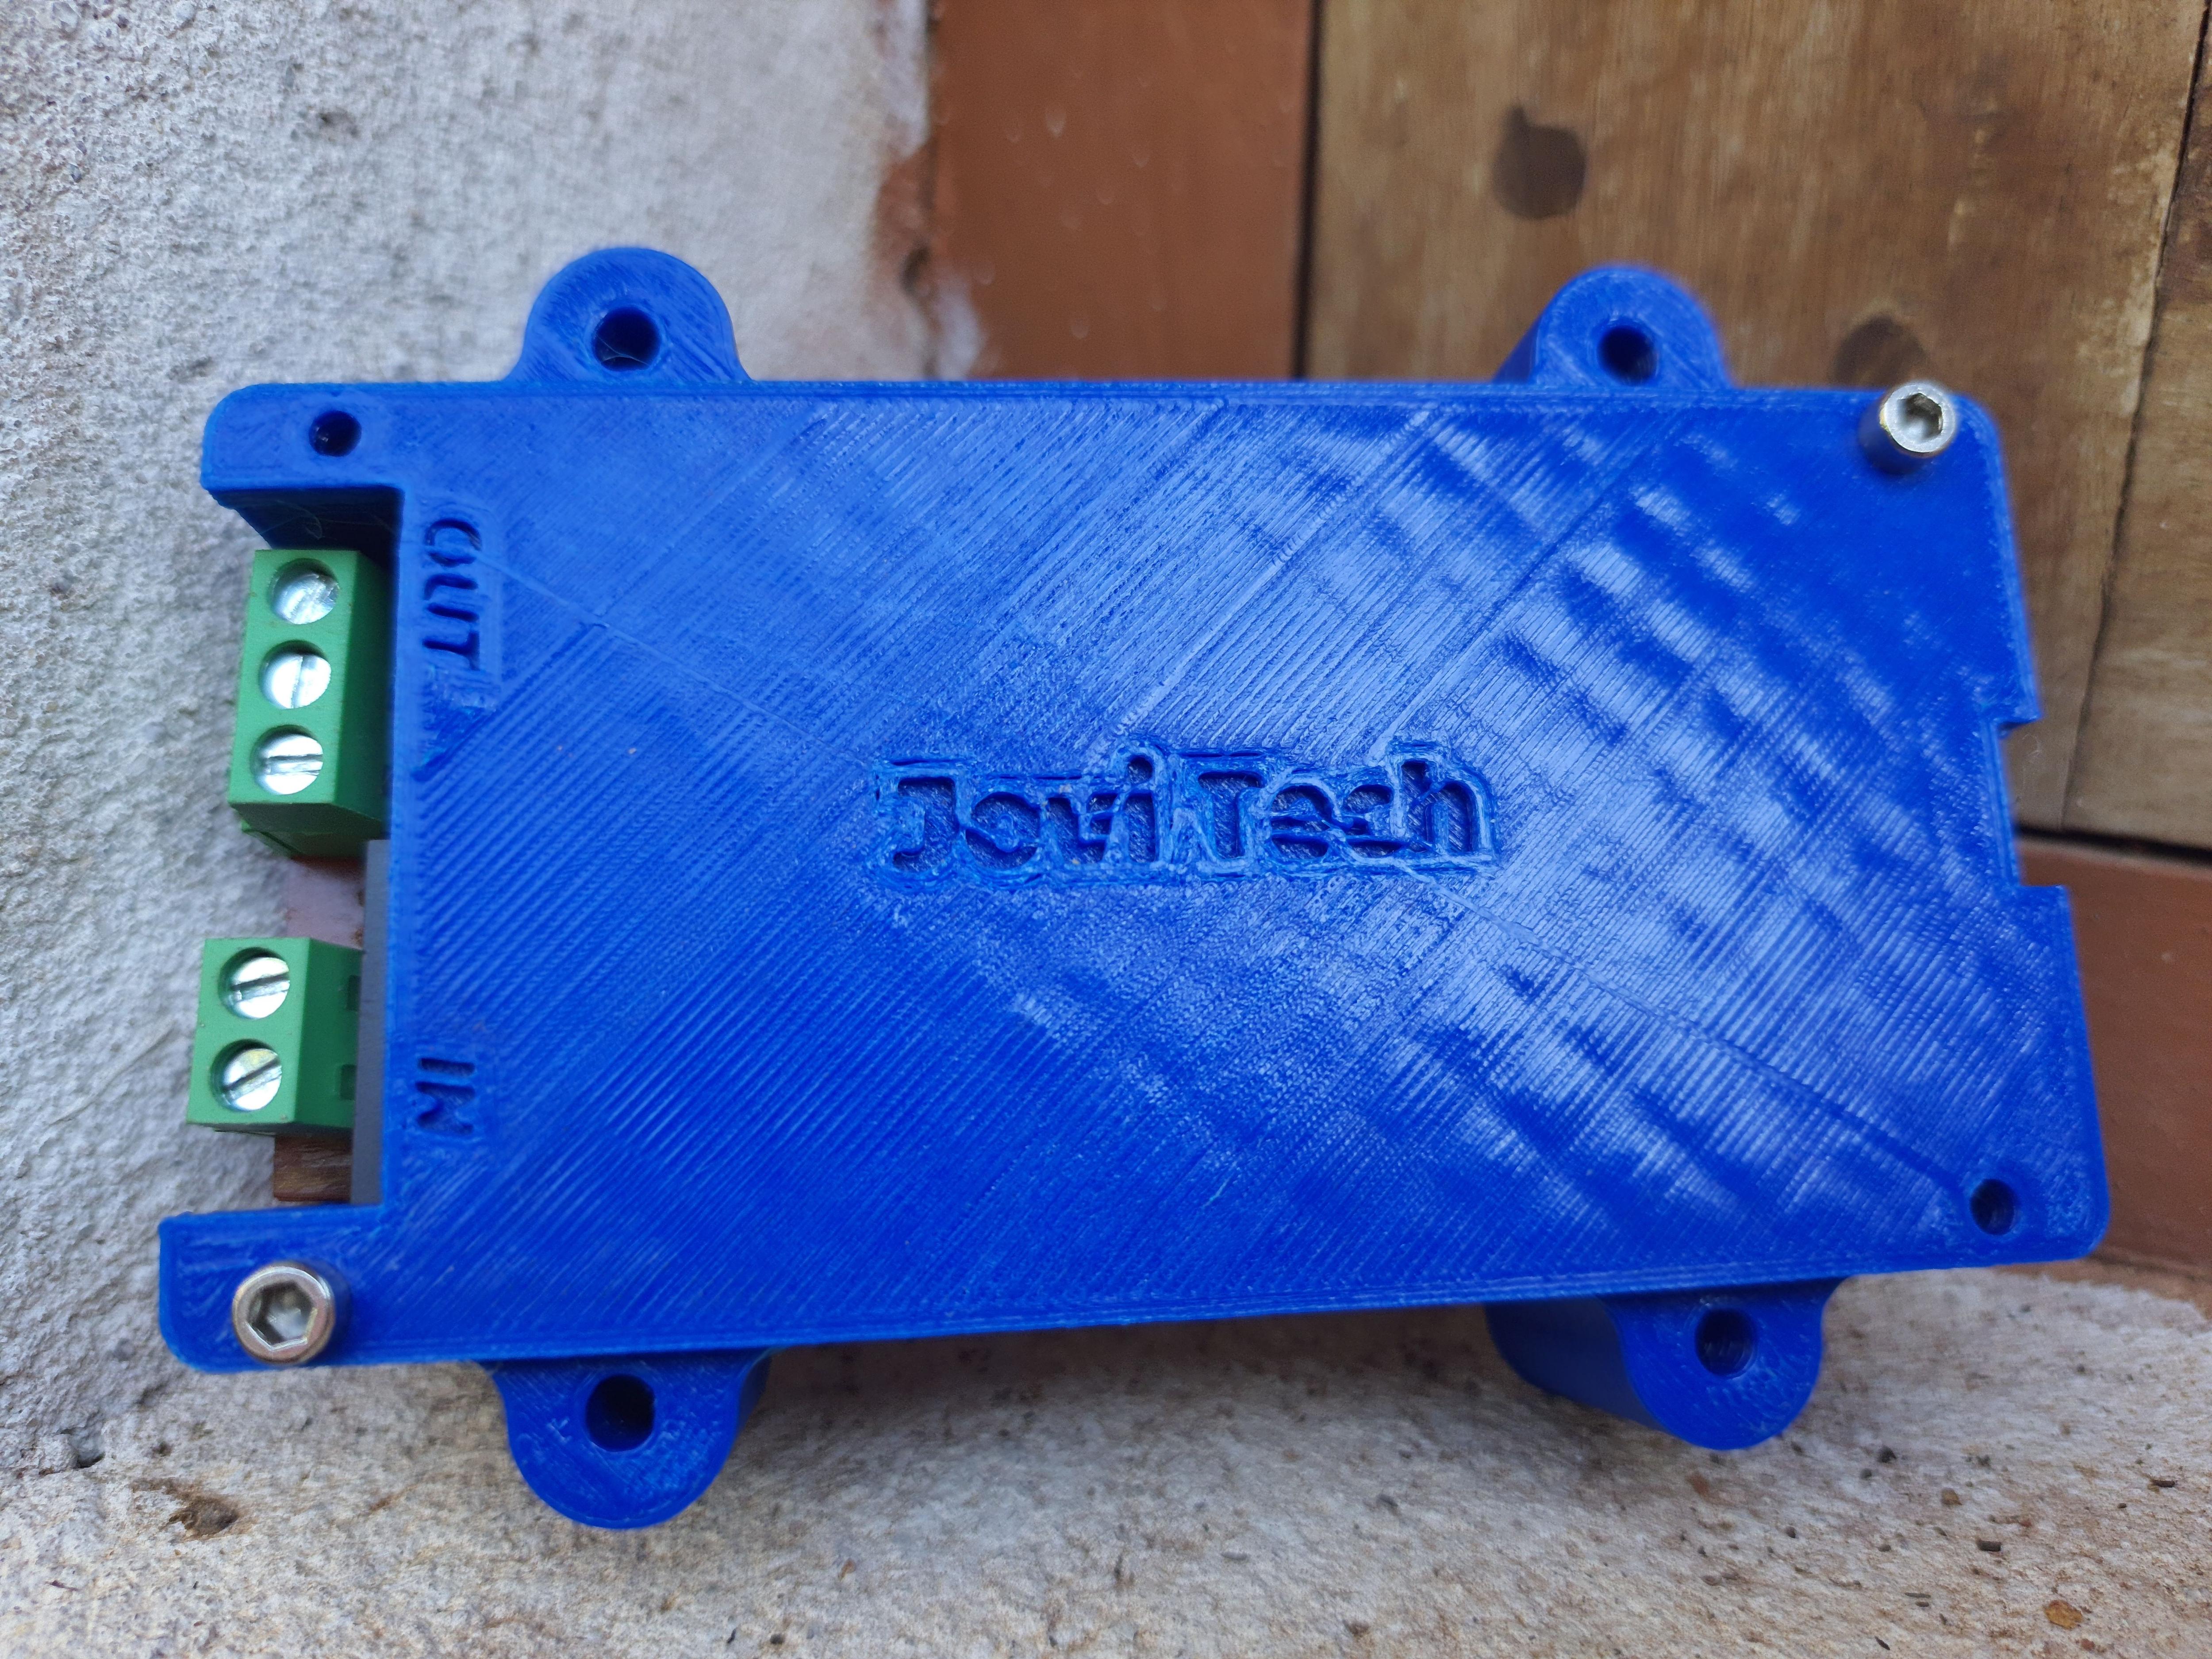
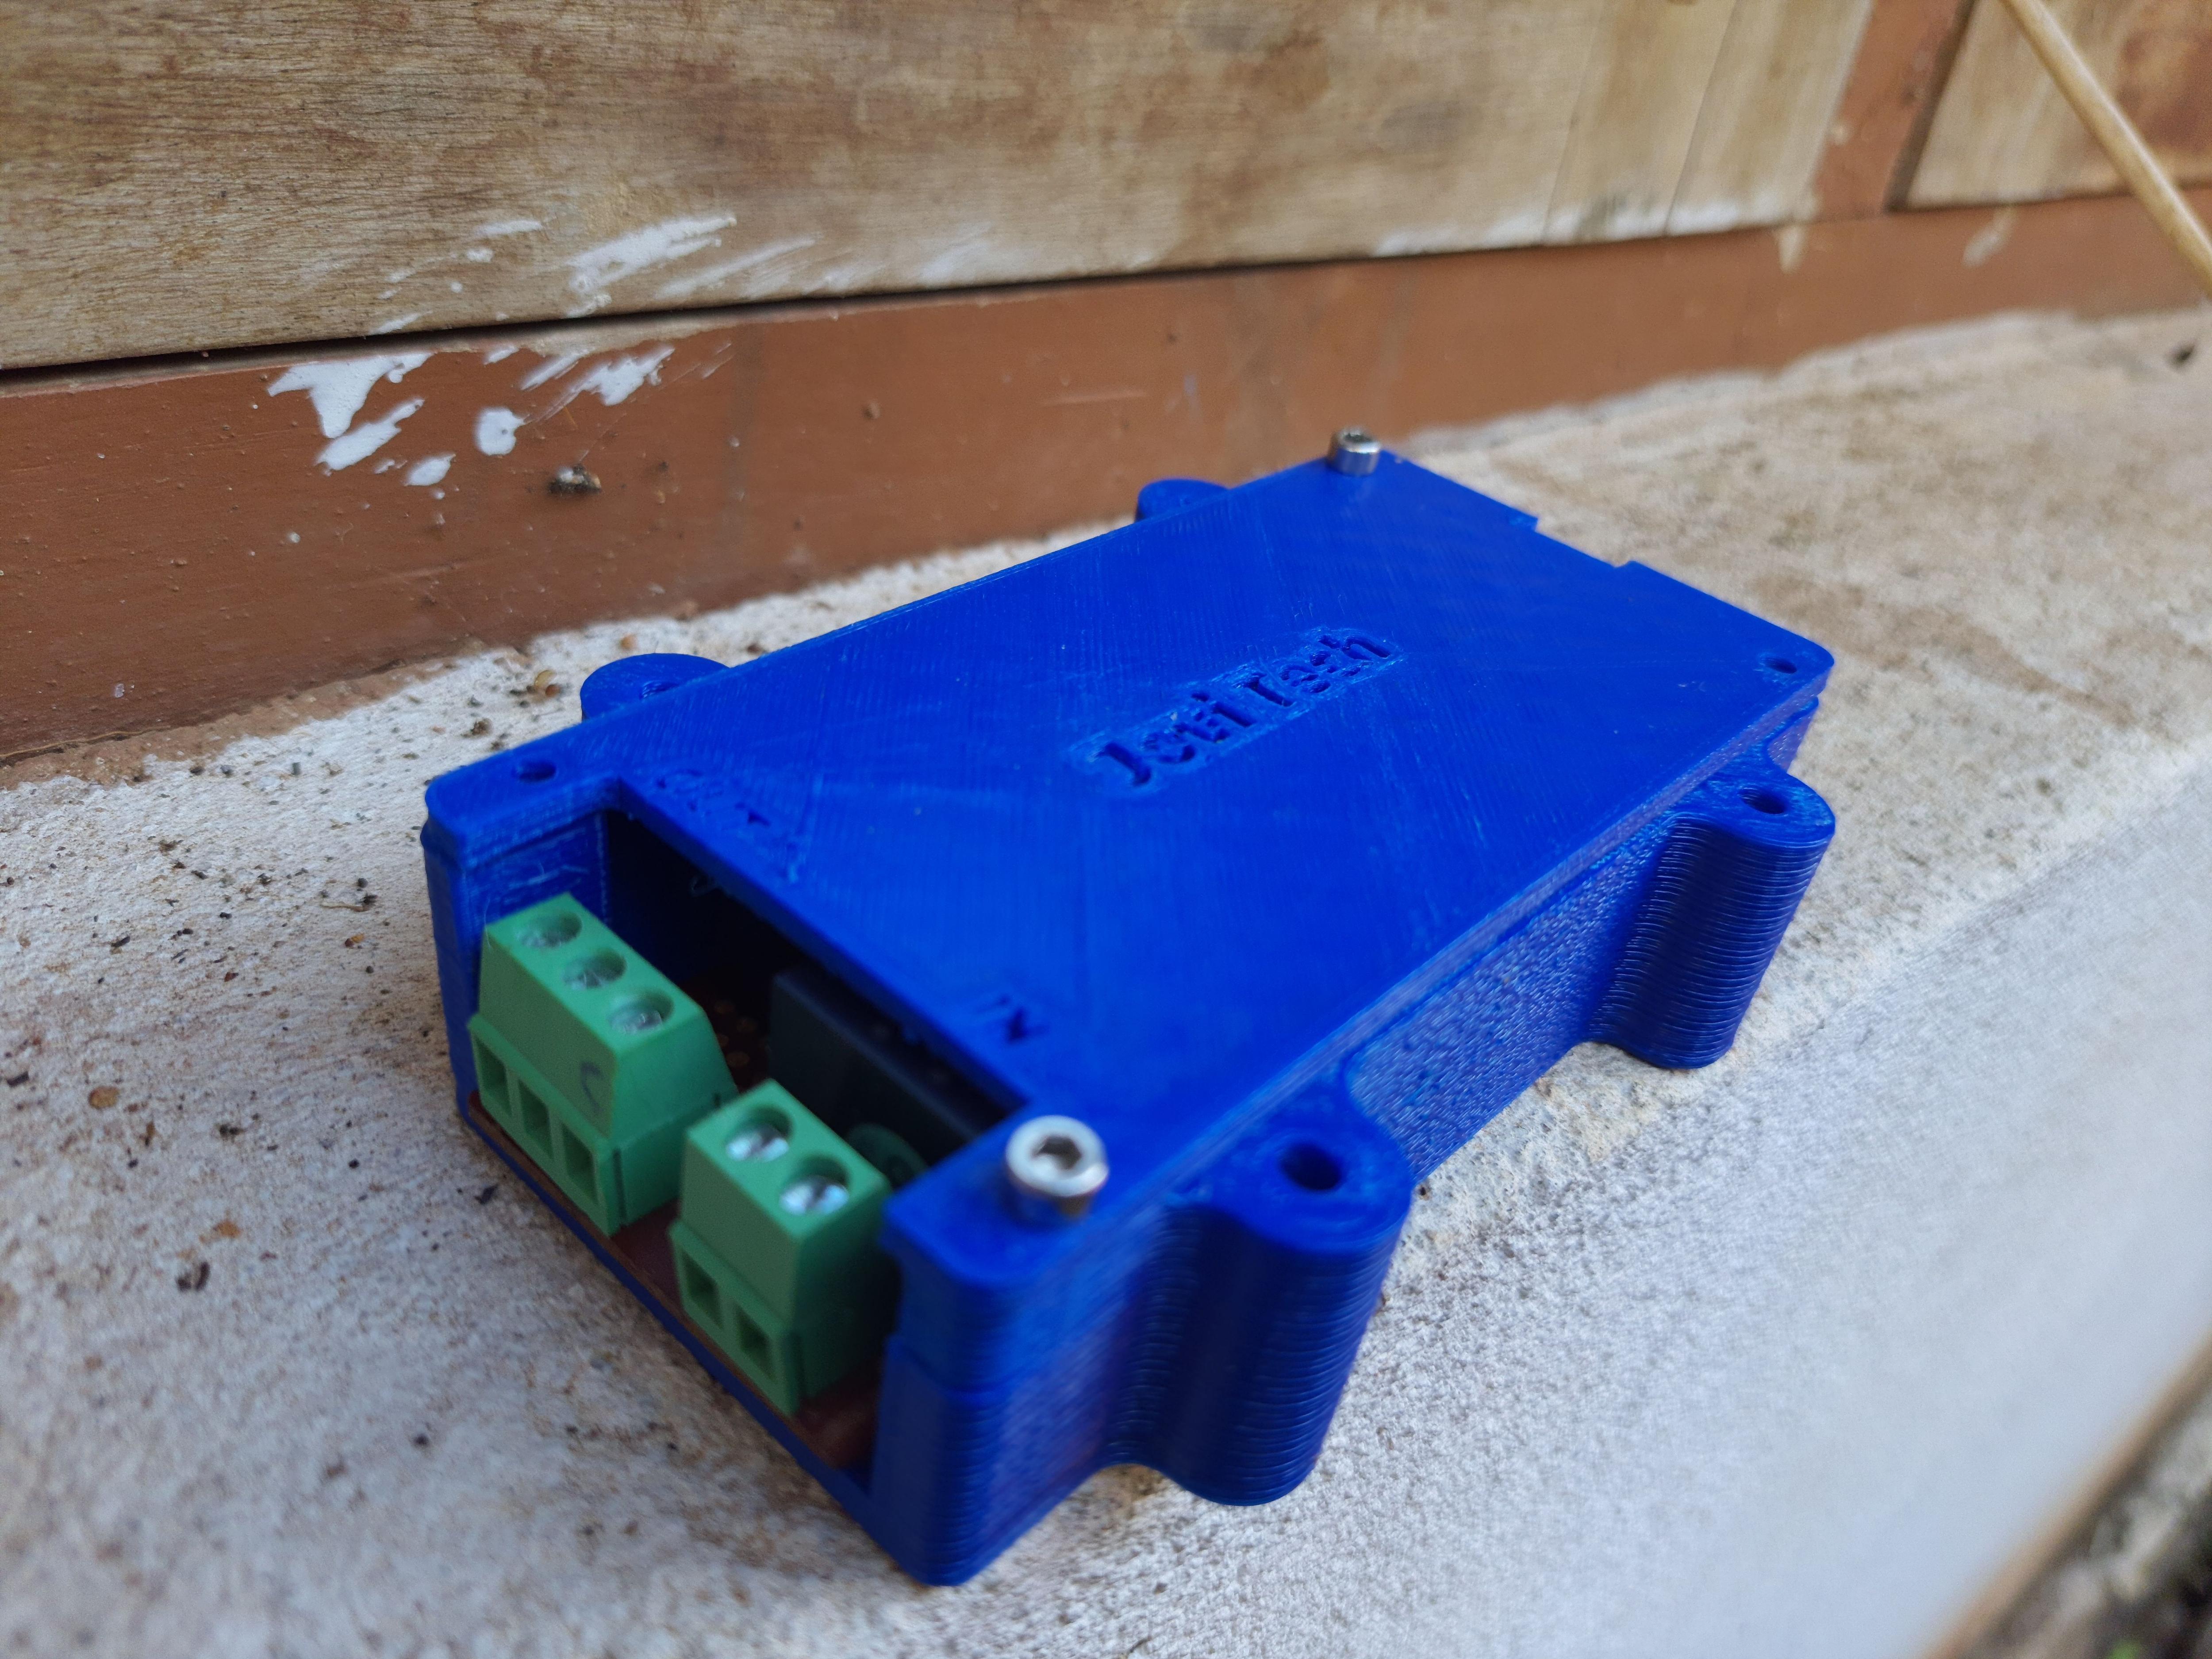
- The case was designed in Fusion 360 and can be downloaded from Thingiverse
- This was printed using Blue PLA+ filament at 15 % infill and 0.2 layer height
AC Connections
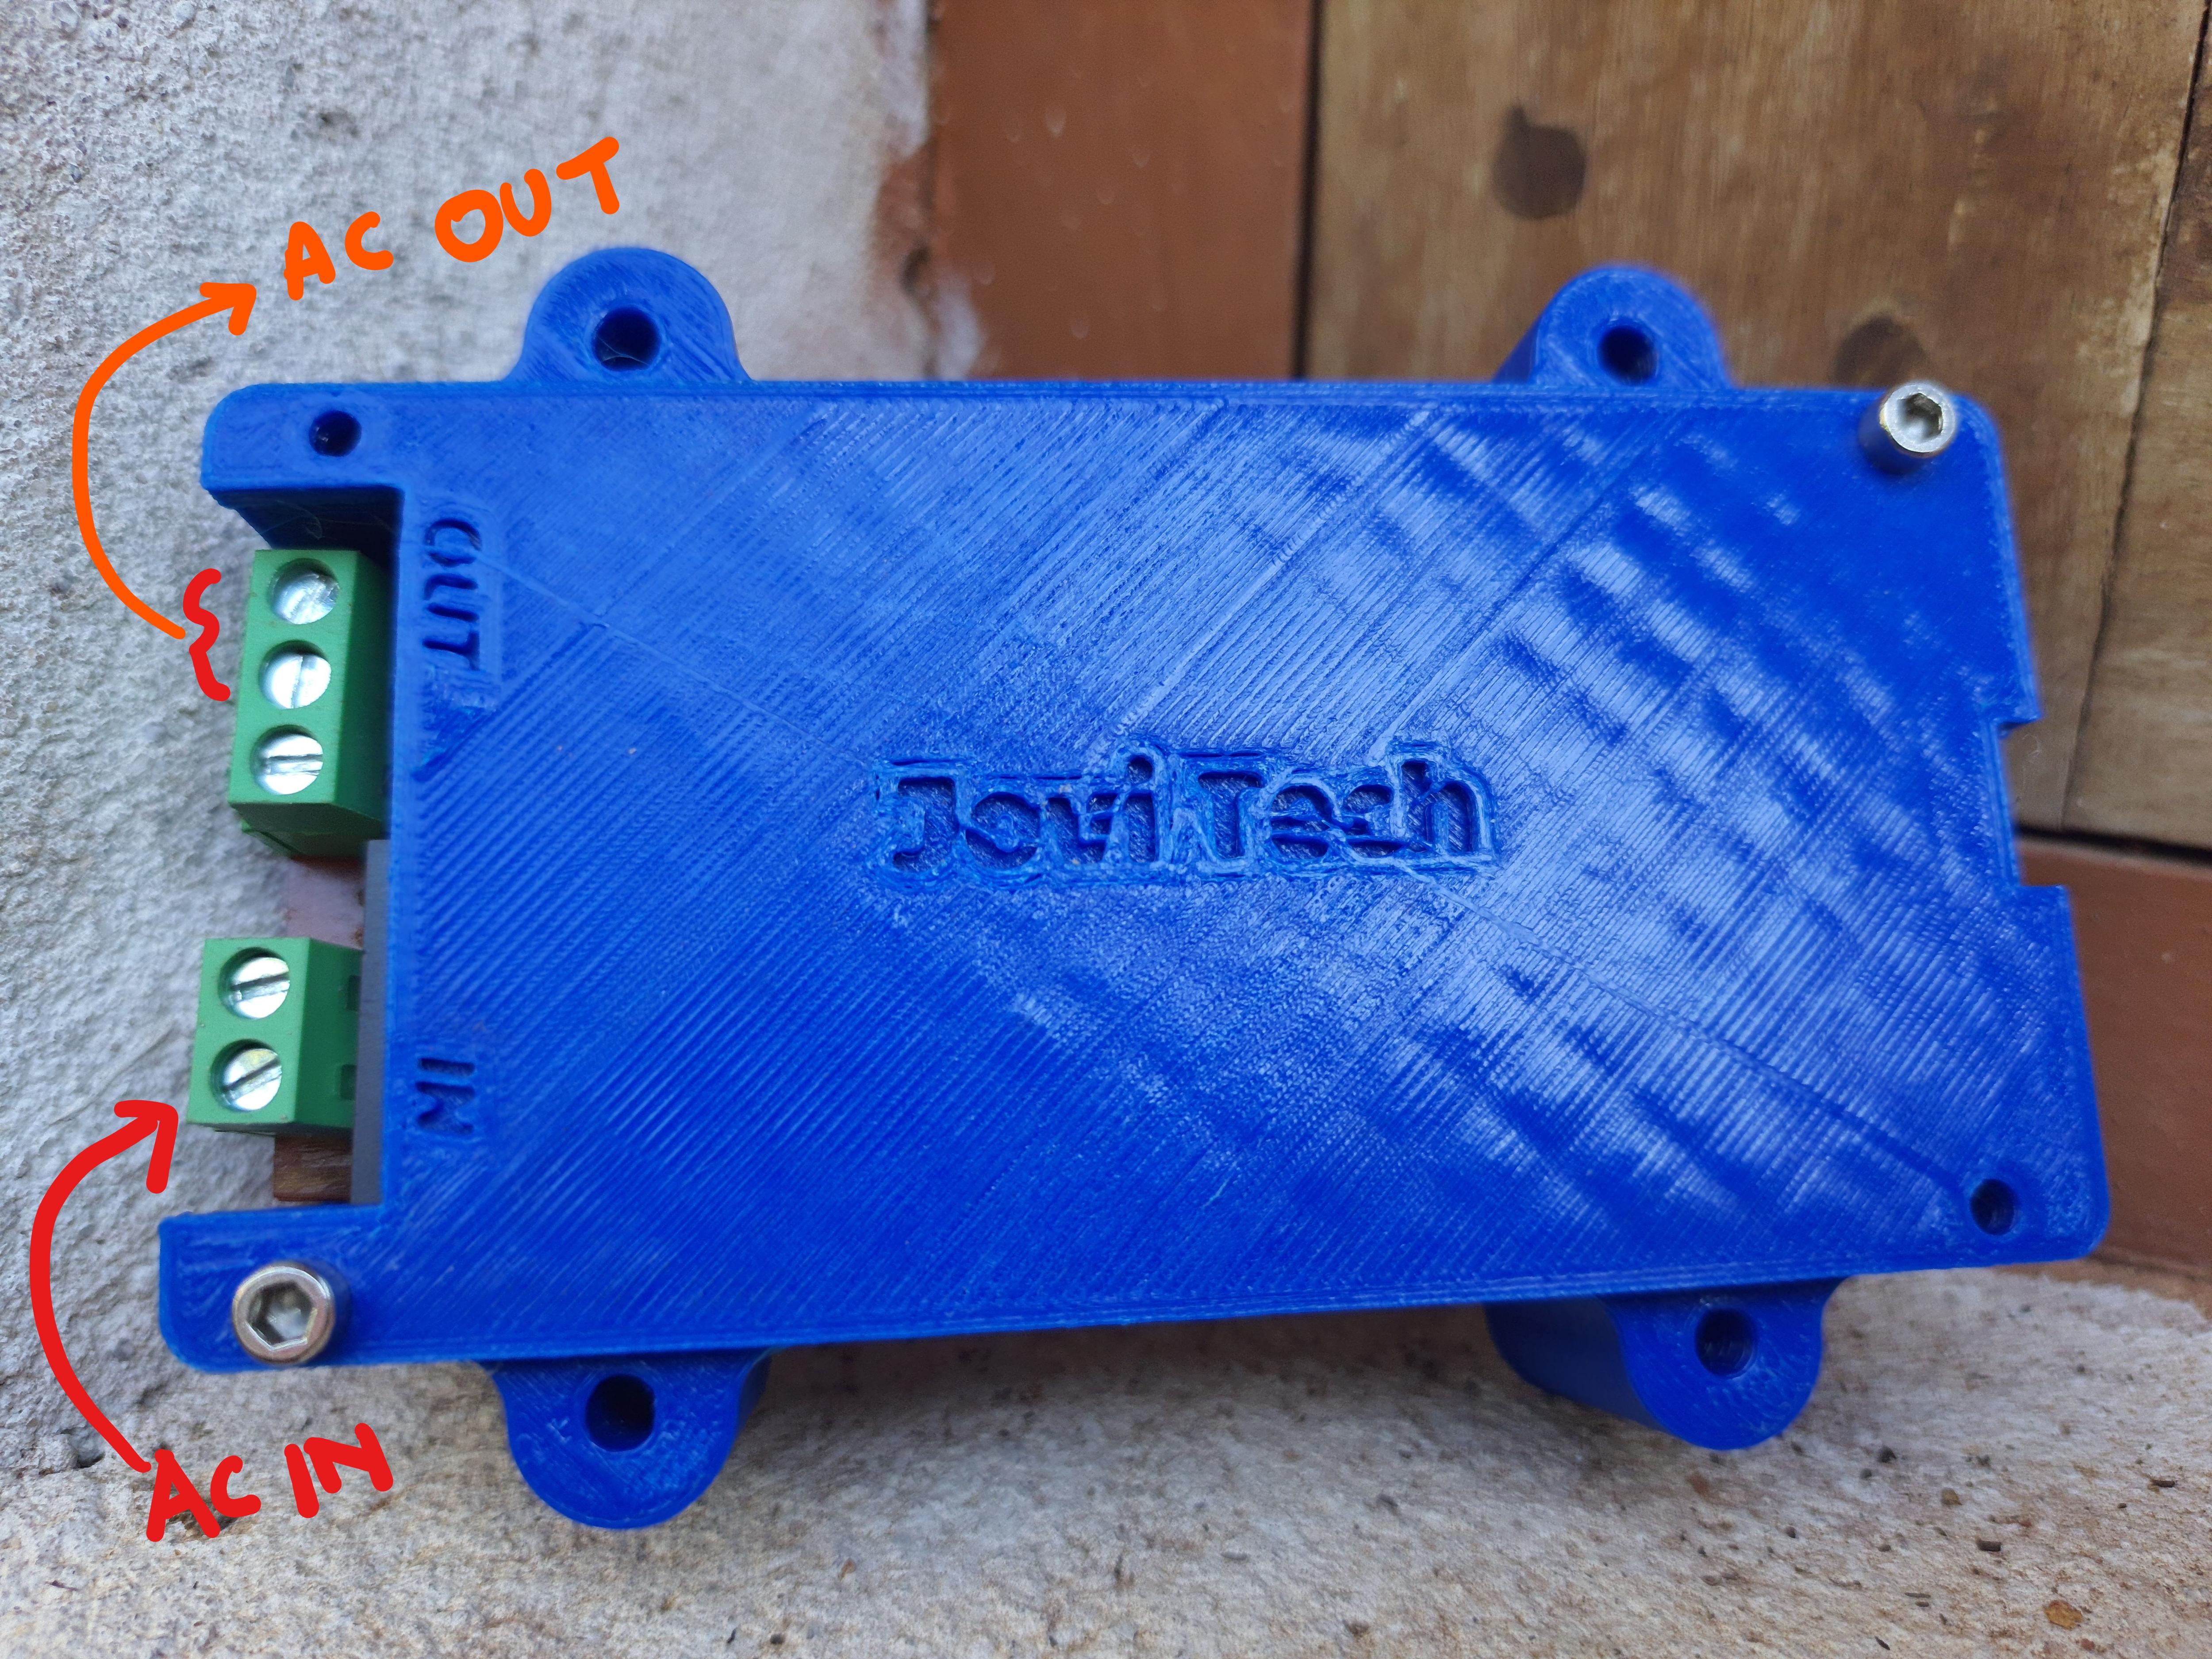
Connect the Input and Output as shown in the image
The AC Input powers the device as well as the electronics.
The output terminal has three pins, which corresponds to the "Normally open" and "Normally close" pin of the Relay. The output depends on "Toggle" parameter which was set in the software. So if you left the toggle default as false then connect output to the first two pins.
Setup
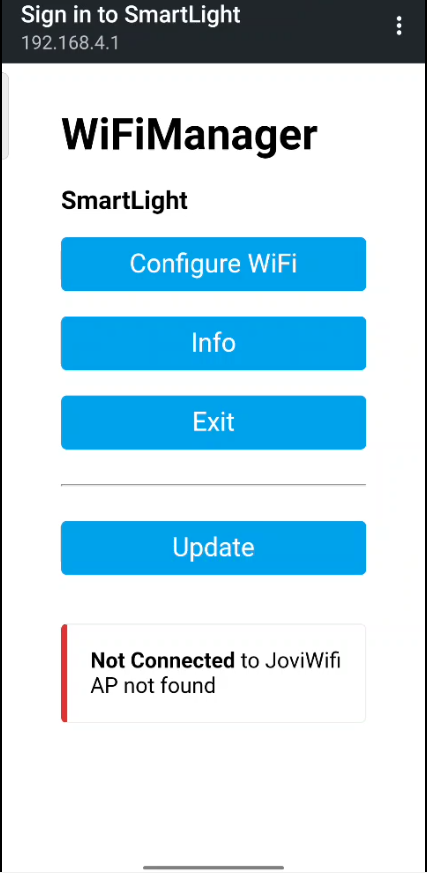

- Power on the device
- For the initial setup, a wifi hotspot would be created.
- Connect to it, and you will be redirected to the WifiManager page. If your not redirected then simply open 192.168.4.1 in your web browser.
- Click on Configure Wifi
- Select your wifi access point and enter the credentials
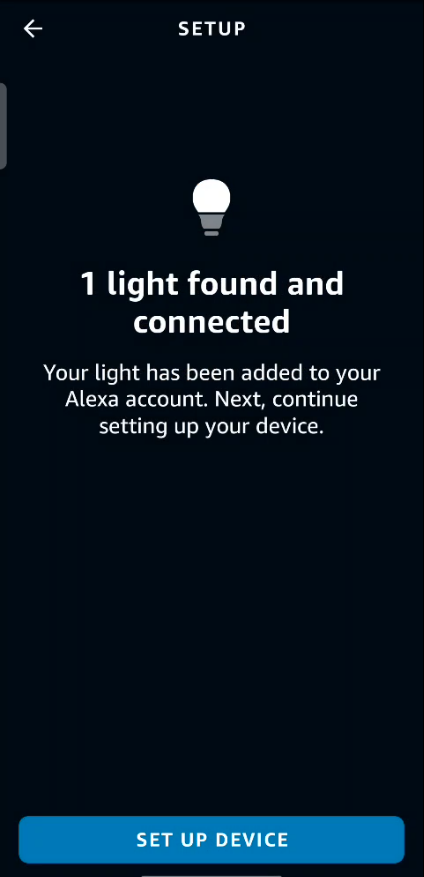
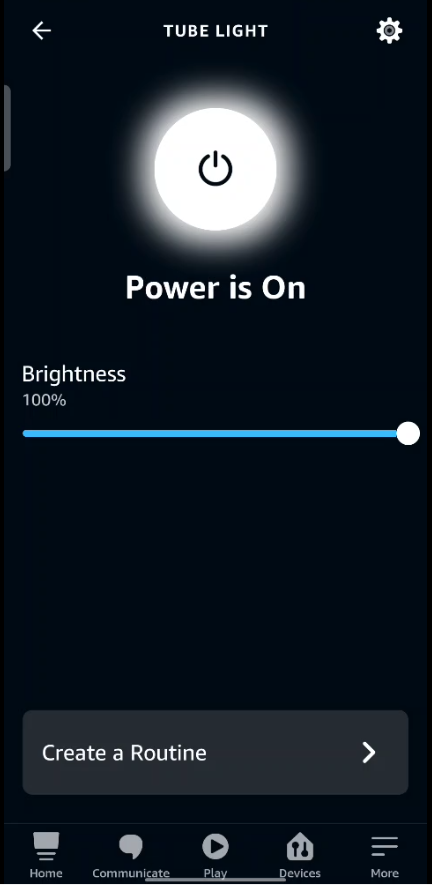
- Then Ask Alexa to discover devices, or you could also add the device using the Alexa app
- Make sure that your devices are connected.
- Once the setup is done try to control the device via the Alexa app
Automated Routines
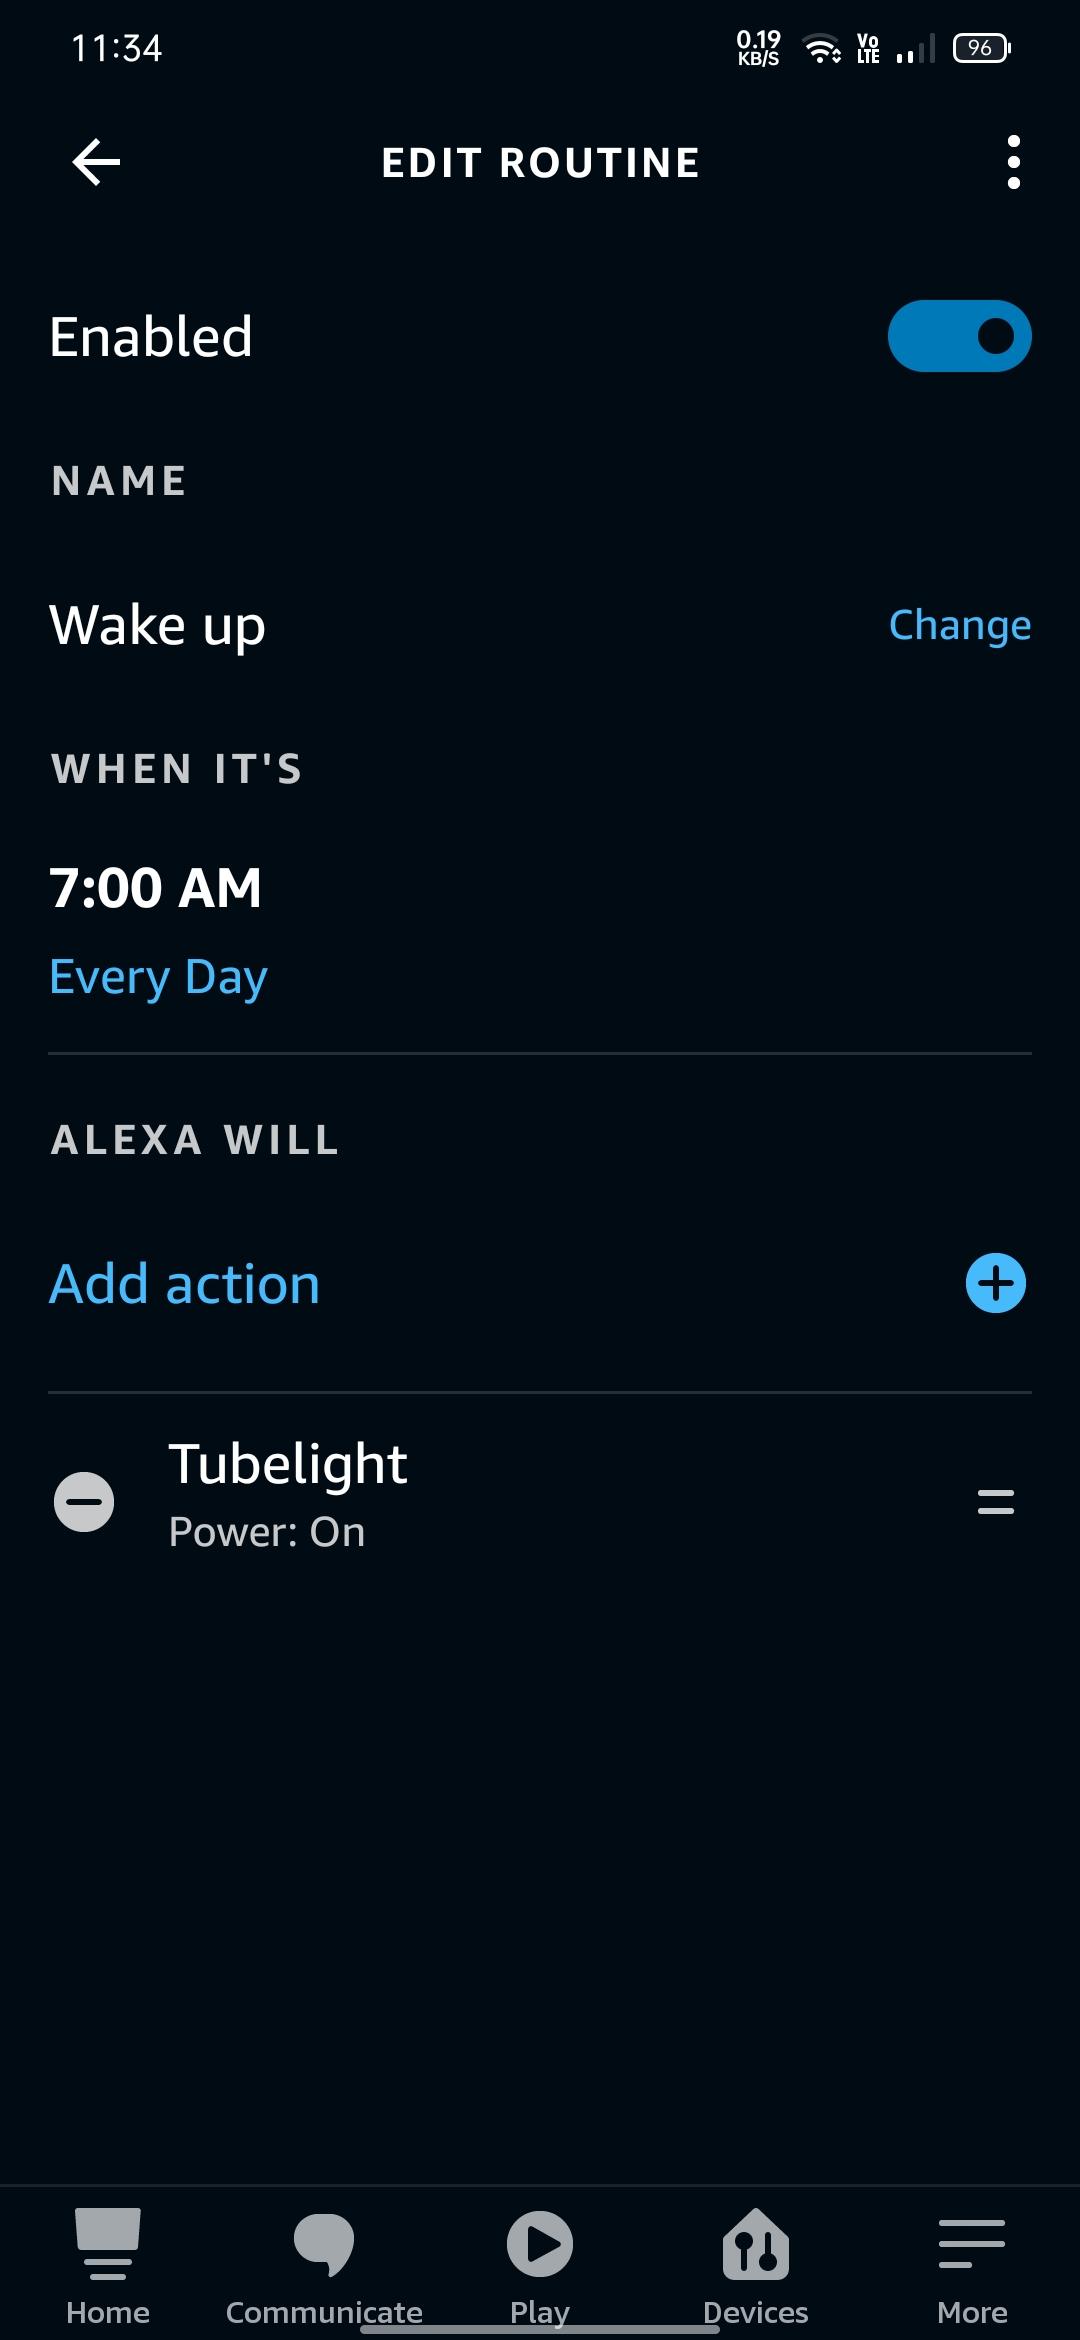
- I use this smart device to control the tubelight of my room.
- I also created a automated routine that turns on the light every morning which helps me wake up properly.