Alexa Controlled Garden Watering System
by Davewins in Living > Gardening
3436 Views, 19 Favorites, 0 Comments
Alexa Controlled Garden Watering System
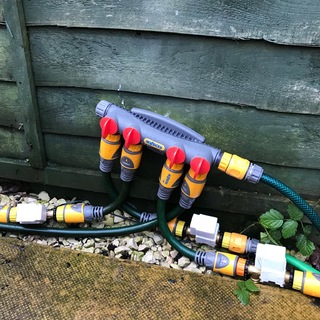
As I had Alexa and Domiticz for my home automation it seemed natural that I create an Alexa powered watering system!
You Will Need...
Electronics
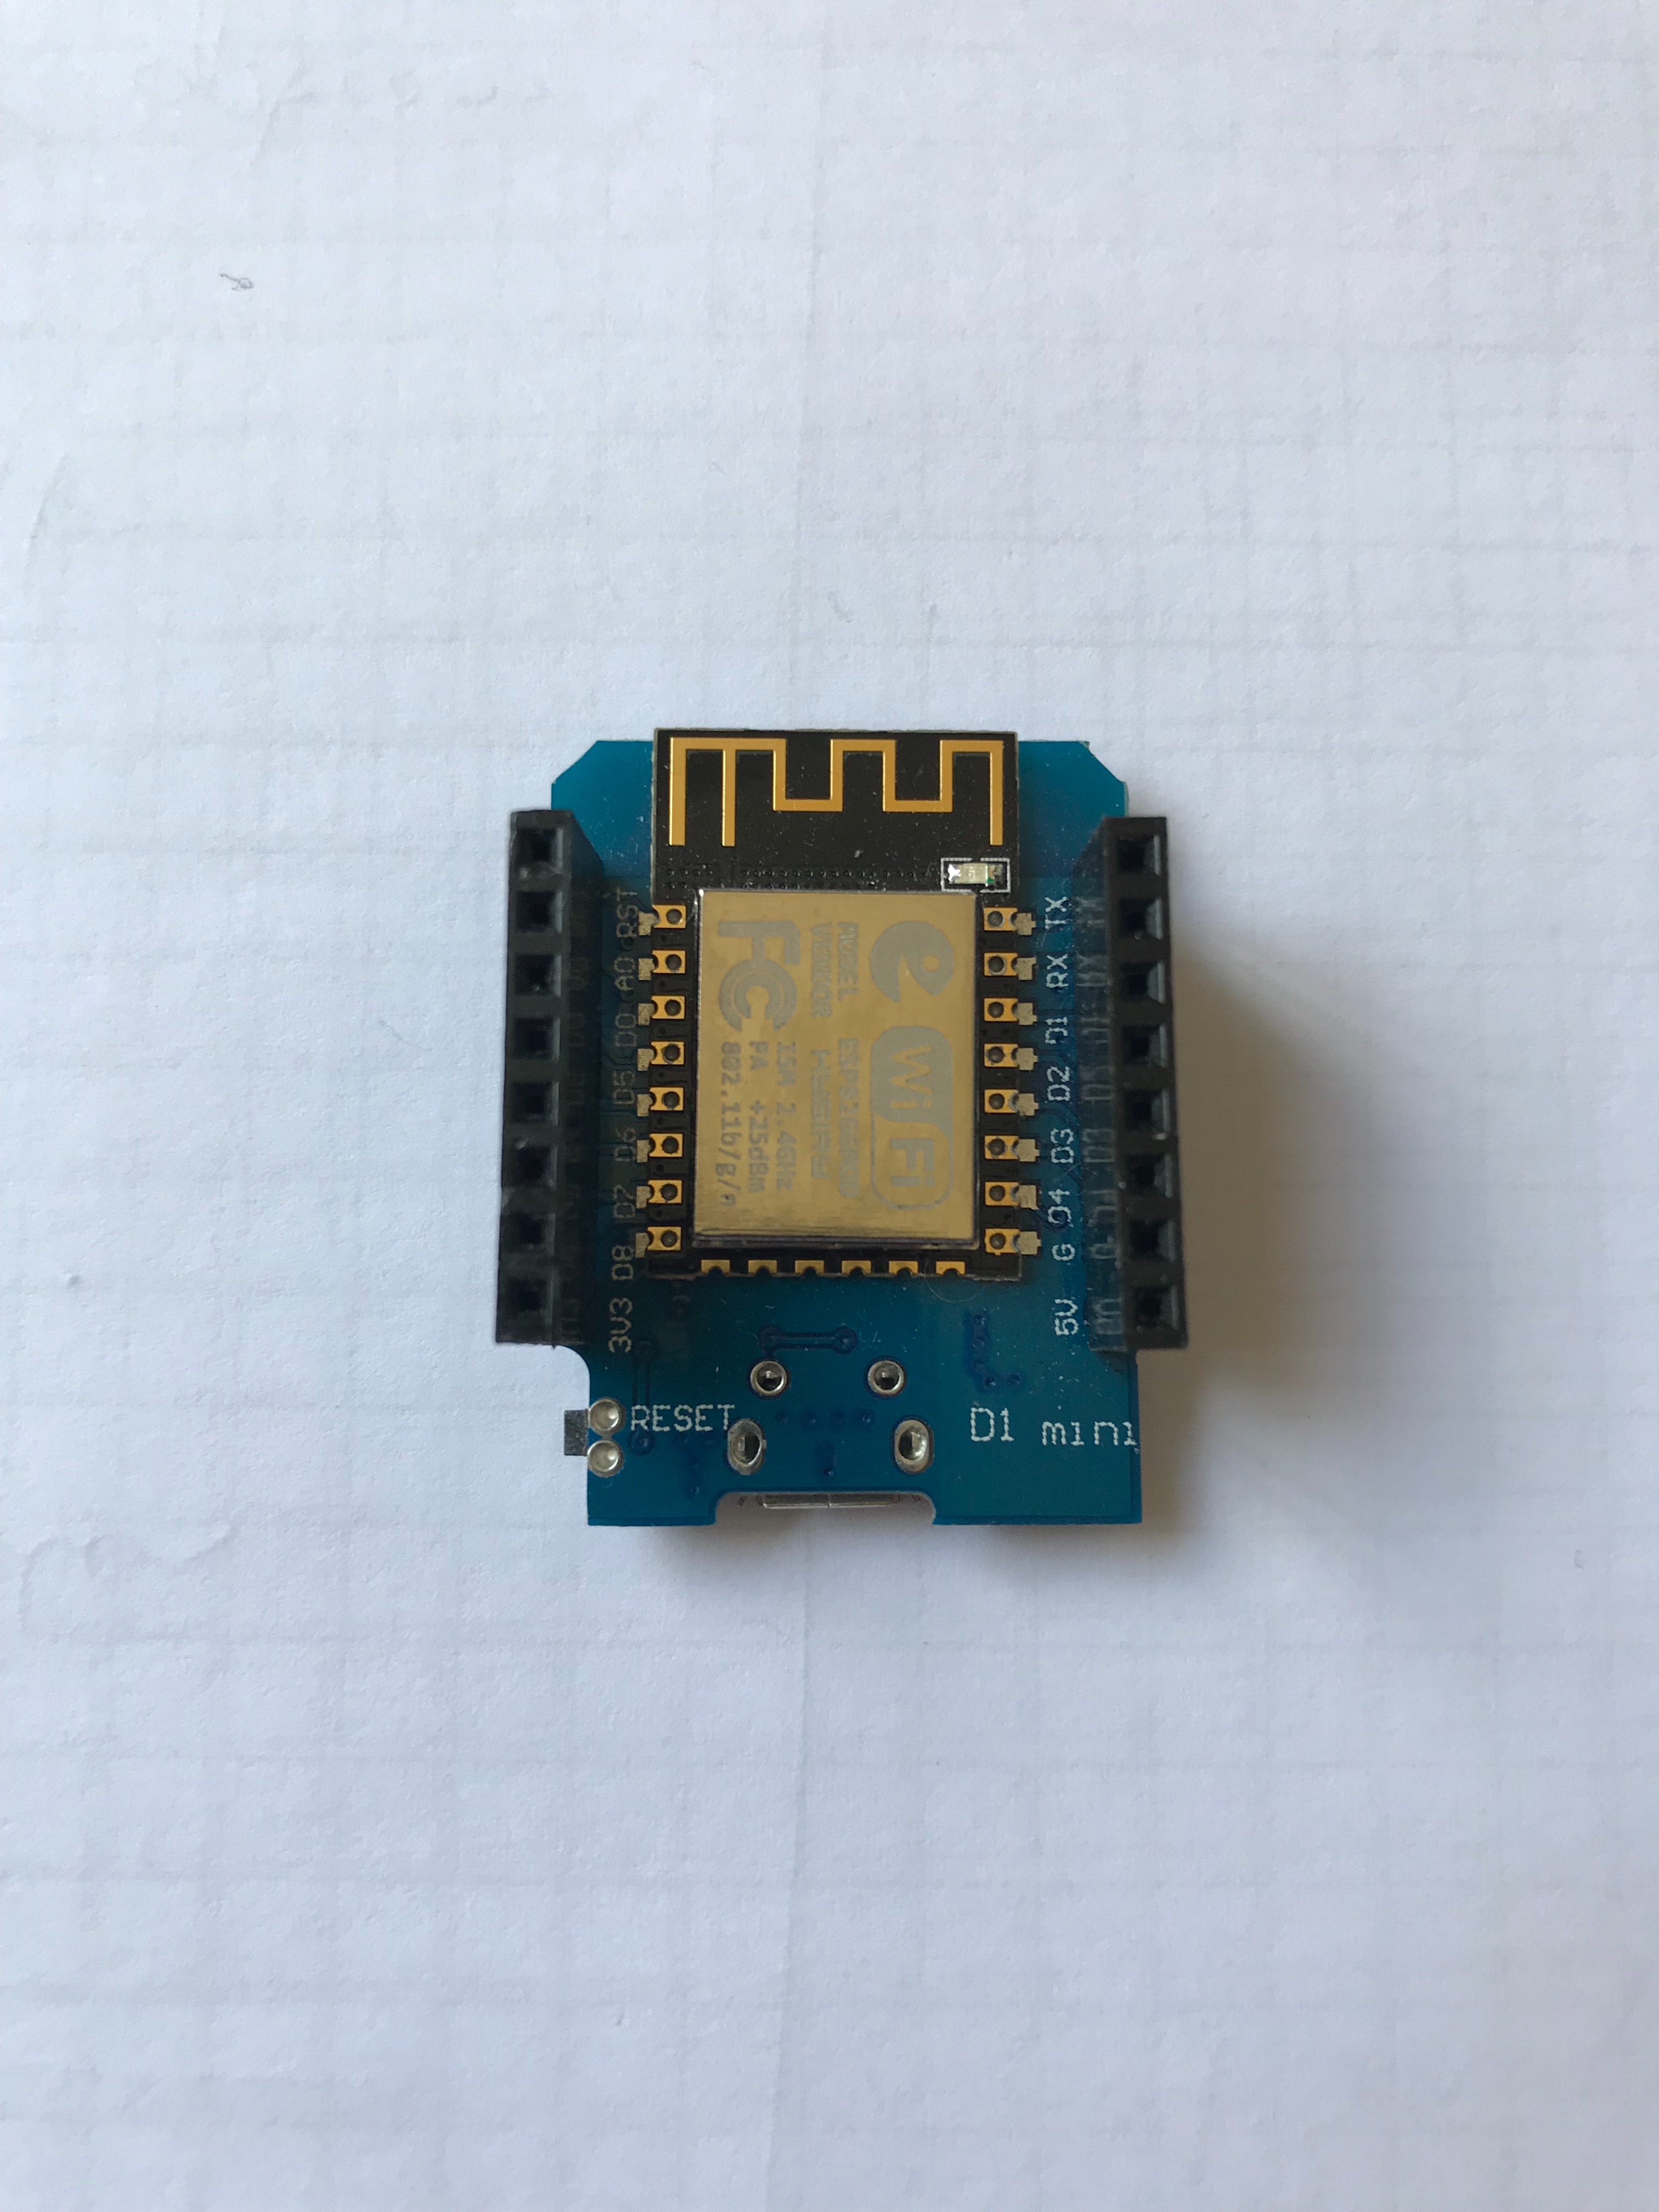
Wemos D1 Mini https://wiki.wemos.cc/products:d1:d1_mini
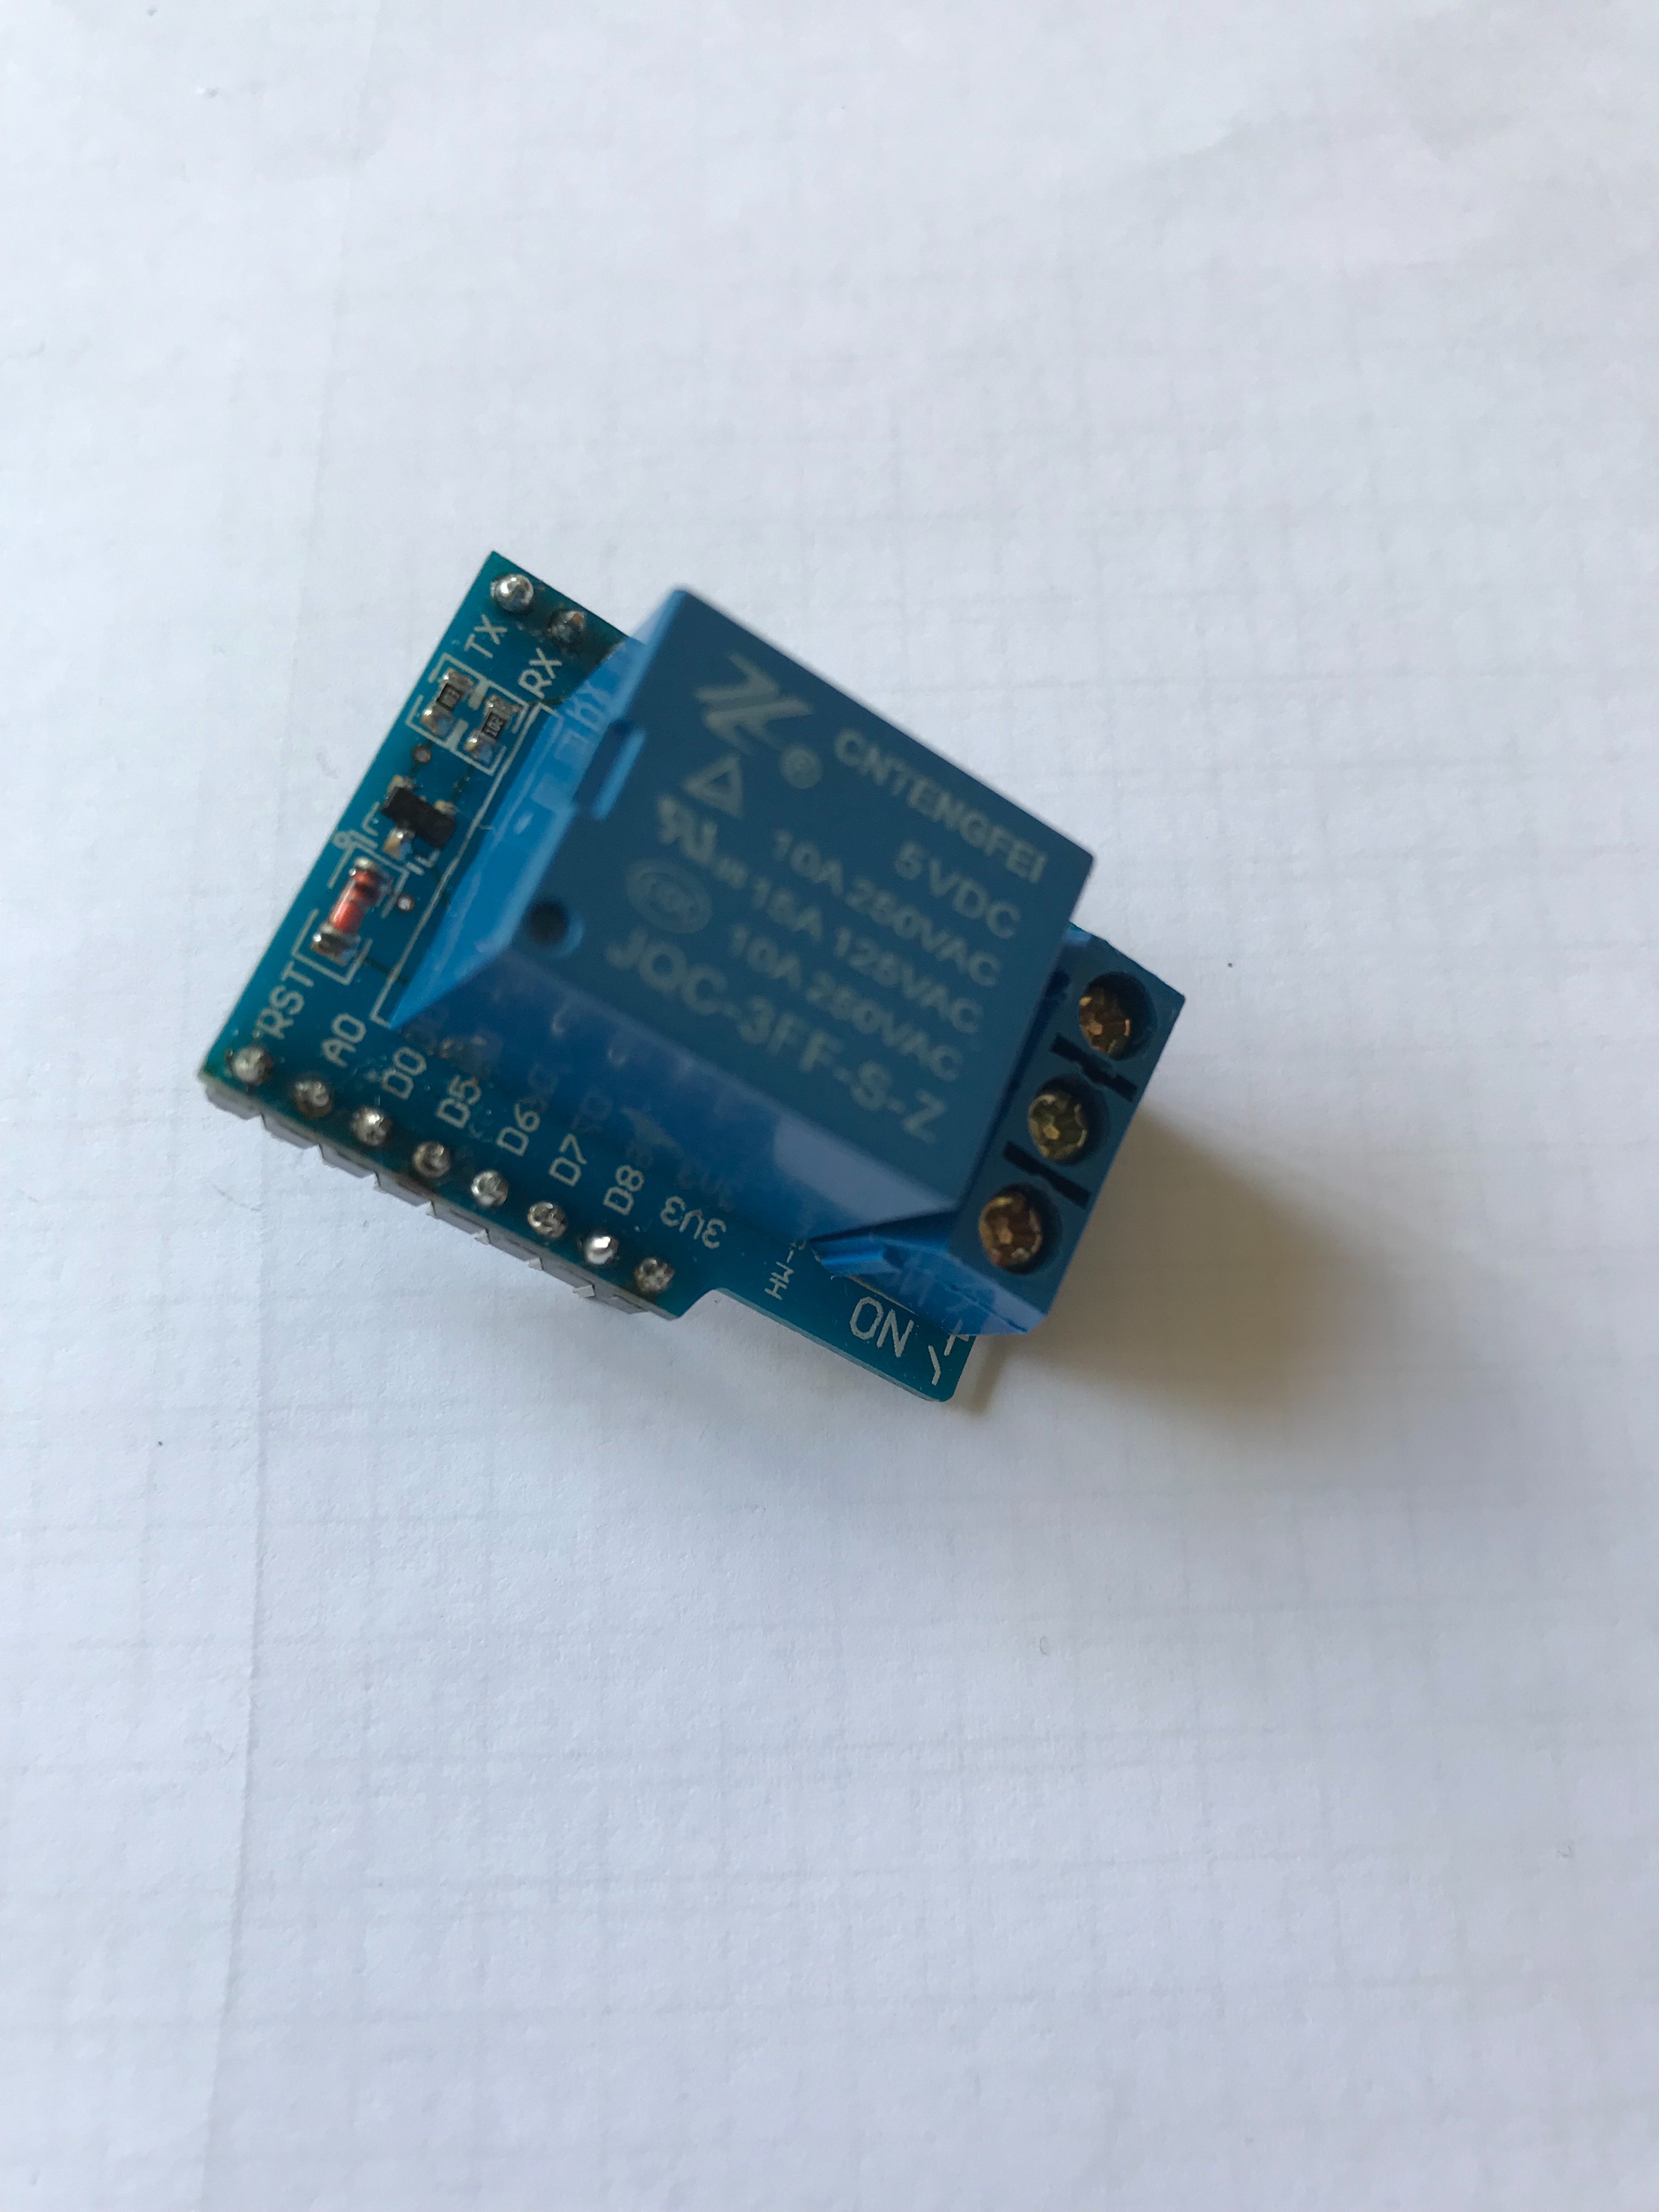
Wemos D1 Mini Relay Shield https://wiki.wemos.cc/products:d1_mini_shields:relay_shield
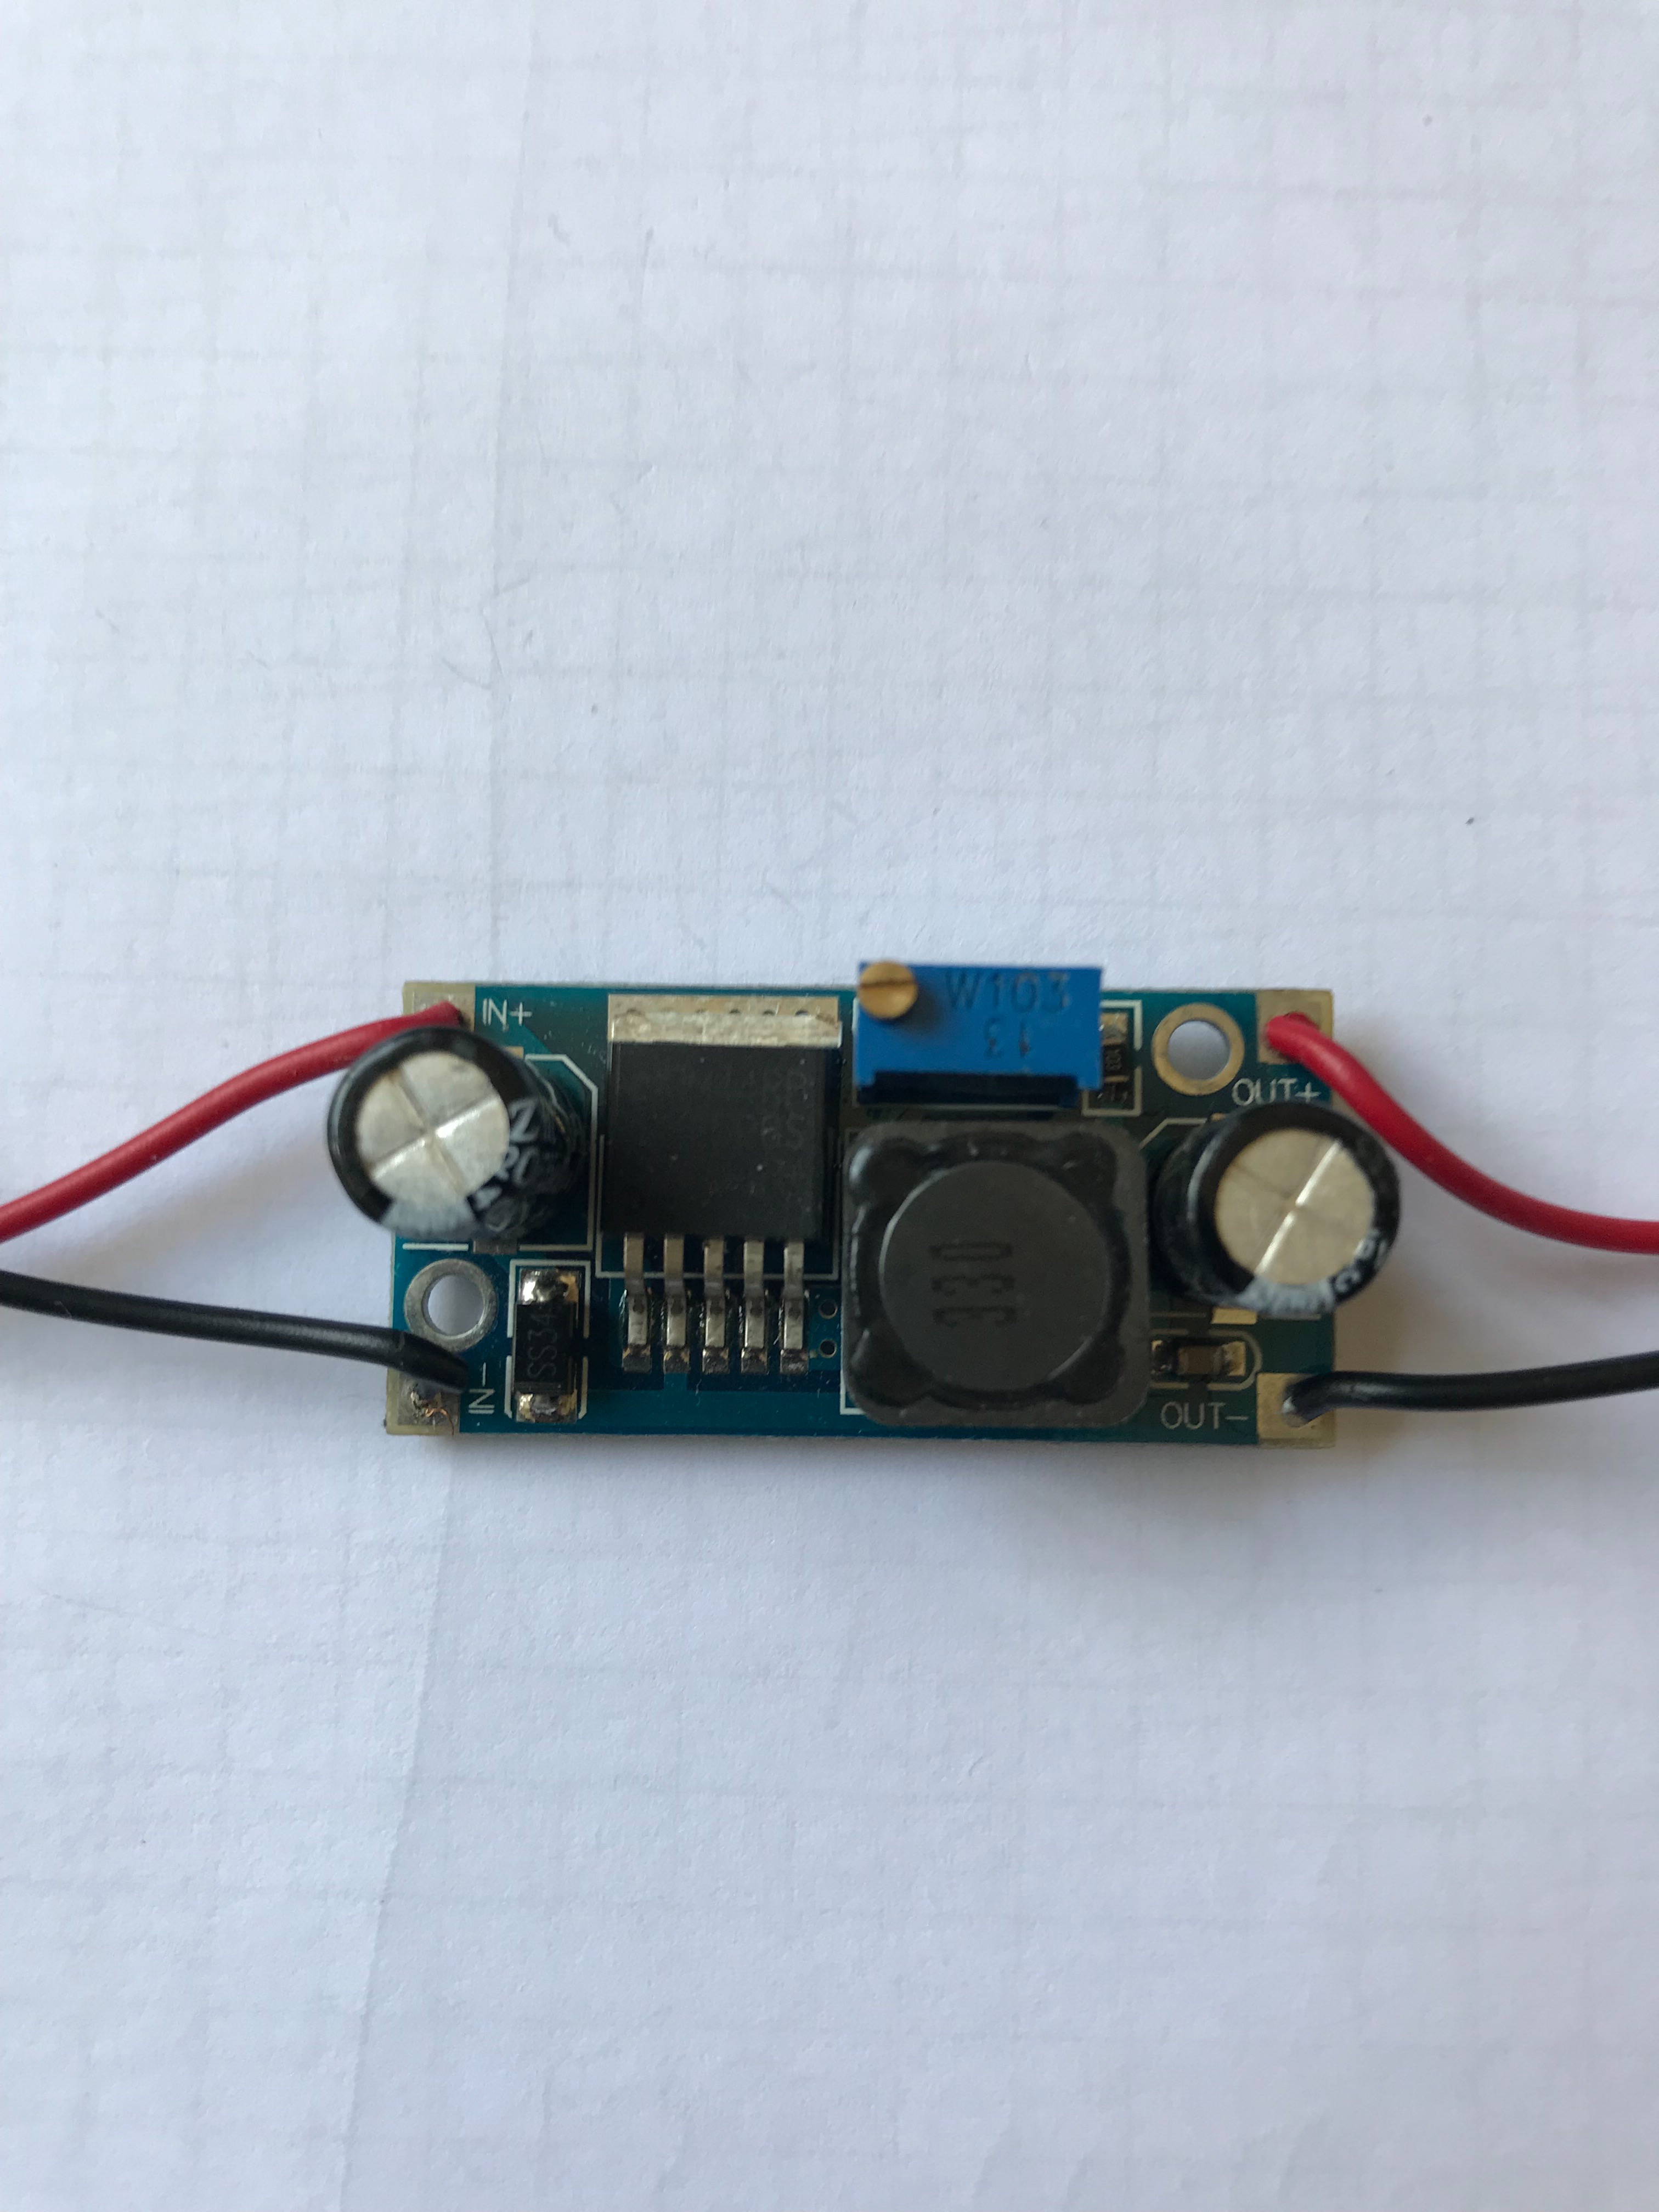
Voltage regulator LM2596 on eBay
12v Solenoid Valve 12v Solenoid Valve on eBay
12v power supply
Enough wire to wire it together
Watering system
Irrigation supply hose
Irrigation sprinklers
4mm irrigation hose for the sprinklers
Hose joiners and adapters
Something like this: Irrigation system
Assemble the Electronics
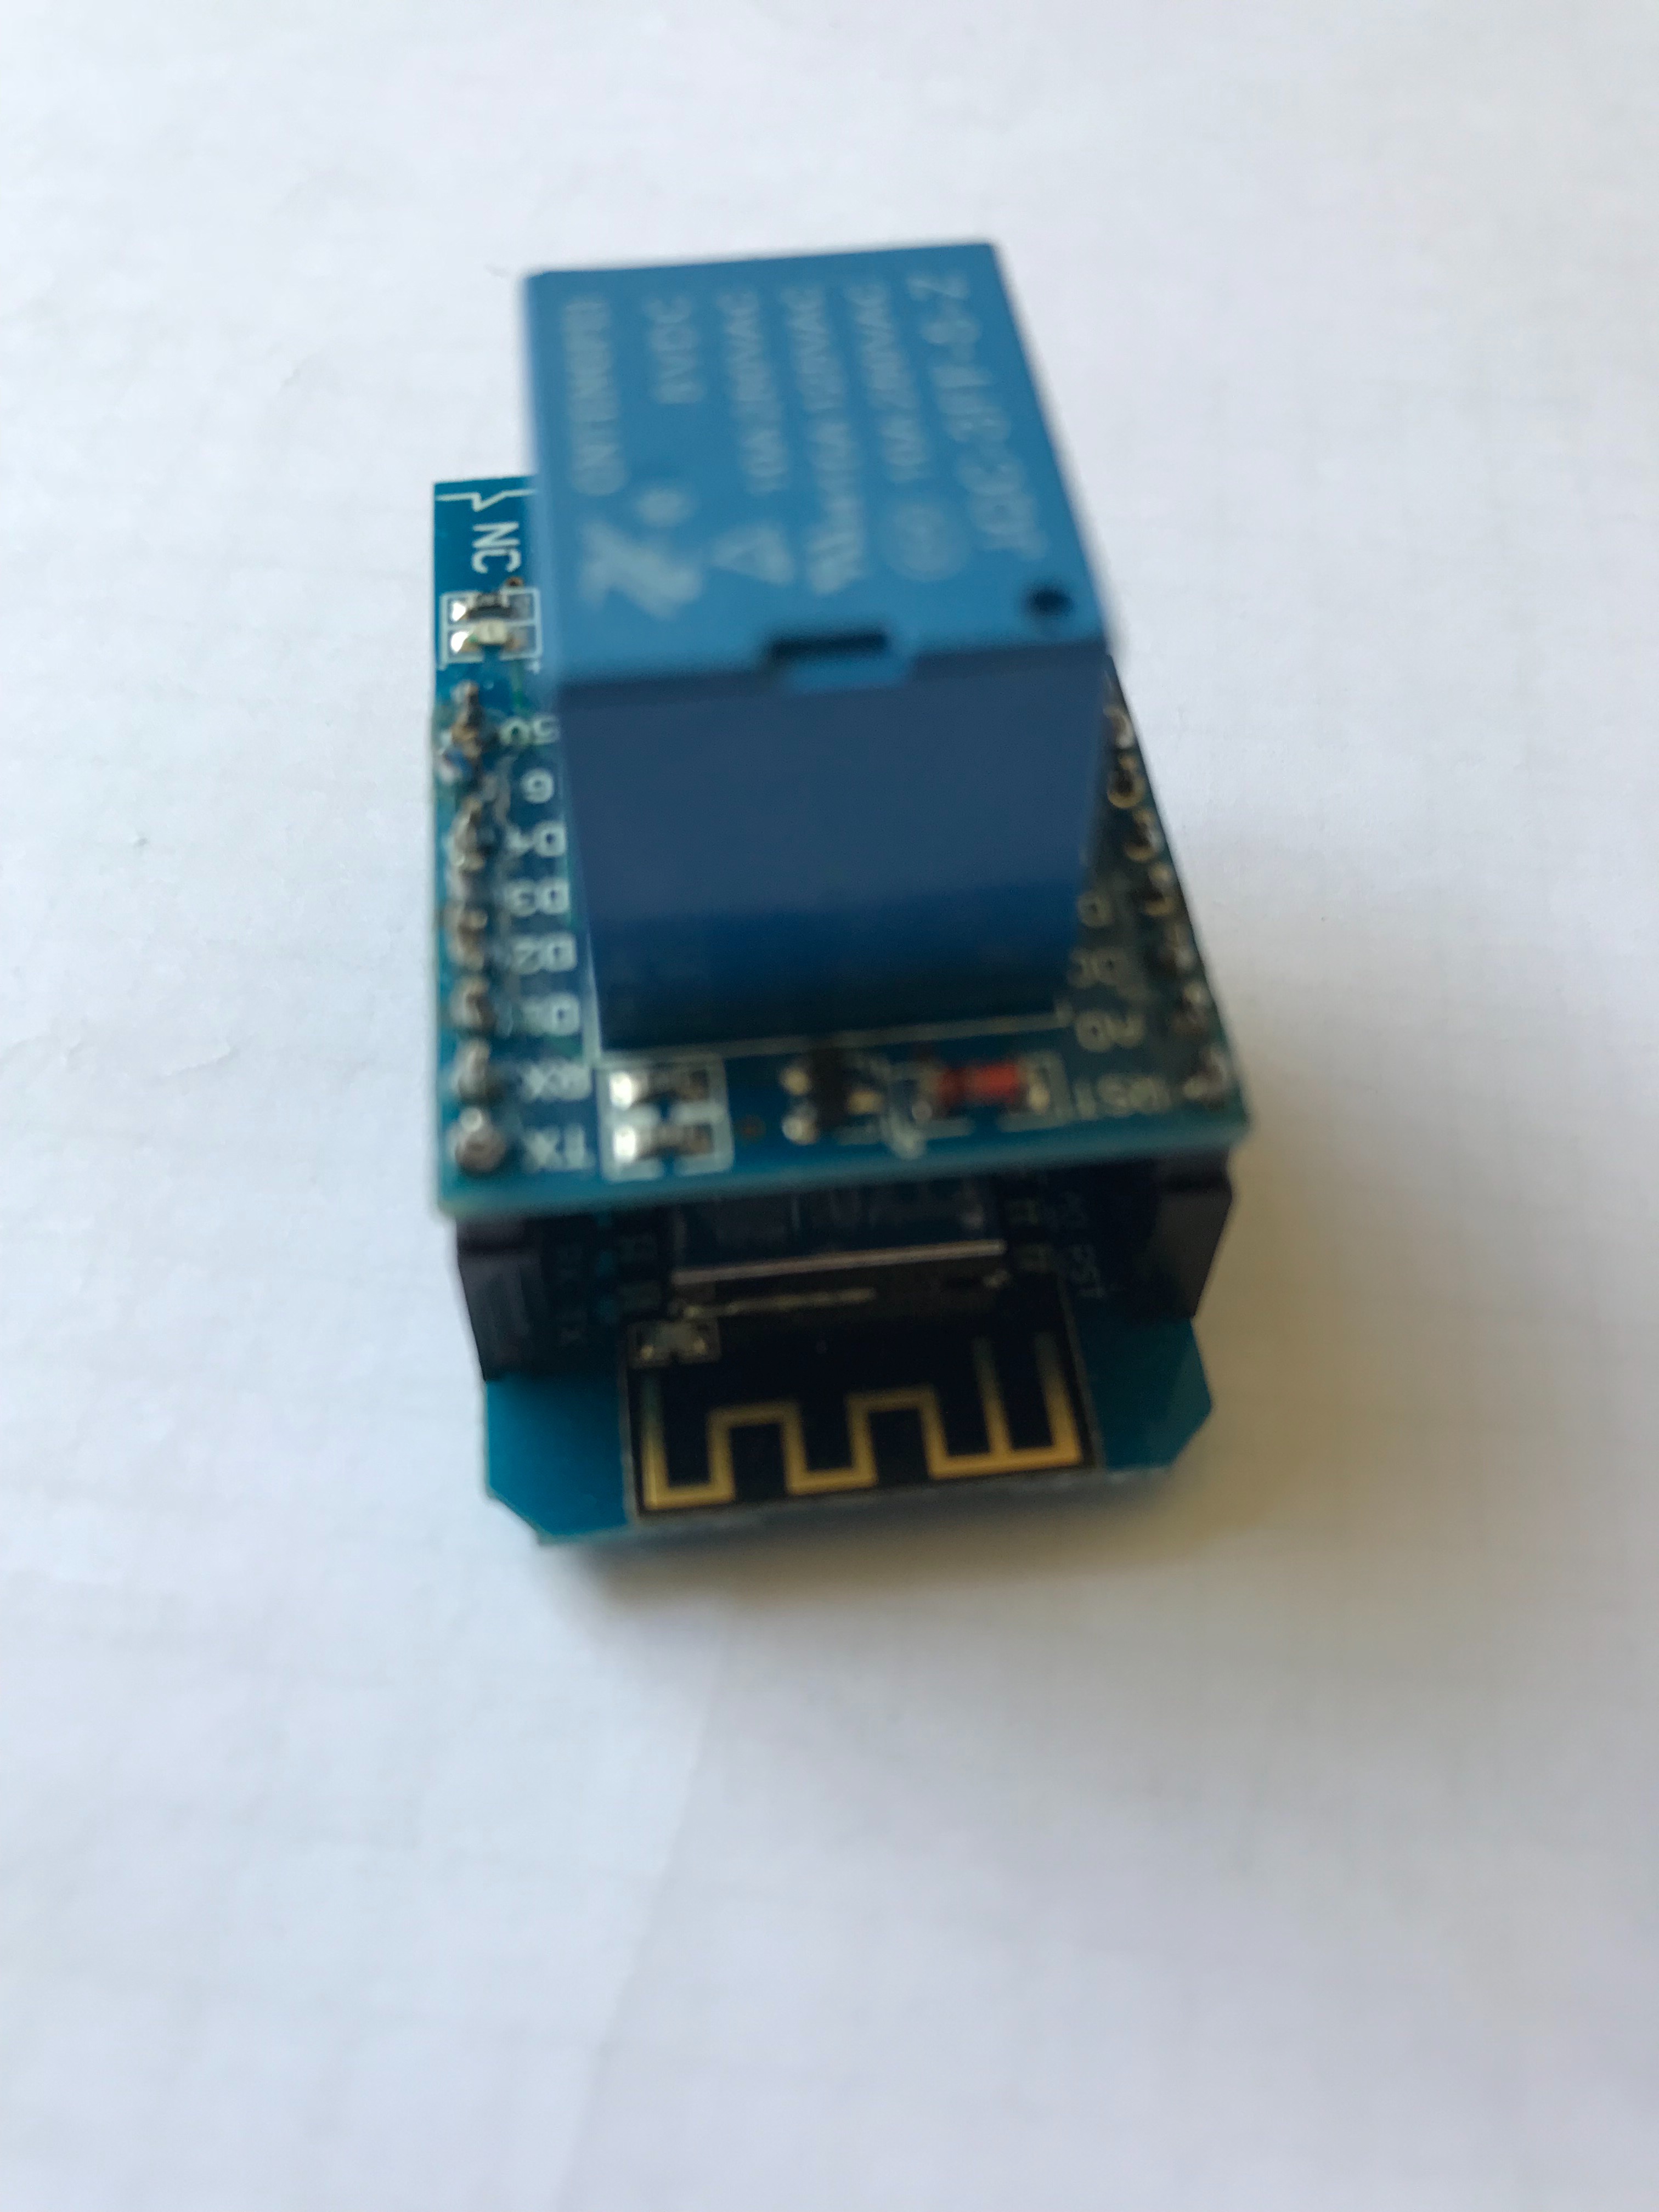
Next we need to wire up the power supply regulator to the Wemos D1 mini. First things first though the regulator that I used was adjustable so that I attach it to my 12v supply but I only want 5v coming out so that I don’t blow the Wemos device. We need 12v for the solenoid valve - hence the need for the relay.
I soldered the ground from the regulator to the GND pin on the Wemos of the +V to 5v on the Wemos after confirming that it was adjusted correctly.
Next I wired the Solenoid valve to the Relay. I took the 12v line from the power supply to the middle pin of the relay. Then I took a wire from the NO (normally open) pin on the relay to one of the pins on the solenoid. The other pin on the solenoid went to GND on the power supply.
At that stage it was all ready to be put ina box - but before we do that - we need to program the device
Programming the Wemos
I found a great project on GitHub that makes the ESP8266 device act like a Belkin Wemo switch. This is great because Alexa has direct support for the Belkin. The original source can be found here: https://github.com/kakopappa/arduino-esp8266-alexa-multiple-wemo-switch
I made some minor changes to this code and published on my github here: https://github.com/davewins/alexa_wemo_SprinklerSwitch
Mainly the changes were to deal with WiFi connectivity issues. If WiFi got disconnected it took a really long time to connect it didn’t always start the UDP connection and the web server. In my code I automatically reconnect.
I just used the Arduino IDE to compile the code and flash the Wemos device.
You will need to adjust the code to connect to your WiFi network with the correct password. Look around line 14/15 and replace the YOURSSID with your WiFi name and the following line has the password.
Now we can assemble into a box!
Put the Electronics in a Box!
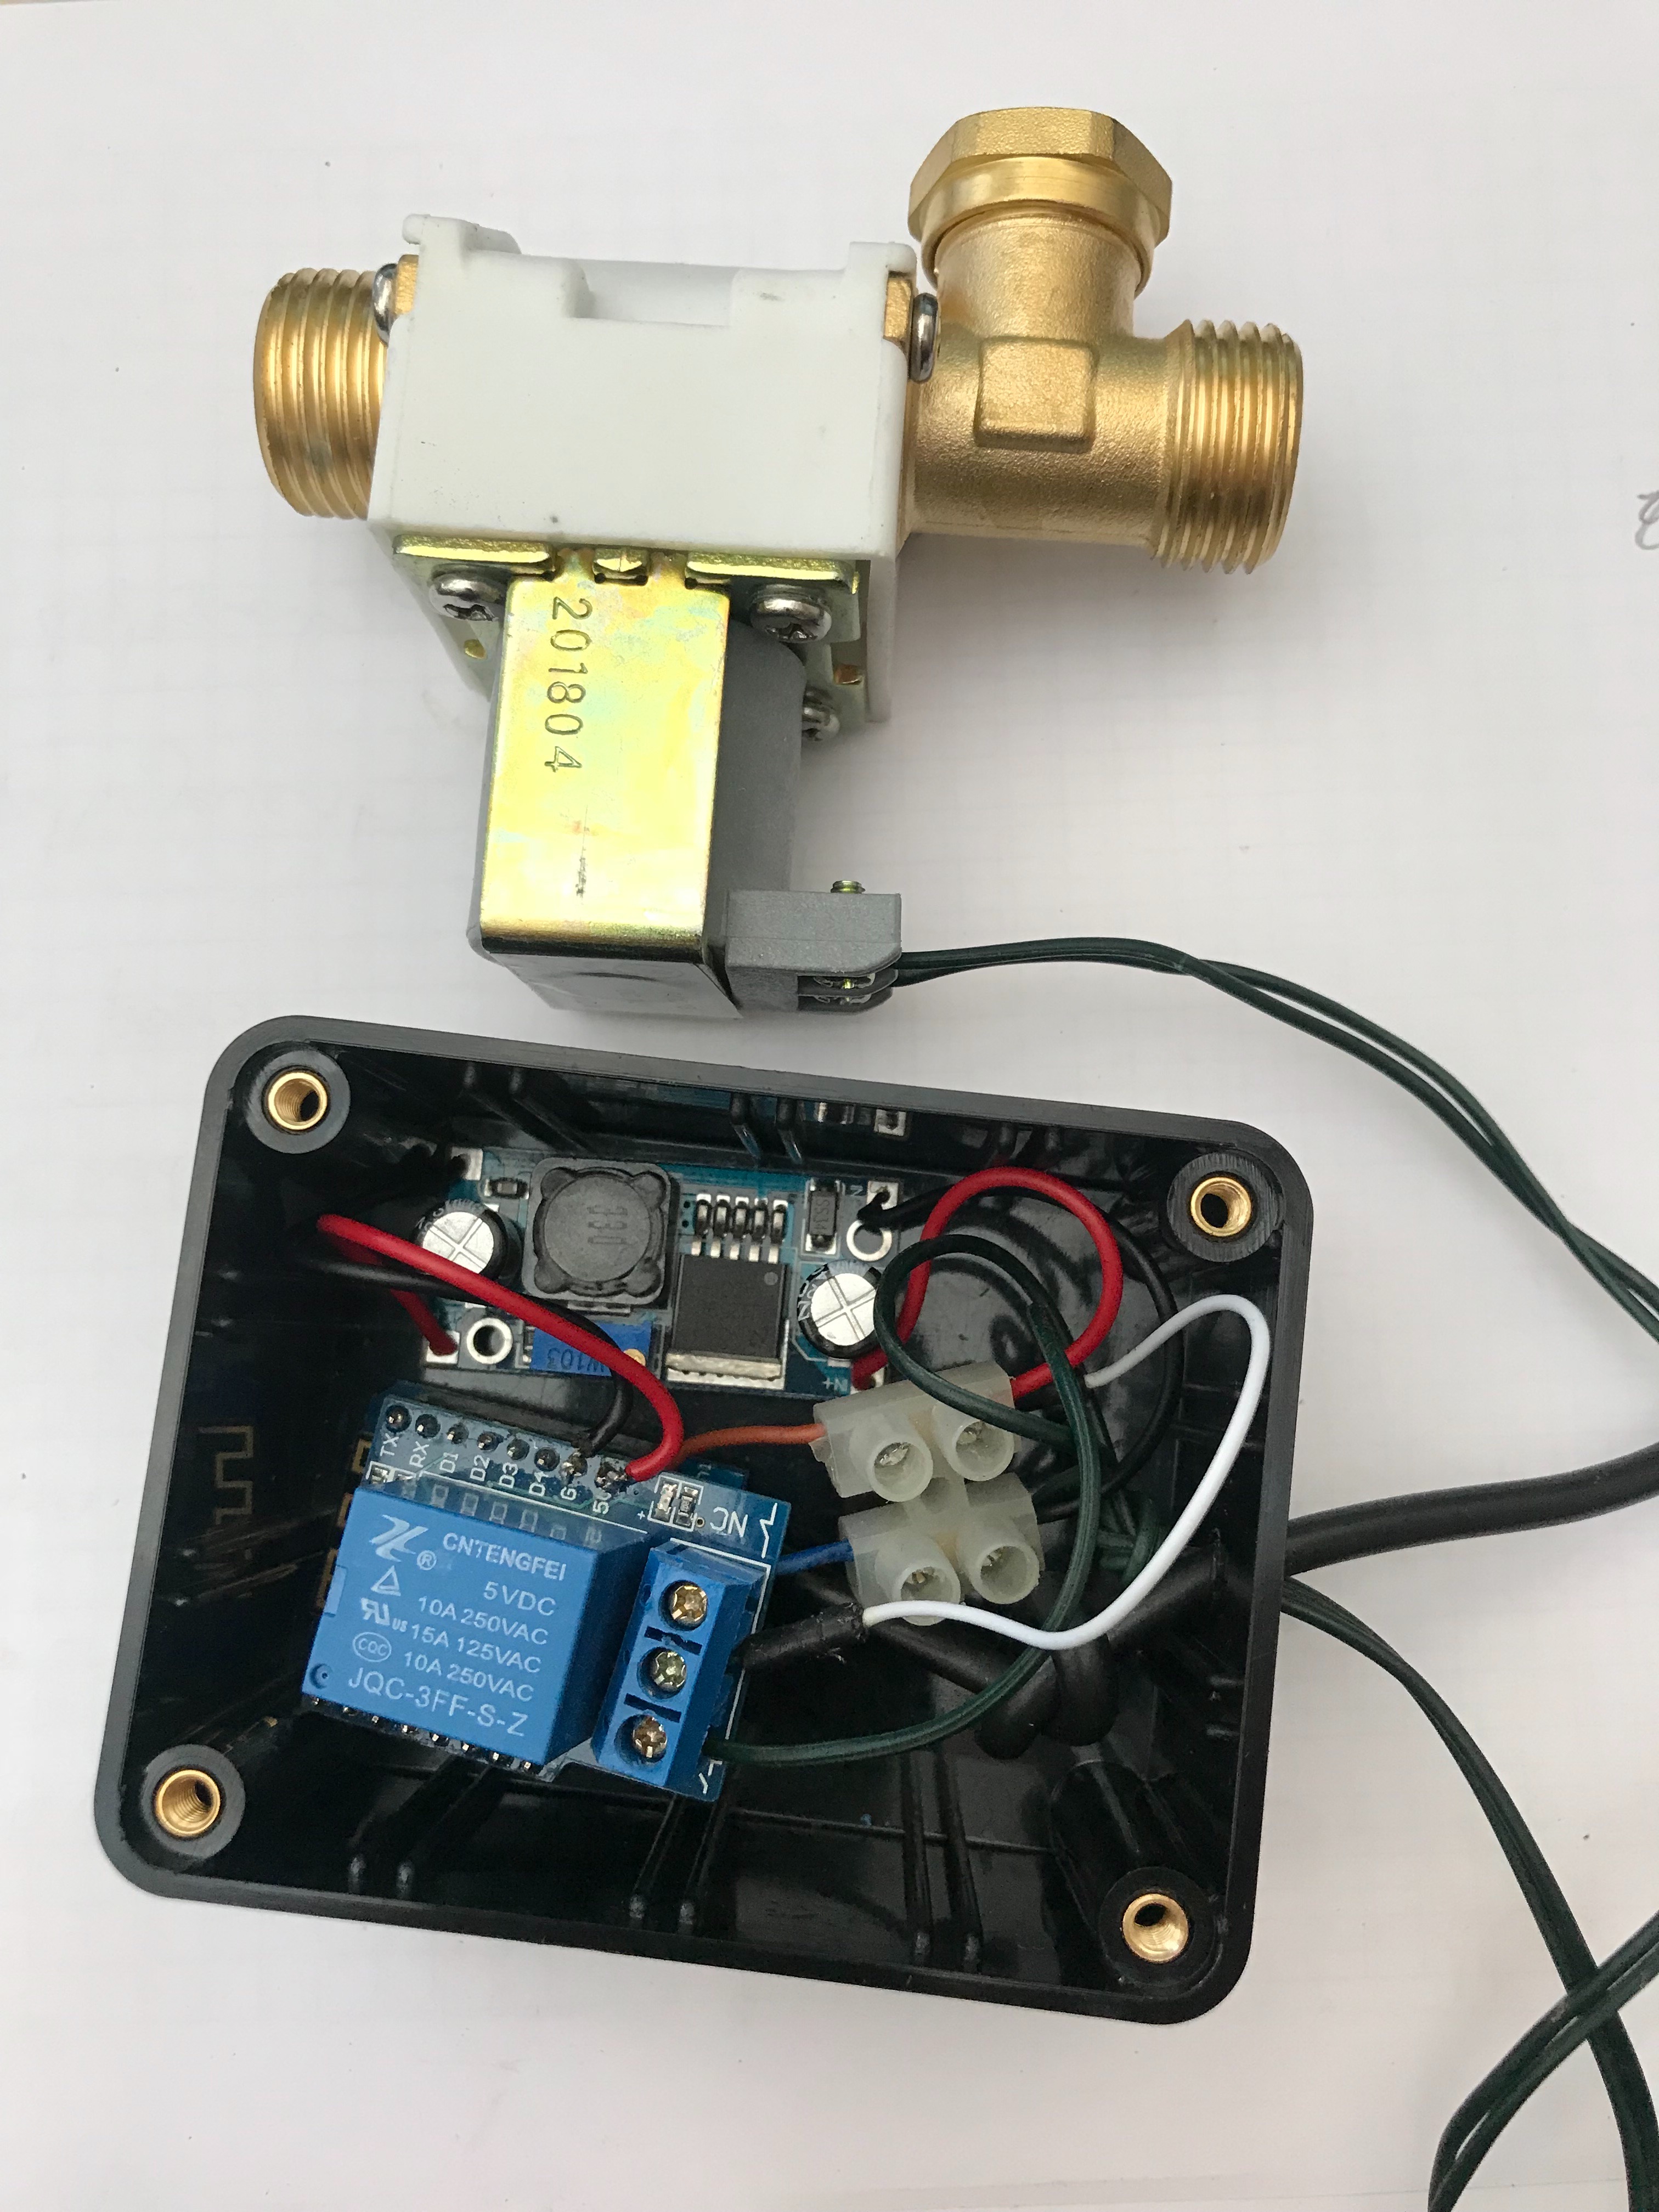
Don’t have it too far from the house otherwise you won’t get a wifi signal. In those case maybe use a different ESP8266 device with an aerial.
Assemble the Irrigation System!
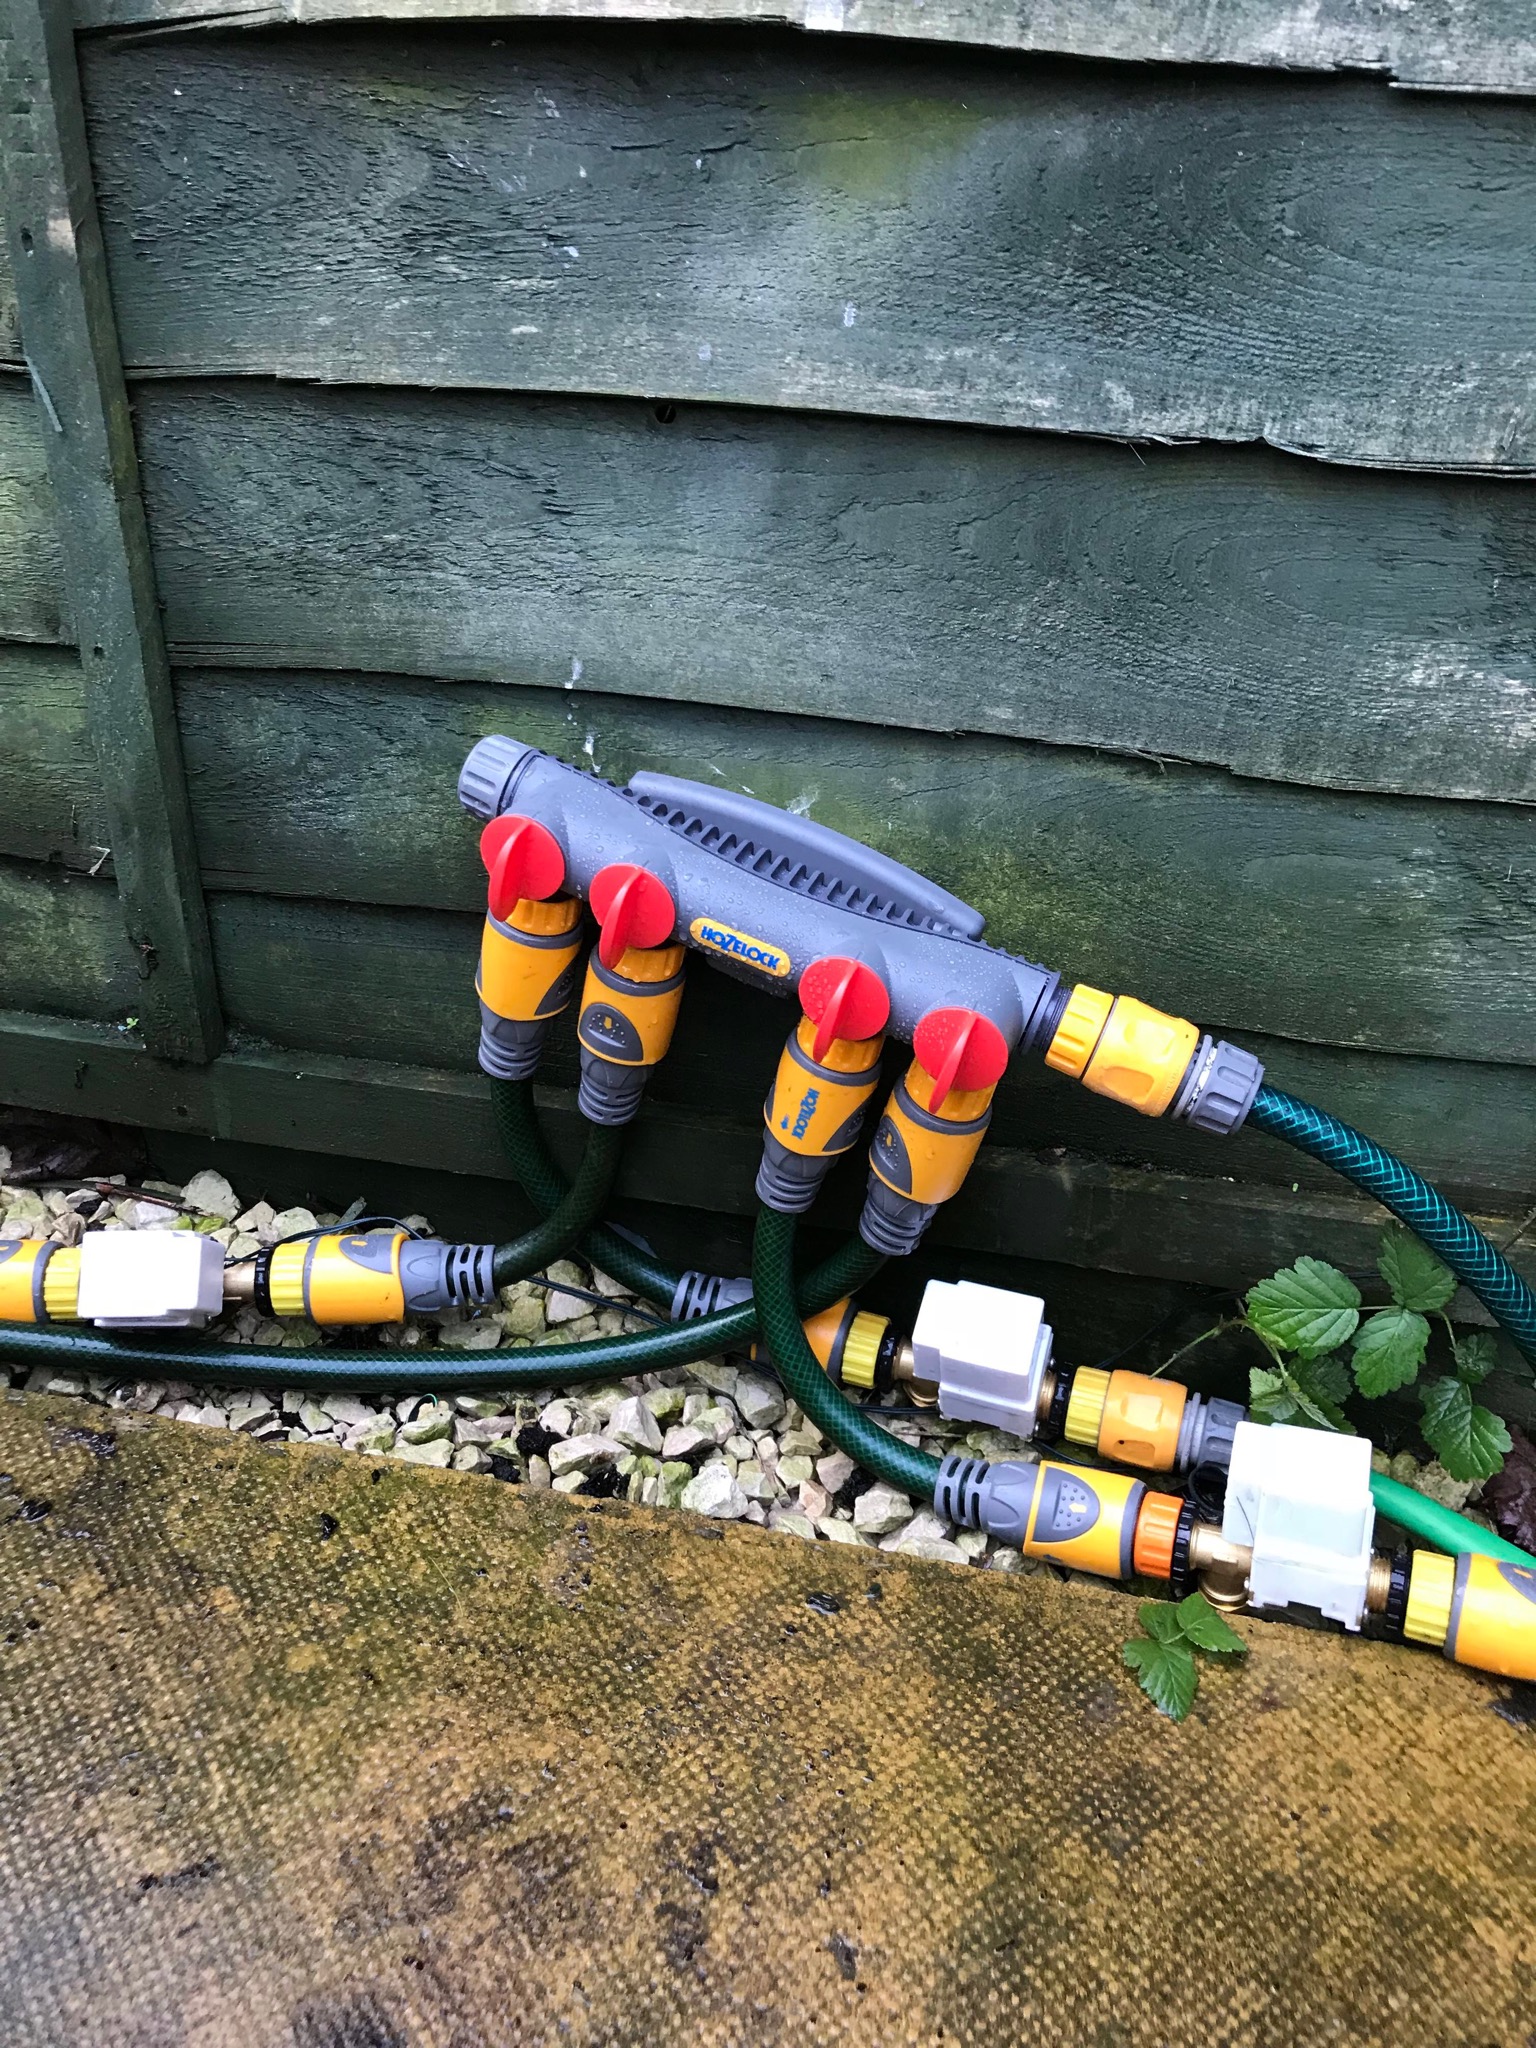
Connect the output of the solenoid to the irrigation supply hose.
Lay the supply hose round your garden.
Add the sprinklers etc and put them in your plant pots/borders etc.
Integrate With Alexa
The blue led on the Wemos device is used to show the connection status. Flashing every half second (quite dimly) shows that it is trying to connect. If it is a solid blue light - it has connected to your WiFi.
Either use the Alexa app to start searching for devices, or ask Alexa to discover devices. After a while if all works well it will discover a new devices called Switch_random-letters. The random letters are unique to the device.
You can change the name to be what’re you like. I changed mine to “Back Garden Sprinkers”.
Press the button to turn the system on and hopefully it all works! Pressing it again or asking Alexa to turn off the back Garden sprinklers should also work.
Integration With Domiticz
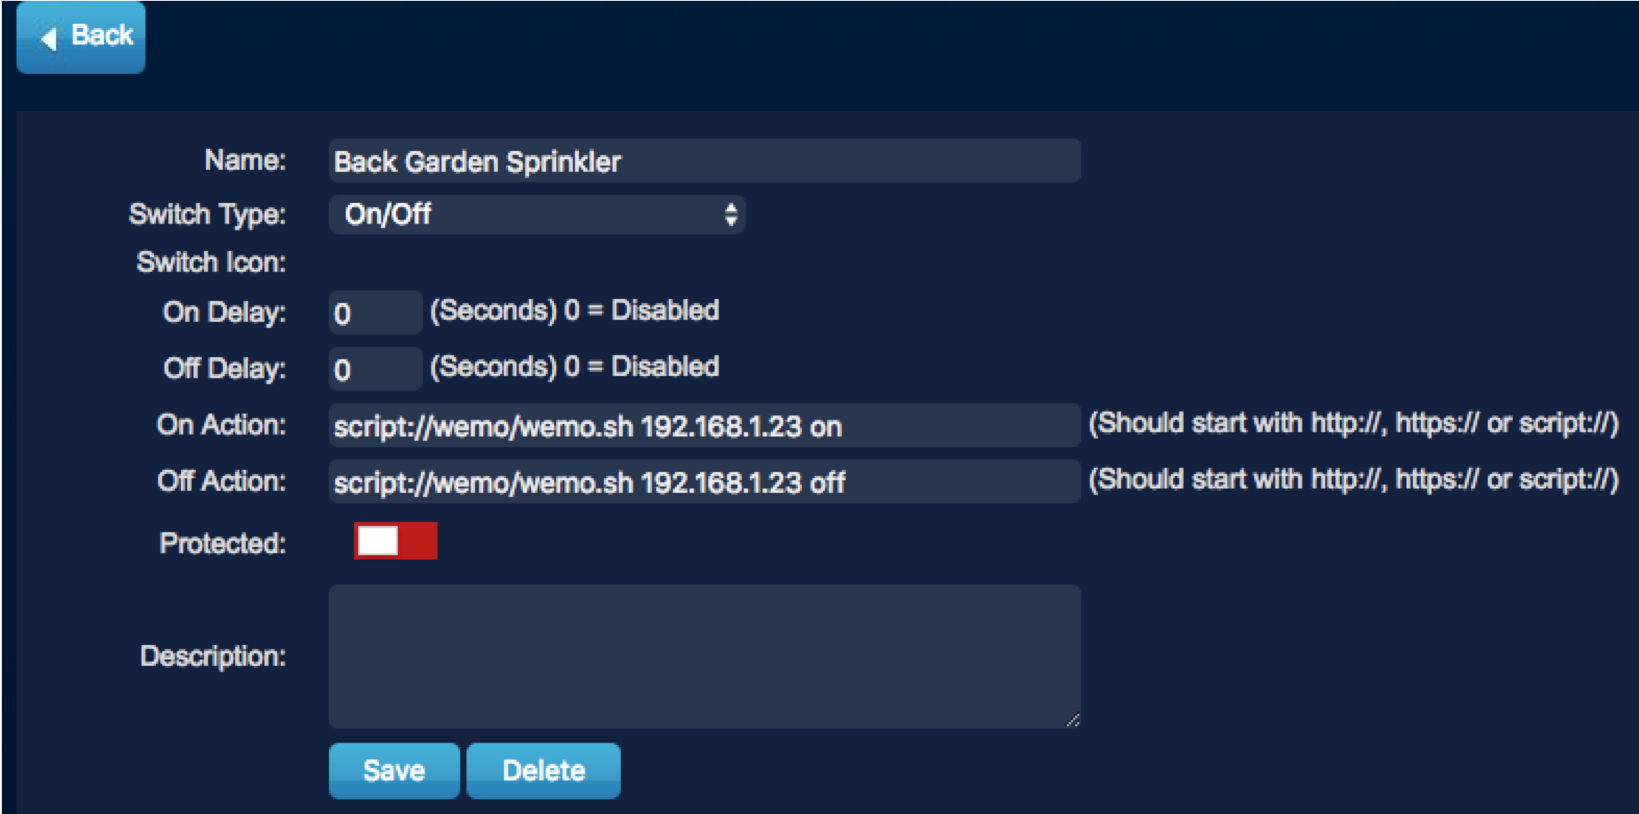
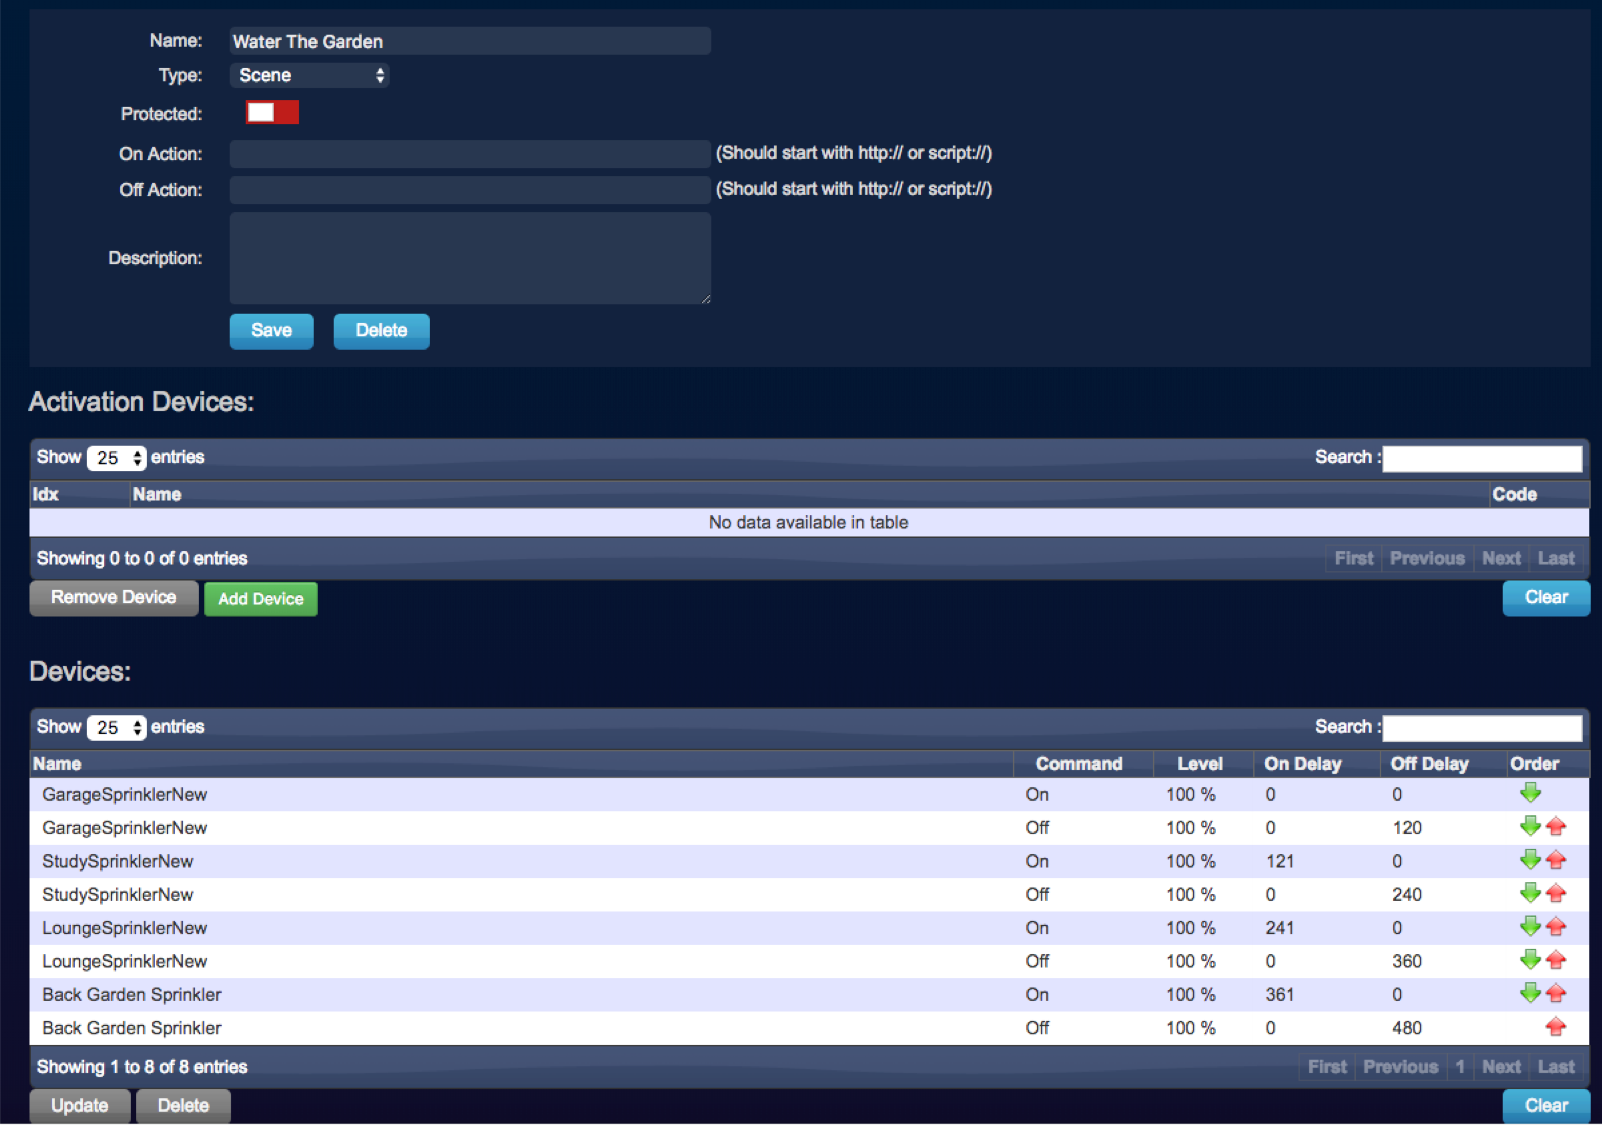
I used Domiticz to create scene so that the sprinklers would turn on at Sunrise and Sunset automatically. Unfortunately Domiticz does not have native integration with Belkin Wemo devices but they do have scripts that will work acceptably.
They also work best if you use your internet router to always give the sprinkler device the same IP address all the time. You can also adjust the code to provide a static IP address if you like. I’ve left the code to do that in the source - just commented out so adjust as required for your network.
Use the scripts provided here: Domoticz wiki to integrate with Domiticz.
Essentially you set up a dummy device which calls the script with an on/off command.
In my scene I added a number of devices 3 zones in the front garden and 1 in the back garden and set these to come on in a sequence when the scene is triggered.
I set the timer to trigger once at Sunrise and once at sunset.