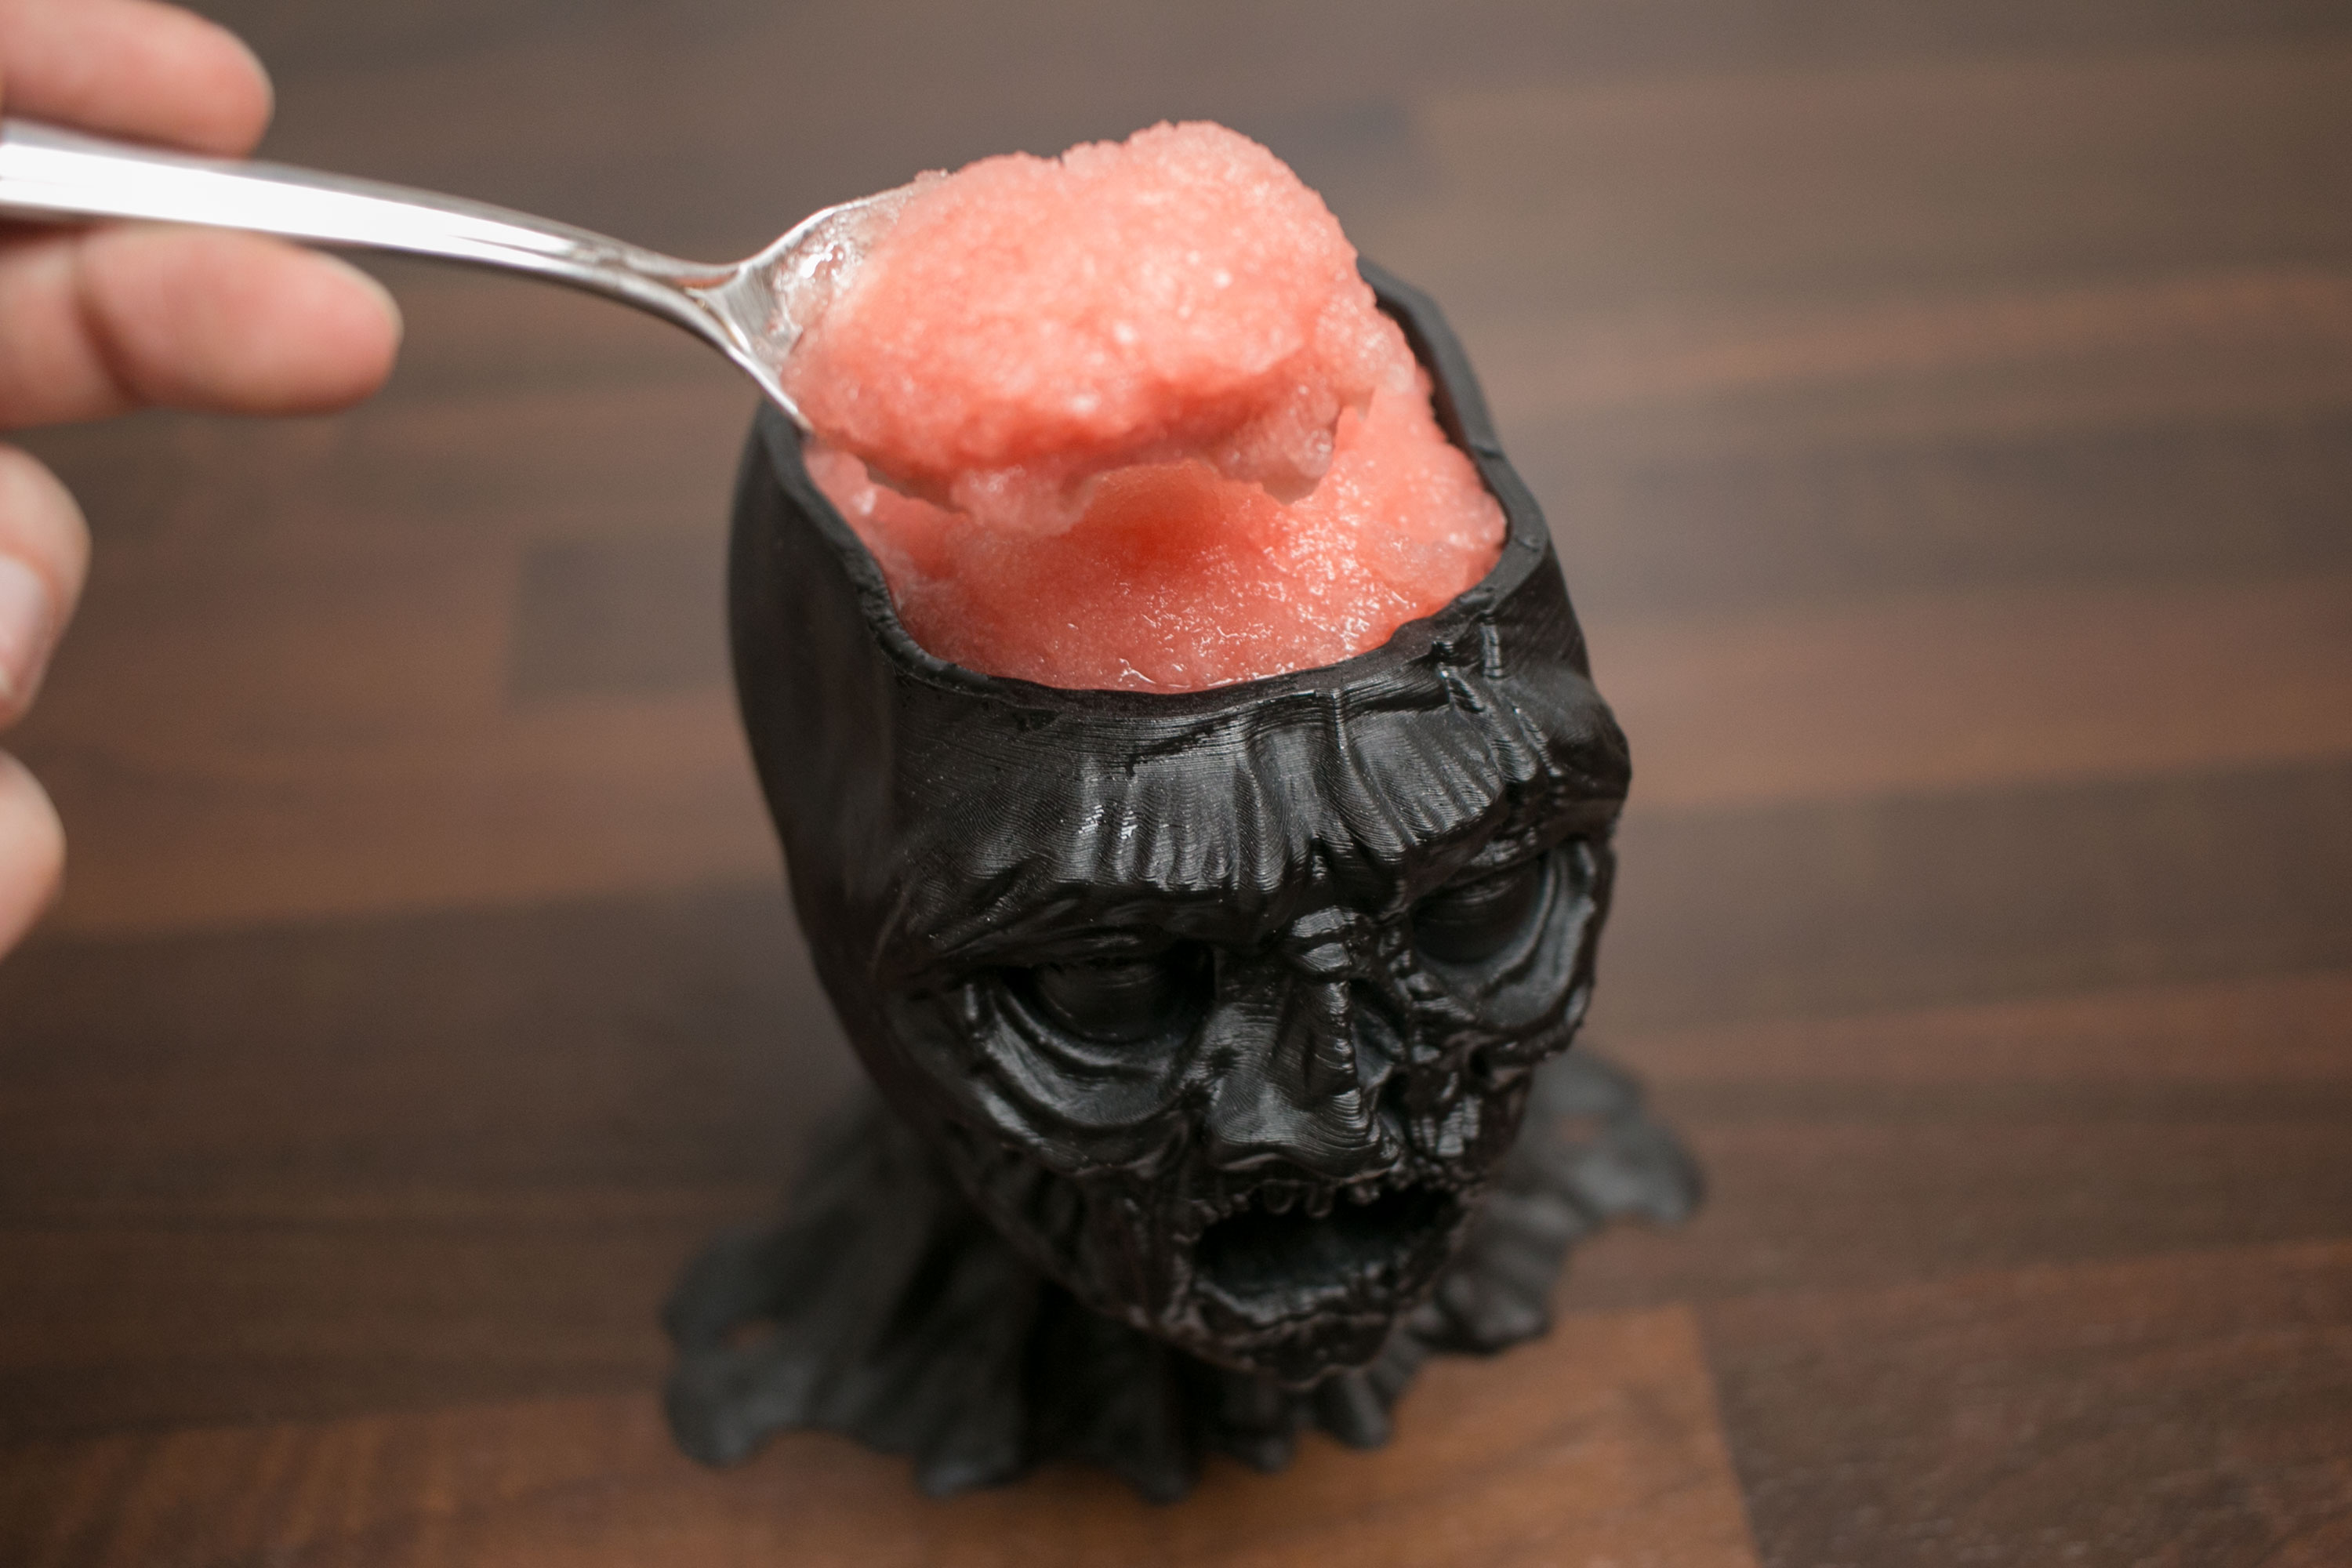
Alcoholic Zombie Ice Cream

My girlfriend and I love Halloween, so every year we start early to prepare. Our favourite thing is always trying to come up with new and fun desserts.
This is one of the two dessert we came up with. Here you can see the other one. So you can decide yourself whether you rather have something that glows or get drunk ;-)
Ingredients

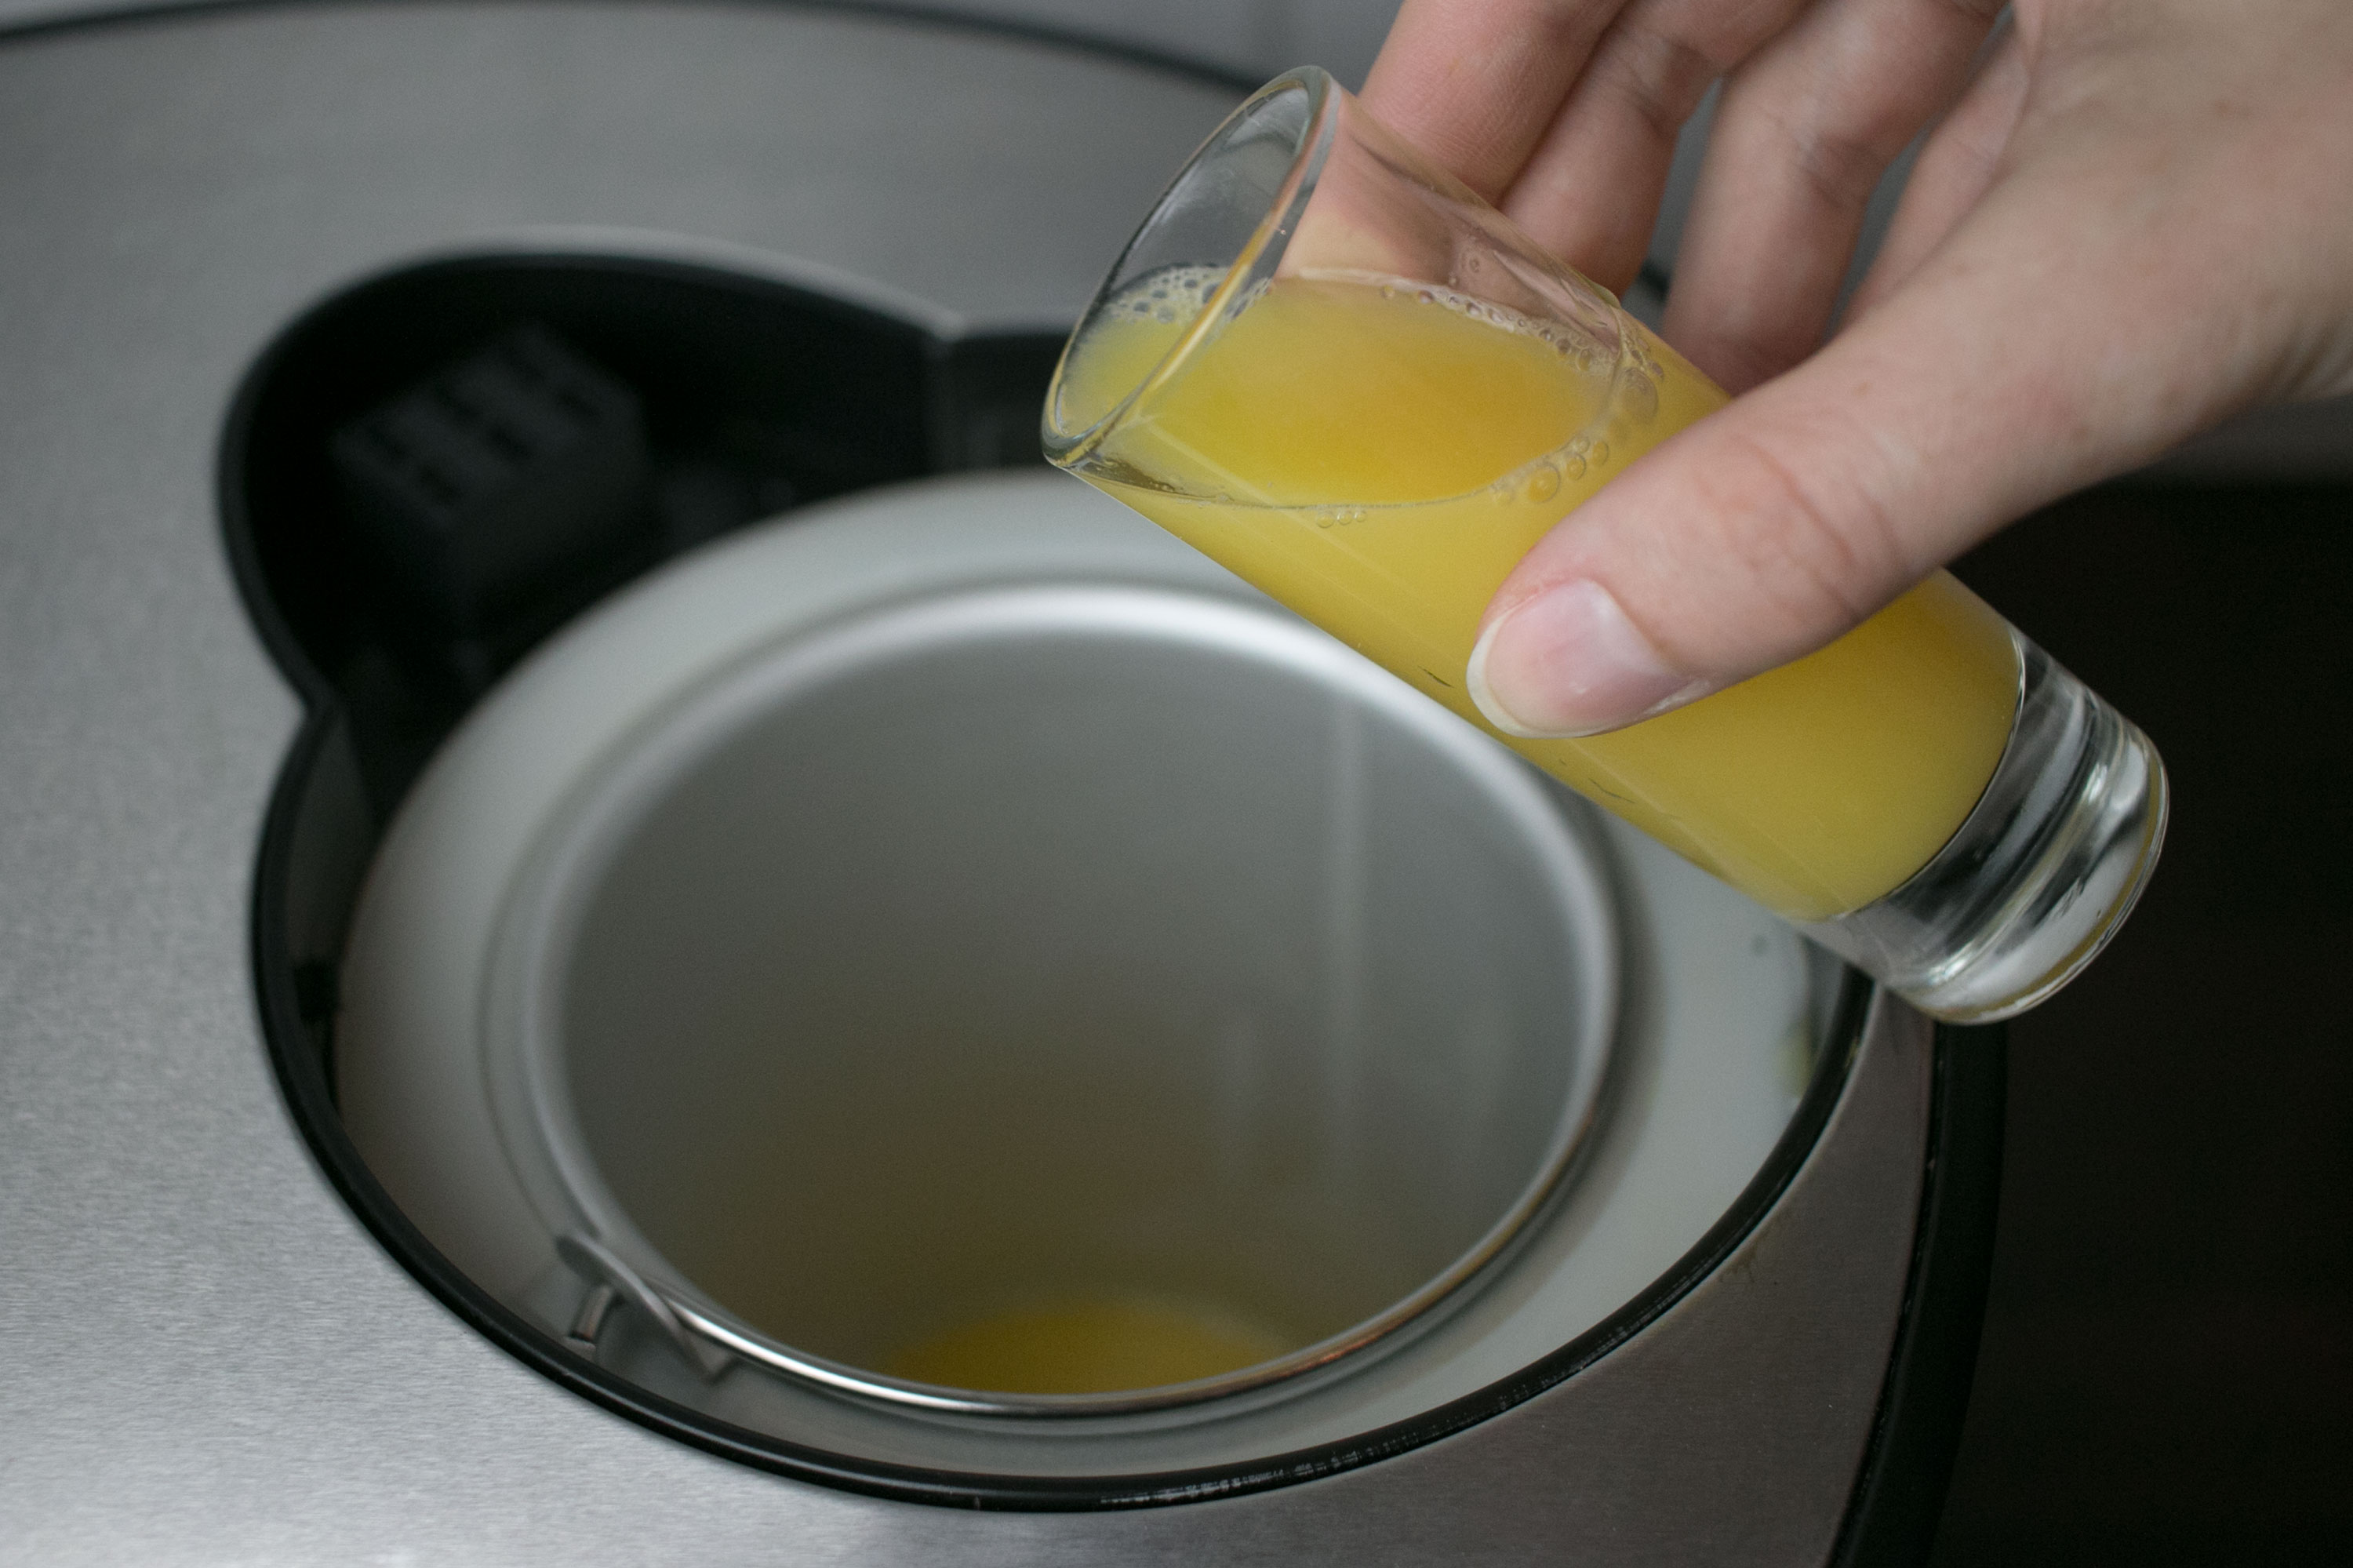
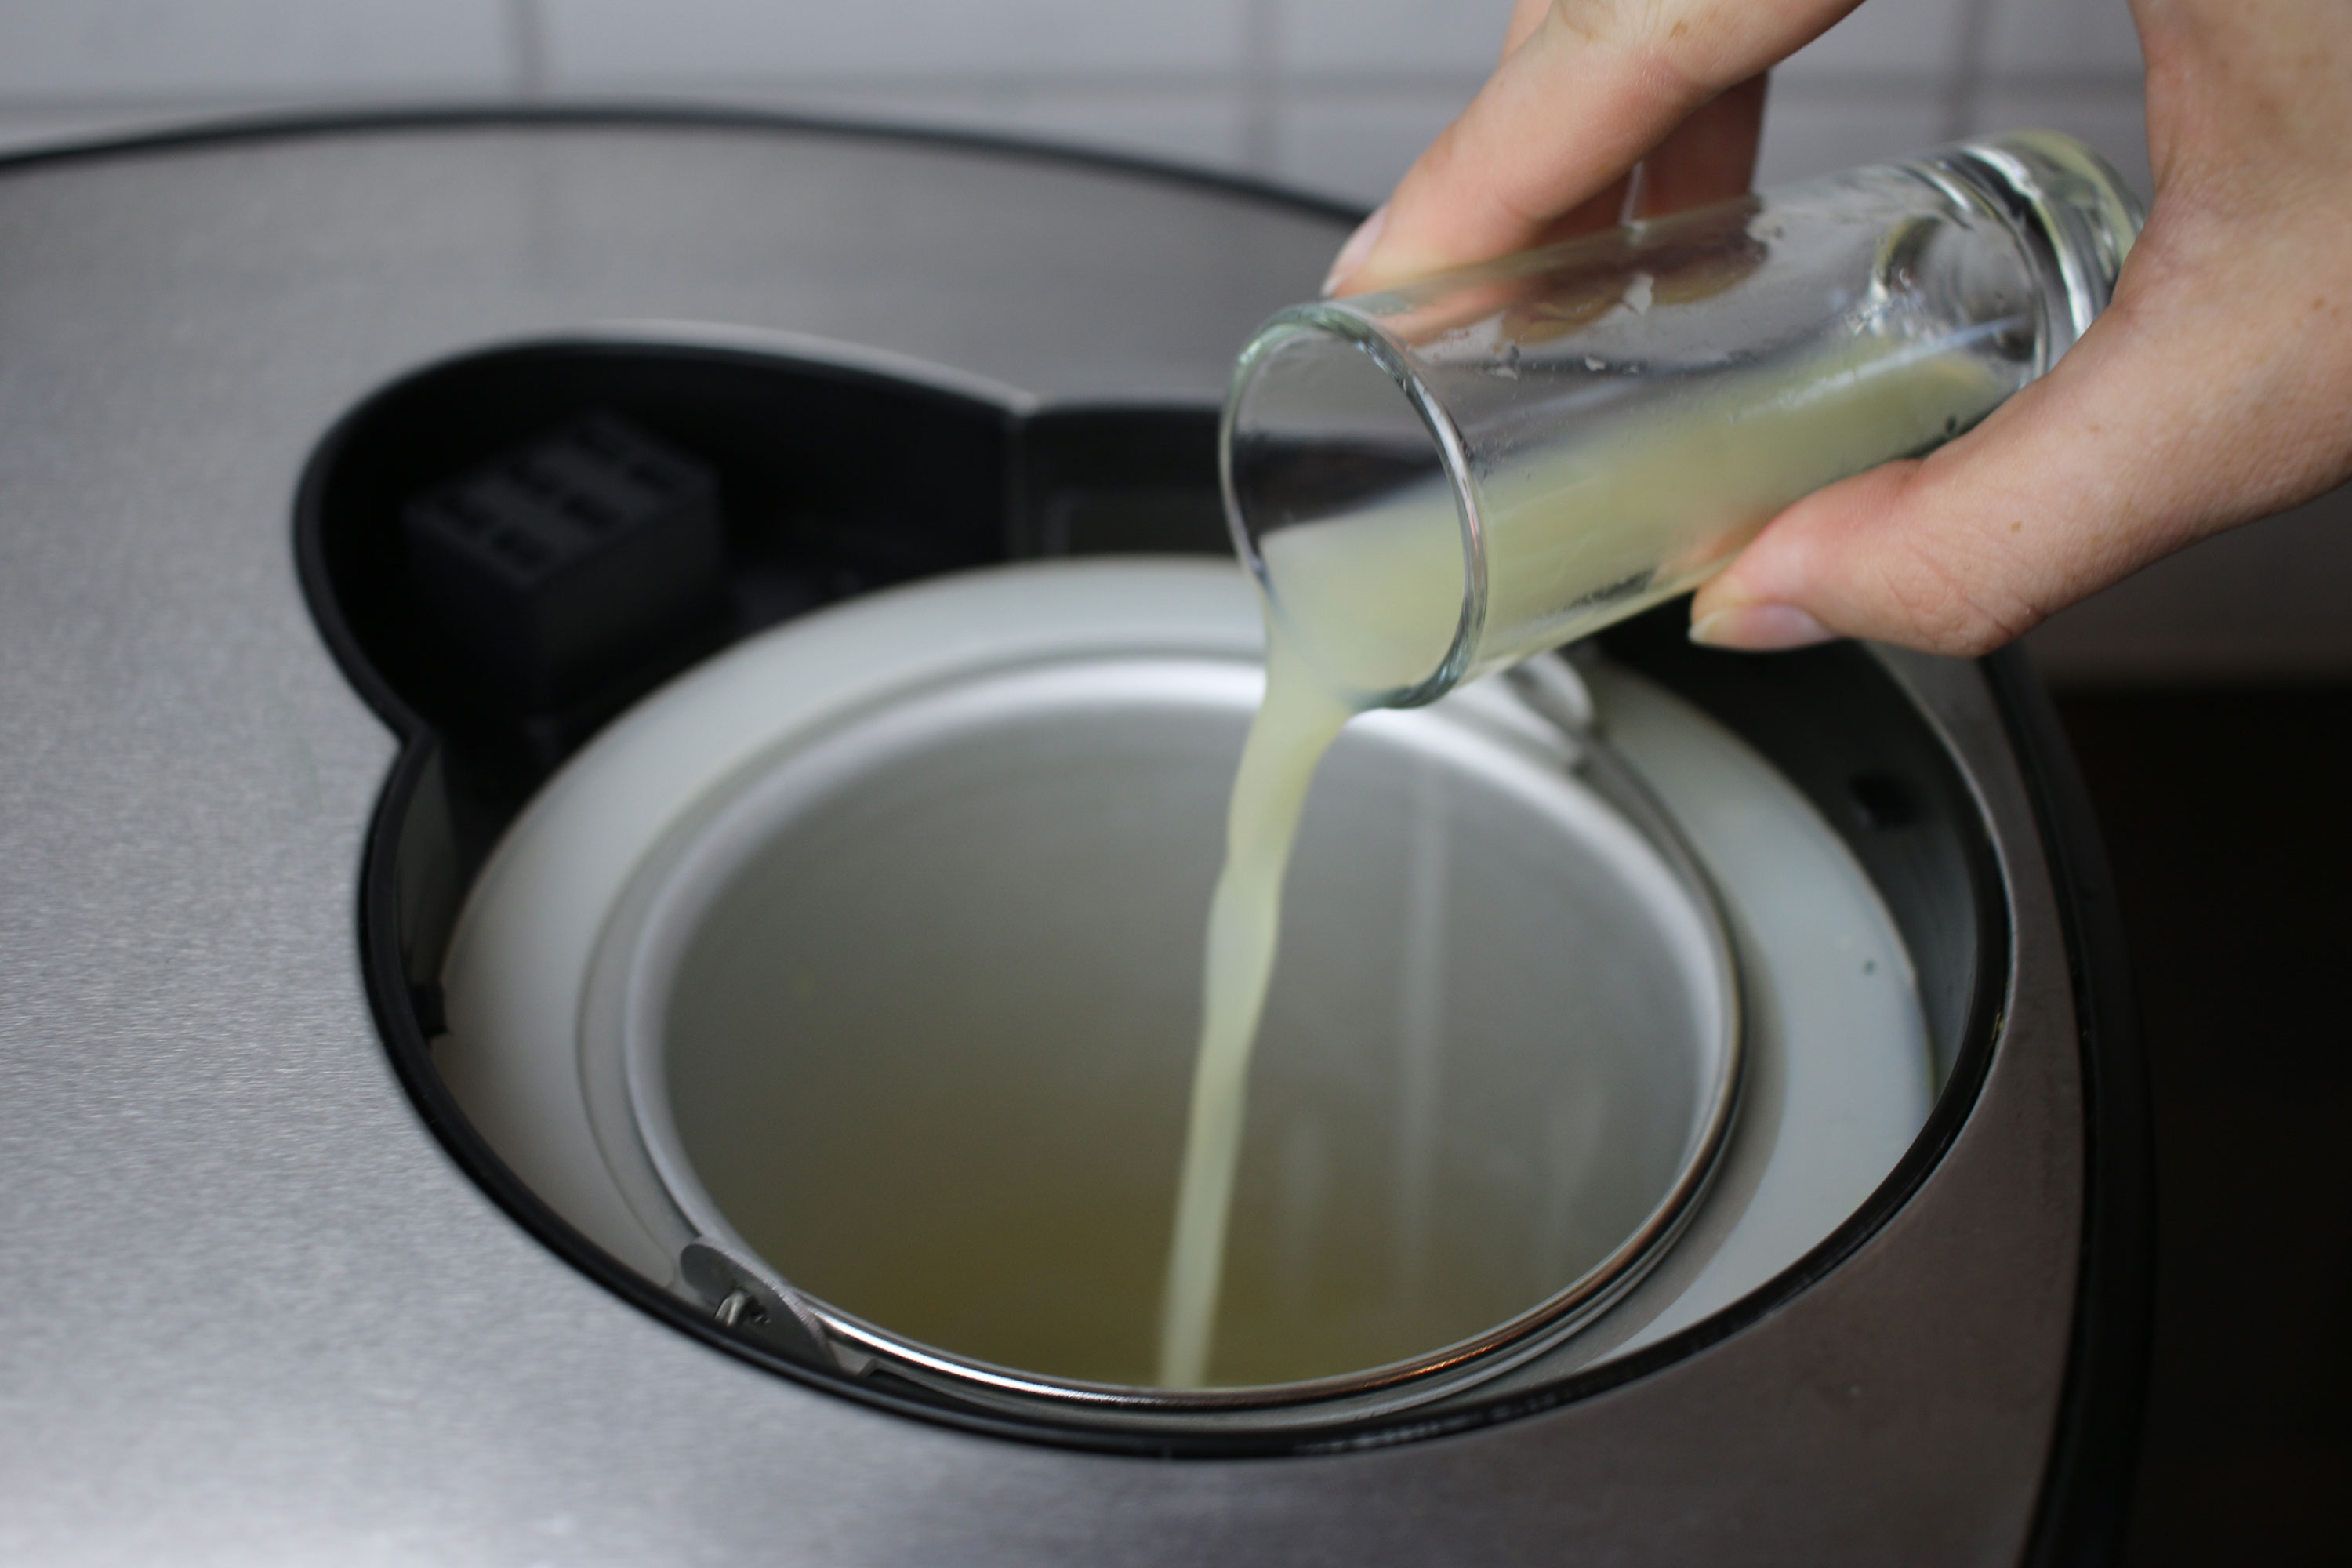
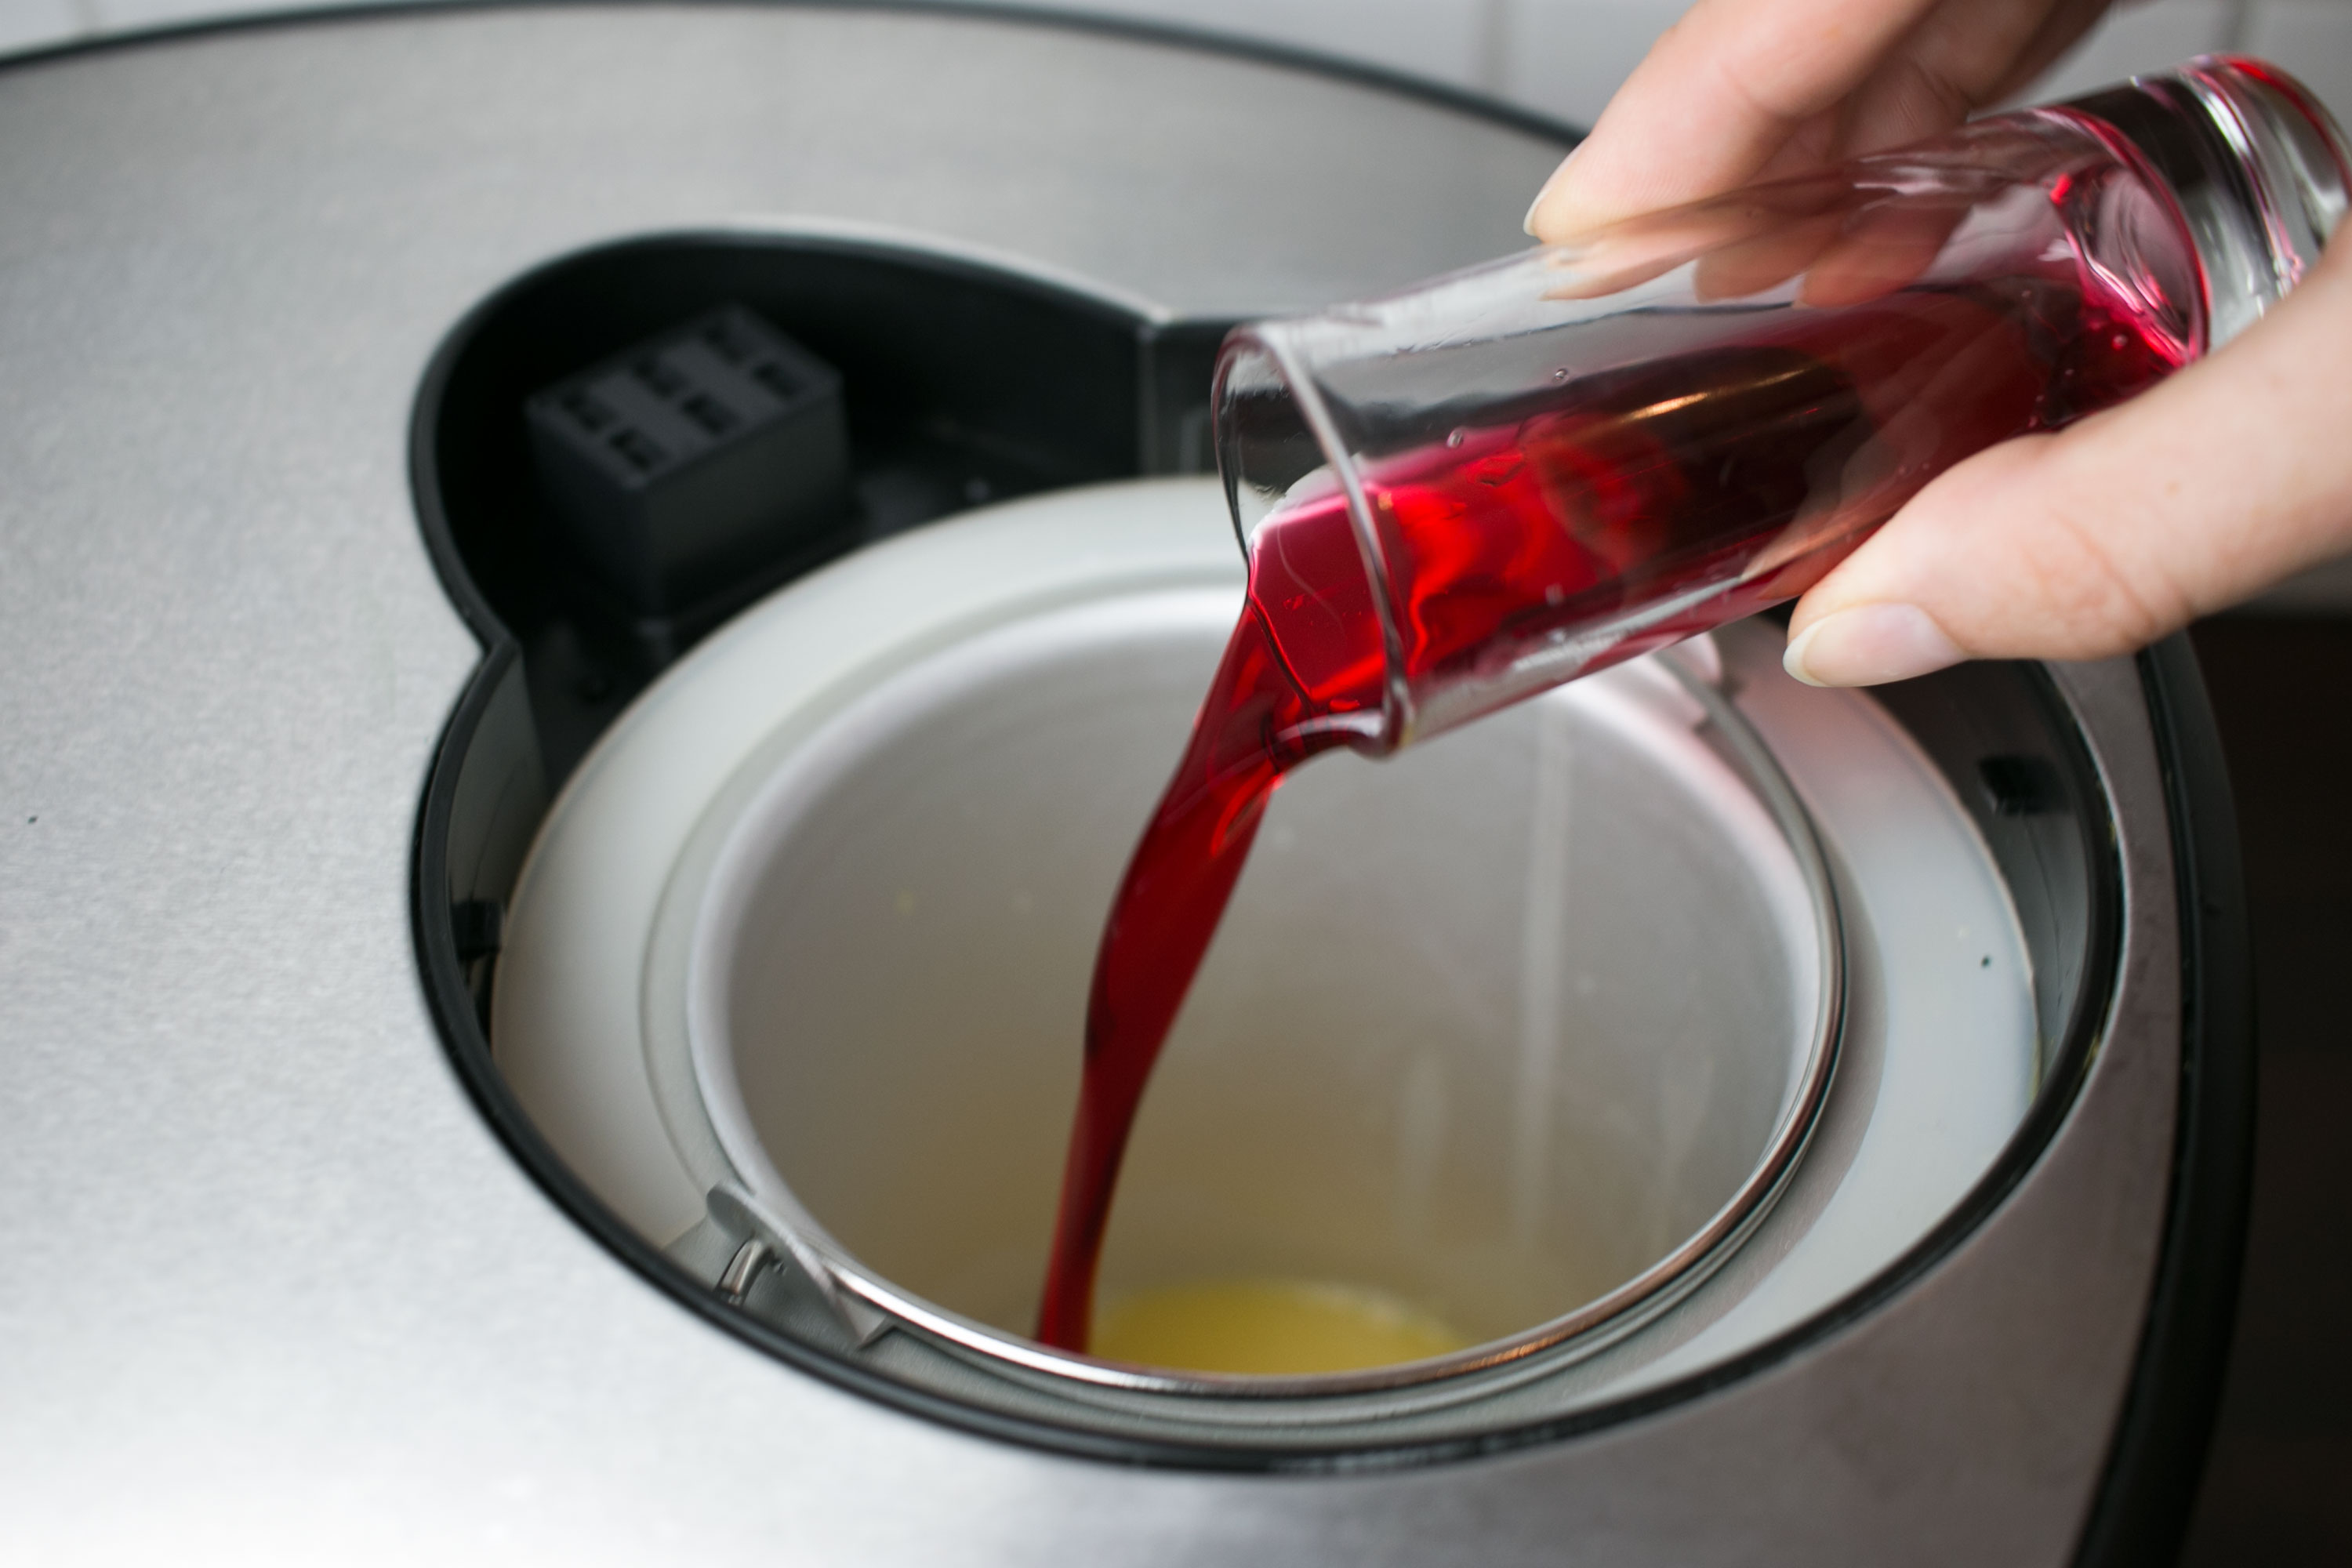
What is more suitable to fill a zombie head than a frozen Zombie cocktail? Initially, we’ve used a classic cocktail recipe but soon found out that this will not freeze solid enough for our purpose. Also it tastes much too strong, as you have no dilution of the cocktail by melting ice cubes. So we came up with a minor modification:
4 cl pineapple juice
4 cl orange juice
2 cl lemon juice
2 cl maracuja syrup
2 cl grenadine
2 cl brown rum
2 cl white rum
2 cl overproof rum
2 cl Cointreau
10 cl water
Making the Cup
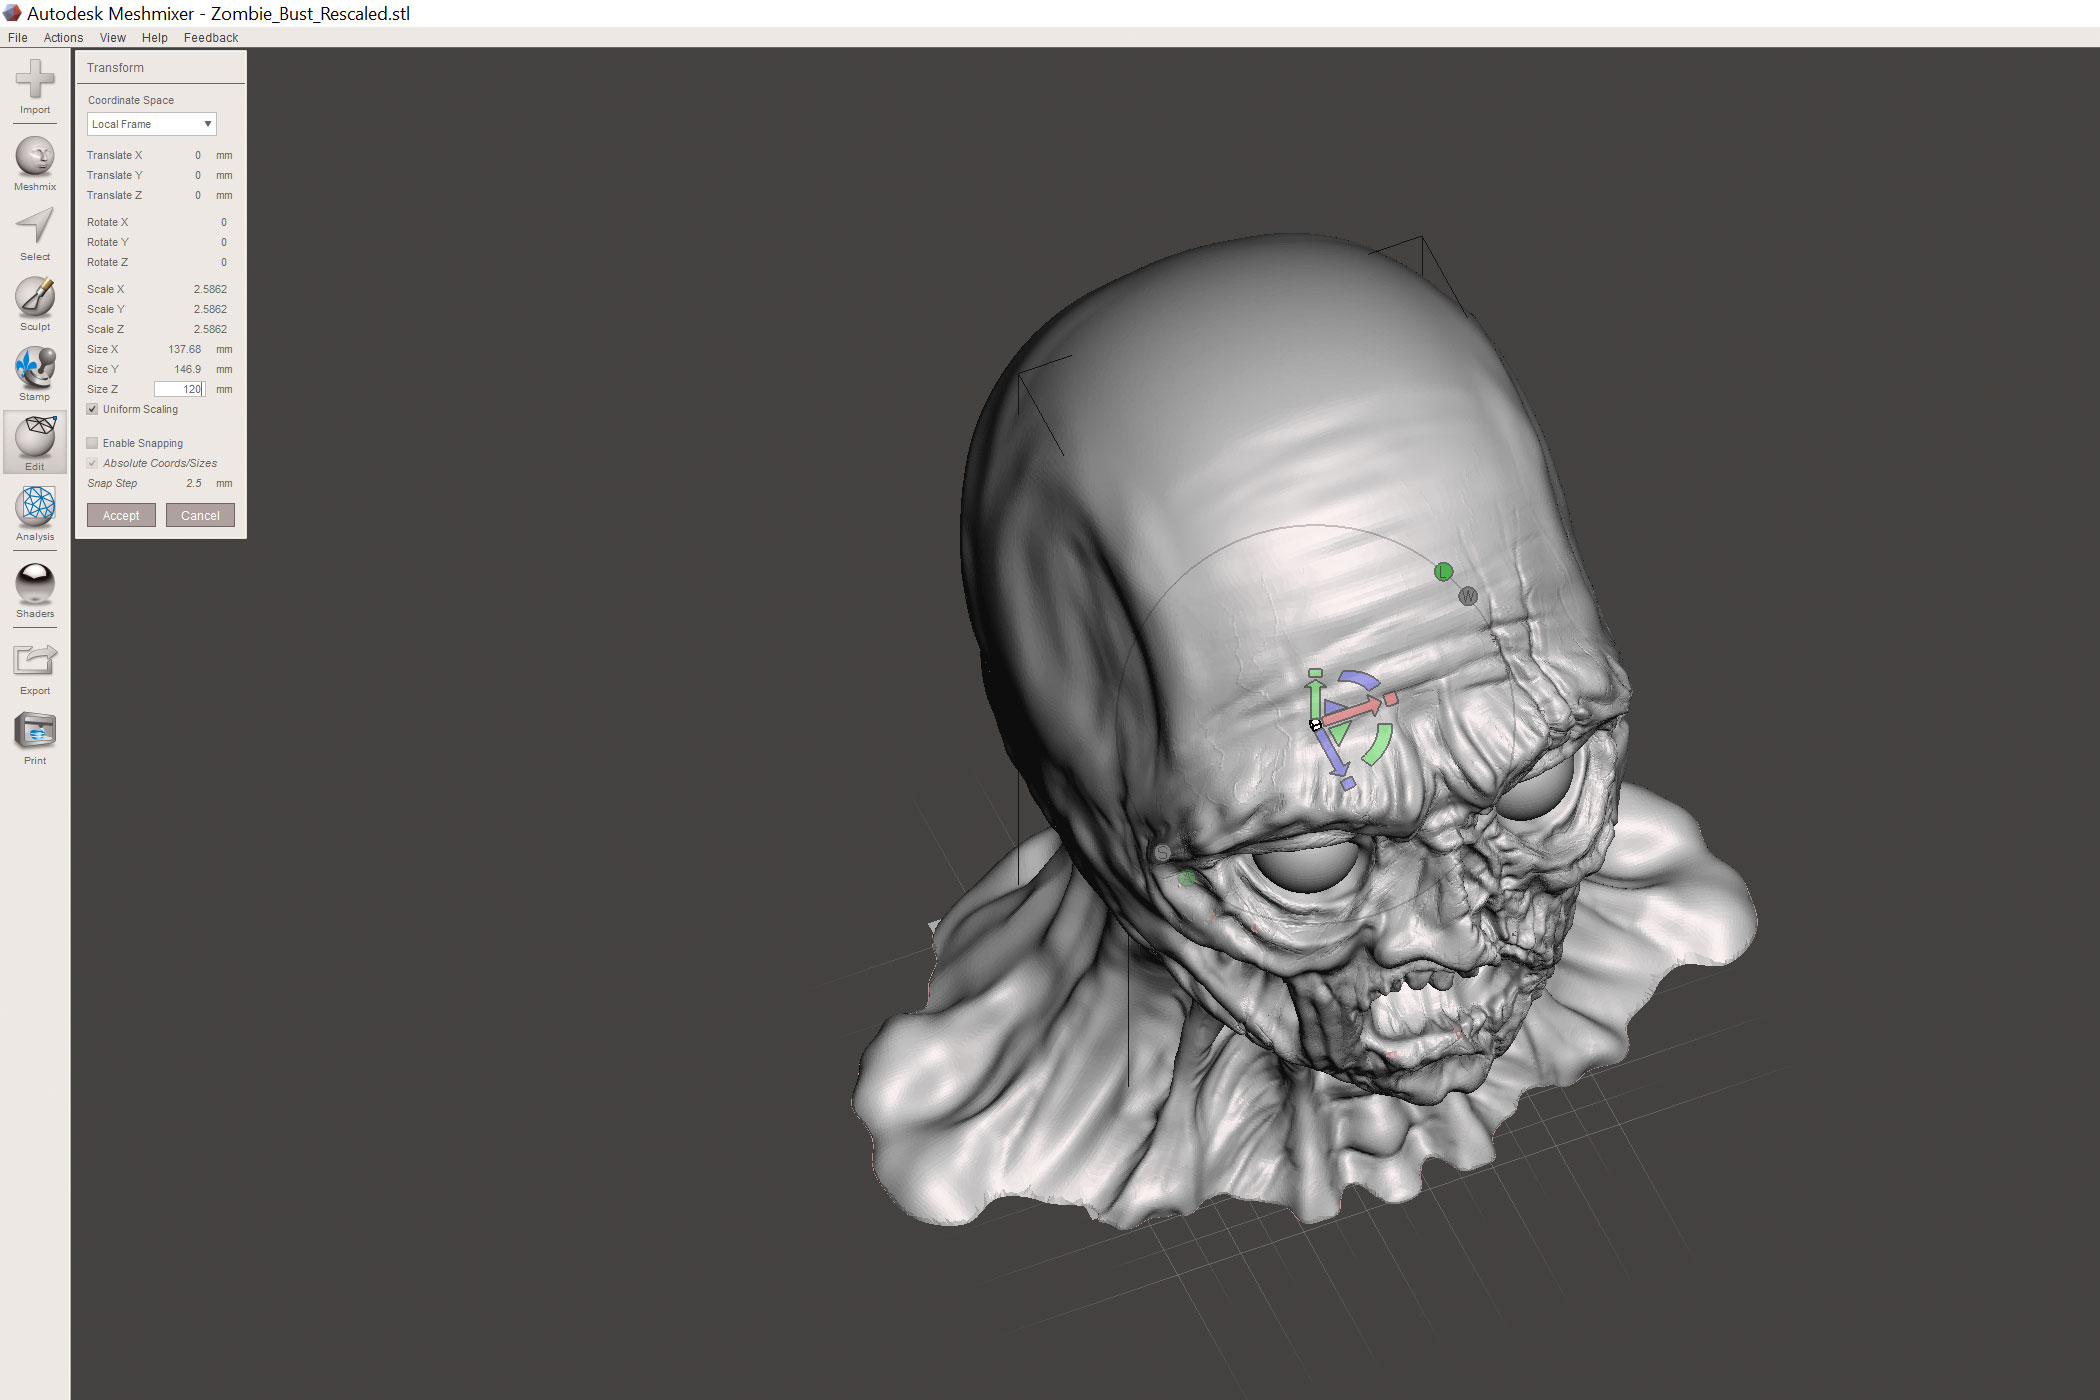
Luckily I found this awesome zombie model by Solid_Alexei.
There are obviously different ways how the zombie can be turned into a cup. In the next two steps I will show you how I did it in Meshmixer by Autodesk.
Start by scaling the model to the correct size. "Edit" -> "Transform"
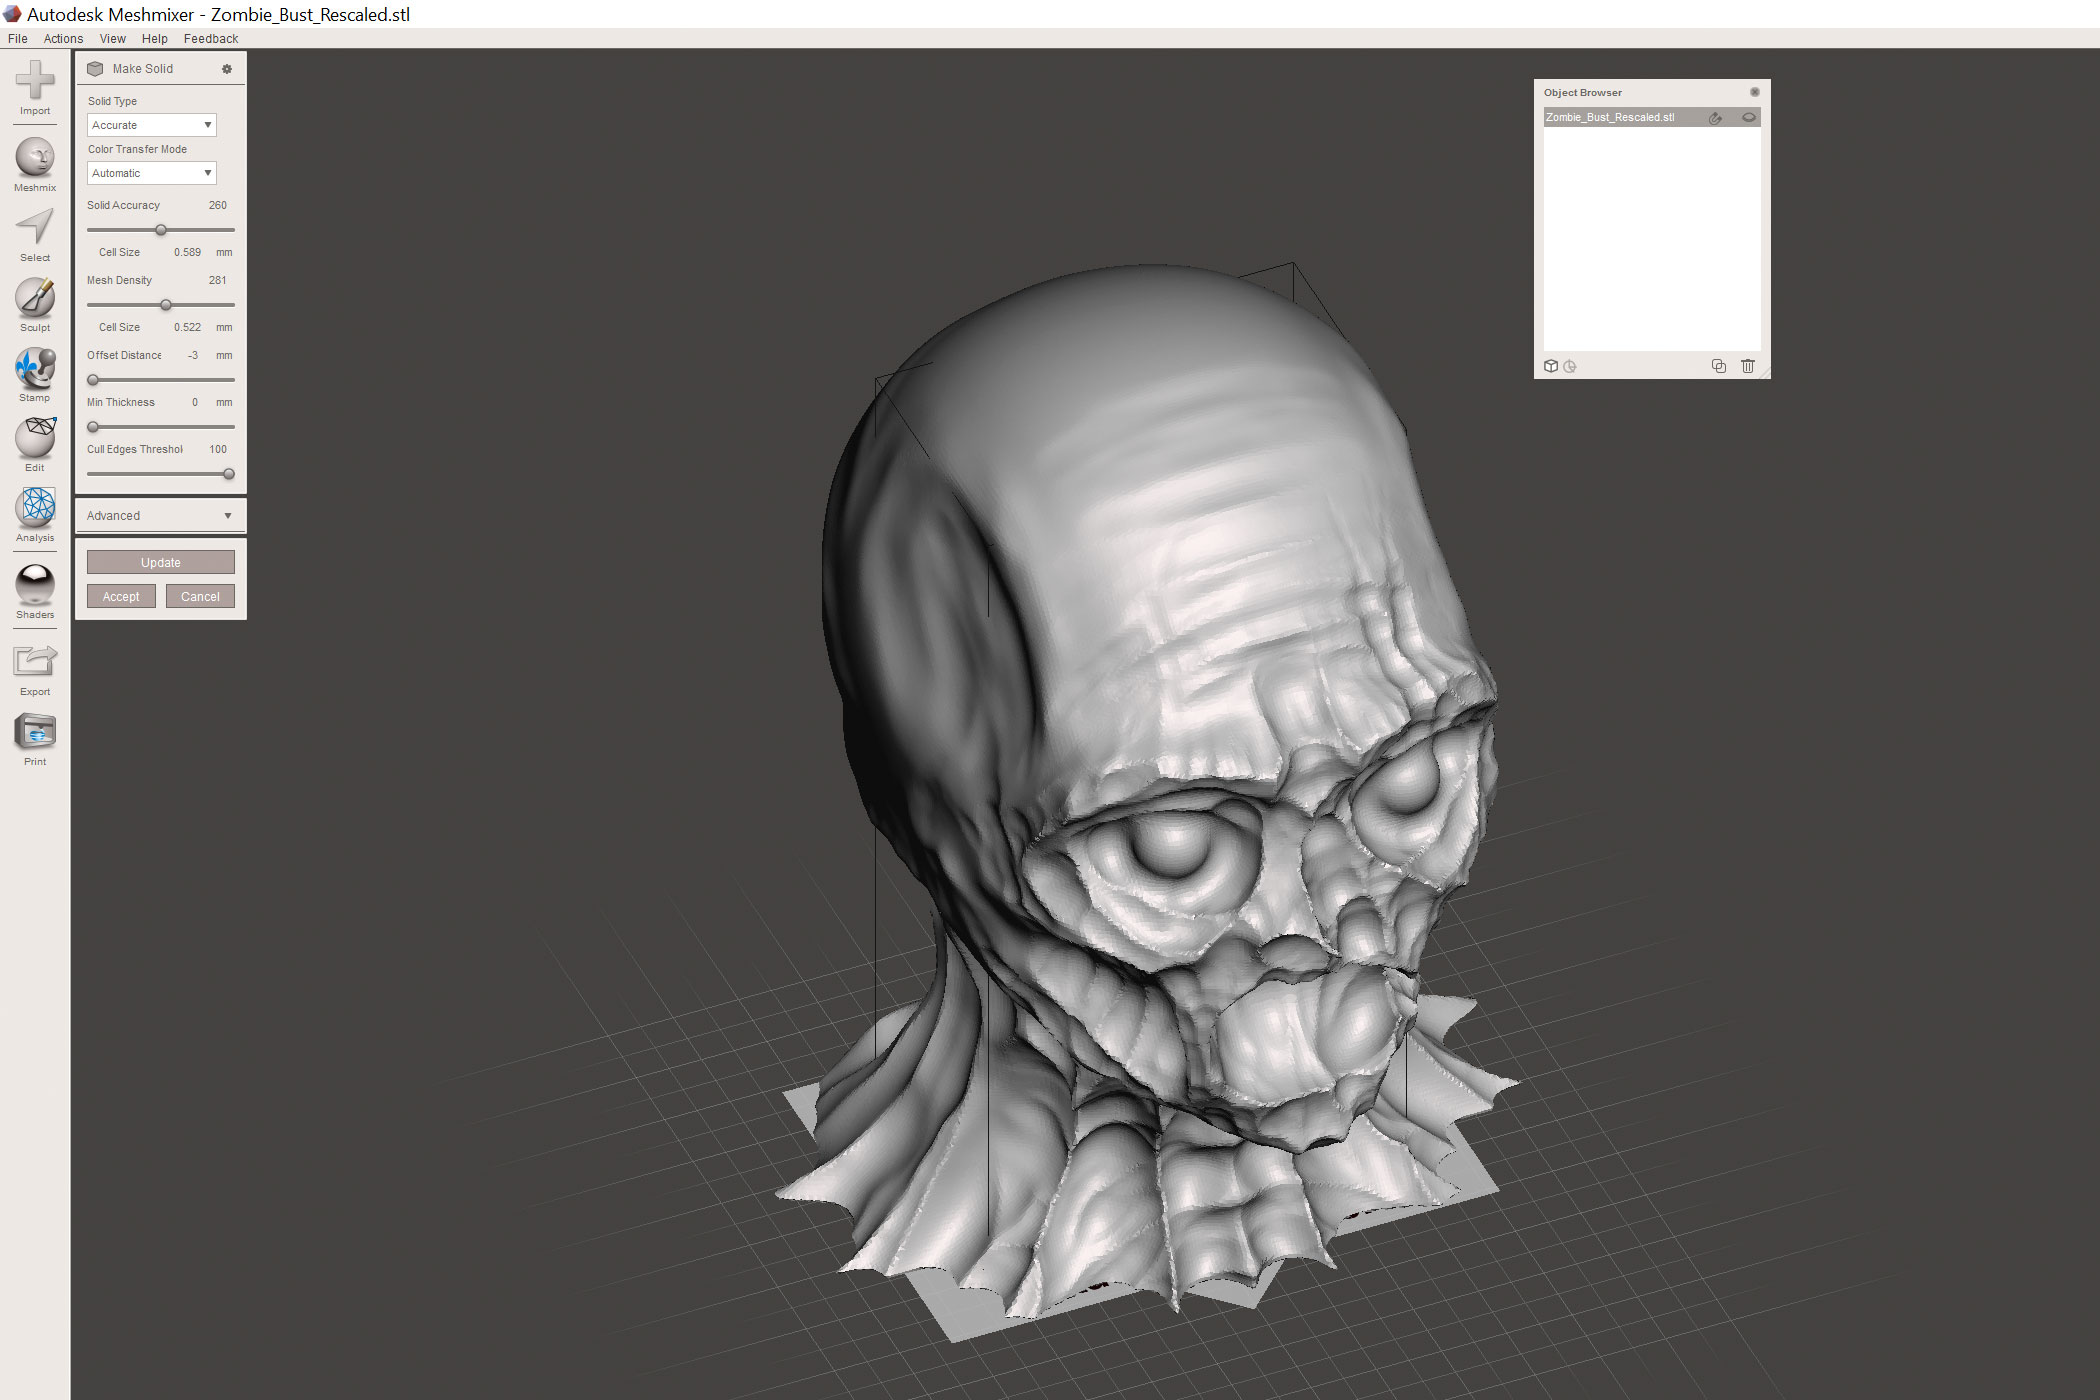
Afterwards, select "Edit" -> "Make Solid". Pick an accuracy that works for you and set the offset density to "-3 mm".
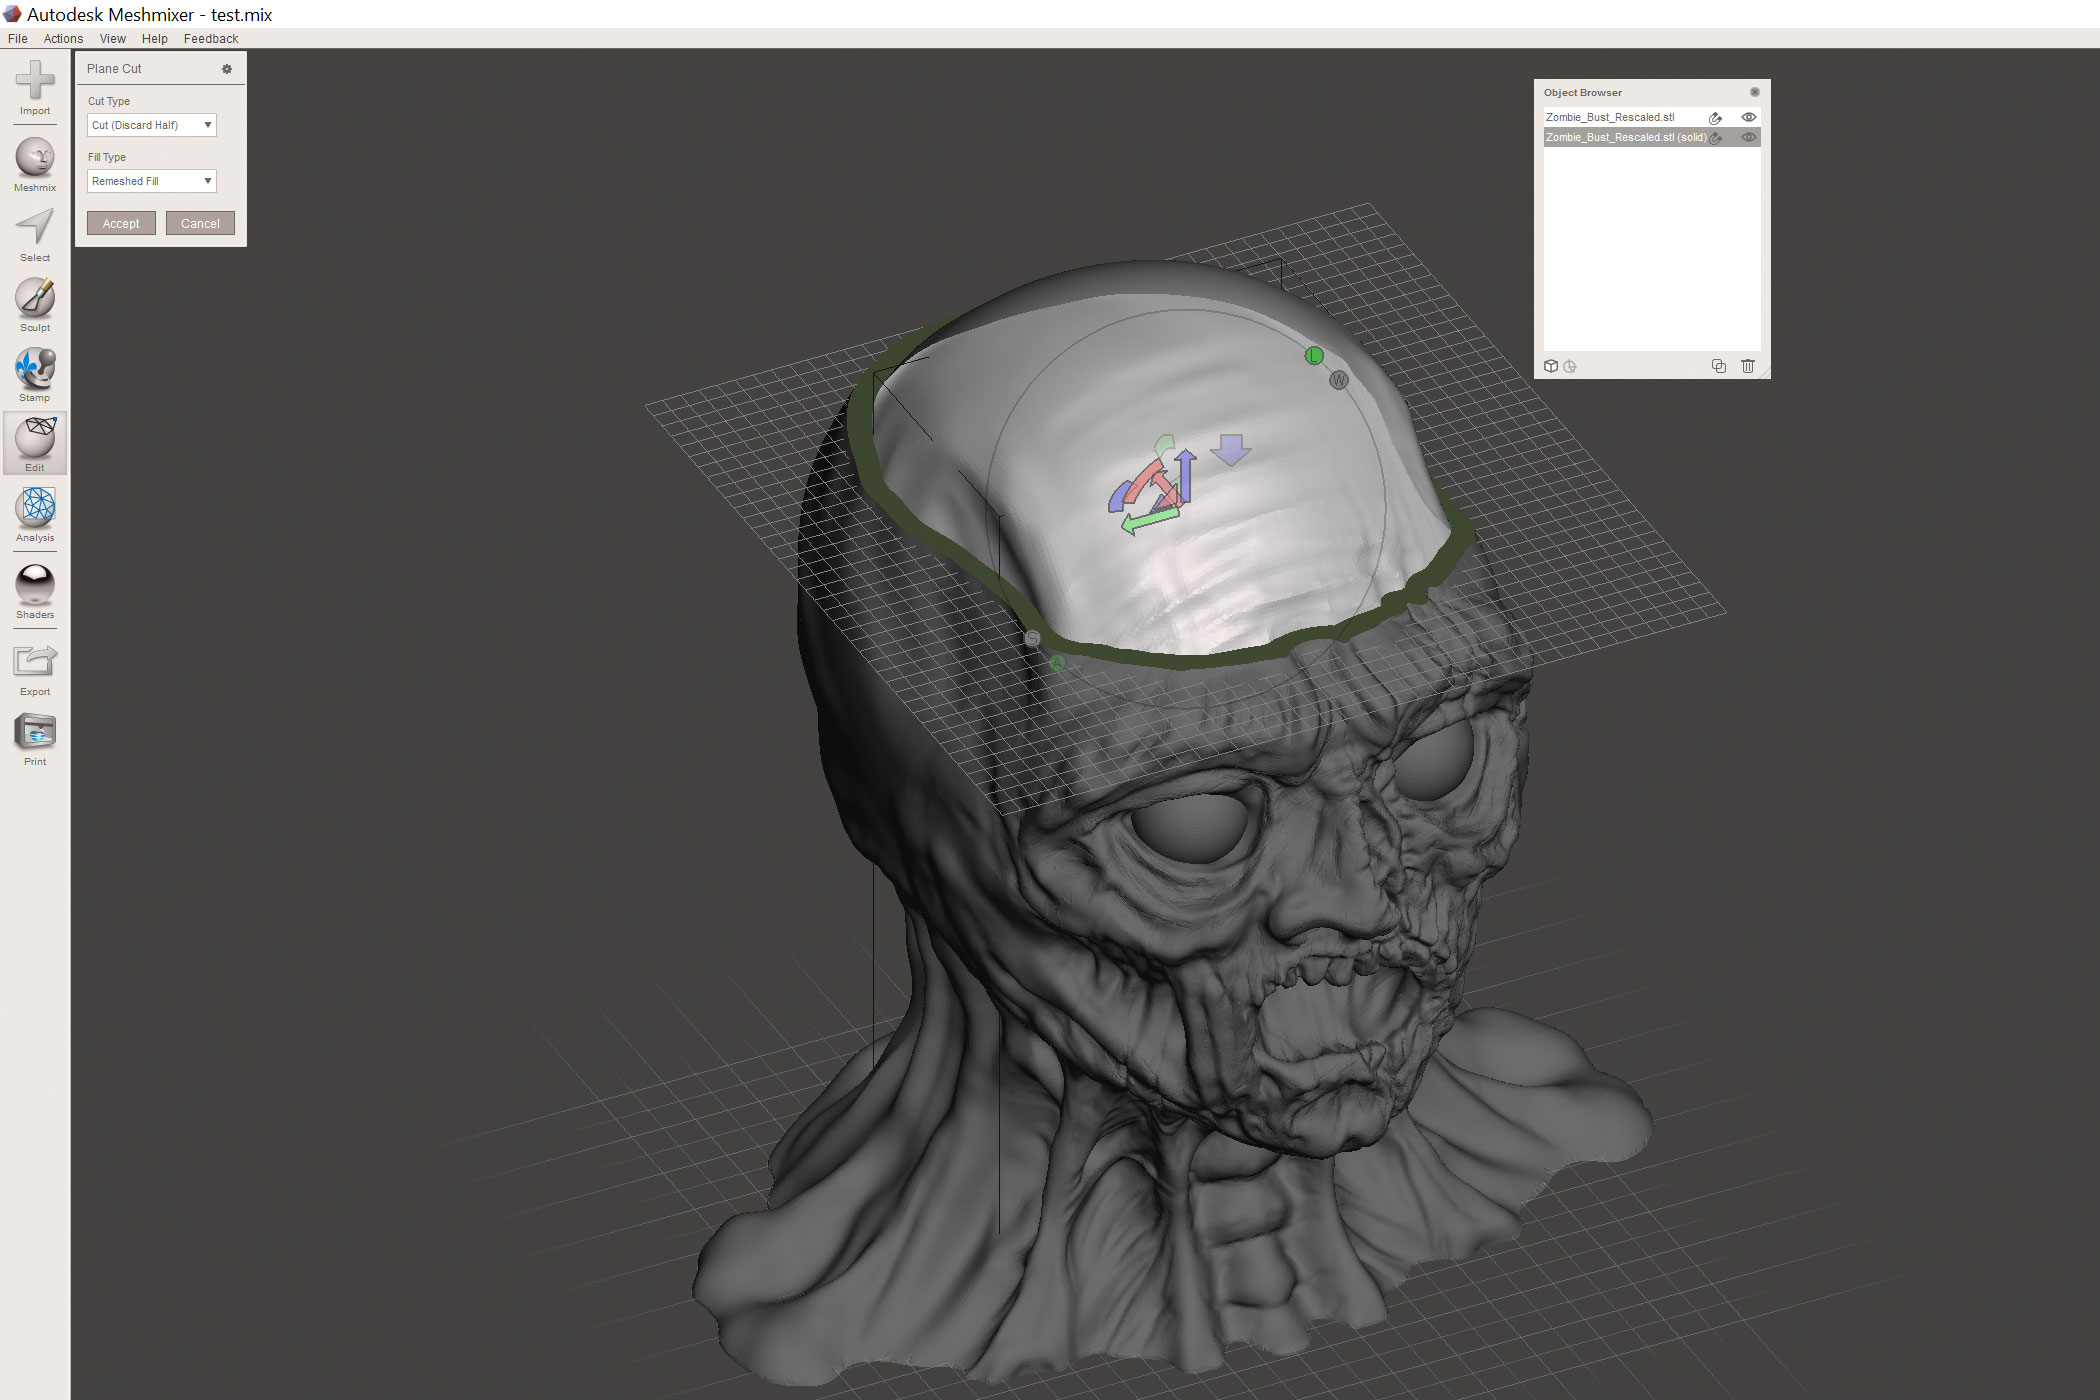
Next use "Edit" -> "Plane Cut" and cut the original head ant the offset one as shown in the third picture.
Making the Cup
As you can see I turned the offset into a slice, by cutting the top off as well, but you don't have to do that.
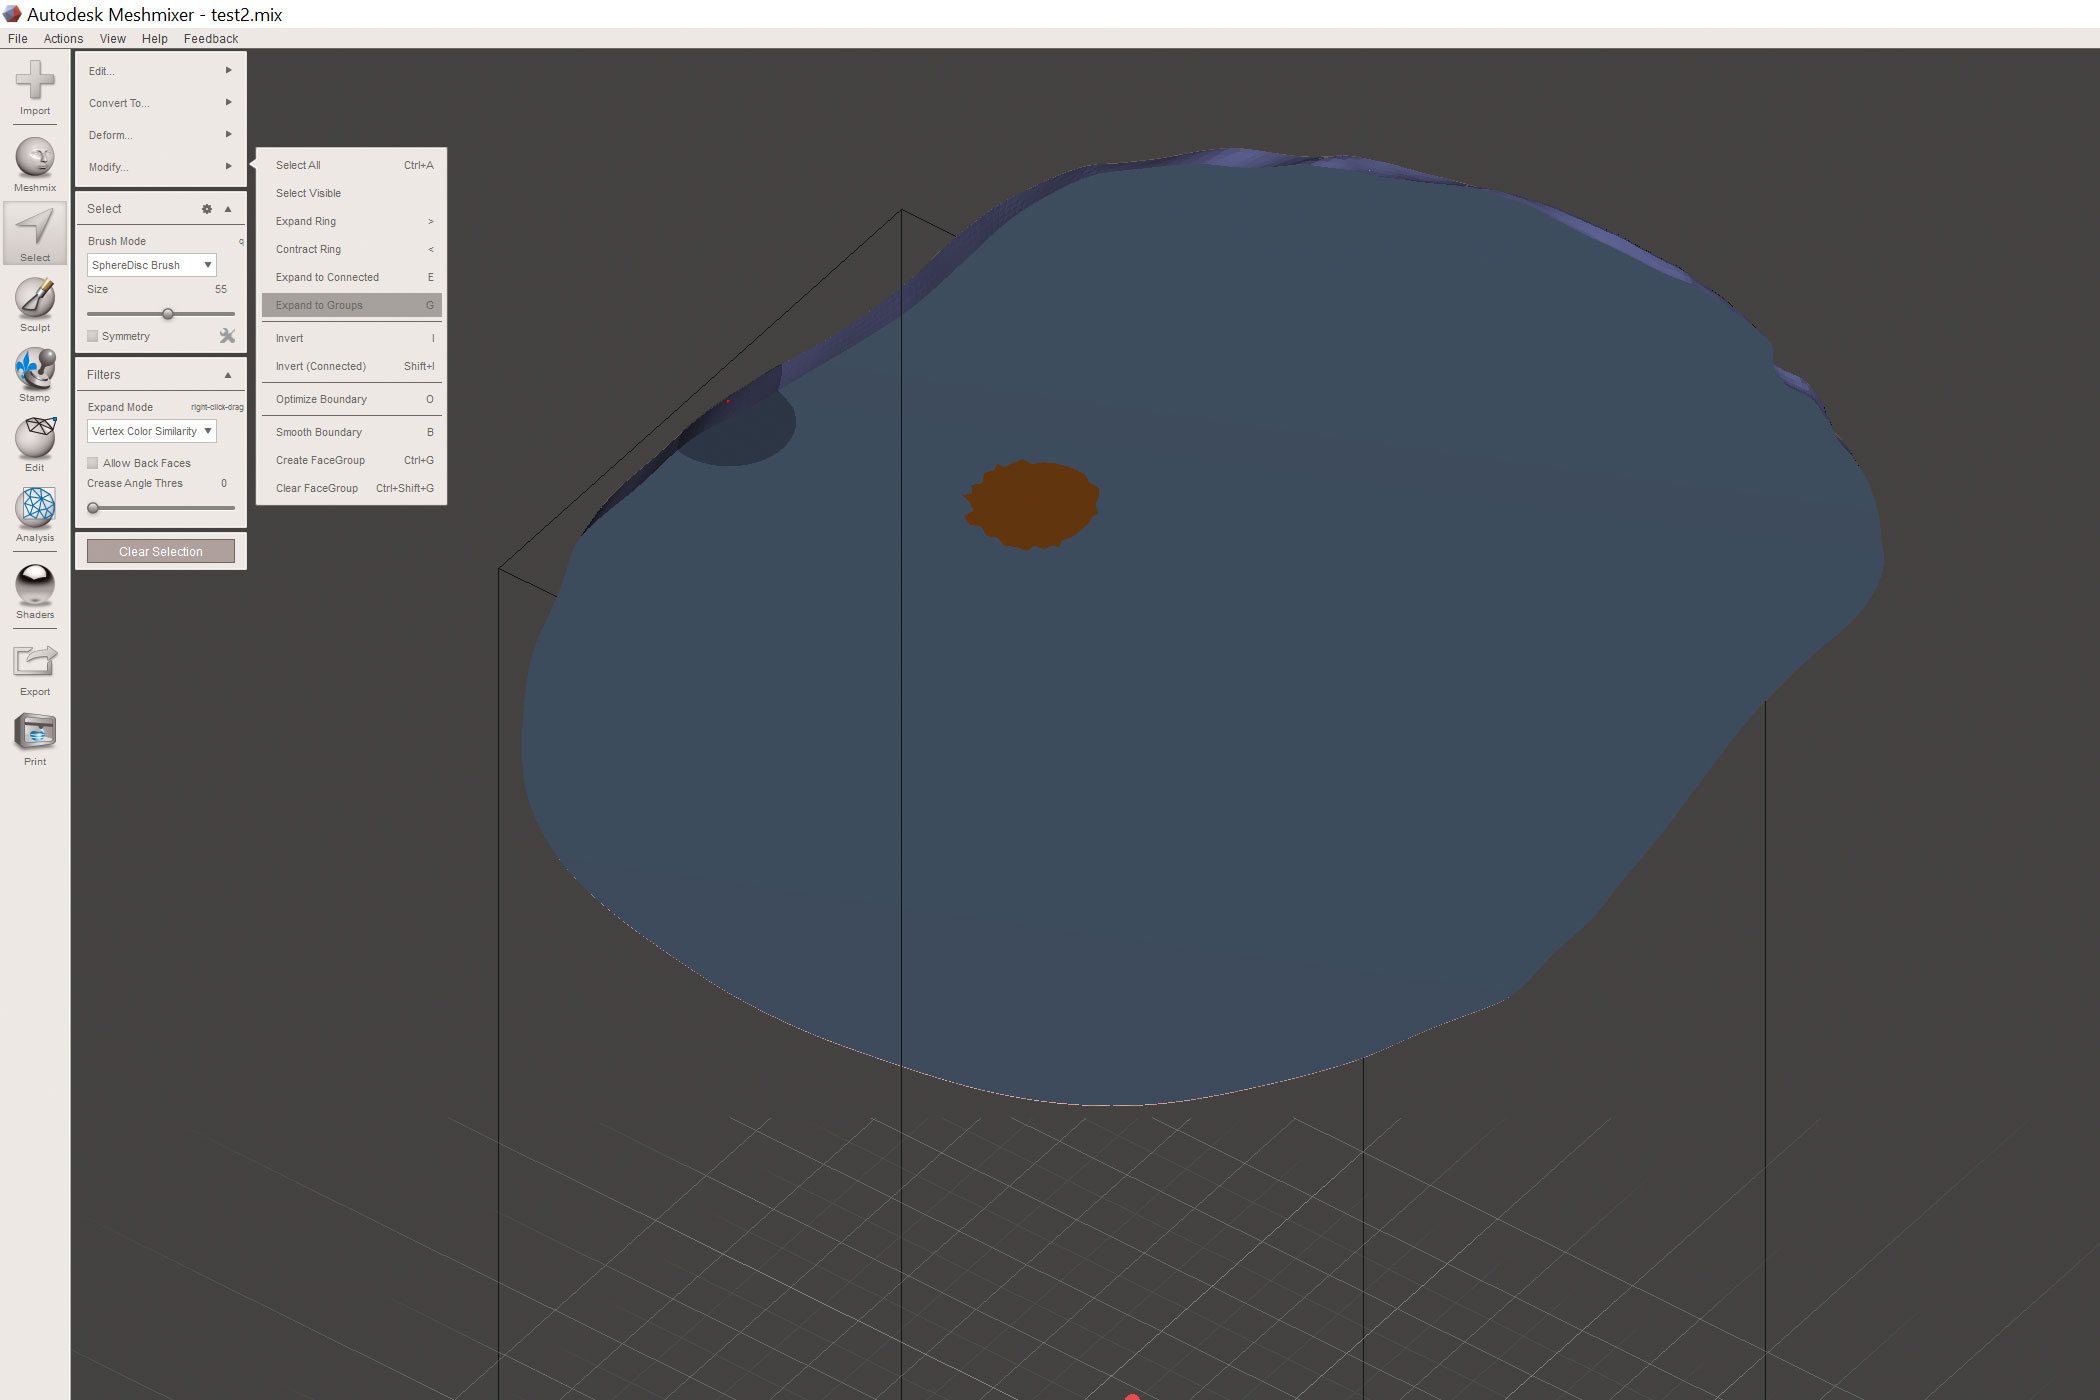
Next click on "Edit" -> "Generate Face Groups".
Now click "Select", click somewhere on the bottom plane and on "Modify" -> "Expand to Groups".
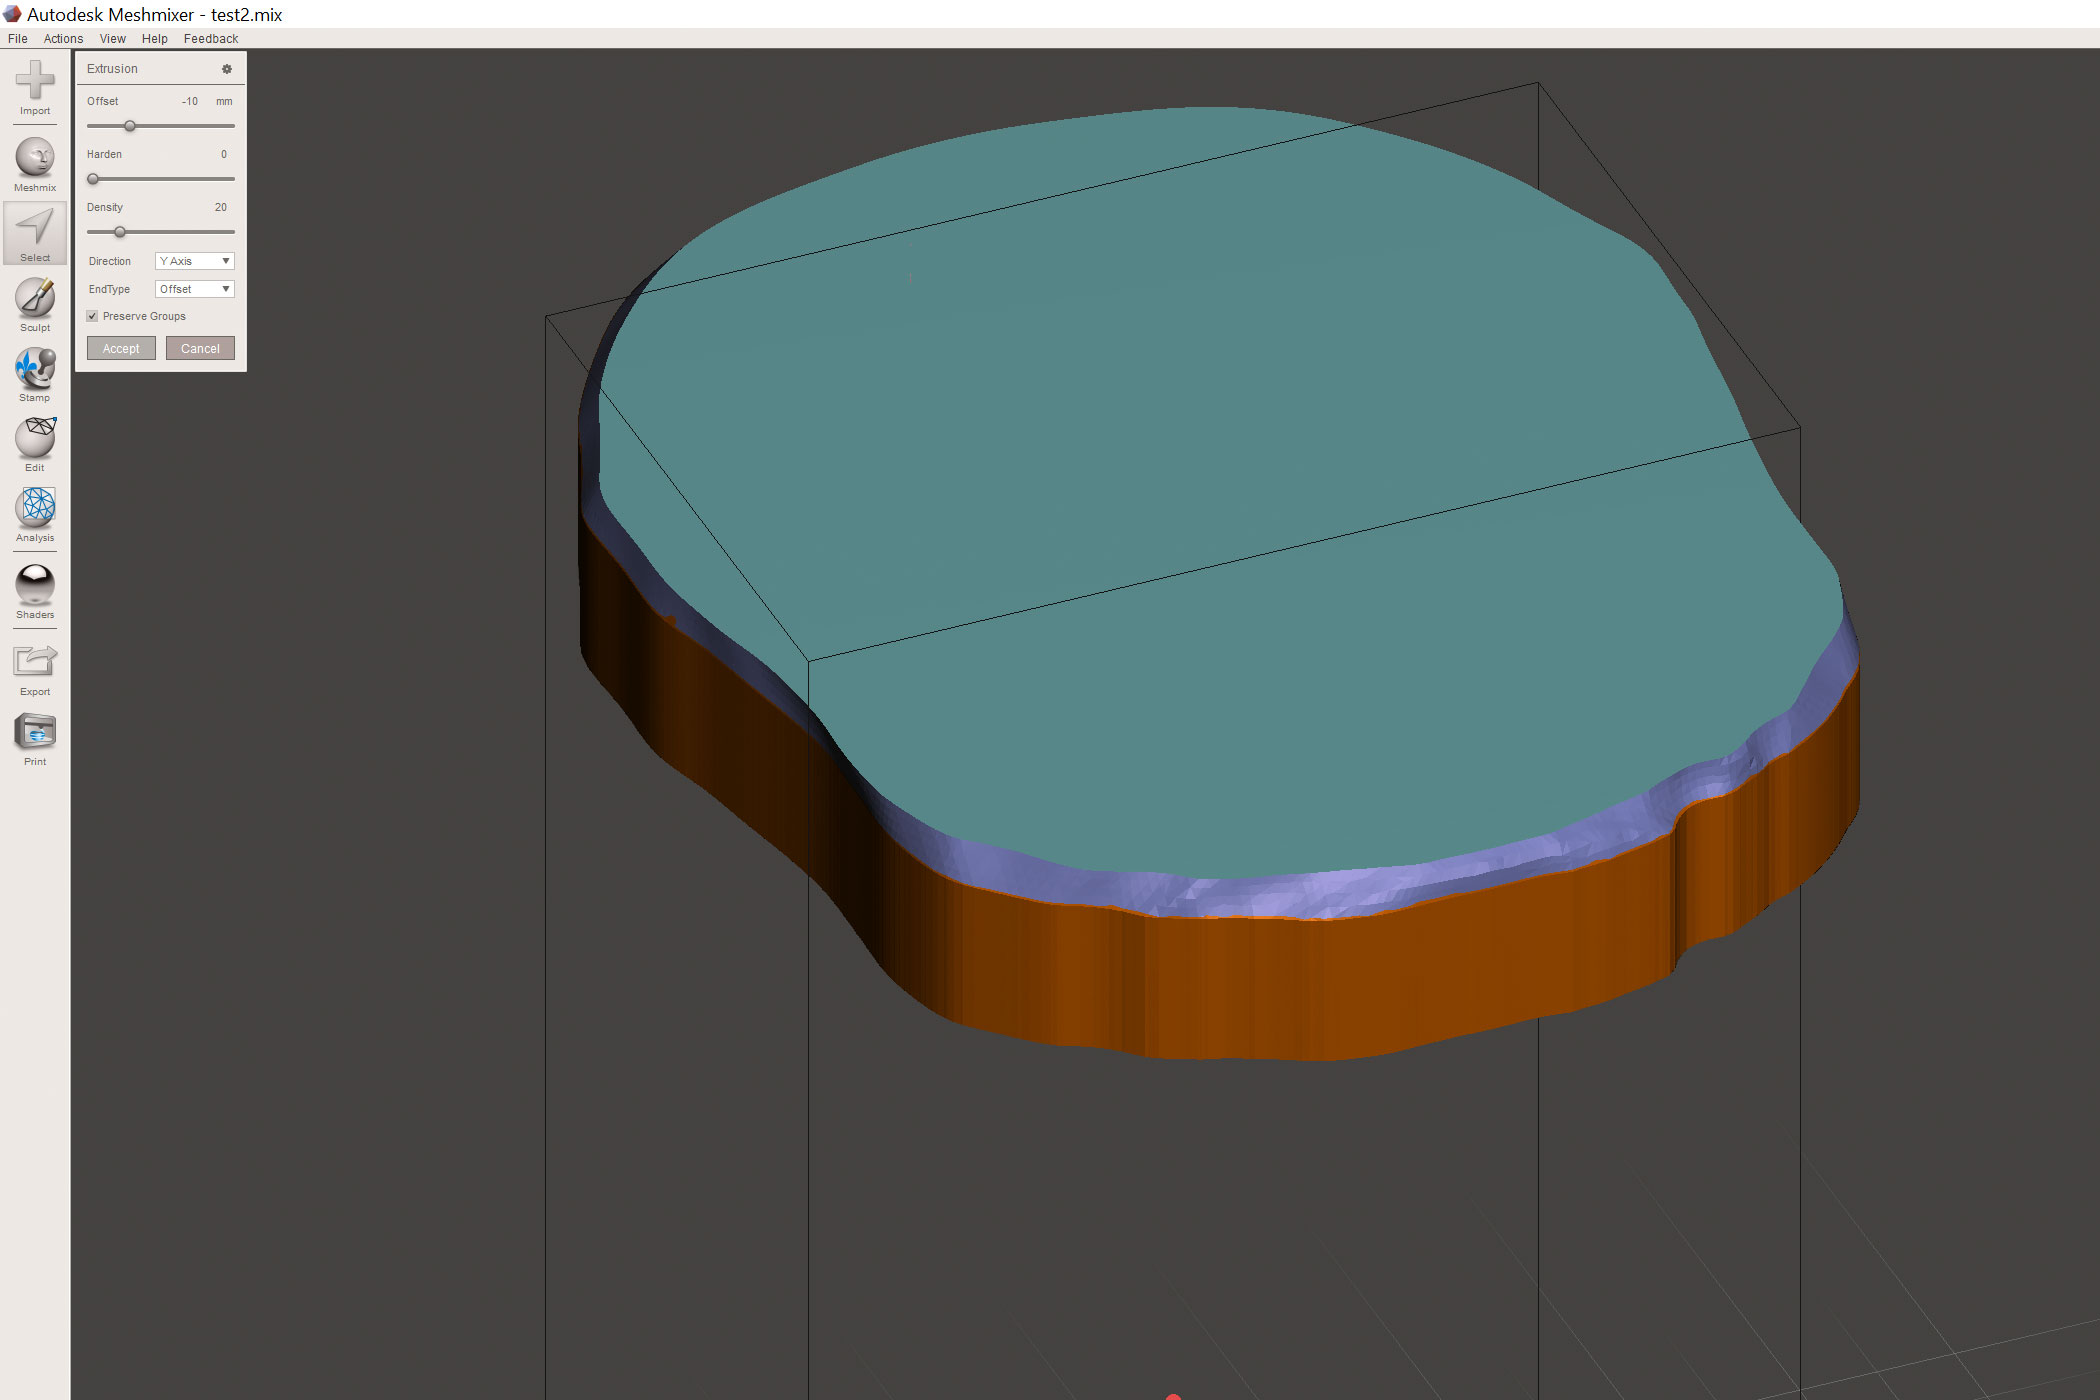
Afterwards you can extrude the plane "Select" -> "Edit" -> "Extrude". Pick the correct orientation and a distance.
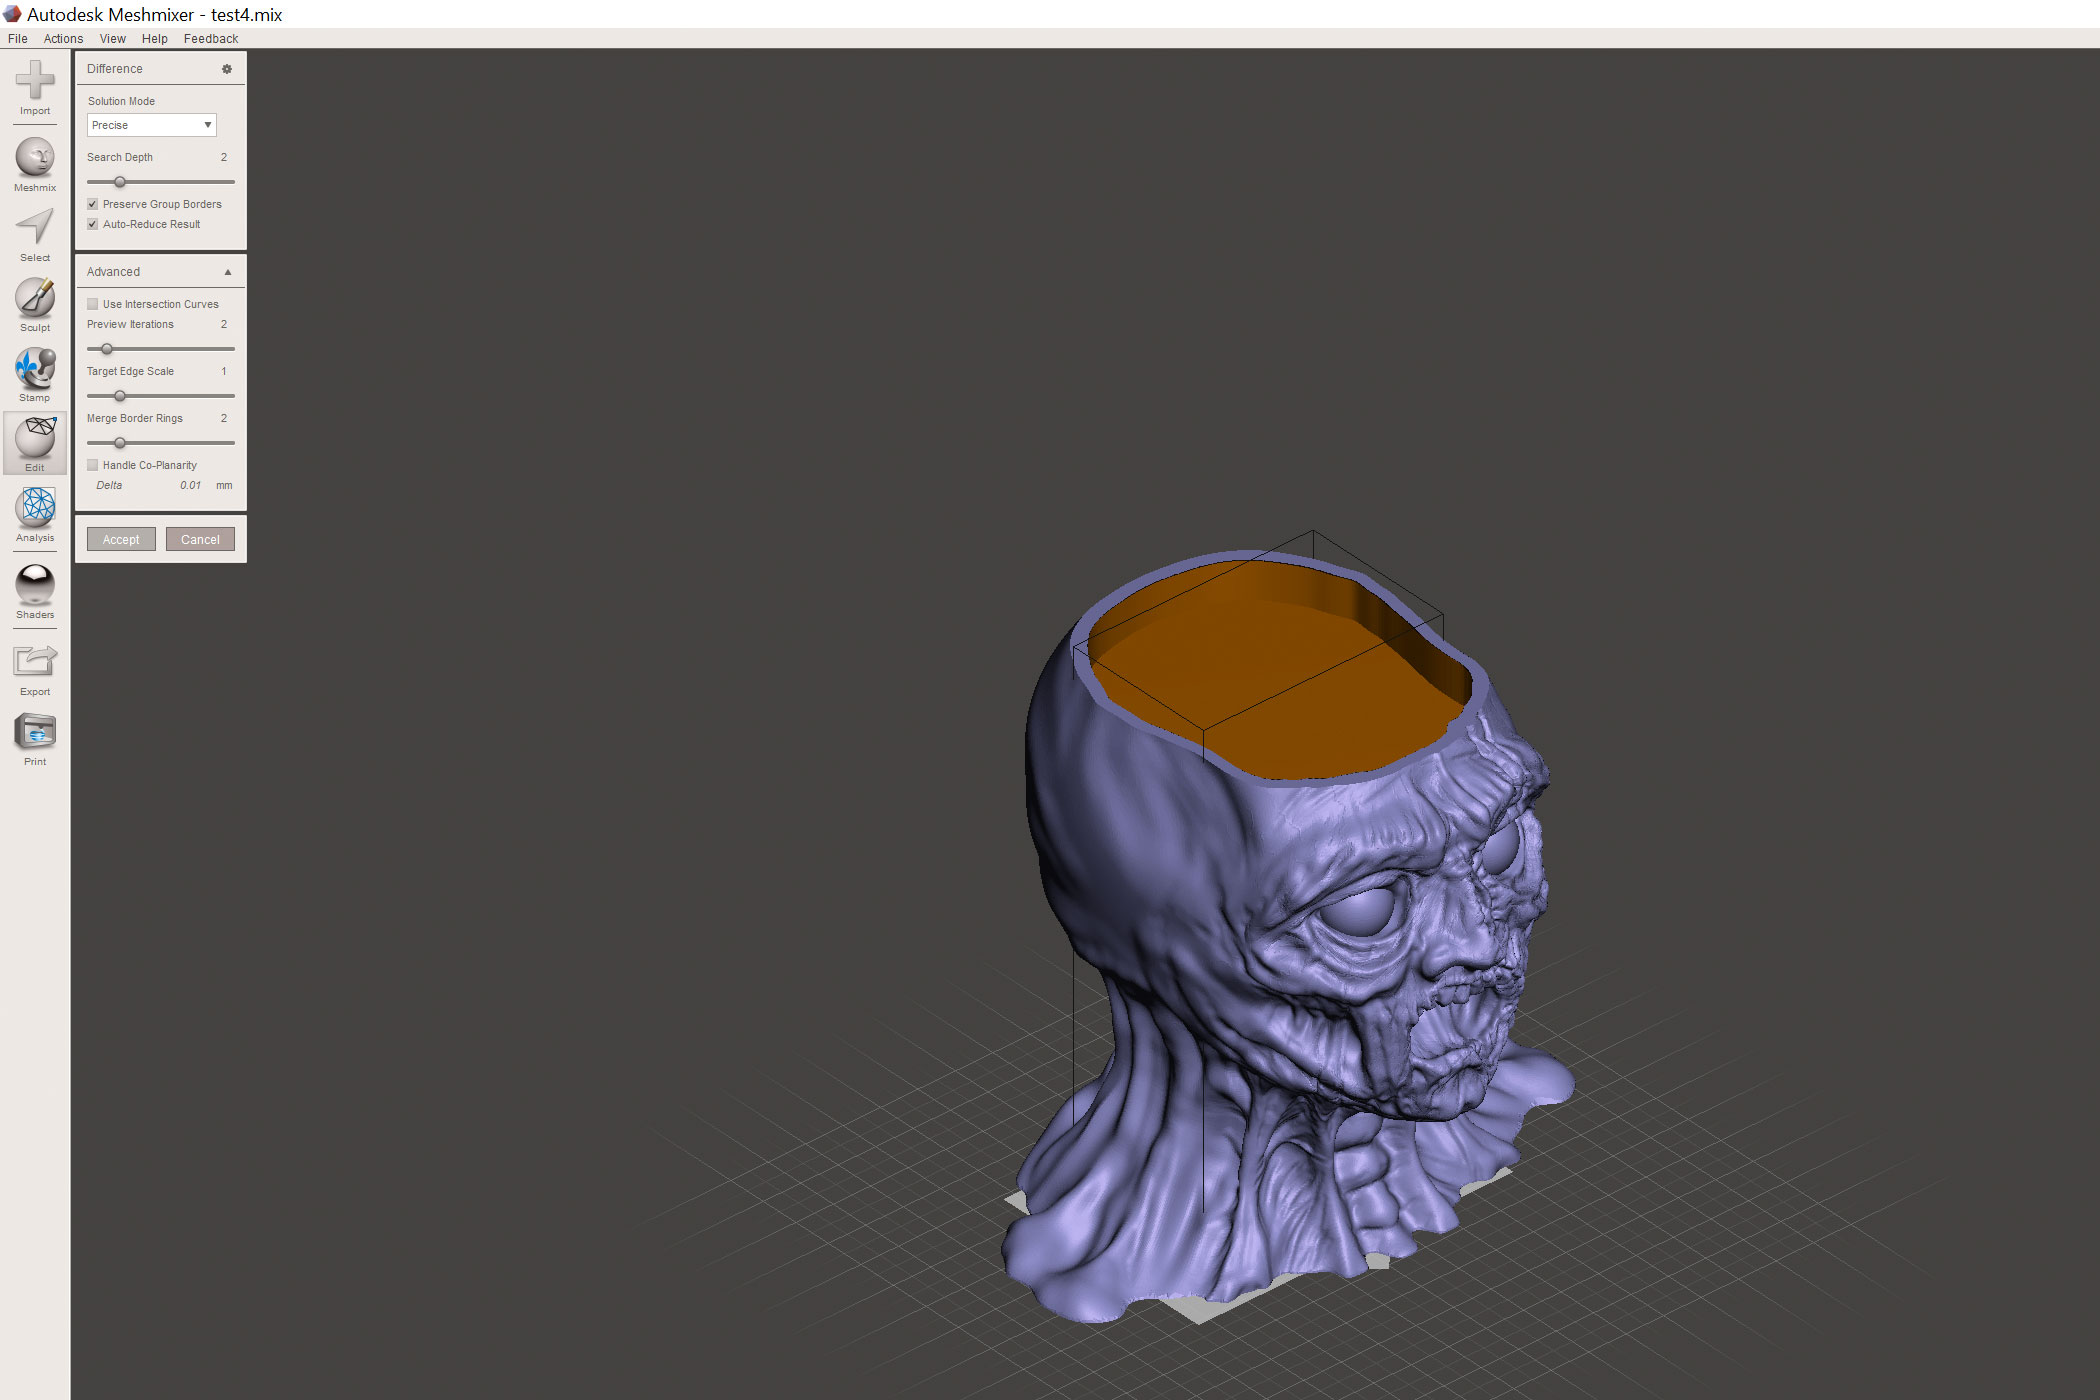
All that is left to do is to select both part and cut the offset from the head.
3D Print It


All that is left to do is to print the cup. You will need quite a lot of support structure to get a nice result. As you can see I used a quite coarse layer height of 0.2 mm. The only reason for that is that I was impatient.
You can see my print setting in the first picture. Make sure to use a food safe filament. Once the print is done simply break away the support structure and you are done.
Making the Ice Cream
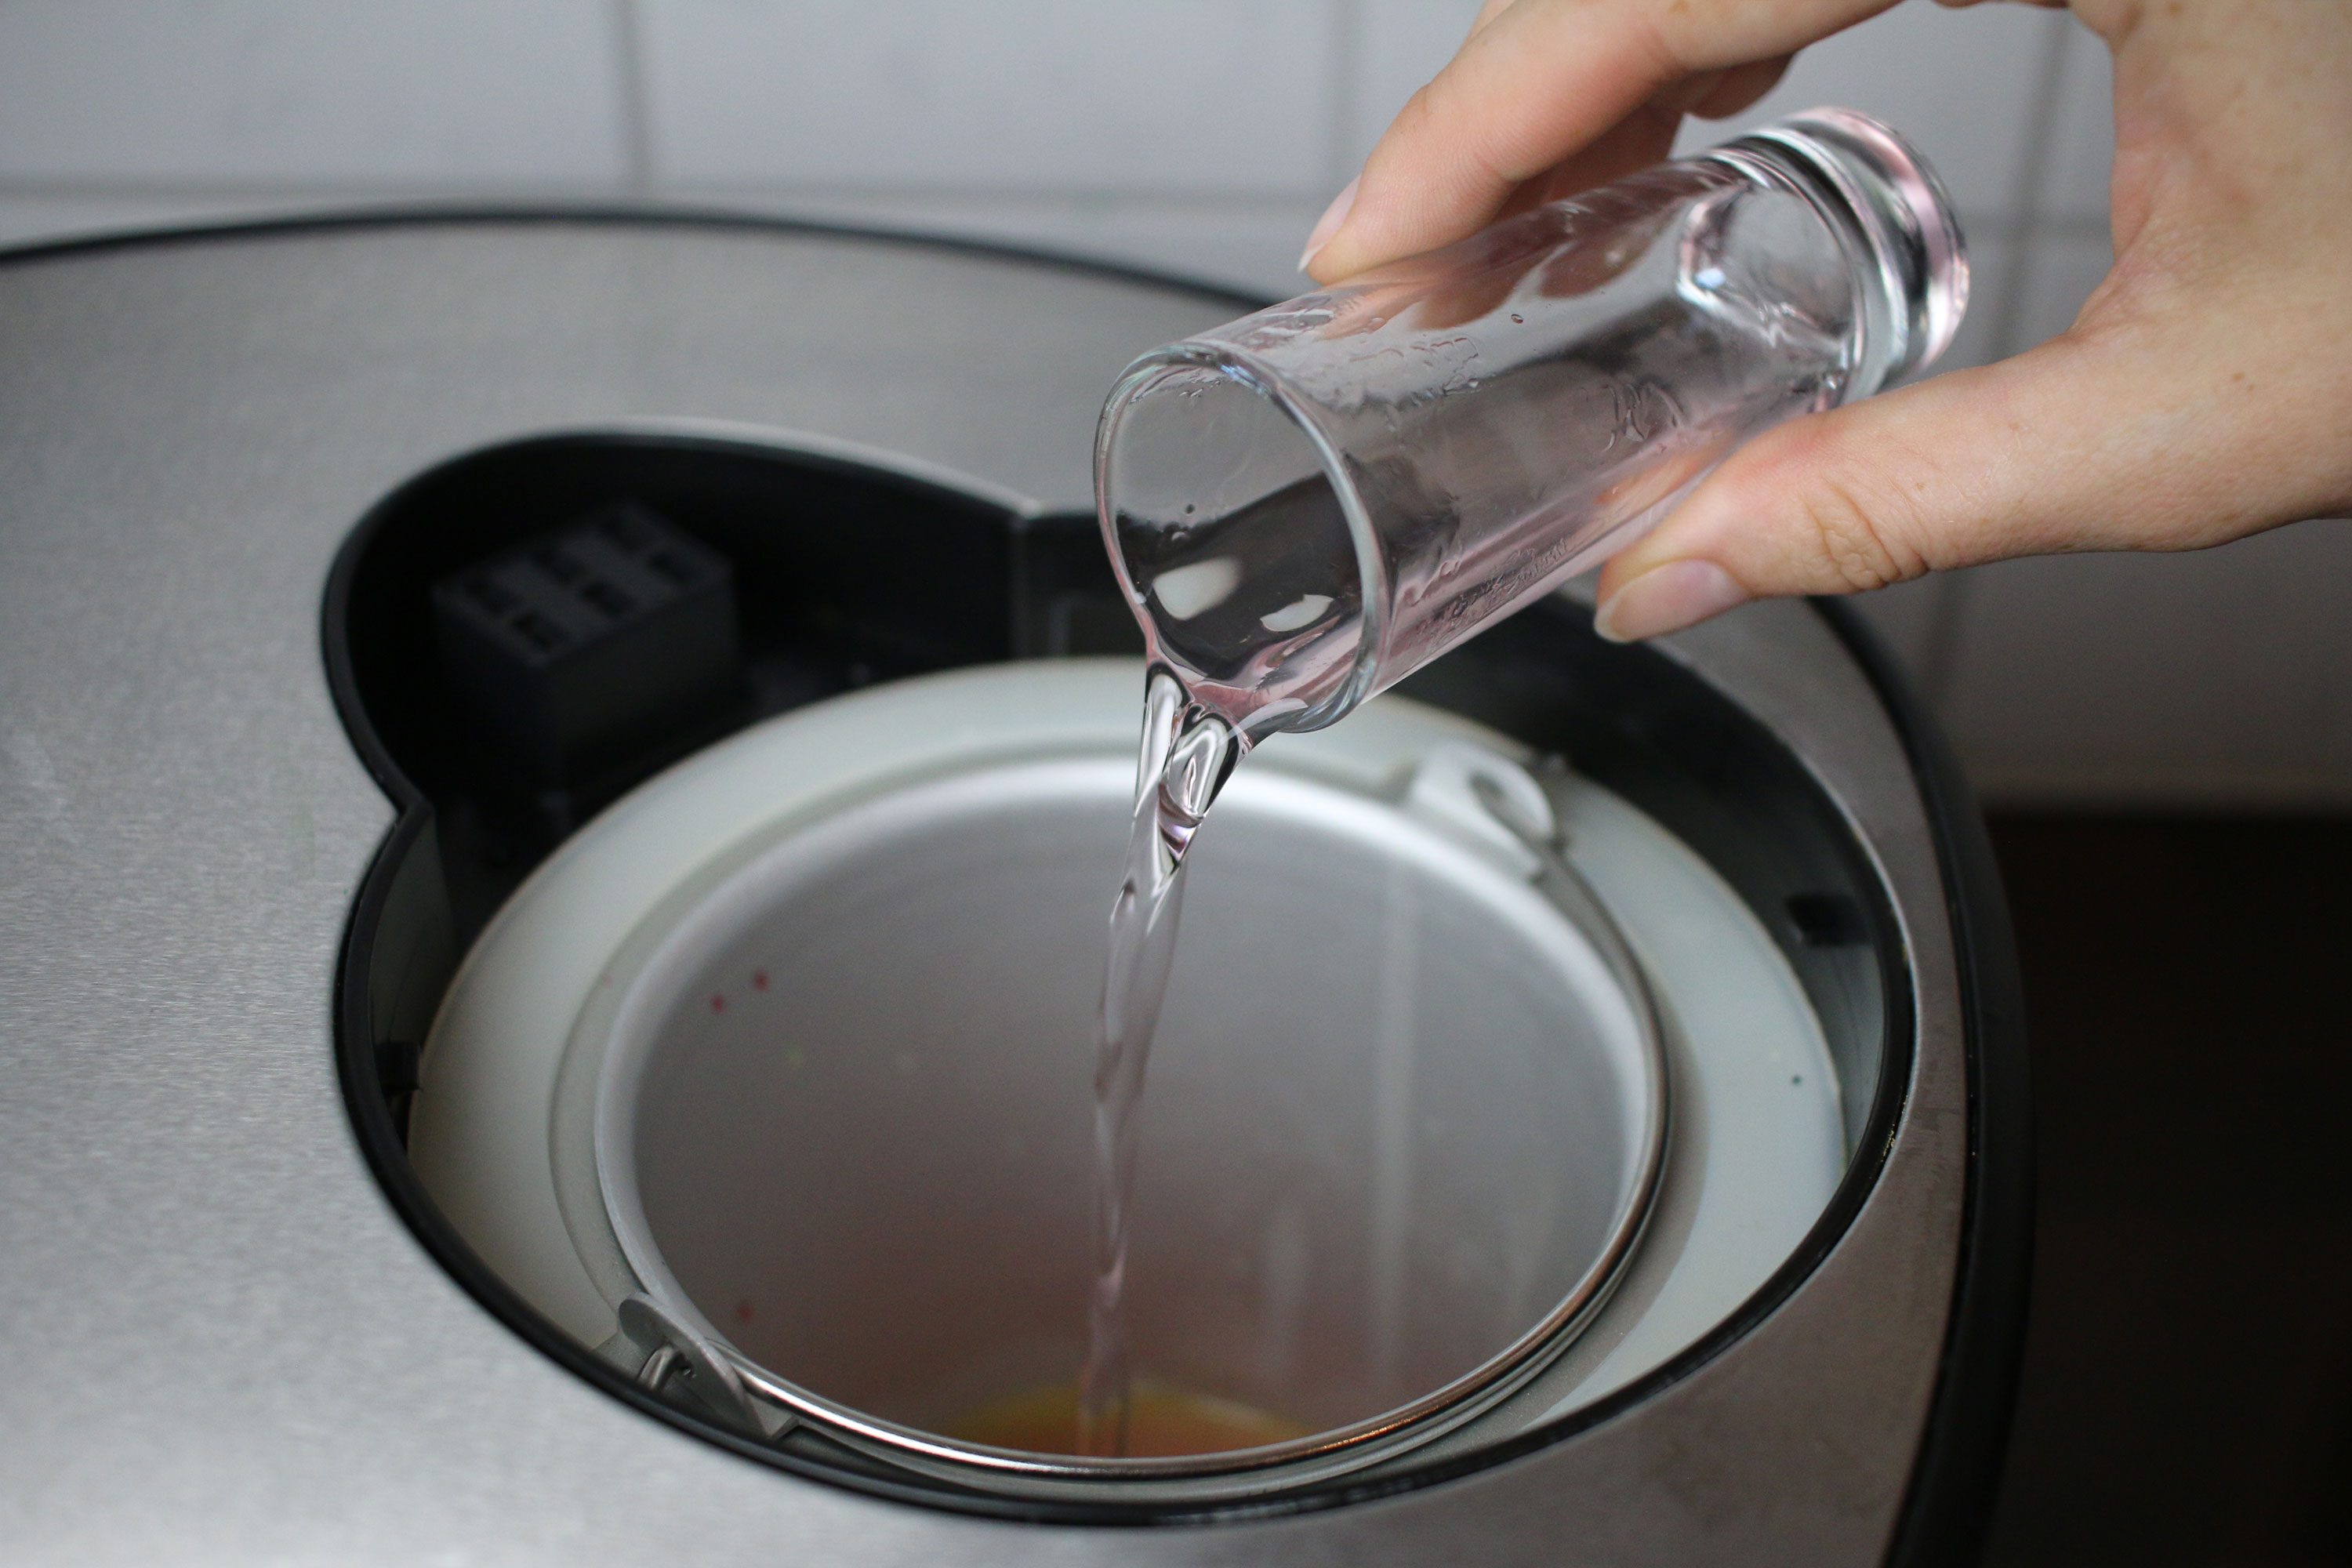
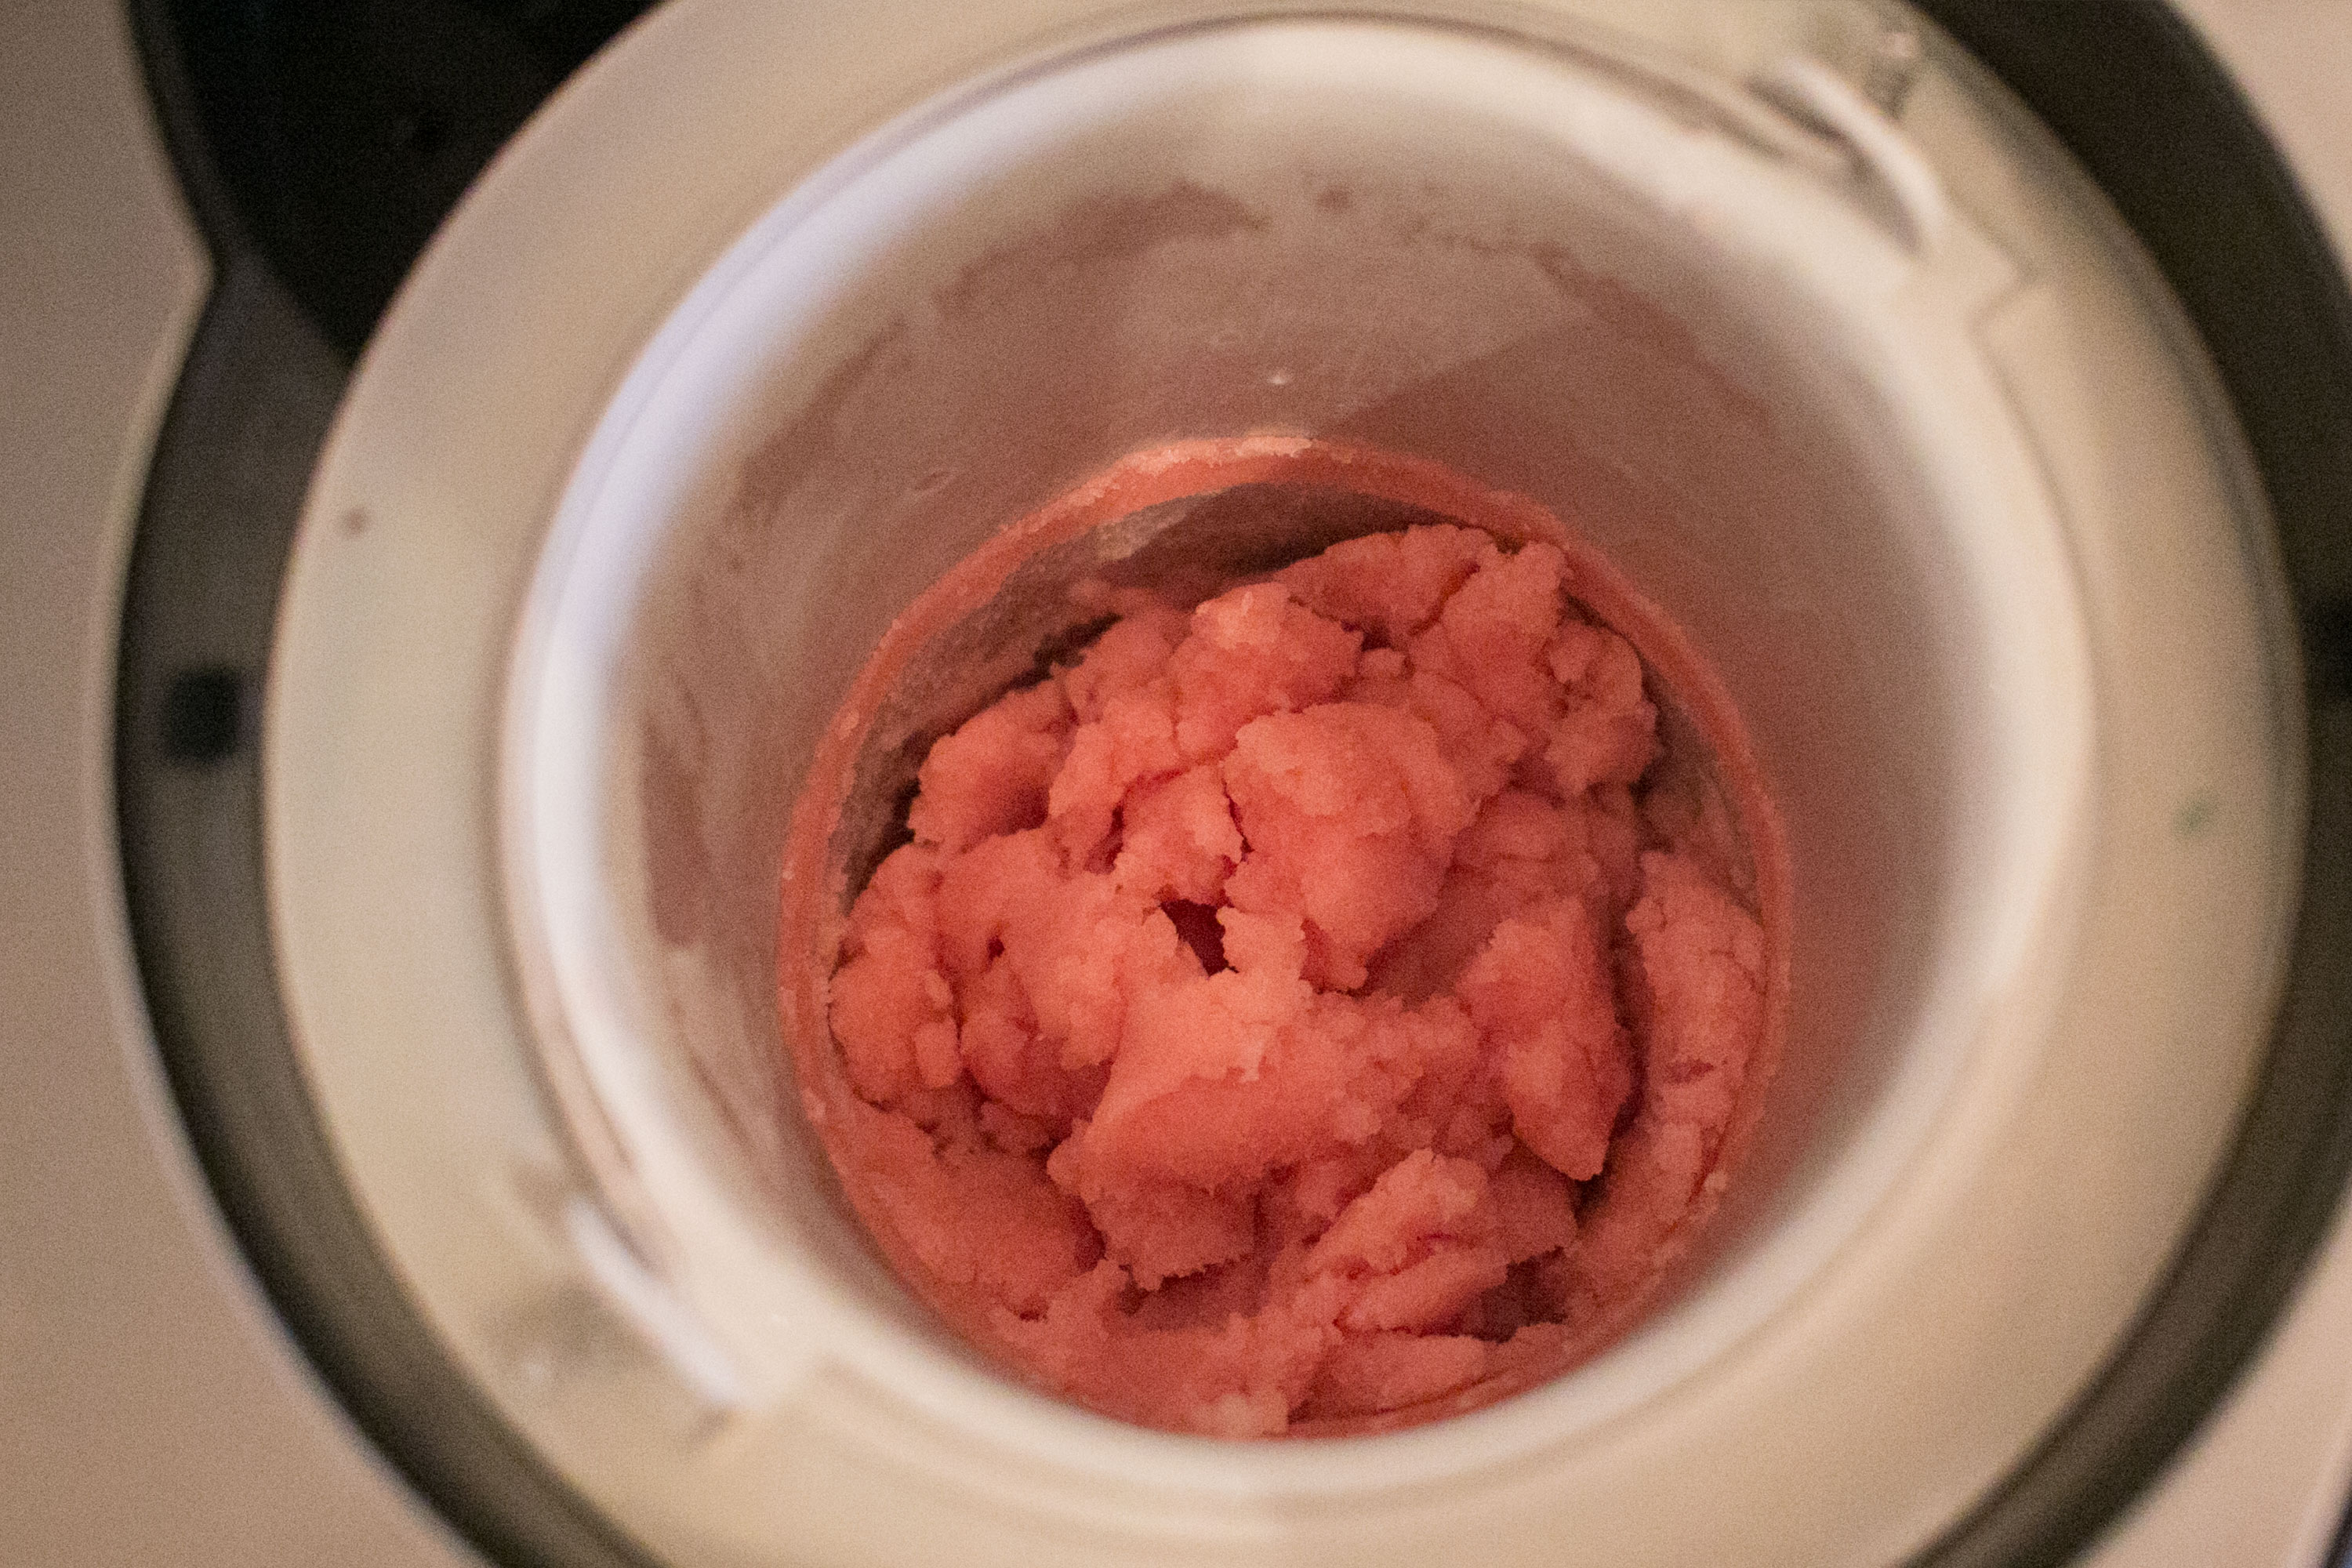
This step is really easy, simply add all the ingredients and start your ice machine.
We tried using a brain chocolate candy mold to give the ice cream a brain shape, but sadly it failed (it stuck to the mold and fell apart). Simply place it in the zombie cup and form the shape with a spoon.