AlarmPi - IoT Alarm System
by ale_grey_91 in Circuits > Raspberry Pi
5634 Views, 43 Favorites, 0 Comments
AlarmPi - IoT Alarm System


AlarmPi is an alarm system ESP - Raspberry Pi - Telegram based.
As you can see in the explanatory pic:
- The ESP module works as a device for reading sensors (in this case, for motion detecting by the PIR, but you can use any kind of sensor, because the raspberry pi server is very modular and it can reach any kind of request from ESP!!. So, not only PIR sensor!).
- After reading, it sends a message to the Raspberry Pi local server (step 1 - 2).
- Raspberry server, only intercept this kind of message and sends it to you through Telegram (step 3 - 4).
- Then you will receive a message on your own chat (step 5).
Setup Linux Server
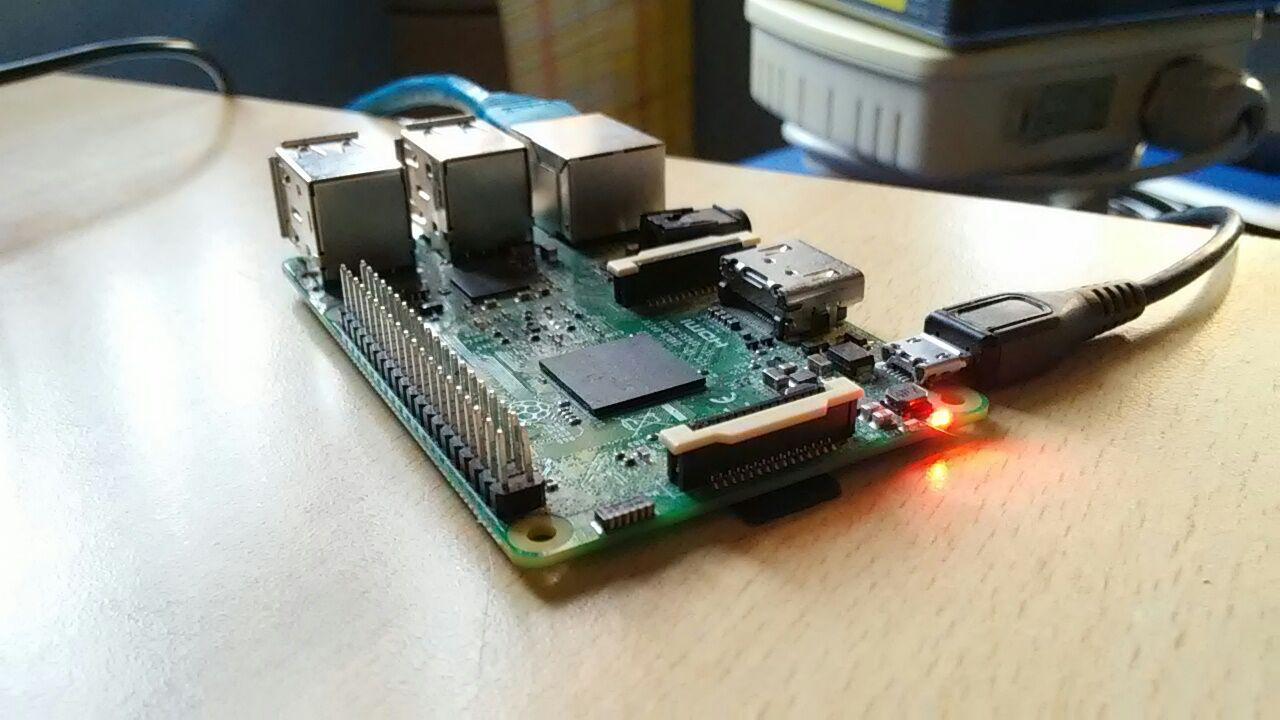
First, we need a server that can intercept all our requests sended by the IoT device(s) (esp8266).
So, we need a Raspberry Pi (I'm using a RPi3 model), or other similar devices with a Linux distro installed (in my case Archlinux).
After installing the Linux distro and connect the device to your home router, we need to set it up to do its job:
1) Install Telegram-cli:
- First of all, we need to install other packages to get this result.
(All instructions about the installation are available to this link: https://github.com/vysheng/tg )
Packages are: base-devel, git, libconfig, lua, jansson and openssl. So from command line:
$ sudo pacman -Syu #(first update!)
$ sudo pacman -S base-devel git libconfig lua jansson openssl
- Now we are able to install telegram-cli from source (i recomended from source because my scripts are based on home directory installation)
- So, from your home directory:
$ git clone --recursive https://github.com/vysheng/tg.git && cd tg
$ ./configure
$ make
- Now we can start and configure telegram using the command:
$ bin/telegram-cli -k tg-server.pub
- Now we can add our script to send messages. Download the file sendTelegram.txt and put it on your home directory as sendTelegram.sh (just rename the file from sendTelegram.txt to sendTelegram.sh).
- Make it executable:
$ chmod +x ~/sendTelegram.sh
2) Install avahi and configure it with the correct service:
'Avahi provides local hostname resolution using a "hostname.local".' [cit. from Avahi ArchWiki page ]
Avahi service needs to make Raspberry Pi visible to the ESP as a local server using "alarmpi.local" domain name.
- Install packages:
$ sudo pacman -S avahi nss-mdns
- Enable IPV4LL from dhcpcd config file:
$ sudo sed -i '/noipv4ll/c\#noipv4ll' /etc/dhcpcd.conf
- Download the file http.service and put it on /etc/avahi/services/ of your RaspberryPi server.
- Finally, you can enable and start systemd services:
$ sudo systemctl enable dbus
$ sudo systemctl start dbus
$ sudo systemctl enable avahi-daemon
$ sudo systemctl start avahi-daemon
3) Install node.js to start our javascript based server:
- Install nodejs:
$ sudo pacman -S nodejs npm
- Create the directory that will contain files of node server application:
$ mkdir ~/myapp && cd ~/myapp
- Download the node server (file called index.js) and put it on ~/myapp/
- Download node express module (always on current directory) to start application:
$ npm install express --save
- Download the file called nodeserver.service and put it on /etc/systemd/system/nodeserver.service
- Finally, we can enable node server service to start at boot:
$ sudo systemctl enable nodeserver.service
$ sudo systemctl start nodeserver.service
- Set hostname:
$ sudo hostnamectl set-hostname alarmpi
$ sudo reboot
- At the next boot we will have all the configured server!
Setup and Upload Sketch on You ESP System
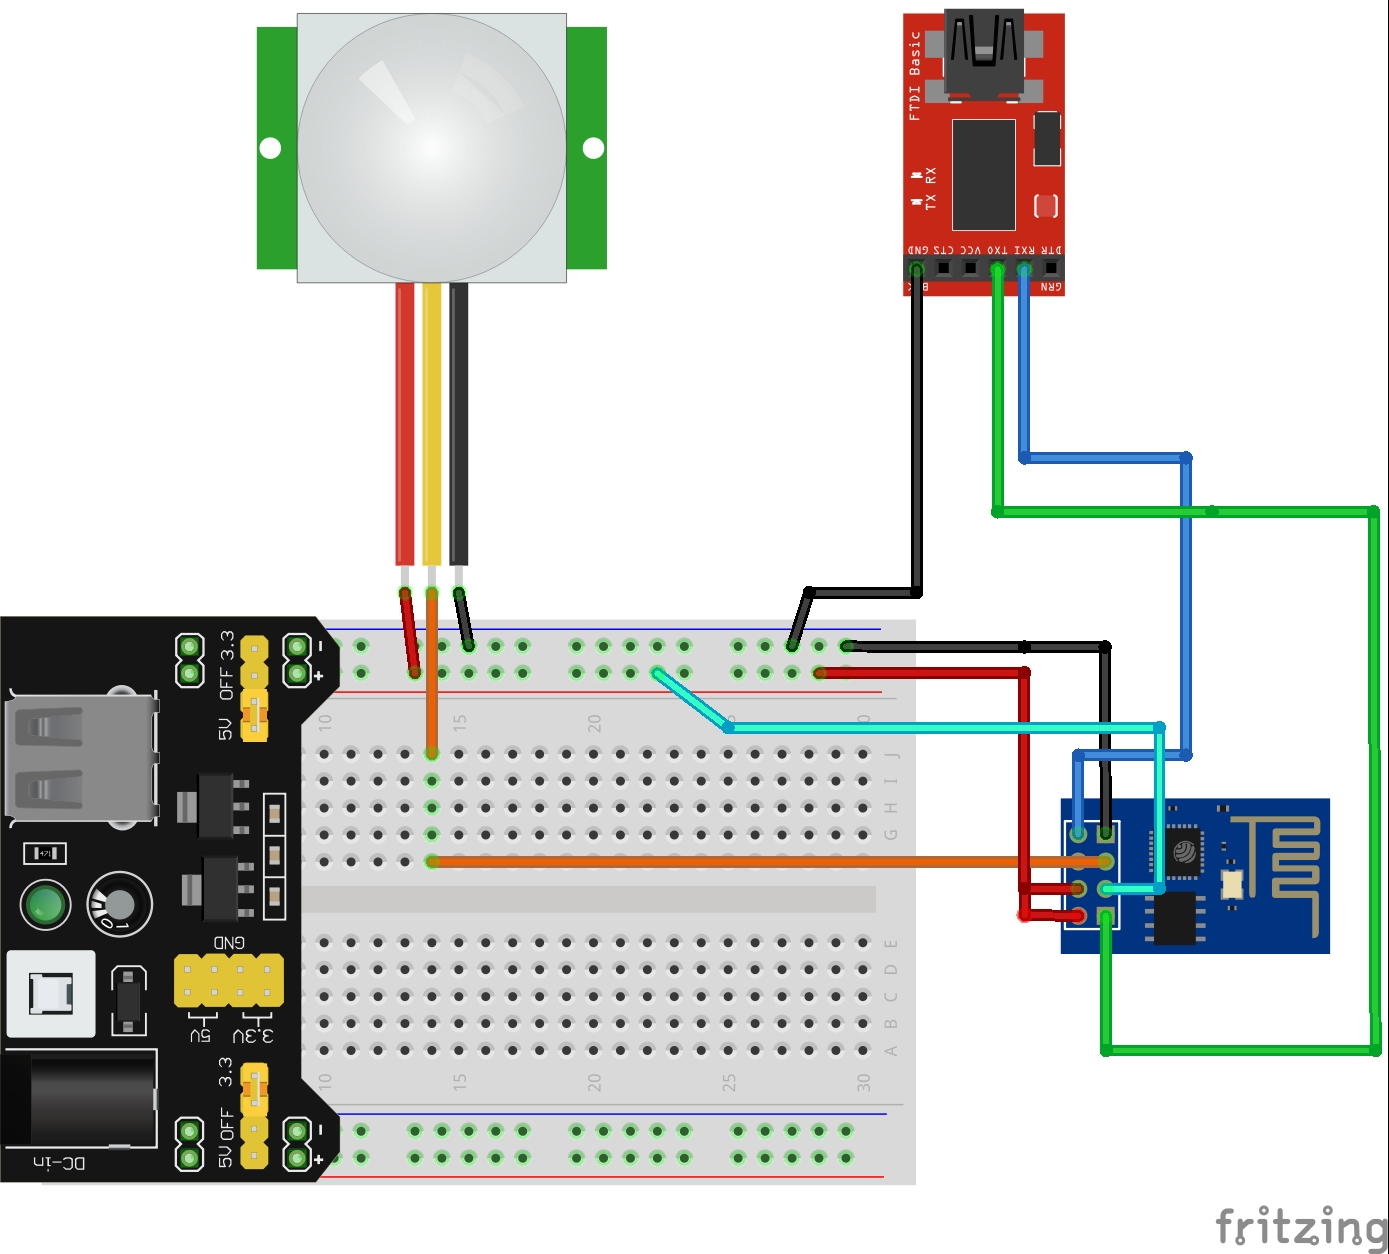
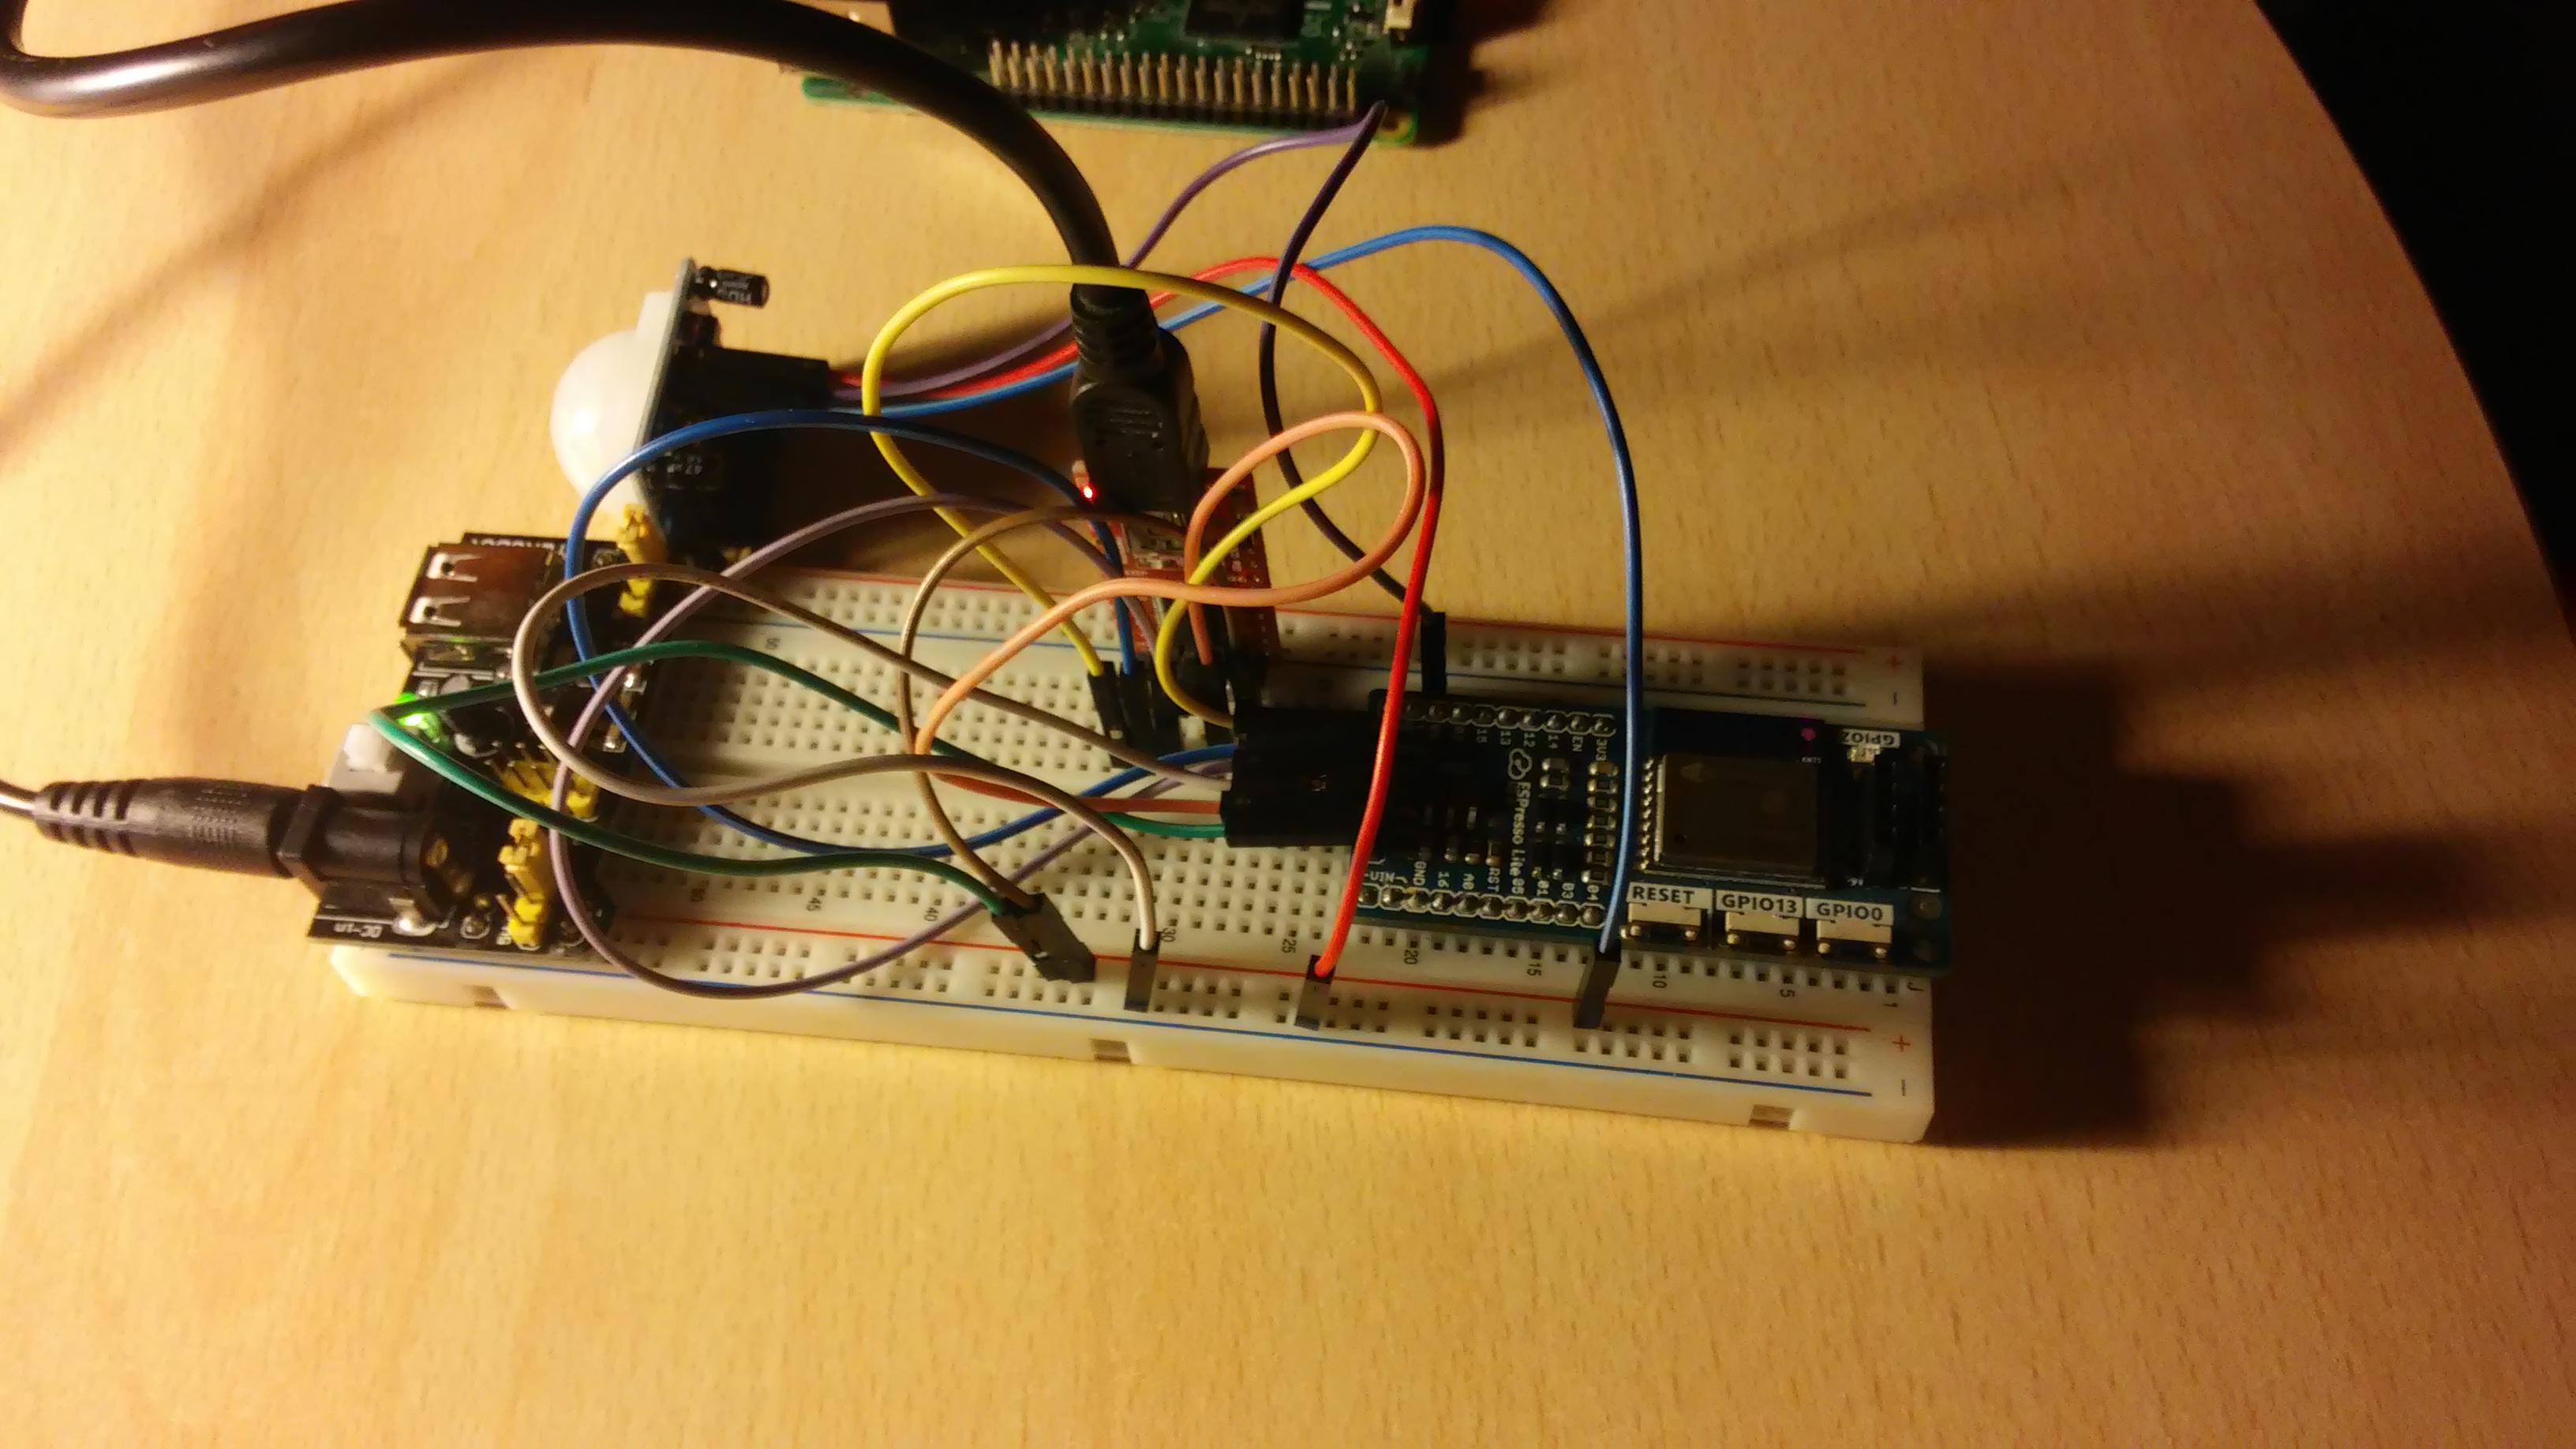
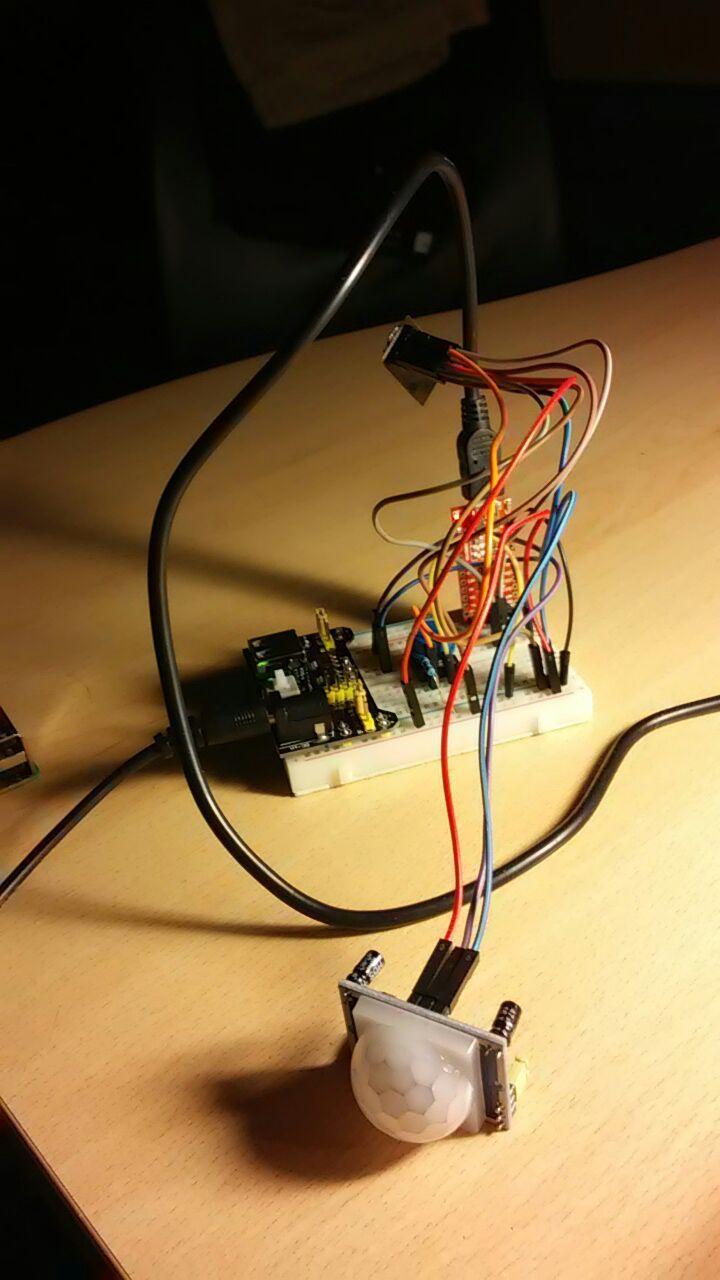
For the second and latest step we need to assemble a little electronic circuit with the following components:
- Power supply 3.3/5v
- Serial programmer FTD1232
- ESP module (in my case Espresso Lite v2.0 or ESP8266-01)
- PIR sensor (or any other kind of sensor you want!)
This electronic circuit will detect motions and will send these to the AlarmPi server.
After you assembled electronic circuit, you need only to upload the sketch from Arduino IDE or similar through FTD1232.
N.W: In the Fritzing image above, the cyan wire is linking GPIO0 to Vcc. This is to boot the ESP form SPI Flash (only after you uploaded the sketch). If you haven't already uploaded the sketch, cyan wire has to be connected to the GND, to boot ESP in 'Download from UART' mode. It can be seen at: https://github.com/esp8266/esp8266-wiki/wiki/Boot-Process
N.W.2: Arduino IDE must be configured to use ESP module, follow instructions here: https://github.com/esp8266/Arduino )
N.W.3: You need to download the following library too: https://github.com/tzapu/WiFiManager
Downloads
Getting Started
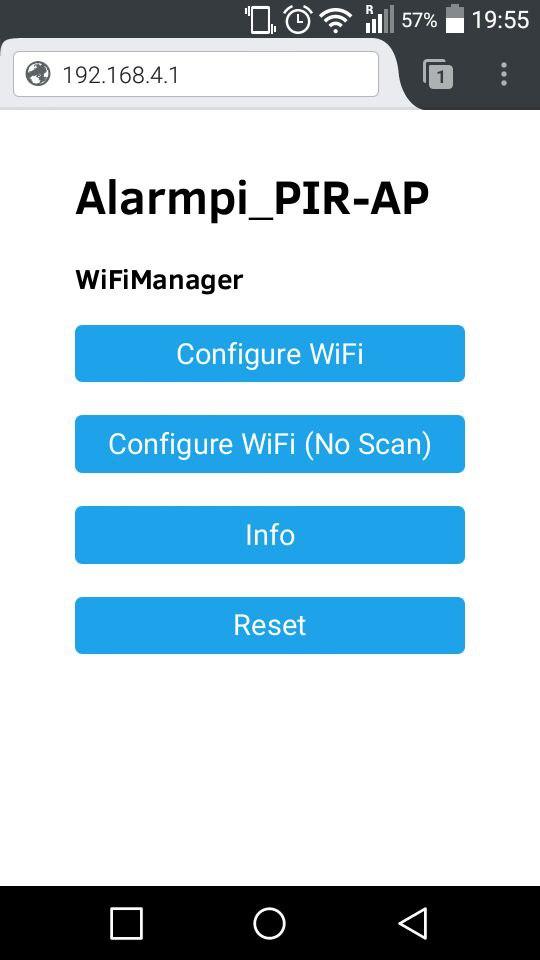

Now to connect ESP to your home WiFi, we need to follow the instructions below:
At boot, if ESP has never been connected to your home network, it creates its own wireless network called "AlarmPi-PIR-AP".
- You need to connect to this network, then open your browser and go to the address: 192.168.4.1
- Now, just find your home wireless from browser interface and insert your SSID and WPA/WEP password.
- ESP will connect automatically! If your submitted password was wrong, ESP will re-creates its wireless to repeat the procedure until it connects.
(All of this it's possible thanks to the following library: https://github.com/tzapu/WiFiManager , THANKS TO TZAPU!!)
- Now you only need to wait for the return of your cat at the window! A message from telegram will inform you of your cat's arrival! :D
---------------------------------------------------------------------------------------------
Thanks for your attention!
For insults or other improvement, contact me at: greggialessio@gmail.com
Thanks to my cousin Sofia for help in translation.