Airplane
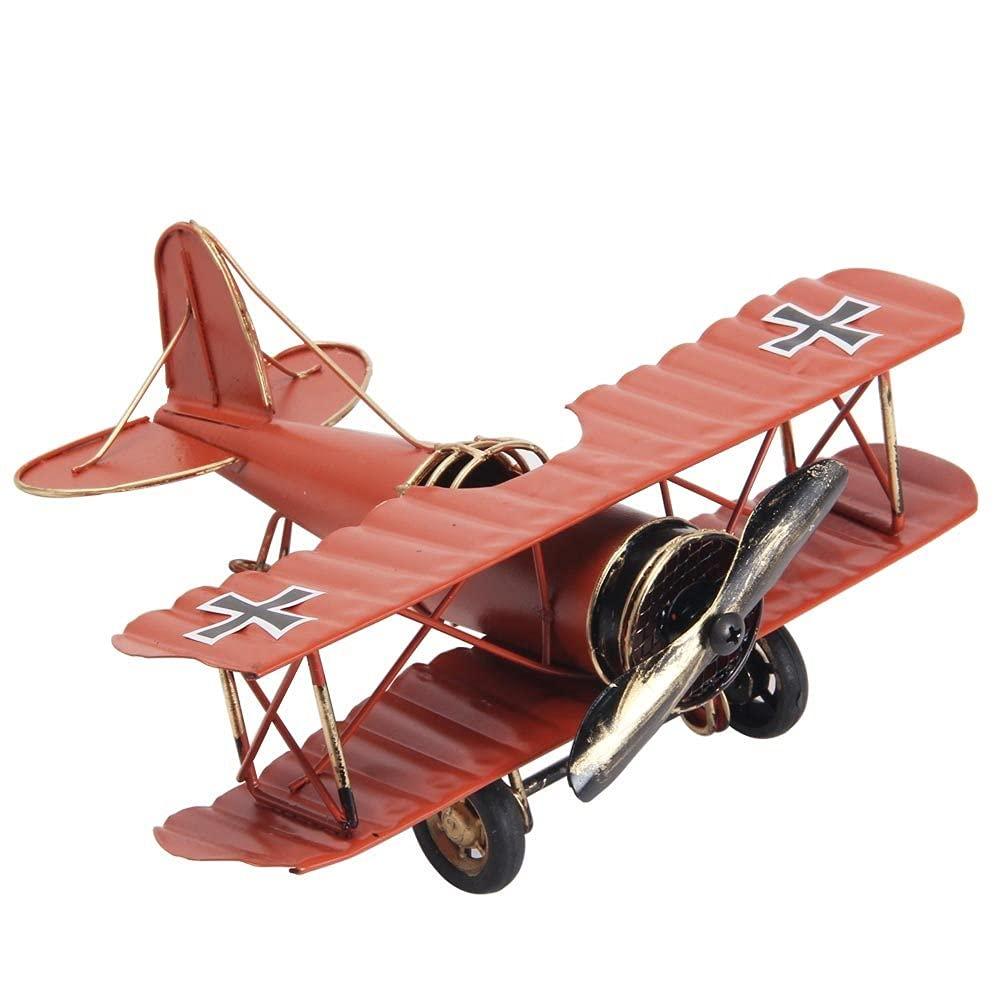
We are going to make an airplane that is toy sized. This is a old model airplane and we are going to use onshape and 3D printer to make it.
Supplies

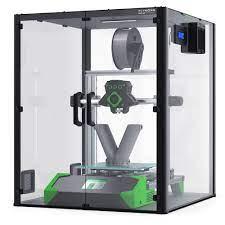
Computer, OnShape, Websites, 3D Printer. \
Wheel Support
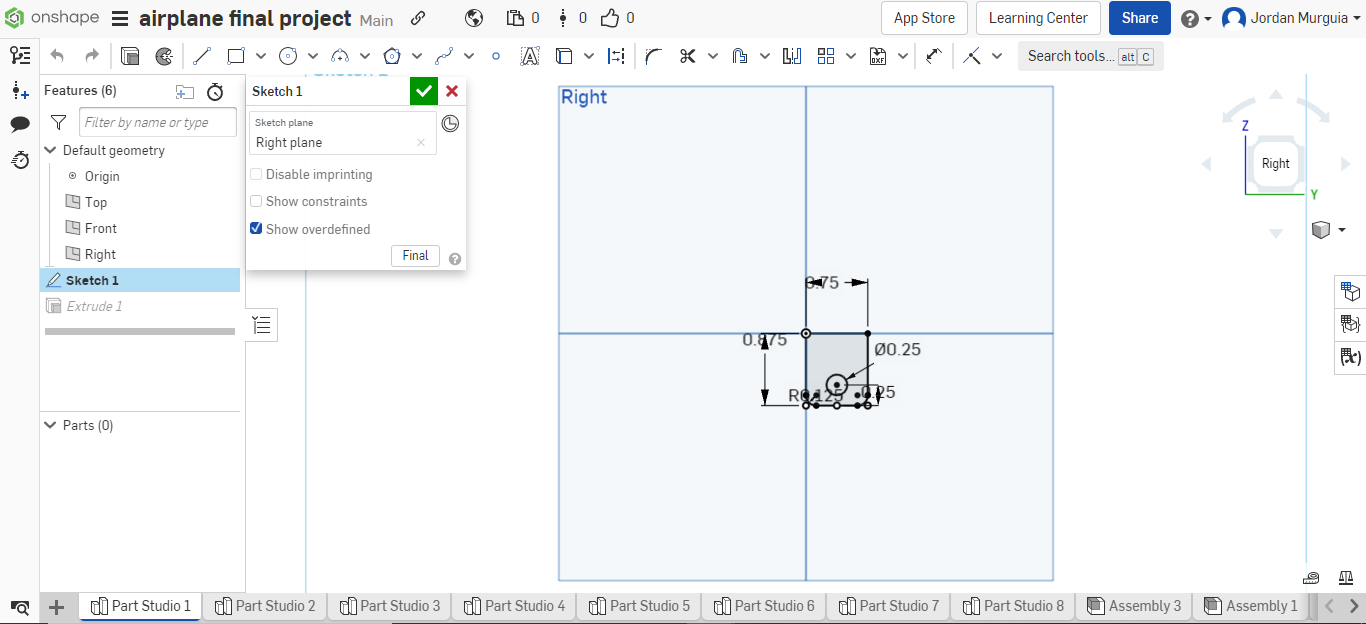
STEP 1: We are going to make the part of the airplane that supports the wheels.
- First we are going to make a rectangle with the measures shown in the picture (0.875inx0.75in)
- Then we are going to add a circle 0.25in away from the bottom part of the rectangle and with a measurement of 0.25in.
- Then add a curve of 0.125in at the bottom angles. (OPTIONAL)
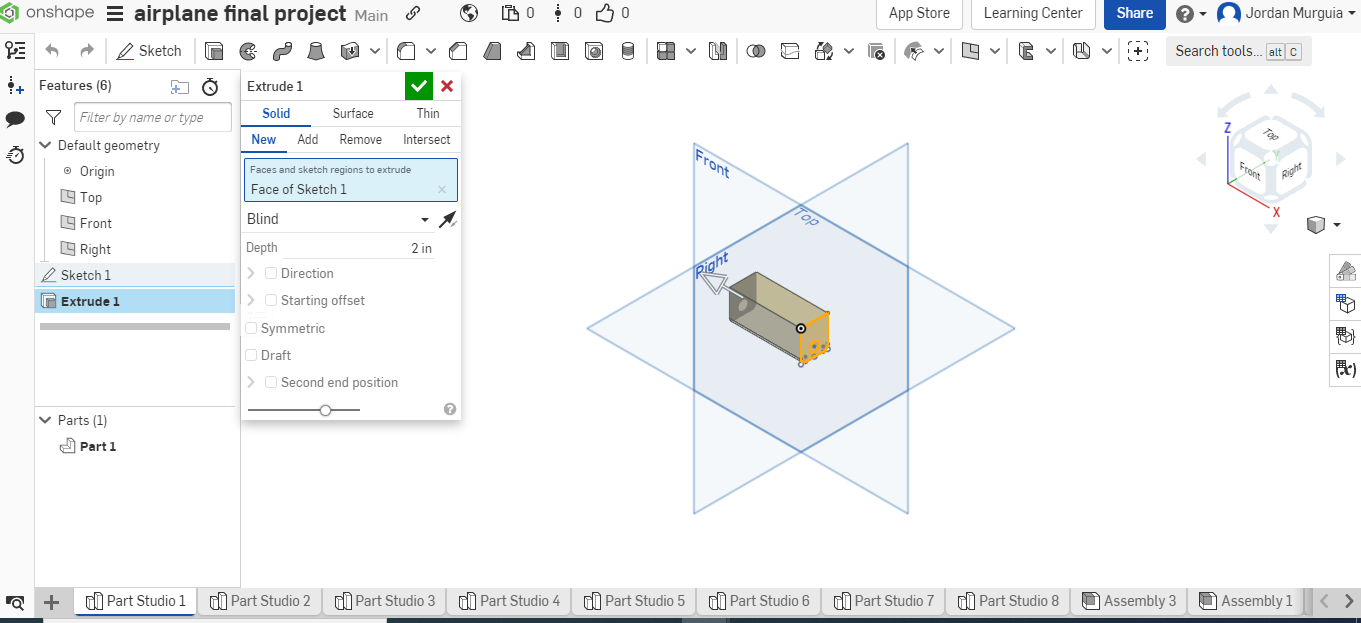
- Lastly extrude it with a 2in depth going the opposite direction.
Tail Wing
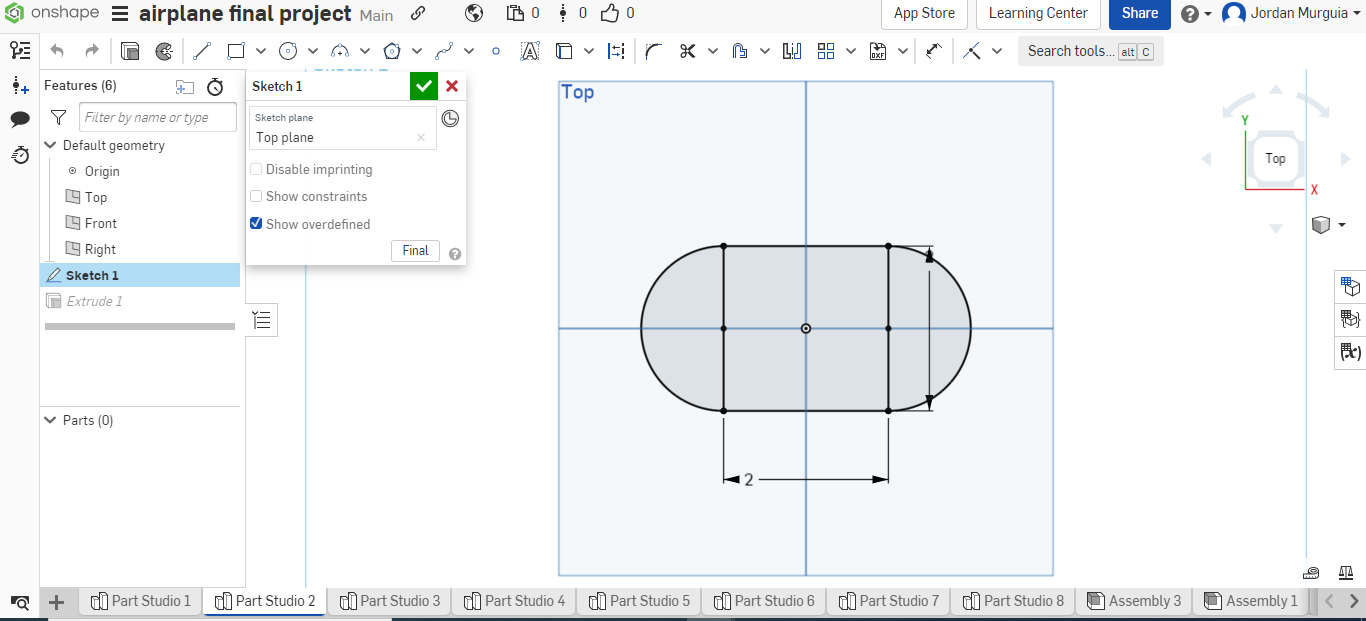

STEP 2: We are going to make of the wings that go on the tail of the airplane.
- First make a 2inx2in square
- Then make and arc from the left and right of the square.
- Lastly extrude it with a 0.25 in depth.
Upper Tail Wing
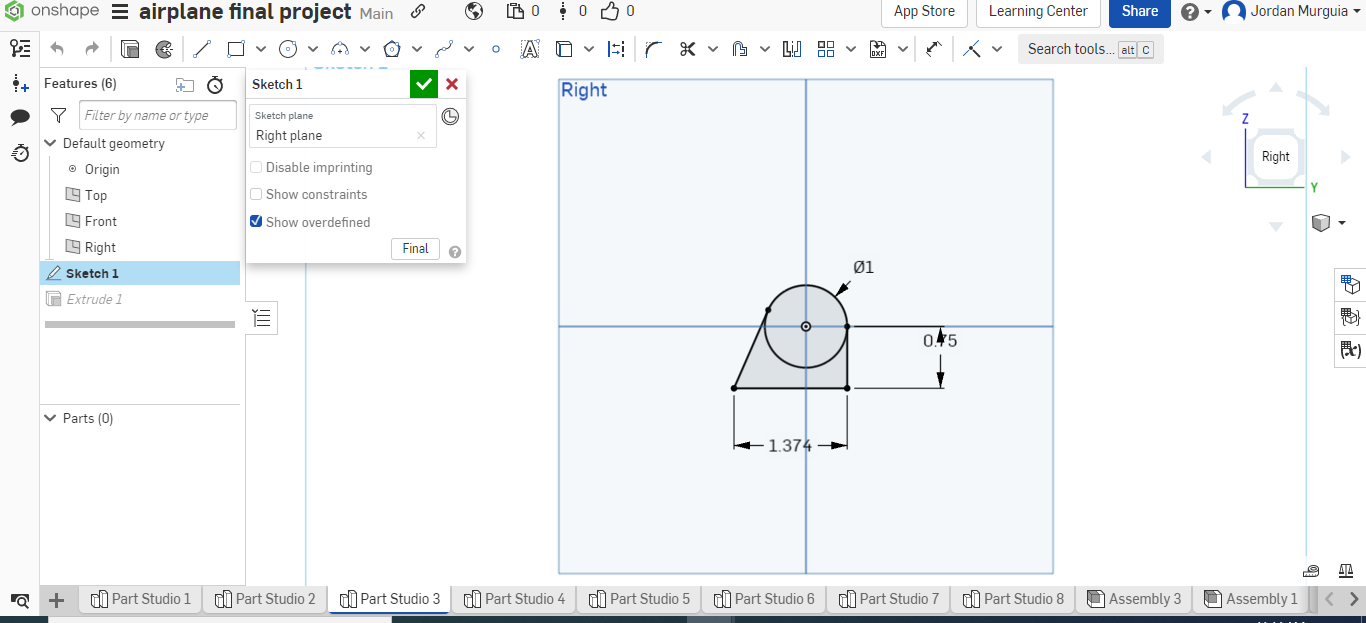

STEP 3: We make the upper part of the back wing.
- Make a circle of 1 in.
- The make the shape under it as shown in the picture (height= 0.75) and the bottom you can adjust to what u need or want.
- Extrude with a depth of 0.25 in.
Middle Wing
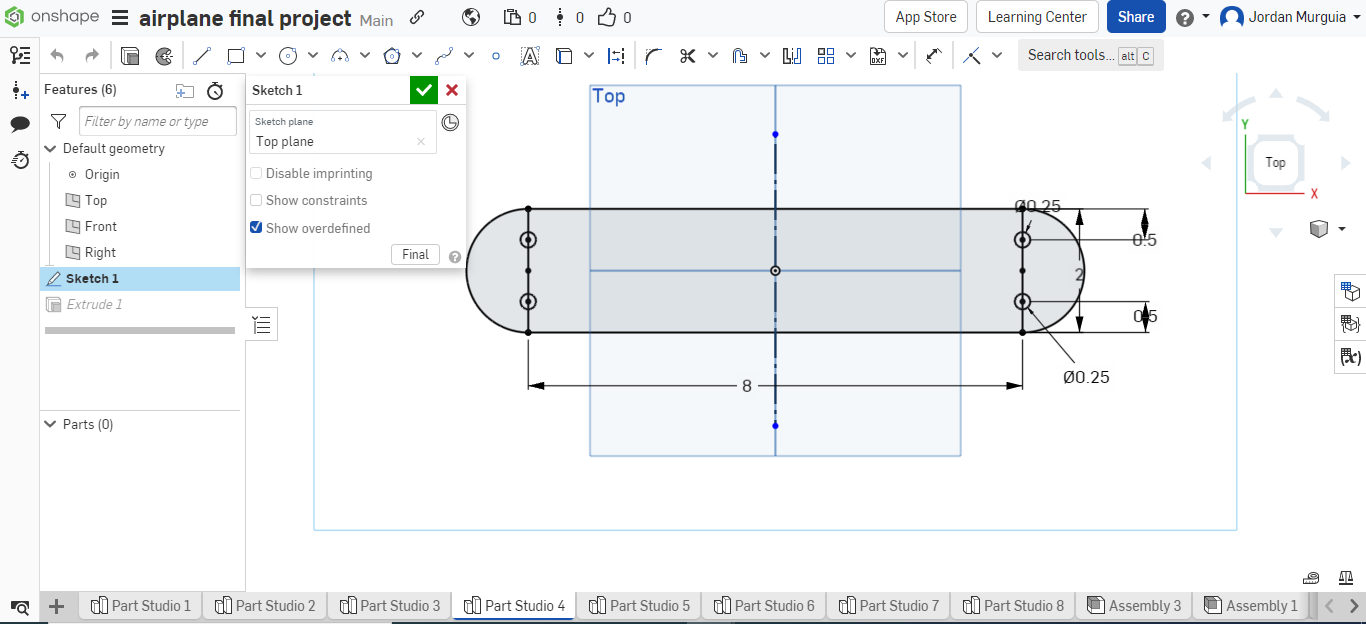
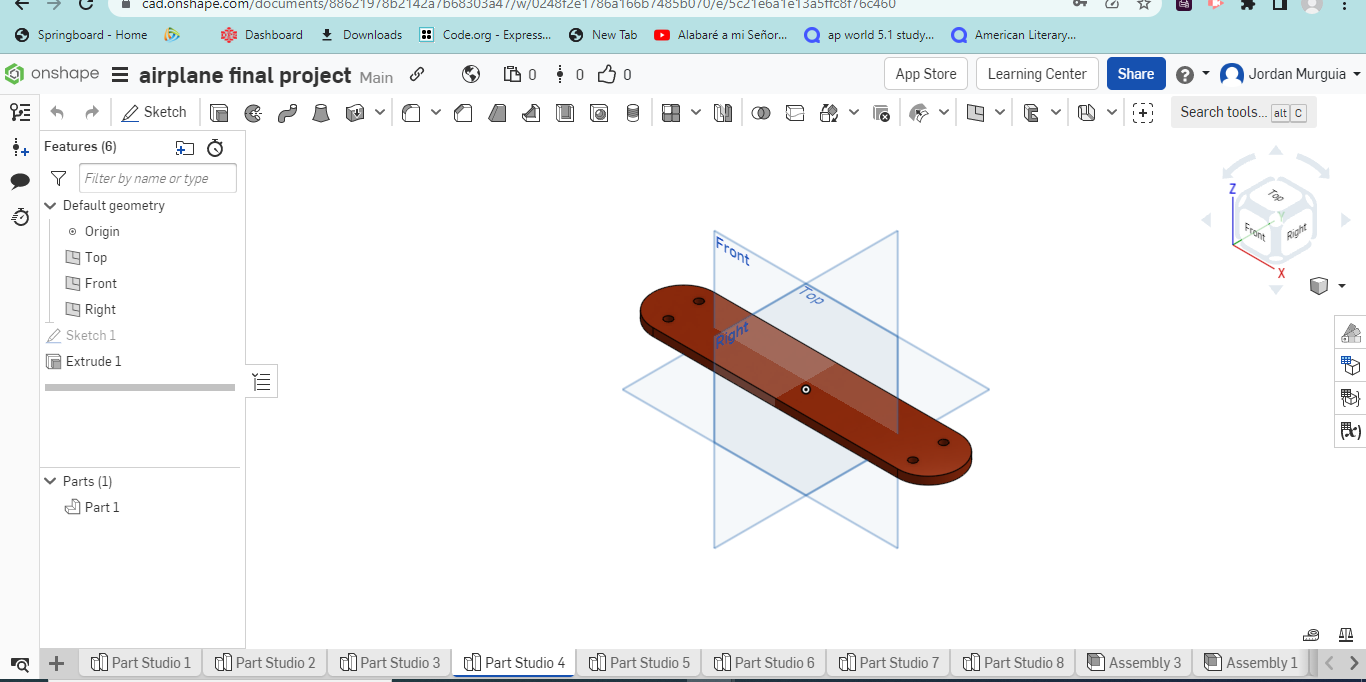
STEP 4: We are going to make the middle wings of the airplane.
- First make a 8inx2in rectangle and then add an arc in both sides.
- Make four 0.25in circle 0.5in from the top and bottom at the intersecting line of the rectangle and arc in both sides.
- Extrude (except the small circles) with a depth of 0.25in.
Propeller

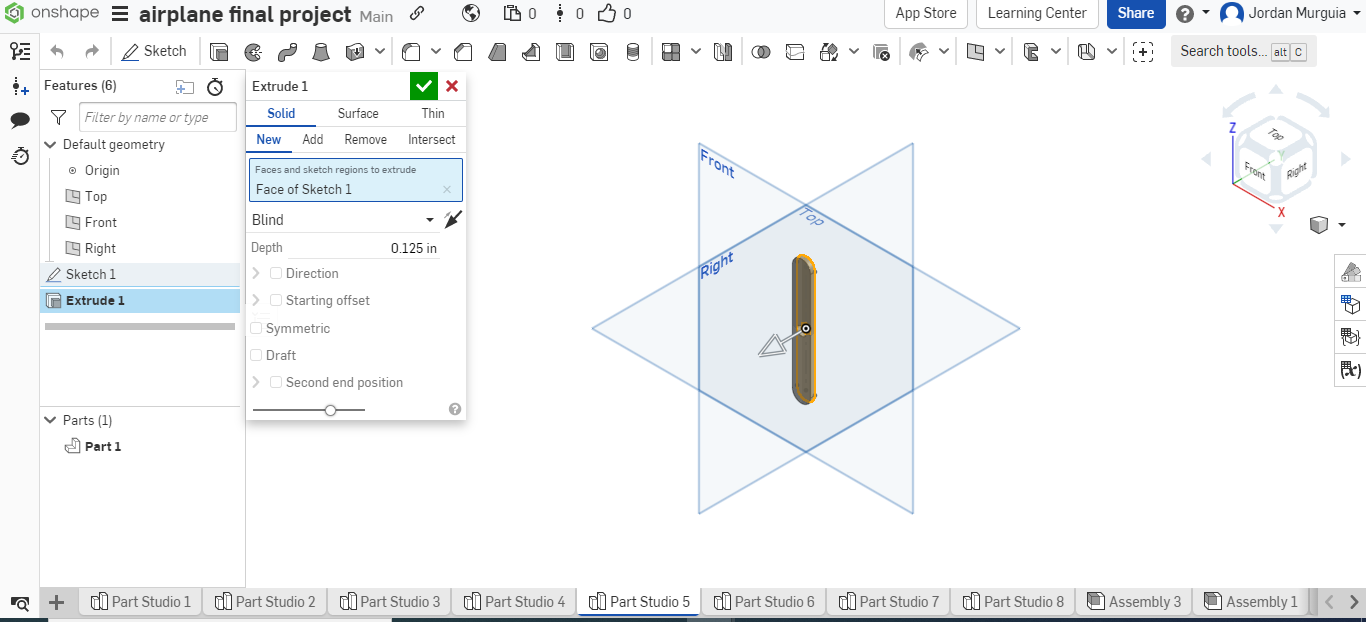
STEP 5: We are going to make the propeller.
- Make a 0.5inx3in rectangle and arc the top and bottom.
- Add a 0.25in circle in the middle
- Extrude (except the middle circle) with a depth of 0.125in
Connector
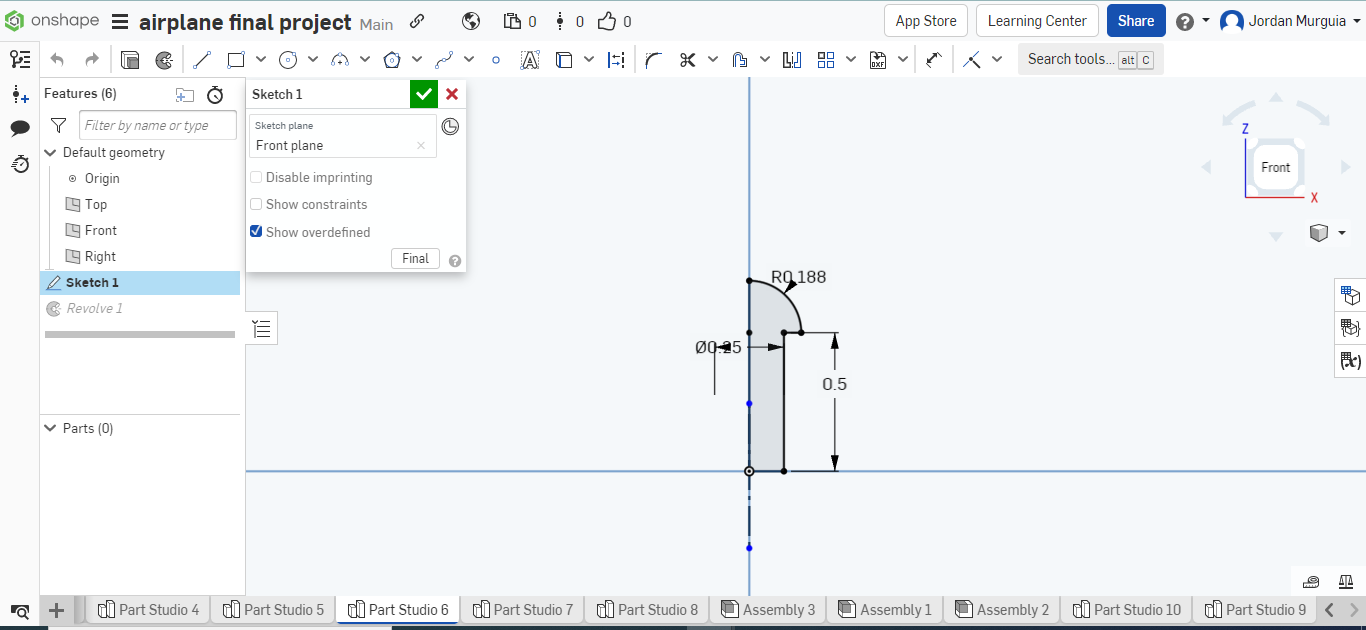
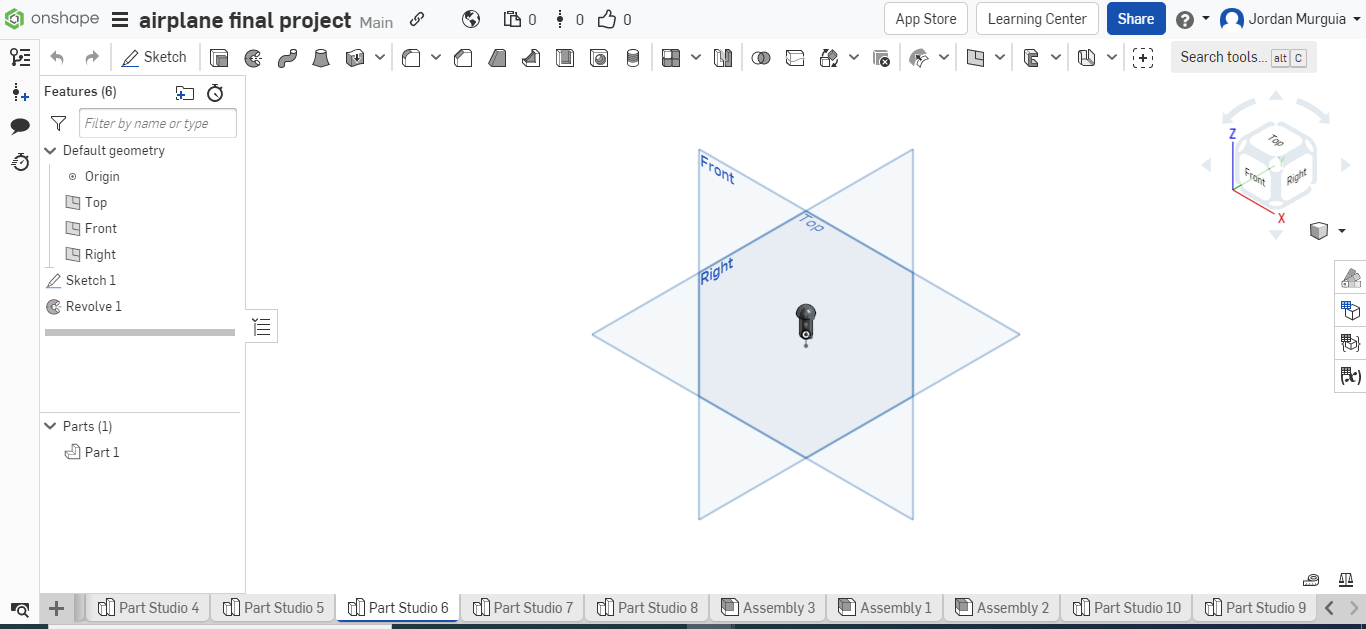
STEP 6: We are going to make the part that connects the propeller to the airplane.
- Make a rectangle 0.125inx.0.5in.
- then go to the right 0.062in from the top part.
- add 0.187in to left side going up
- then connect both sides with an arc (it should end up 0.188in)
- Then click revolve.
Wheels
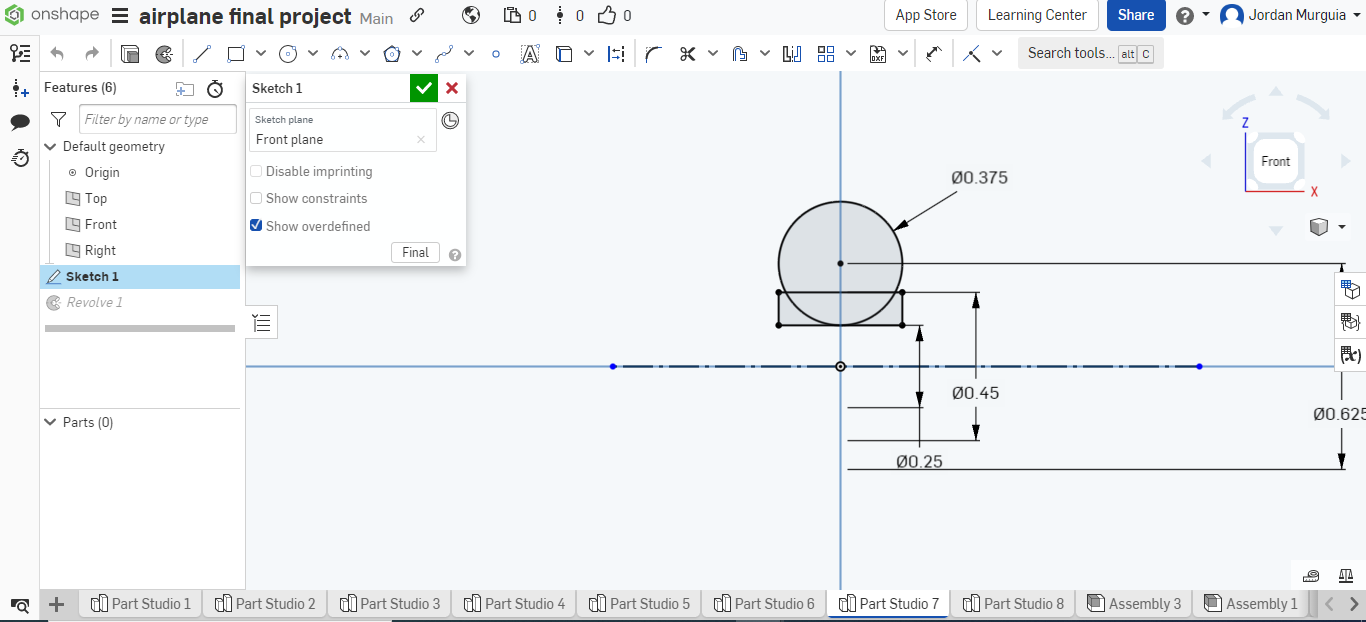

STEP 7: We are going to make the wheels.
- Start by making a 0.1inx0.375in rectangle 0.25in from the middle
- Make a 0.375in circle at the bottom middle of the rectangle.
- Then click revolve.
Body
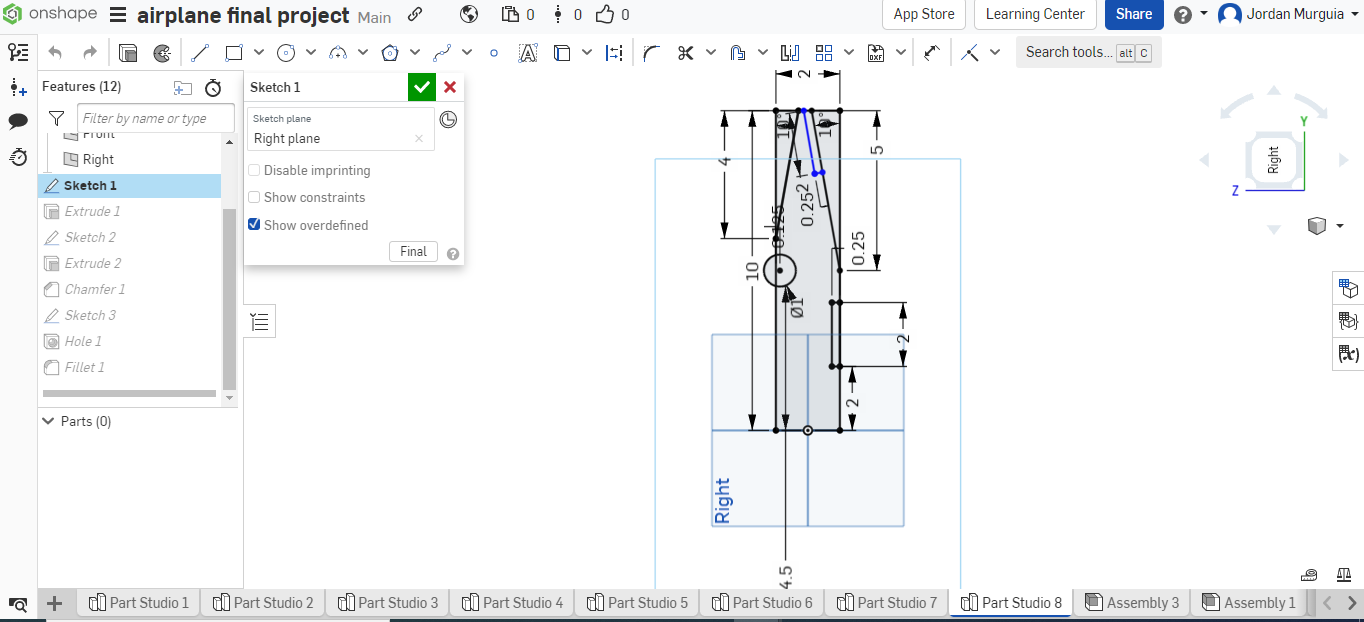
STEP 8: We are going to make the body of the airplane.
- Make a 2inx10in rectangle.
- Make a little rectangle under it 2in from the left side with the measurement of 0.25inx2in
- Make a 1in circle 4.5in from the left side
- Add a line from the top to the right side with a measurement of 4in and 10 degrees. Same thing in the bottom but with 5in instead of 4in.
- Then extrude symmetrically with a depth of 1.25in
- ----------------------------------------------------------------------------------------------------
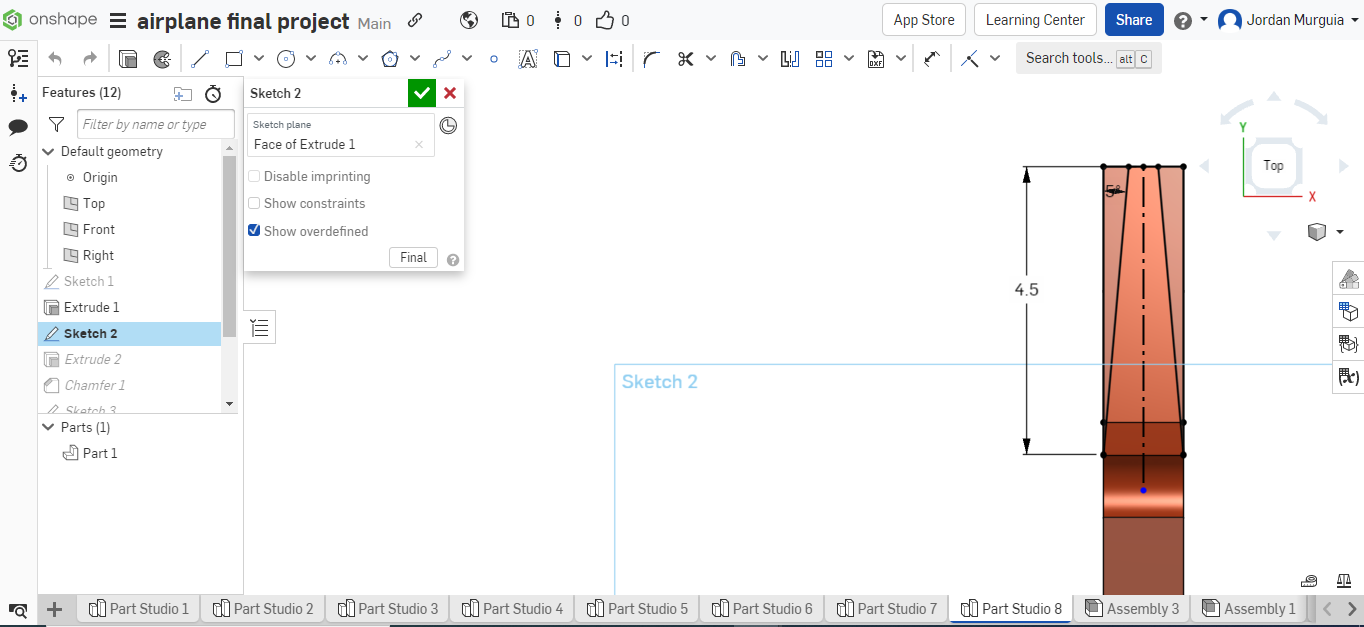
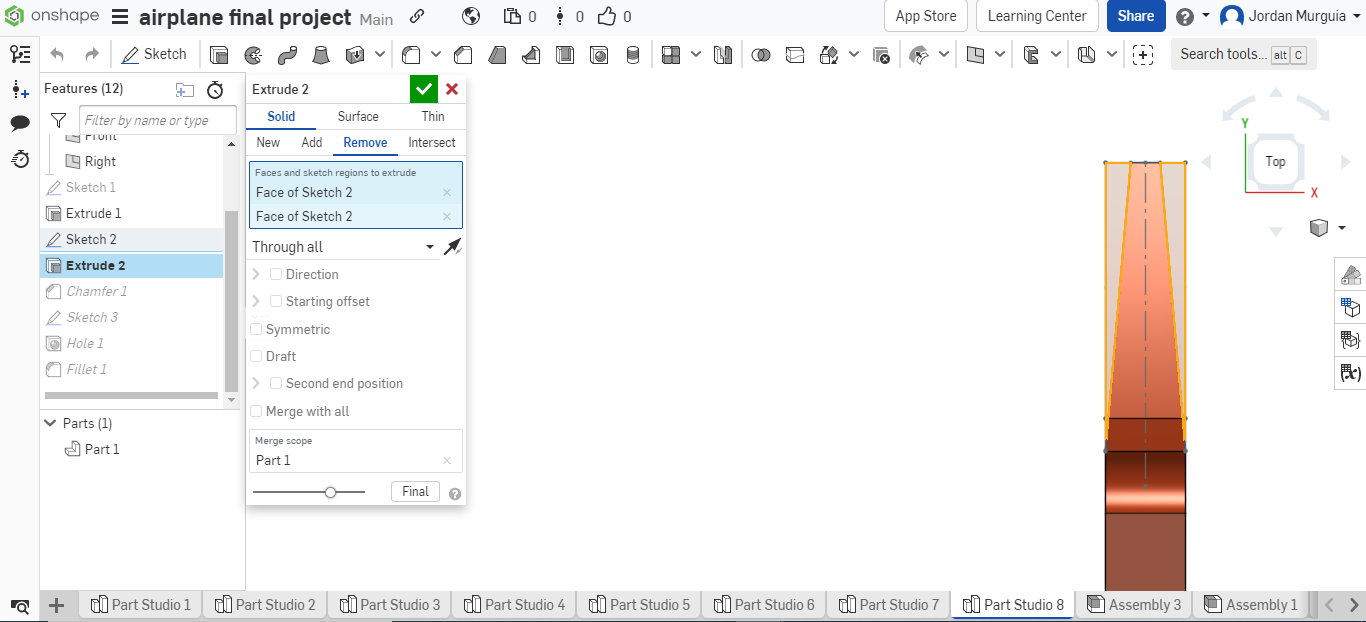
- Create a new sketch a glance the back edges of the plane
- Make a line from the top back part to the right part of 4.5in with a 5 degree angle, repeat in the bottom part.
- Extrude and click remove and then click "through all".
- ----------------------------------------------------------------------------------------------------
- Select chanter and make it a 1in distance and 14 degrees. Then click the front edges.
- Make a whole of 0.5in in the middle point.
- Use fillet of 0.125in all over the edges of the plane.
- CLICK ACCEPT
Wheel Completed

STEP 9: We are going to connect step 1 to step 7.
- This is fairly simple since all we need to use is the "fastened mate" button that connect the wheel to edges of the "box"
Wings Completed
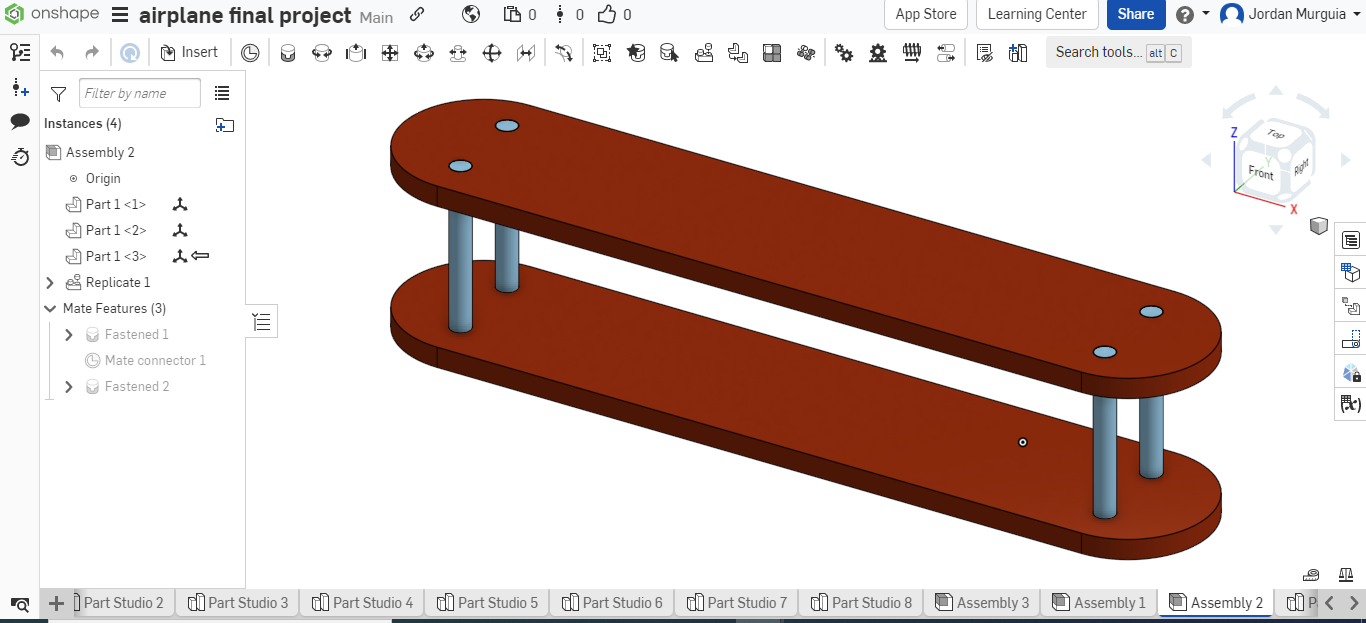
STEP 10: We are going to make the front wings by adding 2 "step 4's" together.
- Put one wing in top of another symmetrically.
- Add tubes in every whole there is (4).
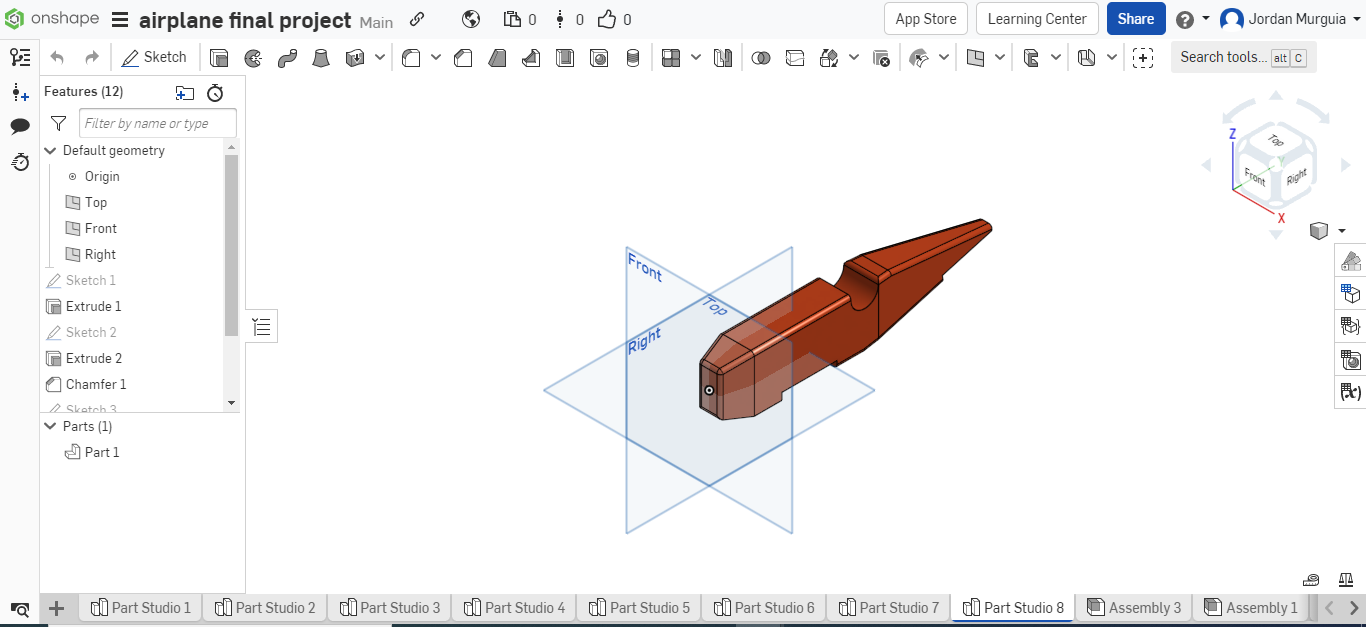
Airplane Completed
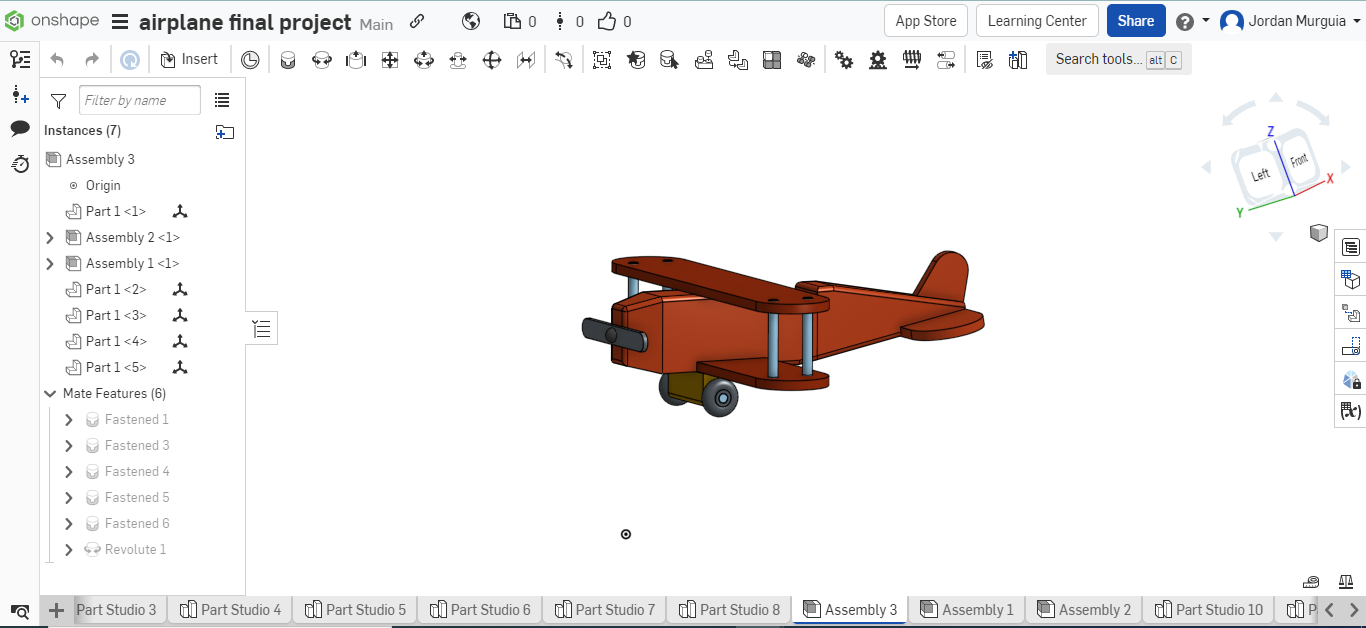
STEP 11: We are going to connect everything to have our plane assemble.
- There's not much to this step since all you need to do is use the "fastened mate" to connect every piece together like shown in the picture above.
- You can then go back and change the colors.