Aircraft HDR Photo Processing
by MissionSRX in Circuits > Cameras
7095 Views, 69 Favorites, 0 Comments
Aircraft HDR Photo Processing
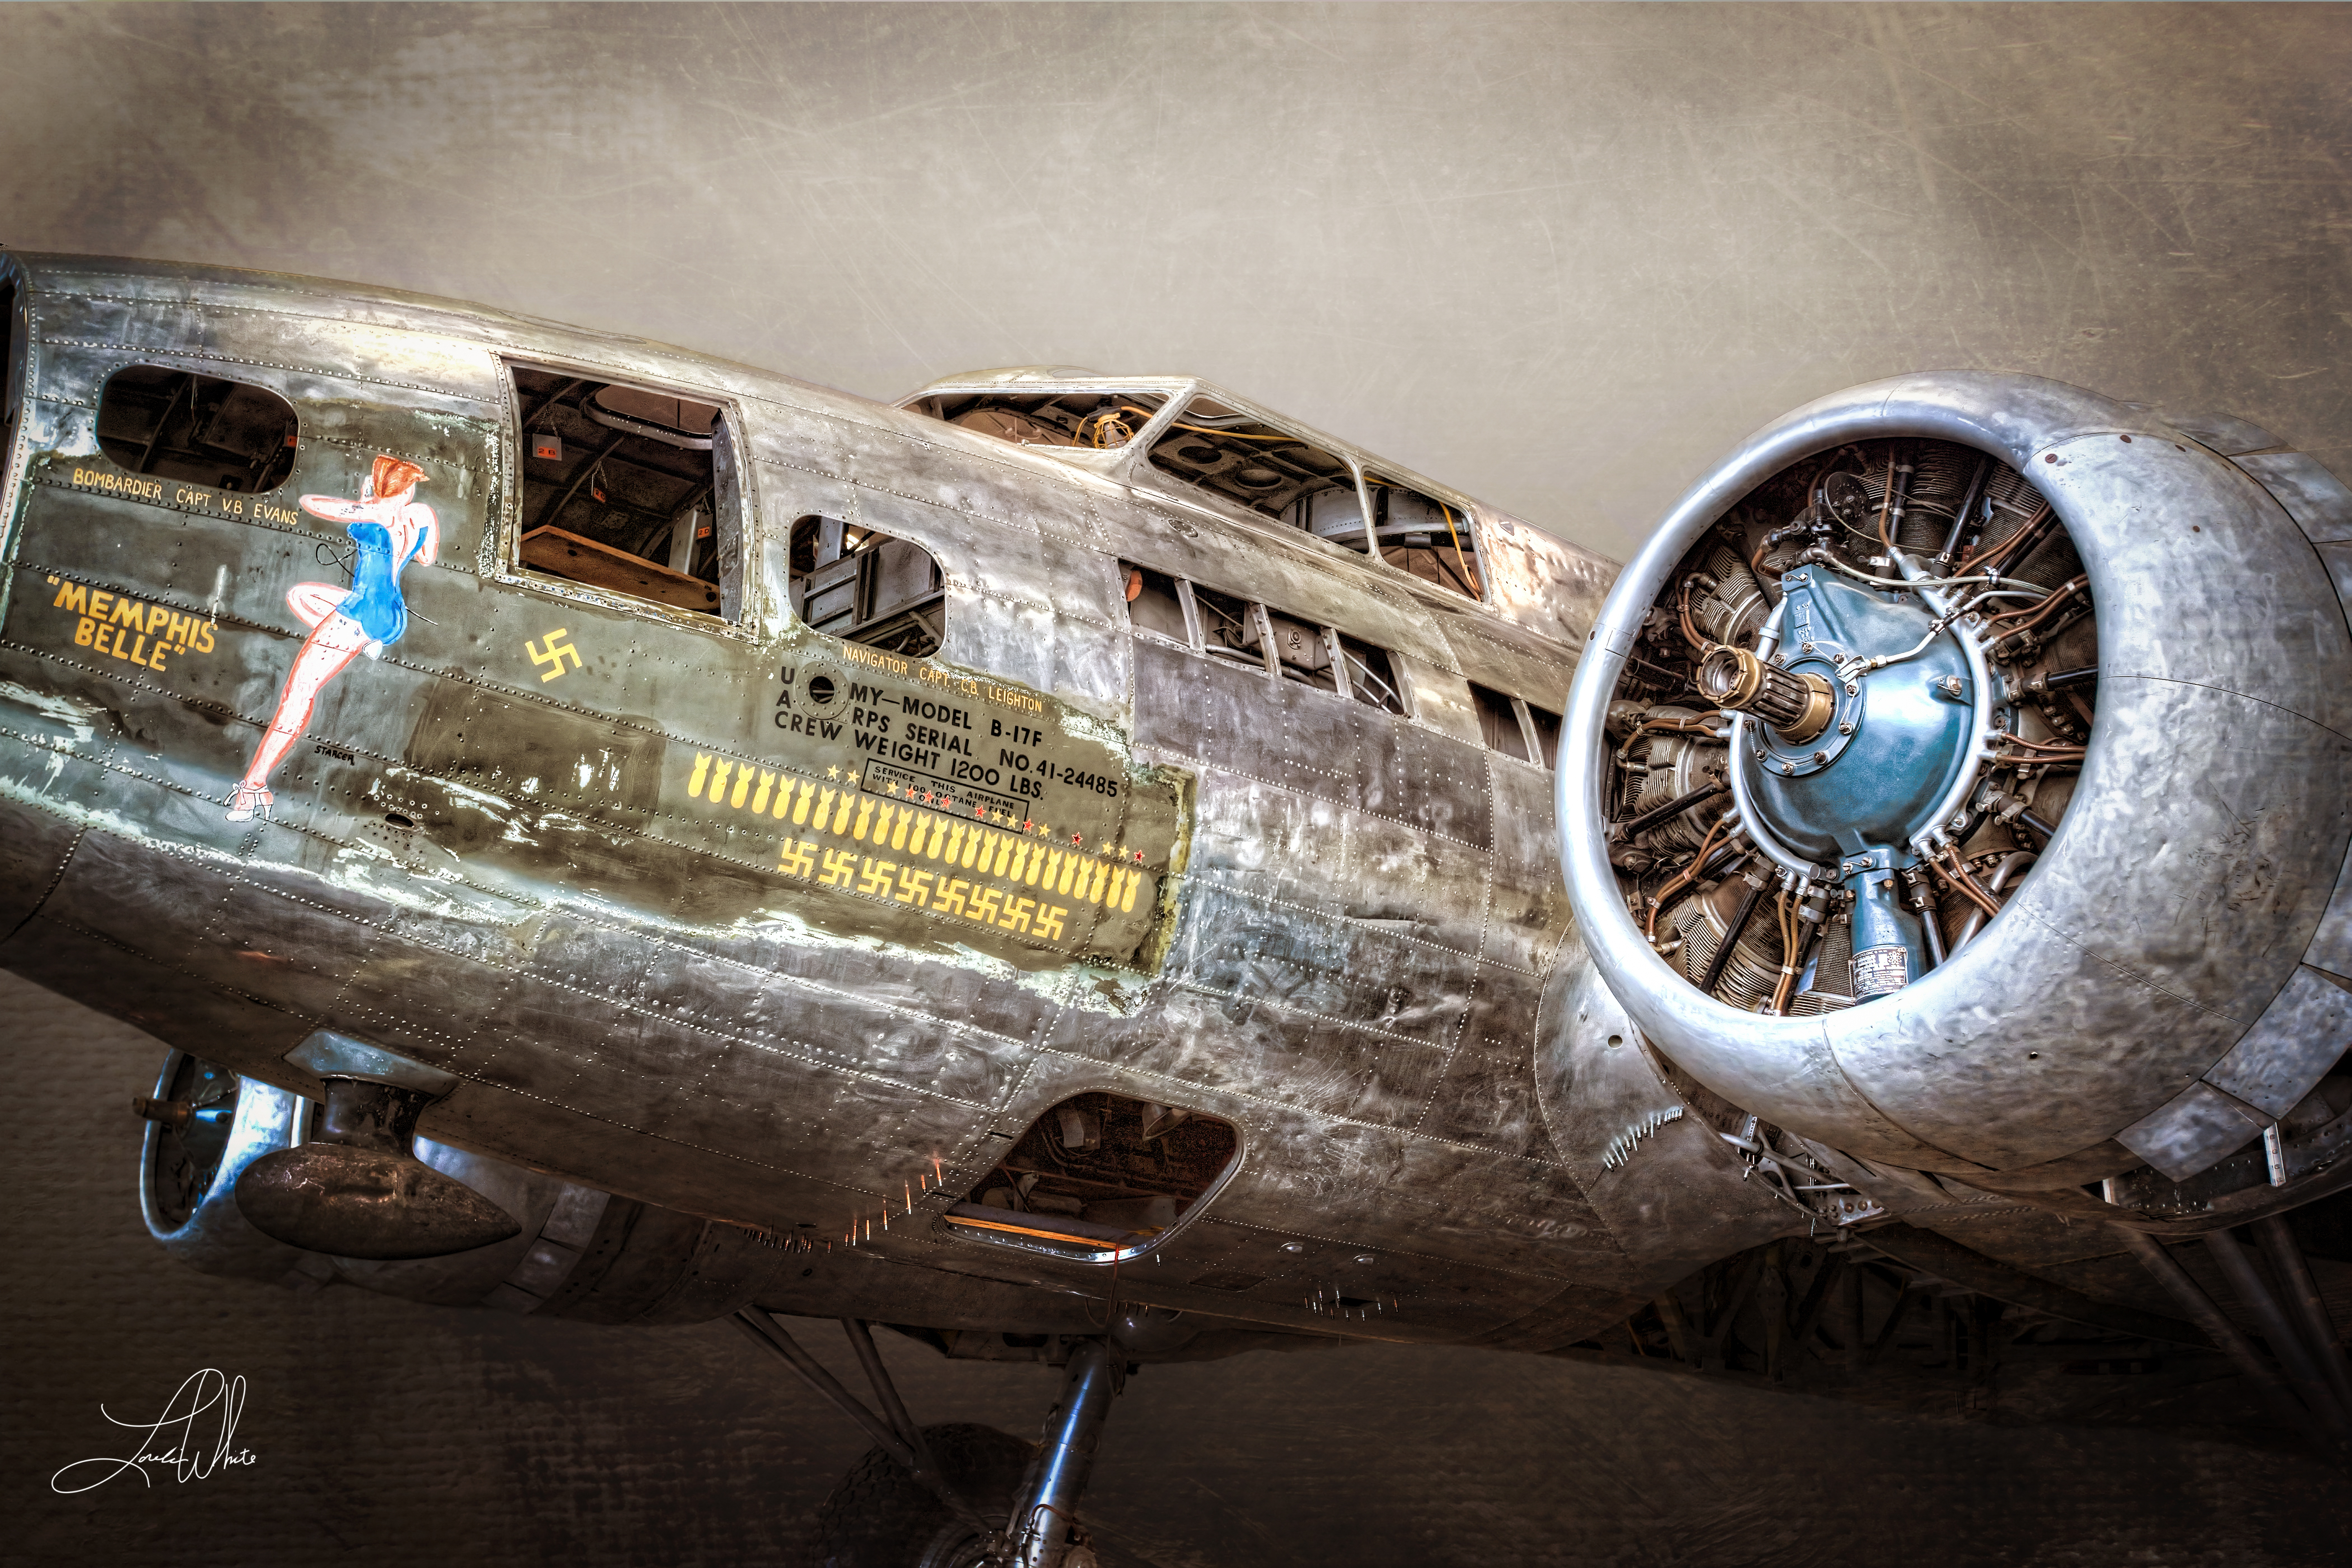
Digital photography has opened many new techniques to the masses. One of the most impressive is HDR photography. HDR, or High Dynamic Range images, use digital processing to combine multiple shots at different exposures. Camera sensors can’t capture the same dynamic range as our eyes, the difference between the darks in the shadows and the lightest lights in the highlight. Then often when we take a picture of a scene that has a dynamic range of 16 stops of light difference then we have to compromise what we expose for. Example would be taking a picture of a beautiful bridge with lots of detail in the construction and a beautifully light sky. If you expose for the sky, than more than likely the bridge will be dark or the details in the shadows will be lost. If you expose for the shadows and the details in the bridge, then the beautiful sky will be over exposed and my end up looking white. That is where HDR can help capture what your eyes saw in the shot. Since our eyes are able to see a much greater dynamic range. By combining several pictures with different processing software or methods, you are able to recreate one image that captures the high dynamic range of the scene. The resulting images can are full of depth, clarity and detail.
These images can range from being simply enhanced to bordering on the surreal and nearly resembling an oil painting. This is where your creativity can really come to play, however you want to use a light hand with HDR. You can over process an image, resulting in halos, over saturation that can look displeasing. The key is balance, but then again art is subjective. So play around with what looks best to you.
I had the opportunity to visit the National Museum of the United States Air Force in Dayton, Ohio and get pictures of a number of their planes. Not least among them was the Memphis Belle which is in the middle of a complete restoration. This B-17 was of high renown during and after World War II, being one of the first airframes to survive 25 bombing runs over Nazi Germany and return home.
The depth of textures on its surface and in engine compartment lend perfectly to processing with HDR.
Supplies & Methods
We’ll begin by taking our shot of the plane and run it through a number of Photoshop plugins and tools. These will help enhance the composition in incremental steps and will give us a higher degree of control than only using the built-in filters. For more control, we’ll apply each of the enhancements as new layers and brush them in where we want more accents.
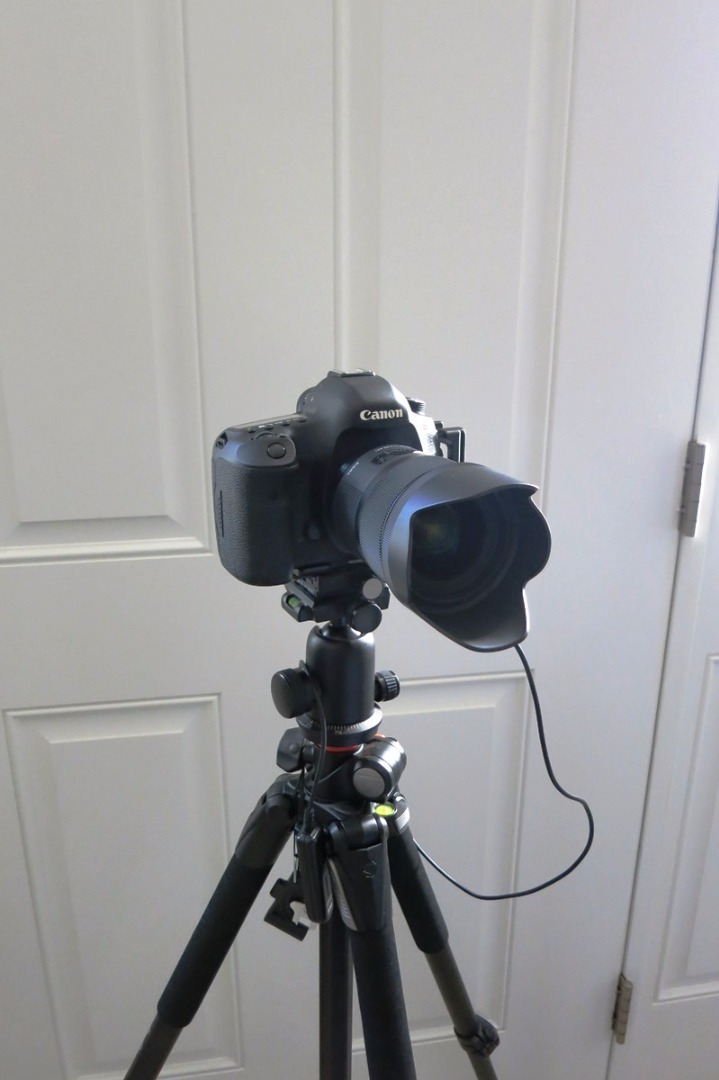
There are a few photography tools that are required, but not a full studio. Any mid-range DSLR is capable of taking the images; I’ll be using a Canon 5D Mark III although I’ve previously made several with a Canon Rebel.
A tripod is a necessity to keep the images stacked correctly and a remote shutter trigger further removes sources of camera shake that can lead to ghosting when combining images.
On the software side, you’ll need access to Lightroom and Photoshop, as well as Photomatix which is a powerful tool for combining the images and tone mapping them to produce the foundation HDR image.
I also use several Plugins from Topaz: Adjust, Clarity and Remask. Remask is useful for cutting out images and I’ve found it works better and faster than Photoshop’s built-in tools for subjects with lots of small details. It will also preserve your original image as a separate layer.
Adjust has tools that enhance color and contrast. Clarity gives more precise adjustments to contrast which helps to add dimension to the image.
Another useful plugin is MCP’s Bag of Tricks. This has a few tools that I prefer over some of Photoshop’s built in brushes.
All of this is filtered through the artist’s eye; I’ll go by sight and run my images through the filters to see how I like the effect. Sometimes it will be too pronounced and will need to be added more opaquely to the composition. In some cases, I might want only part of the enhanced subject so I’ll brush in the result.
As a final step, I’ll also be importing a texture to the background of the composition. This will be from the Florabella Collection of textures although if you are handy with a camera, you can find or make your own. There are plenty of photography sites that sell textures as well.
Taking Bracketed Photos
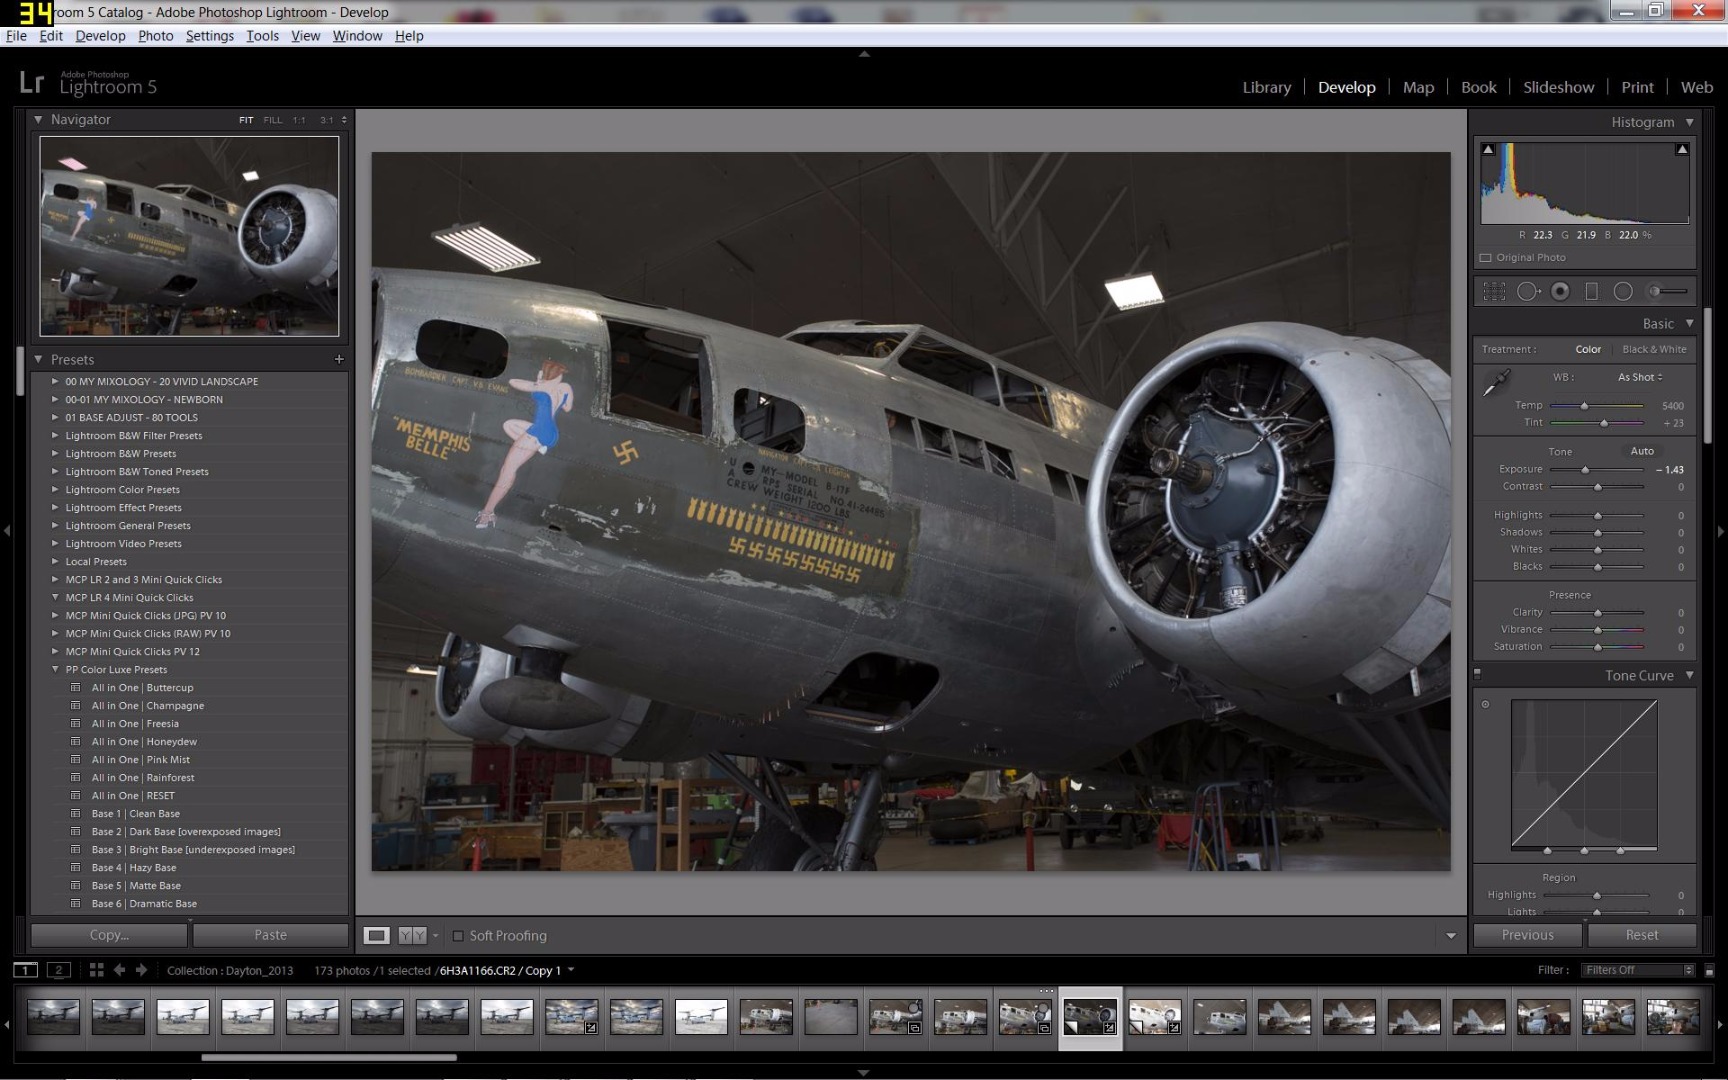
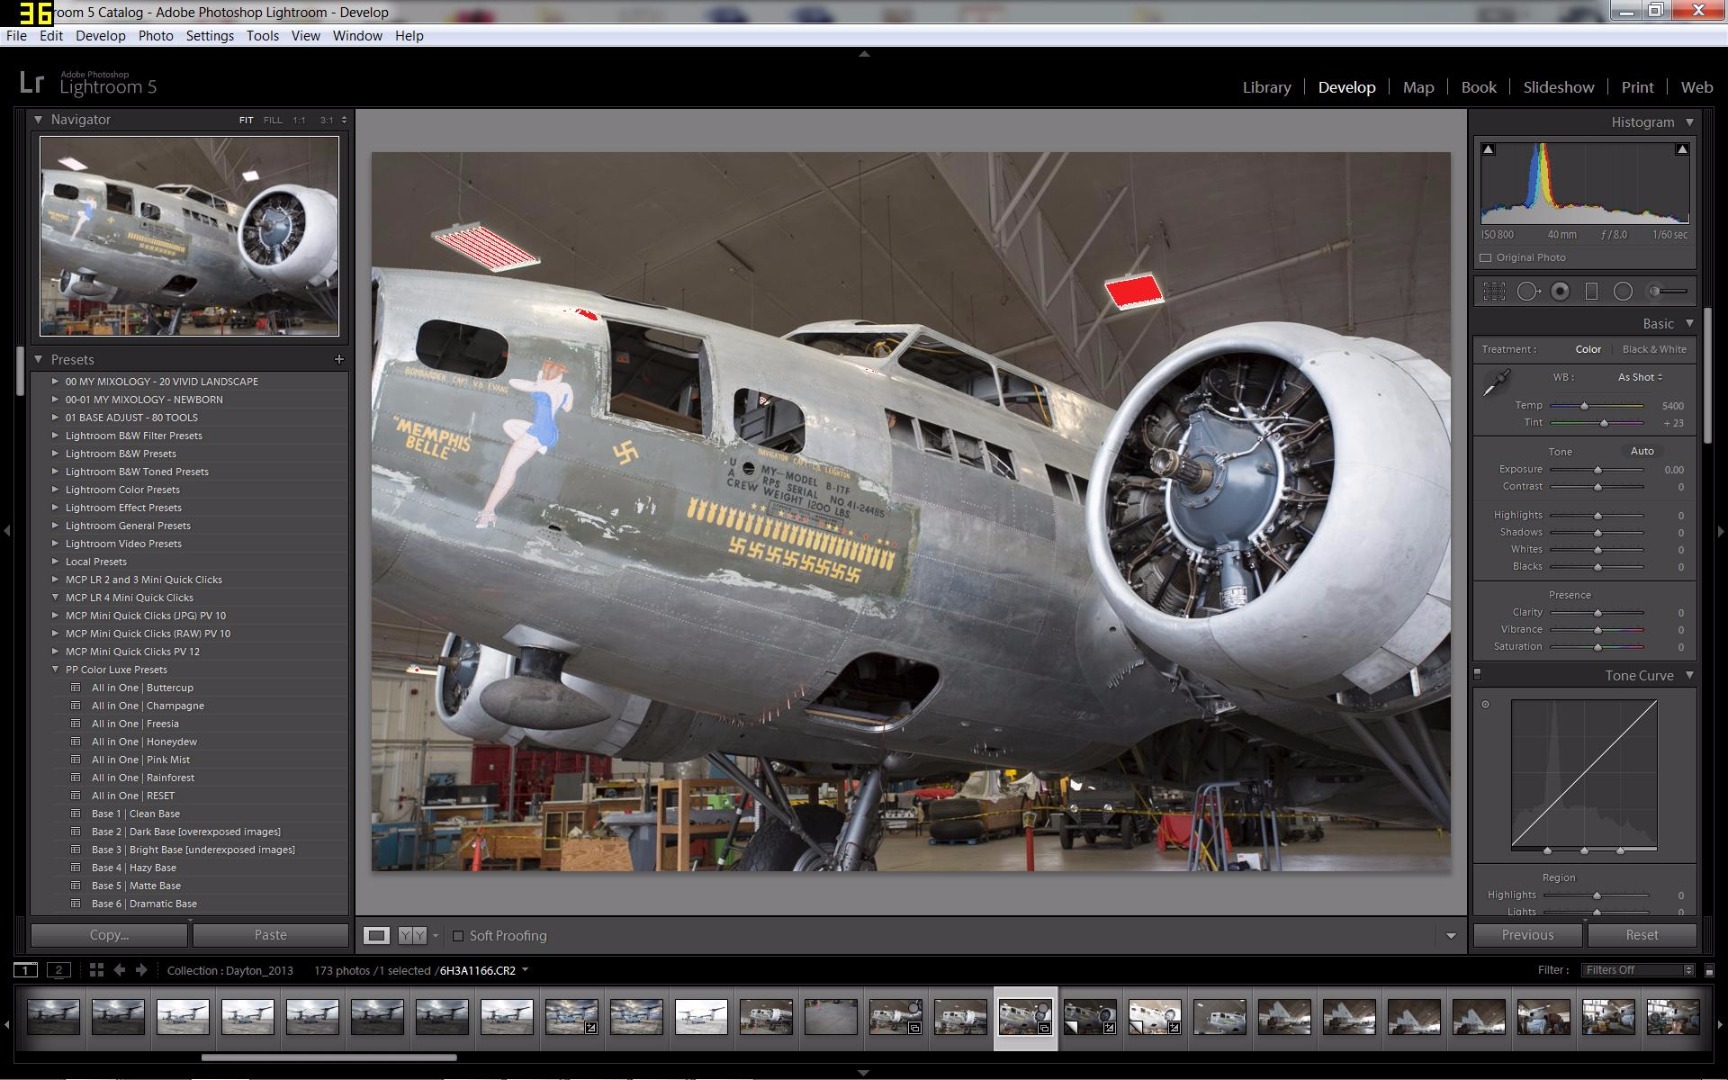
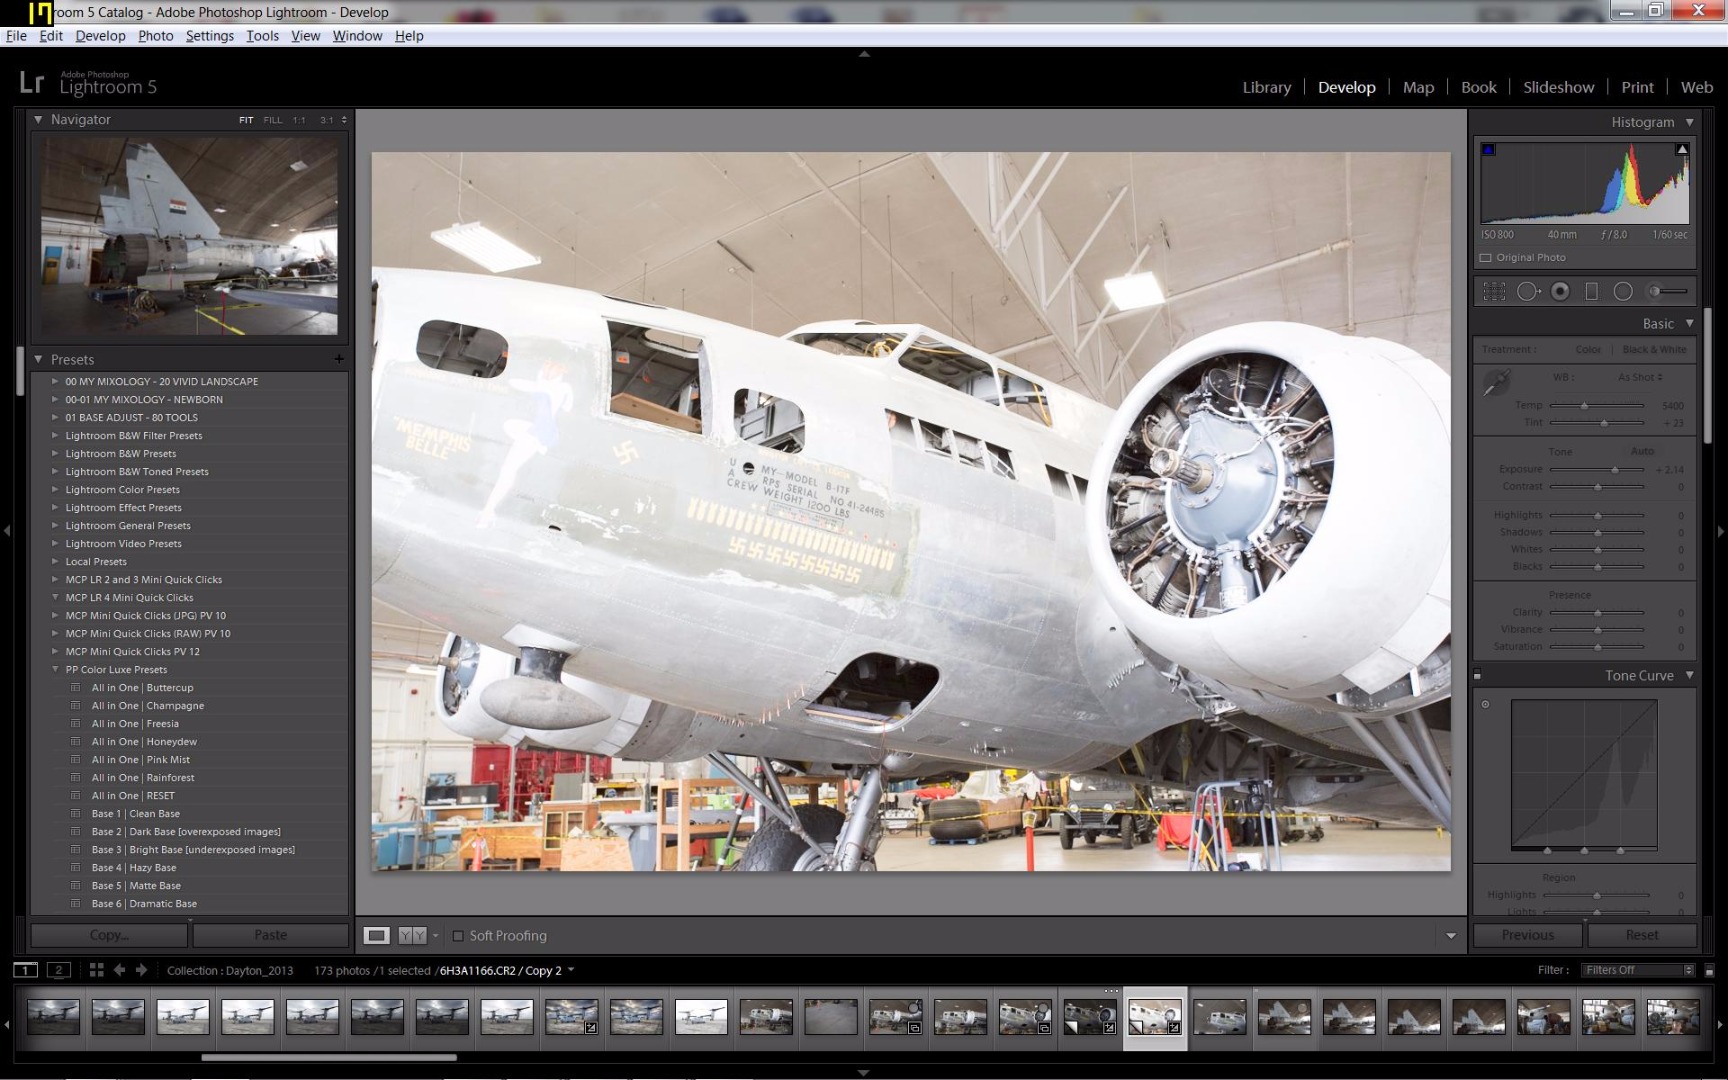
For most HDR images, you’ll need to set your camera to allow you to take bracketed shots, basically successive shots at different exposure levels. Most midrange DSLRs will do 3 bracketed shots, one at proper exposure, one over the proper exposure and one under proper exposure. While this will change depending on the type of camera, it will be somewhat similar.
For the Mark III:
-Set the camera to manual mode and fine-adjust the setting so you have the settings that will take a properly exposed image. You need a balance of highlights and lowlights; avoid over-exposing your highlights and severely under-exposing the shadows.
-In the menu of higher range DSLRs you can adjust how many bracketed shots will be taken. Example the Mark III you can select from 3-7, but for most HDR shots you only need three. For mid-range DSLRs, like the Canon Rebel, they only take 3 bracketed images. So there is no way to adjust this. You will just go straight to the menu that allows you to set the Auto Exposure Bracketing (AEB).
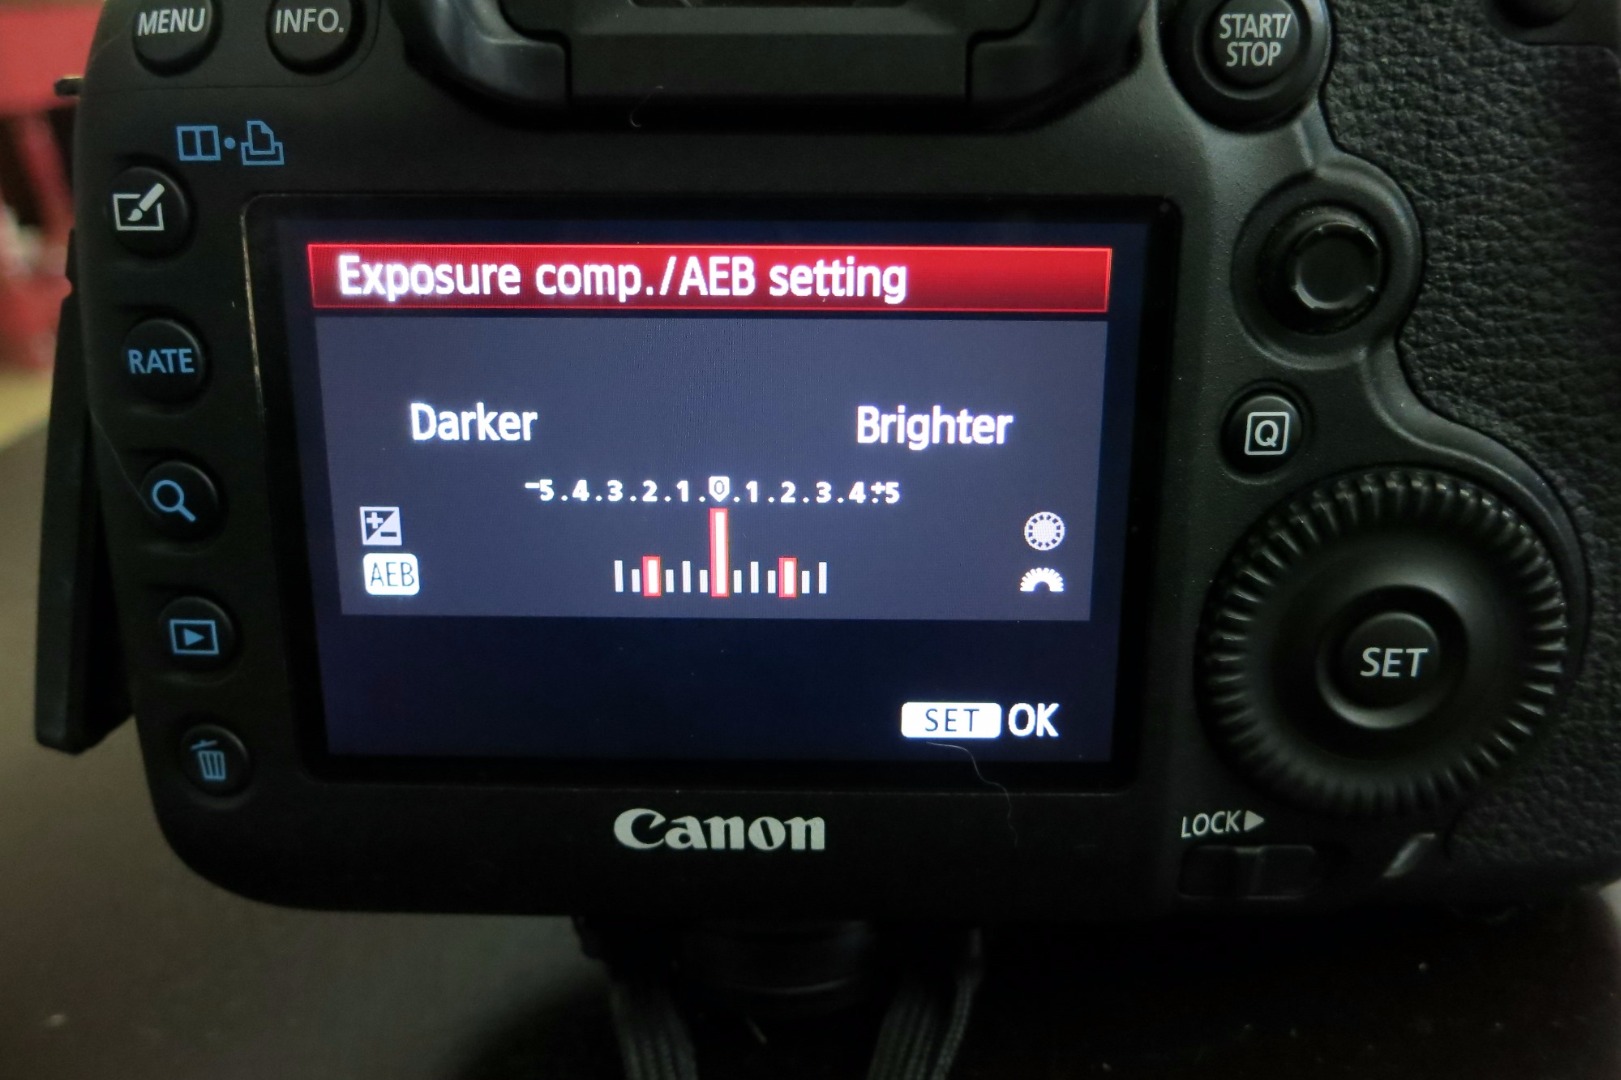
-Next you need to set the difference in stops for your bracketed images using AEB. This may be called something different depending on the make of your camera. For Canon, they refer to it as AEB and this is found under Exposure Compensation/AEB menu setting. The AEB will allow you to adjust how many stops in exposure different you want between the three bracketed images. The properly exposed image (or normal as some say) is represented as 0, then + numbers are over and – numbers are under. I usually like at least a 2 stop difference between my images. Now your camera is set to bracketed mode and will take two images that are 2 stops difference between your normal images.
-To take the images, set the shooting mode to continuous and use your trigger to take the shot. You’ll hear the shutter cycle for each exposure until the sequence is complete. You can also set the camera to single-shot and take each image with a press of the trigger. The Canon will give you an indicator of an asterisk in the view finder letting you know you still have images left in the bracketed shot. The asterisk goes away when you have taken your three images.
Break/Break
So what if you have a single image that you’d like to modify for HDR? Or you don’t have a tripod? All is not lost! For this image, I was not able to get a full set of bracketed pictures that I liked, so I used a single properly exposed image to start. Once I had one selected, I brought it into Lightroom and made two copies which I adjusted to be under- and over- exposed. This was enough to enhance the finer details I was looking for and give the rest of the tools a starting point. Single Exposure HDR can lack a little of the depth then a multi exposure HDR can give you, but I rather do this if I can’t use a tripod. This will ensure I have a sharp image; I don’t have to worry about ghosting from alignment issues. I then exported my images from Lightroom and saved them a jpegs. Some people will save them as .tiff, but I found little difference between processing either one.
Importing Into Photomatix and Tone Mapping
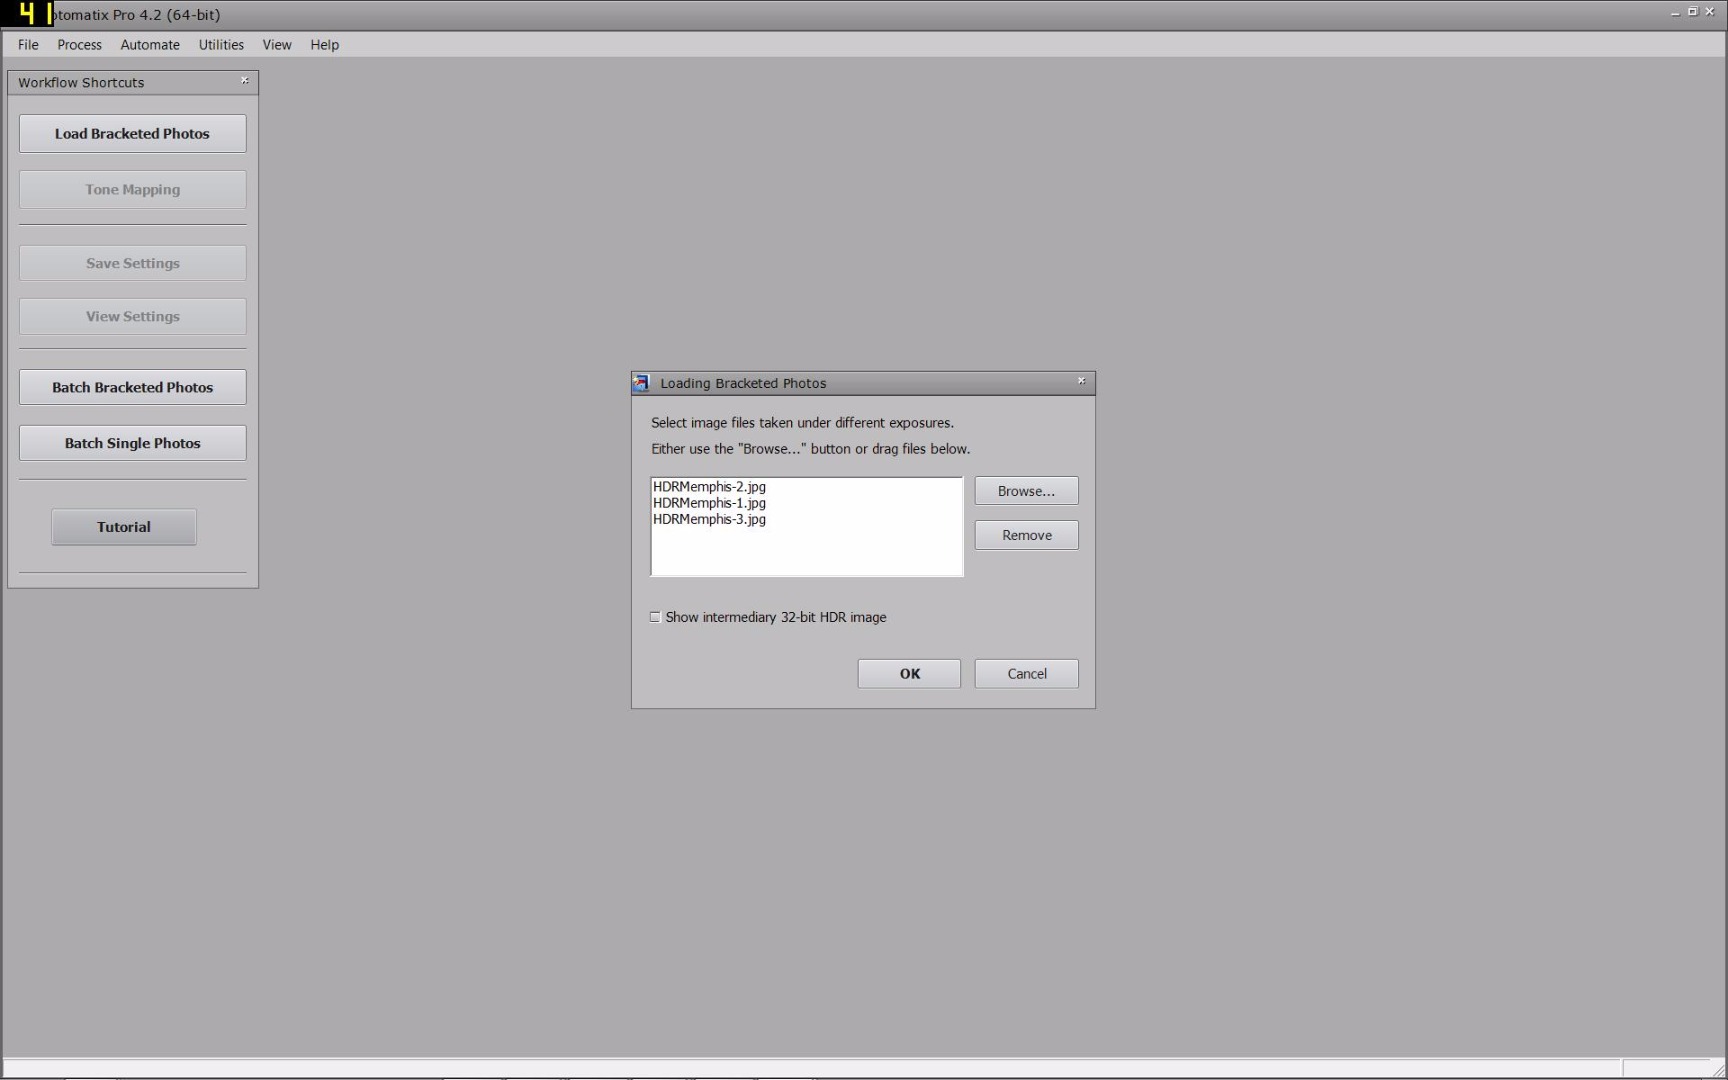
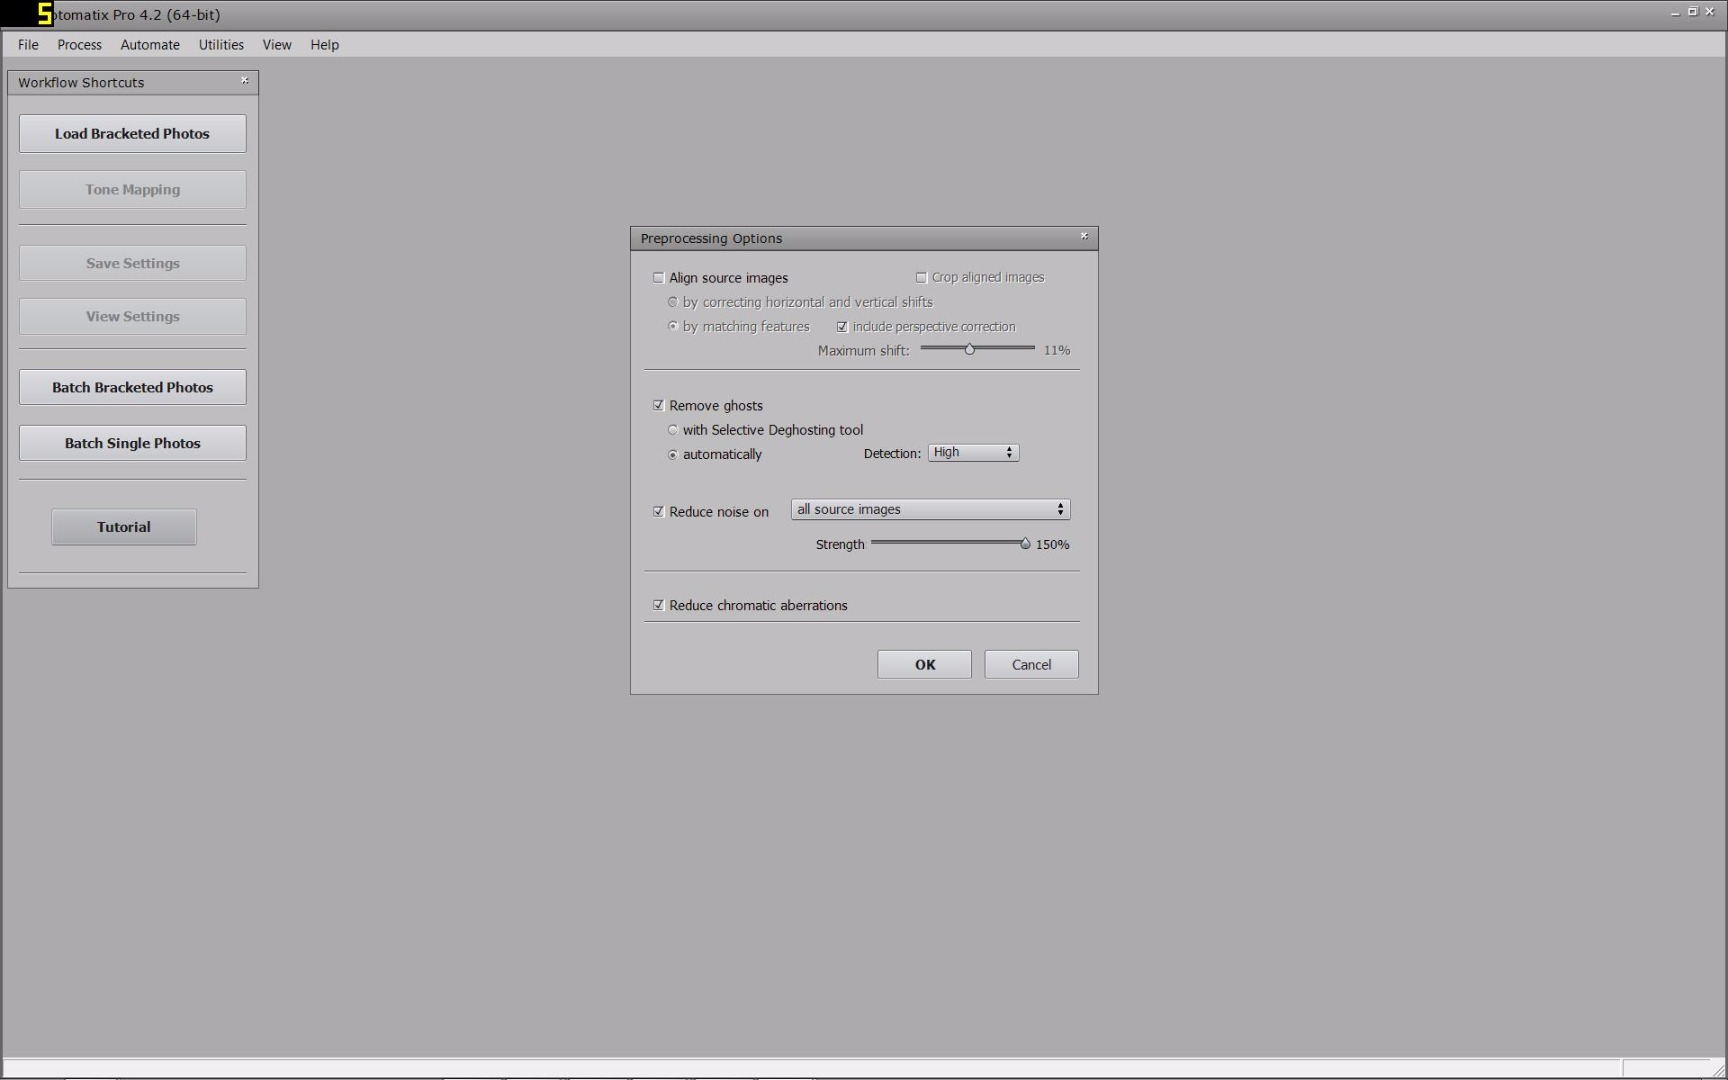
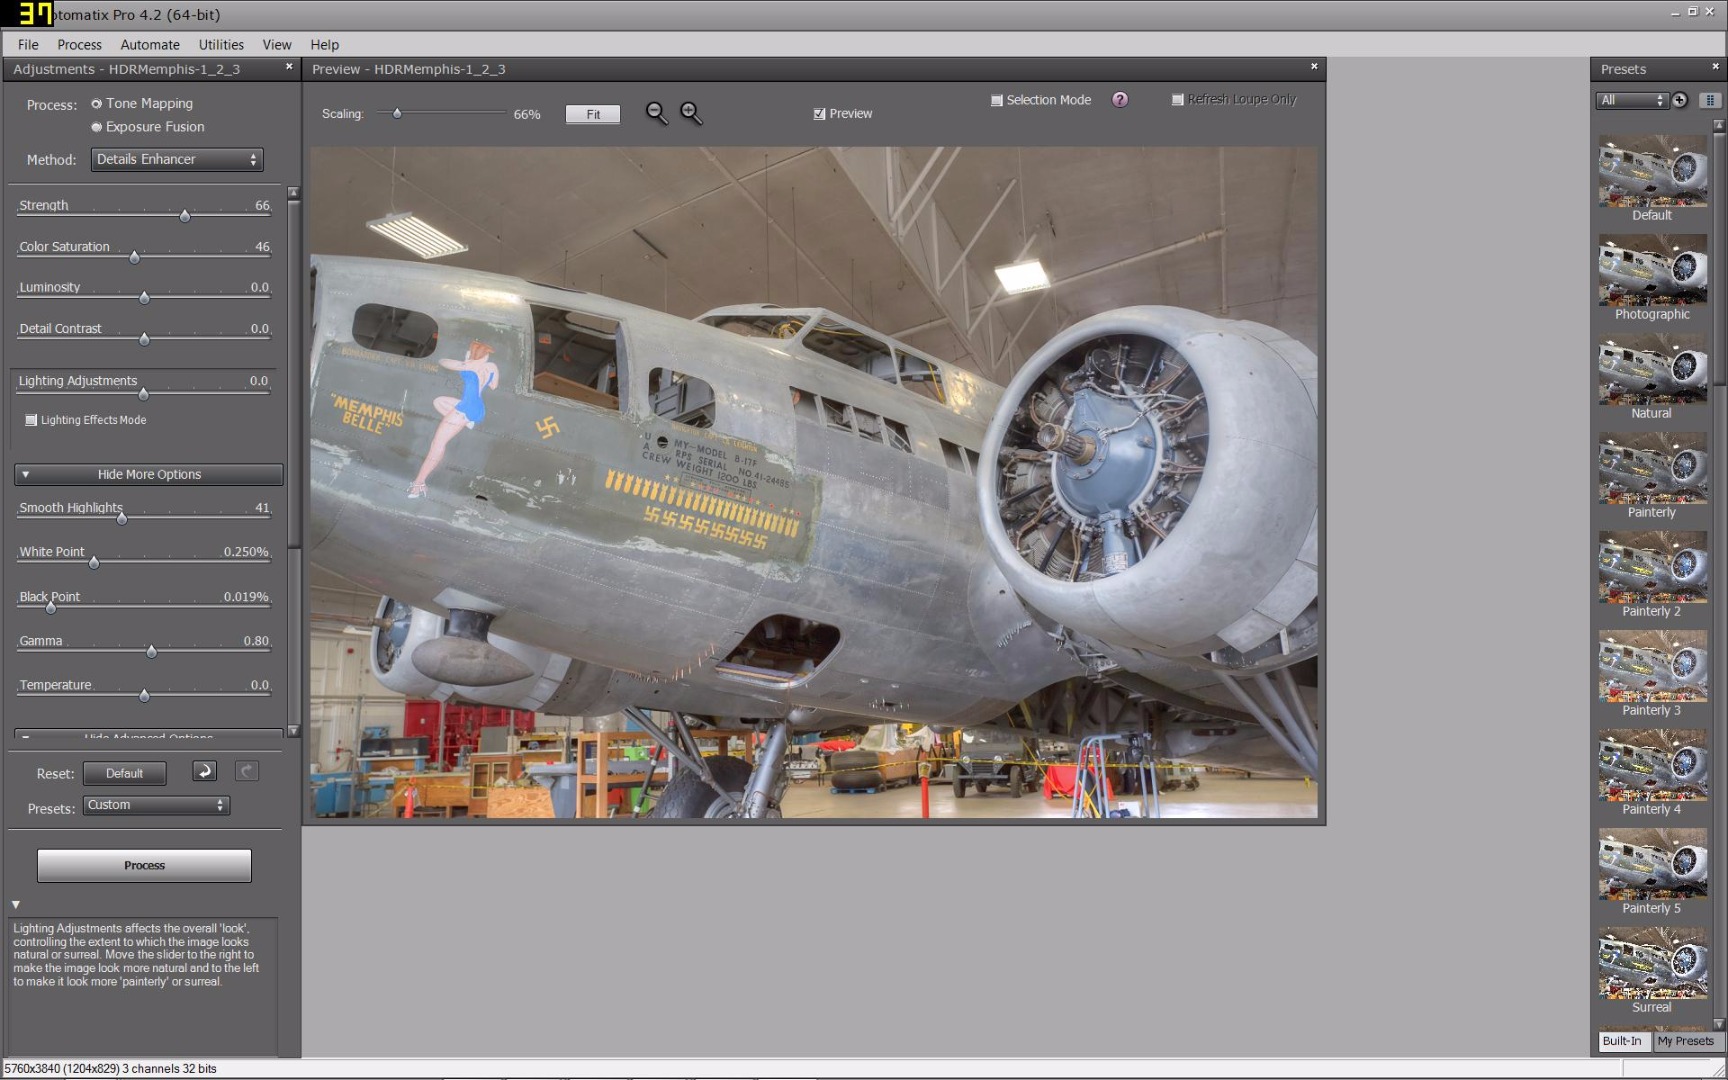
So now that we have three images, you have to import them into Photomatix so a merged 32bit HDR image can be created. This can take some time depending on the speed of your computer. After Photomatix has finished you will be left with one image.
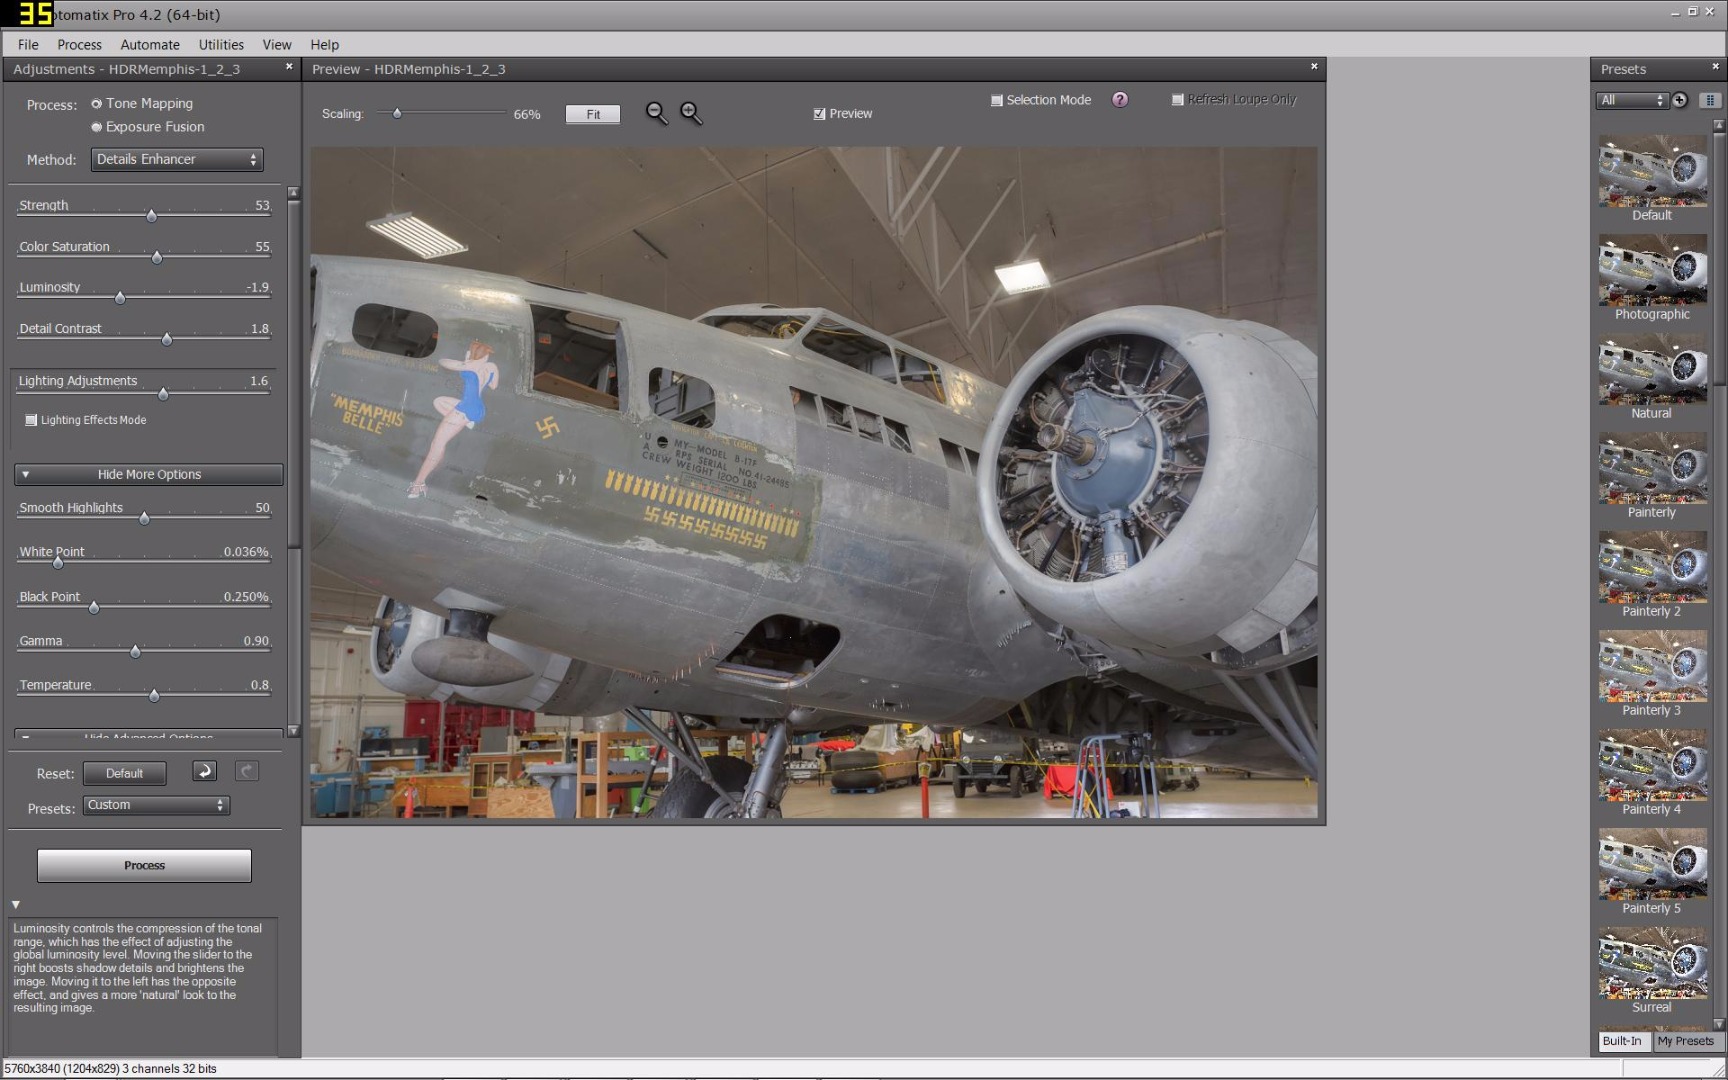
A menu bar on the side is now available for you to use; this is for tone mapping. After making your adjustments, we’ll need to convert the 32bit image to a standard 16 or 8 bit image file. You kind of go back to a low dynamic range image by doing this but this is a necessary step in order for other programs to display the image correctly.
Through tone mapping you are able to add more detail then what you could have achieved with one properly exposed image. You can also make artistic adjustments at this point; just be careful to not overdo it. If you start to see white haloing around your subject back off a little. This will not be the final image, just a foundation for the next step in the process.
On to Photoshop!
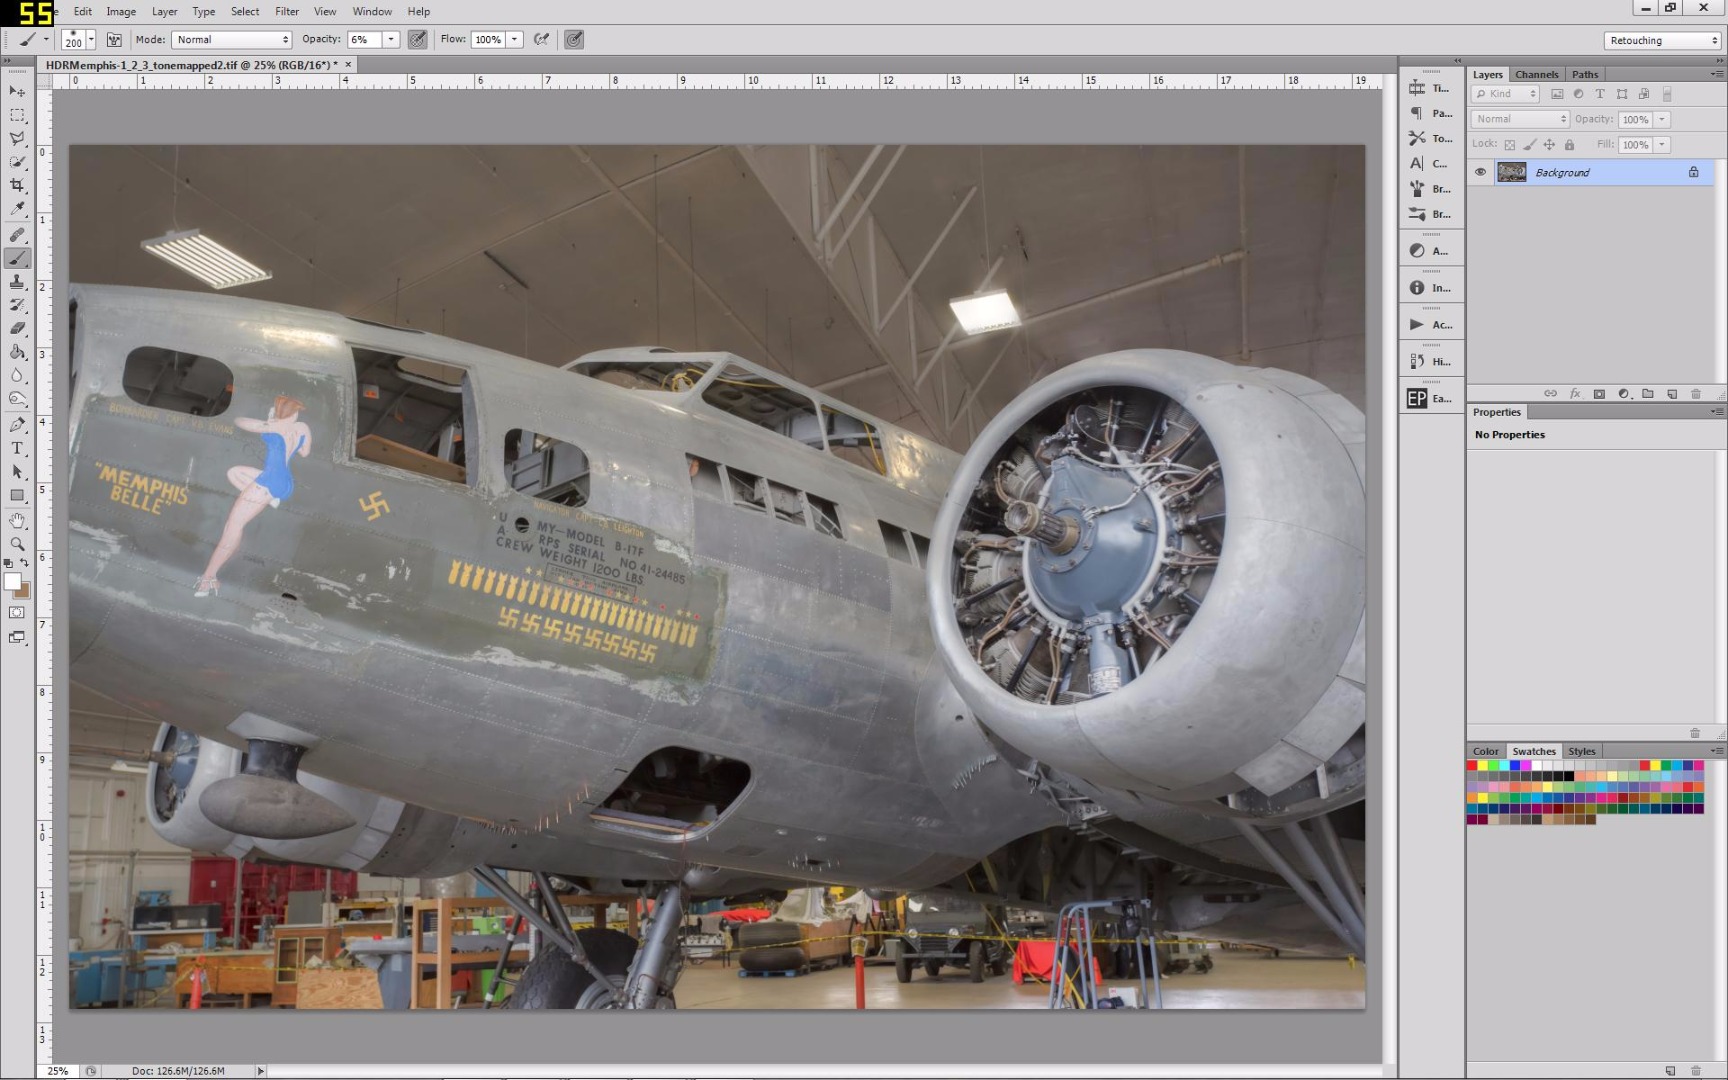
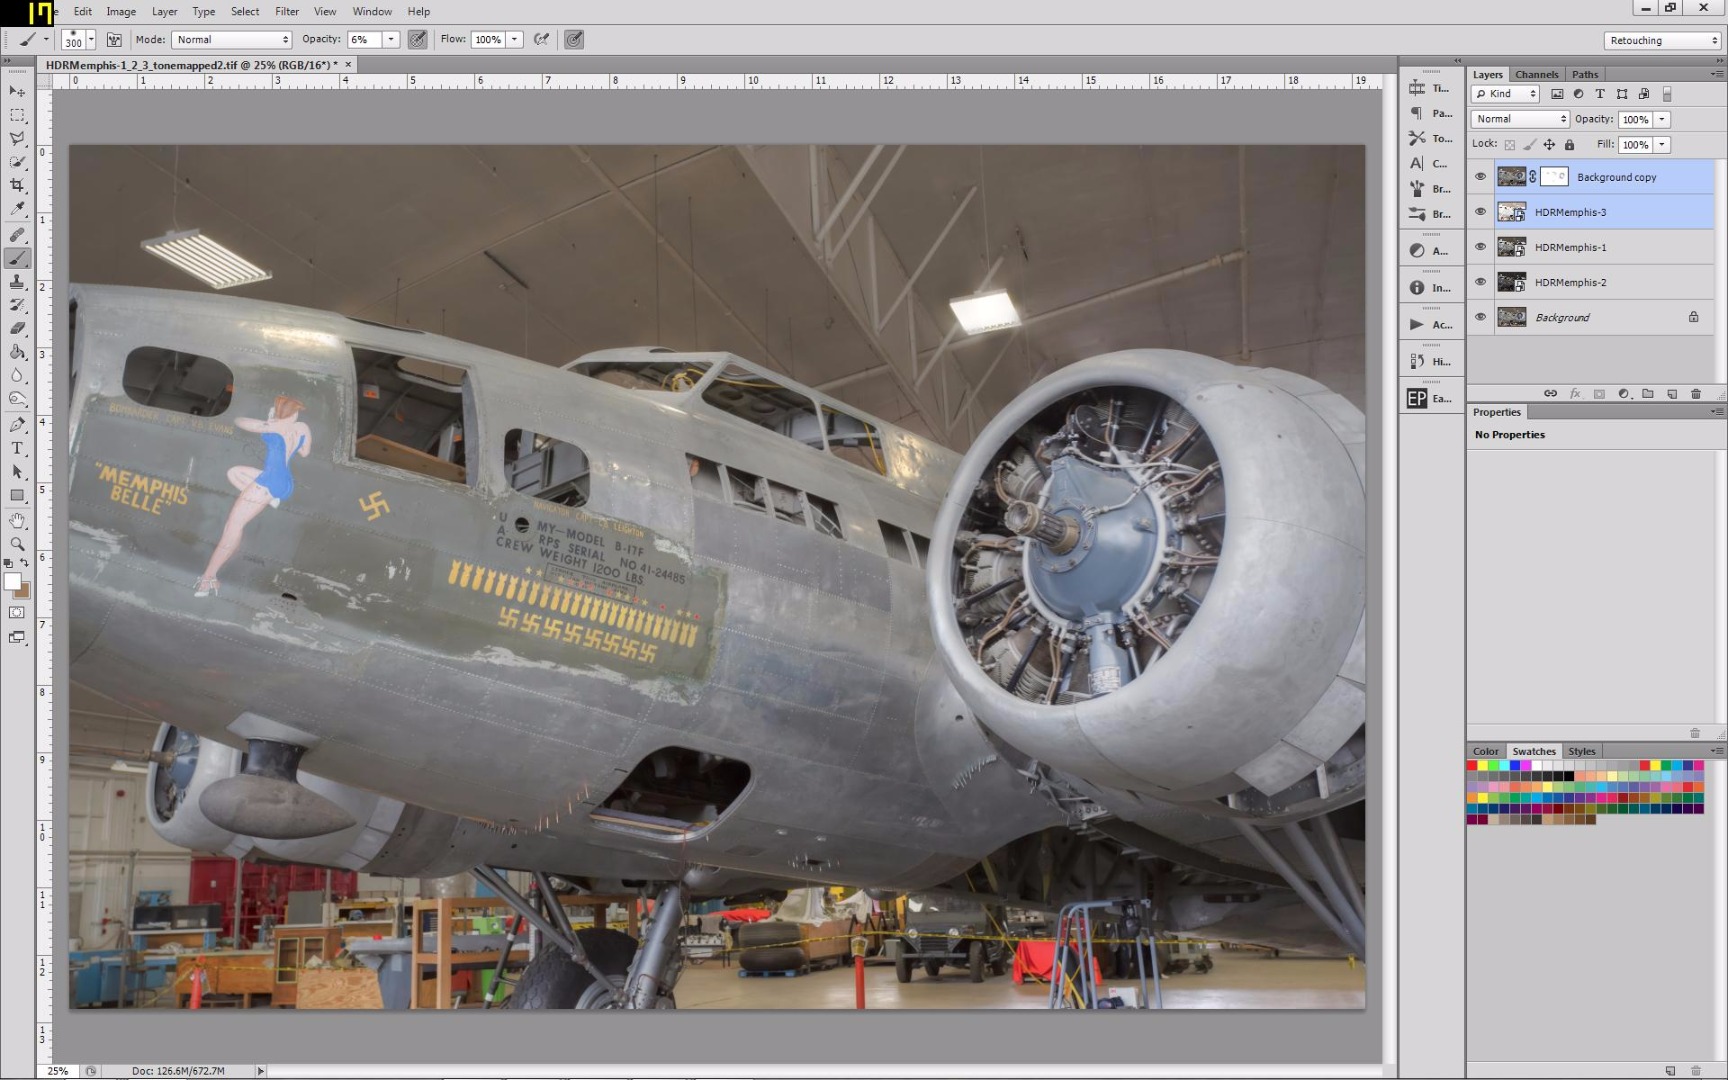
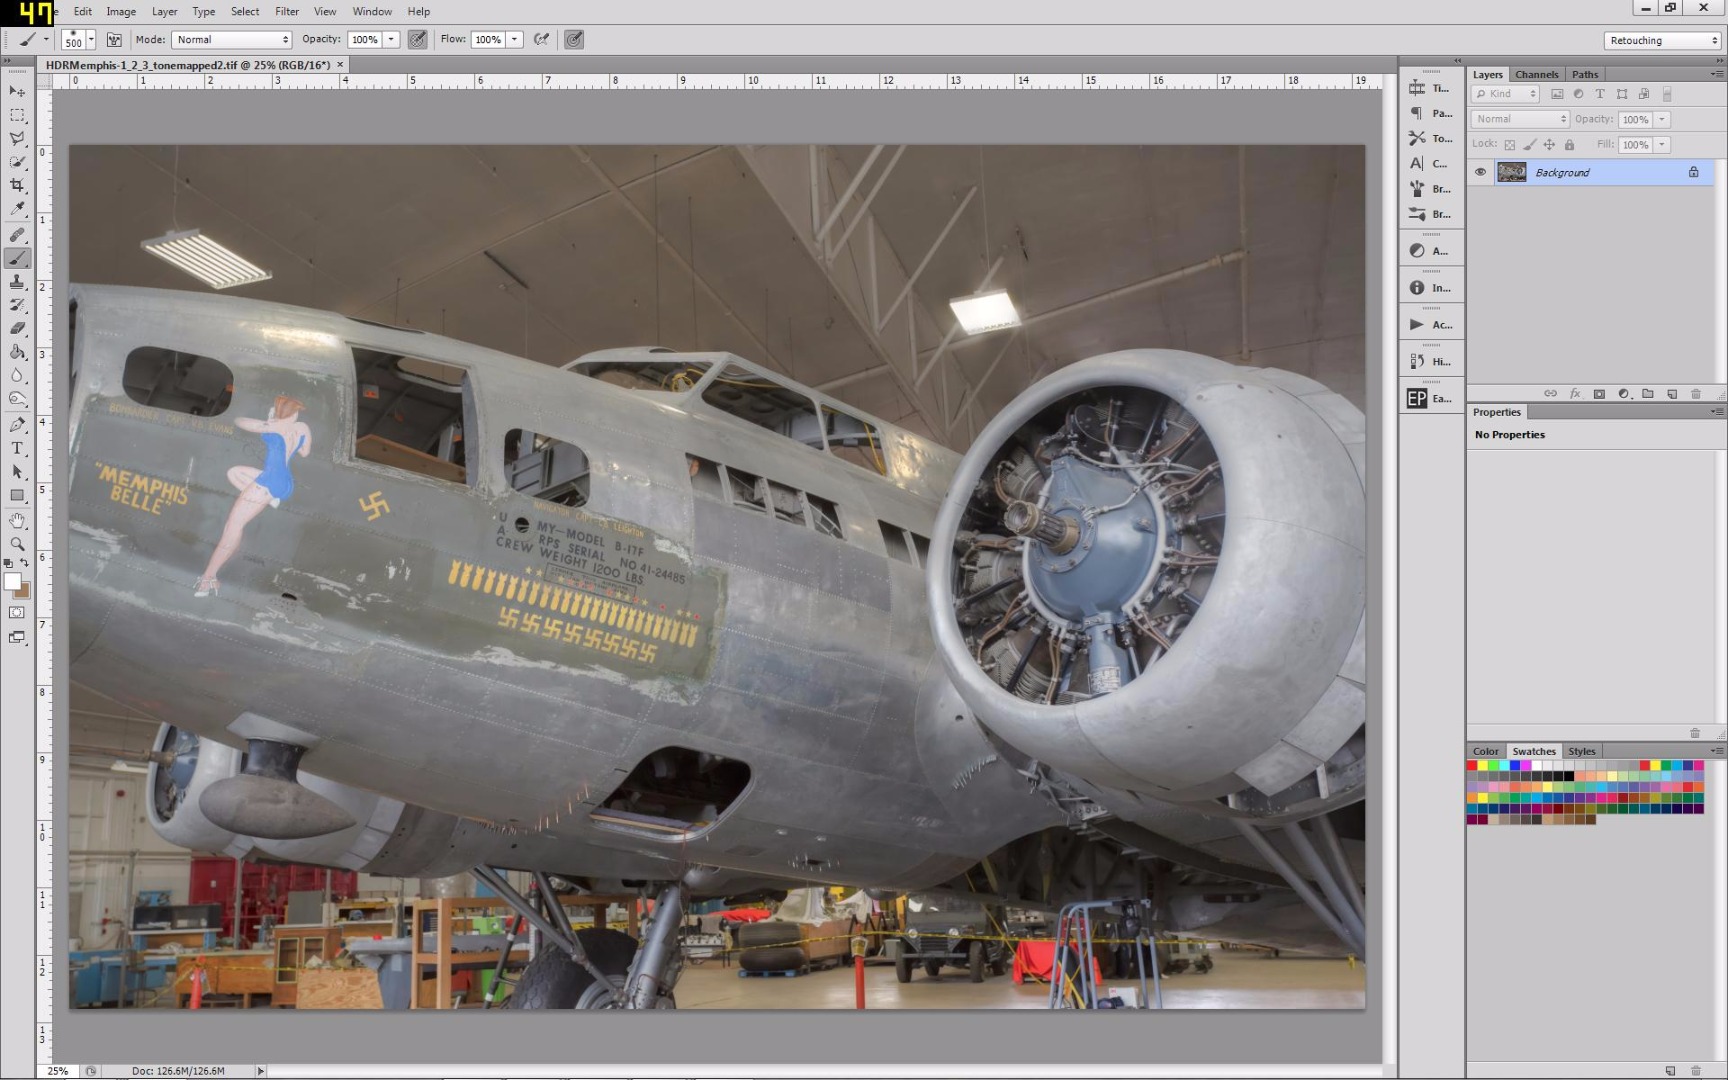
After making the adjustments in Photomatix, save and import your image to Photoshop. You can also import your source images as additional layers. I usually do this because sometimes when I tone map some aspects can get distorted or some areas took the tone mapping more than other. The tone map image will never be 100% which is fine, that is why this isn’t the final step and we use Photoshop for the rest of the process. So this is where I used the three original jpegs and my Photomatix processed image to mask in or out detail or parts of the image.
So with this image, I felt that the tone mapping process made the engine compartment look a little dark and less defined. I also wasn’t completely happy with the cabin area. I looked through the three images at these areas; I looked for the image that would give me some of the detail I felt was missing from the Photomatix composite.
I decided the over exposed image had what I was looking for. So I put that directly under the Photomatix image in Photoshop then on the Photomatix image I added a white mask. I used a soft black brush at 5% opacity and brushed over the engine compartment and the cabin a few times until I felt I brought in enough detail to my liking. Then I merged those two layers.
Now look at the image and see if there is anything else you want to fix. I felt the area where the Prop Hub attached to the engine looked a little washed out, so I looked through the remaining jpeg images and decided the normal exposed image had the detail I want.
Again move it to be under the Photomatix image that we just merged with the underexposed image. Create another mask on the Photomatix image, and with a soft black brush set at 5% opacity, paint a few strokes over the area of the engine I felt was washed out. This will bring back a little more detail. Once we’re happy, merge these two layers.
Background Removal and Replacement
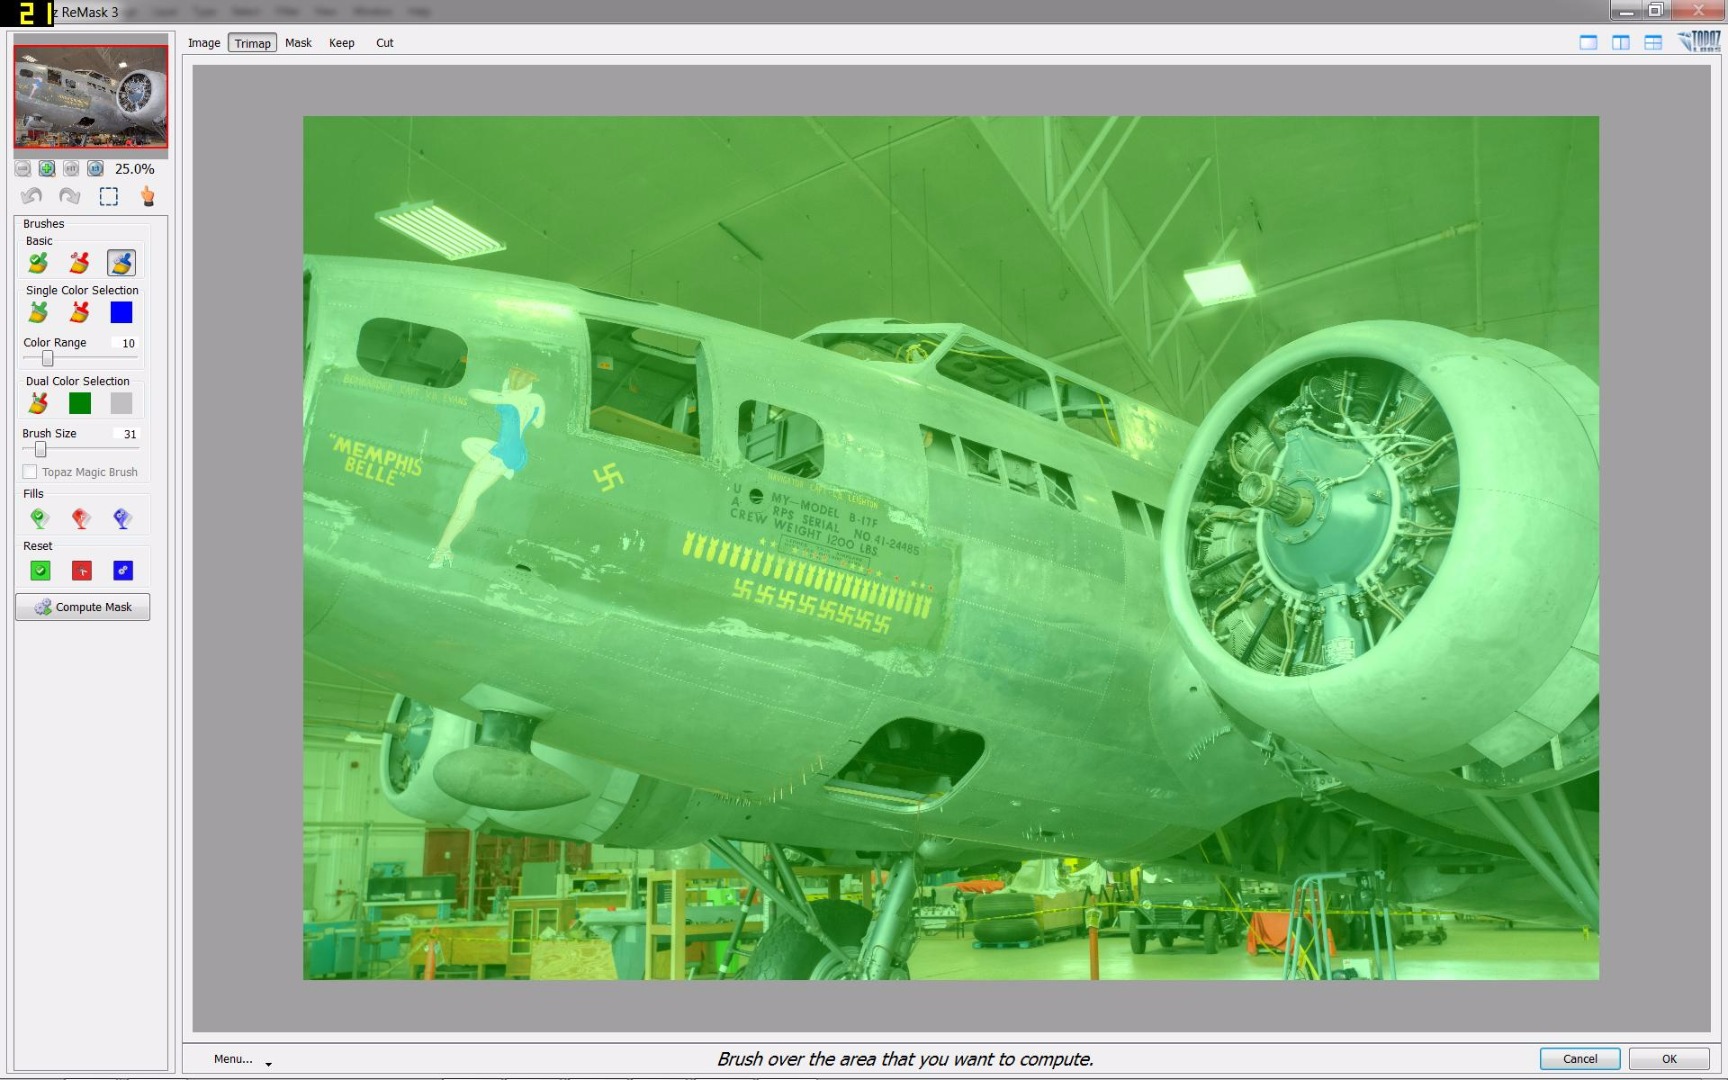
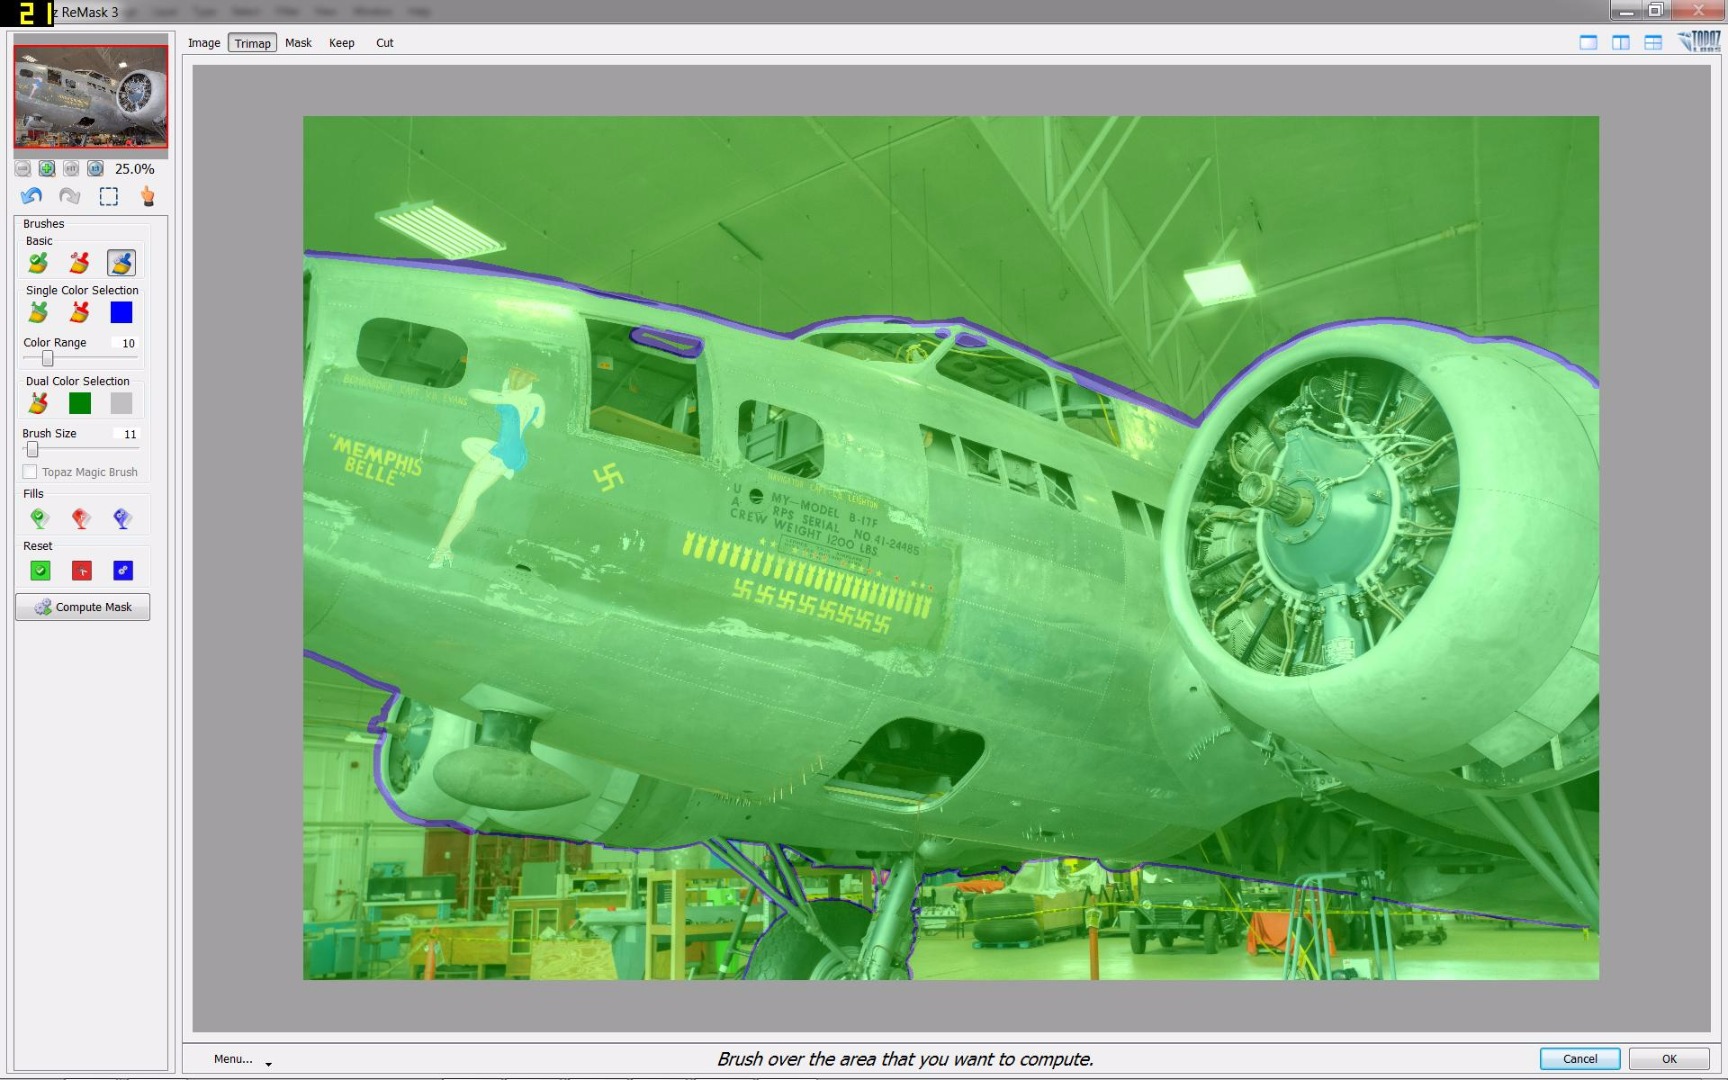
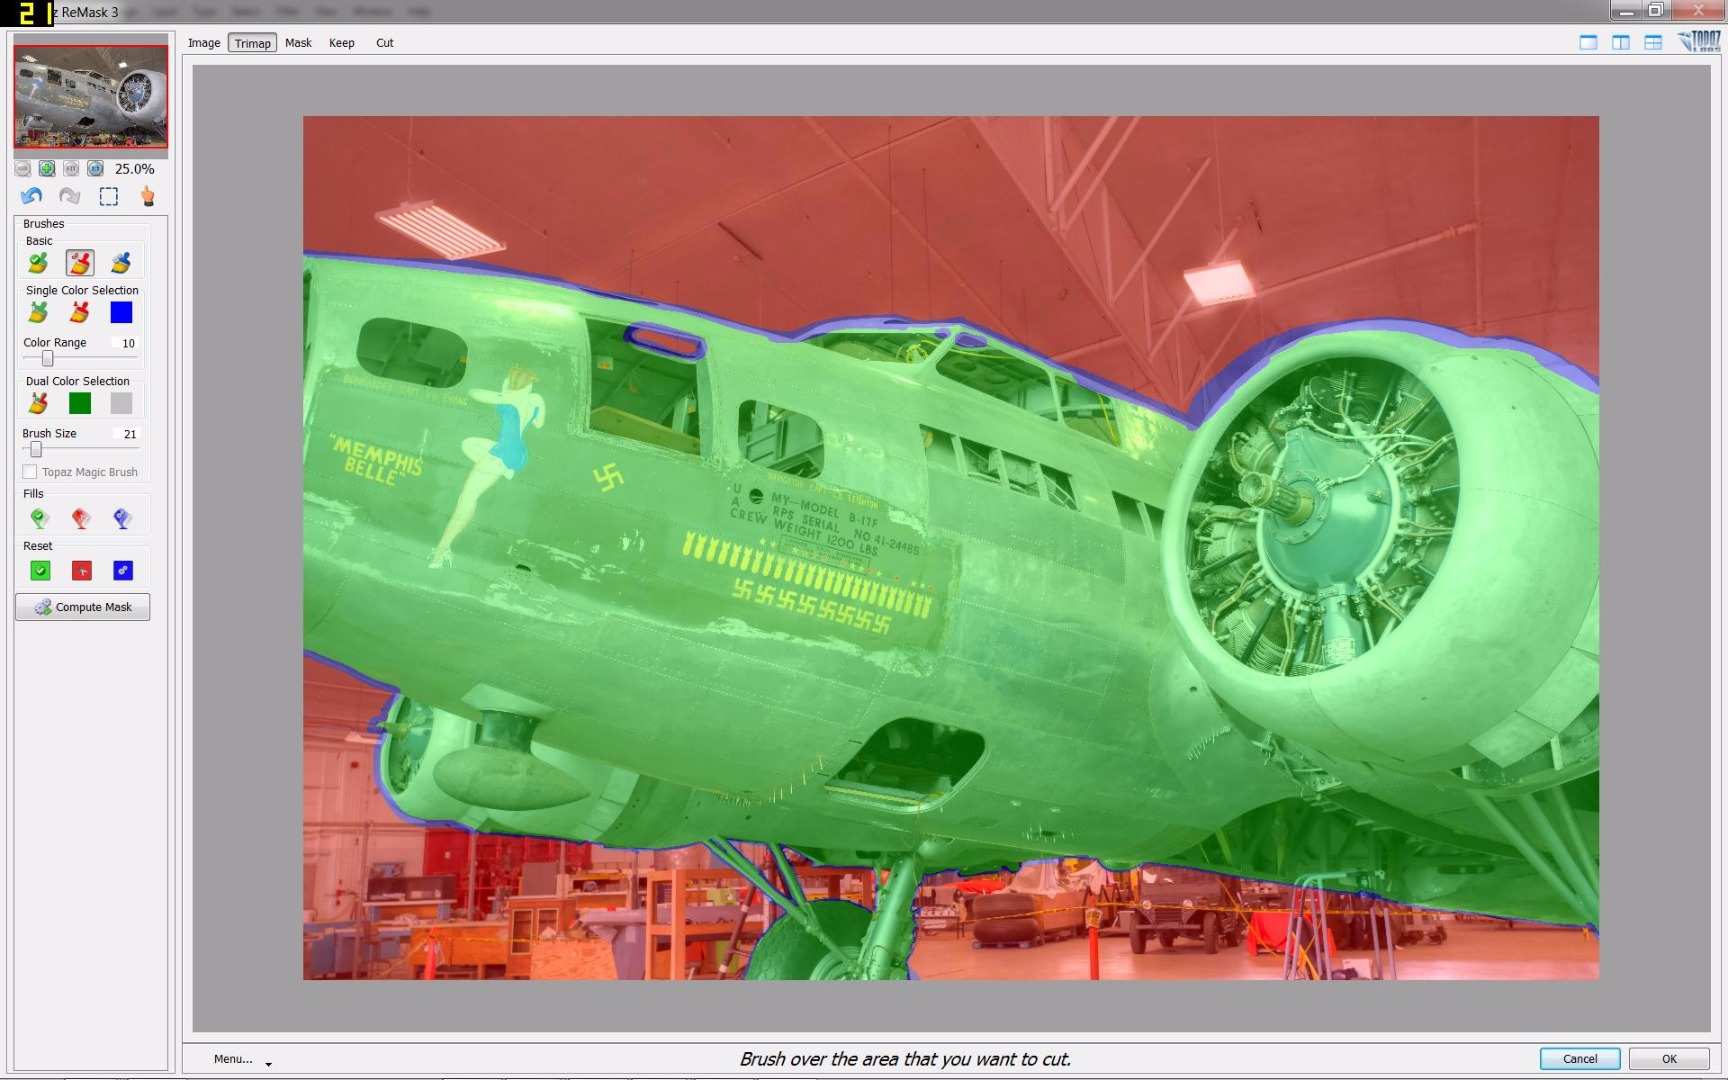
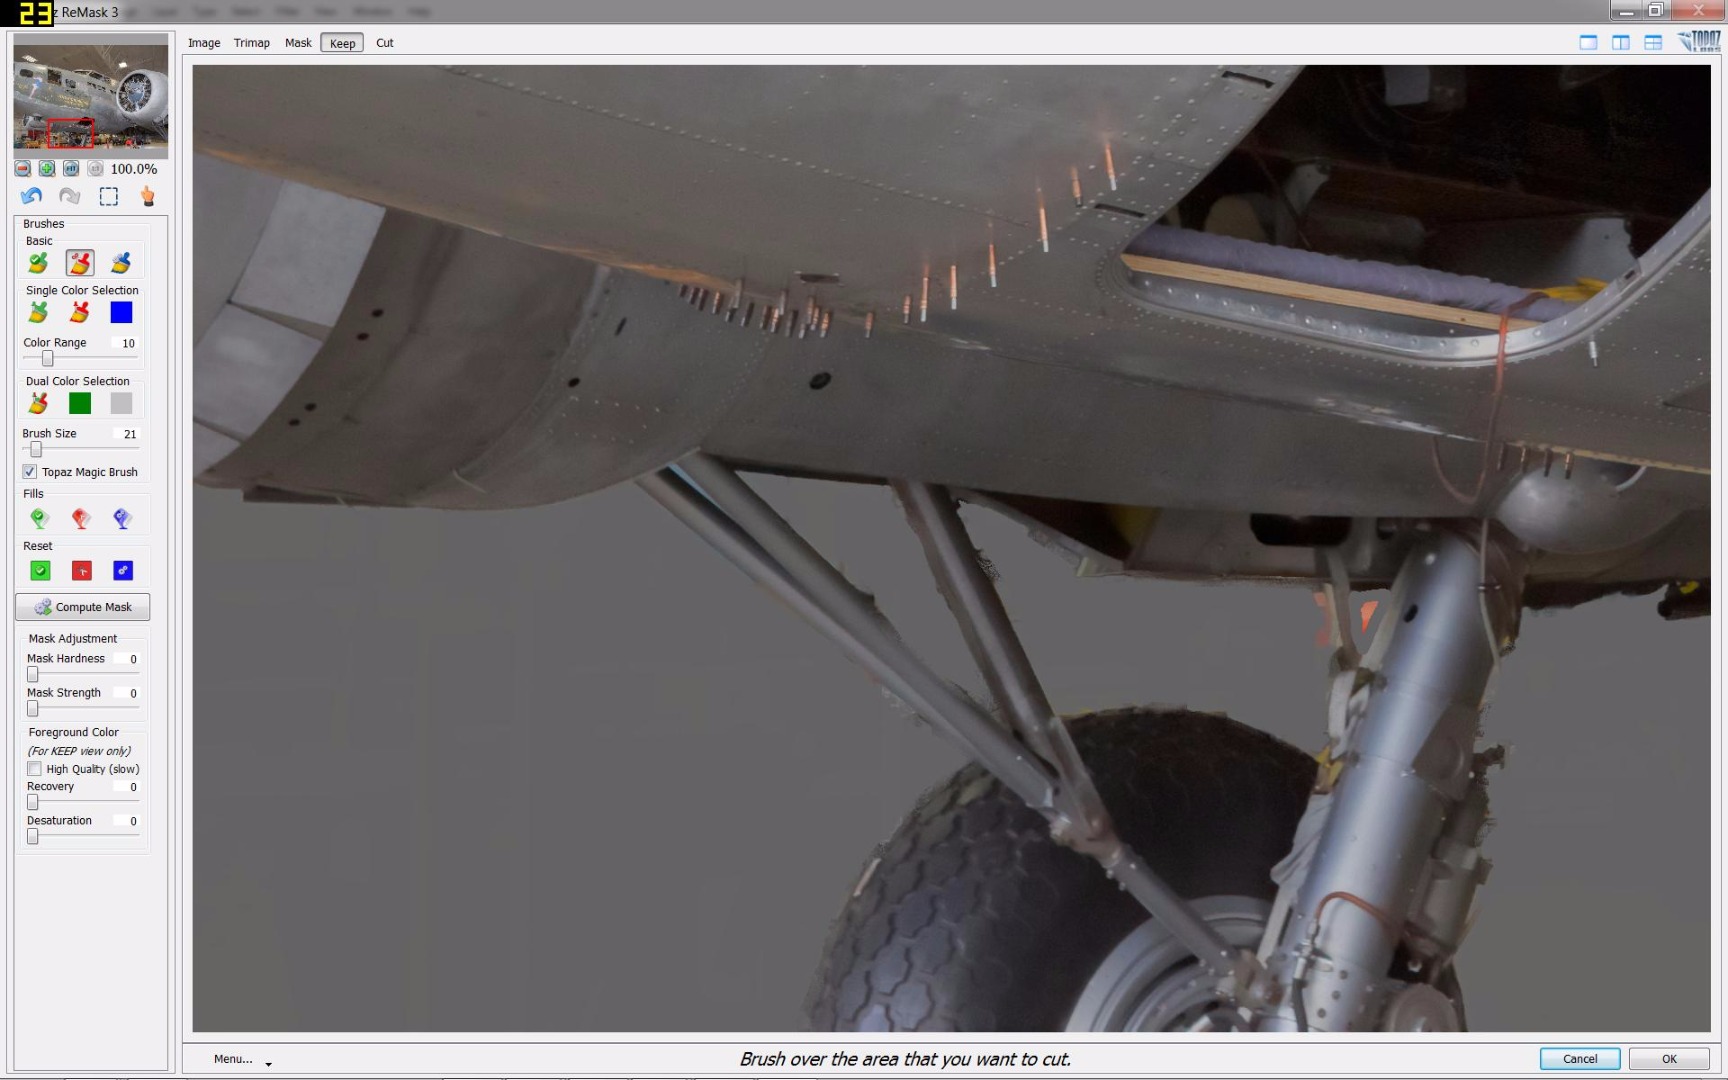
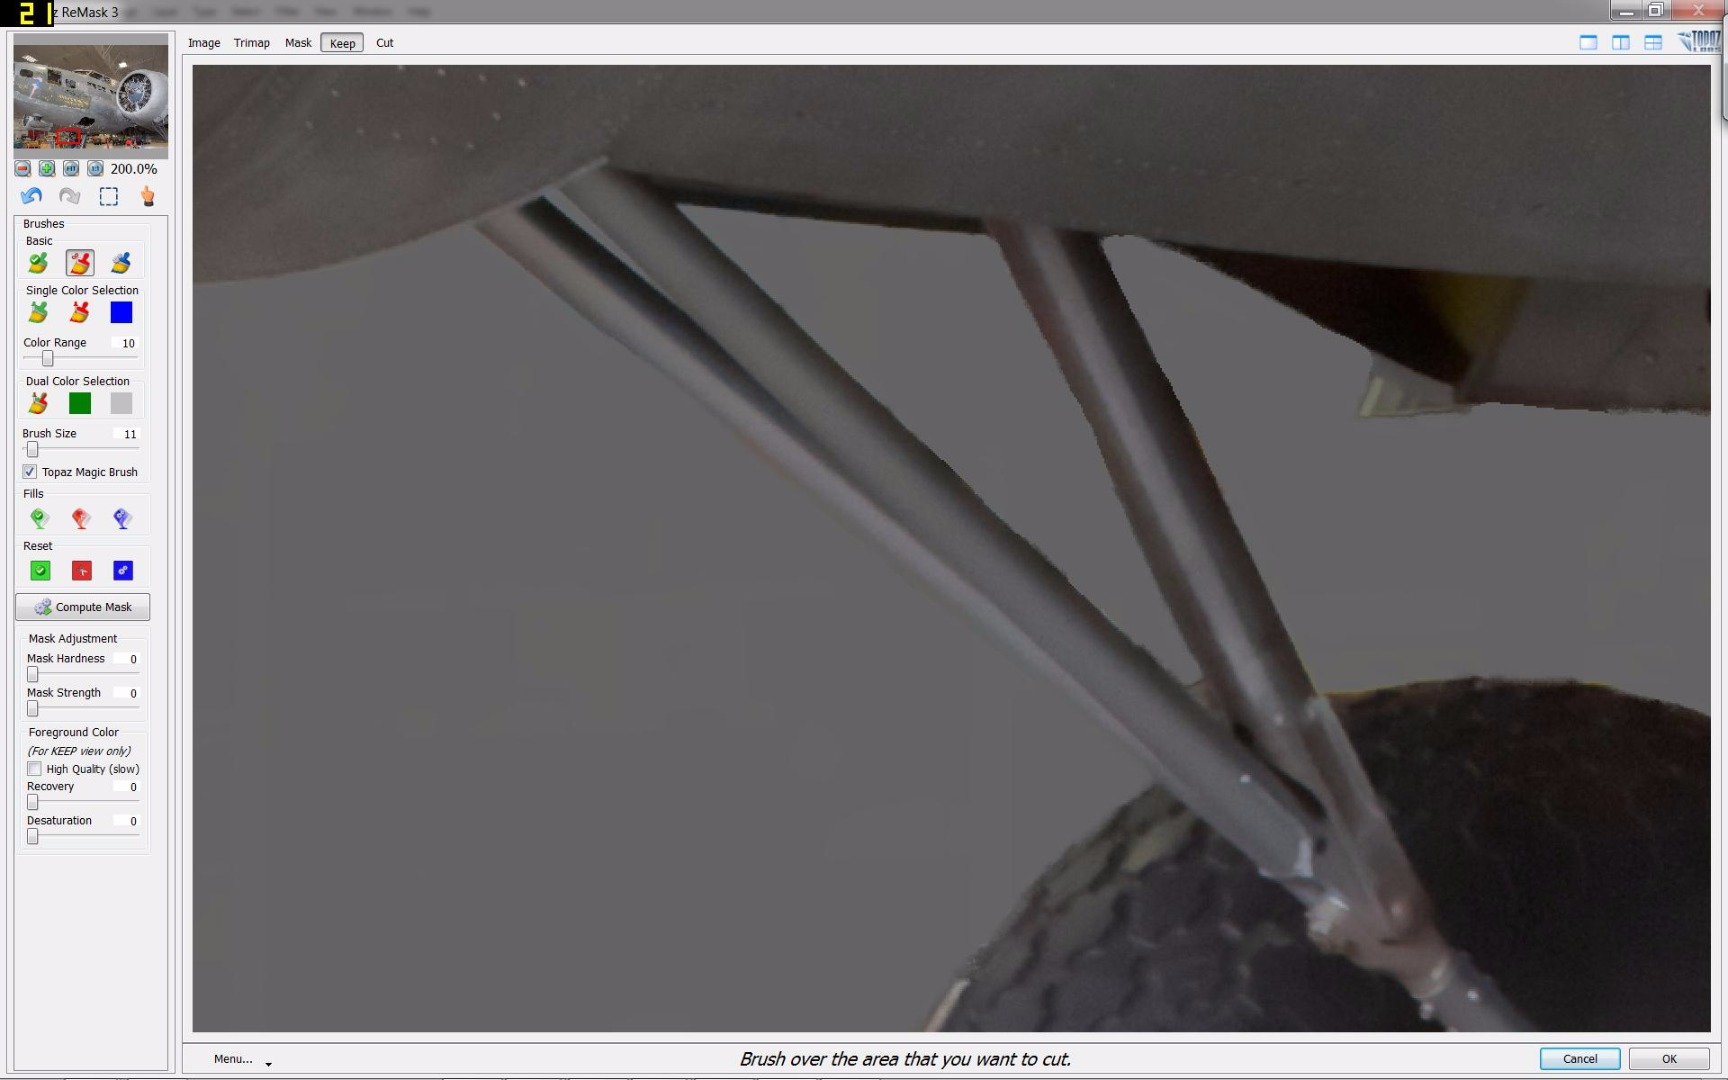
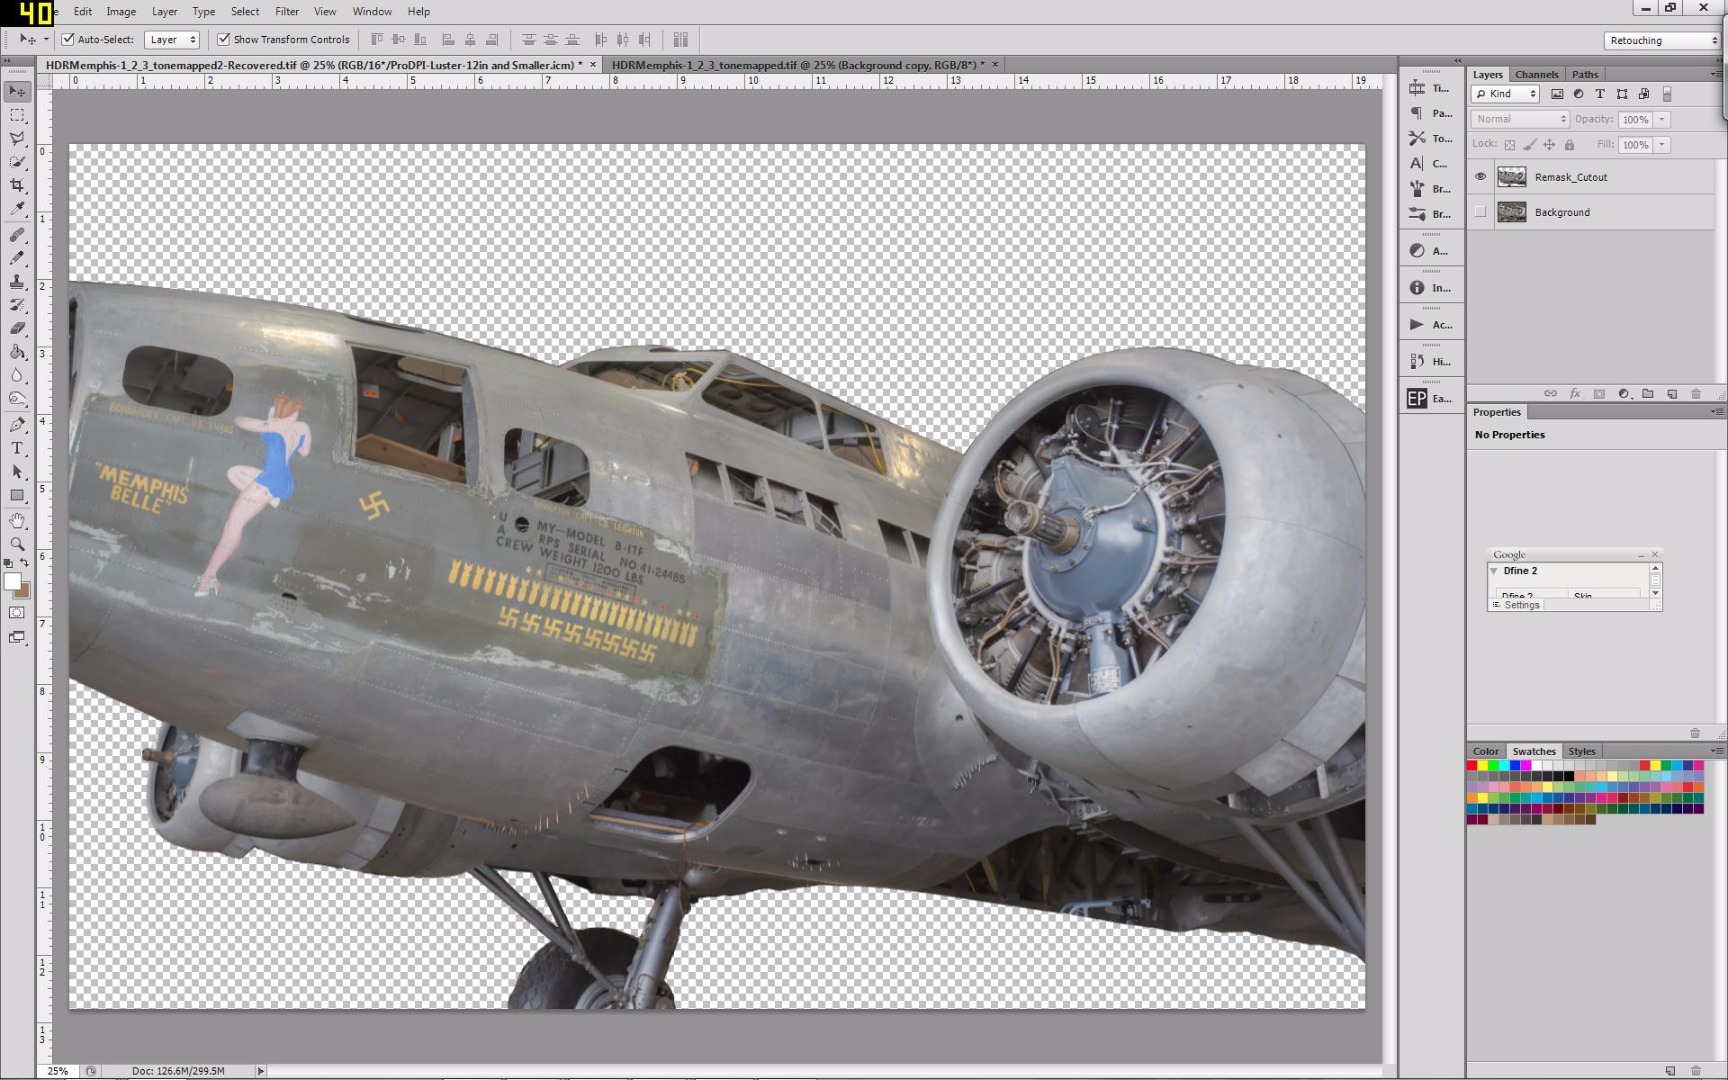
For this image, we want to remove the hangar behind the plane. This technique can also be used to move and replace entire skies.
Bring your image into Topaz Remask and proceed to mark out every border edge and the areas you’d like to remove with the Compute brush. The compute brush is used on the edges between cut and save parts of the images. It has extra algorithms that help the software determine edges of what you want to save.
Use the fill brushes to mark the areas you’d like to remove like the paint bucket tool in any graphics editor. I used the Red tool to mark the areas I wanted to remove, the Green for the ones to keep, and the Blue to mark the edges.
Hit the button that says “Compute Mask,” which allows you to preview your product. At this point, you can go back around the image and refine it by hand. If there are areas that are blurred, missing, or otherwise damaged, run the tools back over them until they are clean.
Foreground Removal and Replacement
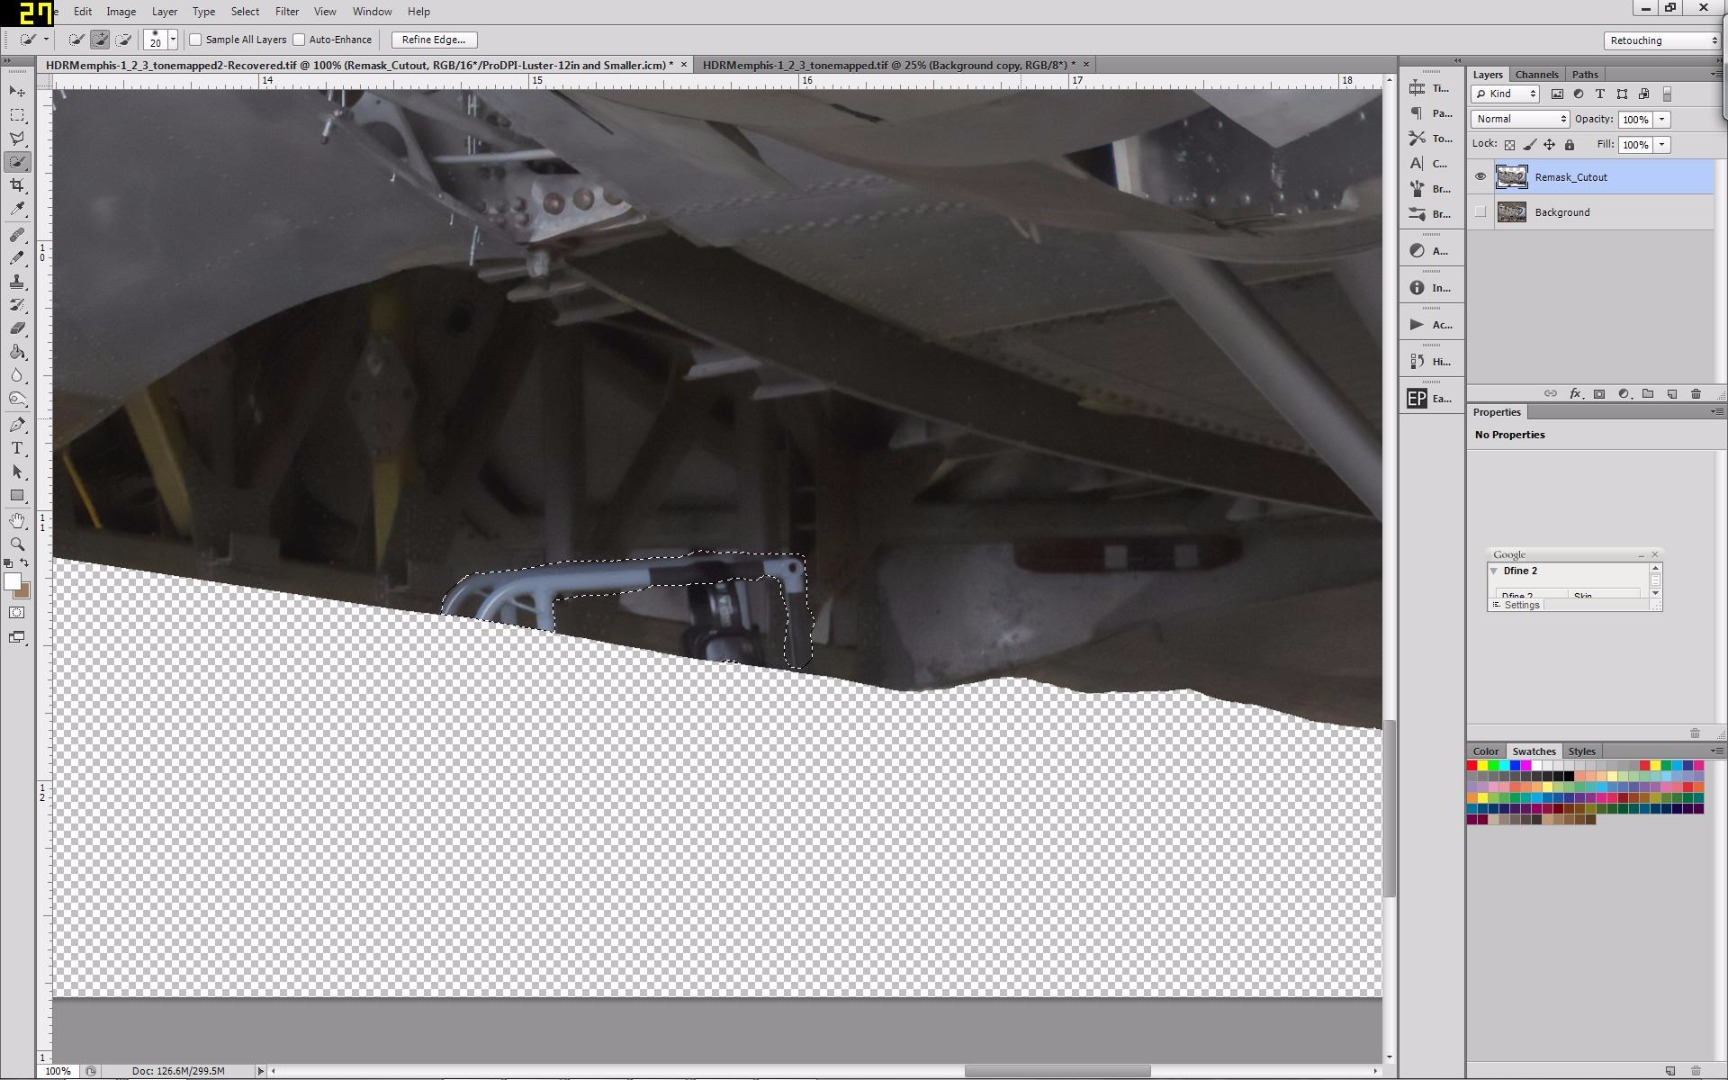
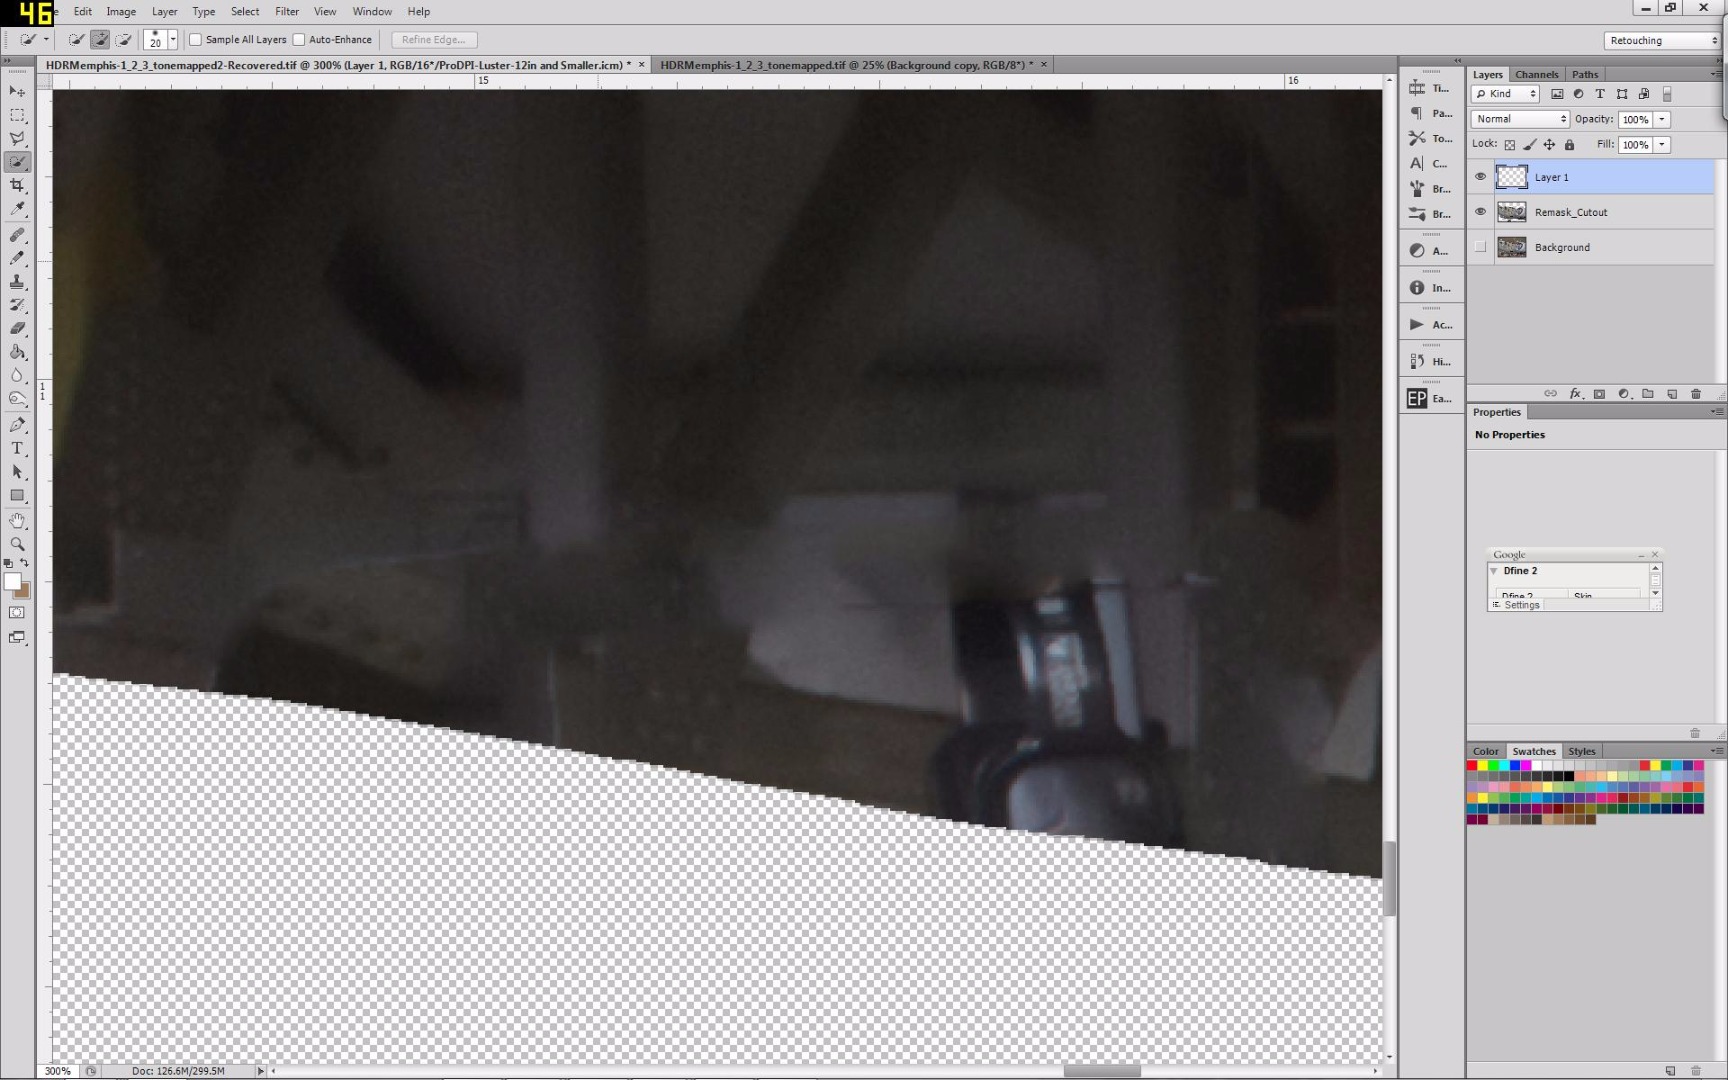
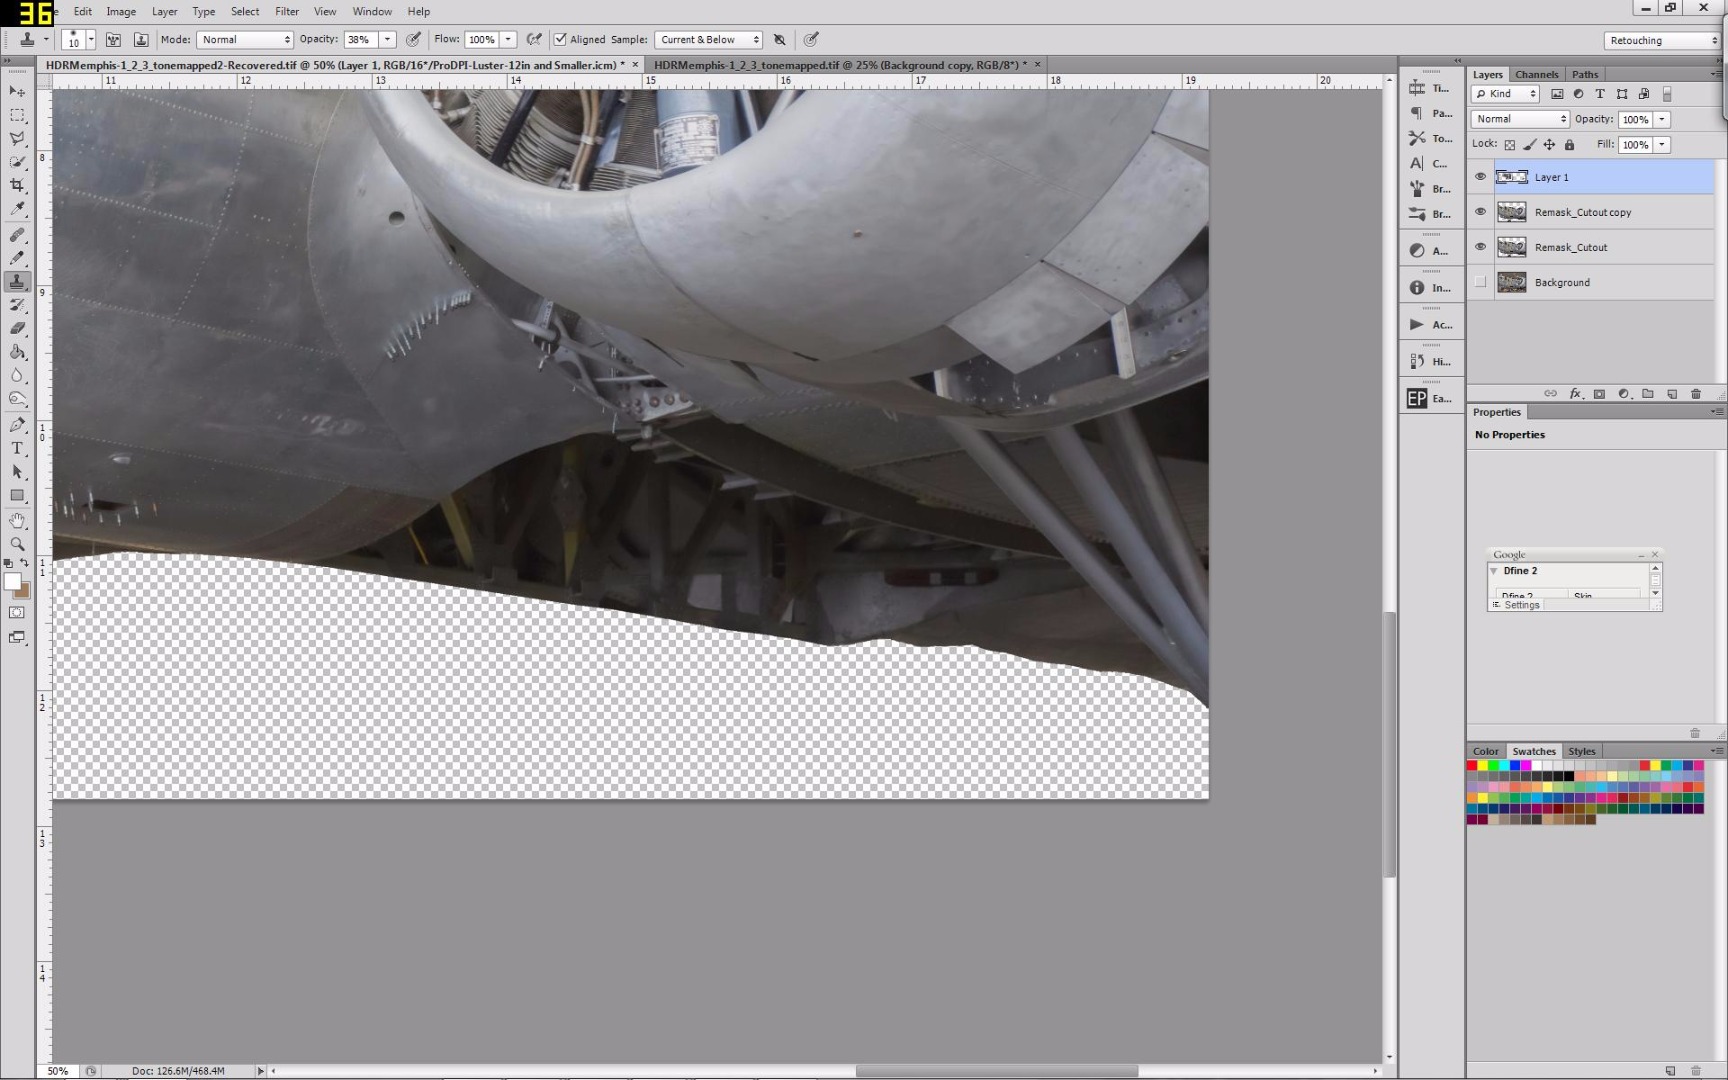
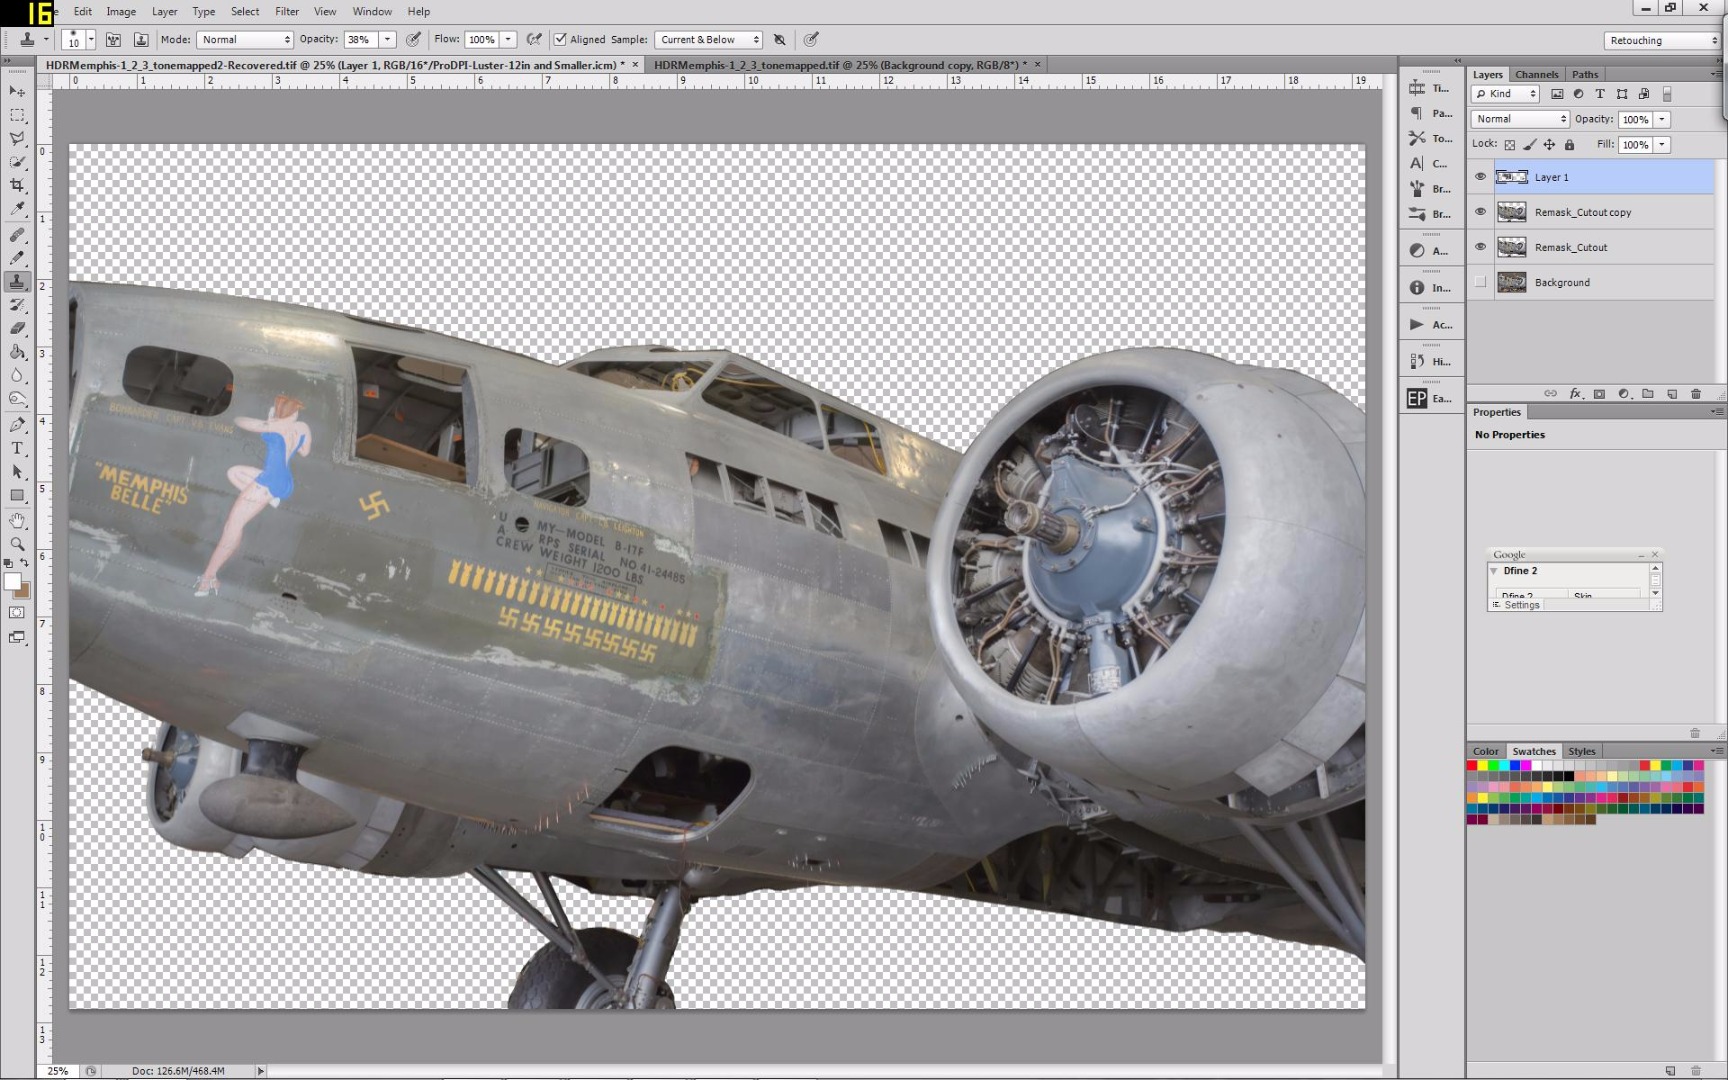
We’ve now got a perfectly-masked subject without any background showing through. We do have a problem: the top of a scaffold underneath the plane that is in the way of the bomb bay.
To remove this, use Selection and Content Aware in Photoshop. After using the automatic selection tool, then go to Fill and Content Aware. This eliminates most of the unwanted scaffolding. Now we want to use the clone brush to fine-tune any details that were missed. I added a blank layer over top of the image and use that to do my cloning. I do this so I am not working directly on the image in case I don’t like how it is looking. I can also use the eraser on this layer or adjust the opacity if I want to lessen the effect of the cloning tool.
I cloned out what needed to without having to erase or use the opacity. This area doesn’t need to be completely perfect; we’ll be darkening it more later on so it will be pretty far into shadow. Finally we’ll merge this layer with the image layer.
Color Management
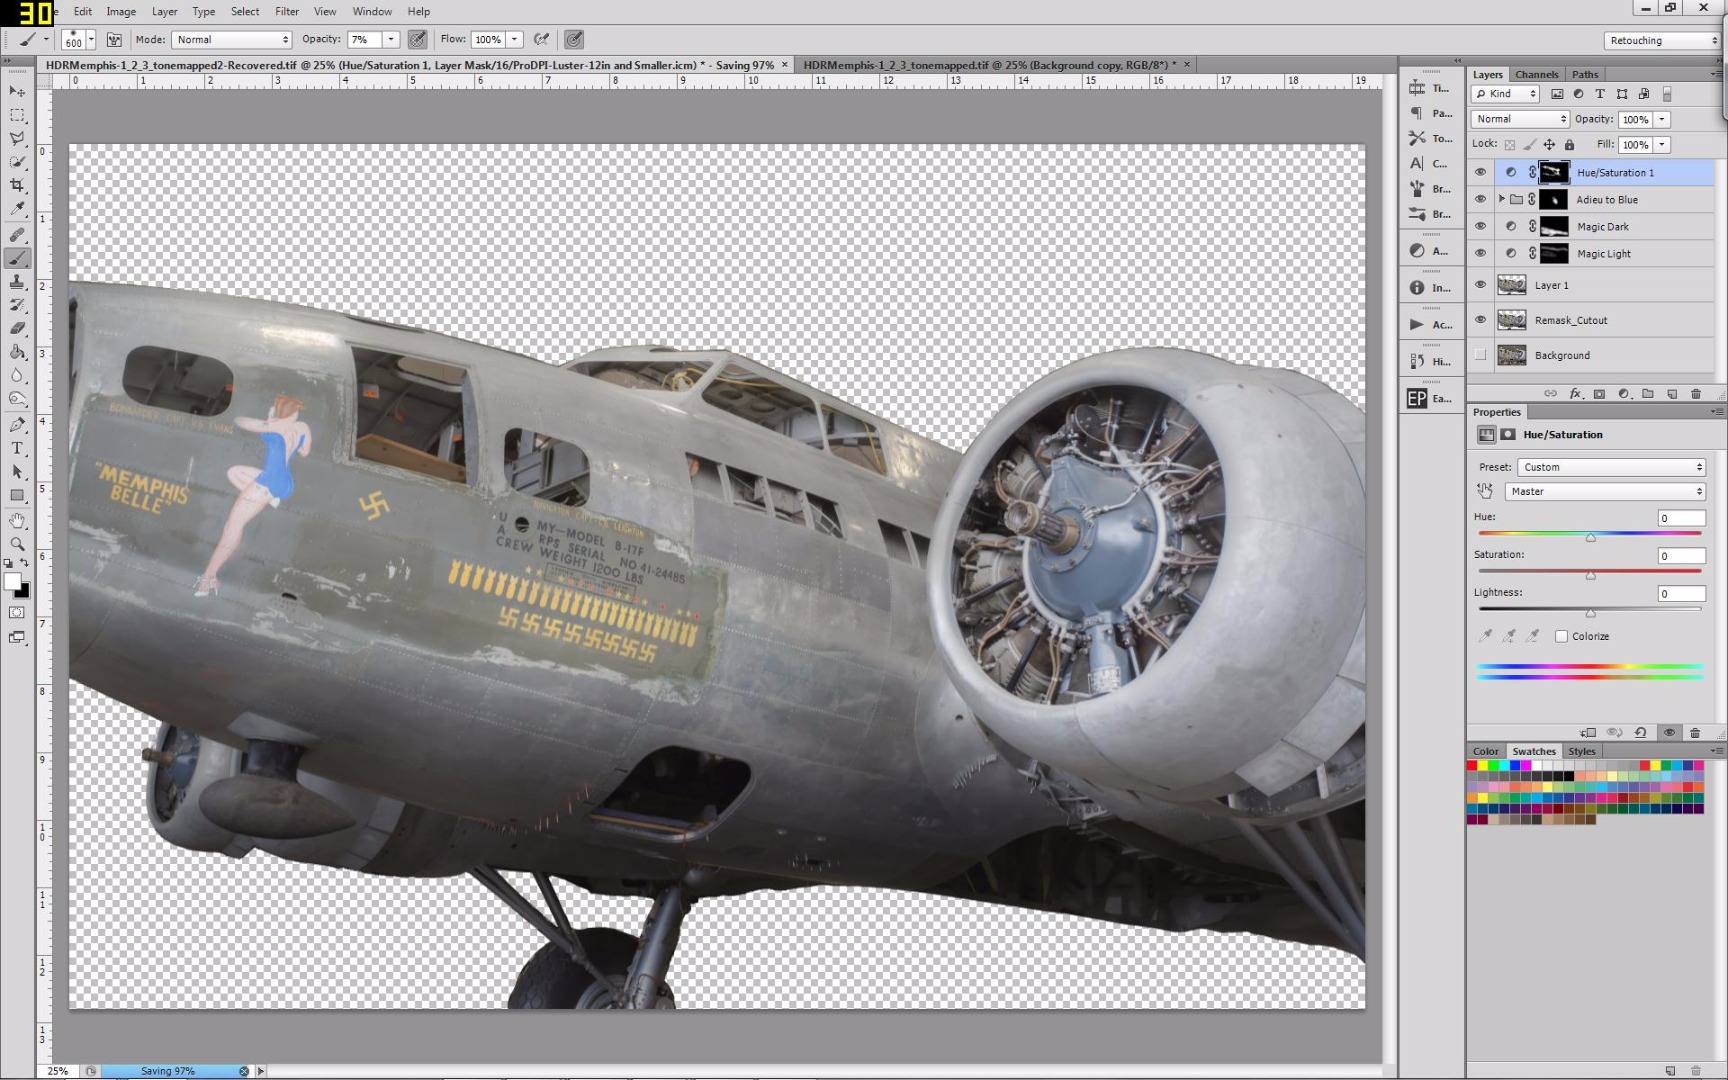
At this point, we’ll work on the color.
Using an action plugin called MCP’s Bag of Tricks, we’ll run Magic Light and Magic Dark, which work as non-destructive Dodge & Burn tools. With a soft white brush set around 19% opacity, paint on the Magic Dark mask. This is like a burn tool, making the areas we paint appear darker. I went around the underside of the fuselage but only slightly. Next I'll use the same brush and paint on the Magic Light mask on areas that I want to lighten, like around the engine, top of the aircraft, and in the cabin.
The hangar is lit by banks of halogen lights which produce a slightly warm, yellow tone. To reduce this, I'll introduce some more adjustment layers to even it out. Add a hue and saturation layer, focus on the yellows and invert the mask. Again using a soft white brush, With the mask selected, paint on the areas where you'd like to reduce the yellow tones.
Now I want to target some of the blues on the skin of the aircraft. I ran an action from "The Radiance Collection" by Greater Than Gatsby called “Ado the Blue” to even out the blue tones.
At this point, continue to adjust your layers as you prefer, until you have a product that you are happy with. Merge down all layers that you’ve been working with.
Contrast and Detail
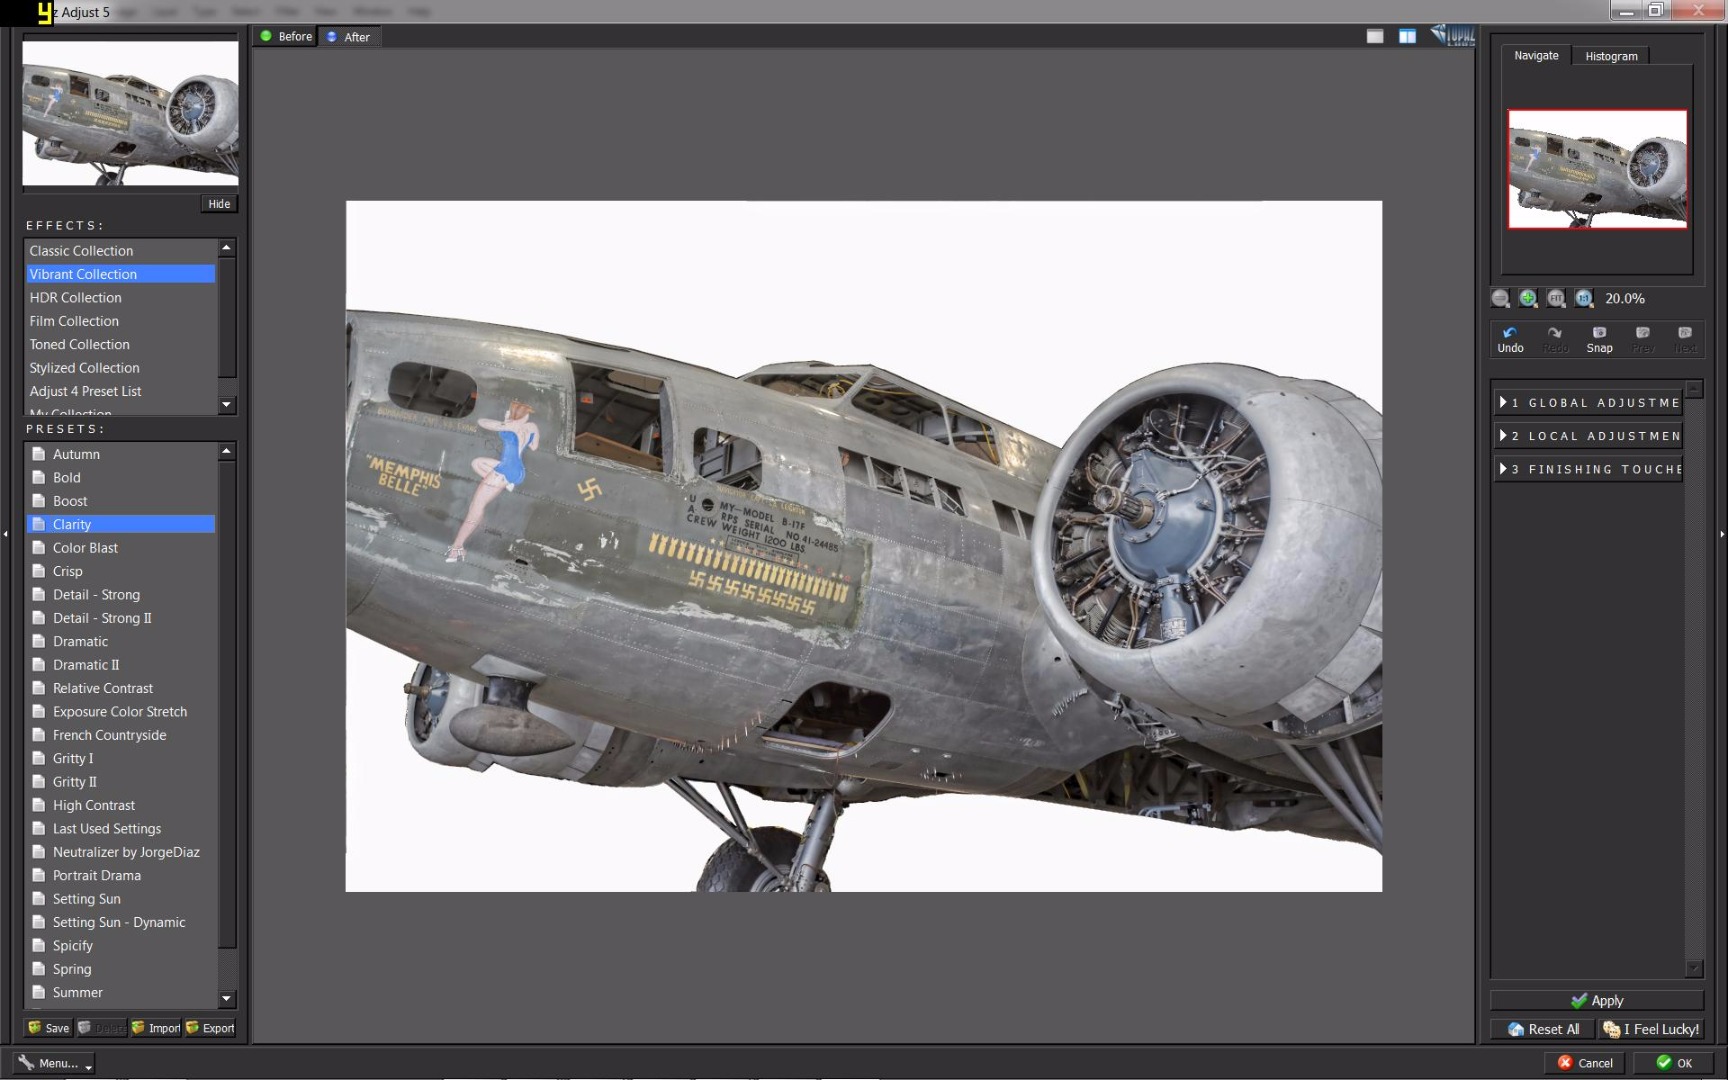
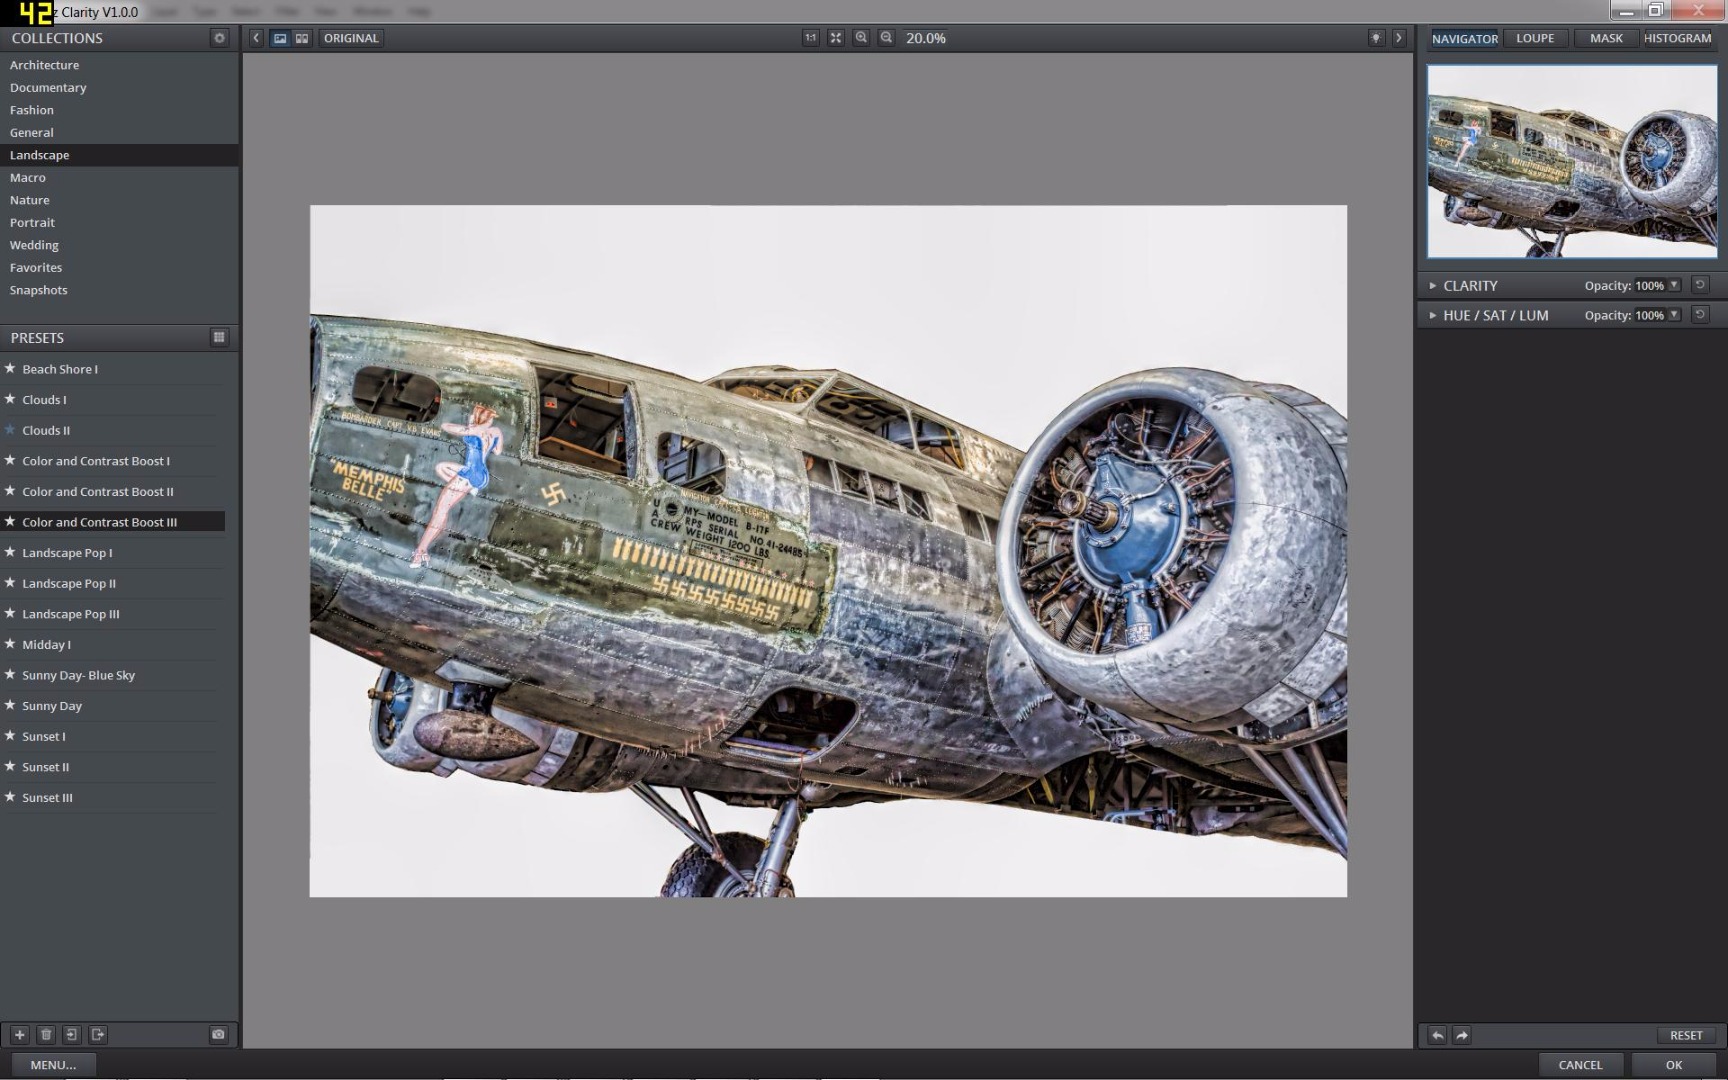
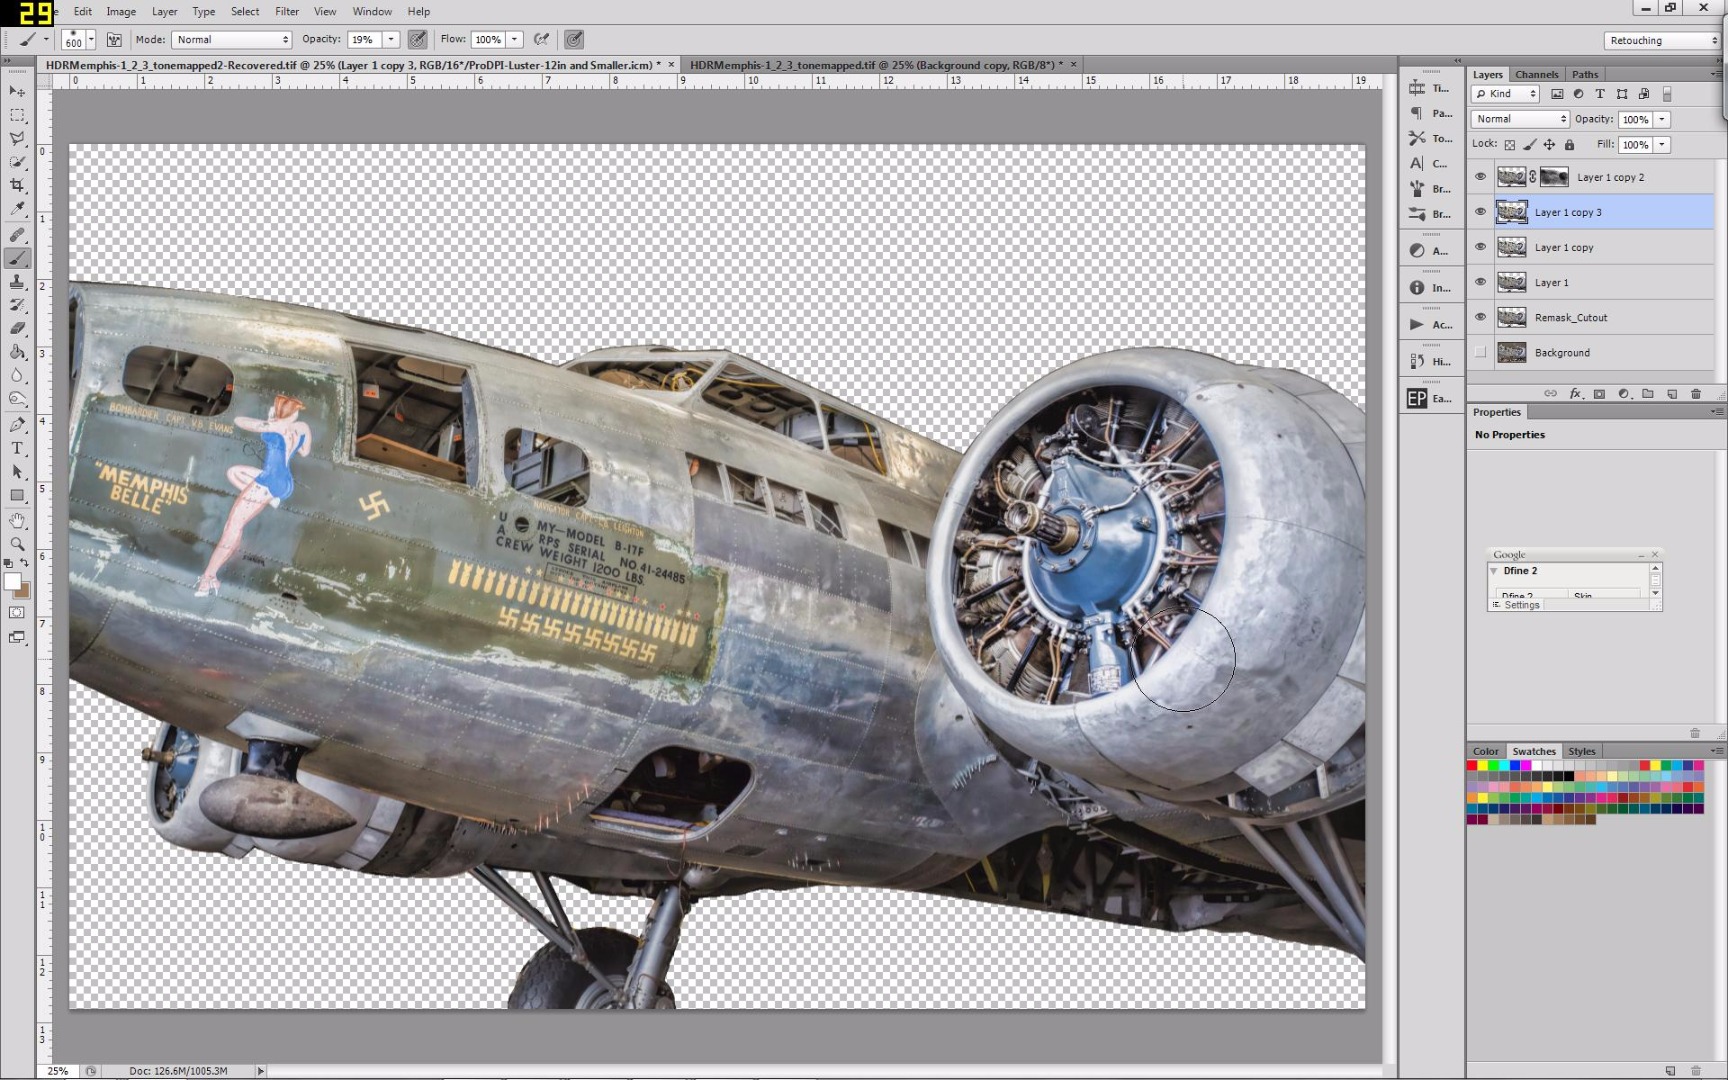
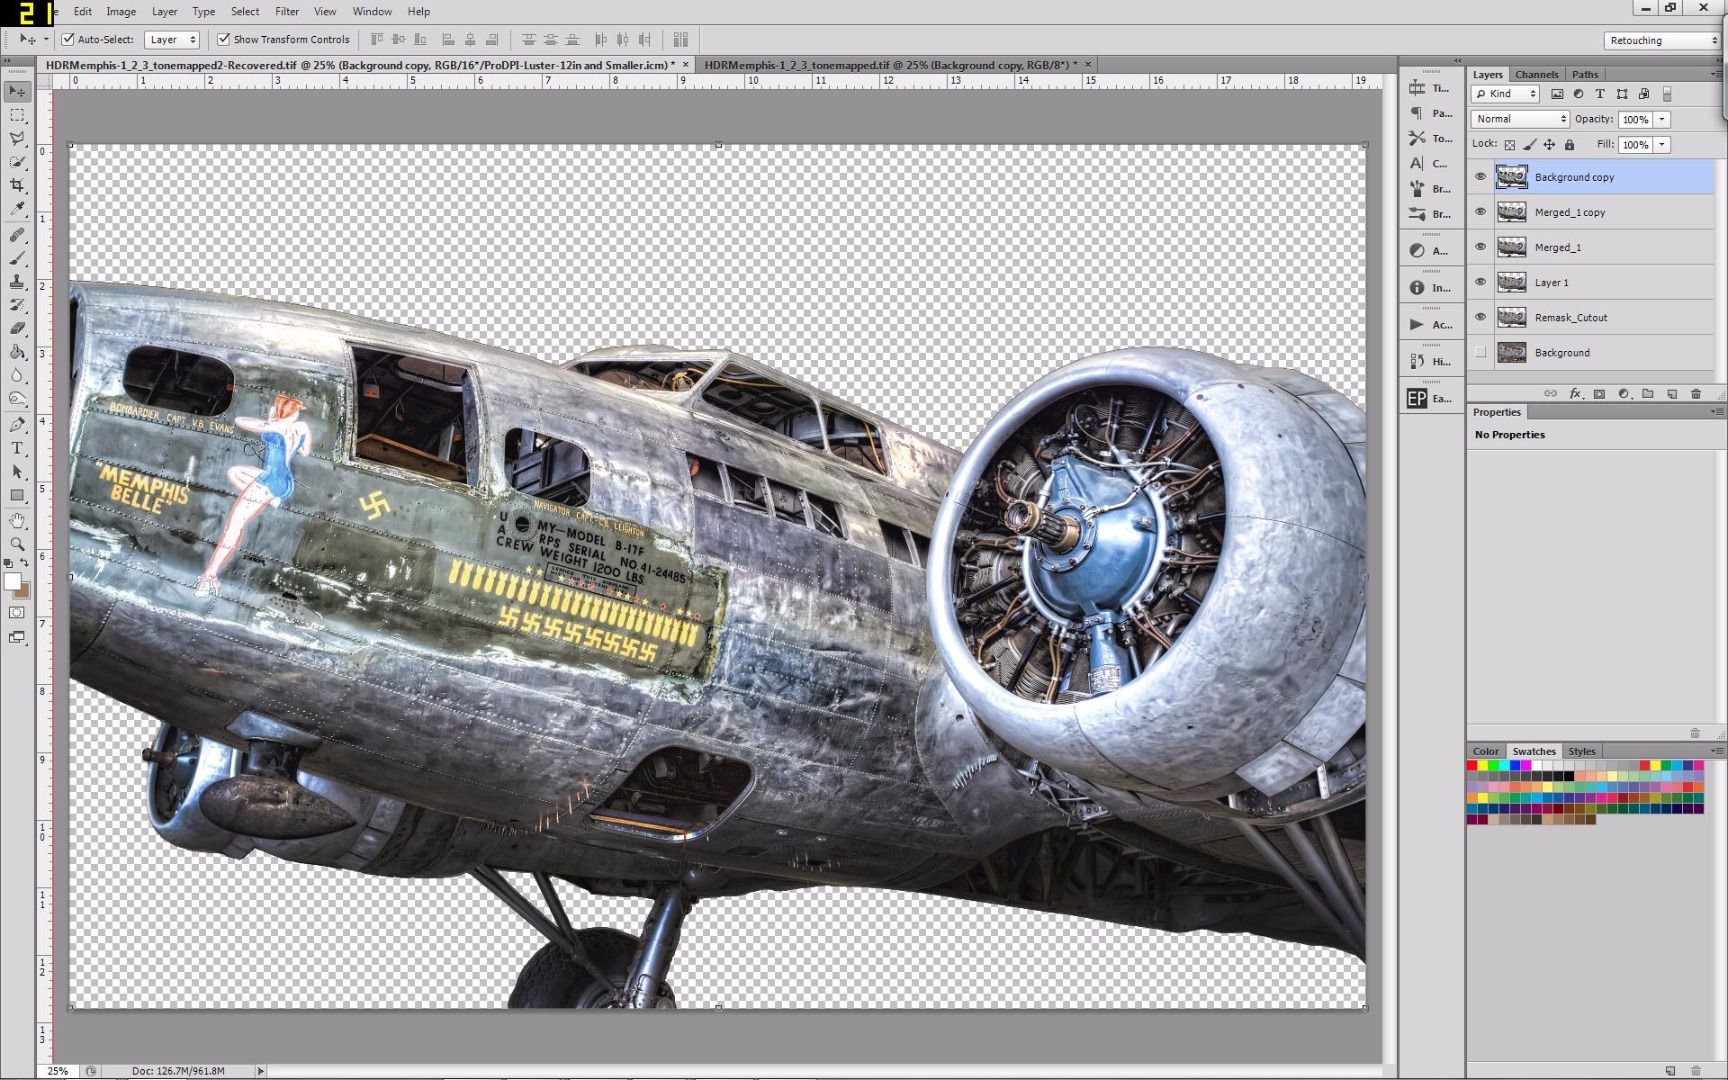
Now I am ready to move onto improving the artistic look of the image. Make a copy of the image. Select the copy and open Topaz Adjust; there are a number of built in options to modify the look of your image. These filters further enhance the textures and depending on your goal, can bring the image to the next level. For this tutorial, I’ll be starting with the Dramatic filter.
Once Topaz Adjust is finished, you will now have that image on top of the original layer without the Topaz Adjust treatment. What I like to do at this point is play around a little to get the right look. I feel that the Topaz adjustment just didn’t give me the pop I was looking for. So I selected the Topaz Adjust modified image and open Topaz Clarity plug-in. There I played around with different enhancements and decided I really like the boost Color and Contrast Boost 3 gave the image. Select Ok and now we’re back in Photoshop.
The top image has now been processed two times: once through Topaz Adjust and the second through Topaz Clarity. While I really love the contrast, saturation, and clarity that I see in the image, it does look a little over done. So what I do is create a mask on this layer, I make sure I have the image that hasn’t been through Topaz Adjust and Clarity under this enhanced image. Now with a soft black brush at 10% opacity I start to paint out areas where I feel the enhancement from Topaz Adjust and Clarity is a bit much.
What the black brush is doing is revealing the non-enhanced image below, so basically it is helping me control the effect the Topaz Adjust and Clarity enhancement I want for my images.
After we brush out some of the enhancement in places I feel need to be toned down. I then merge the two layers. Now when I assess the image, I feel like I need a little more clarity boost. So I make a copy of this layer. I then select the copy and open Topaz Adjust, I like what Crisp did to the image. Click OK and go back to Photoshop. Again I want to tone down the enhancement. Again create a mask and use the soft black brush set at 5% opacity paint the areas I want to tone down the enhancement. Once I am happy with it, I merge it all together.
Backgrounds and Texturing
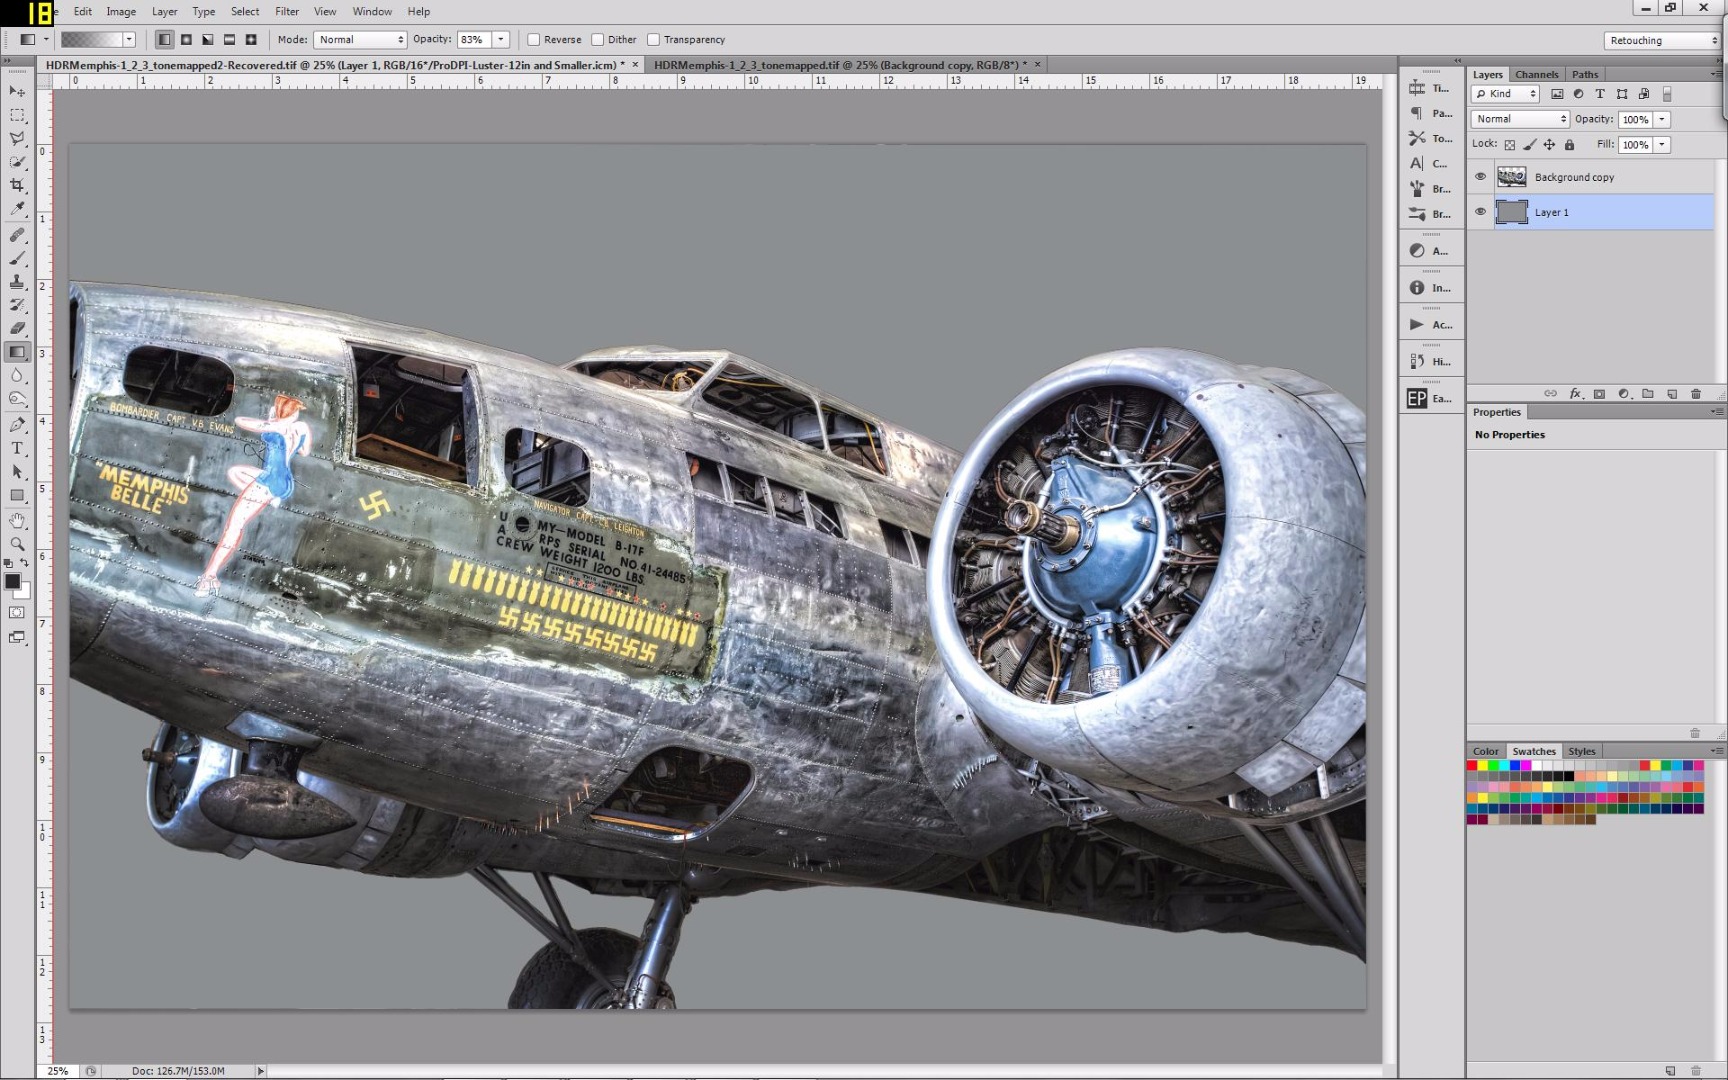
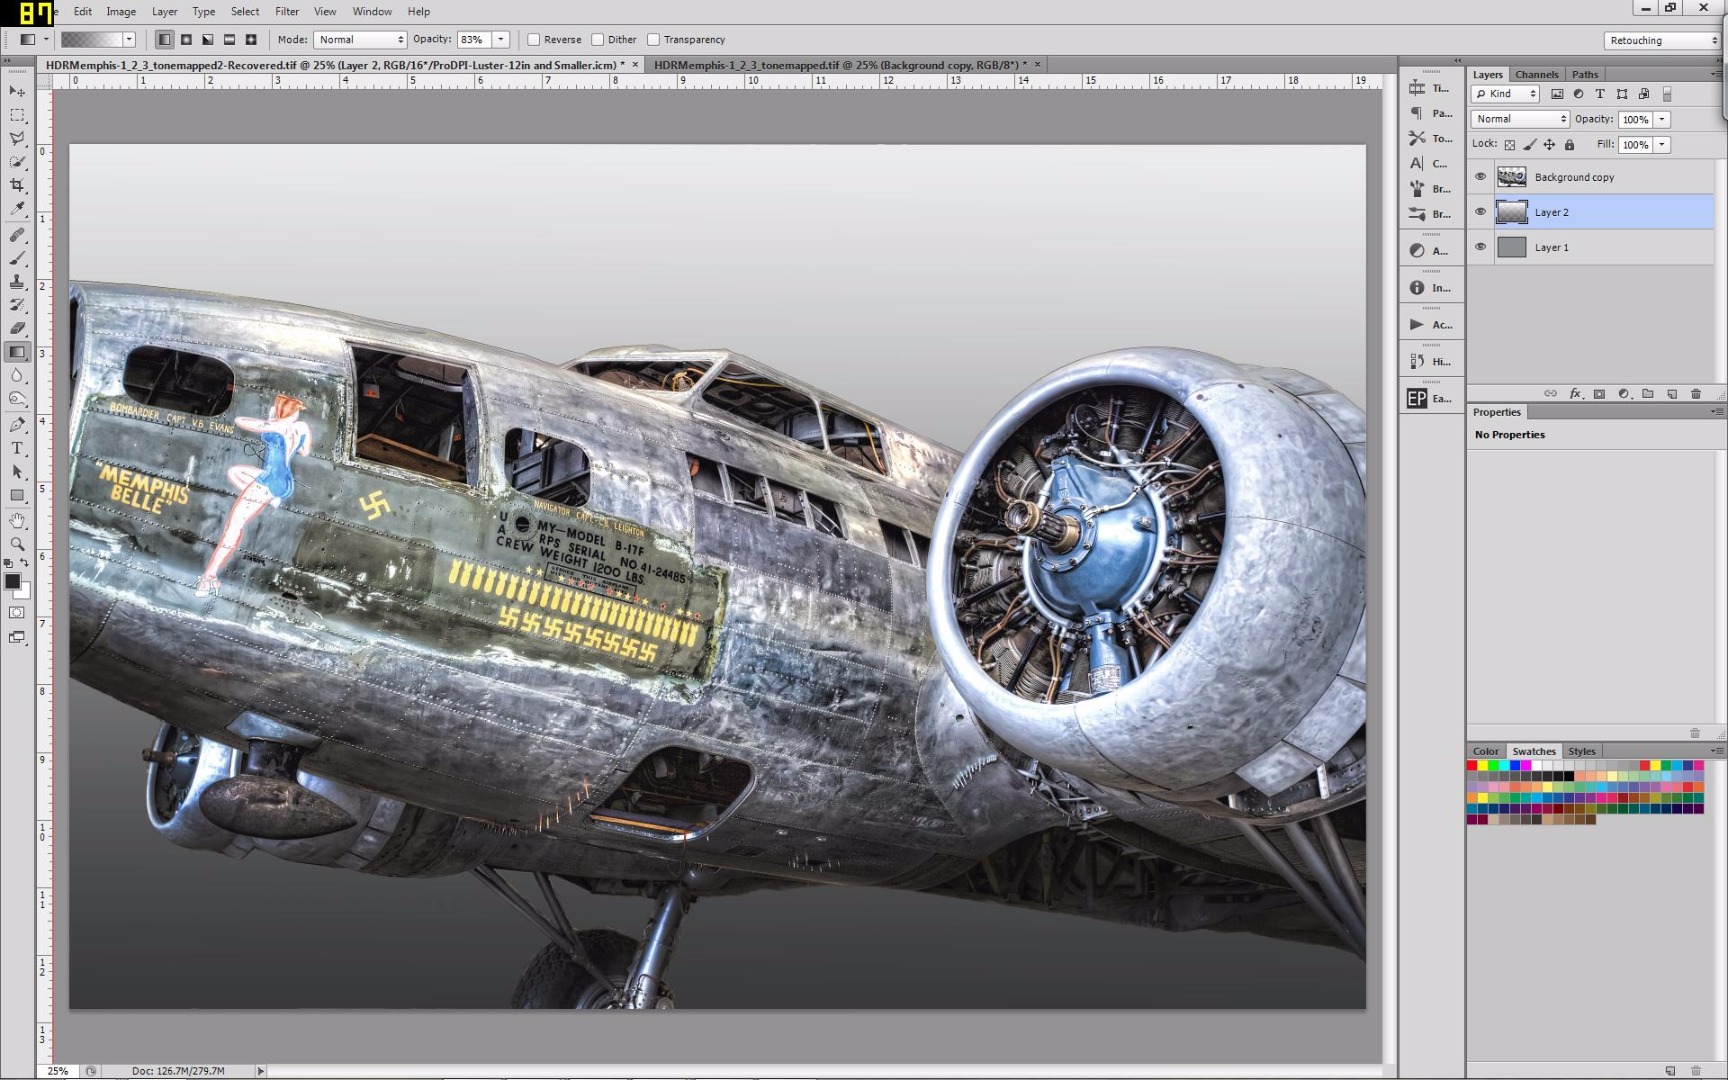
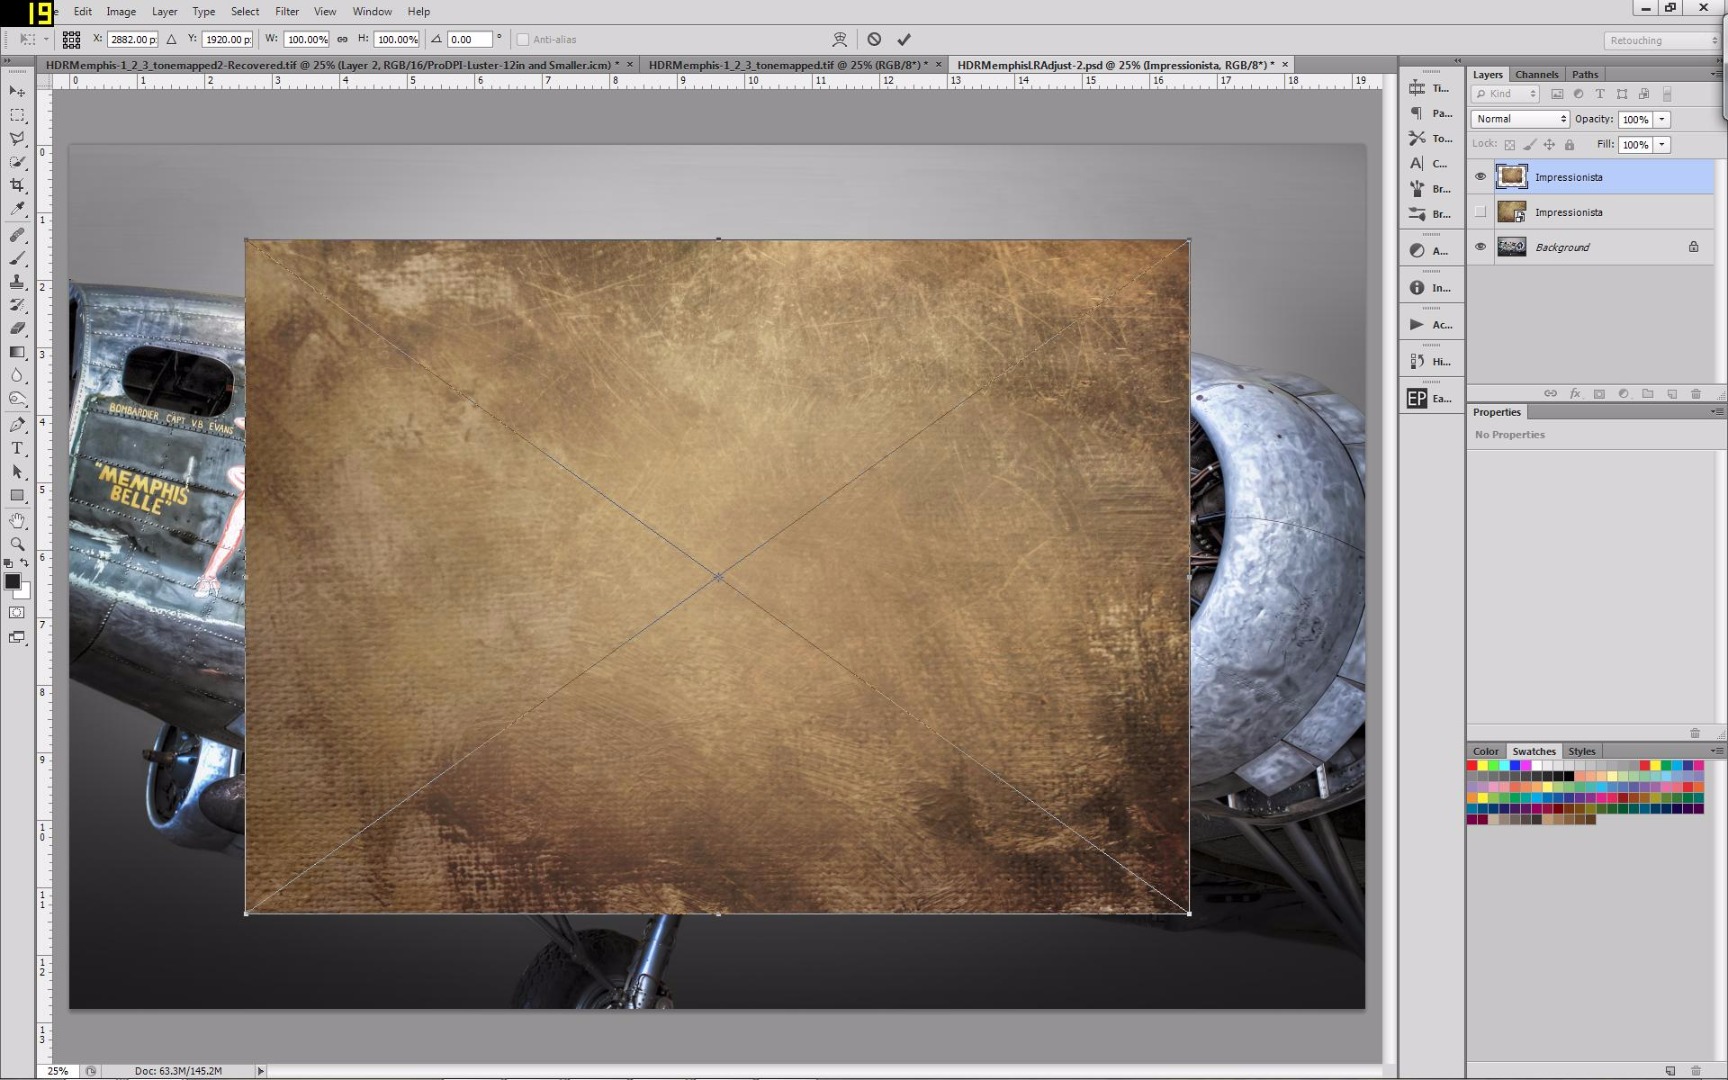
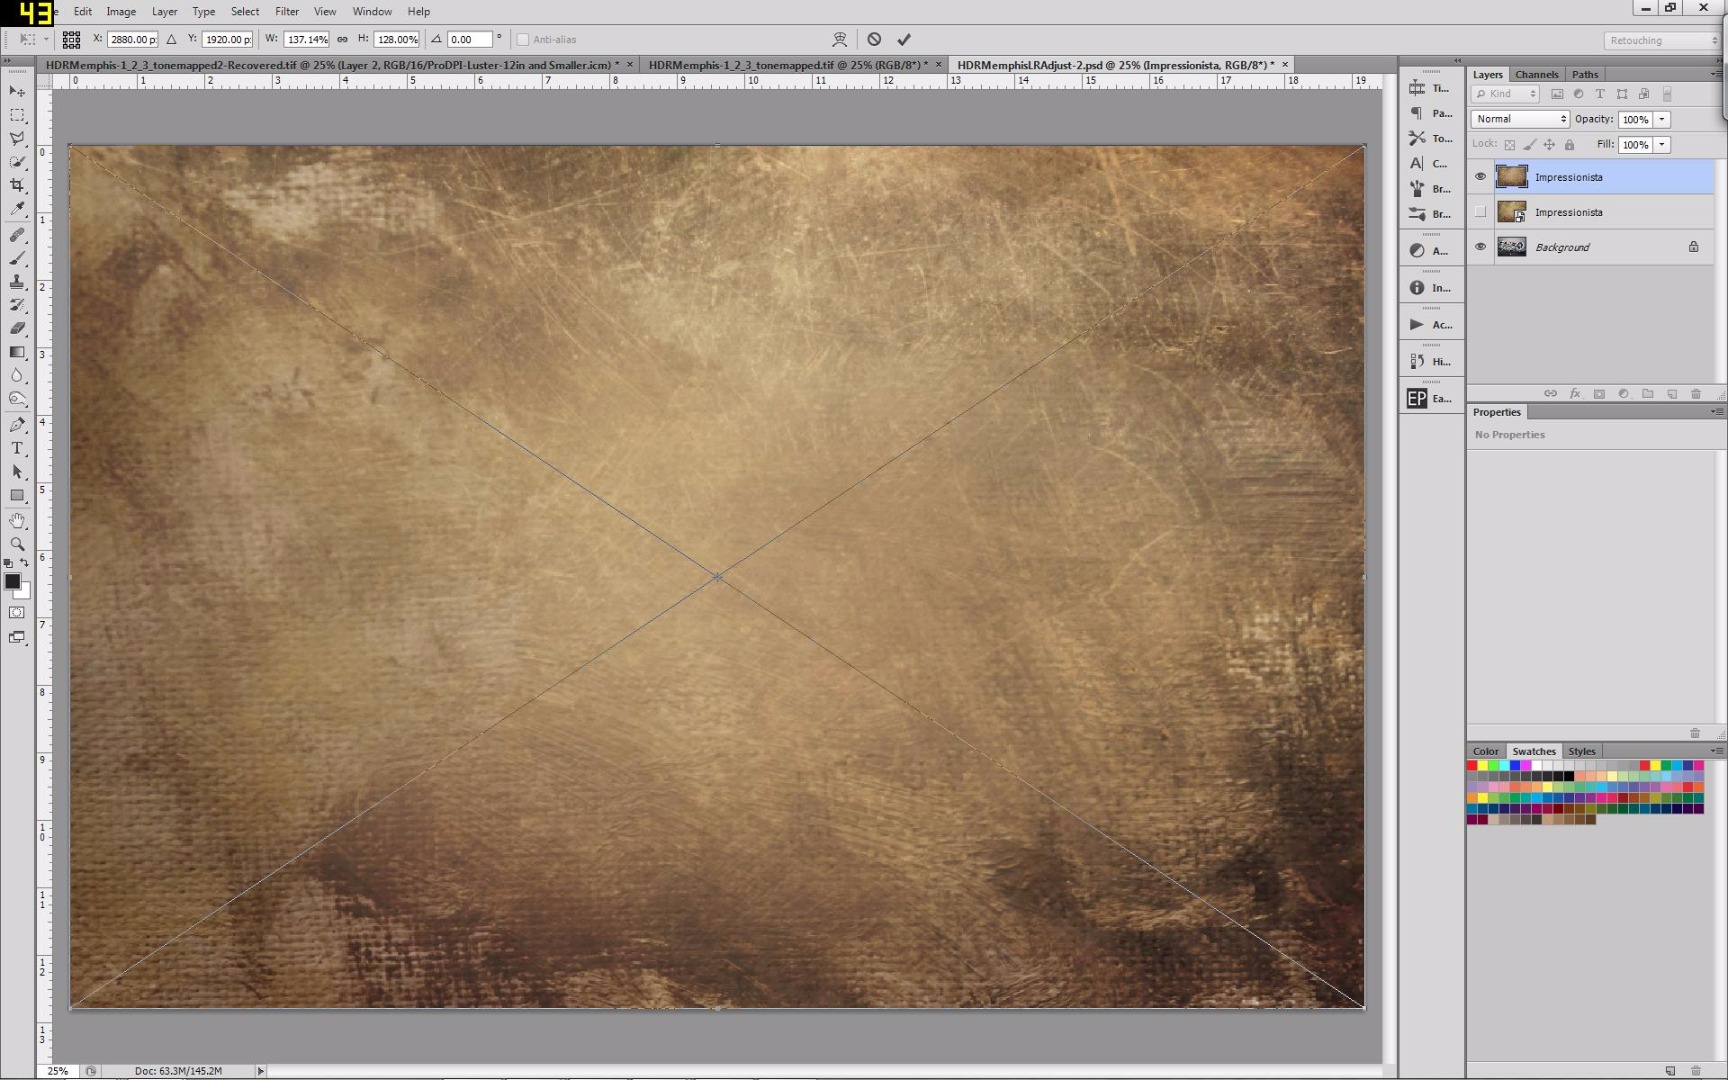
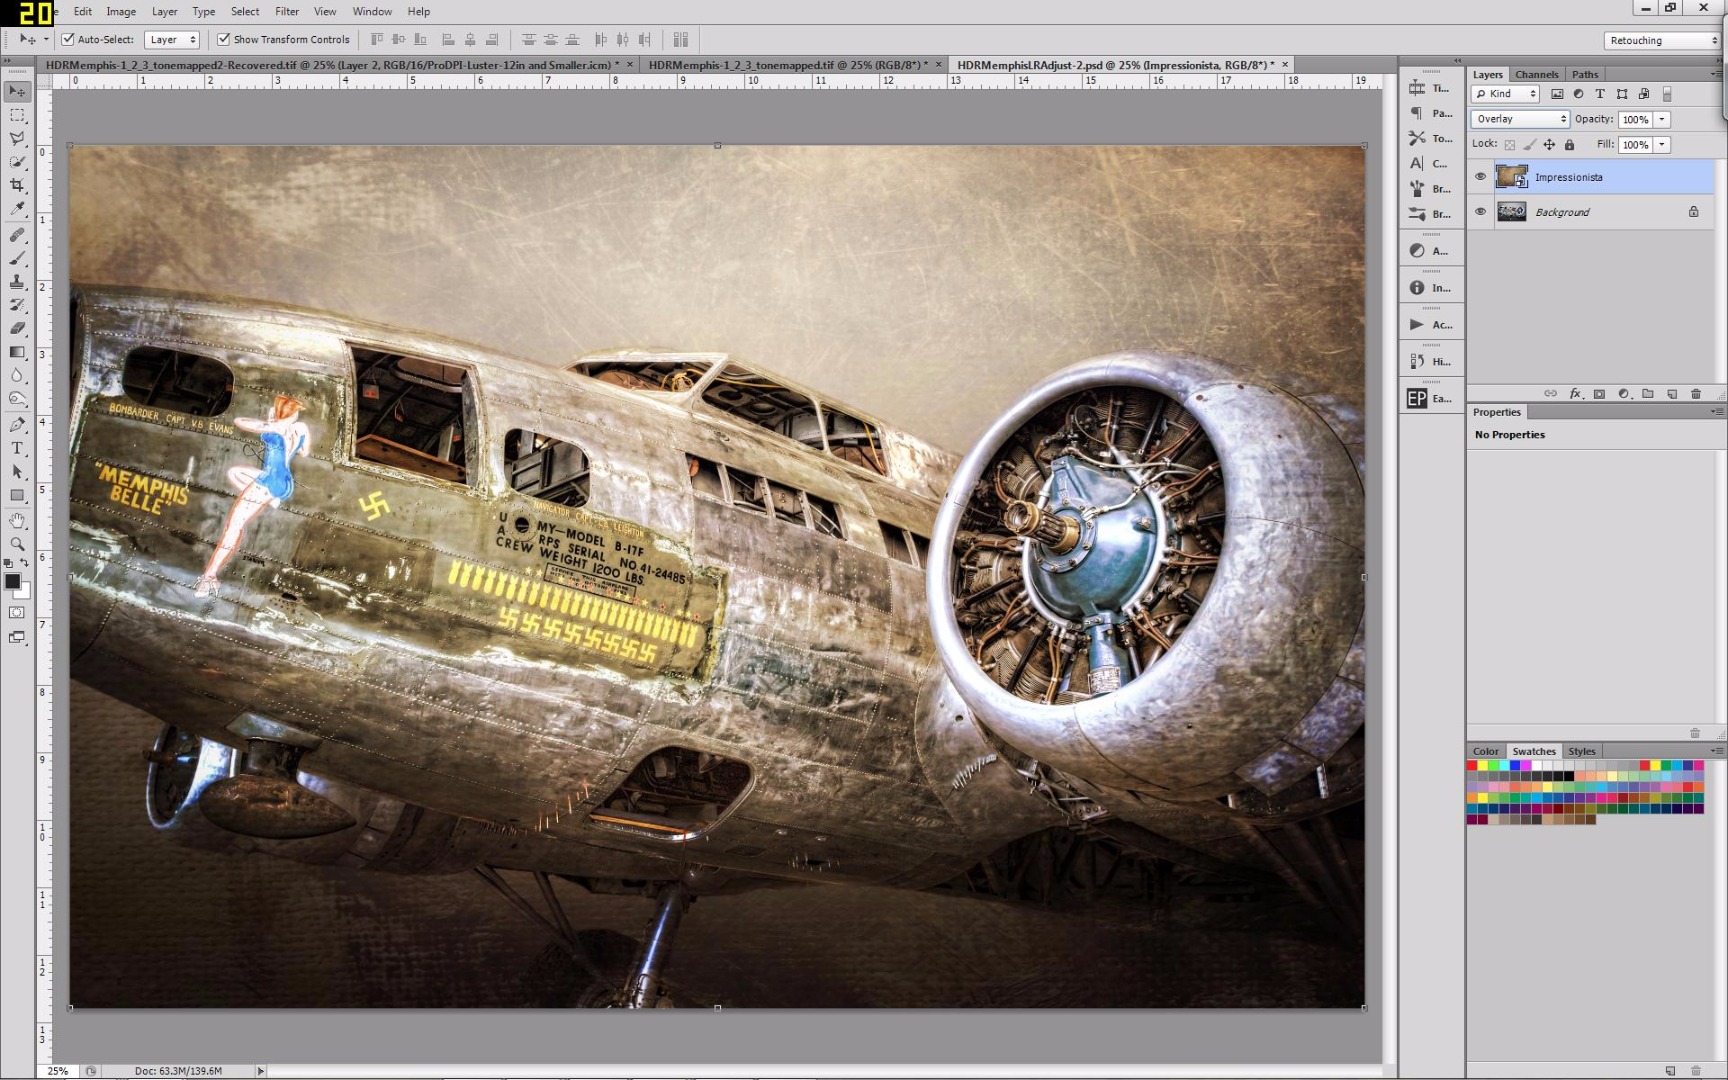
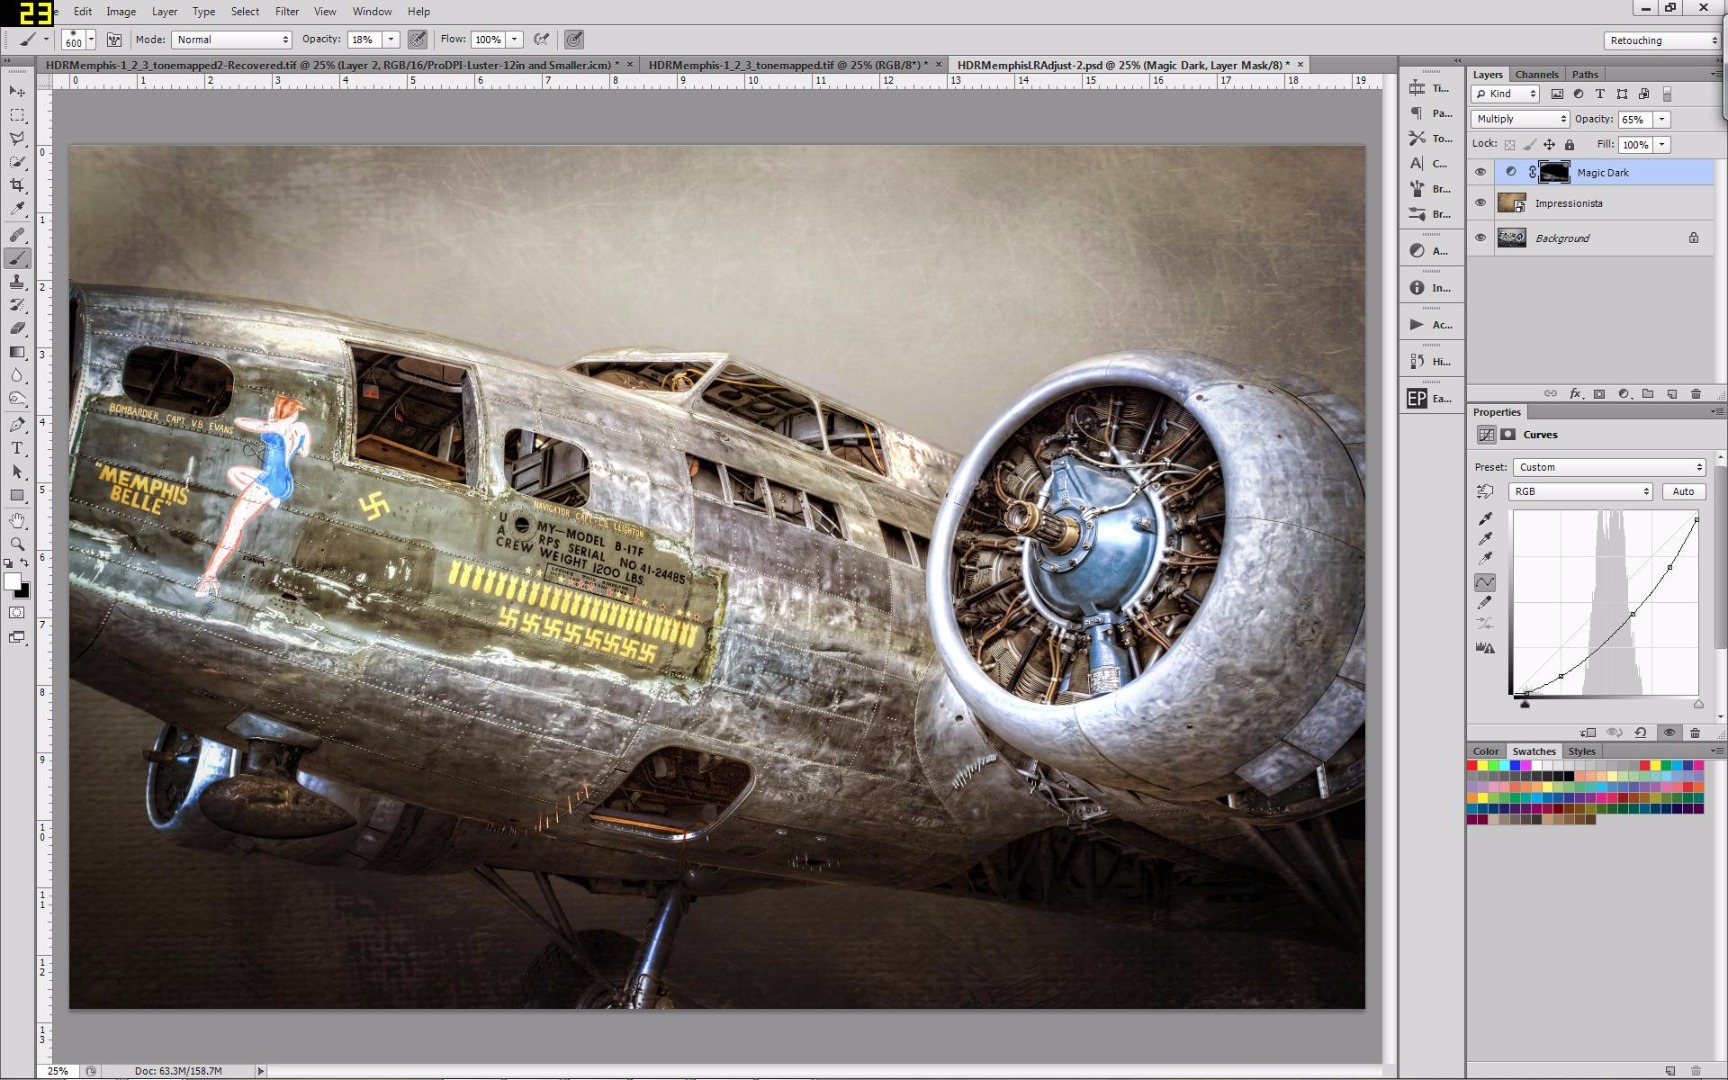
We now have a dramatic subject but no background. Create a layer and fill it with dark gray and drop it behind the subject. Next create a new blank layer on top of the background layer. Build a gradient on this layer going from dark grey on the bottom to a light grey on top.
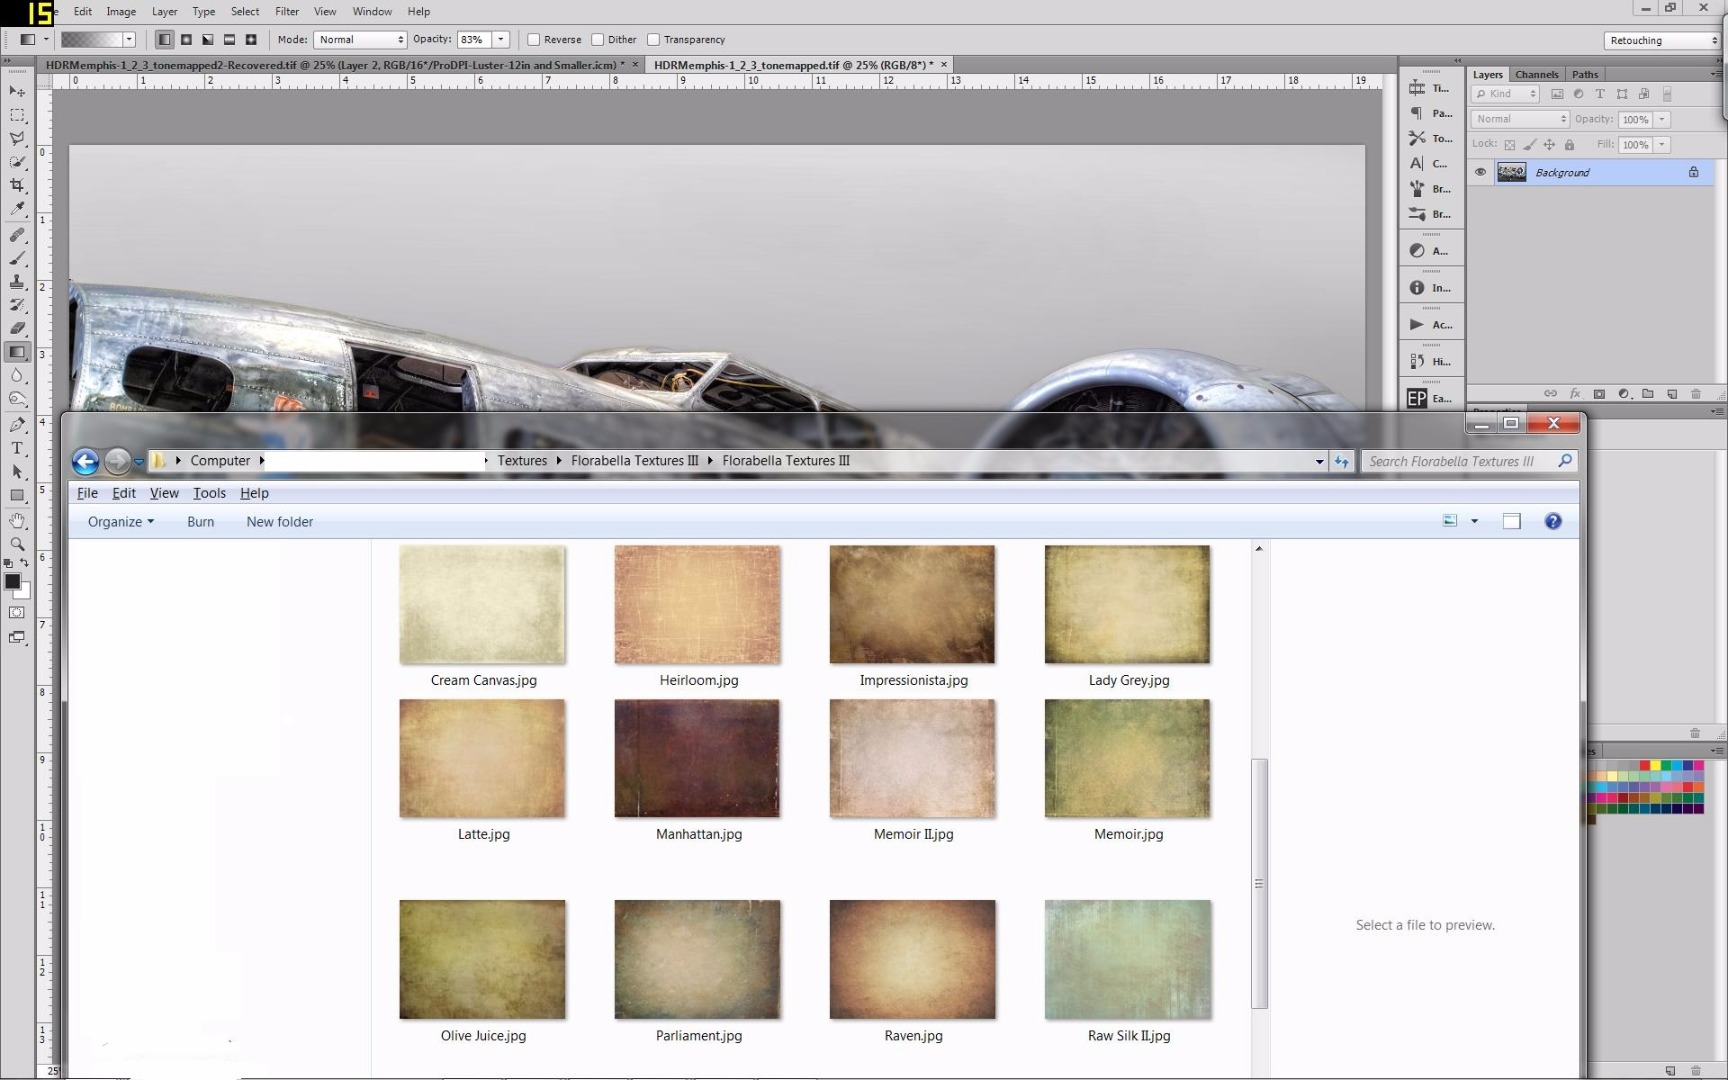
To add more interest to the image I wanted to bring in more texture. This will give the picture a worn, vintage look. I’ve bought several texture packs from different online sites that sell them. These are high resolution images that you can put over top of your image and apply different layer blending modes.
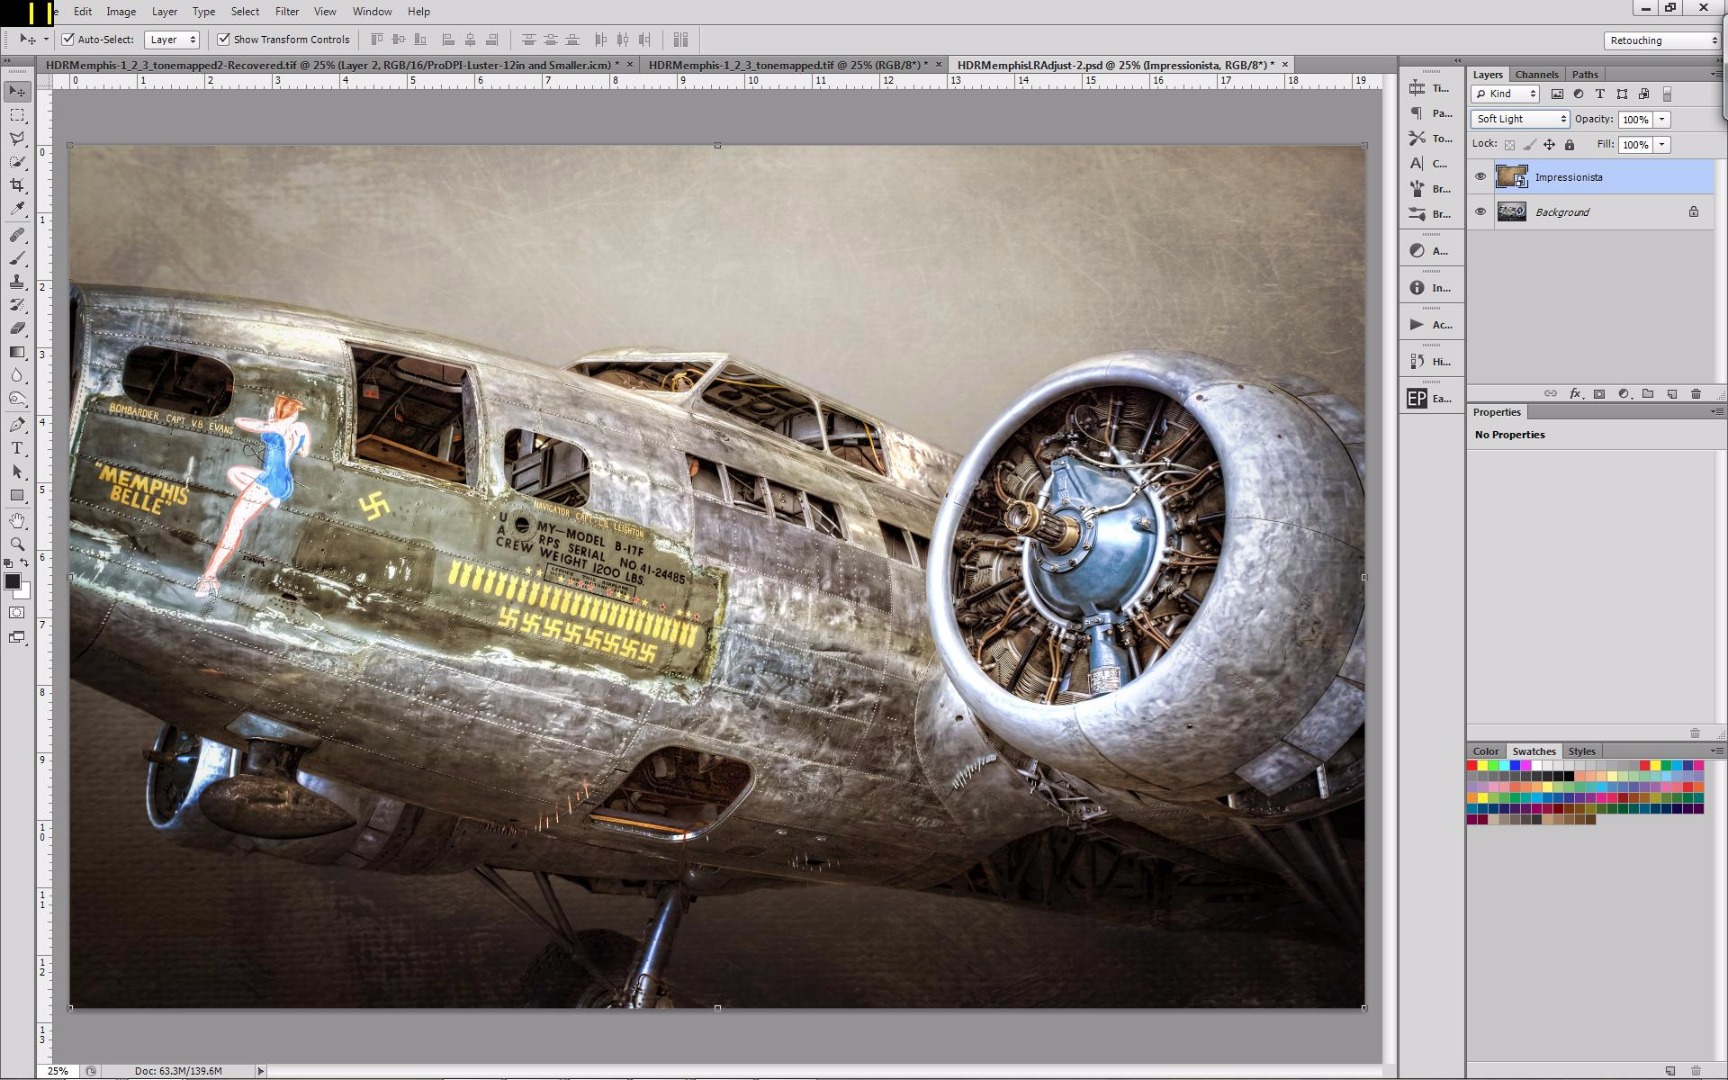
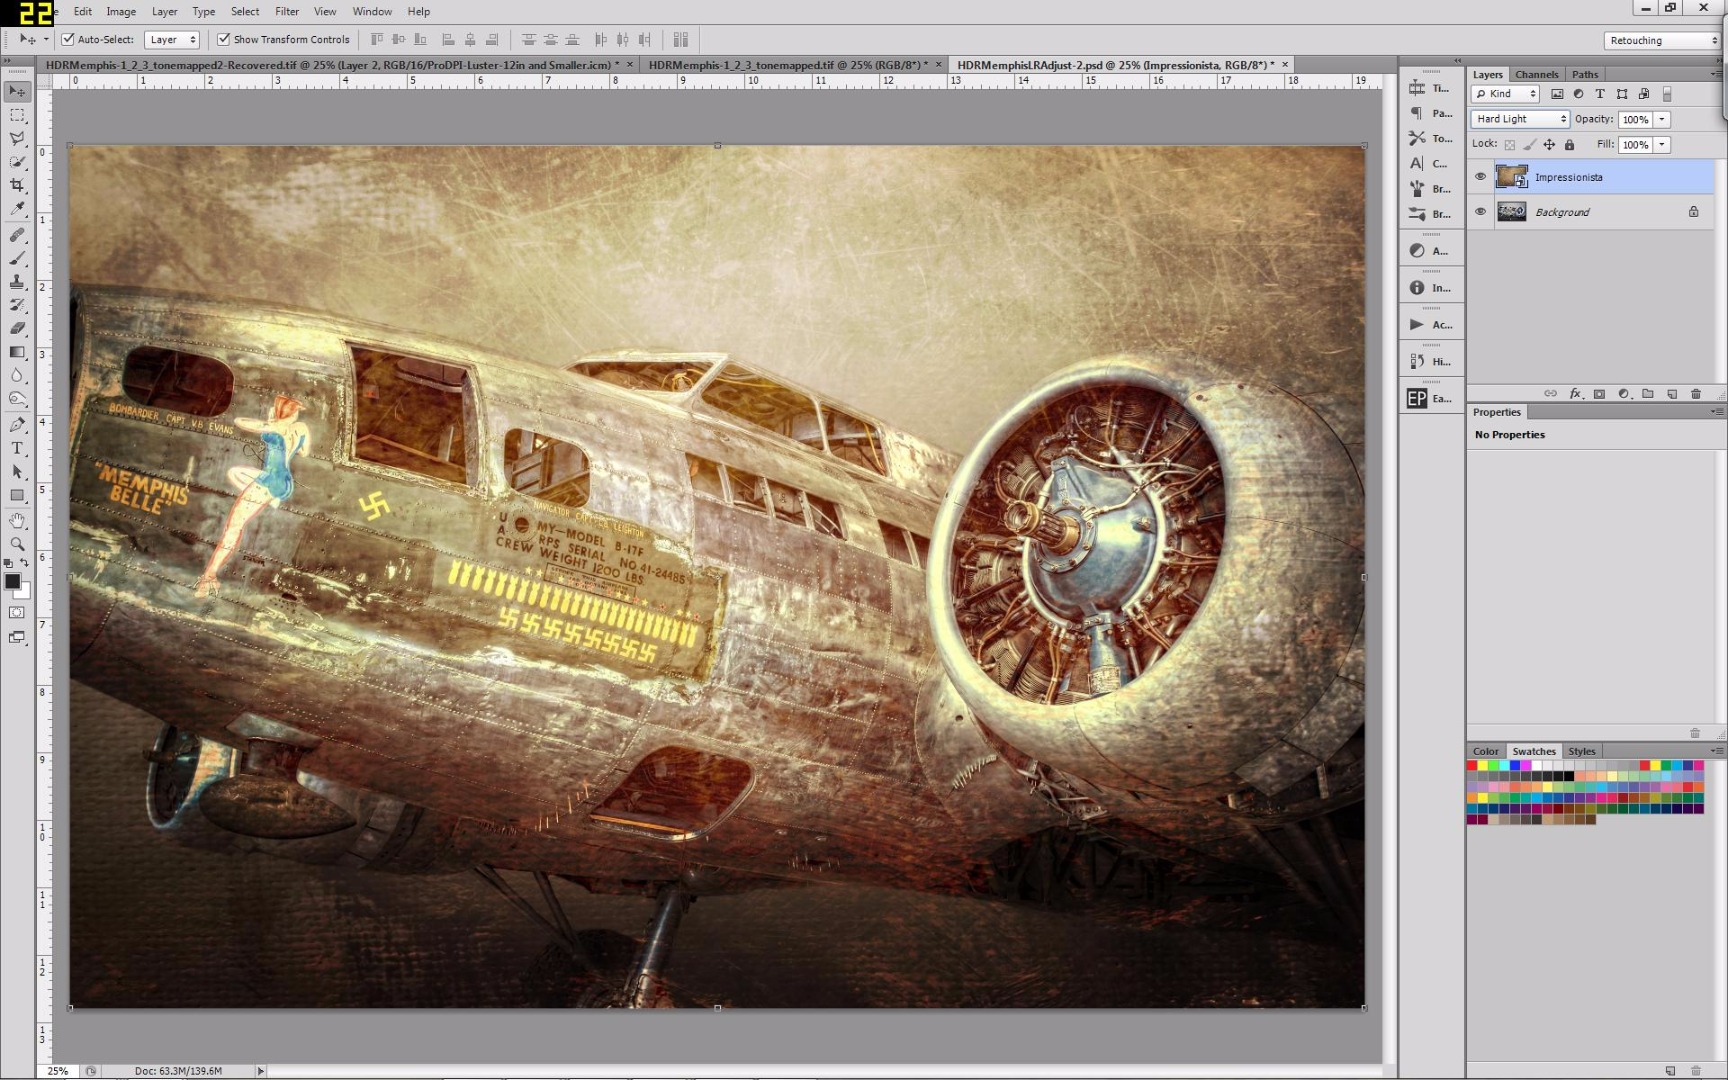
For this image I picked the texture called Impressionista from Florabella Textures #3, which has some elements of burlap and rough vintage wearing. Drag it onto the image, stretch it to fit and drop it on top of the subject. Working with the layer blending mode, go through the different modes to see what you like best. Some options are Soft Light, Hard Light and Overlay. For this image I chose Soft Light.
At this point, you can run the Magic Dark action that we used previously for the dodging and burning. I like to use Magic Dark to further enhance the shadows and darken the edges to create a vignette.
Final Product

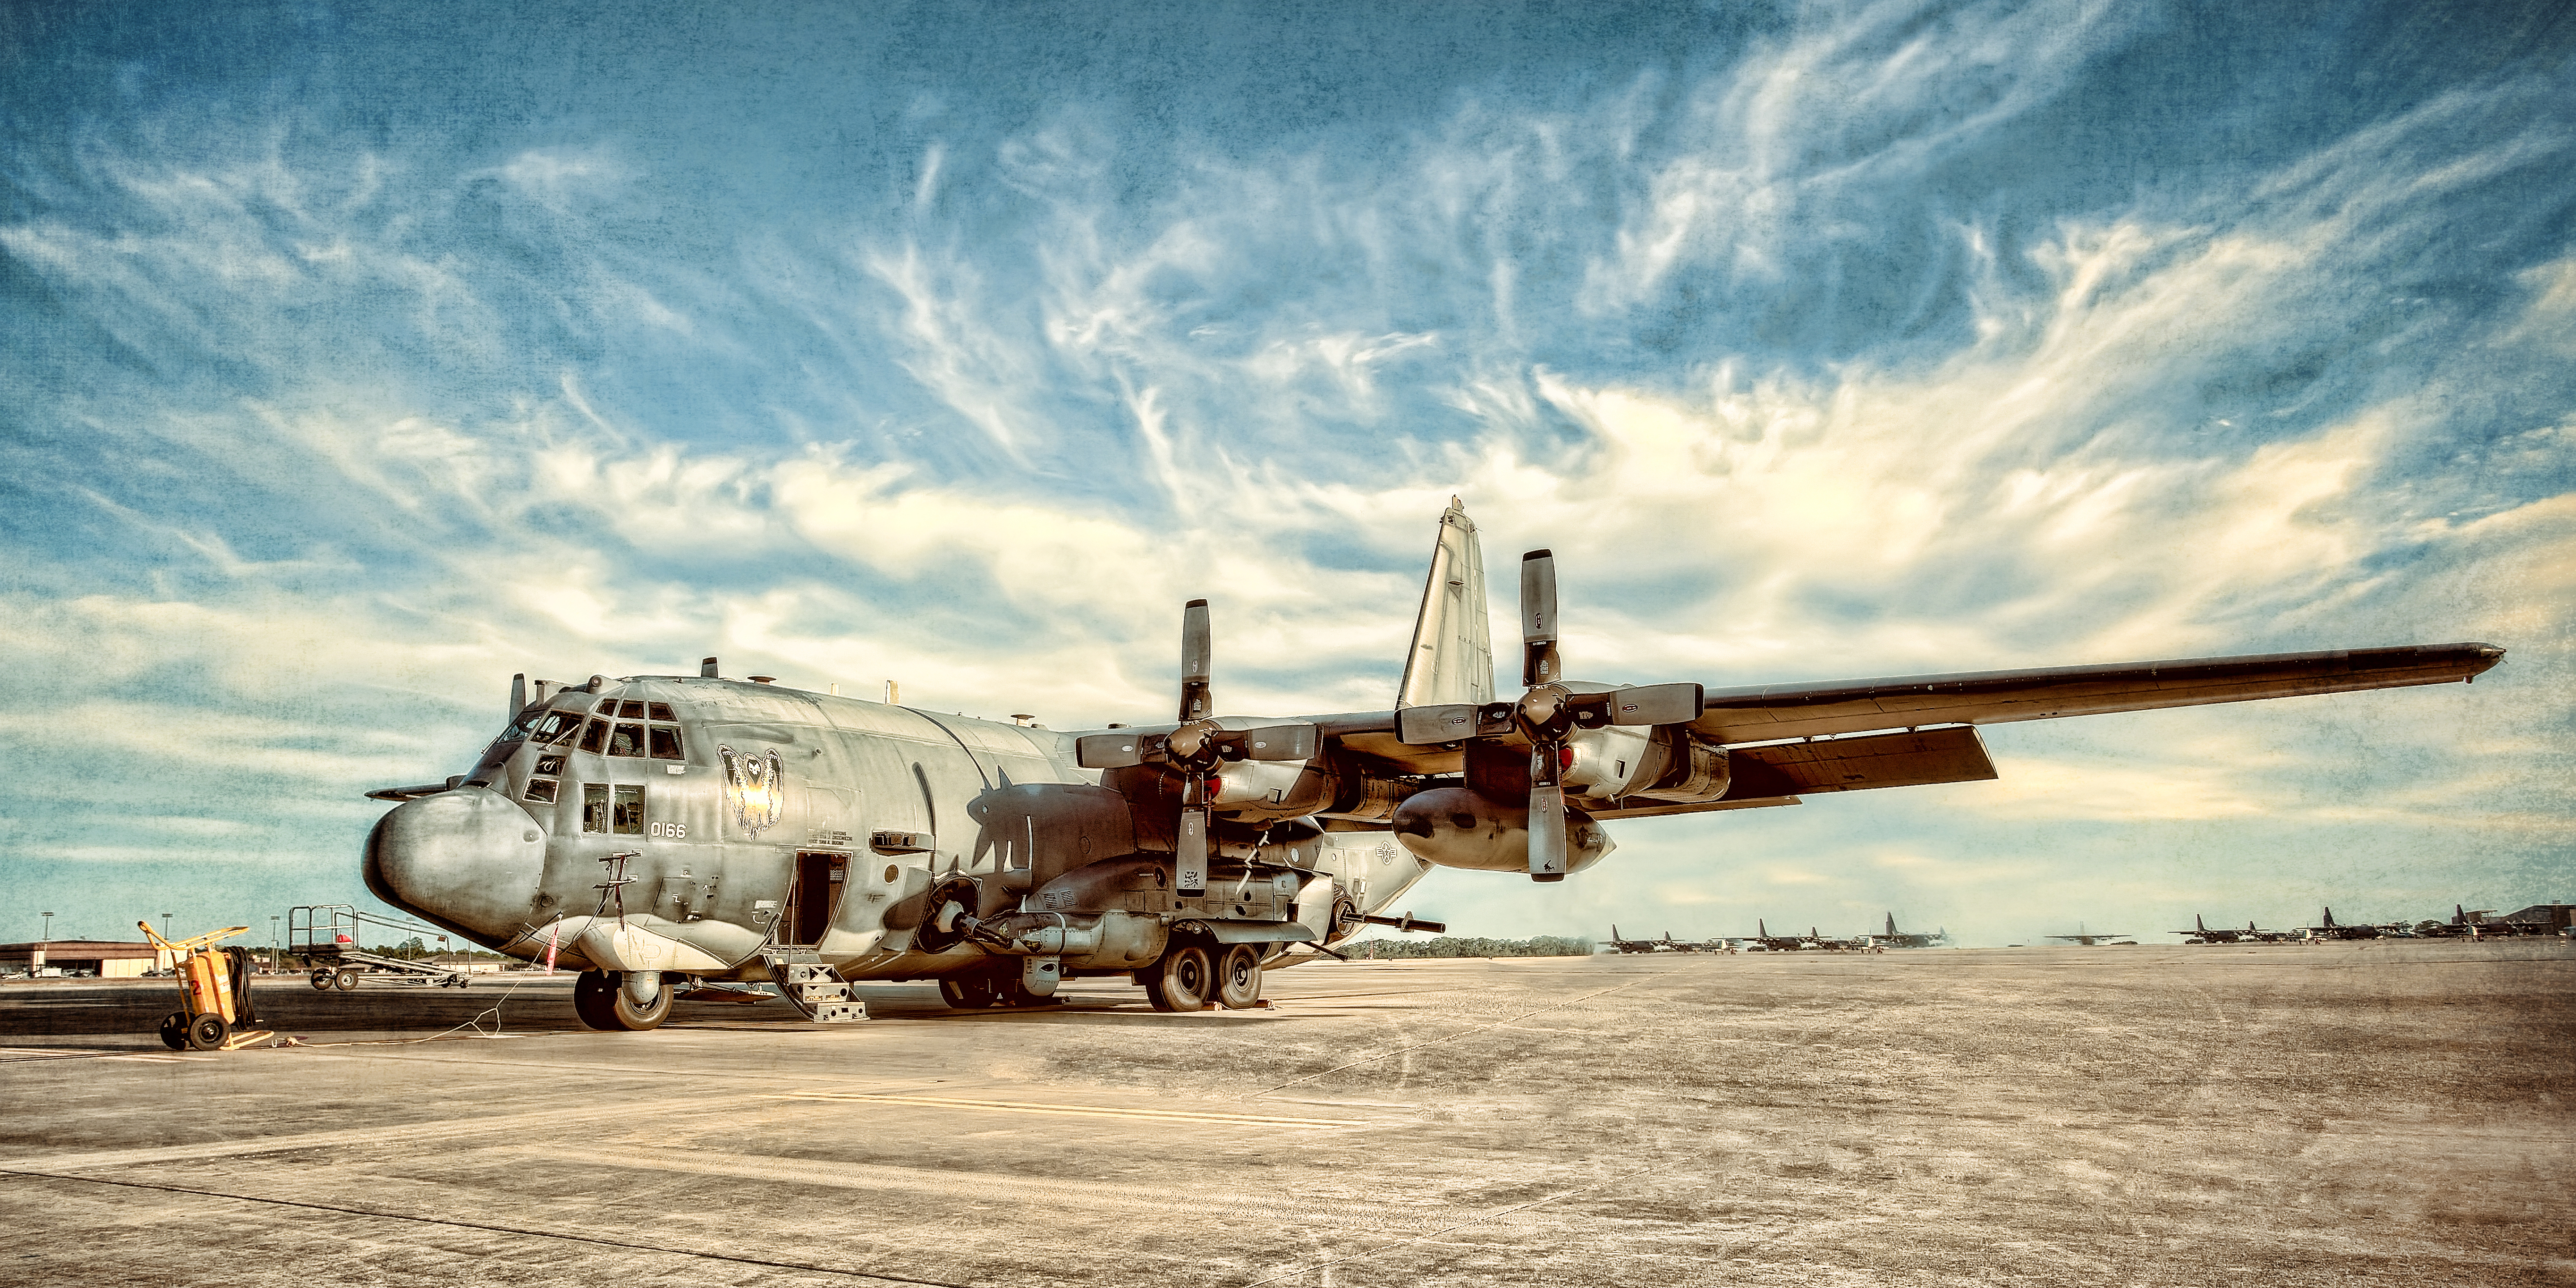
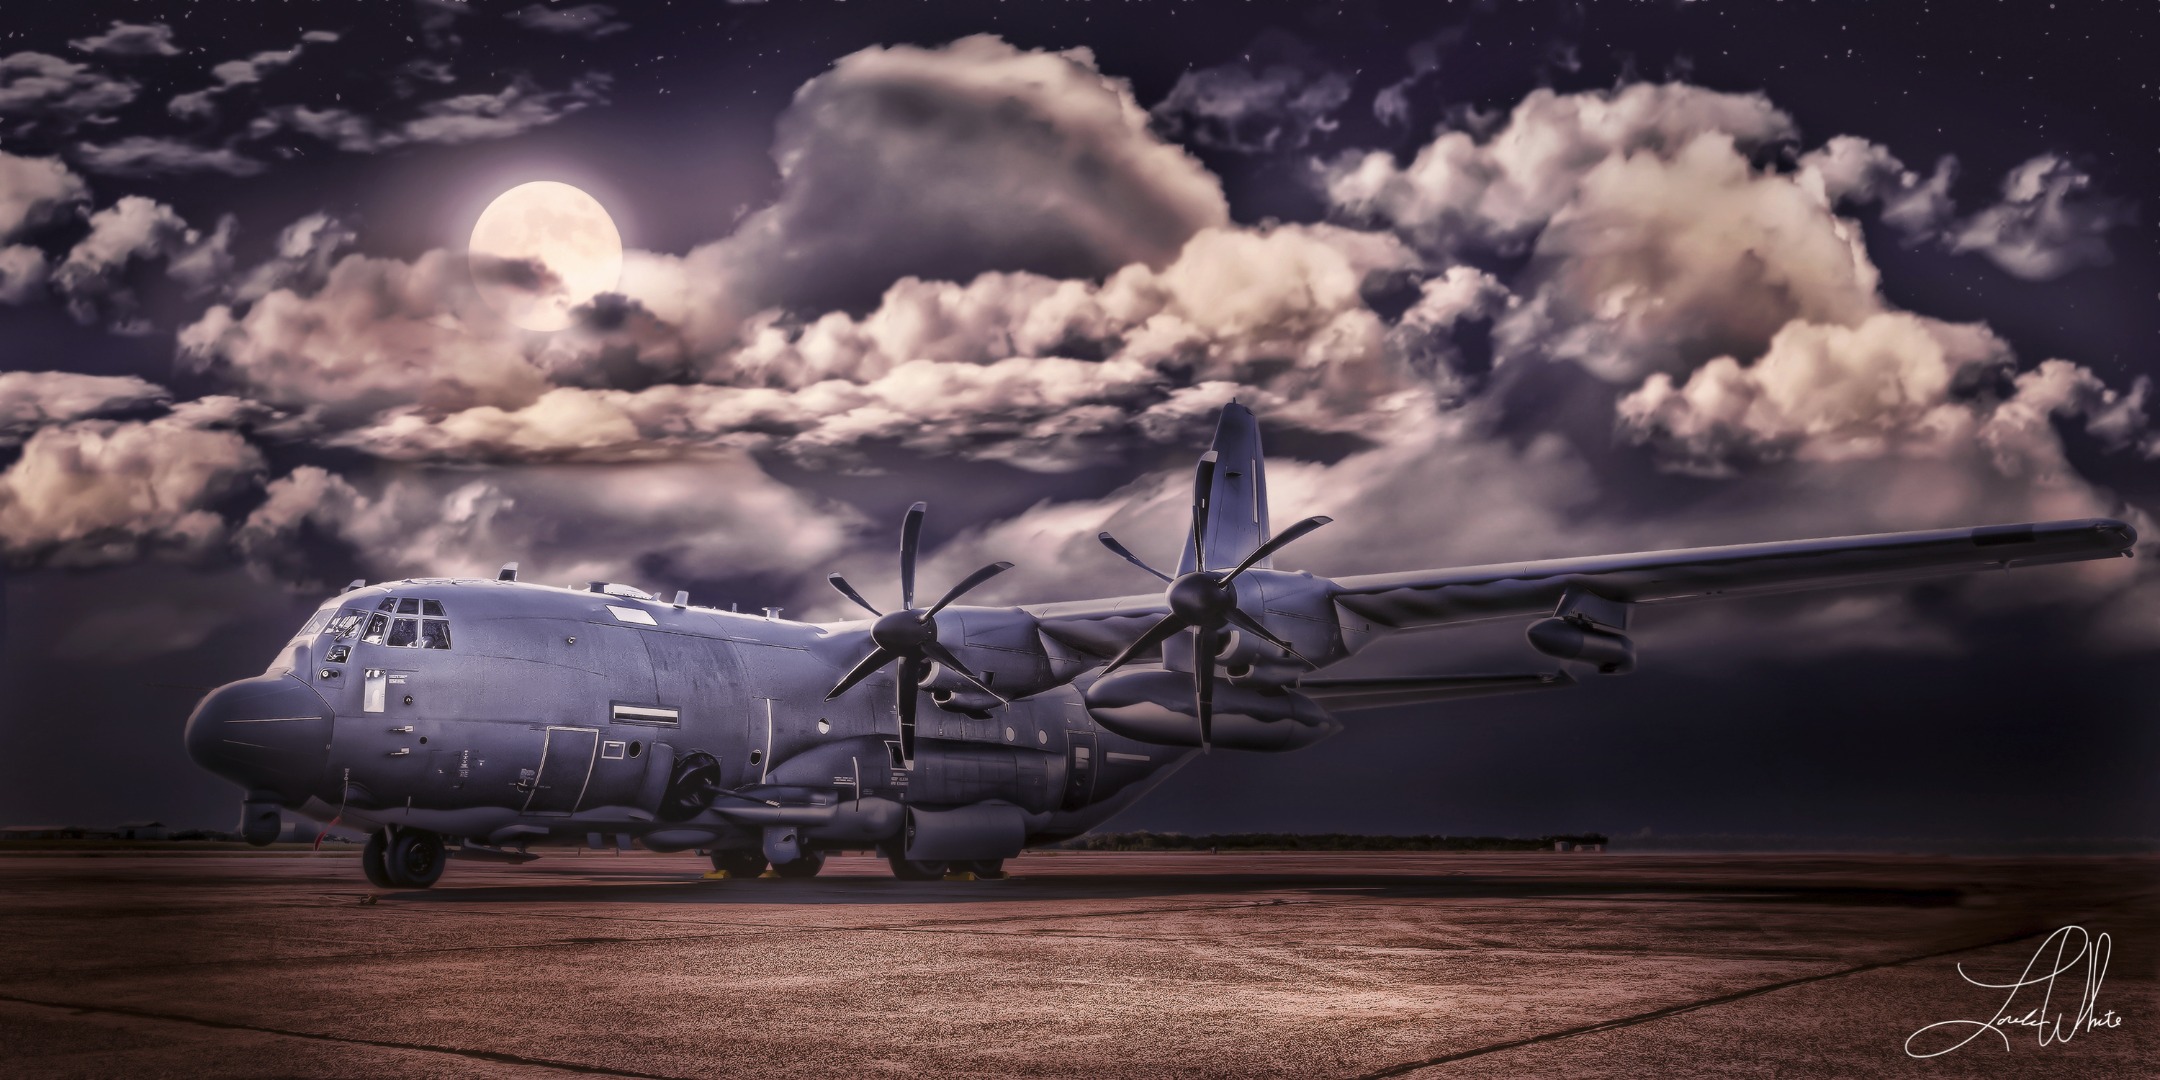
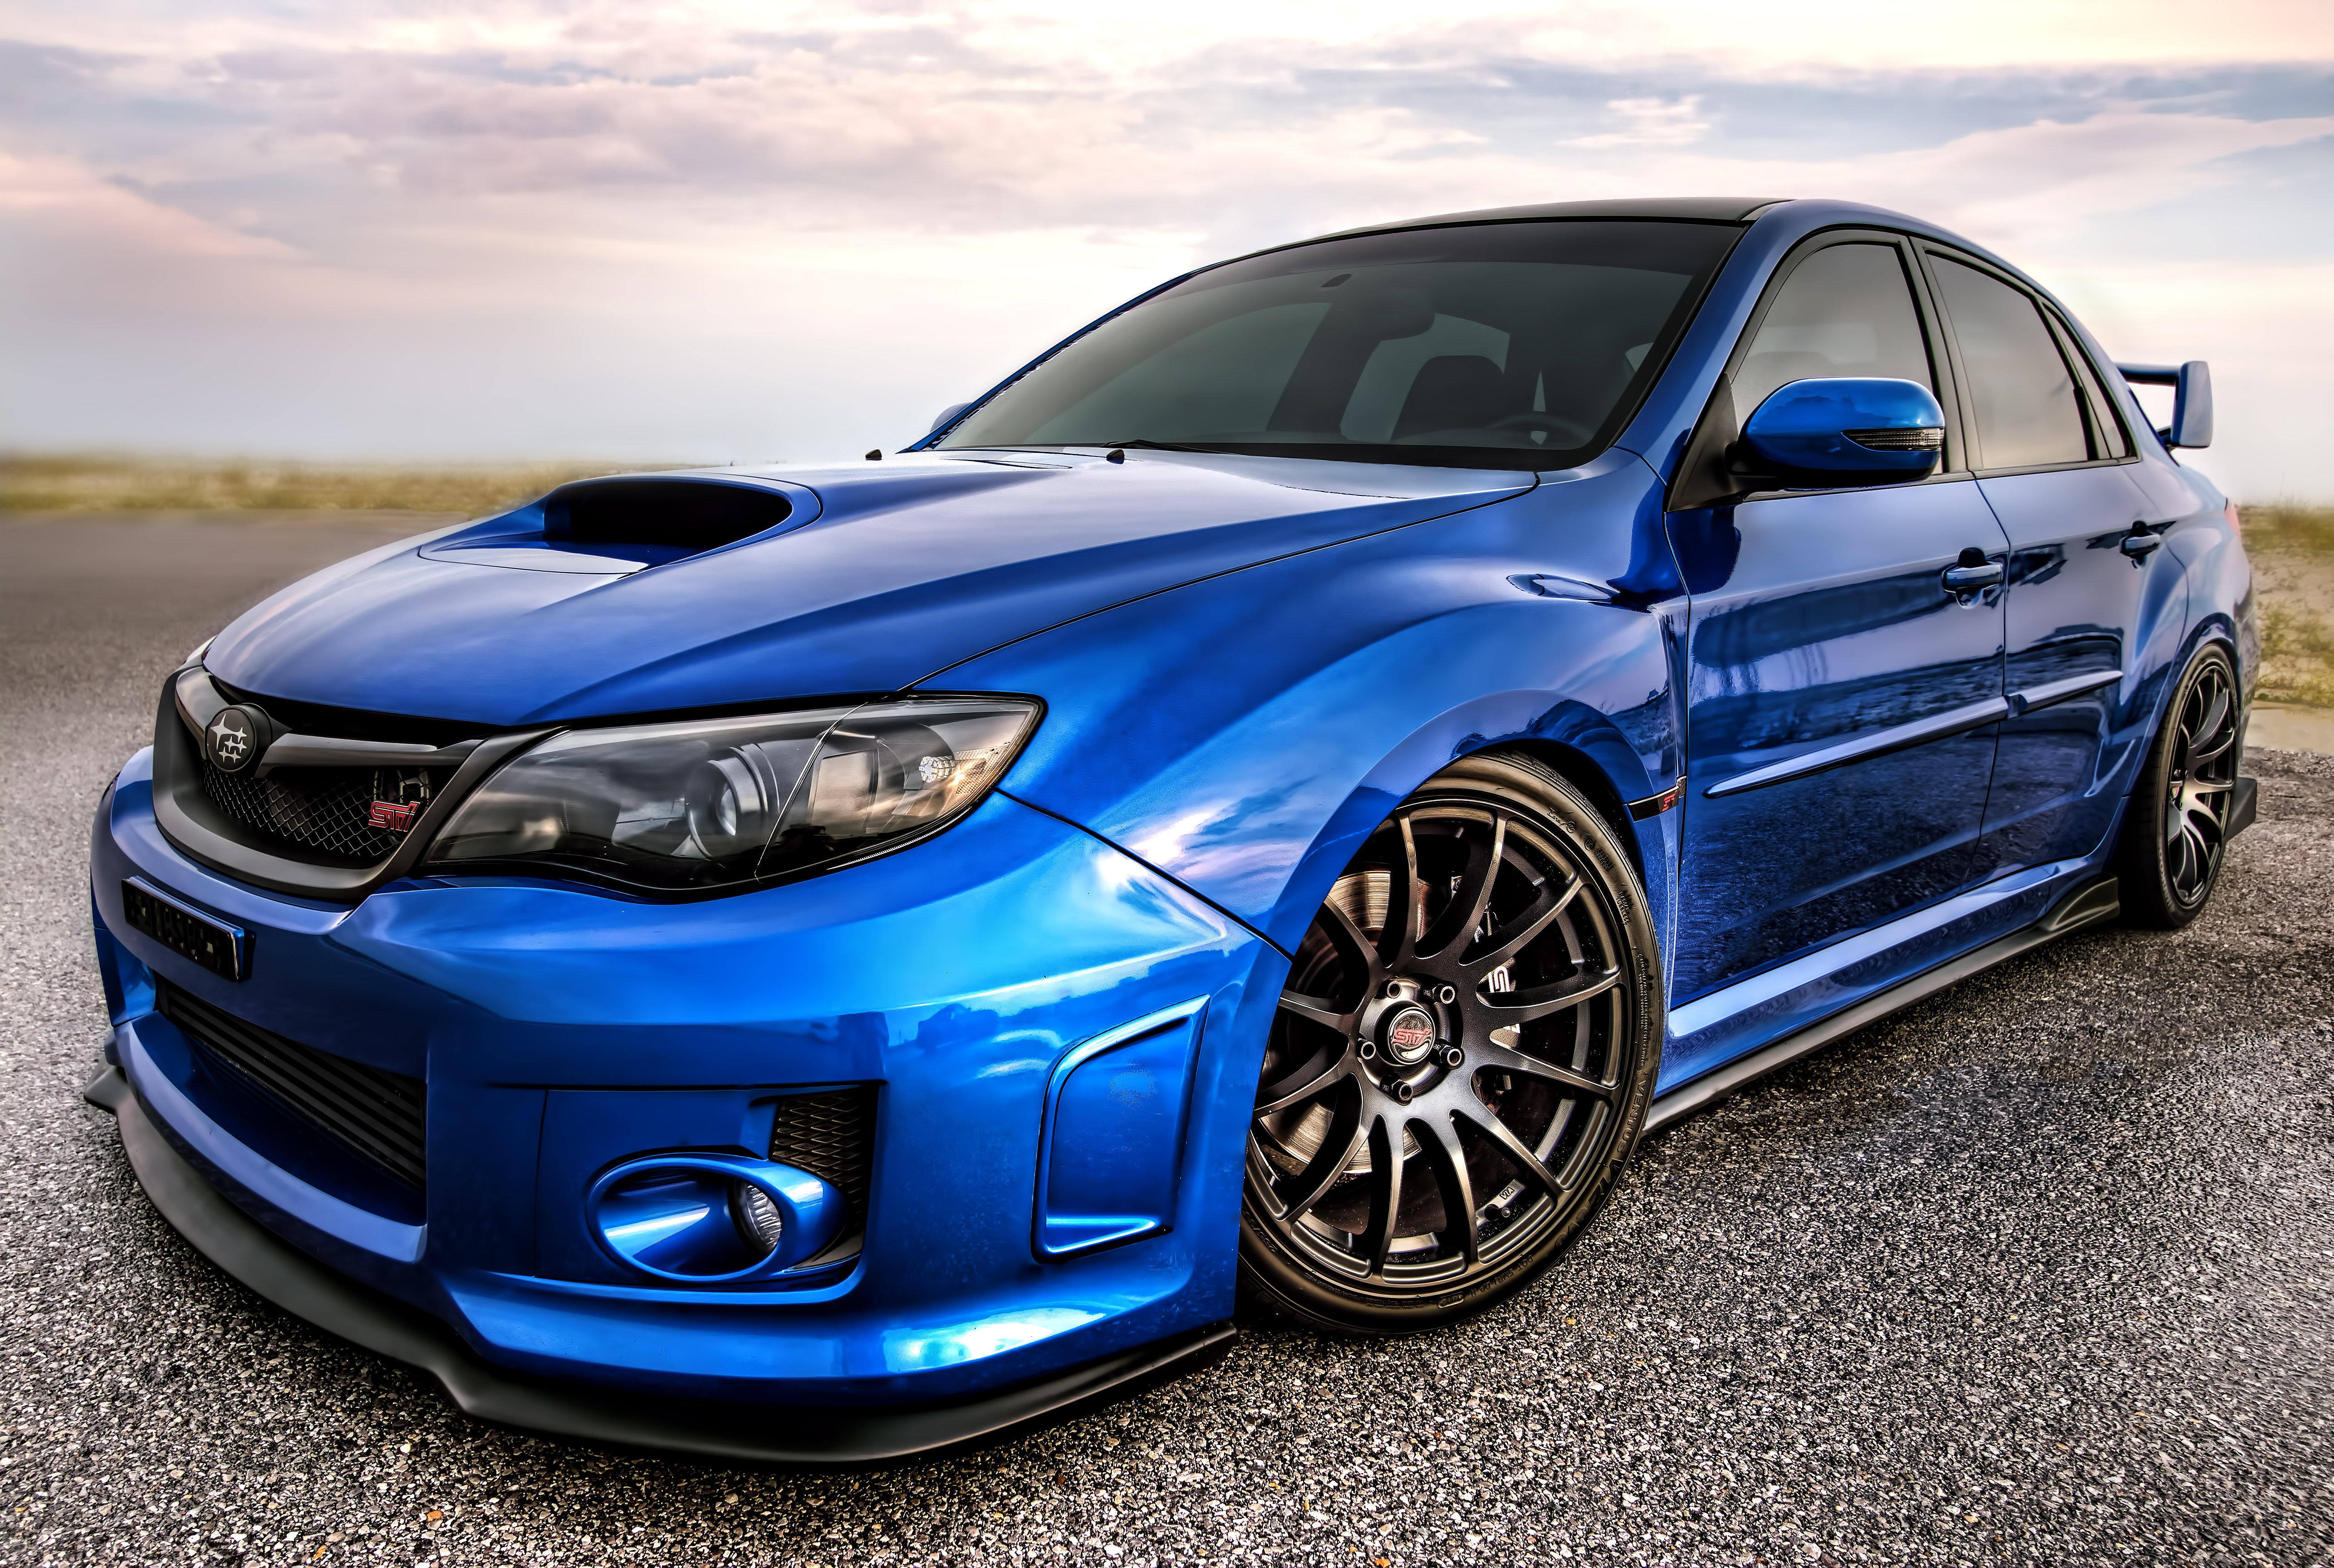
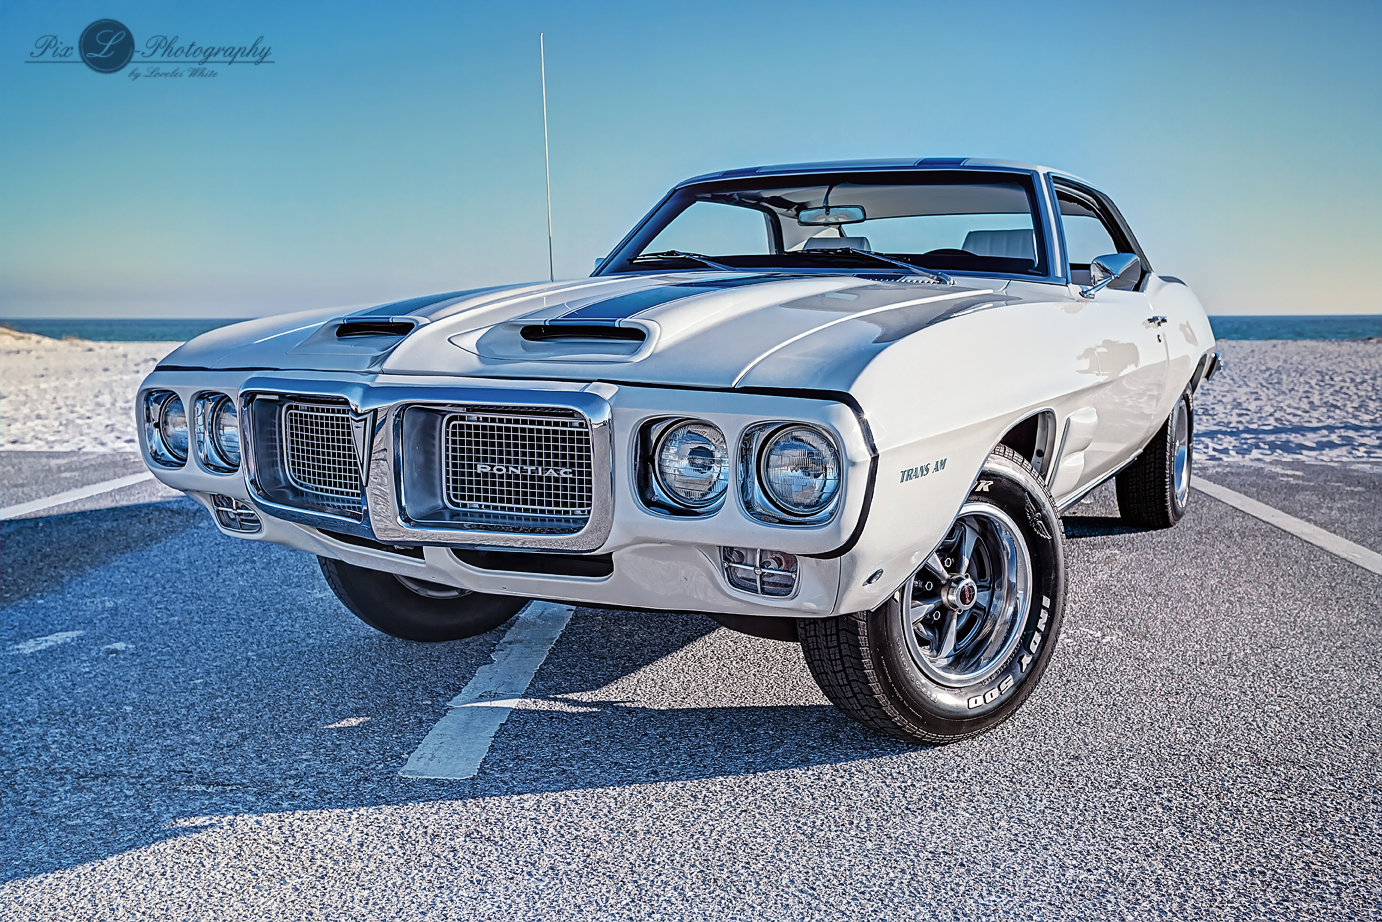
At this point, we have a suitable-for-framing image that is nothing short of a work of art!
As you can see, HDR processing is an inventive method of enhancing the finer details of your photographs and can turn the average into the exceptional. While I’ve made multiple images using aircraft, these techniques are applicable to all the planes, trains and automobiles. Additionally, anything antiquated or in disrepair is also a strong candidate for HDR.
Built by Pixl-Photography