Aircraft Carrier Shelf
by TalonKarrde in Workshop > Woodworking
1837 Views, 16 Favorites, 0 Comments
Aircraft Carrier Shelf


I wanted a shelf to display a few model planes I had made. I thought a shelf in the shape of an aircraft carrier would be cool. I also wanted to build it with materials I had on hand.
Supplies
Materials
(2) 4' x 11" x 3/4" boards, as straight as possible
(2) 8" hidden shelve brackets ($14 on amazon https://www.amazon.com/gp/product/B08CCBCS7N/)
Scrap-wood to build Tower
2 wood screws
Tools/Supplies
Circular saw or Table saw
Jigsaw
Sandpaper
Tape Measure
Square
Pencil
Spray paint (gray, dark gray/black, clear coat)
Sharpie Paint Pens (yellow, white)
Wood glue
Wood filler
Mod Podge
Downloads
Create Deck

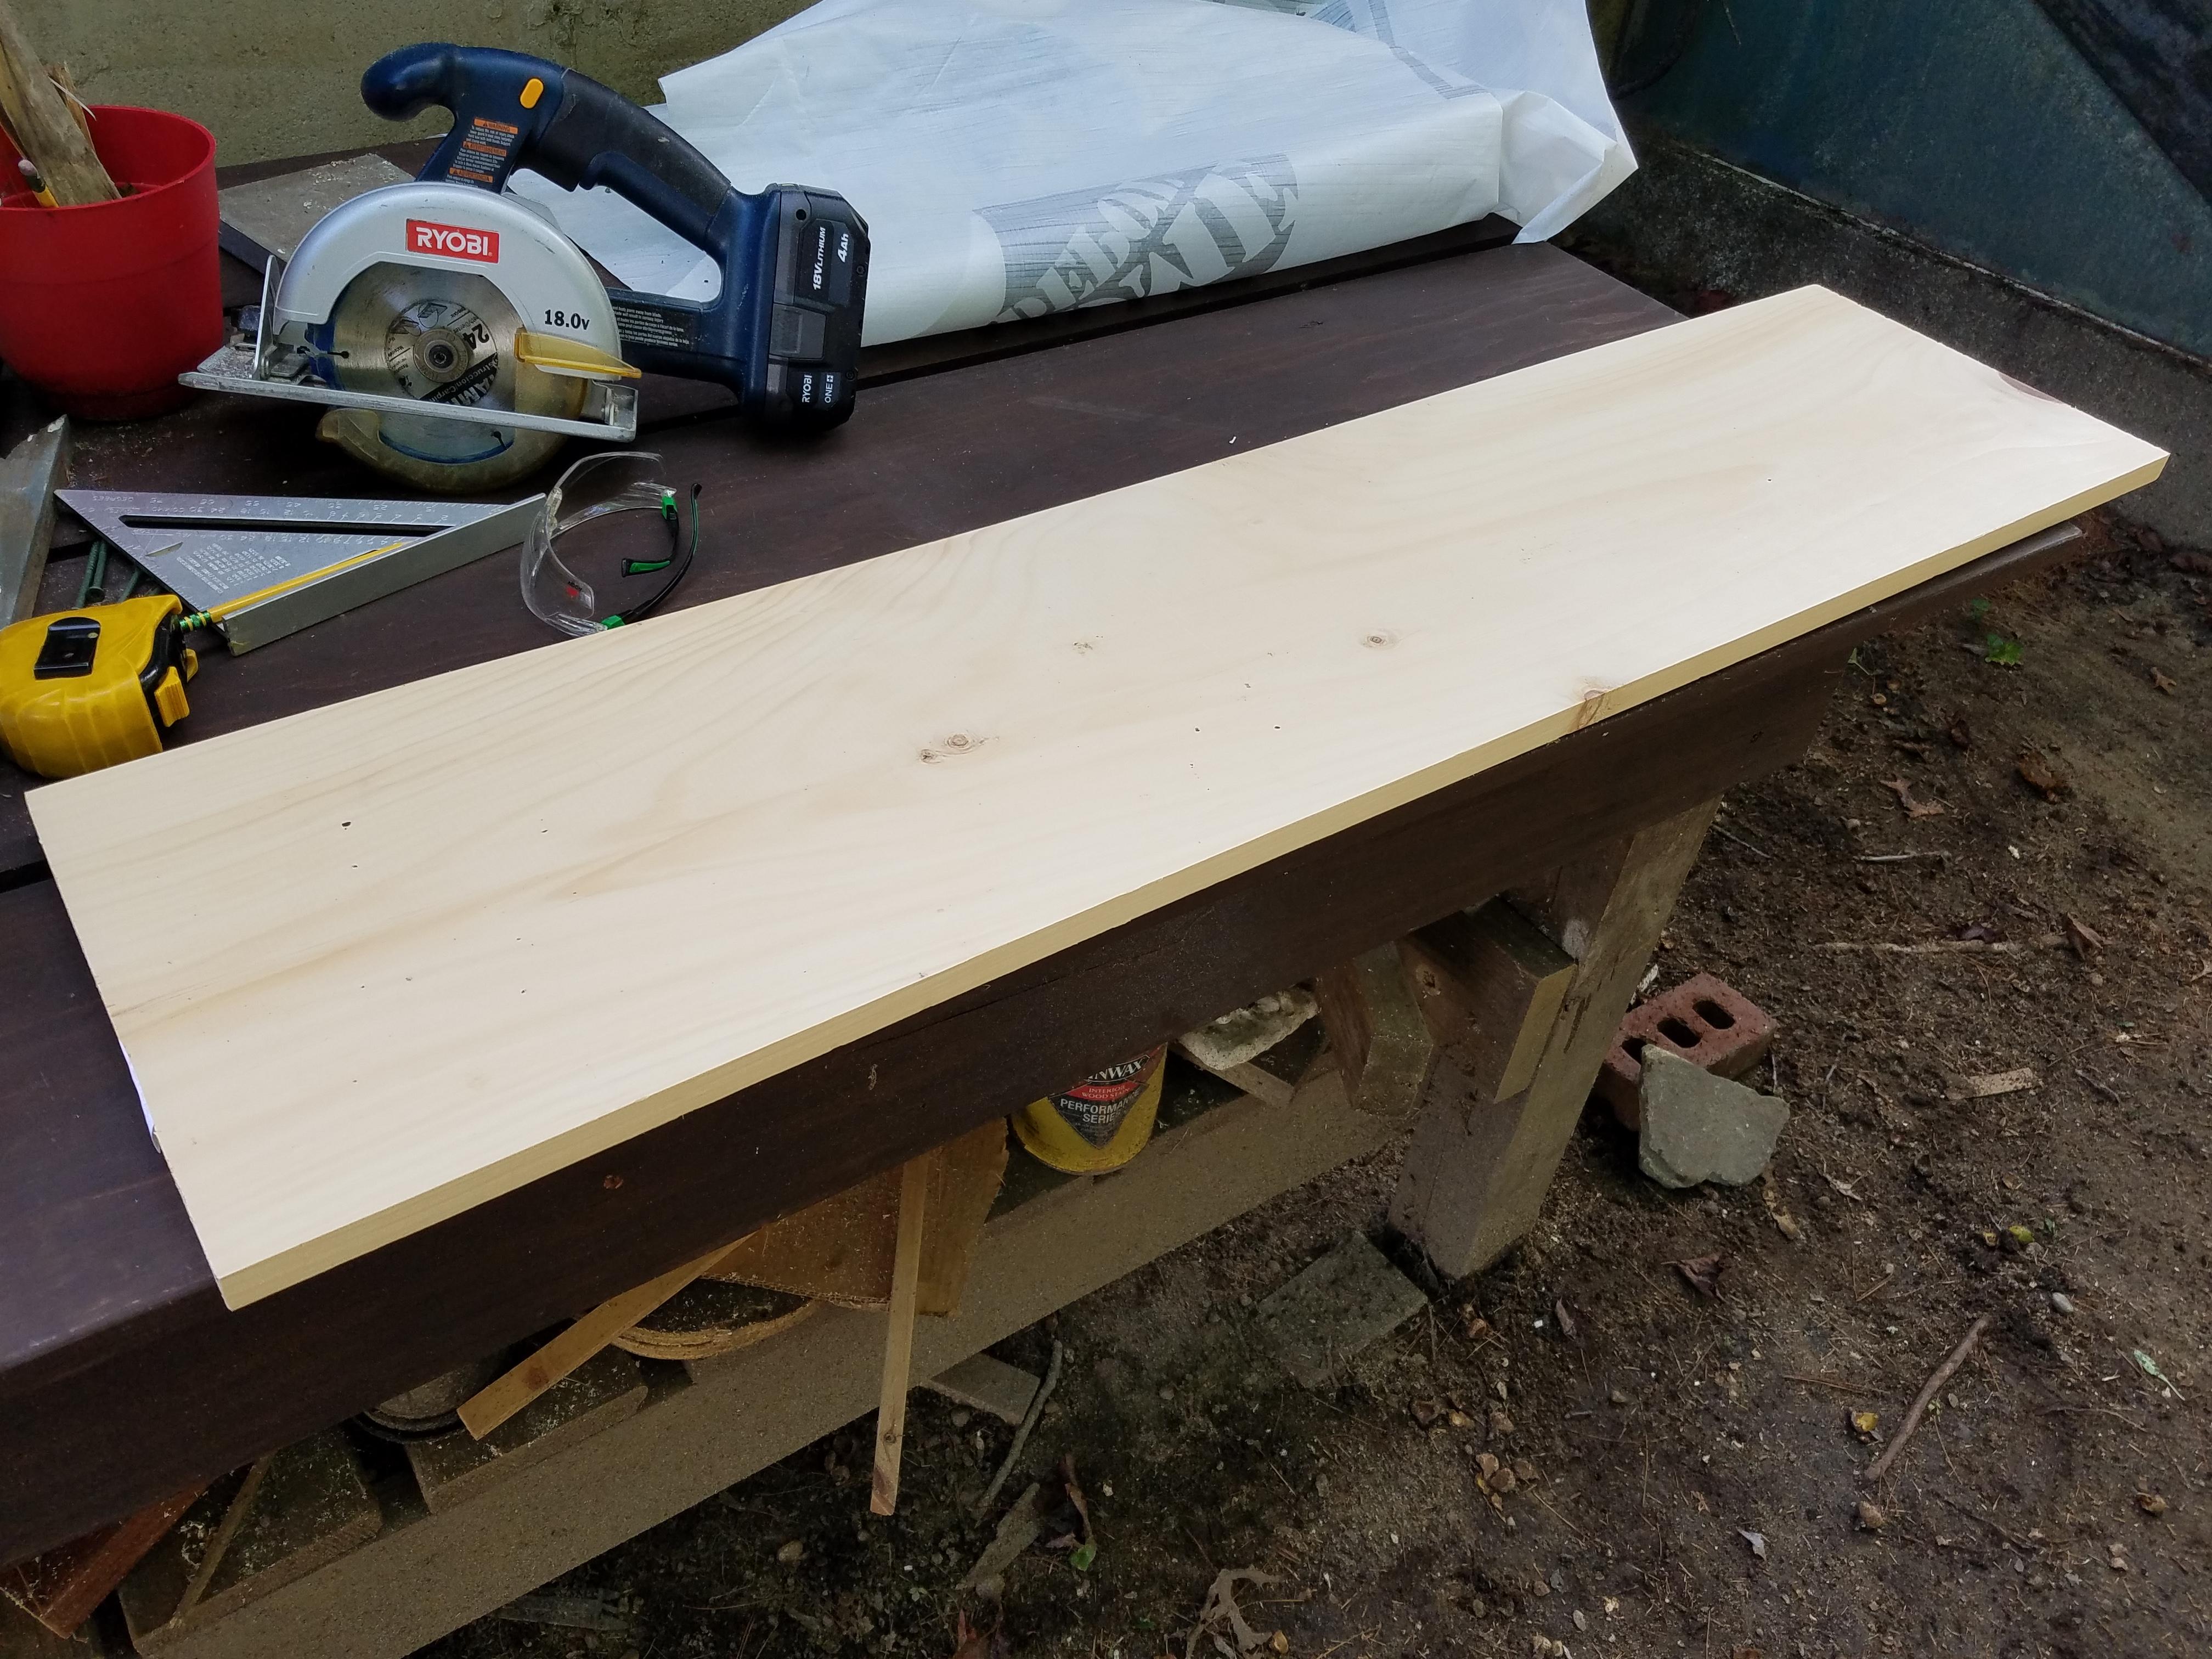


Pick the board that is straightest and has the fewest knots. This will be your deck. Use a pencil to outline the shape of the deck. See DeckDimensions.pdf for details.
Use a jigsaw to carefully cut out front and back notches.
Create Hull
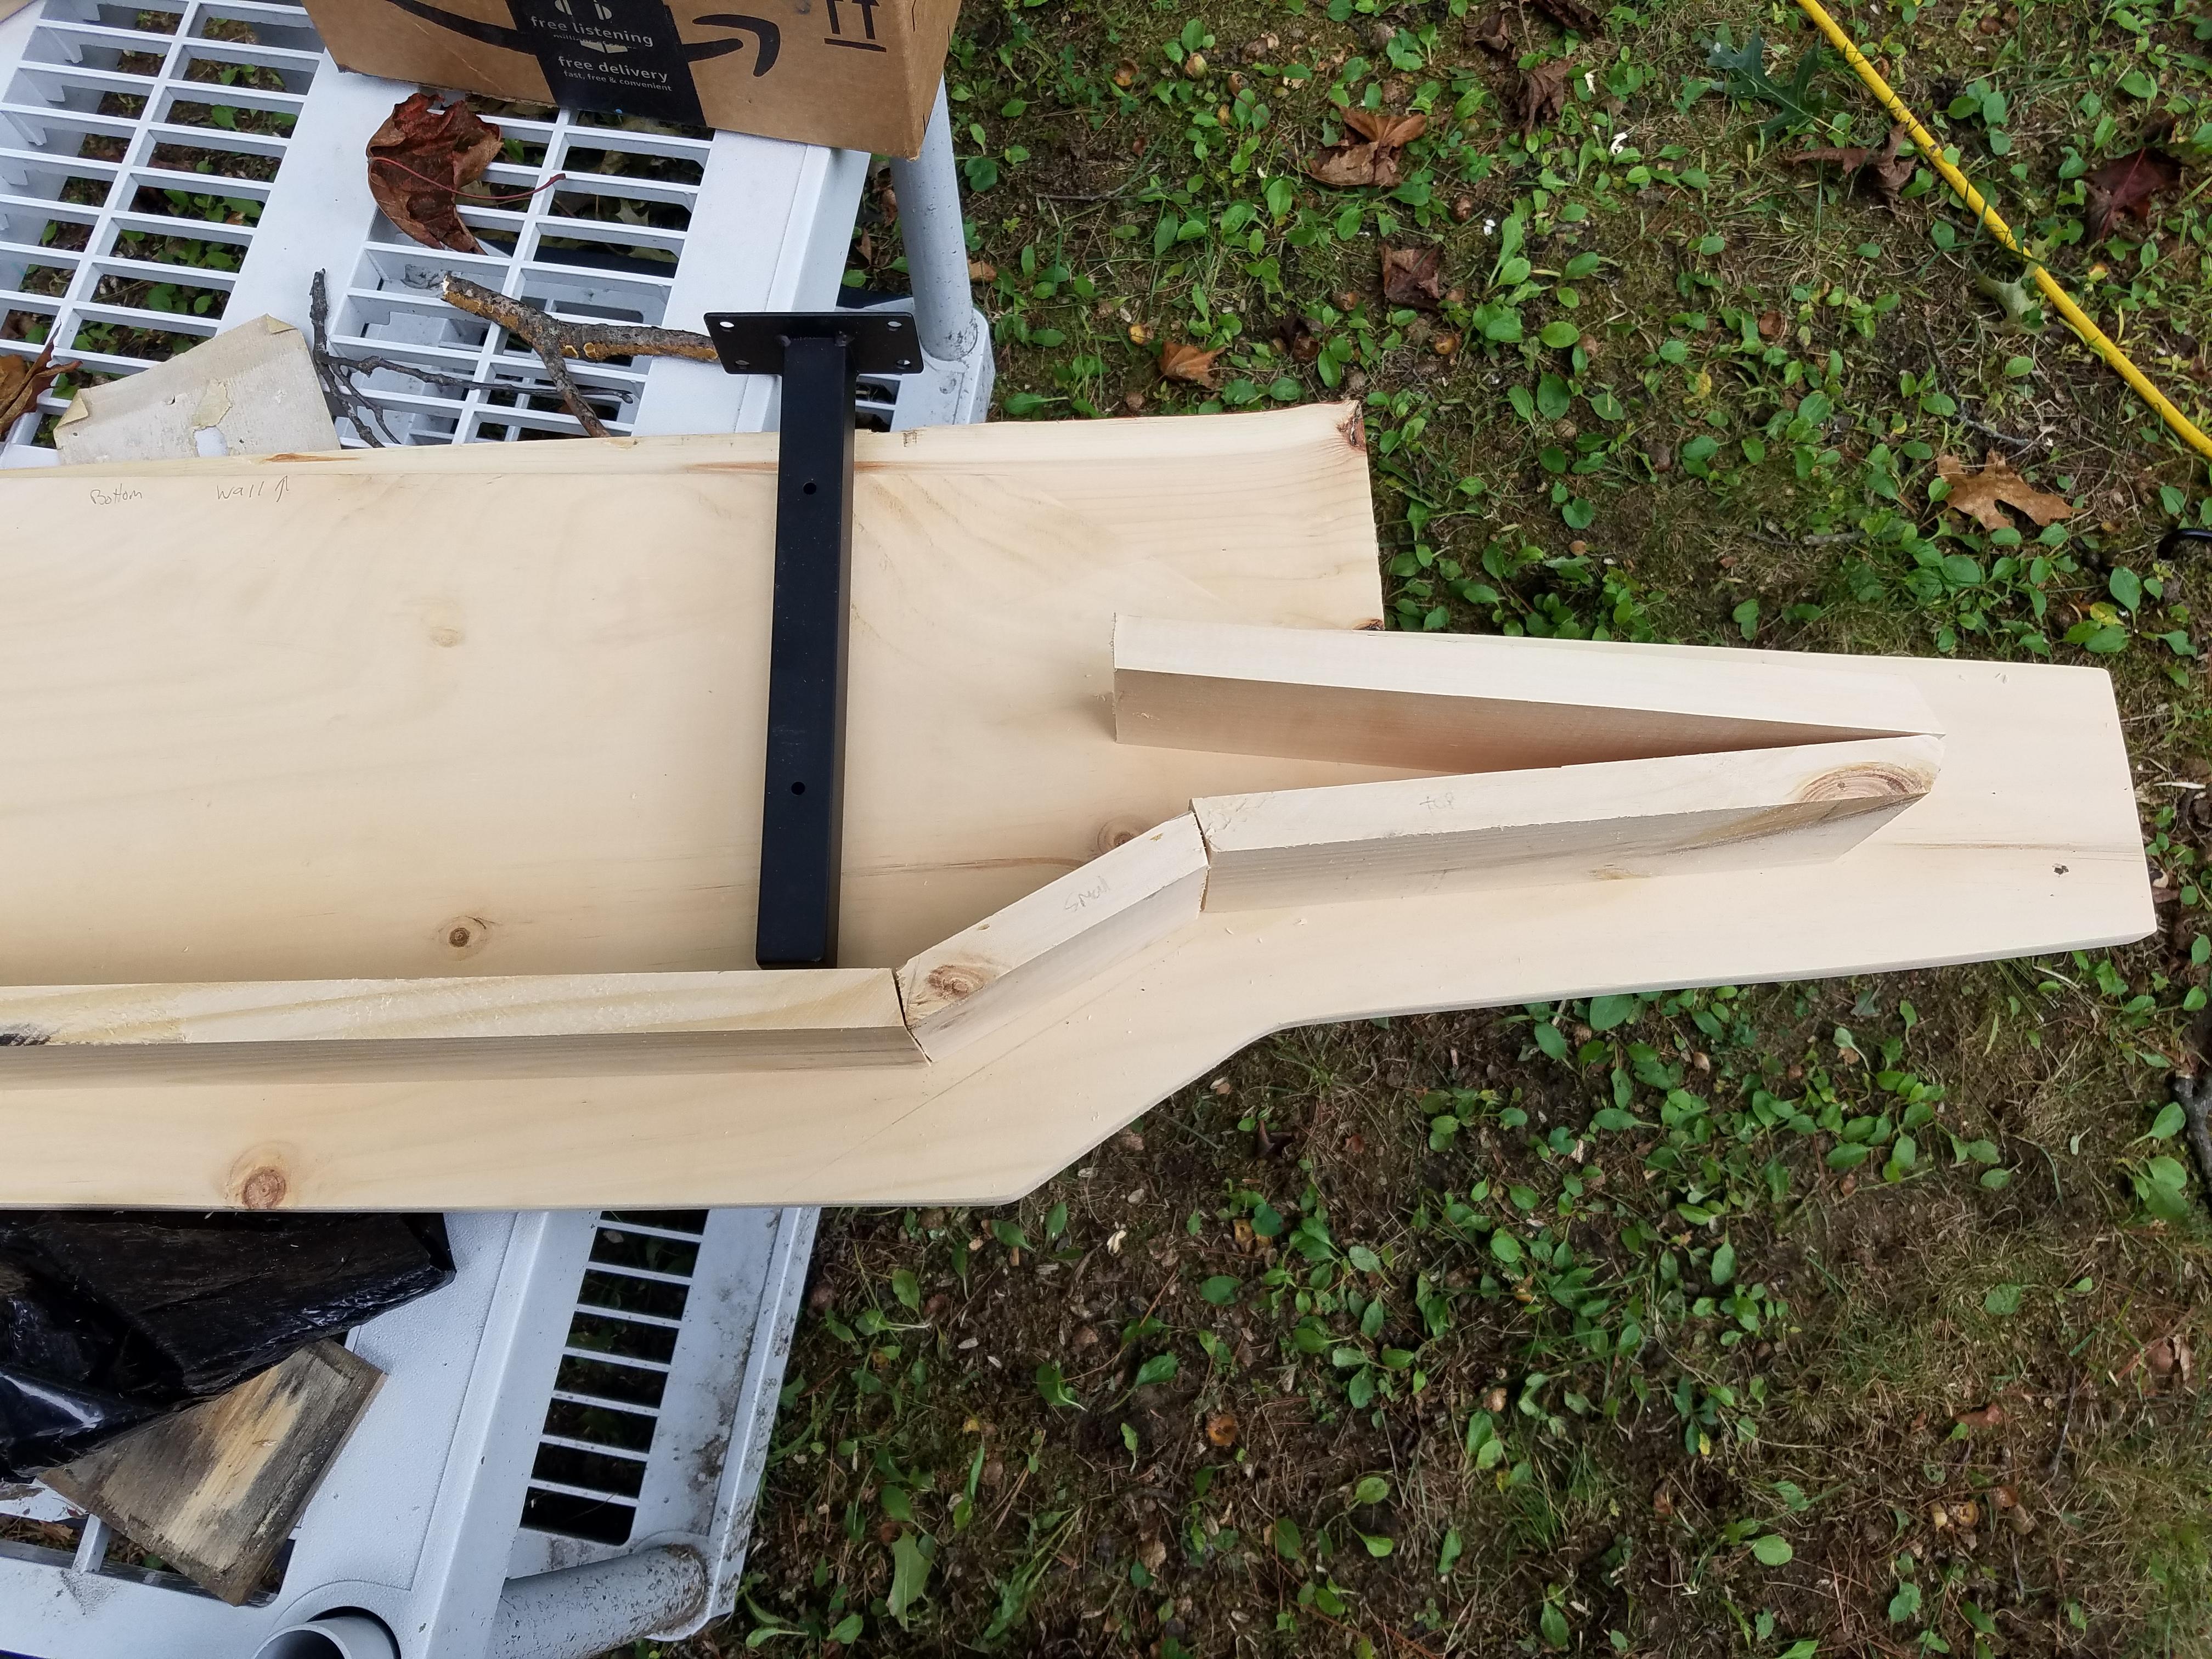


Cut up the other 4 foot board into 3 inch strips. I used a table saw for this but you can probably use a circular saw.
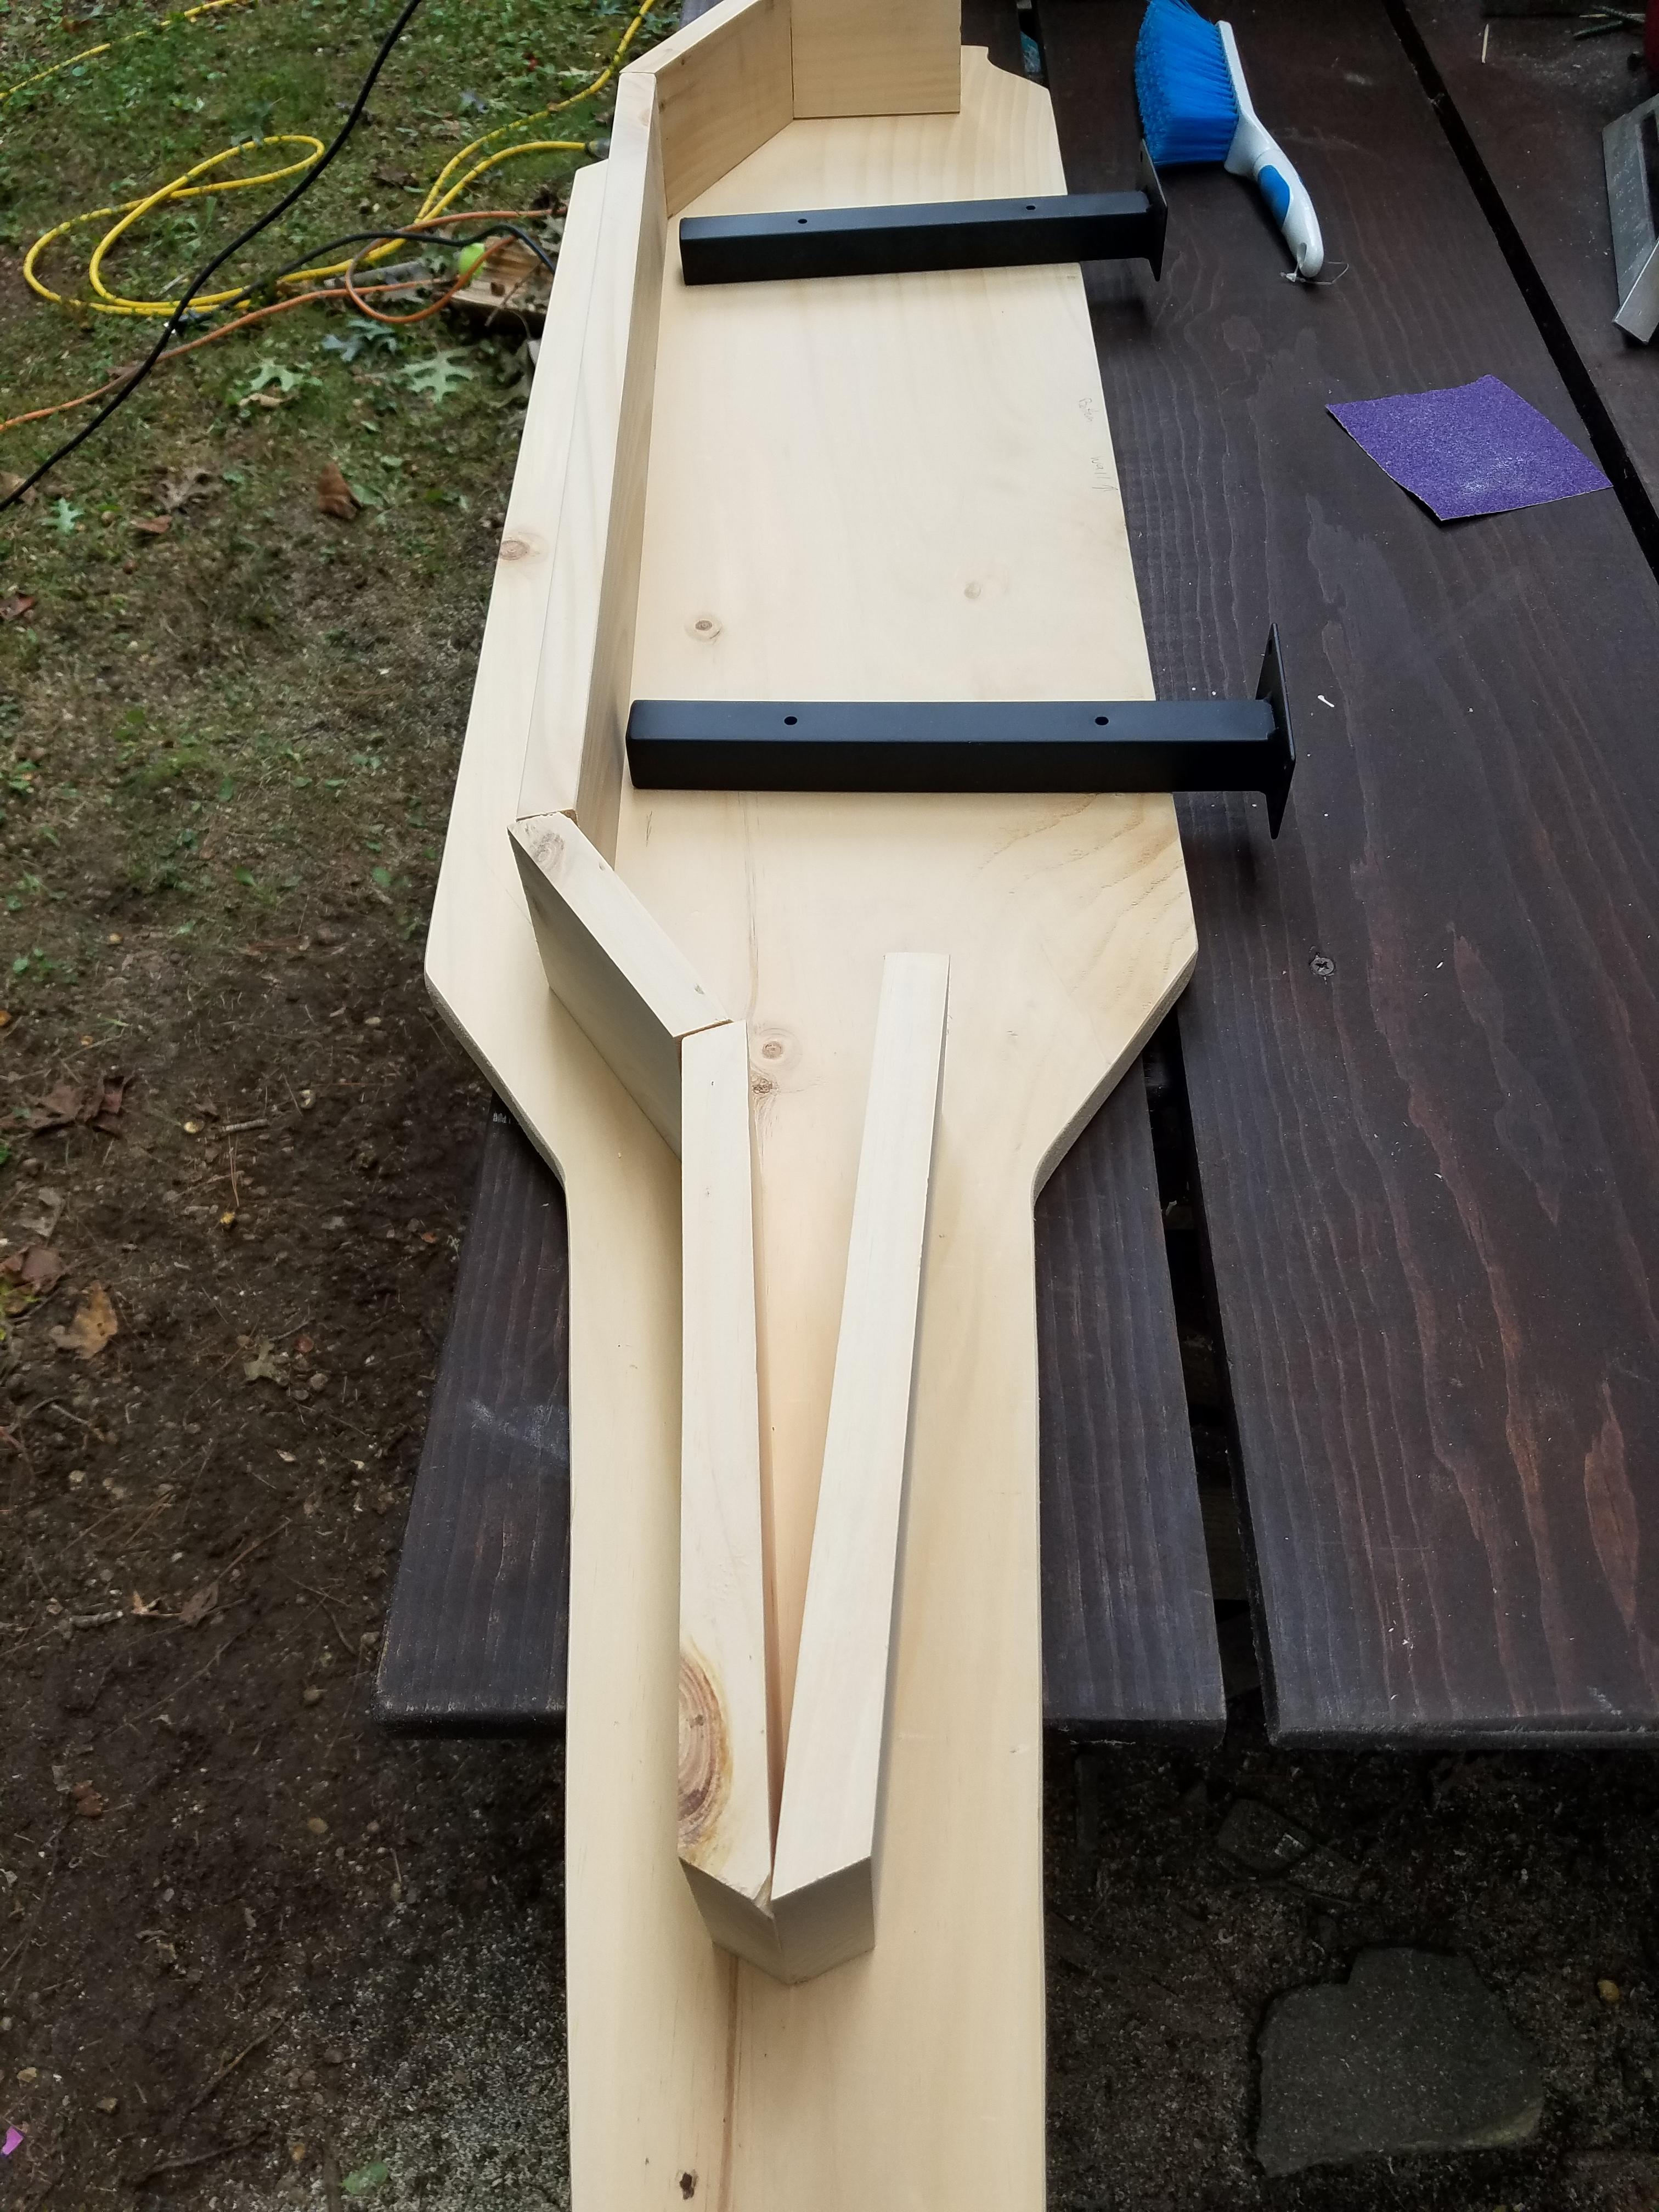
Cut them up into smaller pieces to follow the contour of the deck. Don't put a hull piece on the side that will go against the wall because the shelving brackets will go there. I'm not a miter wizard but I did my best to angle the cuts. Use wood glue and clamps to glue them in place. Then use wood filler to fill in any gaps.
After the glue and filler dries, sand the whole thing a smooth as possible. I rounded the edges of the deck and spent a lot of time trying to get it smooth.
Note that the brackets shown in these pictures were not the final ones I used, they were too long and I had to get shorter ones.
Paint Hull and Deck

Paint the bottom first with Gray Primer. I used Rustoleum 2x Ultracover Primer - Flat Gray.
I did a couple of coats. Once dry, flip it over and paint the top of the deck.
Once that is dry, paint the deck the final color you want to use. I used Rustoleum Matte Hammered because I had that on hand. You can probably go with a dark gray or black.
While that is drying, build the tower.
Build Tower

I started with a piece of 2x4 that is 4 inches long. Then I cut a notch out and glued on a 1" dowel that is 2.5" long. The piece on top is 4" x .75" x 1.5". Then I made an antenna and glued smaller dowels to and a couple half spheres.
Once the glue is dry, sand it as best as possible then paint it with the gray primer to match the hull.
Create Numbers

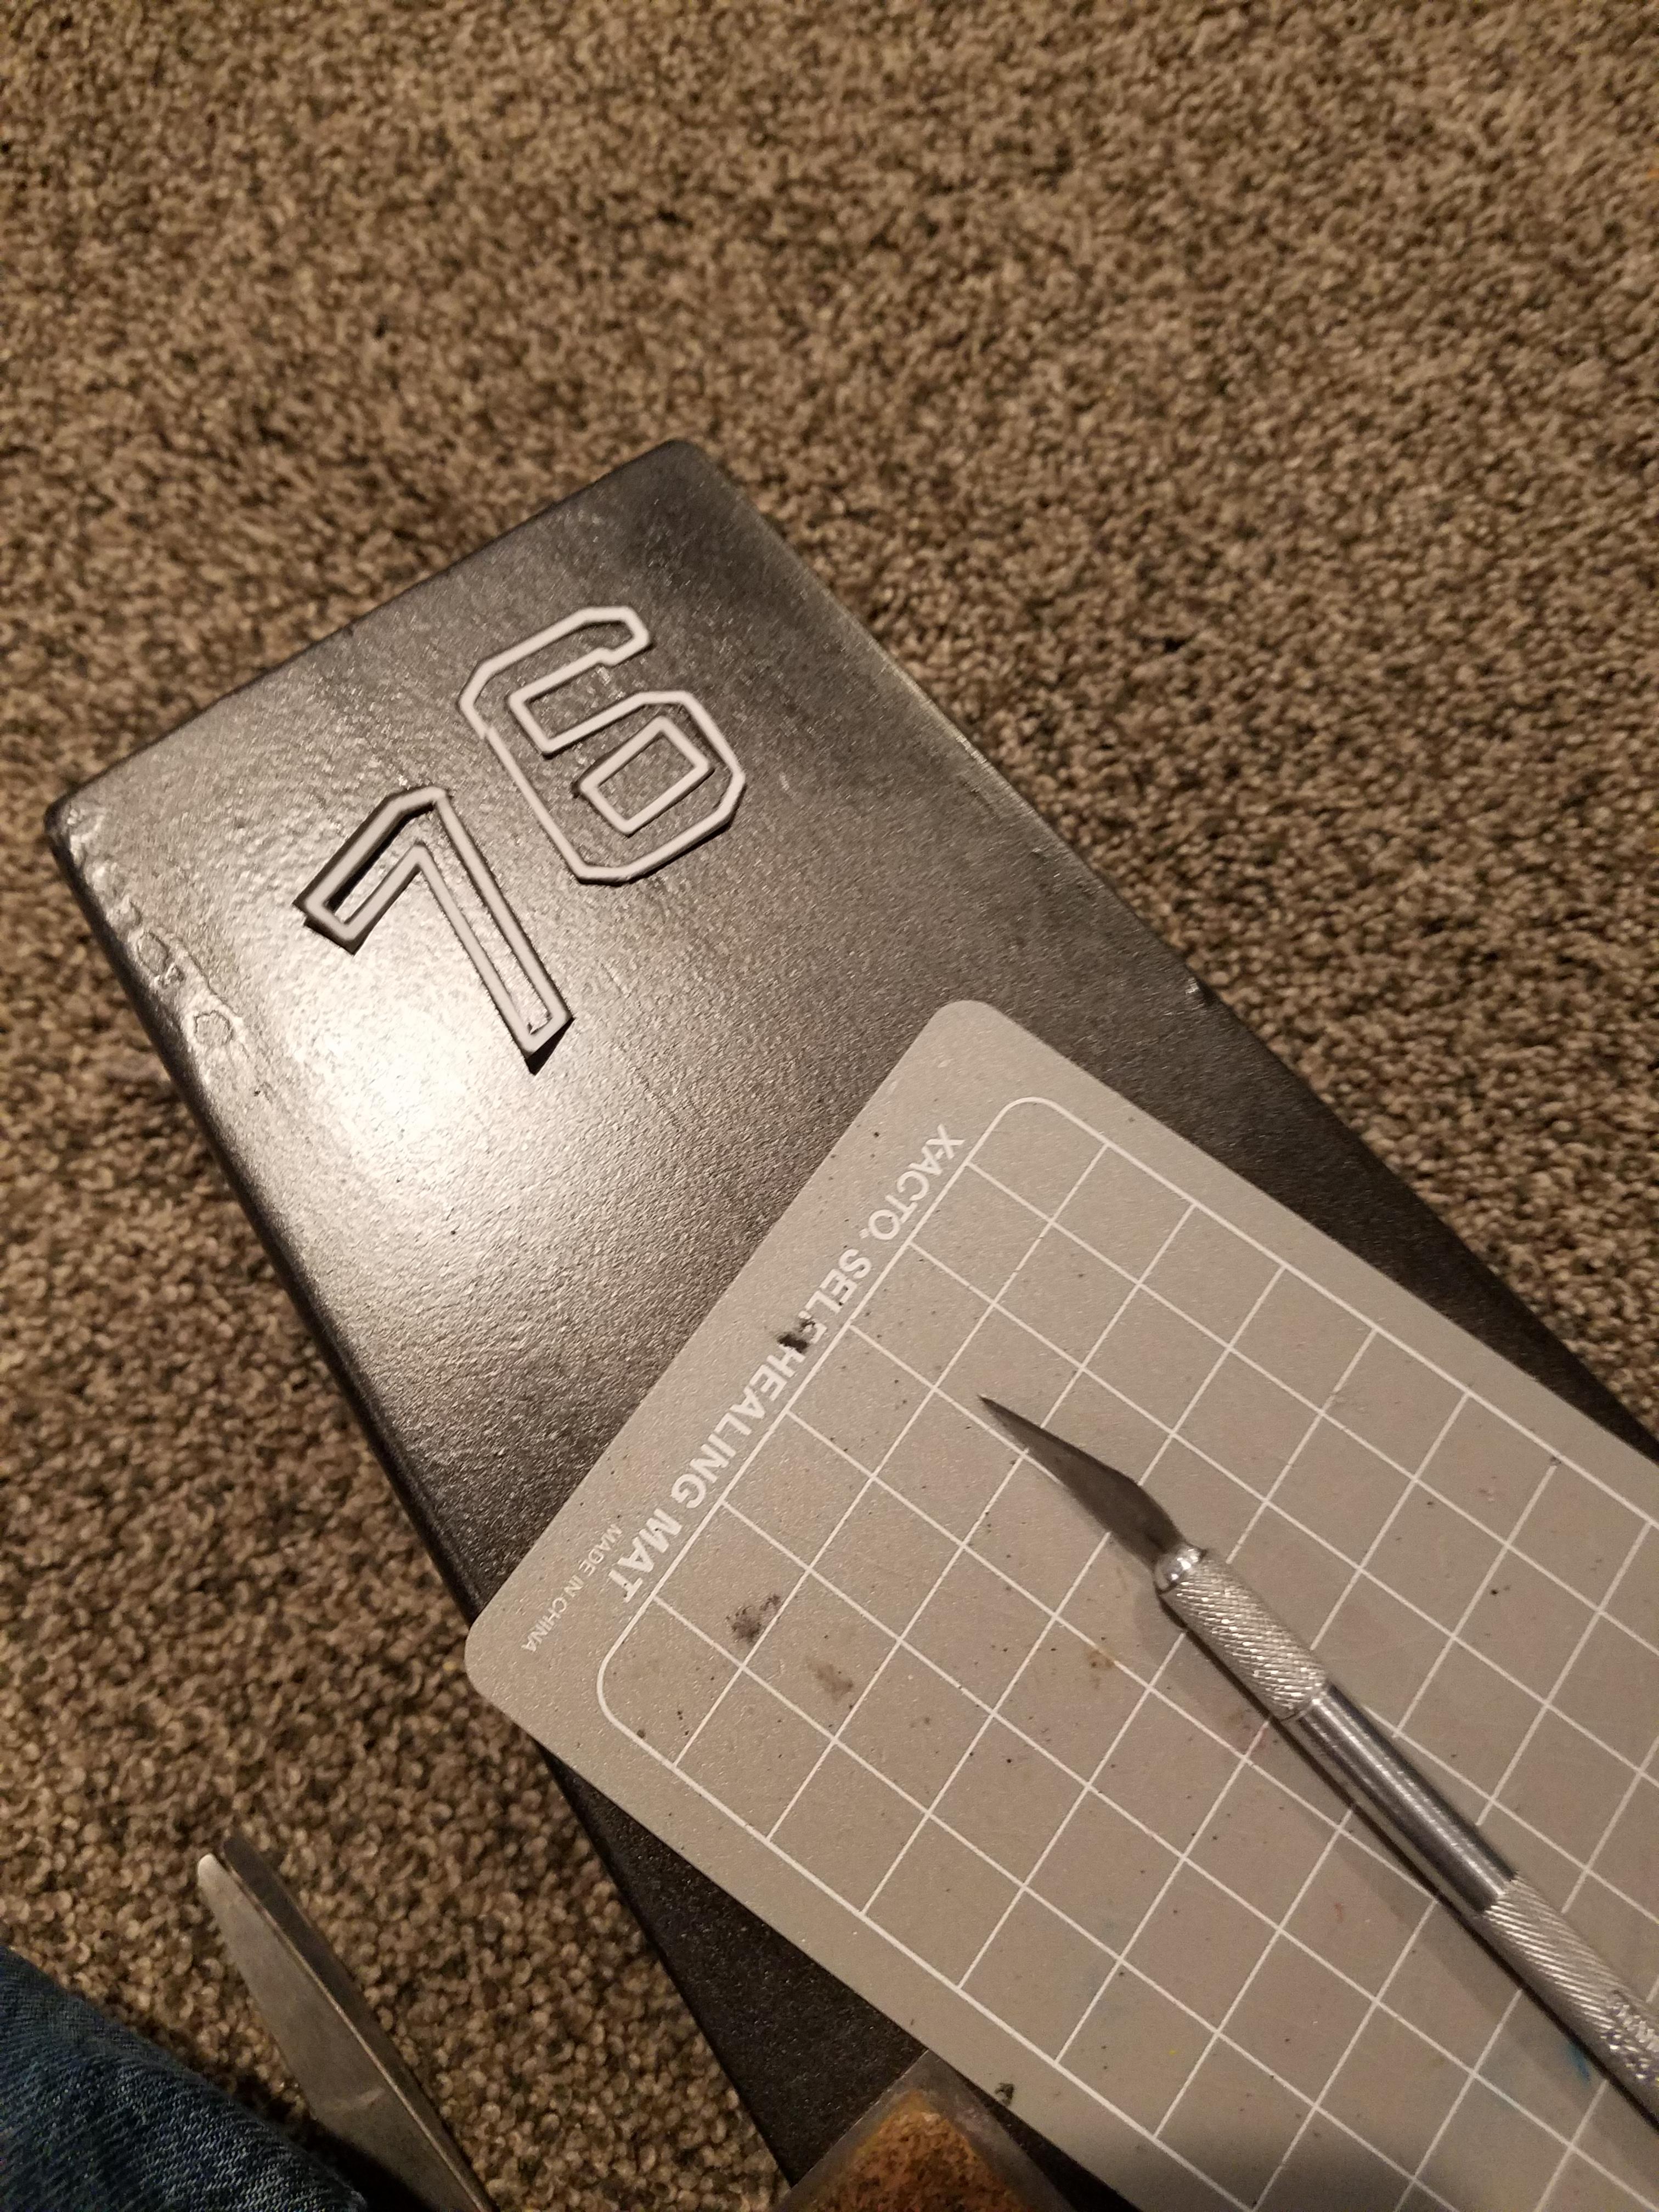


Carriers have the number designation on the deck and the tower. This shelf is based on the Nimitz class carrier which has designations 68-77. I chose 76 because it was the year I was born.
Getting the numbers right took some trial and error but here is what I did:
- Downloaded the USN Stencil font onto my computer and installed it. https://fontmeme.com/fonts/usn-stencil-font/
- Used Word to create the number and I could change the outline, background, and size. Then I used the Windows Snipping tool to just capture the number and printed that out. I could also adjust the size as needed.
- Then I used an x-acto knife to cut out the numbers. I glued them in place using mod podge. I put a layer of mod podge over them too to keep them flat.
- I did that for the numbers on the tower also.
Create Deck Details


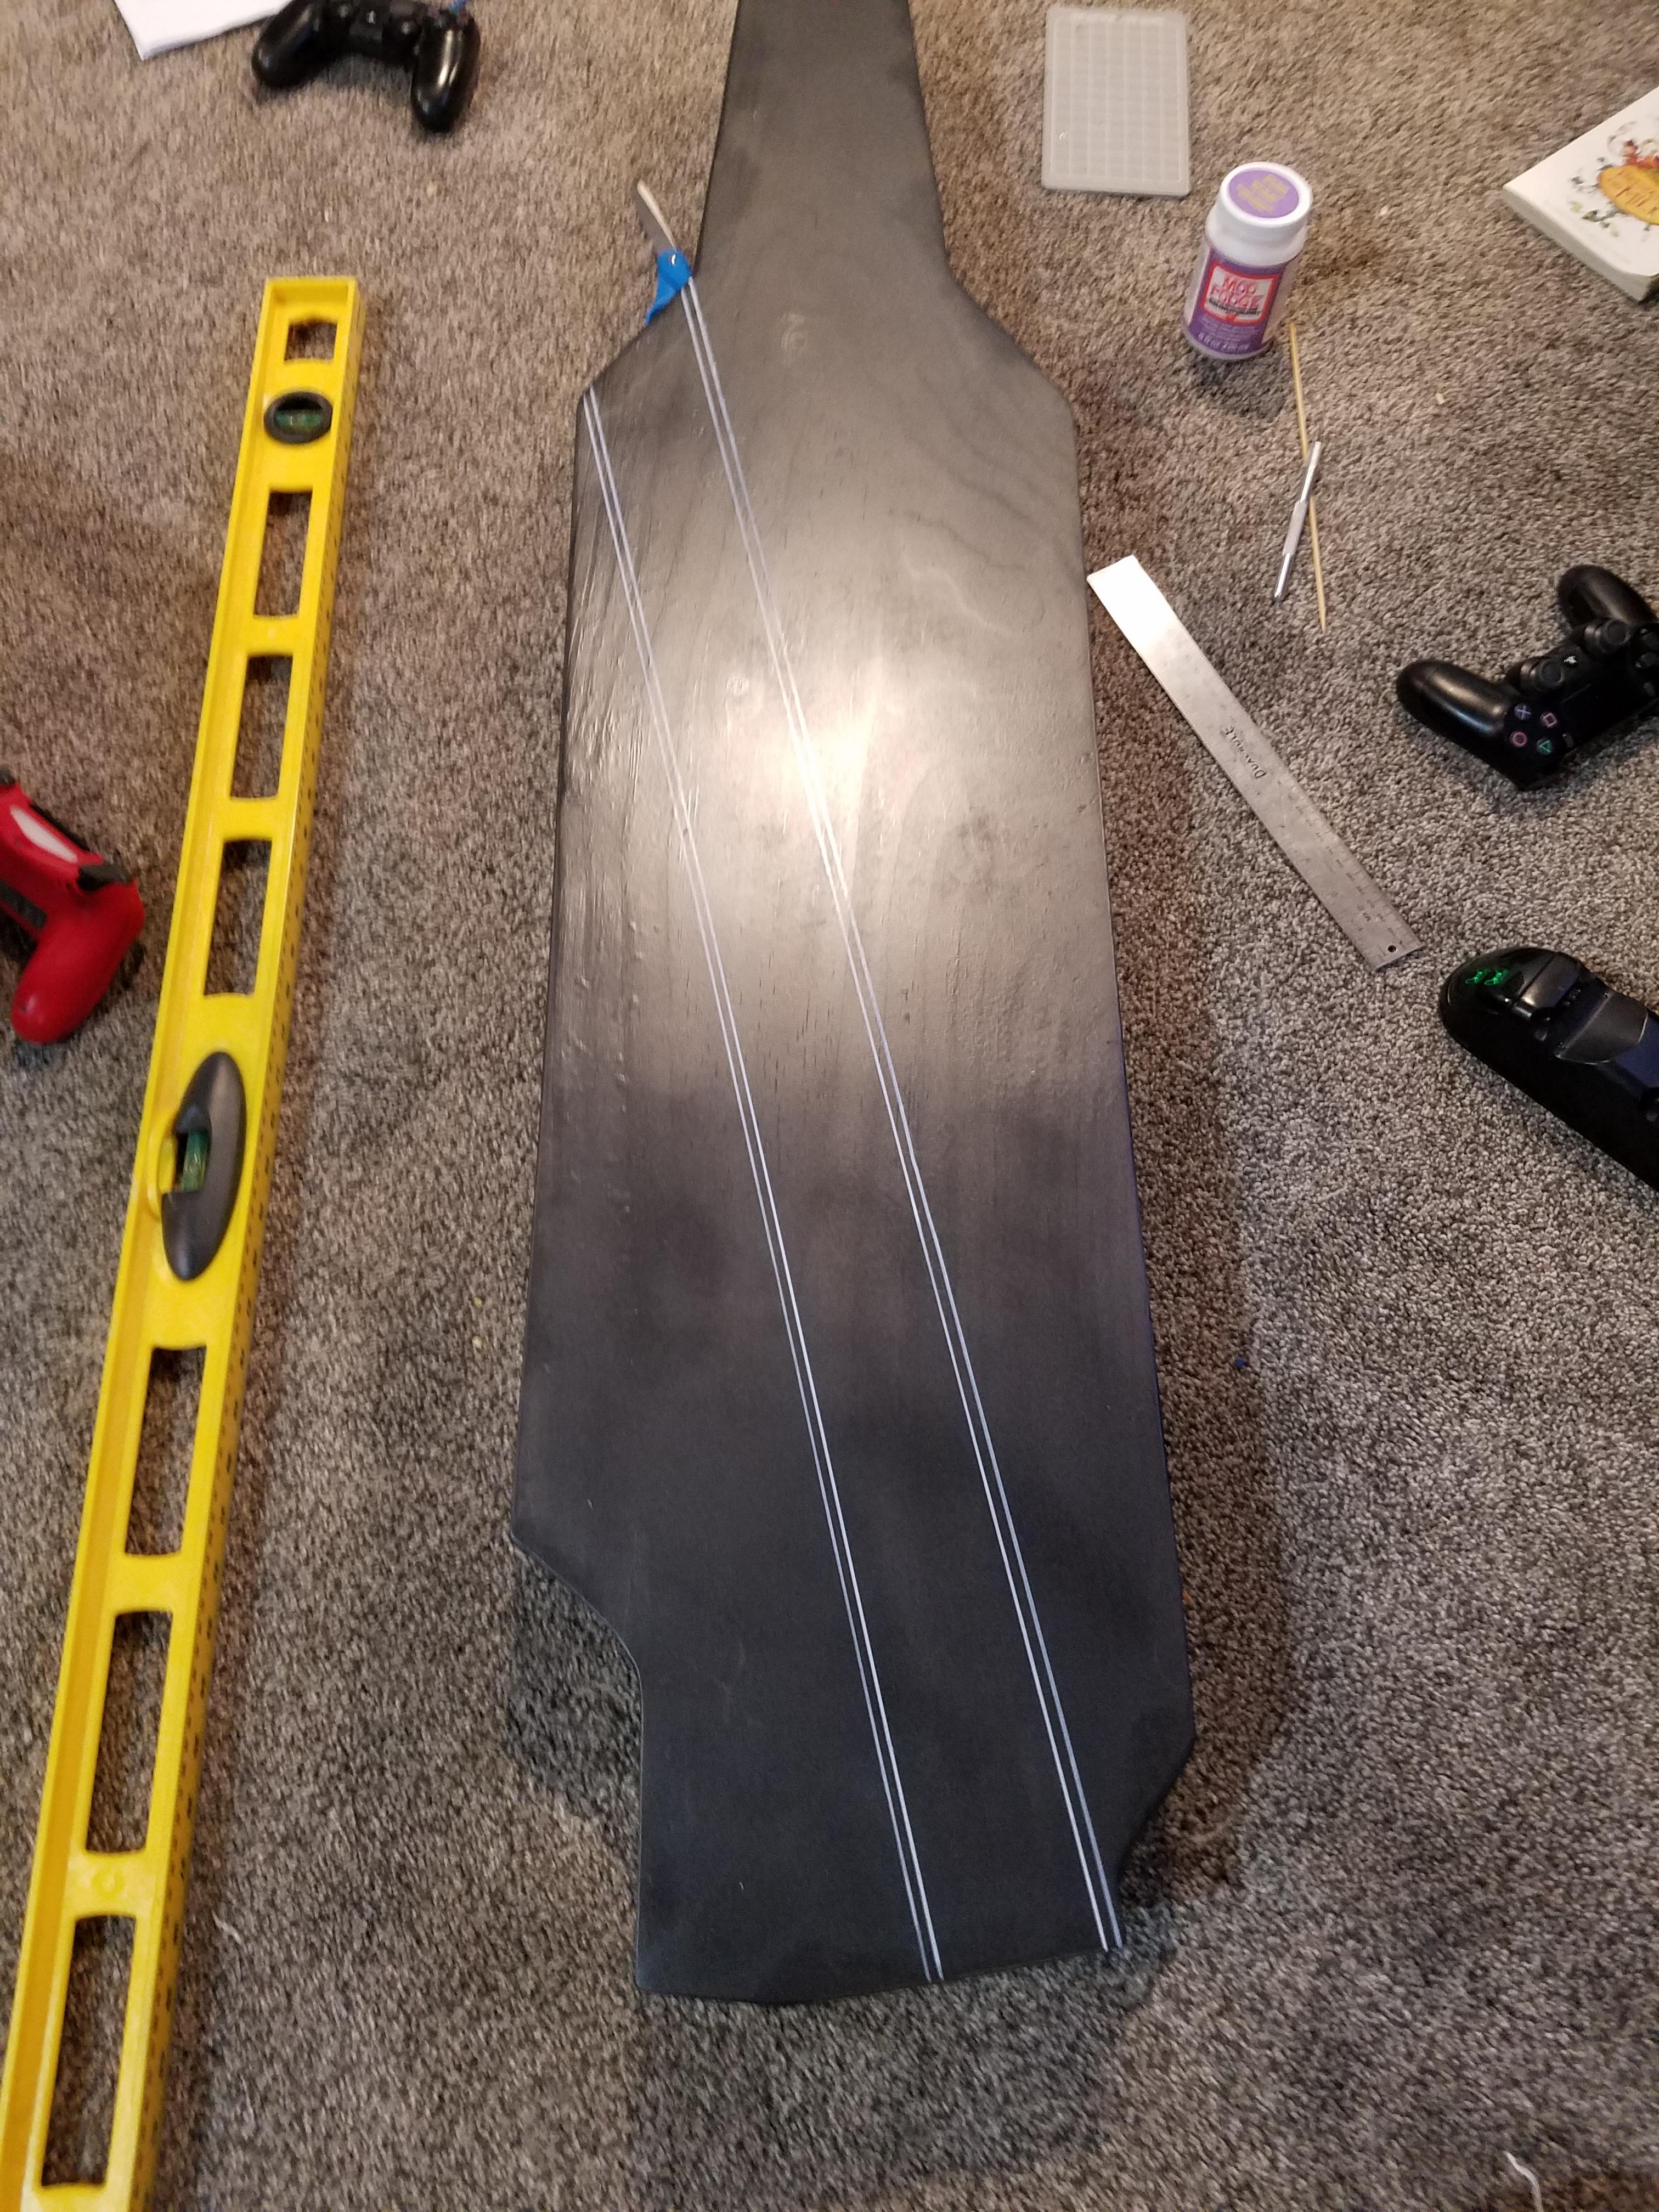


I used white and yellow Sharpie paint pens to draw the catapults, landing strip, and aircraft elevators. First picture here is the actual deck of the Ronald Reagan.
See DeckDimensions.pdf for details on placement and size.
Attach Tower and Apply Gloss Coat


I used two wood screws to screw the tower onto the deck.
Then I applied a couple coats of Rustoleum 2x ultracover Gloss Clear to the deck and sides.
Mount Shelf Brackets and Attach Carrier


The picture shows what it will look like from the bottom. Follow the instructions on the brackets to mount them to a wall. I placed mine about 17" apart. Once they are mounted place the carrier on top and use the screws that came with the brackets to attach the brackets to the underside of the deck to secure it.
Add some planes to complete the look.