Airbus - TinkerCAD to Minecraft V1
by tmilner1 in Design > Software
867 Views, 0 Favorites, 0 Comments
Airbus - TinkerCAD to Minecraft V1
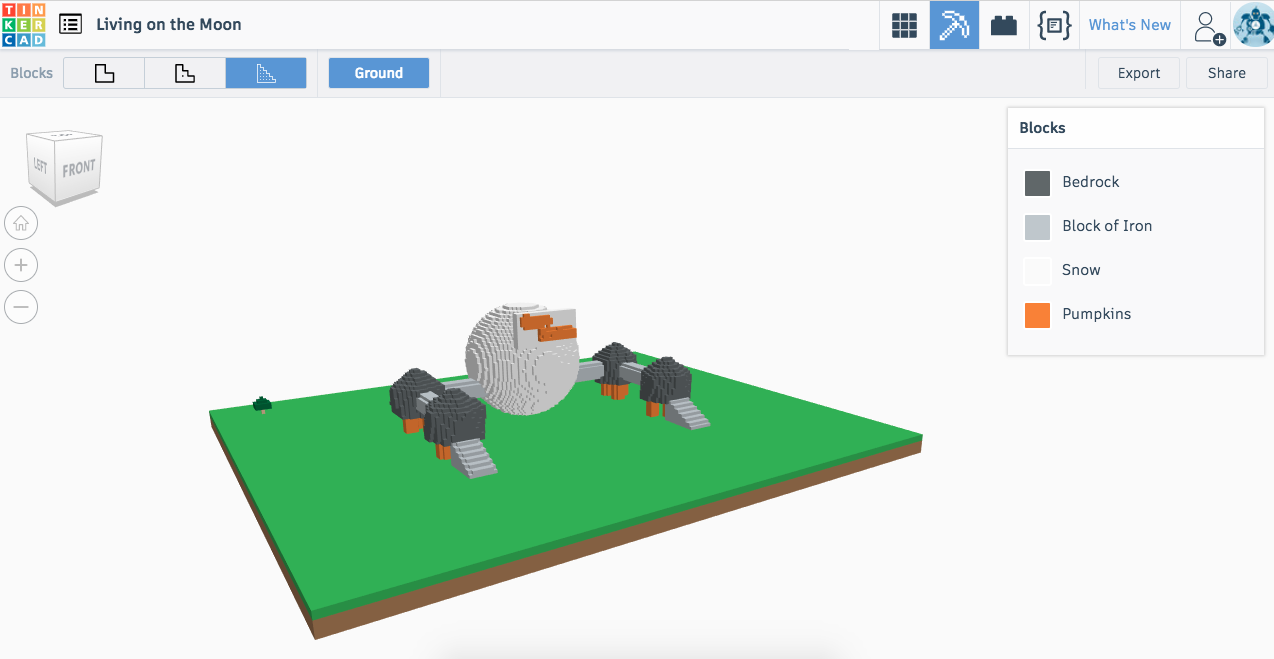
Welcome to this Instructable where you will learn how to turn your Airbus tinkerCAD projects into Minecraft blocks for your own Minecraft worlds. There are a few simple steps you need to follow to complete this tutorial, but first you must make sure you have done the following;
Instructions
1. Bought and Downloaded Minecraft for Mac or Windows.
2. Downloaded MCEdit 2 (Minecraft world builder).
Opening Your TinkerCAD Design
Instructions
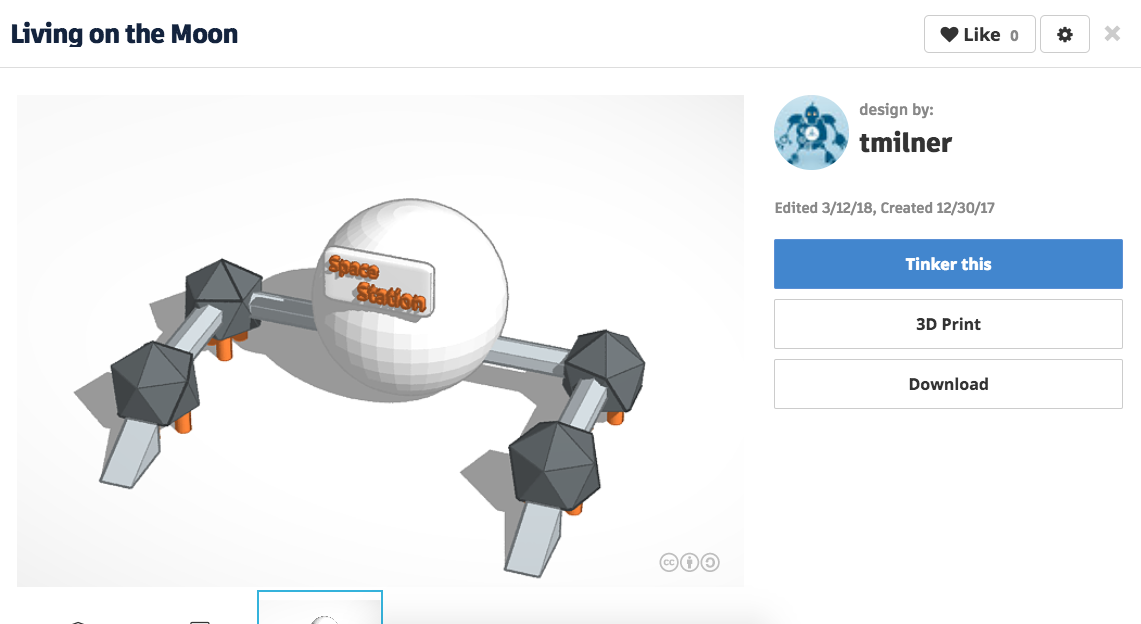
1. Go to www.tinkercad.com - sign in using your Autodesk username and password.
2. Select the Airbus project you would like to bring into your Minecraft world. Click 'Tinker this'.
3. Go to next step.
Turning Your Design Into Blocks
Instructions
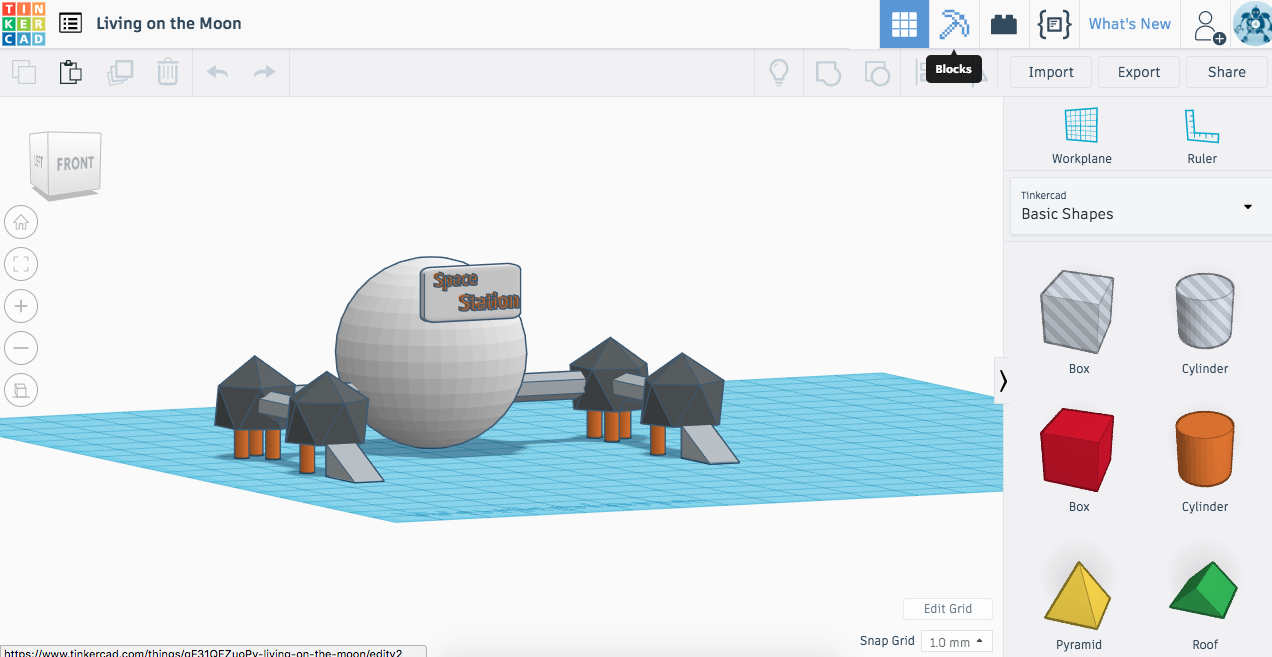
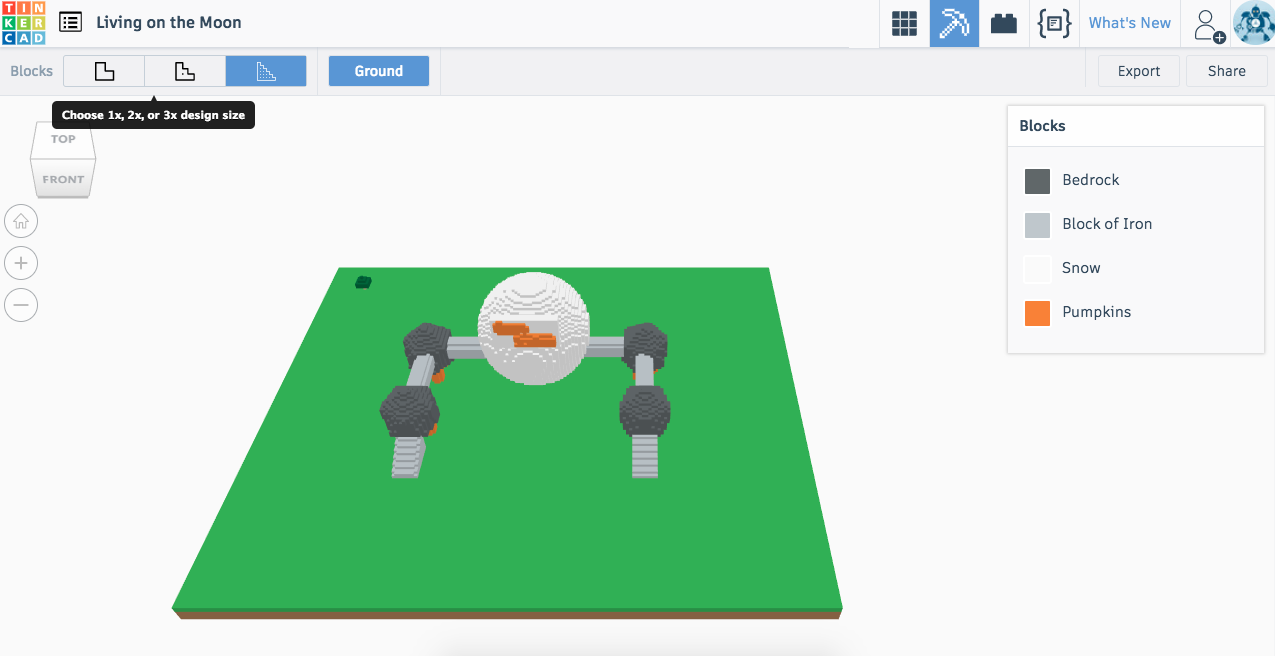
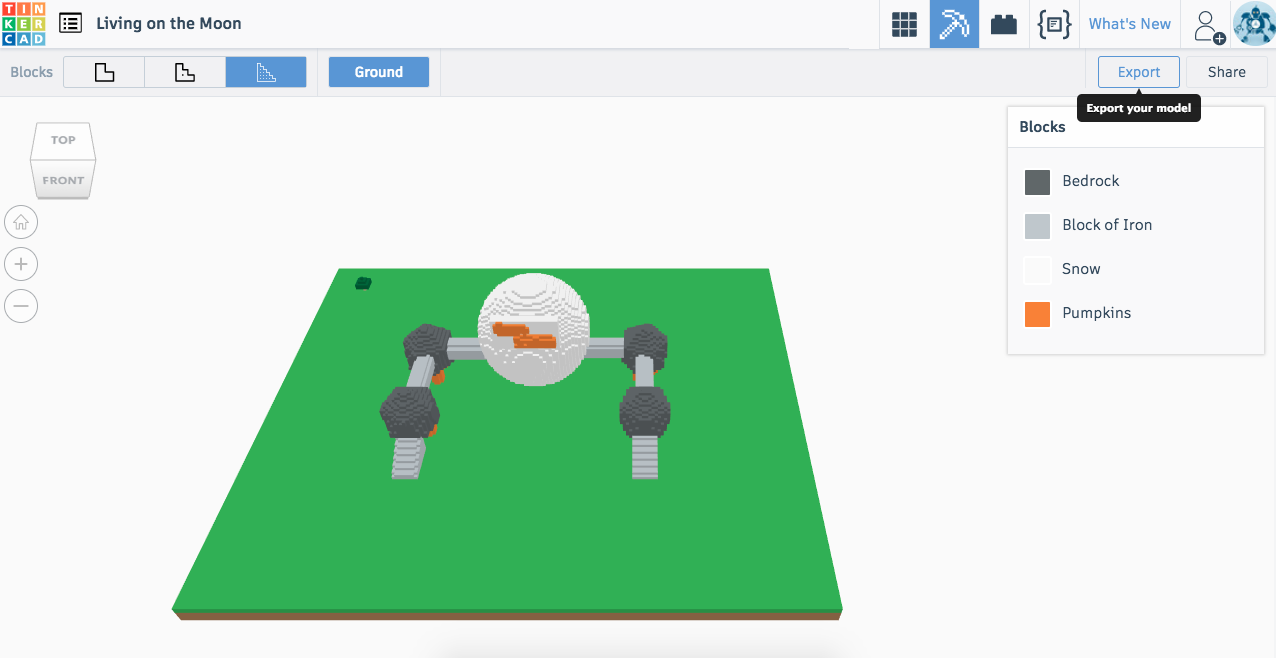
1. Once you have opened your TinkerCAD design, click in the top right hand corner of the page on the icon 'blocks'. This will transform your shape into blocks suitable for Minecraft.
2. Select the size of your design by clicking on one of the options in the top left of your blocks page.
3. Export your schematic drawing of your design and save the file in a place you can easily find it.
4. Go to the next step.
Minecraft: Creating a Super Flat 'new World'.
Instructions
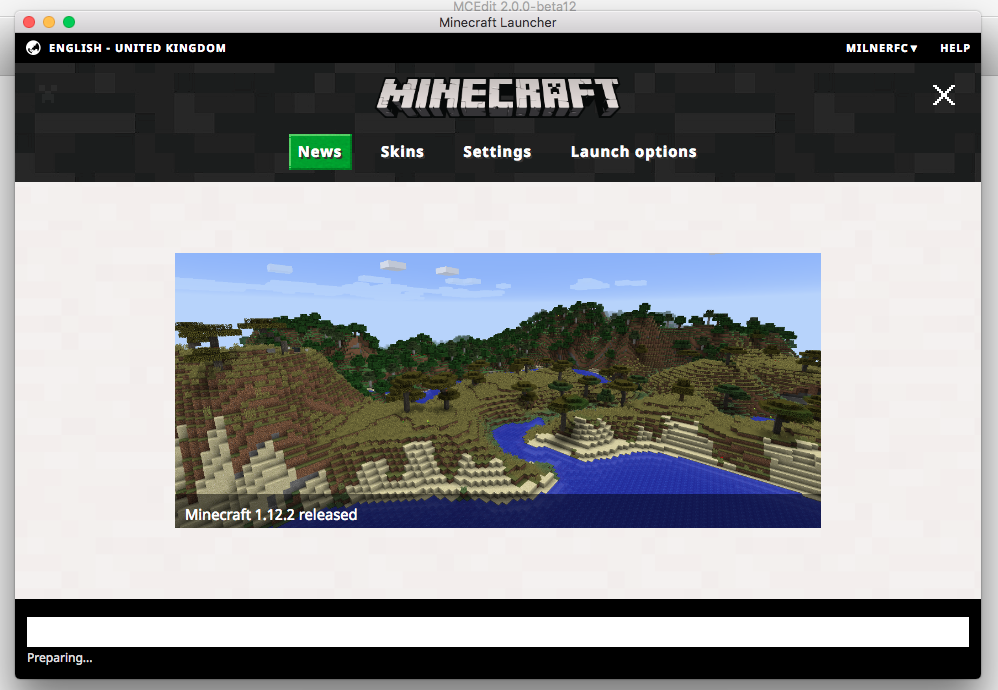
1. Open Minecraft.
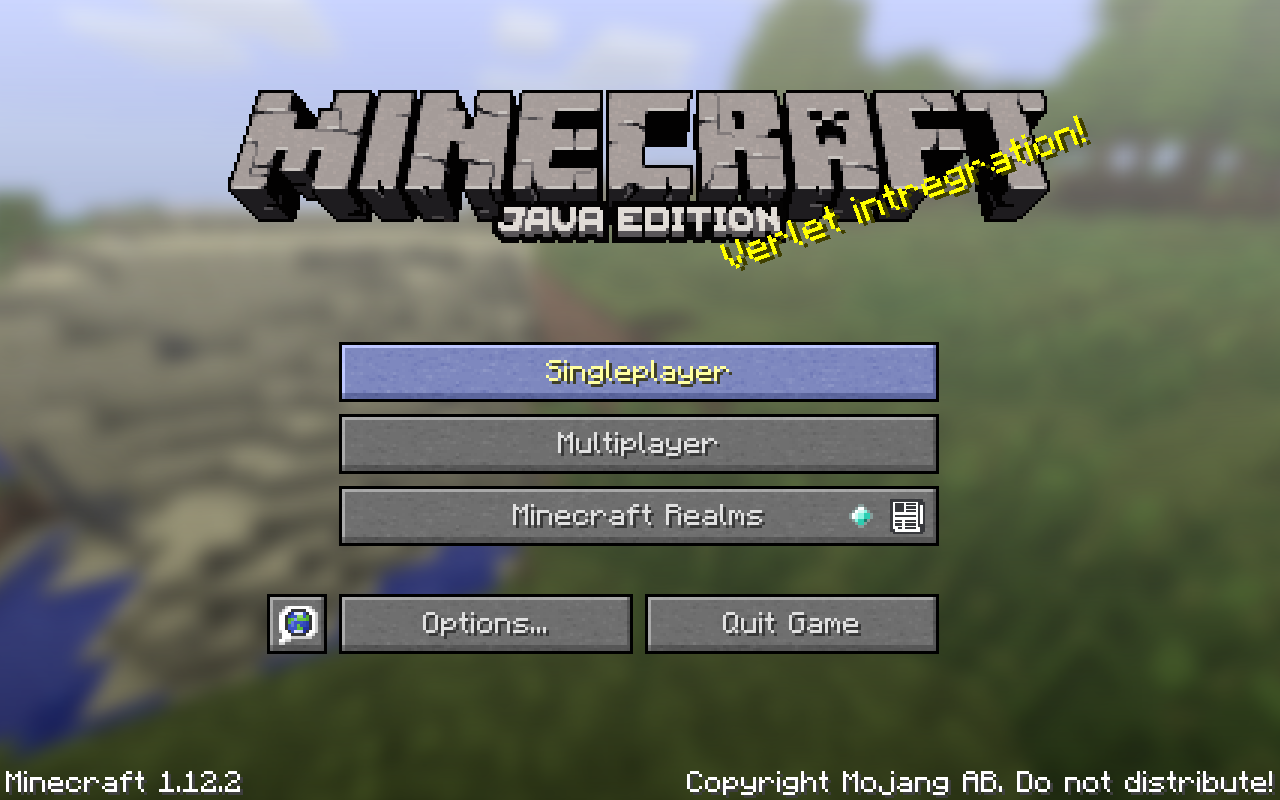
2. Select single player from the opening options.
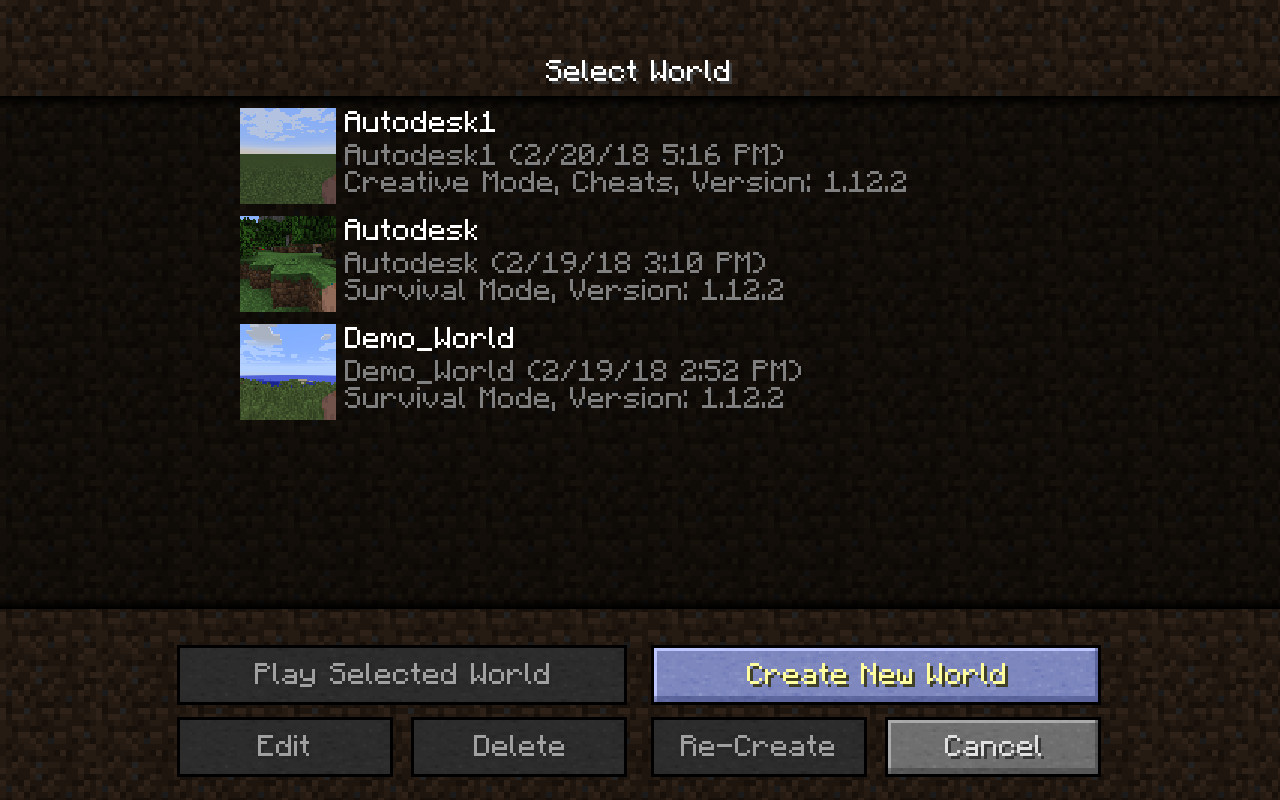
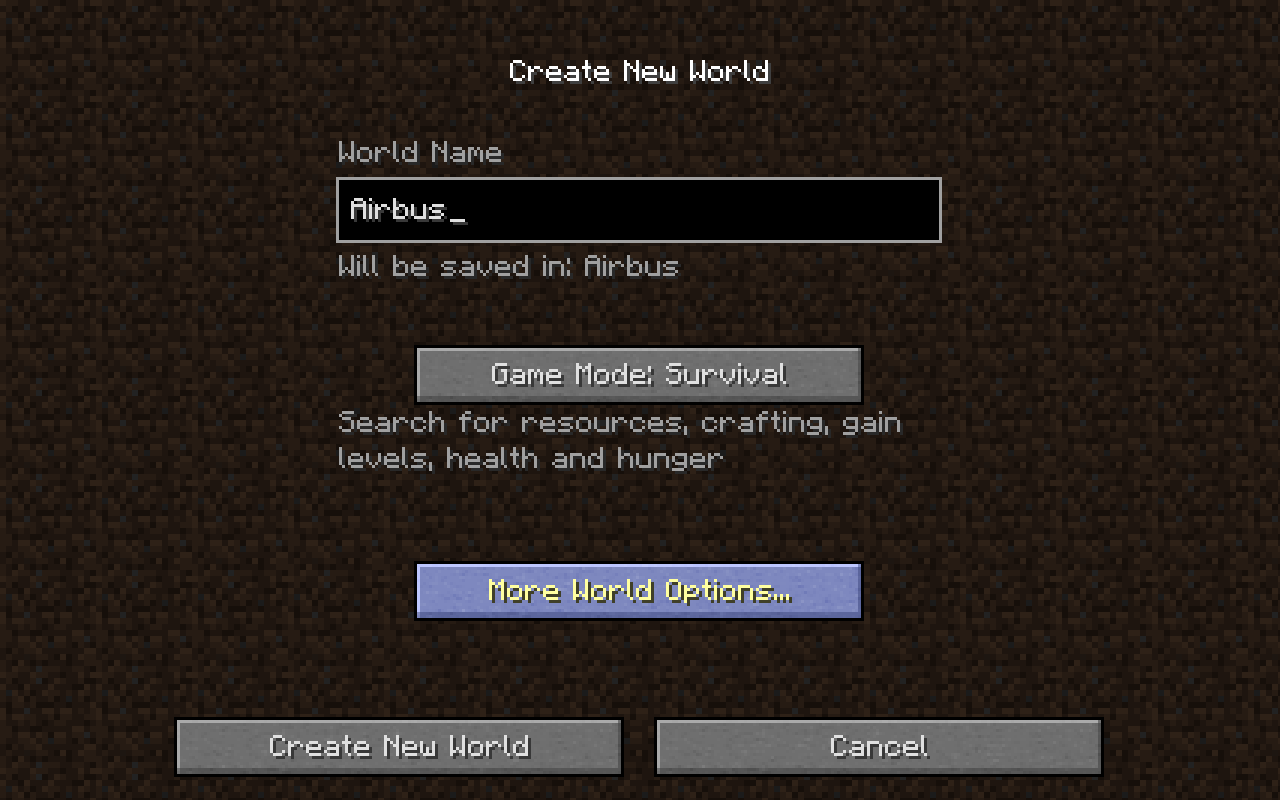
3. Then select 'create new world'. This is important as we will be adding our TinkerCAD project into this world.
4. Select a unique name for your new world, in this case I have used 'Airbus' as the name of my new world.
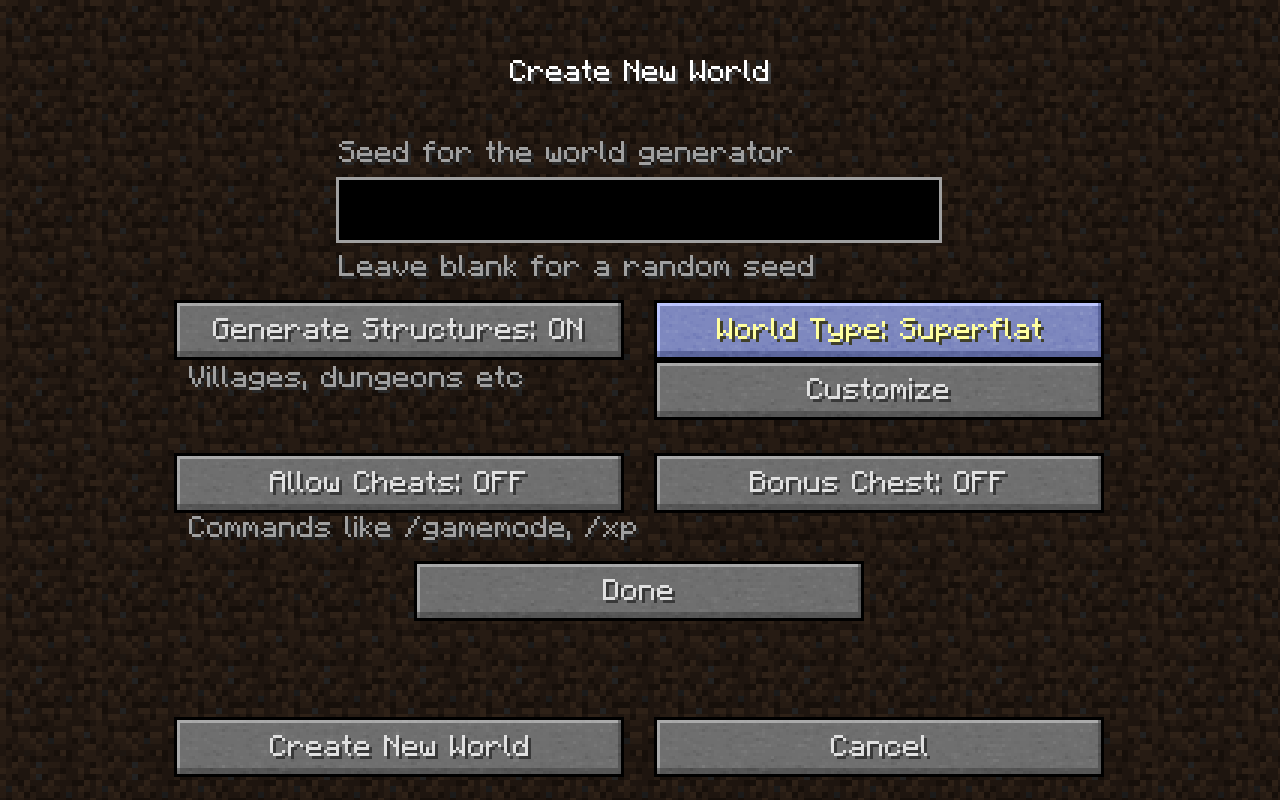
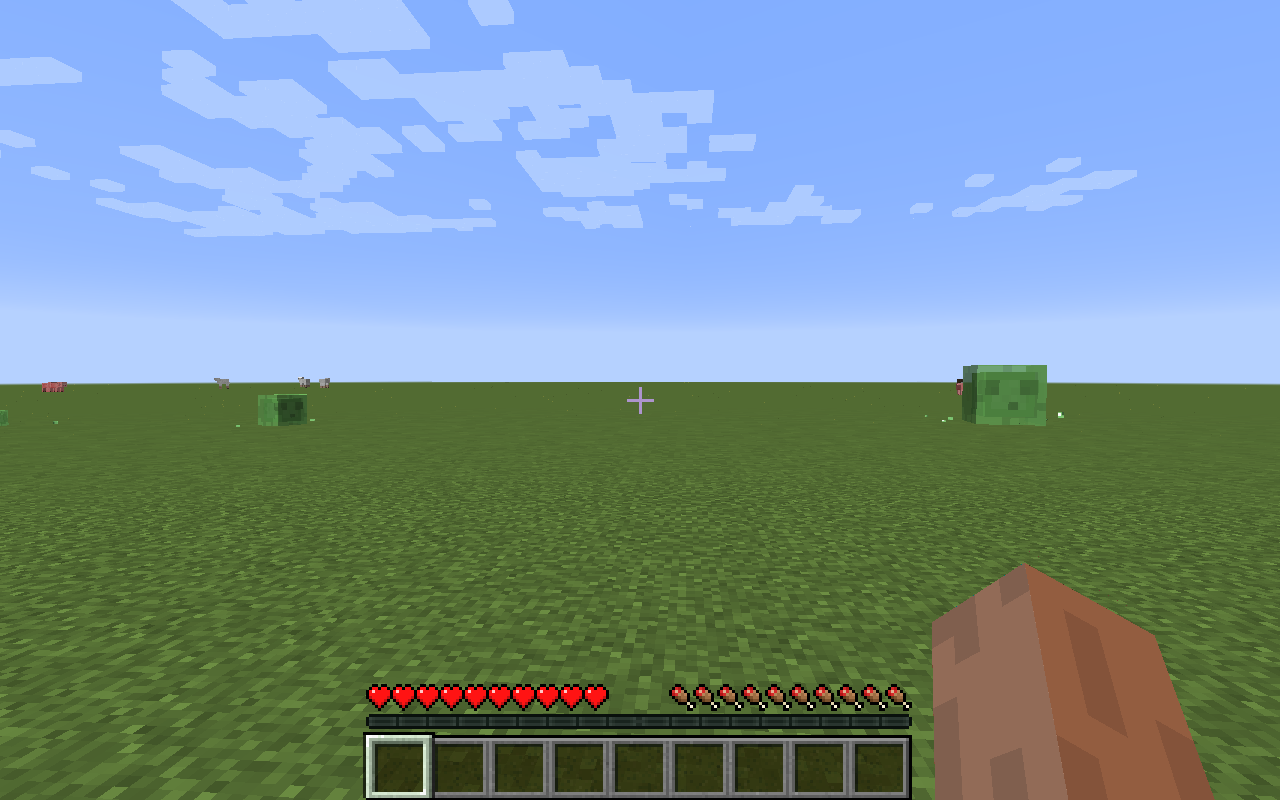
5. In the world options, click on 'world type' until you have selected the 'super flat' world template. Now click to create your new world.
6. Go to the next step.
MC Edit 2
Instructions
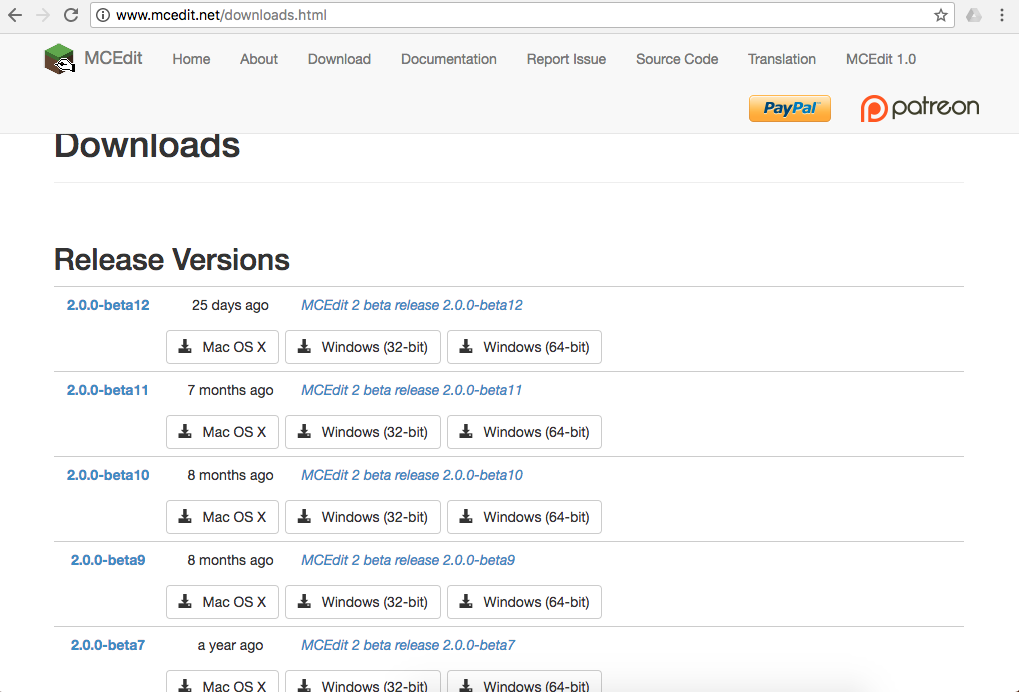
1. Open an internet browser and type 'MC Edit 2' into an internet search engine. MC Edit 2 will be where we edit and add our schematic TinkerCAD components into our Minecraft world.
2. Download the latest version for free onto your PC or Mac.
3. Open the software.
4. Go to the next step.
MC Edit 2 - Bringing Your Schematic Diagram Into Minecraft
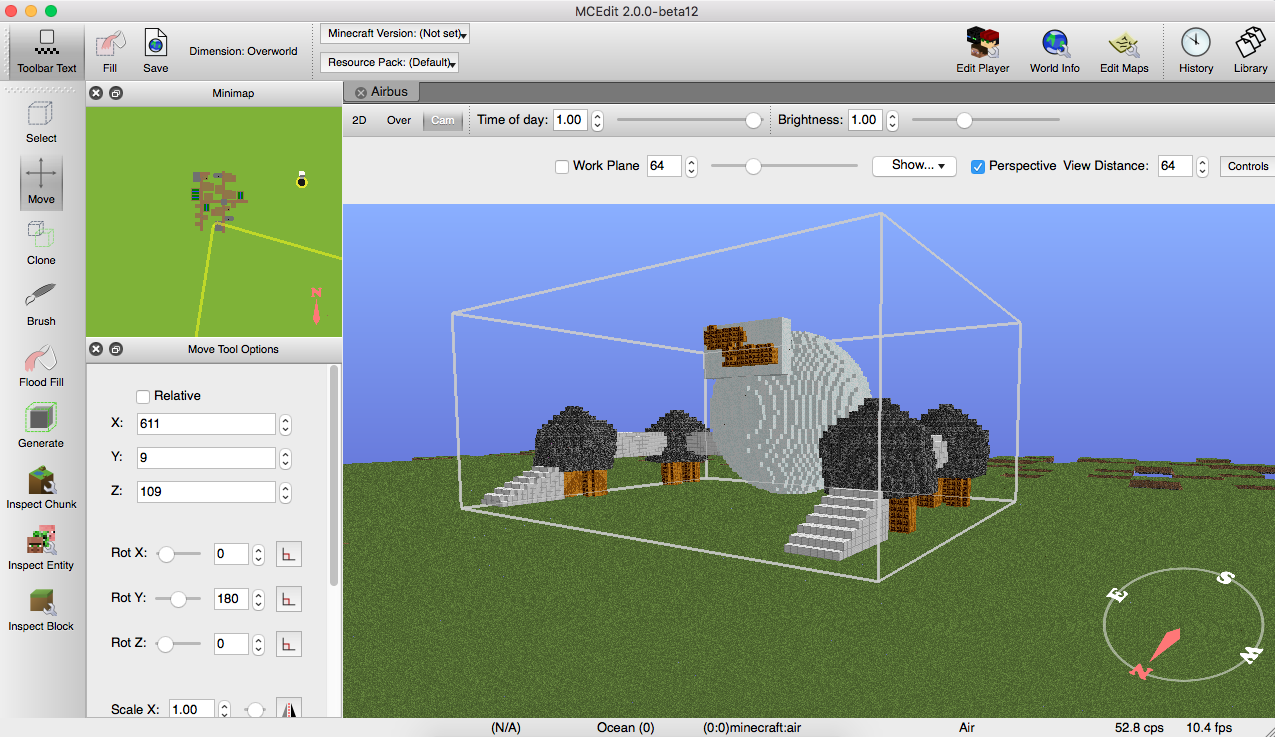
Instructions
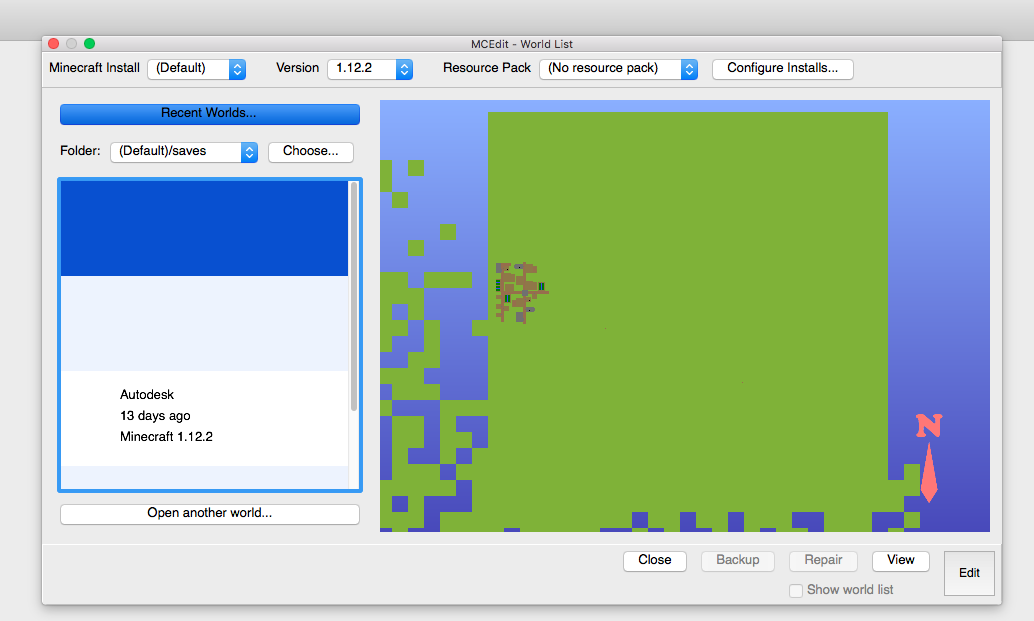
1. Open MC Edit 2.
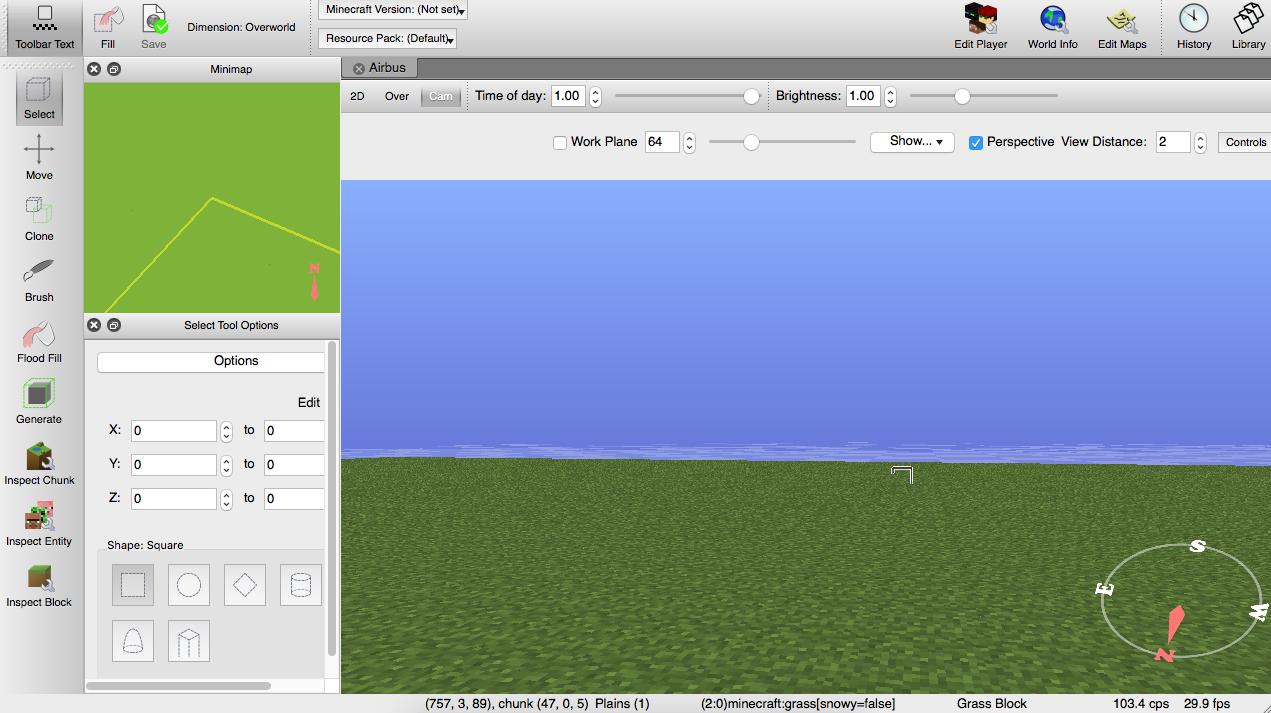
2. Edit the new world you created on Minecraft (bottom right hand corner of your page) - in my case I am going to open and edit the world 'Airbus'.
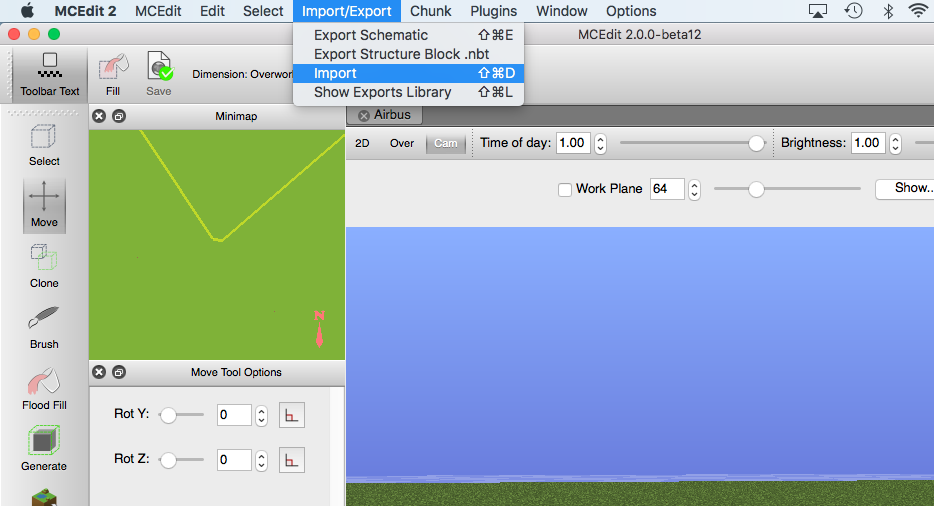
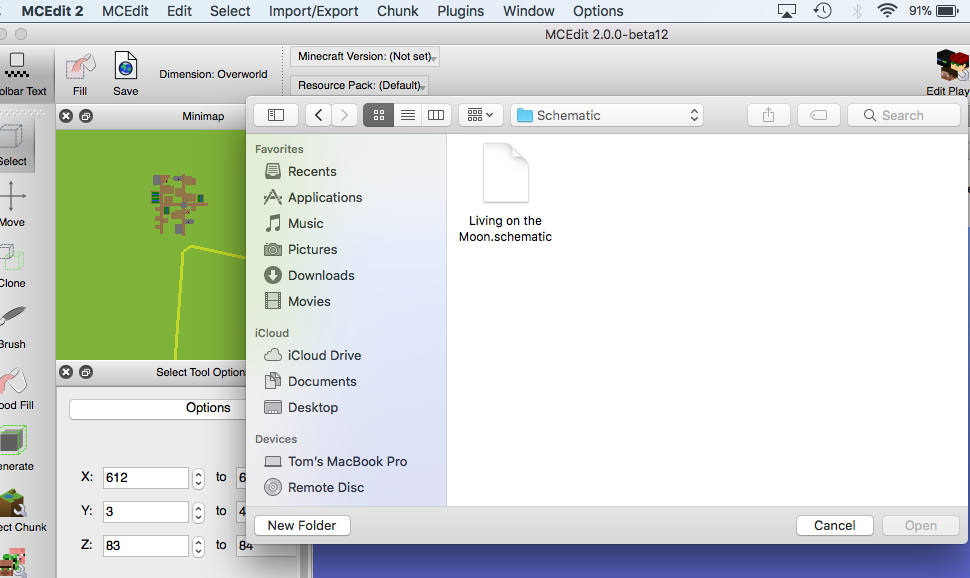
3. From the options in your tool bar select import schematic. In your documents find the schematic drawing you exported from TinkerCAD earlier in the tutorial.
4. Once your TinkerCAD component has loaded, you can use the edit tools on the left hand side of the software to move, scale and position your components.
5. Once you are happy with where you have placed your TinkerCAD component, make sure you save your world.
6. Go to the next step.
Minecraft World - TinkerCAD Components.
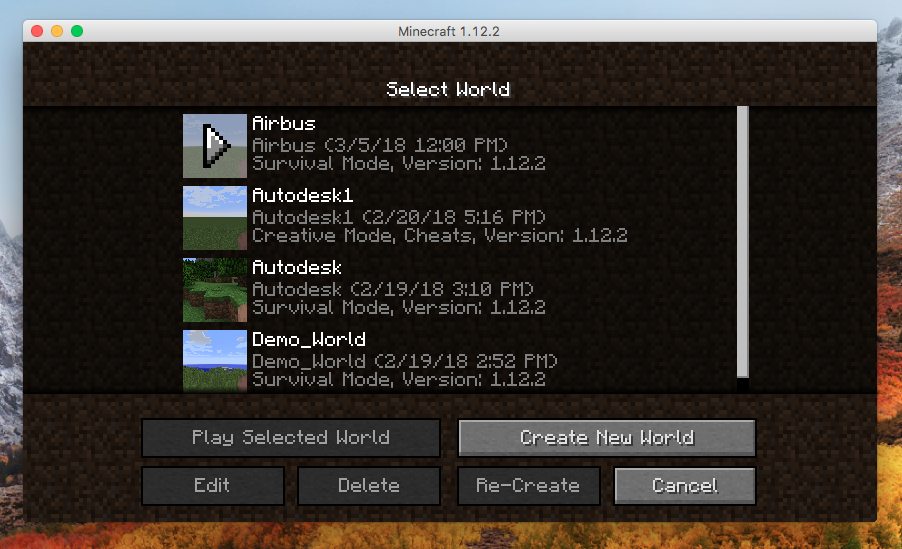
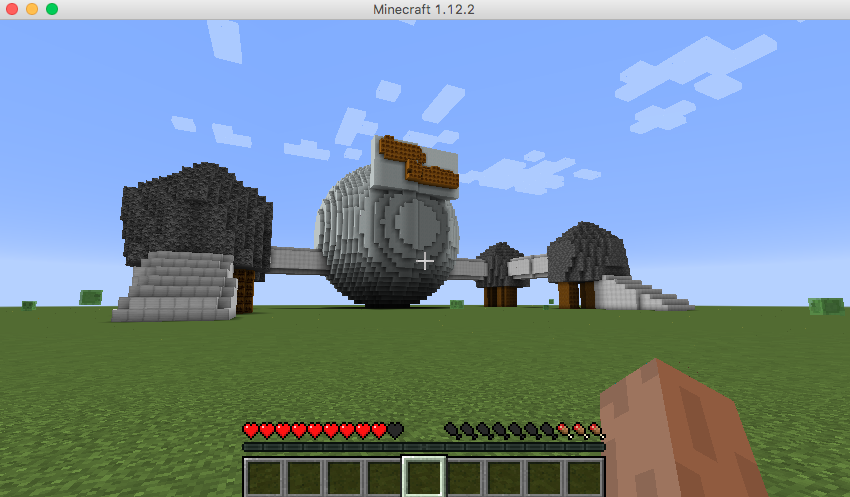
Instructions
1. Open Minecraft.
2. Open the world you have created and edited. In my case I am opening the 'Airbus' world.
3. Your TinkerCAD model will now be in your Minecraft world.
4. Congratulations you have successfully completed this tutorial.
5. Now try and add all of your space themed TinkerCAD products into your very own Minecraft world.