Airbus A350
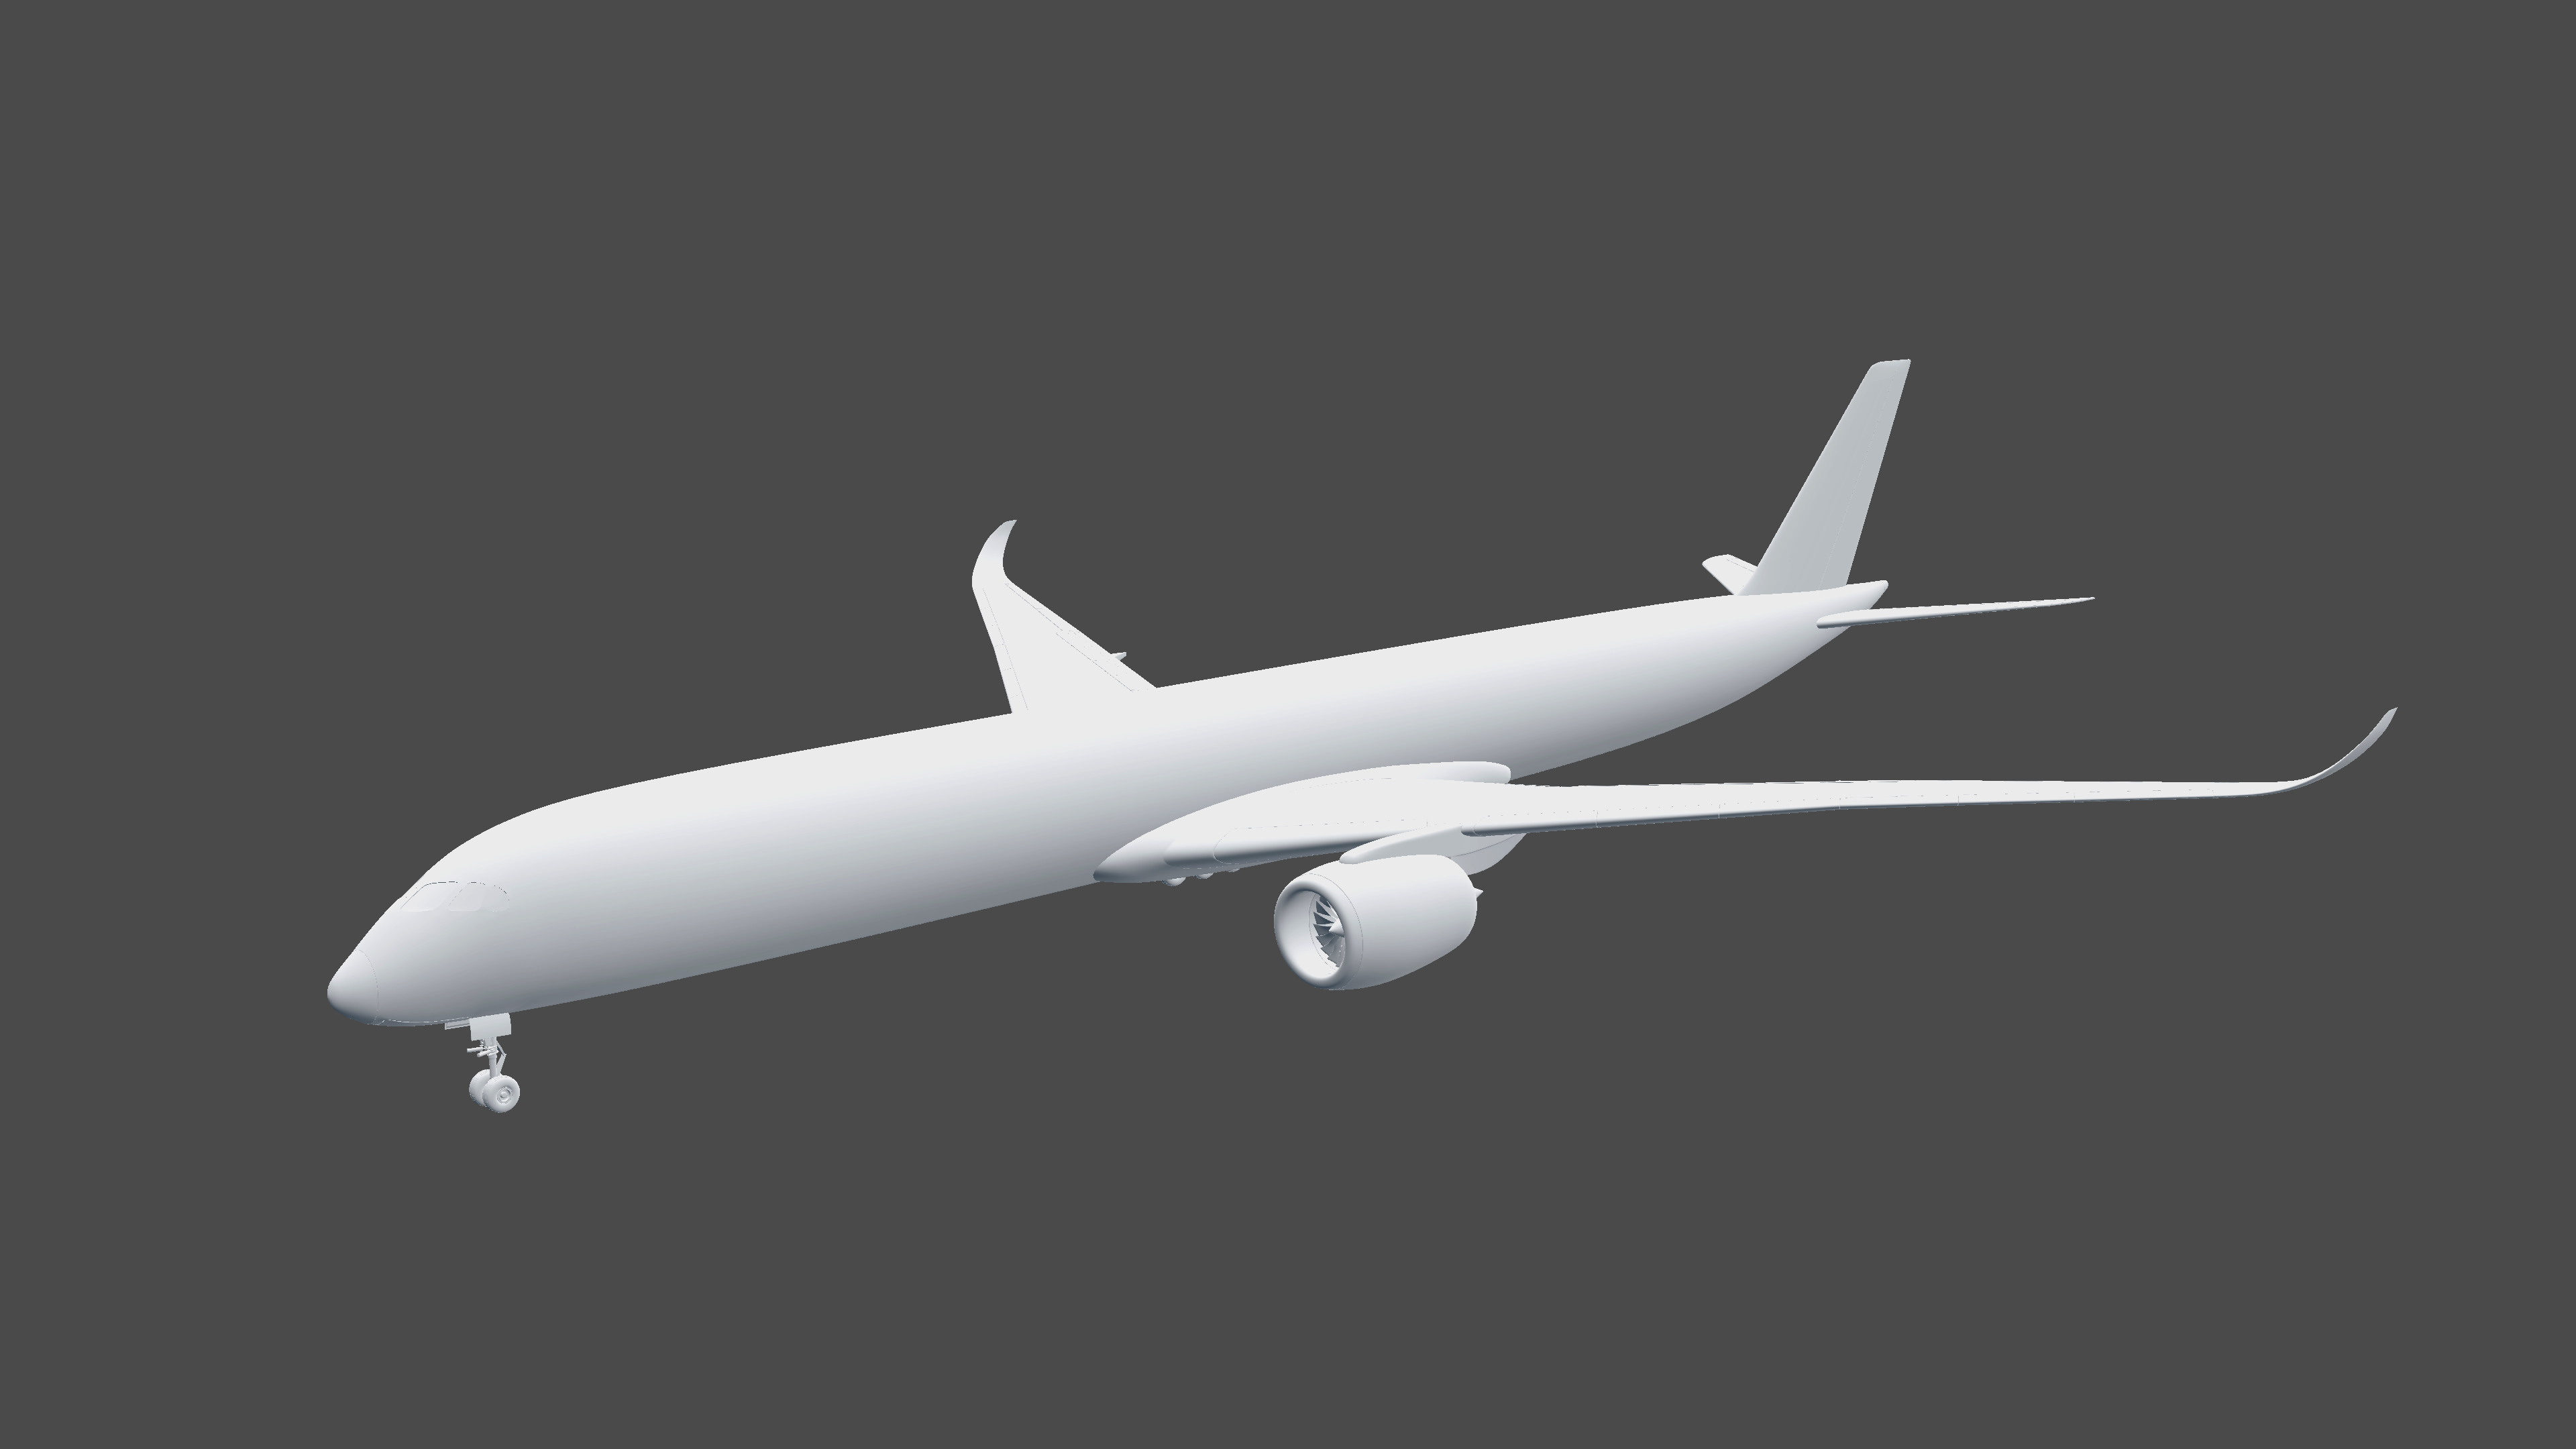
In this tutorial I will be showing the steps to making an Airbus A350. This tutorial is directed towards those with a decent 3D Modelling knowledge already.
Choose Your Software
First thing you need to do is choose you're software. It's recommended that you have a decent knowledge of 3D Modelling for this tutorial so its most likely that you will already have a software in mind. If you don't, here are some great modelling tools you should check out:
- Maya
- 3DS Max
I will be using Blender for this tutorial but everything shown should be possible in all the other software.
Gather Your Blueprints/References
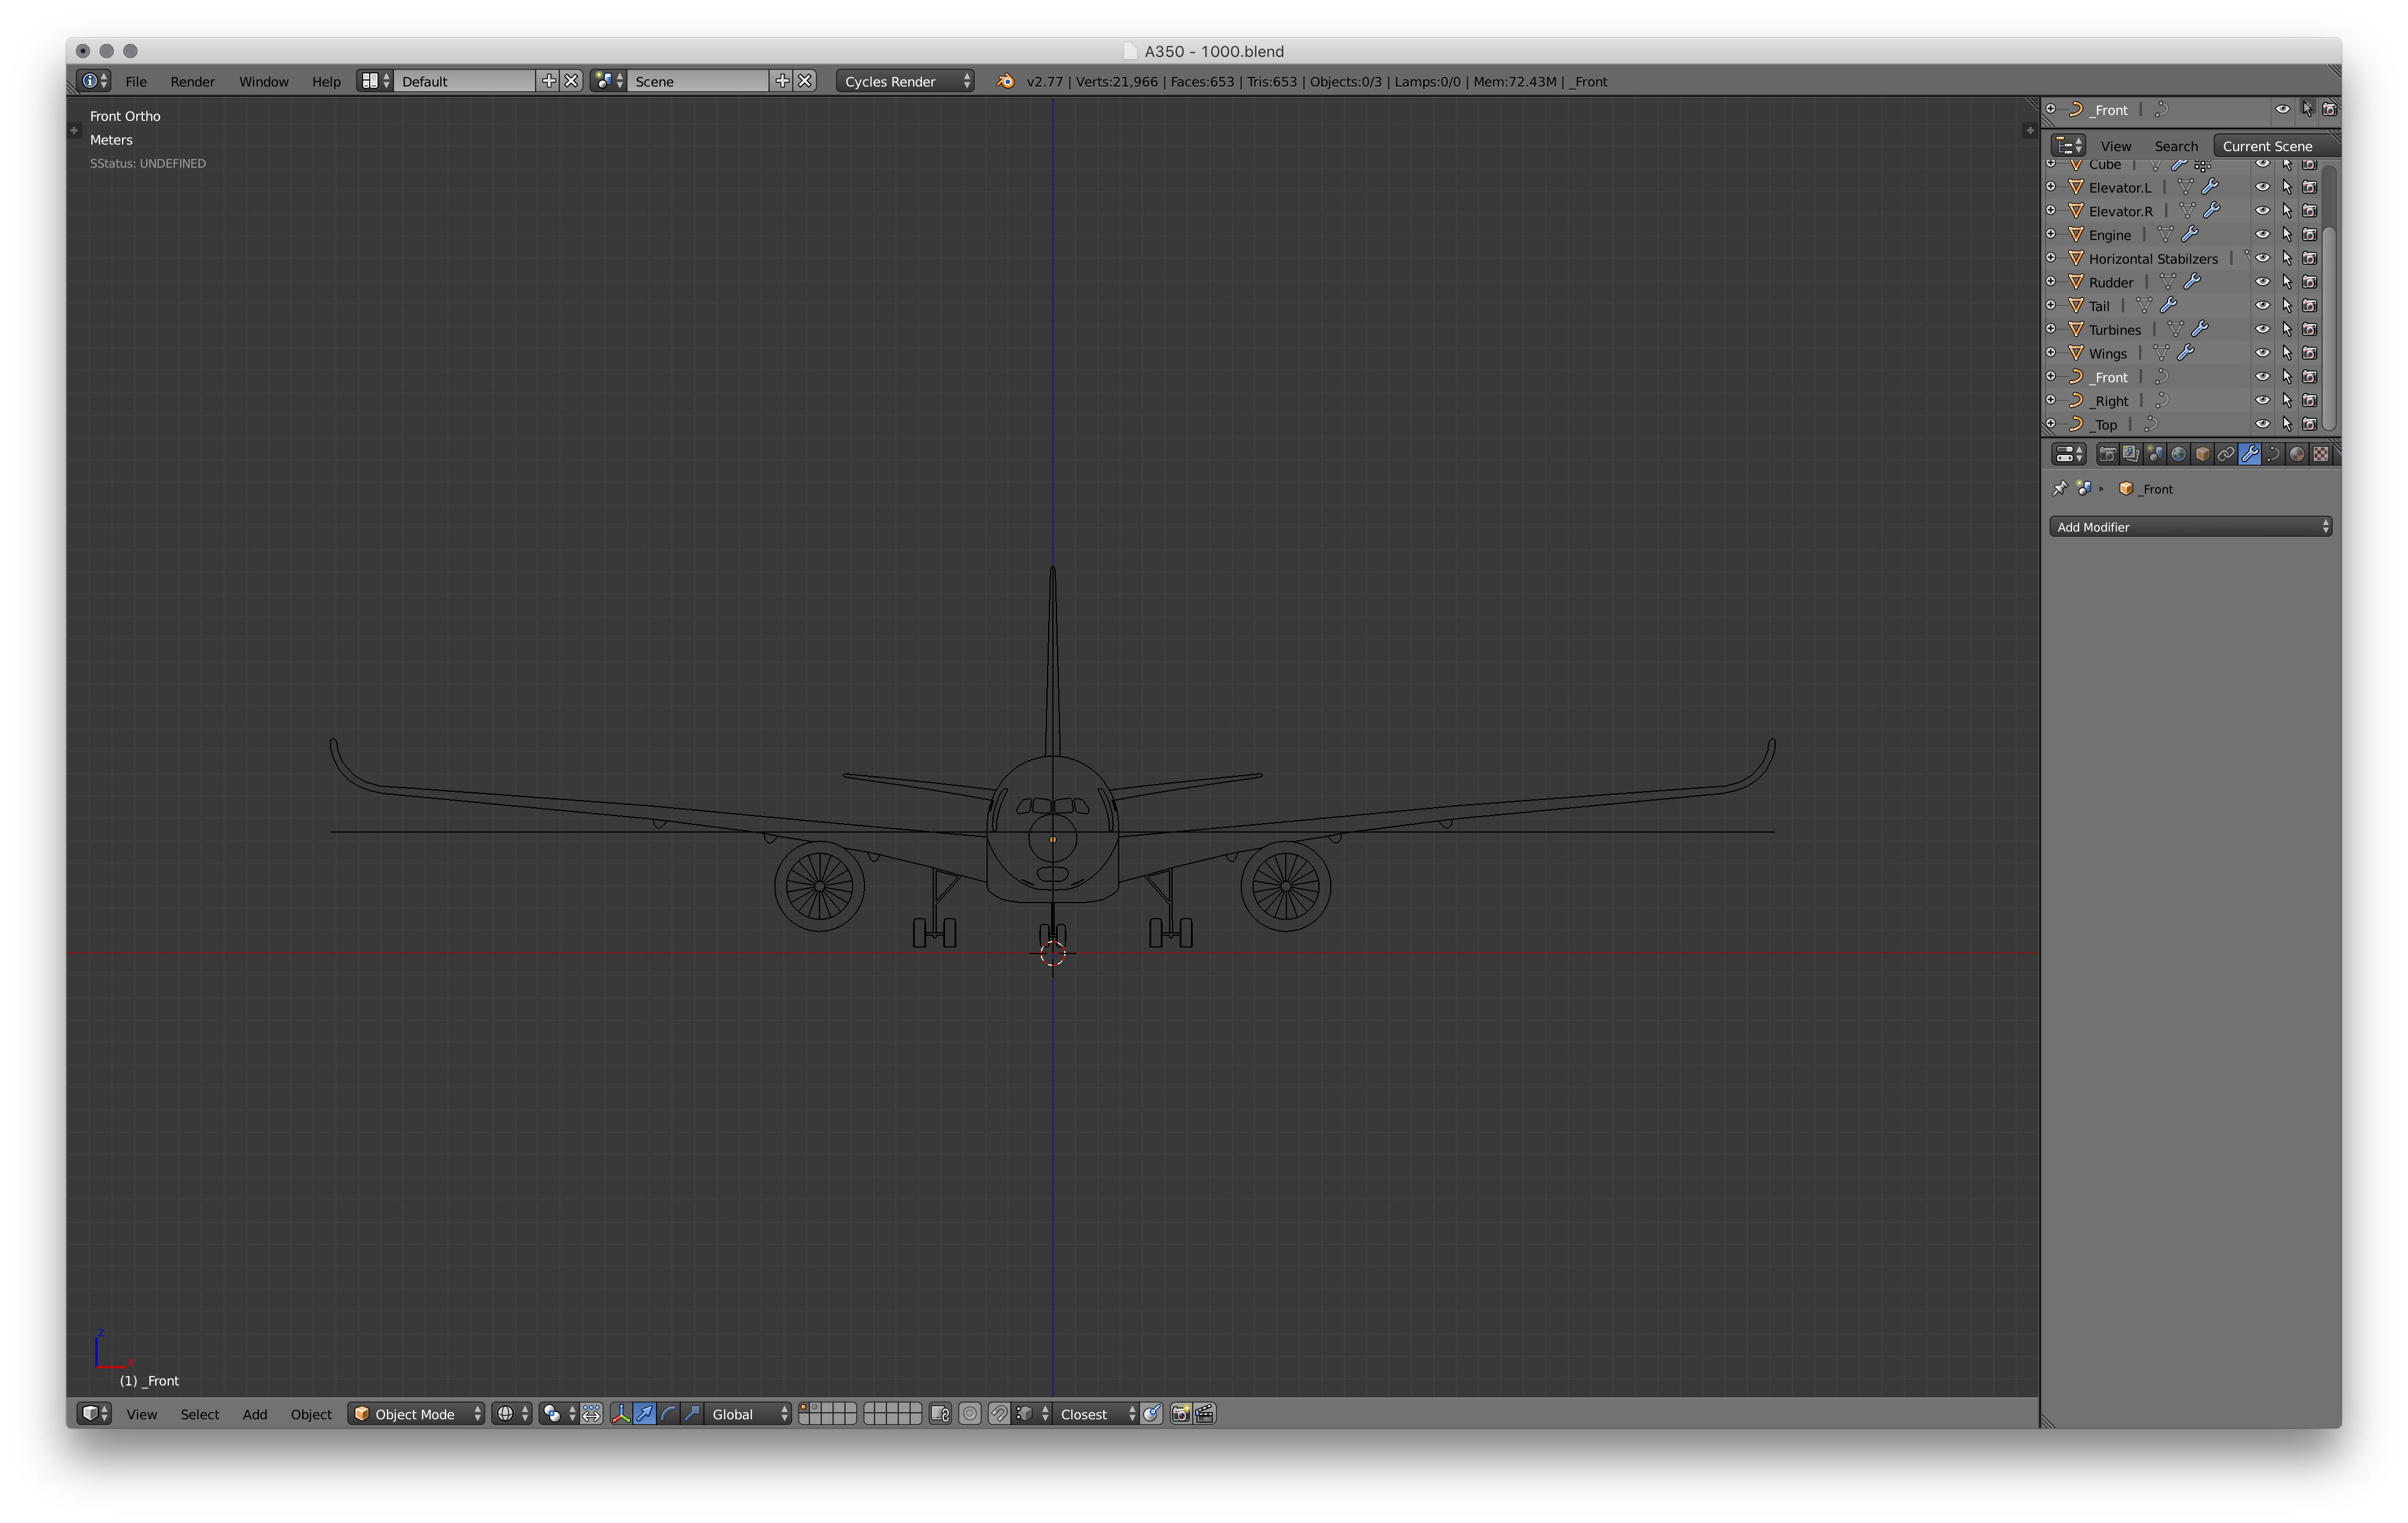
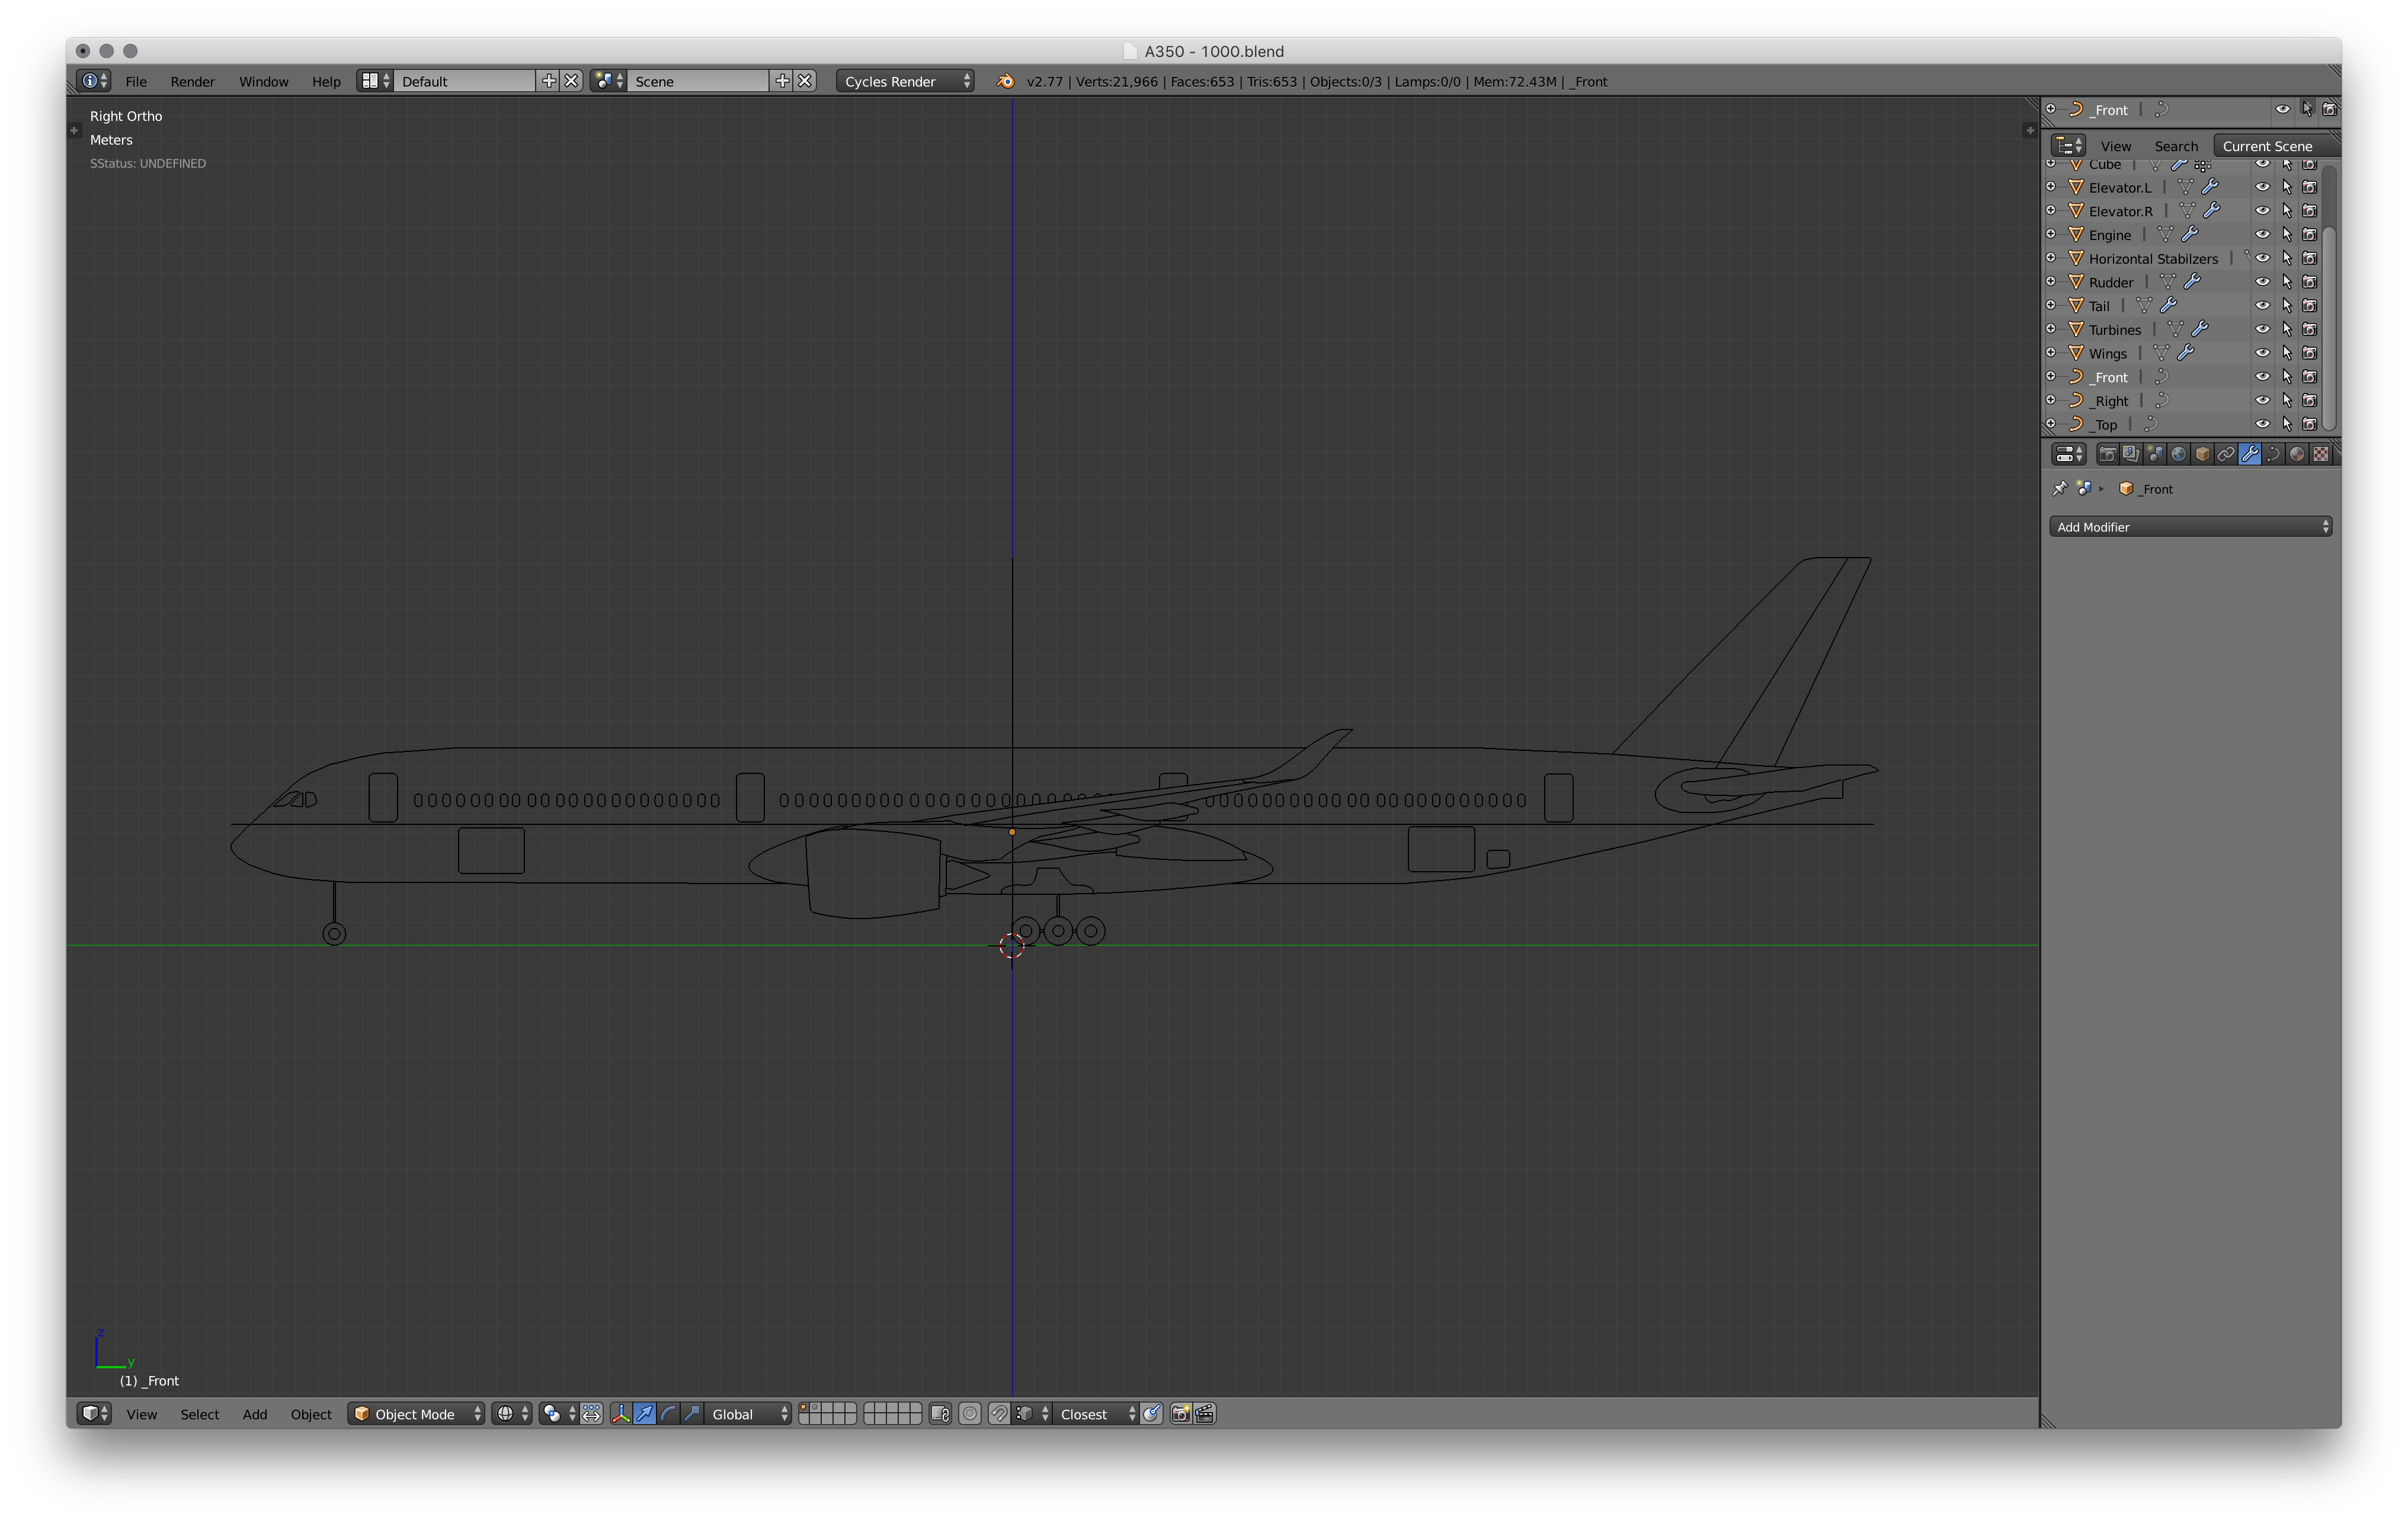
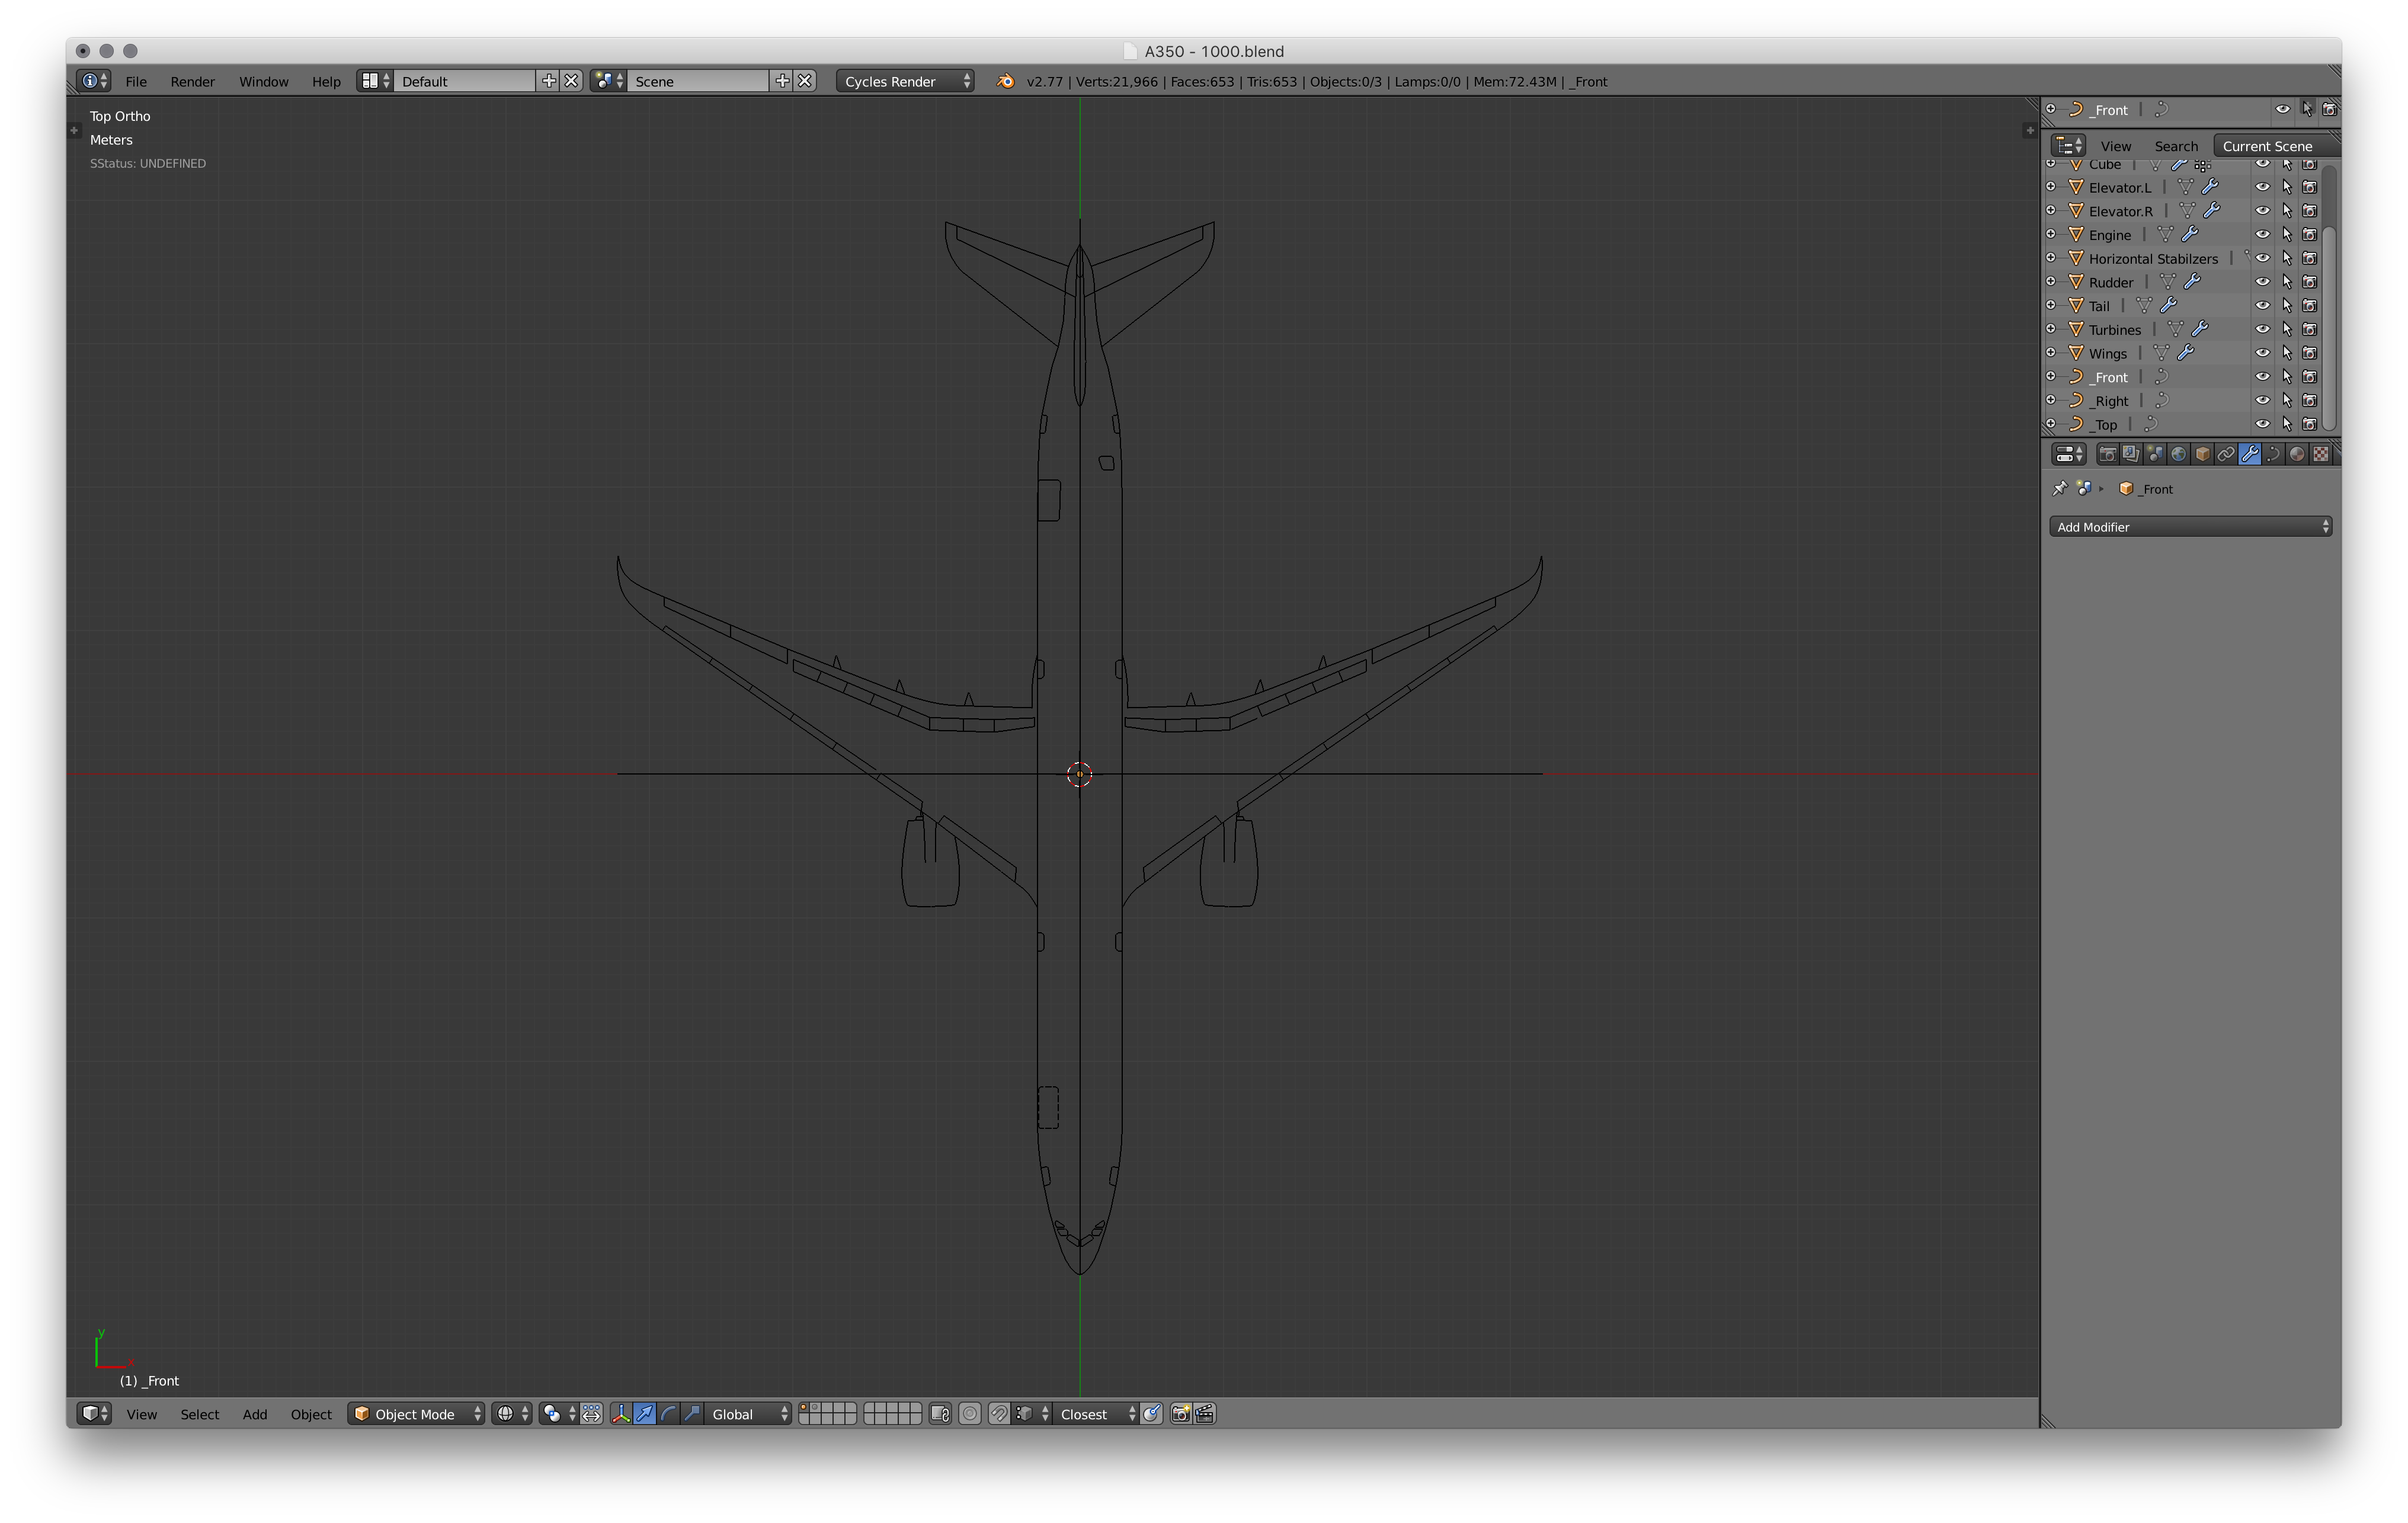
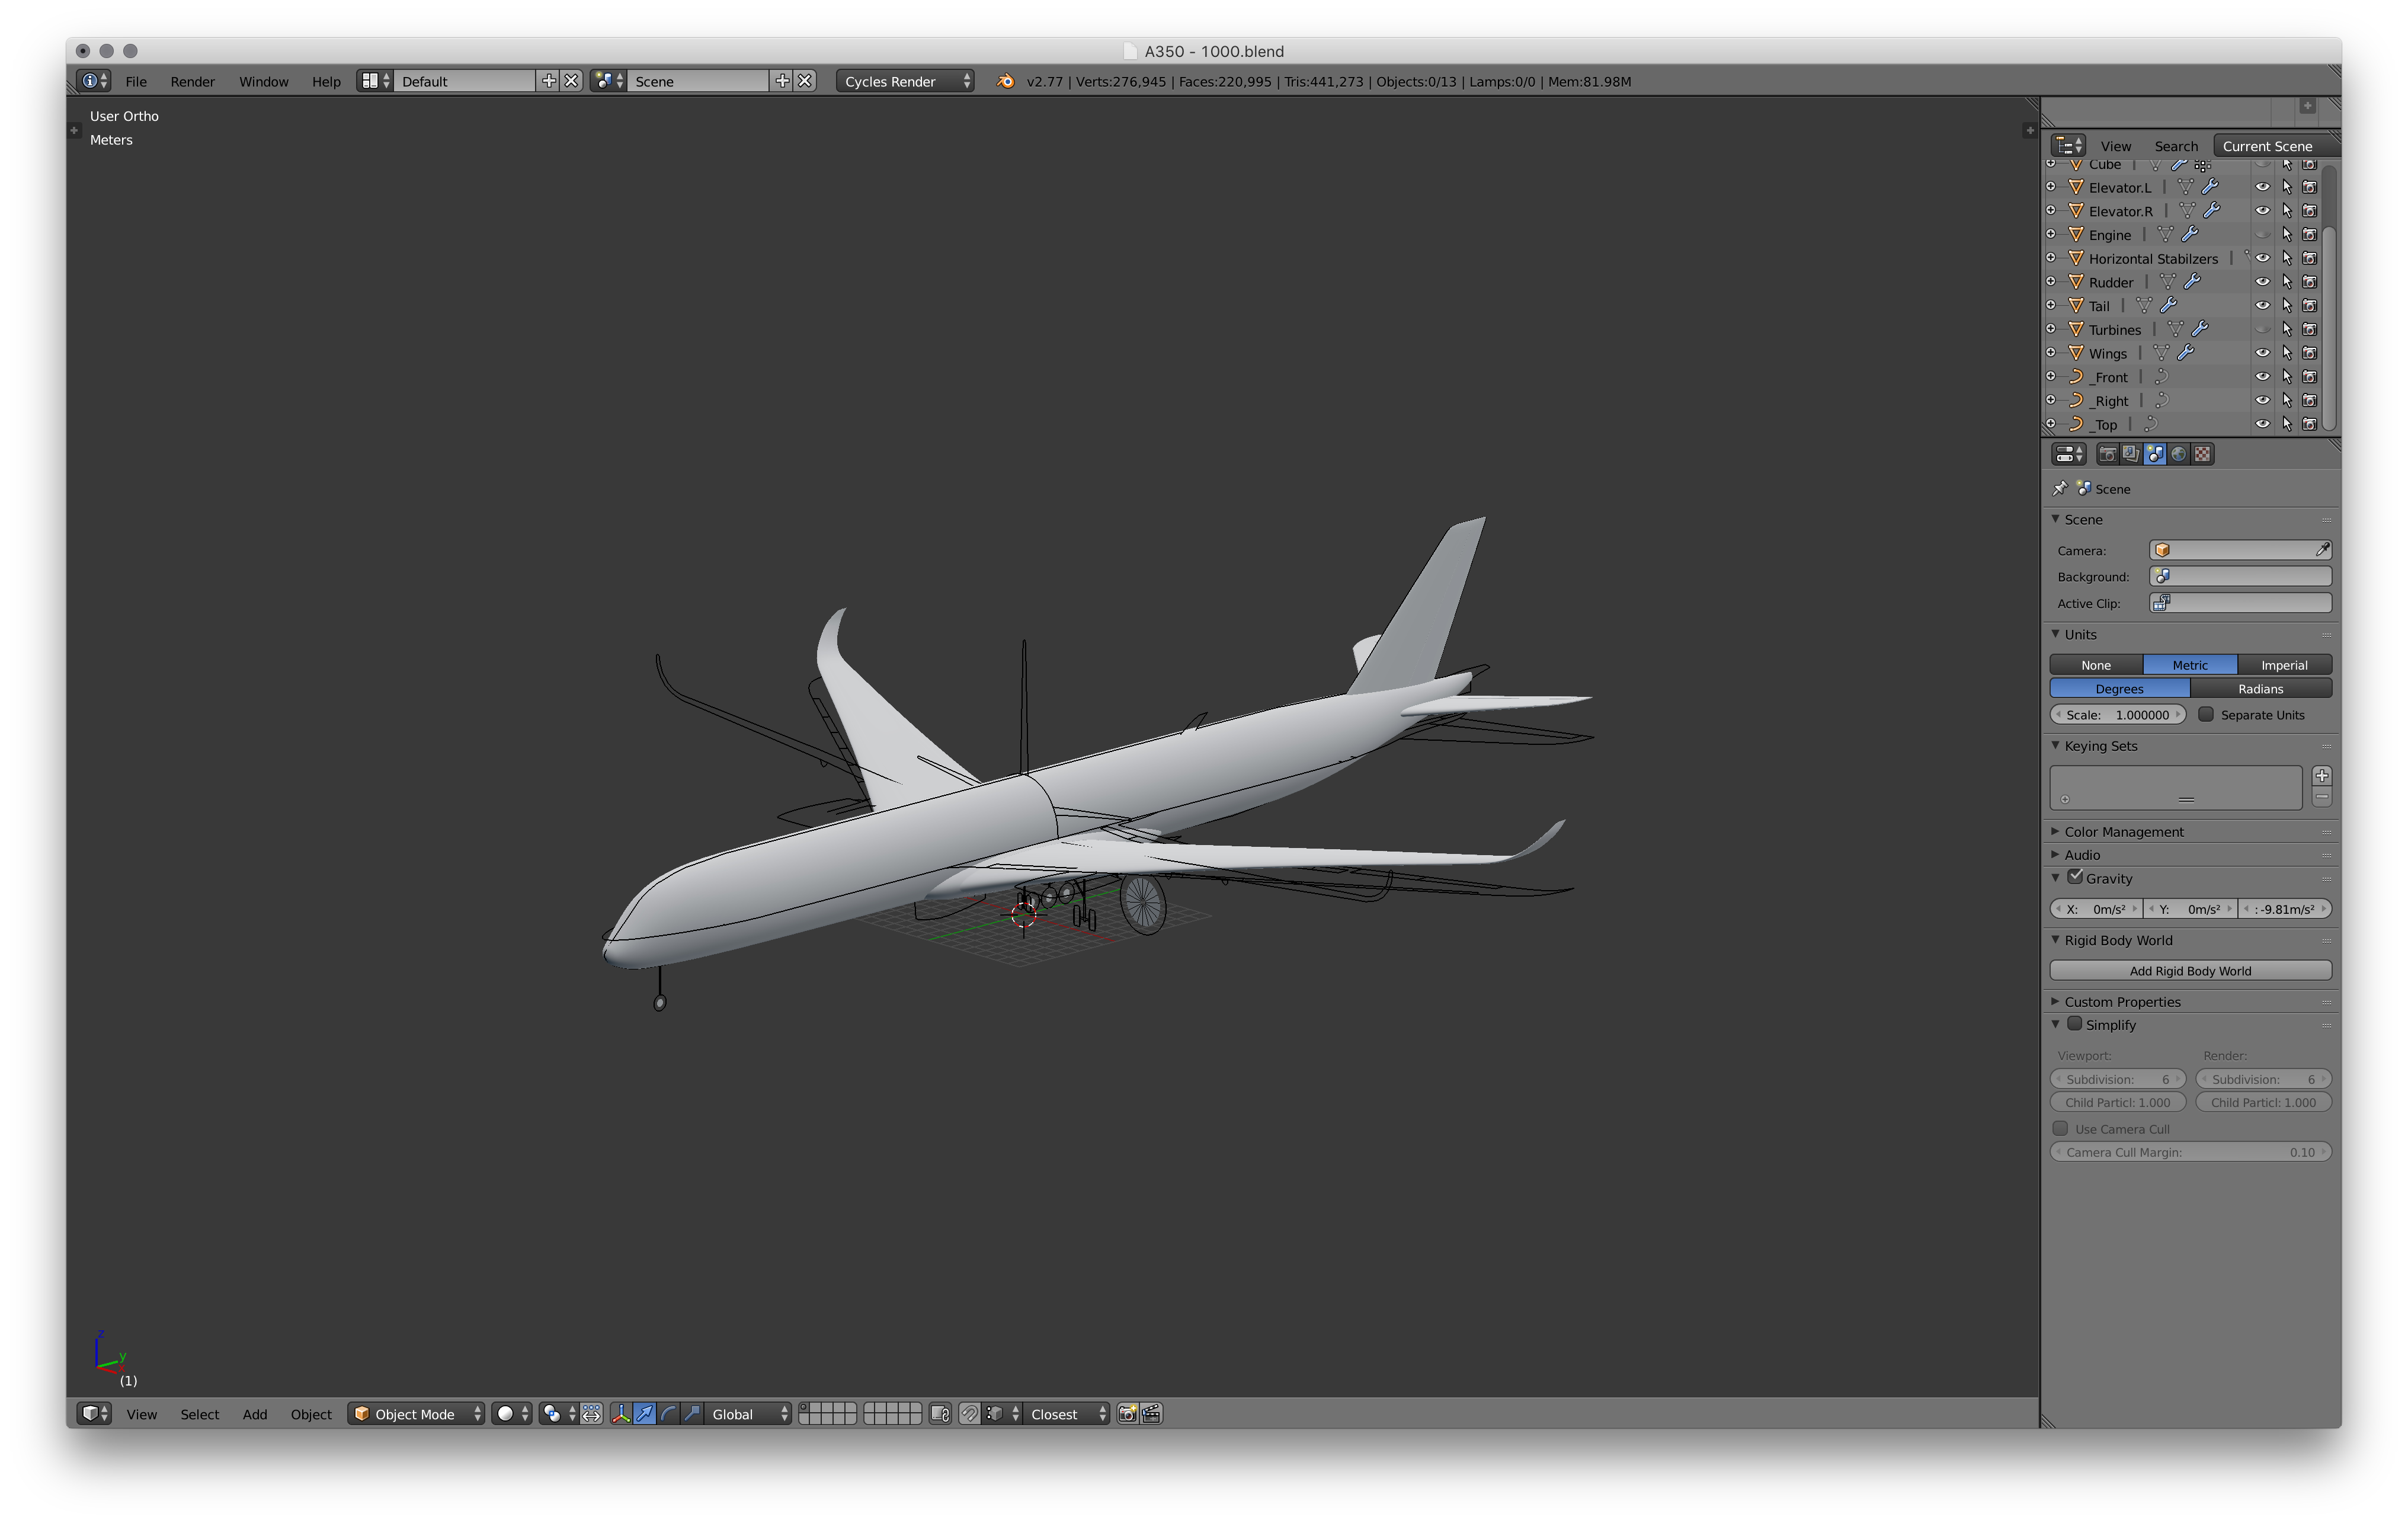
As you can see in the pictures I will be using 3 vector images as my blueprints. These can be found from Airbus and imported into your 3D software. You will also want to find some references, but probably best to look for specific references as you model. Once you have these in your software, make sure to align them. A good way to do this is to make a very quick block model of the aircraft, then align your blueprints using that.
Model the Body
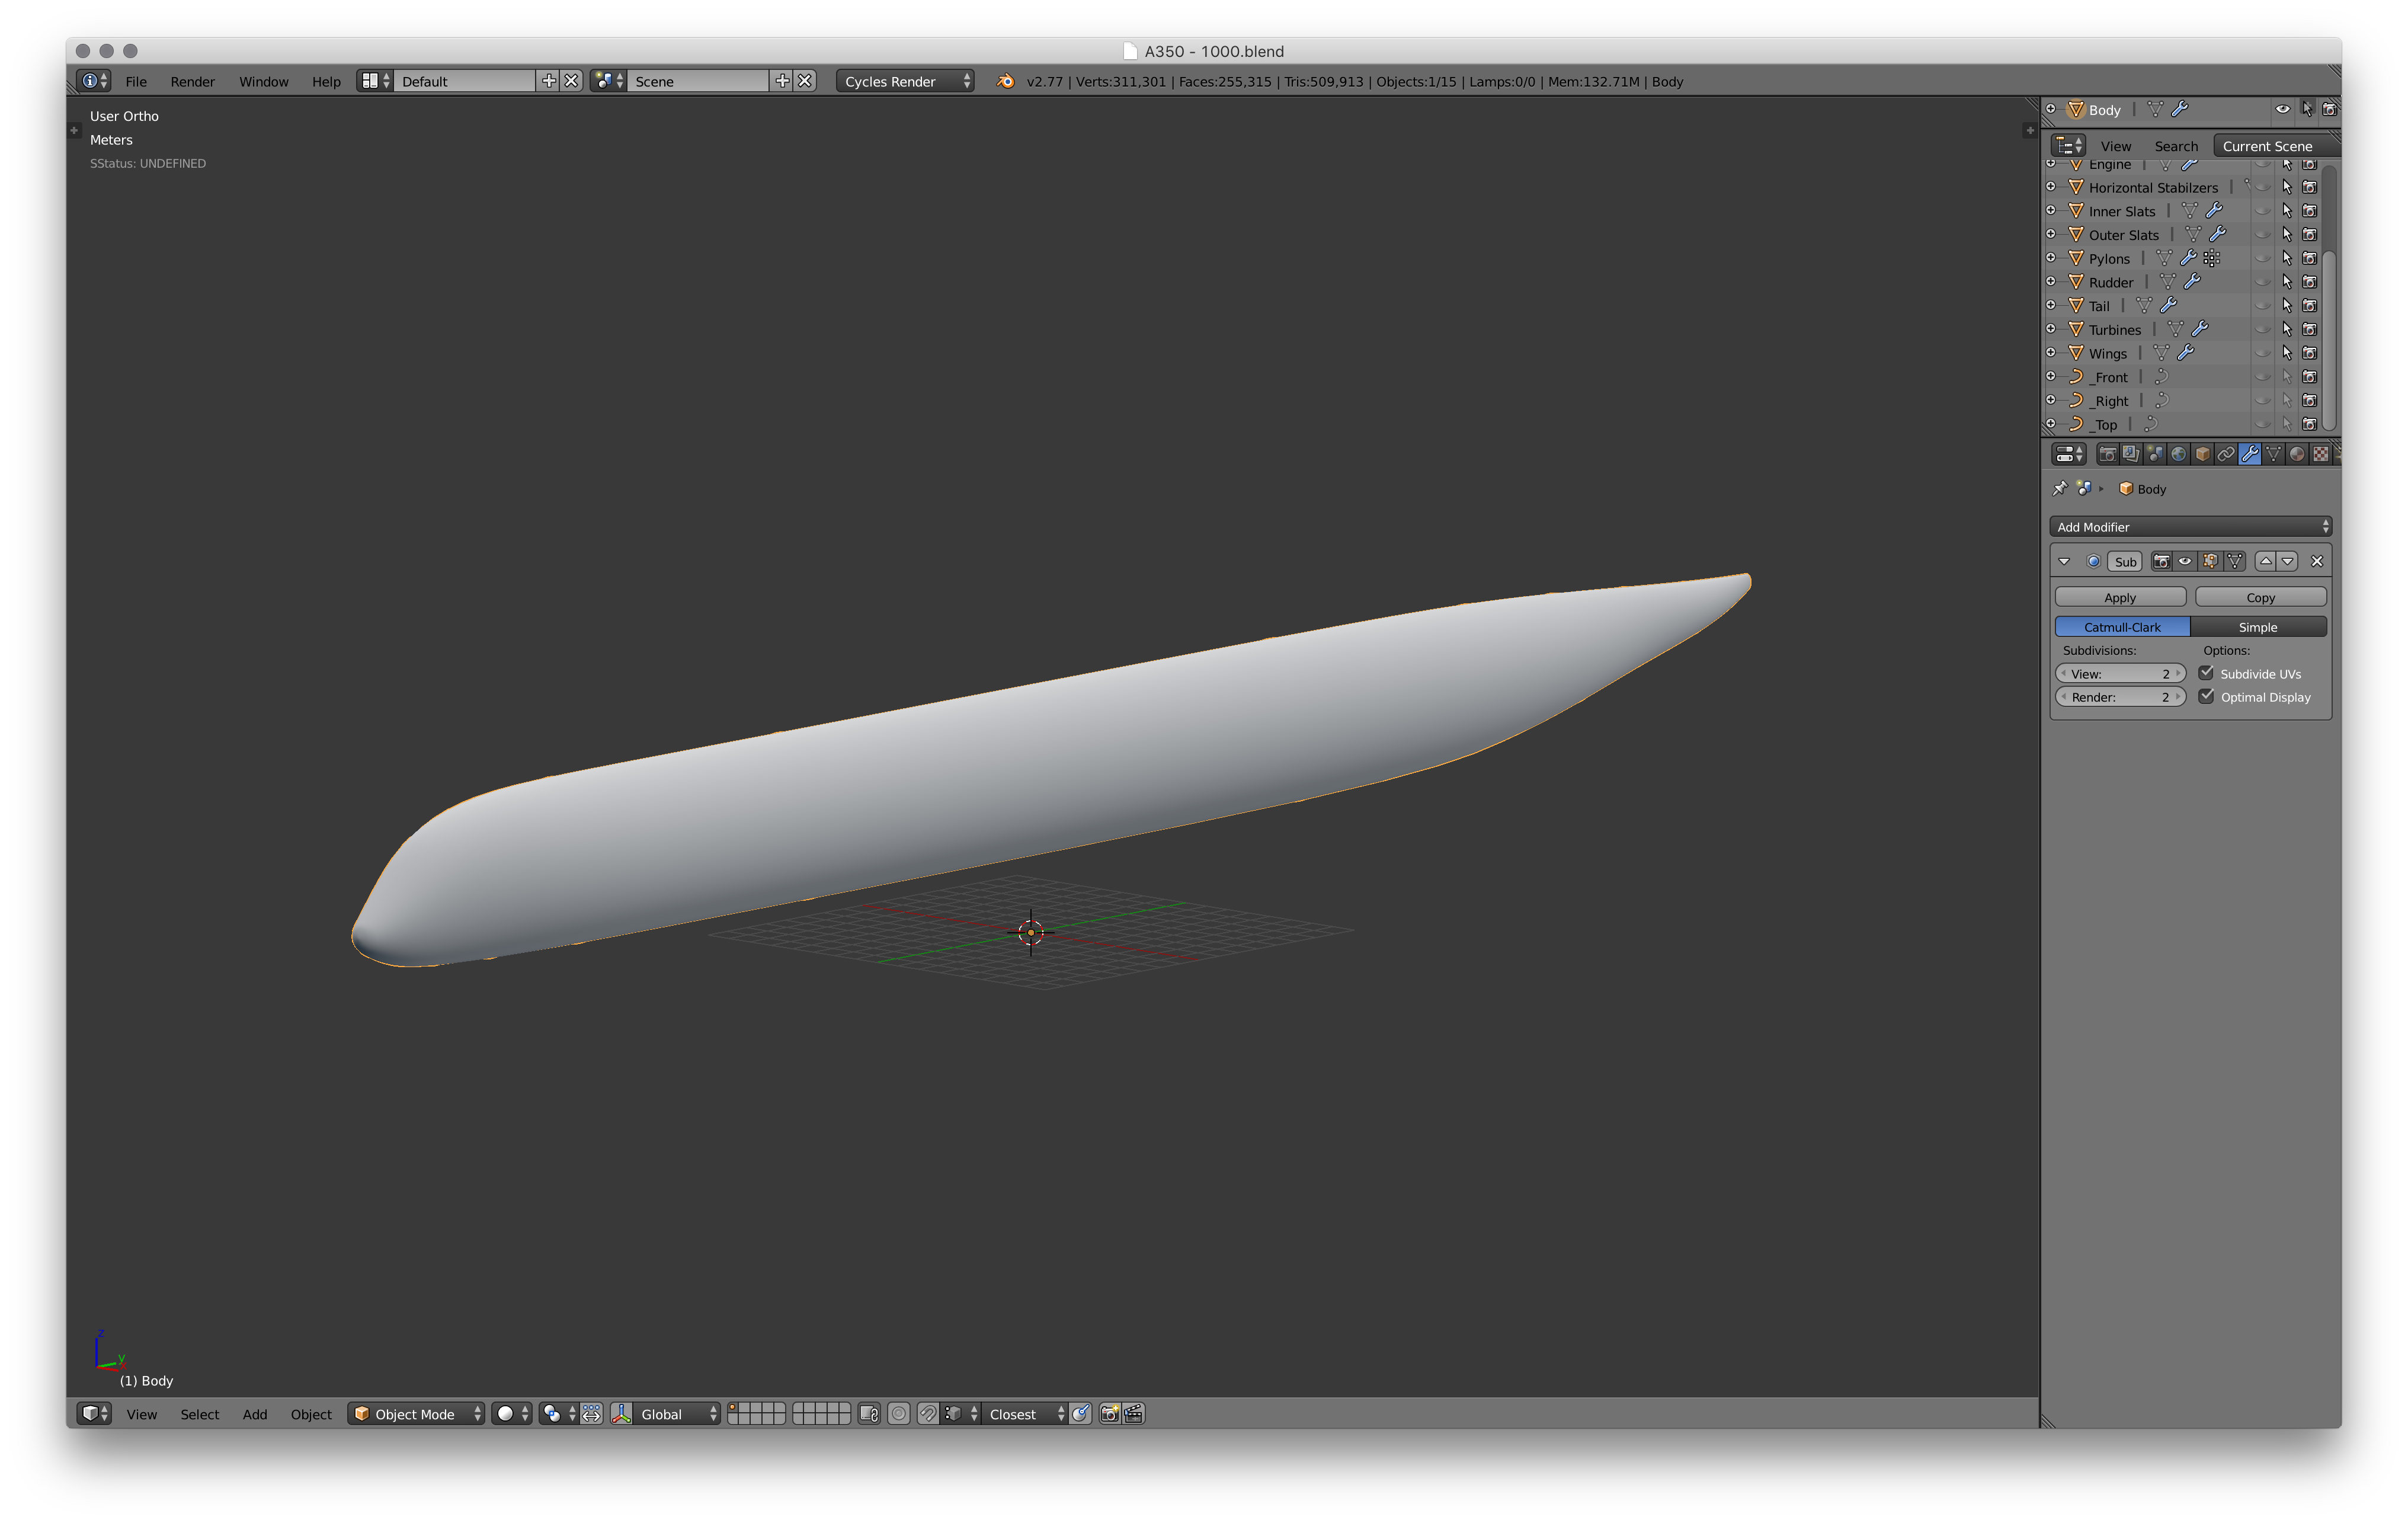
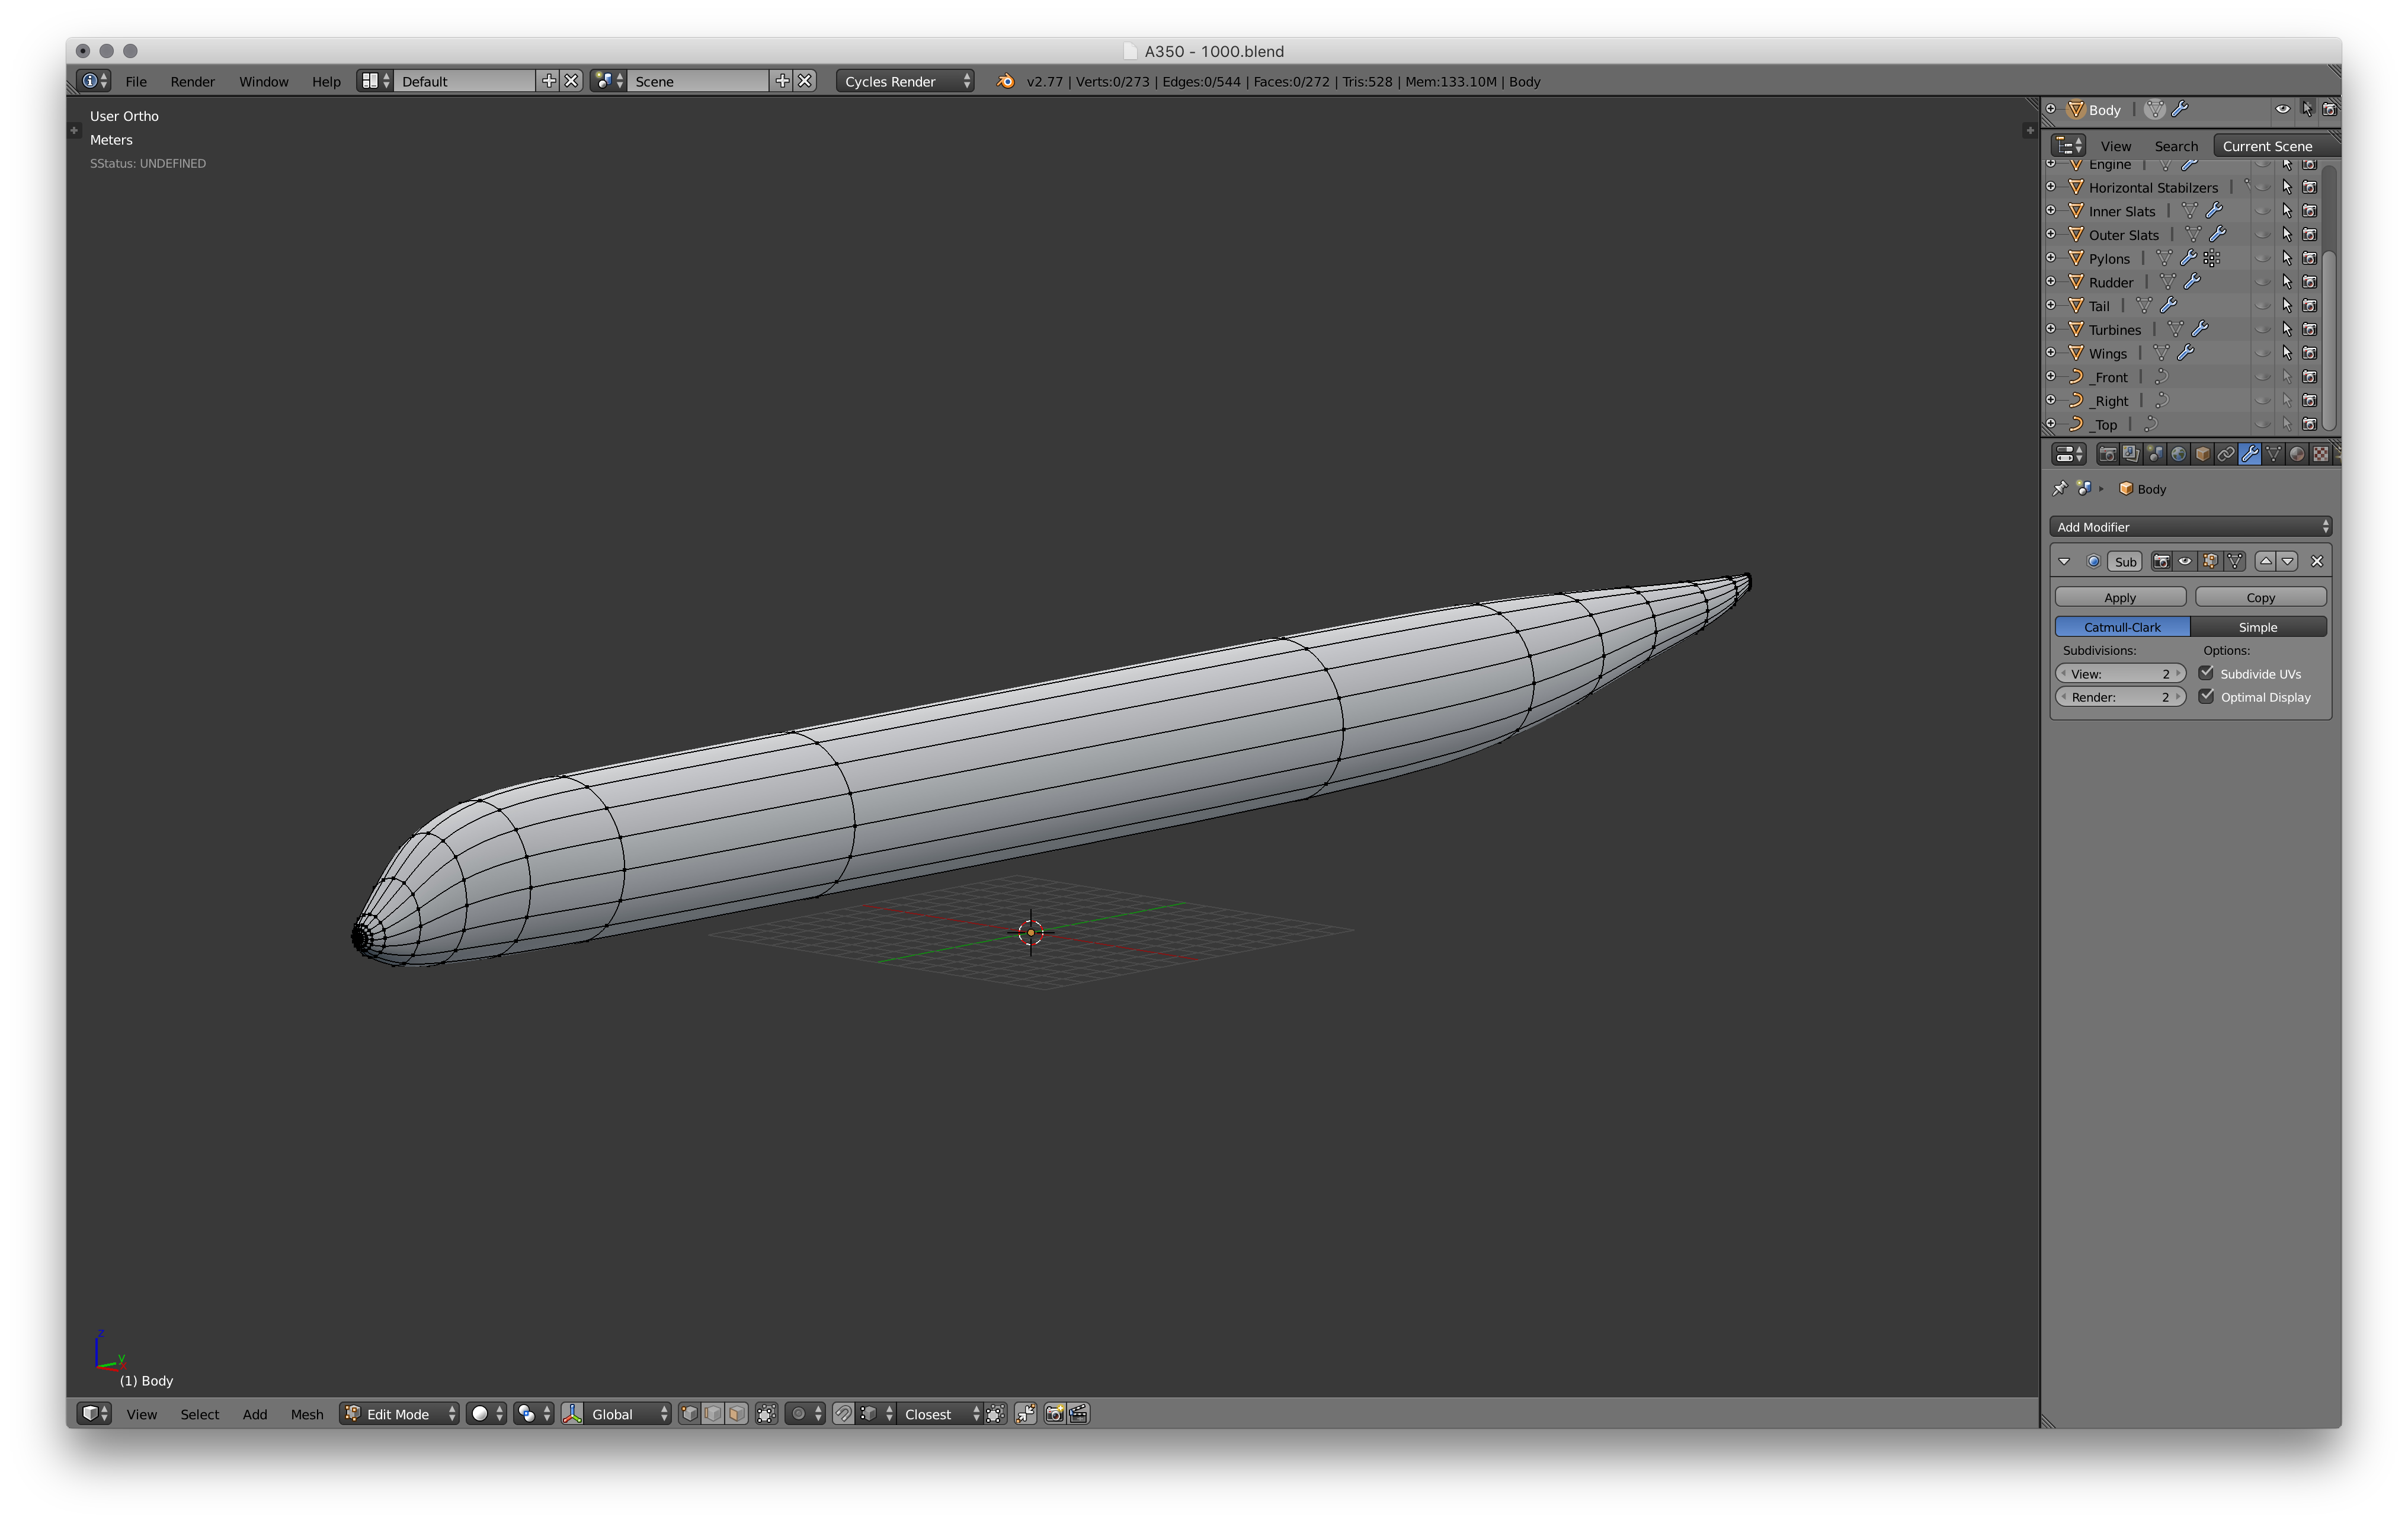
The body starts off with a simple circle with 16 vertices. Simply extrude it along the blueprints, making sure that it matches the blueprints on all sides. I'm also using the Subdivision Surface modifier as well as Smooth Shading to give a nice surface to the model. I've also used this on most of the other parts of the plane such as the wings, tail, engines etc.
Model the Wings
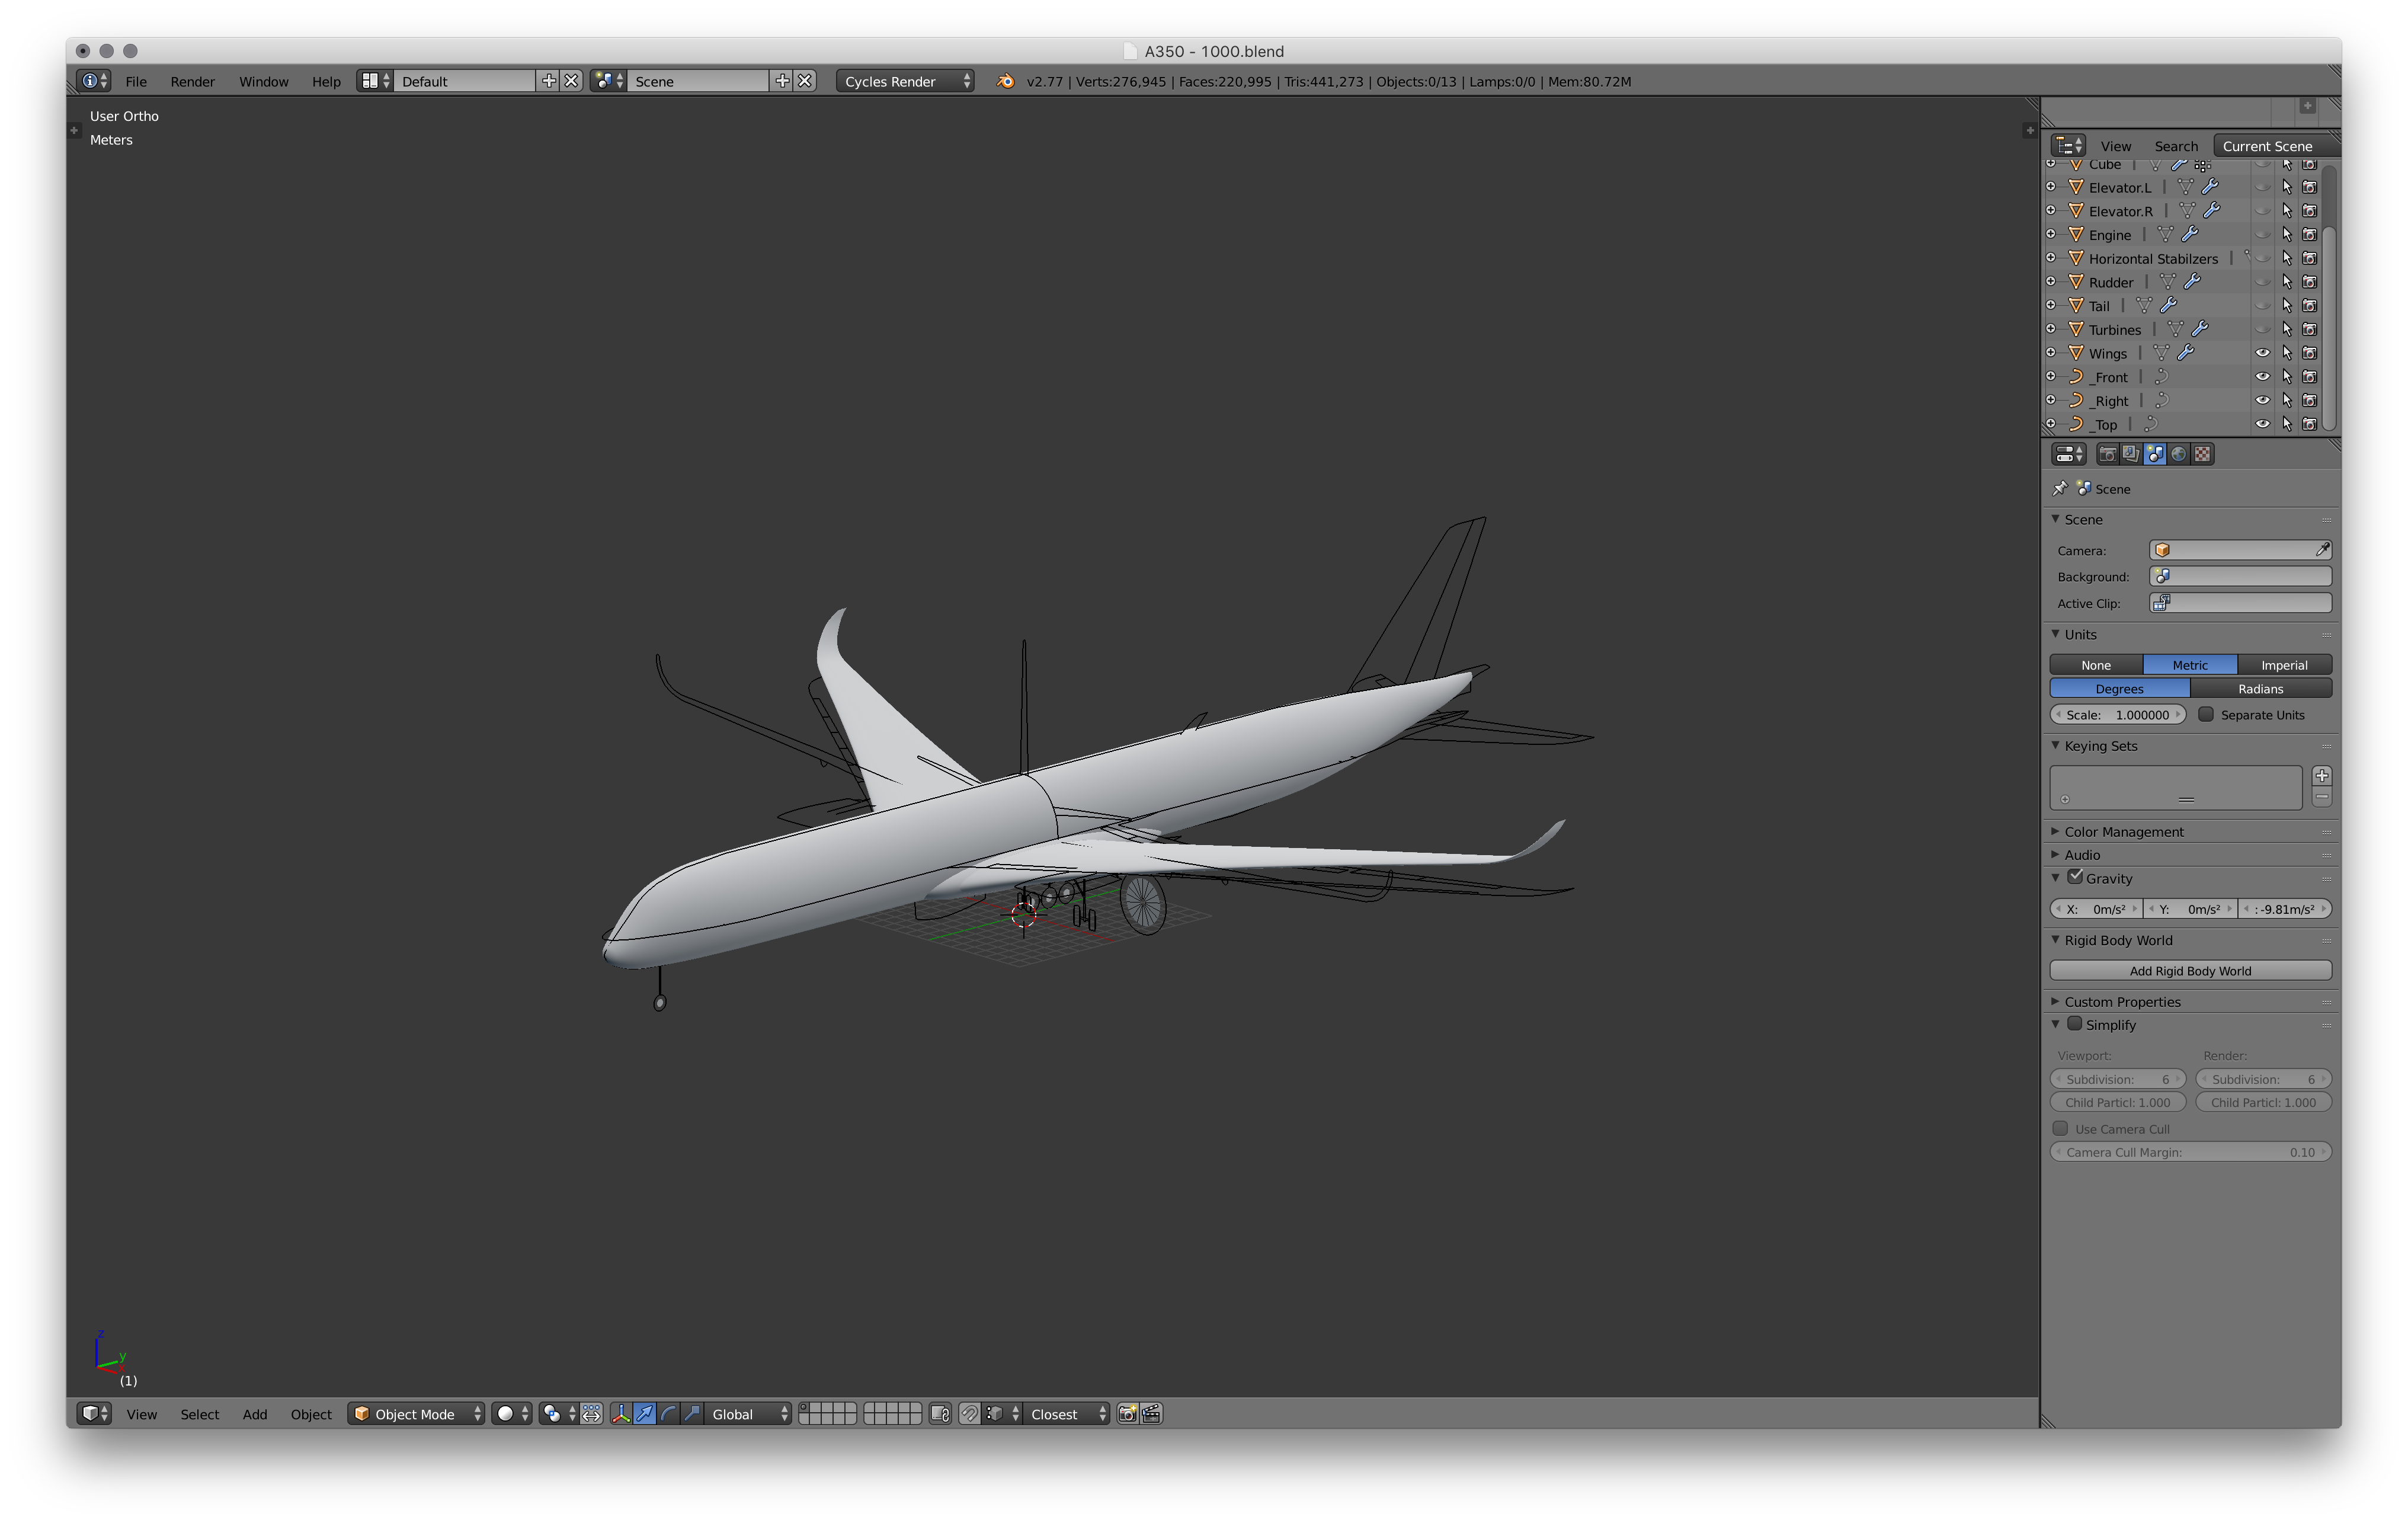
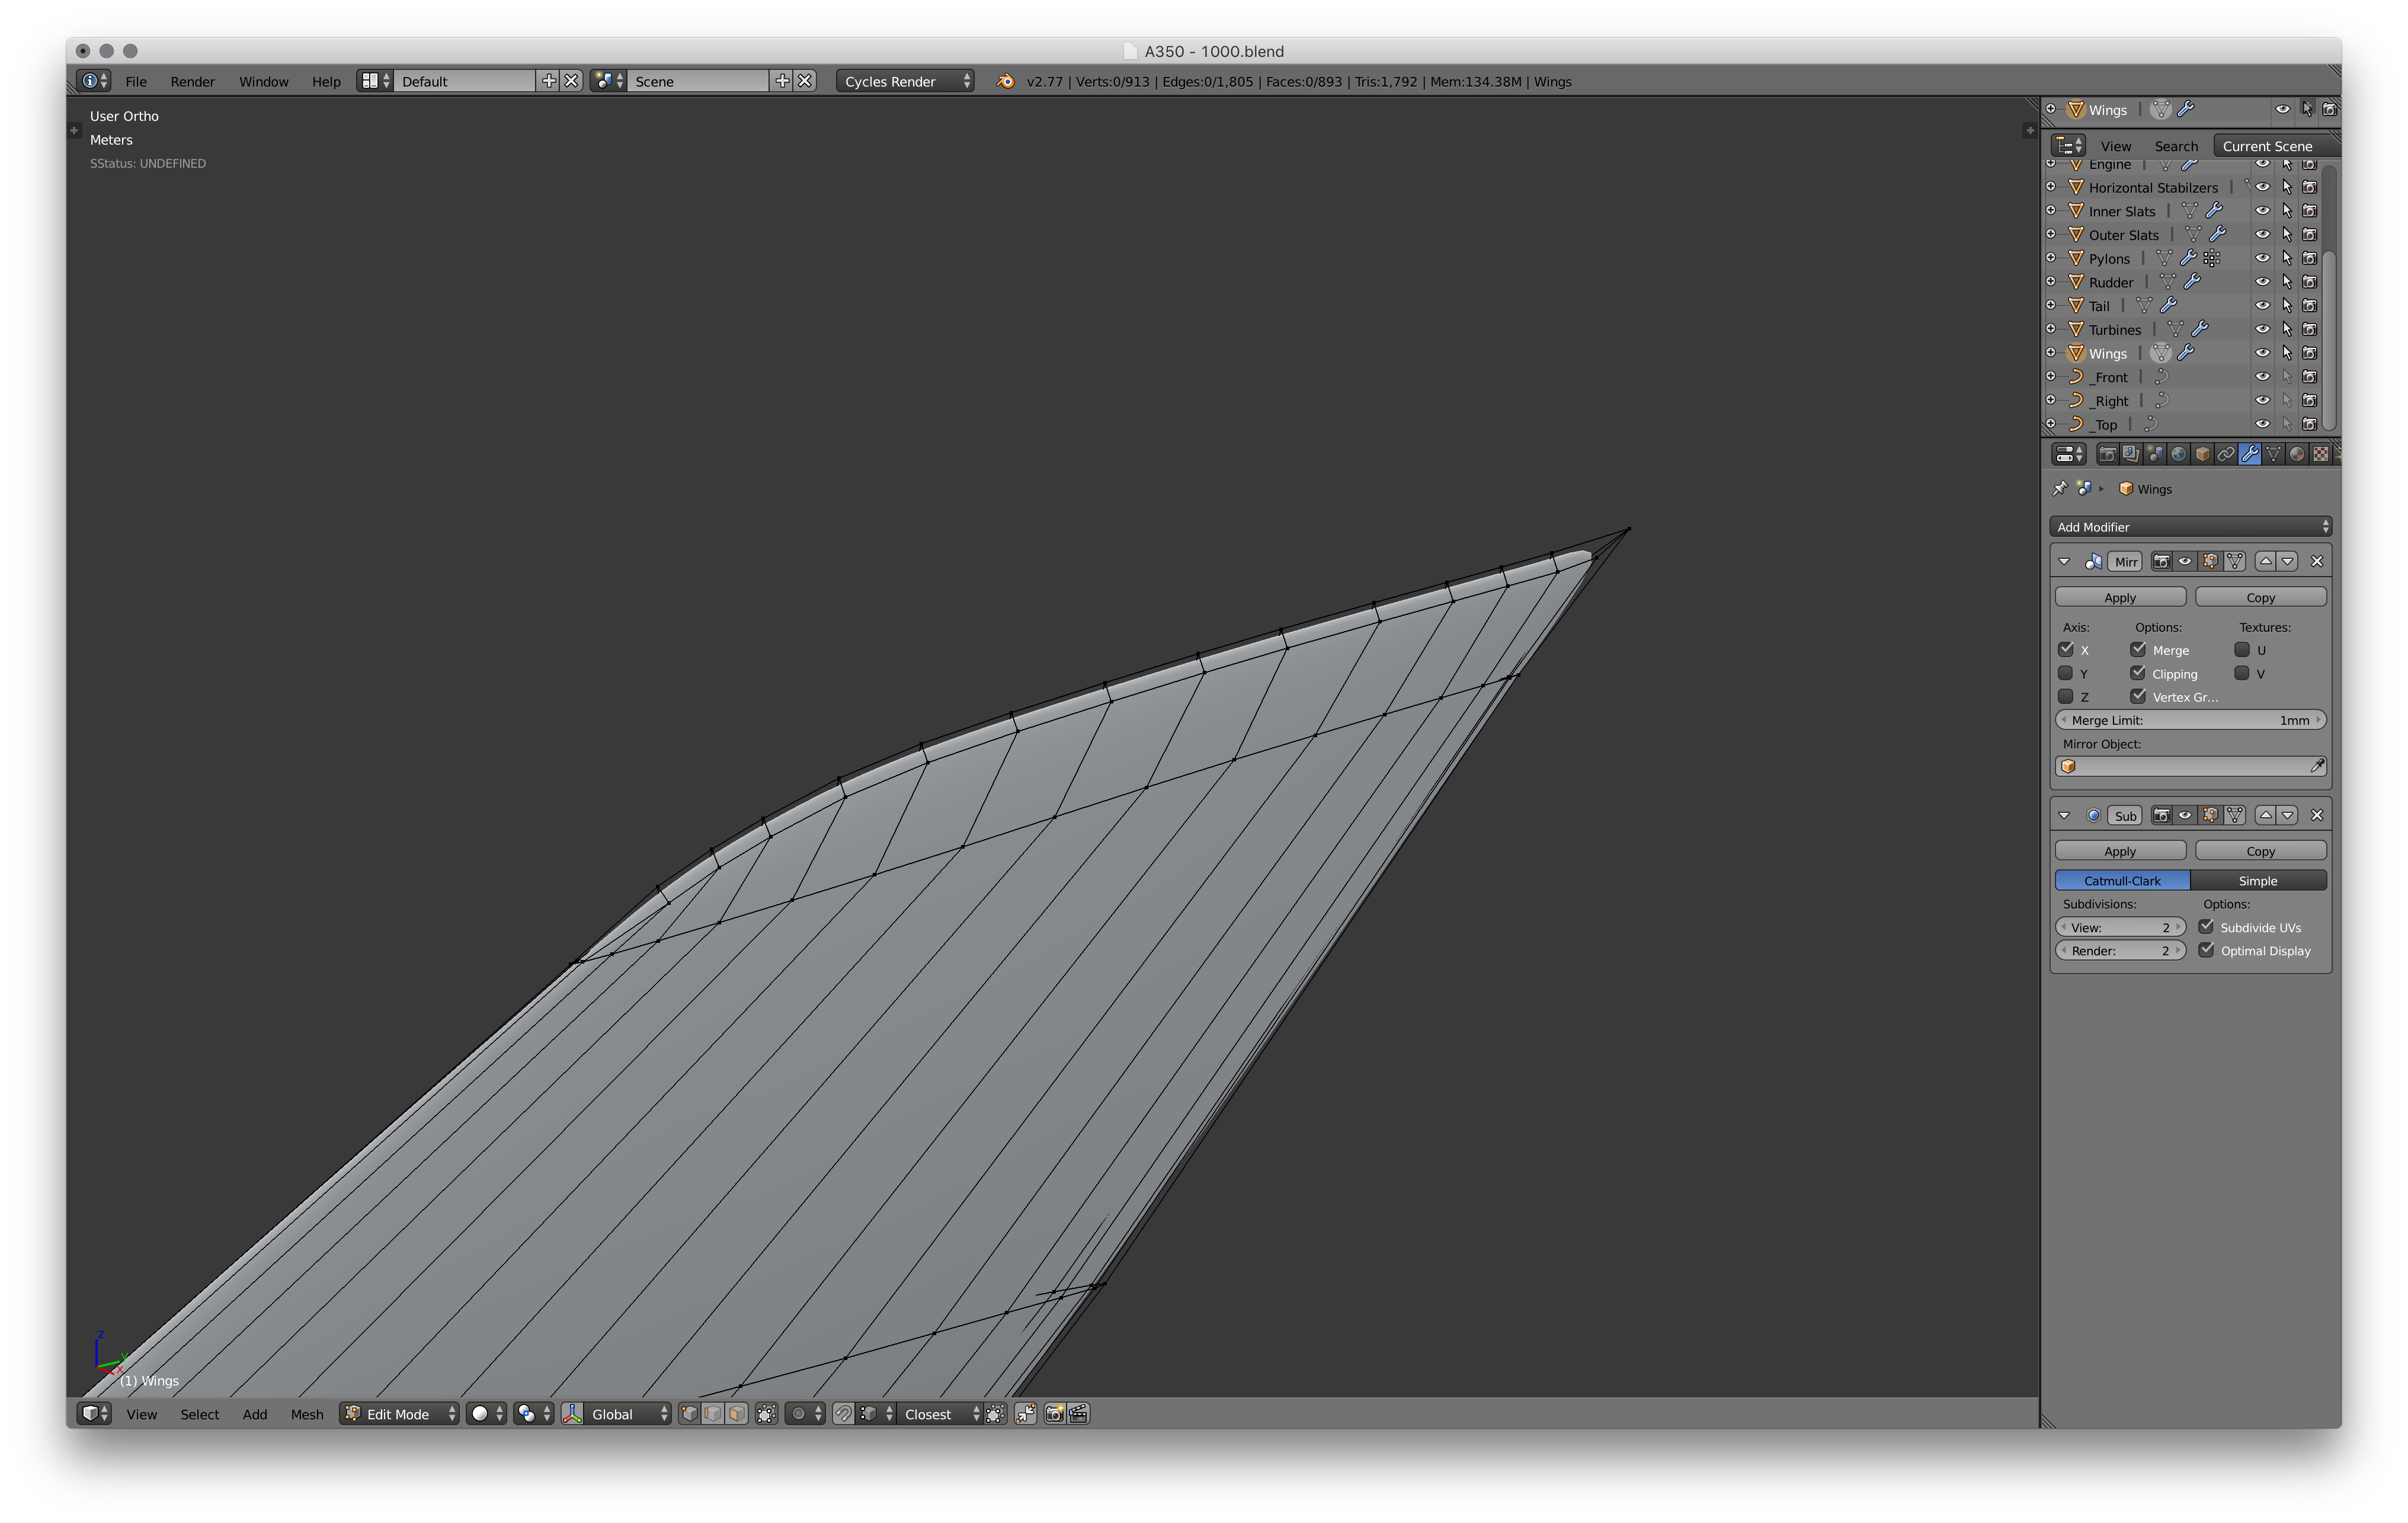
Now its time to model the wings. Start off with a circle and scale down vertically. You may want to create a real aerofoil profile for added realism. Position the circle at the base of the wing, and extrude outwards. Then extrude up and around to form the winglet. Notice the wireframe for the winglet, see how the leading edge is extruded up and around to form one edge loop along the whole wing. Now come back to the base of the wing. Extrude and scale it up, and extrude it again into the centre. I'm using the Mirror Modifier in blender to mirror the wing to the other side.
Model the Vertical and Horizontal Stabilisers
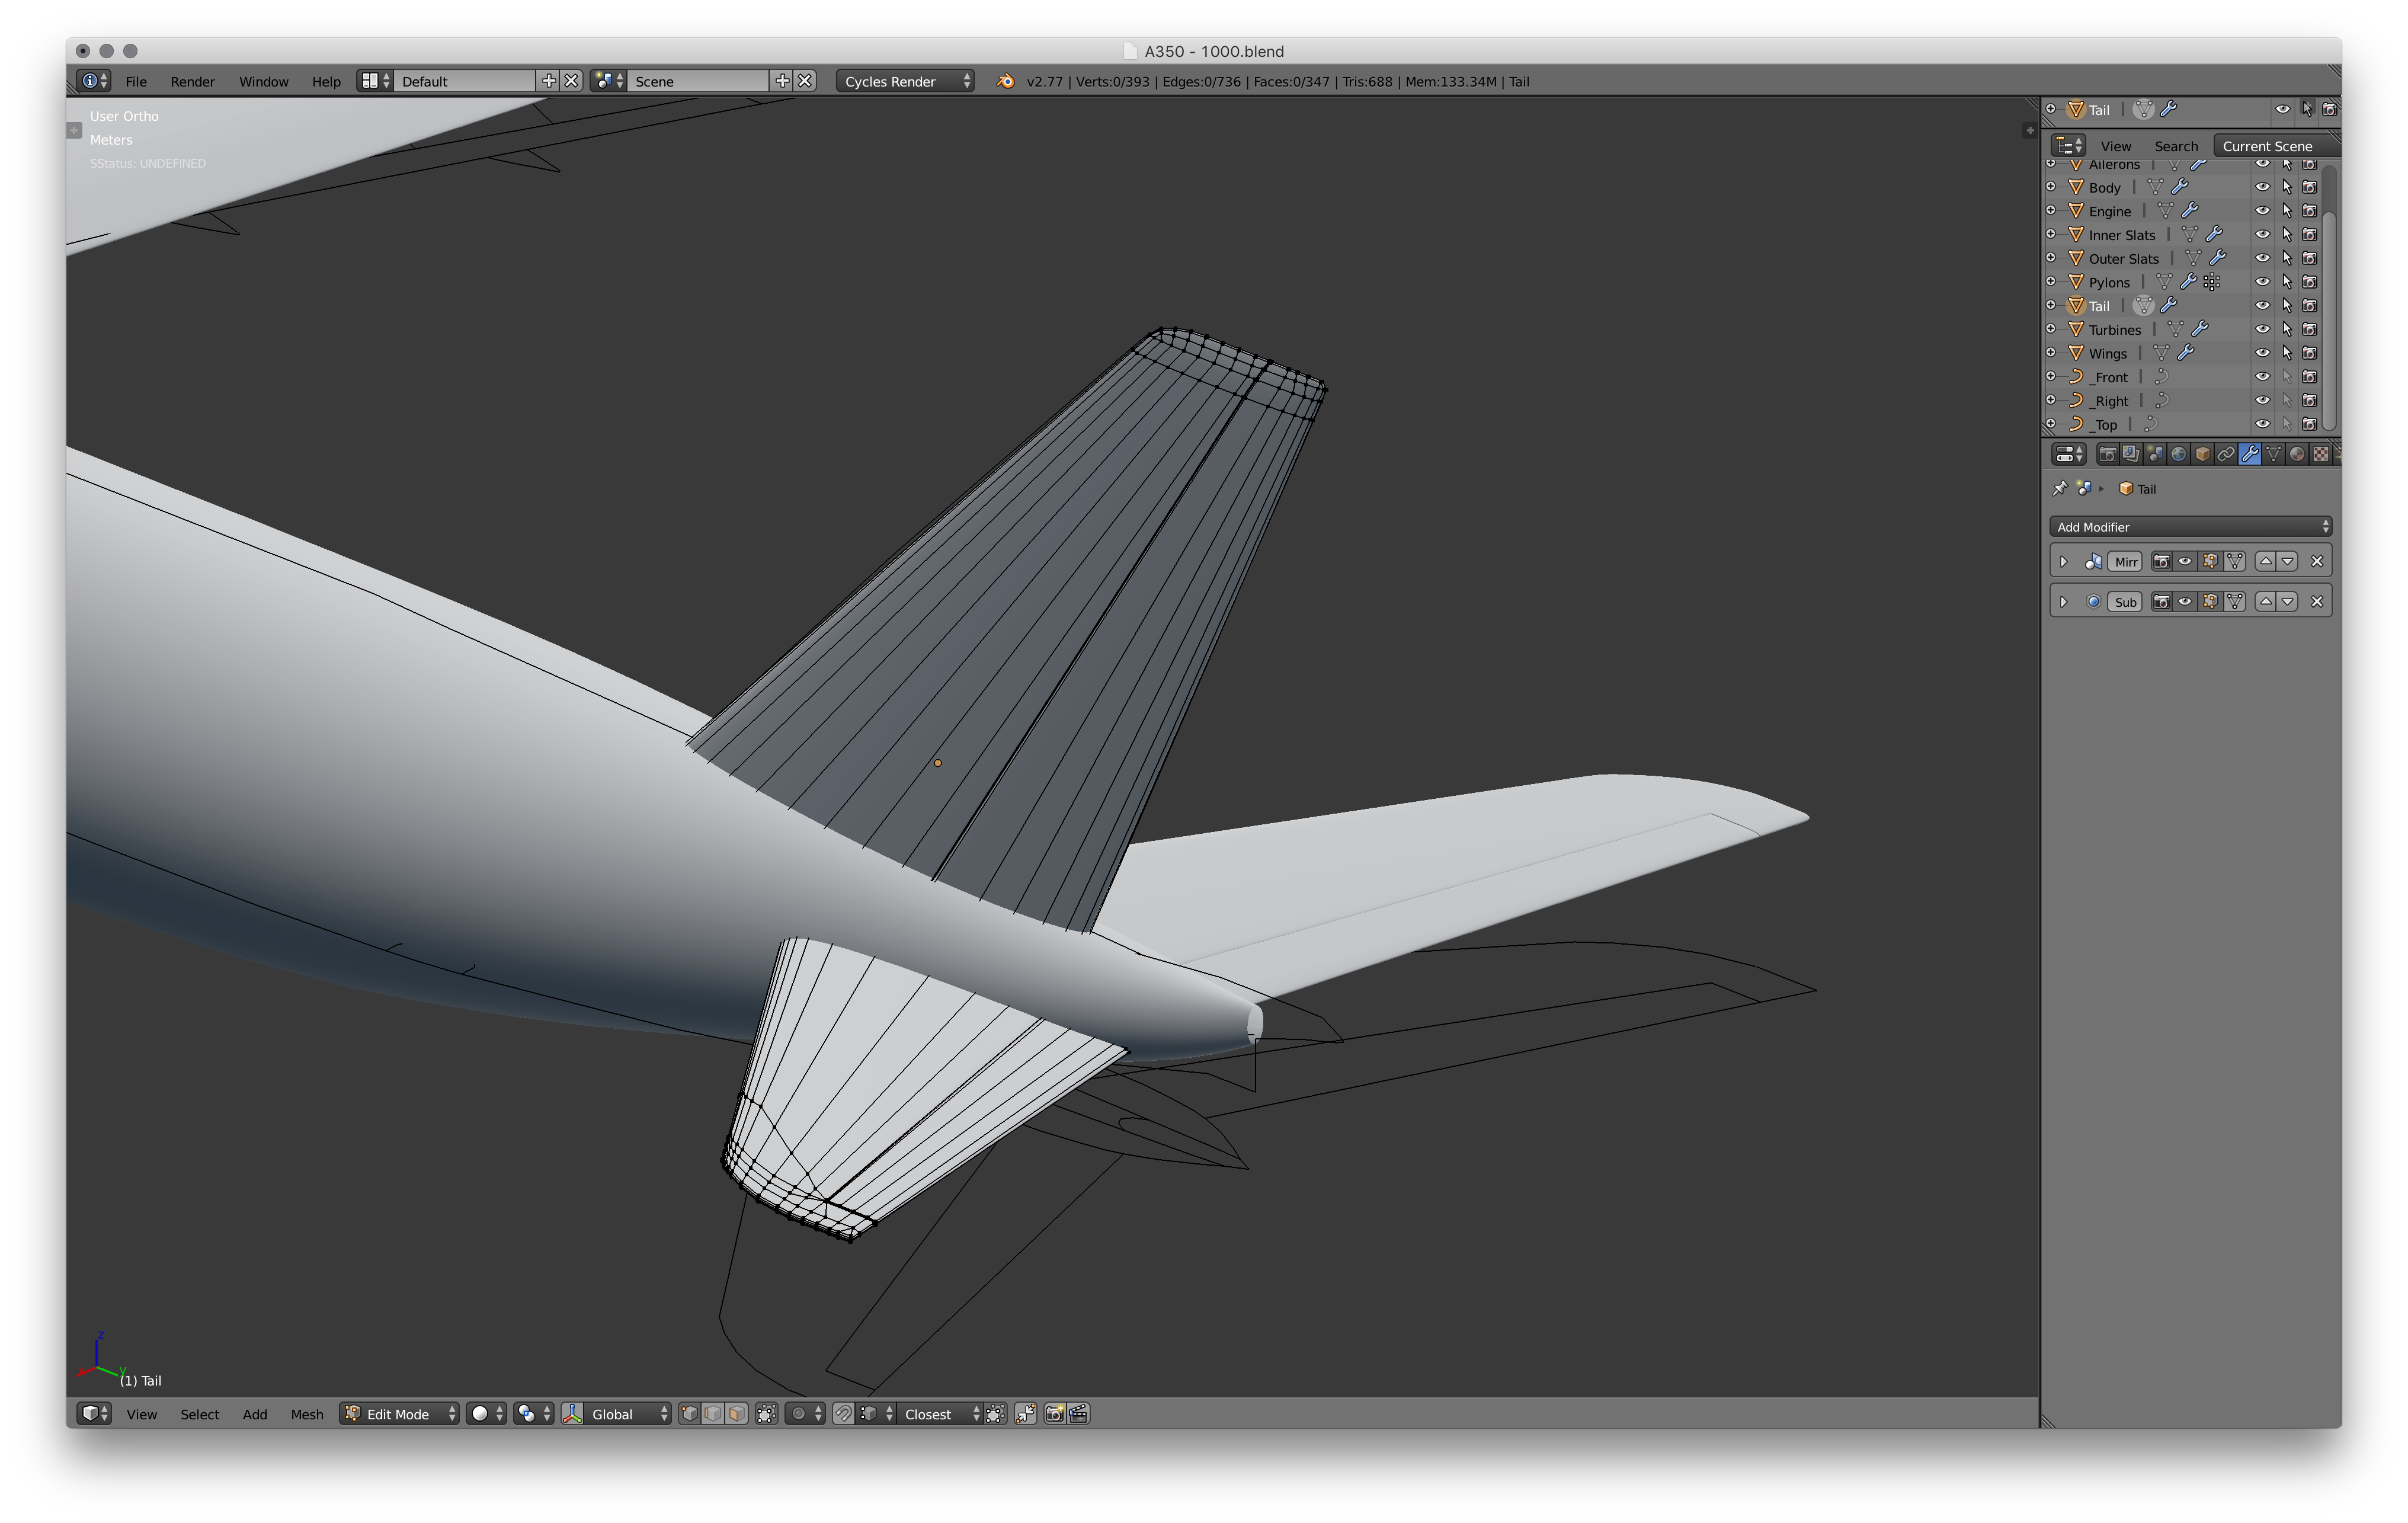
Now its time to model the vertical and horizontal stabilisers. This part is pretty easy. Just use the same technique from the last step and apply it to this one. Simply add a circle, position it at the base of the tail and extrude up. Then extrude the leading edge up and around to form a nice smooth surface on the top of the tail. Then do the same for the horizontal stabilisers. You will want to mirror the horizontal stabilisers to the other side, just like you did with the wing.
Cut Out the Rudder and Elevators

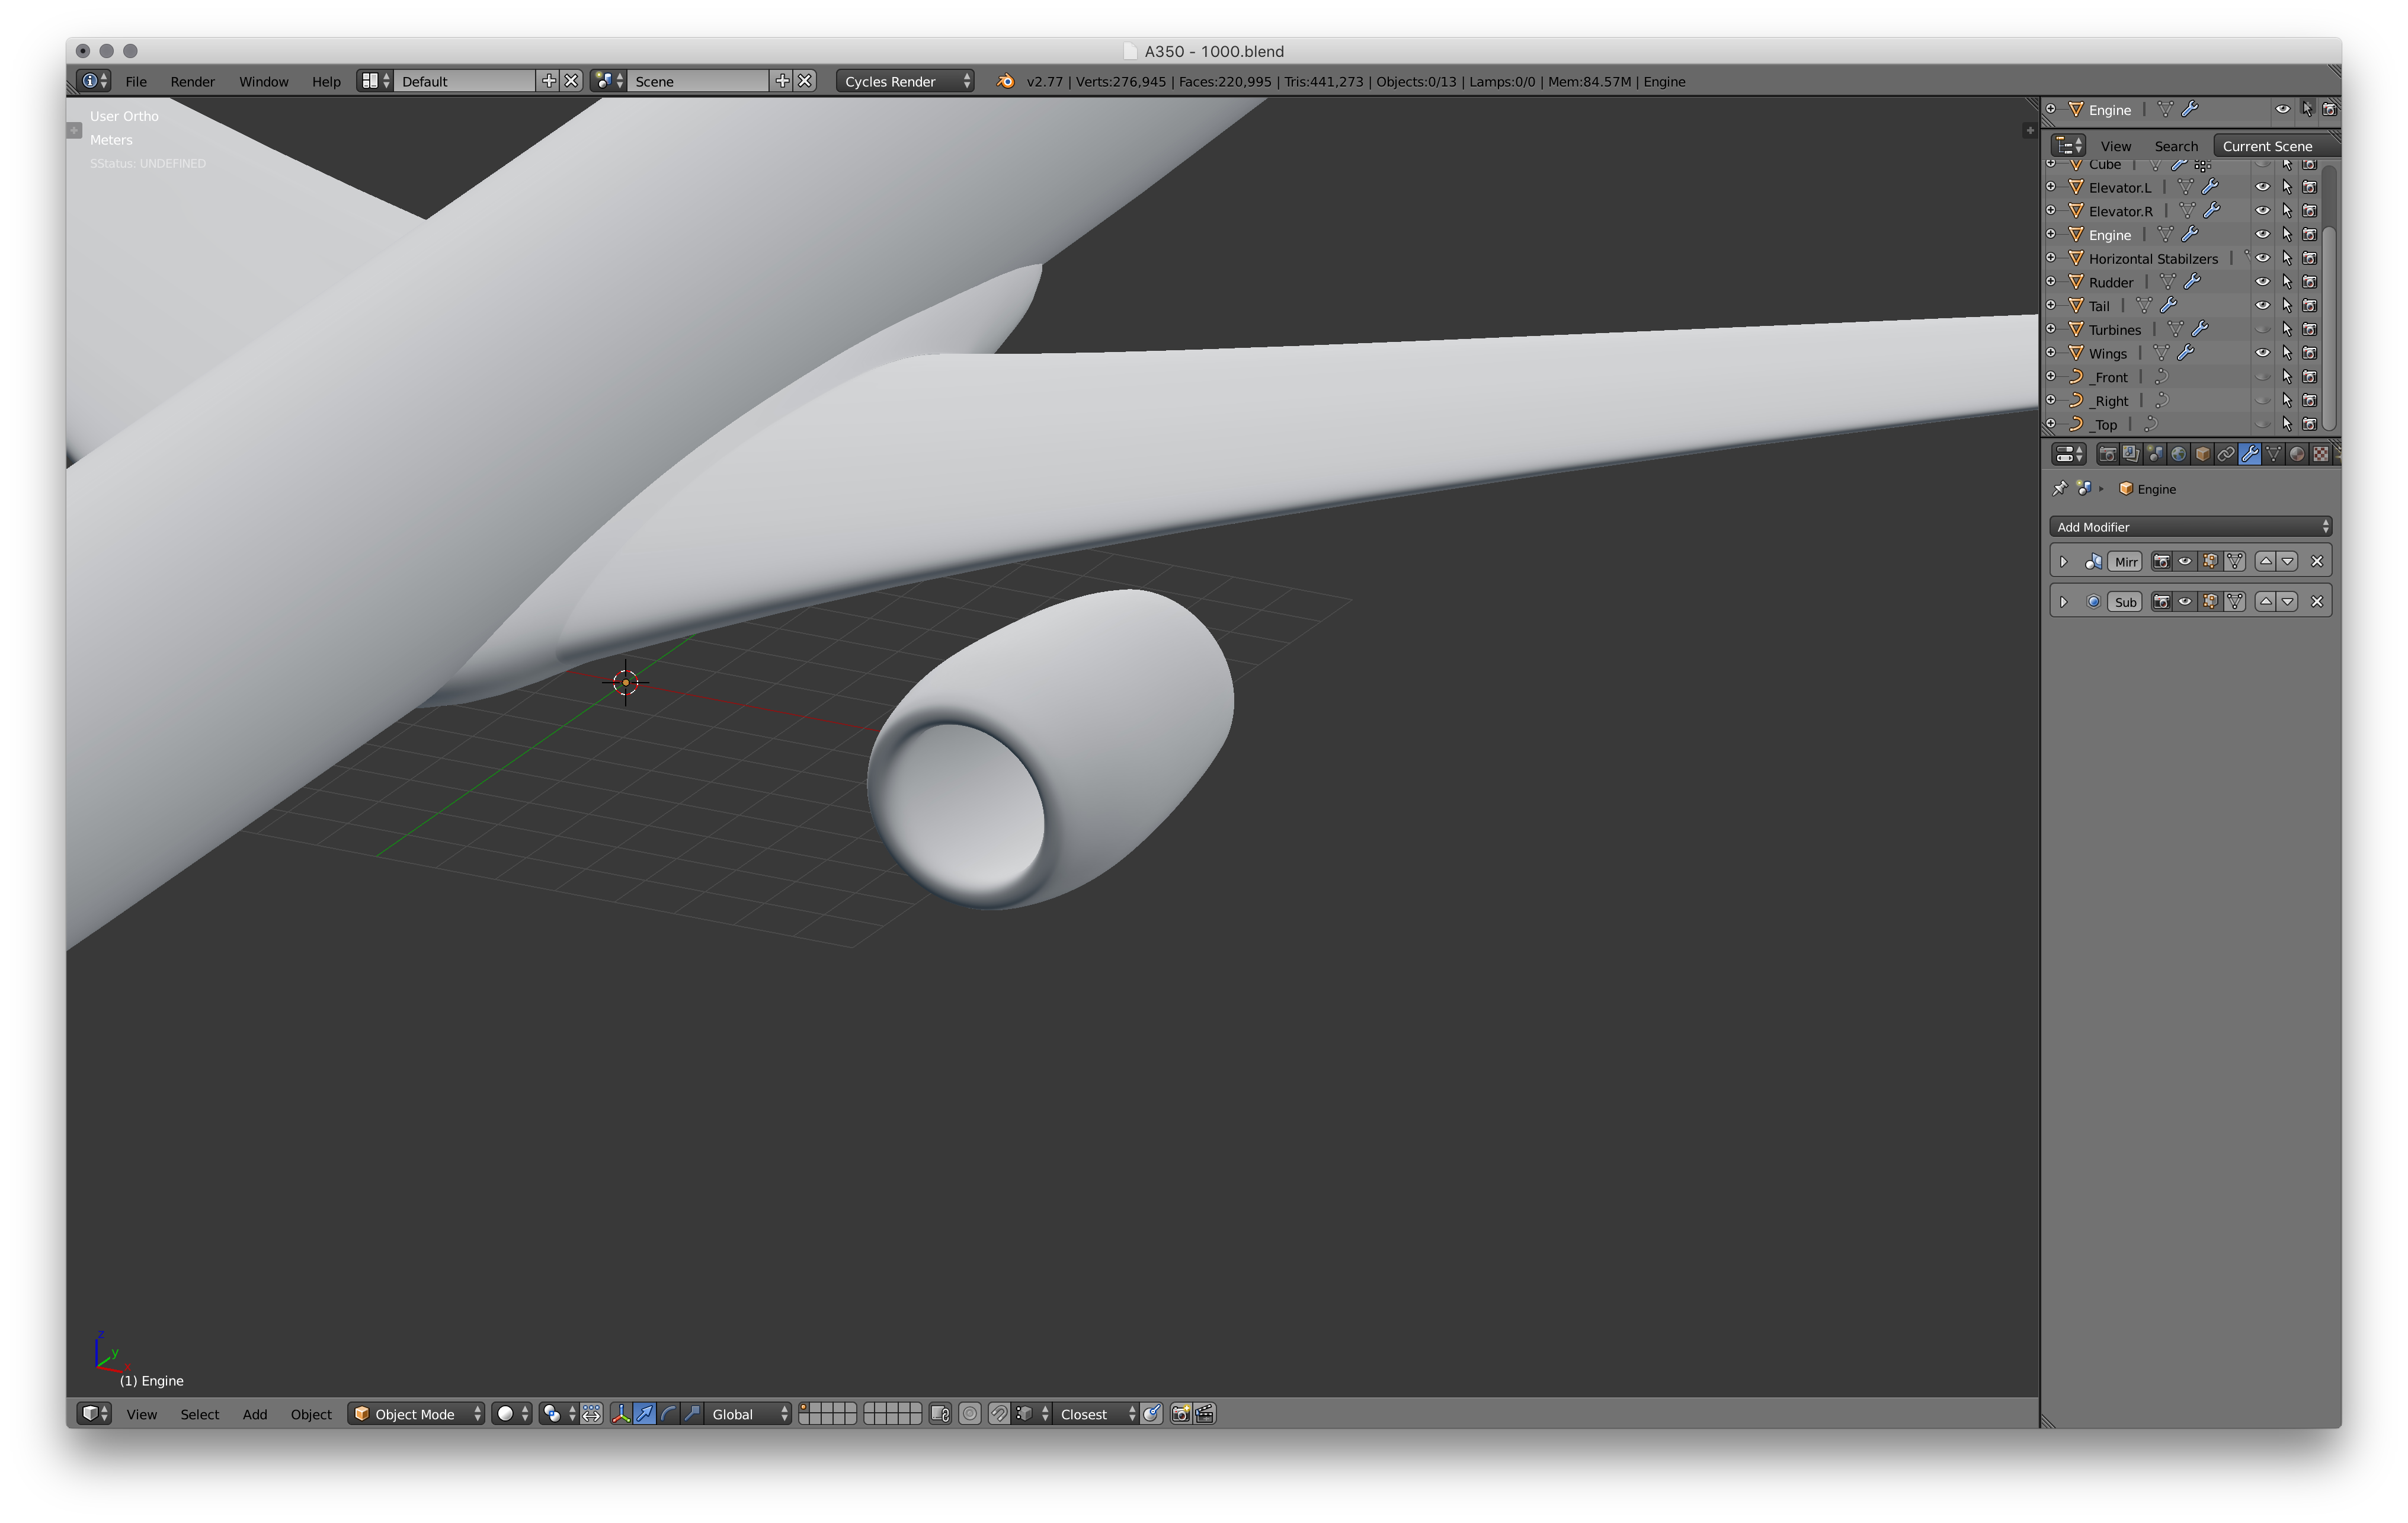
Now you will need to cut out the rudder and elevators. Start by aligning the closest edge loops to the blueprints of the rudder/elevators. Then select the faces that represent the rudder/elevators, and seperate them from the rest of the mesh. Then isolate them out so you can see them easier. Continue to fill in the faces on the inside section of the tail and rudder. Now add some edge loops (also called proximity loops in this context) to harden up the rudder, this will remove the 'cylindrical' edge and will become flat with slight rounded edges.
Model the Outer Engine Cowling
Now model the outer engine cowling. This is pretty basic, just start with a circle and extrude along the blueprints. Make sure to model the front of the engine nice and smoothly, and then extrude back inside the engine. Don't fill in the two circles in at the back end, they are supposed to be seperate.
Model the Inside of the Engine
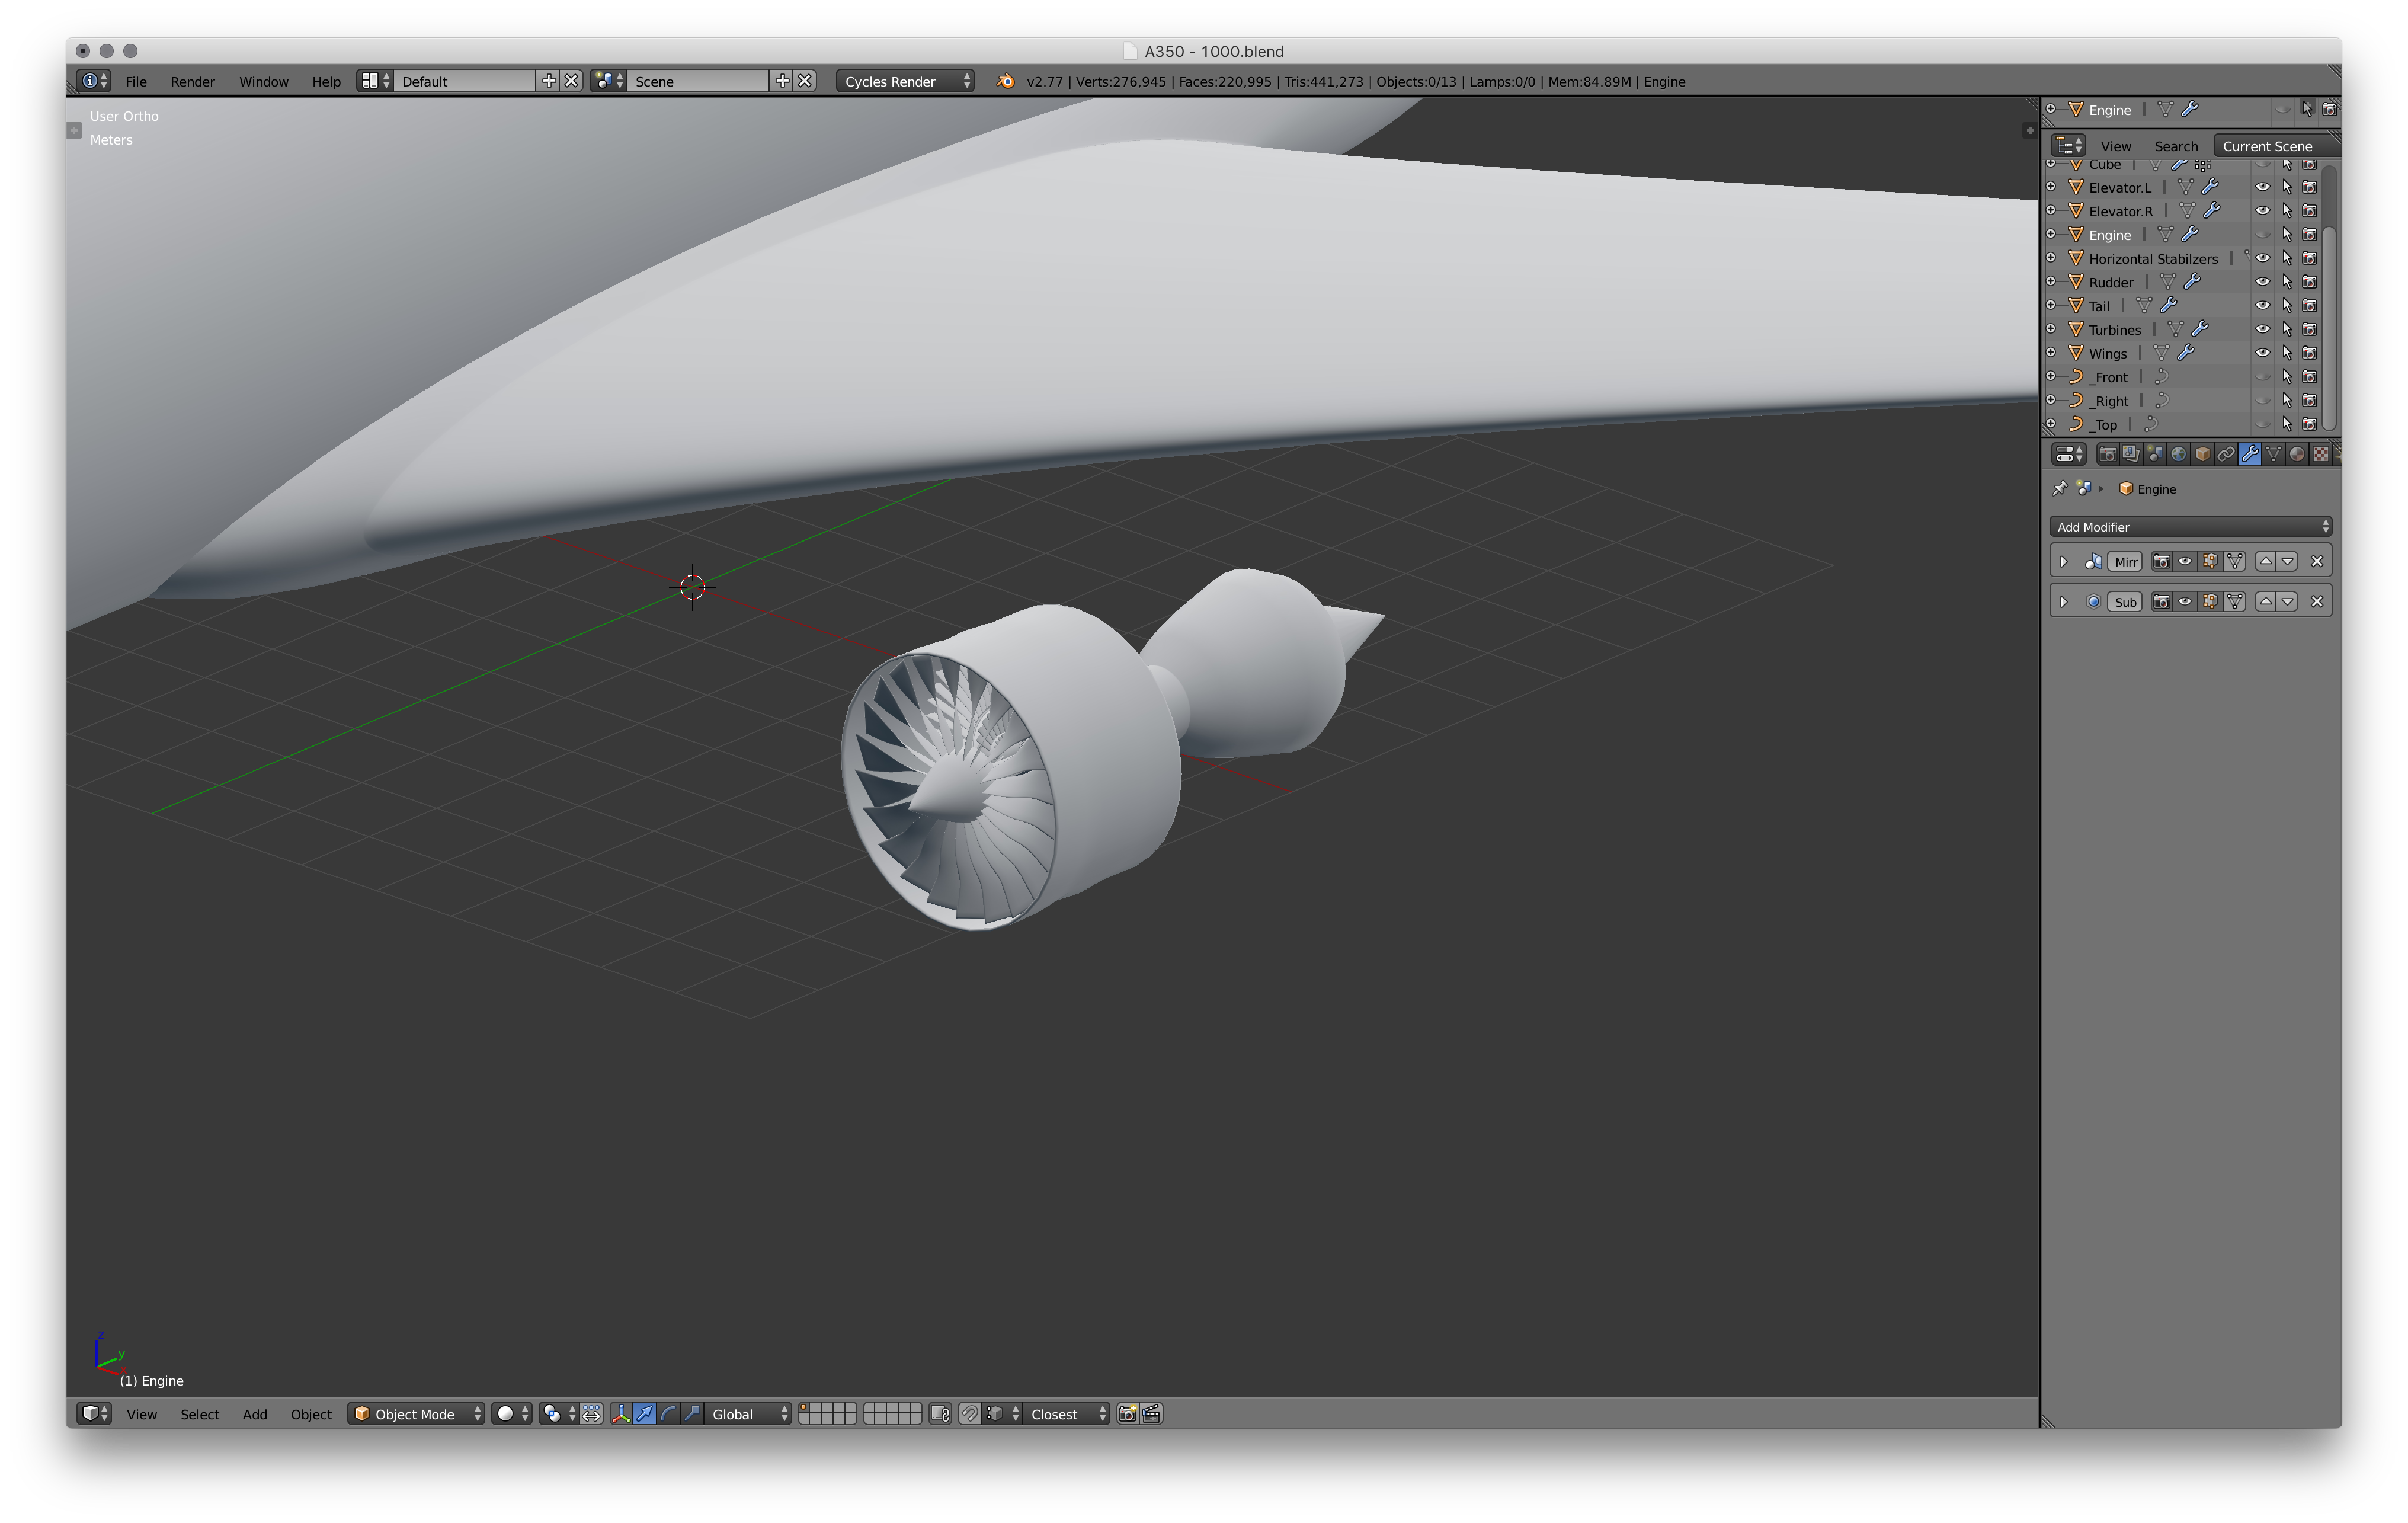
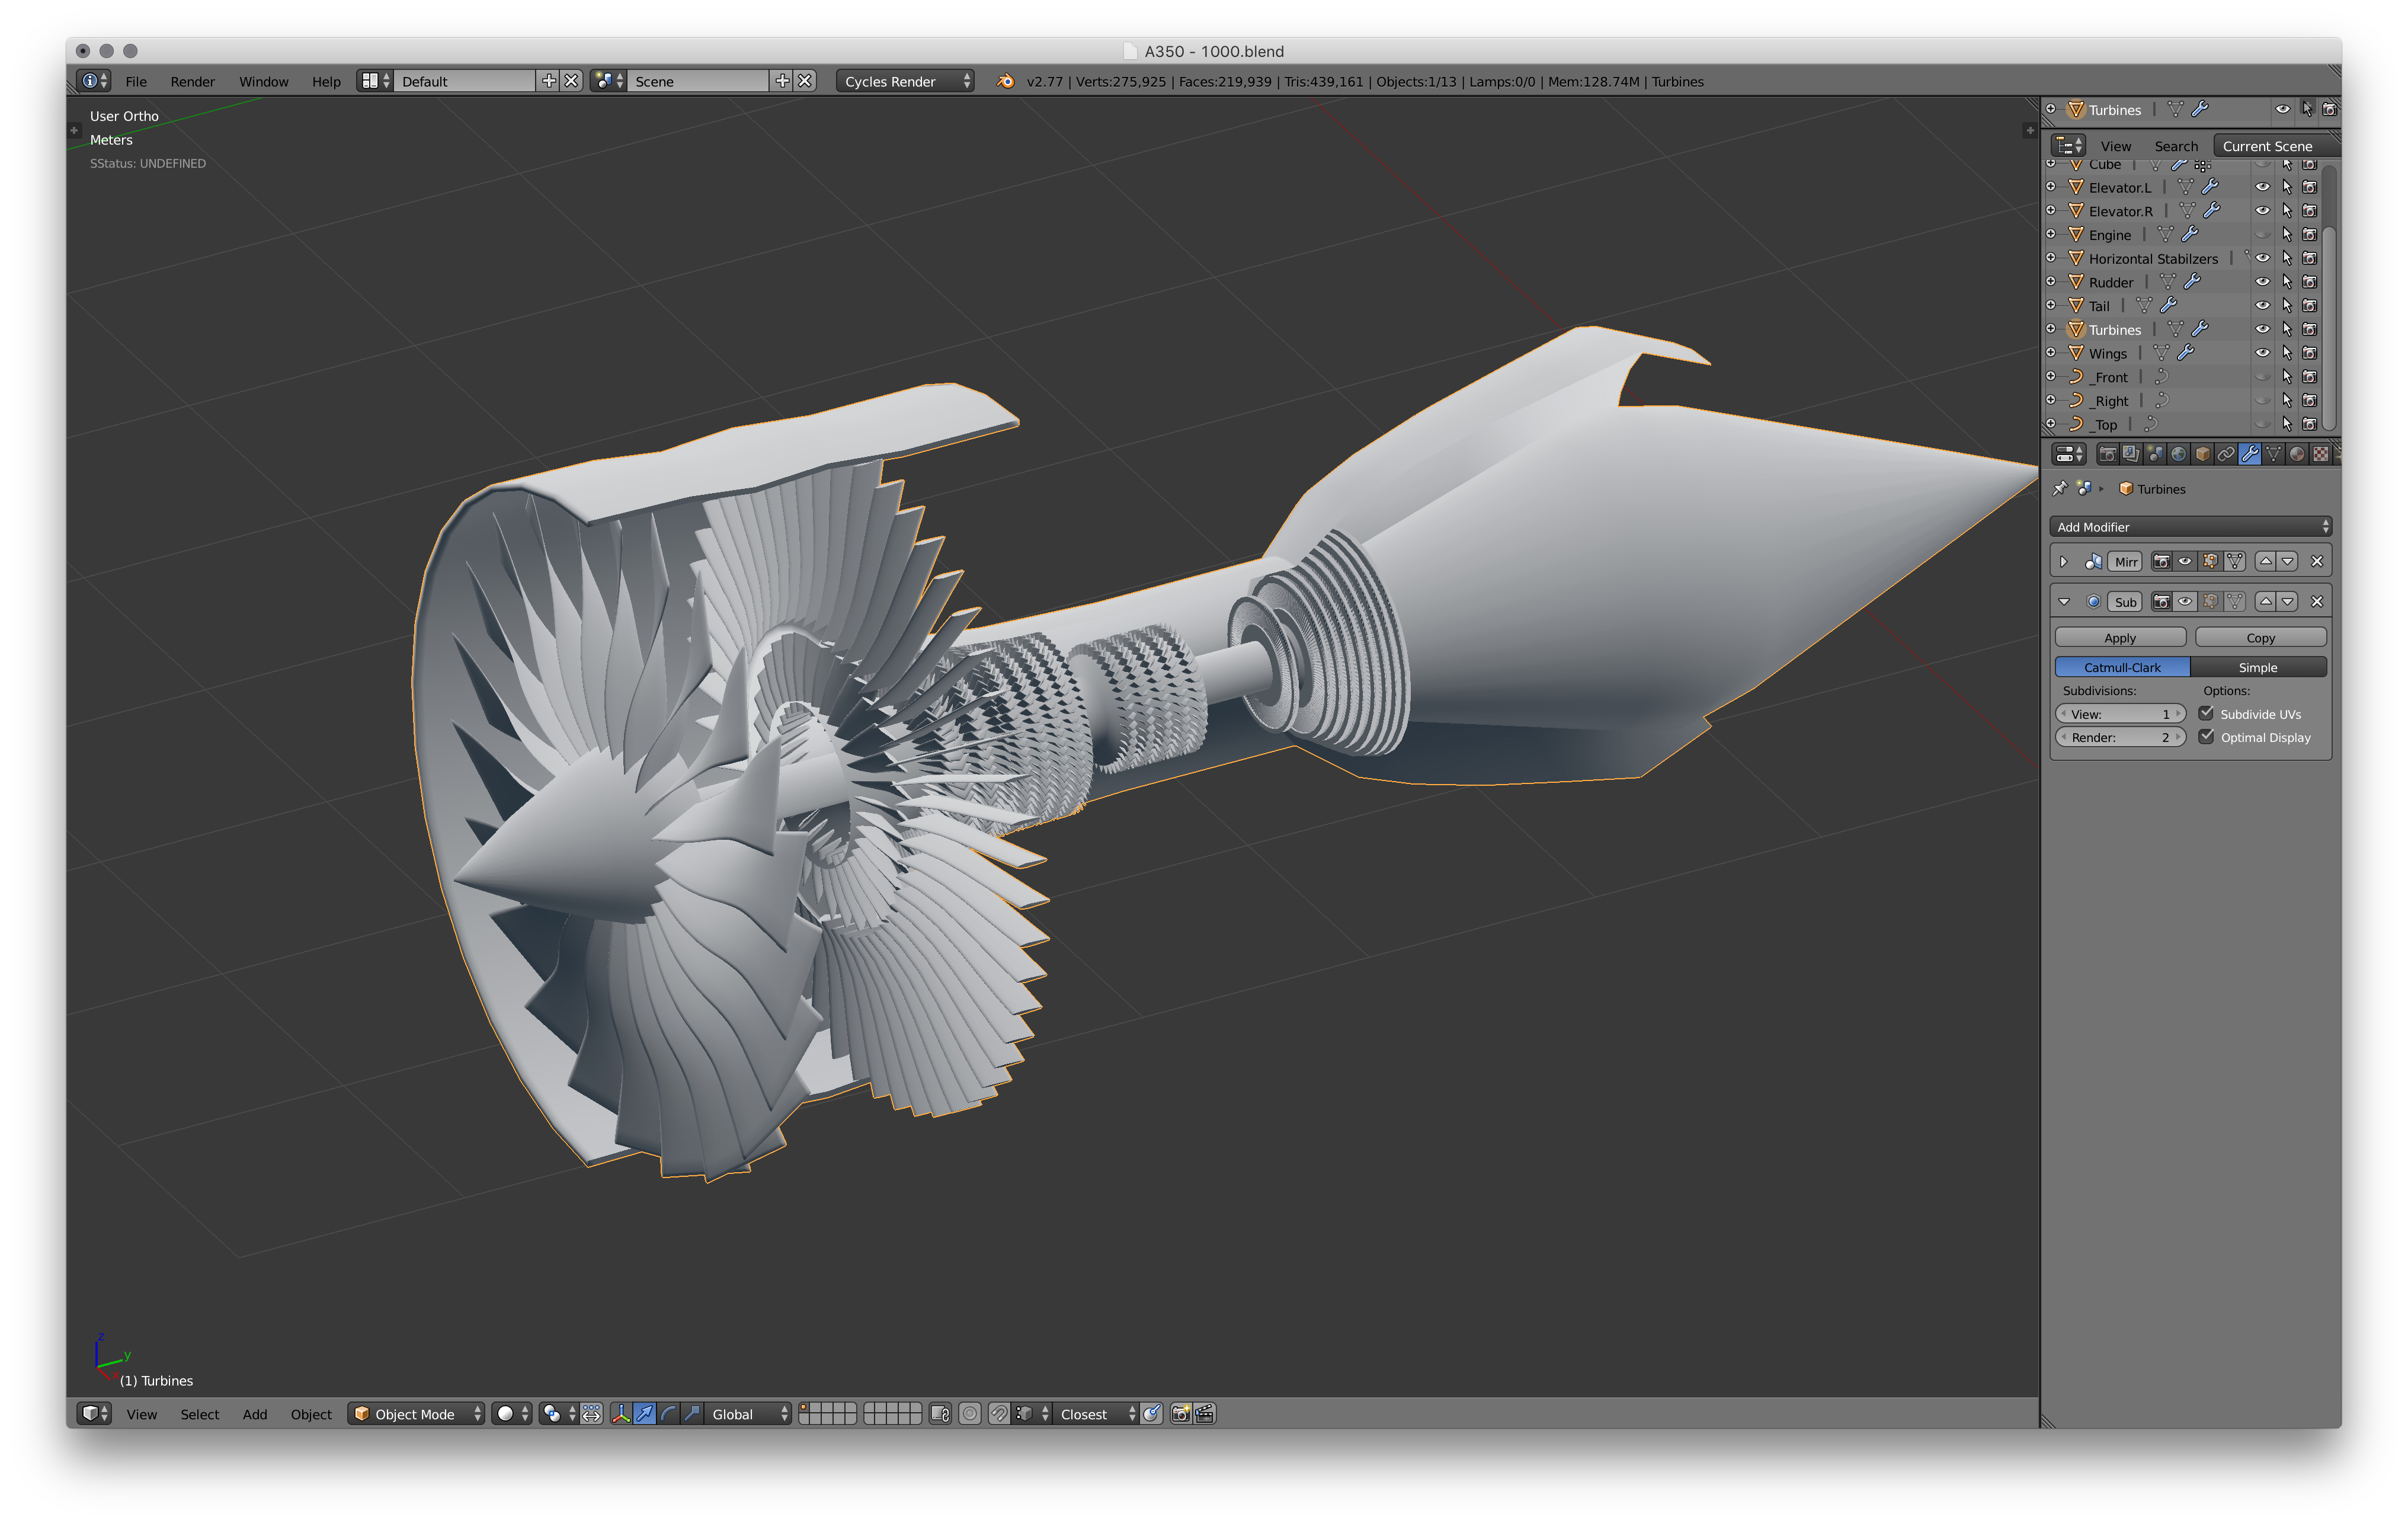
This part may seem a little daunting but its really not that hard. Just start by modelling one fan blade. Remember, it curves around as it goes out from the centre and gets slightly larger too. I then used the Spin Tool in Blender to duplicate that around the centre of the engine 22 times. Then model the spinner (small cone on the front) using a circle, extrude that backwards to the end of the engine. Then use the same technique to model the other fan blades. Finish up by creating the outer 'shell' that houses the blades. Just use a cylinder for that.
Model the Engine Pylons
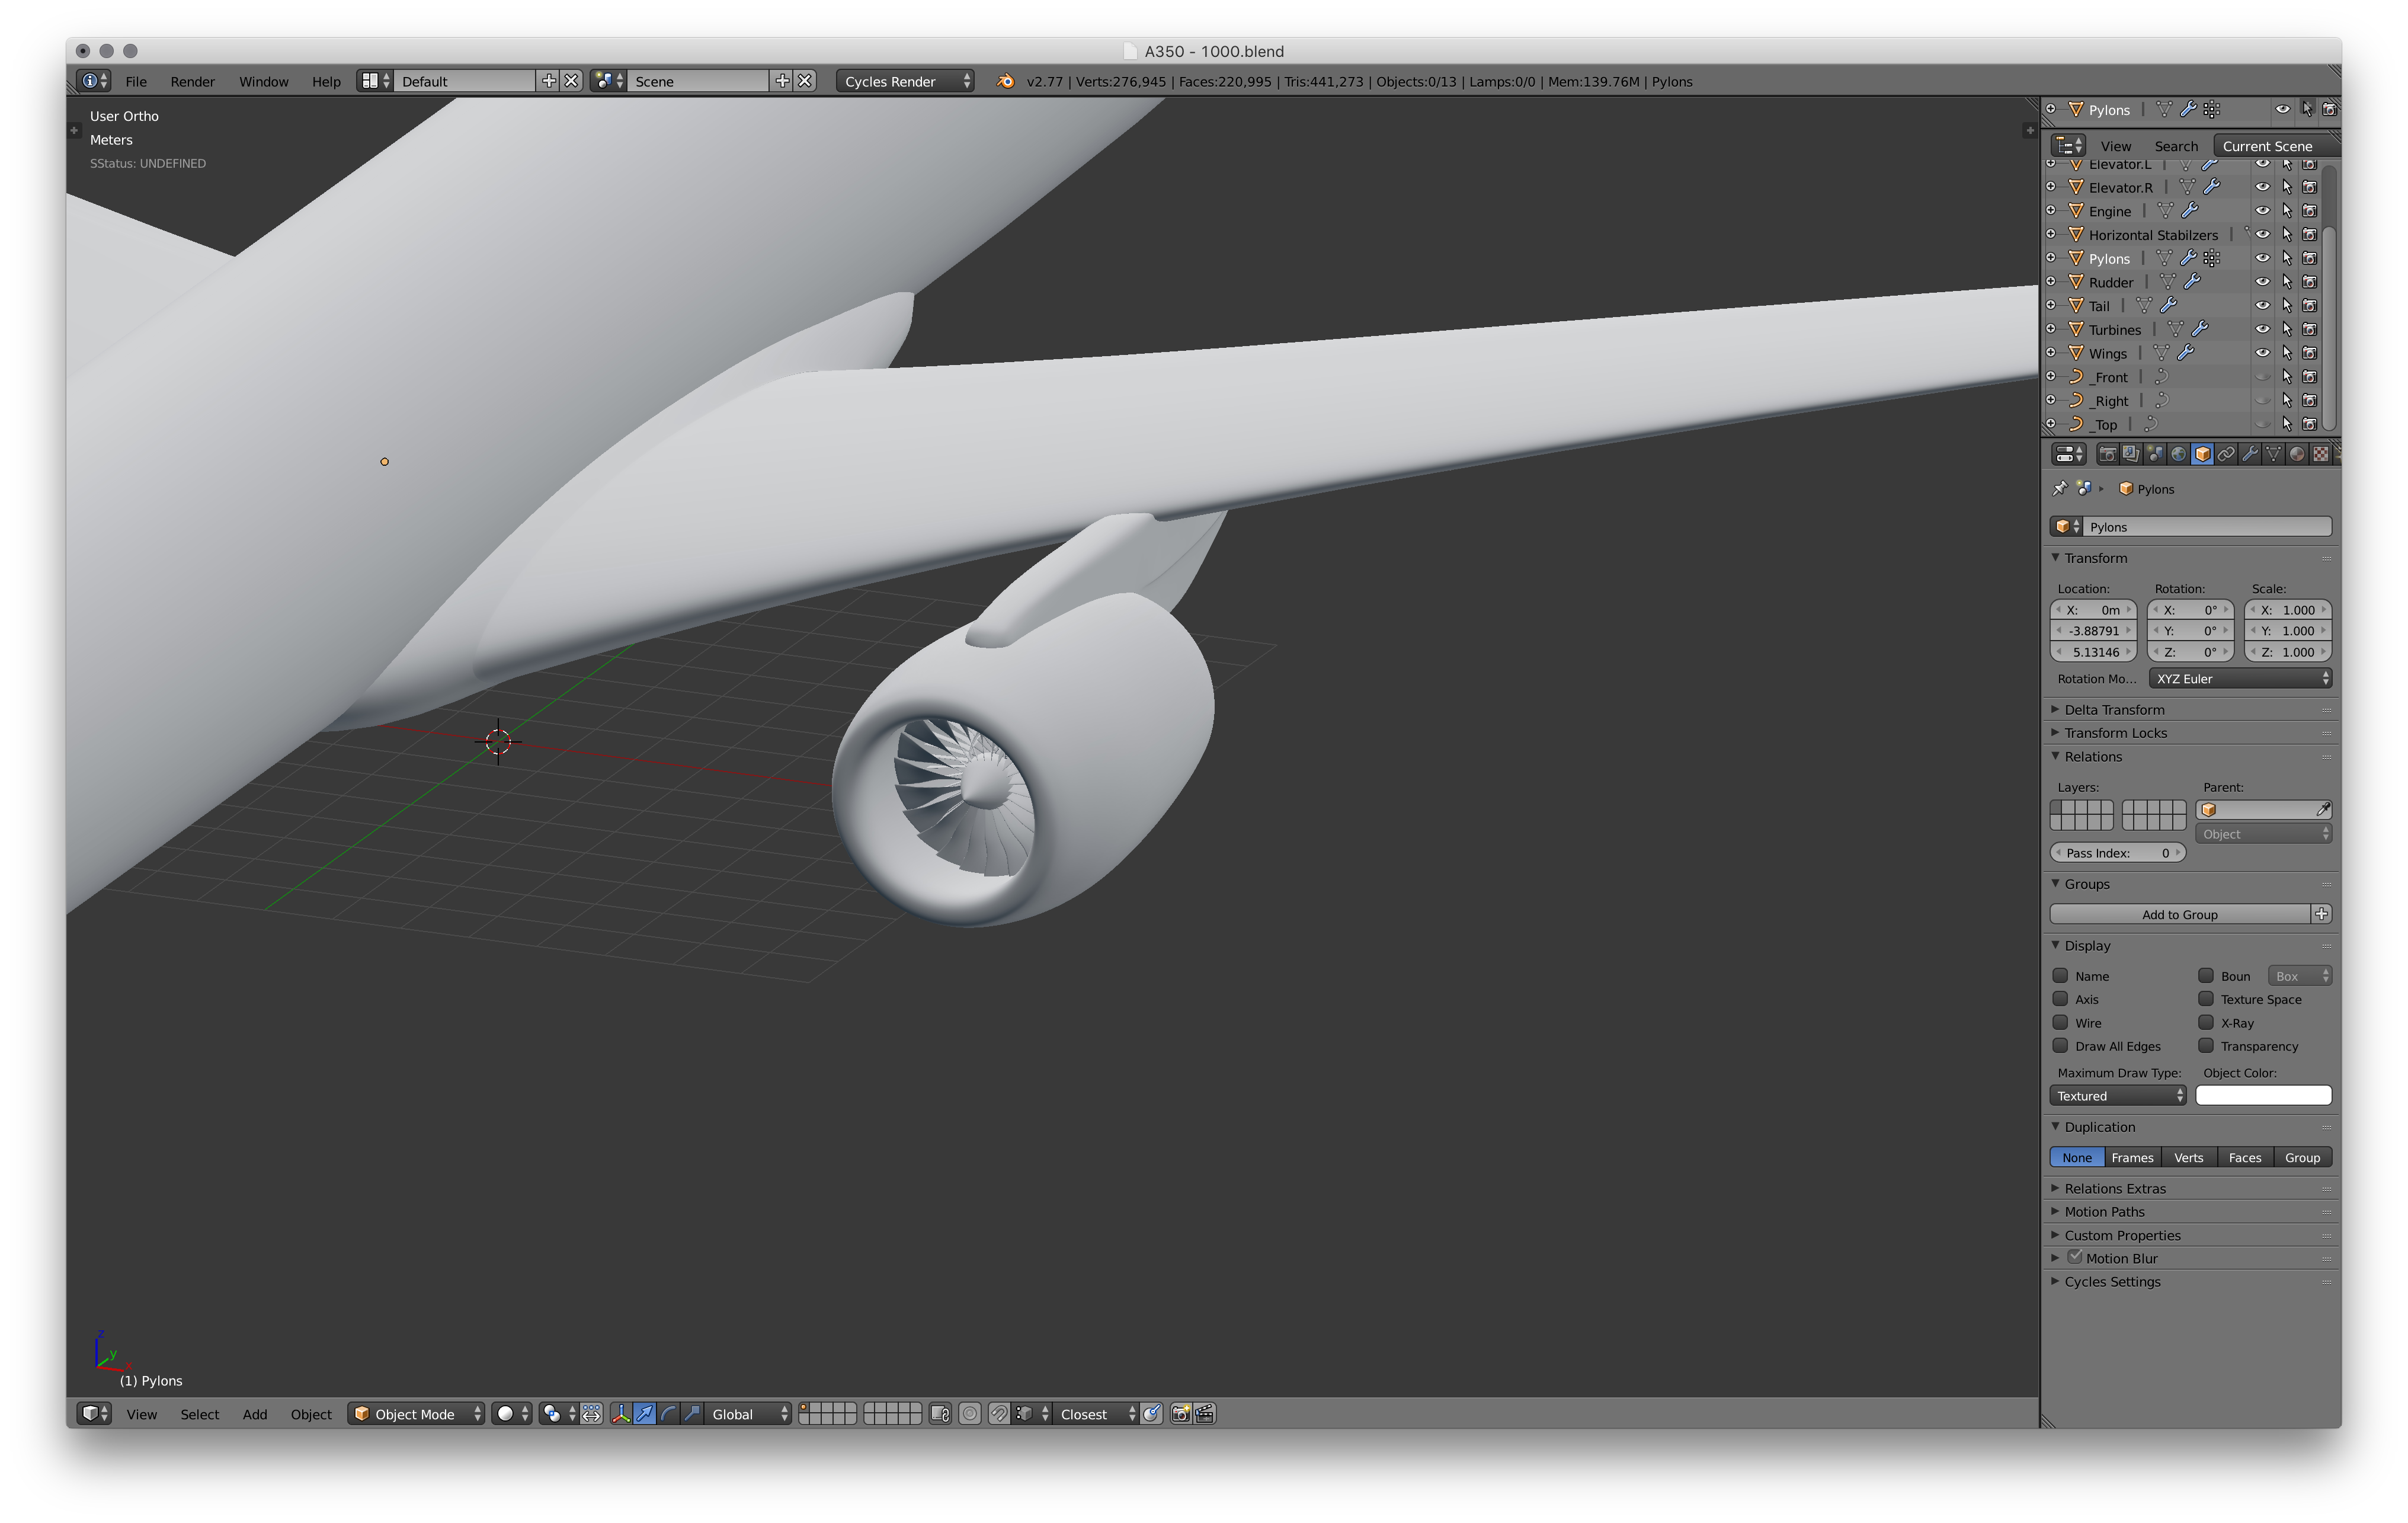
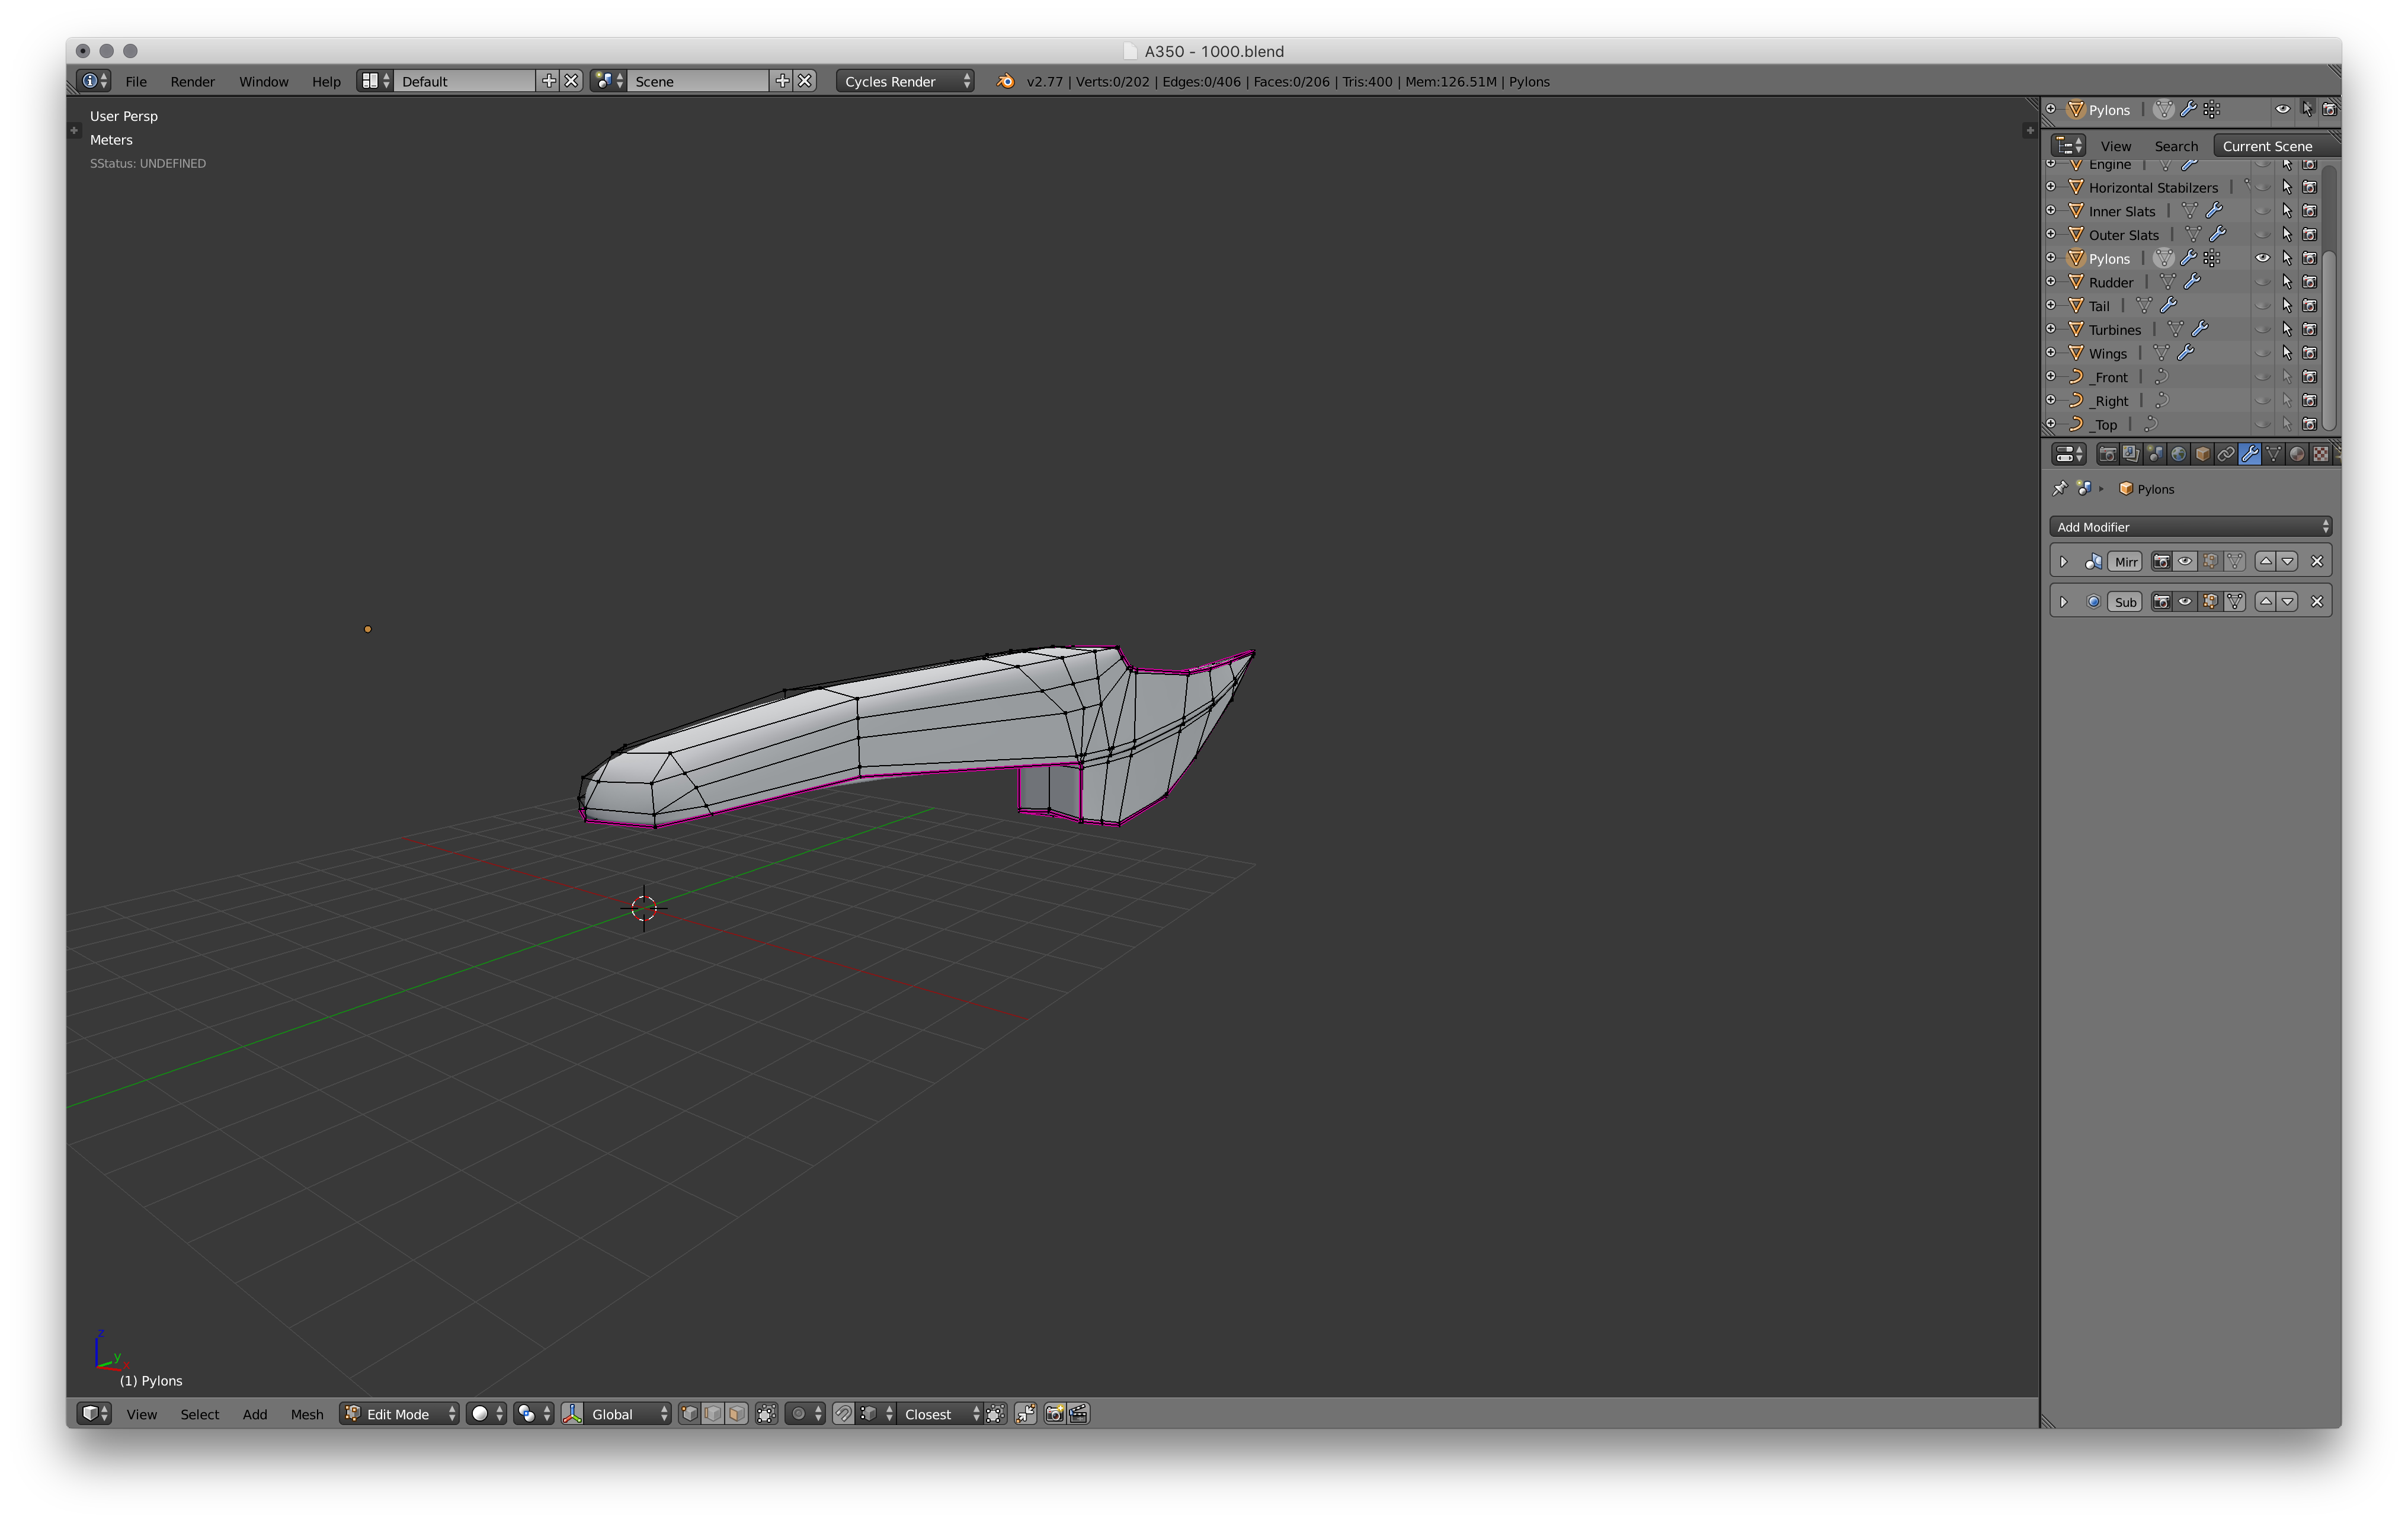
The last part of the engine to model is the pylons. These hold the engine onto the wing. Start by using a cube and block out the basic shape. Then start to add edge (proximity) loops to get a hard surface. I've also used mean creases in some parts (indicated by the pink lines). This is another way to get a hard edge without using additional edge loops. Don't forget to add the crease line!
Cut Out Ailerons and Slats
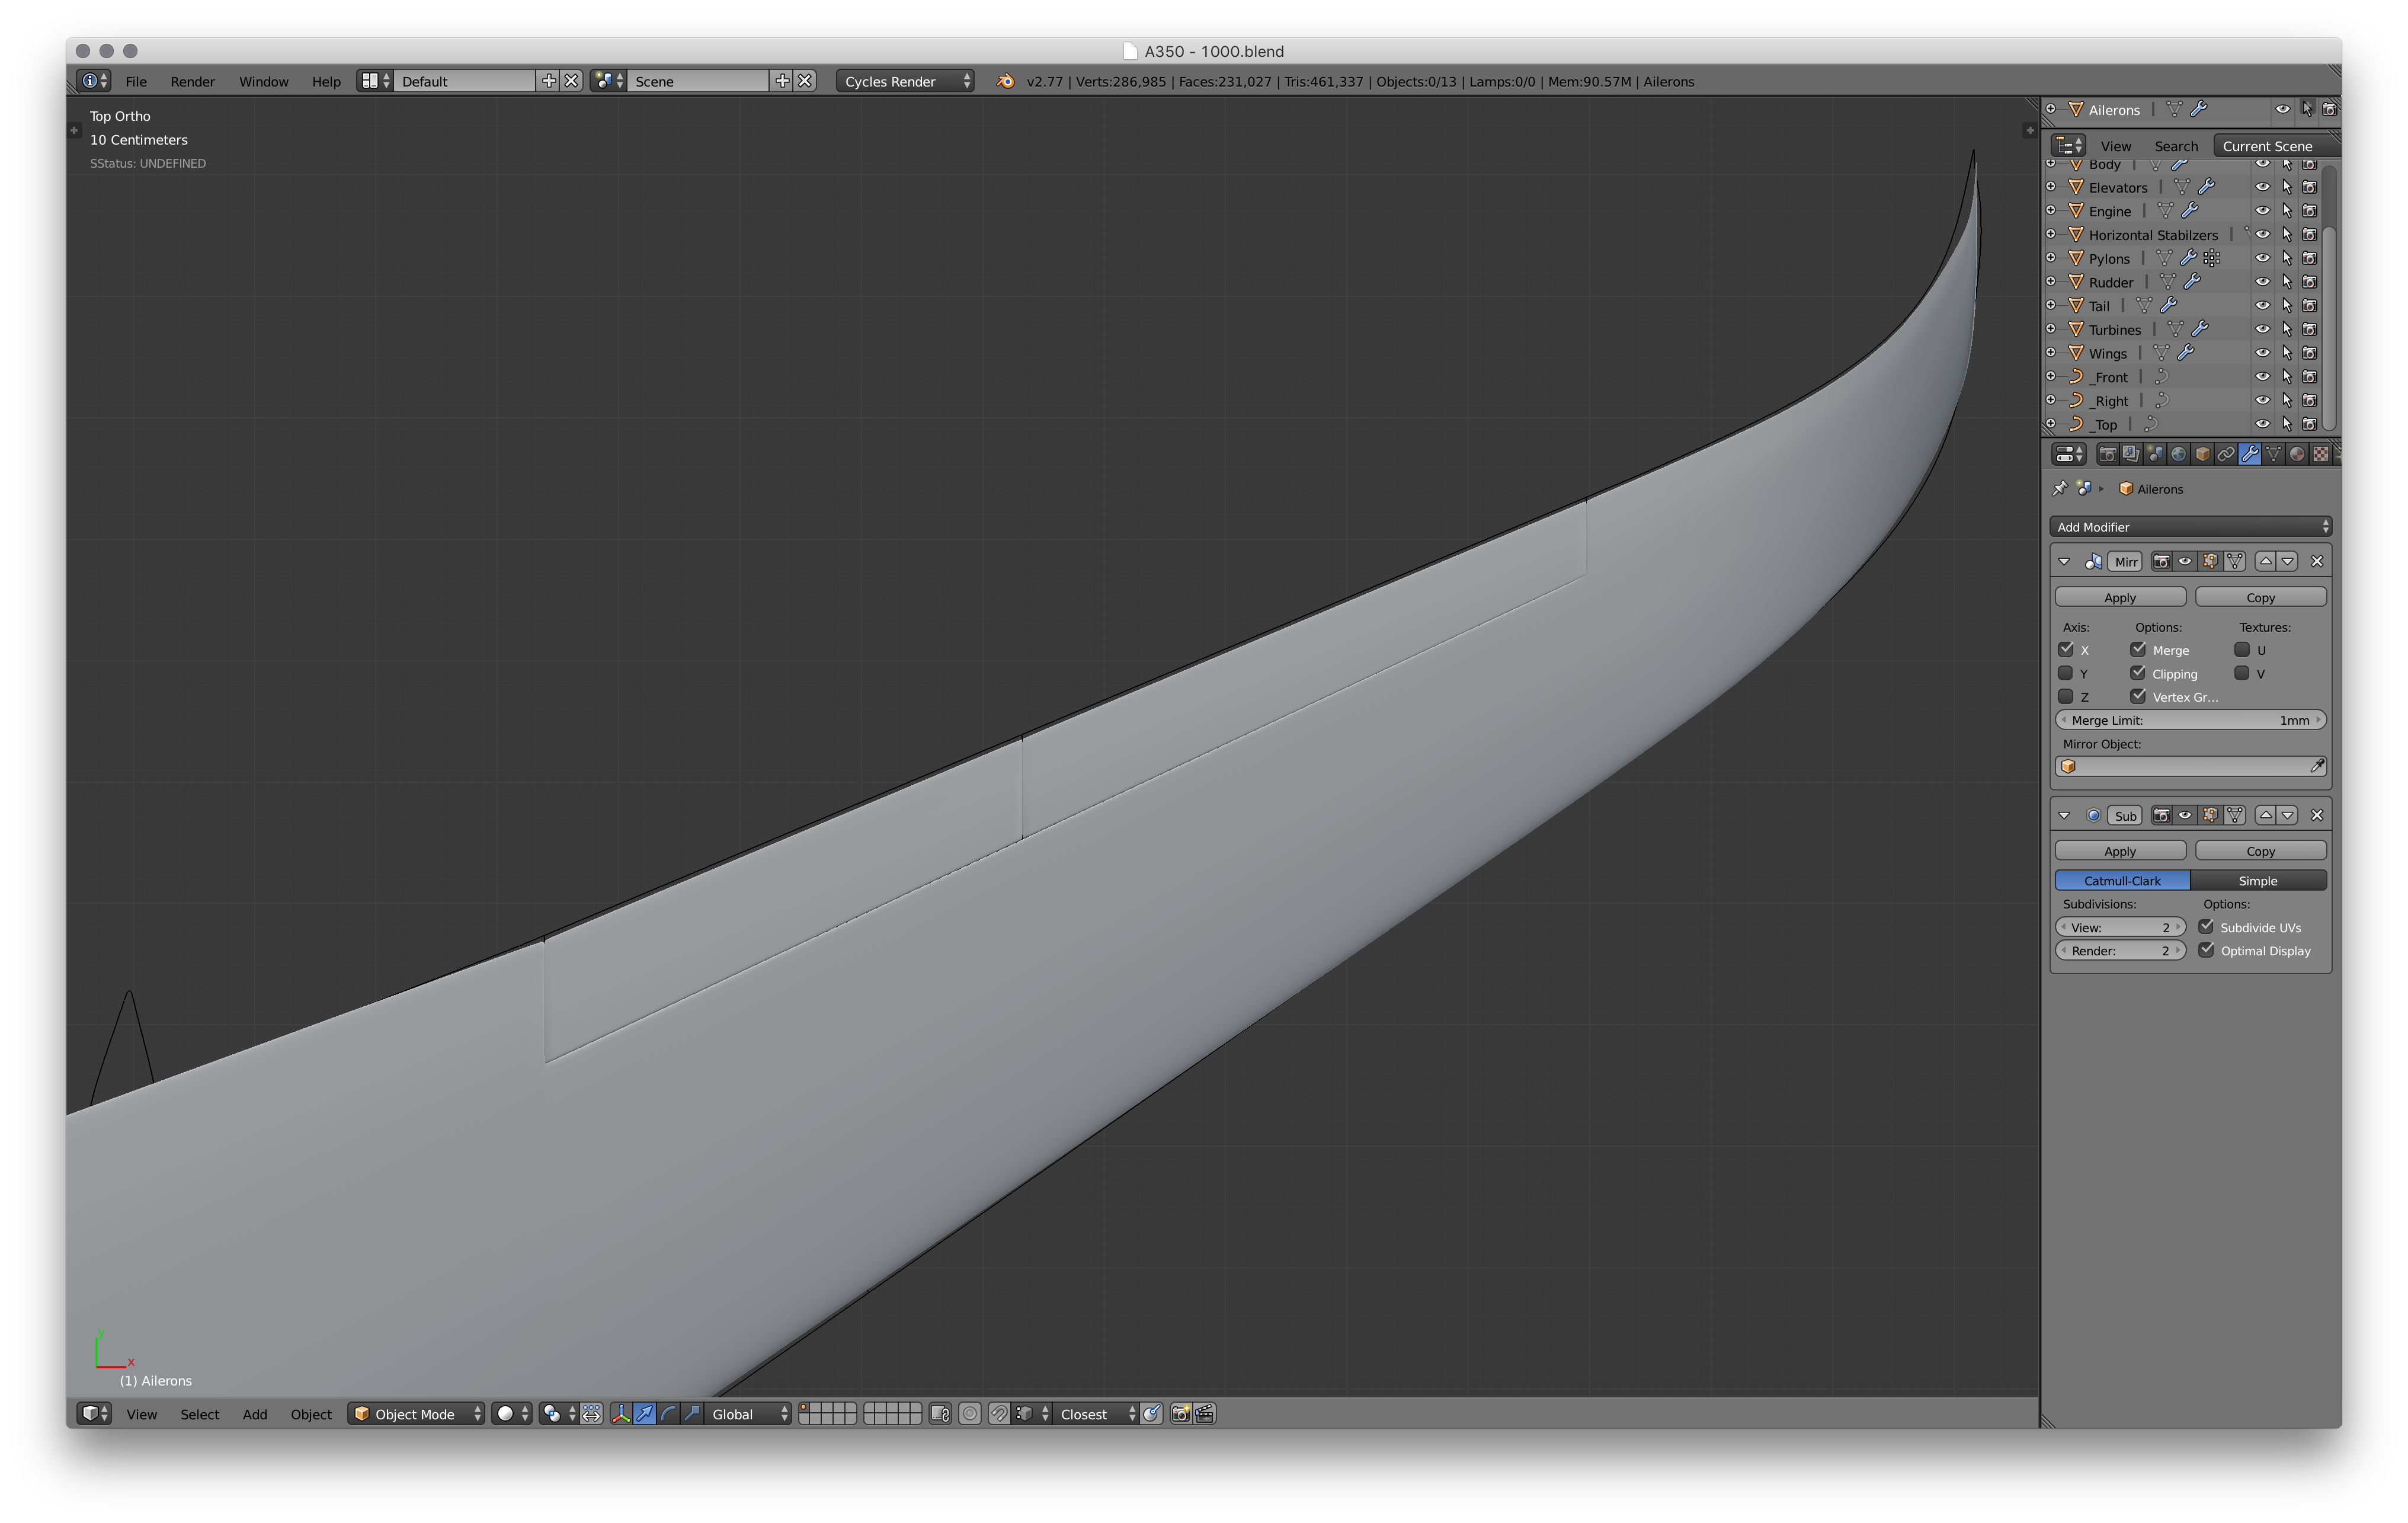
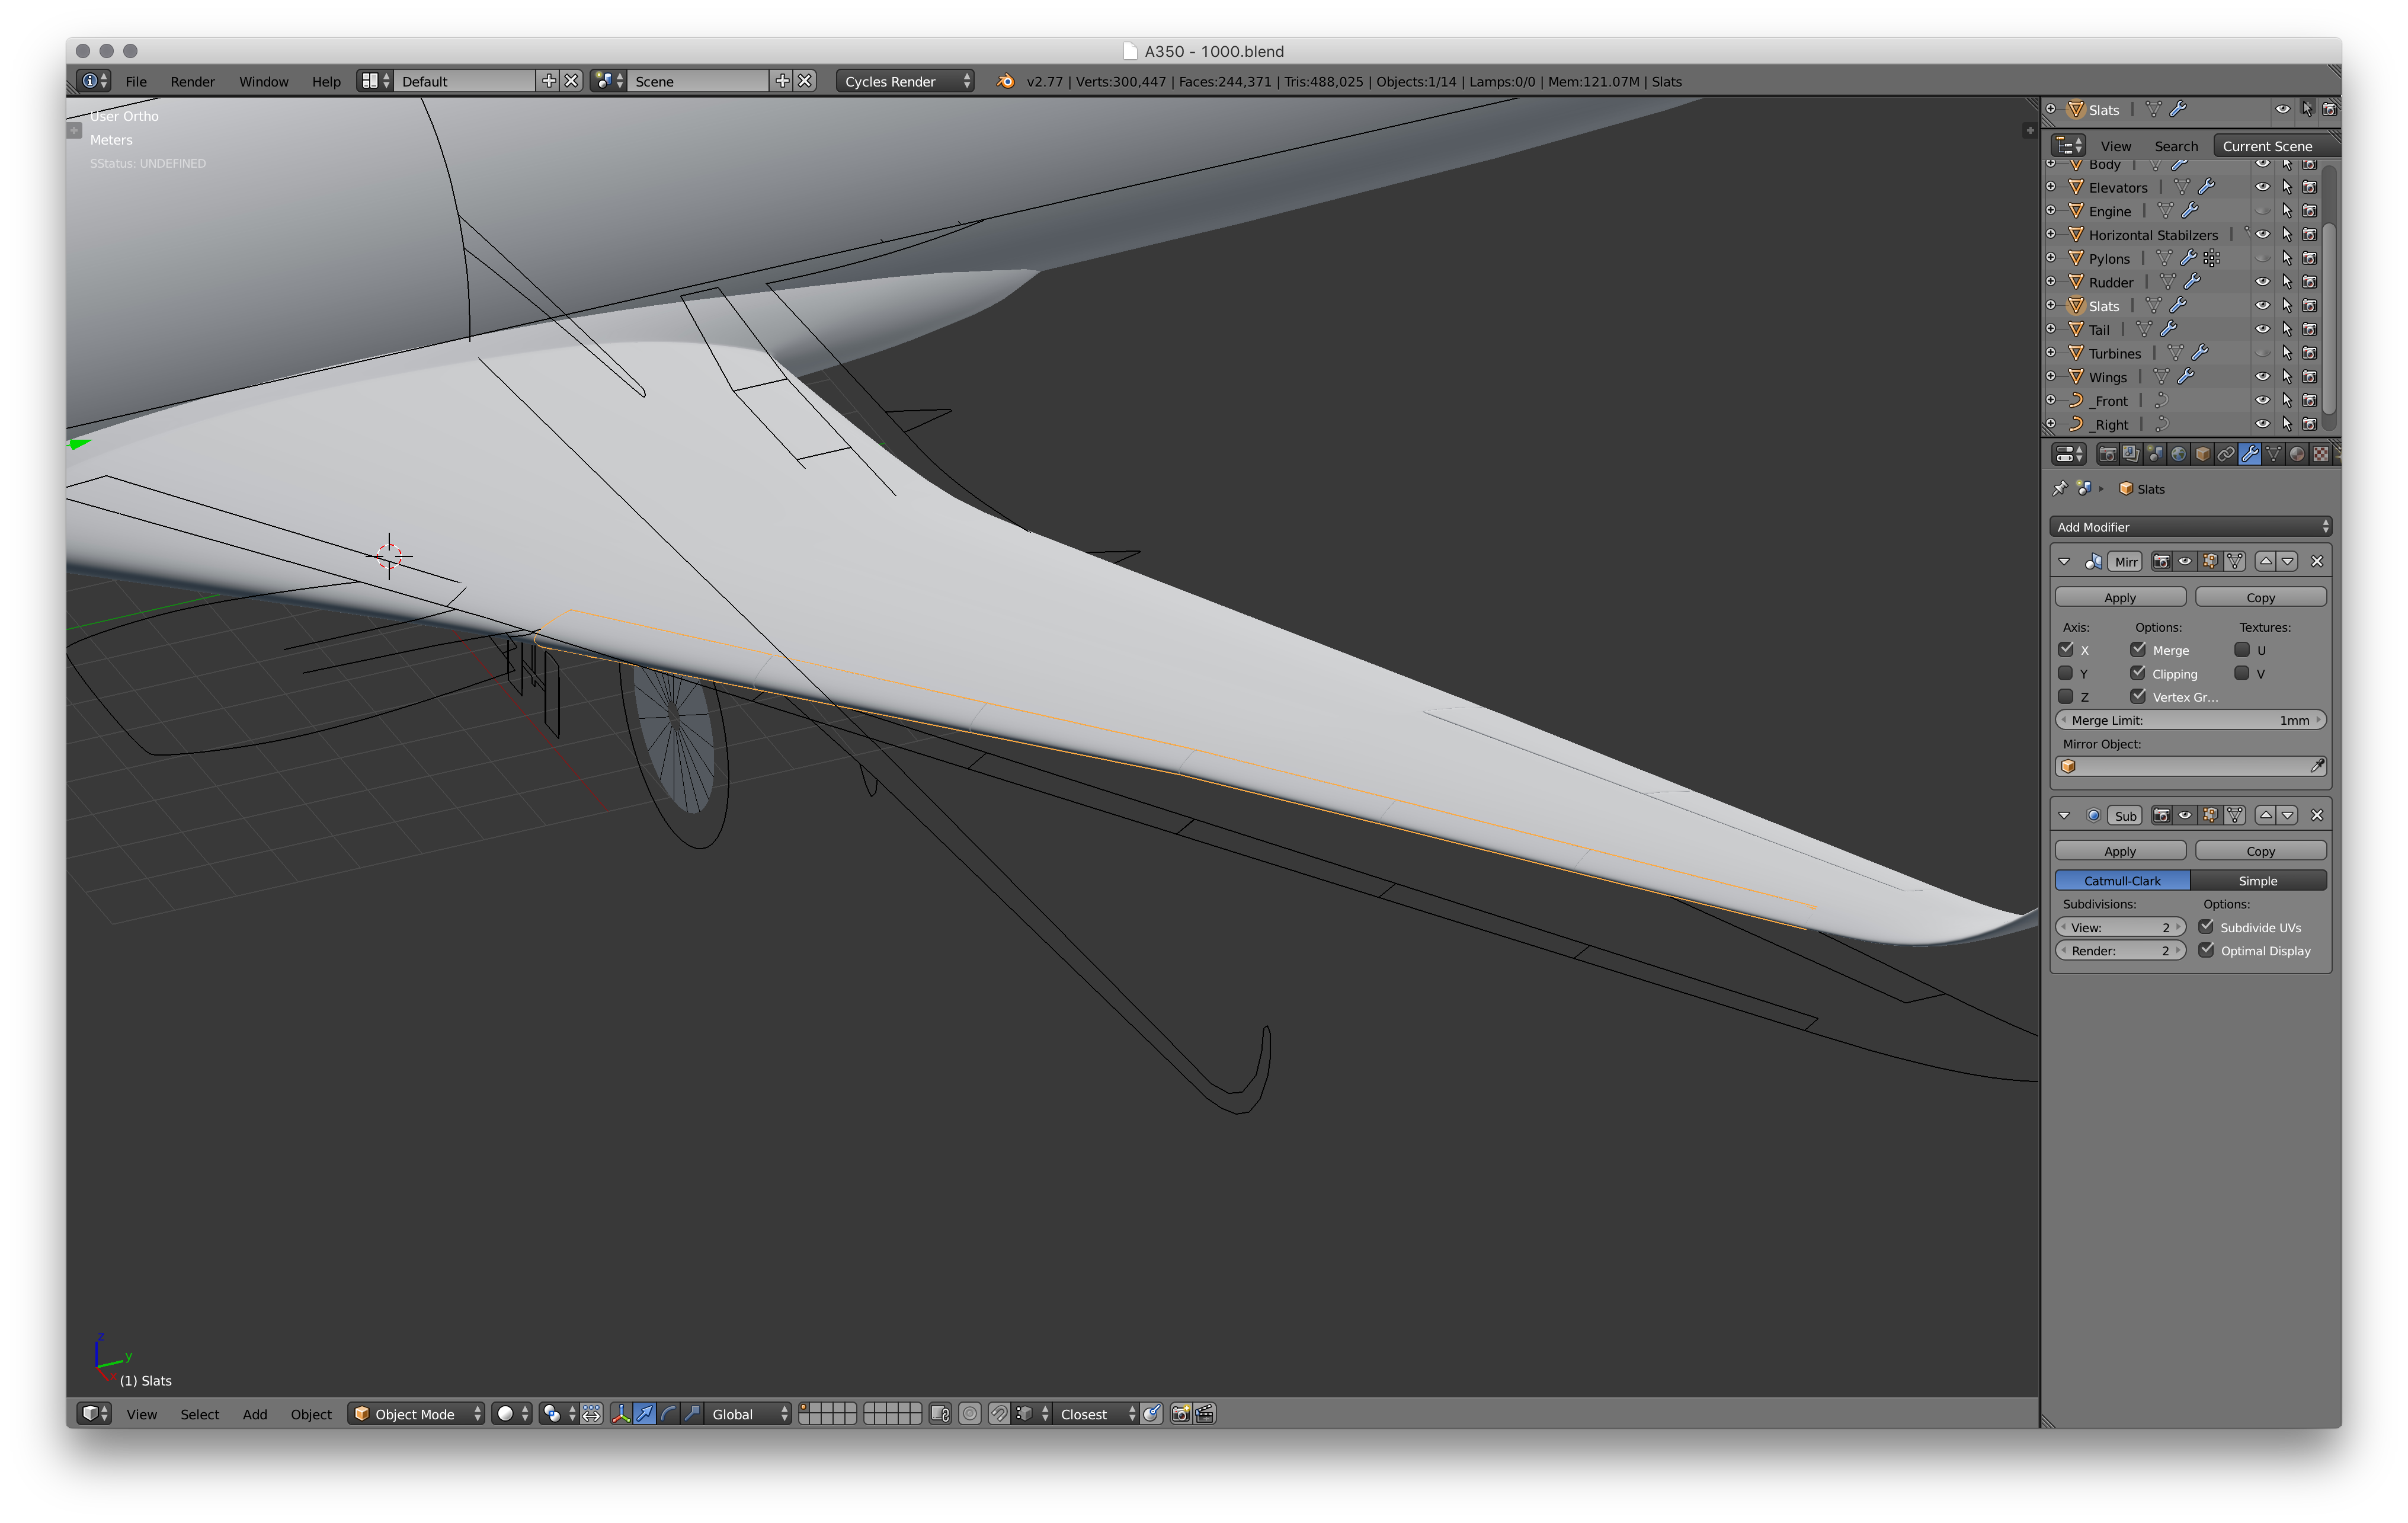
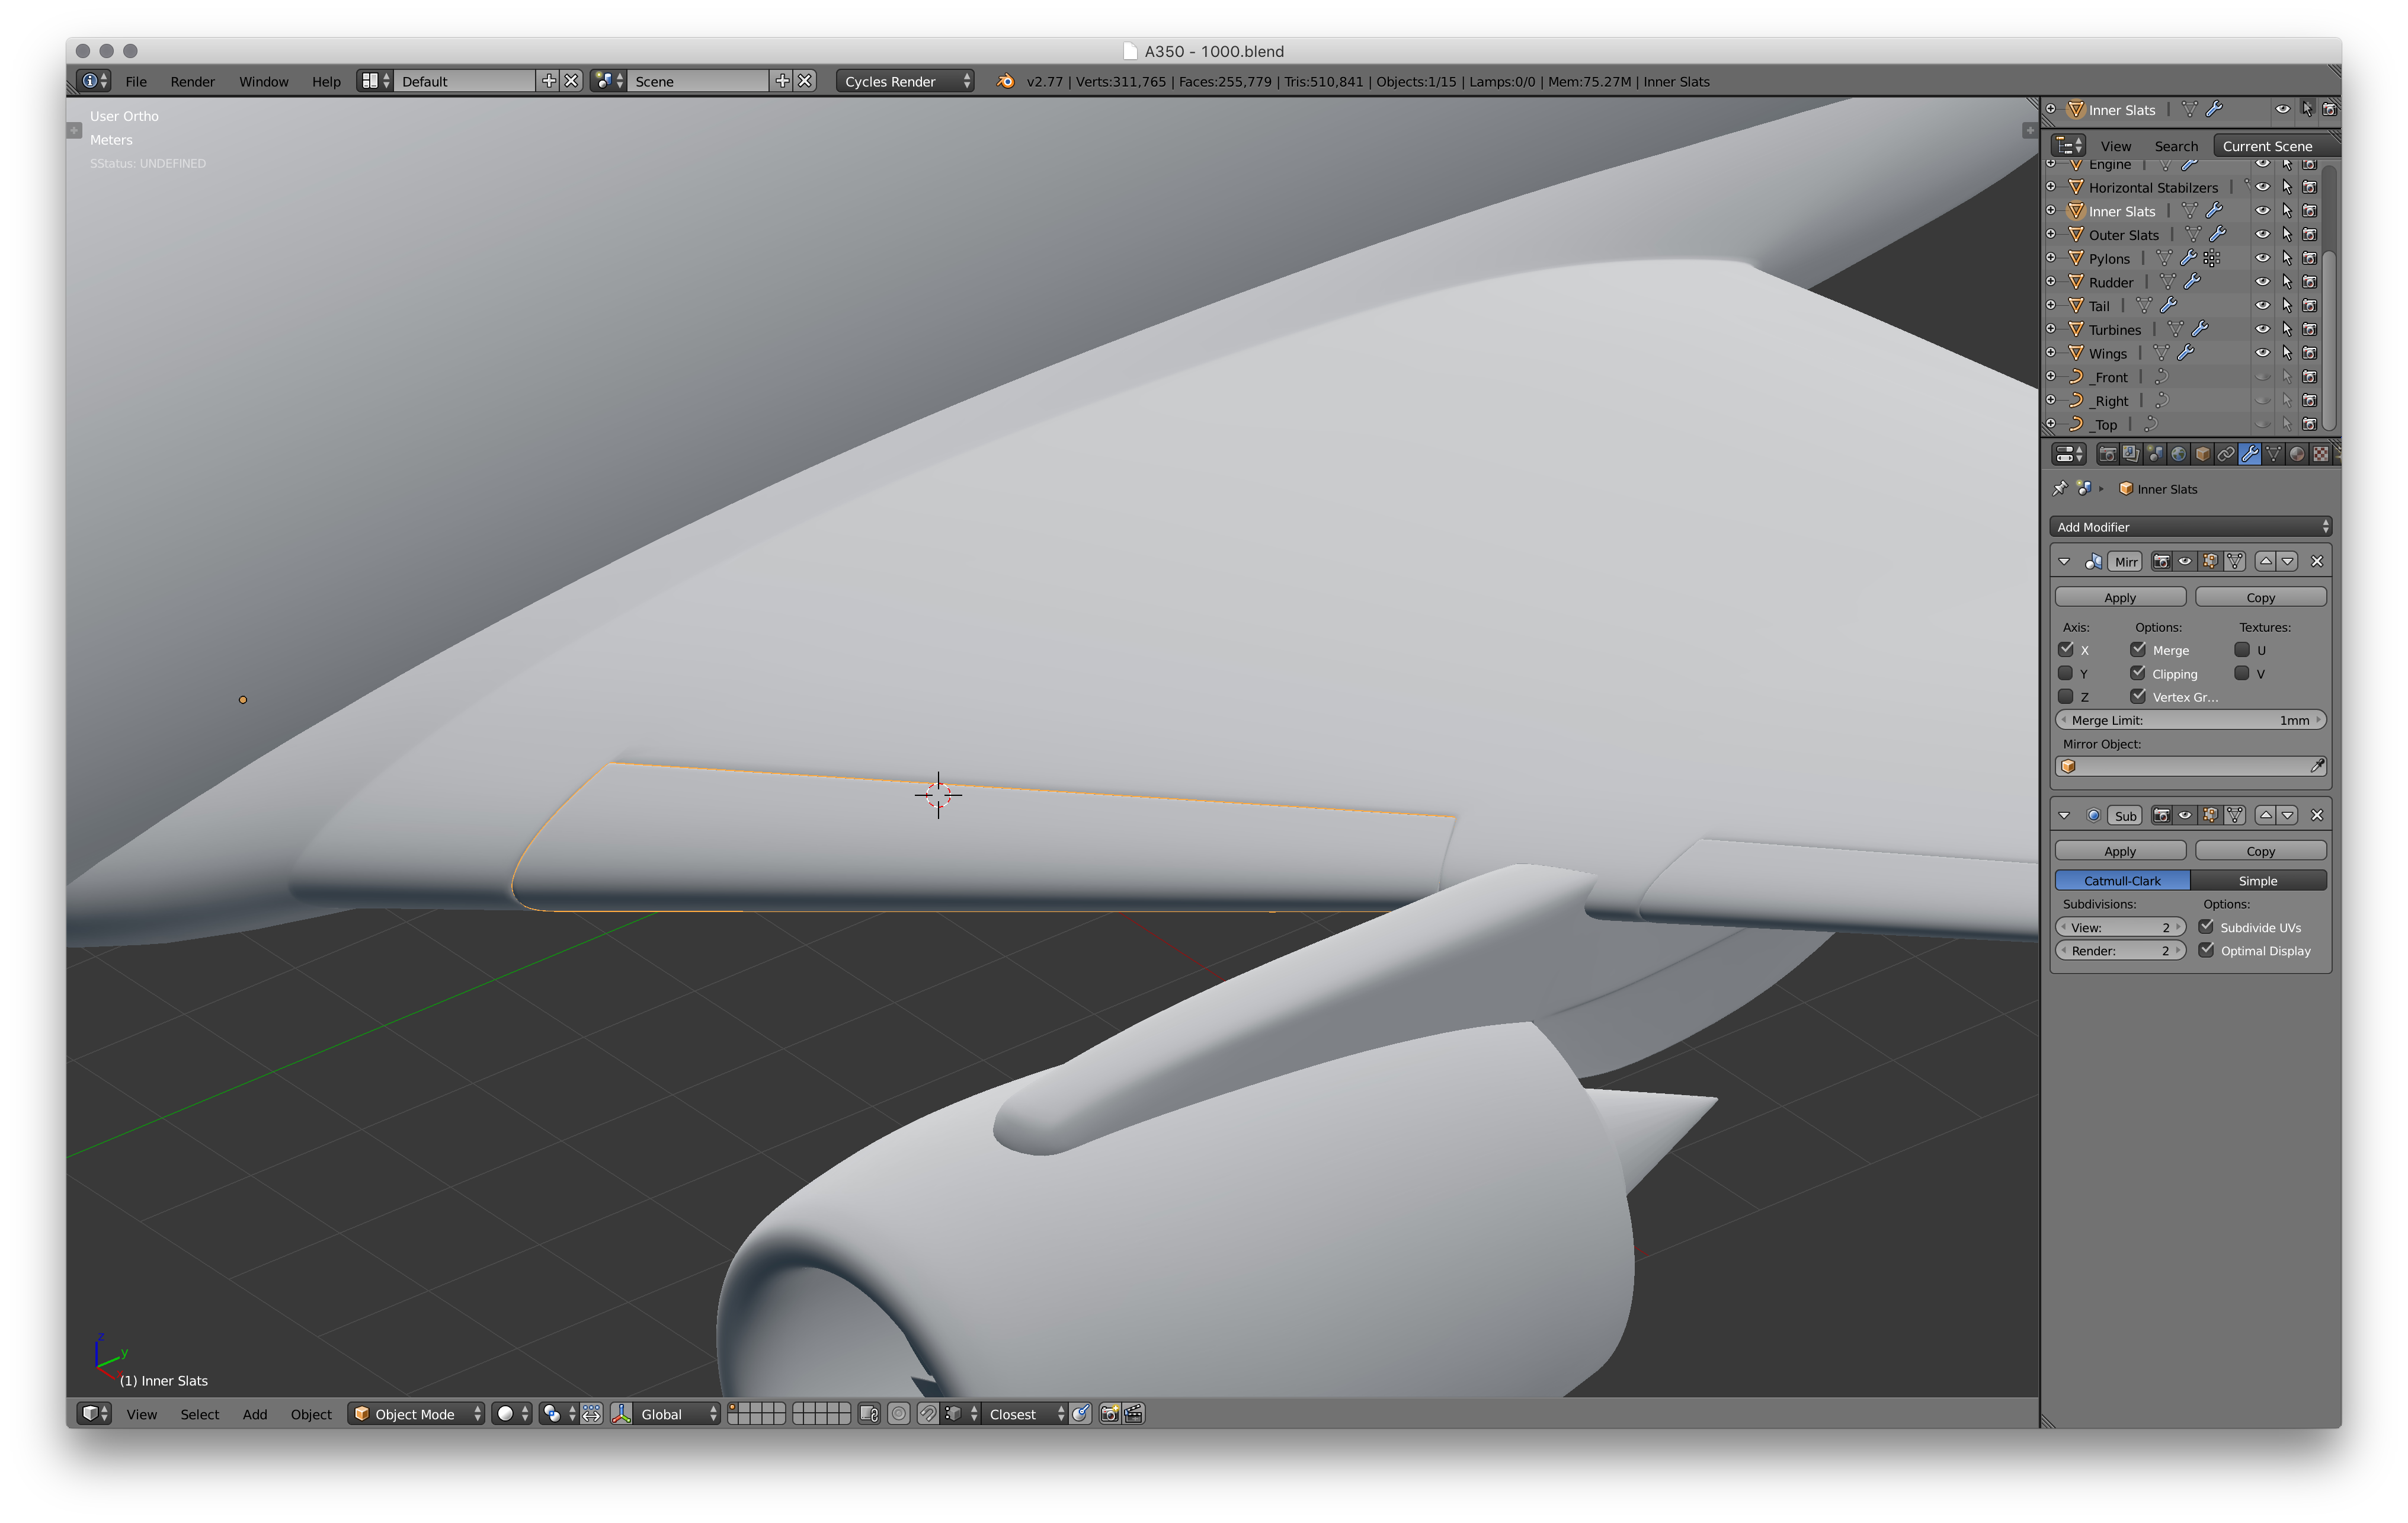
Exactly the same as what you did to cut out the rudder and elevators. Just align the edge loops with the blueprints and seperate them out. Then fill in the inside sections and add some edge (proximity) loops to harden the edges.
Model the Flaps
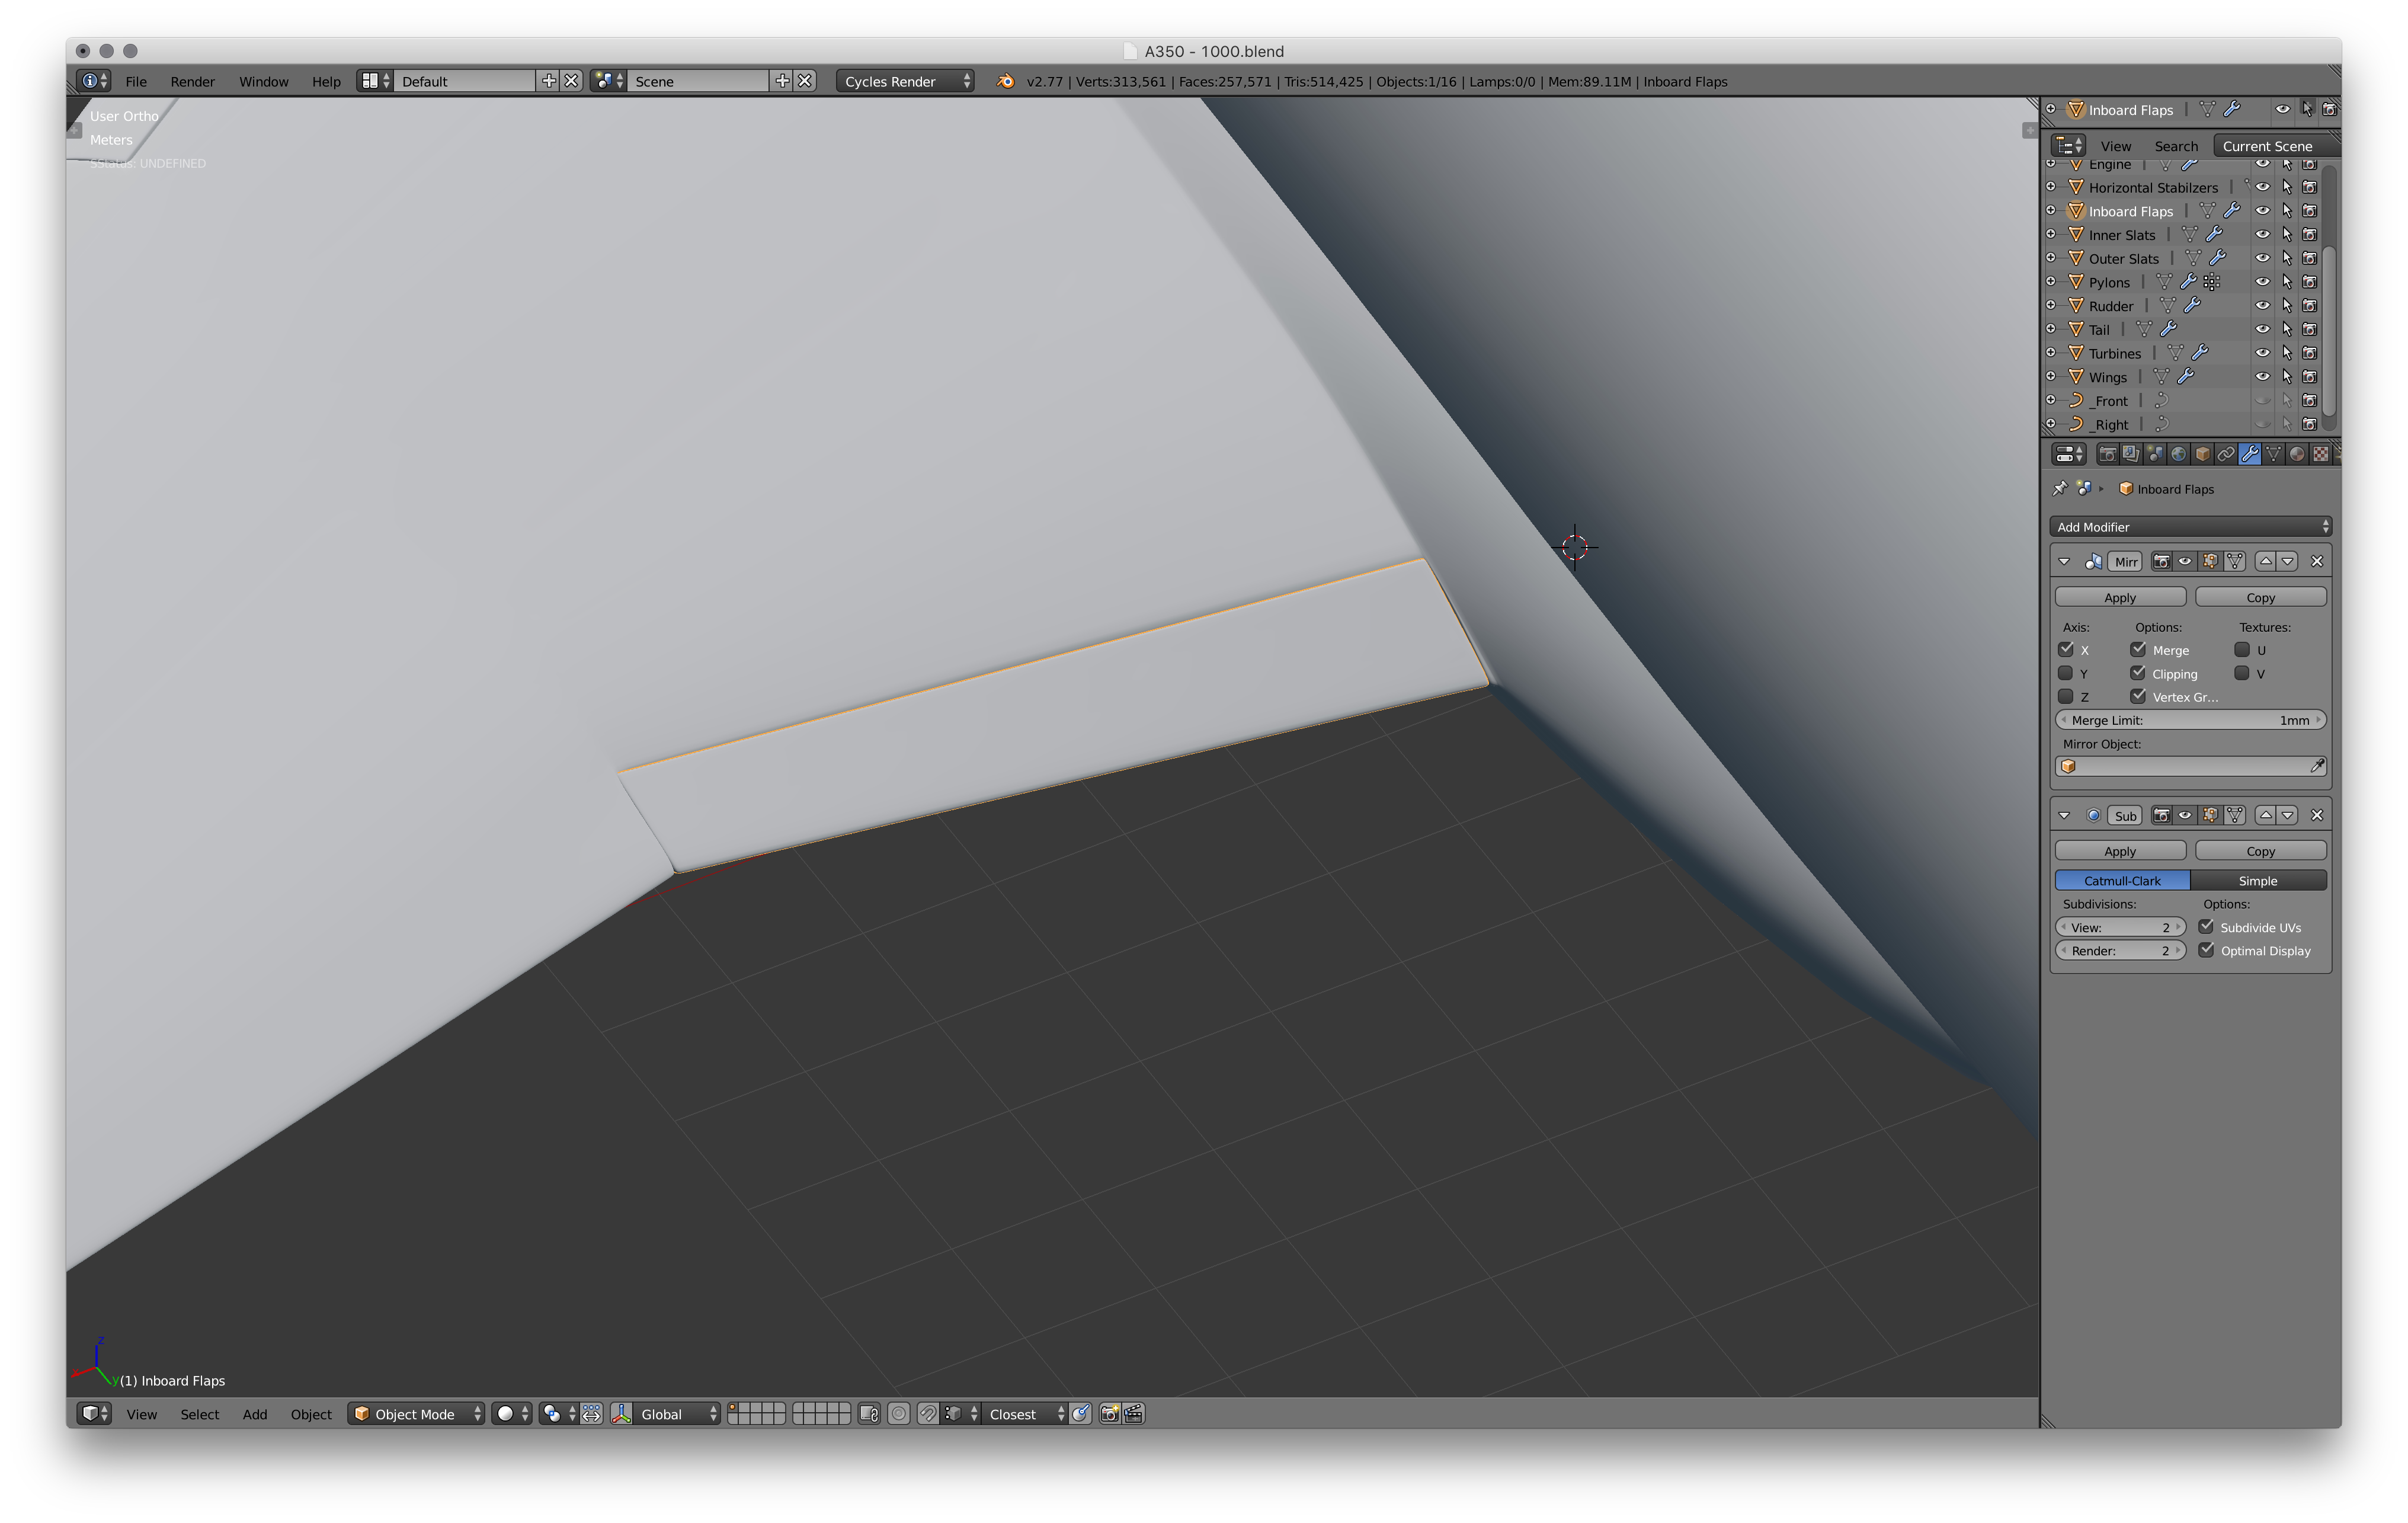
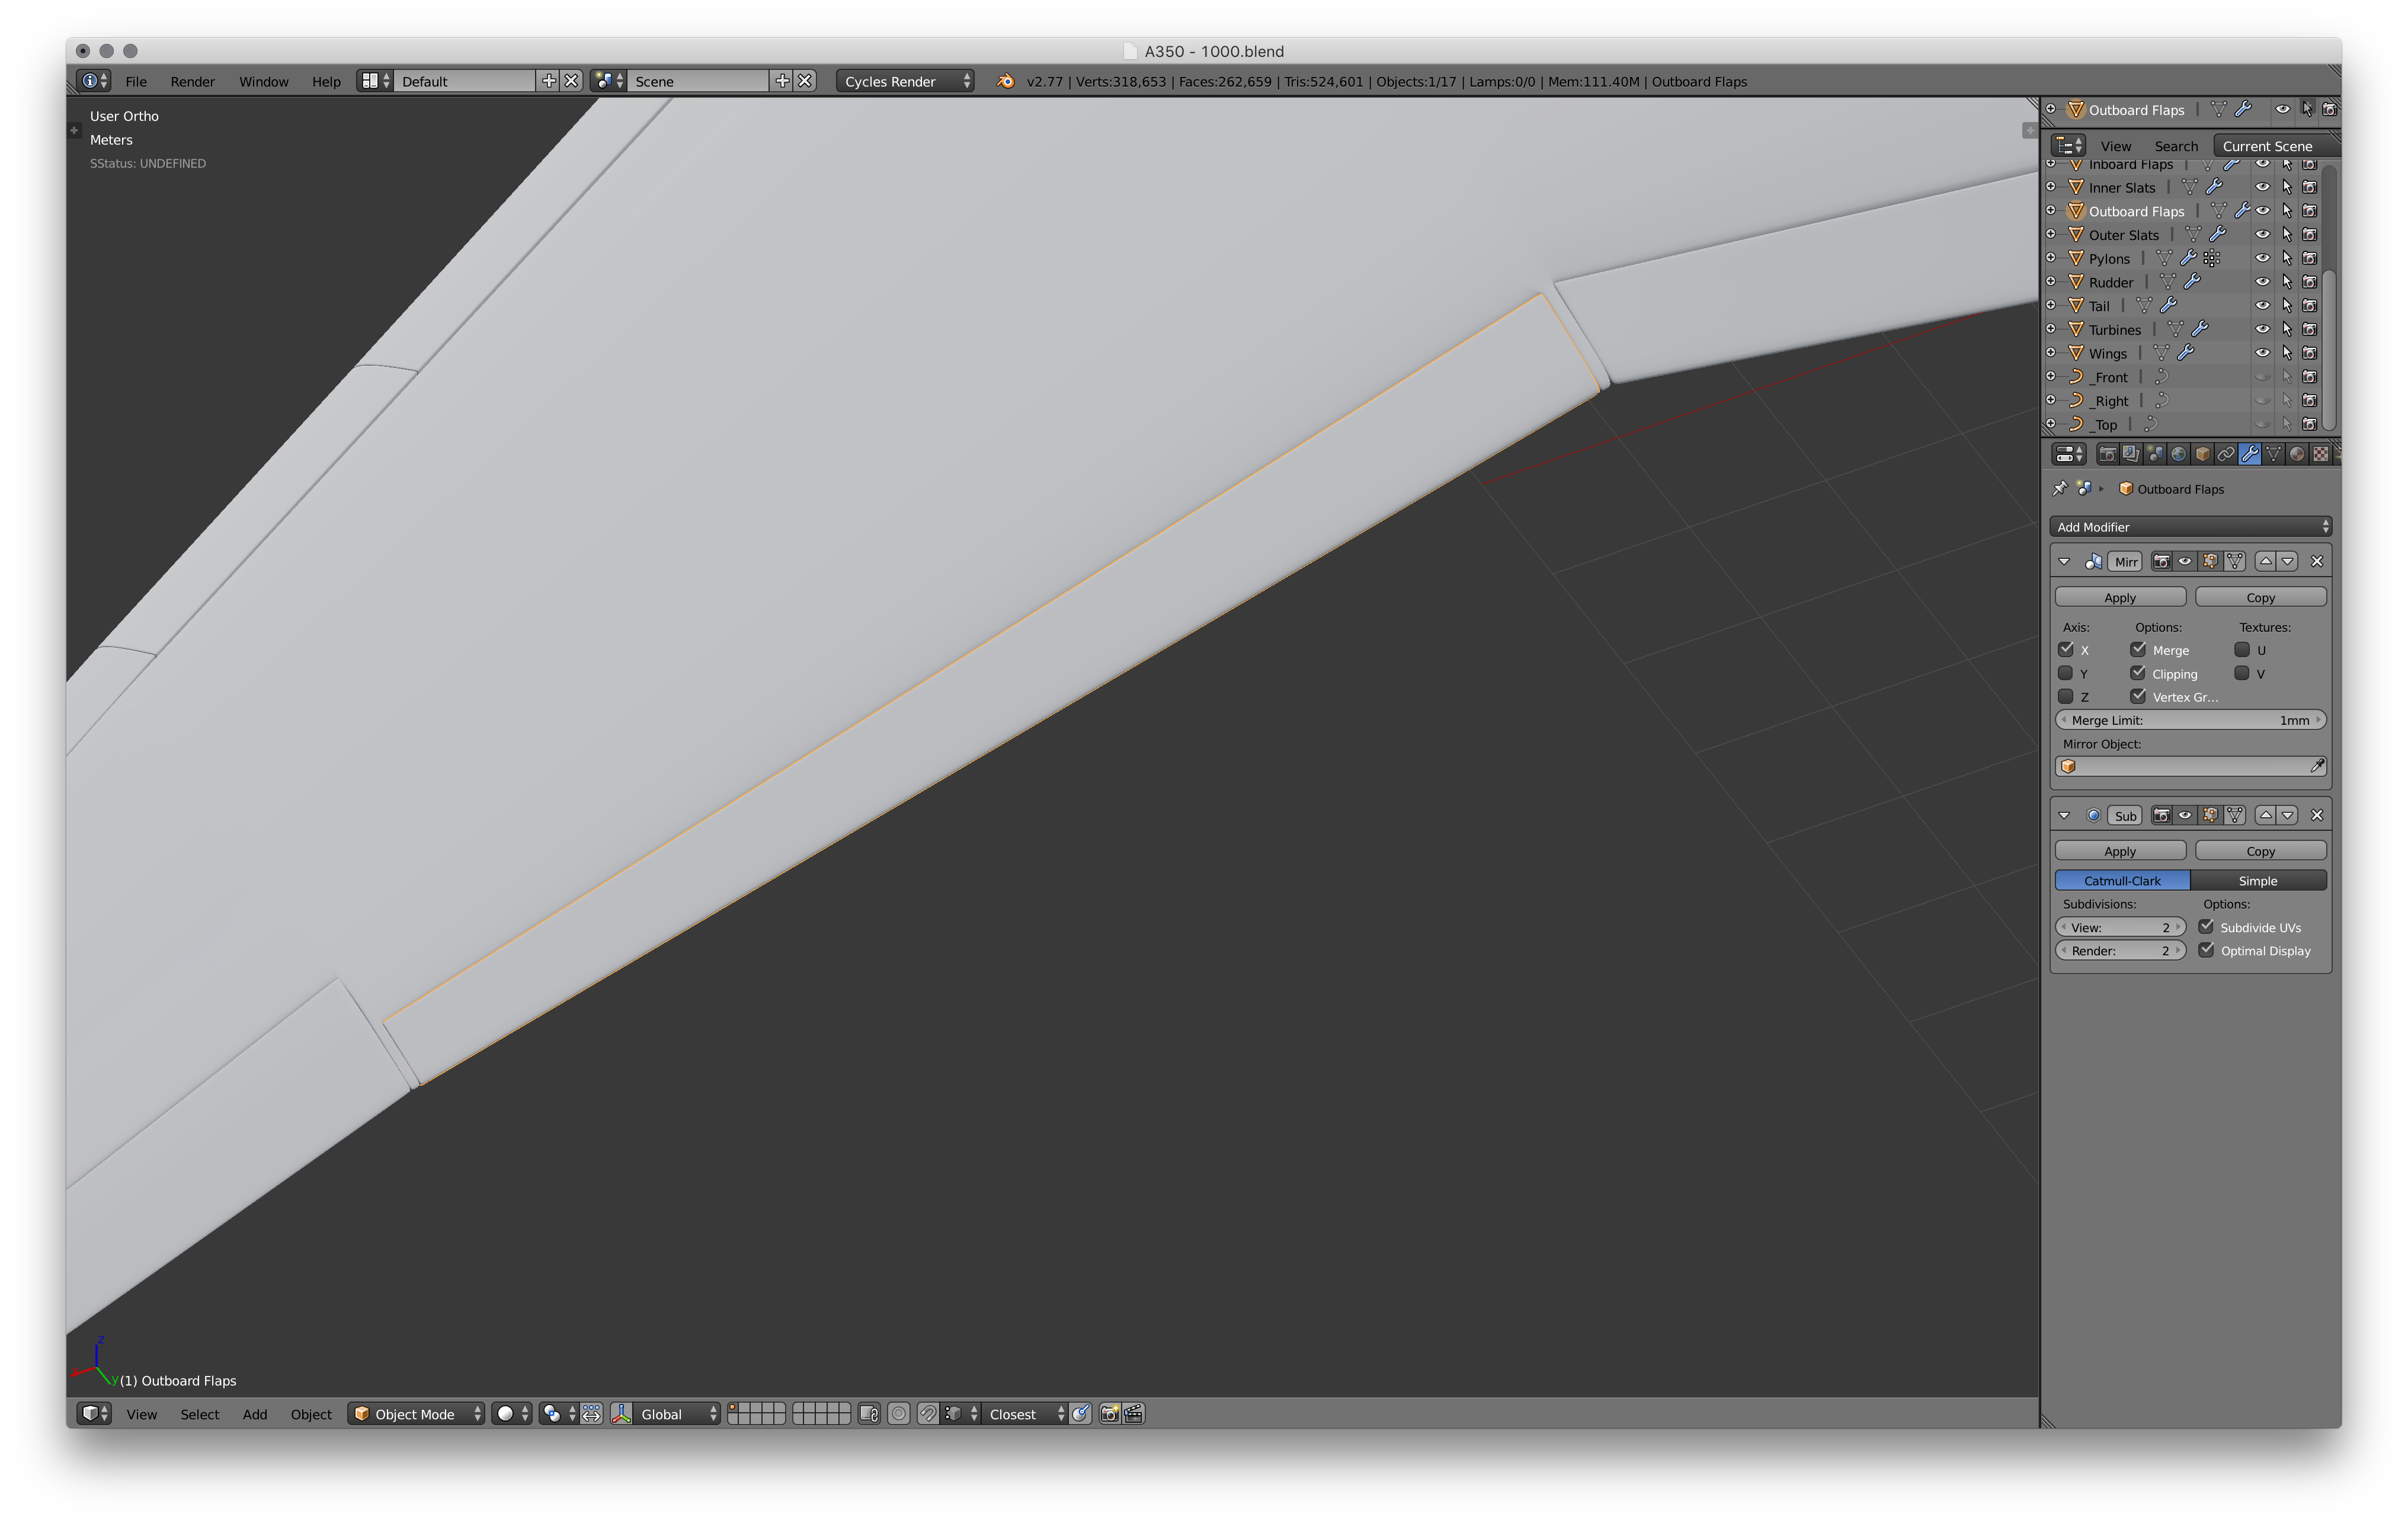
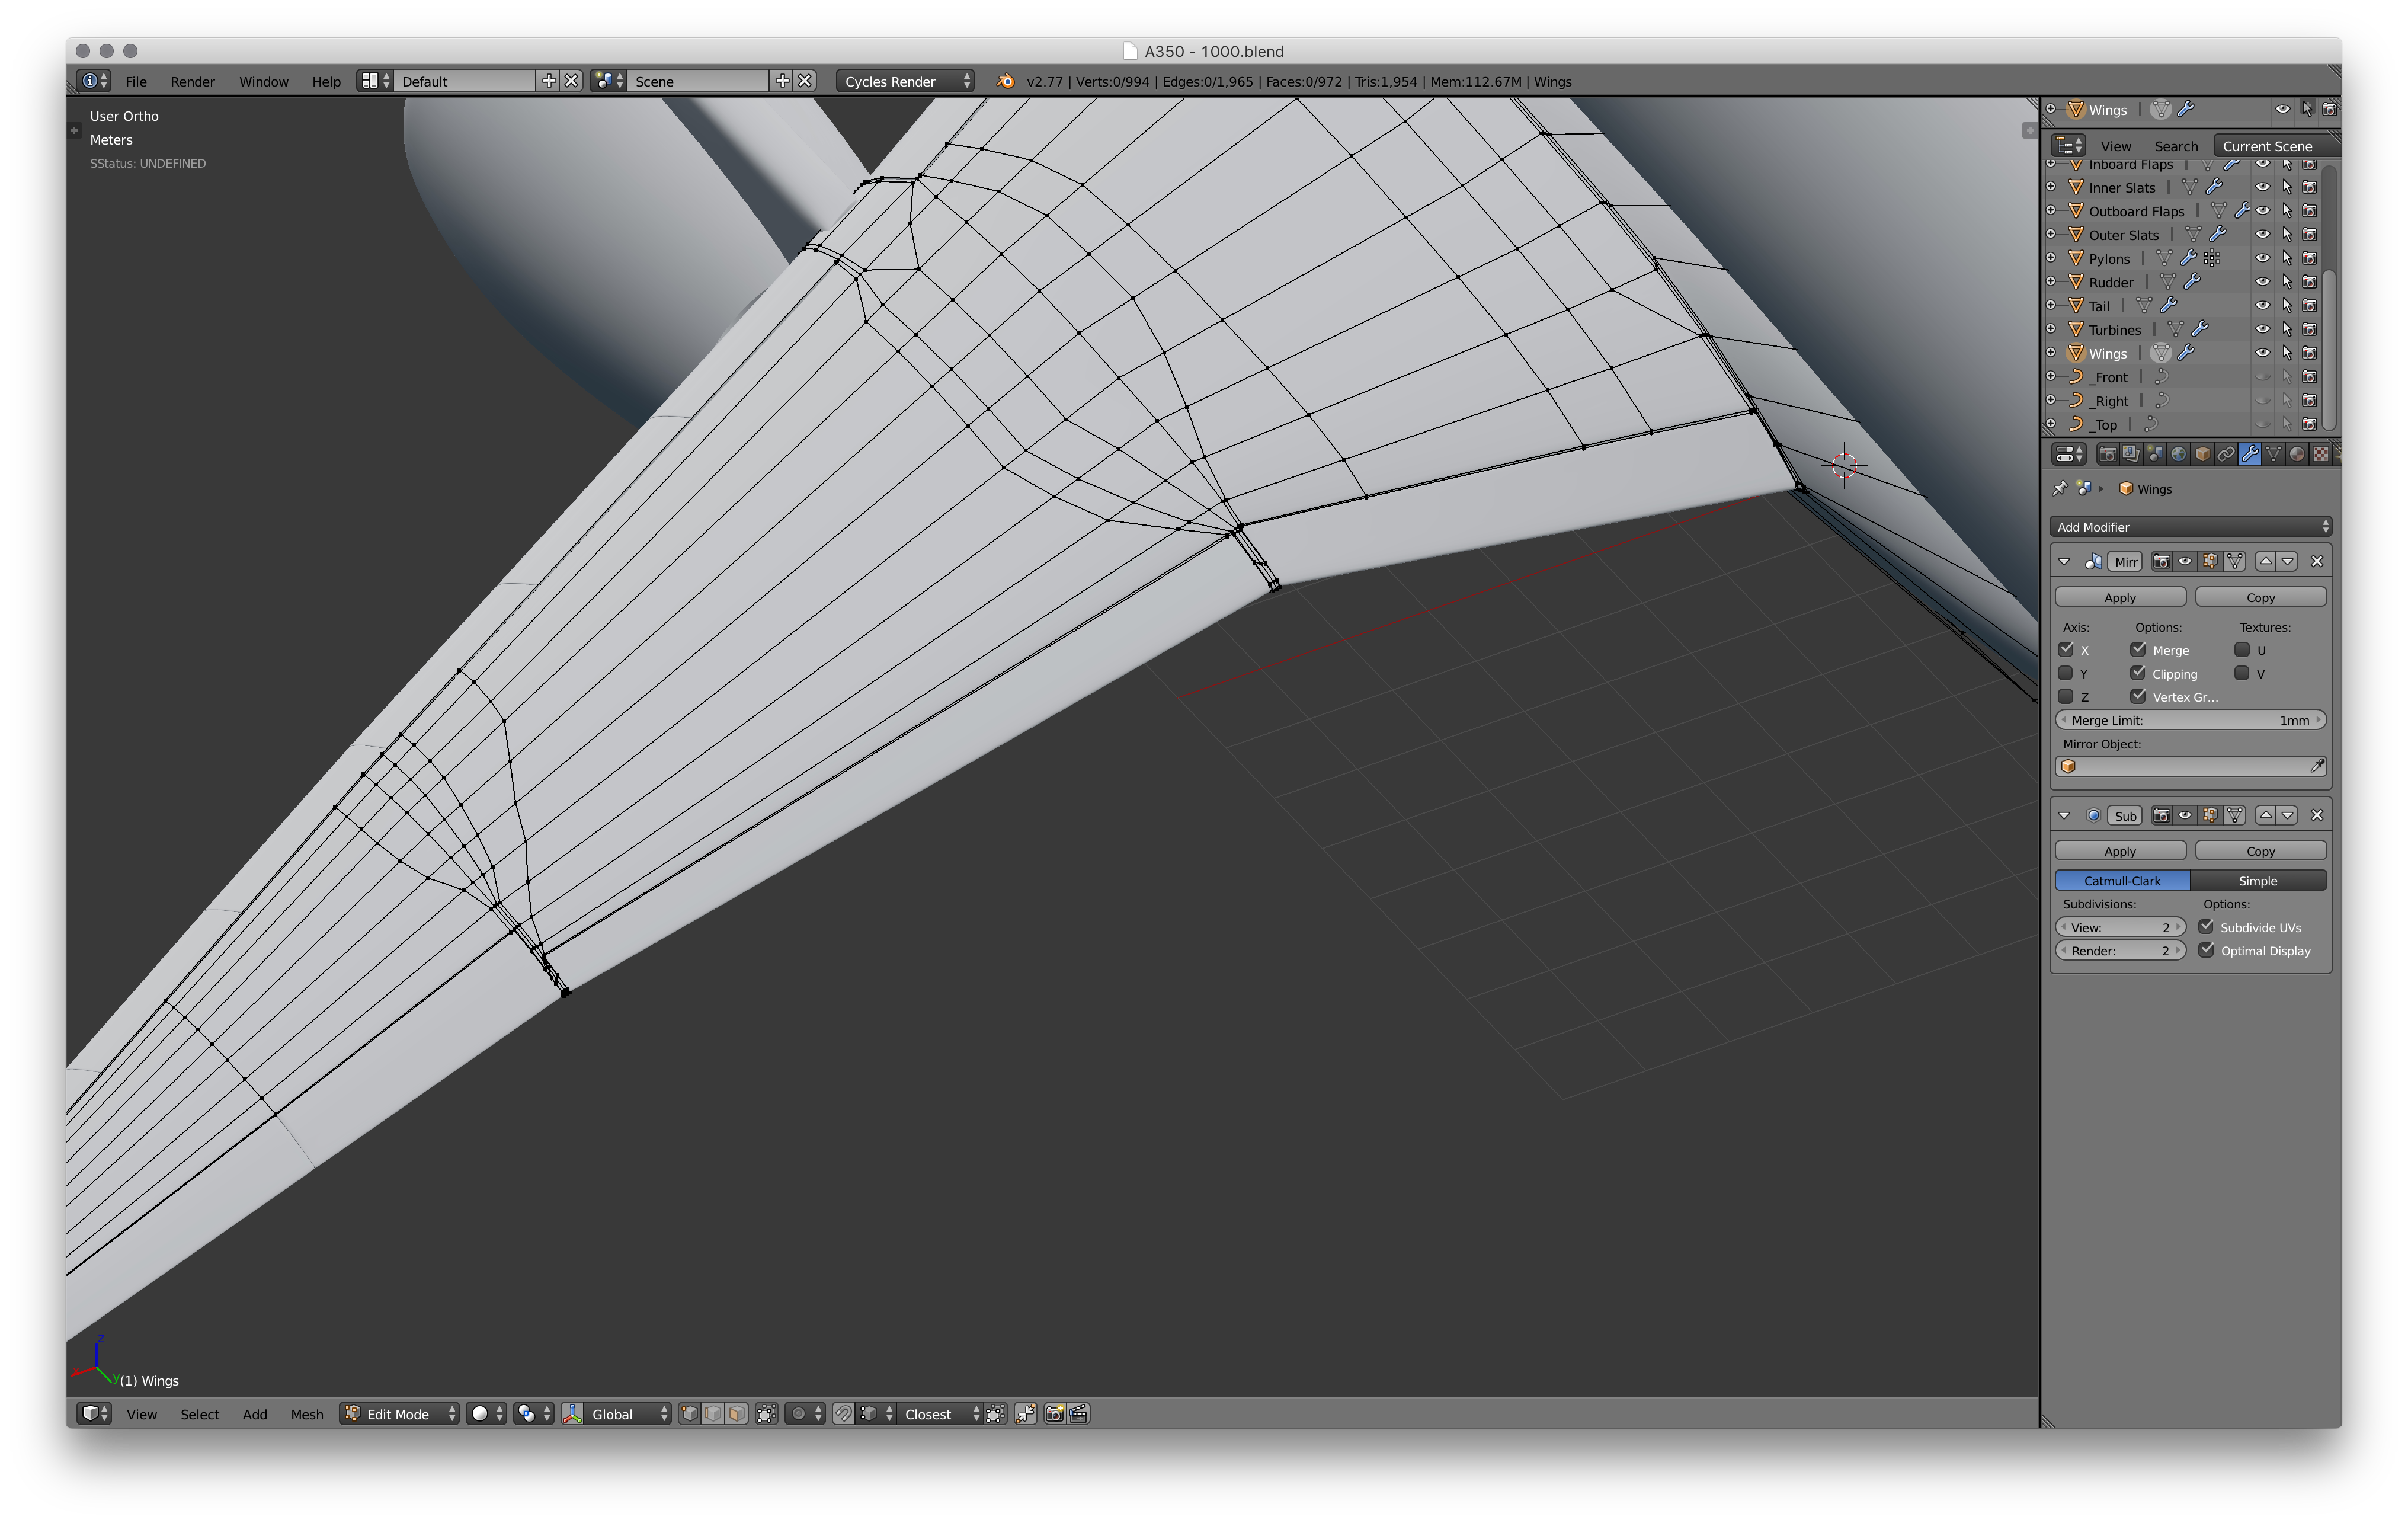
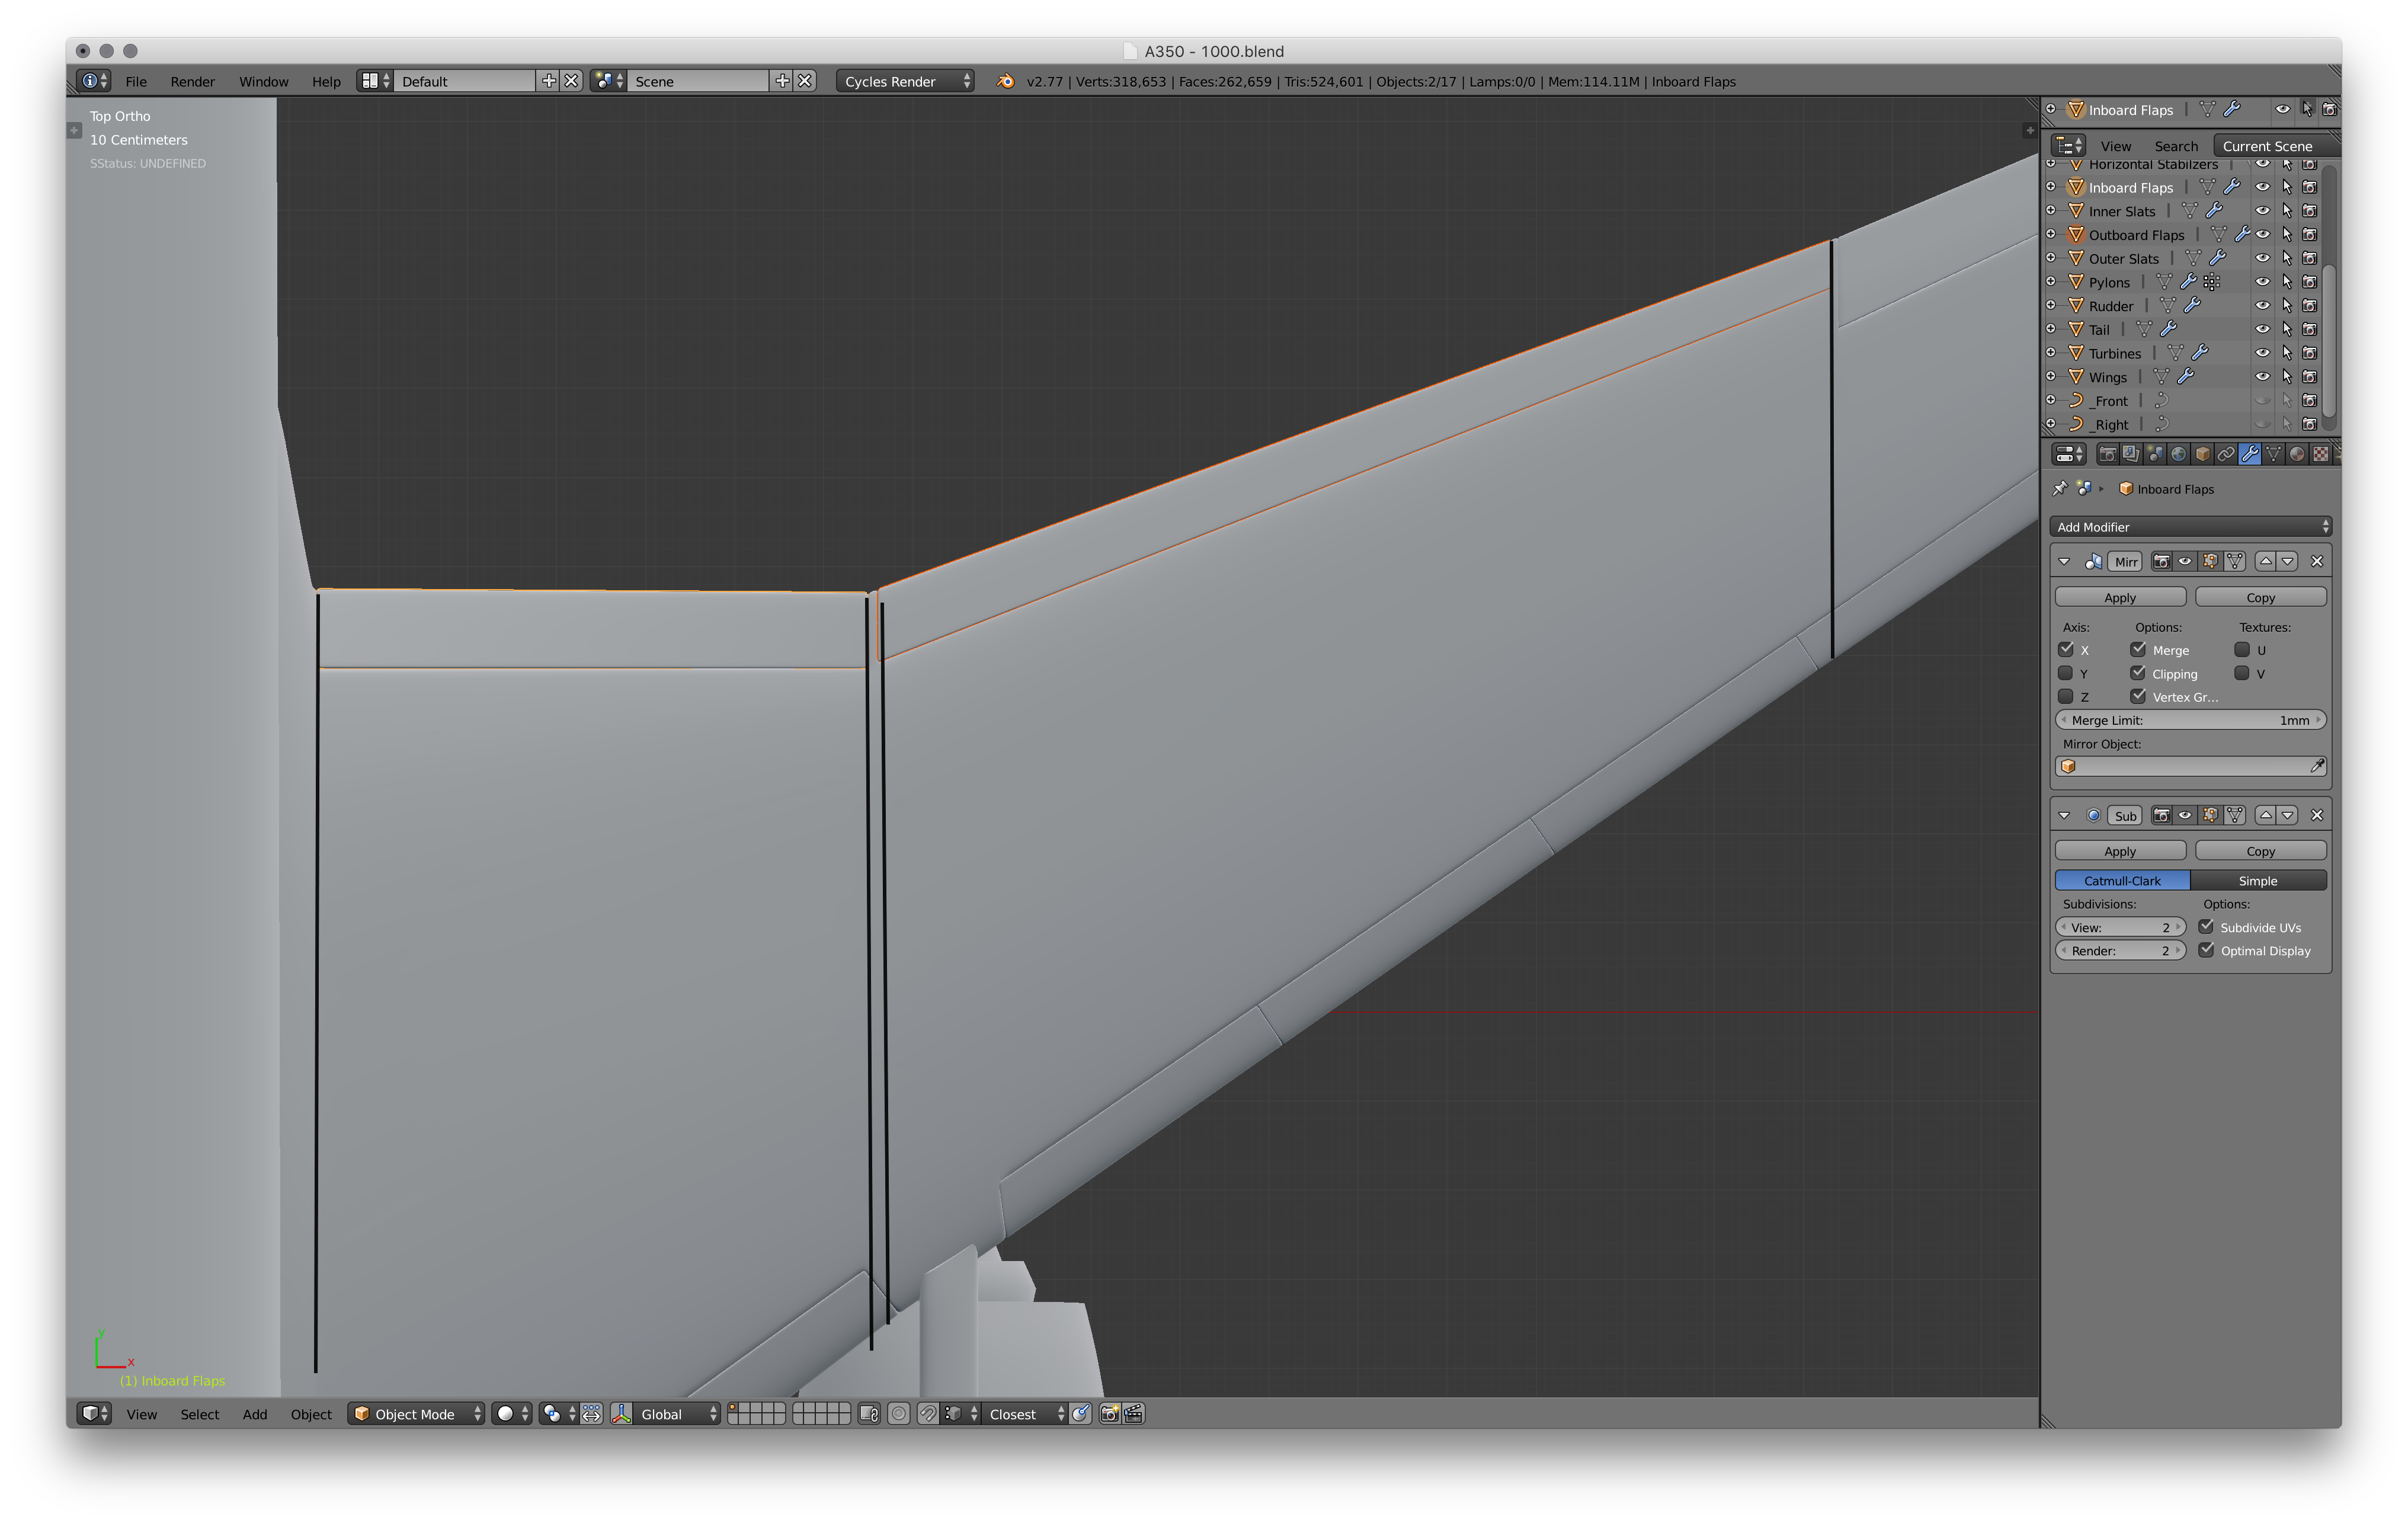
Almost finished with the flight surfaces now! Just the flaps and spoilers left. Unfortunately the blueprint does not show any flaps, so we have to model them purely based off references. Here we can see a great reference for just about anything on the A350. There are two different flaps on this plane, the inboard and outboard flaps. The inboard flap starts from the very base of the wing, and the other side ends just before the engine pylon (see the image). The outboard flap starts after a small gap after the end of the inboard flap, and the other side ends just before the aileron starts (again, see the image). Use the same techniques used to model the other flight surfaces to create the flaps.
Model the Spoilers
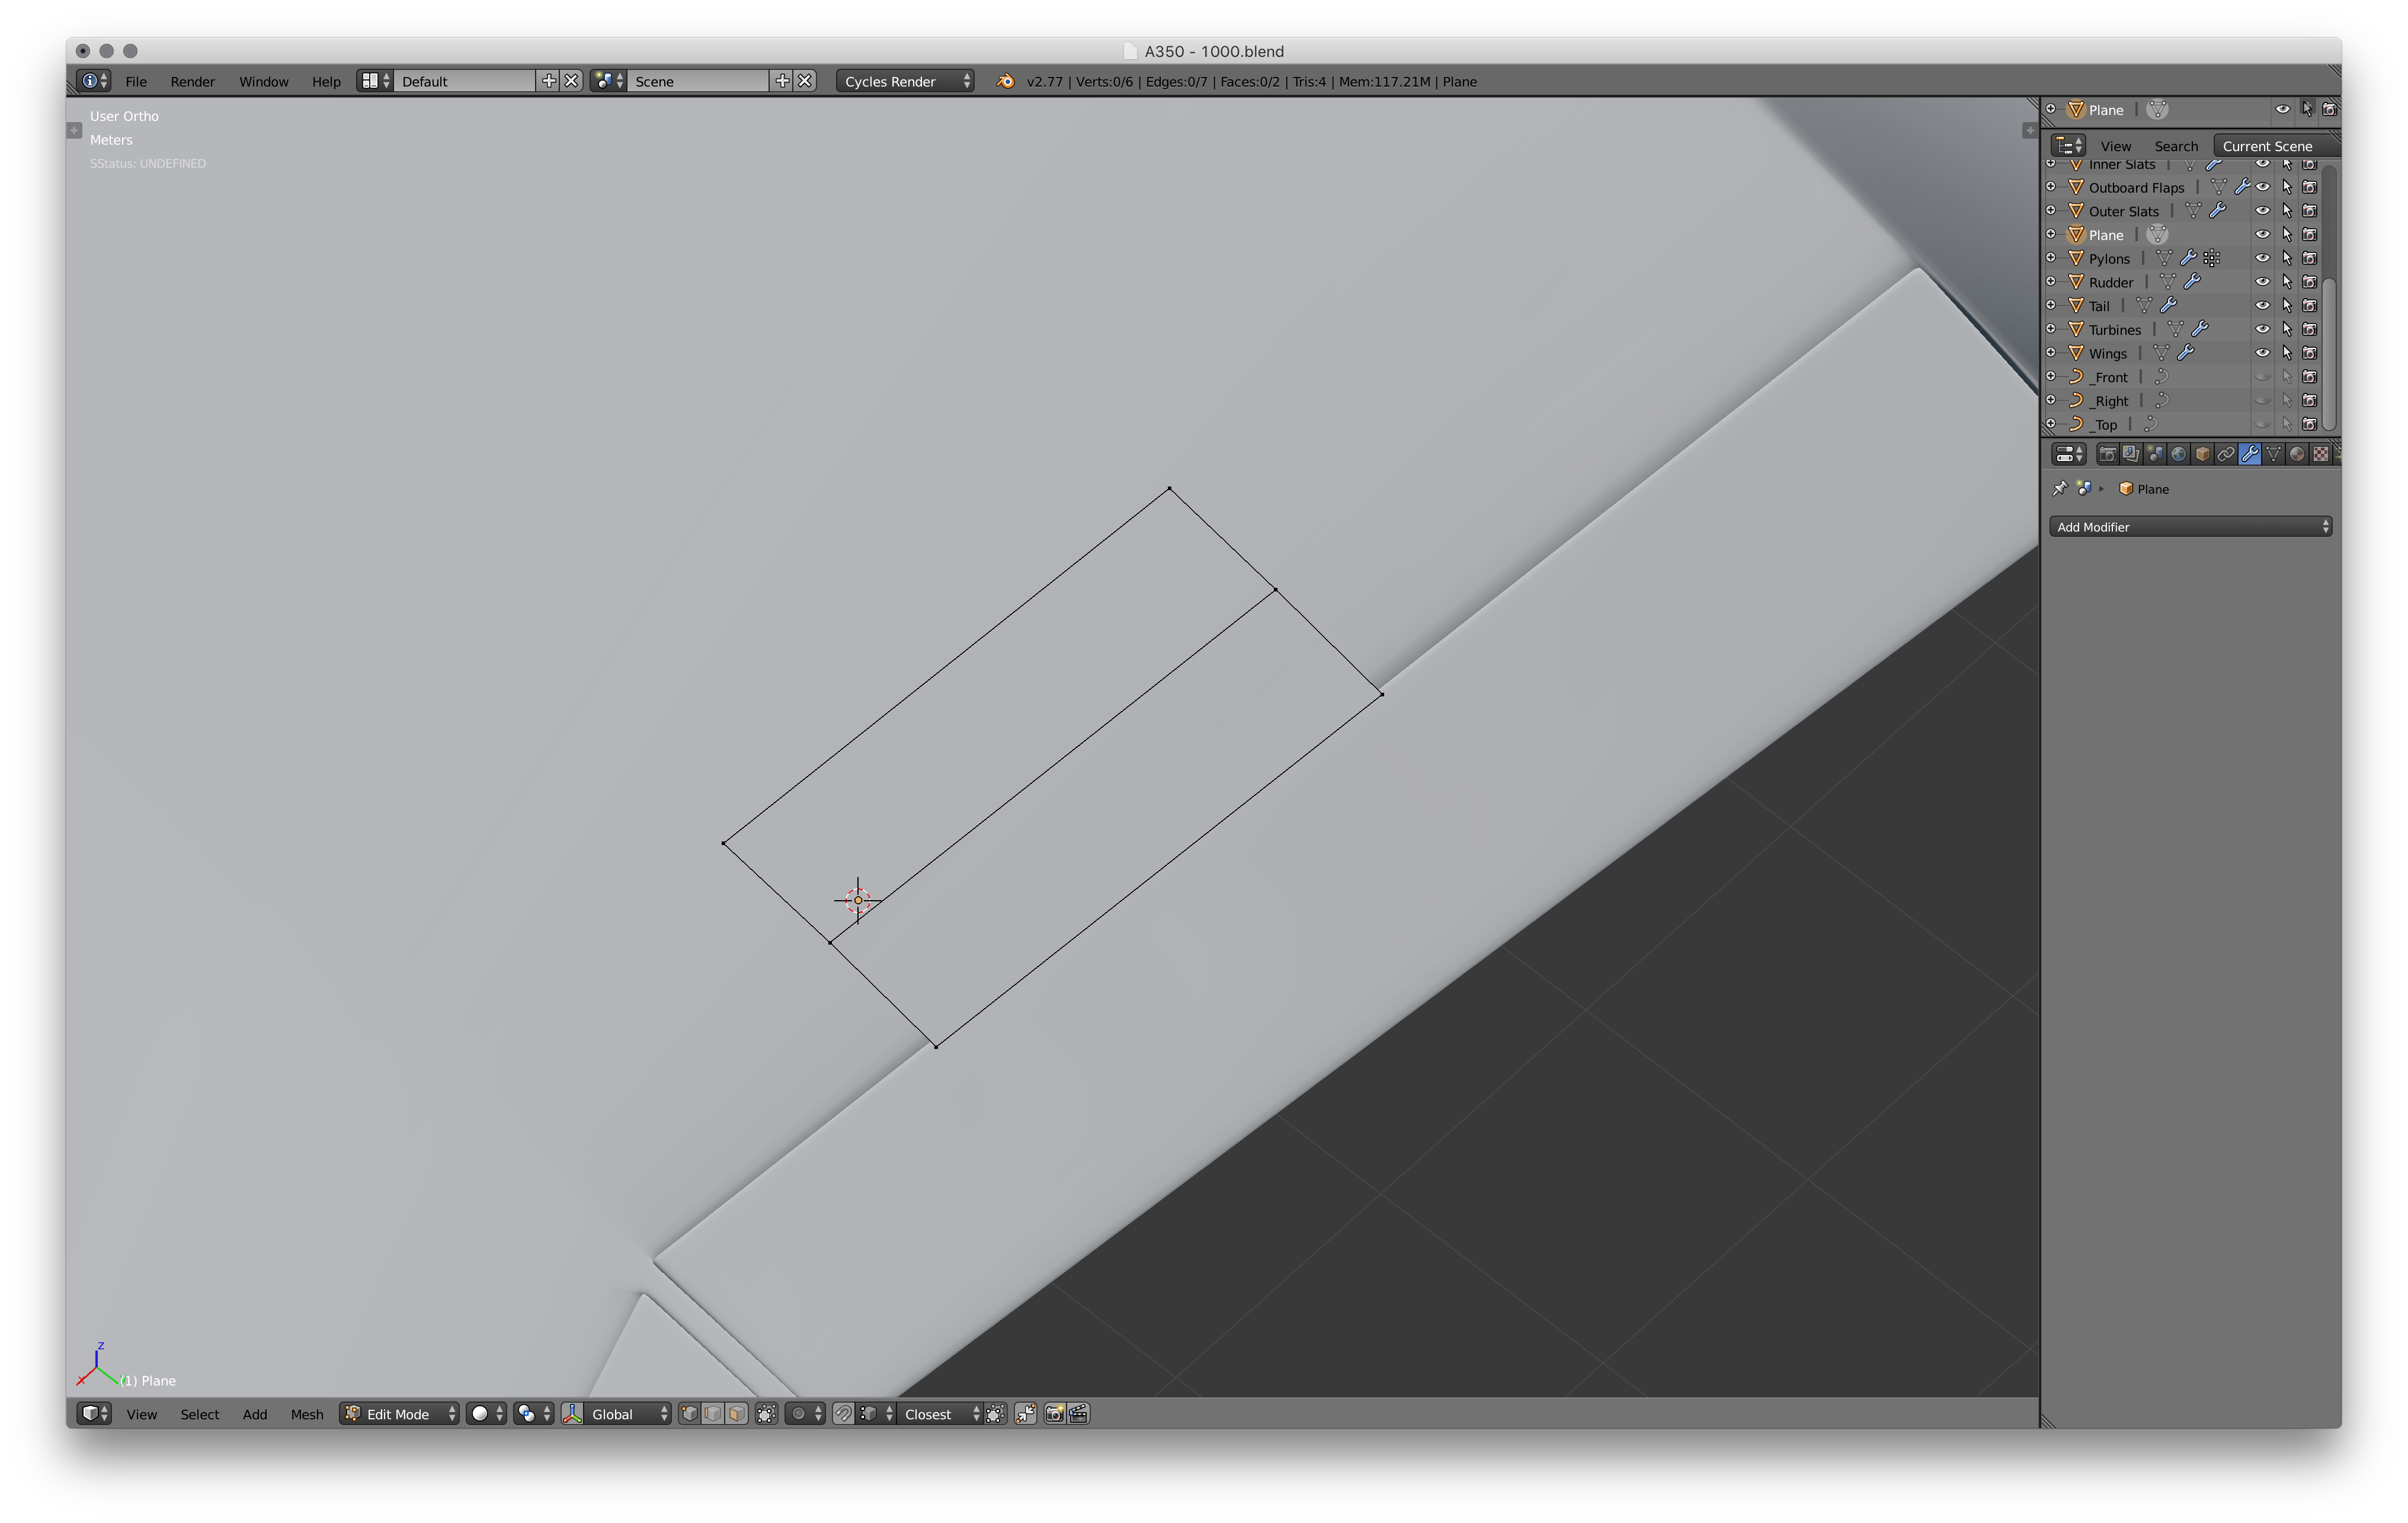
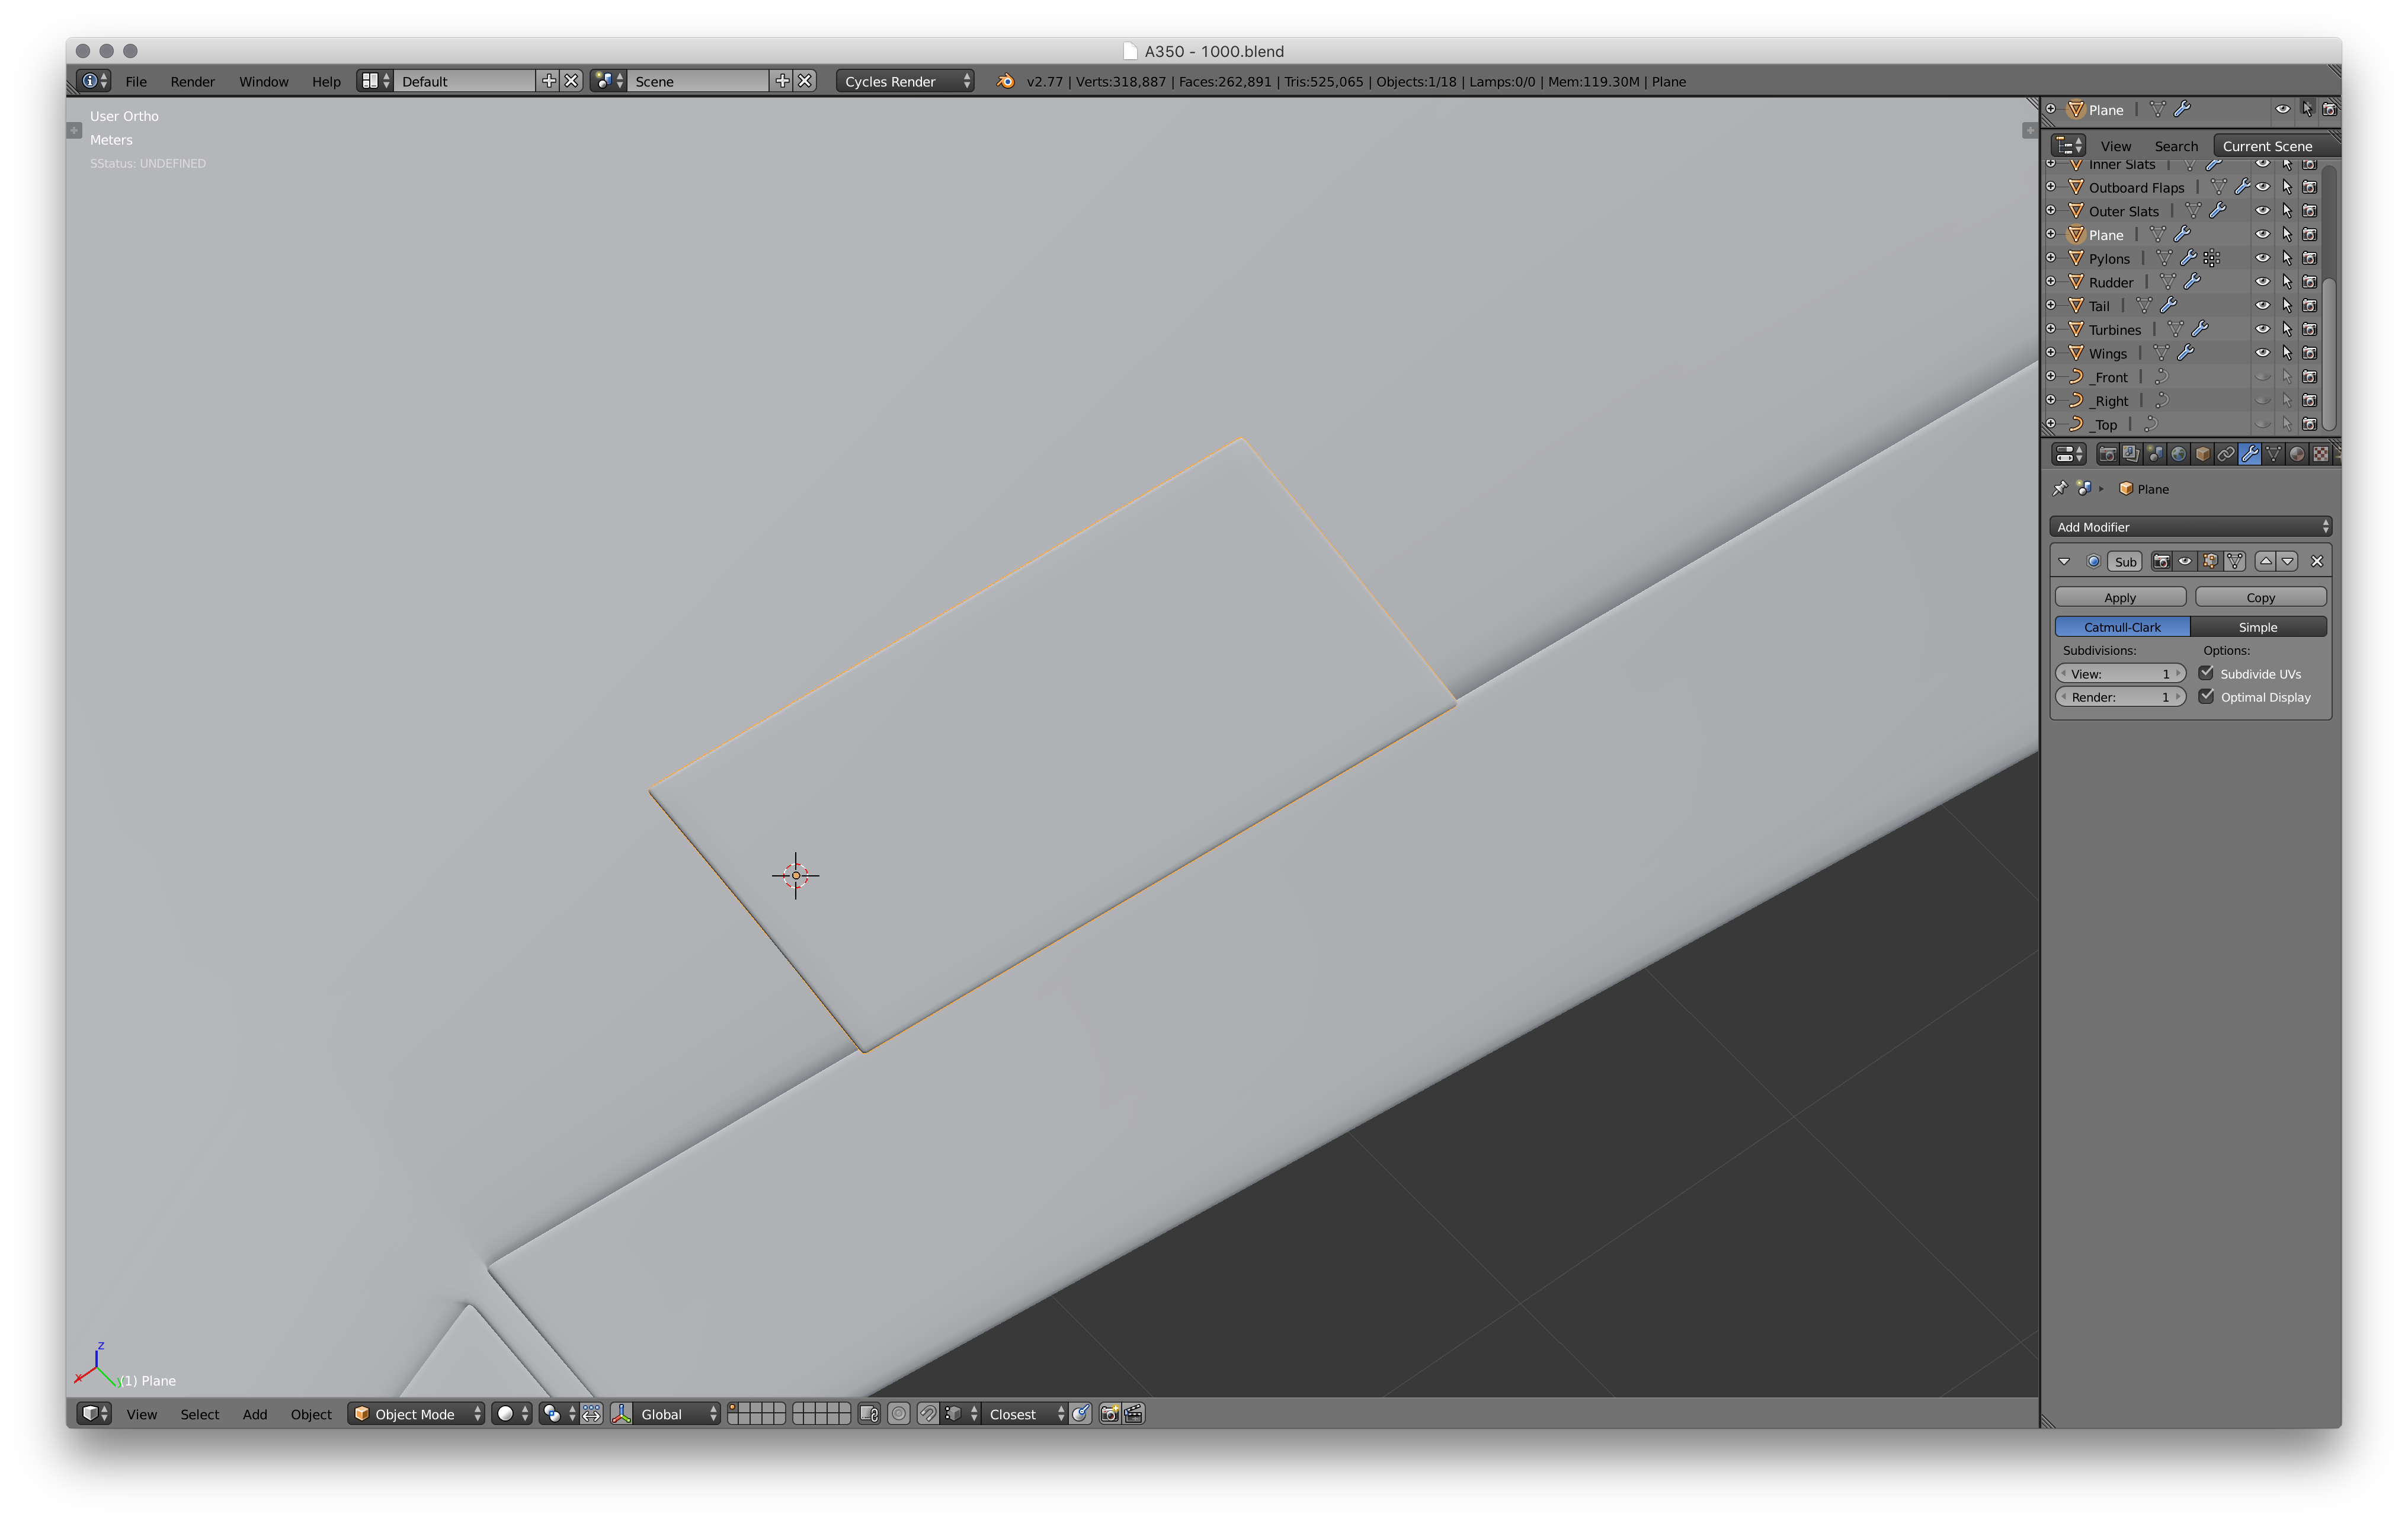
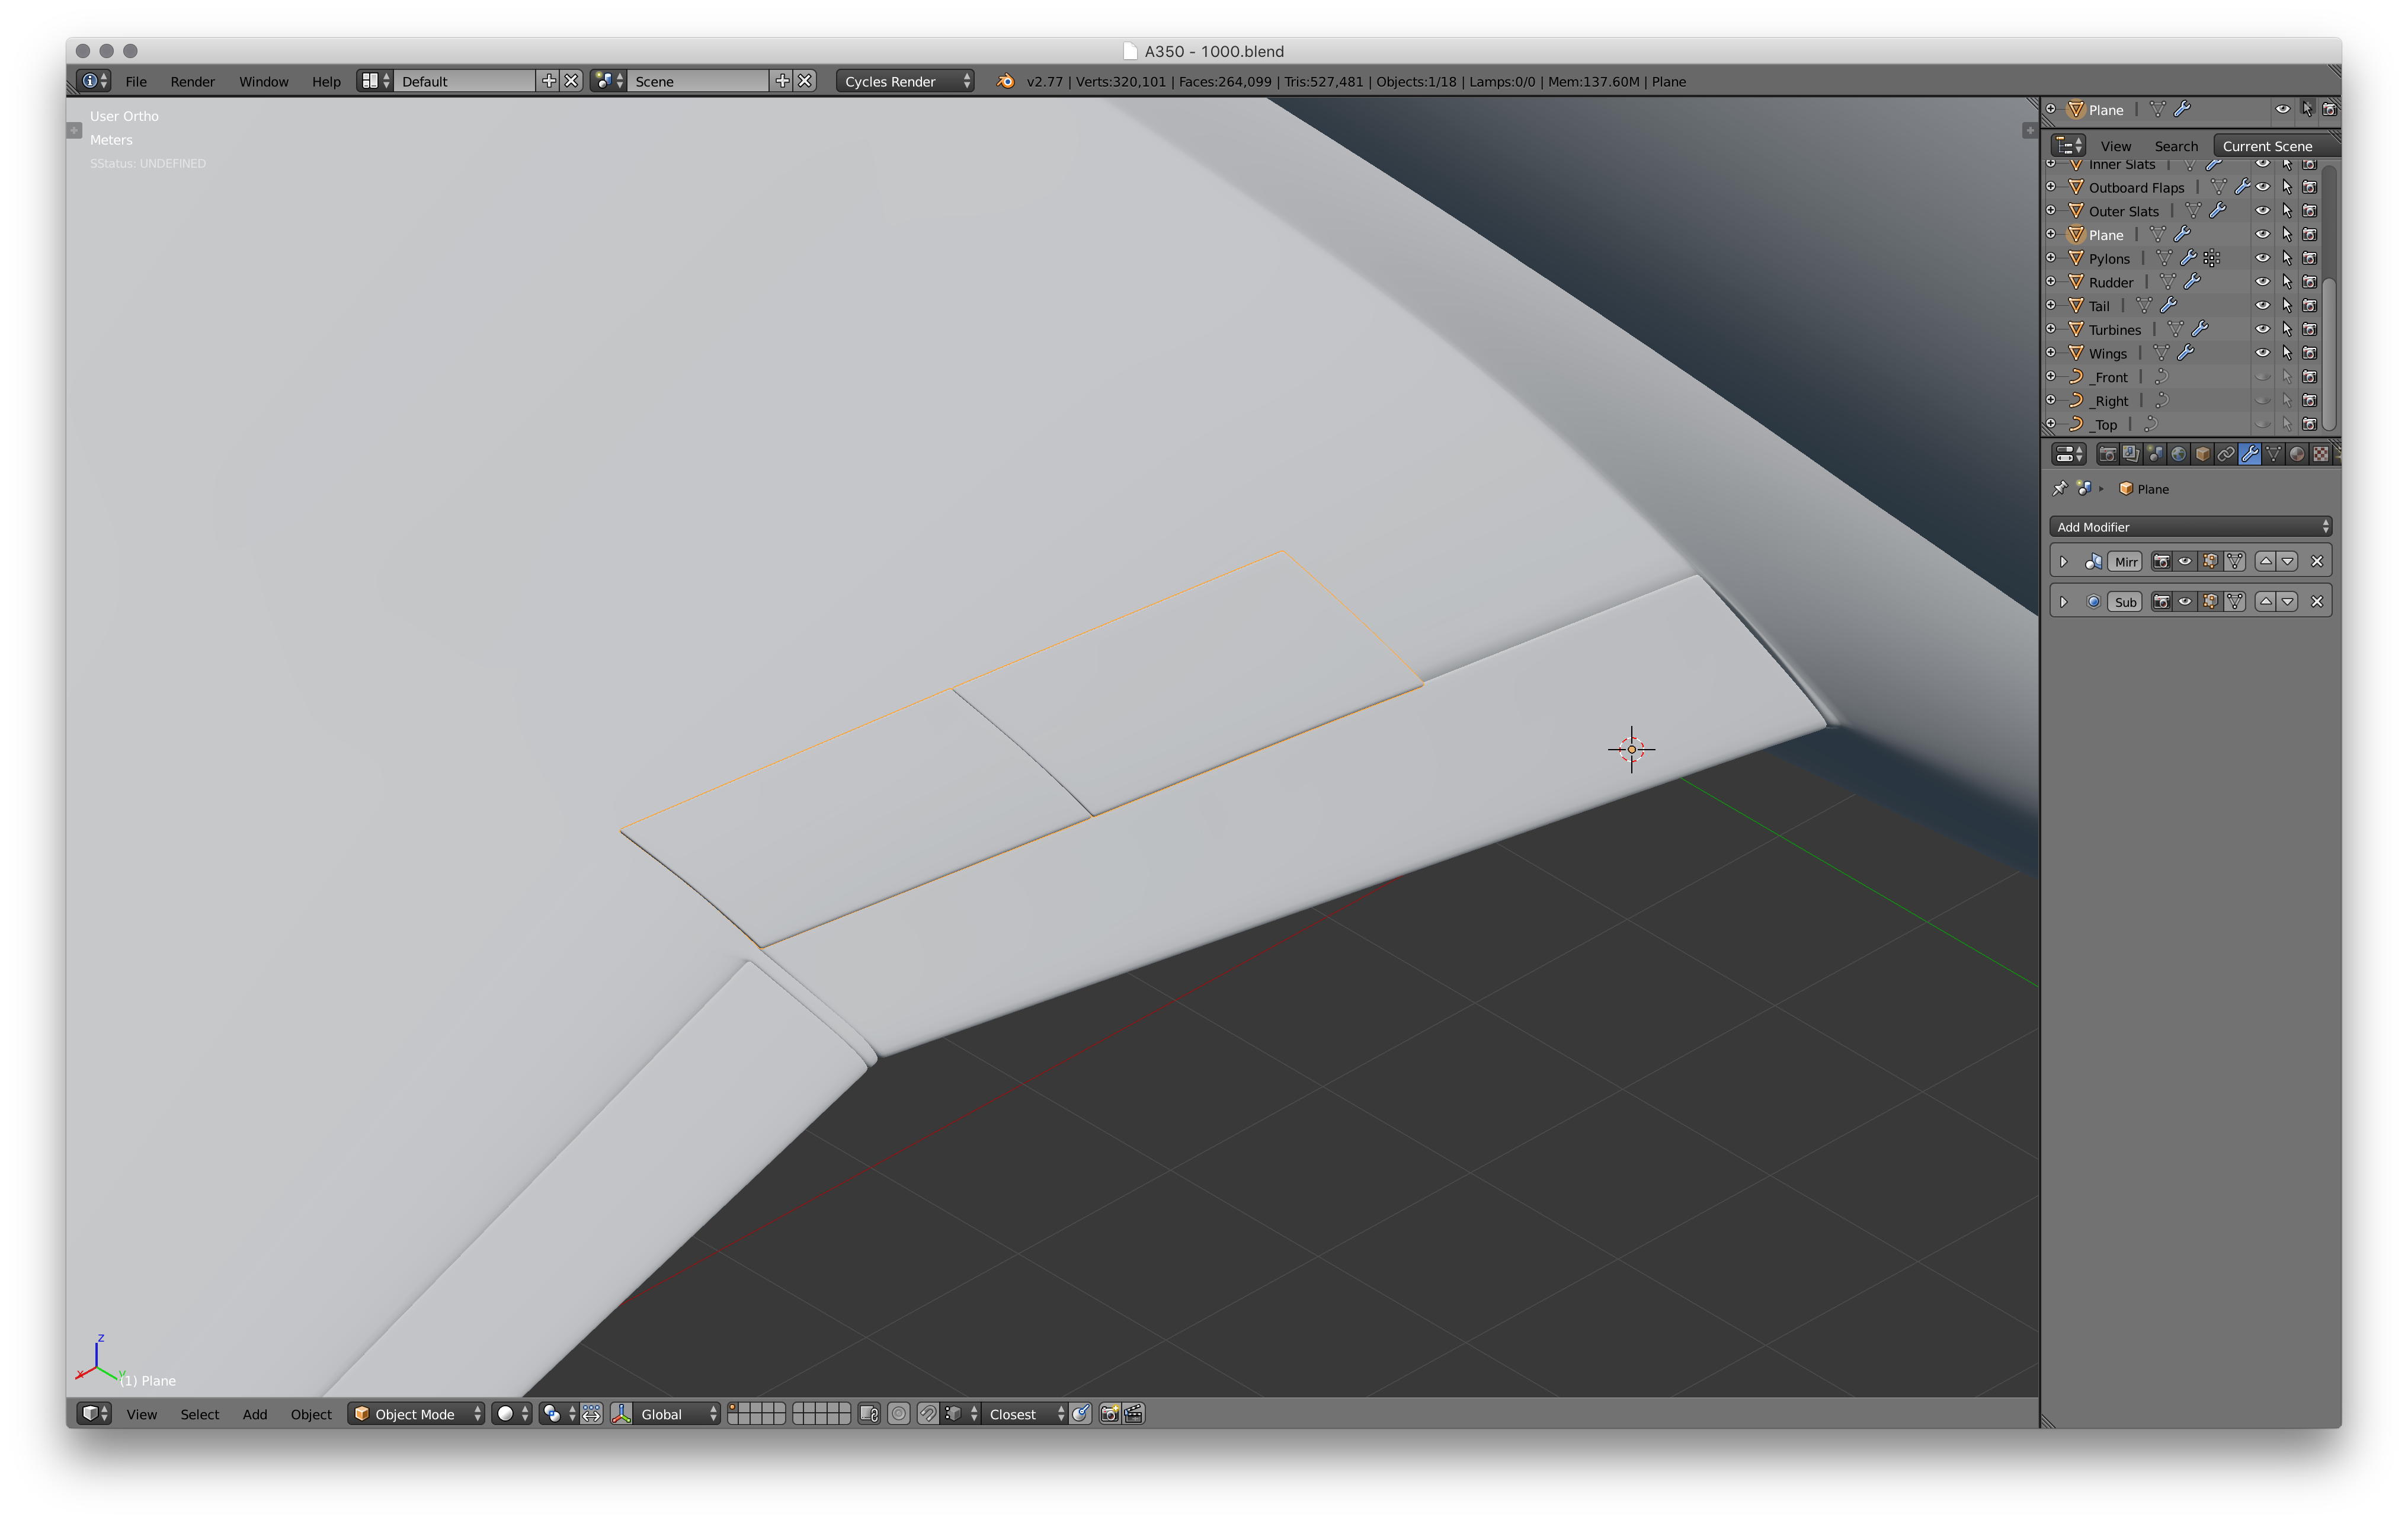
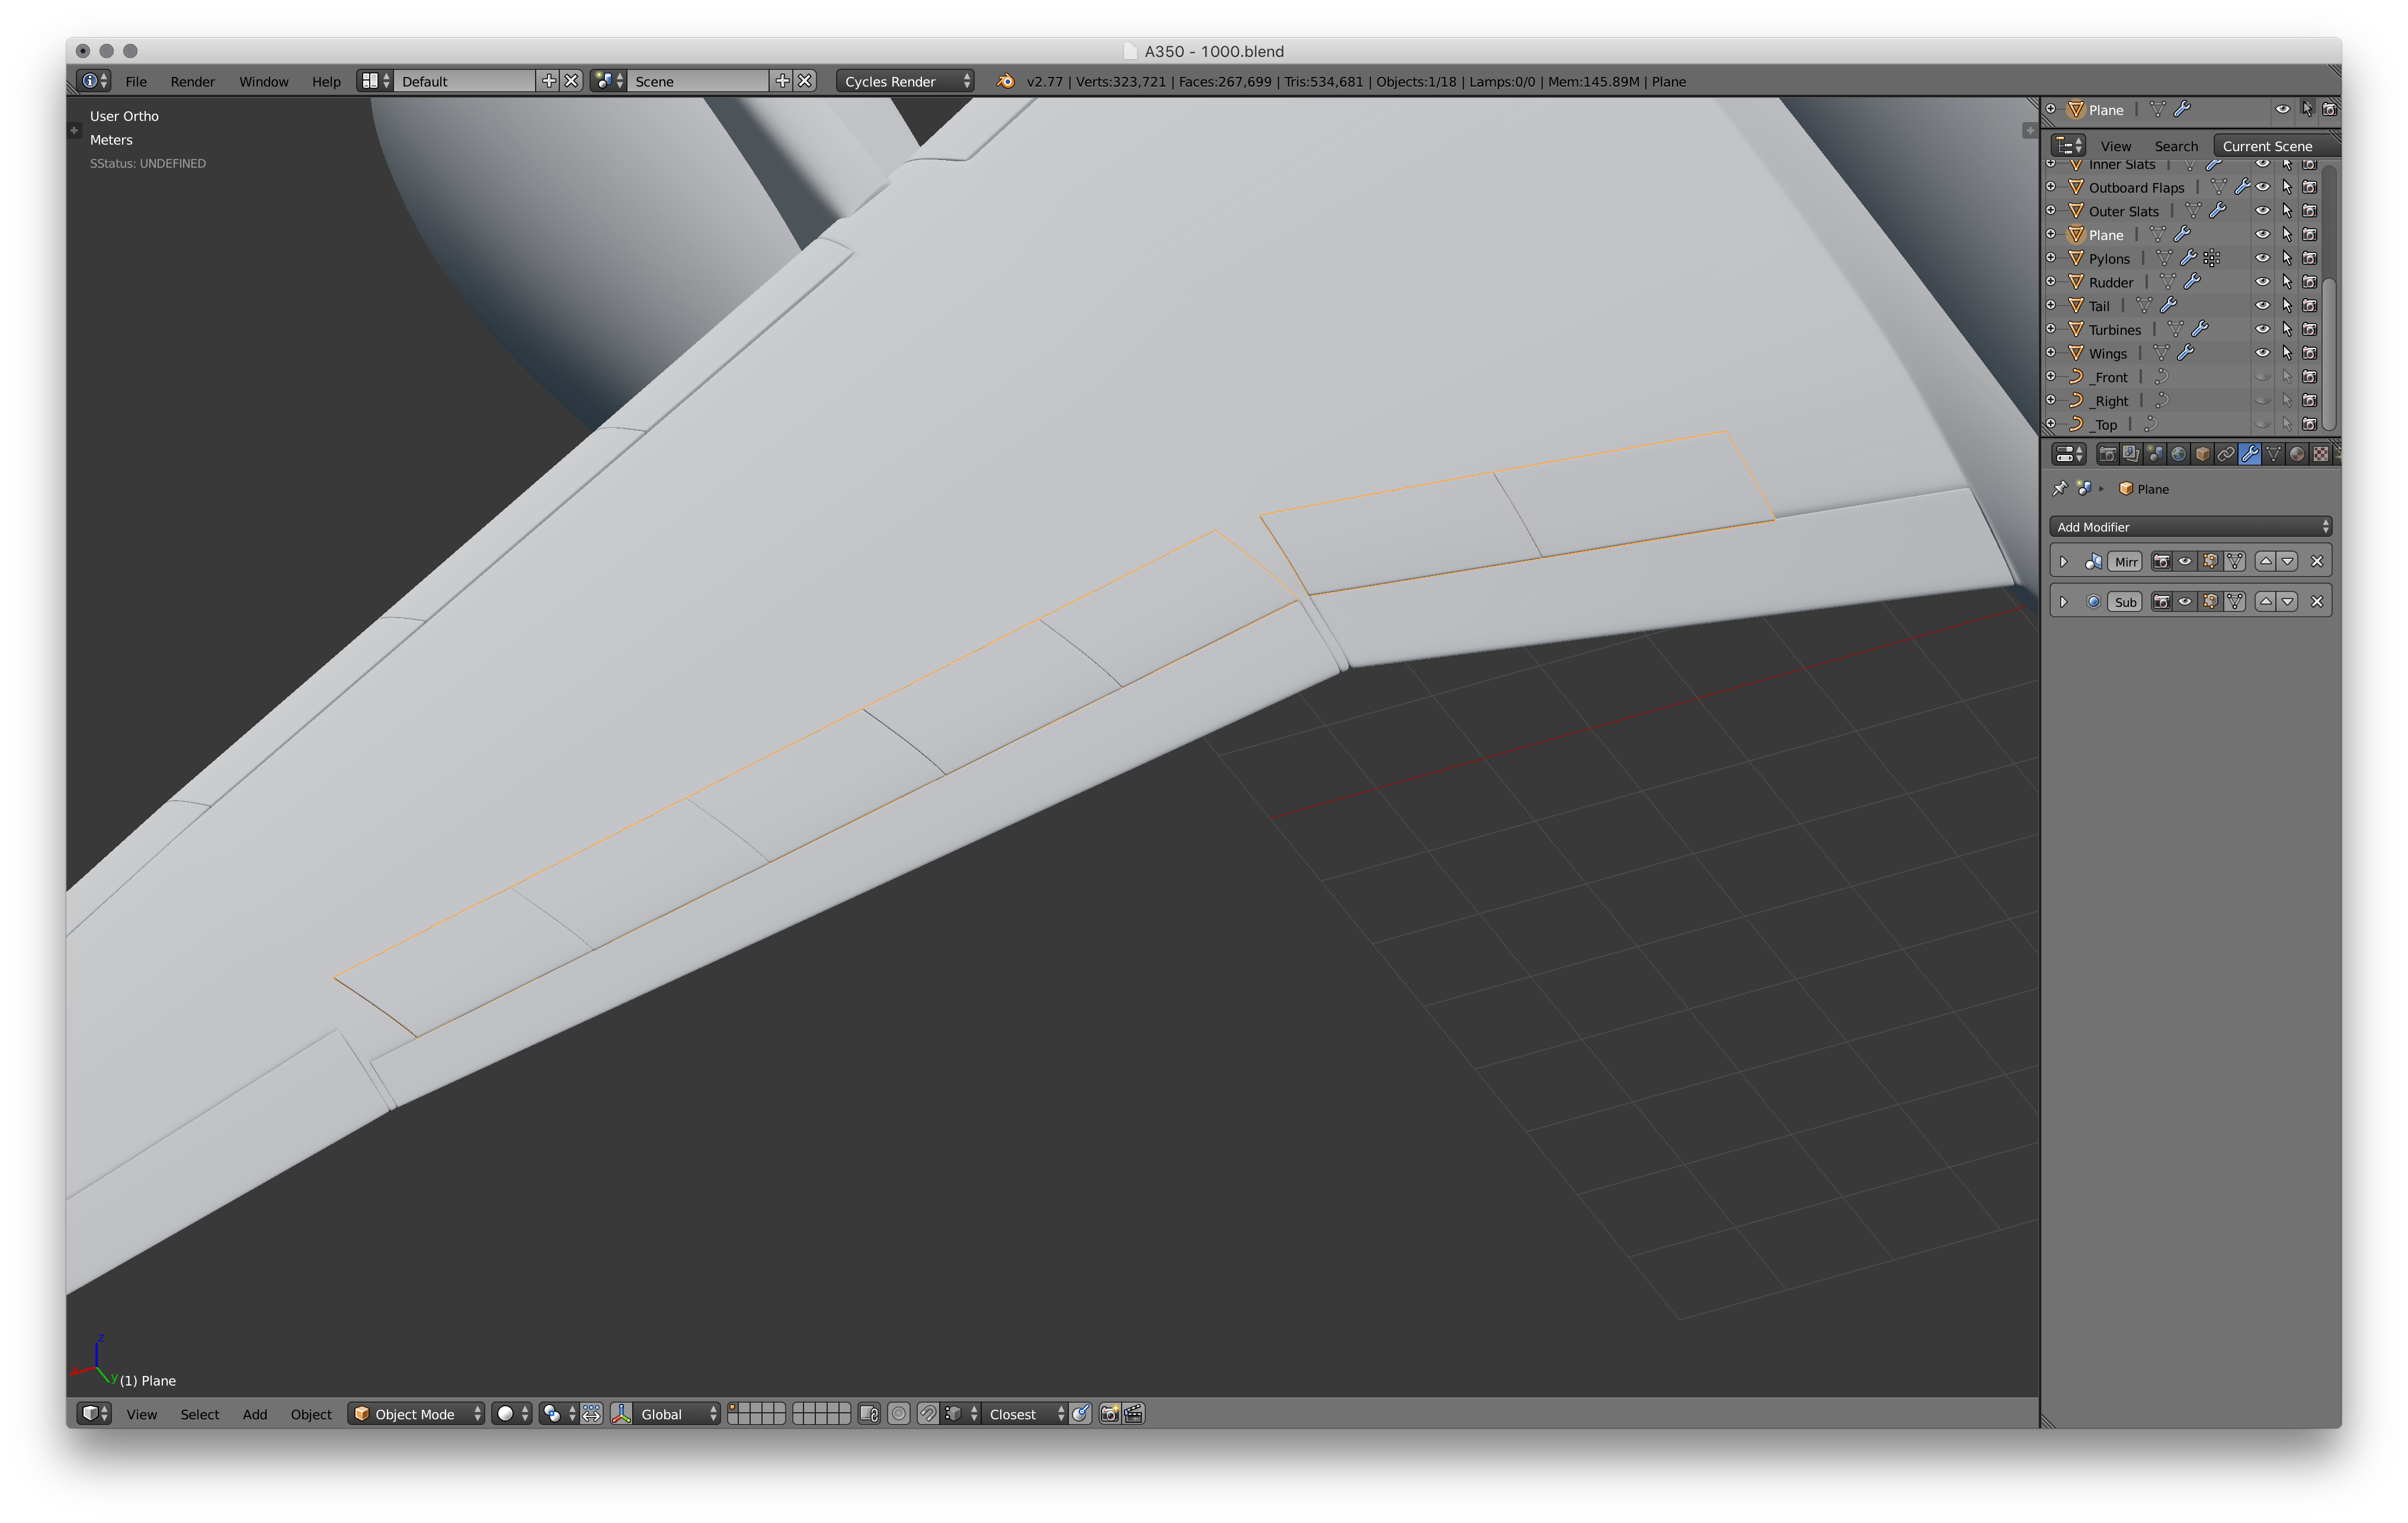
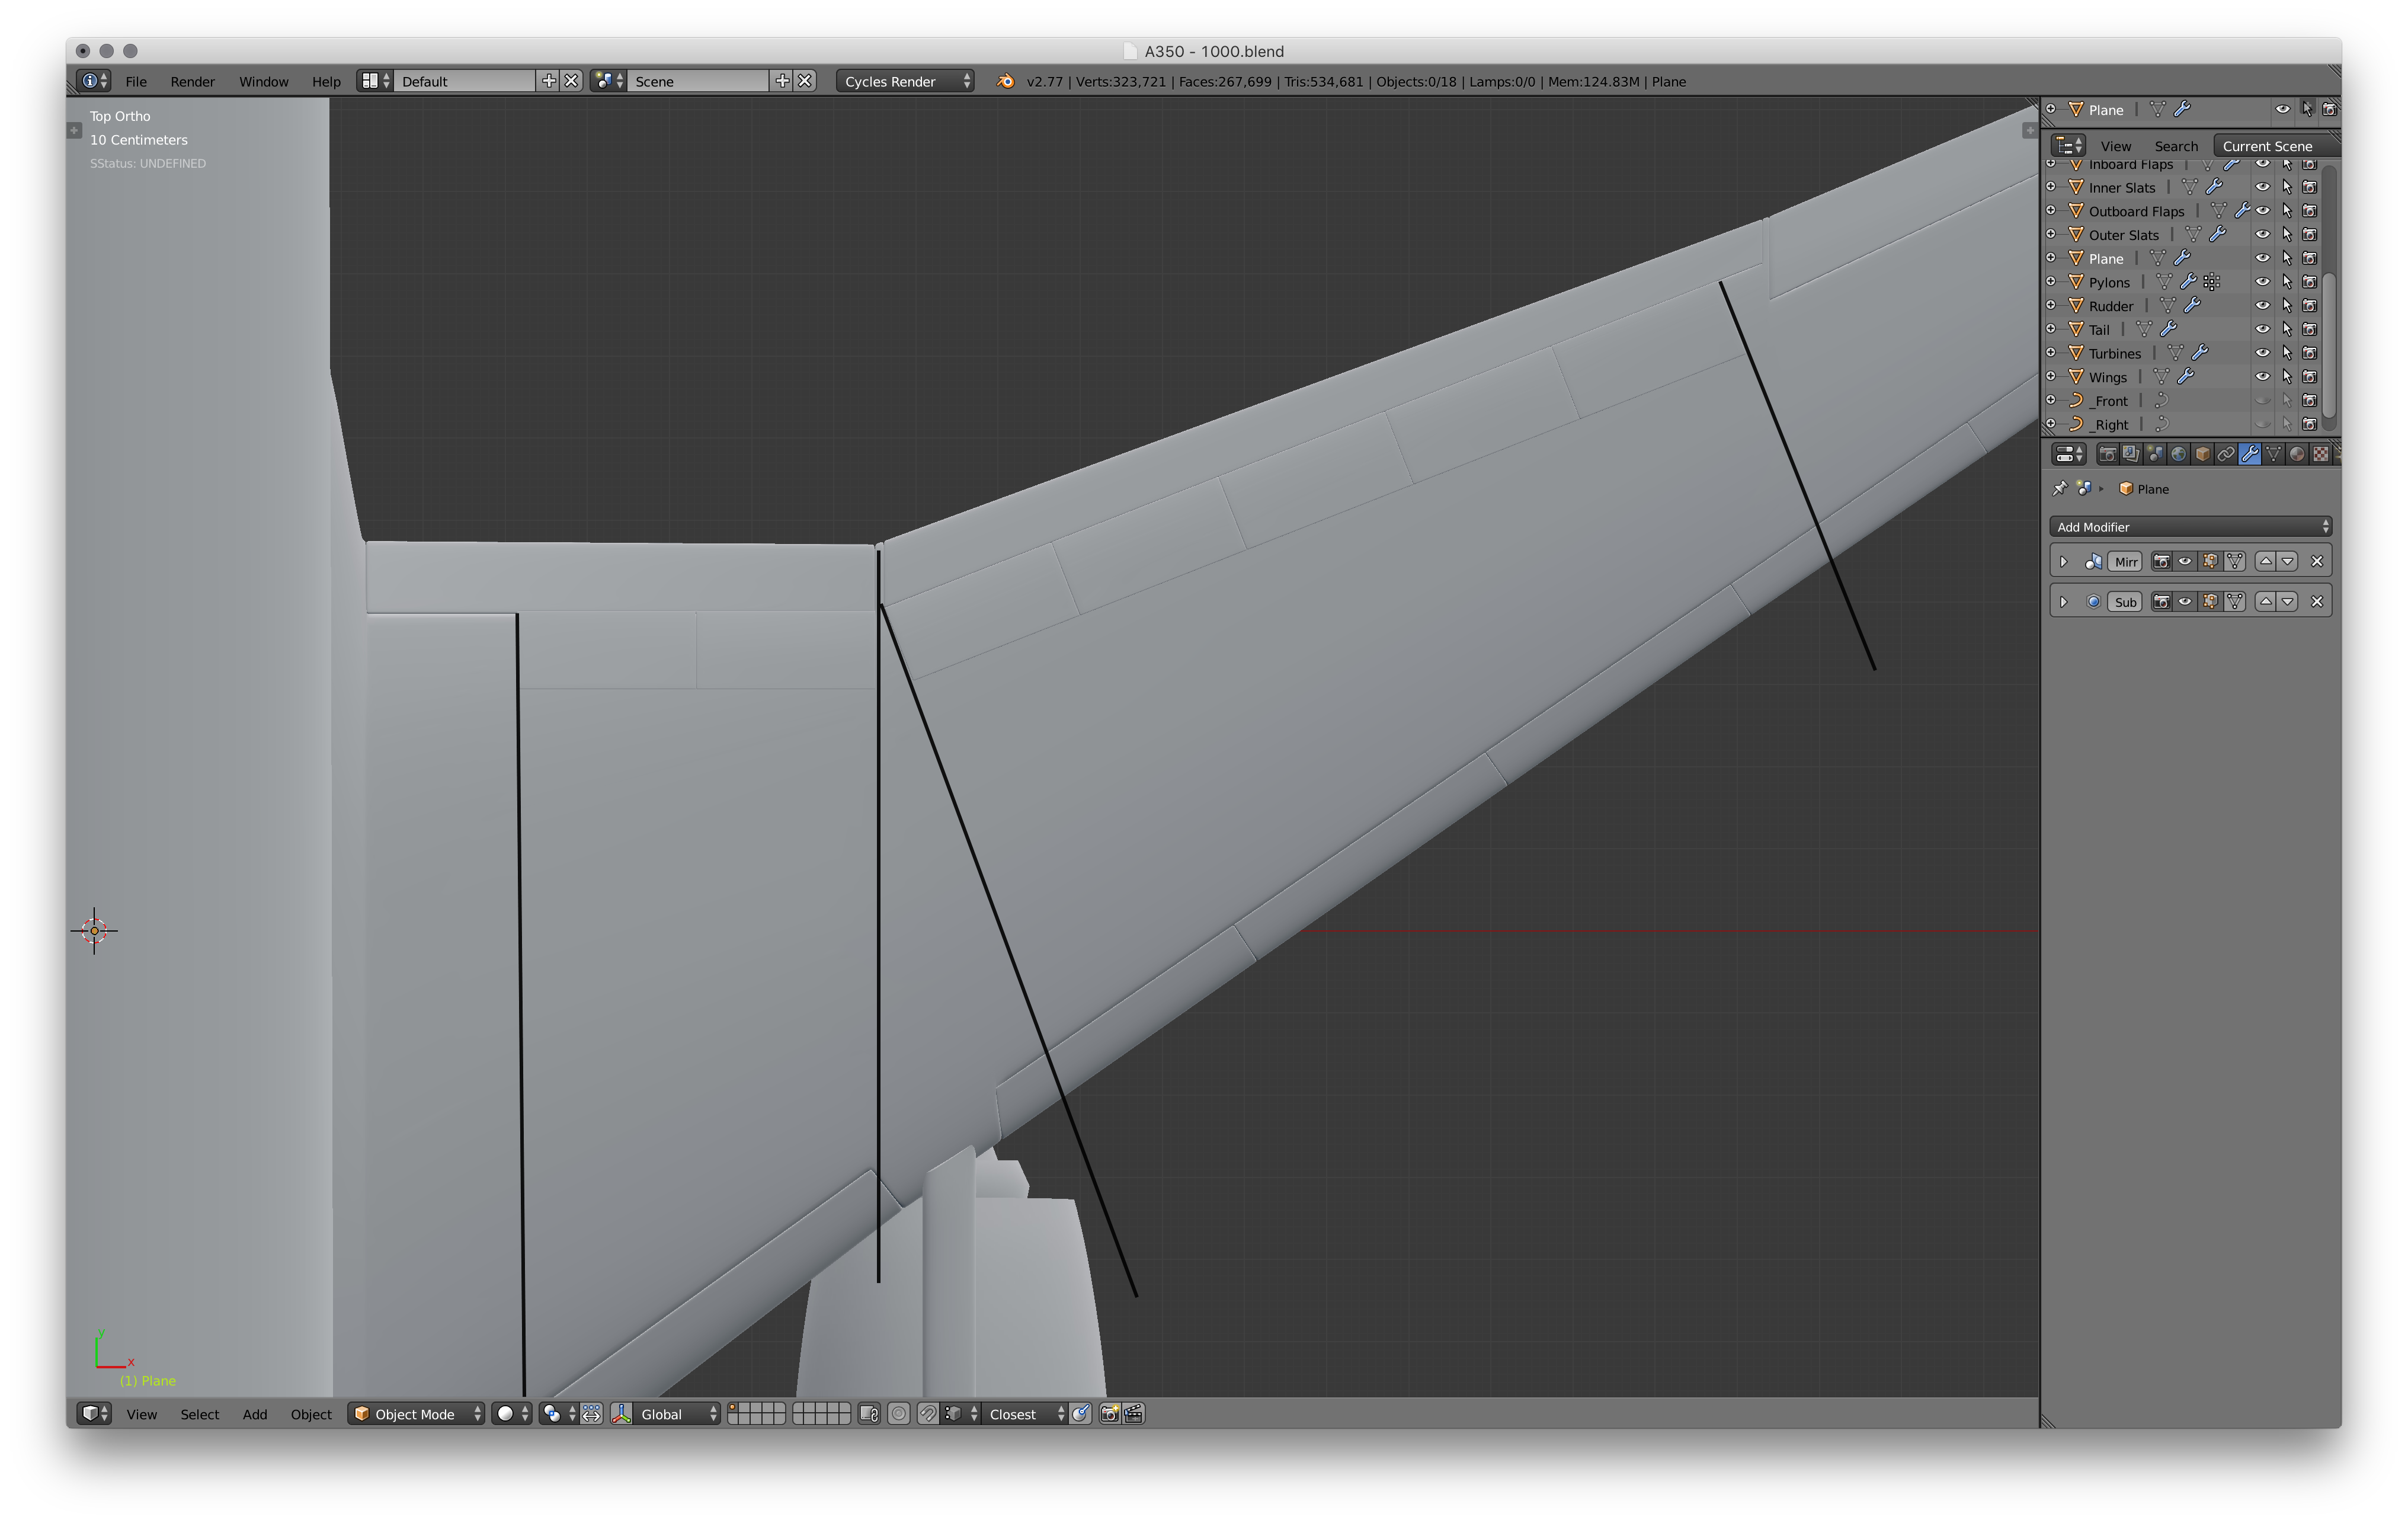
Also known as speed brakes, the spoilers will be the last flight surface we have to model. This time our blueprint does have the spoilers on there, however they are a little wonky so we will need to refer to our image again to make sure all is correct.
Start the Spoilers with a simple plane, you may want to add a loop cut in to make it slightly curved, just make sure it matches the surface of your wing. Then extrude up, and add some edge (proximity) loops to harden the edges. Next, position the spoiler roughly in place (see the images), and duplicate it. Put the new one next to it, making sure they line up. Then position the two of them in line with the outer edge of the inboard flaps, making sure to slightly overlap the spoilers with the flaps, but only a small amount. Now duplicate the spoilers until you have 5 more, line them all up again. Now rotate them until they match the rotation of the outboard flap and position them slightly overlapping the flaps. Now make sure that all the spoilers are evenly position on the vertical axis, making sure every edge is consistent.
The Completed Flight Surfaces
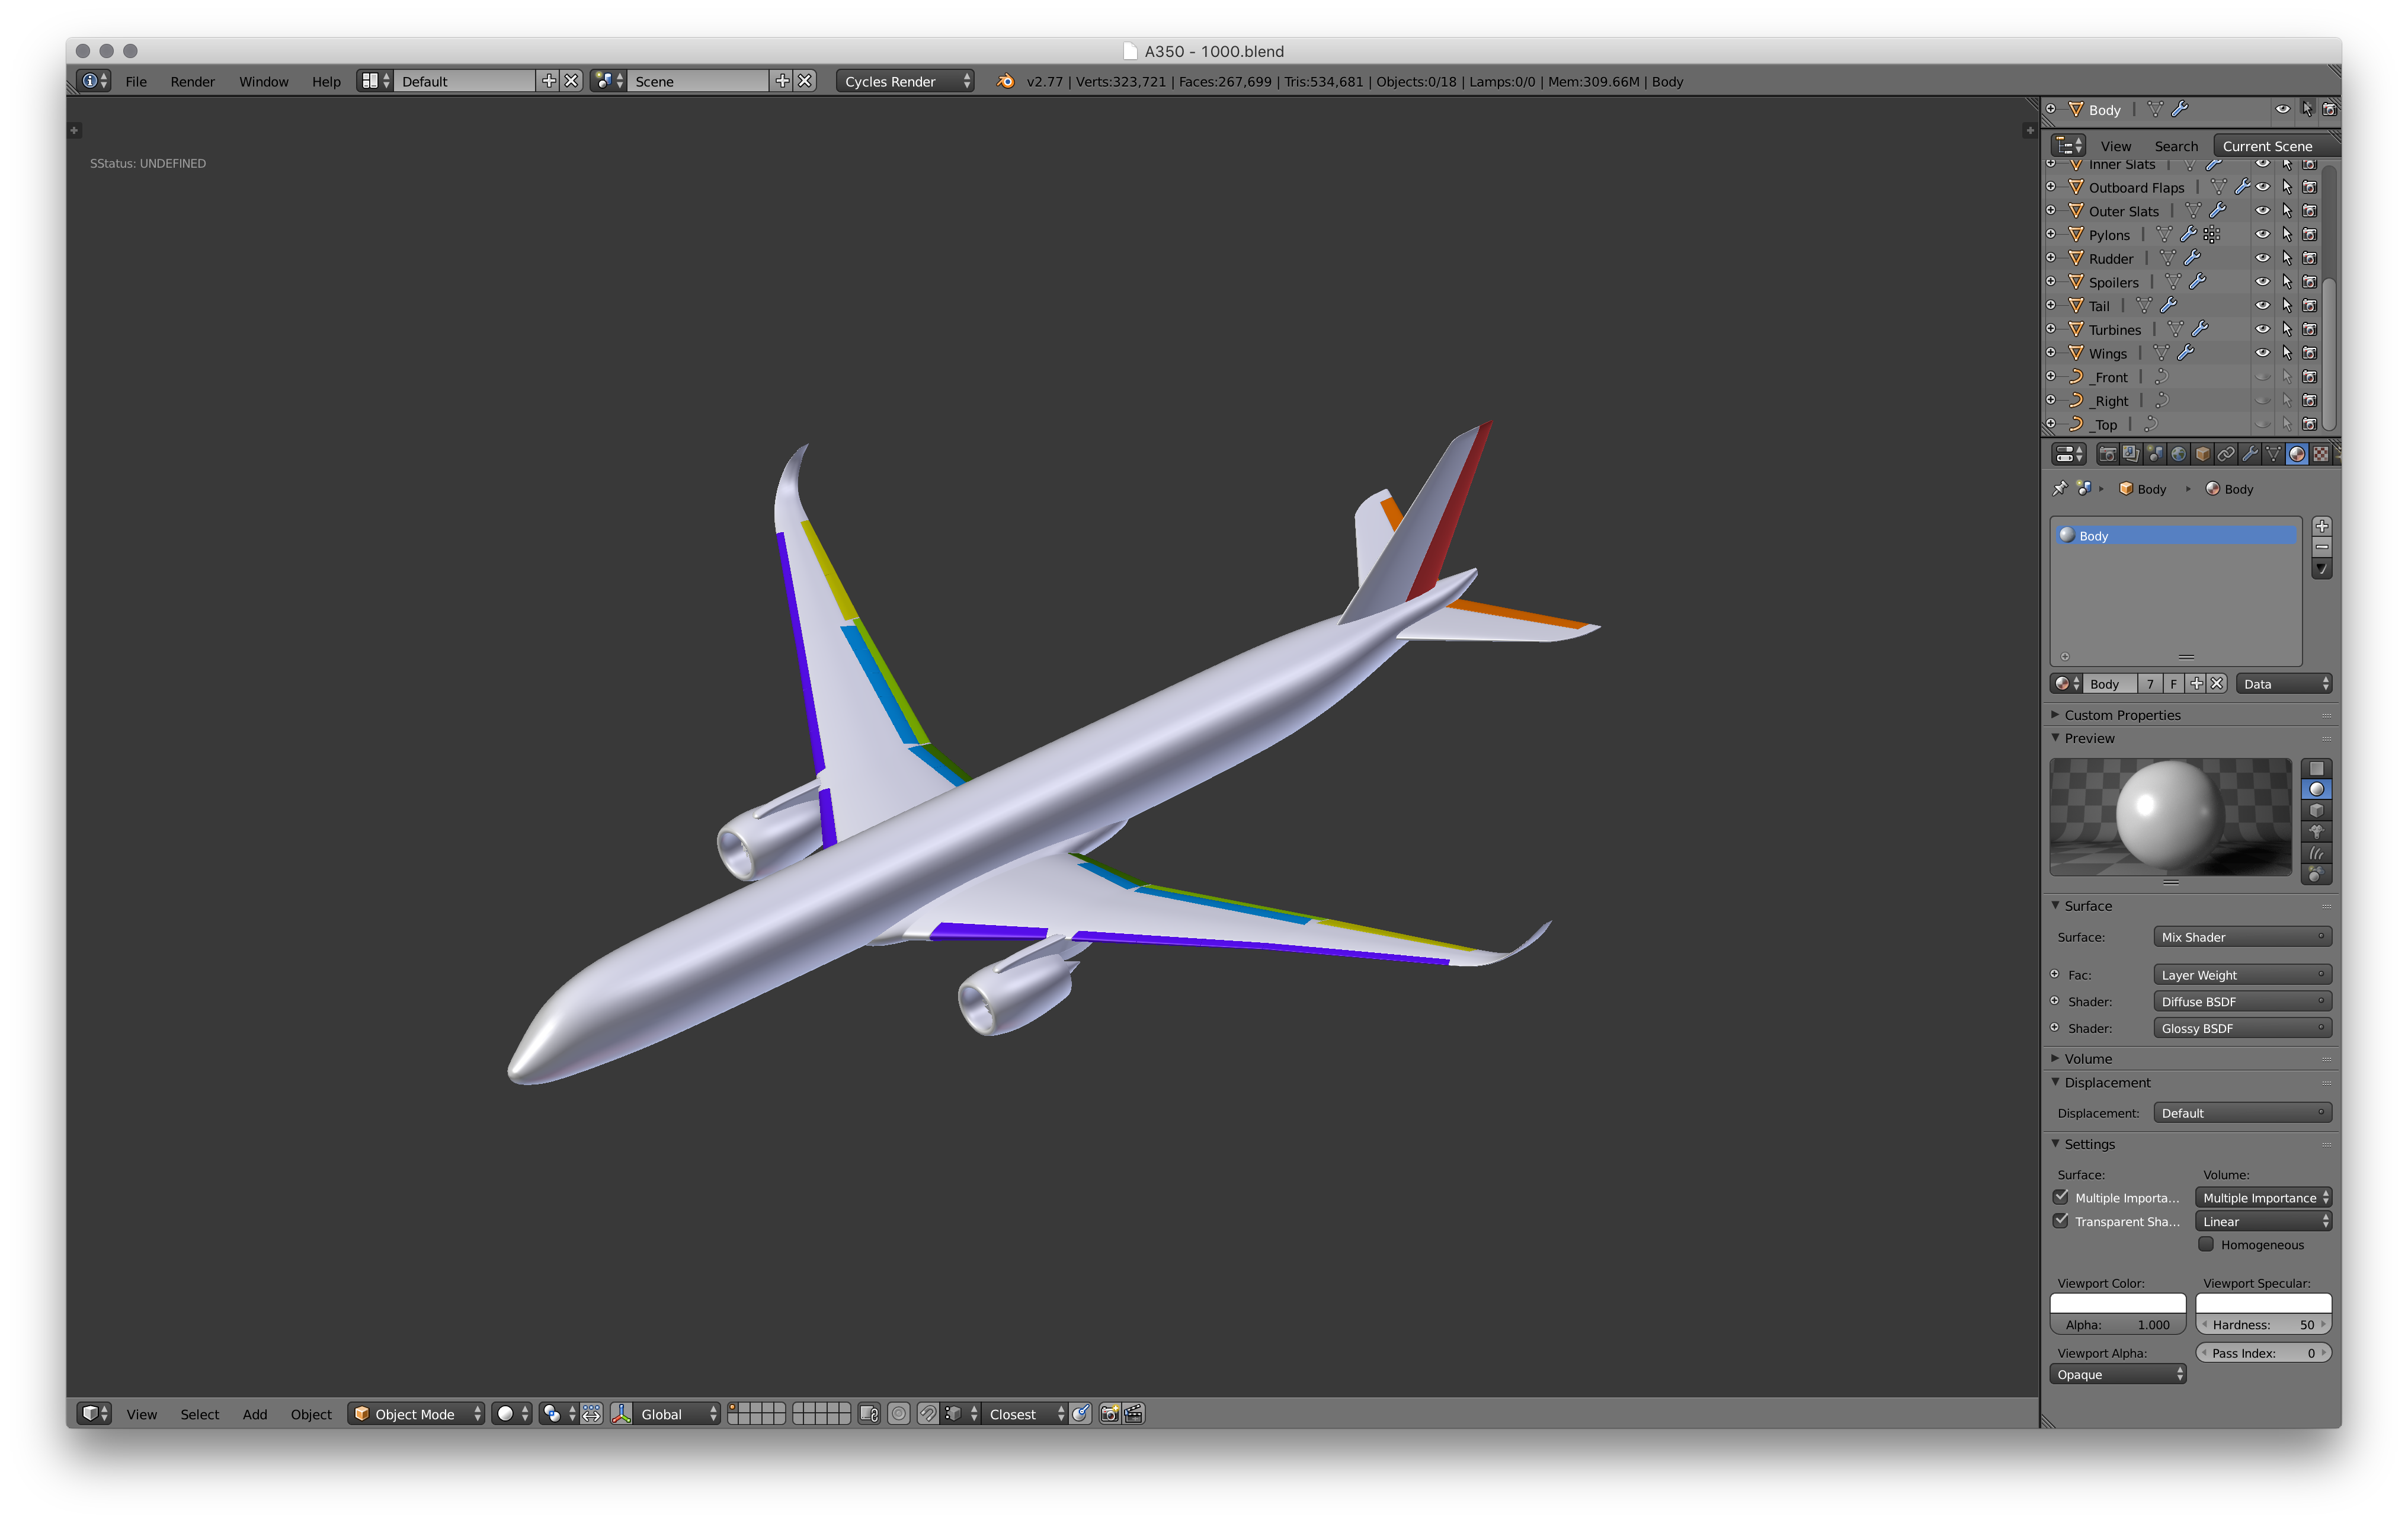
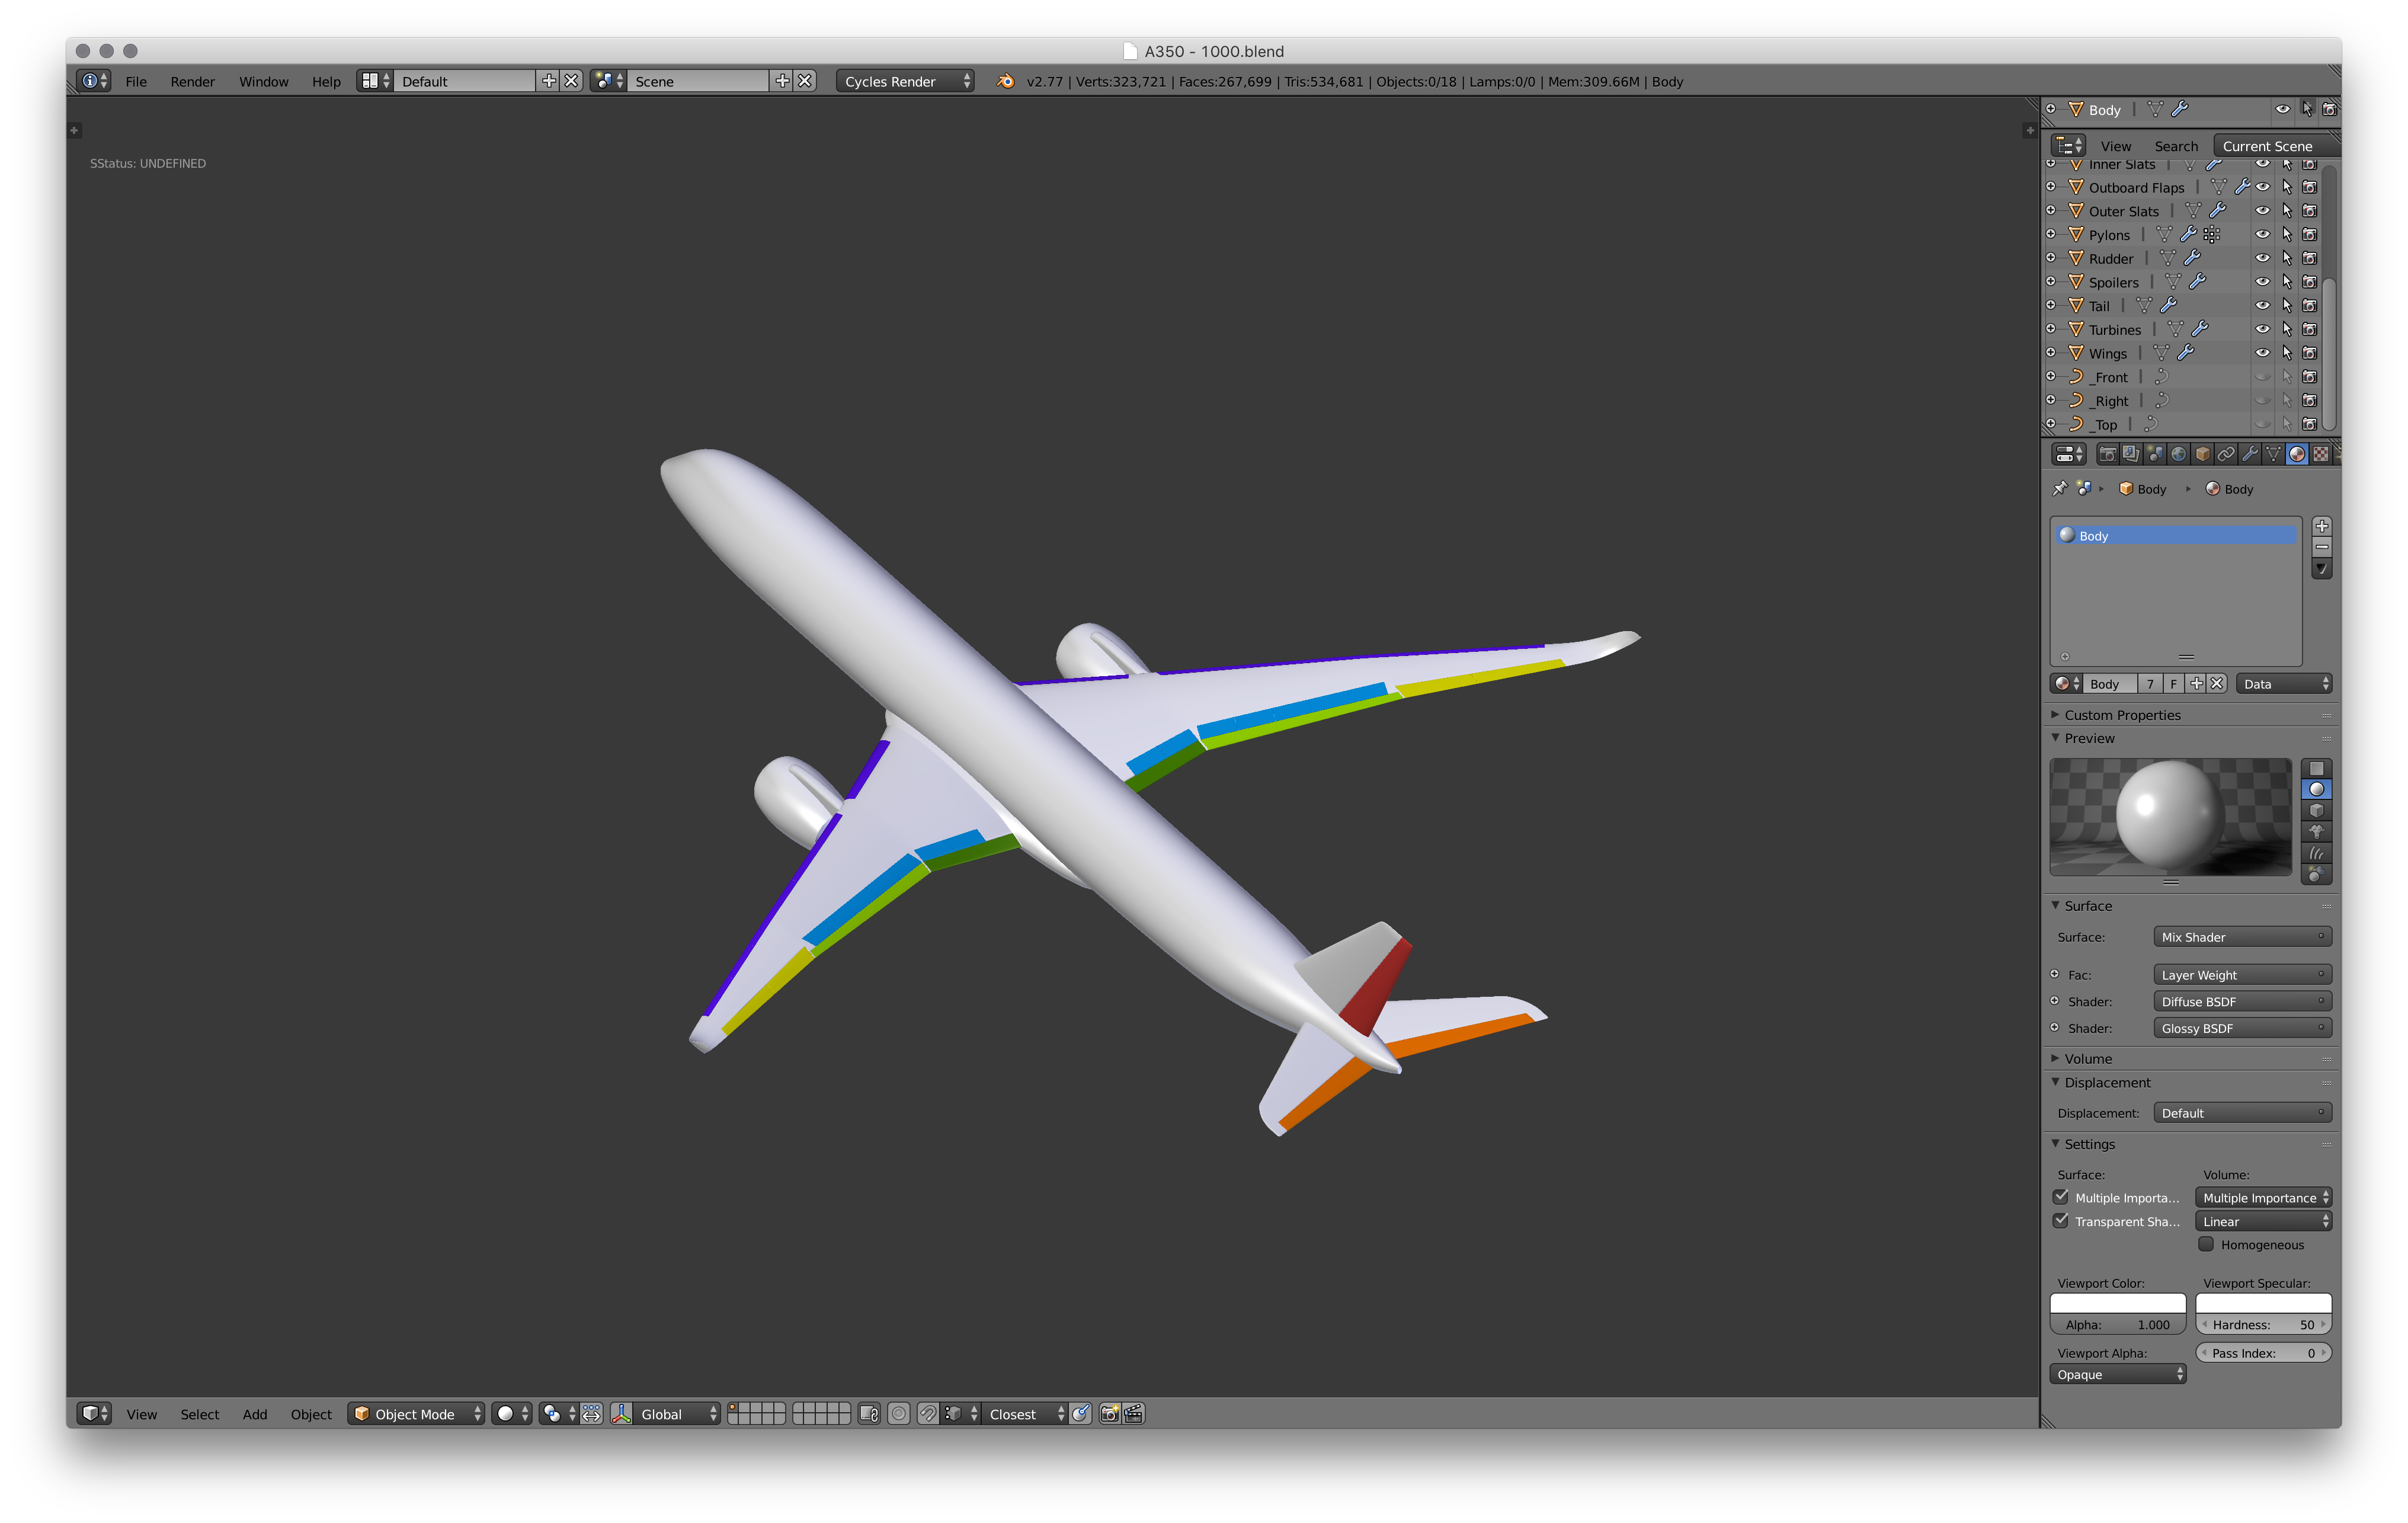
Well done on getting this far! You've now completed the flight surfaces! Check the images to make sure you've got them all!
Red: Rudder
Orange: Elevators
Yellow: Ailerons
Green (Light): Outboard Flaps
Green (Dark): Inboard Flaps
Blue: Spoilers
Purple: Slats
Flap Track Fairings
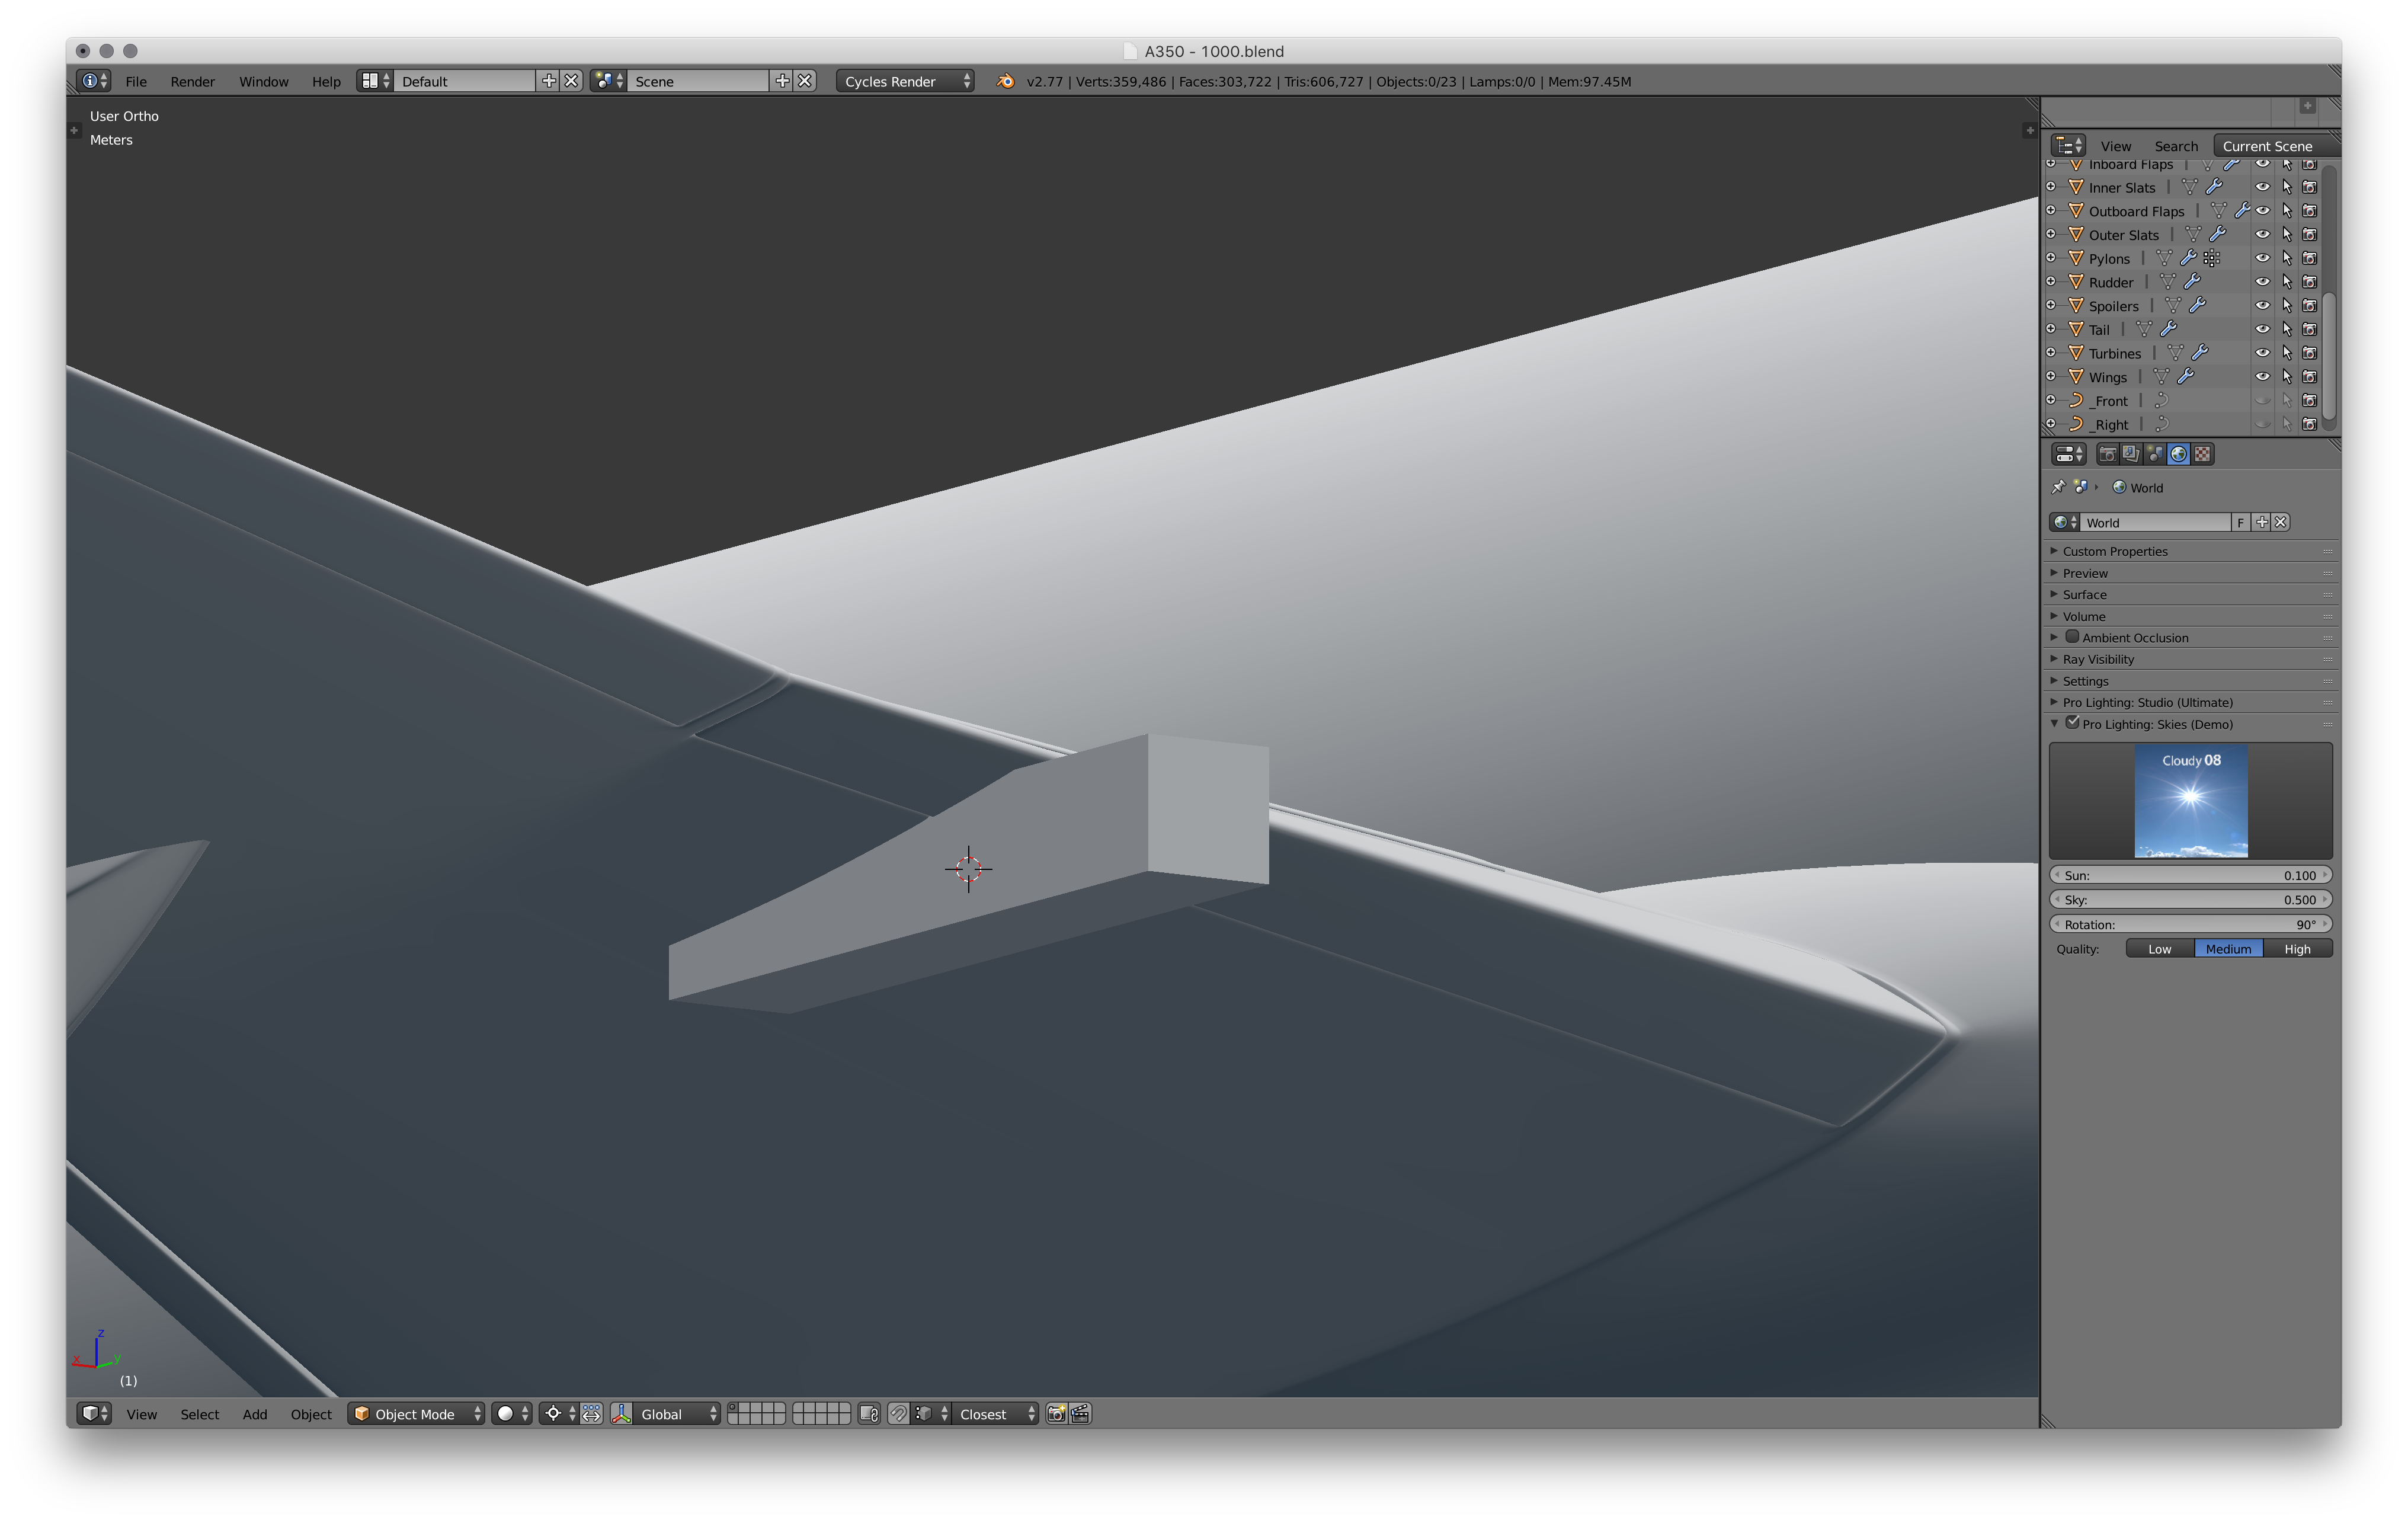
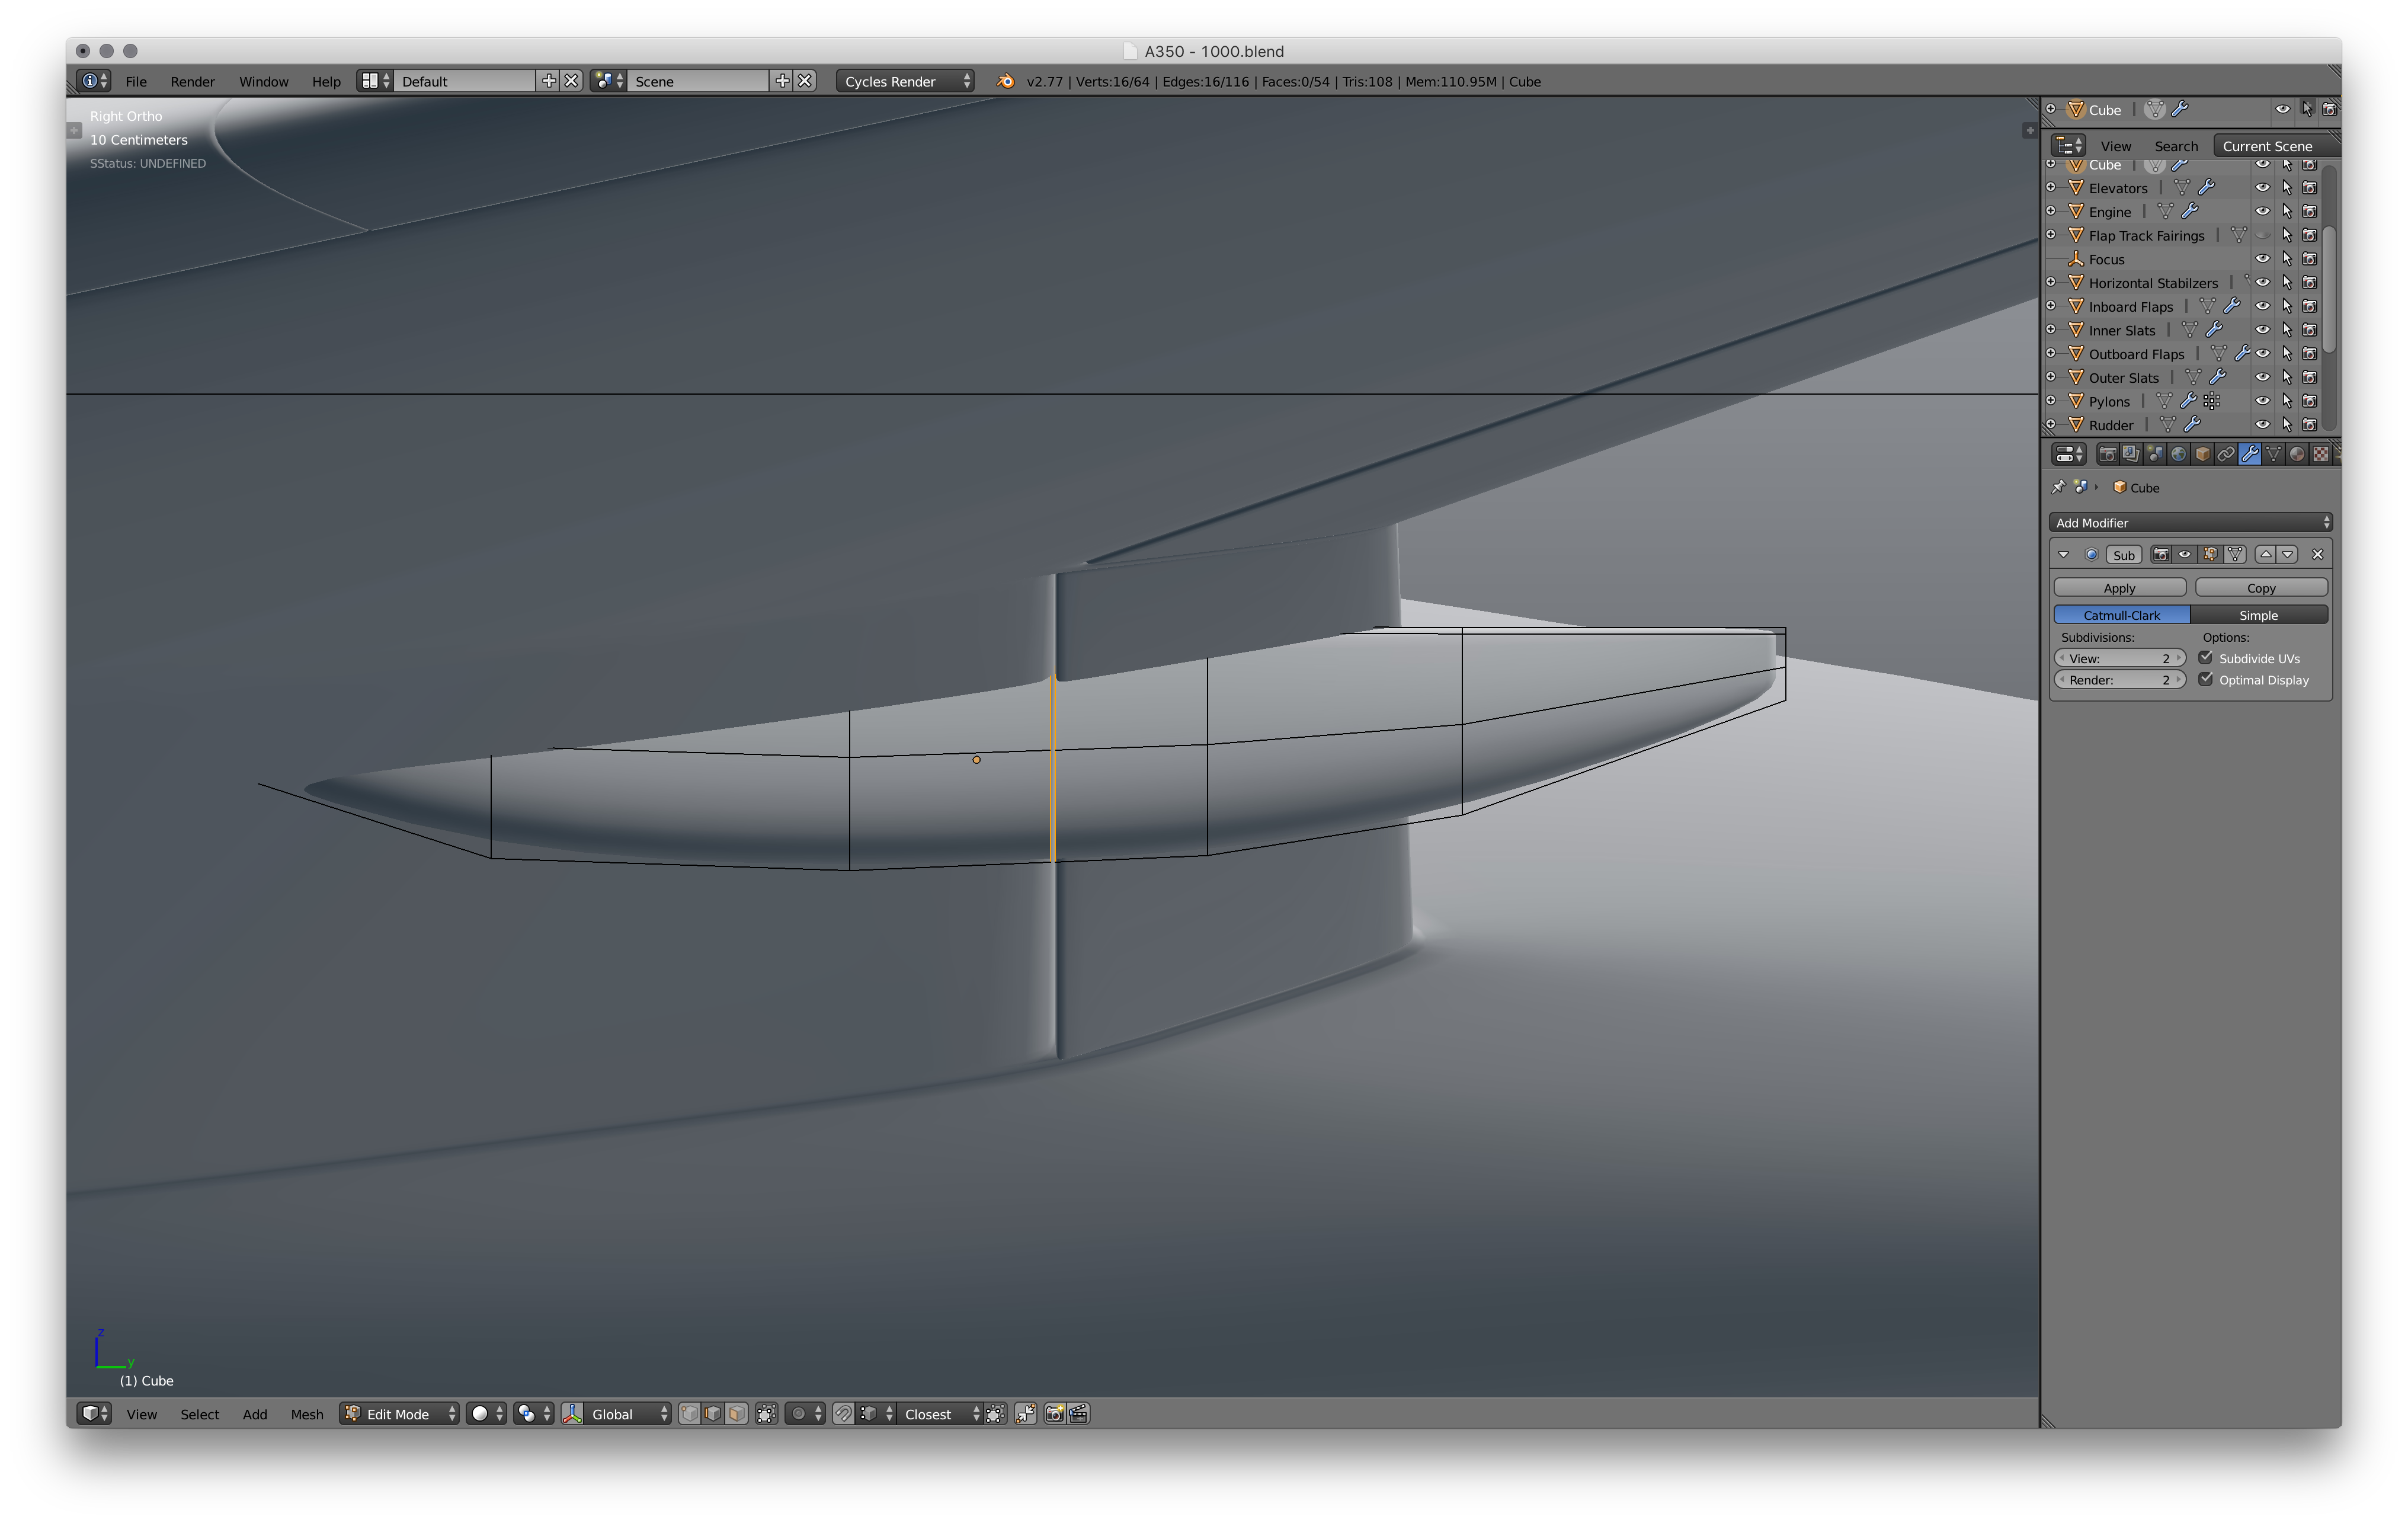
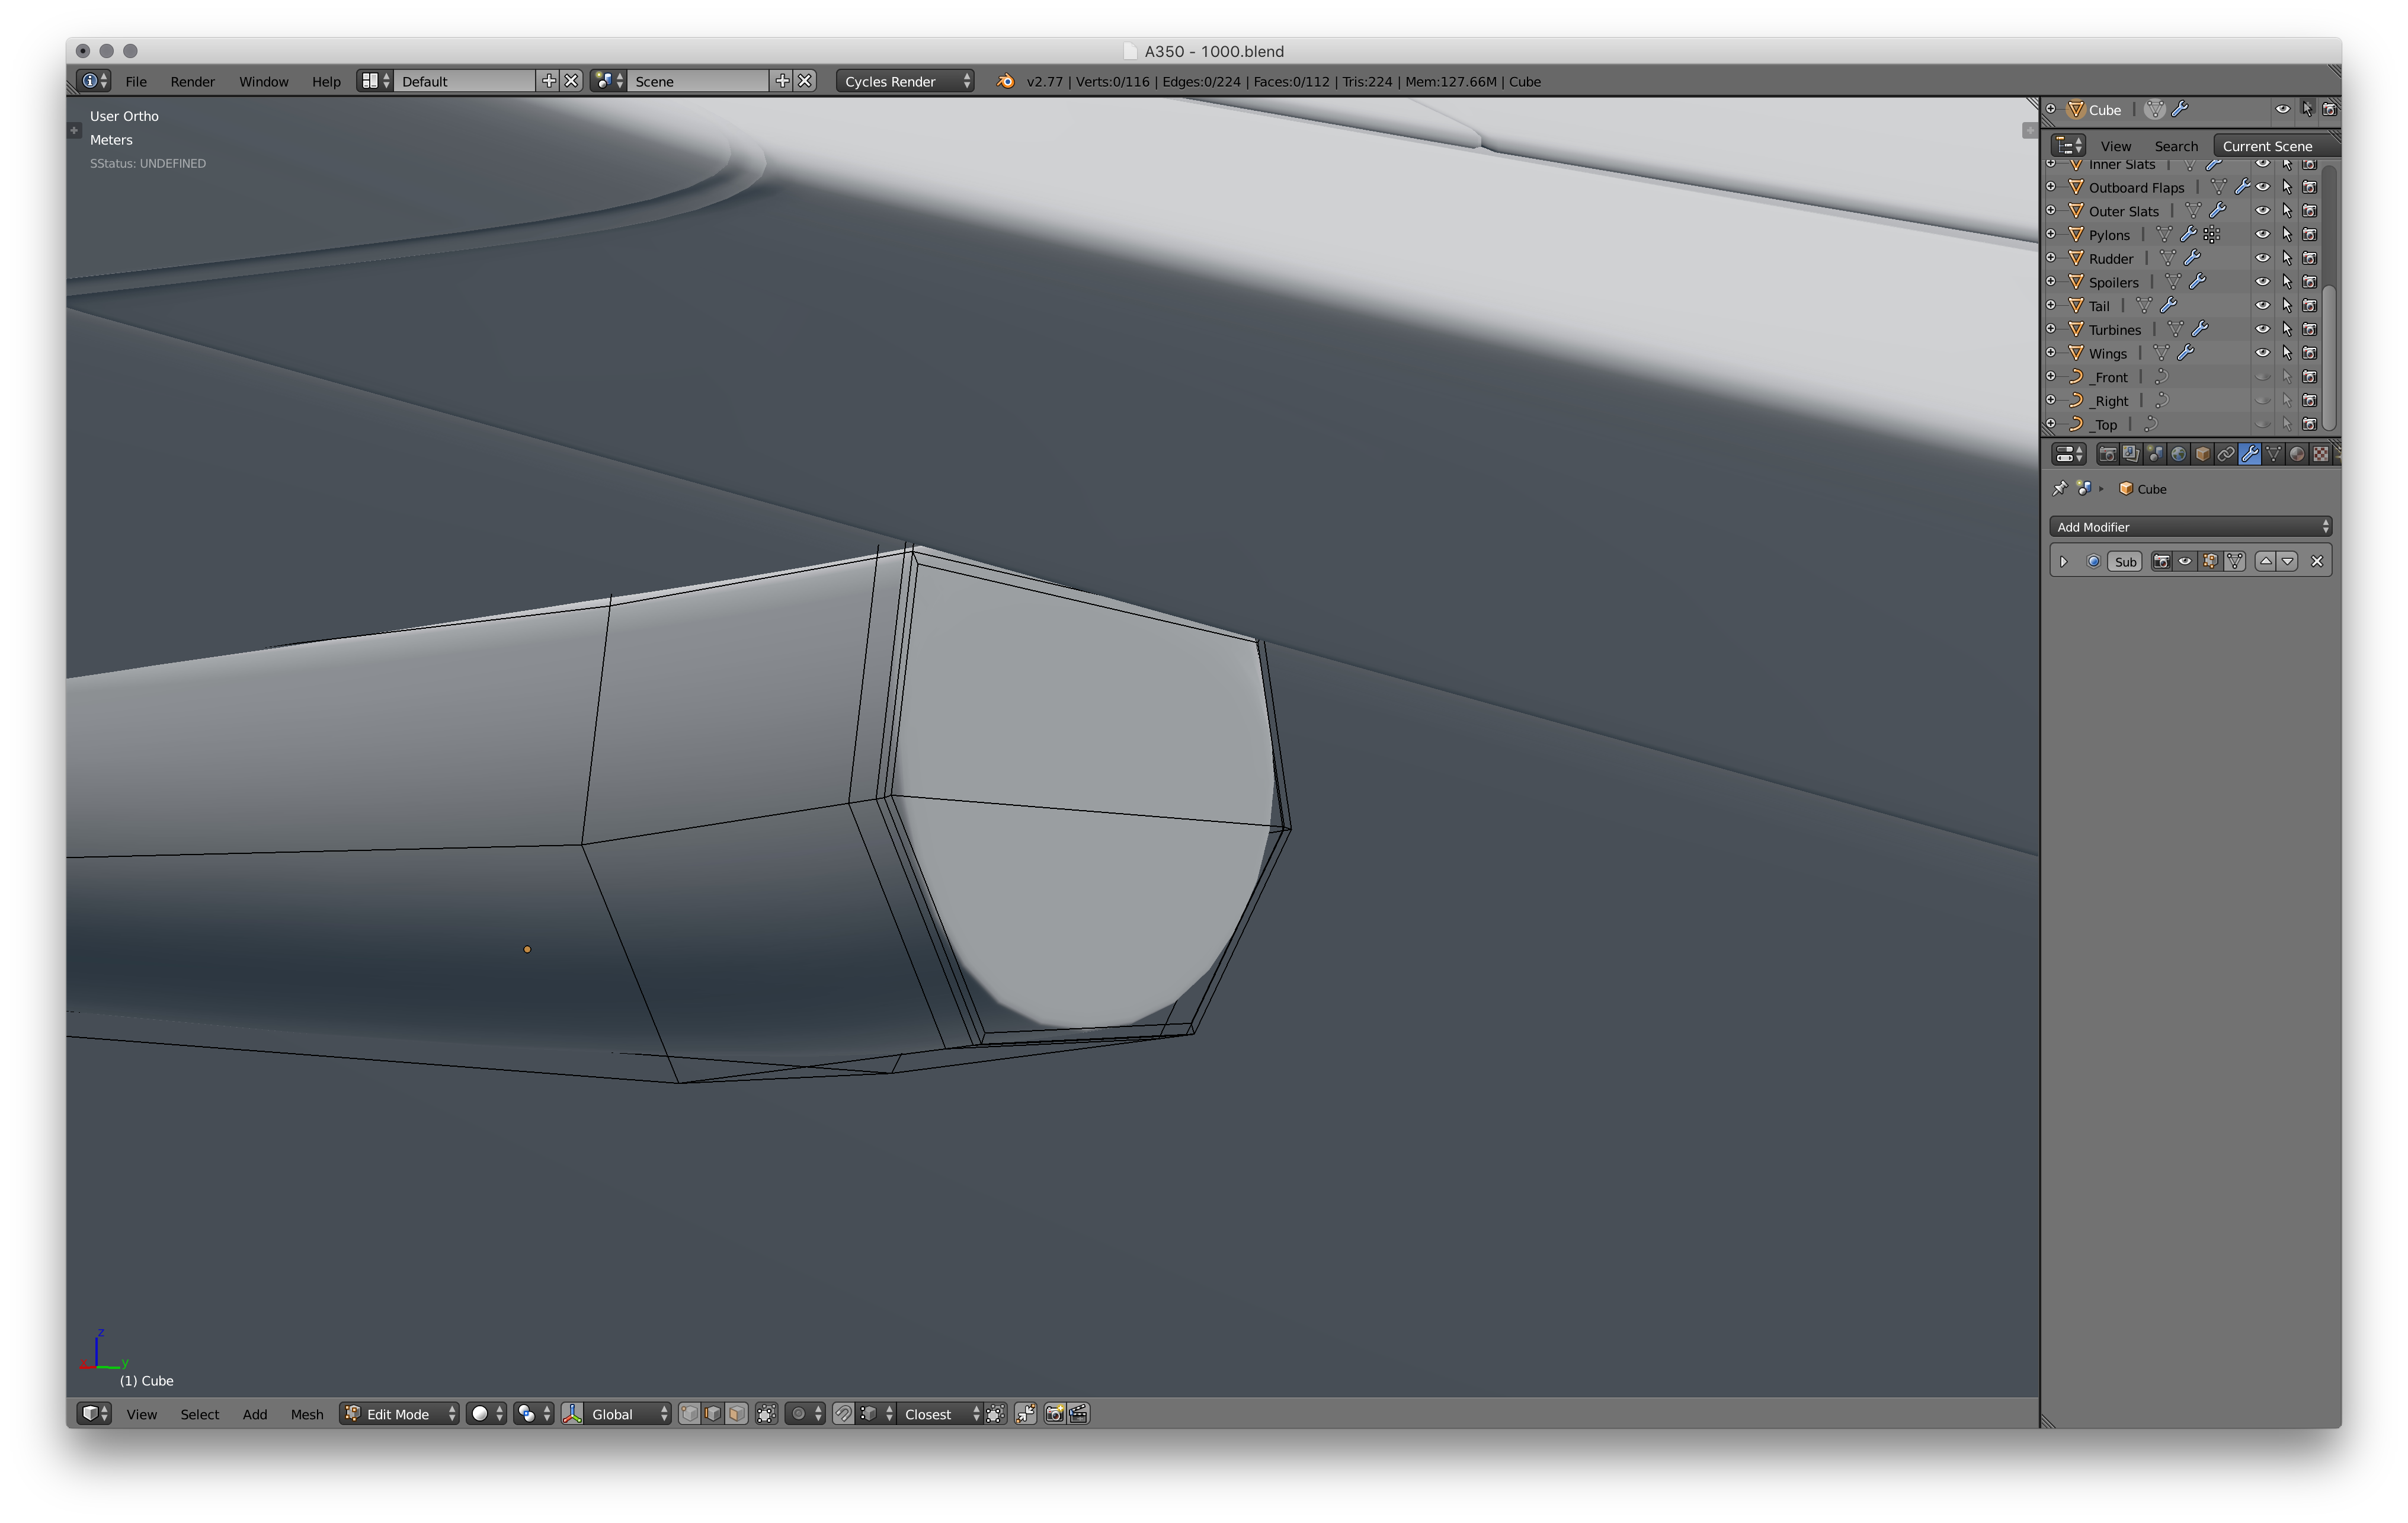
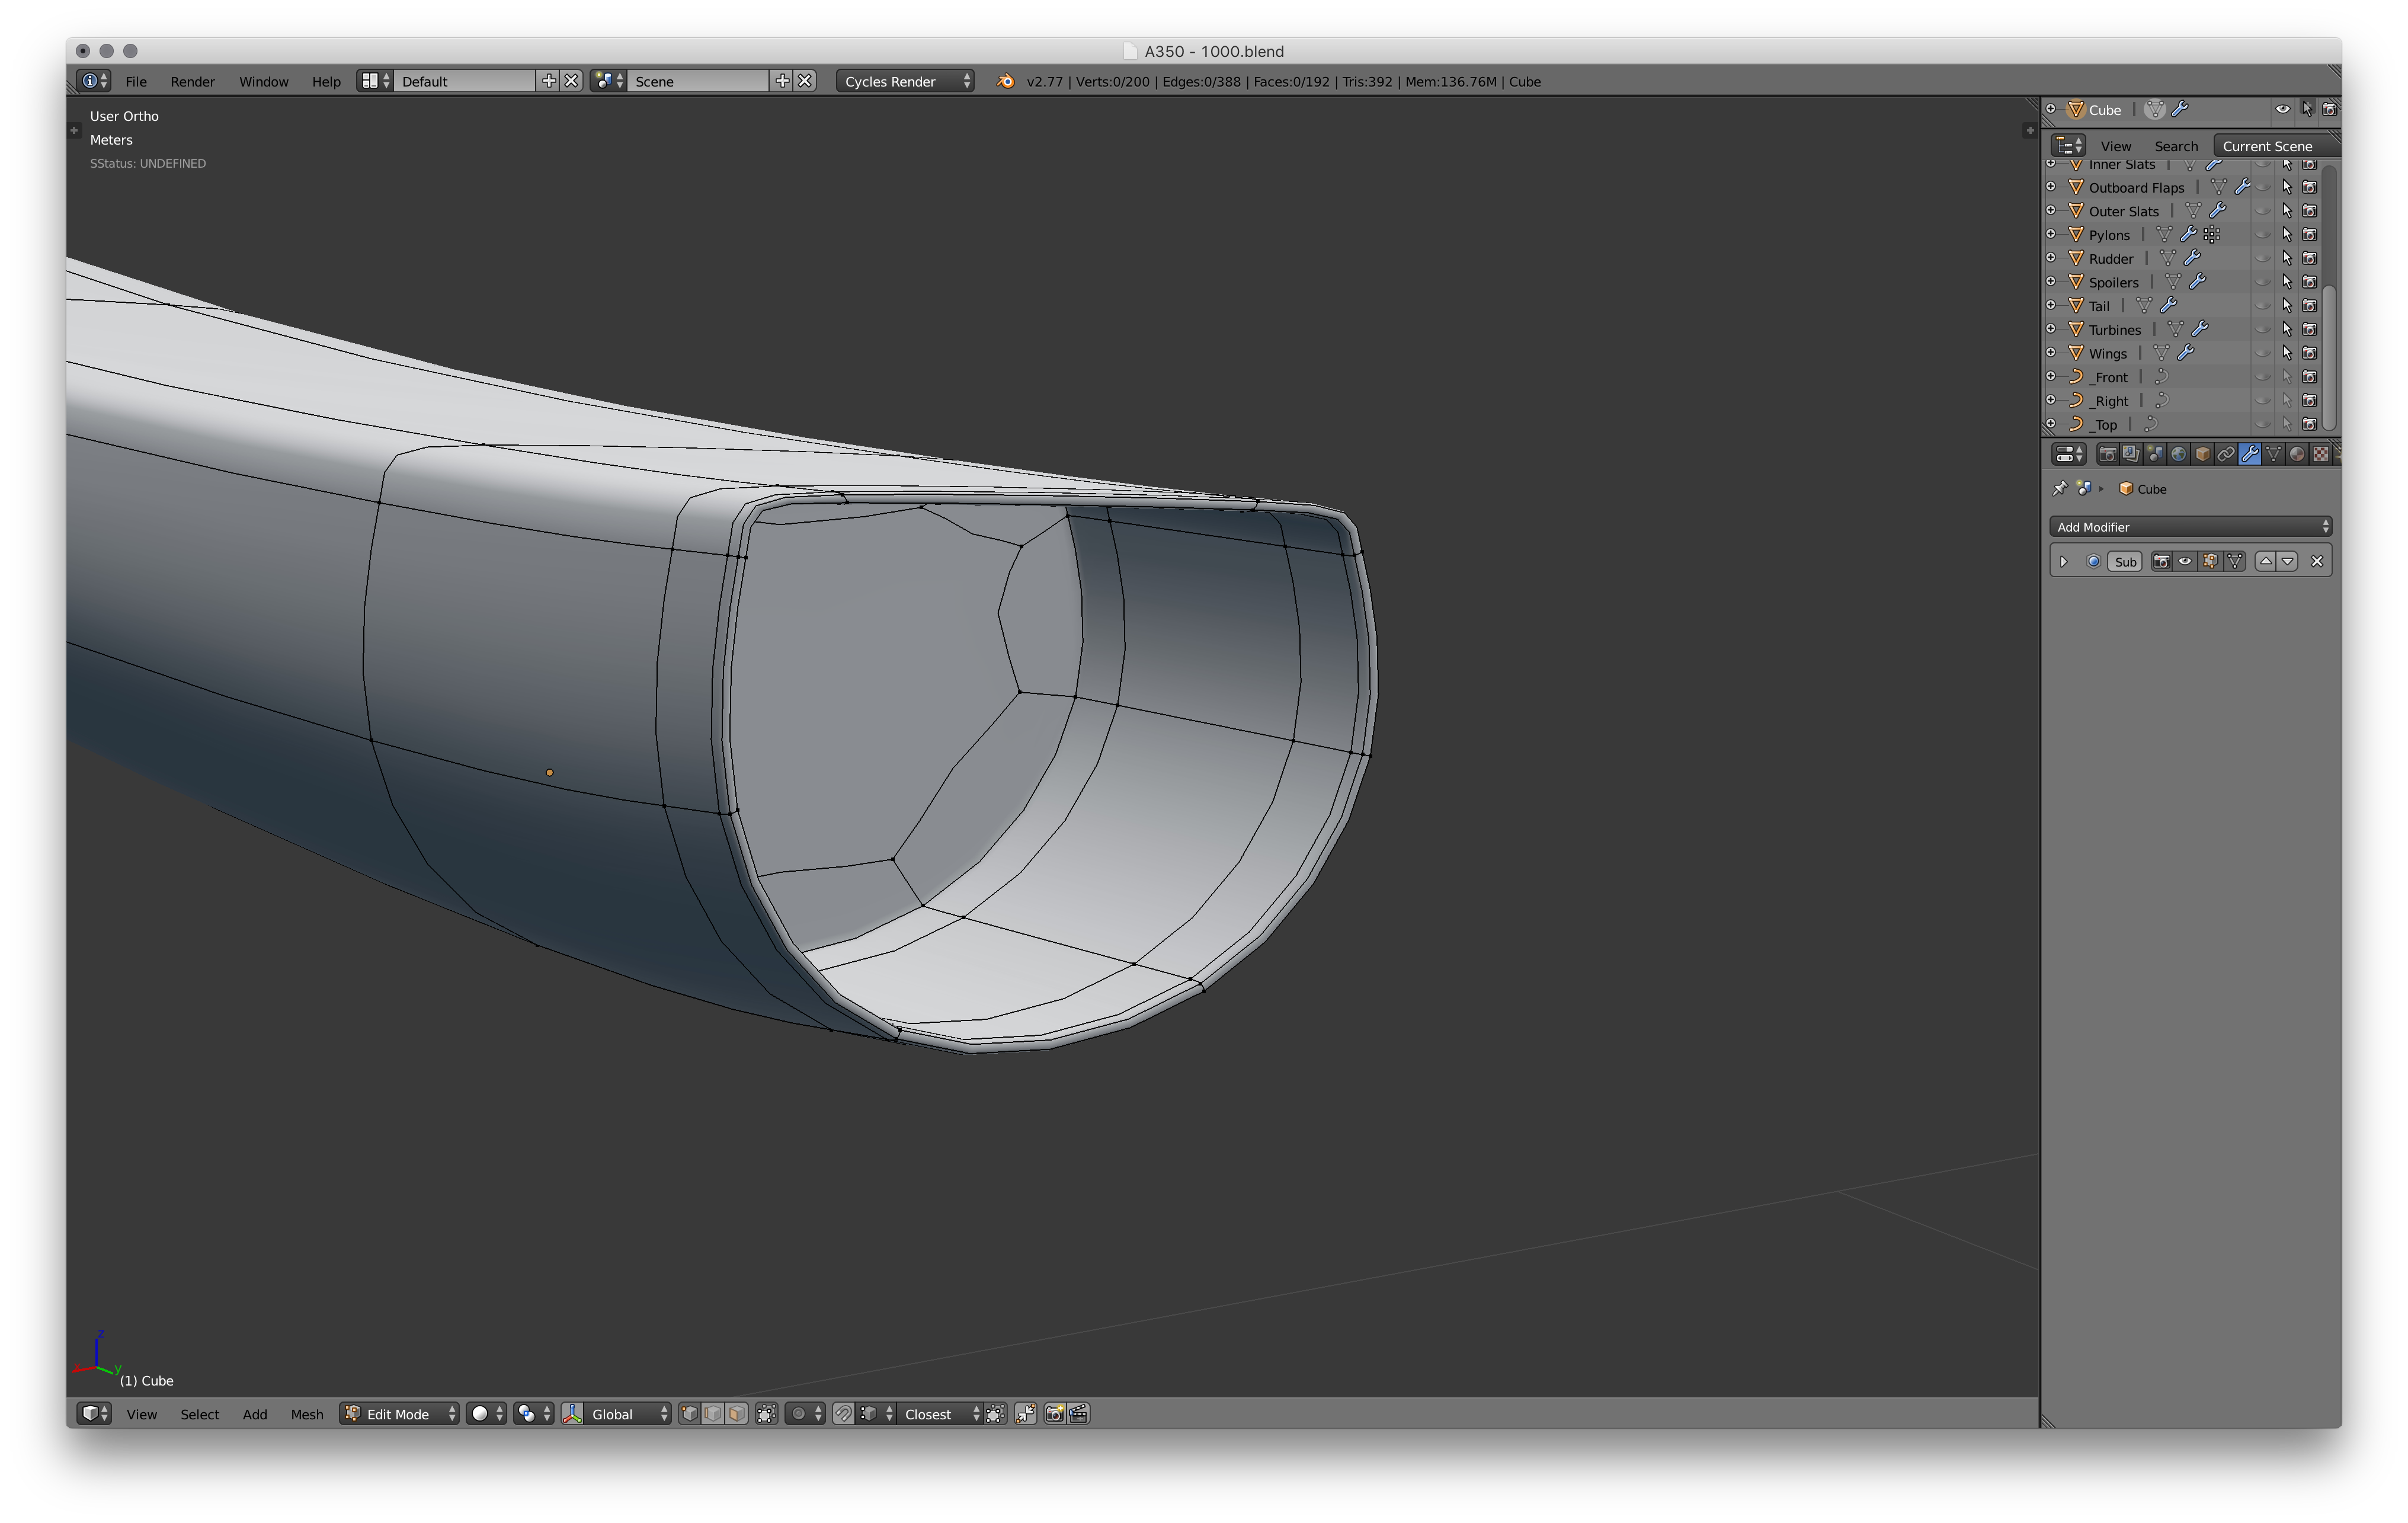
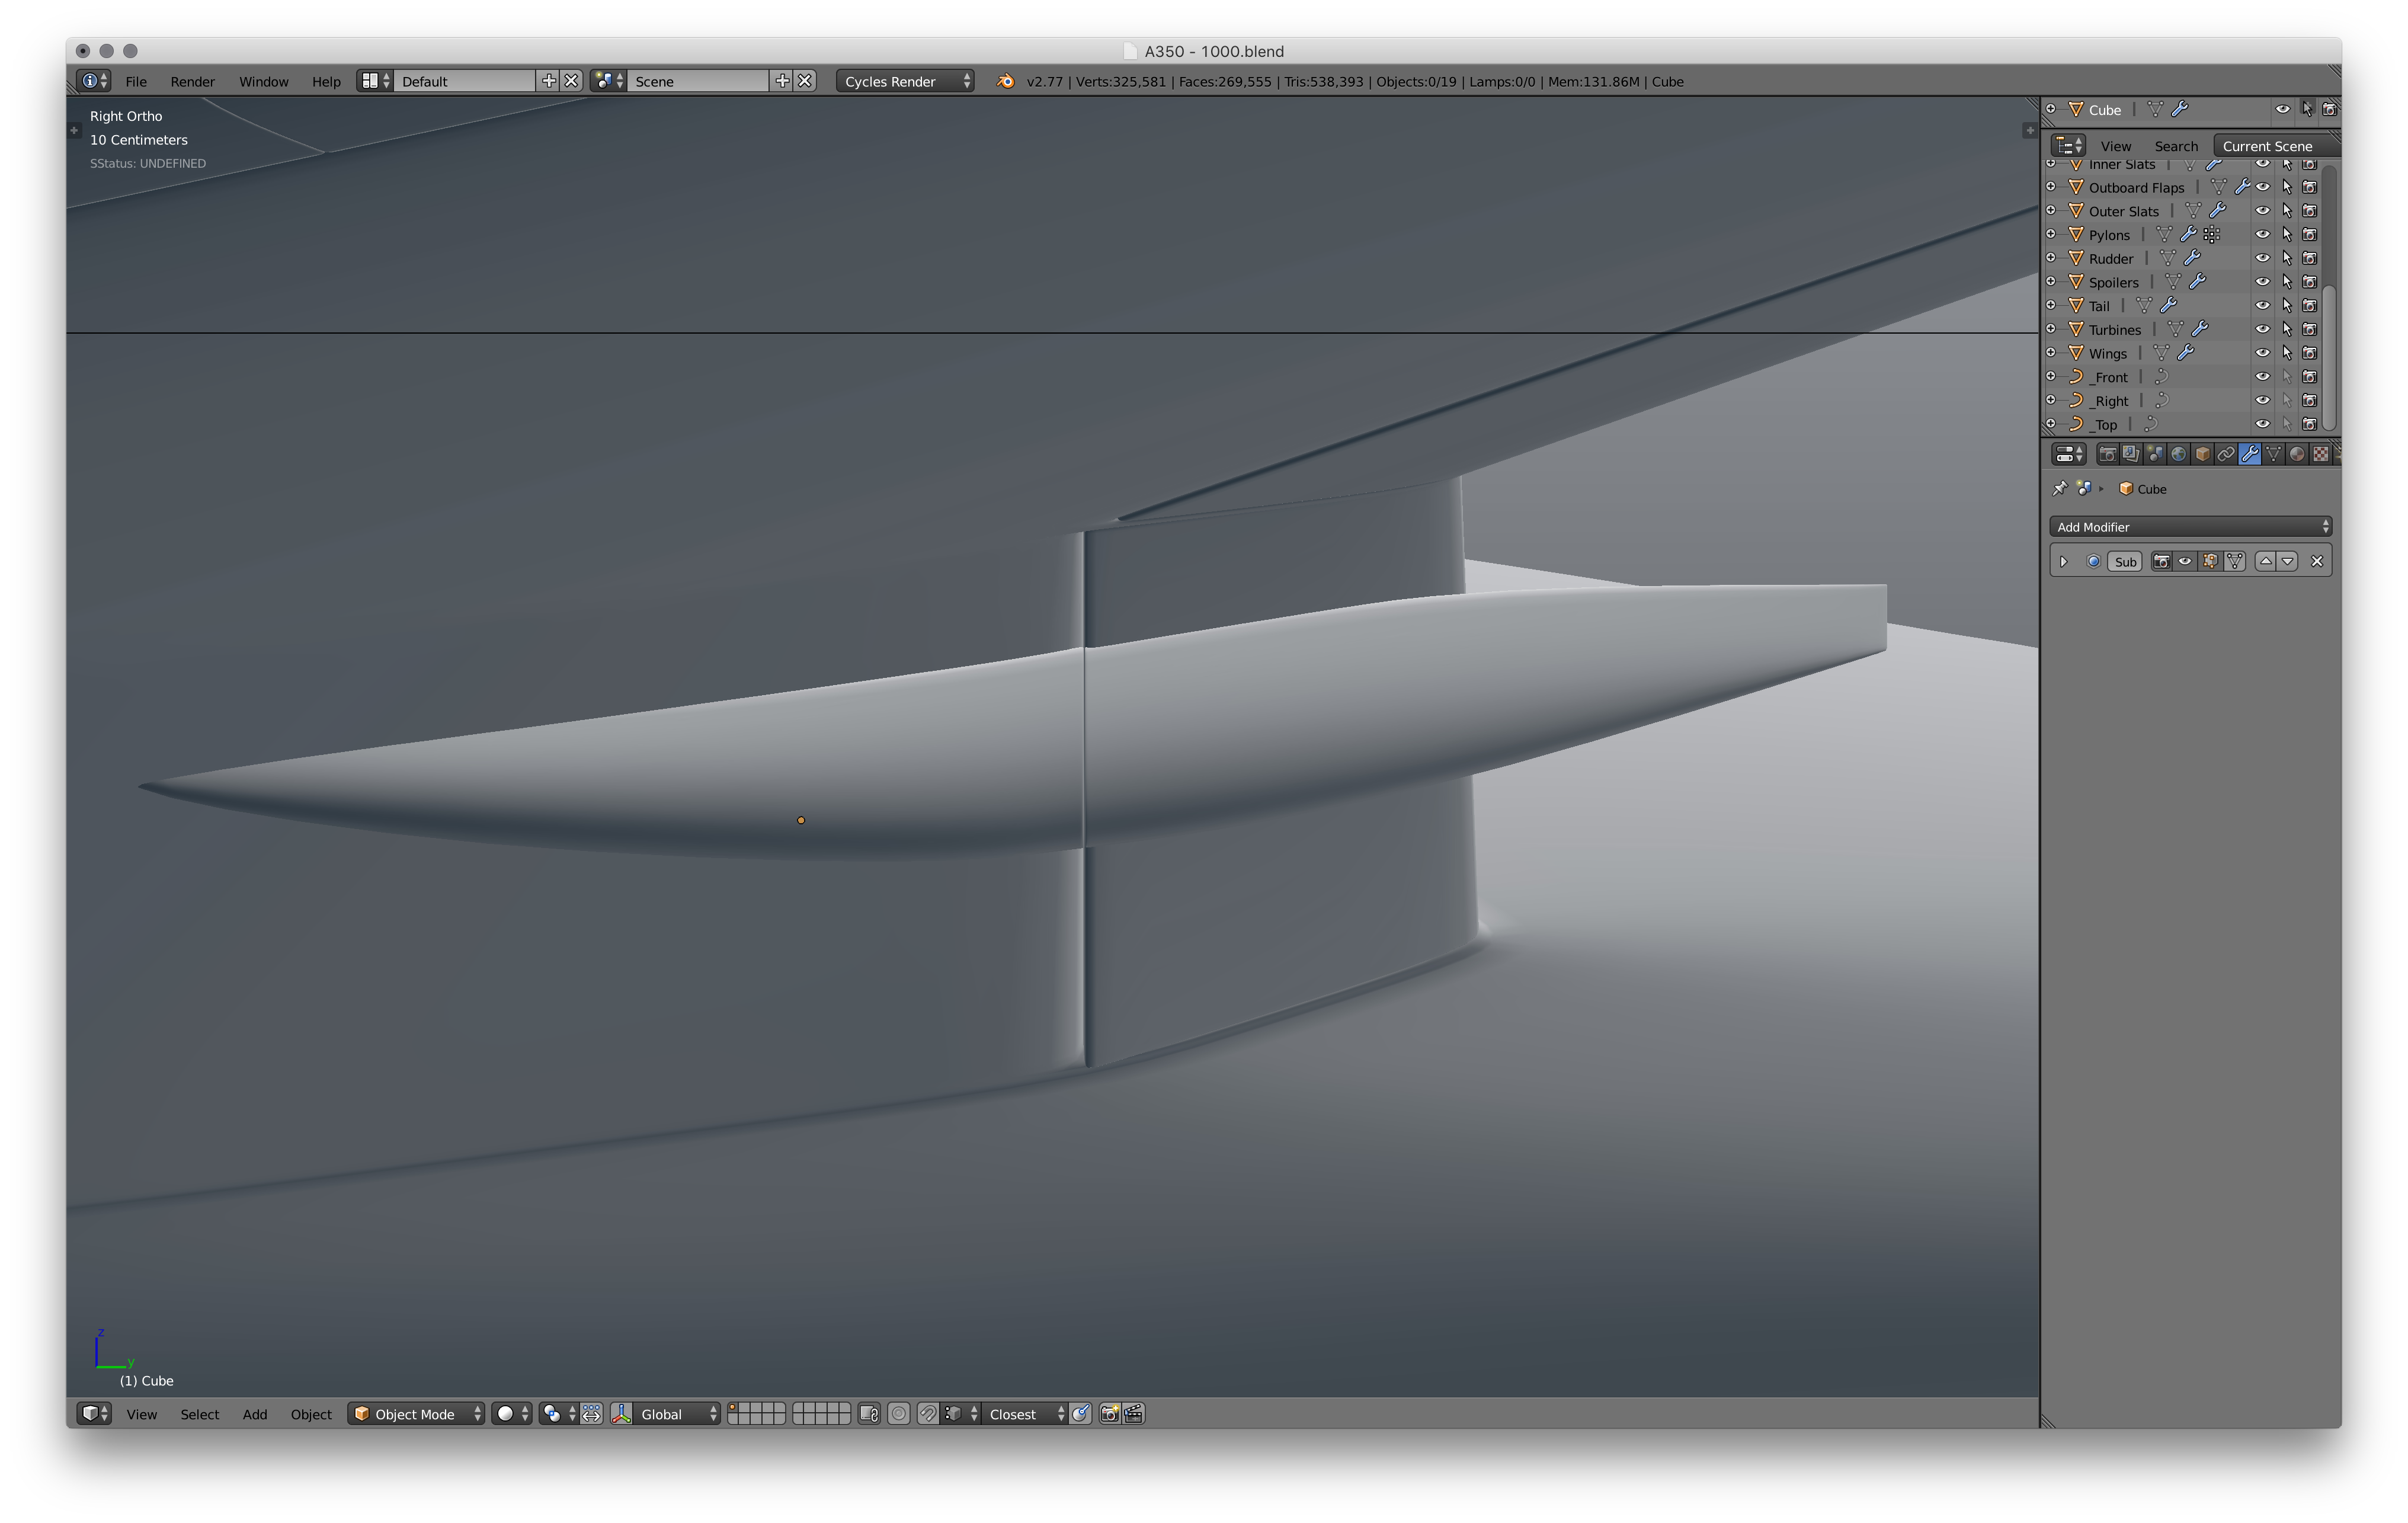
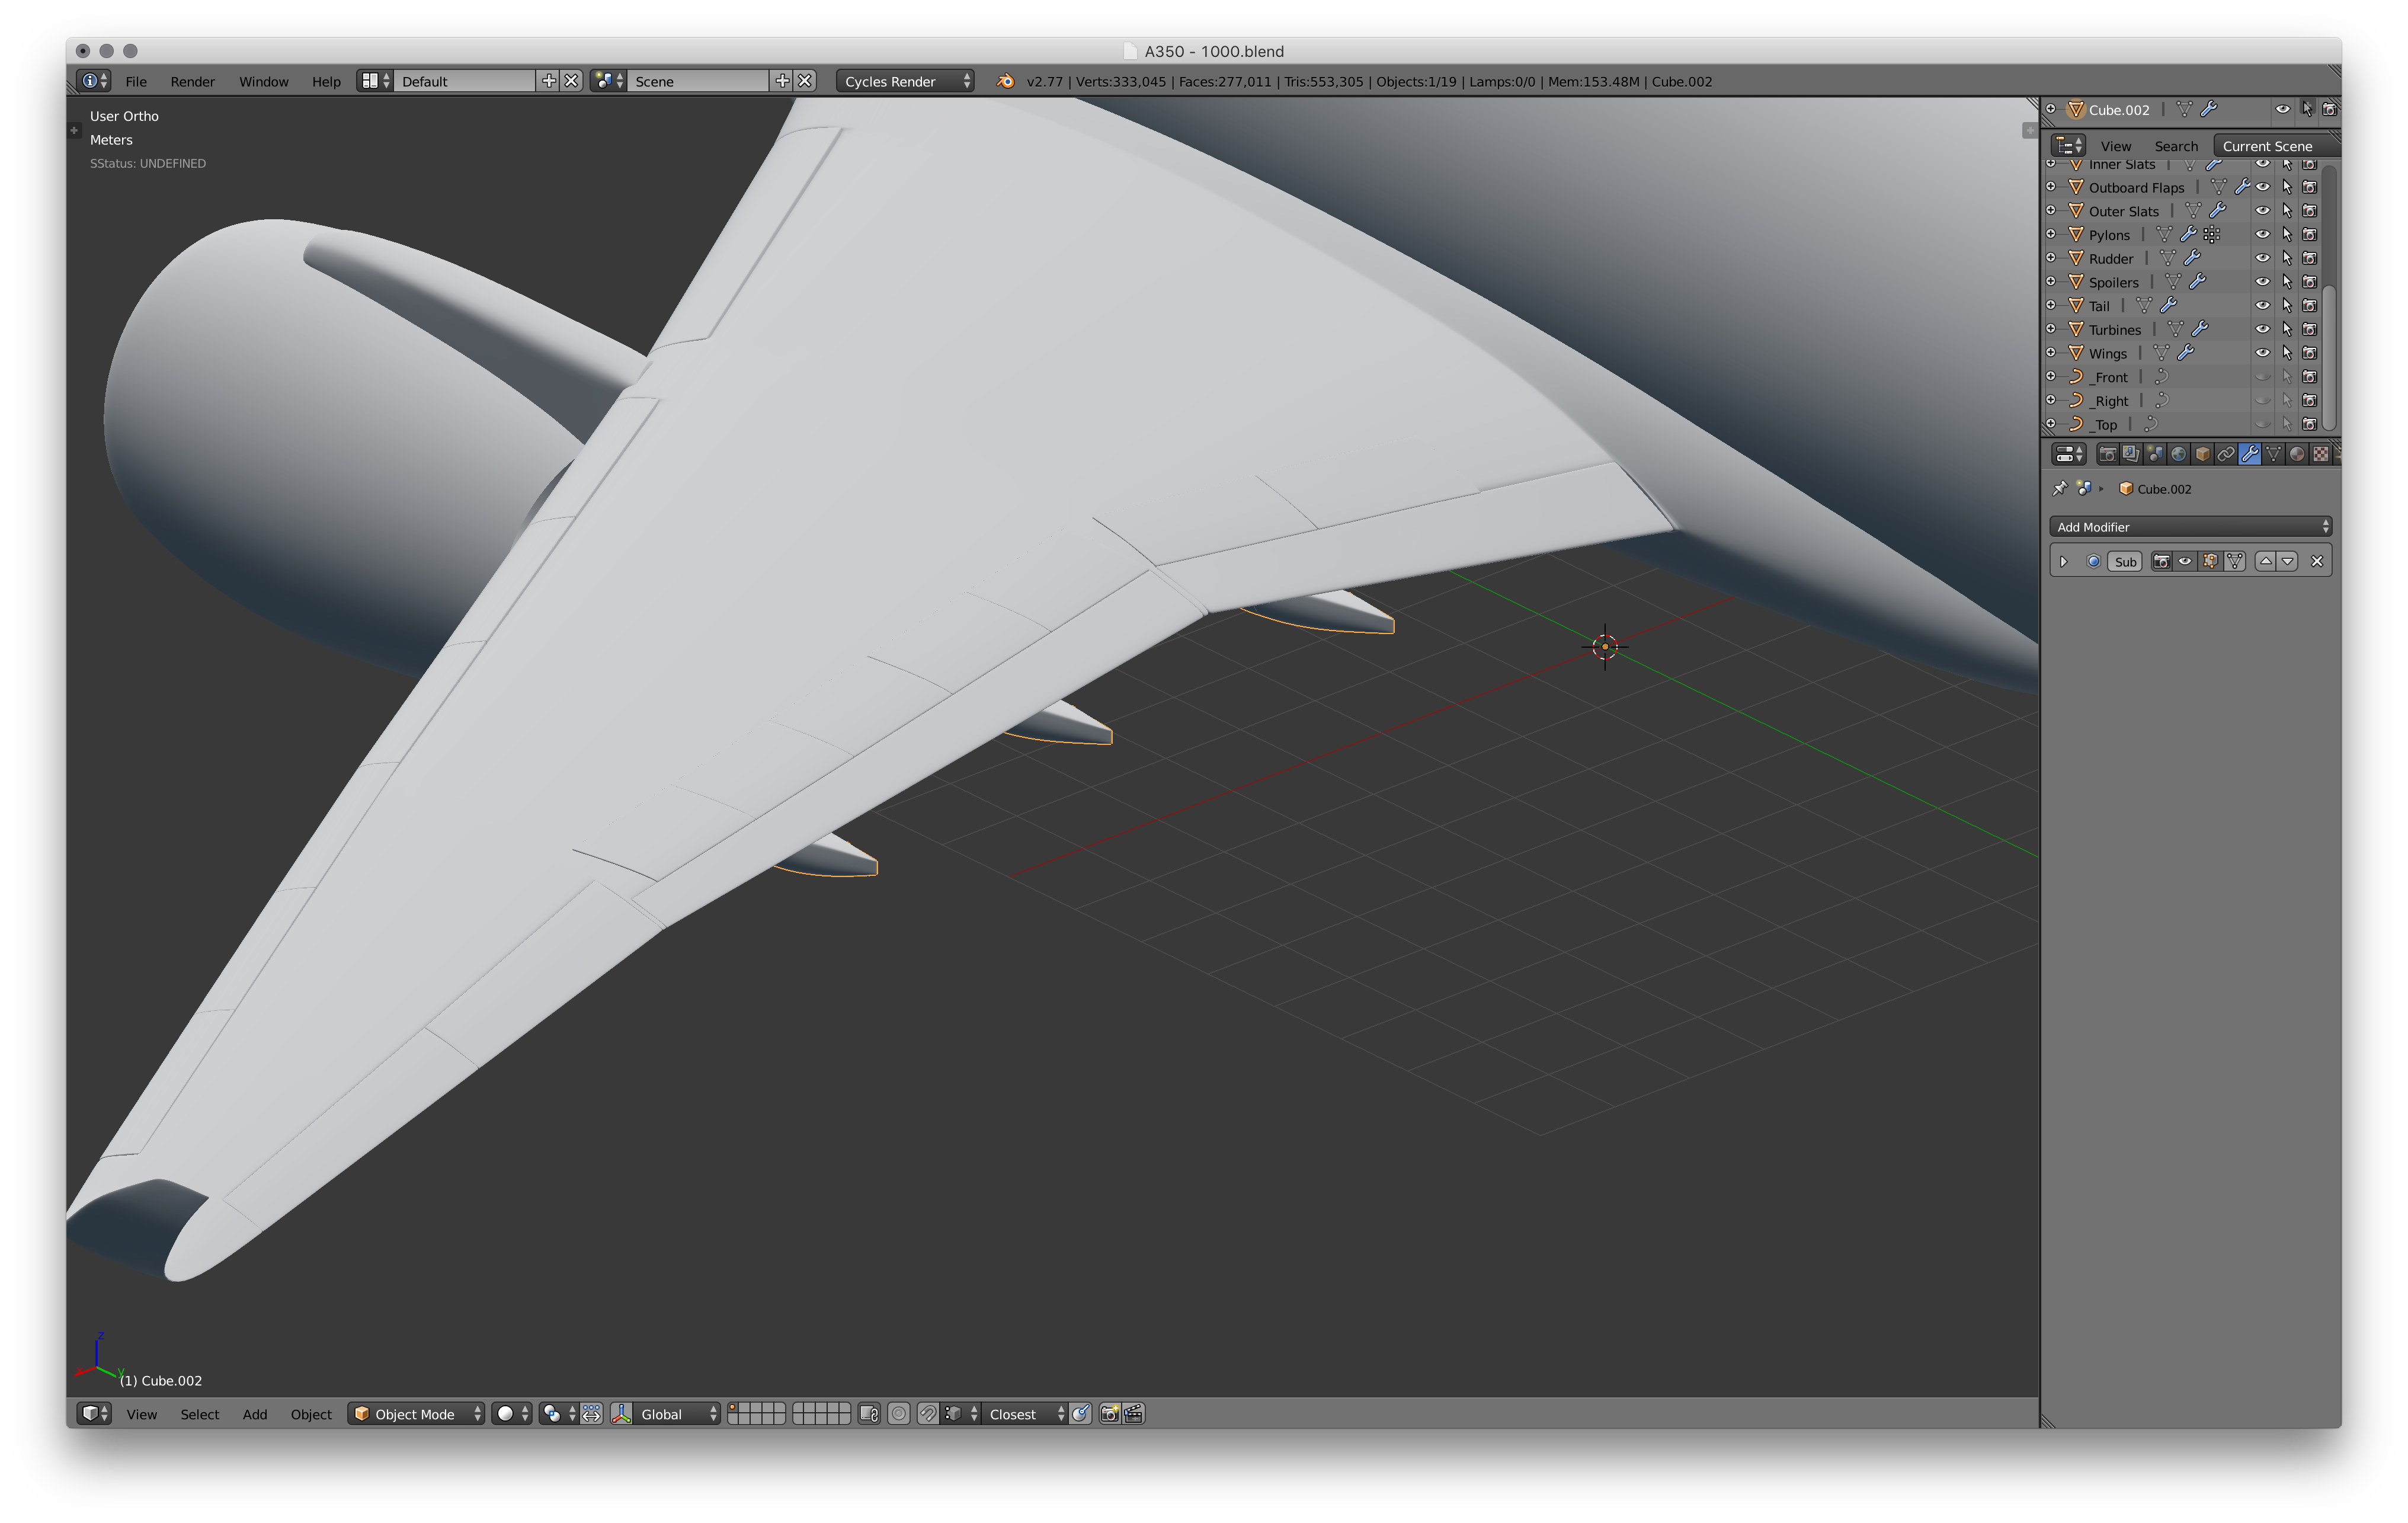
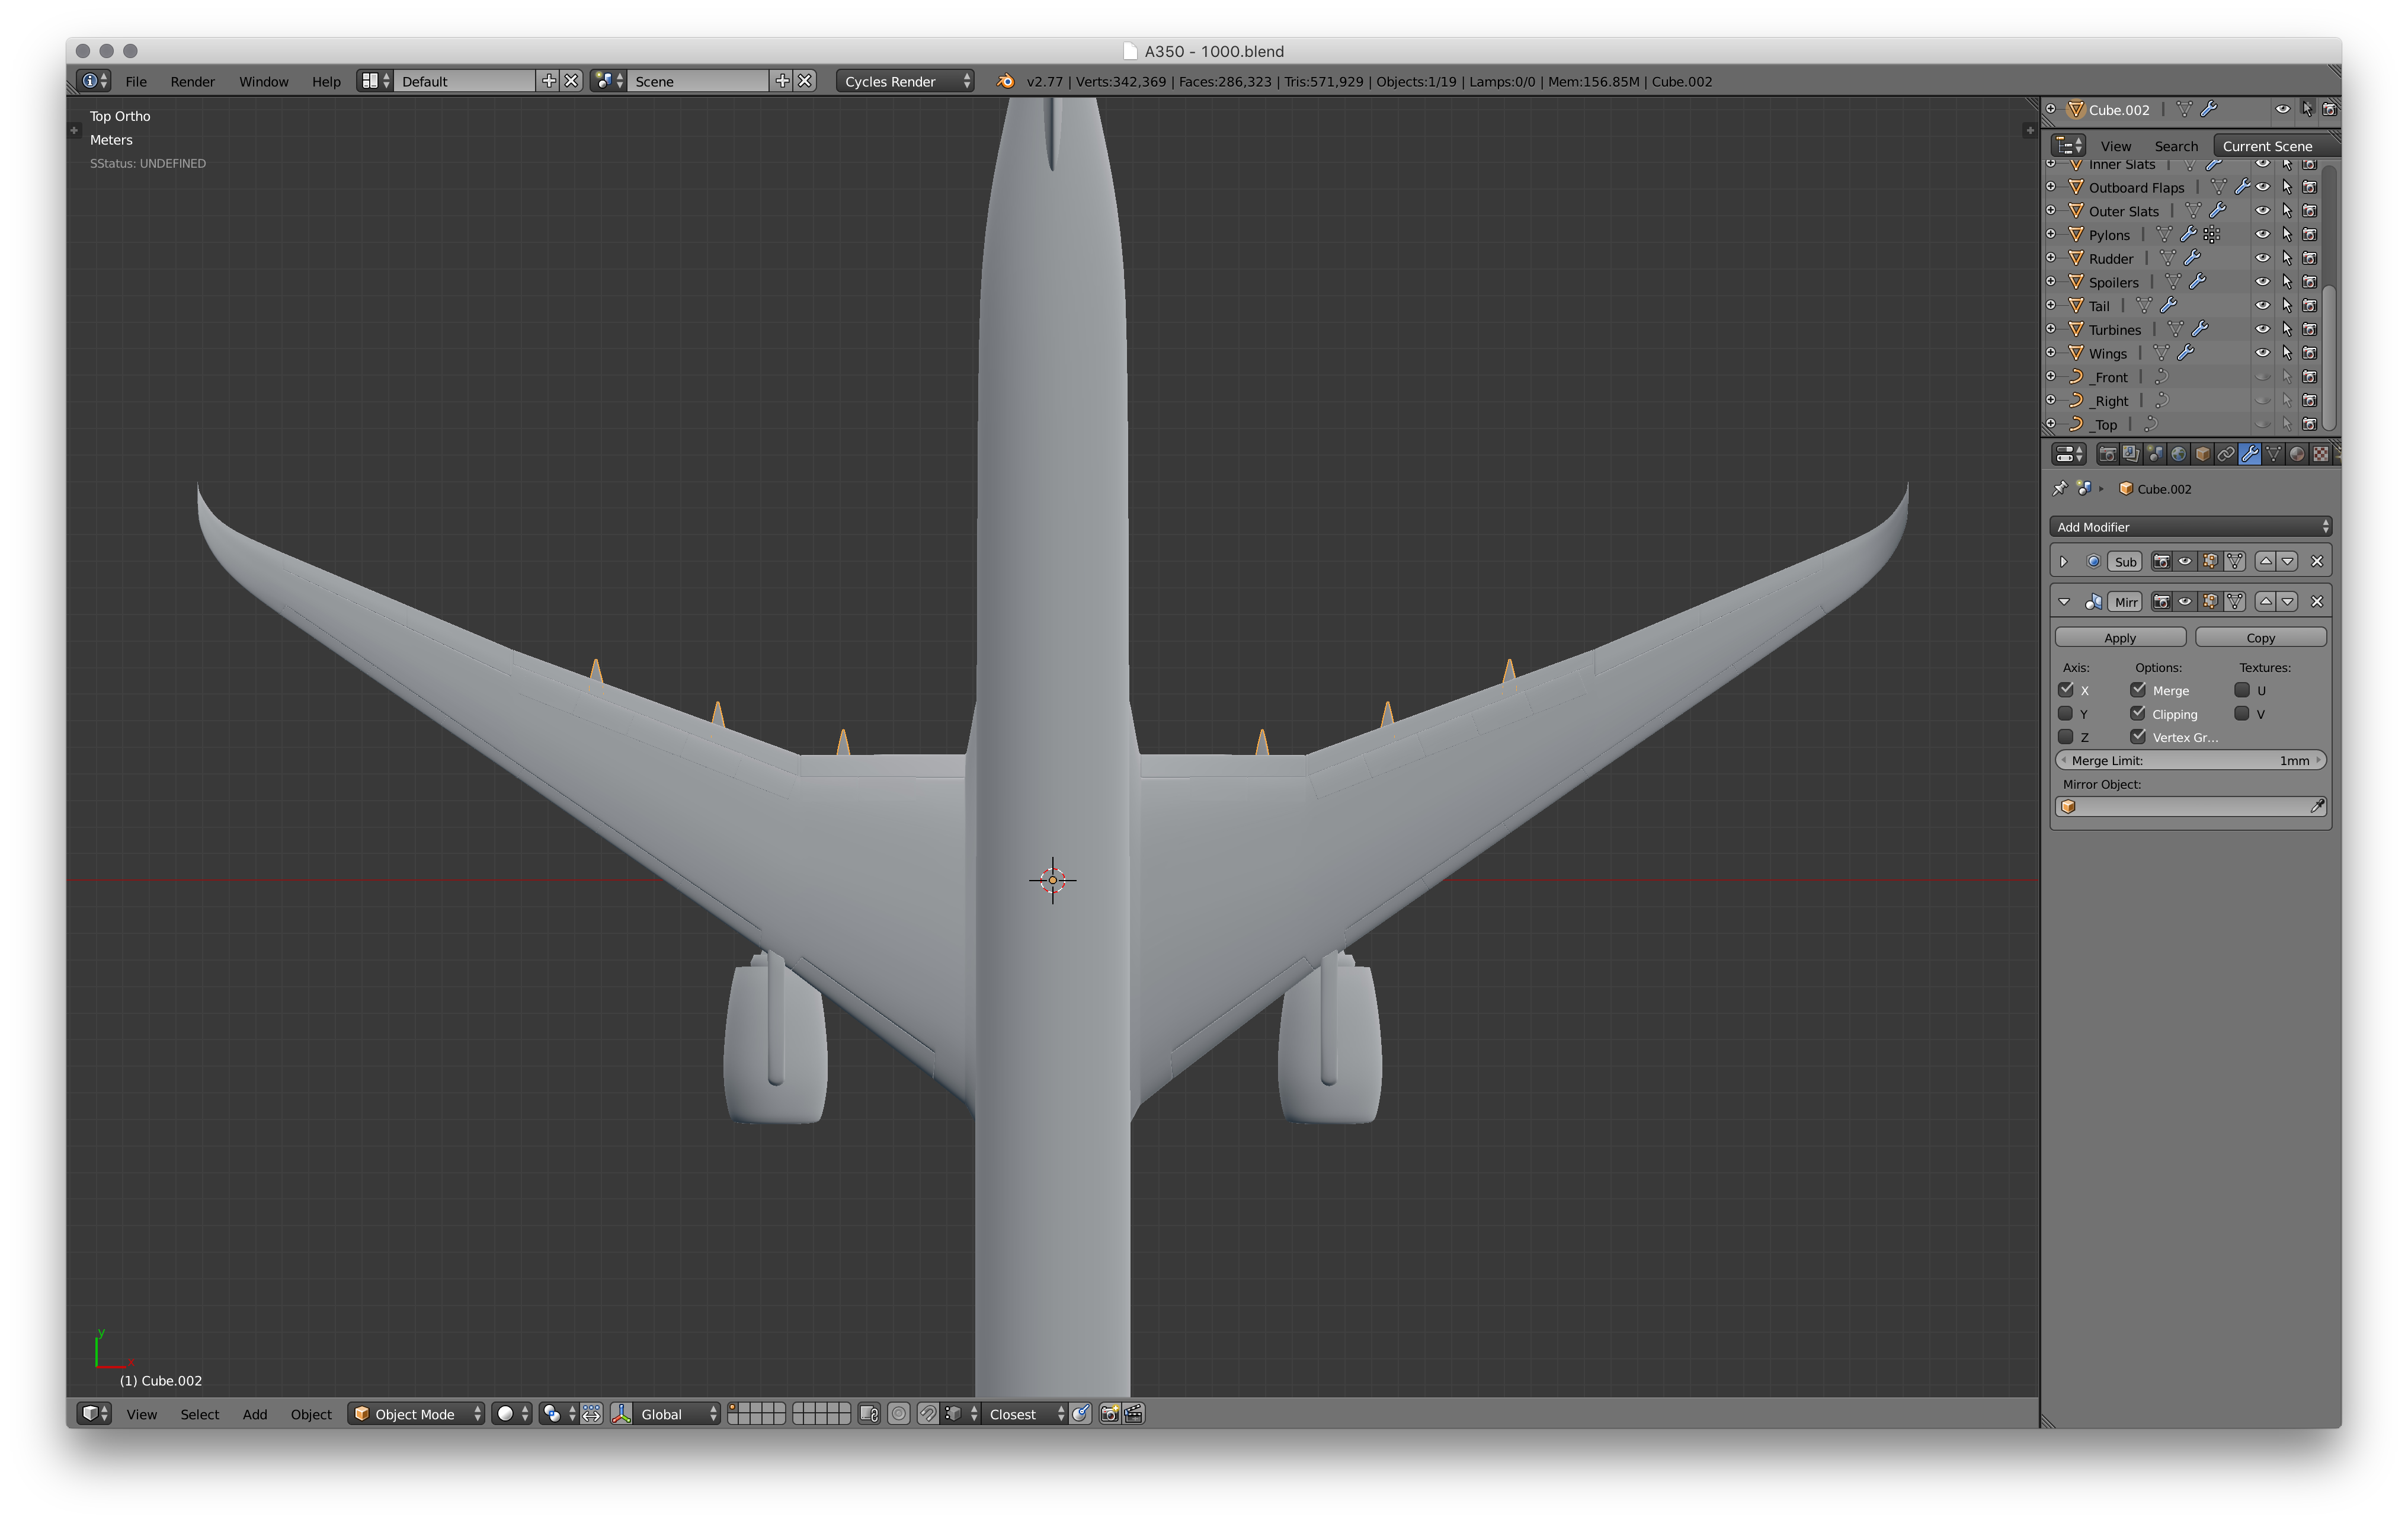
The Flap Track Fairings are the small tube like sections under the wings, typically seen on most large modern airliners. They sit under the flaps and help with aerodynamics and support the flaps when deployed. Start off with a simple cube. Then round the it out quite a lot, its almost cylindrical (see the images). Now add a loop cut right where the flaps are and split the mesh here, move one of them back slightly to ensure they aren't confused as doubles. Add some edge (proximity) loops to harden the edges, and extrude the end faces back in part way. Do the same on the other part. Now duplicate twice and position them according to your blueprints, you should now have 3 of them. Join the 3 of them into one object and mirror it onto the other side.
APU Exhaust
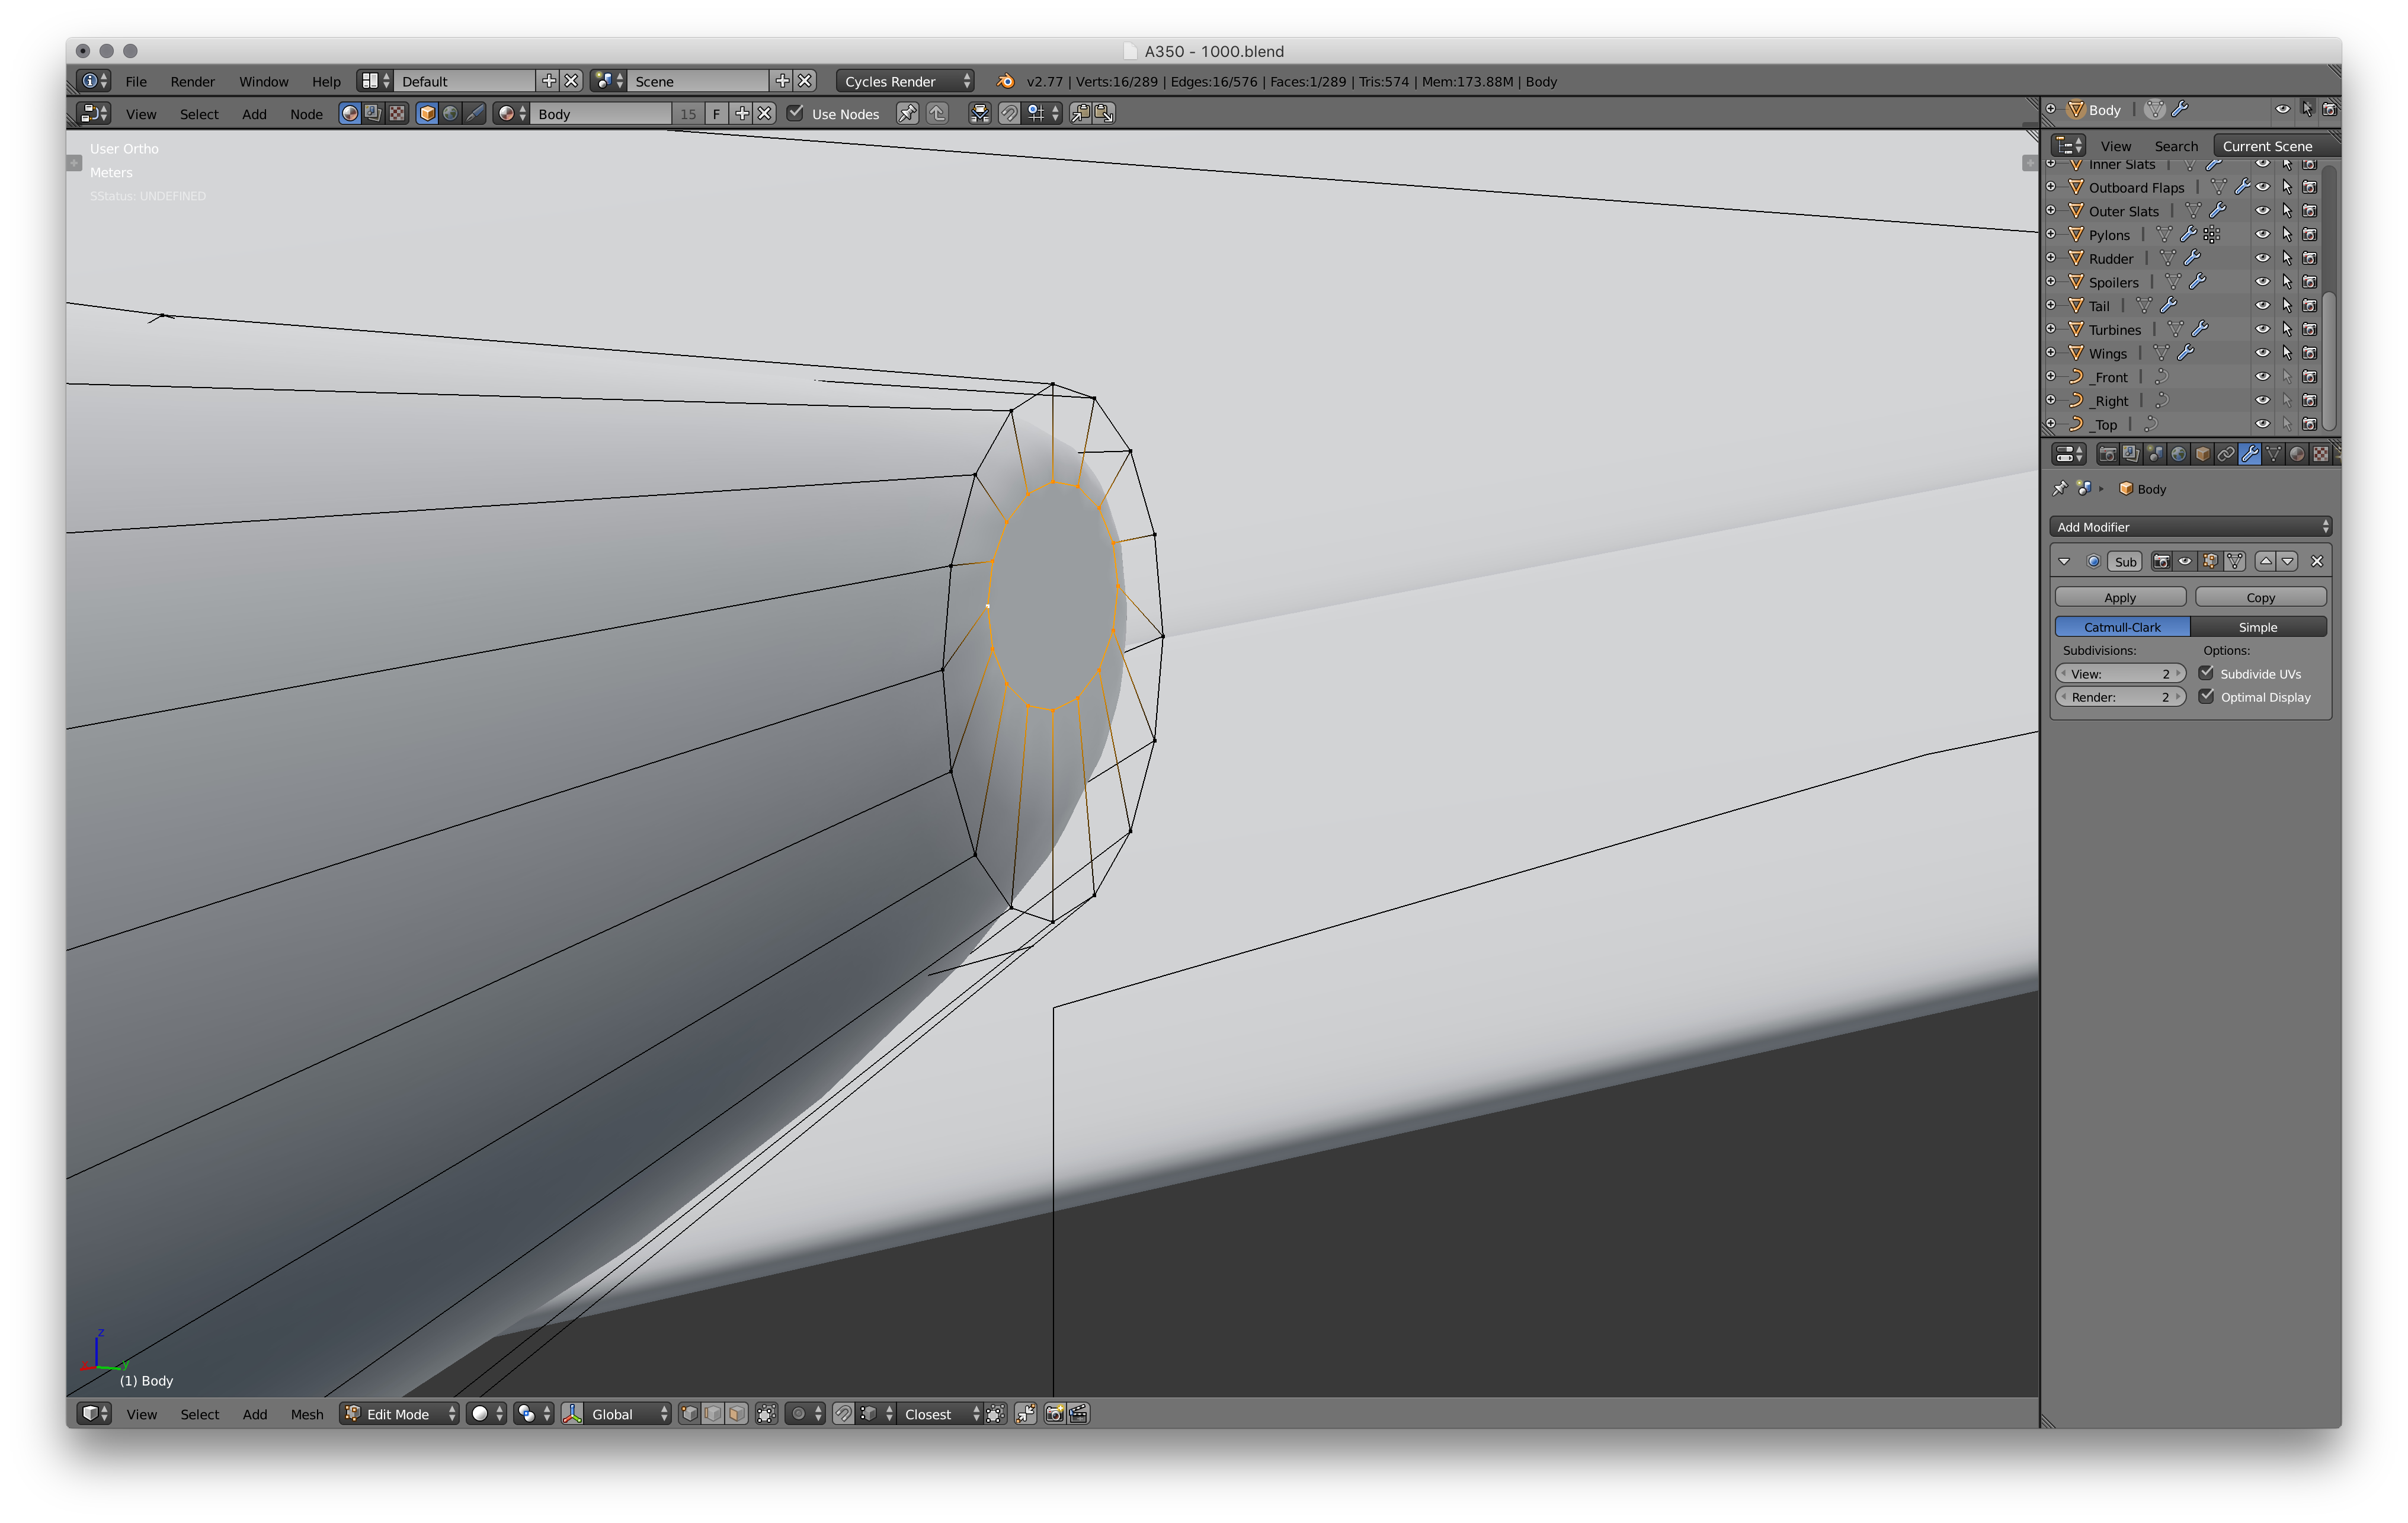
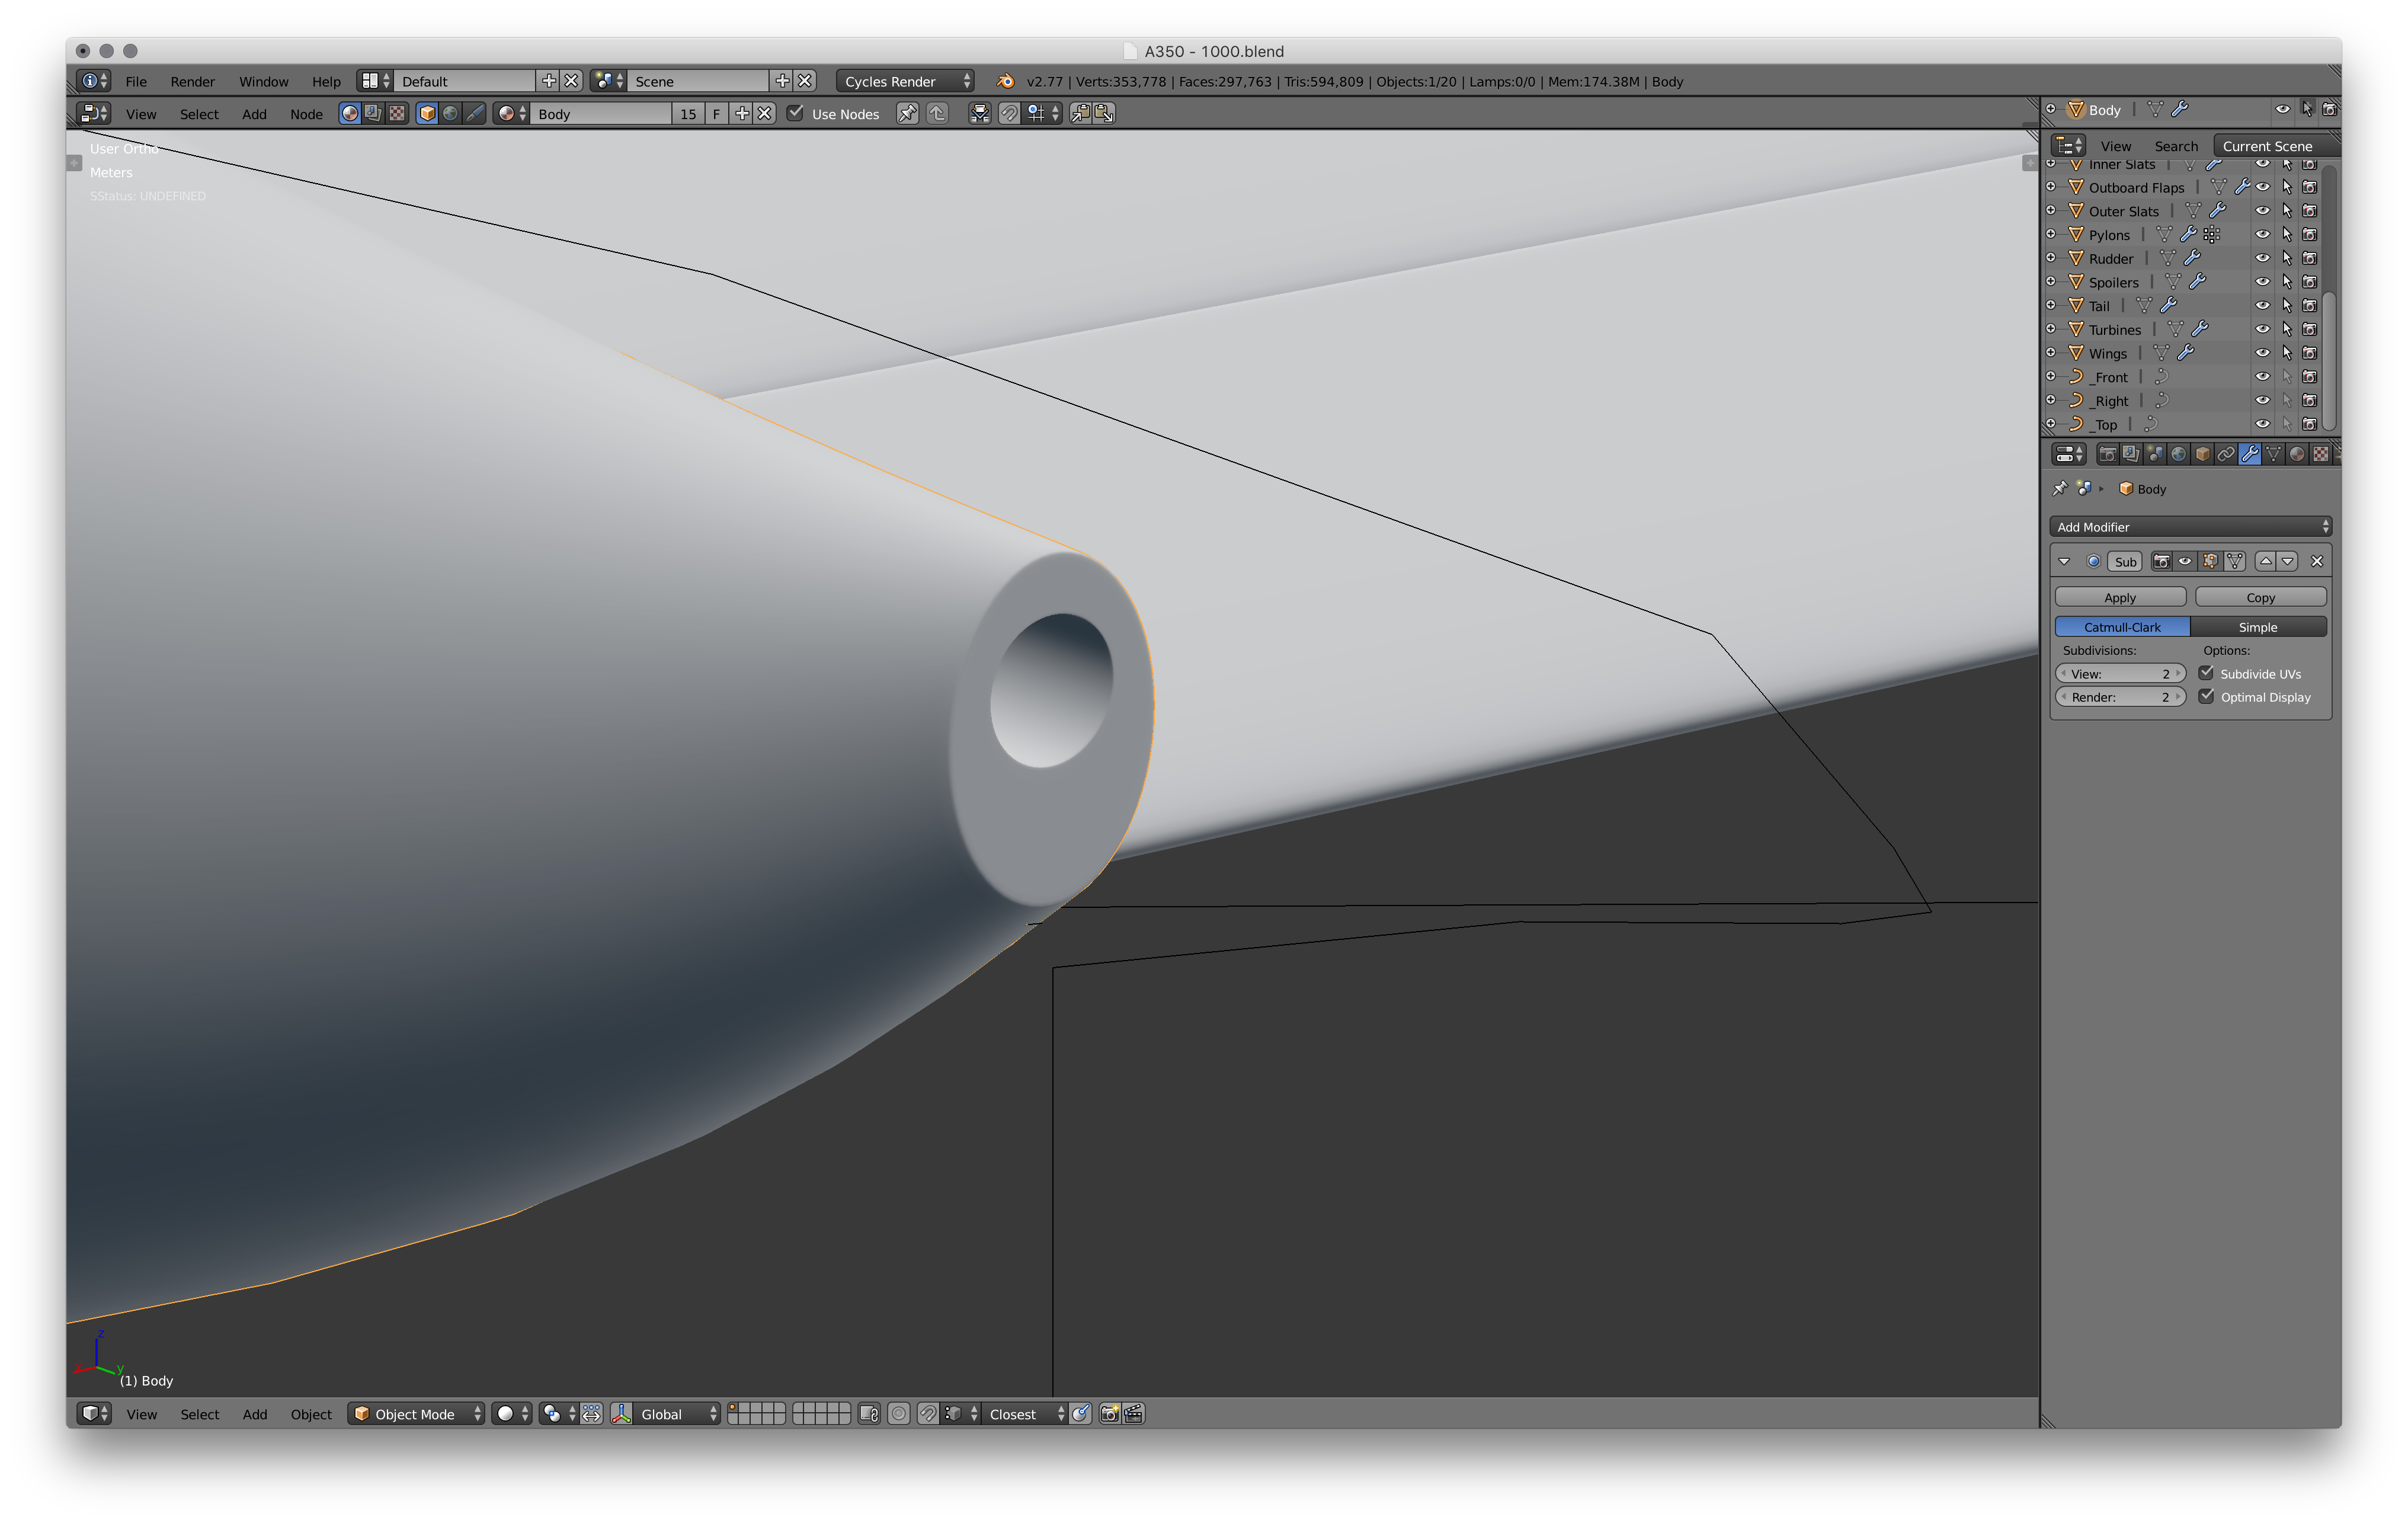
This is the small hole at the very end of the airplane. Fill in the edge loop at the very end. Inset it, and using the LoopTools add-on, make it into a circle. Extrude that inwards and harden the edges with some proximity loops.
Landing Gear Blueprints
We are now starting the arguably most challenging part of the modelling phase: the landing gear! This is hard because of the incredible and intricate details, and we'll be modelling as much of it as we can! The first thing to do is to find some more references. Because detailed blueprints of the actual landing gear are very hard to come by, I will only be modelling the landing gear off refernces. Some quick searching around brought out some pretty good images from Wikipedia:
Tires
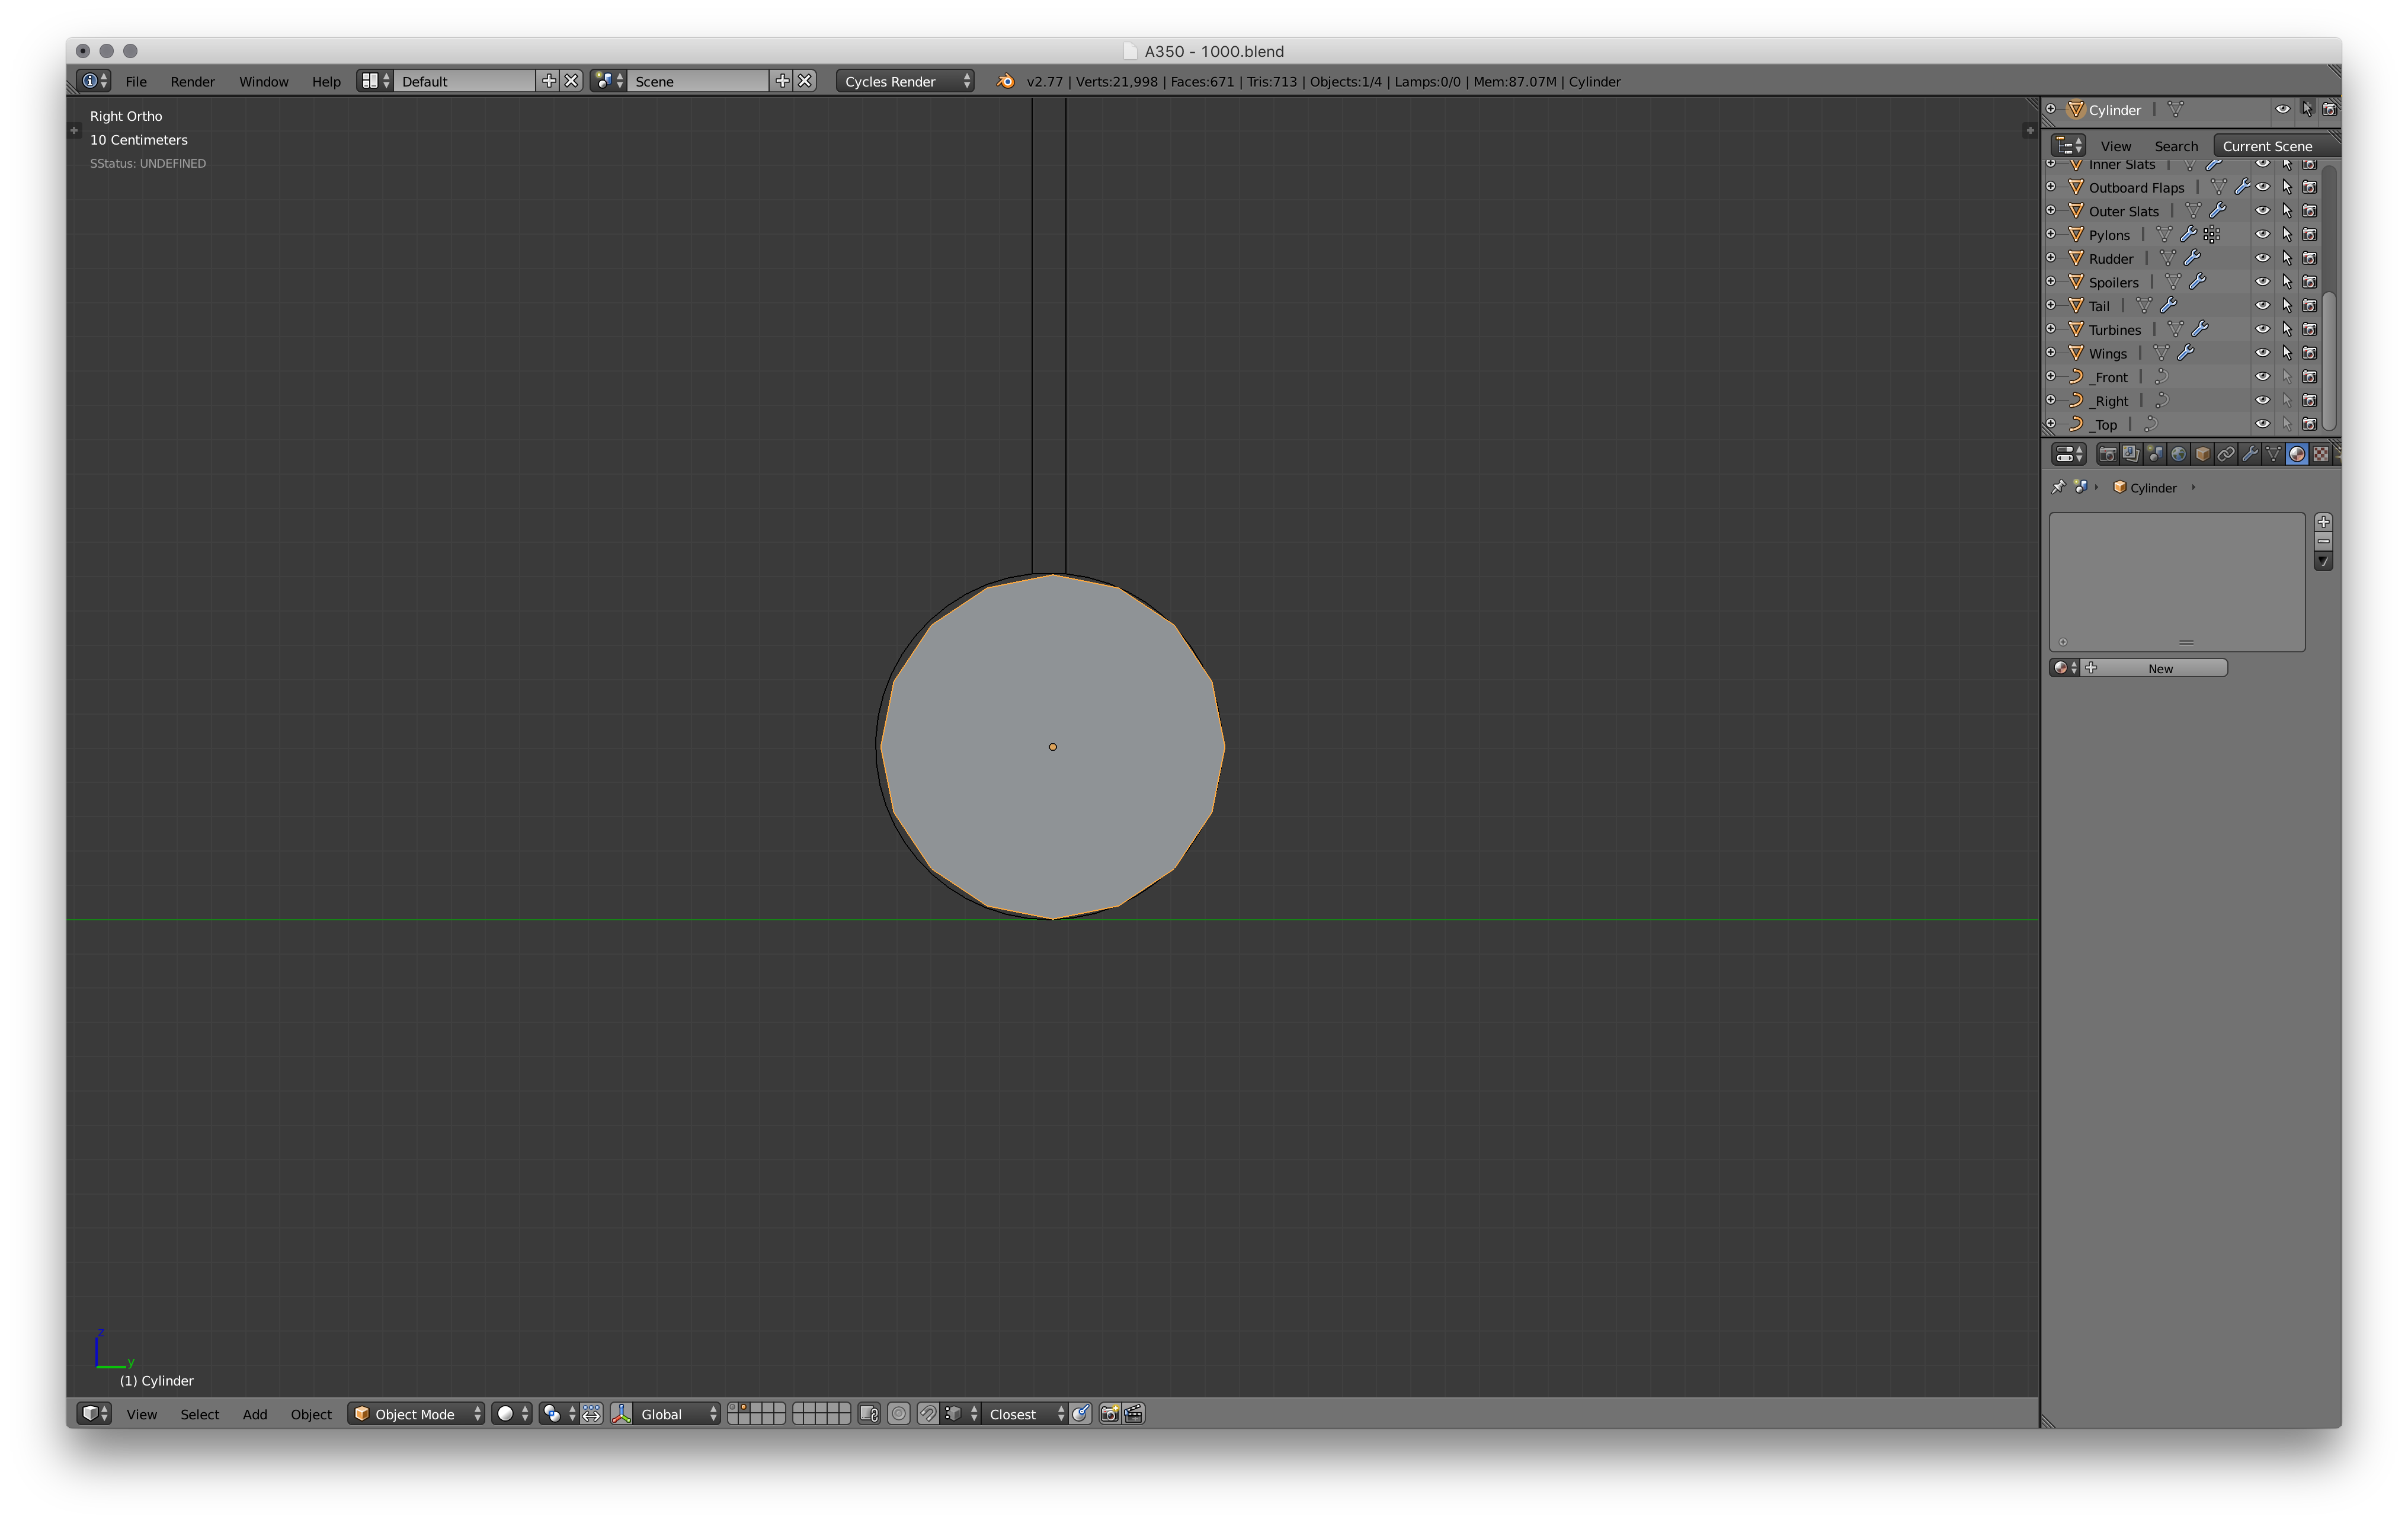
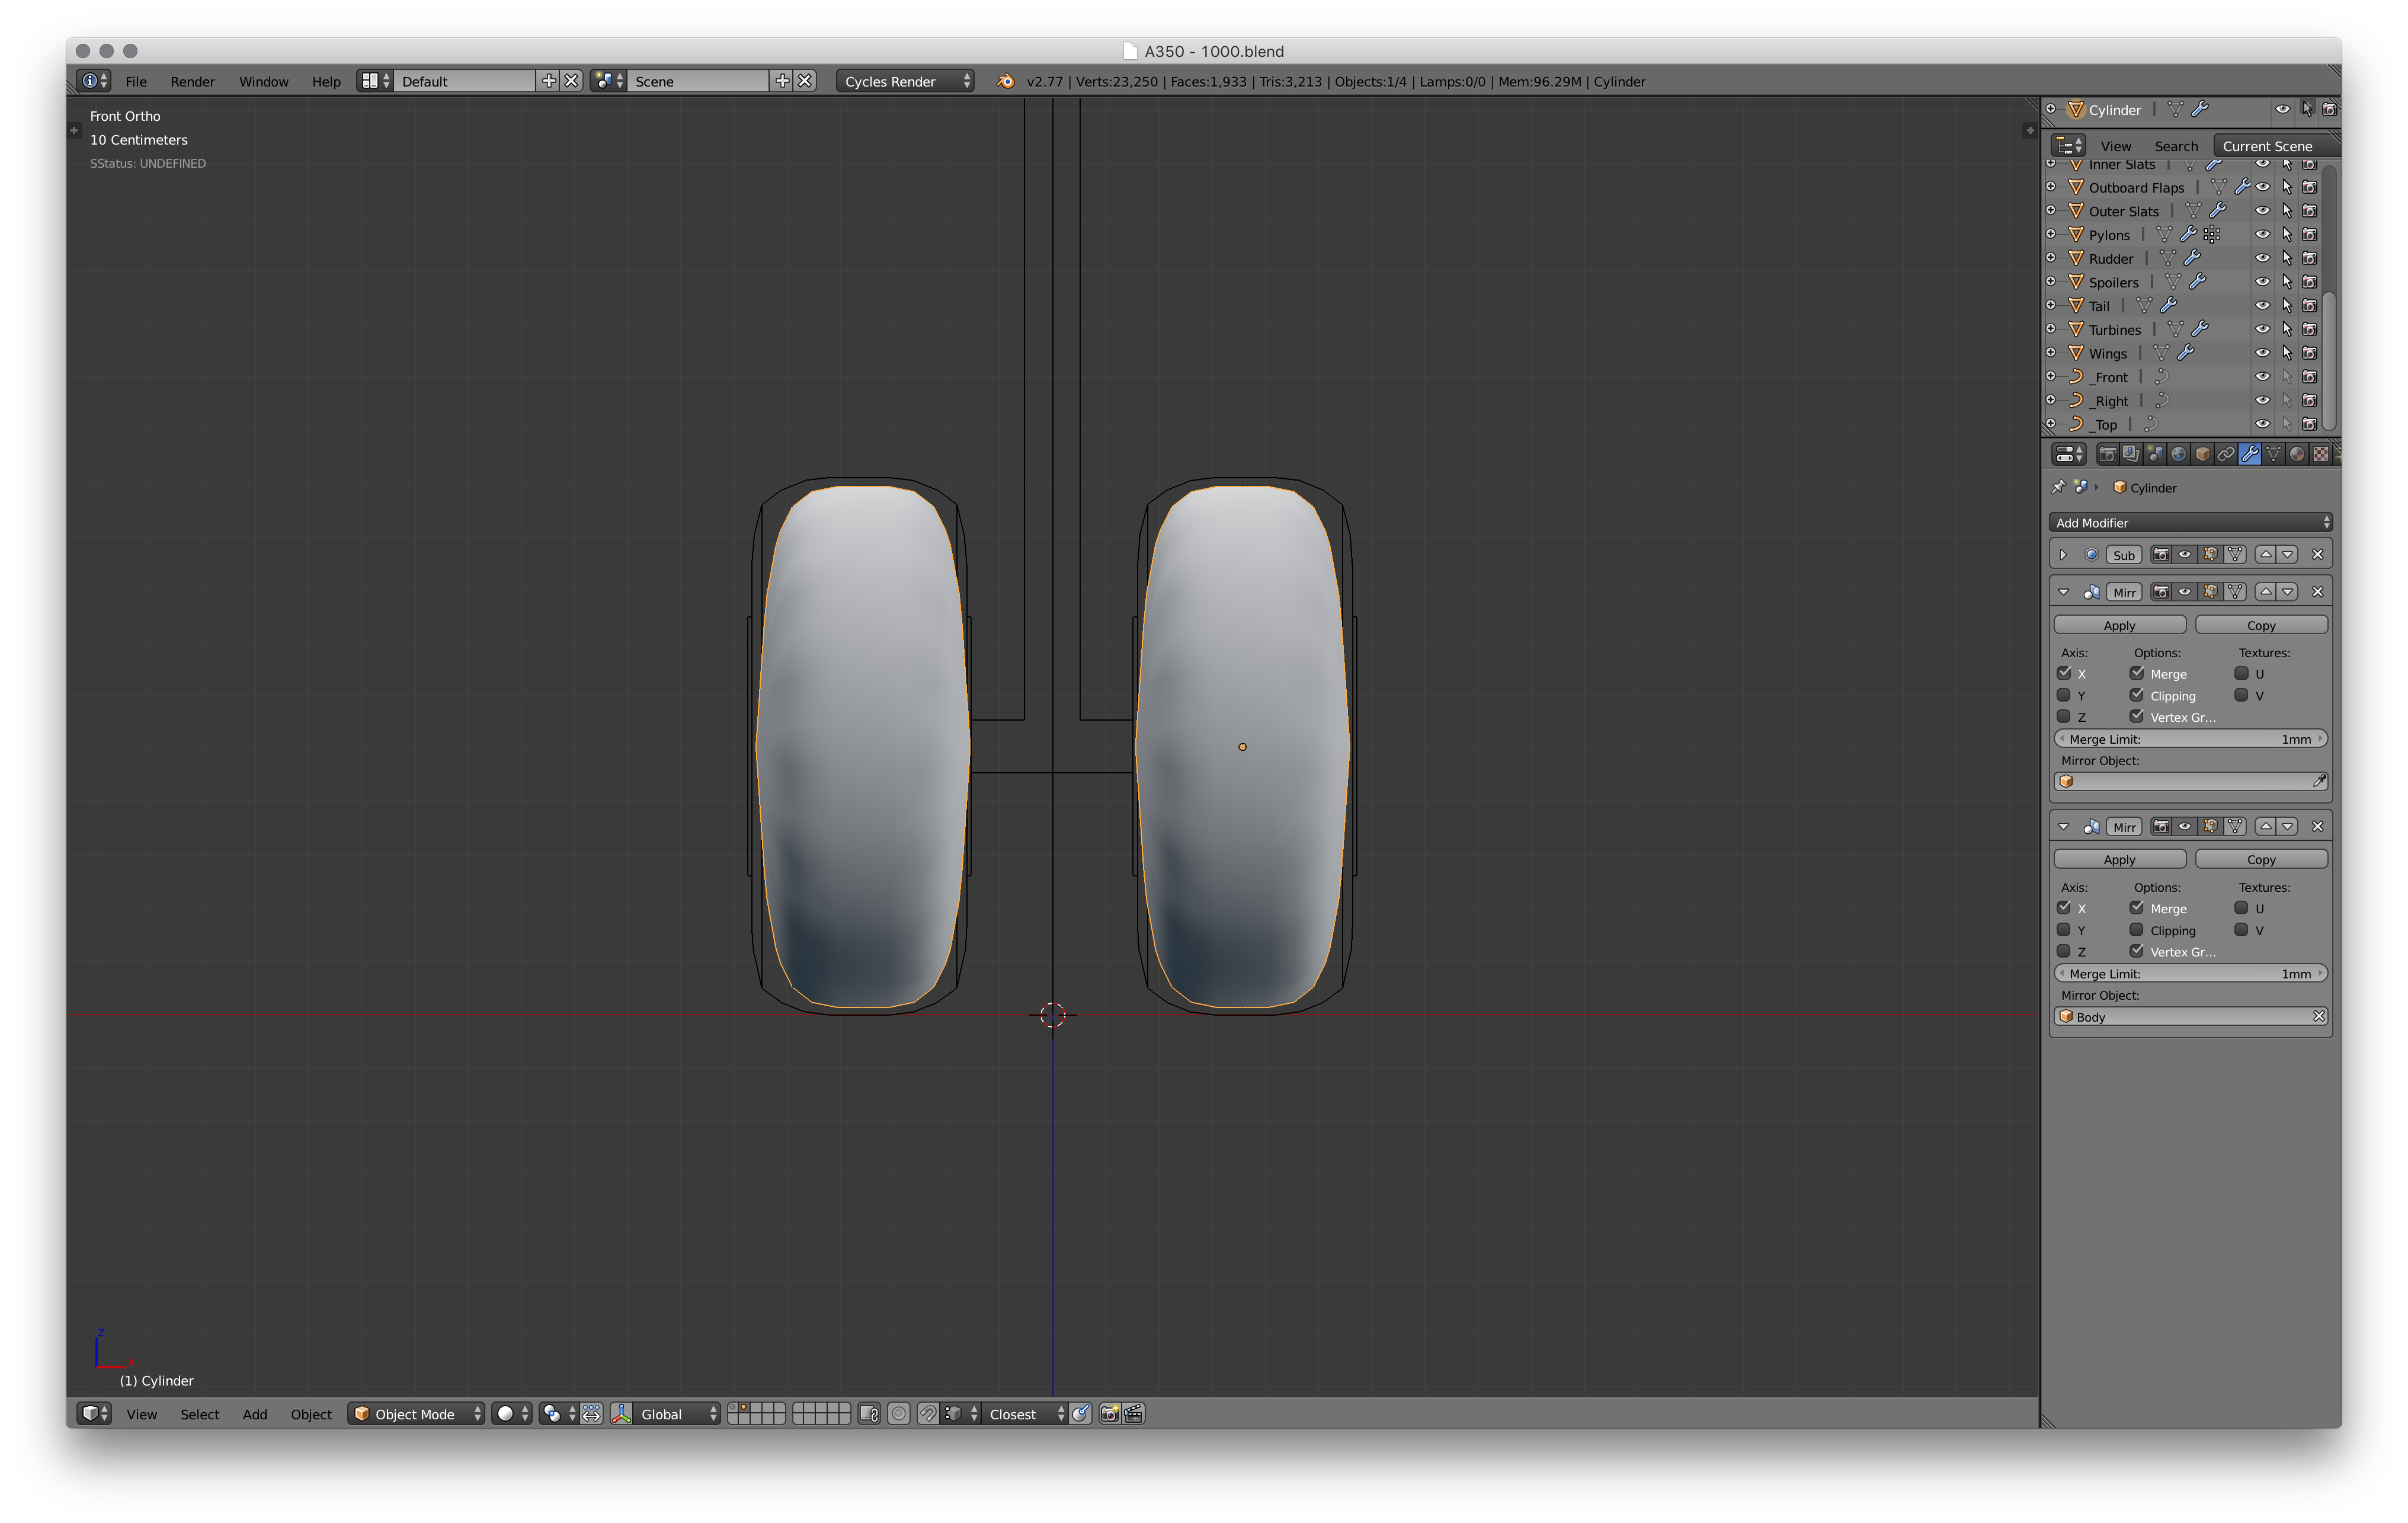
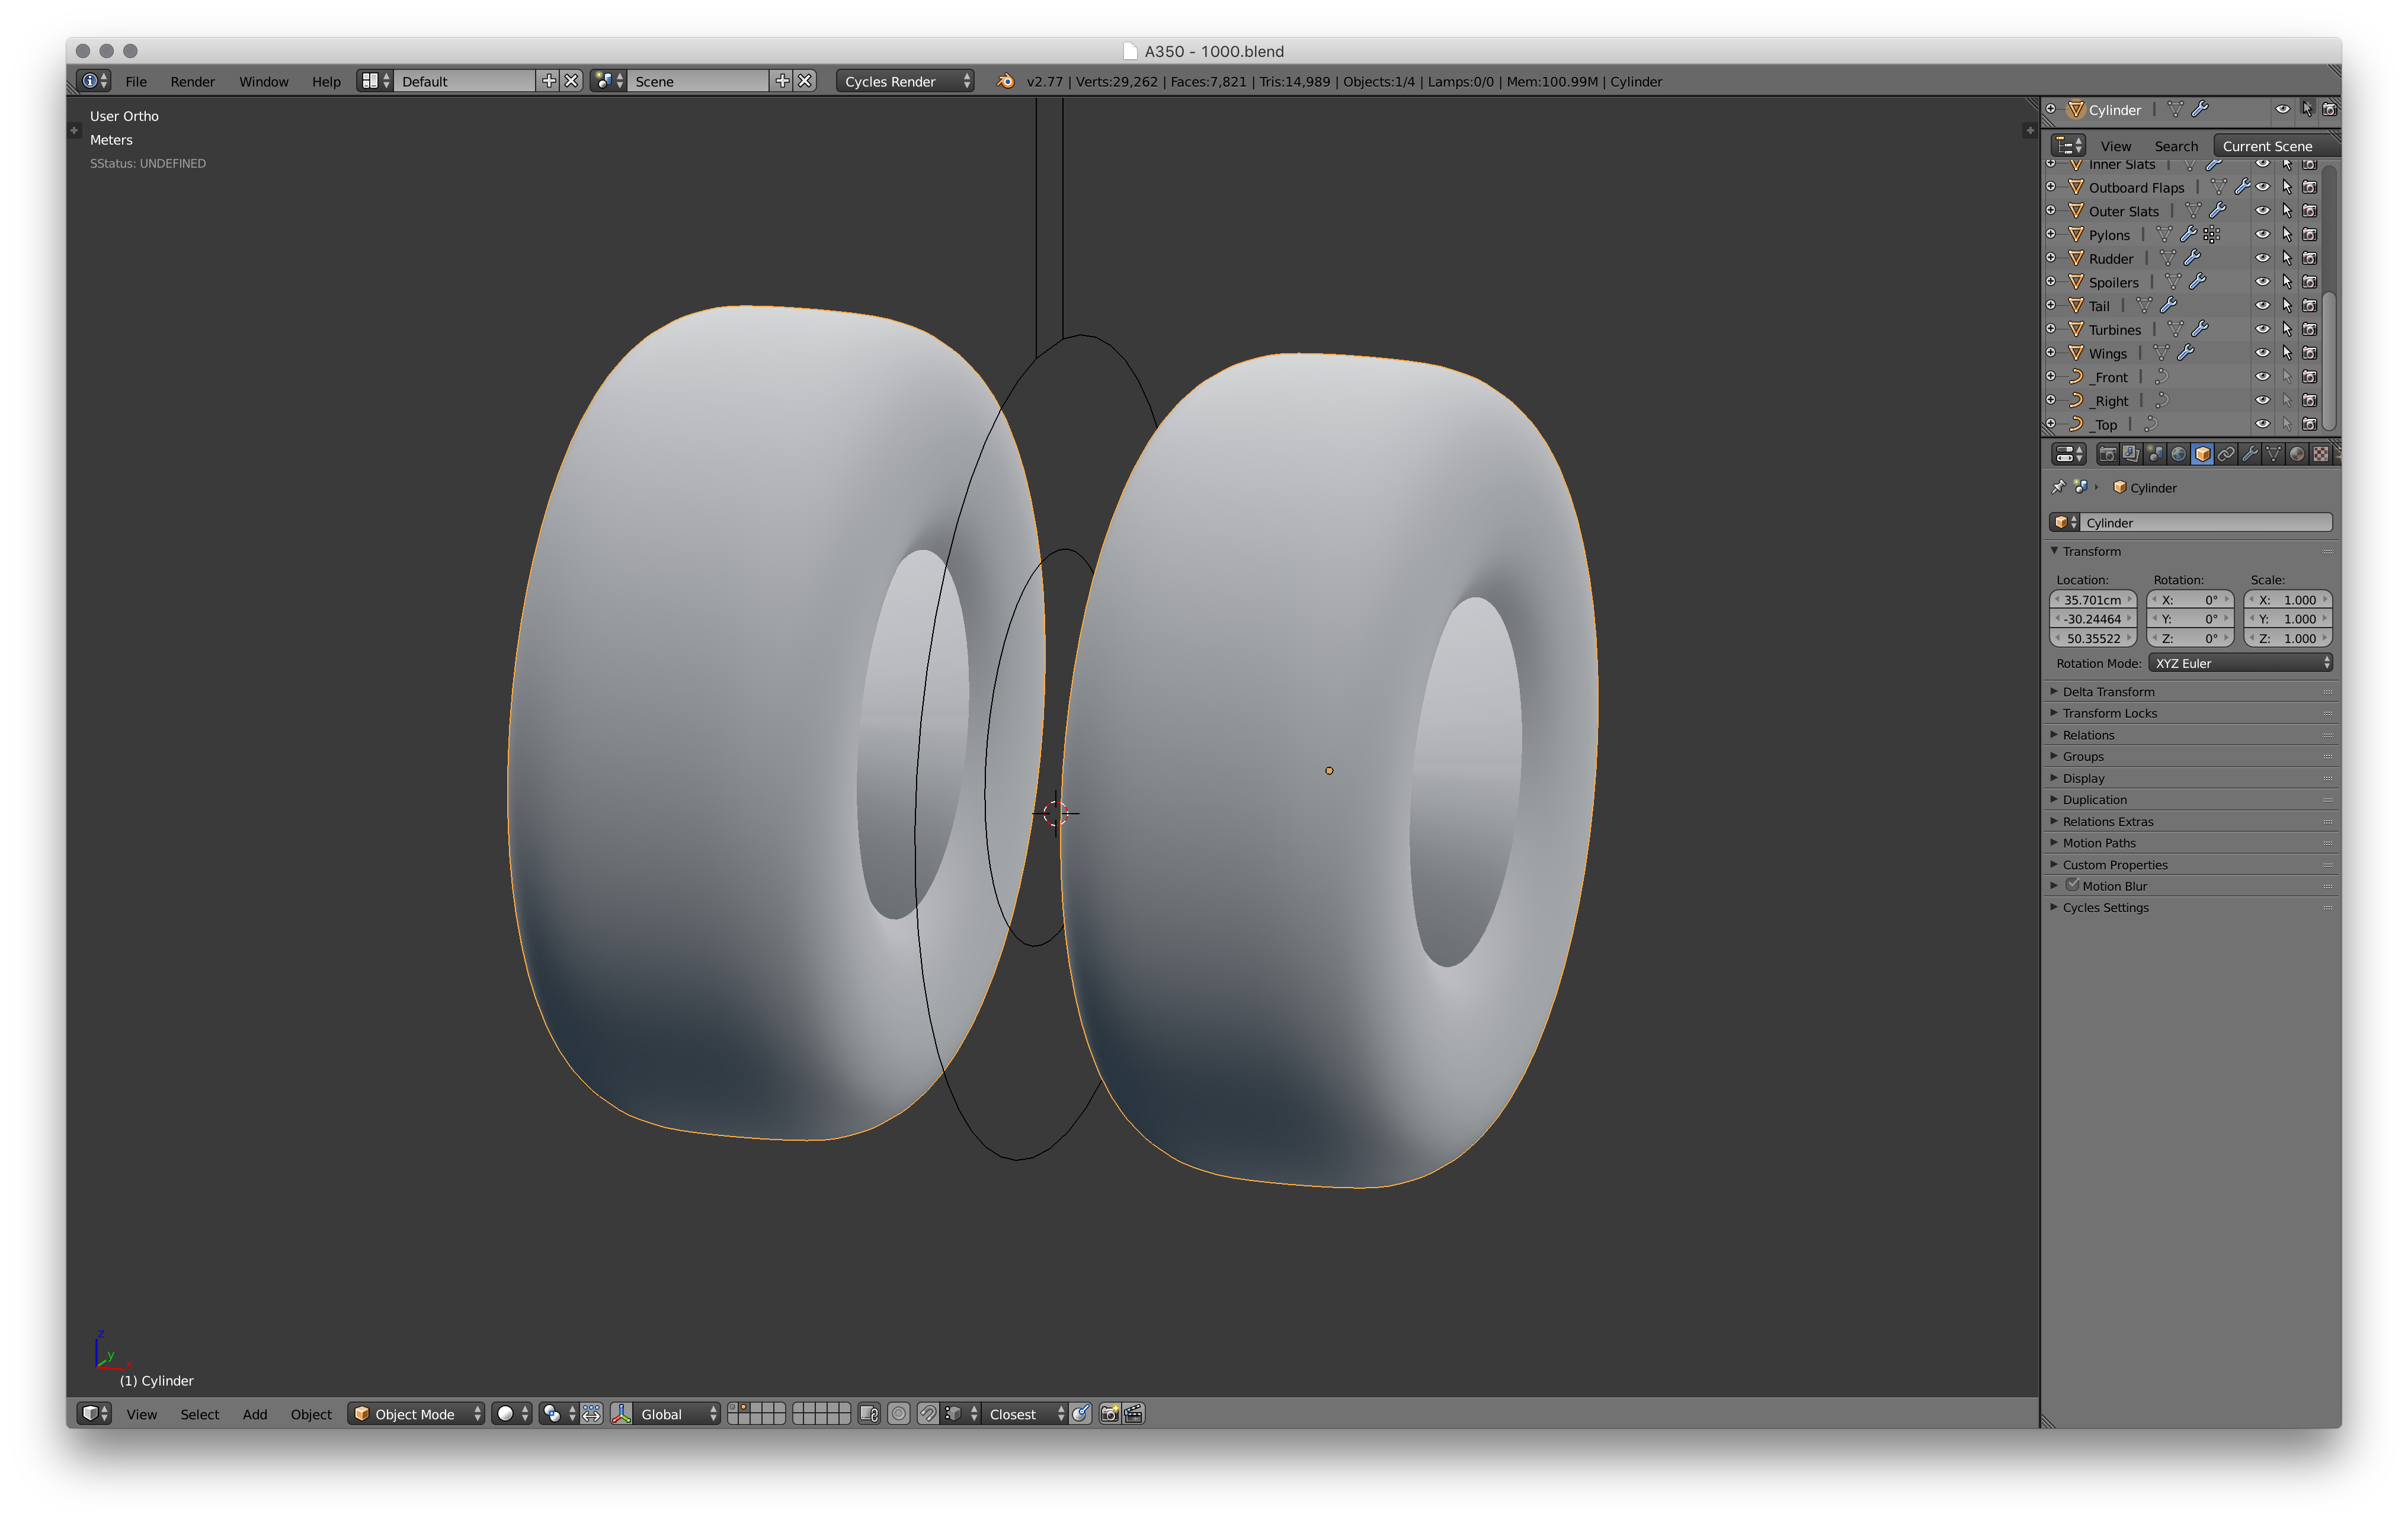
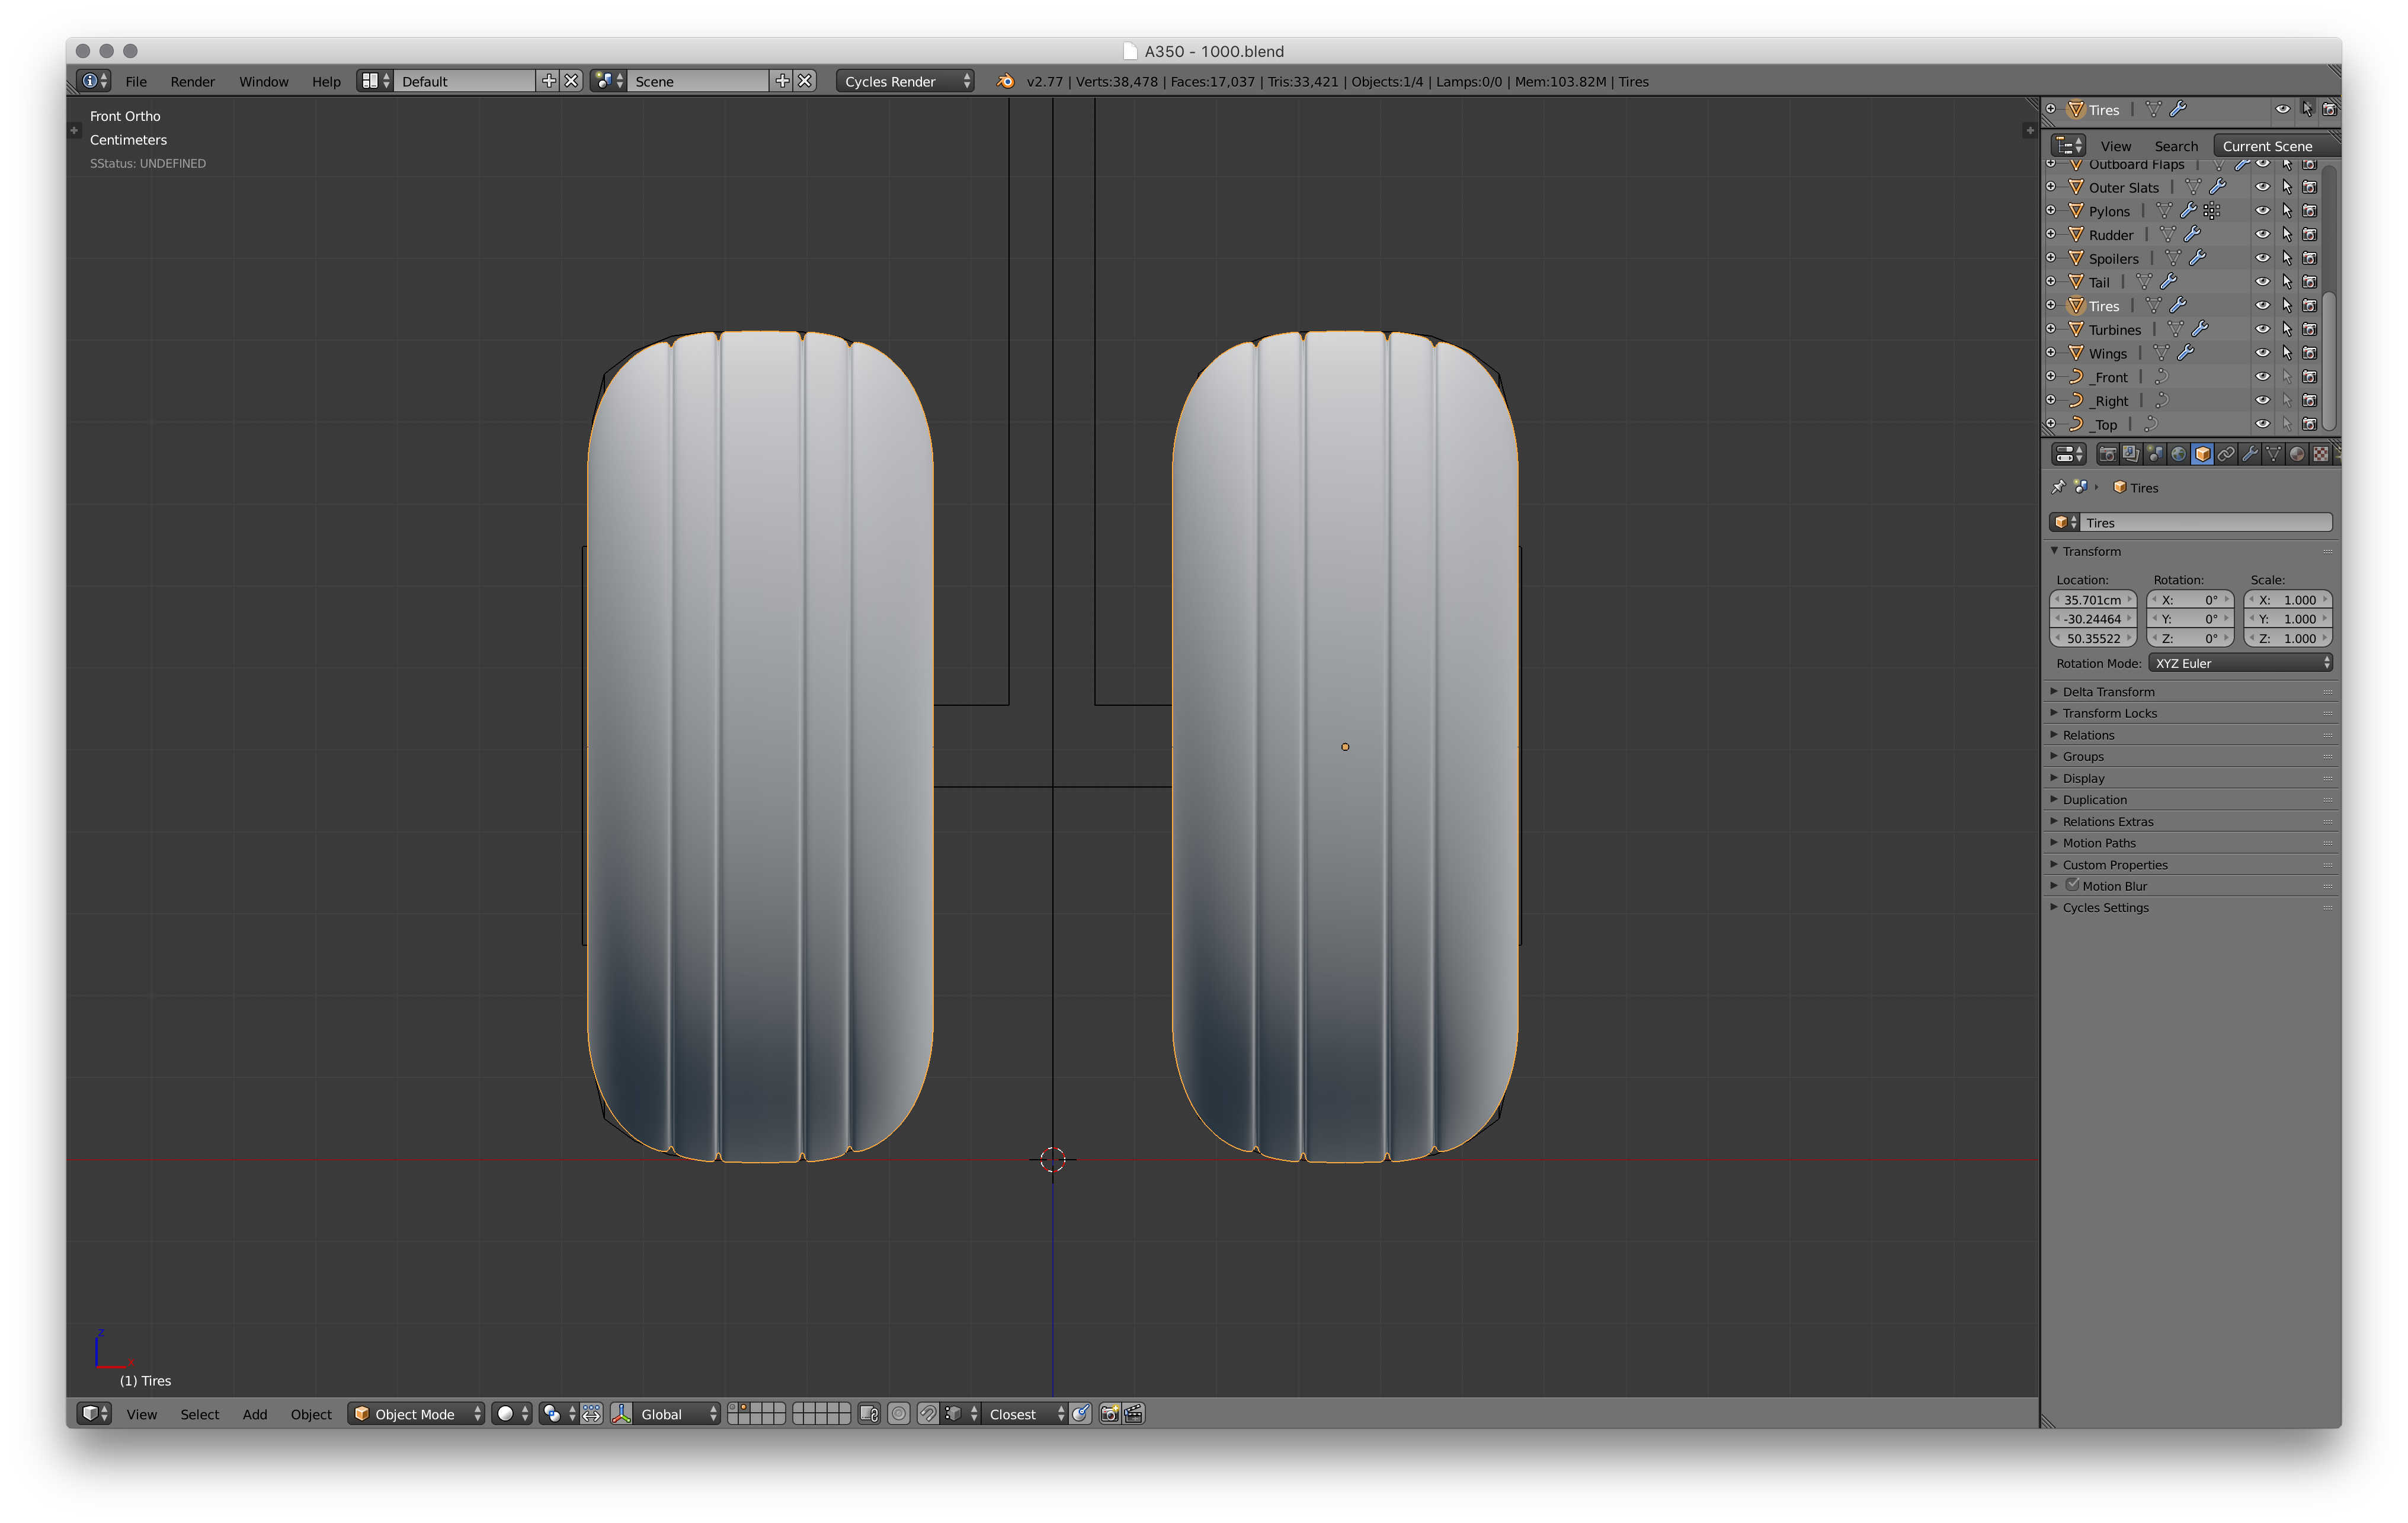
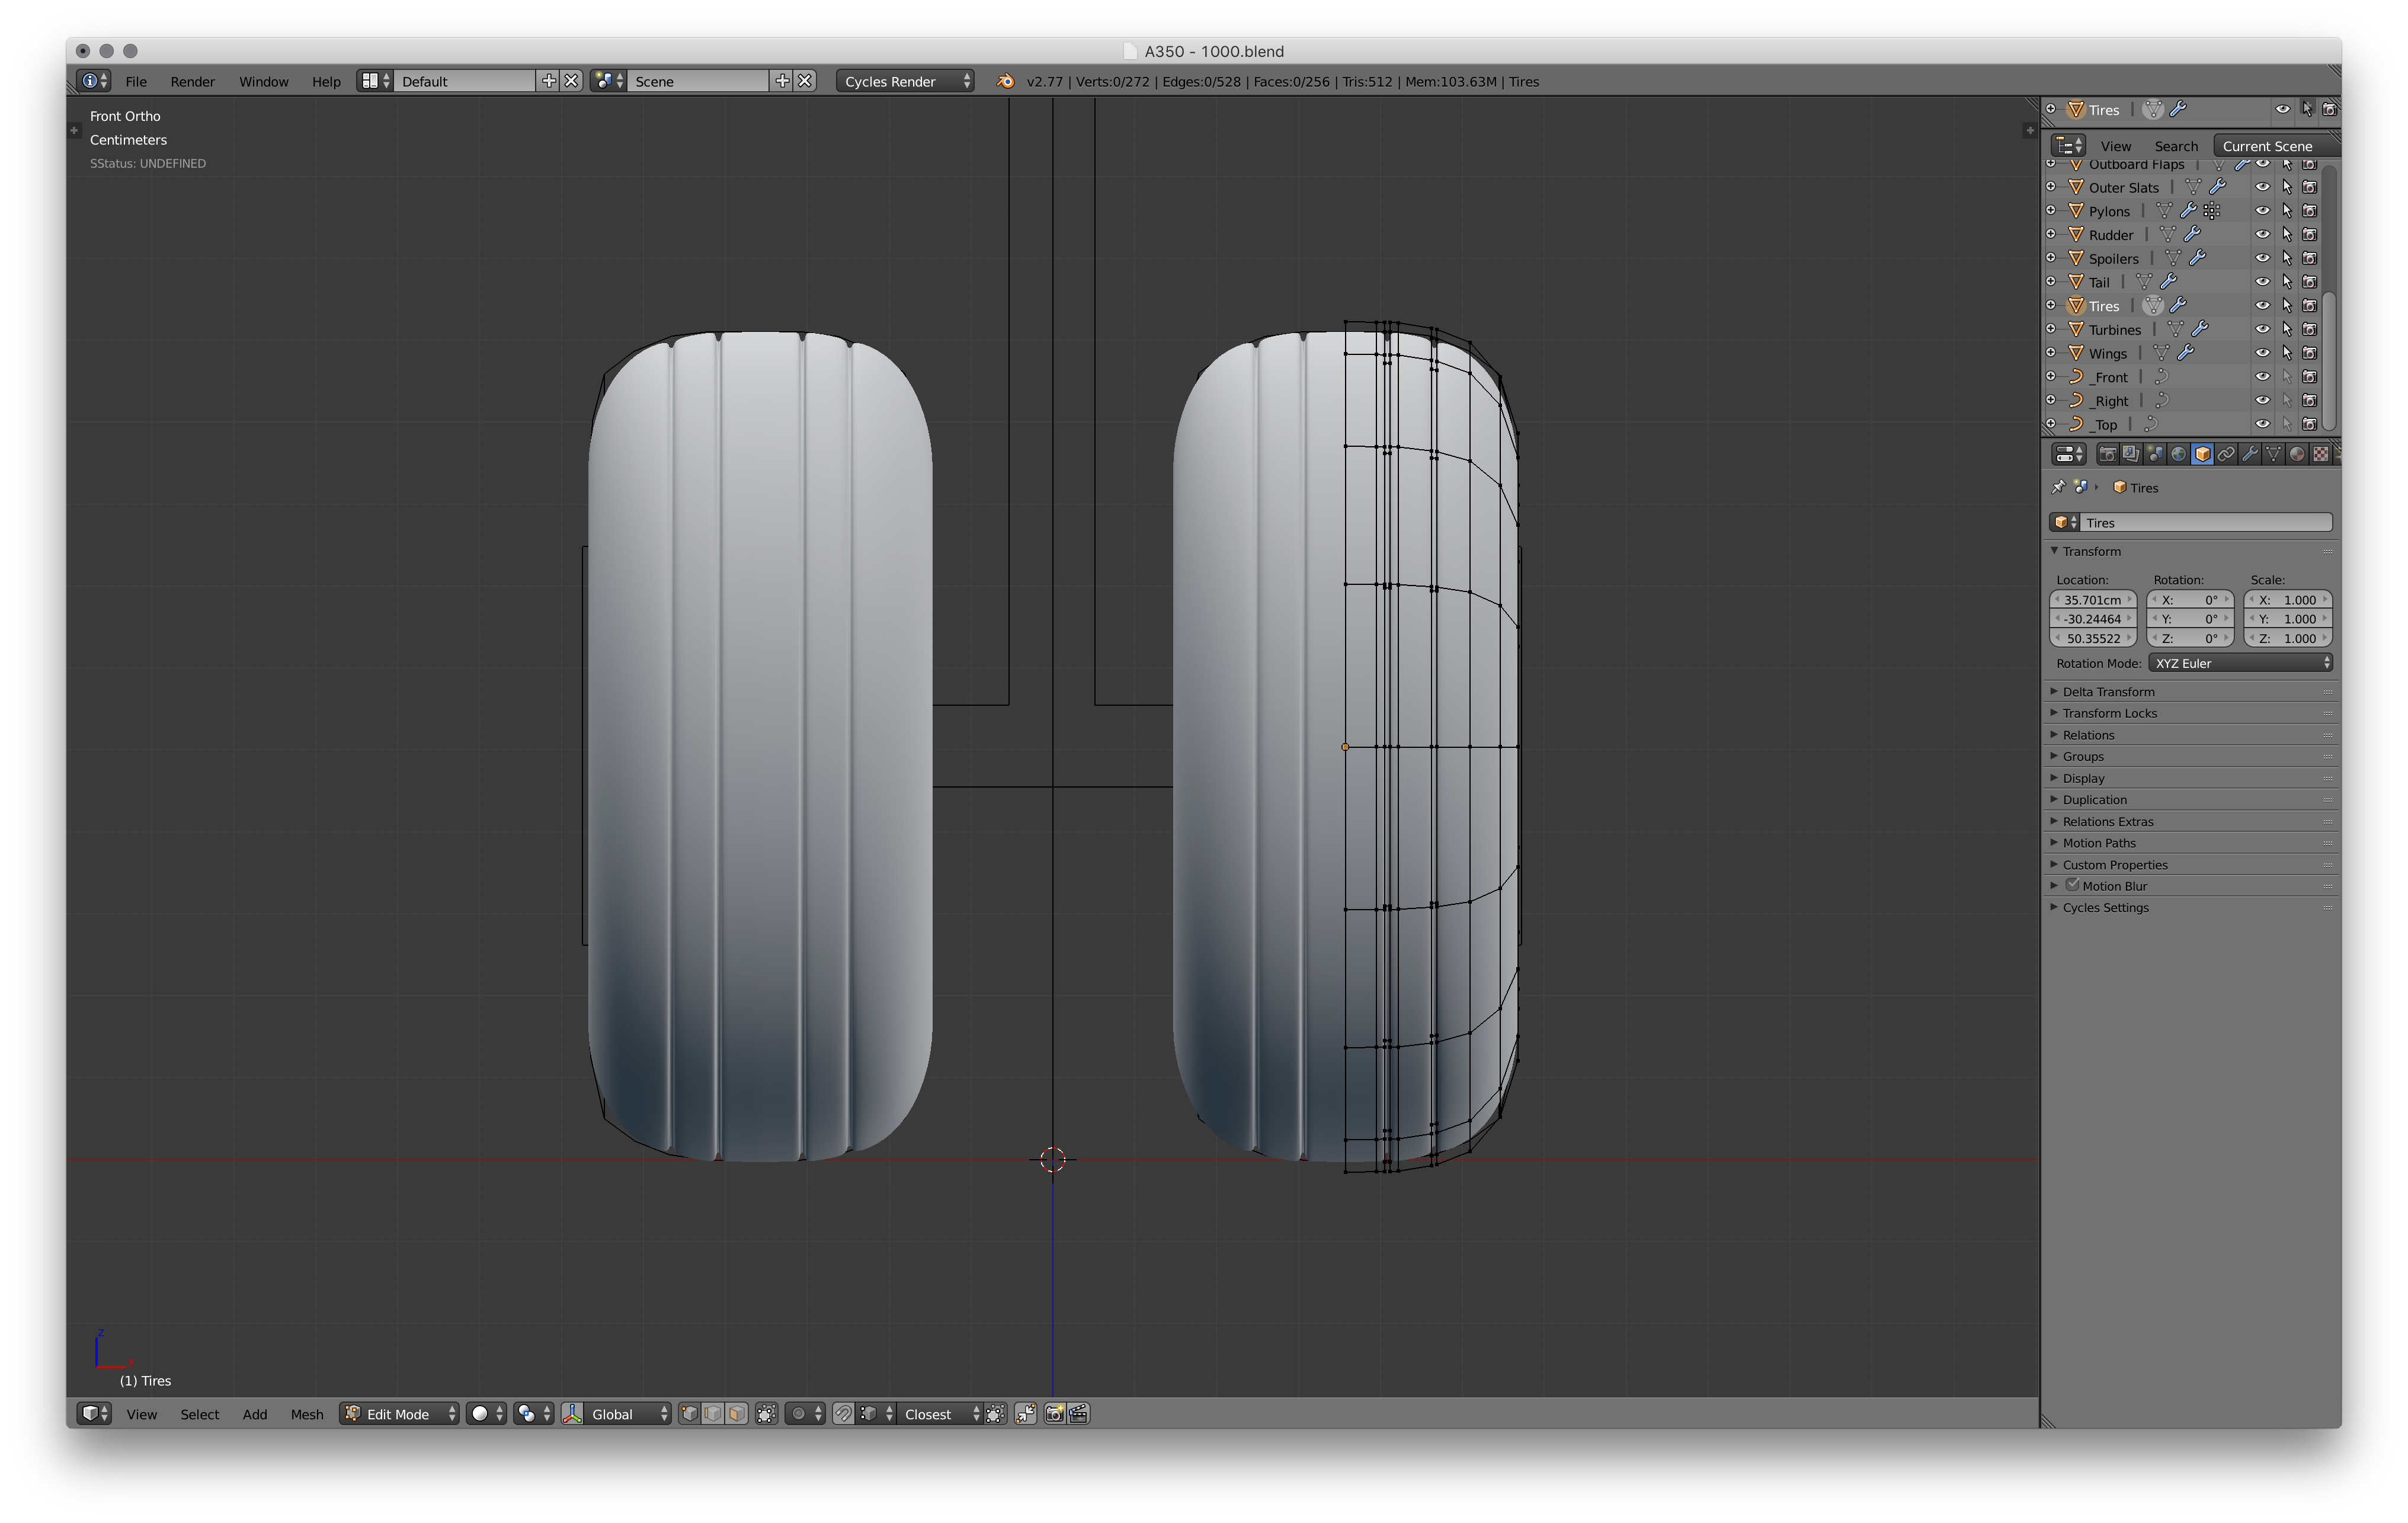
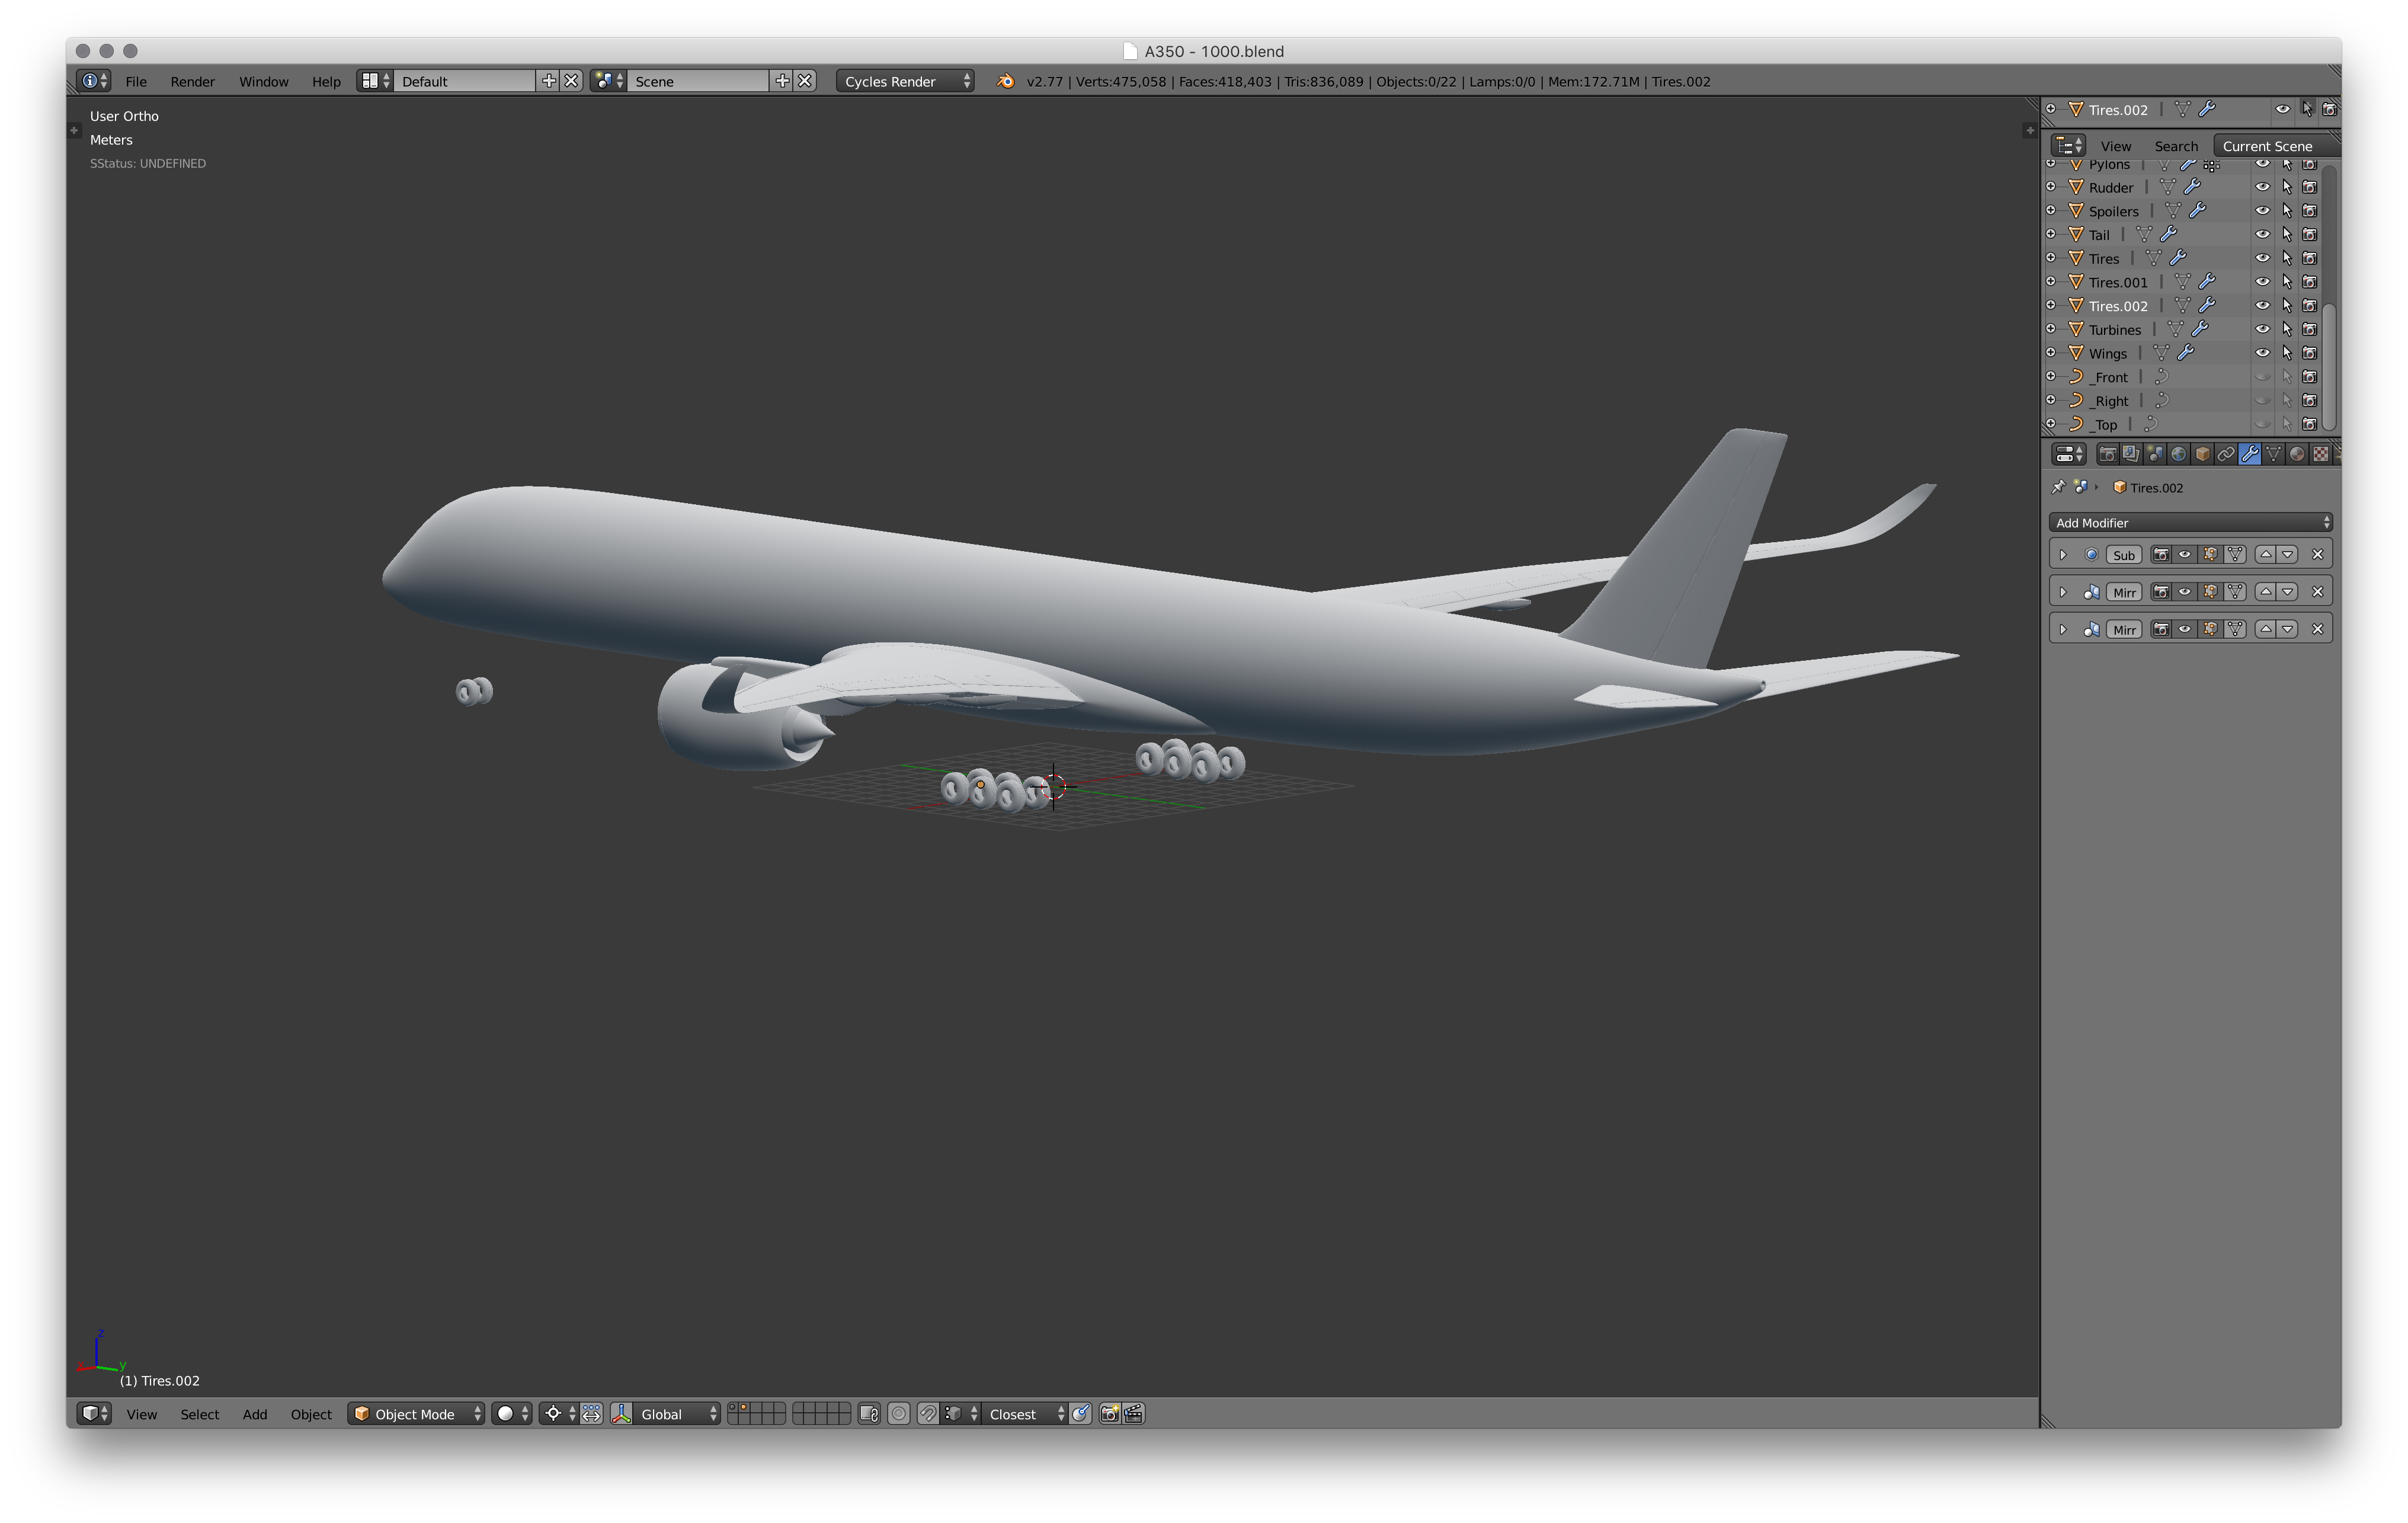
We'll start with the quickest part of the landing gear, the tires. Start with a cylinder and line it up with the blueprints. Now give it smooth shading and a subdivision surface modifier. I'm going to use a mirror modifier here too, notice in the image I've got two mirror modifiers, the top one mirrors one half of the mesh on its own origin, the other mirrors the whole thing across the origin of the body. This makes things a lot easier, we'll use this again when we model the rear landing gear. Right now it probably looks pretty wonky. Add some more edge loops and round the overall shape out. Now add two more edge loops and bevel them with 1 segment, this will create two edge loops from each original one. Extrude these and scale down, these will make up the small groves in the tires. Duplicate the tire you just made (for the rest of the tires) and position these over the blueprint.
Blocking Out the Nose Landing Gear
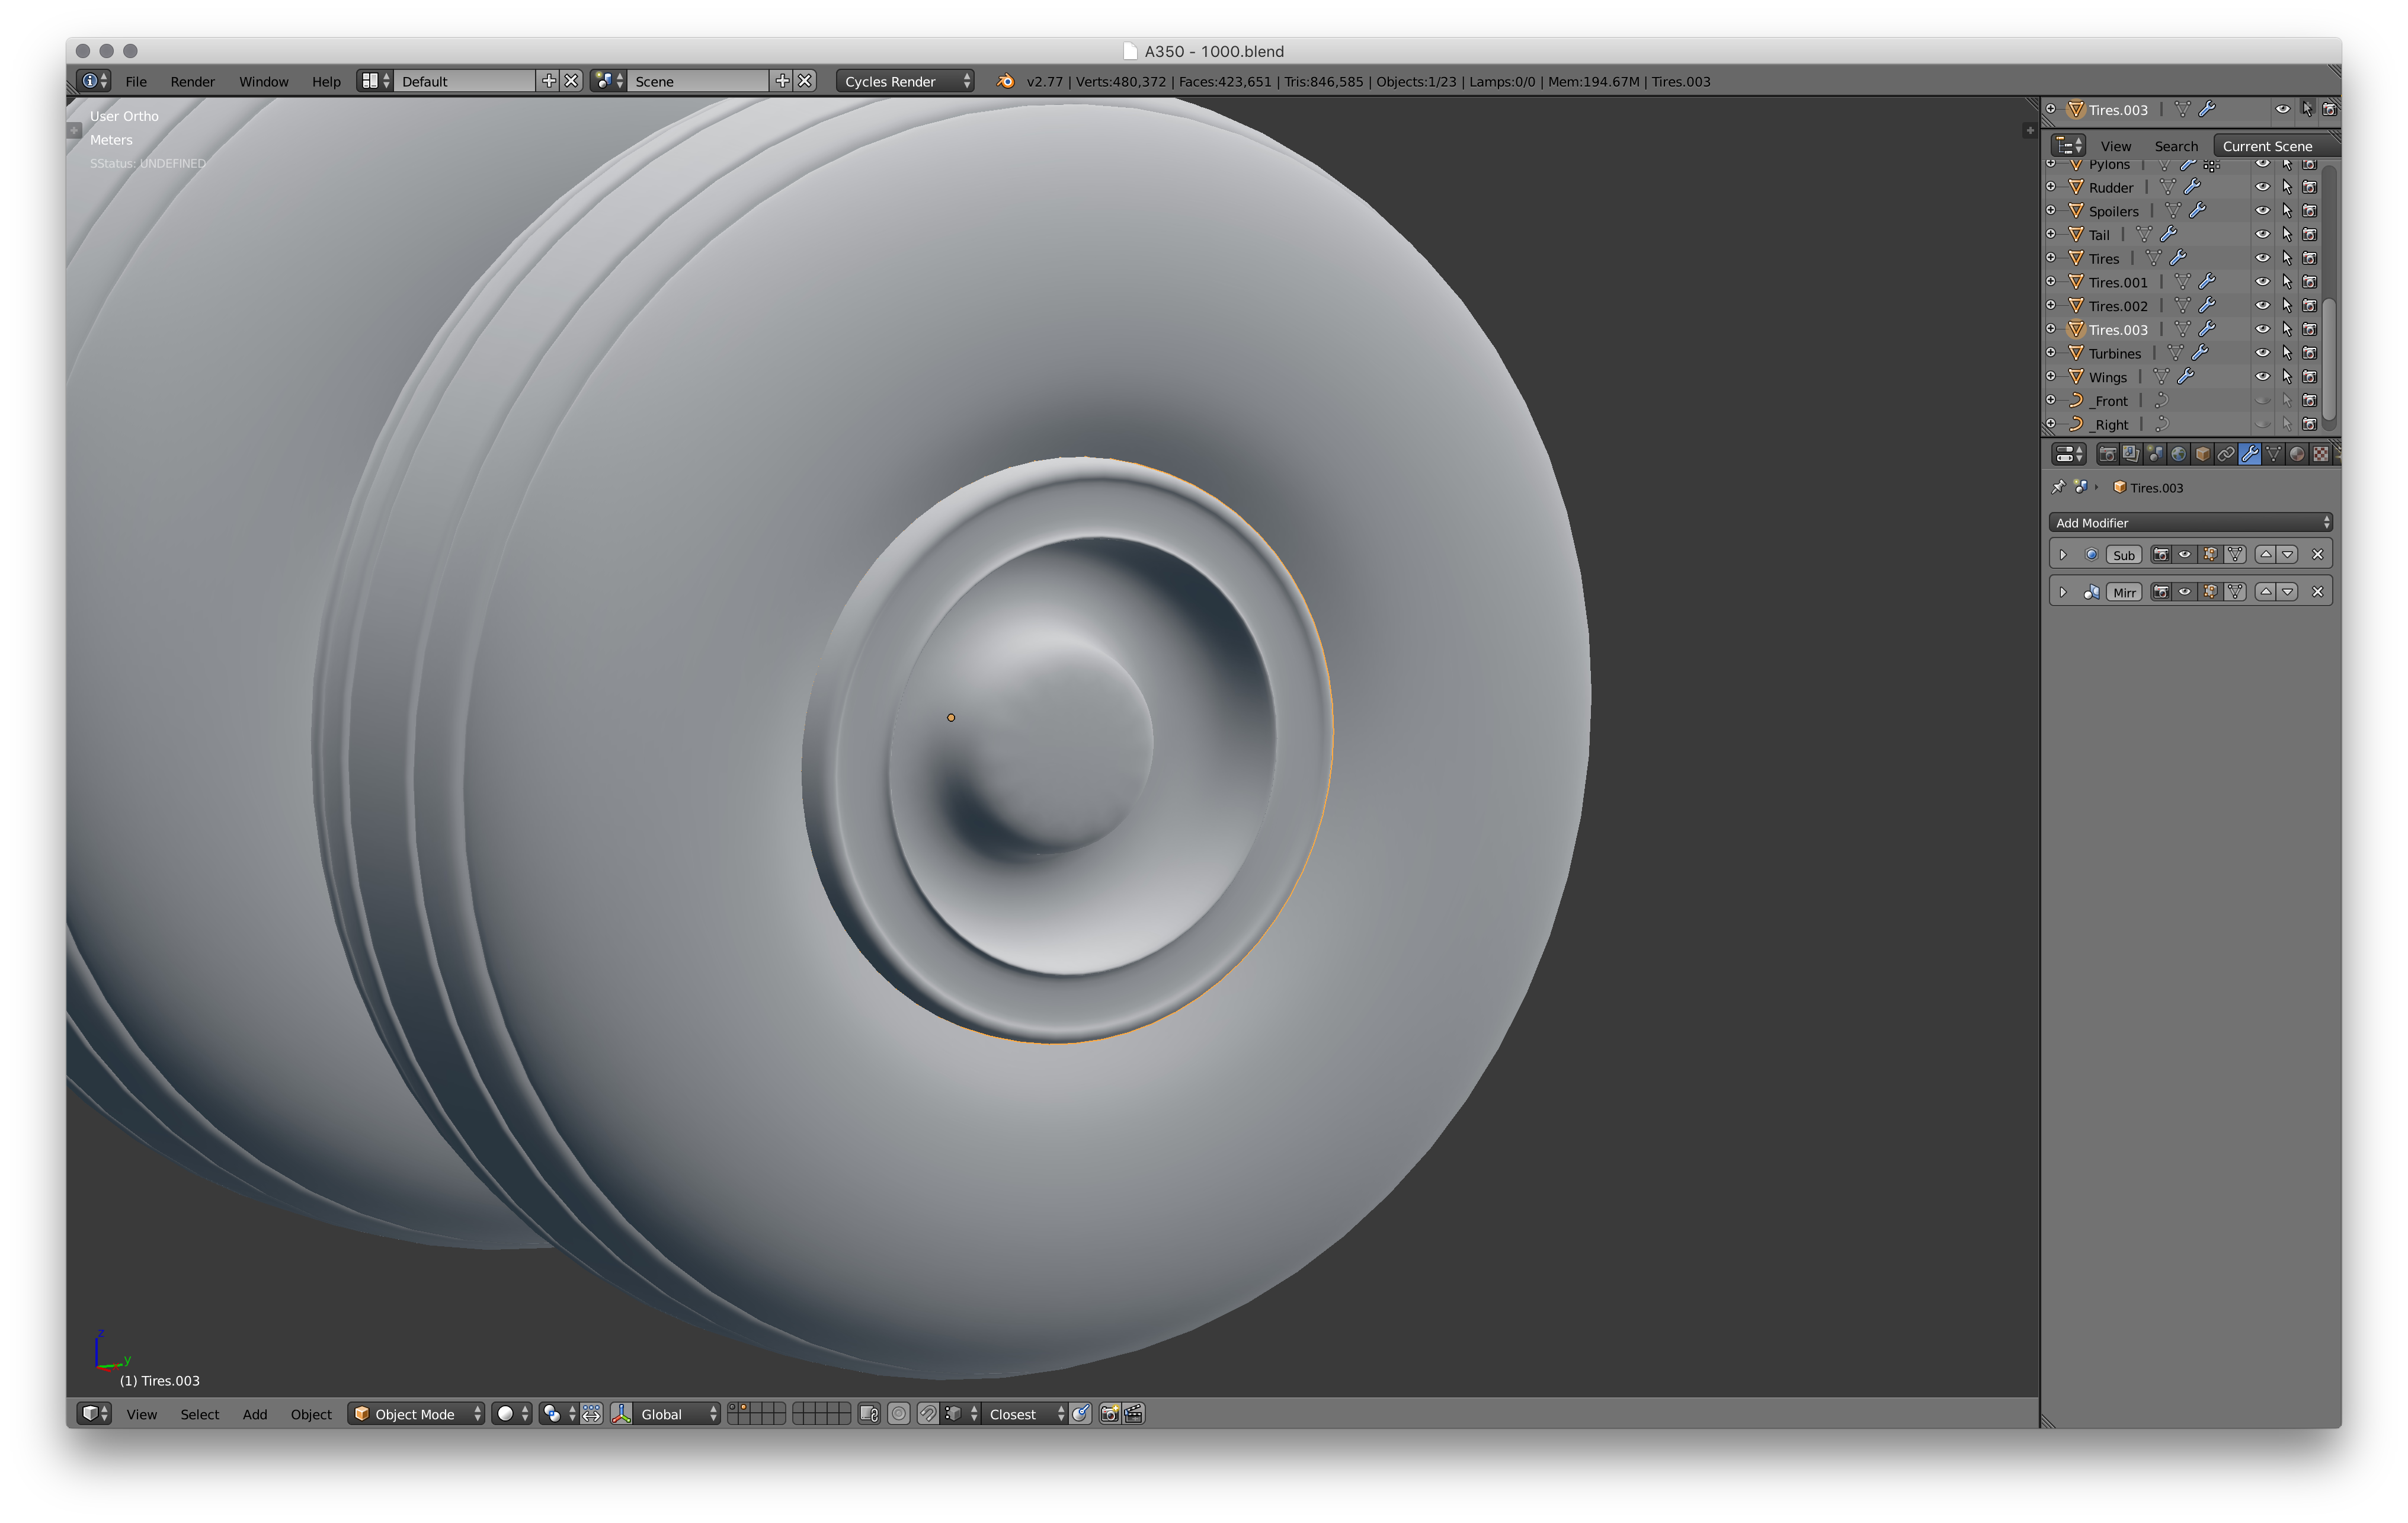
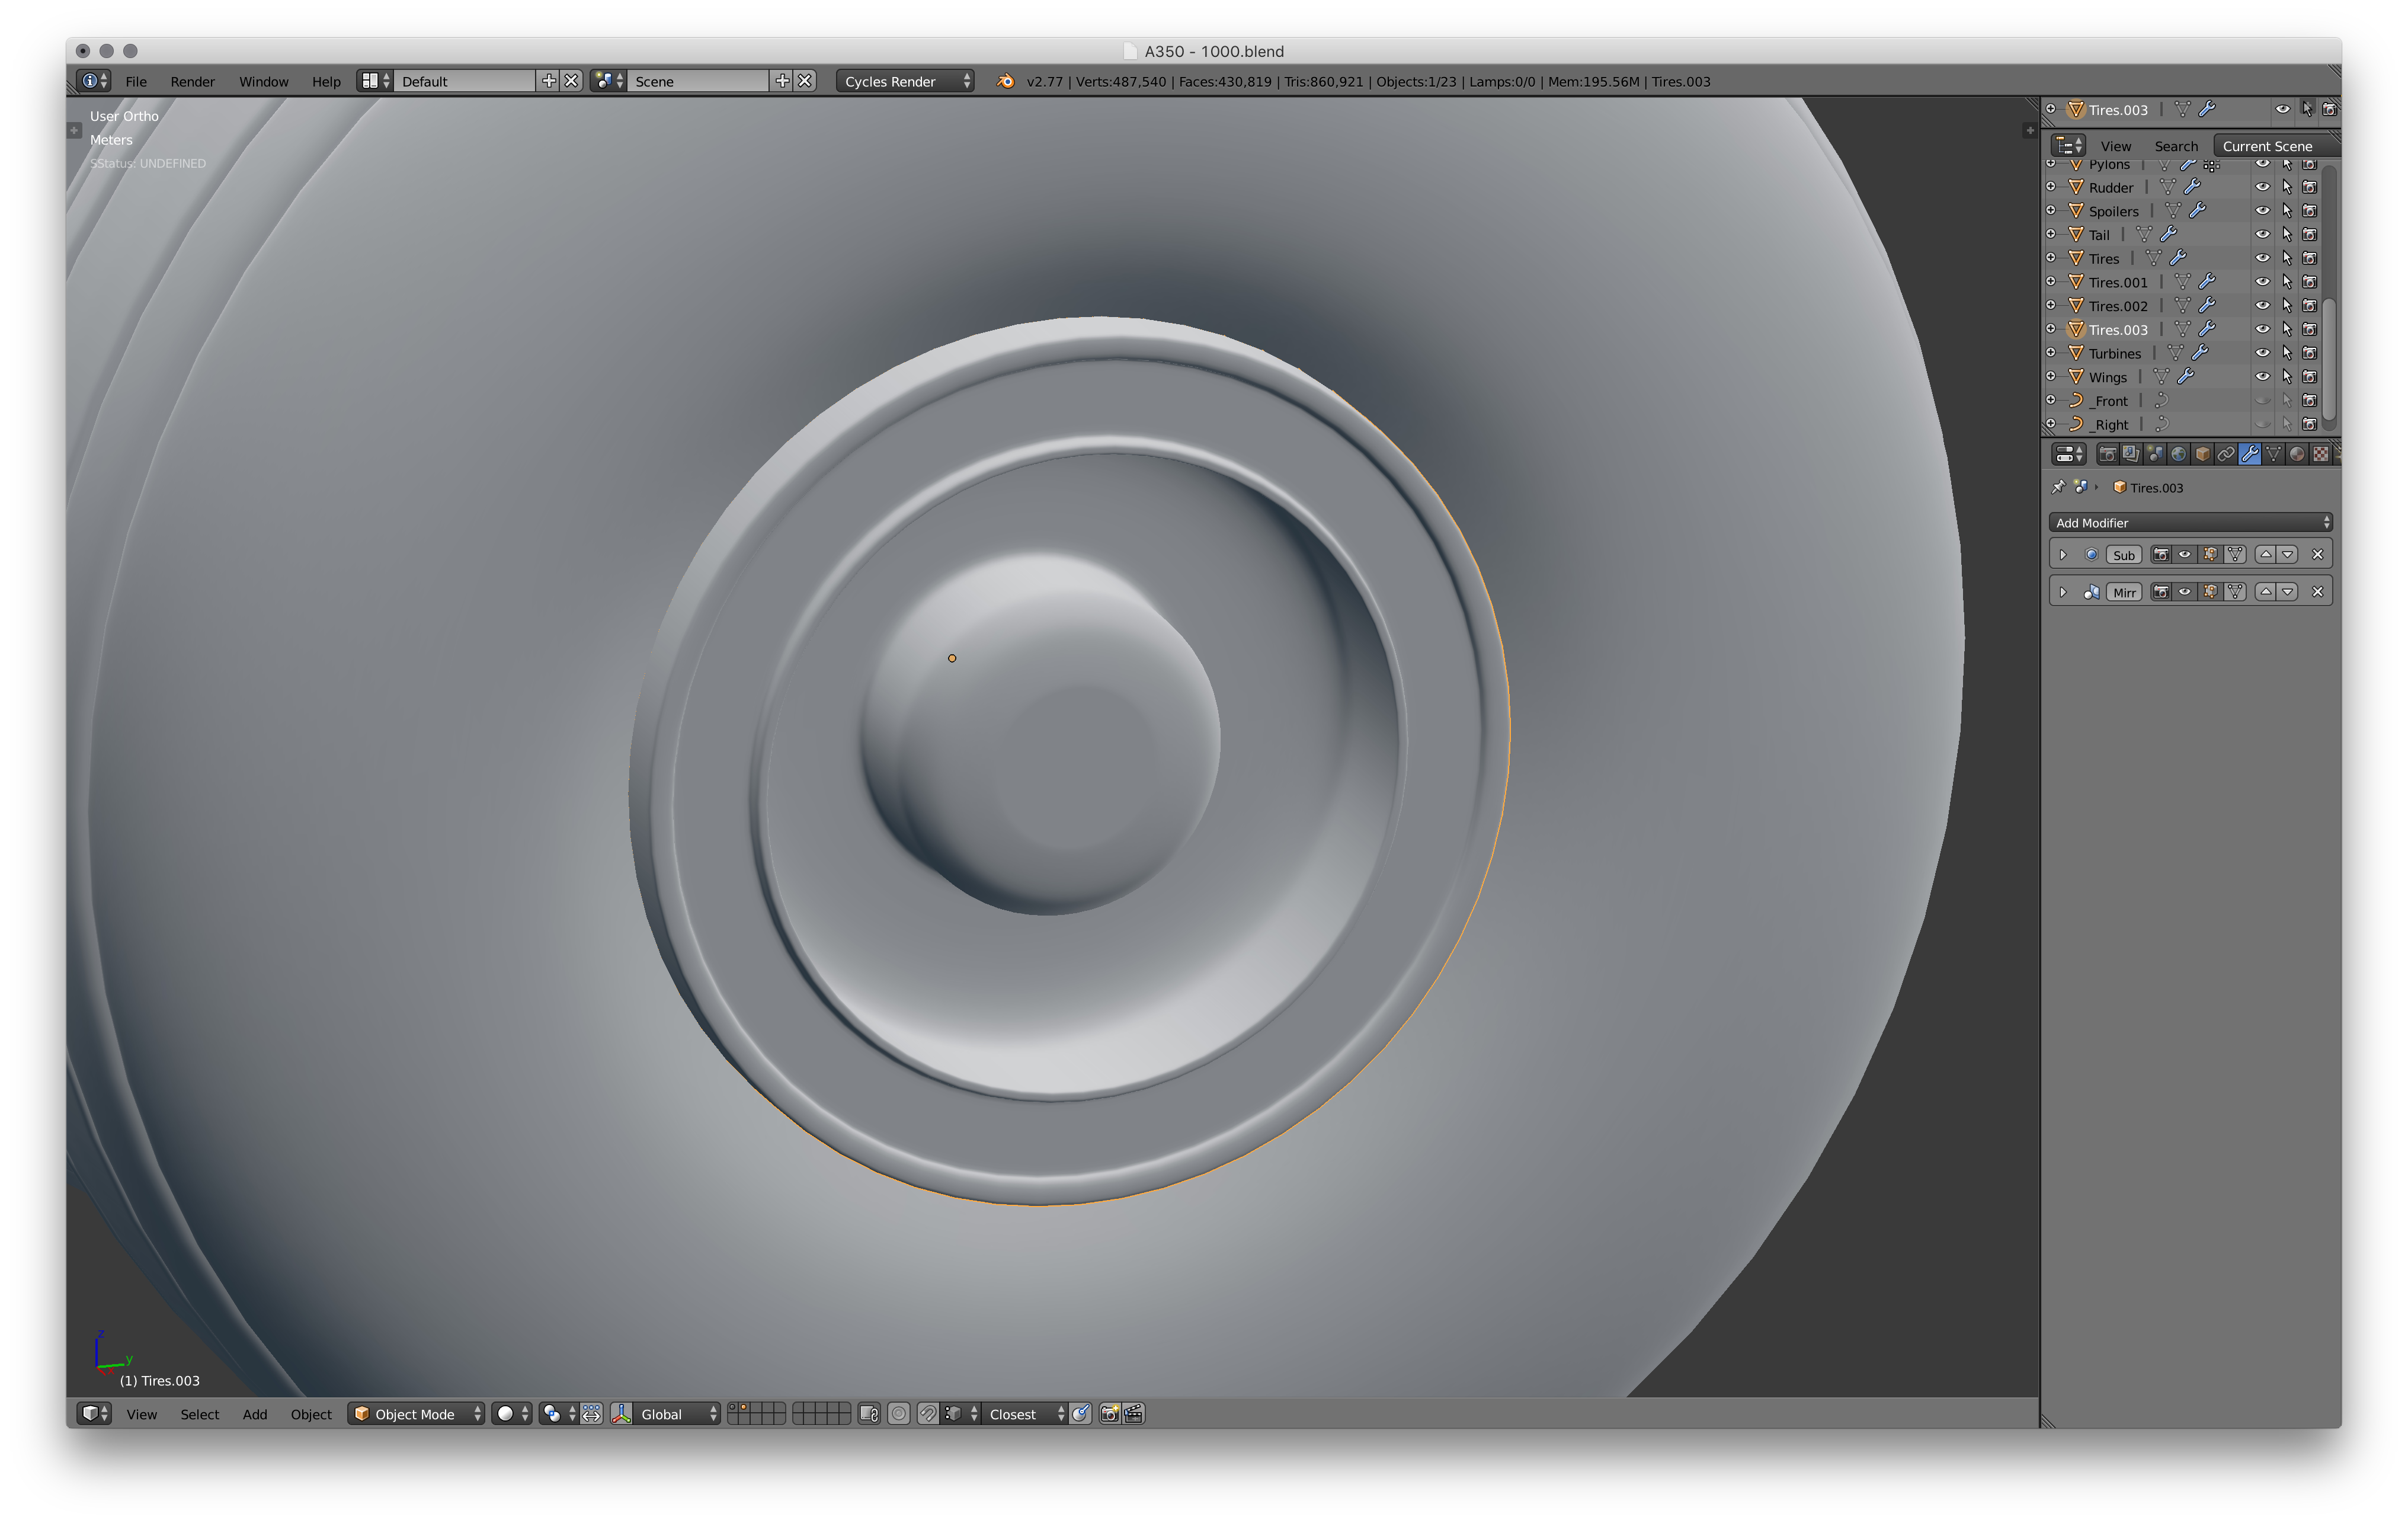
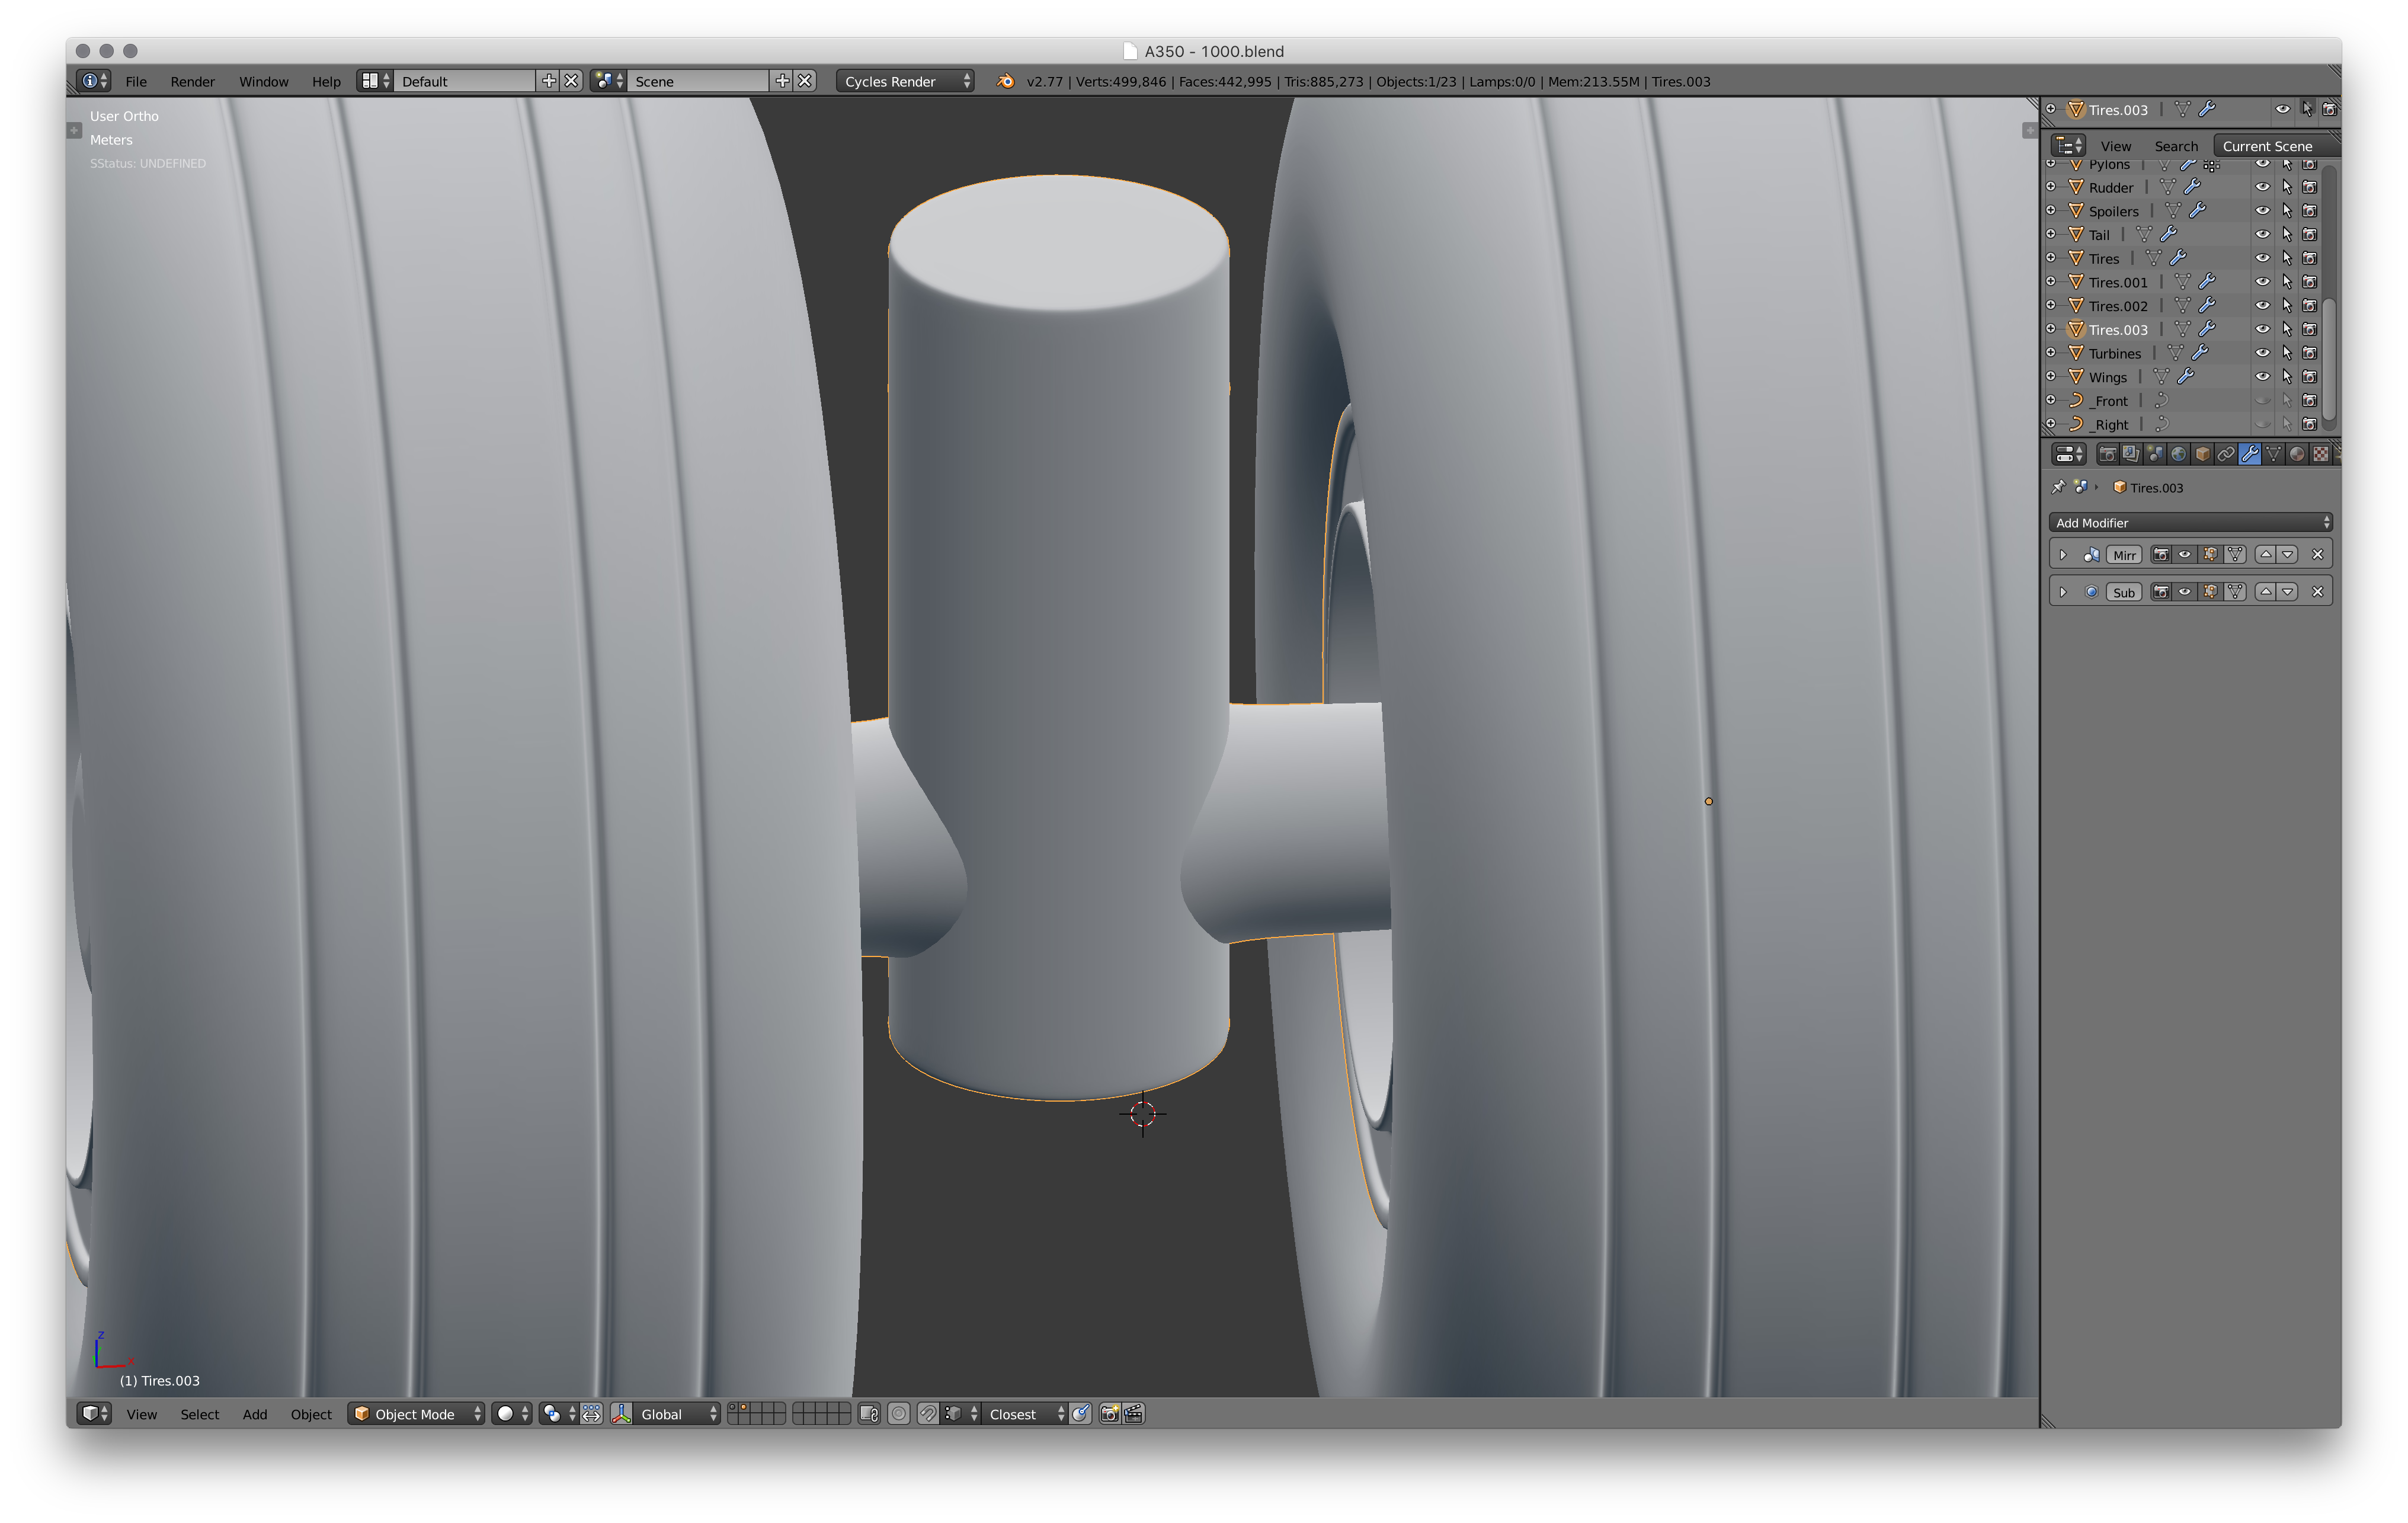
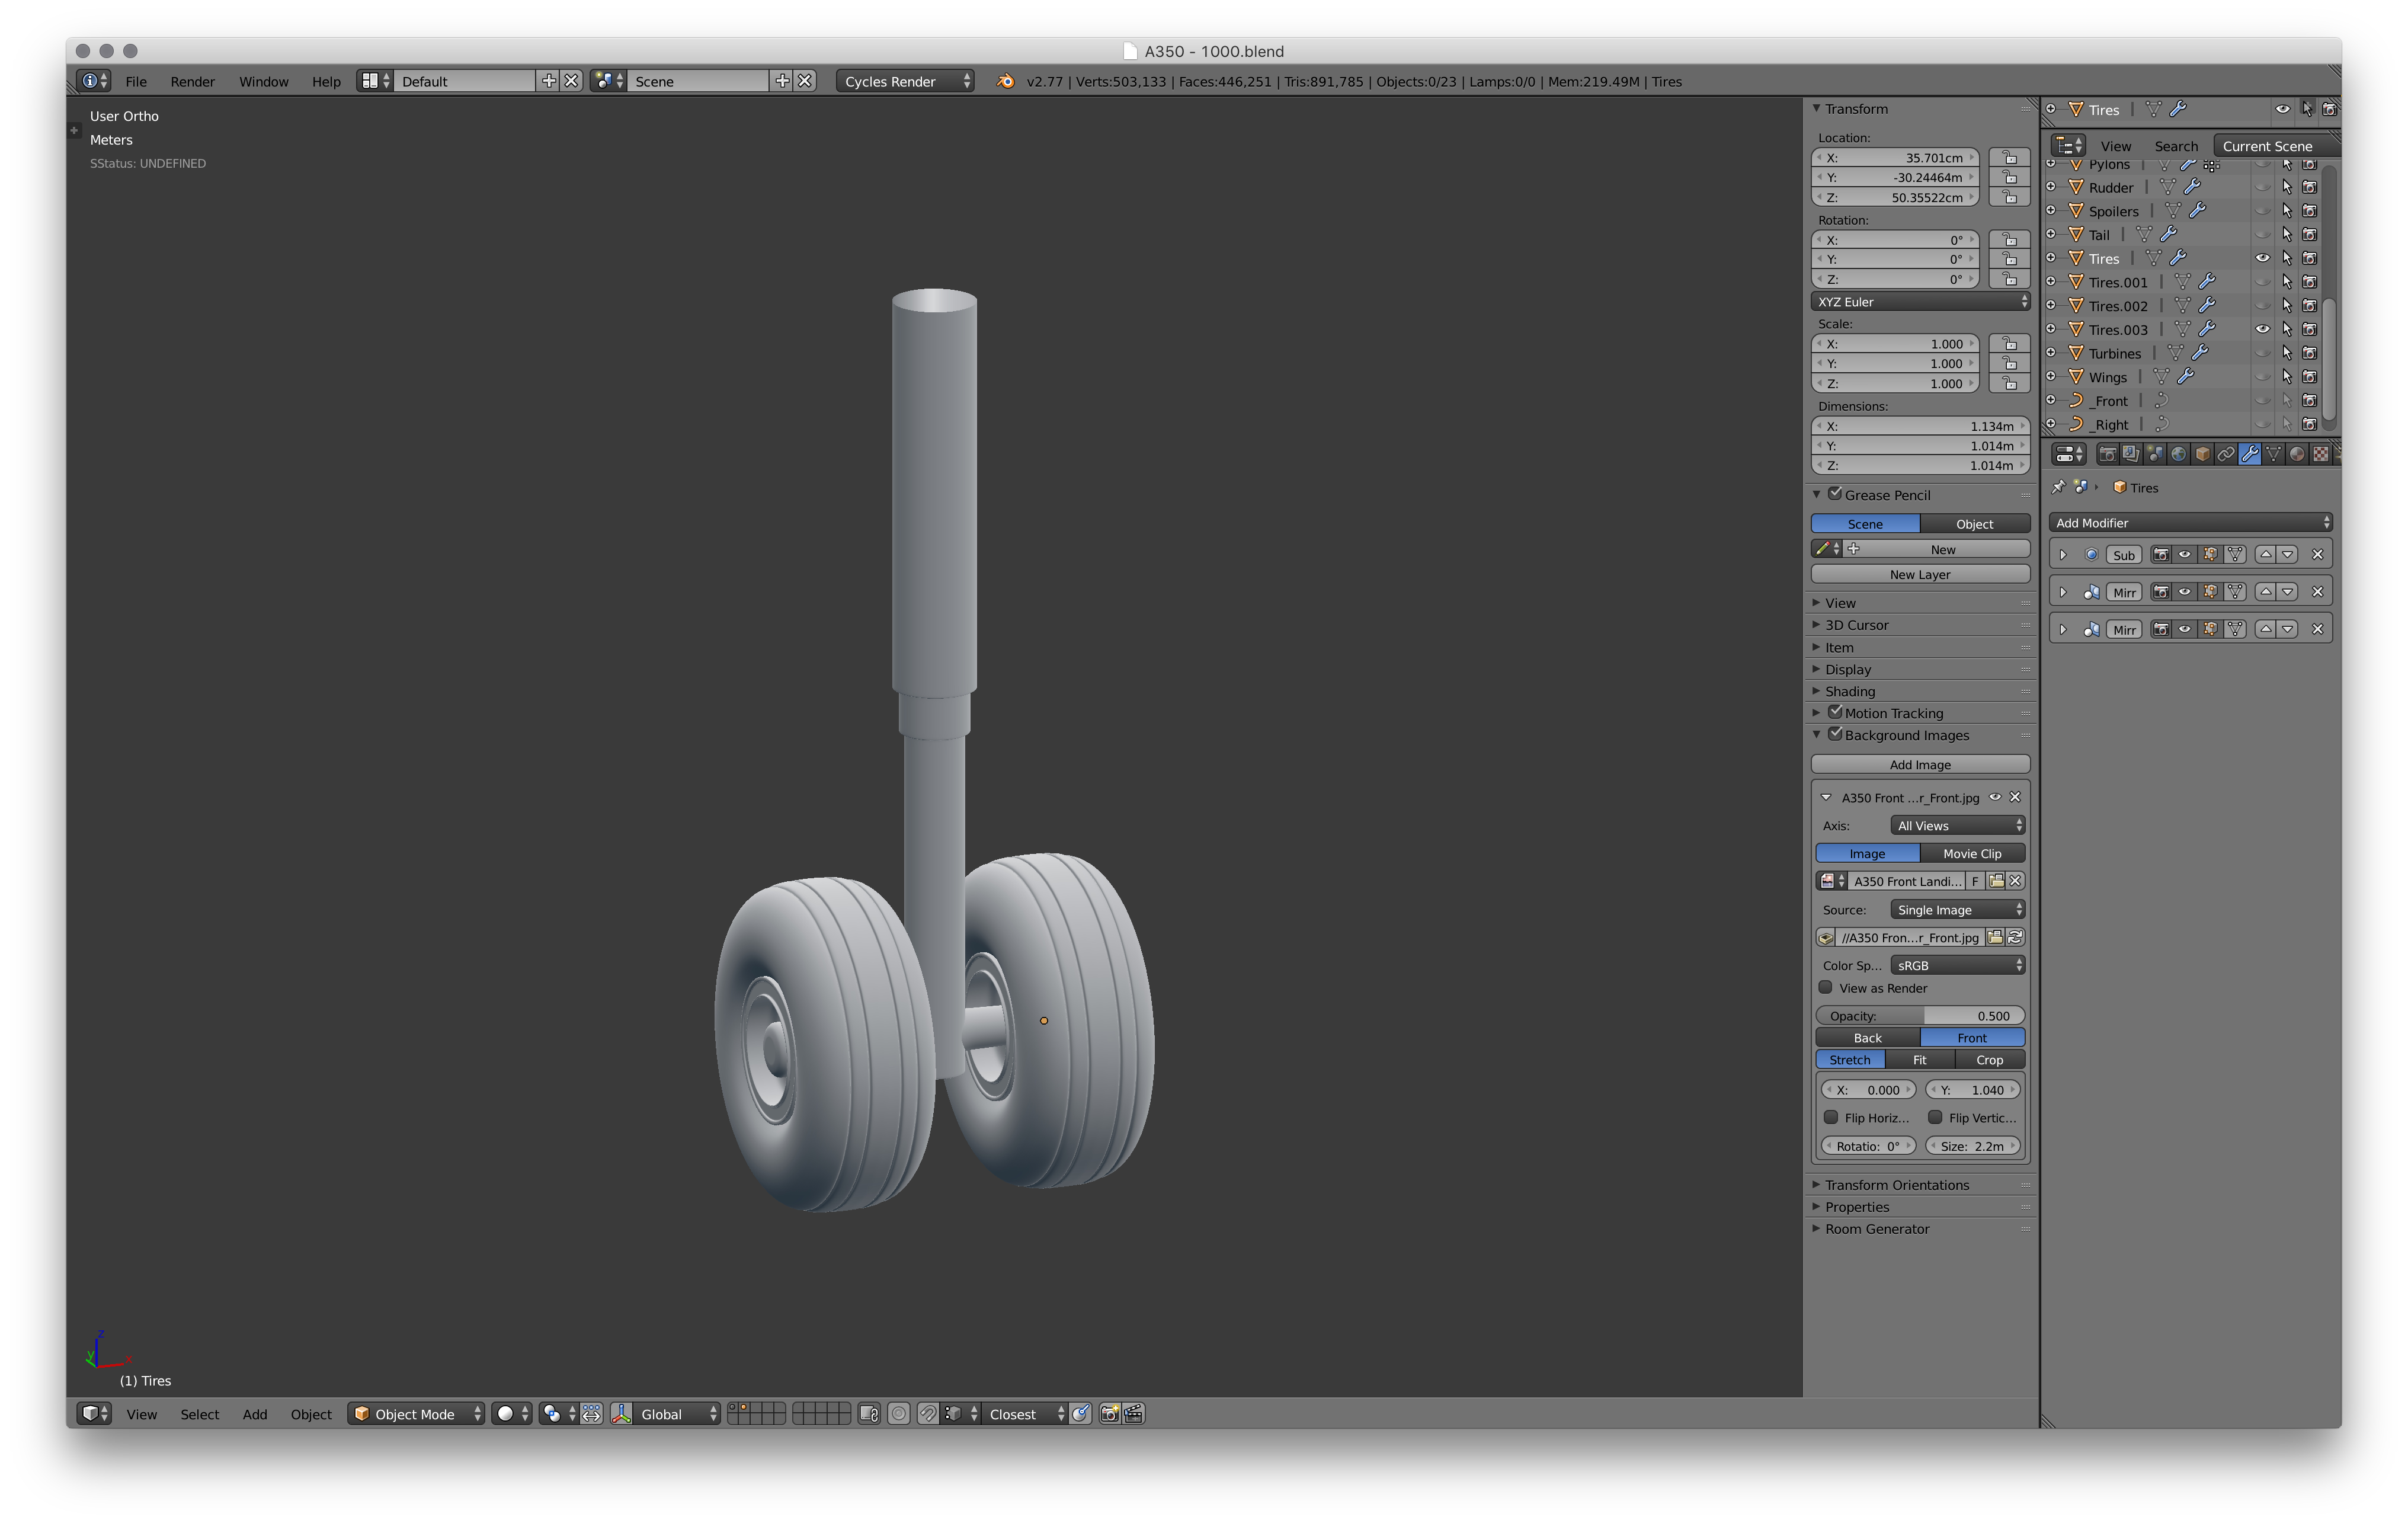
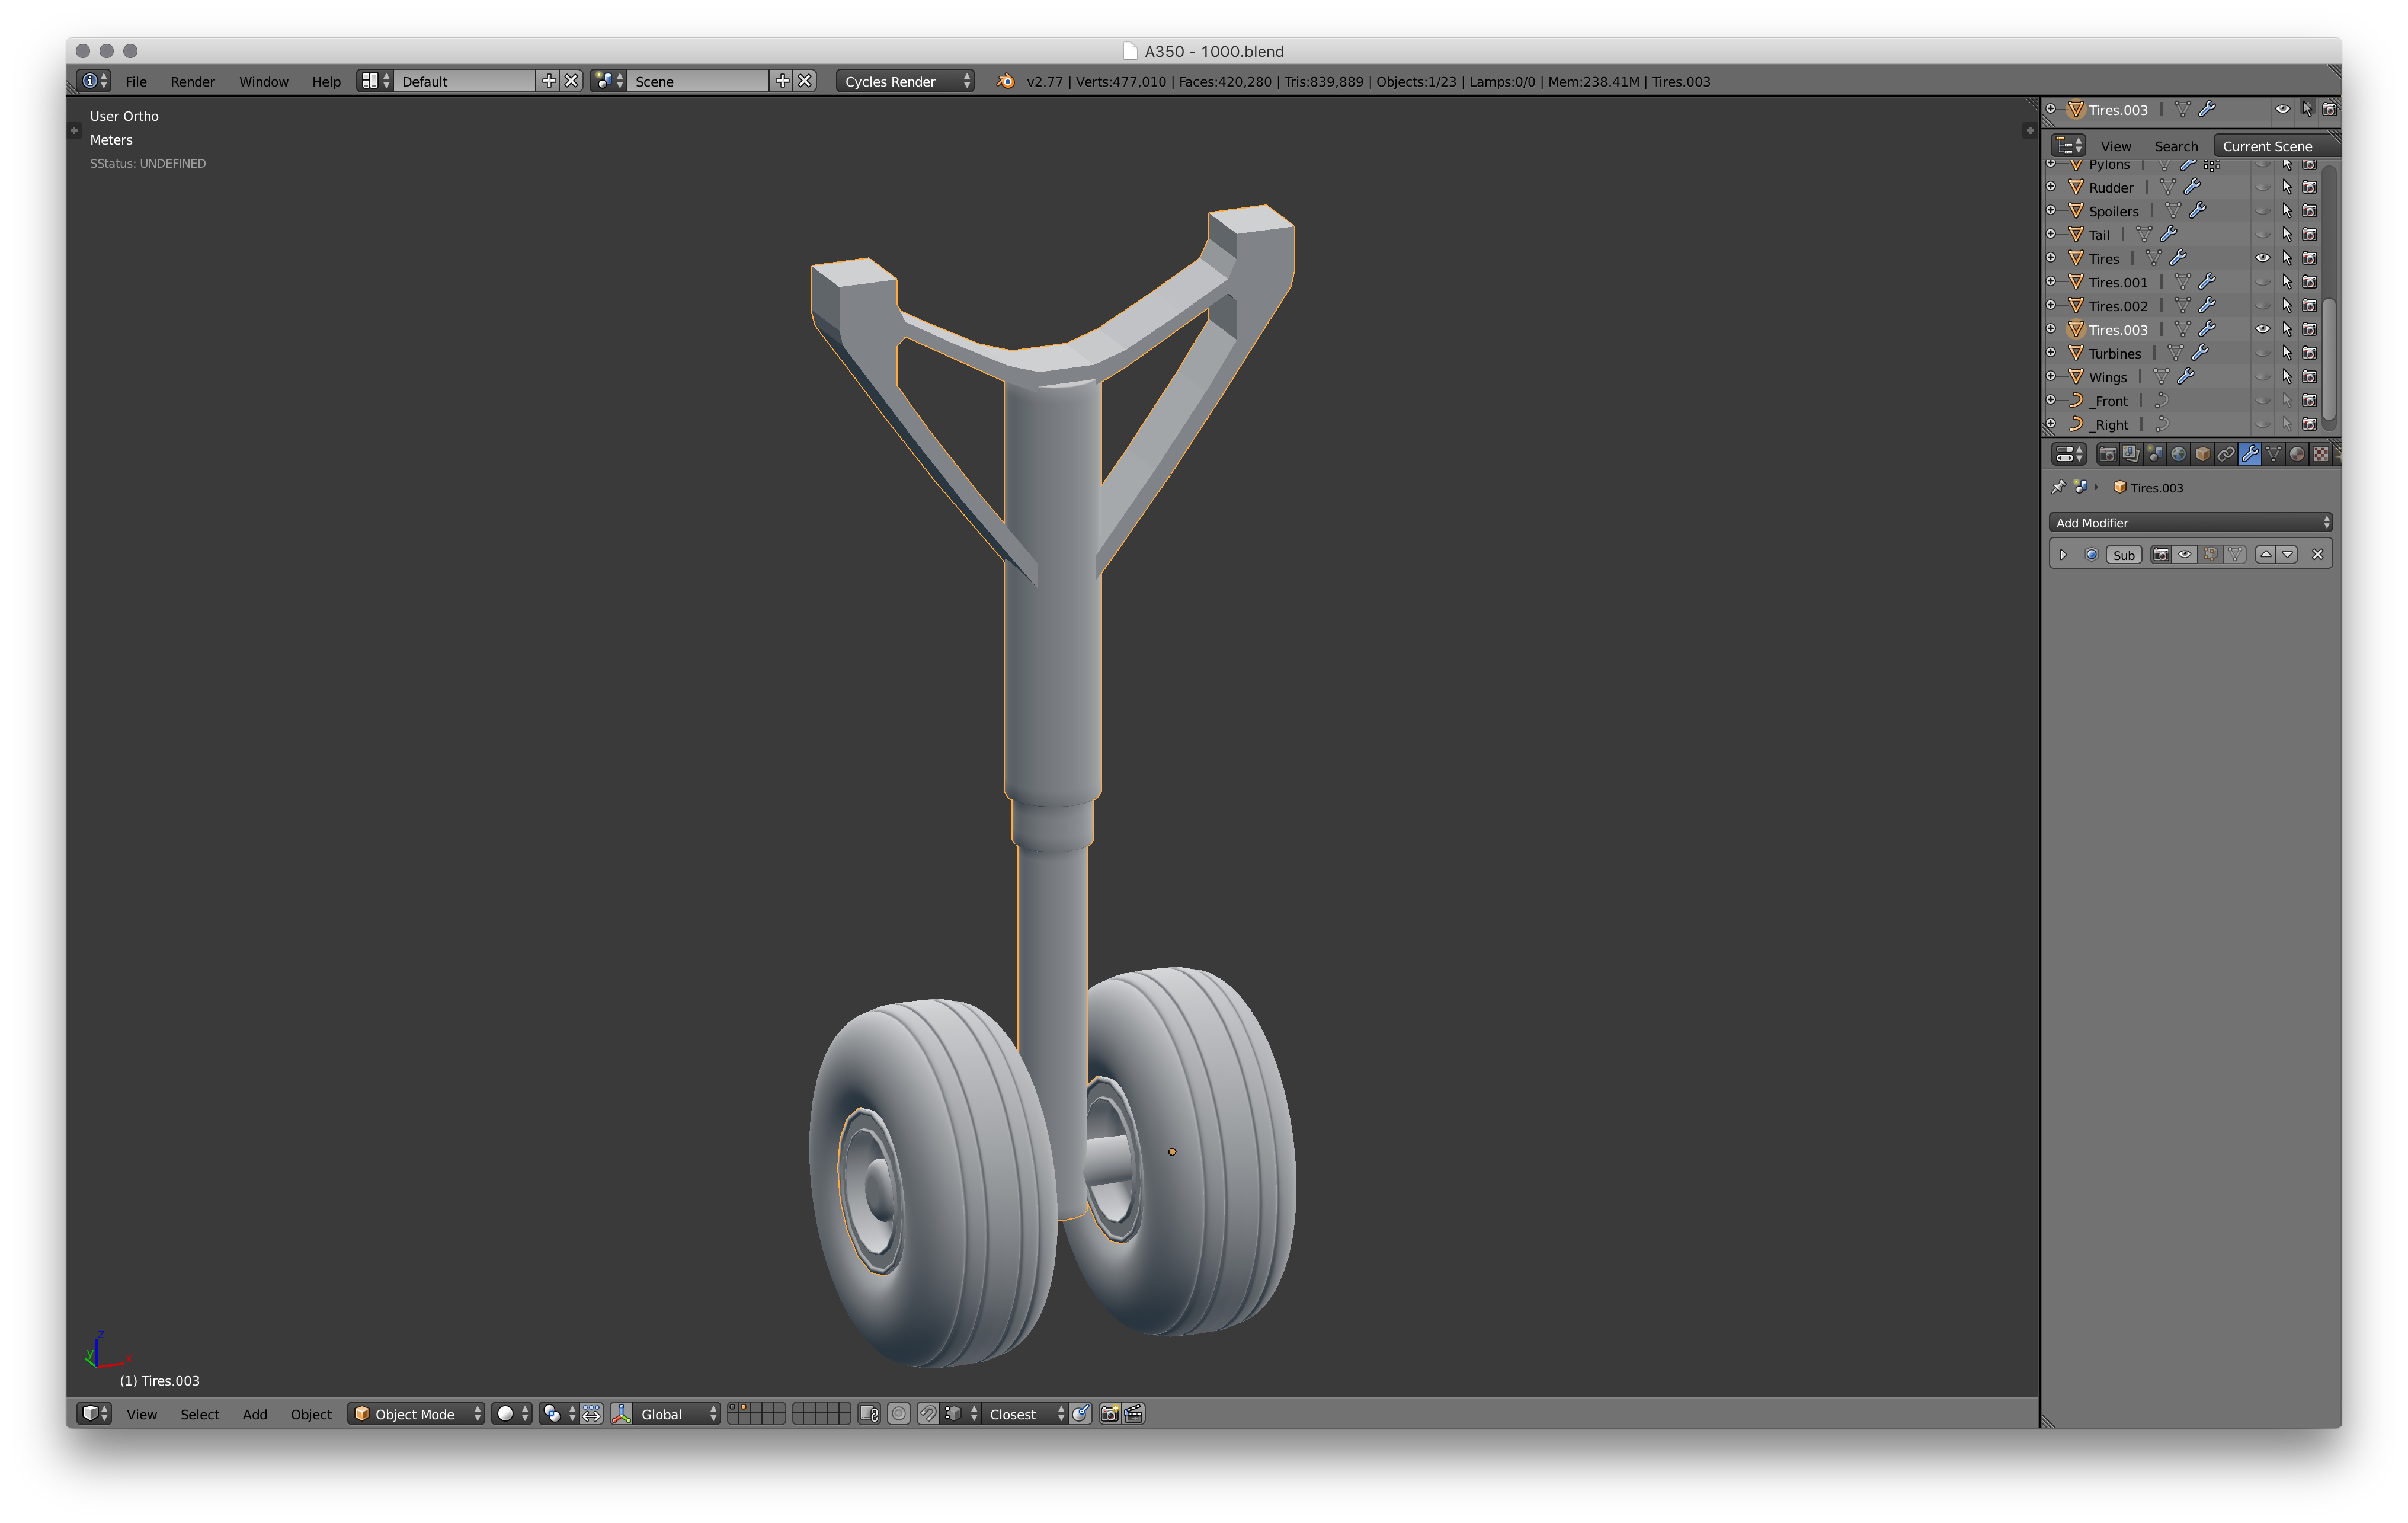
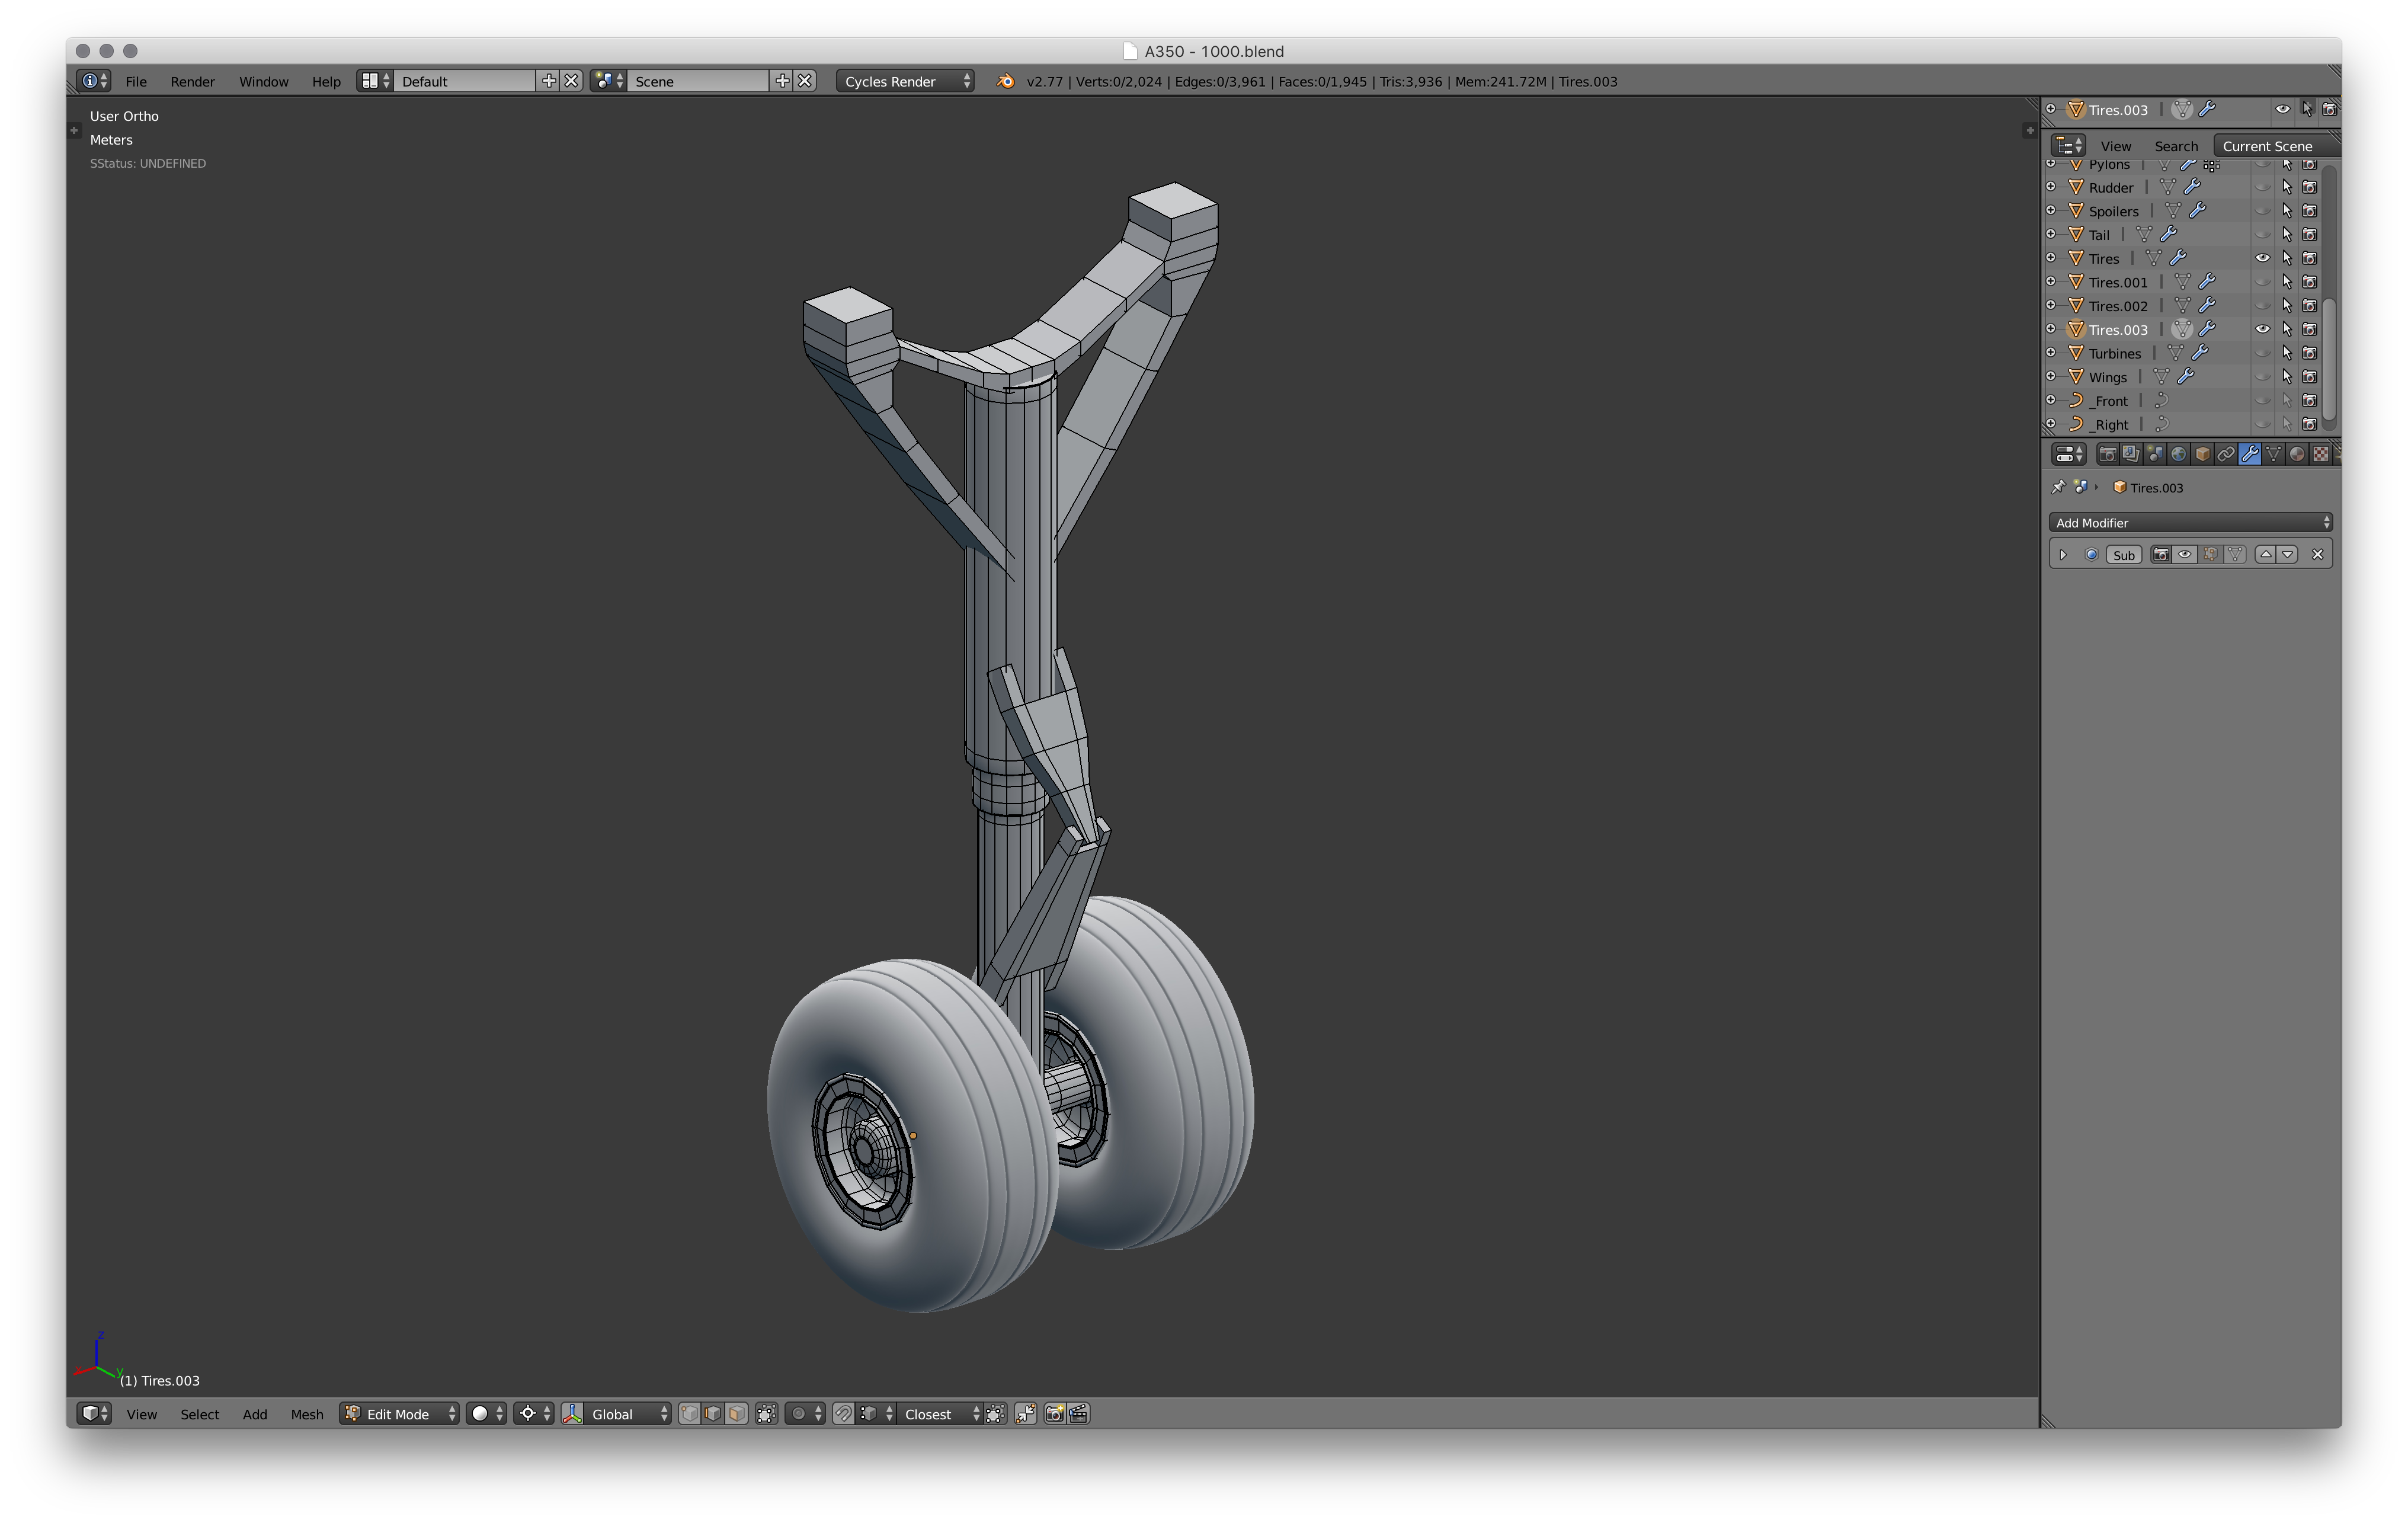
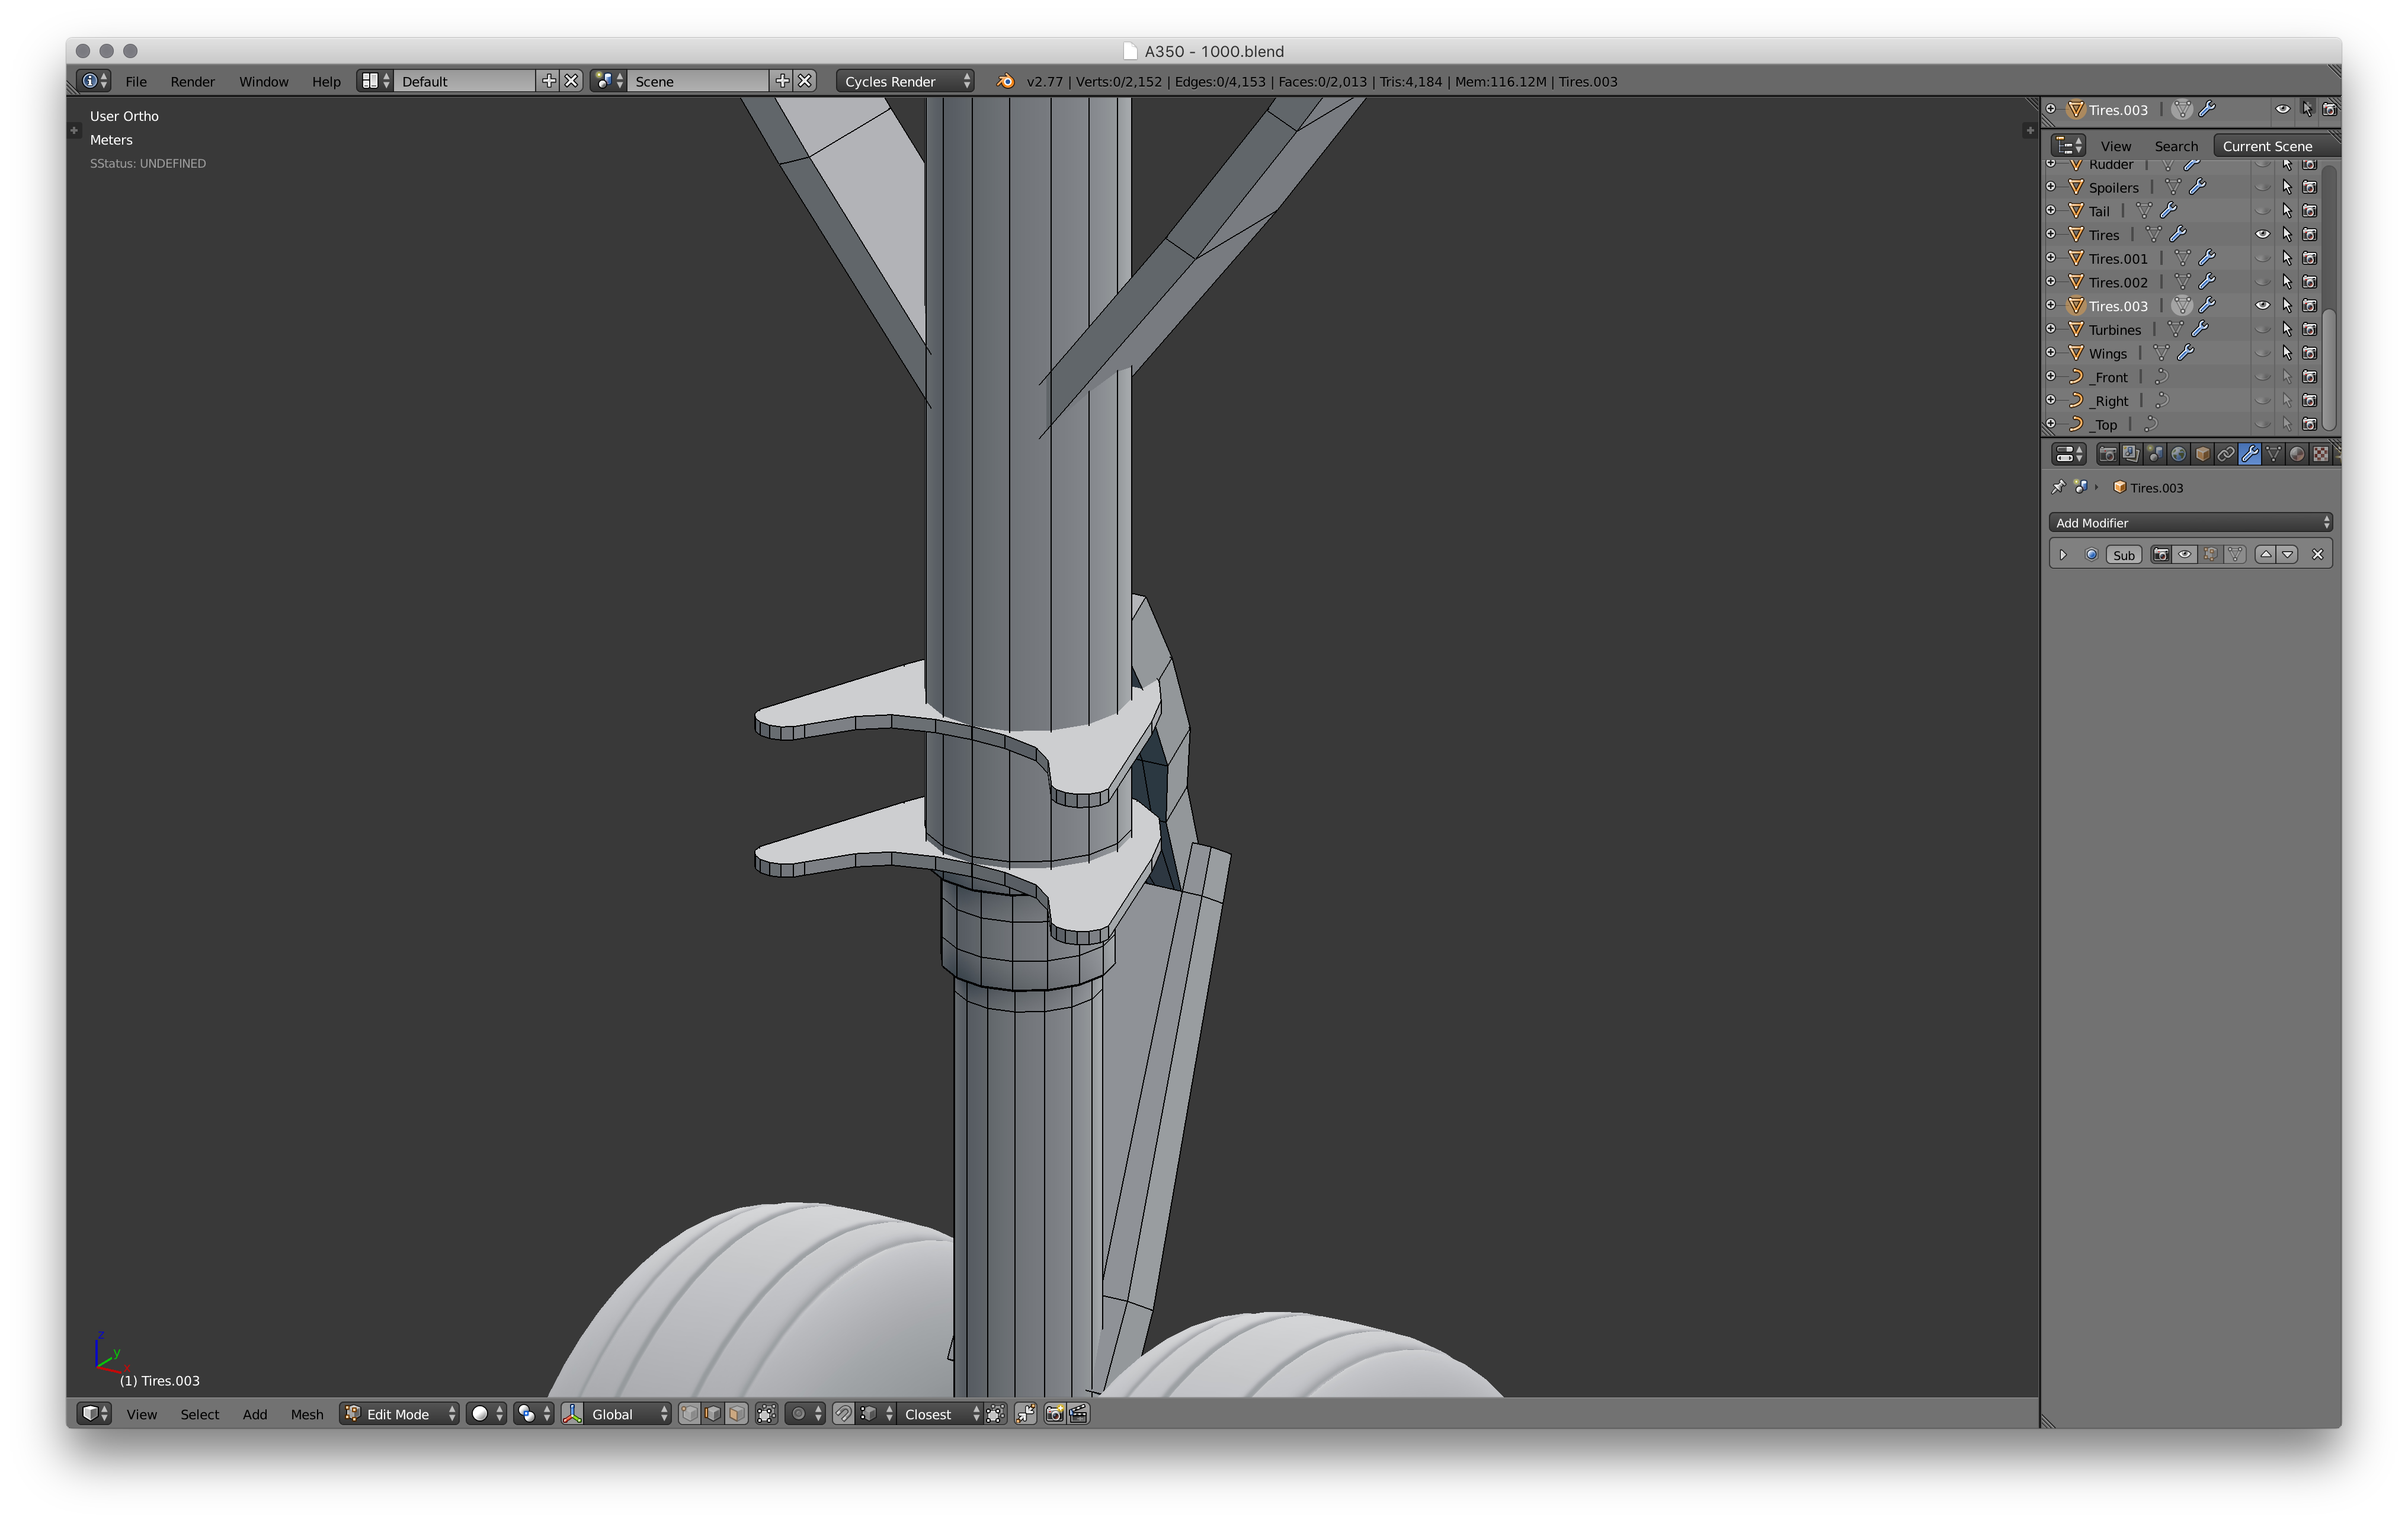
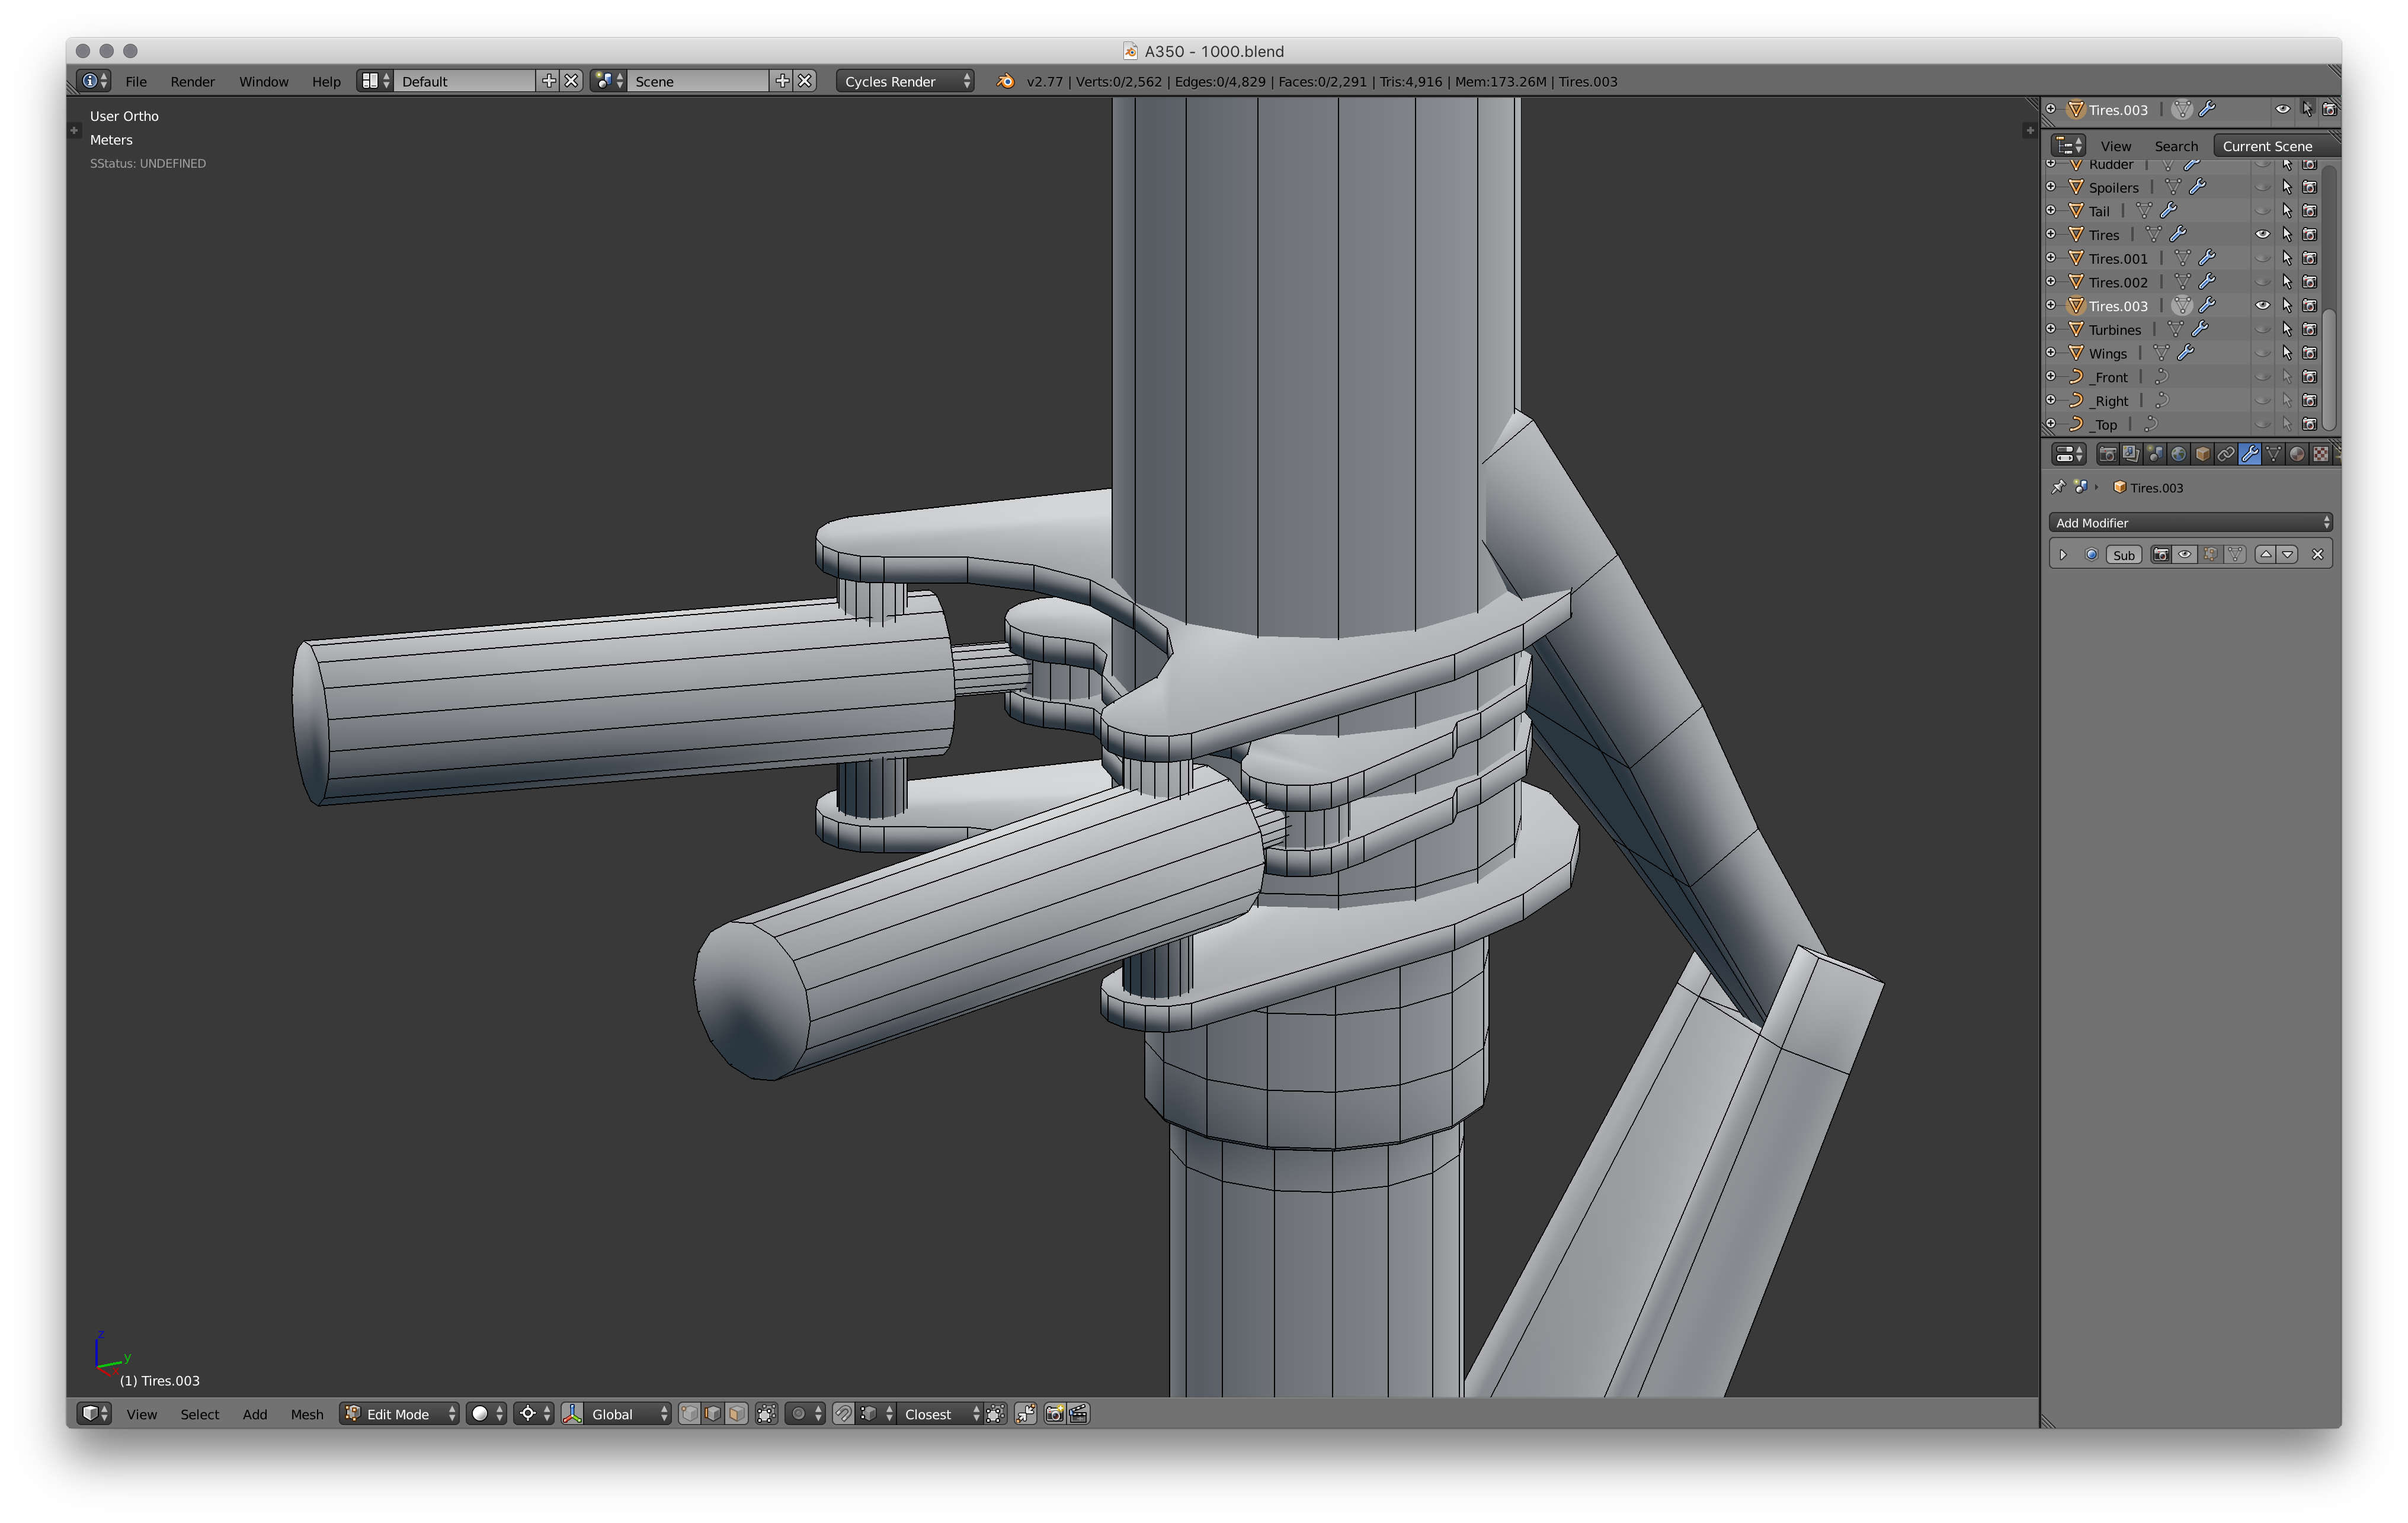
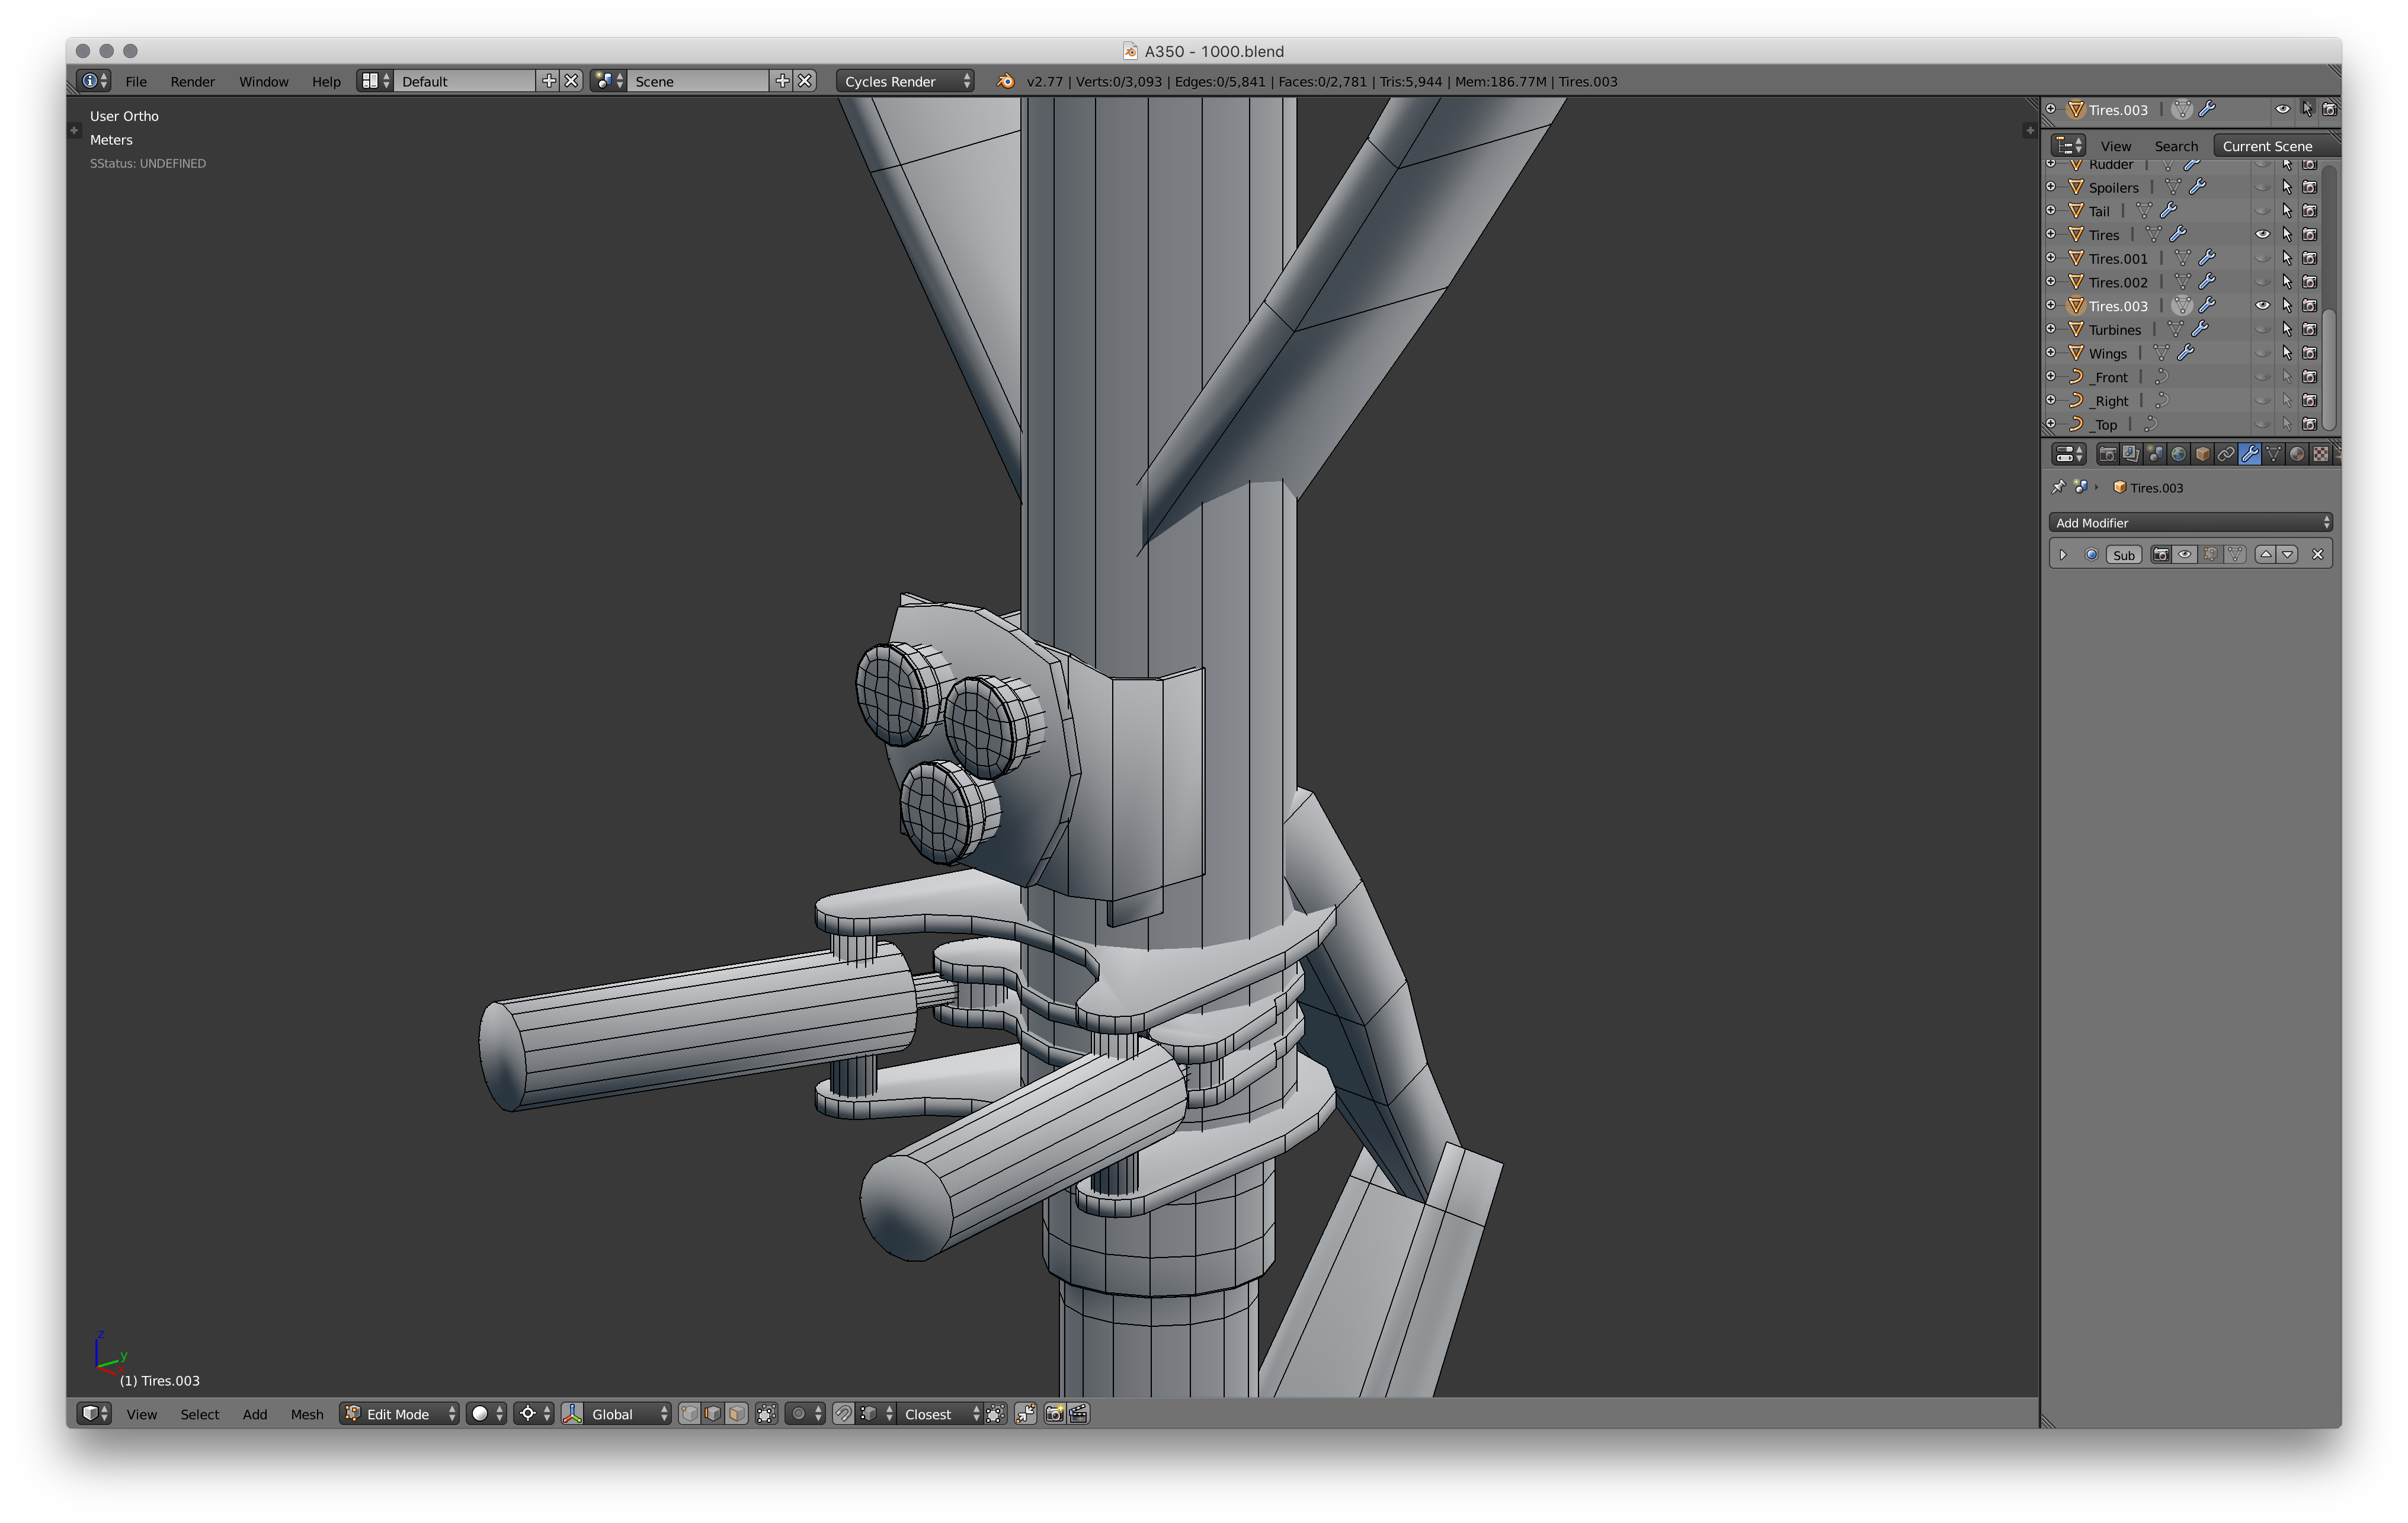
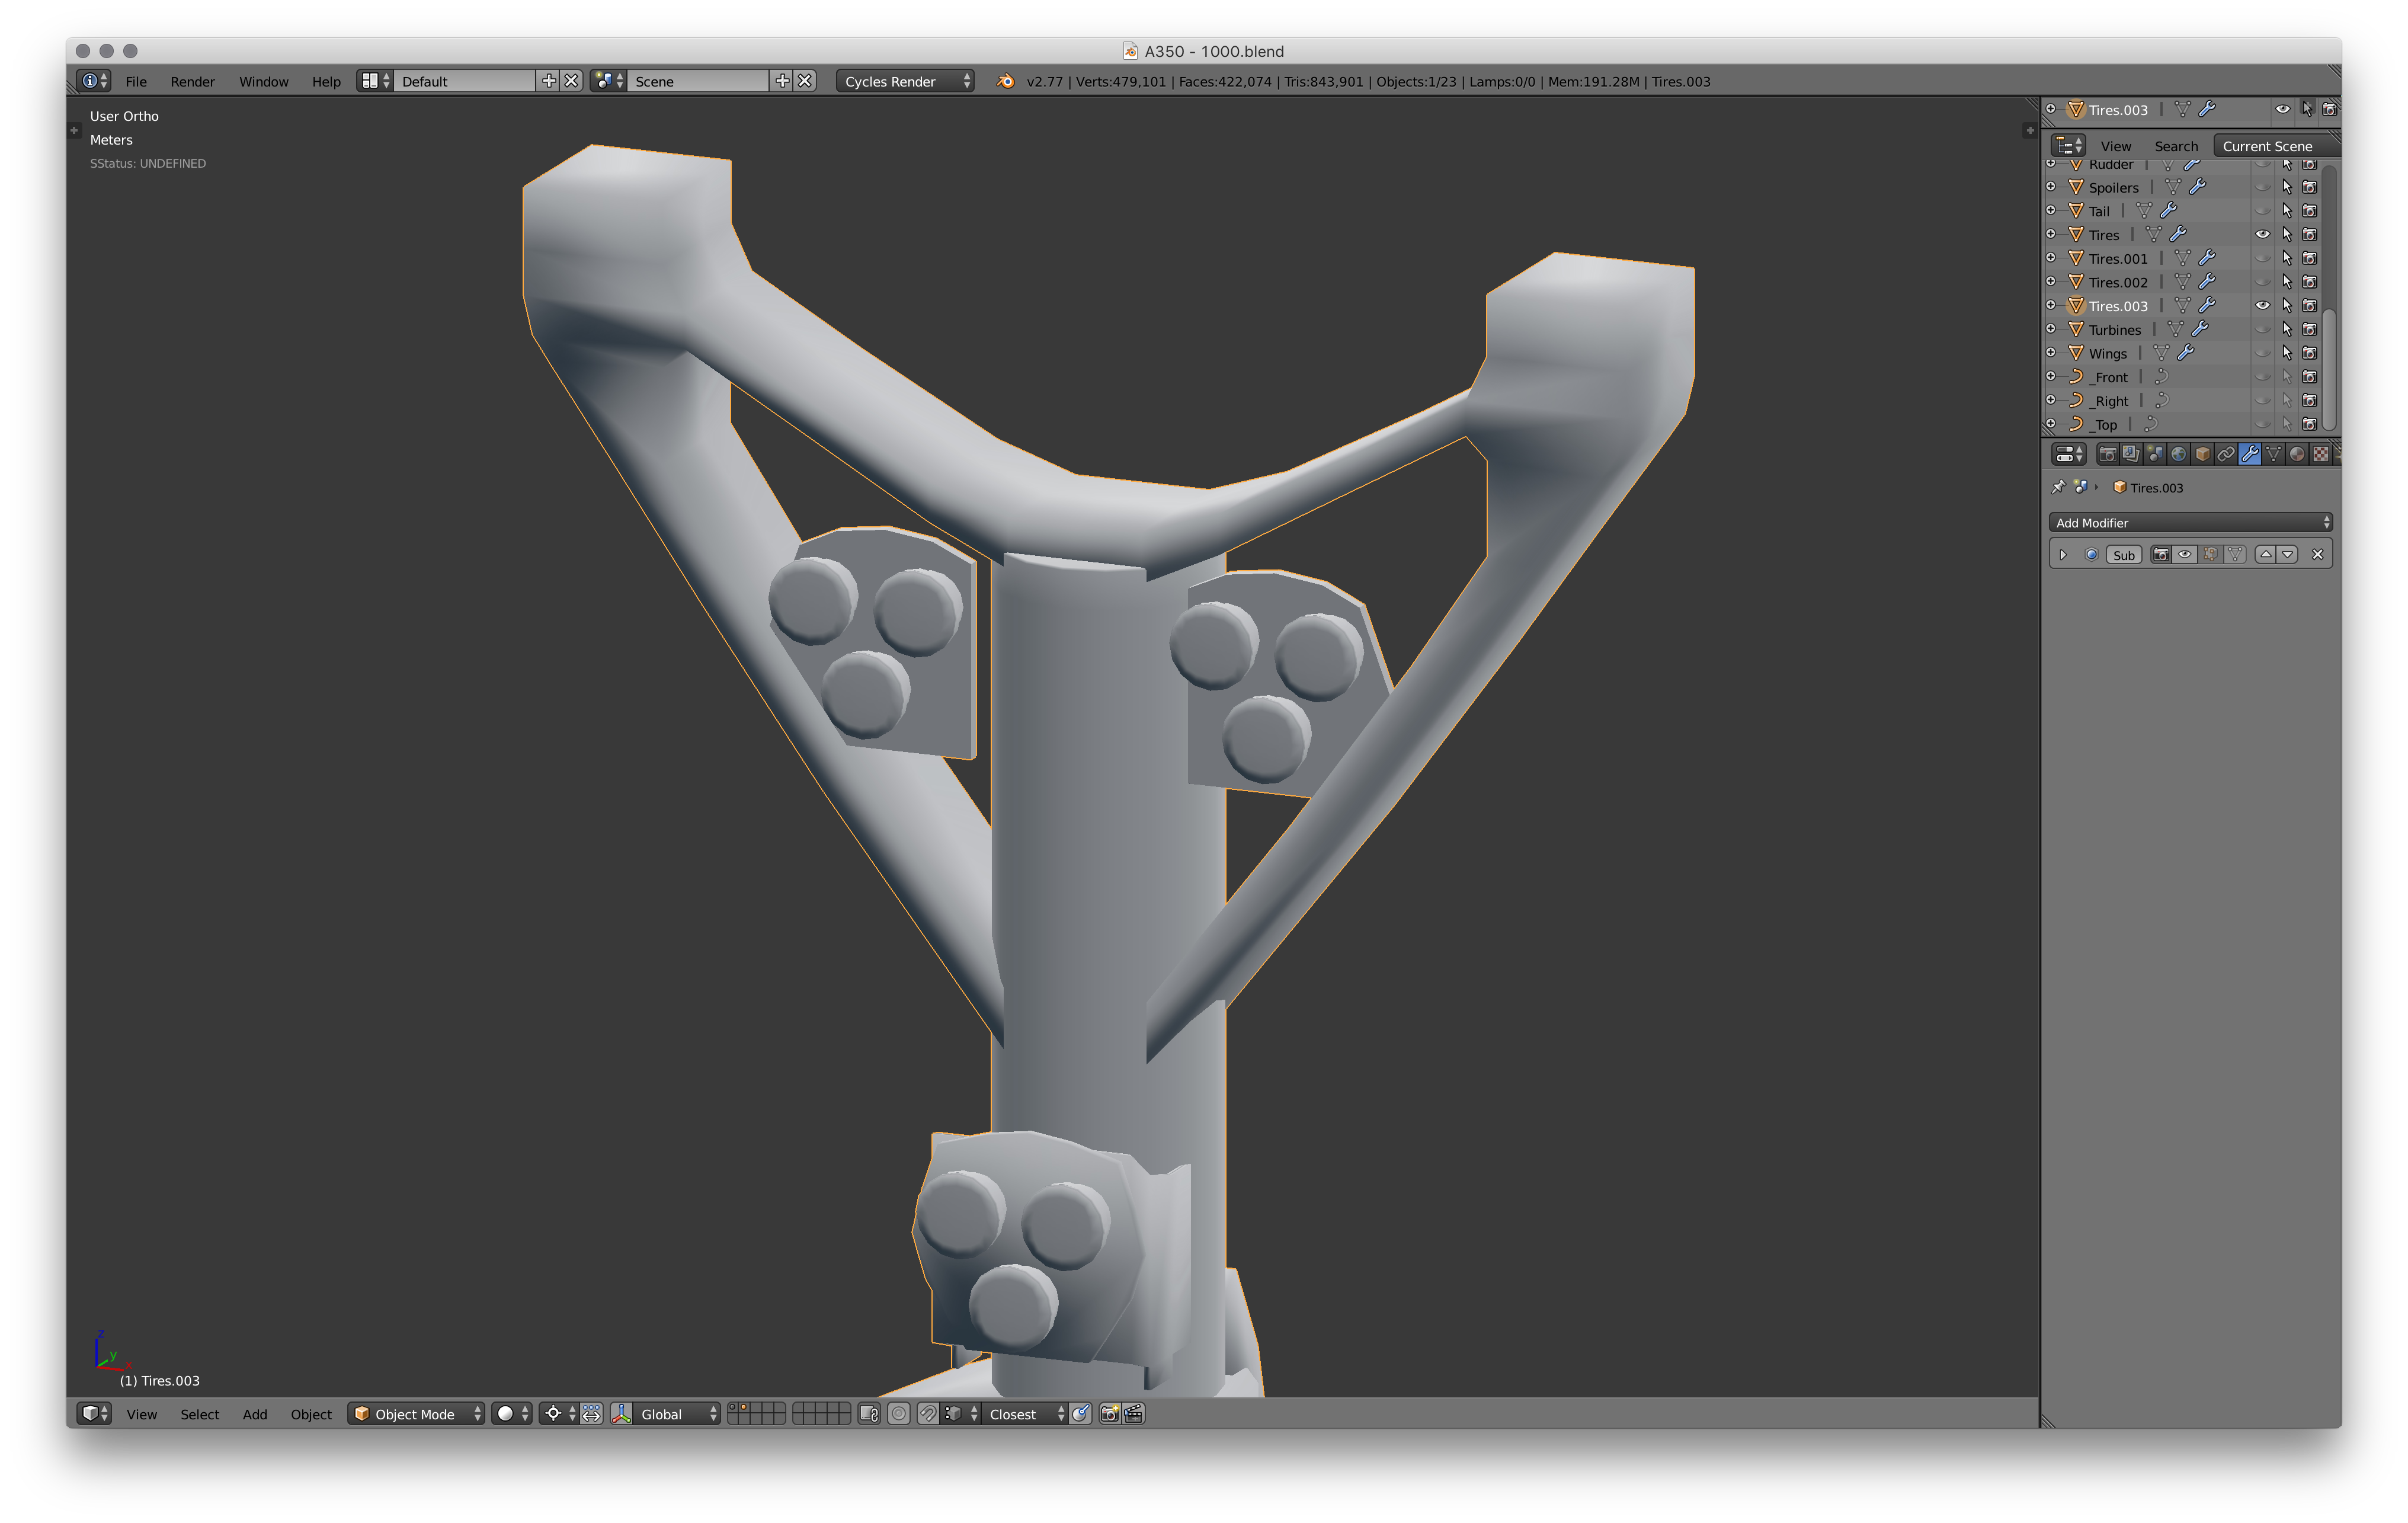
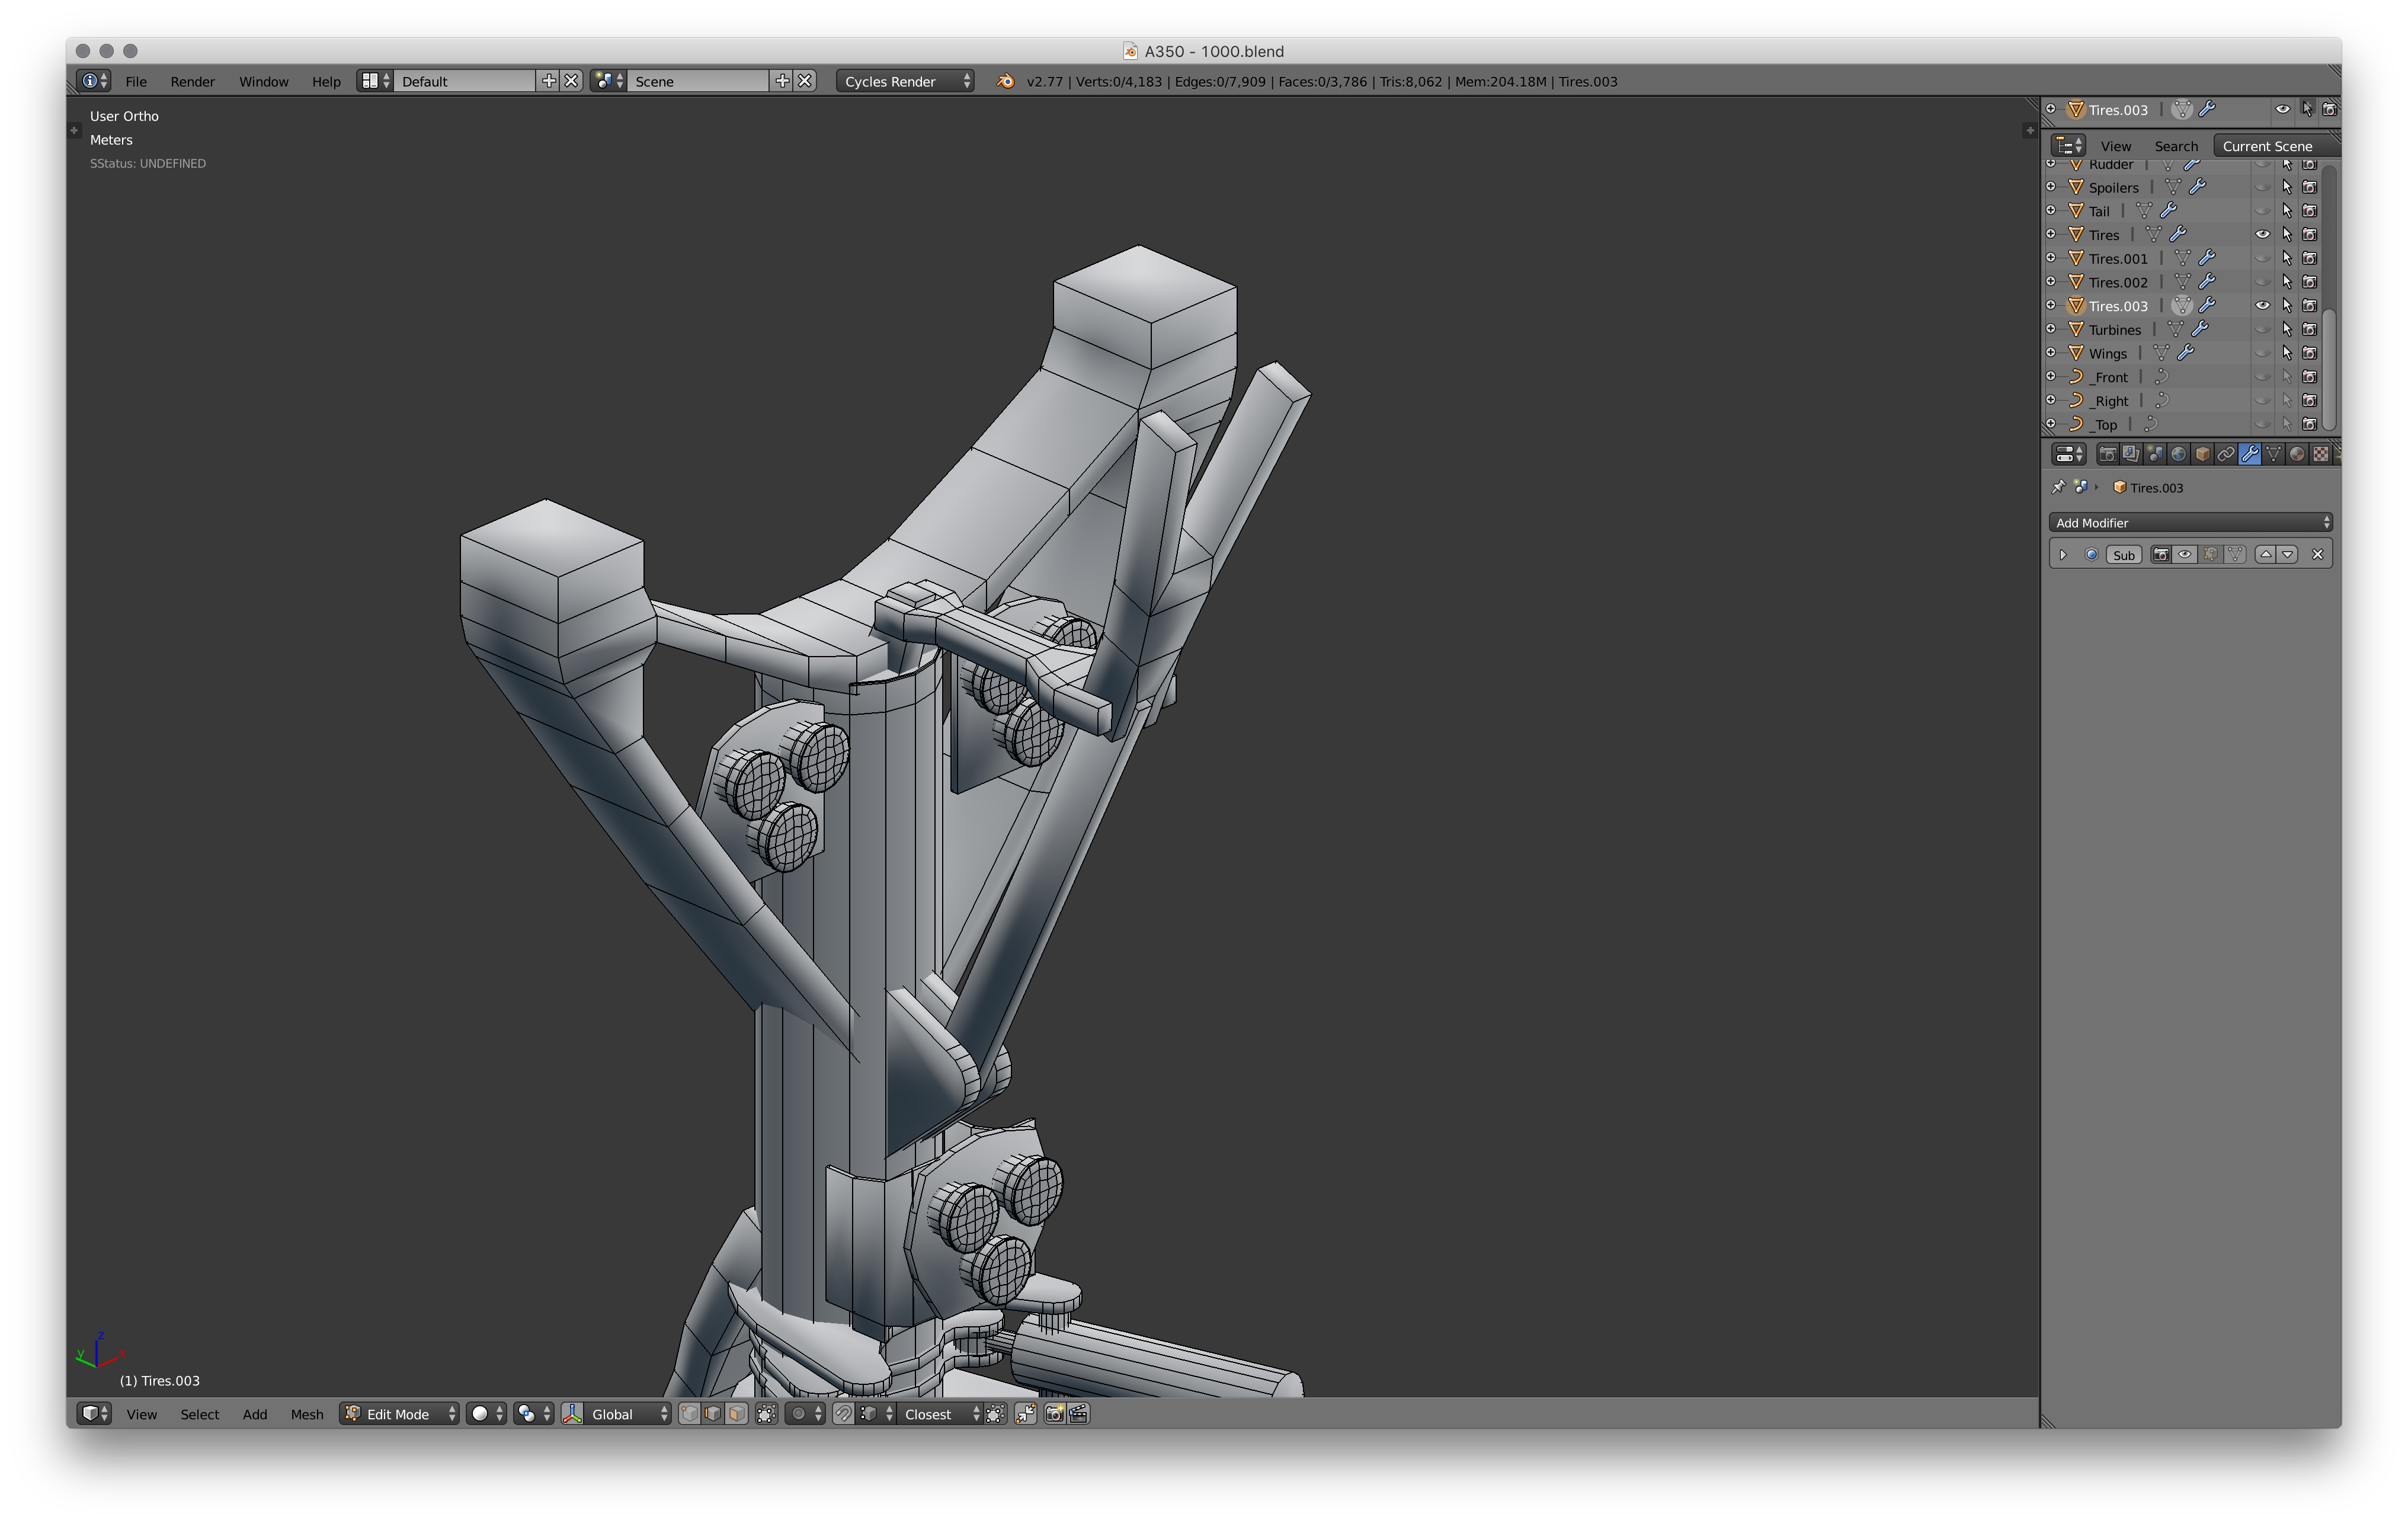
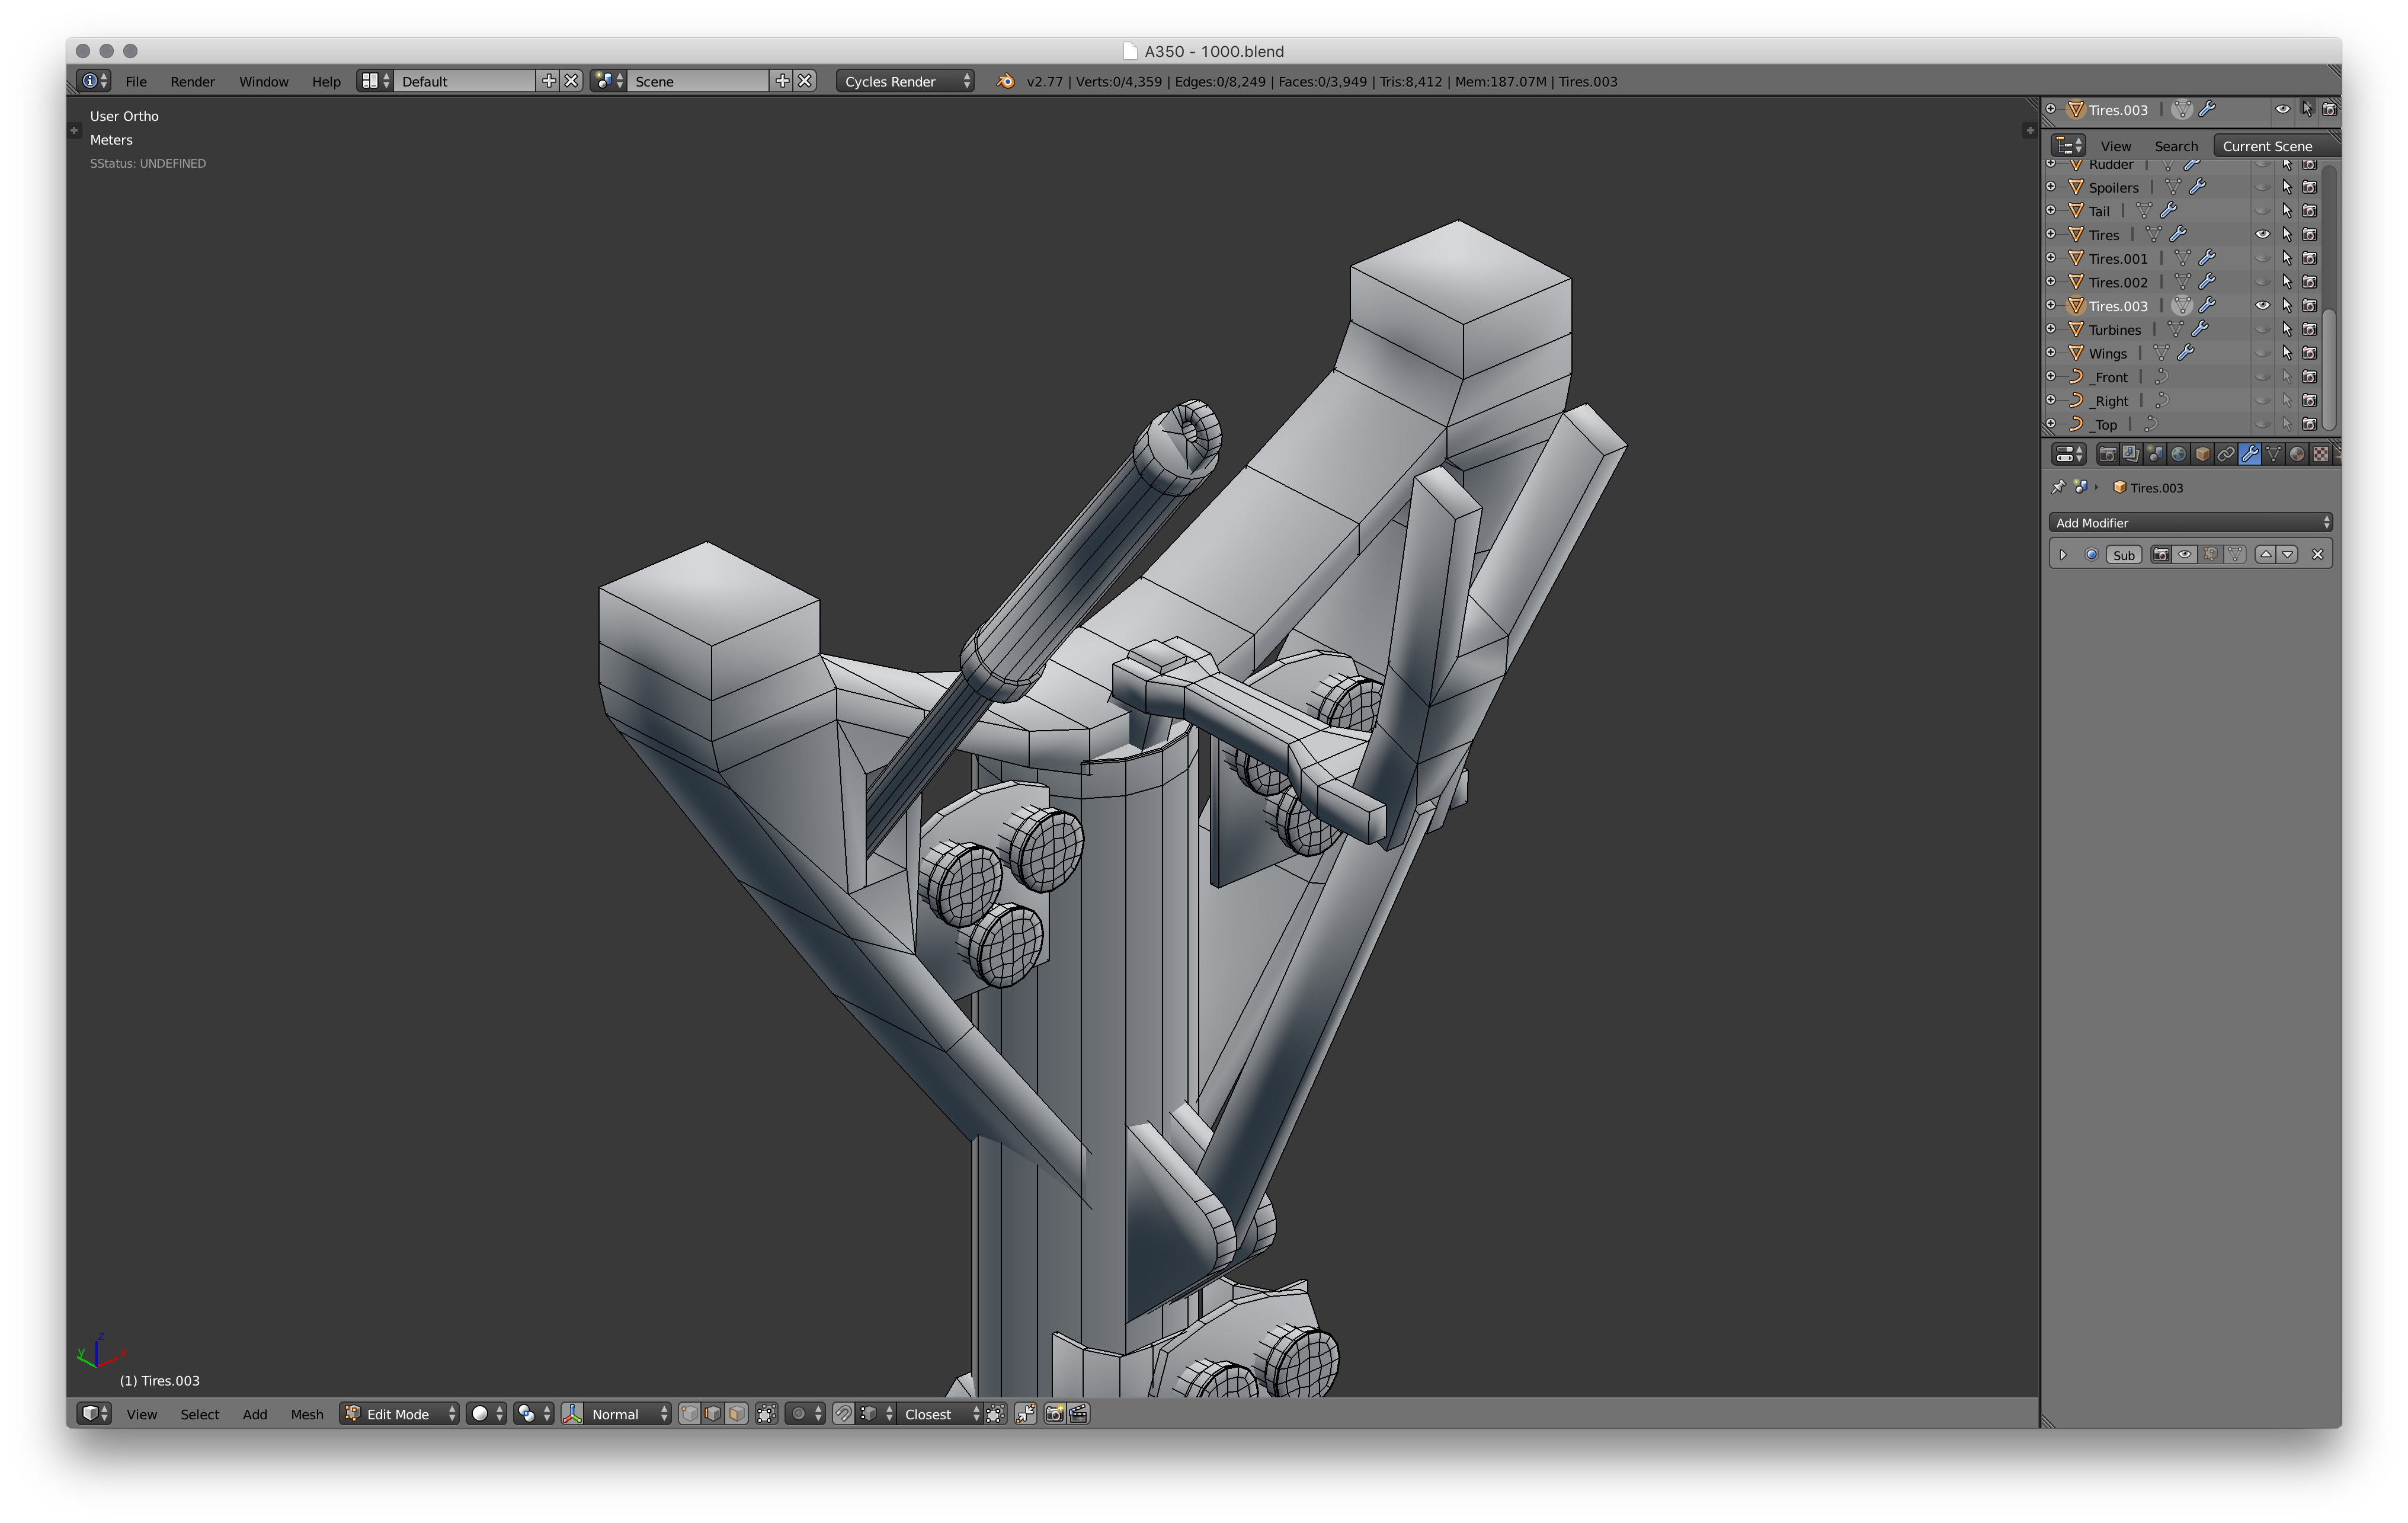
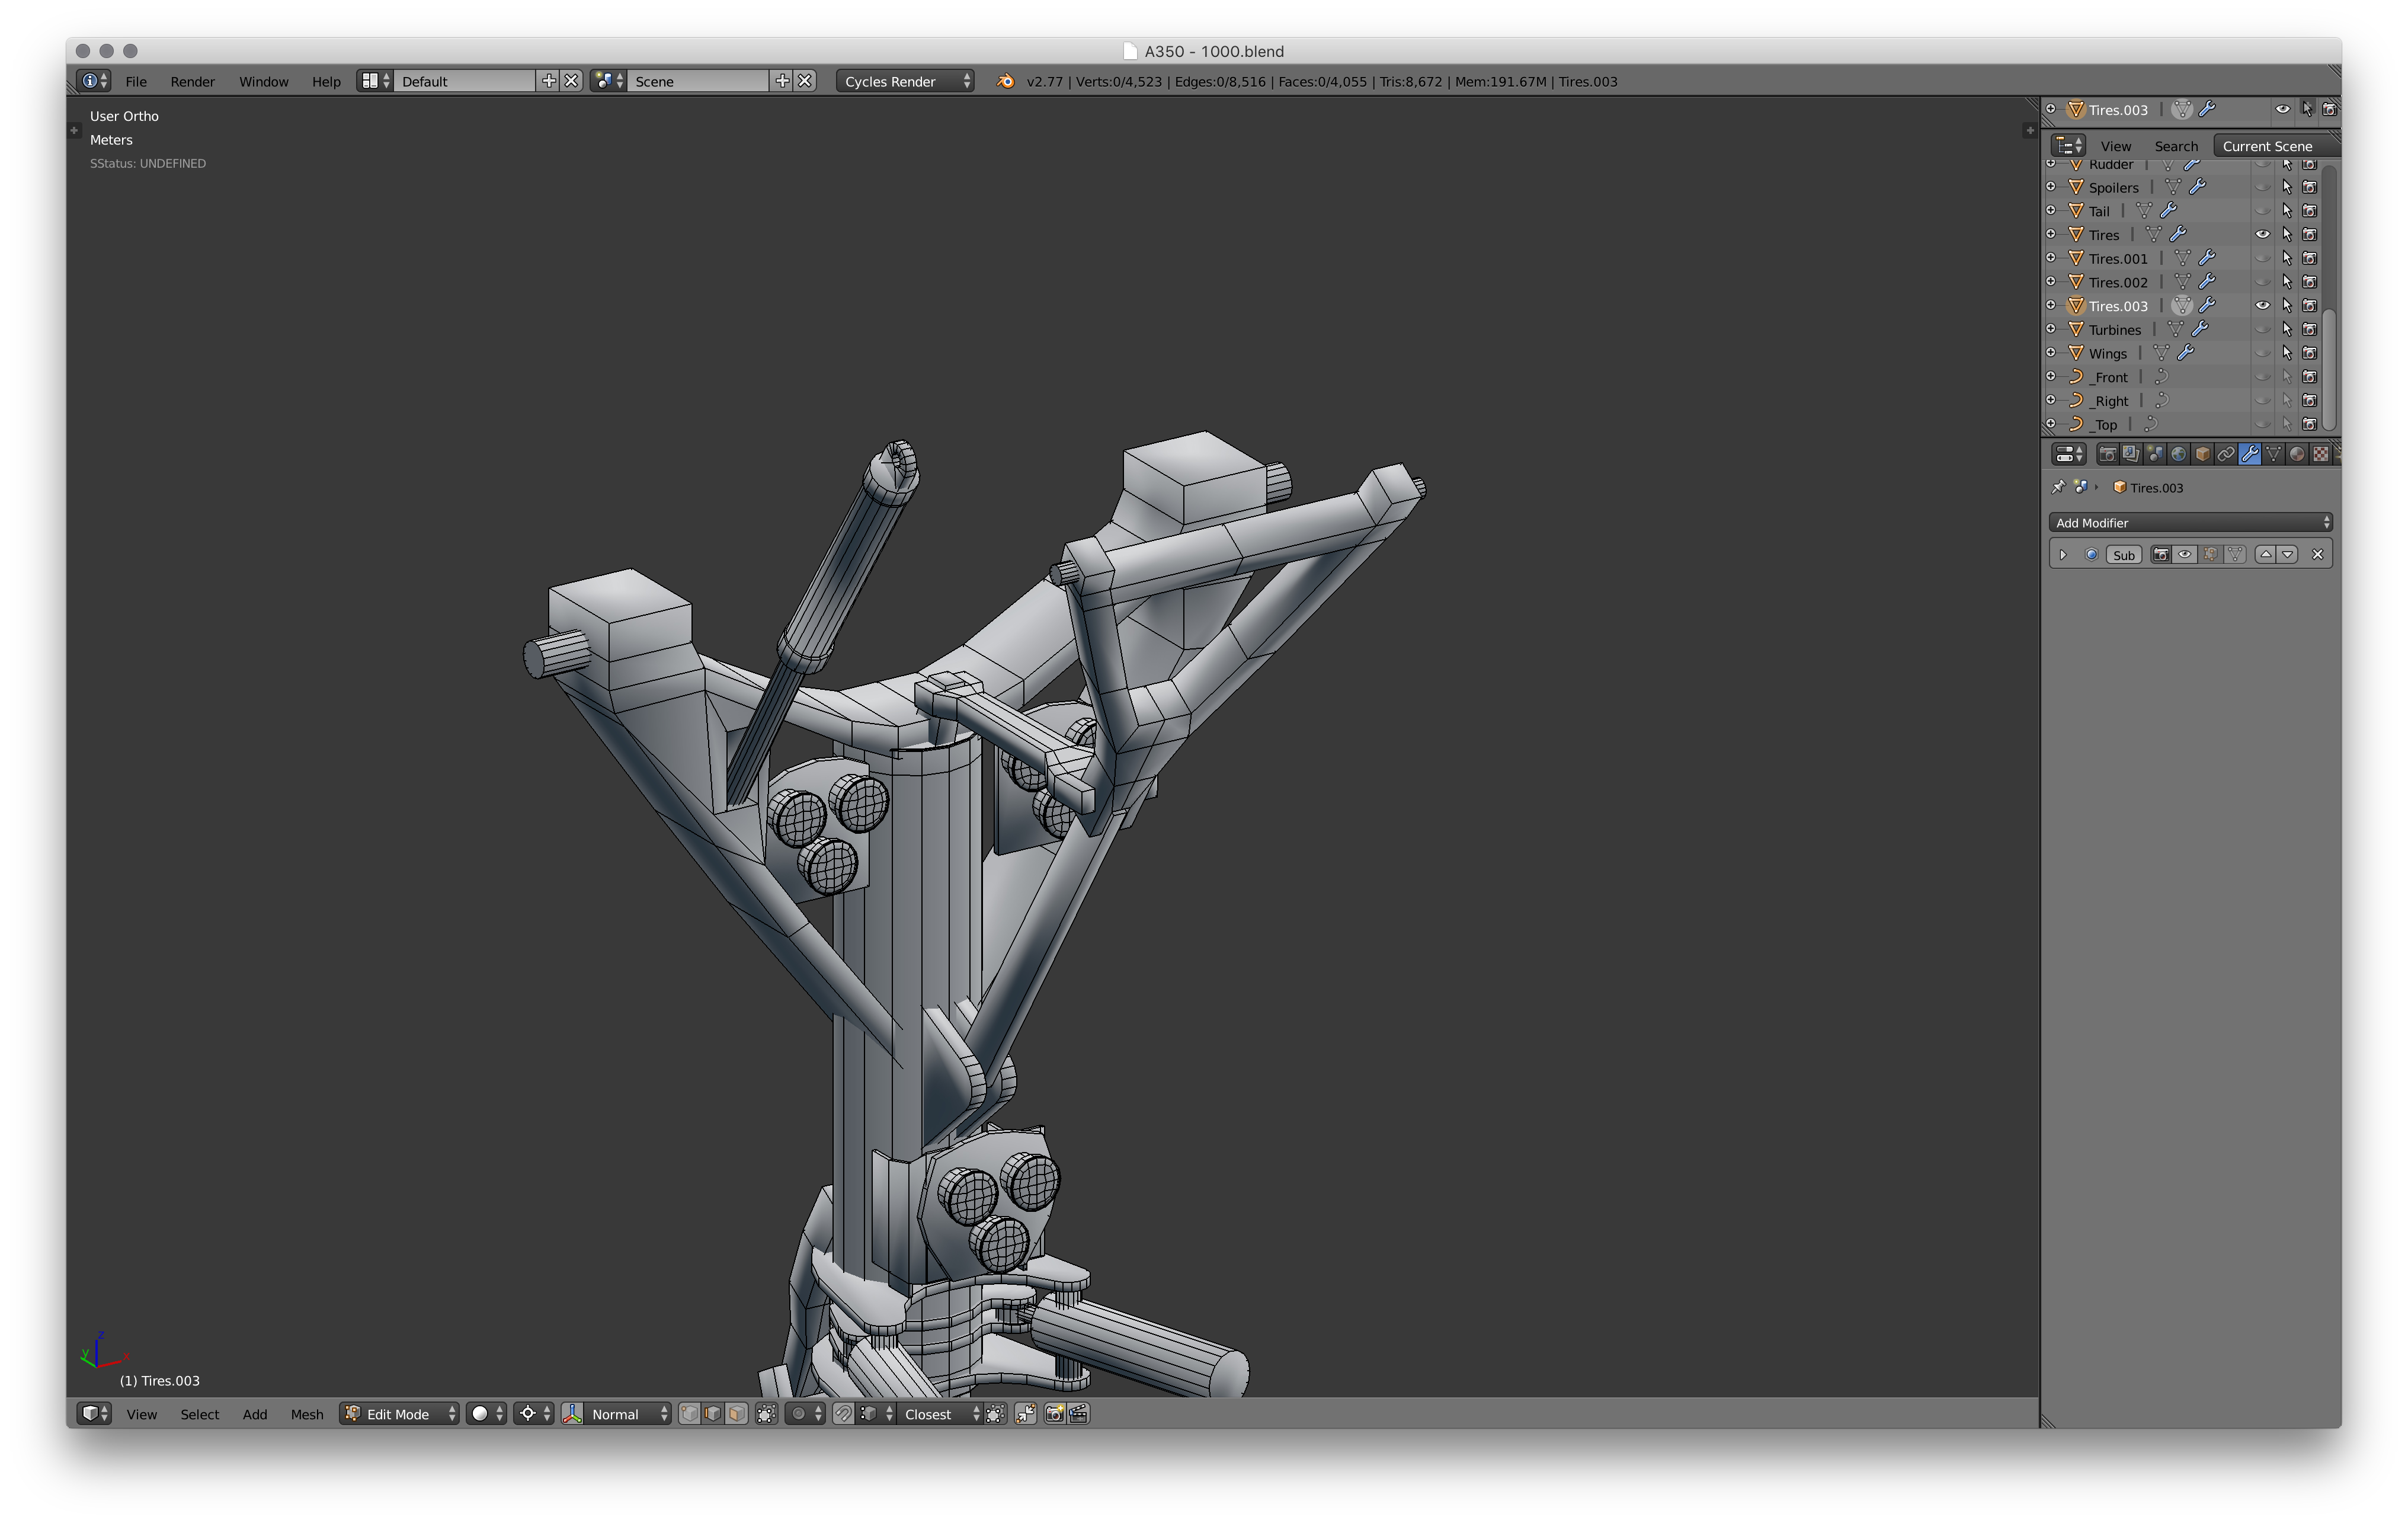
This part is relatively simple, everything starts from the basic shapes like circles, cubes etc. Just follow the images and you'll get there in no time! Don't worry about the smoothing, I turned off my subdivision surface modifier, we'll look at that next!
Front Landing Gear
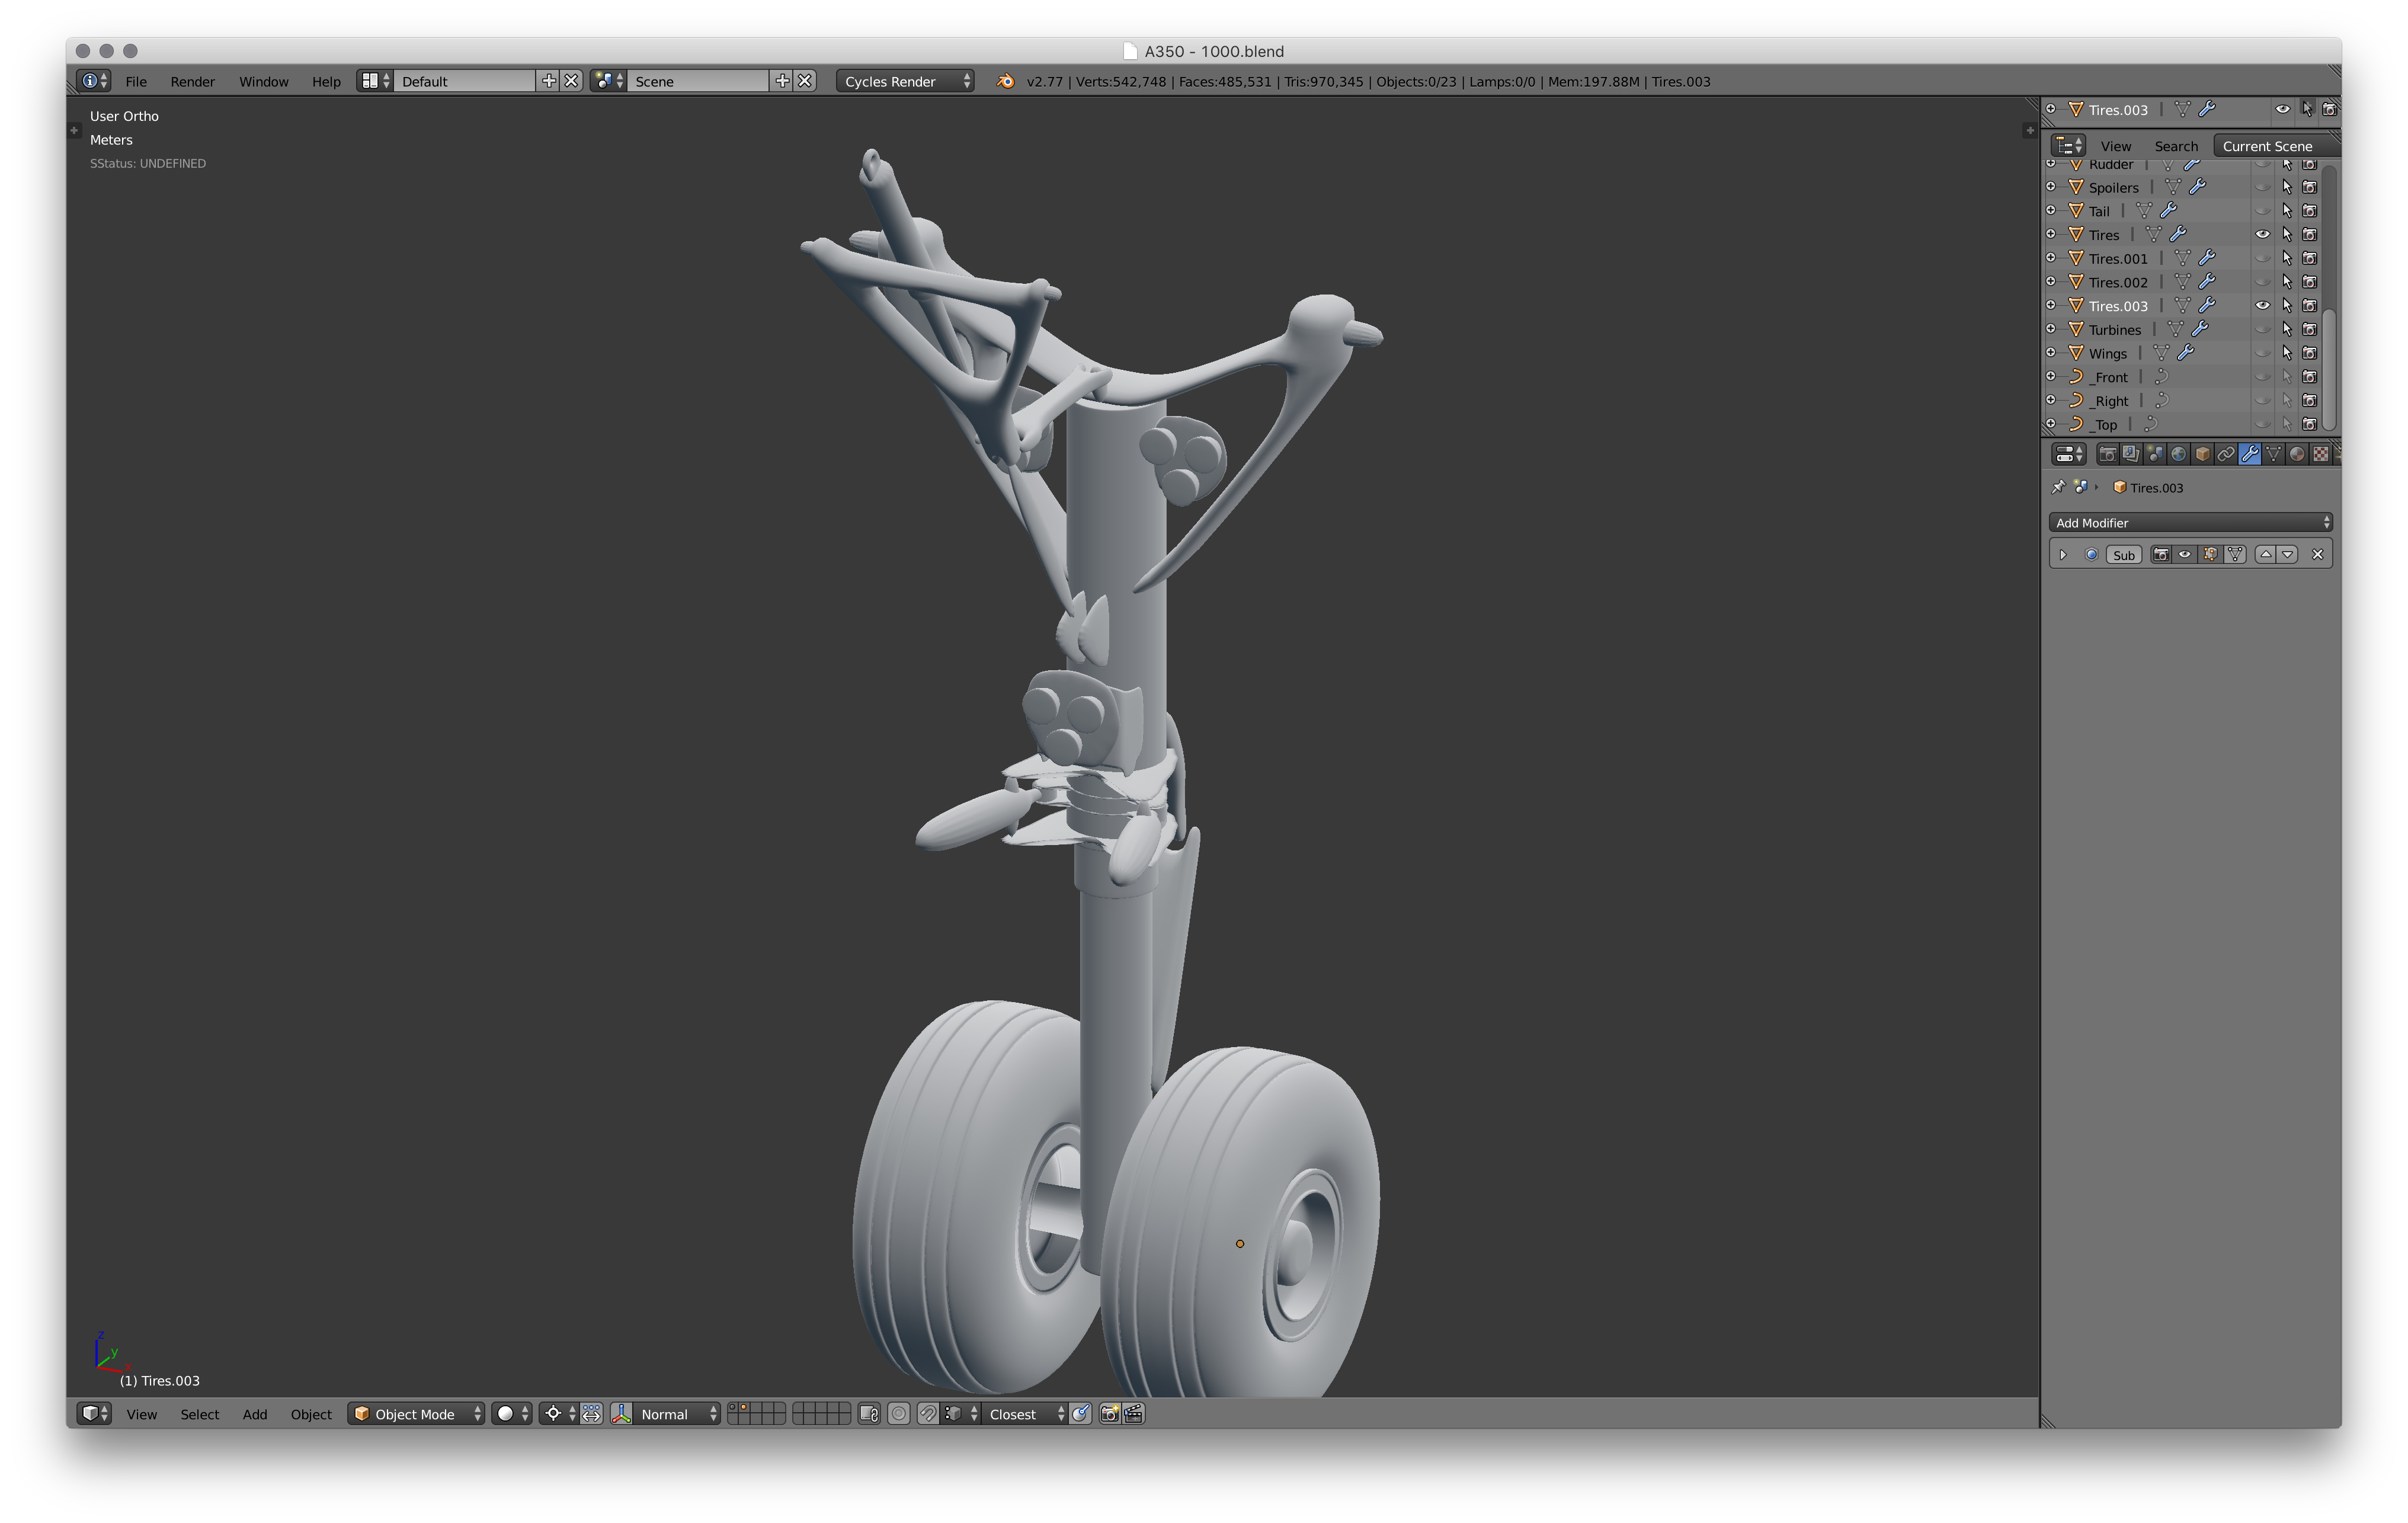
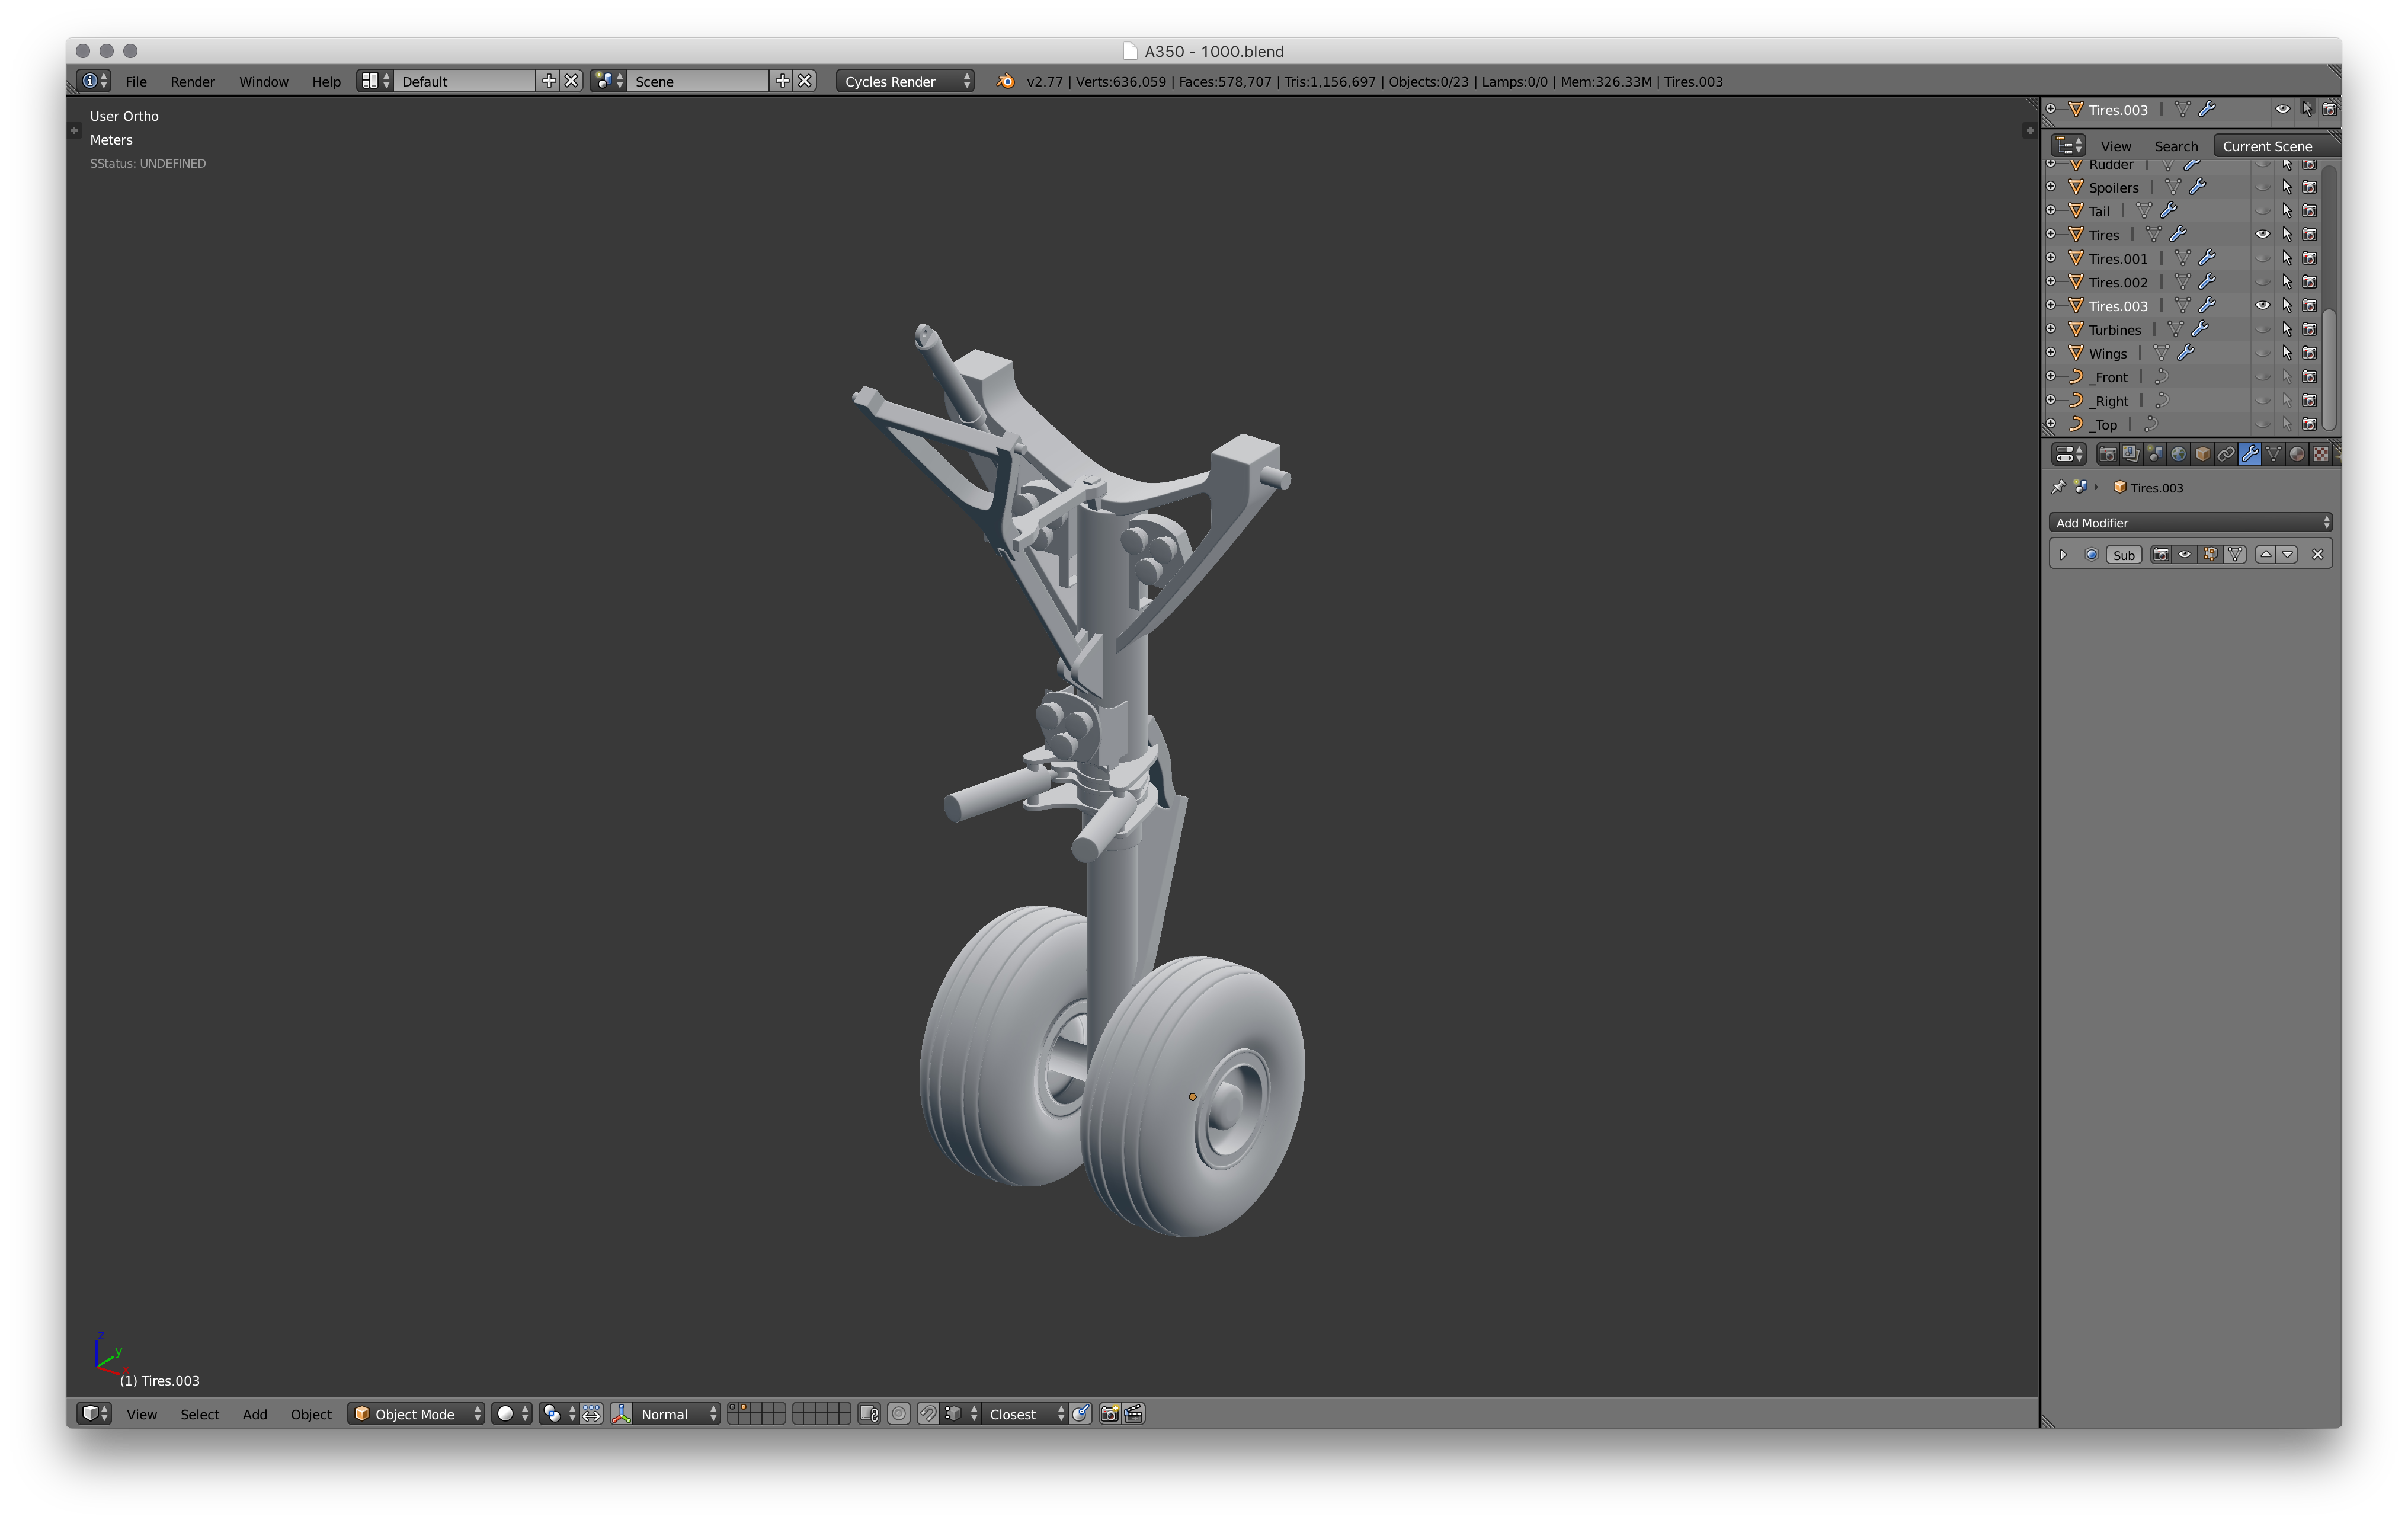
Now add a sub division surface modifier. At first it will look a little wonky, like the first image. Just add proximity loops or mean creases where you see fit.
Rear Landing Gear
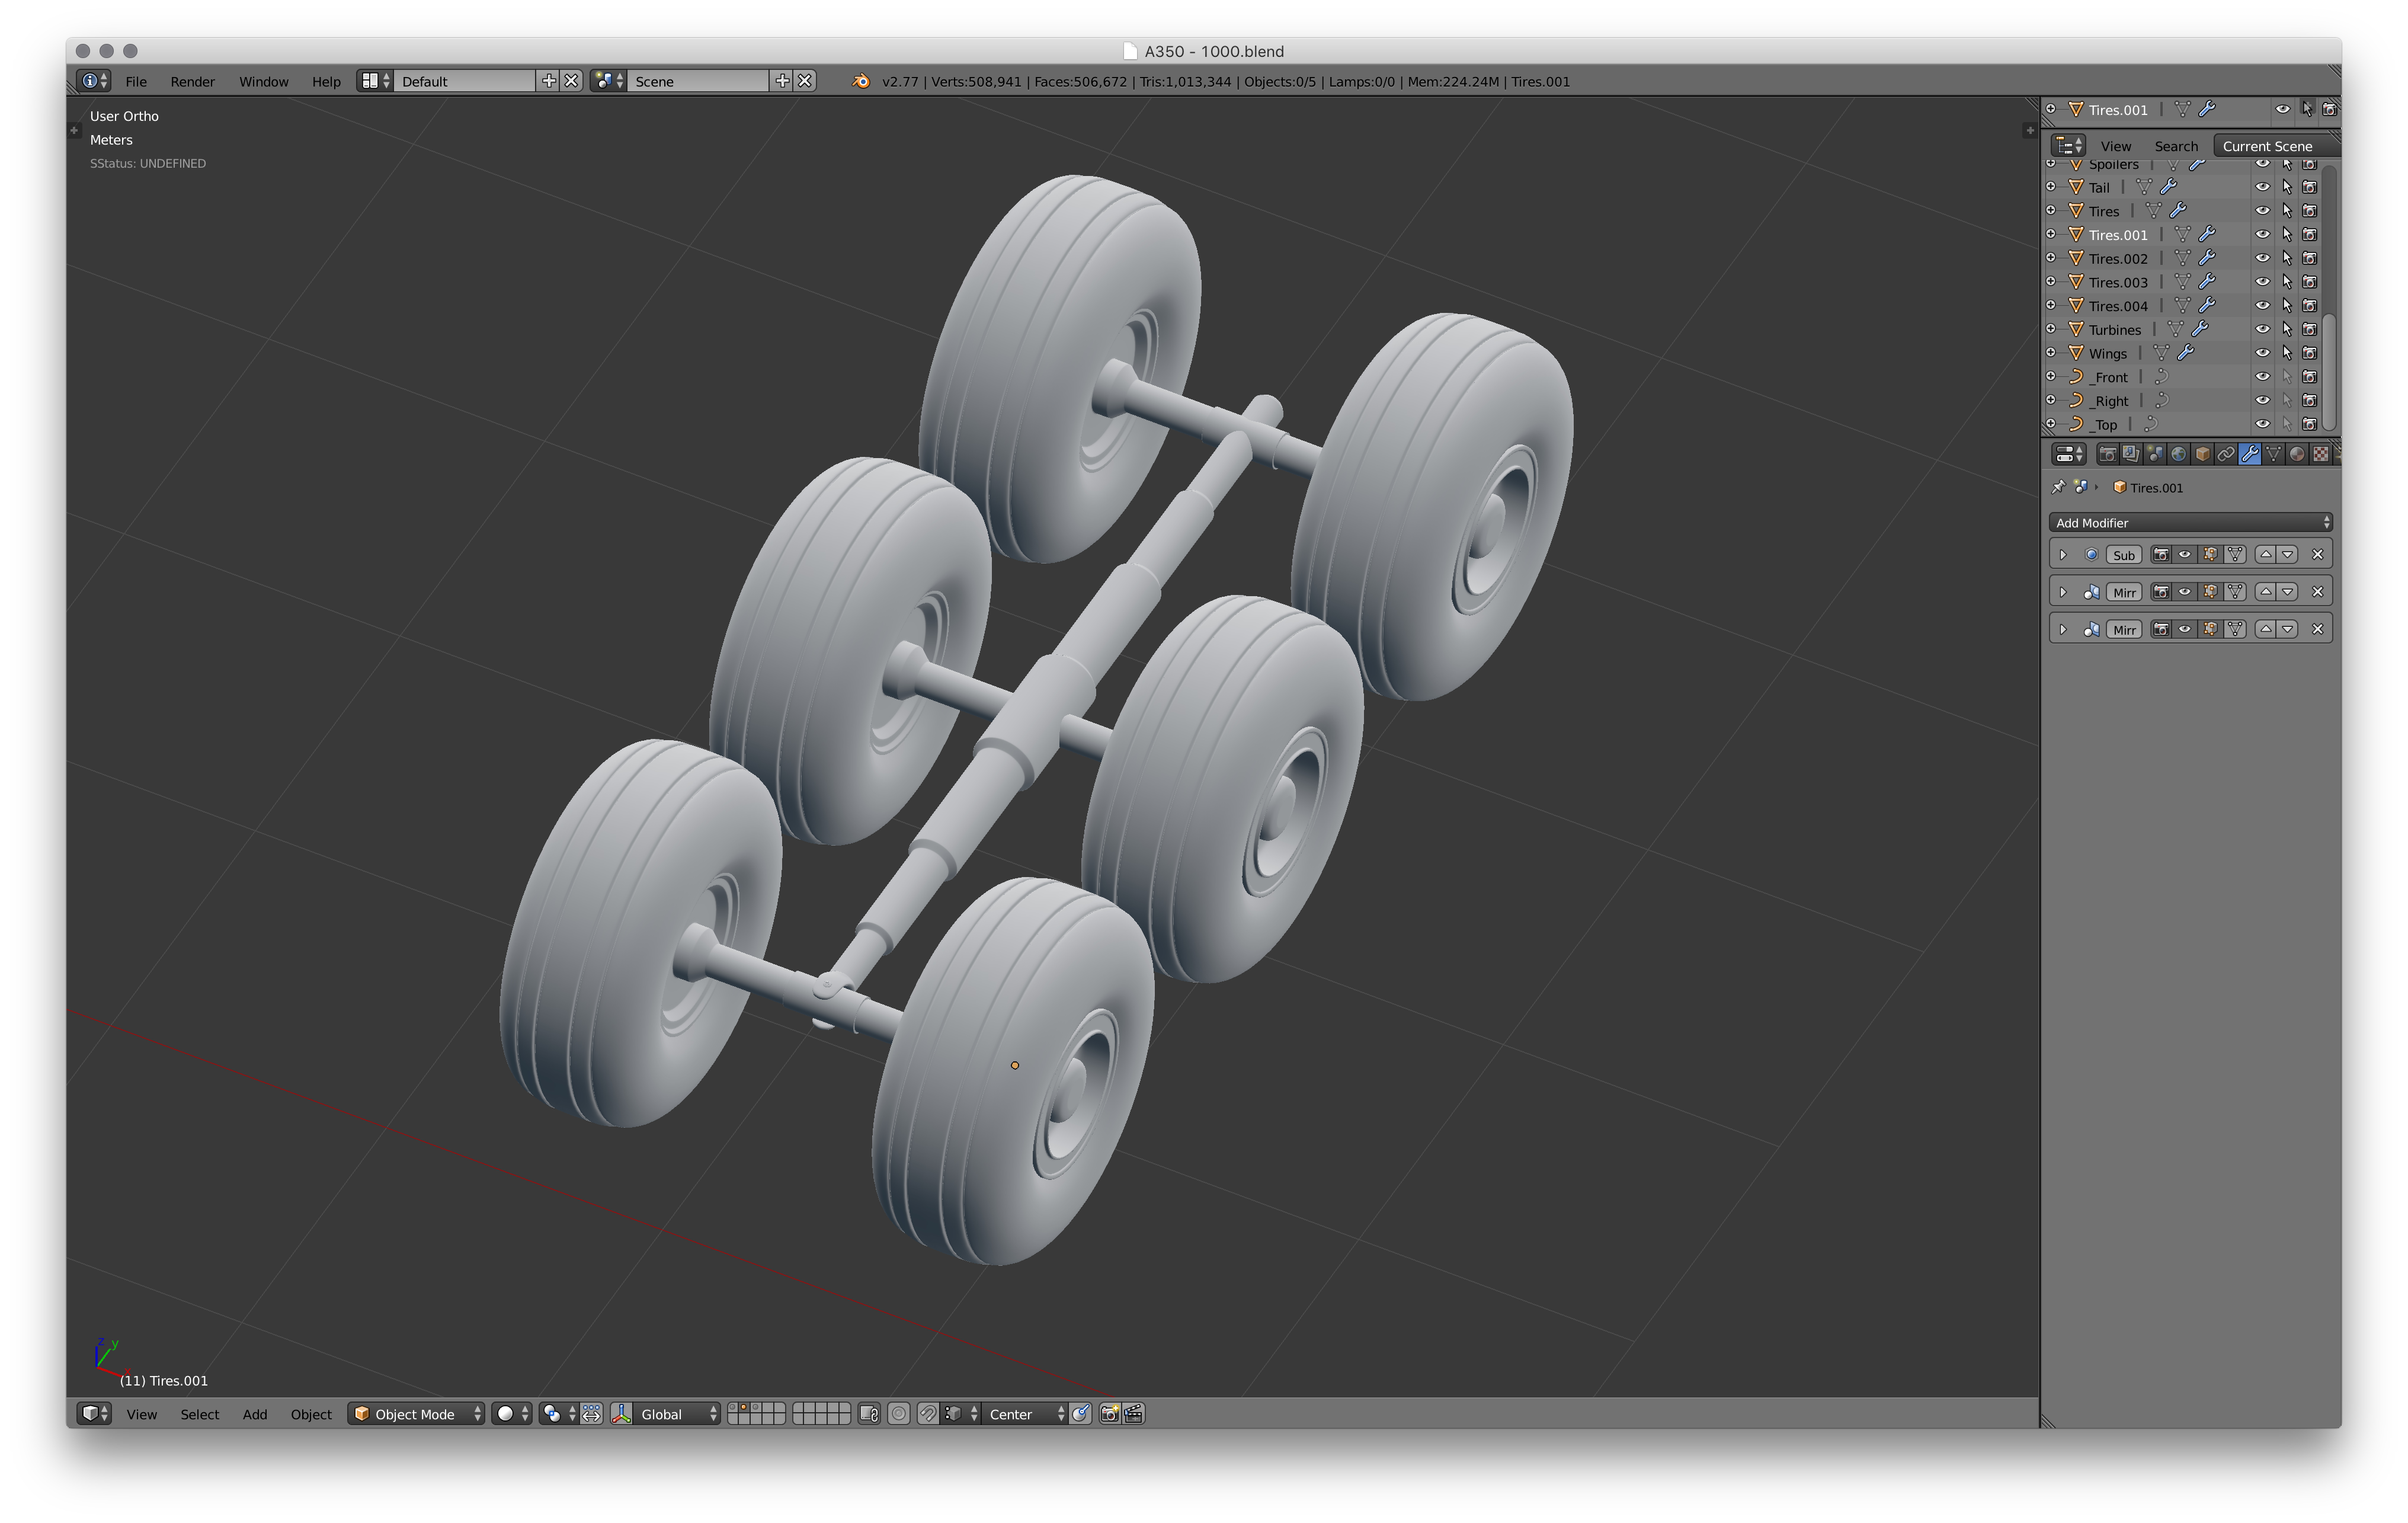
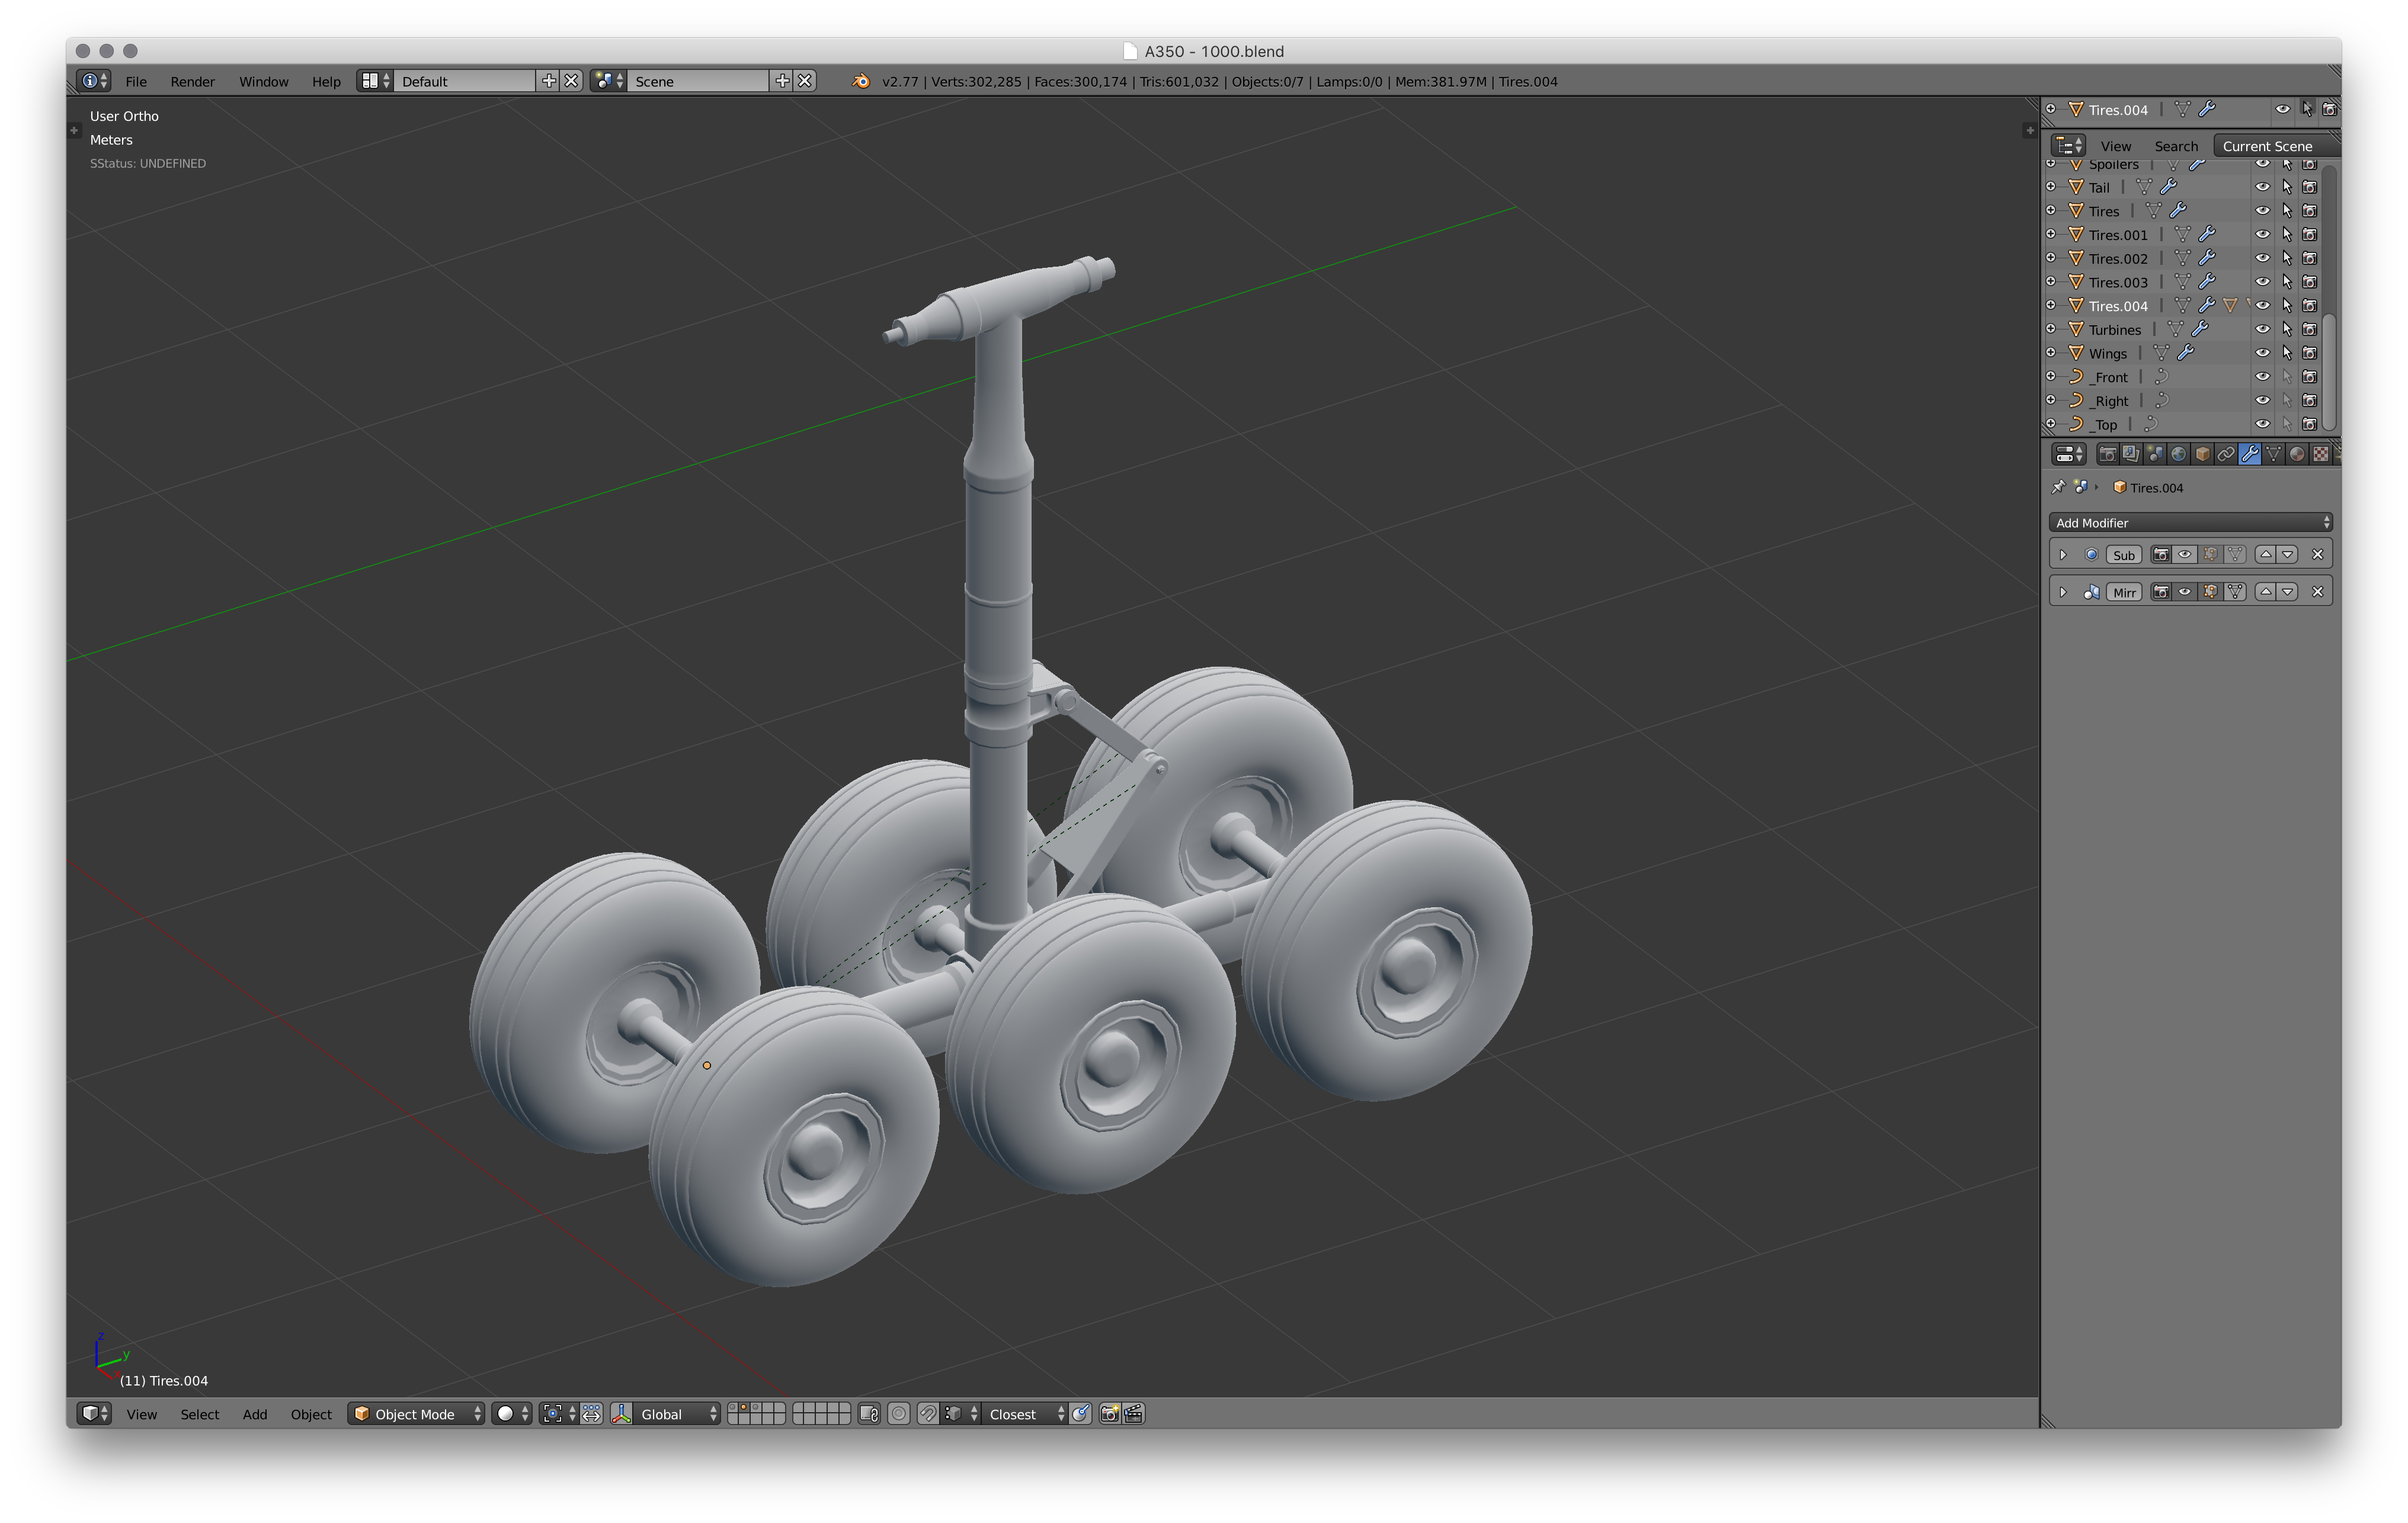
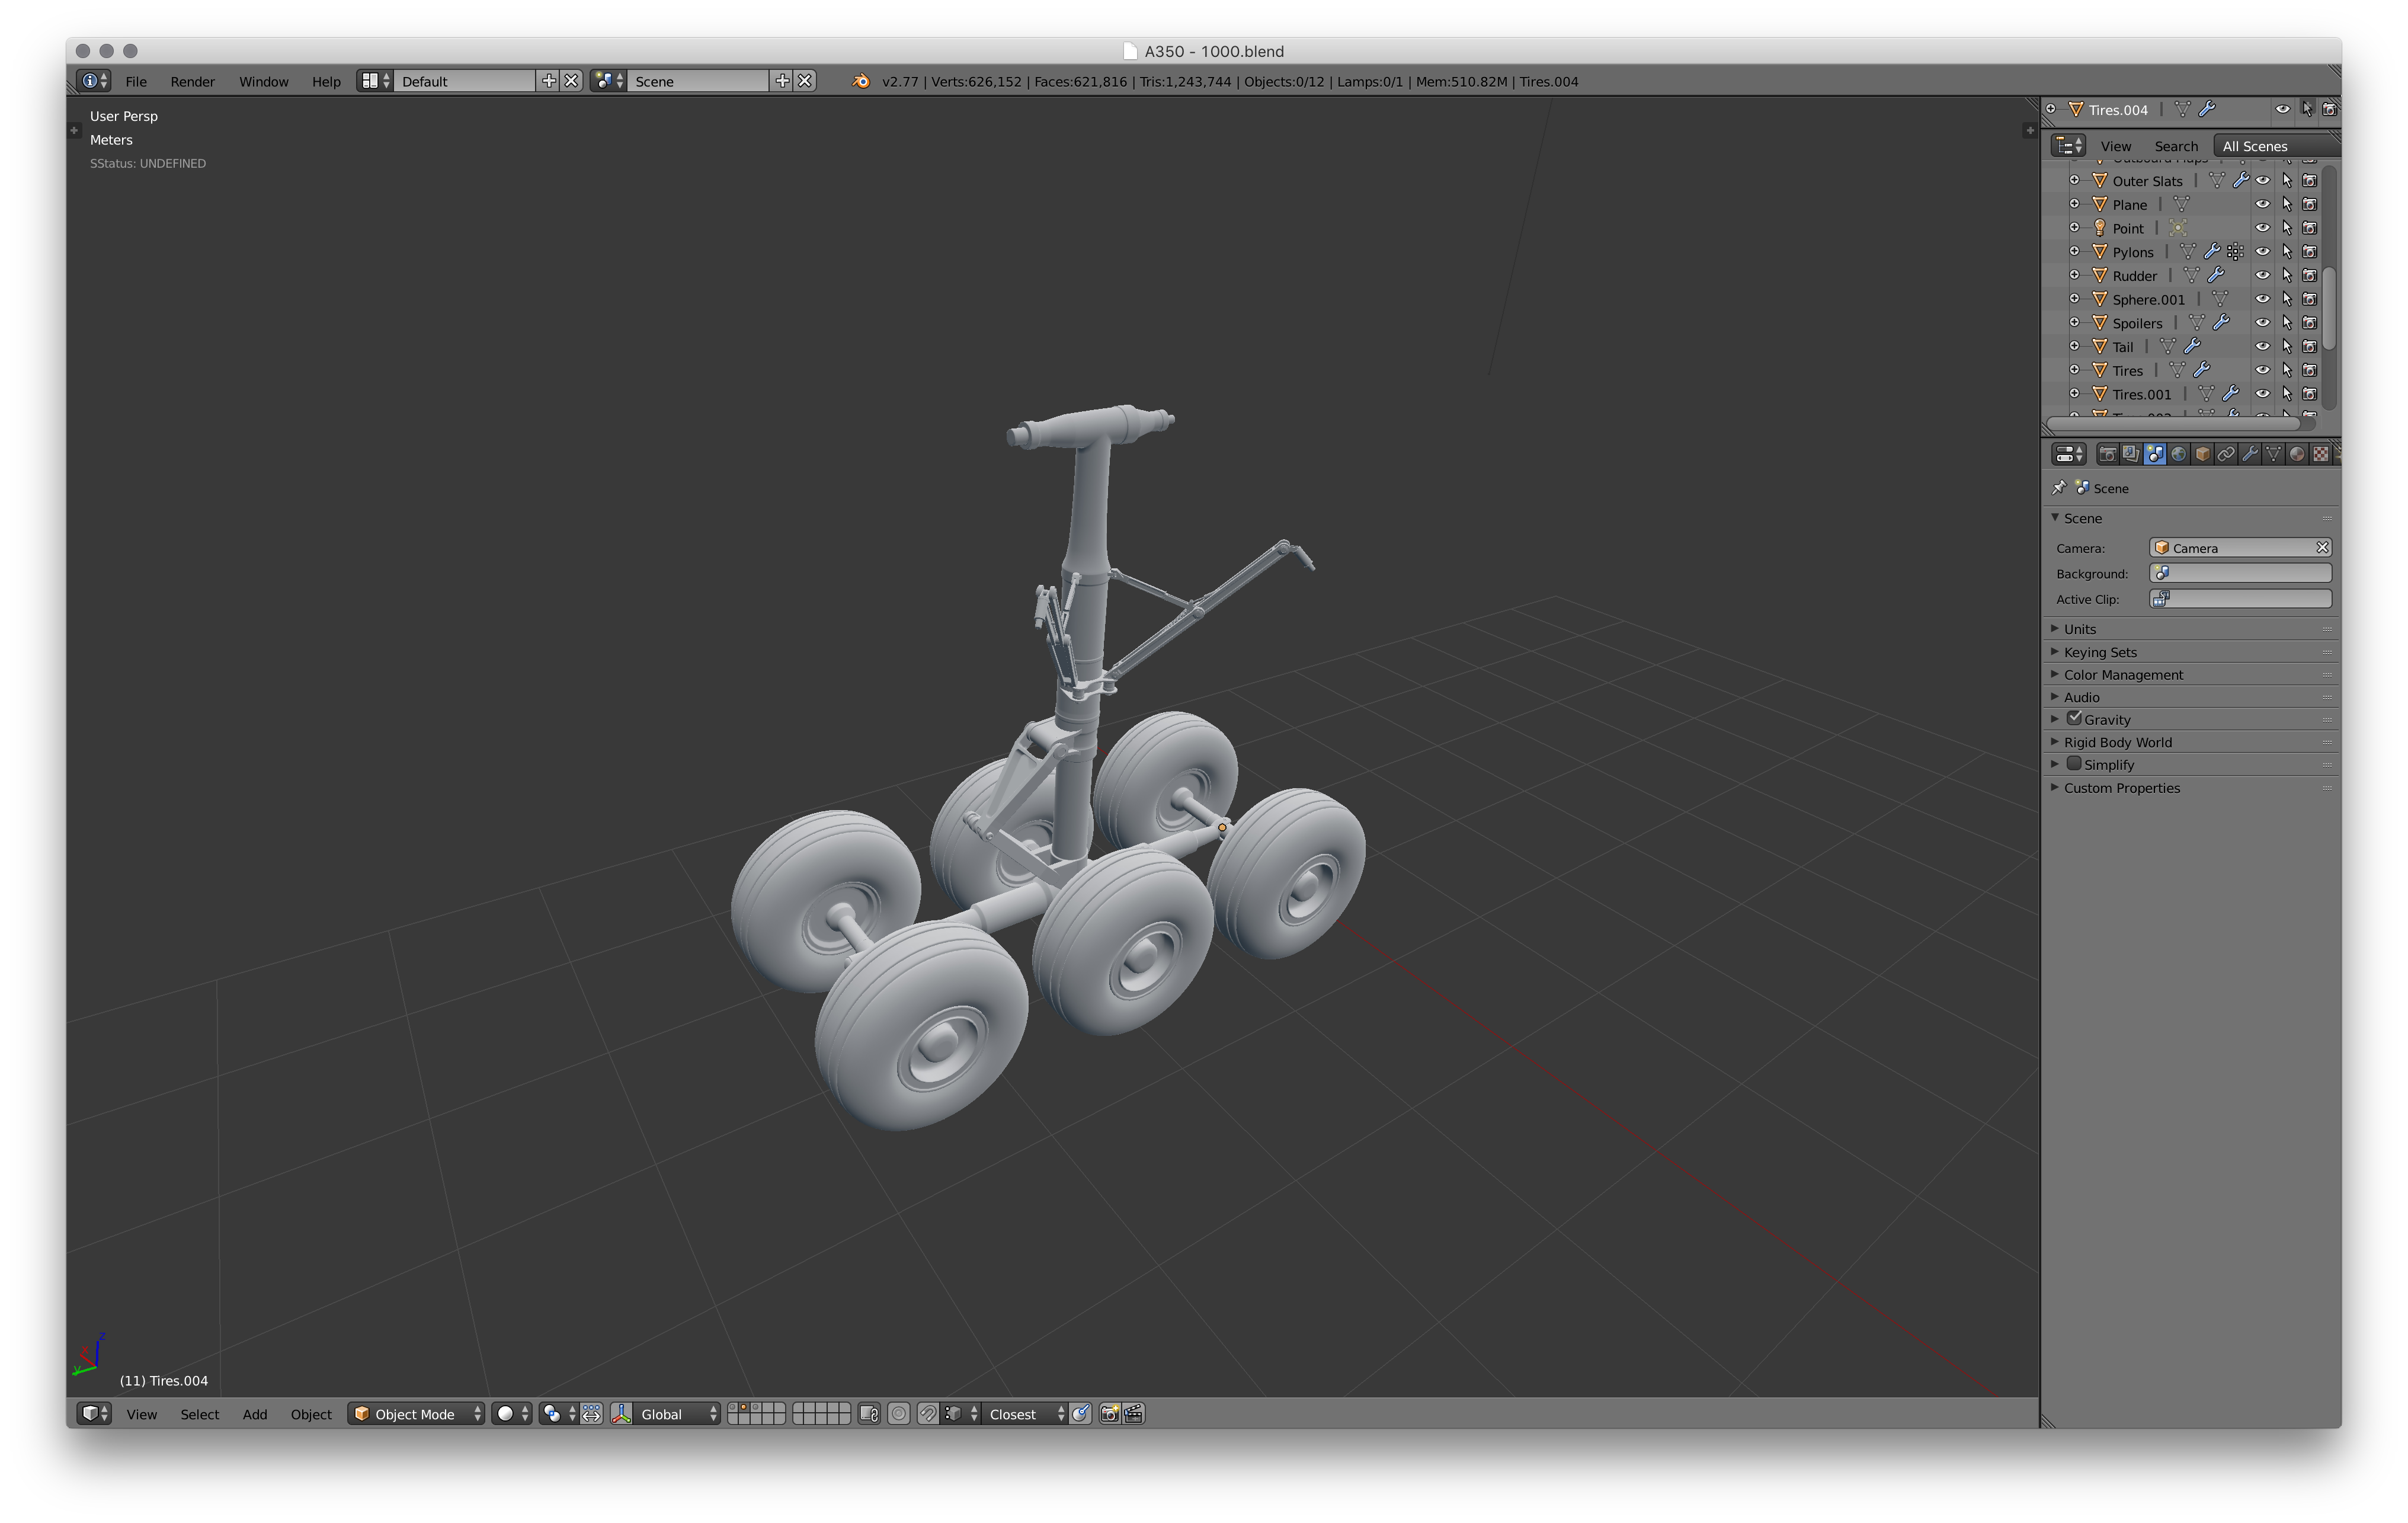
Now its time to build the rear landing gear. This part is pretty simple. Just use the same techniques from the front landing gear and apply them to this one. Follow the references images and my images if you get stuck.
Front Landing Gear Doors
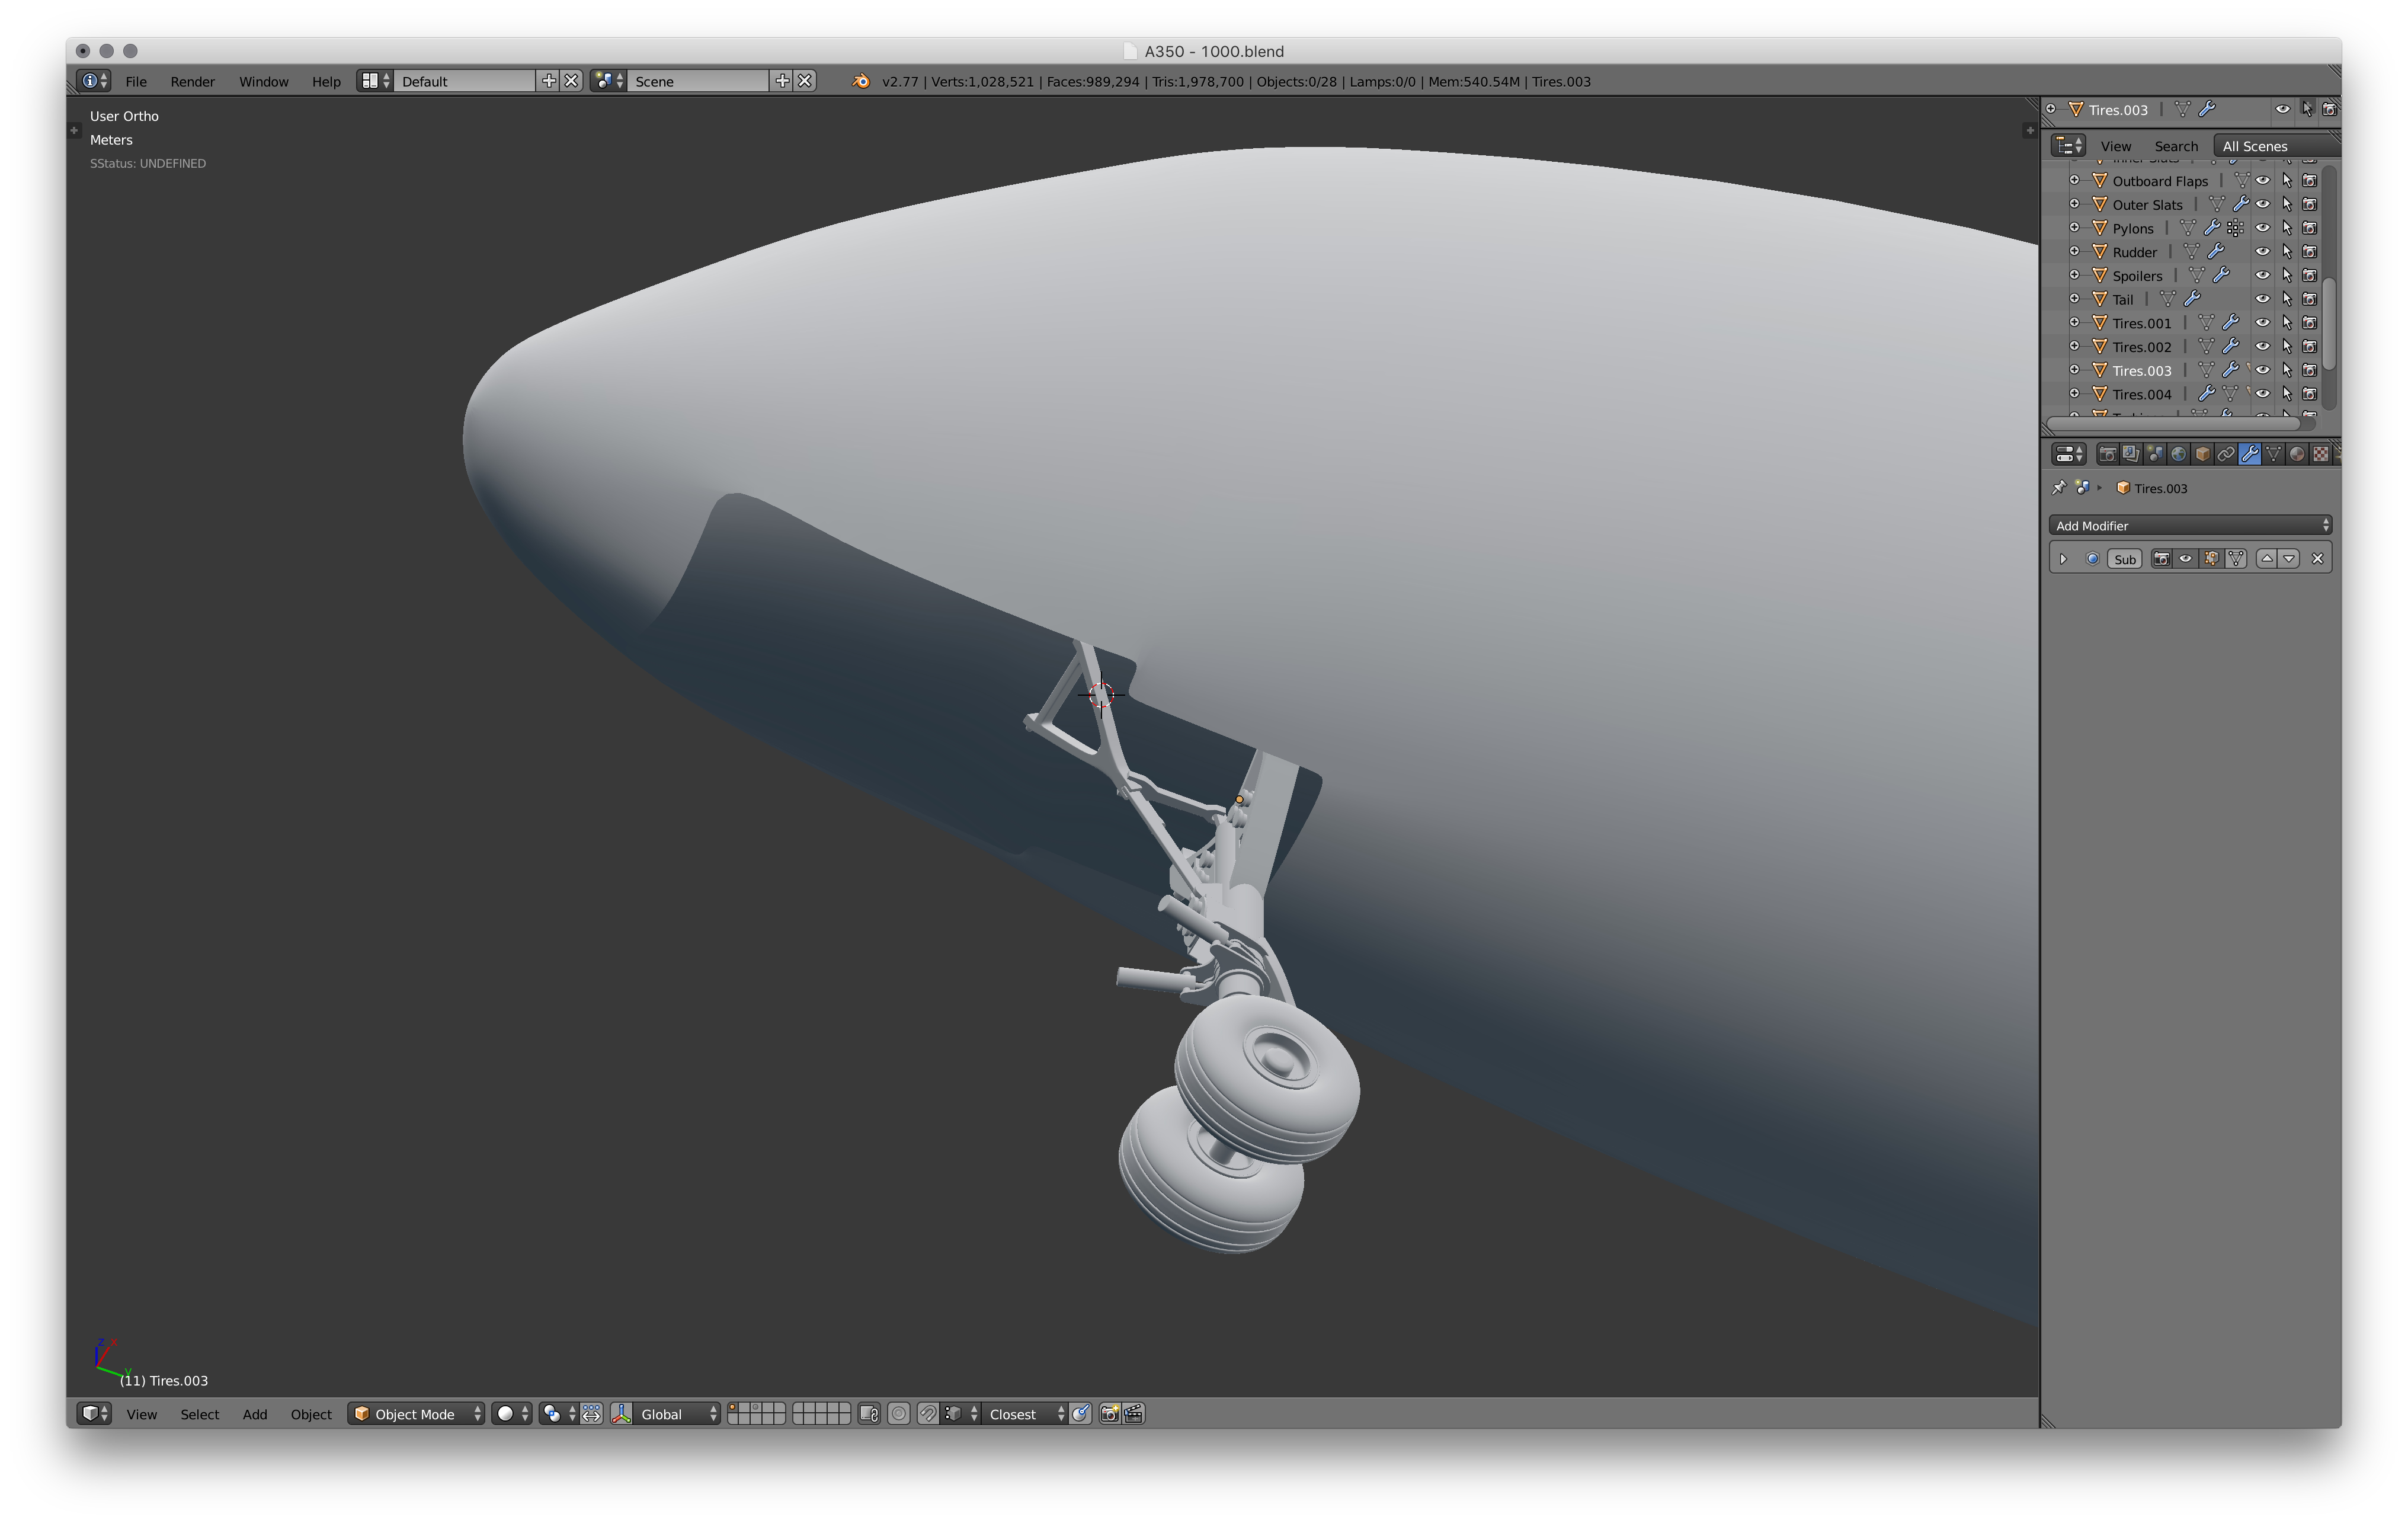
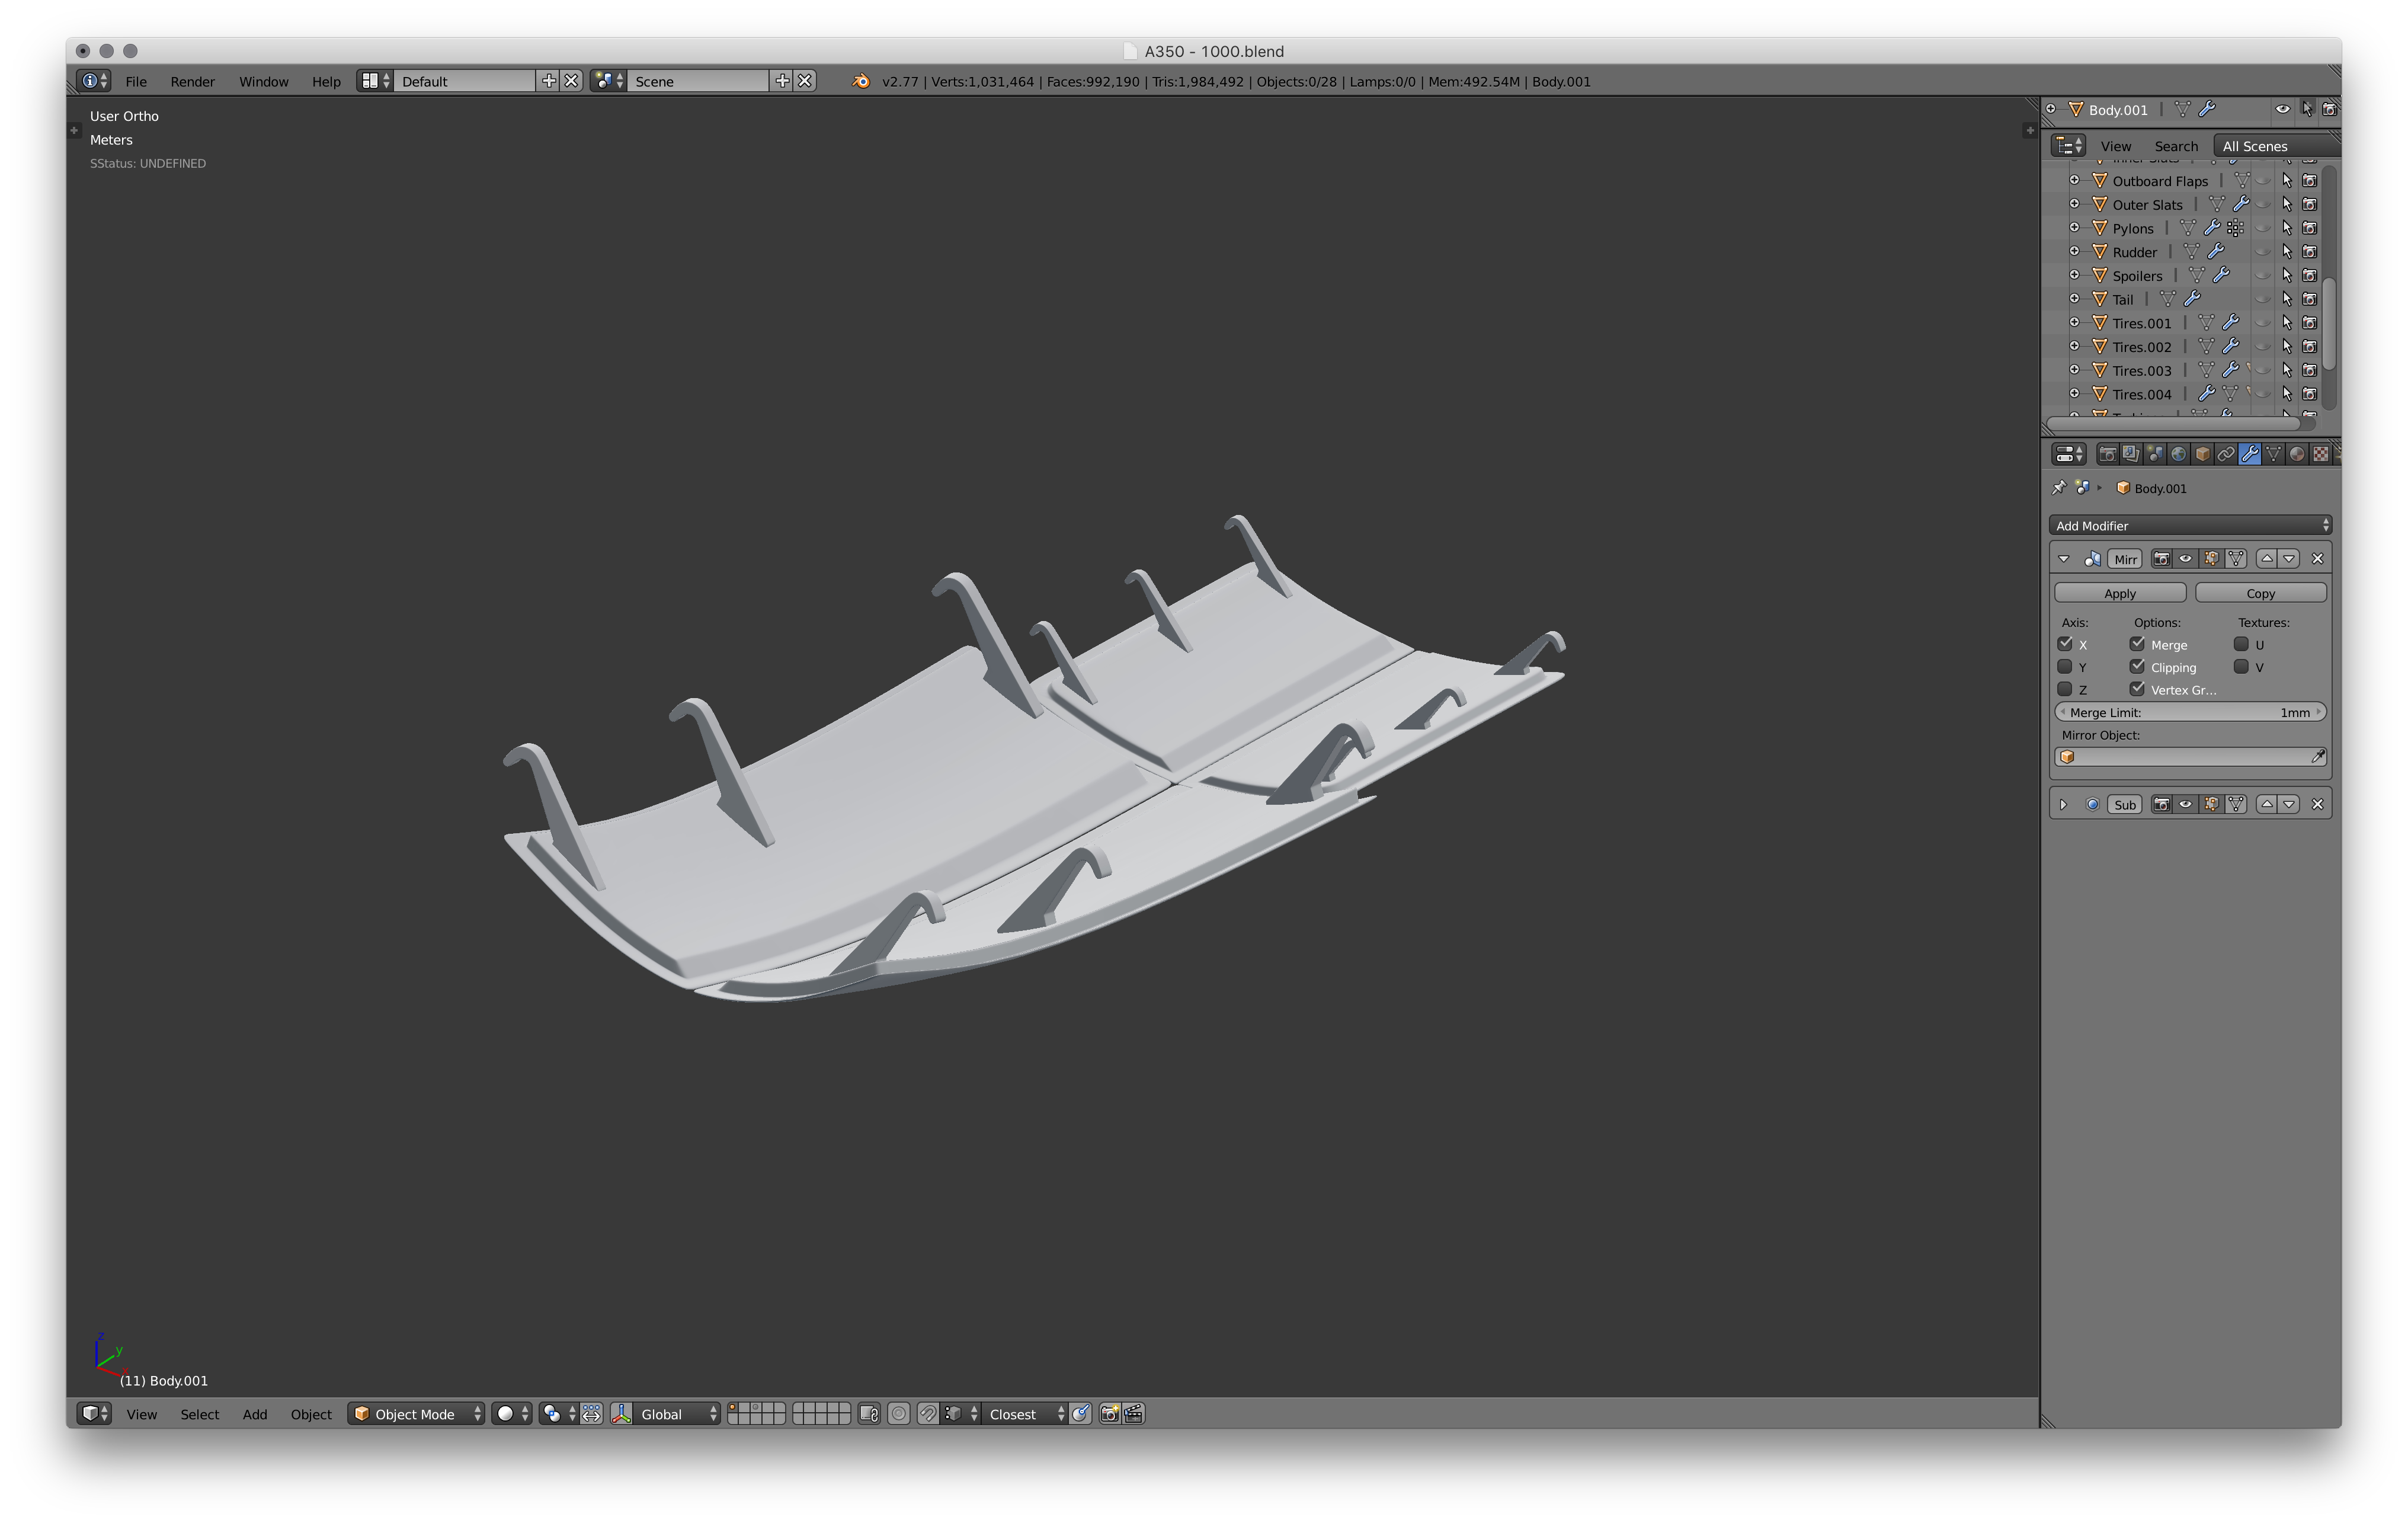
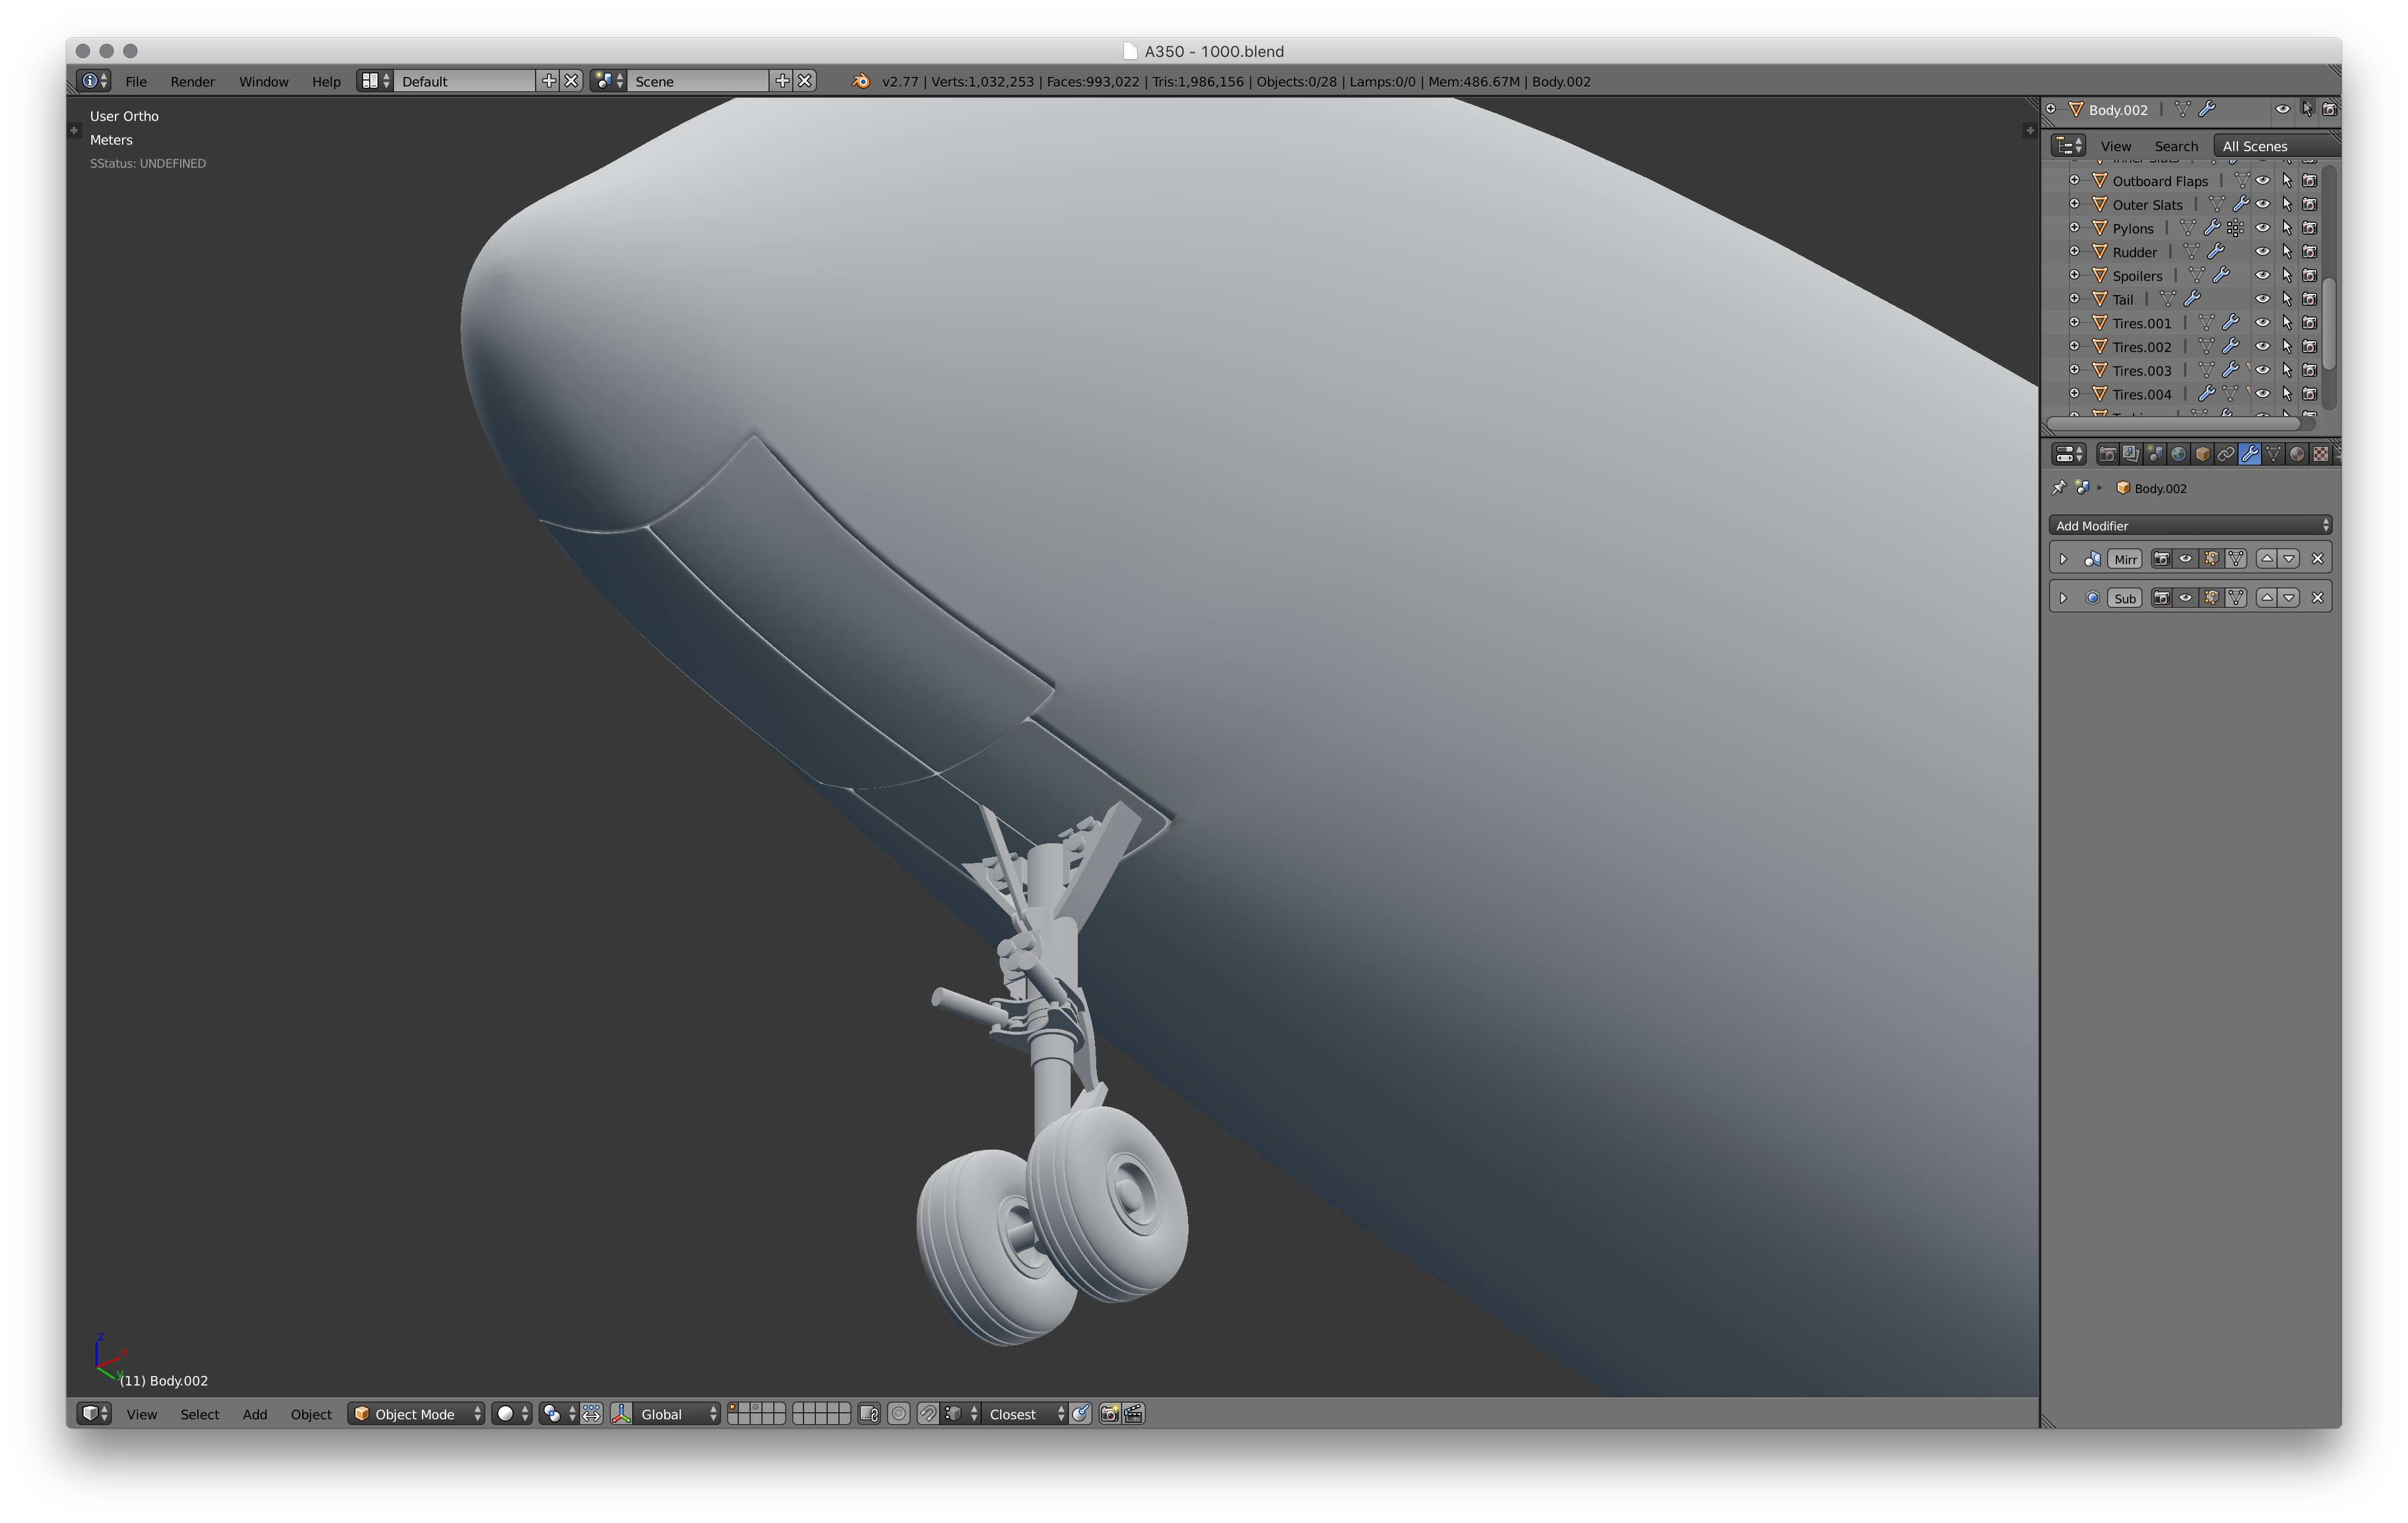
Now move the edge loops around the front landing gear to straighten the edges and line up with the landing gear doors. Separate them from the body and model according to the second image.
Rear Landing Gear Doors
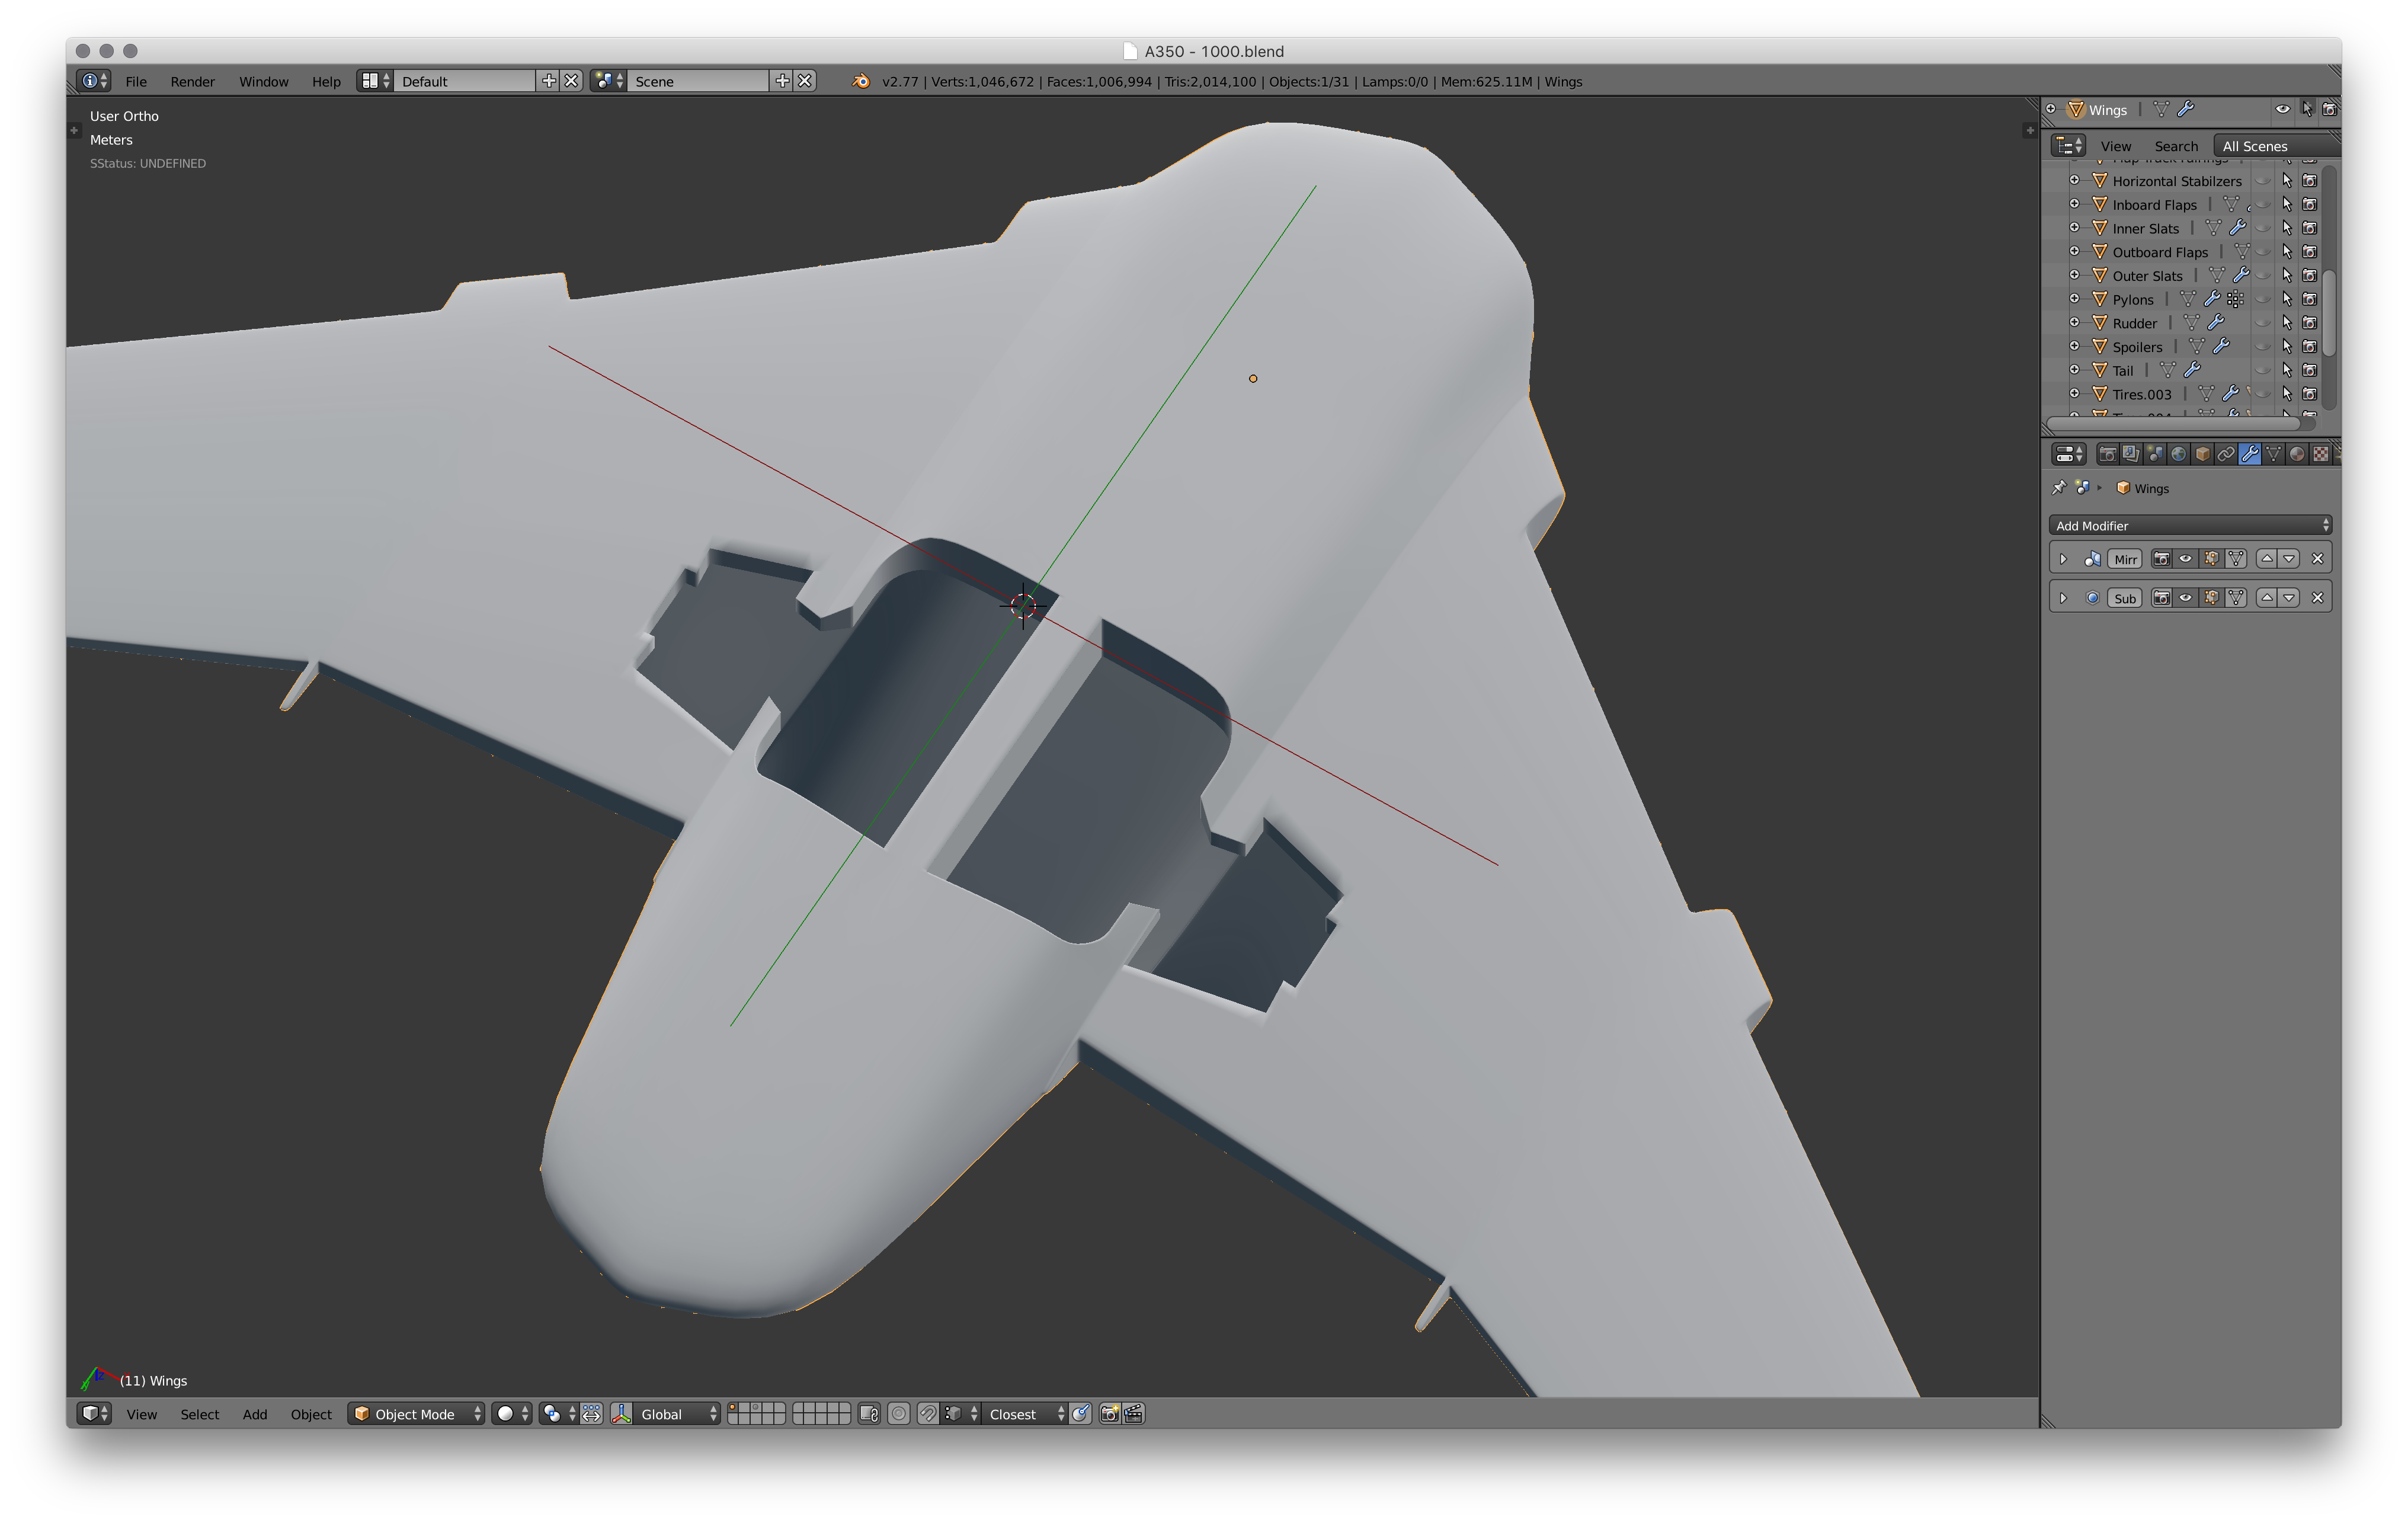
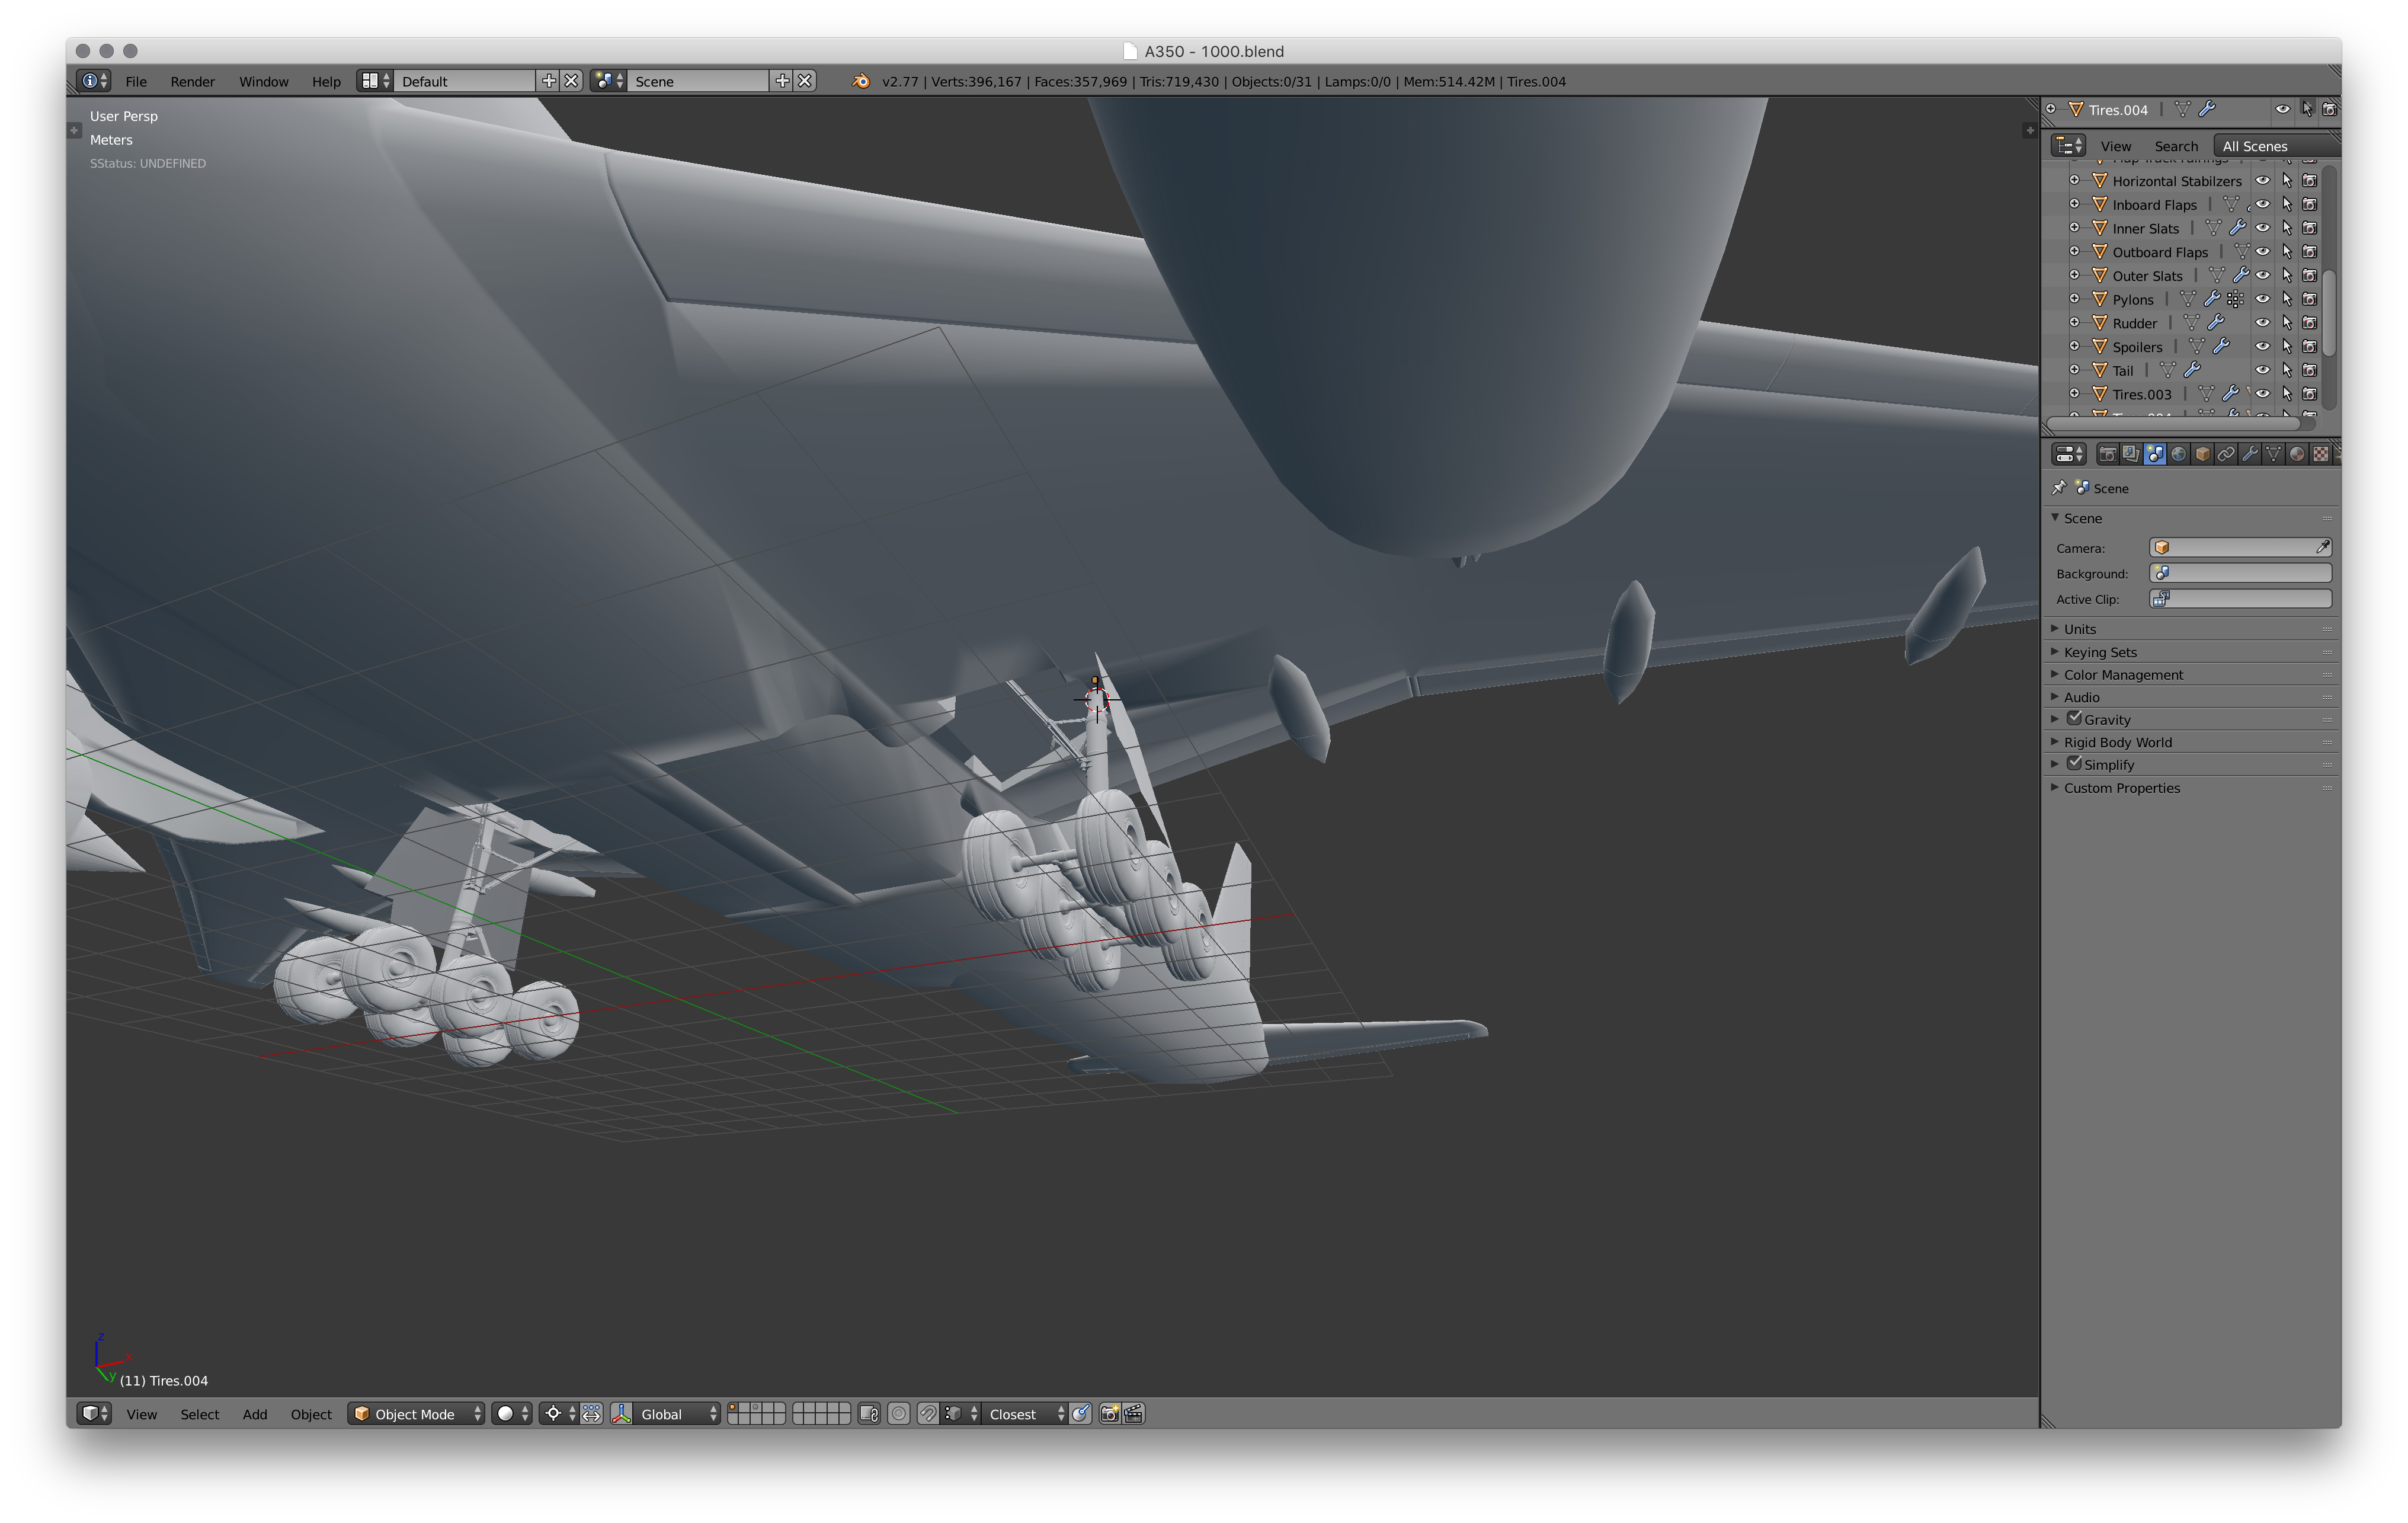
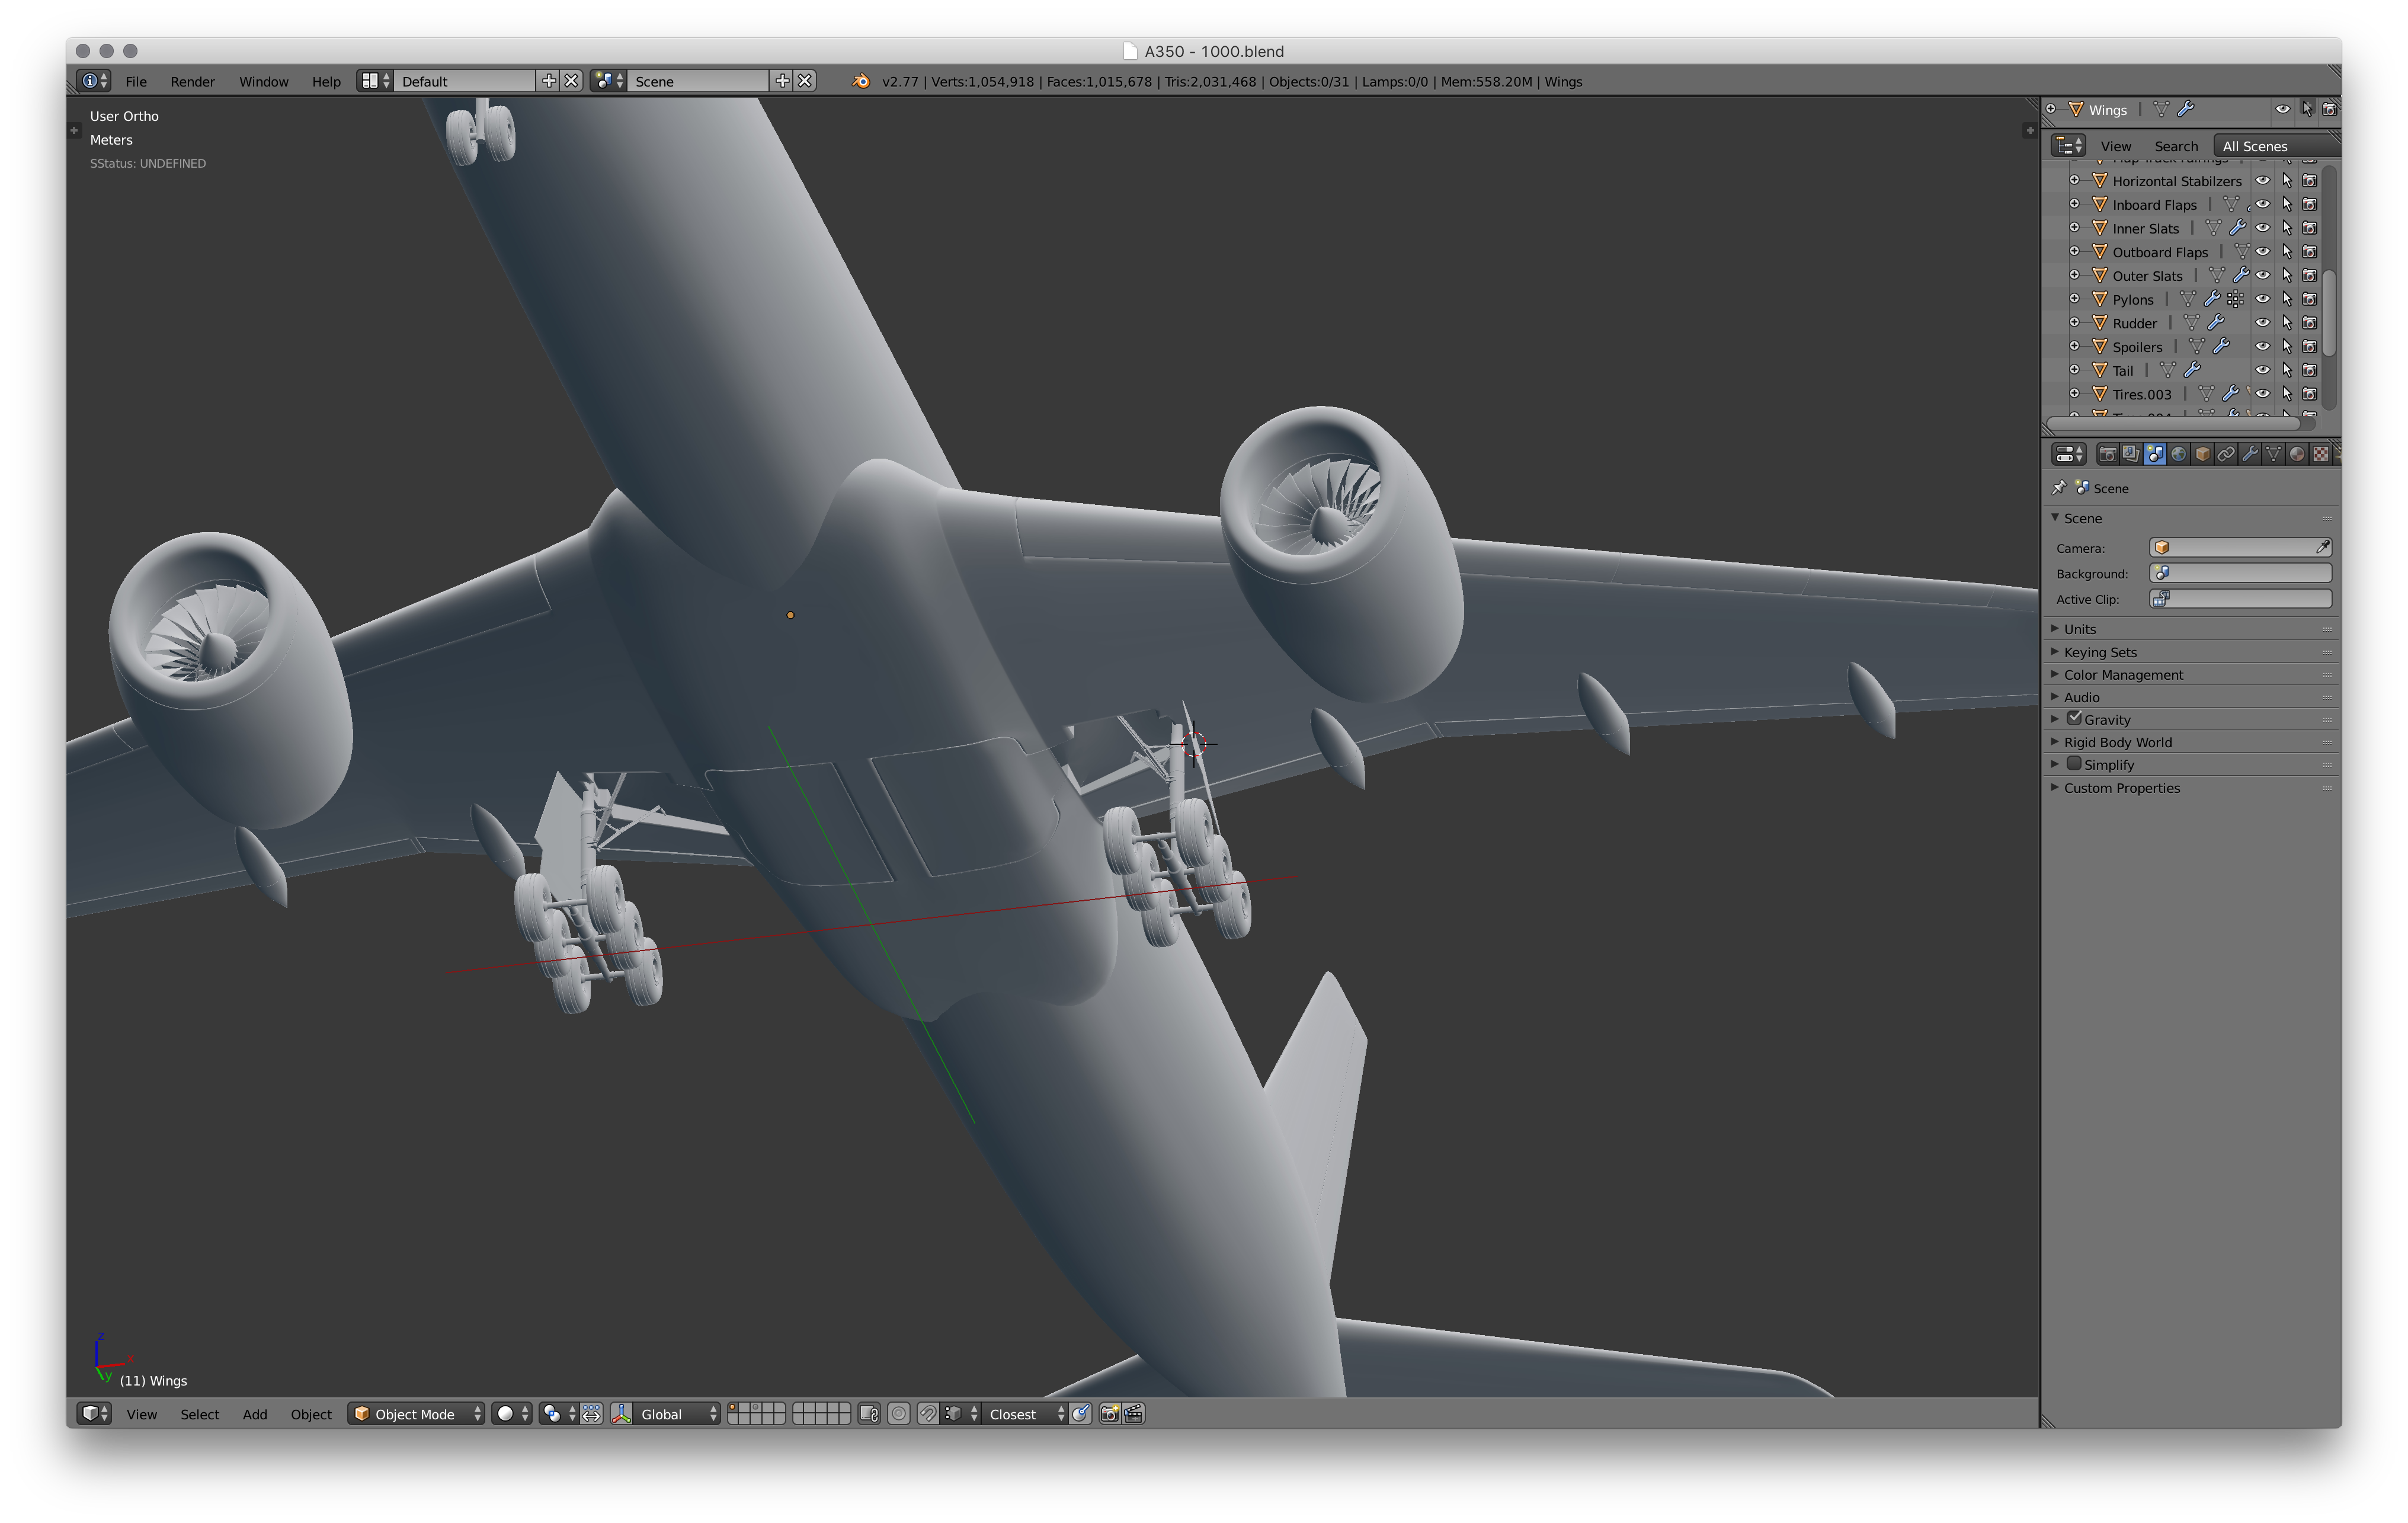
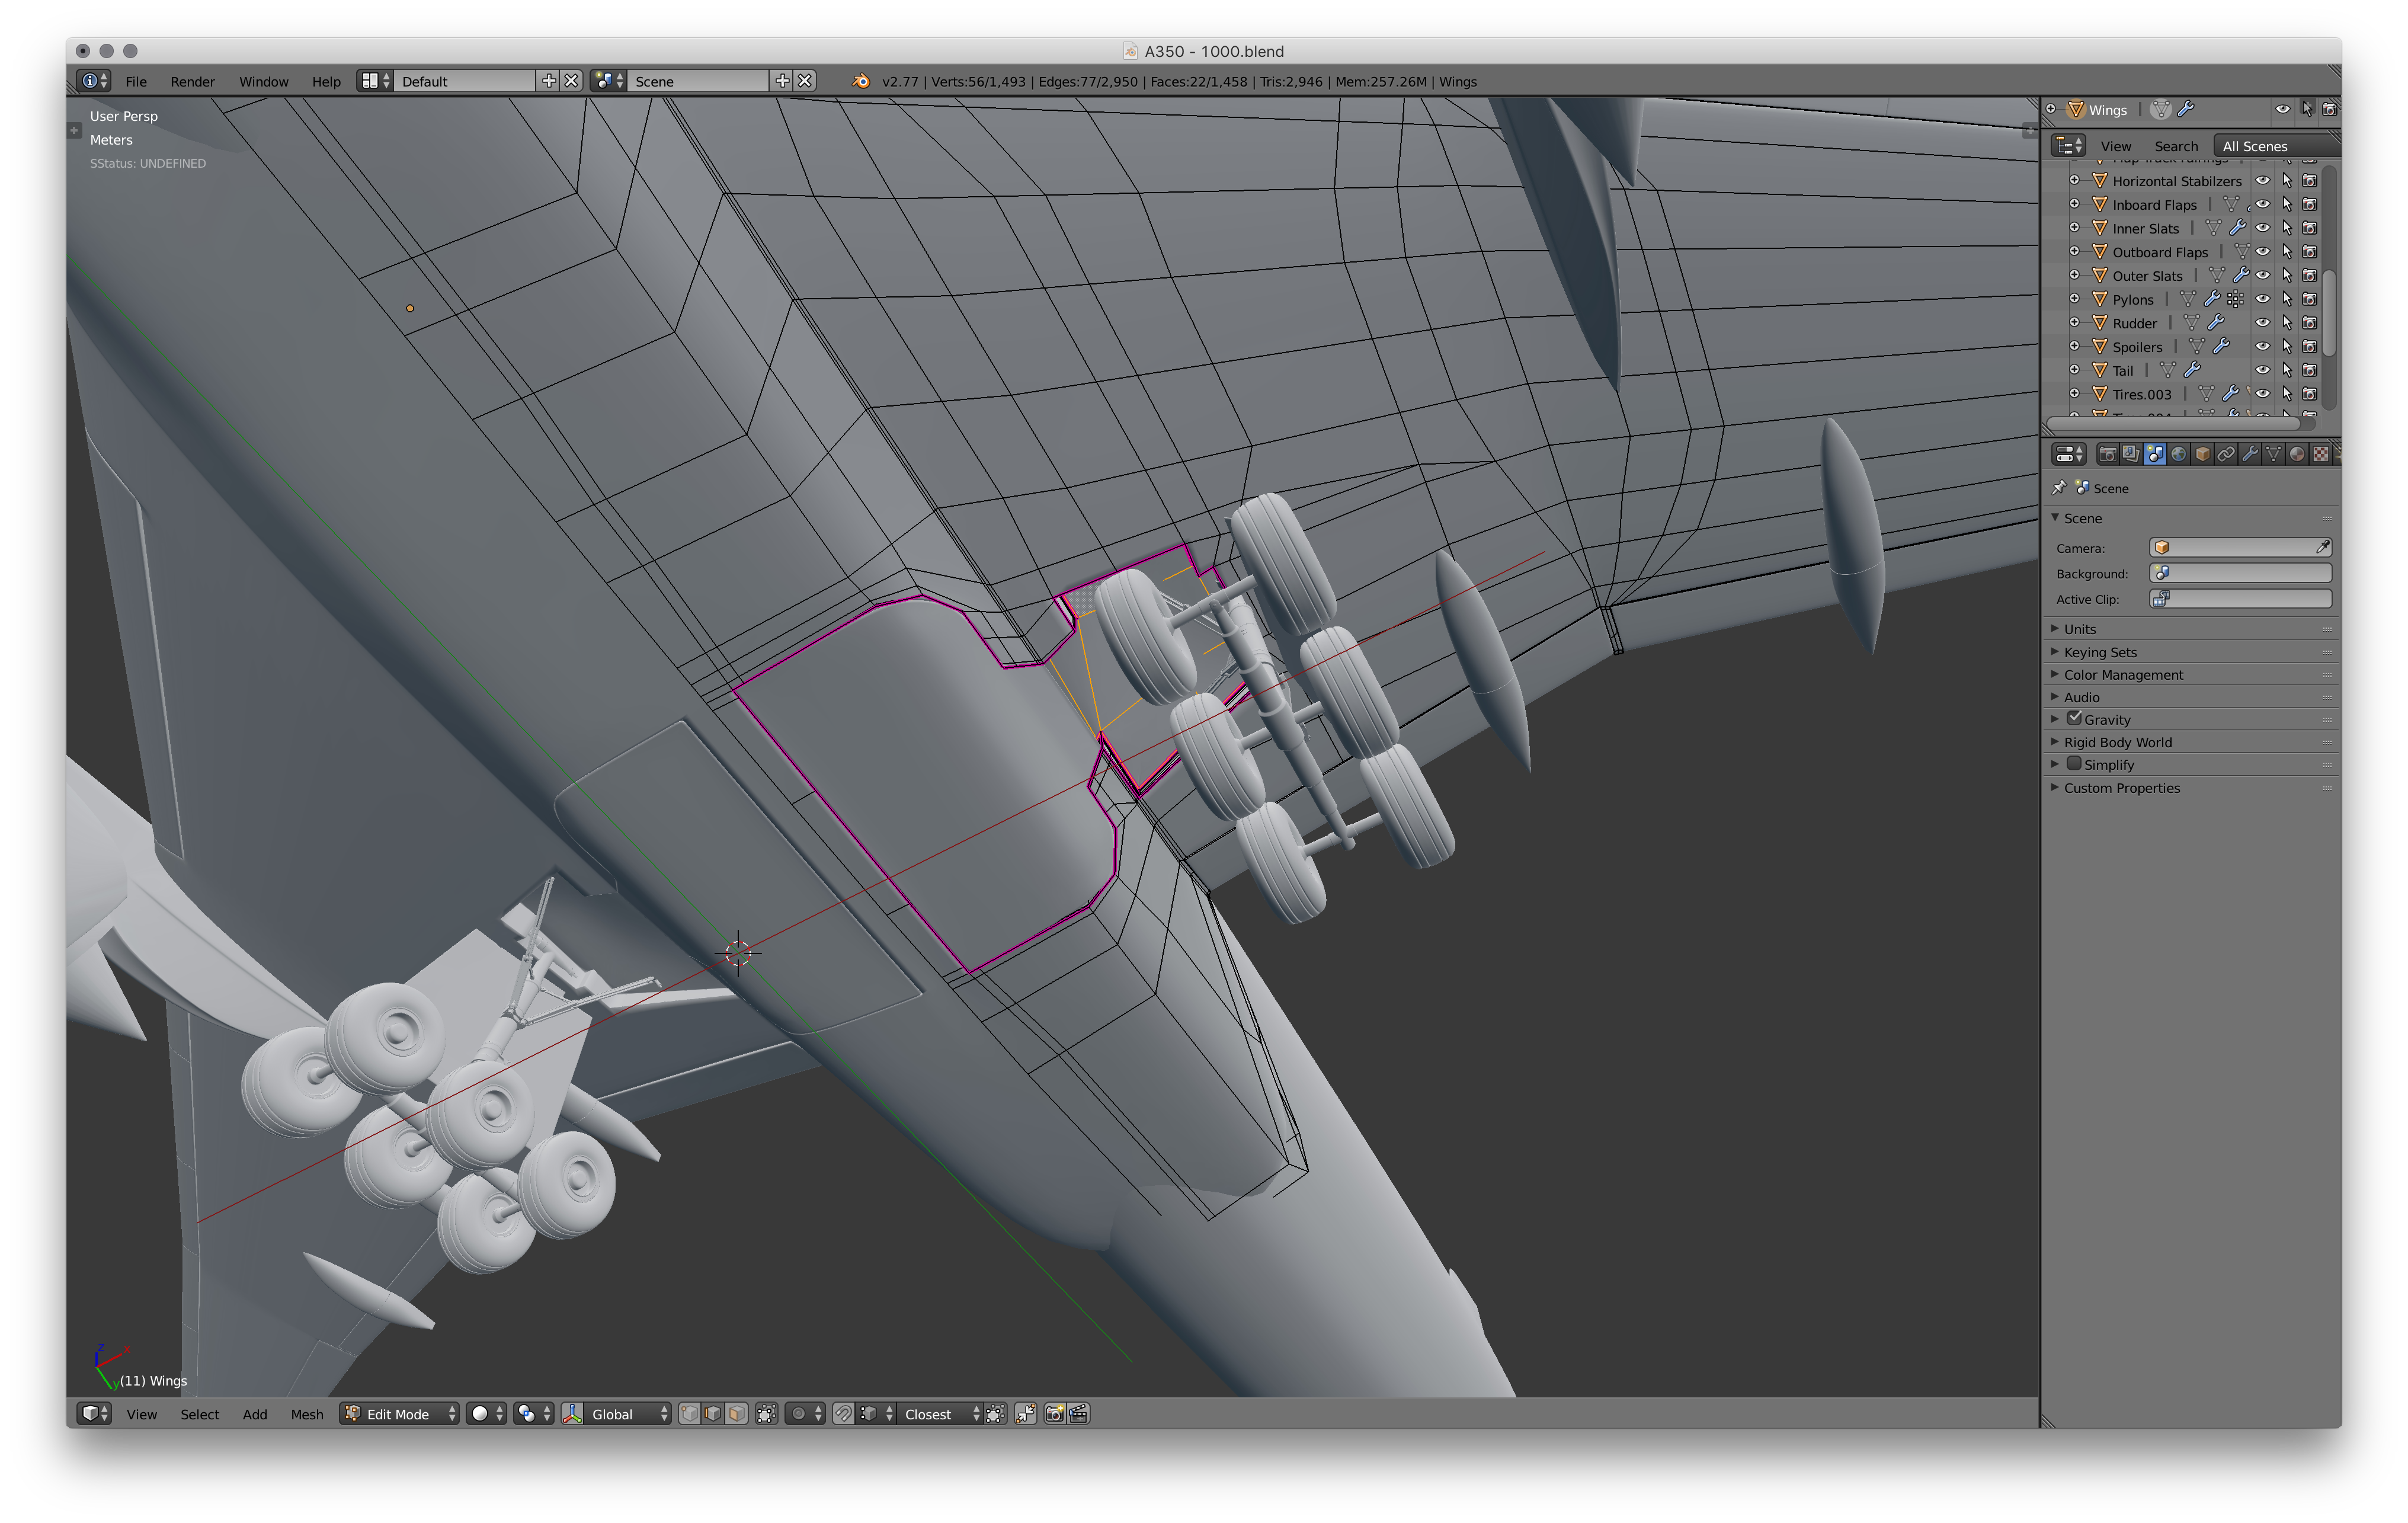
These doors will be significantly harder than the previous doors, simply because of it's shape. I modelled the doors with a cube and cut out using a boolean. This will give you a very quick and accurate mesh, but it will be messy, so clean it up and give it some good topology.
Nose Cone
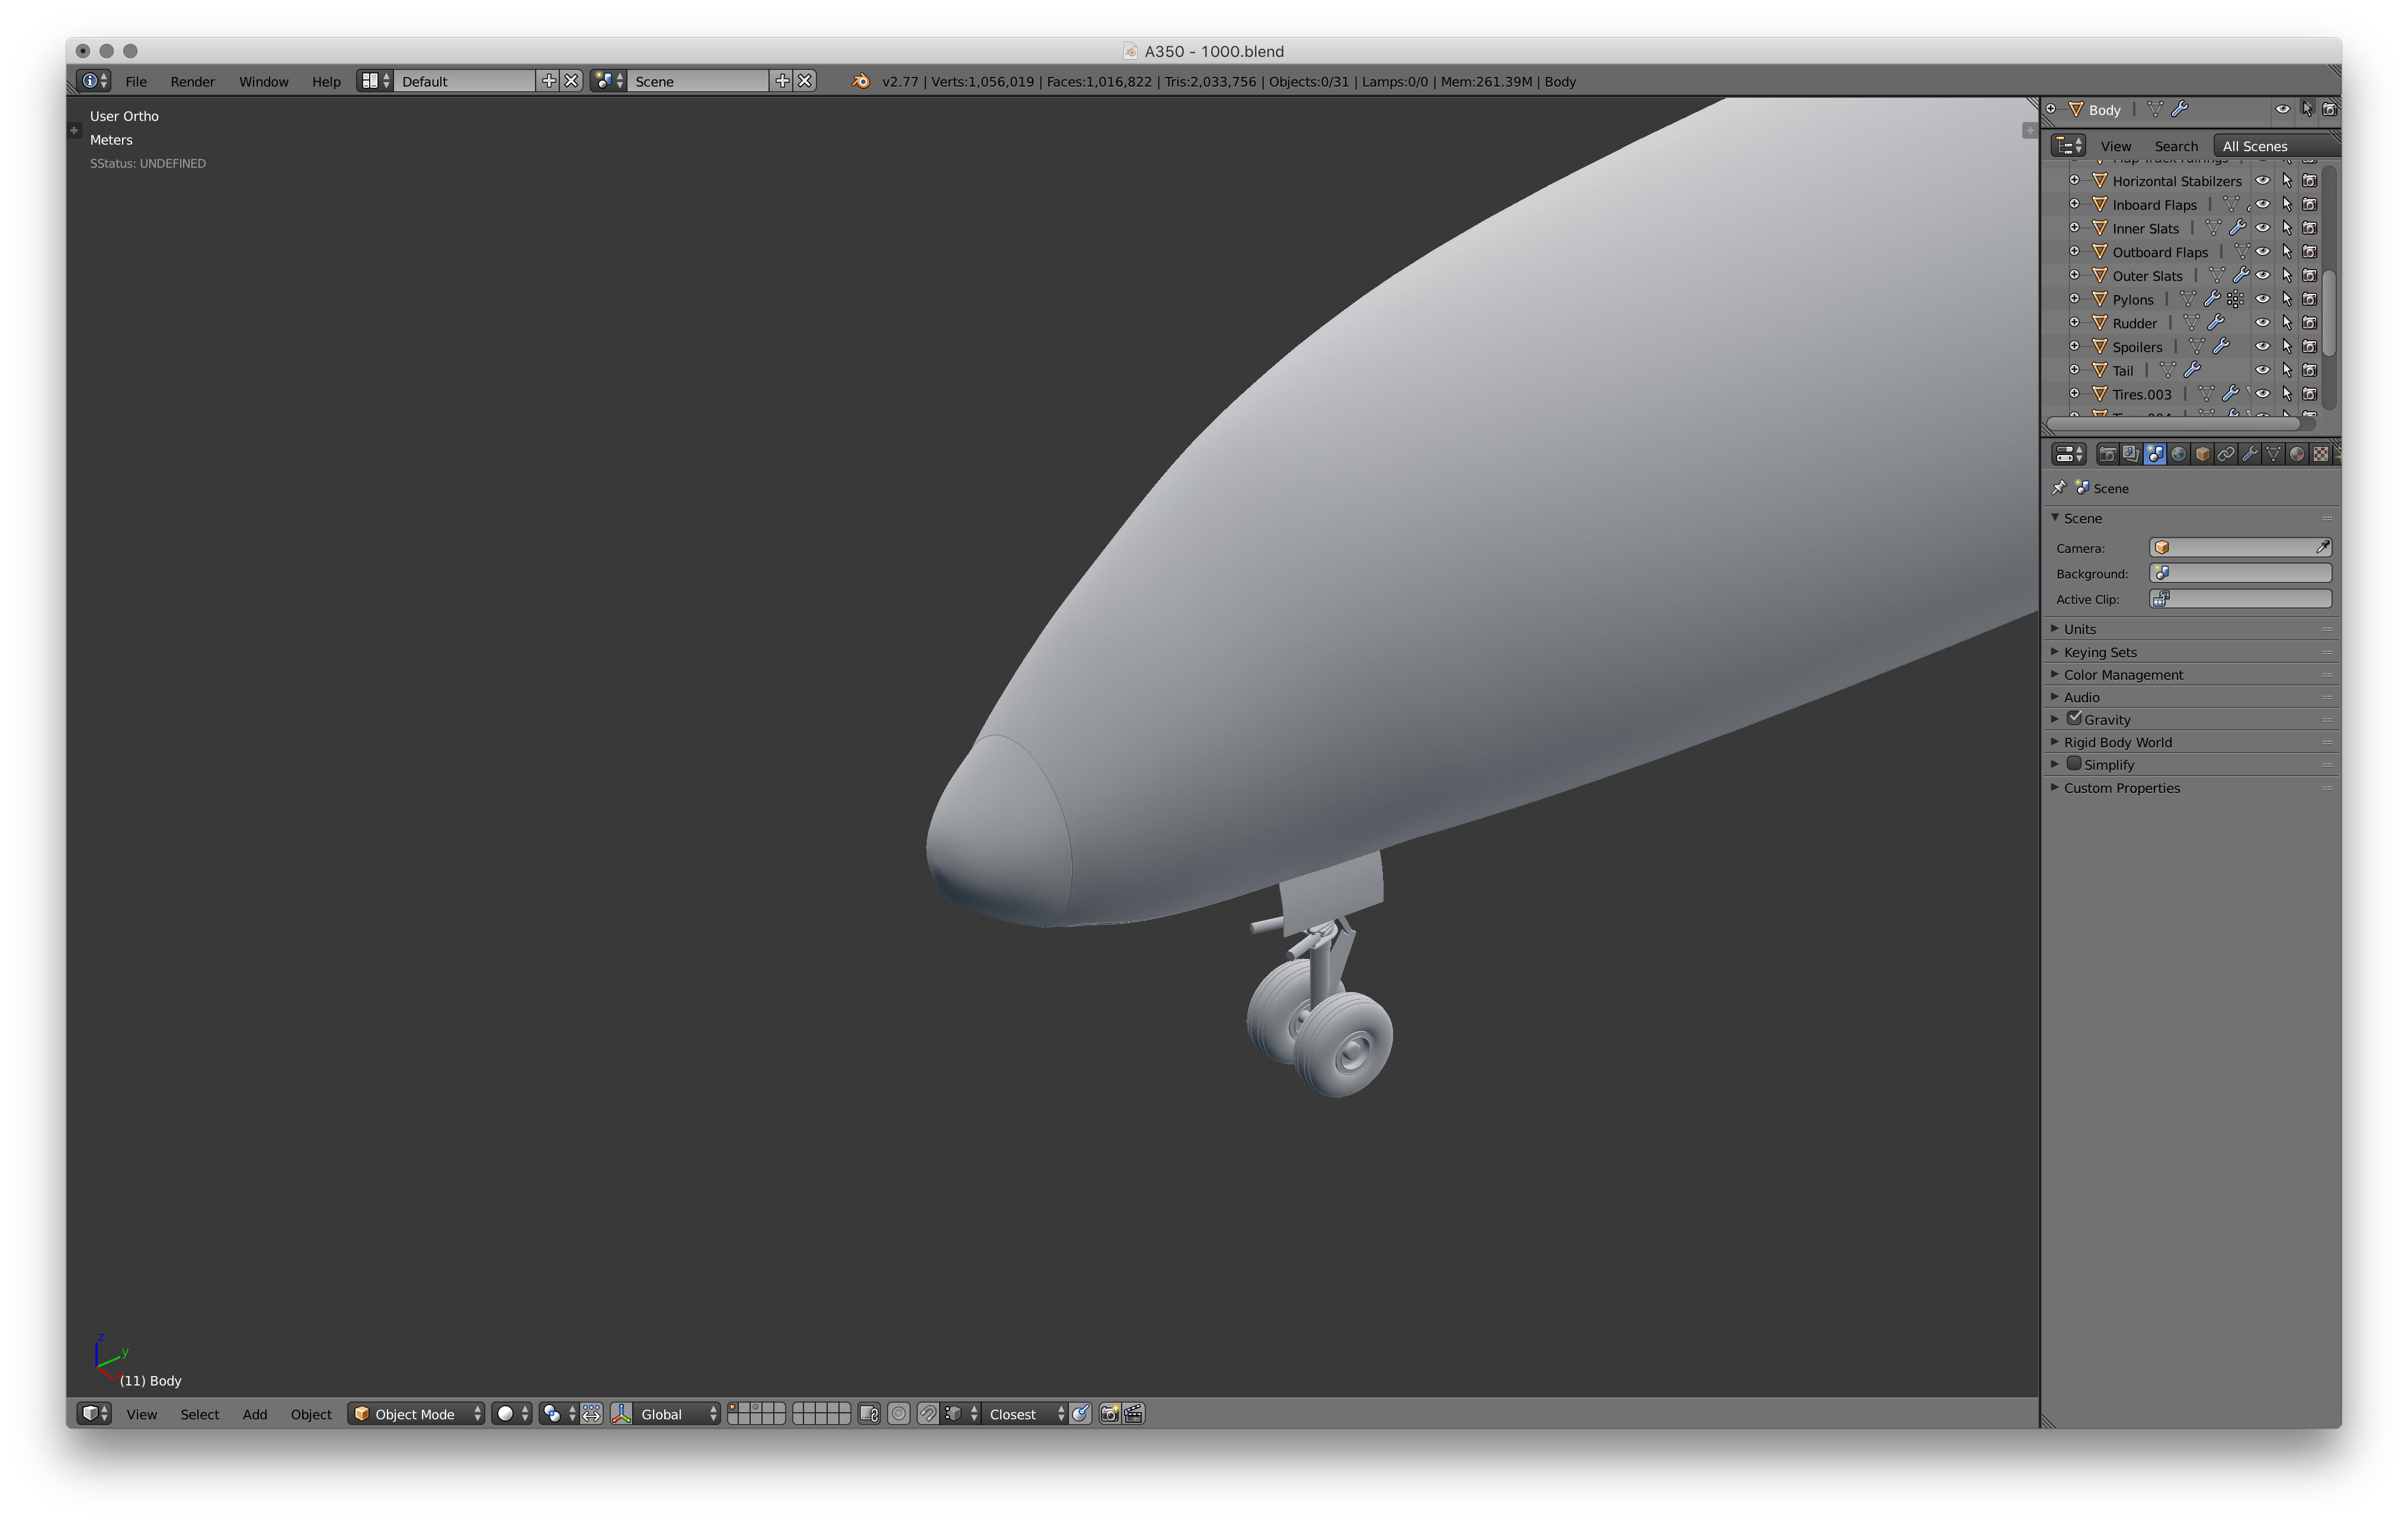
Create a small ring and scale it inwards to create a nose cone.
Cockpit

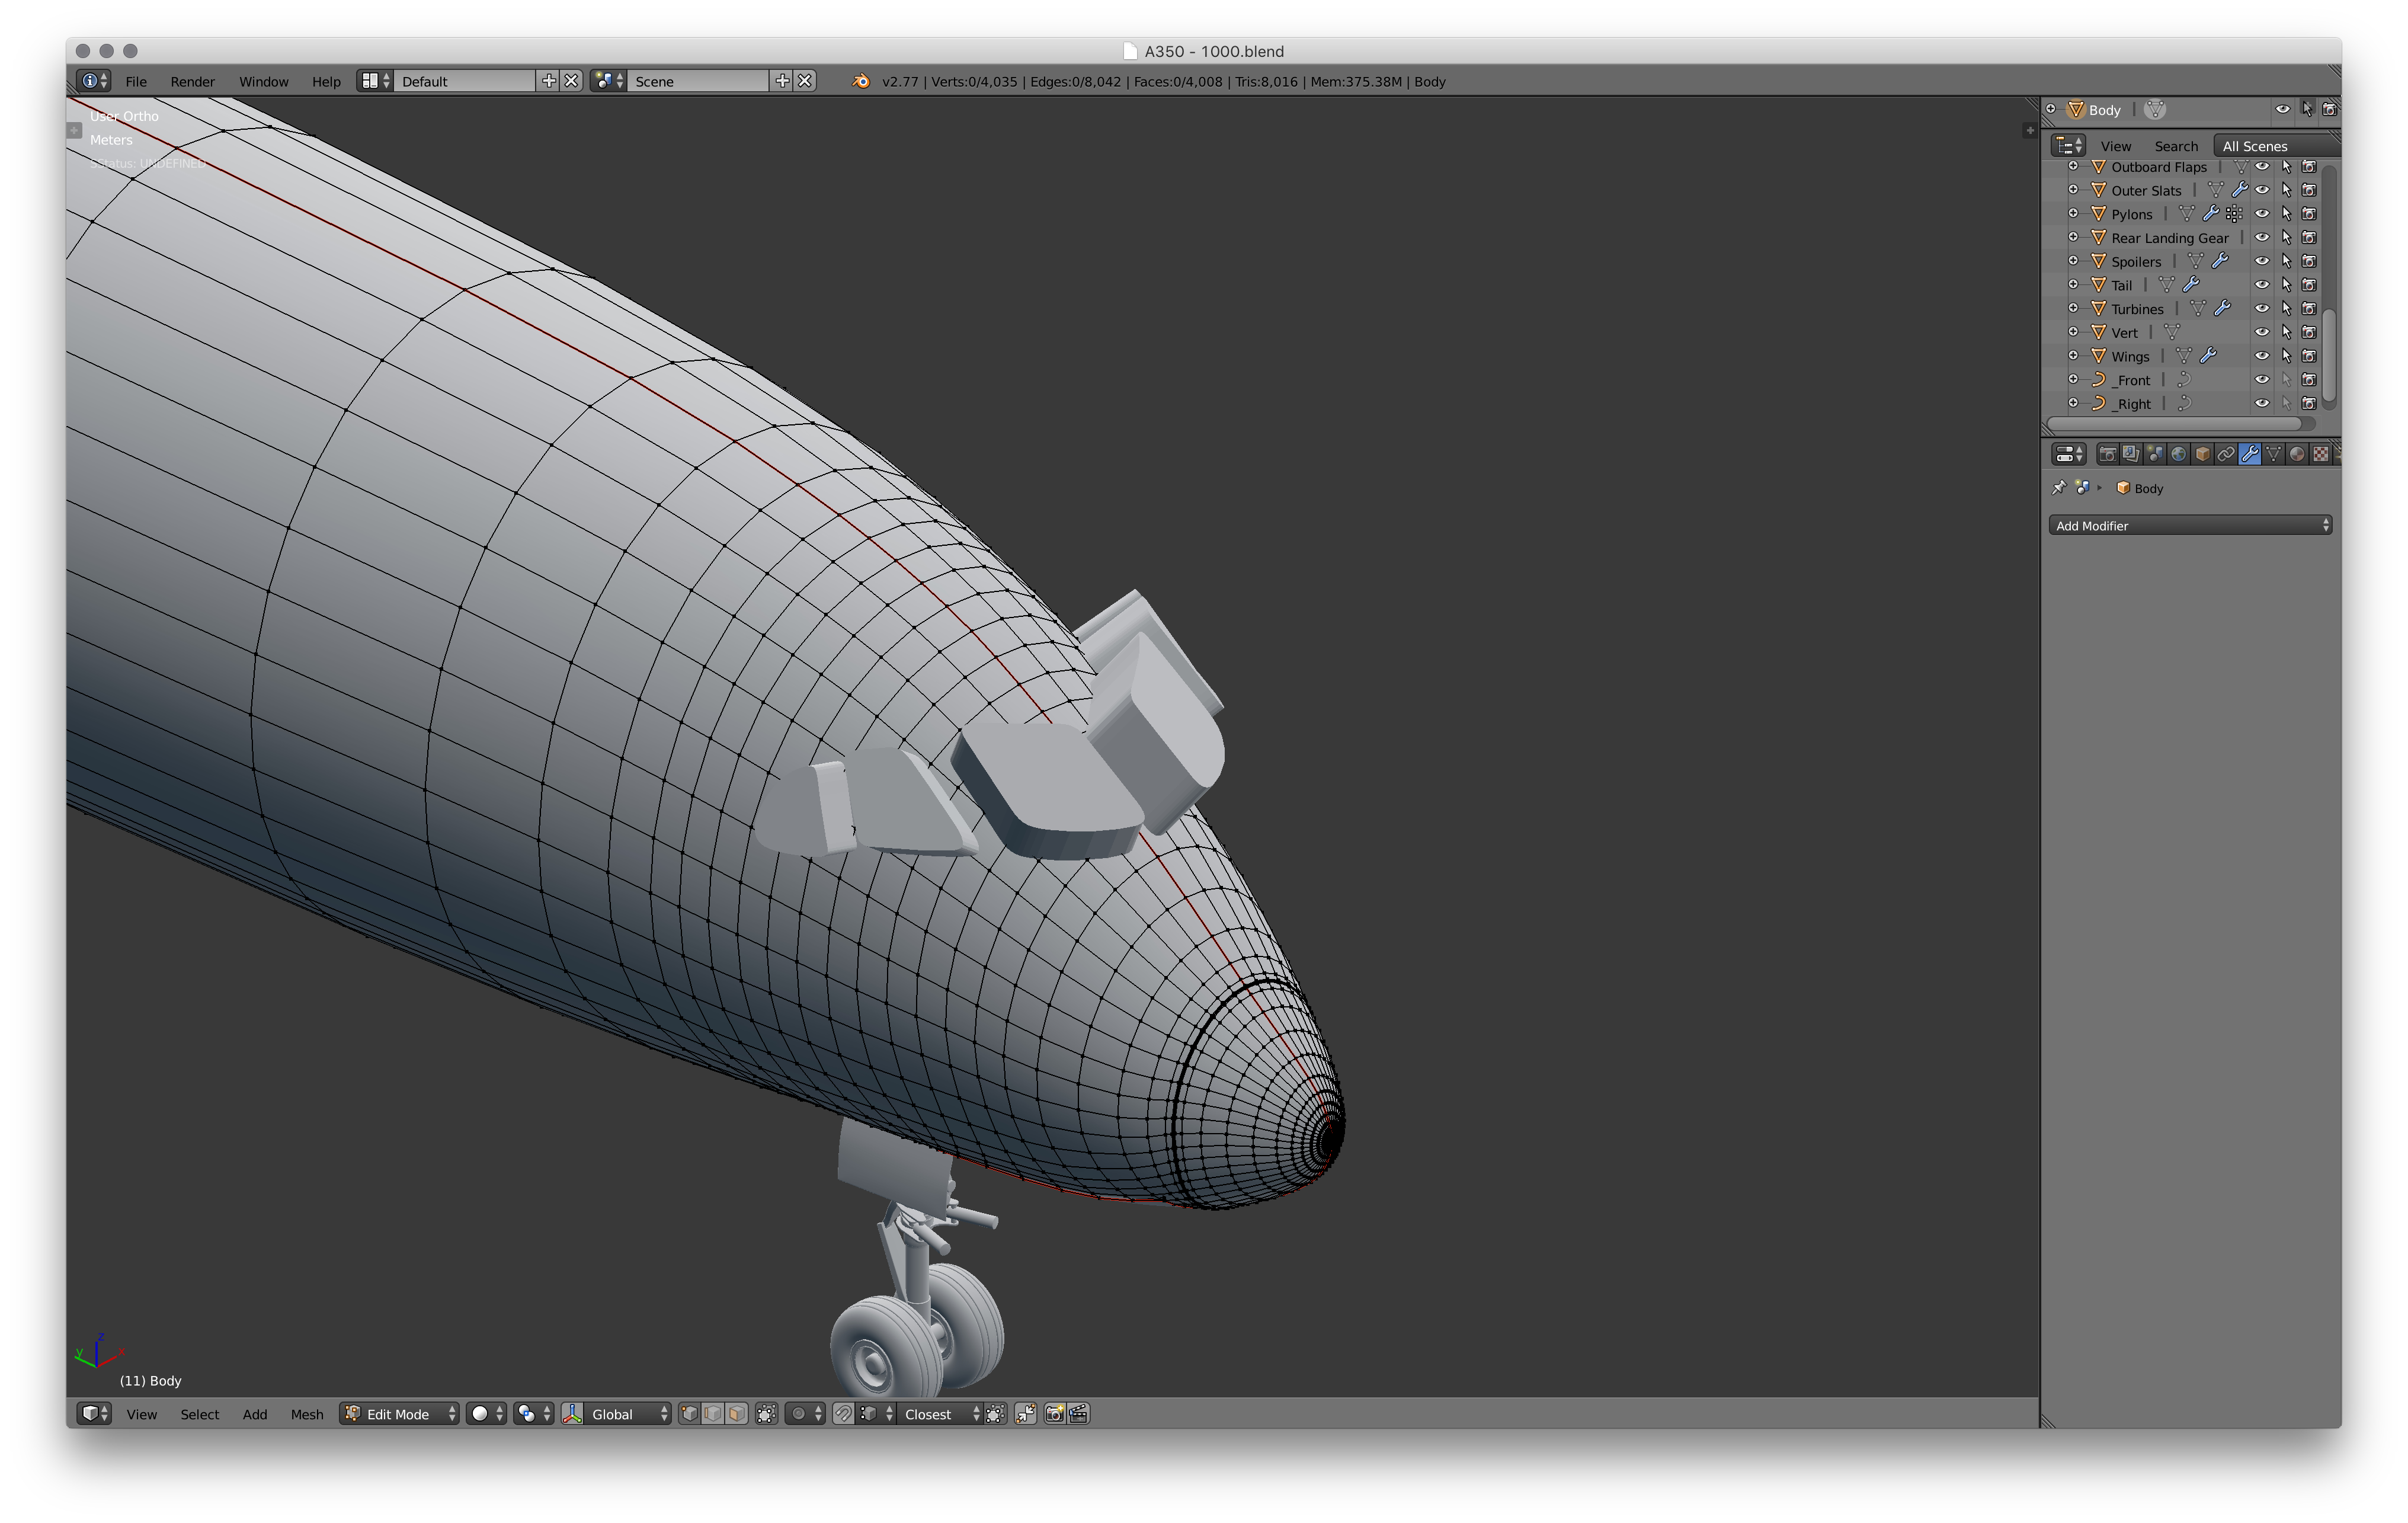
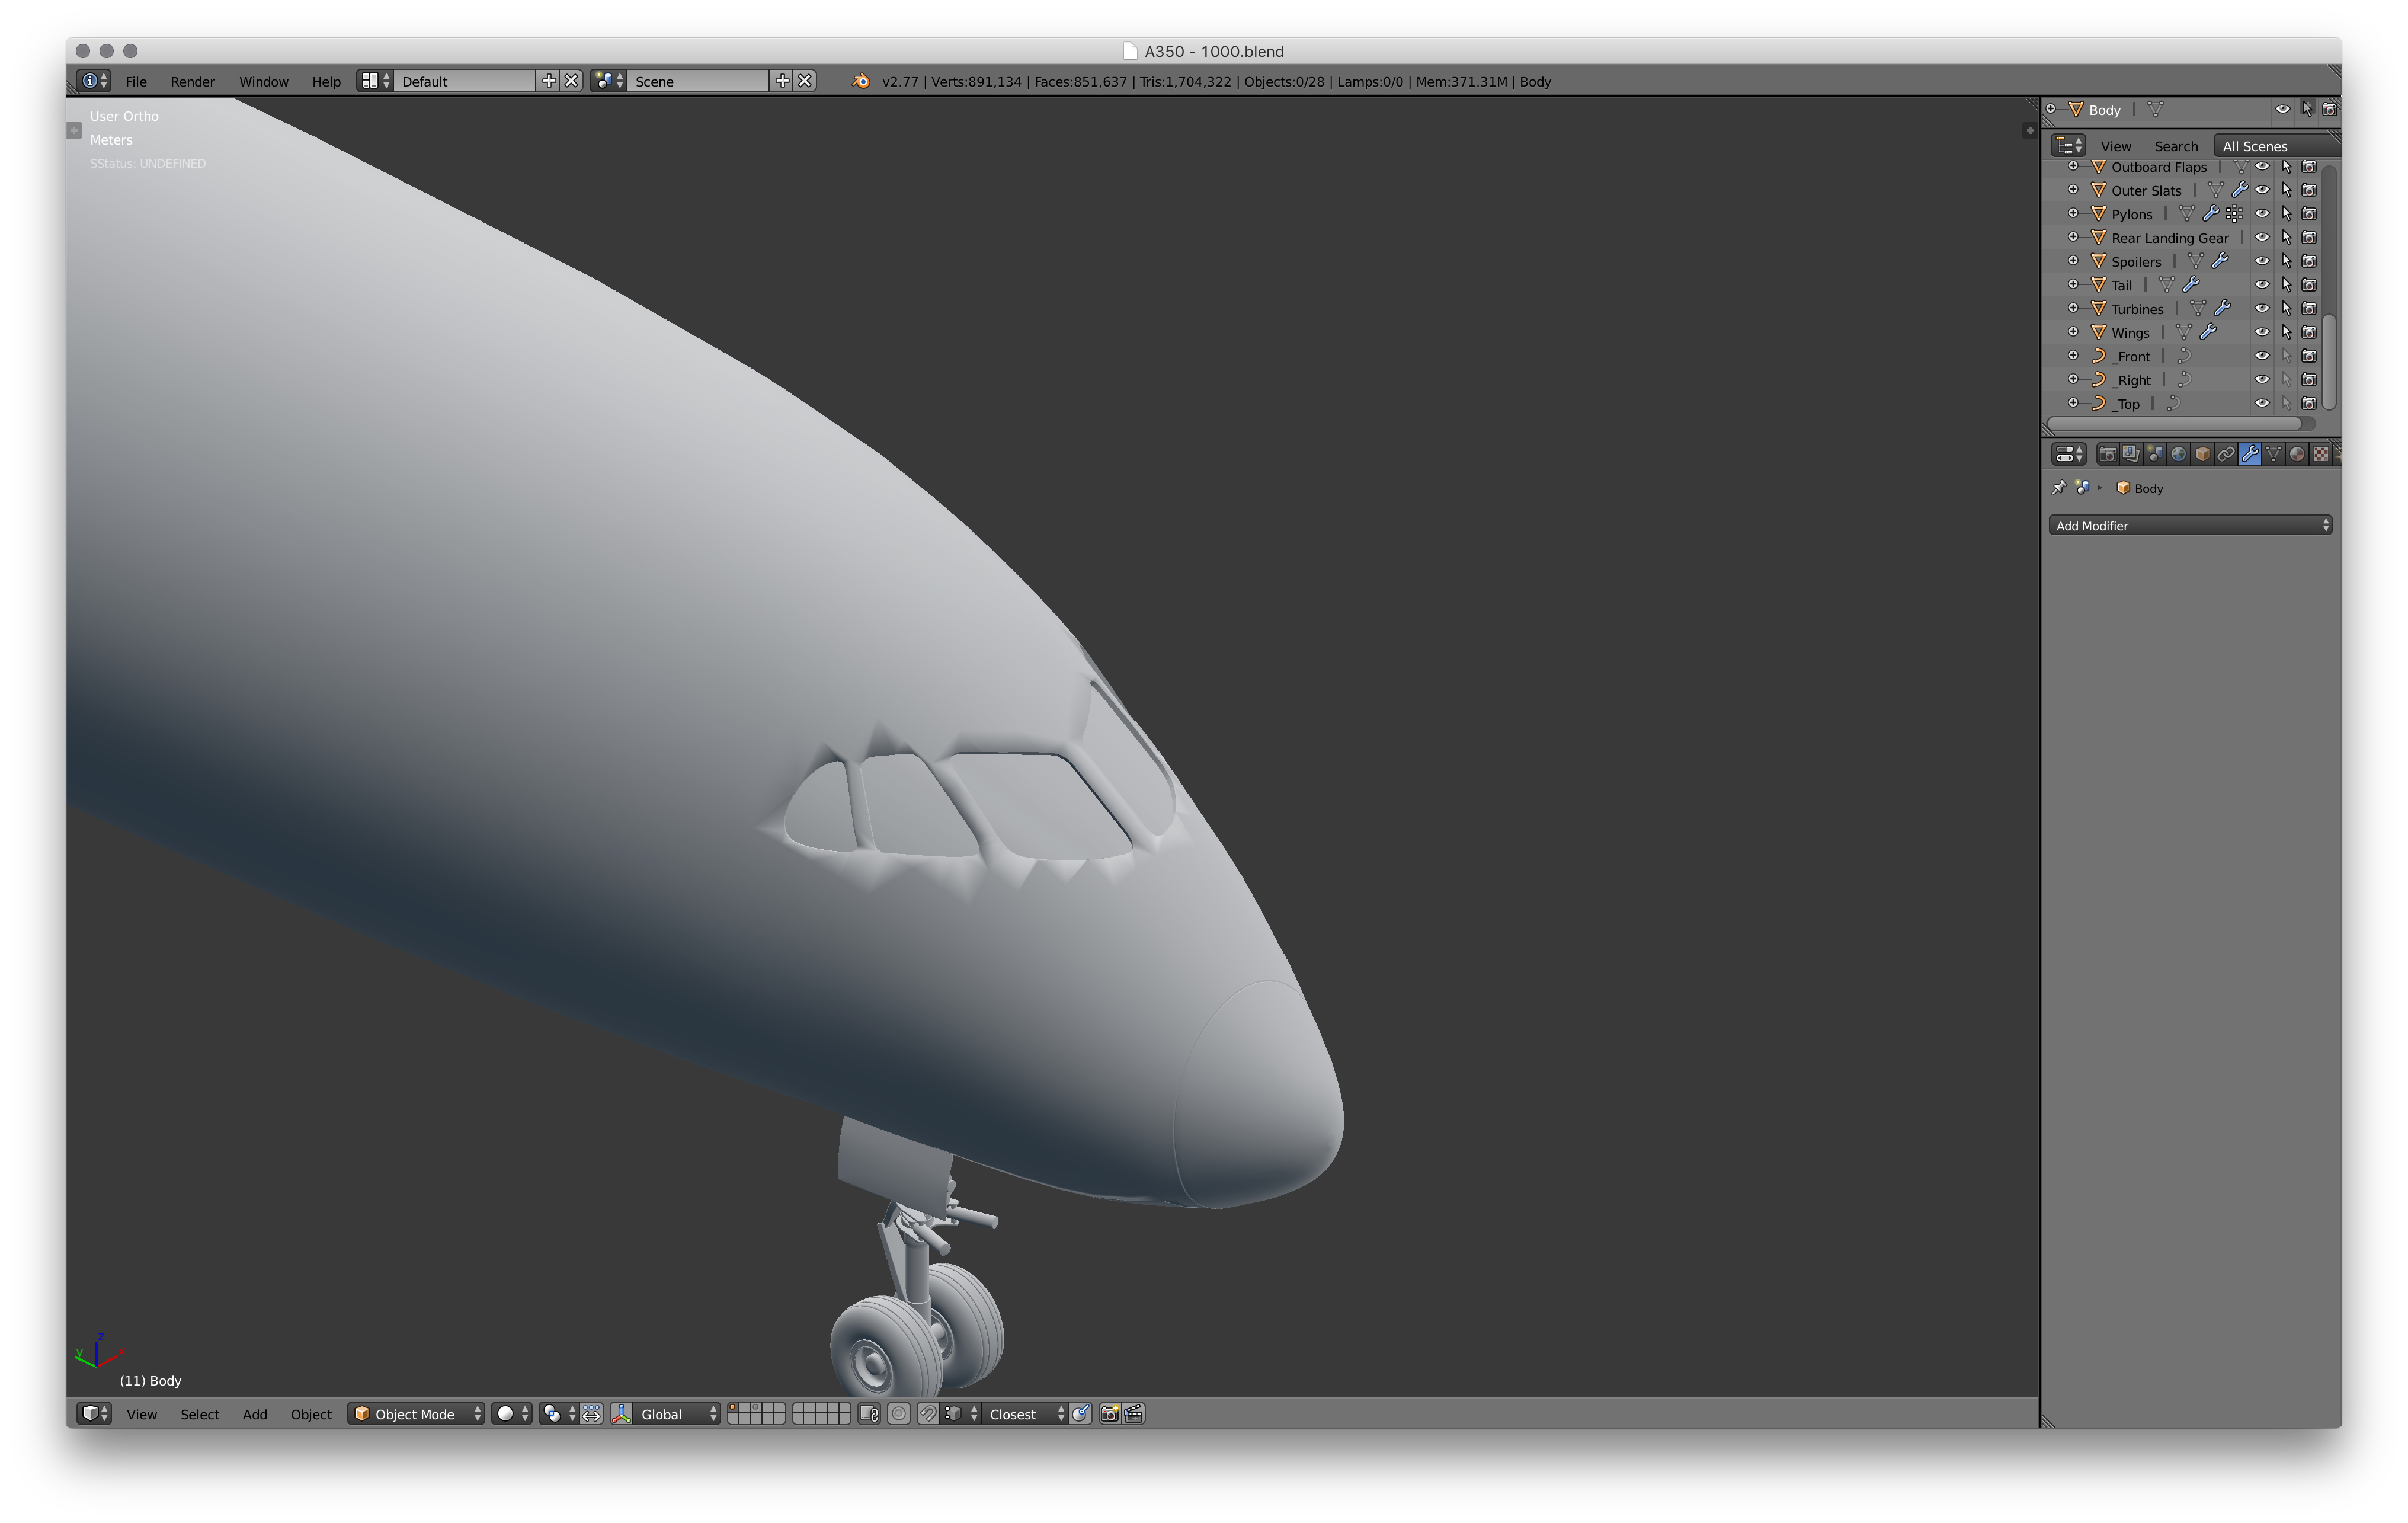

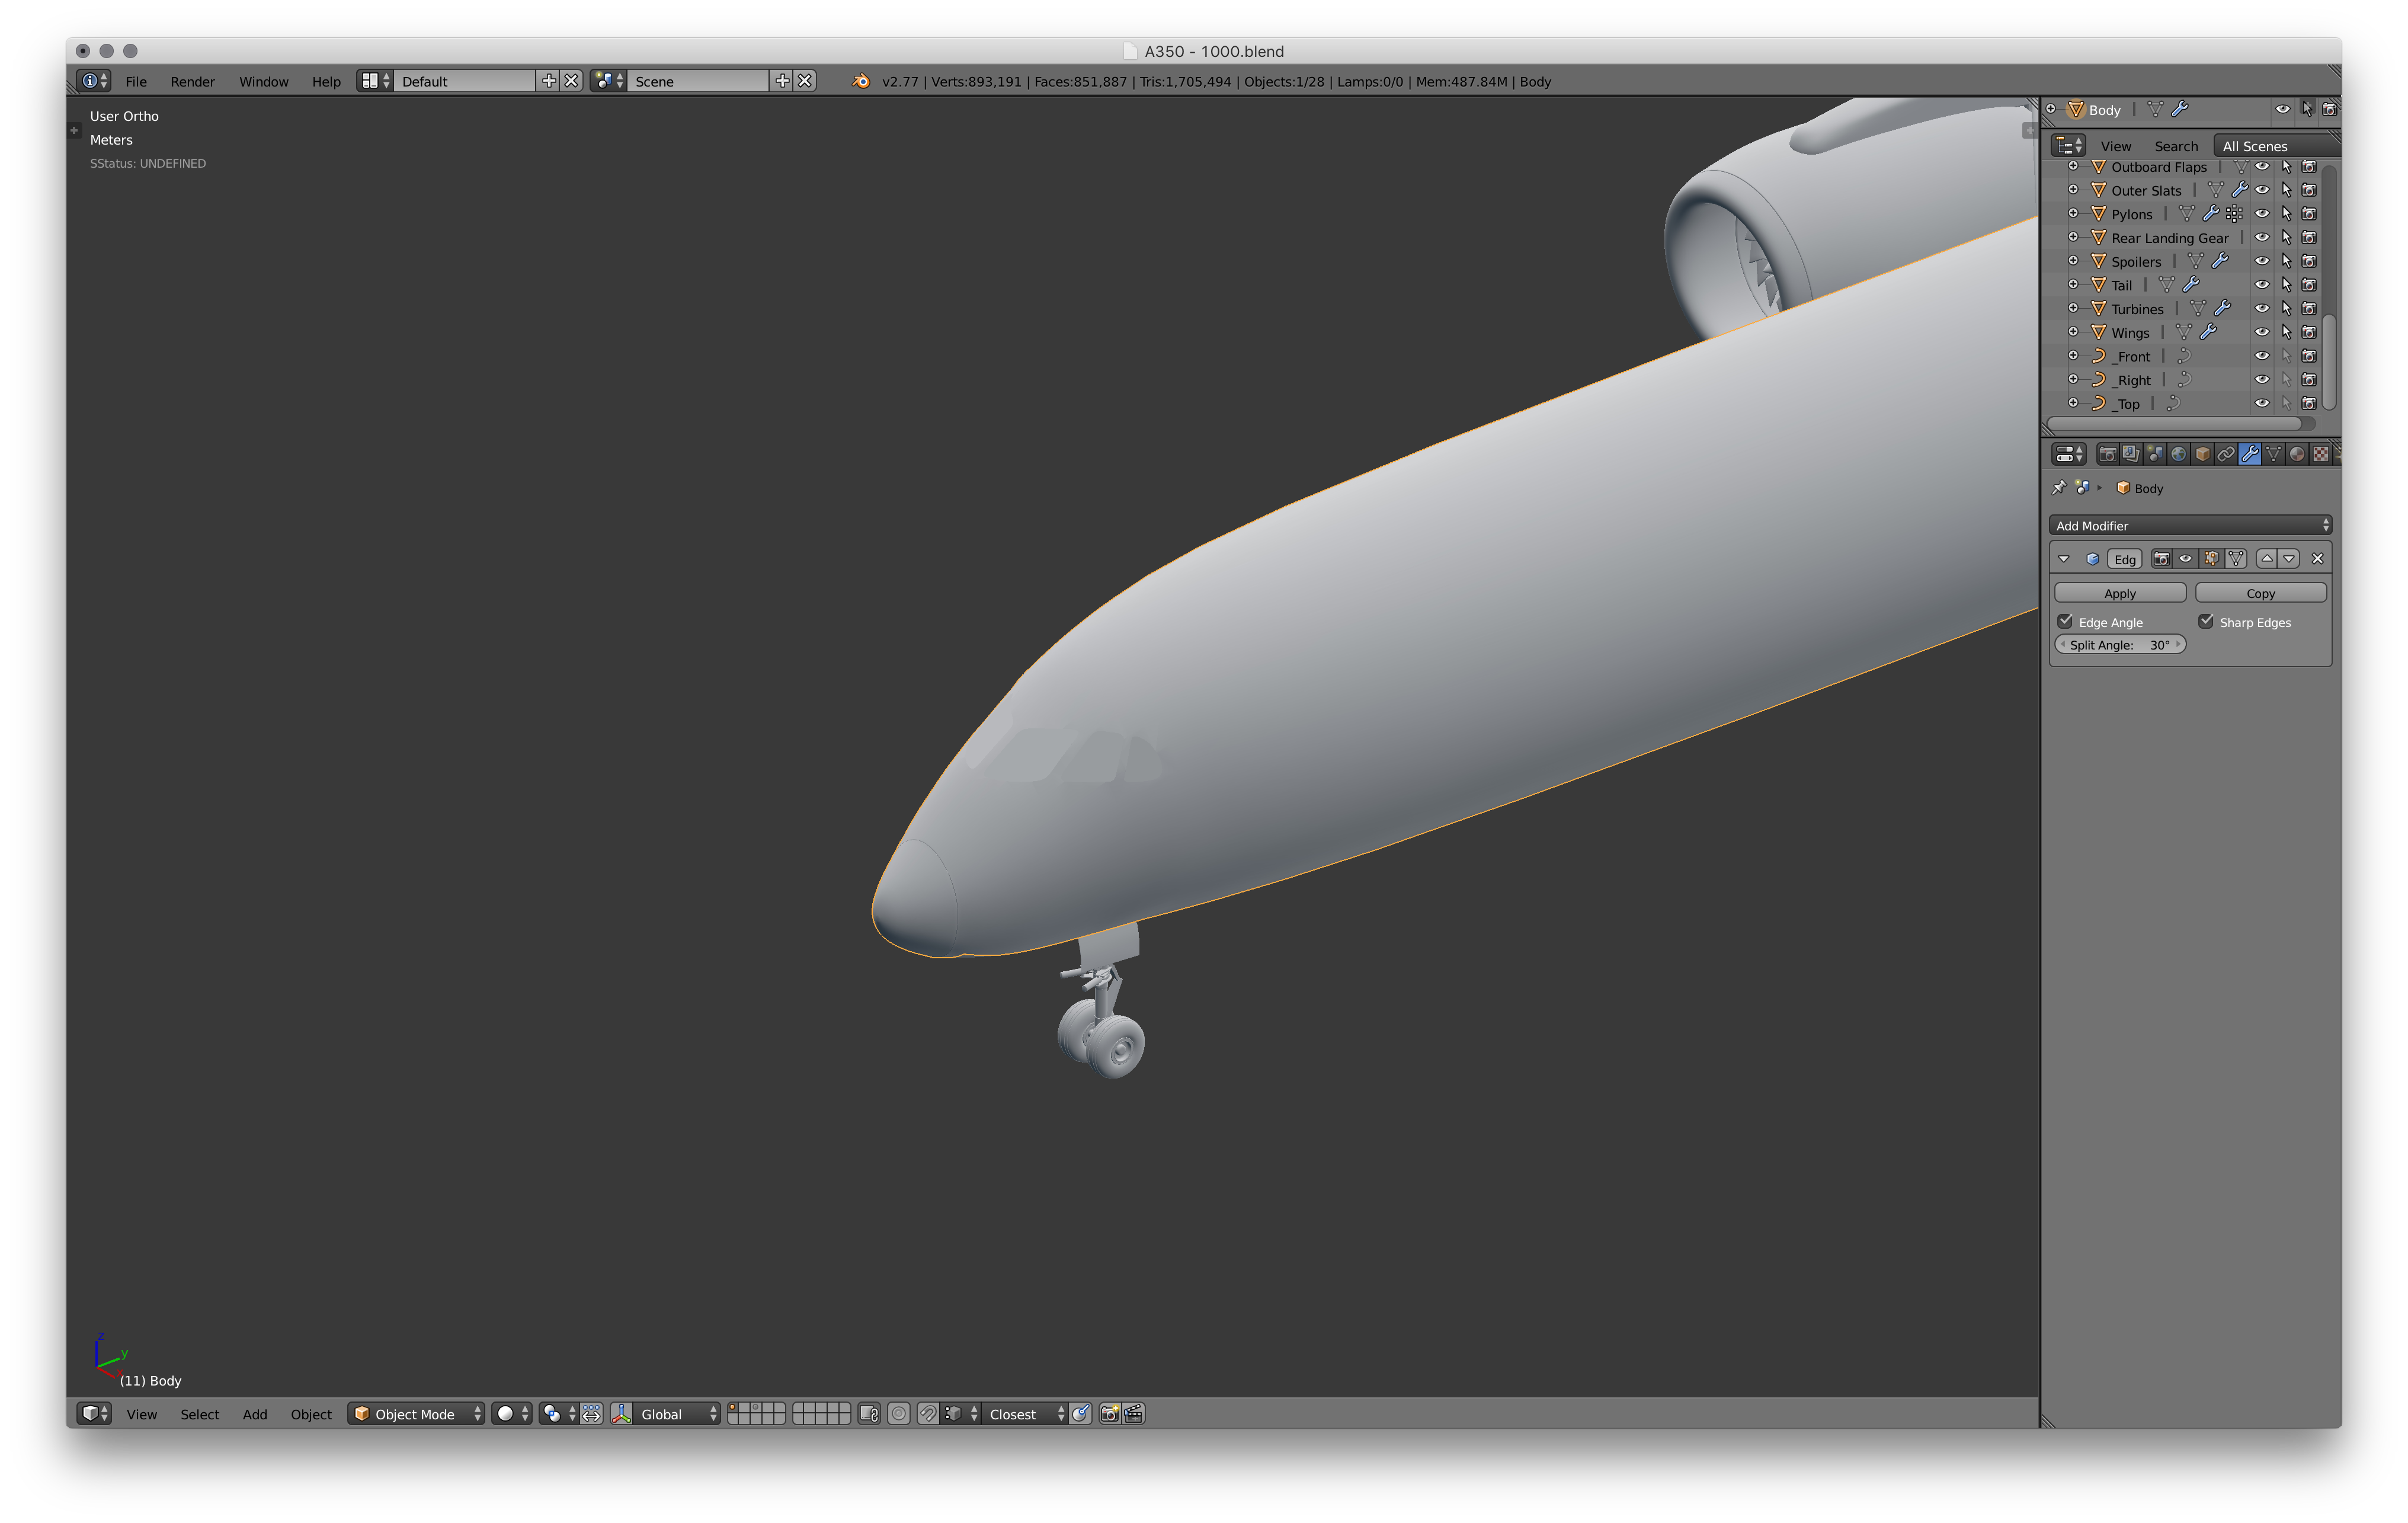
Create some blocks the same shape as the cockpits. Make sure they intersect through the body of the aircraft. Then set the sub division surface modifier to 1, and apply it. Then using a boolean, cut out the cockpit from the body. The shading will probably look off now, so add an edge split modifier. Create a face in the place of the holes now, these will be the glass. You may want to quickly tidy up the mesh itself too.
Your Finished Model!

You have now finished modelling your Airbus A350 - 1000!
If you would like to download mine for reference, feel free to do so here: http://bit.ly/21aO24f