Advanced Water Level Indicator

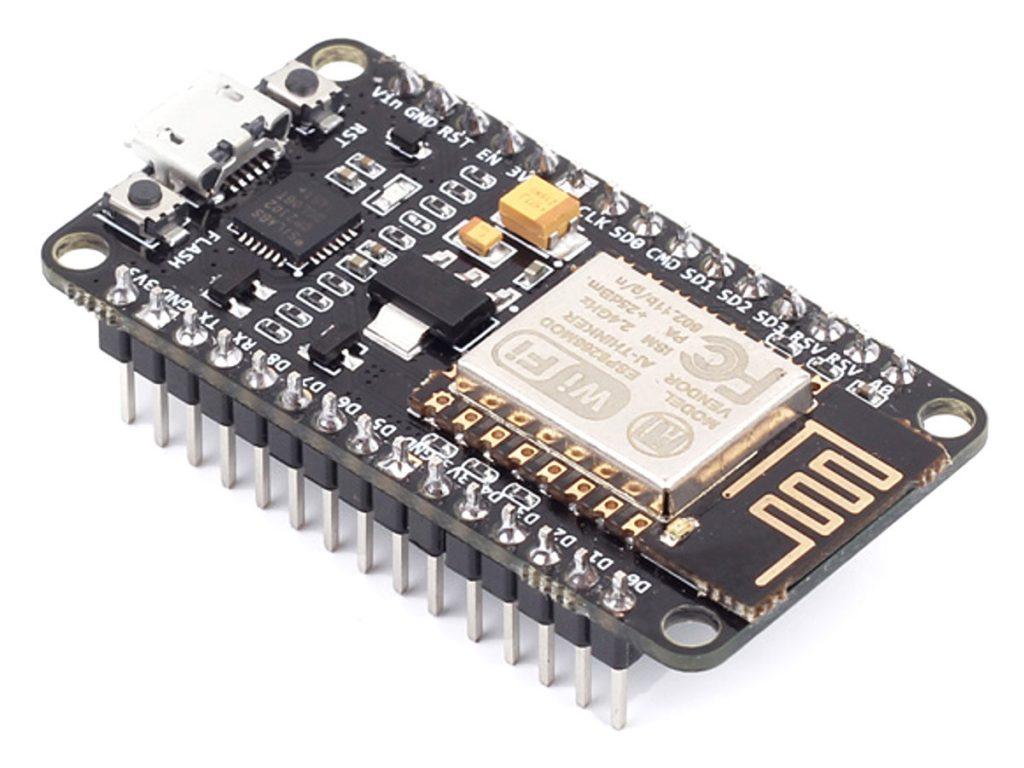
Hello friends, welcome back again, Today we are going to make Awesome Electronic Engineering Project that is “Advanced Water Level Indicator”. For todays project we are going to use an ESP8266 Nodemcu Microcontroller with Ultrasonic HCSR-04 Sensor. This project gives smart feature to ordinary water tank, Advanced Water Level Indicator can be used mainly for the water tank in our house. Also we can use this device to measure any liquid level. It is also designed to monitor the water level and turn the water pump ON / OFF using Android Application. For this project we are using ESP8266 Wifi Webserver which can give you remote ON/OFF operation of water pump. one most important feature of this project is the when the water tank is filling full then it will automatically turn OFF the water pump.
lets start……
Required Components


- NodemcuHCSR-04 Ultrasonic Sensor
- 5v Relay module
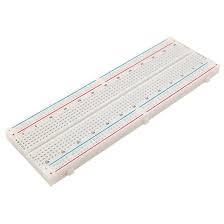
- Breadboard
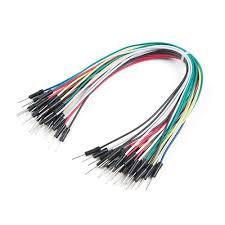
- Jumpper Cable
- 5v Power Supply(you can use old mobile phone charger(currant limit of 500ma), or you 5v battery)
Required Software
Arduino Sofrware Link
Connecting the Hardware
Nodemcu pins need wired are below:
Nodemcu D0 pin to Ultrasonic Sensor Trig pin
Nodemcu D1 pin to Ultrasonic Sensor Echo pin
Nodemcu VCC pin to Ultrasonic Sensor VCC pin
Nodemcu GND pin to Ultrasonic Sensor GND pin
Nodemcu D3 pin to Relay data pin
Nodemcu VCC pin to Relay VCC pin
Nodemcu GND pin to Relay GND pin
Circuit Diagram

Setting Up Arduino IDE

First we download the library , Now open Arduino IDE software then click on sketch ==> include library ==> manage library ==> and search for ESP8266Wifi and download the library. and also download WiFiClient and ESP8266WebSerber library.
Next, select the board , go to Tools ==> Board ==> Search for Nodemcu 1.0(ESP-12E Module) ==> and select this board.
If you don’t have Nodemcu board installed then follow the procedure link. Link
Arduino IDE Code
To get Arduino code go to link Code Link

Then, Download the source code. We need to do some changes, just change your “wifi ssid” and “wifi password”.

Now Click on compile button after successful compilation, click on upload button once the code is successfully uploaded then open serial monitor. On serial monitor you will see one IP address copy that IP address. in your case IP address is different, IP address is changes from different nodemcu board.
Android Application

For this project we have developed one android application, by using this you get easy controlling and smart monitoring of water level.
Now download the “Save Water” android application from below link

In this android application we have do one simple set-up, previously we have copied one IP address, now type this IP address in that Textbox and click on Save button.

wow…. you all have done now you will get the live water level on android application. you will get water level in centimeter, this data is the distance between the water level and the system.
In android application below that you see two button “Turn on motor” and “Turn off motor”, if you saw the water tank is empty then click on Turn on motor, your motor will start the water pumping, if you want to turn on water pump then click on Turn off motor.
System have one more feature if you turn on motor and water tank is going to full and water level reaches the 20 Centimeter then system will automatically turn OFF the water pump. Now your all project is done, enjoy it…
That’s it for this tutorial. Thanks for reading.
If you have any question about today’s tutorial, please feel free to share via the comment section. I hope it will helpful to you……….Thanks.