Advanced Platformer Movement
There is no shortage of “my first platformer” tutorials and mario remakes out there. This is NOT one of them. This tutorial, instead, is for those who want to take it another step forward, you will not be learning the technology to create games, you will learn the theory to take a mario clone and create a base for an actual (fun) modern game. To this end, I will NOT be covering the basics, I will NOT be covering the code line by line, and the underlying engine of the game is both irrelevant and won’t be explained in depth.
In this tutorial, we will be starting with a simple 2d platformer movement system, one that you may have ended with after following a basic guide. We will use this jumping off point to expand on and create a movement system that could power a full title game. The code is written in the lua scripting engine running on LÖVE, a free and open source framework for 2D game development. Our starting code can be found here and all our work will be done in main.lua.
Even if you aren’t going to edit the code along with me, I highly suggest you give it a quick look over to understand where we are starting at (don’t worry it's pretty simple and well documented). For those not going through the effort to install lua and try it out yourselves, I have supplied incremental gifs of the progress, but some things must be experienced first hand for maximum results.
Some Theory
“If it’s not fun, why bother?” In the great words of Reggie Fils-Aimé of Nintendo, your first priority in any game should be to make it fun. That said, it it definitely easier said than done. People have different definitions of fun, a single game will not appeal to everyone no matter how well its made. Some people find fun in complex turn based battle systems, some find fun in mind-blowing story telling, some find fun in competitive online shooters. So it's important to decide who your target audience is first.
For this project, our goal is to appeal to the people who love the tight and responsive controls of classic platformer titles like N++ or Super Meat Boy. However, we are not strictly confined to making a level based puzzle platformer just like them, for instance a lot of this could apply to the creation of a metroidvania based game with just a little creativity.
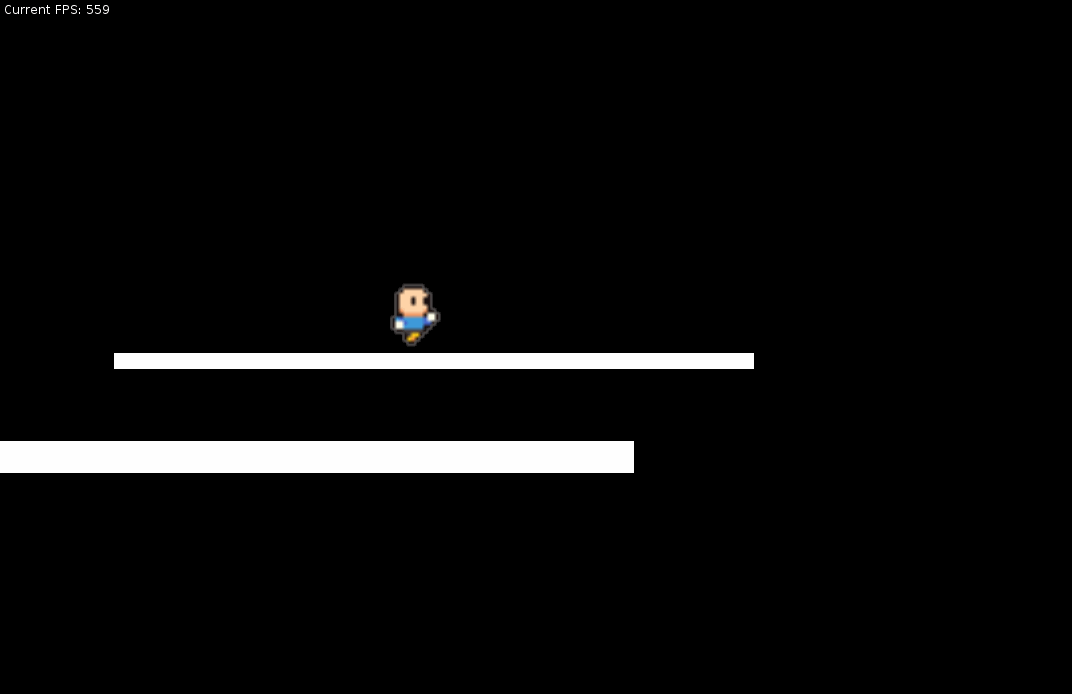
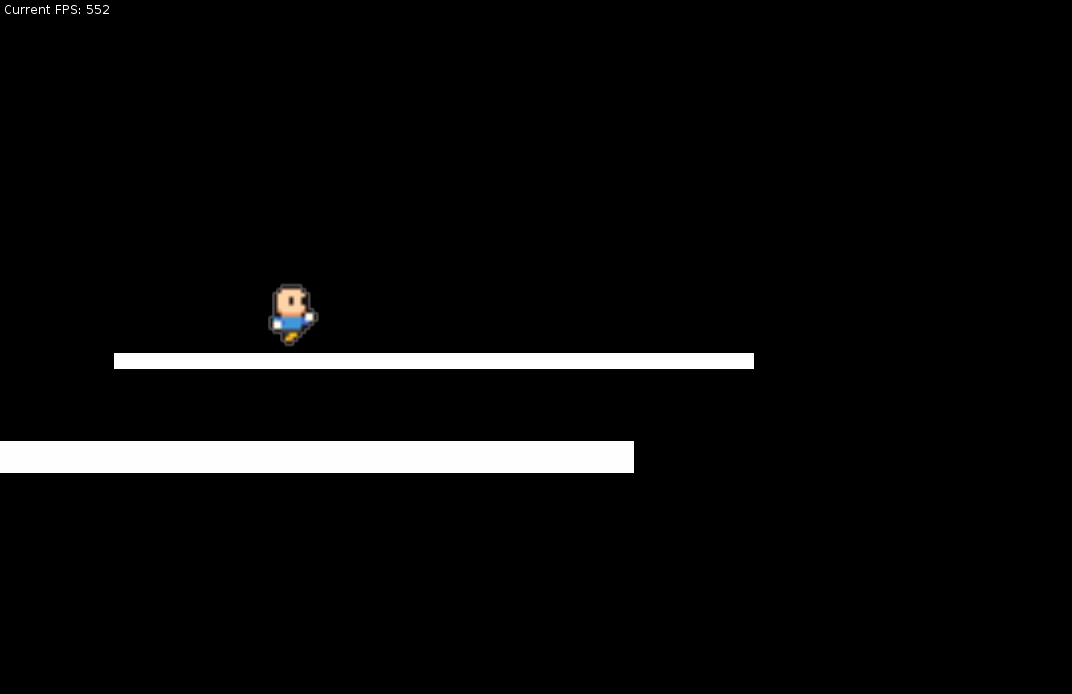
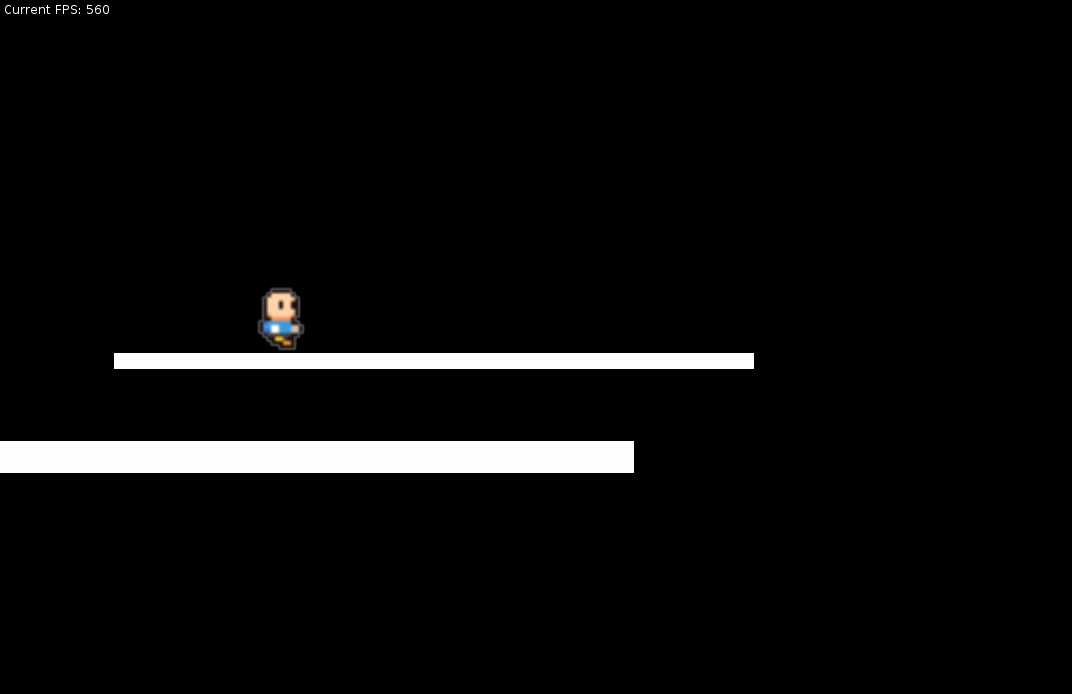
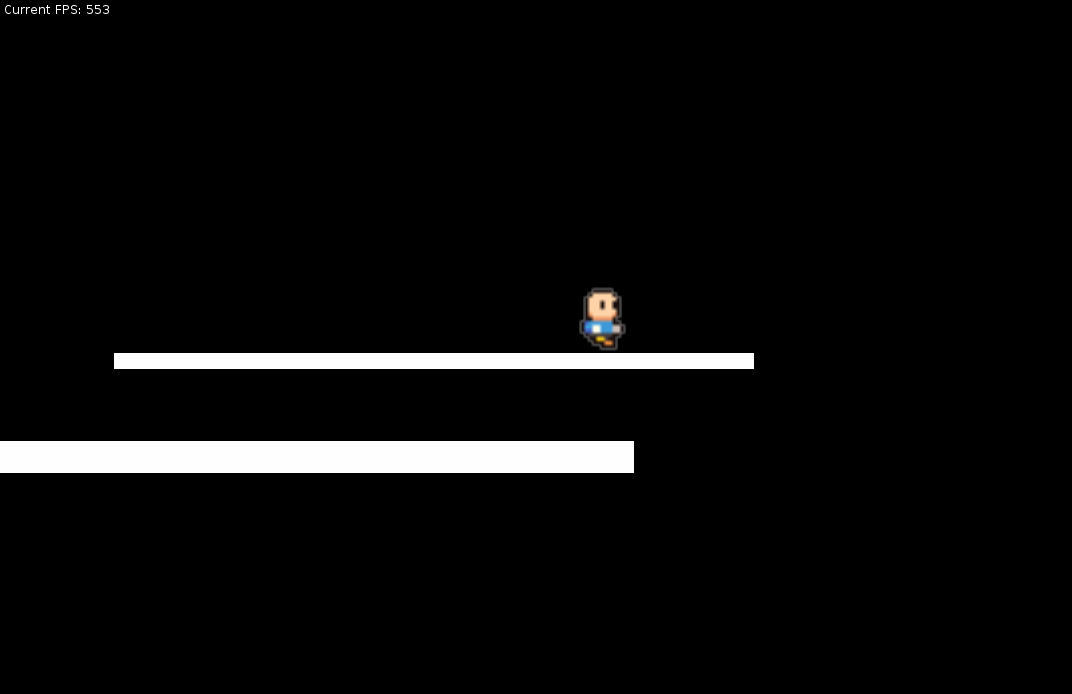
Above you can see our starting movement mechanics, when you press left you go full speed to the left instantly and vice versa. Everything is very simple and remember that some games may want to keep it that way. For us, however, we want a bit more complexity to our movement to allow our future crazy platformer levels to shine.
On a side note, it's incredibly hard to really get a sense of these tiny movement details from a low fps gif, if I could record a better quality gif I swear I would but the image format is outdated and instructables won't embed anything else. I very highly suggest you run the code yourself to truly get a sense of what we are changing.
Movement Acceleration
We can start with something glaringly obvious. Our character has no acceleration in his left/right movement. The millisecond that you press the left arrow, he will be moving full speed to the left, and the same concept holds true for deceleration. Keep in mind, once again, that not every game needs or wants acceleration, for instance I think your typical metroidvania does well with very little to no movement acceleration. But for our goal, we want the game feel and strategy that comes with getting a running start for a jump or being able to reach high speeds during a long stretch of a level.
We can start by adding a simple acceleration value to our player struct, which will be used to incrementally increase/decrease player velocity over time until we reach our max speed. In code it looks like the following:
    --Get left/right input
    if love.keyboard.isDown("left", "a") then
        player.xVelocity = player.xVelocity + (player.maxSpeed*player.acceleration*dt)
    elseif love.keyboard.isDown("right", "d") then
        player.xVelocity = player.xVelocity + (-player.maxSpeed*player.acceleration*dt)
    else
        player.xVelocity = 0
    end
--Cap our velocity
if player.xVelocity > player.maxSpeed then
player.xVelocity = player.maxSpeed
elseif player.xVelocity < -player.maxSpeed then
player.xVelocity = -player.maxSpeed
endWe can use a similar method for our deceleration, making sure we use two separate variables for accelerating and decelerating just in case we want to tweak it later. Typically you want a fast deceleration in order to make the game feel more responsive, but not instant or else it looks jarring next to our long acceleration. Note that in the following code segment there's no “practical” reason we multiply by the max speed anymore, but I still do it so that if we decide to change the player speed later our deceleration will still feel the same relatively (plus it makes the value in our player struct able to be compared directly to our acceleration value).
    --Get left/right input
    if love.keyboard.isDown("left", "a") then
    	player.xVelocity = player.xVelocity + (-player.maxSpeed*player.acceleration*dt)
    elseif love.keyboard.isDown("right", "d") then
    	player.xVelocity = player.xVelocity + (player.maxSpeed*player.acceleration*dt)
    else
    	if player.xVelocity < 0 then
        	player.xVelocity = player.xVelocity + (player.deceleration*player.maxSpeed*dt)
        	if player.xVelocity > 0 then
            		player.xVelocity = 0
		end
    	elseif player.xVelocity > 0 then
        	player.xVelocity = player.xVelocity - (player.deceleration*player.maxSpeed*dt)
        	if player.xVelocity < 0 then
            		player.xVelocity = 0
		end
        end
    end
This simple solution solves our problems on paper, but leaves something to be desired still in our startup acceleration, it feel a bit too sluggish. If we want to go the simple route, we can just increase our acceleration to make the character reach max speed faster, but then we lose the control of a slow, precise starting speed. If we want there to be a harsh difference between our starting and ending speeds, then our current implementation just makes it take a longer time to reach max speed. Think about that for a bit, but realize that we actually can get the best of both worlds here. The solution is a non linear acceleration.
The code at this point is under the filename "basicAccel.lua", rename it to "main.lua" to try out the changes for yourself!
Non Linear Acceleration
As mentioned before, we now have a high differential acceleration curve, but frankly it just takes too long to get to max speed! We could increase our acceleration but then we lose the precise movements from our slow startup speed. In order to keep the slow startup but reach our max speed quicker, we must use some kind of interpolation curve when calculating our speed over time. Luckily for us, there are plenty of libraries build for this kind of work, commonly referred to as “tweening”. For our purposes, we are going to use the flux library for tweening in lua, but no matter the language there is likely a library you can find that does a very similar thing. To initialize flux we only need two lines, one to import the library and one to update the deltatime at the start of each frame.
--at the top of our file
flux = require 'lib.flux'
--in our update function
flux.update(dt)
Since tweens need to be declared at a single point in time with a fixed duration, we need to rework most if not all of our acceleration code, so we are going to effectively start over from the base code again. Keep in mind however, that your game may work just fine with the linear acceleration from the last section, none of these sections are mandatory, they are just options you have when implementing a movement system.
The basic idea for our acceleration here is to detect our initial key press only instead of each frame and start a tween of our velocity value. We keep a reference to this tween, however, and in the event that we let go of the button or press a different direction, we must stop the tween and change it to decelerate or accelerate in the other direction. Omitting the minor changes to the player struct, our code looks something like this:
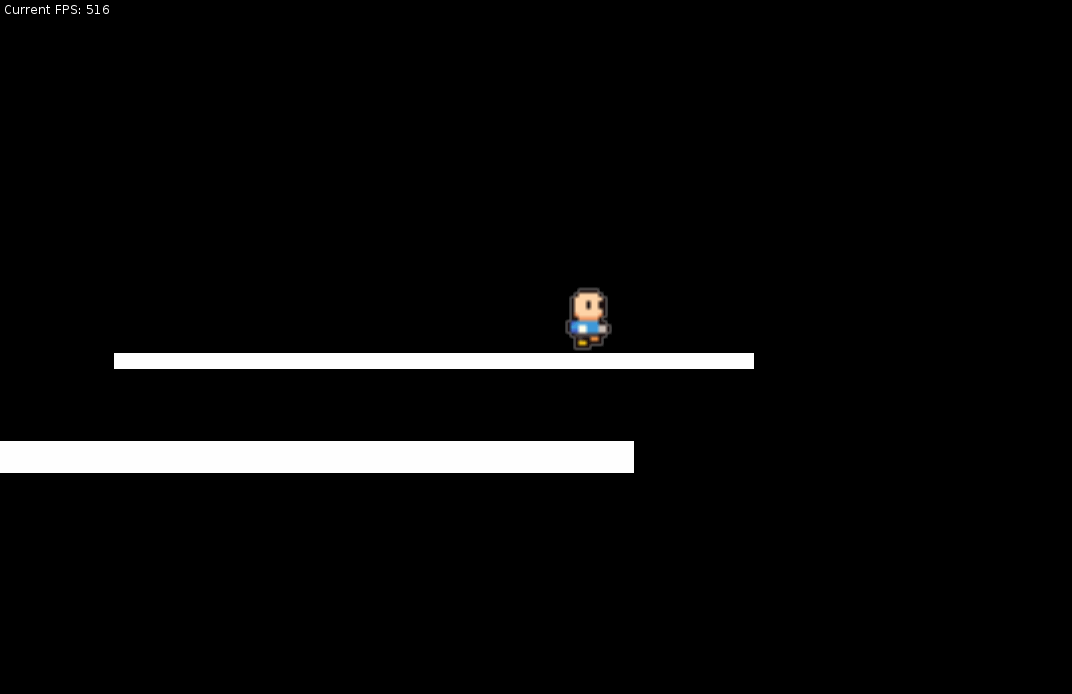
As you can see from the gif, it's a very slight change from simply having a faster acceleration, but especially when you are the one controlling the character, it's all about those slight tweaks to make the character feel more responsive. As an additional benefit, using a tweening library like this makes it much easier to tweak values for our movement. For instance instead of an arbitrary acceleration value we now have a set time that it takes to go from a standstill to full speed. If you are curious I highly suggest you try and run the game yourself since the gif really does not give these types of things justice especially at the low framerate. Note once again that this is absolutely not how physics work in the real world, but that doesn’t matter because we care only about what's fun!
function love.keypressed(key)
	if key == "escape" then
    		love.event.push("quit");
	elseif key == "right" or key == "d" then
    		local speedPercent = (player.maxSpeed - player.xVelocity)/player.maxSpeed
    		player.accelTween = flux.to(player, player.accelTime*speedPercent, {xVelocity = player.maxSpeed}):ease("circout")
	elseif key == "left" or key == "a" then
    		local speedPercent = math.abs((-player.maxSpeed - player.xVelocity)/player.maxSpeed)
    		player.accelTween = flux.to(player, player.accelTime*speedPercent, {xVelocity = -player.maxSpeed}):ease("circout")
	end
end
function love.keyreleased(key)
	if key == "right" or key == "d" or key == "left" or key == "a" then
    		--make sure we didnt release while still holding a different movement button
    		if not love.keyboard.isDown("right", "d", "left", "a") then
        		local speedPercent = math.abs(player.xVelocity/player.maxSpeed)
        		player.accelTween = flux.to(player, player.decelTime*speedPercent, {xVelocity = 0}):ease("circout")
    		end
	end
end
The code at this point is under the filename "advancedAccel.lua", rename it to "main.lua" to try out the changes for yourself!
Jump Refinement
The next thing on our list is the jump. Having a good feeling and responsive jump curve in a game like this is vitally important since the player will likely need to do a lot of precise jumps in any platformer no matter the genre. However, having a good feeling, variable height jump is actually a very complex topic and I could write an entire tutorial on the mechanics and math alone, but for now we will try and make it feel as good as possible with the tools we already have.
The issue with our current jump is that it feels too “floaty” and imprecise. Play with it a bit and we can come up with some specific problems such as: it’s hard to make a consistent medium height jump and we linger at the peak of our jump for too long.
There's two things we can try and do here. First, we can once again use flux in order to have a non linear jump curve, this will hopefully make it easier to perform consistent medium height jumps. Second, we can increase the overall gravity of our game, which will cause us to start falling faster (note that gravity has no effect on us while we are still holding the jump button). This will cause our jump height to be more precisely where we let go, while also negating the “floaty” feeling we get with our current jump. Alternatively, we could go for some hybrid approach here by manually decelerating our character quickly after letting go of jump, then letting gravity take over afterwards. As a general rule, however, we will try the simpler approach first before exploring more complex options.
function love.keypressed(key)
	if key == "escape" then
    		love.event.push("quit");
	elseif key == "right" or key == "d" then
    		local speedPercent = (player.maxSpeed - player.xVelocity)/player.maxSpeed
    		player.accelTween = flux.to(player, player.accelTime*speedPercent, {xVelocity = player.maxSpeed}):ease("circout")
	elseif key == "left" or key == "a" then
    		local speedPercent = math.abs((-player.maxSpeed - player.xVelocity)/player.maxSpeed)
    		player.accelTween = flux.to(player, player.accelTime*speedPercent, {xVelocity = -player.maxSpeed}):ease("circout")
	elseif (key == "up" or key == "w") and player.isGrounded then
    		player.isJumping = true
    		player.isGrounded = false
    		player.yVelocity = -player.jumpSpeed
    		player.jumpTween = flux.to(player, player.jumpTime, {yVelocity = 0}):ease("quartin"):oncomplete(function() player.isJumping = false end)
	end
end
function love.keyreleased(key)
	if key == "right" or key == "d" or key == "left" or key == "a" then
    		--make sure we didnt release while still holding a different movement button
    		if not love.keyboard.isDown("right", "d", "left", "a") then
        		local speedPercent = math.abs(player.xVelocity/player.maxSpeed)
        		player.accelTween = flux.to(player, player.decelTime*speedPercent, {xVelocity = 0}):ease("circout")
    		end
	elseif key == "w" or key == "up" then
    		--sanity check, covers a small edge case
    		if player.jumpTween ~= nil then
        		player.jumpTween:stop()
    		end
    		player.isJumping = false
	end
end
Note that a lot of jump specific code was also removed from the update function and the following lines within were modified slightly:
--detect collisions
player.isGrounded = false
for i, coll in ipairs(collisions) do
    	if coll.normal.y < 0 then
        	player.isGrounded = true
        	player.yVelocity = 0
    	else
        	player.isGrounded = false
    	end

    	if coll.normal.y > 0 then
        	--end jump when head bump
        	player.isJumping = false
        	if player.jumpTween ~= nil then
            	player.jumpTween:stop()
        	end
        	player.yVelocity = 0
    	end
end
In this current version, we fixed the first issue and it's now much easier to make precise variable height jumps. However, the “floatyness” after letting go of the jump button still exists somewhat. We can play around with the gravity and increase it which will cause us to start falling faster, but we need to be careful or risk our falling speed being too jarring next to the slower jump speed. We can try and implement the manual deceleration here but that also brings its own set of problems (trust me I tried). In the end, you can get really experimental here but I found the best solution was to simply adjust the gravity a bit until it felt better (3000 from 2400).
As an aside, let that be a valuable lesson in general for this kind of work. More complexity does not always equal better results, sometimes you just need to play with the values to make your current implementation feel better. Since our goal is so abstract (make the game “feel” good) you need to experiment a bit and explore multiple routes and test them all to see what works best for your game.
The code at this point is under the filename "betterJump.lua", rename it to "main.lua" to try out the changes for yourself!
Jump Forgiveness
Lastly for this tutorial we will implement a fairly well known, but absolutely critical mechanic for any platformer: jump forgiveness. Jump forgiveness may go by a couple names, but you’d be hard pressed to find a large title platformer that doesn’t make use of it to some degree. The idea is that after walking off the edge of a platform, there's a small window where you can still initiate a jump, despite not being on the ground anymore.
The theory behind a mechanic like this is so there’s some leeway when a player is making a long jump over a gap, we don't want the player to fall down just because he pressed the jump button a millisecond too late, otherwise your window for a full jump is far too small to be performed with any consistency, especially on a fast moving character.
Luckily for us, this is a fairly easy change to implement as we are already keeping track of whether we are grounded or not. We just need to add a timer before we update that value after leaving the ground. For demonstration purposes, I have set the jump forgiveness threshold to be unrealistically high. In a real situation make sure it's enough to cover only a split second, this is the type of thing the player should never actually notice, but they will feel it (or more accurately they would certainly feel the lack of it )
--detect collisions
player.isGrounded = false
for i, coll in ipairs(collisions) do
    	if coll.normal.y < 0 then
        	player.isGrounded = true
        	player.yVelocity = 0
        	player.ungroundedTime = 0
    	end
...
end
--jump forgiveness
if player.isGrounded == false then
    	if player.ungroundedTime > player.jumpForgiveness then
        	player.isGrounded = false
    	else
        	player.isGrounded = true
        	player.ungroundedTime = player.ungroundedTime + dt
    	end
end
The code at this point is under the filename "jumpForgiveness.lua", rename it to "main.lua" to try out the changes for yourself!
Conclusion
With our basic movement mechanics down, that concludes this guide. However, what makes a good platformer like this truly fun is the additional mechanics such as double jumping, wall jumping, dashing, etc. Now that our baseline code is mostly done for moving around, we can start to code specific interactions next. Look out for an upcoming tutorial on more advanced platforming mechanics sometime in the future (although possibly hosted elsewhere, I’ll update with a link if needed).
I hope you were able to gain some insight into the intricacies of developing a feature full platforming title, even if you didn’t strictly follow along. At the very least I want you to take away a new mindset towards developing any game, one in which you really examine the small things and analyze whether they feel satisfying or “fun” to use.