Advanced Money-box
by indydebusschere in Circuits > Raspberry Pi
3169 Views, 34 Favorites, 0 Comments
Advanced Money-box
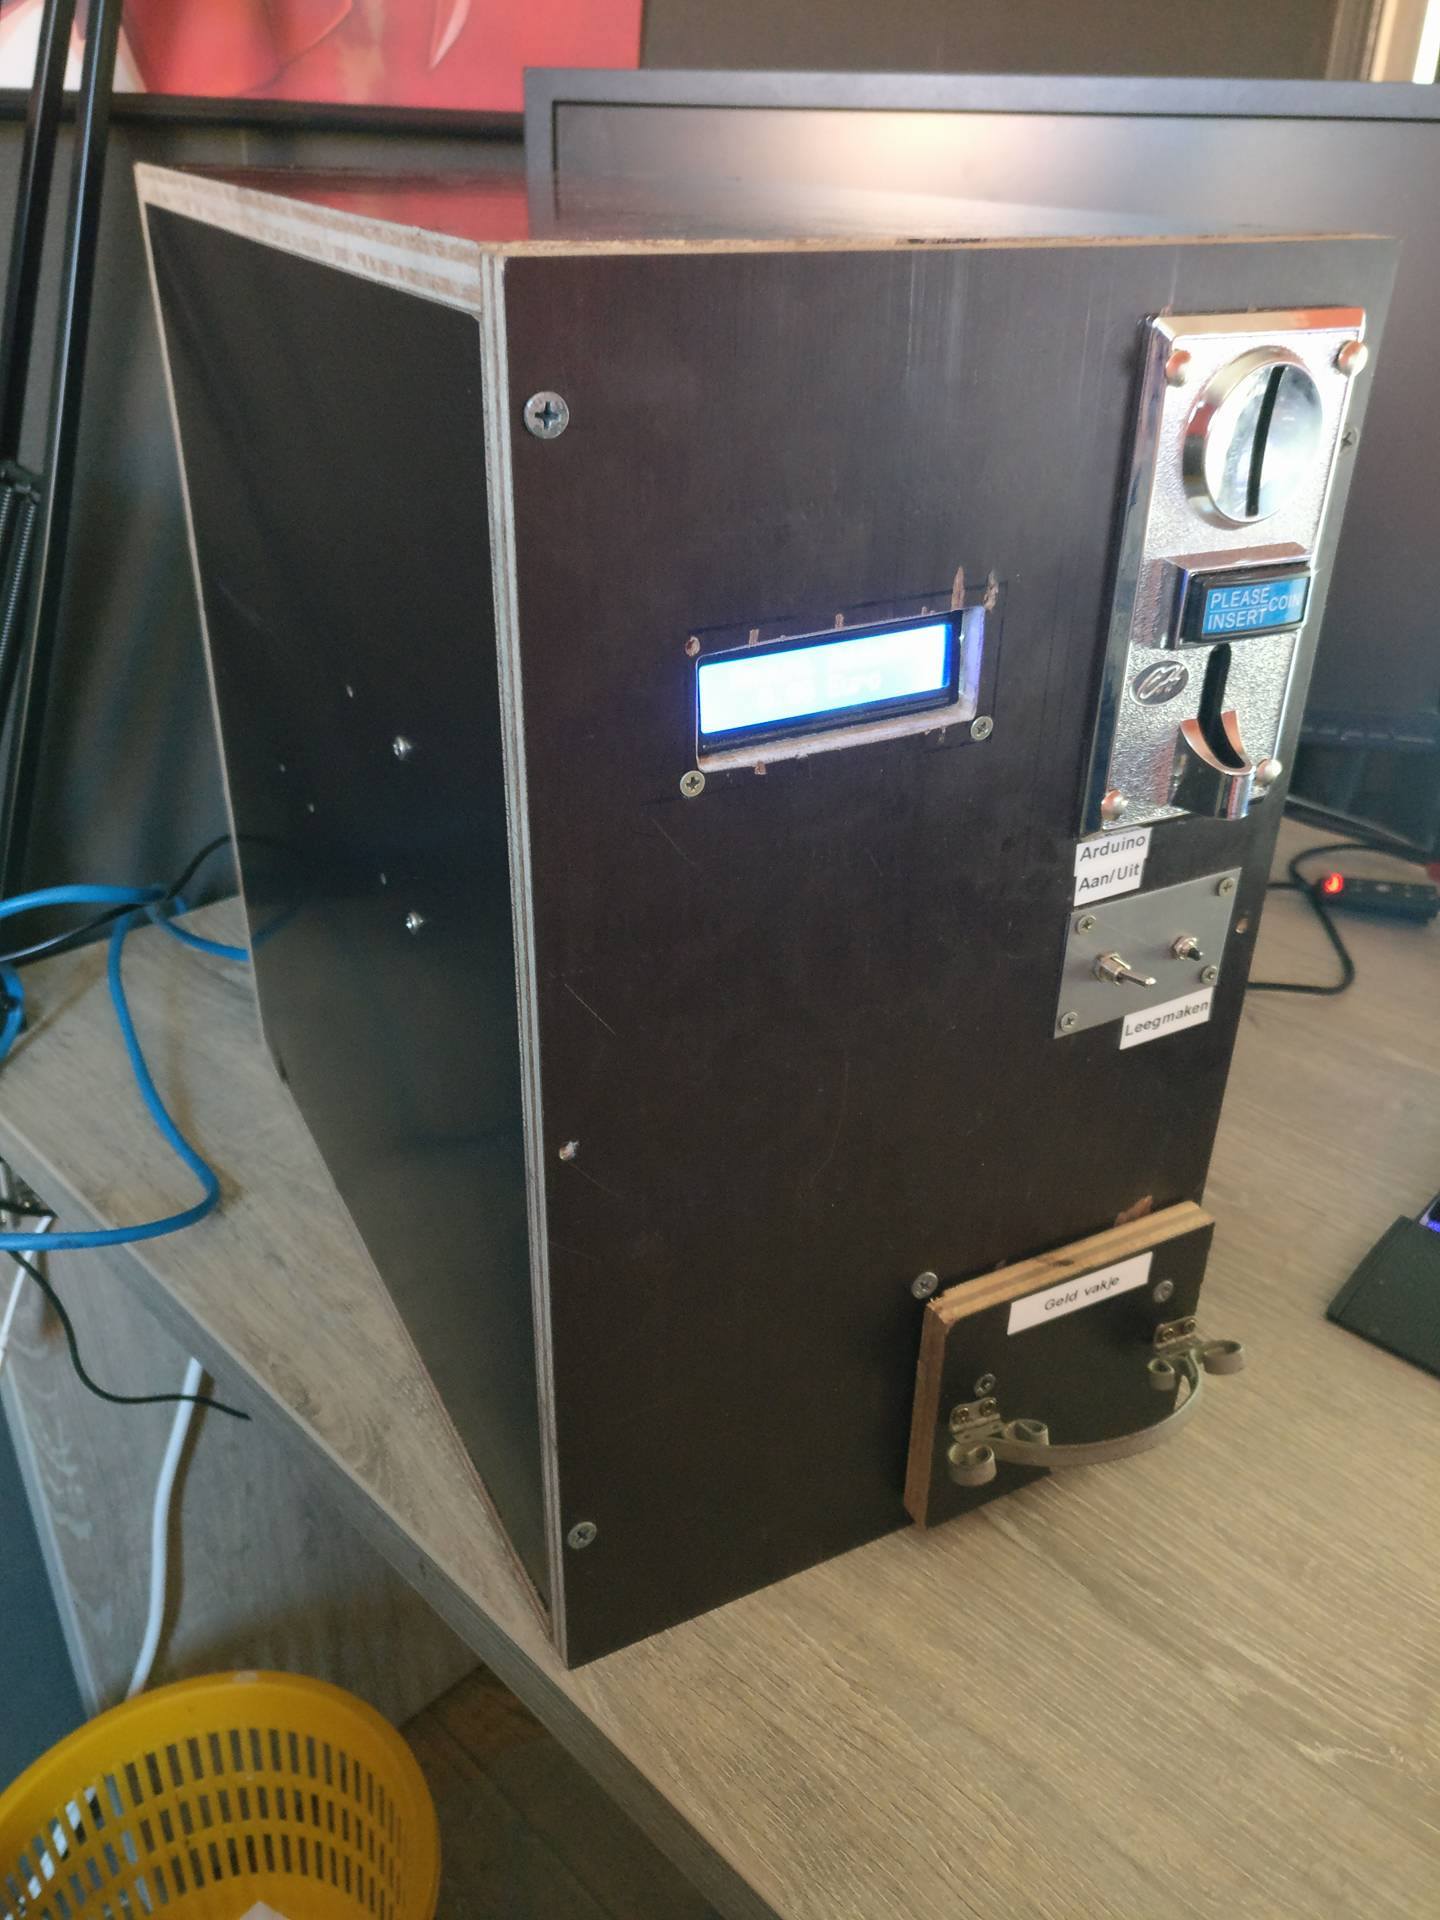
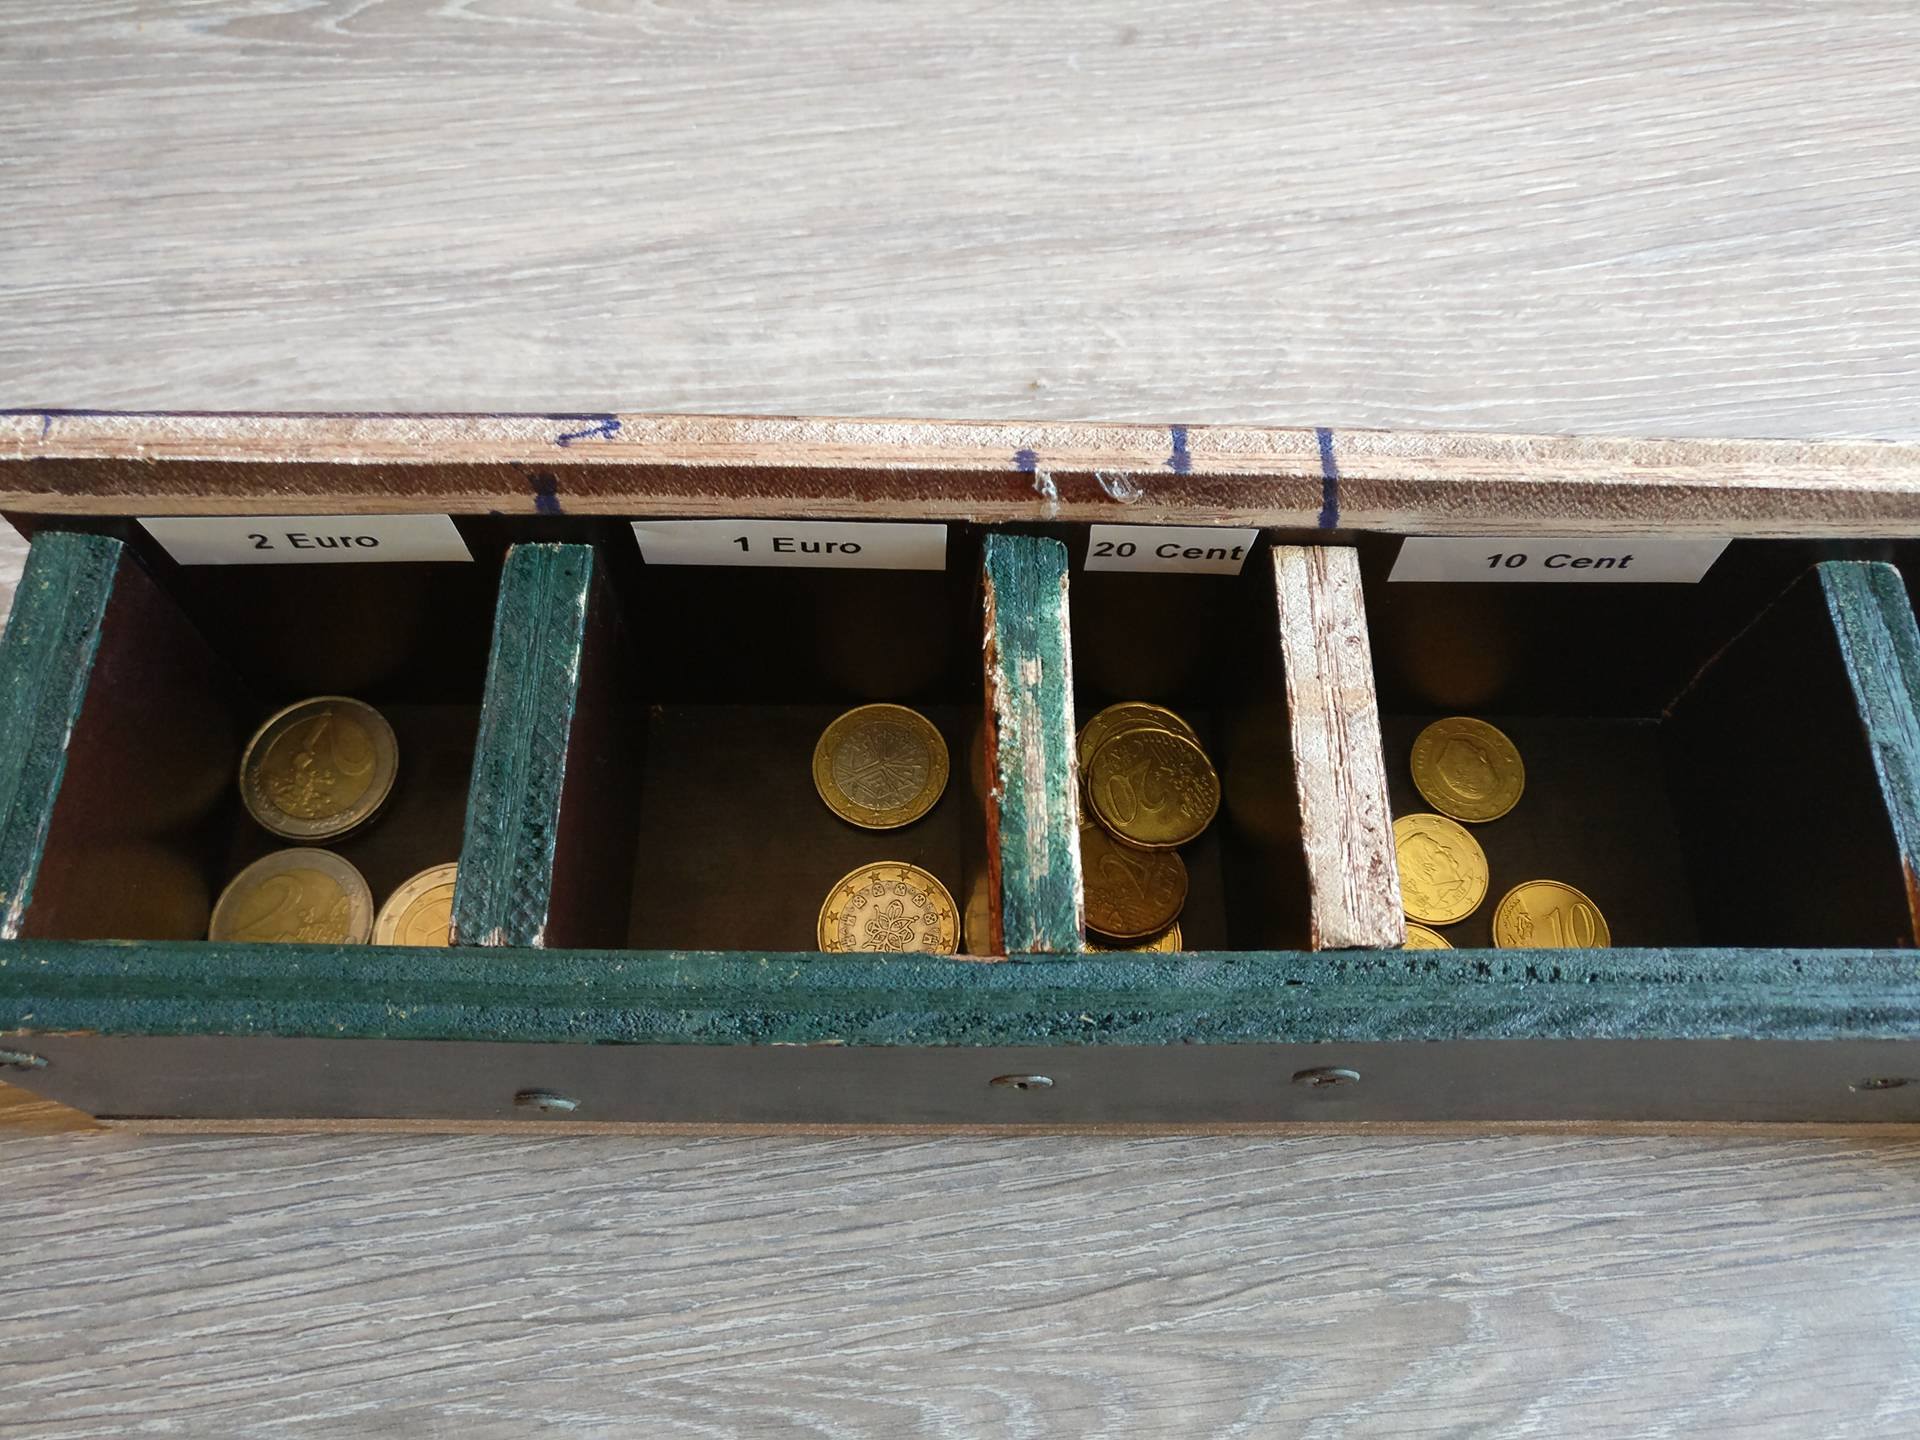
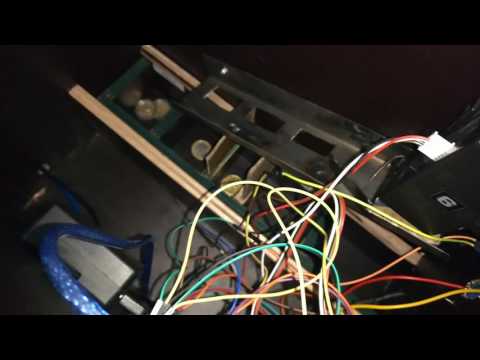
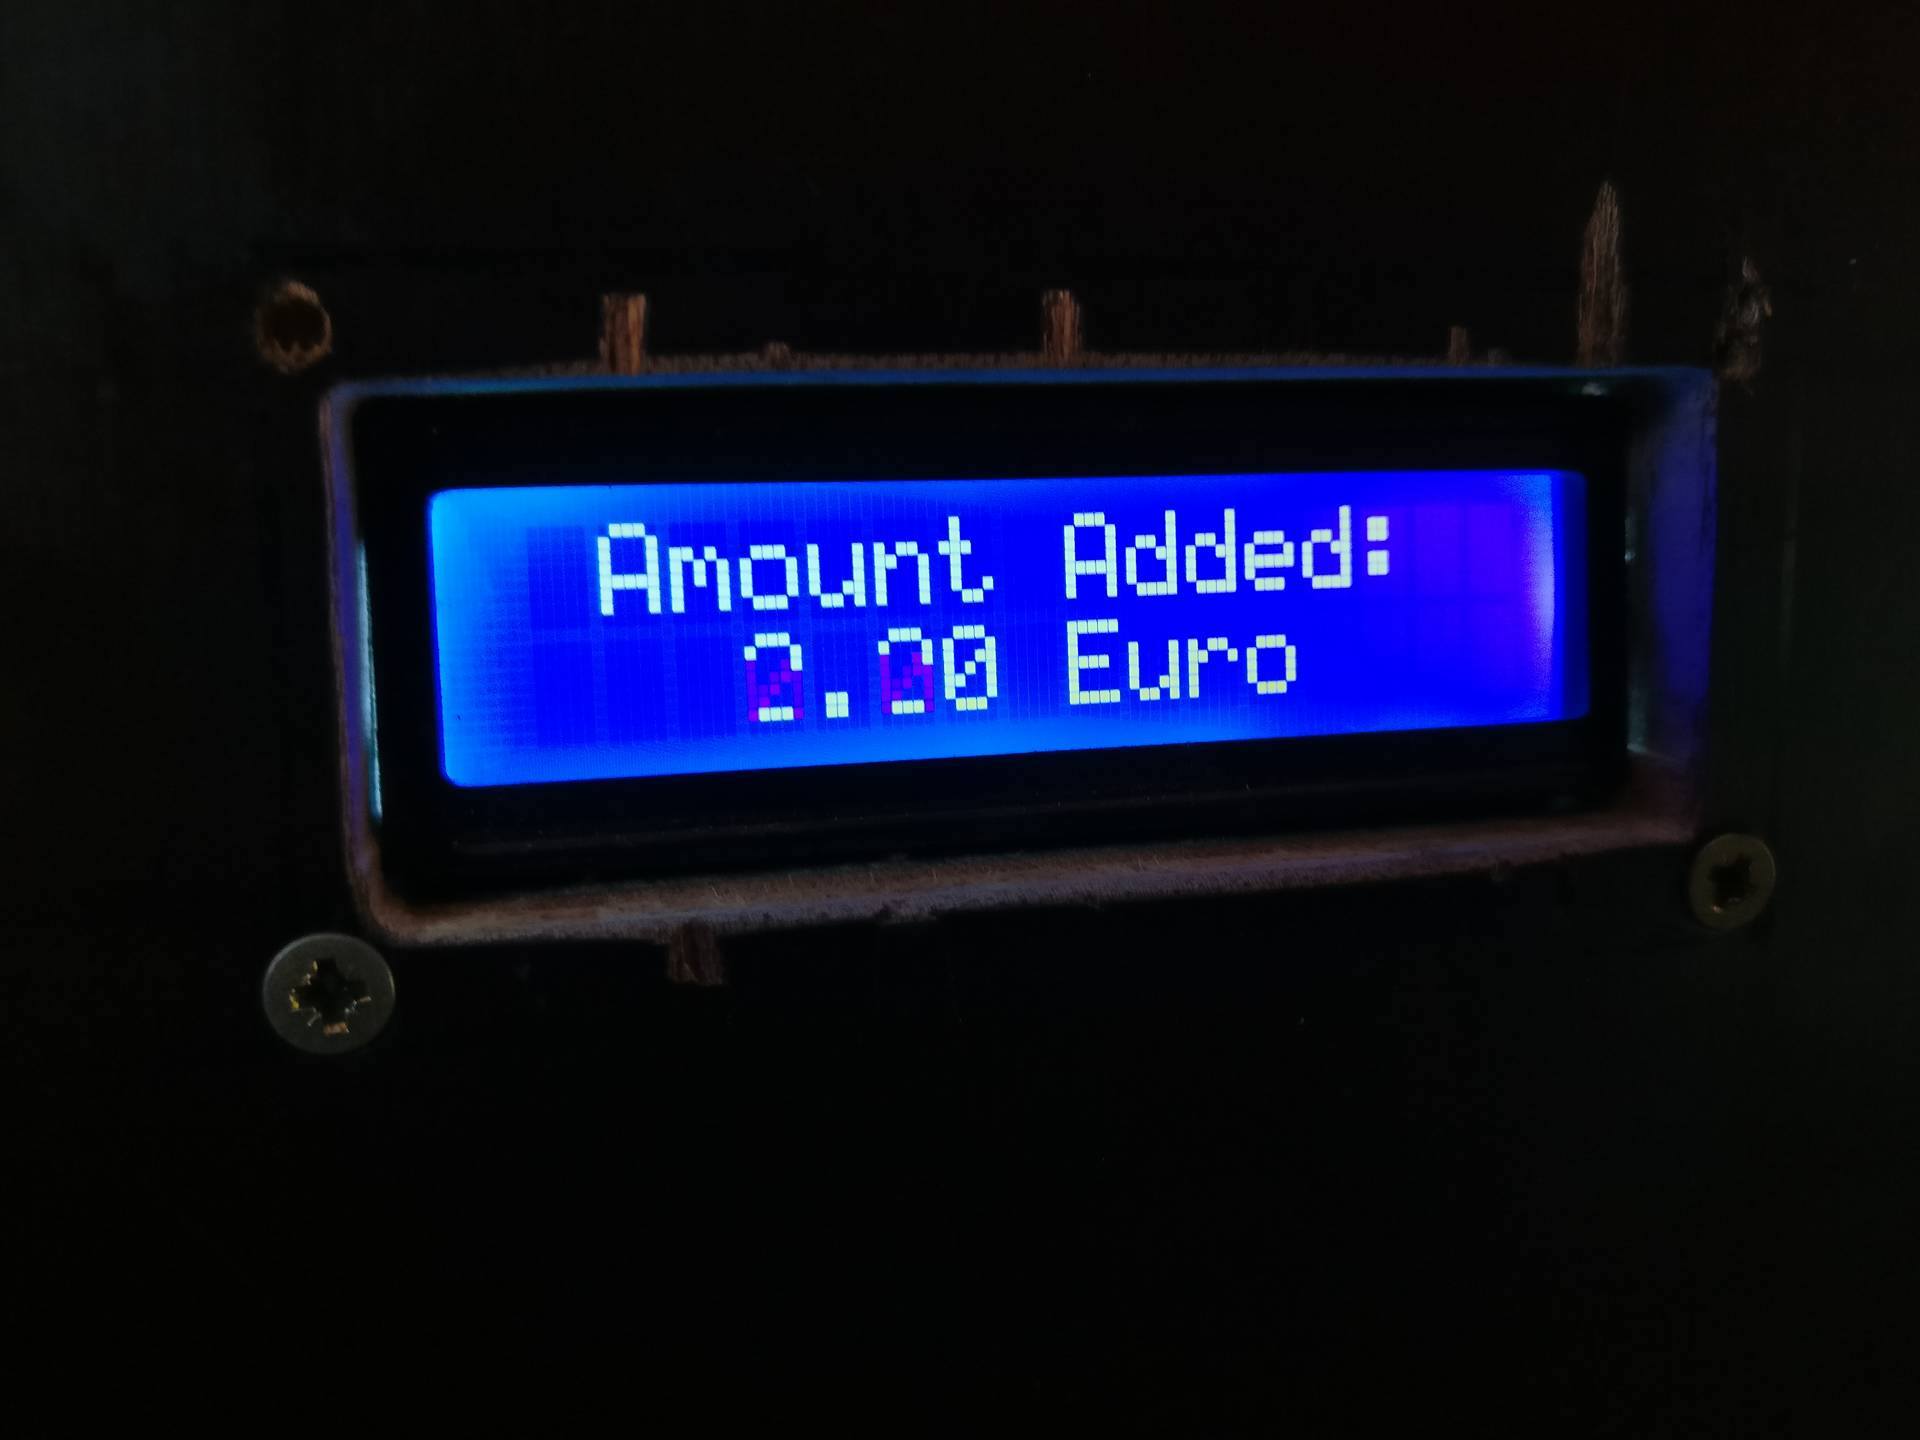
Welcome!
I'll be showing you how to make an Advanced Money-Box which keeps track of what coins you put in there!
Components
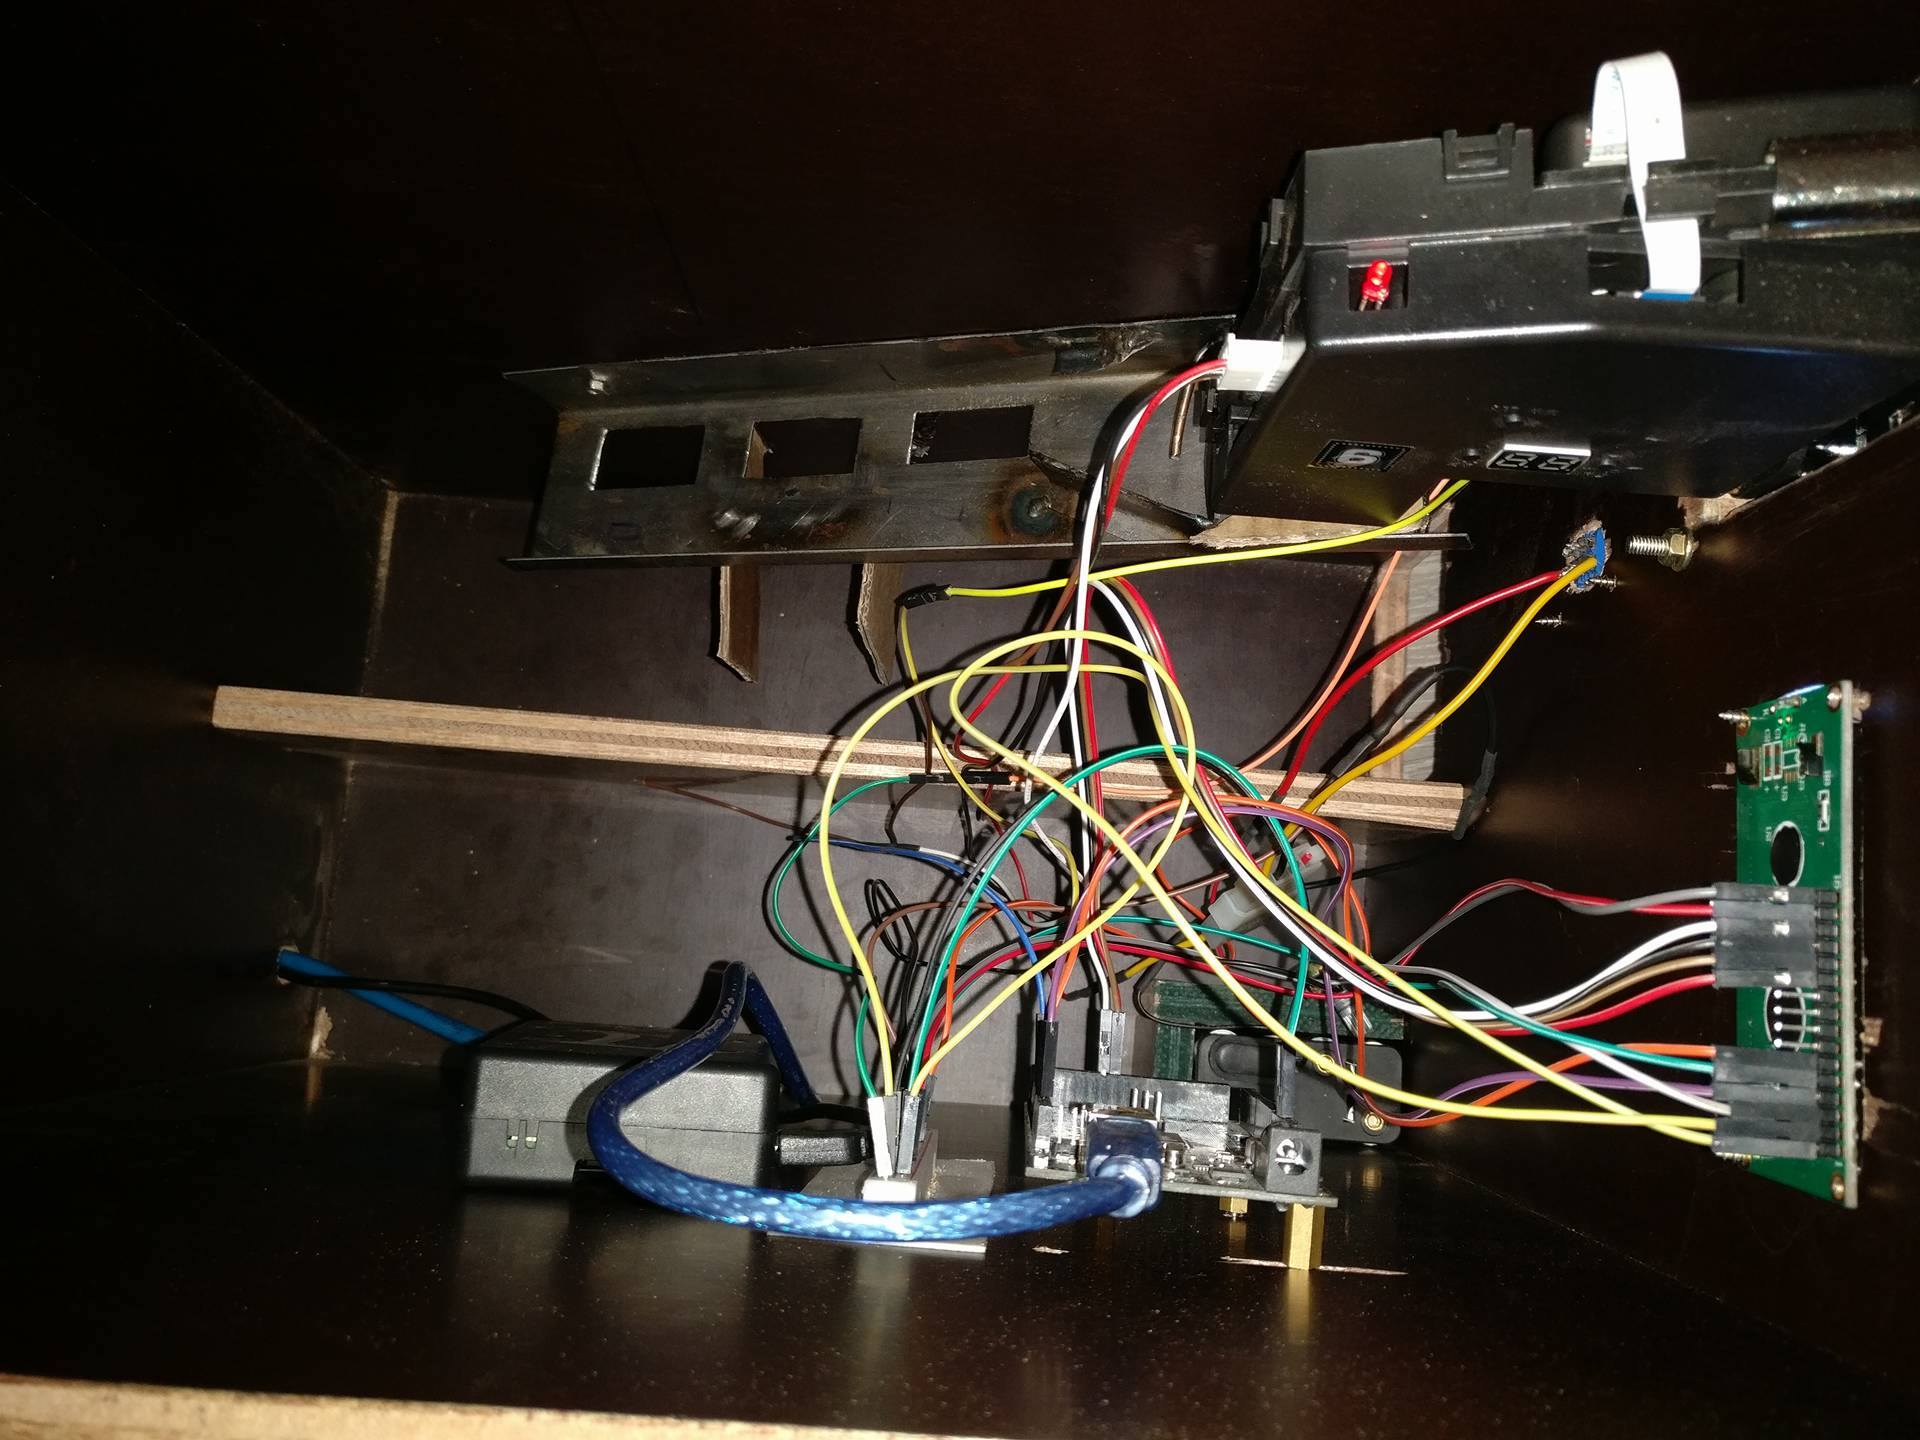
1. Arduino (In my case I'm using a Arduino Mega)
2. LCD
3. Raspberry PI
4. Coin Acceptor CH-926
5. Button
6. Switch
7. Material to make the box itself
8. 12V Battery pack
Make the Sorter
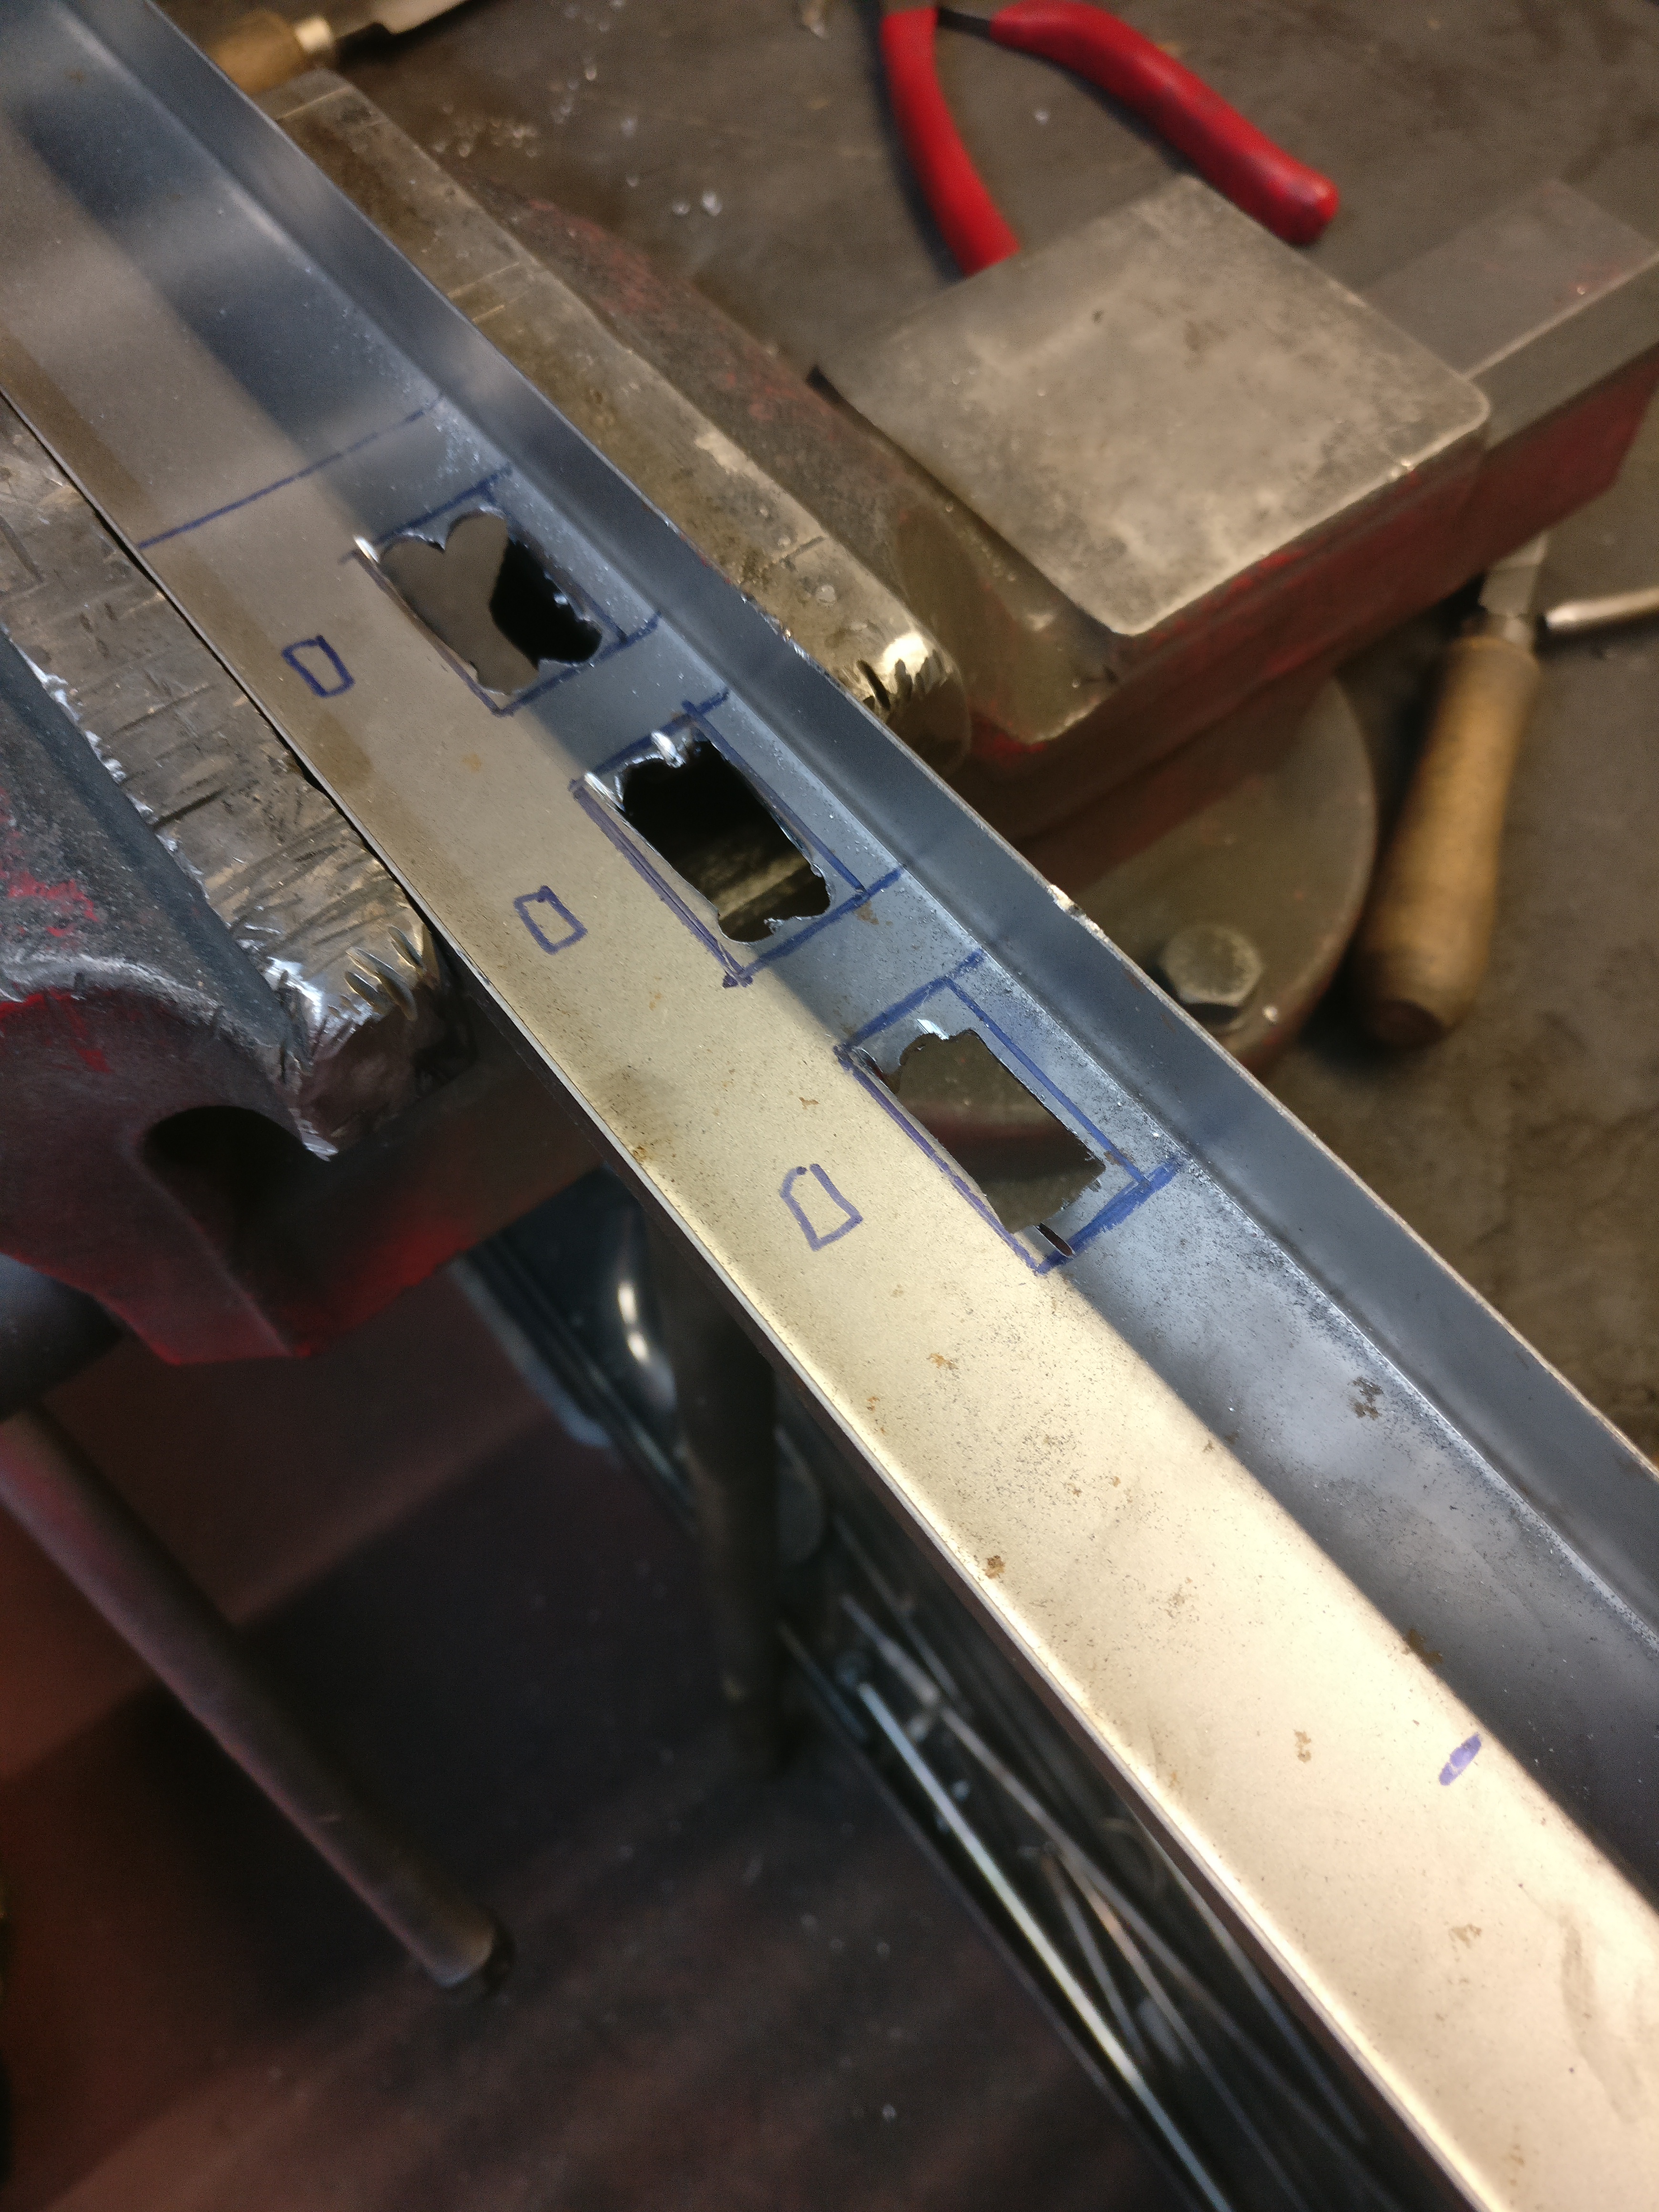
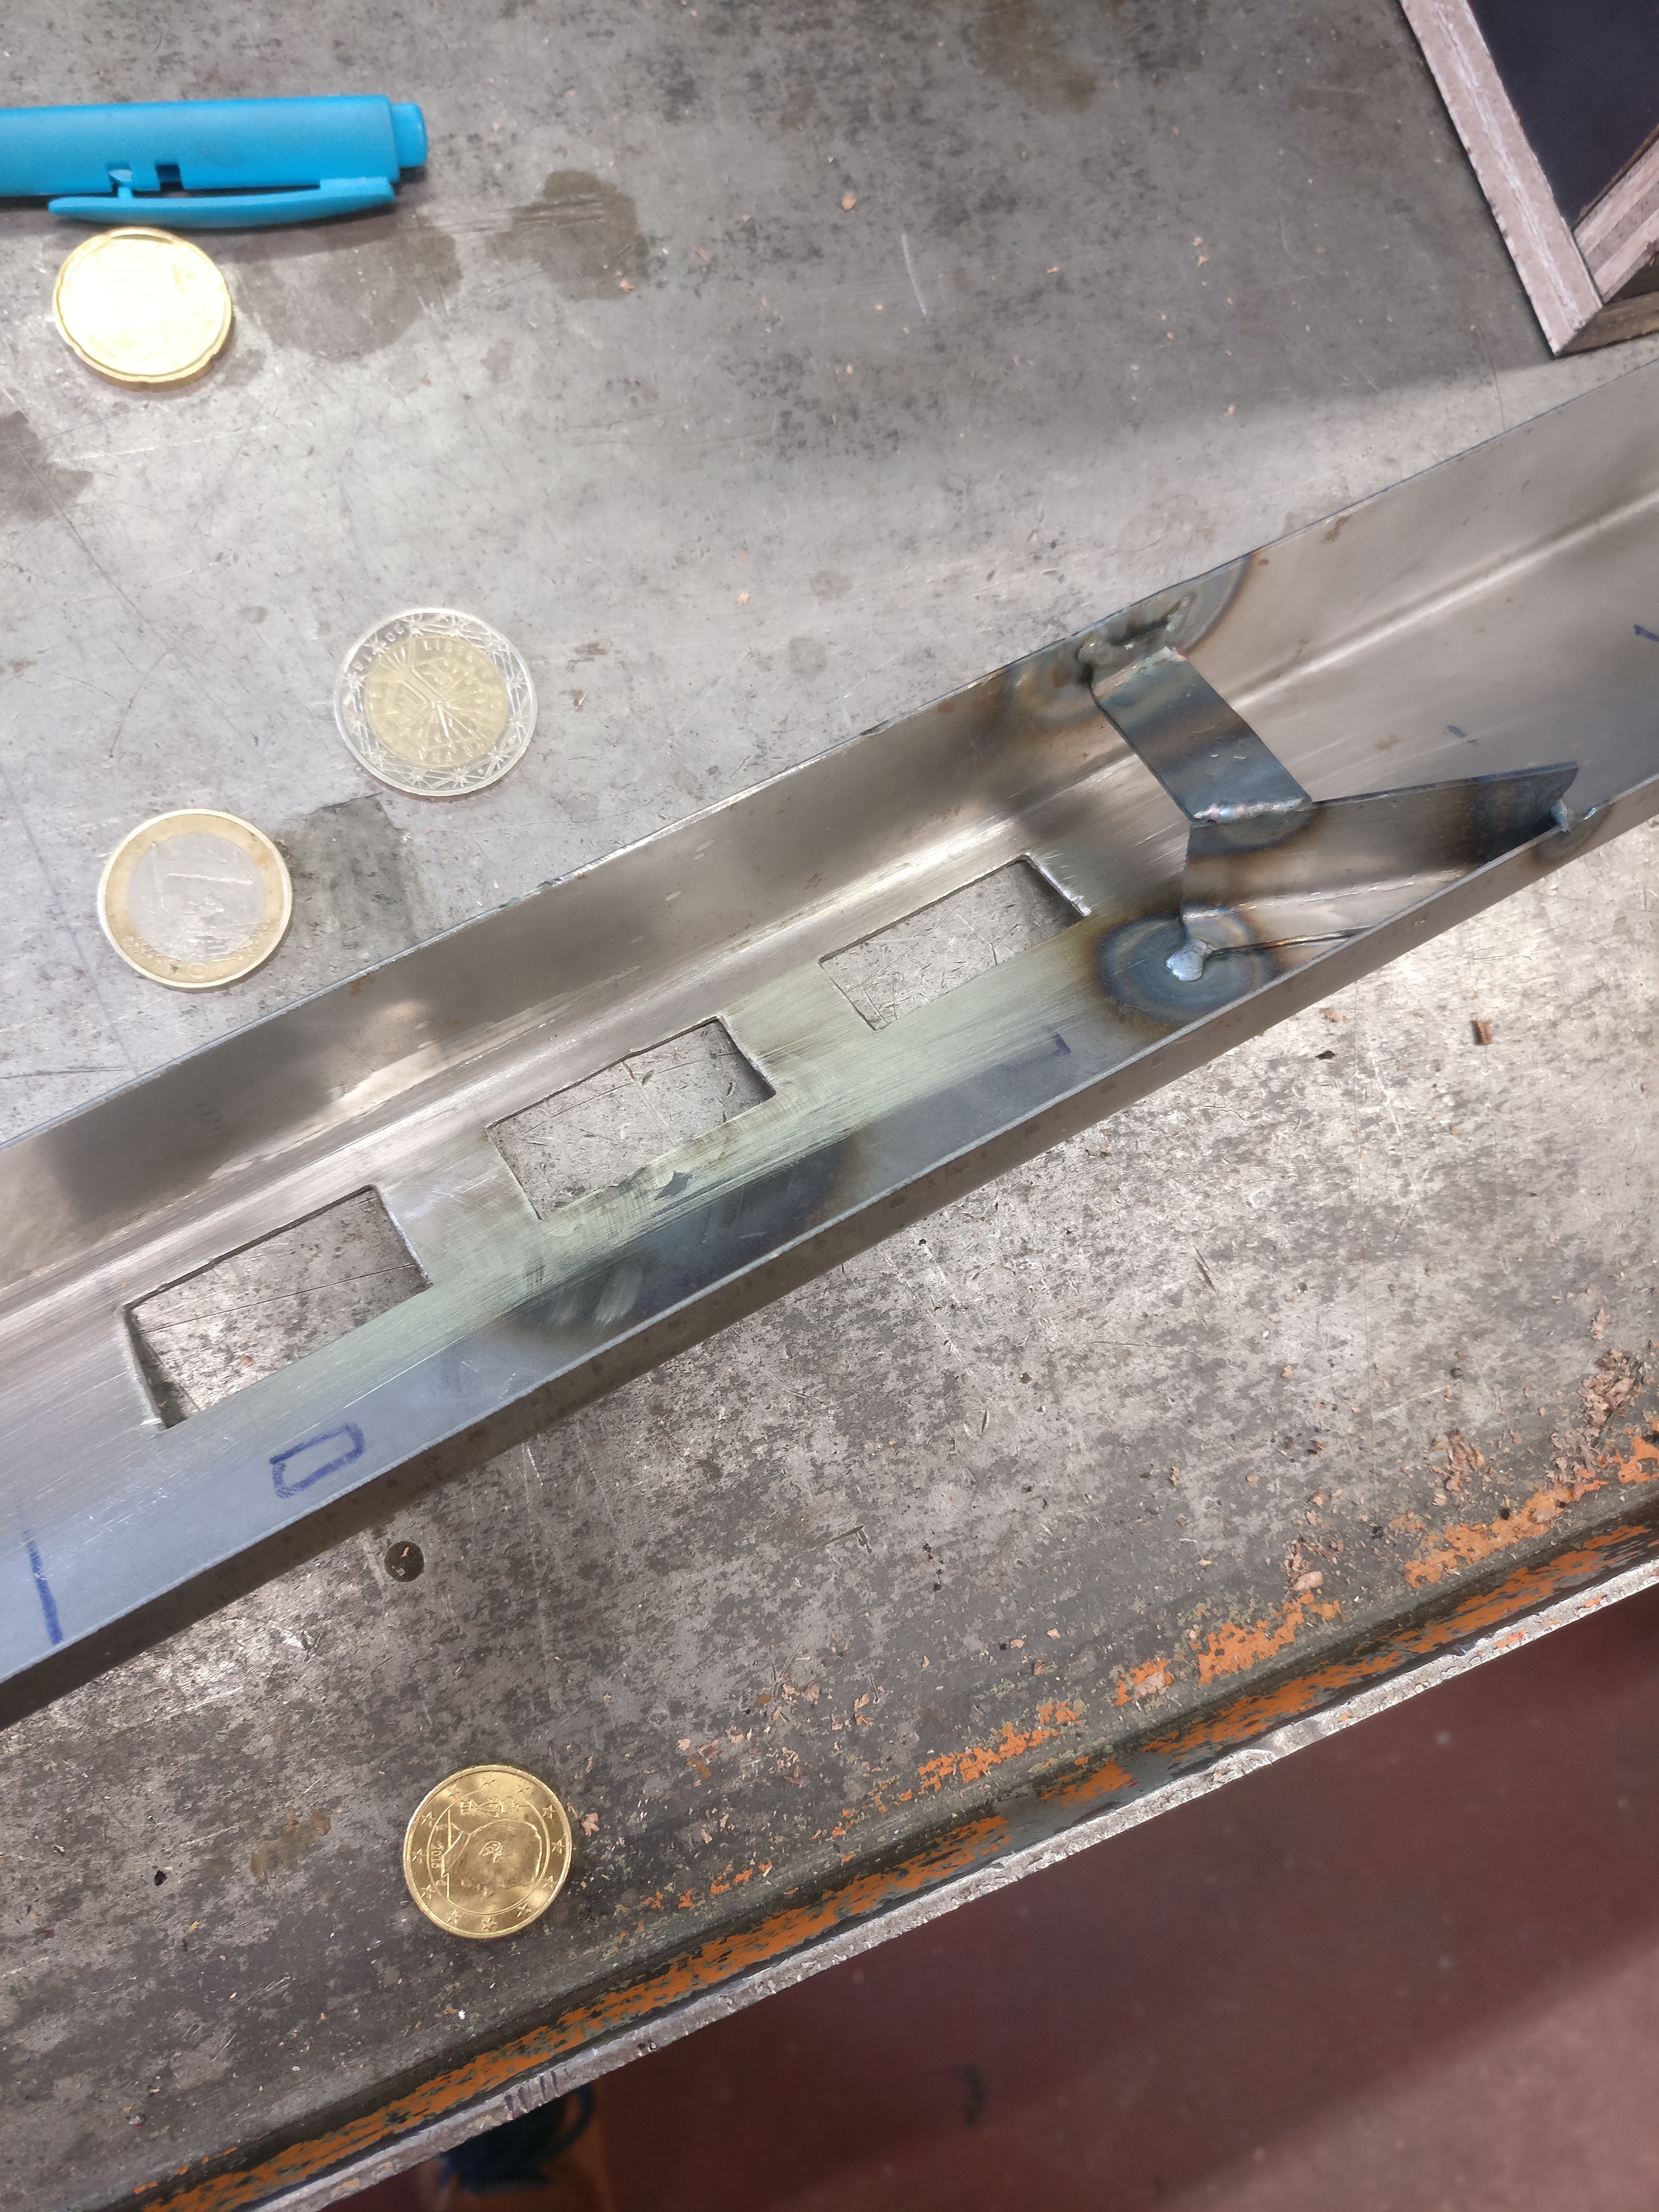
As this is somewhat complicated to explain with text I'll drop a link below which has clear instructions as to how it is made.
Instructions: https://www.youtube.com/watch?v=7ILHtAPY29I
Make the Box


Start by making the outlines of your components in place.
Afterwards put it all in place with screws/bolts.
Connections
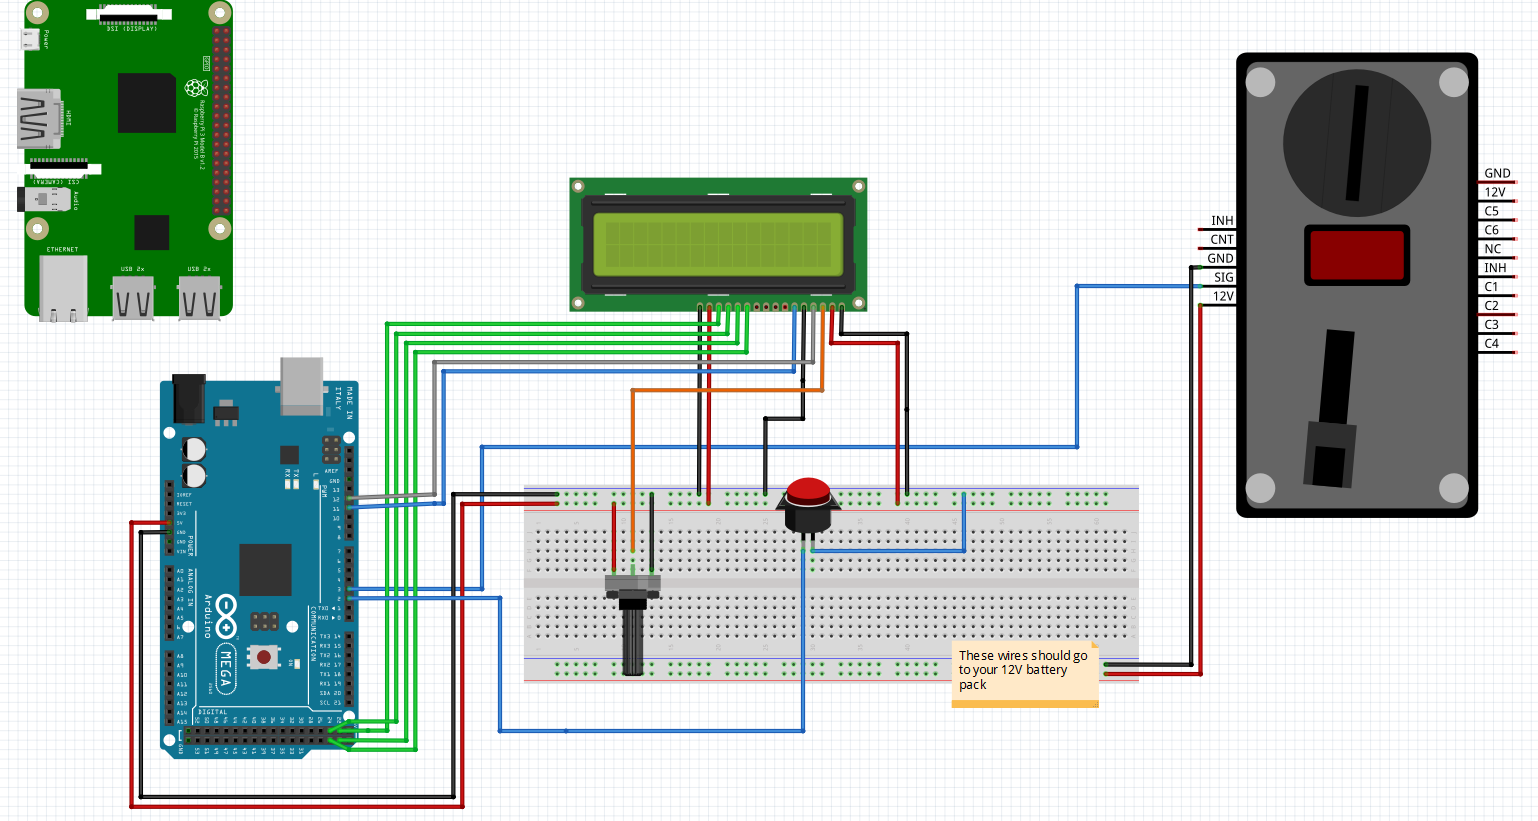
Connect the wires as shown on the image.
Also connect your Arduino to your Raspberry PI with an USB-cable.
Arduino
Download the Arduino code above and upload it to your arduino board.
Downloads
Raspberry PI
Follow both guides below to install Apache, PHP, MySQL and PhpMyAdmin on your PI:
https://www.stewright.me/2012/09/tutorial-install-...
https://www.stewright.me/2012/09/tutorial-install-...
--------------------------------------------------------------------------------------------
Next up you have to transfer the "insertDB.py" file to your Raspberry PI "/home/pi/" directory.
This can be done through FTP.
--------------------------------------------------------------------------------------------
Follow this guide to autorun the script once the Raspberry PI boots:
http://www.raspberrypi-spy.co.uk/2015/02/how-to-au...
Downloads
PhpMyAdmin
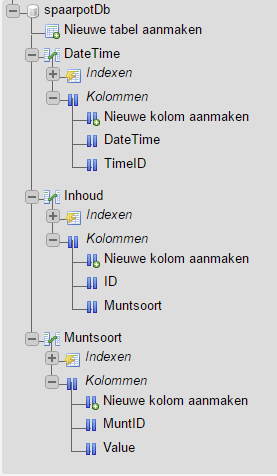
1. Create a database called spaarpotDb
2. Create a table called DateTime with columns DateTime (DateTime type), TimeID(Auto increment)
3. Create a table called Inhoud with columns ID (Auto increment), Muntsoort (int)
4. Create a table called Muntsoort with columns MuntID, Value
PhpMyAdmin
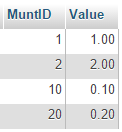
Add 4 rows of data into the Muntsoort table like on the picture. This wil determine what coin was inserted into your Money-Box. These values can be changed depending on what coins you want to use. Keep in mind you might have to change the values from your arduino code aswell.
Adding the Website Files
1. Open up another FTP connection to your raspberry PI.
2. Go to the "/var/www/html" directory and extract the files from the RAR file above into here.
!! Note: if you are unable to transfer the files into this location due to permissions, follow this guide: !!
Install FTP to allow transferring files to and from your Raspberry Pi.
First we have to take ownership of the web root. To do this, use the following command:
sudo chown -R pi /var/www
Next, install vsftpd with the following command:
sudo apt-get install vsftpd
Now we can begin the configuration process. First have to edit the vsftpd.config file. To edit the file use the following command:
sudo nano /etc/vsftpd.conf
Find and edit the following lines as specified:
Change anonymous_enable=YES to anonymous_enable=NO
Uncomment local_enable=YES
Uncomment write_enable=YES
Then go to the bottom of the file and add
force_dot_files=YES
*To uncomment, remove the pound sign (#) in front of the specified line
*Exit the editing interface by pressing ctrl+X, type y to confirm the changes and press enter to save the file path.
Restart the FTP service with the following command:
sudo service vsftpd restart
Source: https://www.instructables.com/id/Turning-your-Rasp...