Adobe Illustrator Elephant
by cameron.causey in Design > Digital Graphics
4325 Views, 6 Favorites, 0 Comments
Adobe Illustrator Elephant
.PNG)
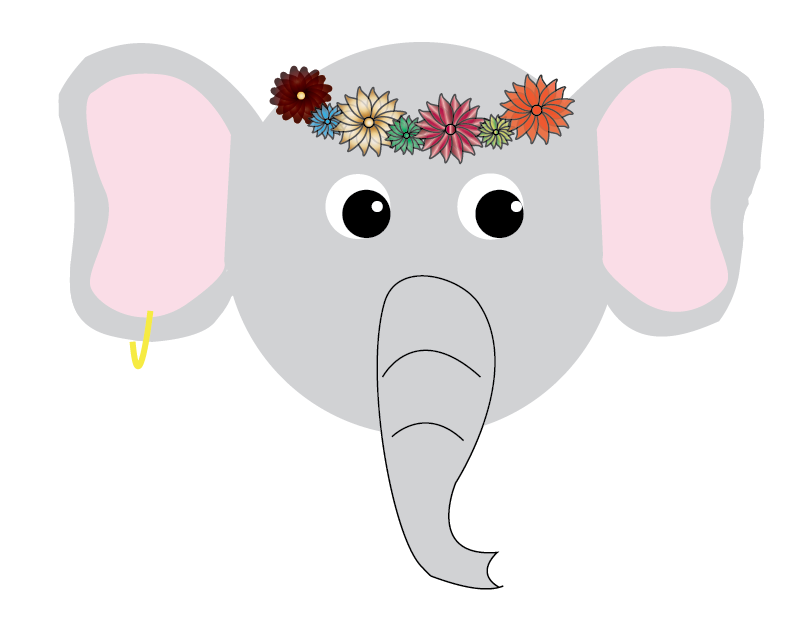
I’ve never been much of a technology person. I have been known to break everything in my wake. I'm only half way through high school and I have had issues with three computers and I almost broke my phone twice. I've managed to find some sort of click with Adobe Illustrator and Photoshop, so I have brought to you a how to on Illustrator for one of my favorite Digital Media projects. However, I couldn't possibly figure out how to make a good looking flower on my own, so I will refer you to my best friends blog post on how to make an Adobe Illustrator flower.
And don't worry if you aren't much of a tech person either, it's been over a year and I still consider myself a beginner. Feel free to use this as a way to get familiar with Illustrator if you're a first timer.
Happy Designing!!
Starting Off
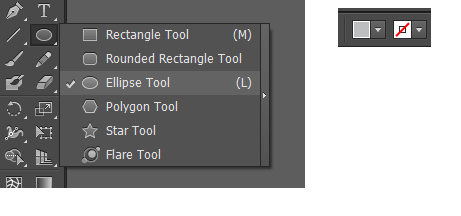
So you're going to start with a blank canvas, then you'll go to the shape tool on the toolbar.
Choose the Ellipse Tool
Making the Head

In order to make a circle, hold down the shift key first, and then drag the mouse to the size you want for your circle.
To fill the circle (or any closed object) go to the top toolbar and click on the two squares on the top shown in Step 1.
Making the Ears
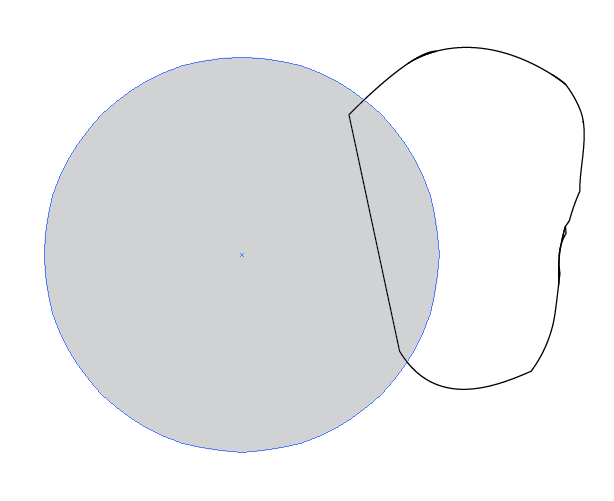
Take the pen tool and trace an outline of the shape you want for your ear ON TOP of your circle.
If you do not know how to use the pen tool go to this tutorial
(https://www.youtube.com/watch?v=Cftk_QDUHTA)
Making the Ear Continued
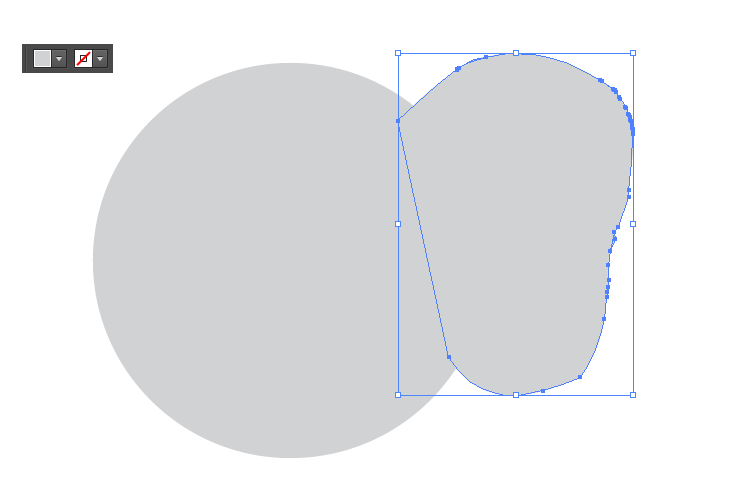
Fill the ear with the same color as your circle like we did in Step 2
Copying the Ear Pt. 1

Now we're gonna make an exact copy of the ear we just made so our ears are symmetrical.
Select the ear and then right click. Next click "transform" and then choose "reflect"
Copying the Ear Pt. 2
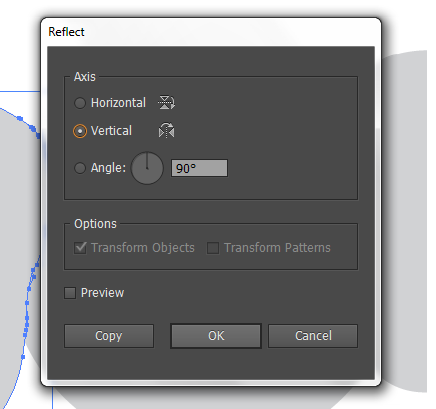
Once you choose "reflect" there will be a pop-up menu. Make sure that you have "vertical" and "transform objects" selected.
Then click okay and reposition the ear to where you want it.
Steps 3-7 Final Product

Making the Inside of the Ear
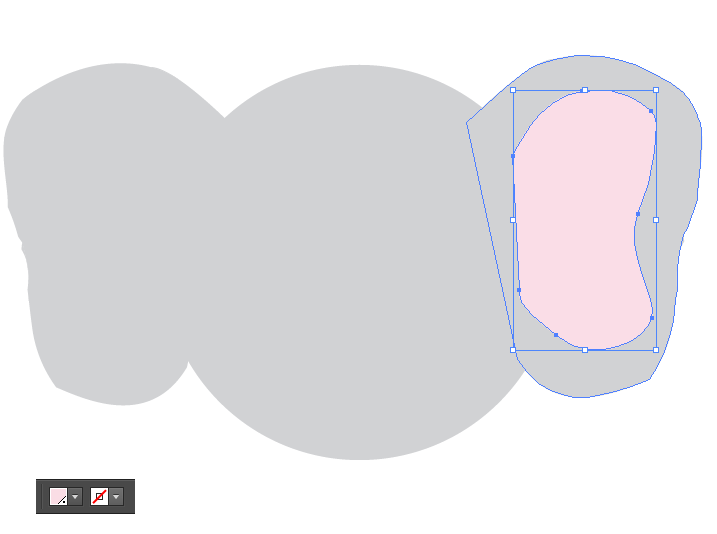
Next, for the inside of the ear go through the same process you went through in Step 3 with the pen tool.
You can adjust the fill color to whatever shade of pink you want.
(I recommend a lighter shade of pink for the fill and to have no stroke for the outline.)
Copying the Inside
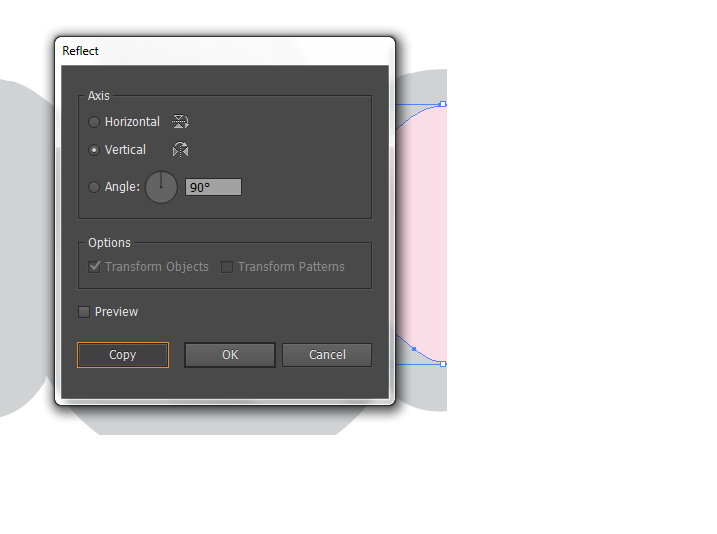
Repeat the same steps you did in Step 5 and make sure that you have "vertical" and "transform objects" selected.
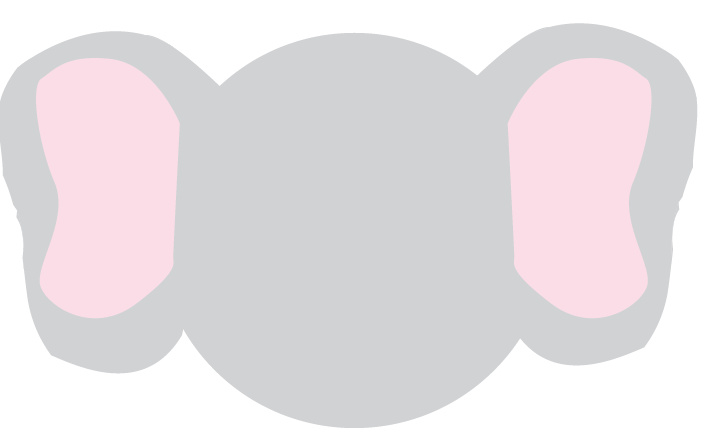
However, instead of clicking okay, click copy and it will make an exact copy of the pink shape face the direction you want it to.
Steps 8 and 9 Final Product
Making the Whites of the Eyes
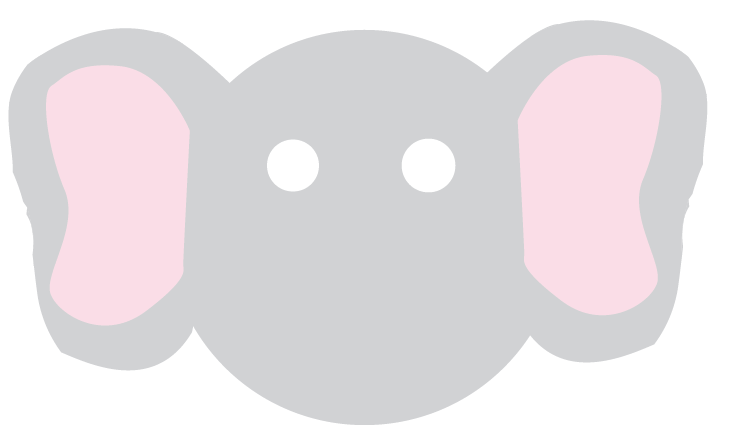
Just like with making the head of our elephant, we will use the ellipse tool to make the whites of the elephant's eyes.
Adjust the fill settings so the fill is white and there is no stroke.
Now for the Pupils Pt. 1
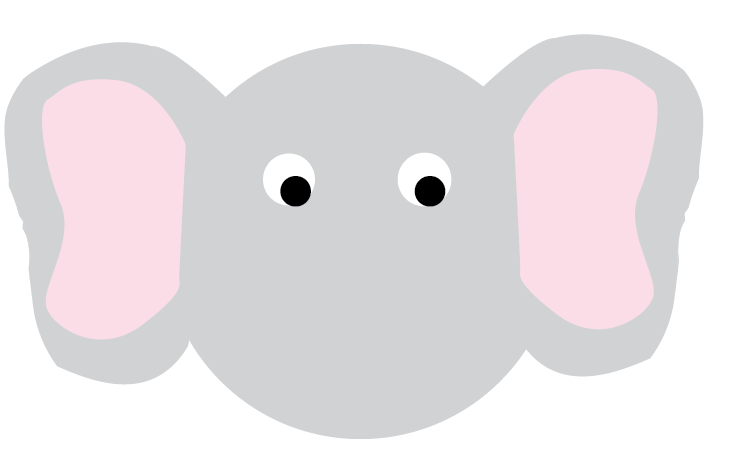
Repeat the same steps in Step 8.
Adjust the fill settings so the fill is black and there is no stroke.
The Pupils Pt.2
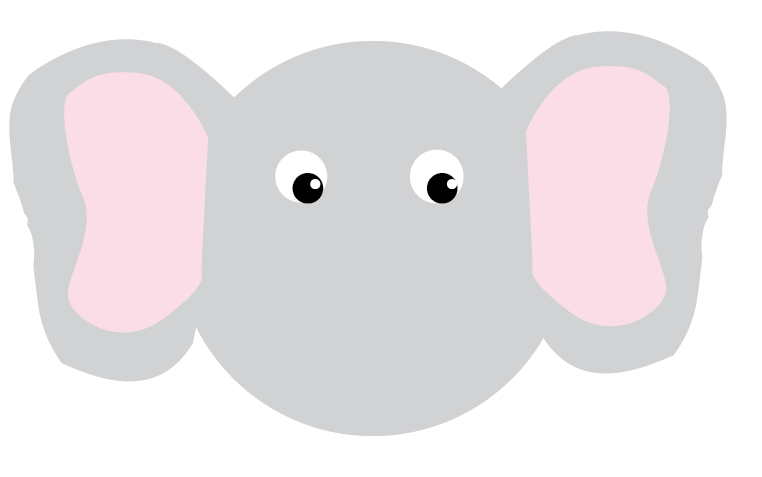
Repeat the same steps you've done twice (hang in there you're almost done with the repeats)
This time, make little tiny circles for the shine in the eyes. And once again, change the fill settings so the fill is white and there is no stroke.
Trunk Outline
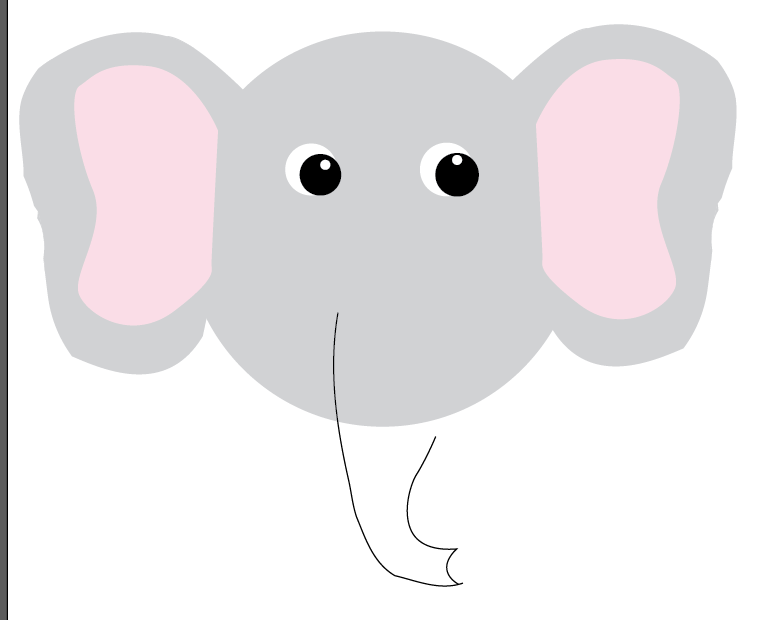
Now we are going to work on the trunk.
Feel free to look up a picture of a cartoon elephant for guidance (I know I did).
Take the pen tool and either trace or free hand the shape of an elephants trunk
Filling in the Trunk
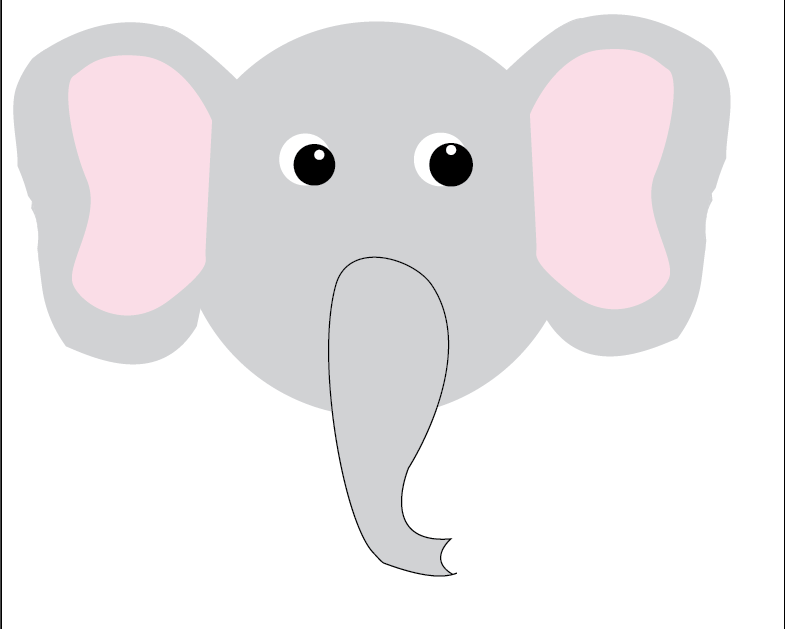
Your trunk should look something like this once you finish your trunk outline and add a fill.
Note: The trunk WILL have a stroke (very thin (0.25 to be exact)) so you can distinguish the trunk from the face.
Ideally the trunk will have the same fill as the head.
Adding Texture to the Trunk
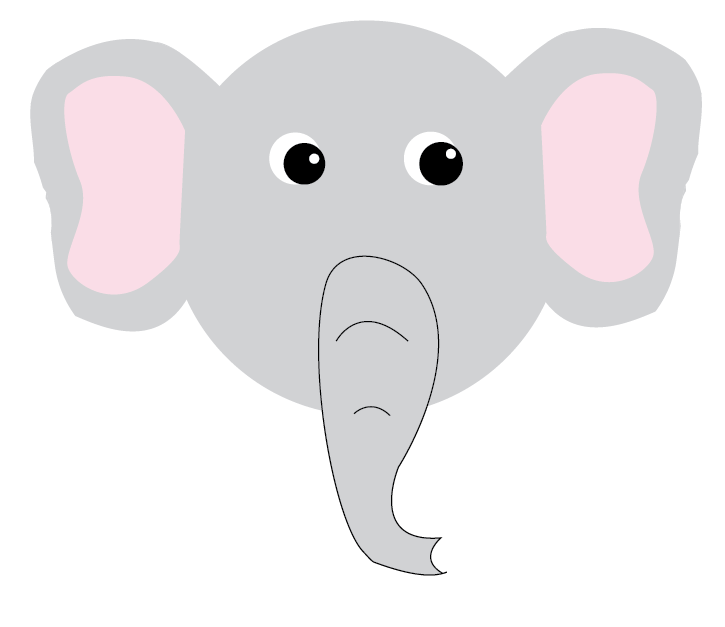
If you want... you can use the pen tool to add curves on the trunk to make it look less flat.
Making the Flowers
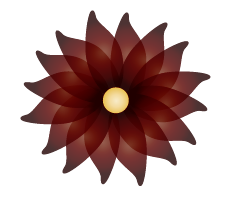
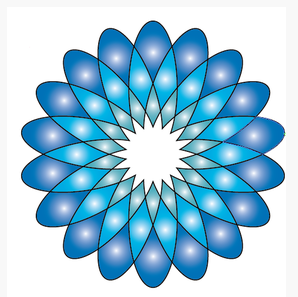

Here's where I am not as helpful. Go check out my best friend's blog post on how to make awesome flowers on Illustrator.
(http://mariacomstock.weebly.com/)
Arranging the Crown
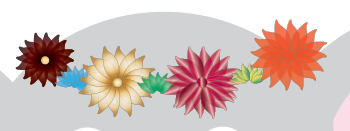
I can be helpful again! I recommend making around 6-8 flowers to complete your crown.
Arrange them as you like. In my crown, I made a few only half flowers to add different shapes and sizes in my crown. Feel free to do the same.
Final Product!
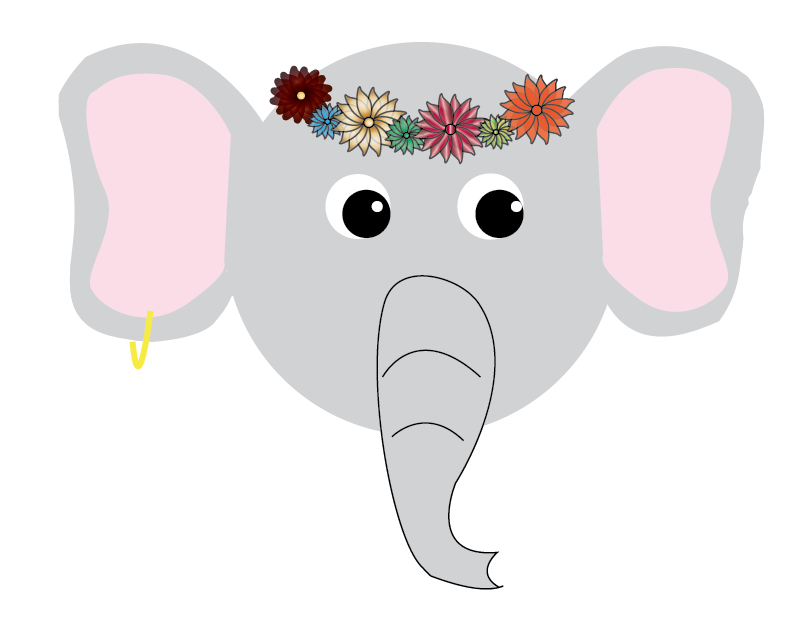.PNG)
You Did It!!!!