Adjustable Canvas Wall Mount
by qv25zupancs in Workshop > 3D Printing
374 Views, 0 Favorites, 0 Comments
Adjustable Canvas Wall Mount
My name is Sasha, and I am currently attending high school as a sophomore.
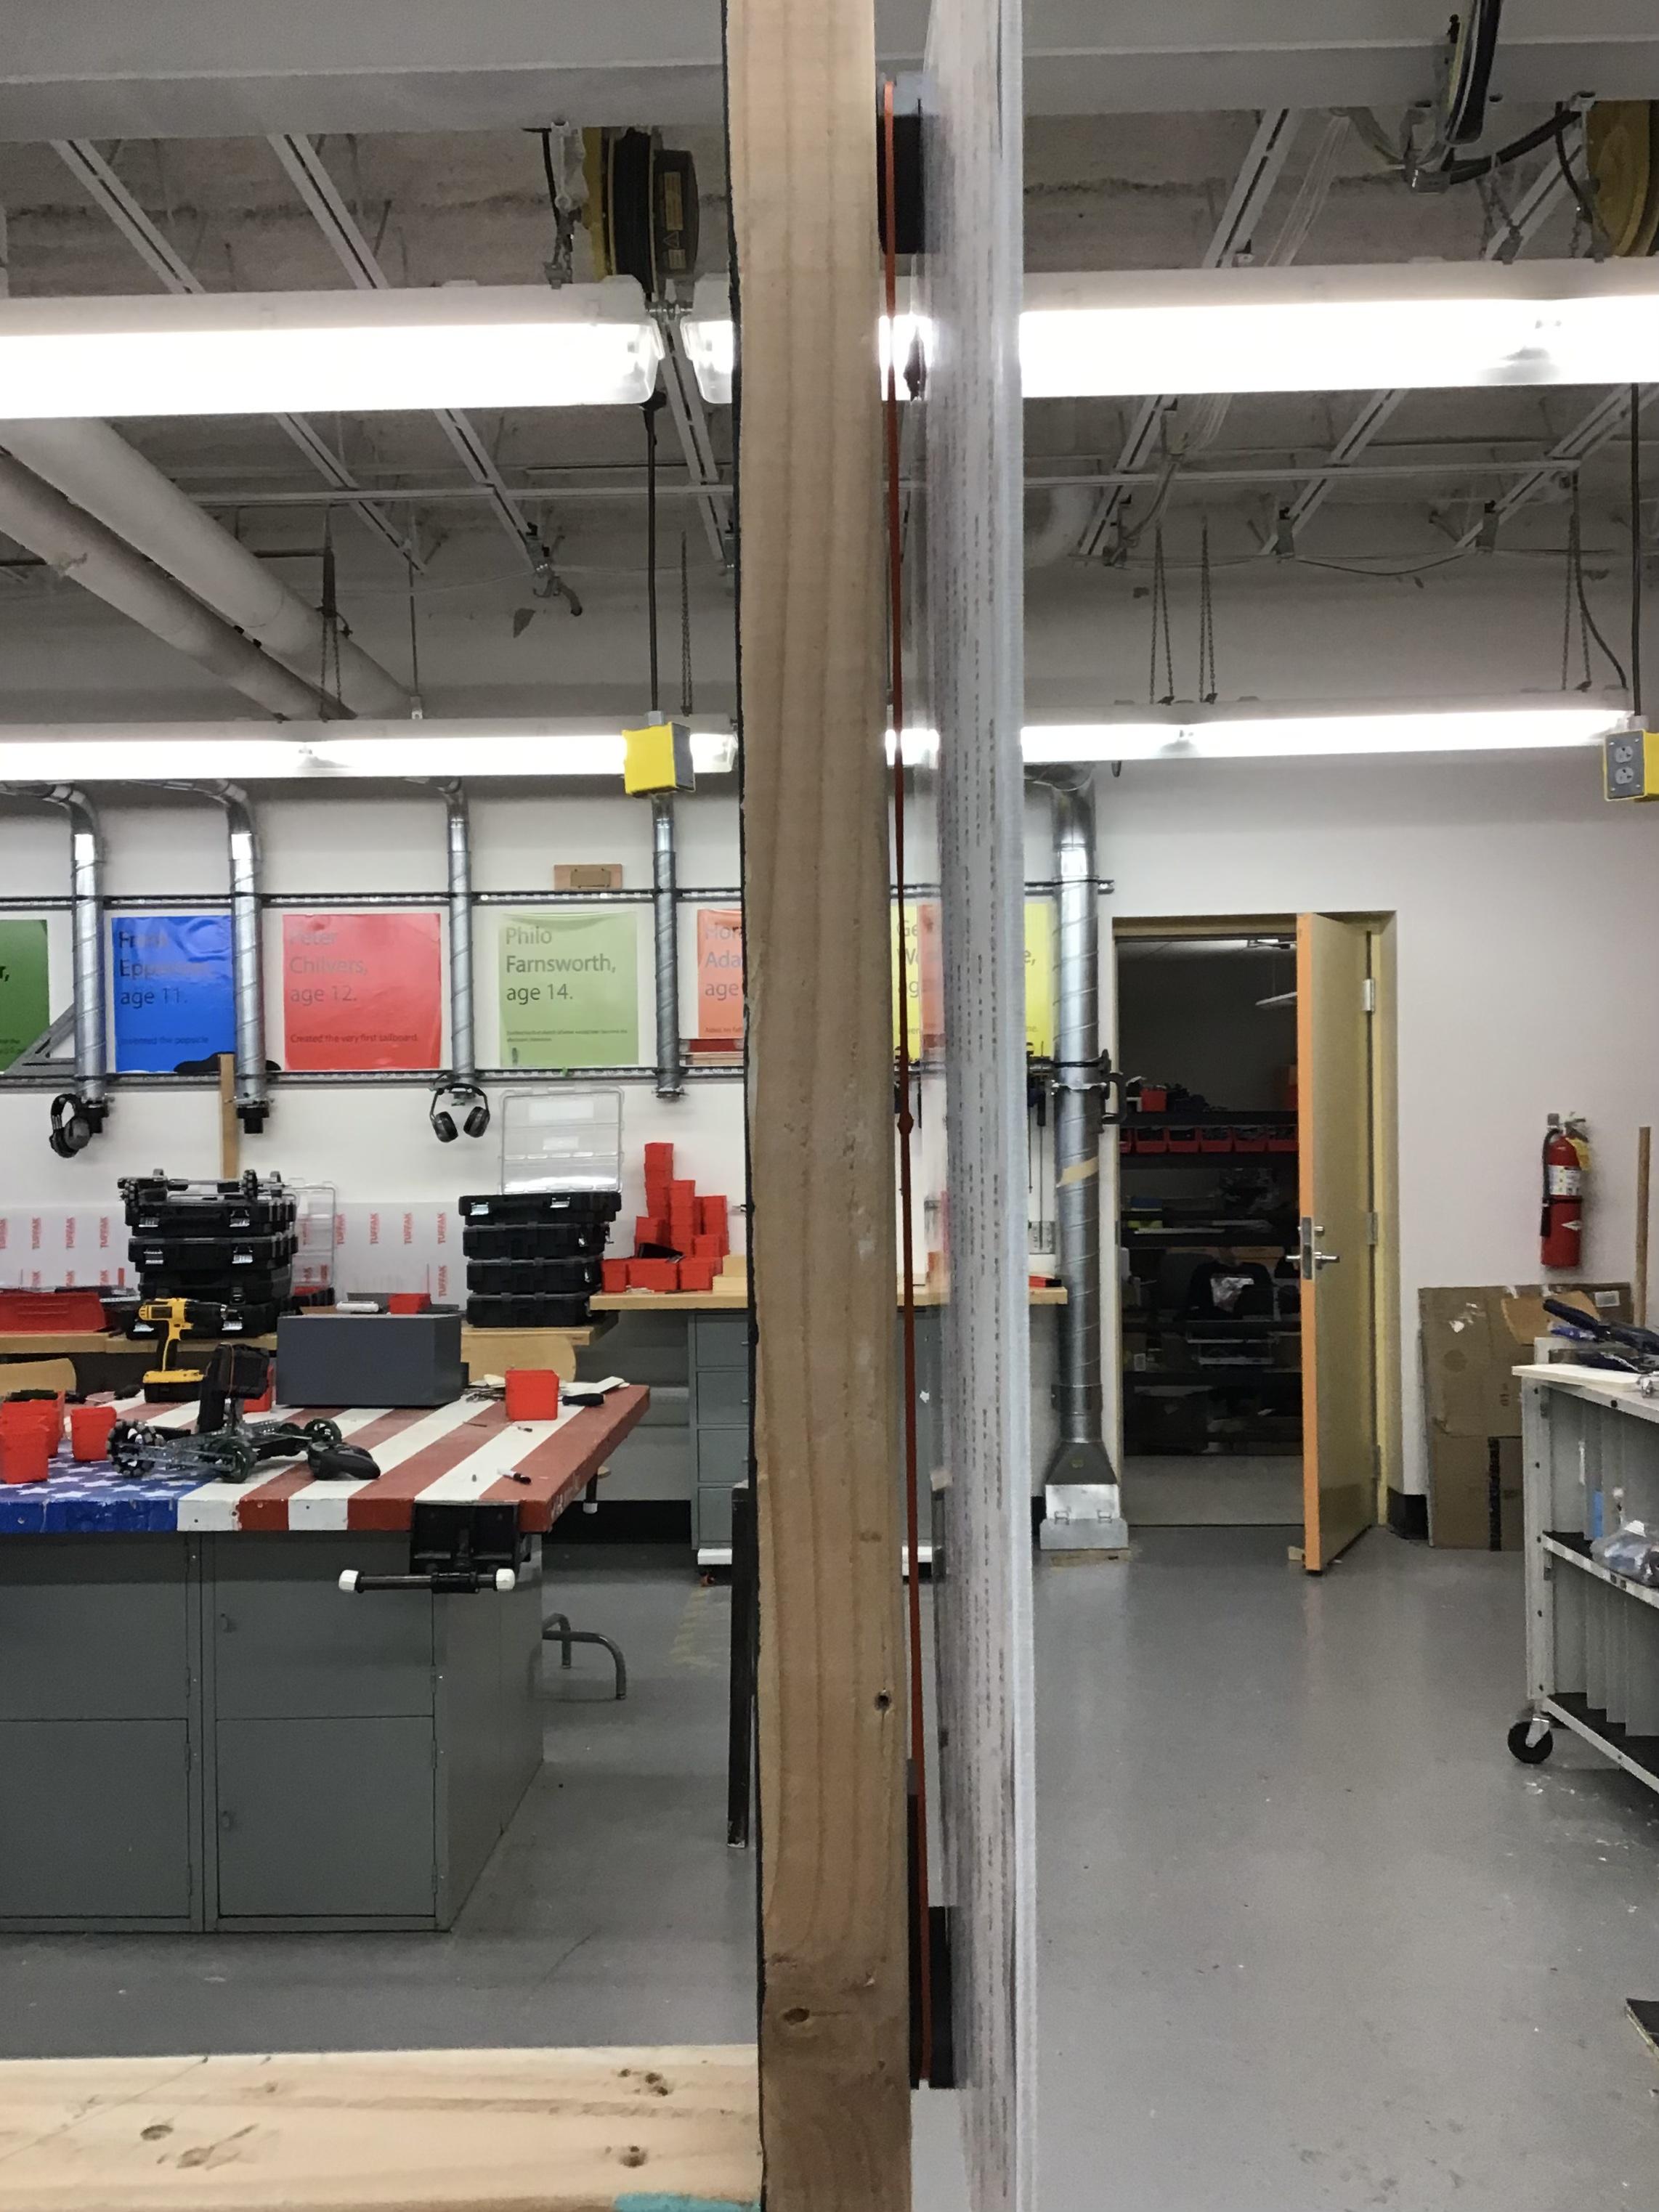
Every day, as I walk through the halls of my school, I can't help but notice how plain and bland the walls look. It's not for lack of artwork, as the students taking art electives create what seems to be a never-ending stream of paintings. The real reason such paintings are left collecting dust in a closet is because there is no way to properly display them, as it is unreasonable to spend money on hundreds of individual frames.
I was tasked with creating a type of frame that could be adjustable to any of the 10 different canvas sizes that are used in my school.
Supplies
.png)
.png)
.png)
.png)
To make this project I used...
- Fusion 360
- A computer
- A 3D printer
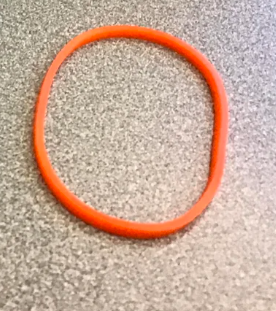
- Rubber bands
I also used two screws and a drill to attach it to the wall
Original Solution
The original solution to this issue, designed last year by another student, was to have two parts that would be drilled into the wall and fit on the top and bottom of the painting.
The main issue with this idea was that the frame would not be adjustable to each painting size, being that it is drilled into a fixed position on the wall. Additionally, the distance between the two pieces of the frame would have to be perfectly measured. If it was too big, the painting would fall out, but if it was too small, the painting wouldn't fit.
I knew this had to be improved, but I did take some aspects of the original design into consideration when creating my final product, such as the idea for two separate top and bottom pieces.
Process
Upon receiving this problem, I quickly realized that it would be impossible for the frame to be adjustable with both the top and bottom pieces attached to the wall. I dabbled in both options, but in the end I decided that having the bottom attached to the wall would make more sense, as gravity would be in the painting's favor.
The first, and ultimately most important step to making this project, is to open up Fusion 360
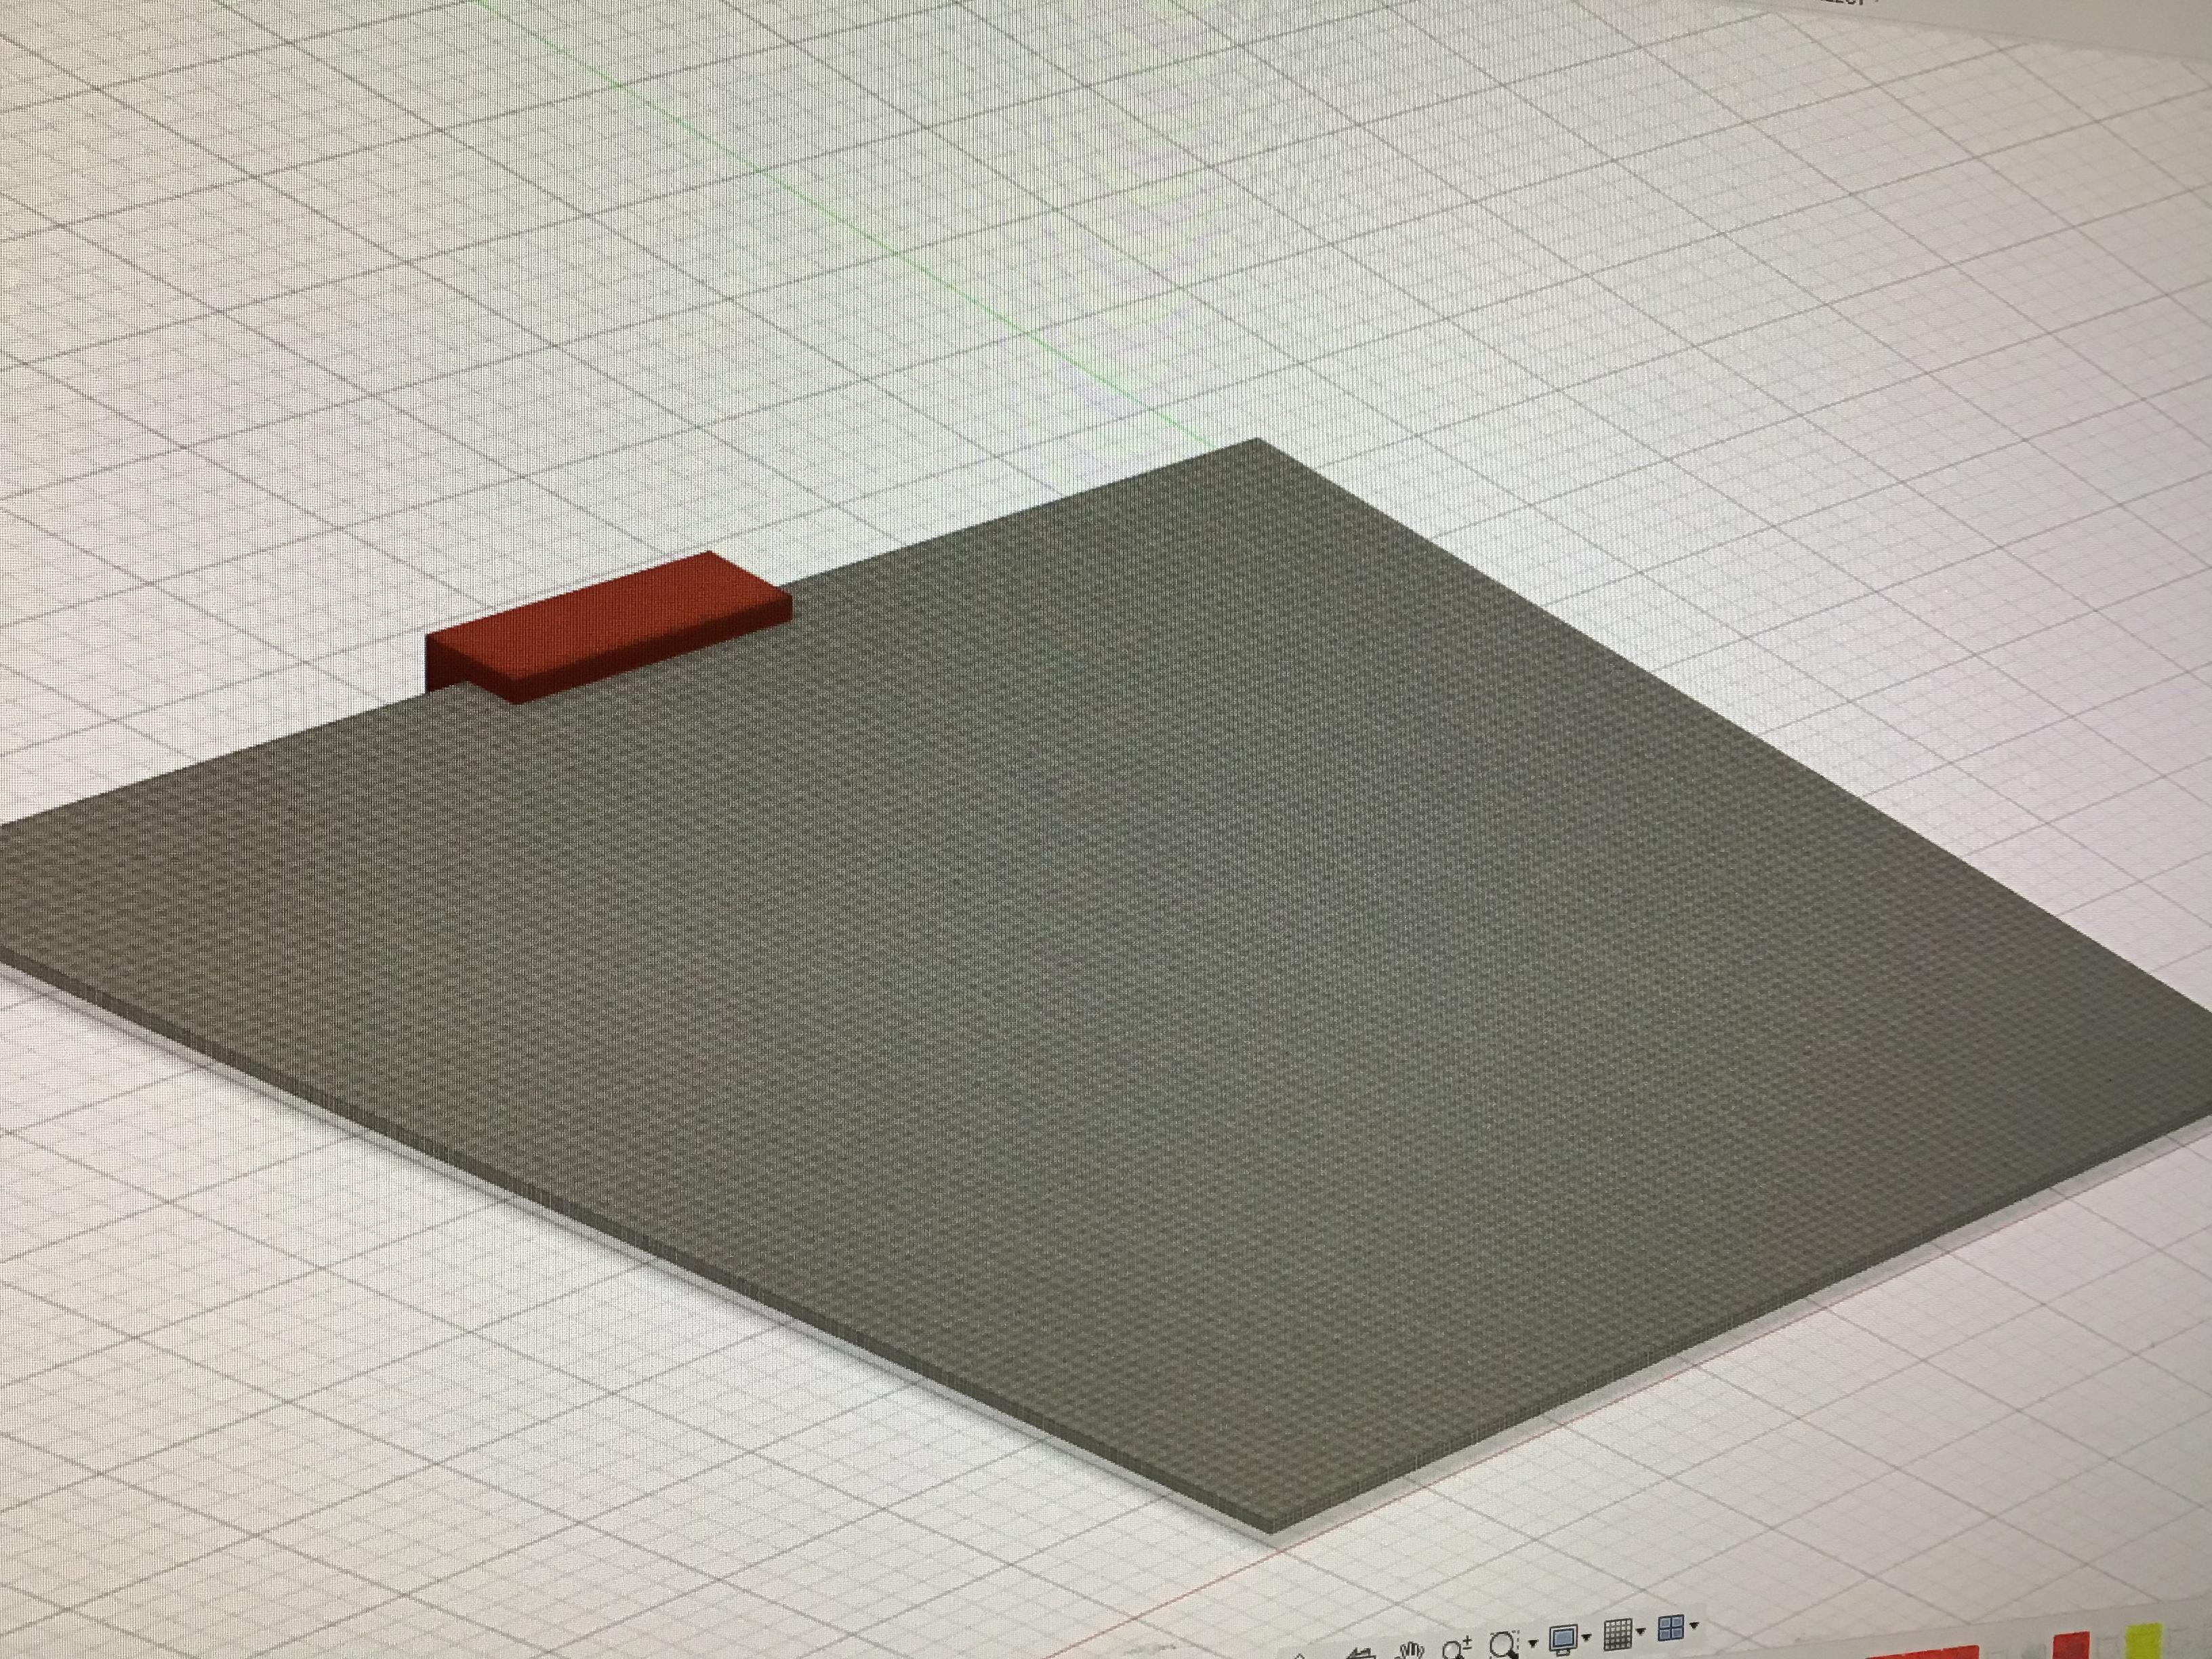
I created a rectangular prism with the dimensions of the largest canvas I would be working with as something to model my frame onto. Doing this is completely optional, but it was very useful for me because being able to see each component--even if it's something that's not being printed, like a painting--helps me visualize the final product.
Create MANY Prototypes
I had many ideas, most of which produced undesirable results. The big issue I saw with the ones that failed was that the painting kept leaning off the wall, since only the bottom was securely attached to the wall. The idea that I entertained the longest was to have a hole in the top piece that would allow it to move up and down along a wooden dowel, but I realized that for the smaller canvas sizes there would be a long unappealing piece of wood sticking out of the top of the painting, since it would also need to be big enough to fit the larger canvas sizes. Regardless of how badly it turned out, this idea is what led me to the final design of this project.
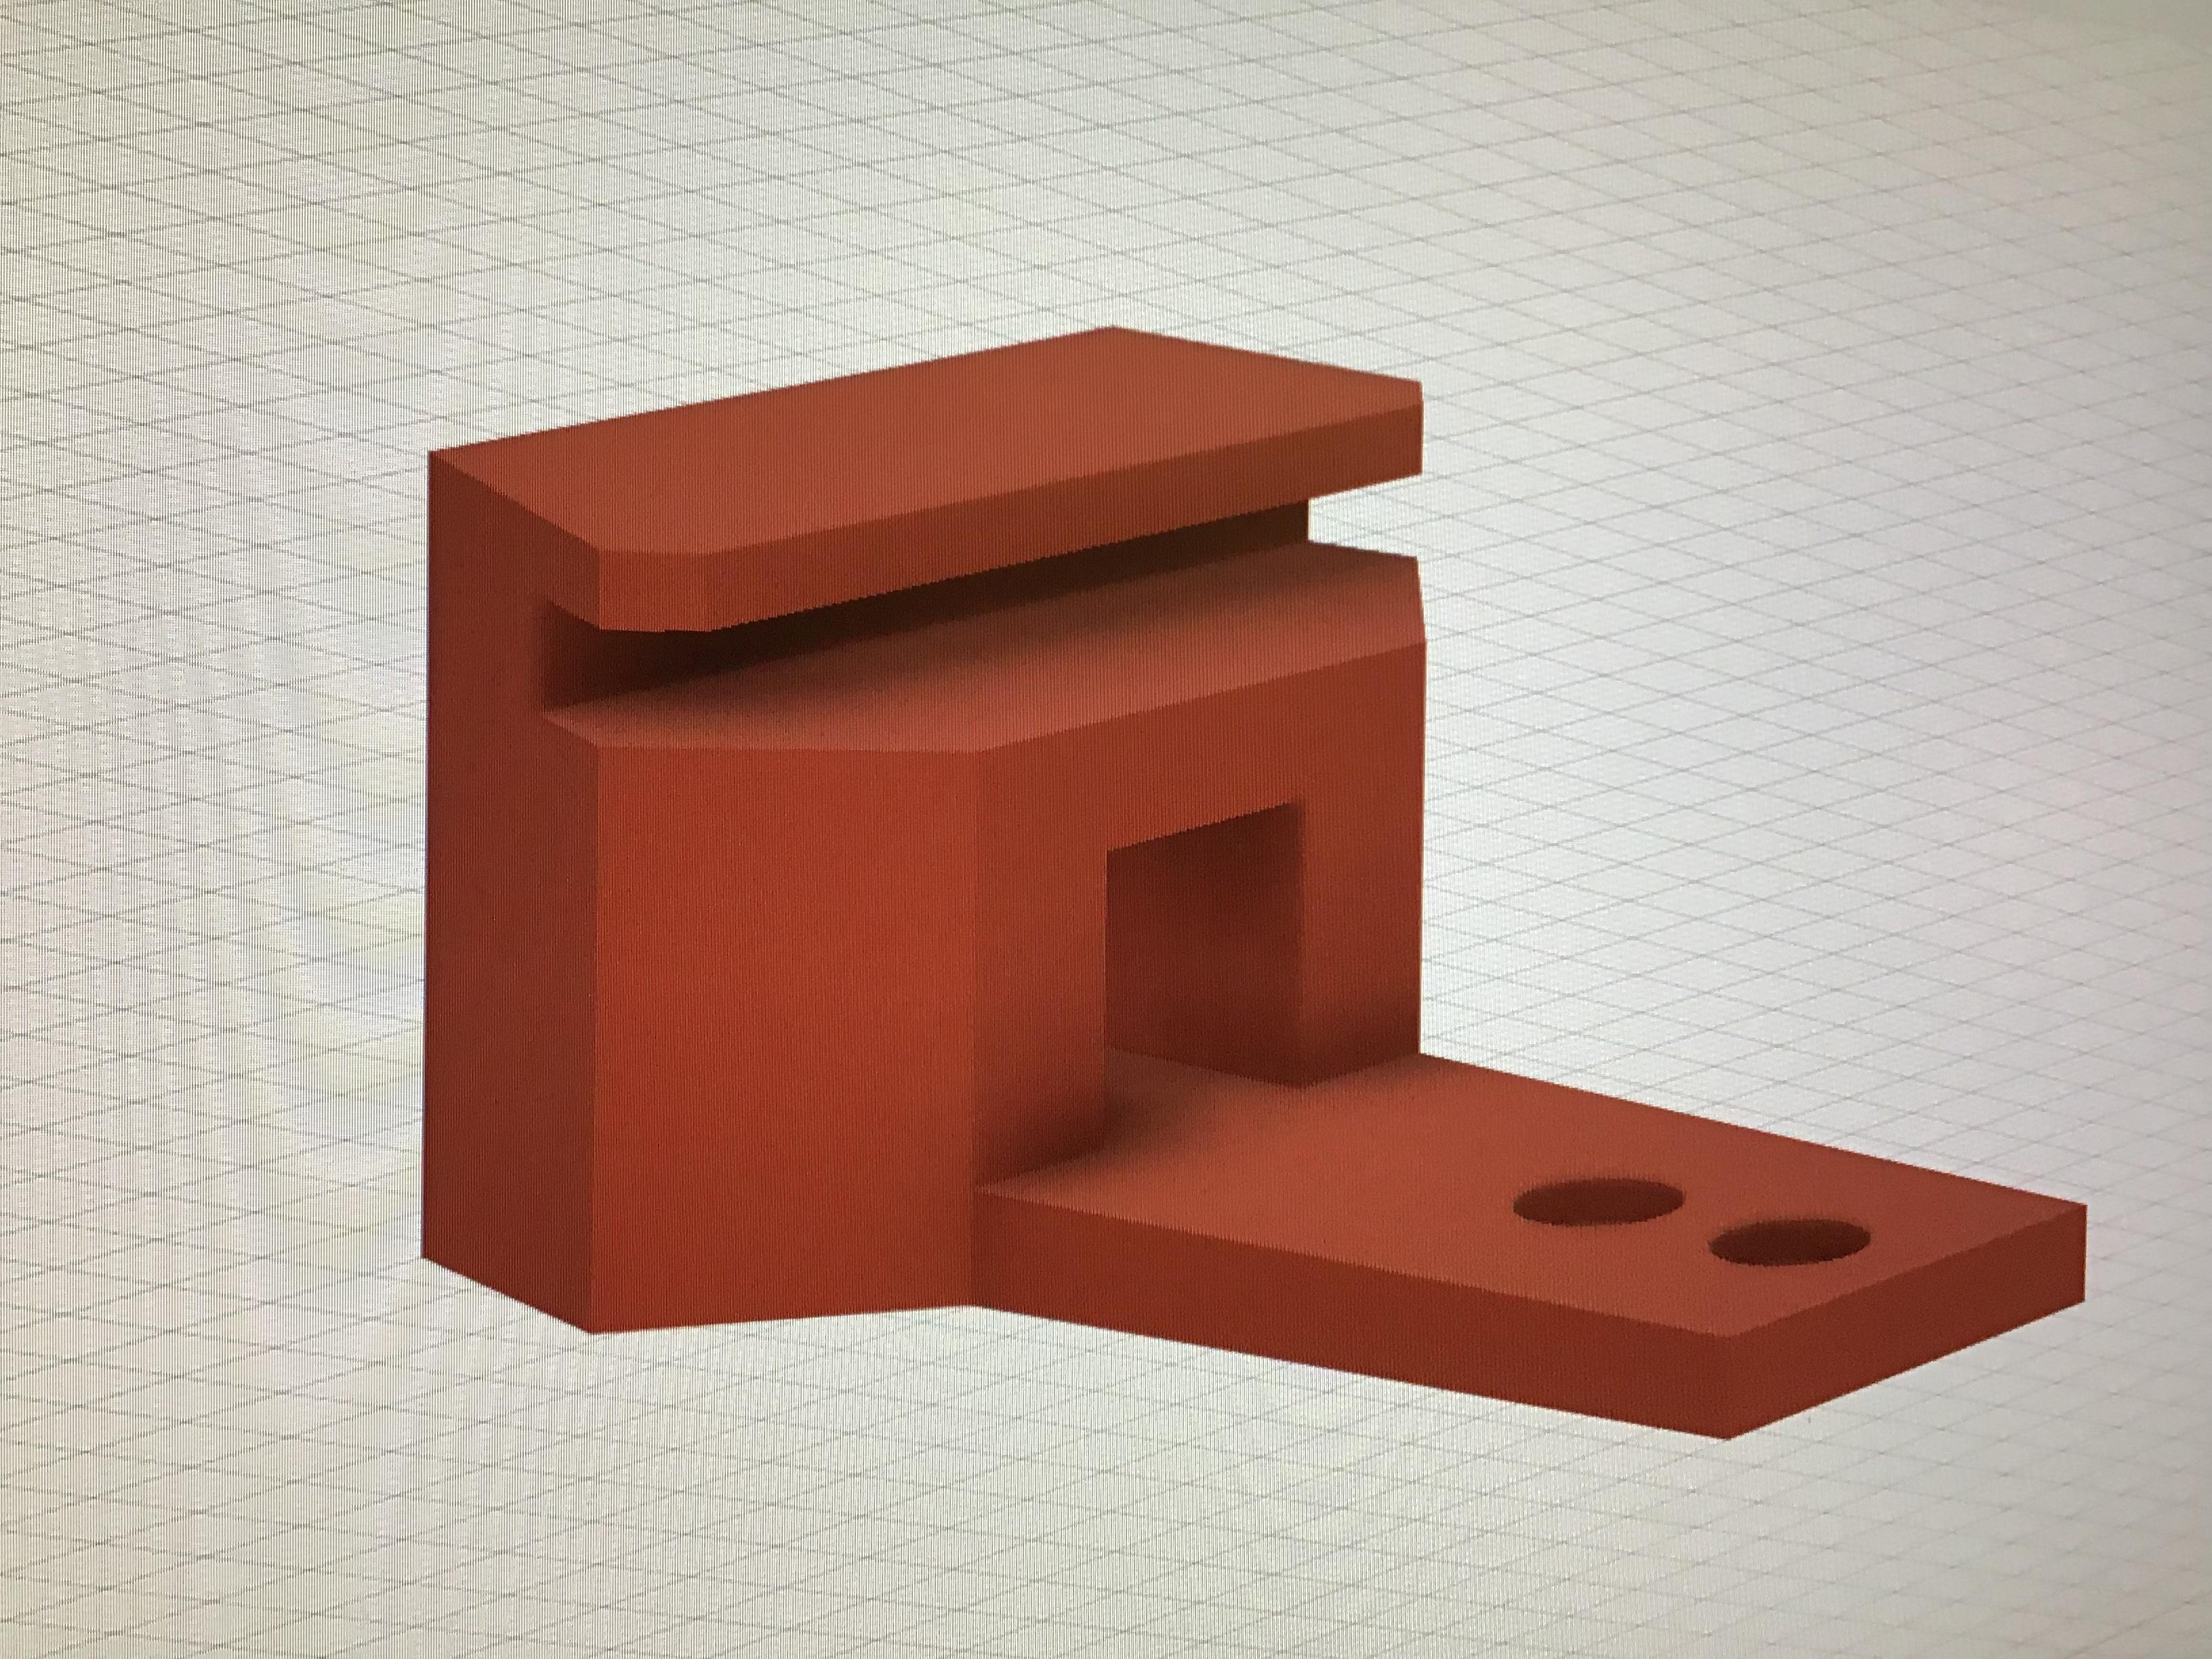
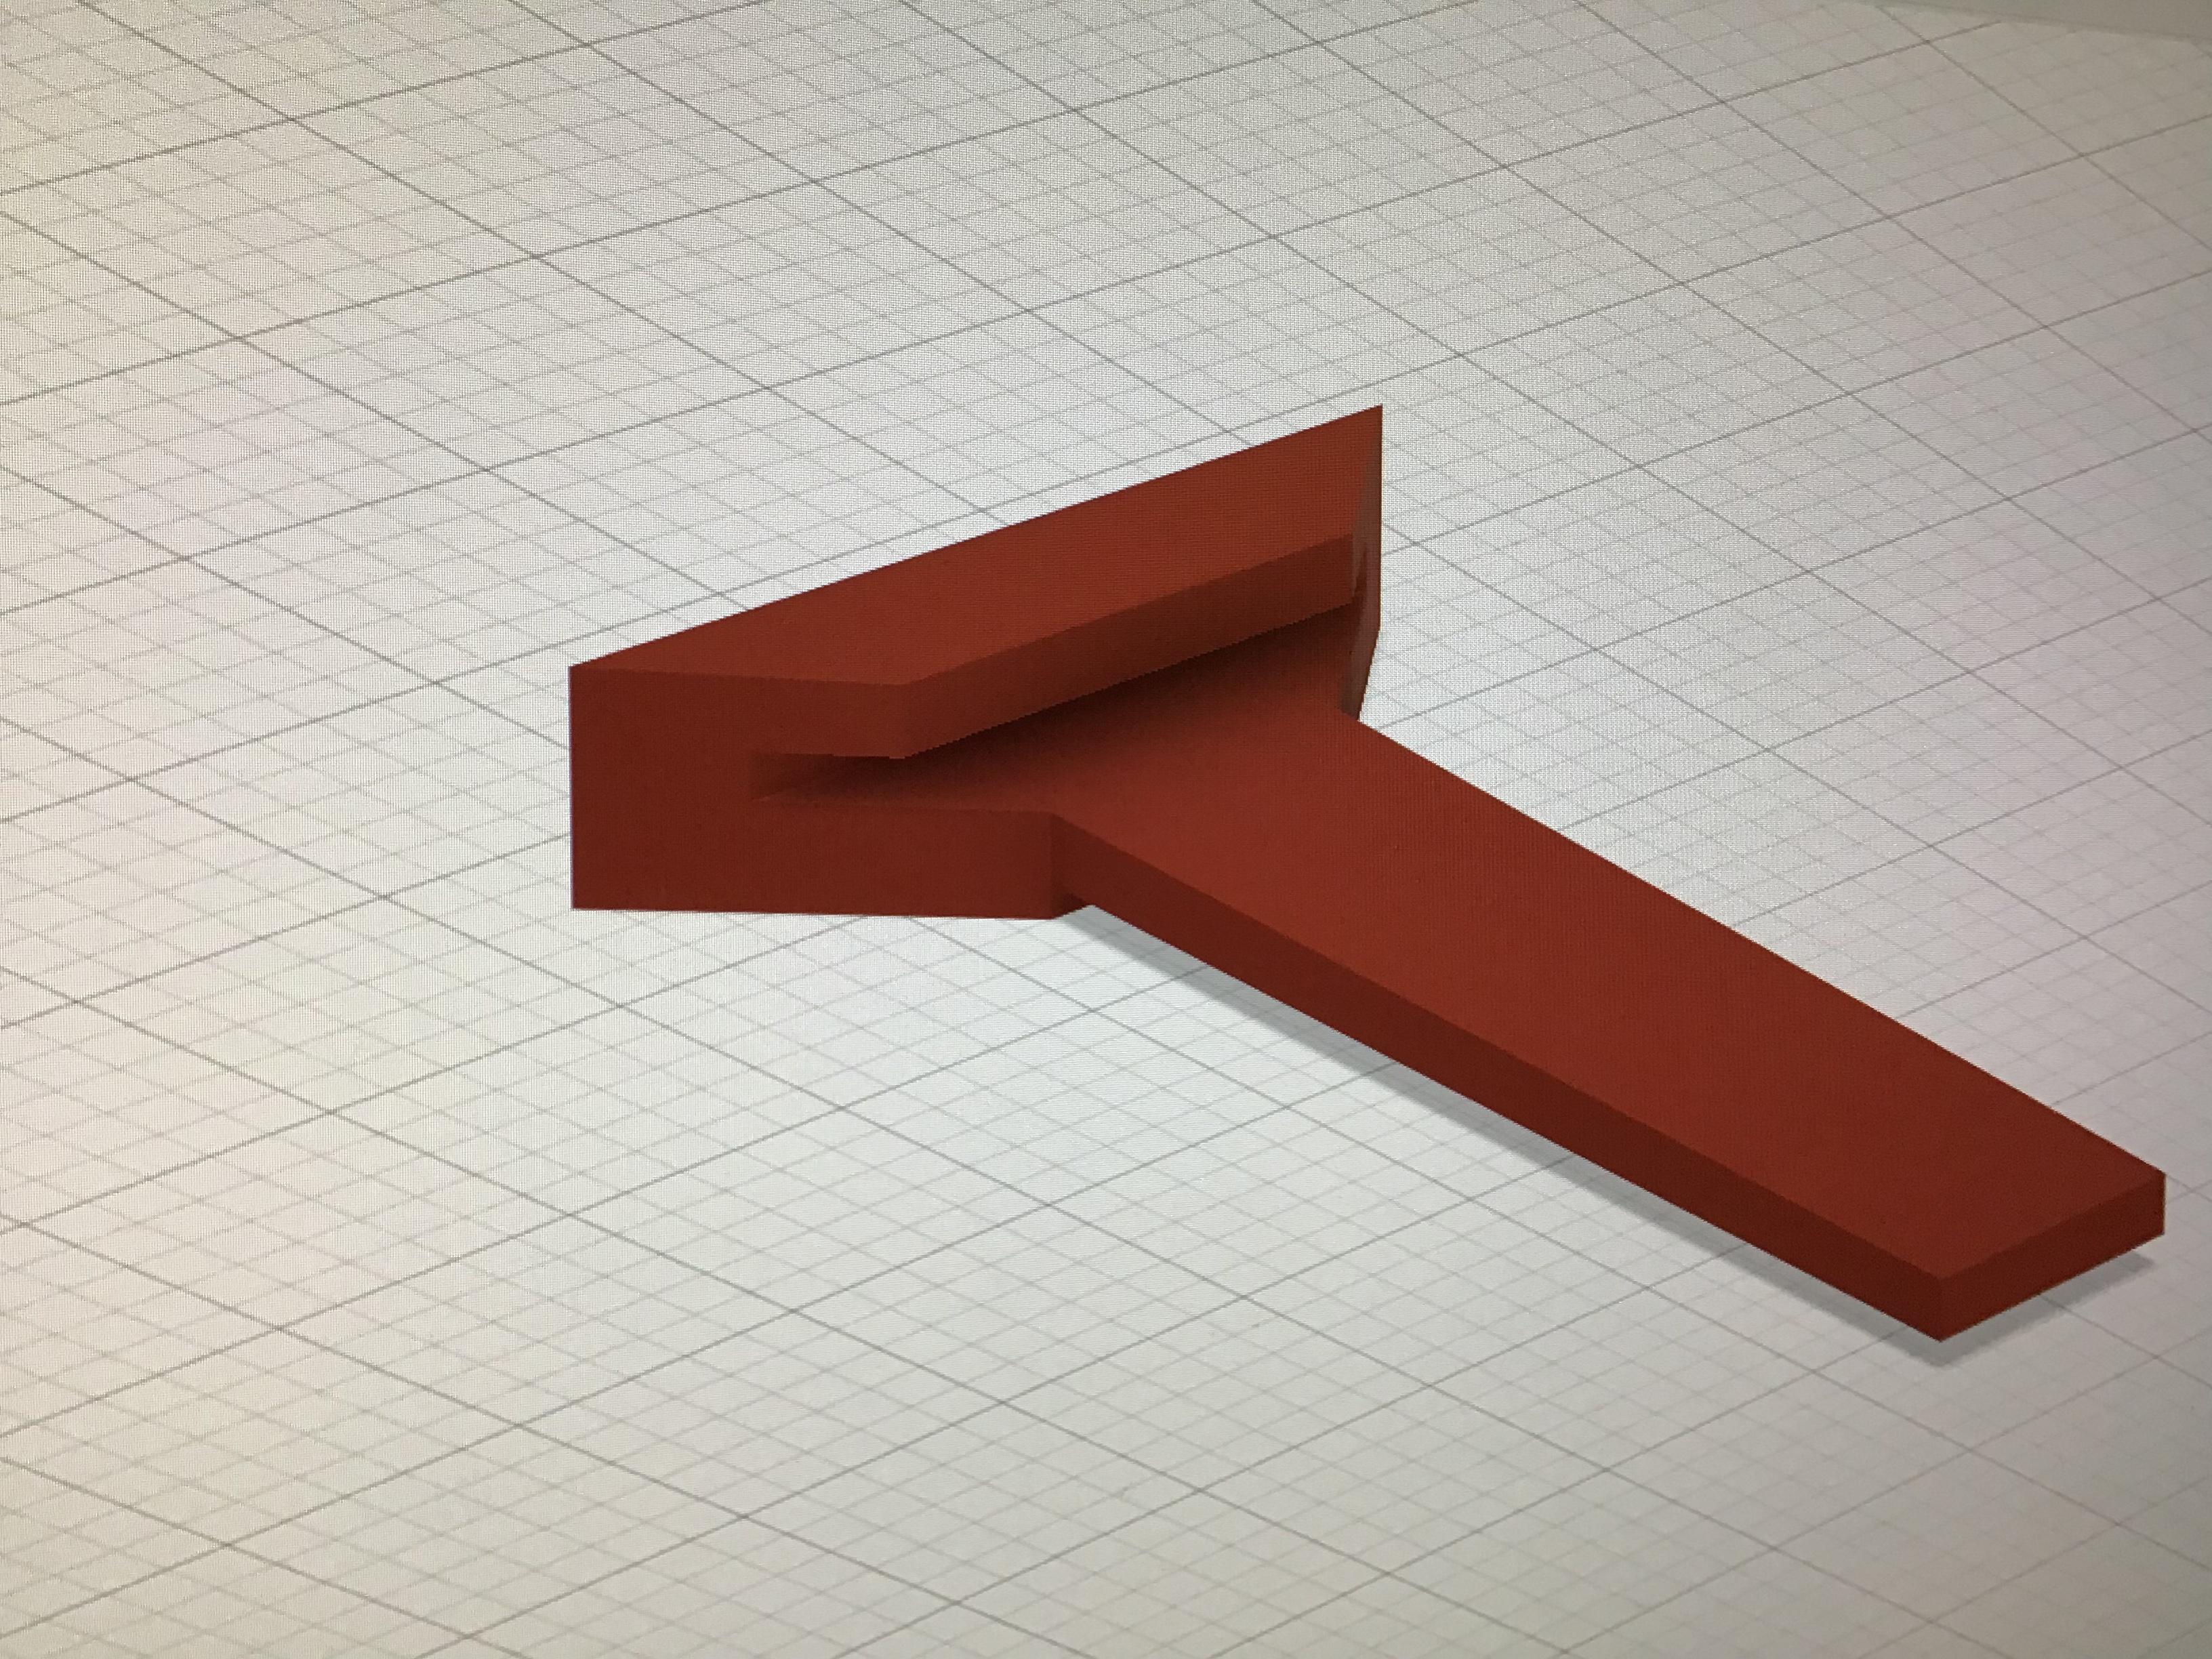
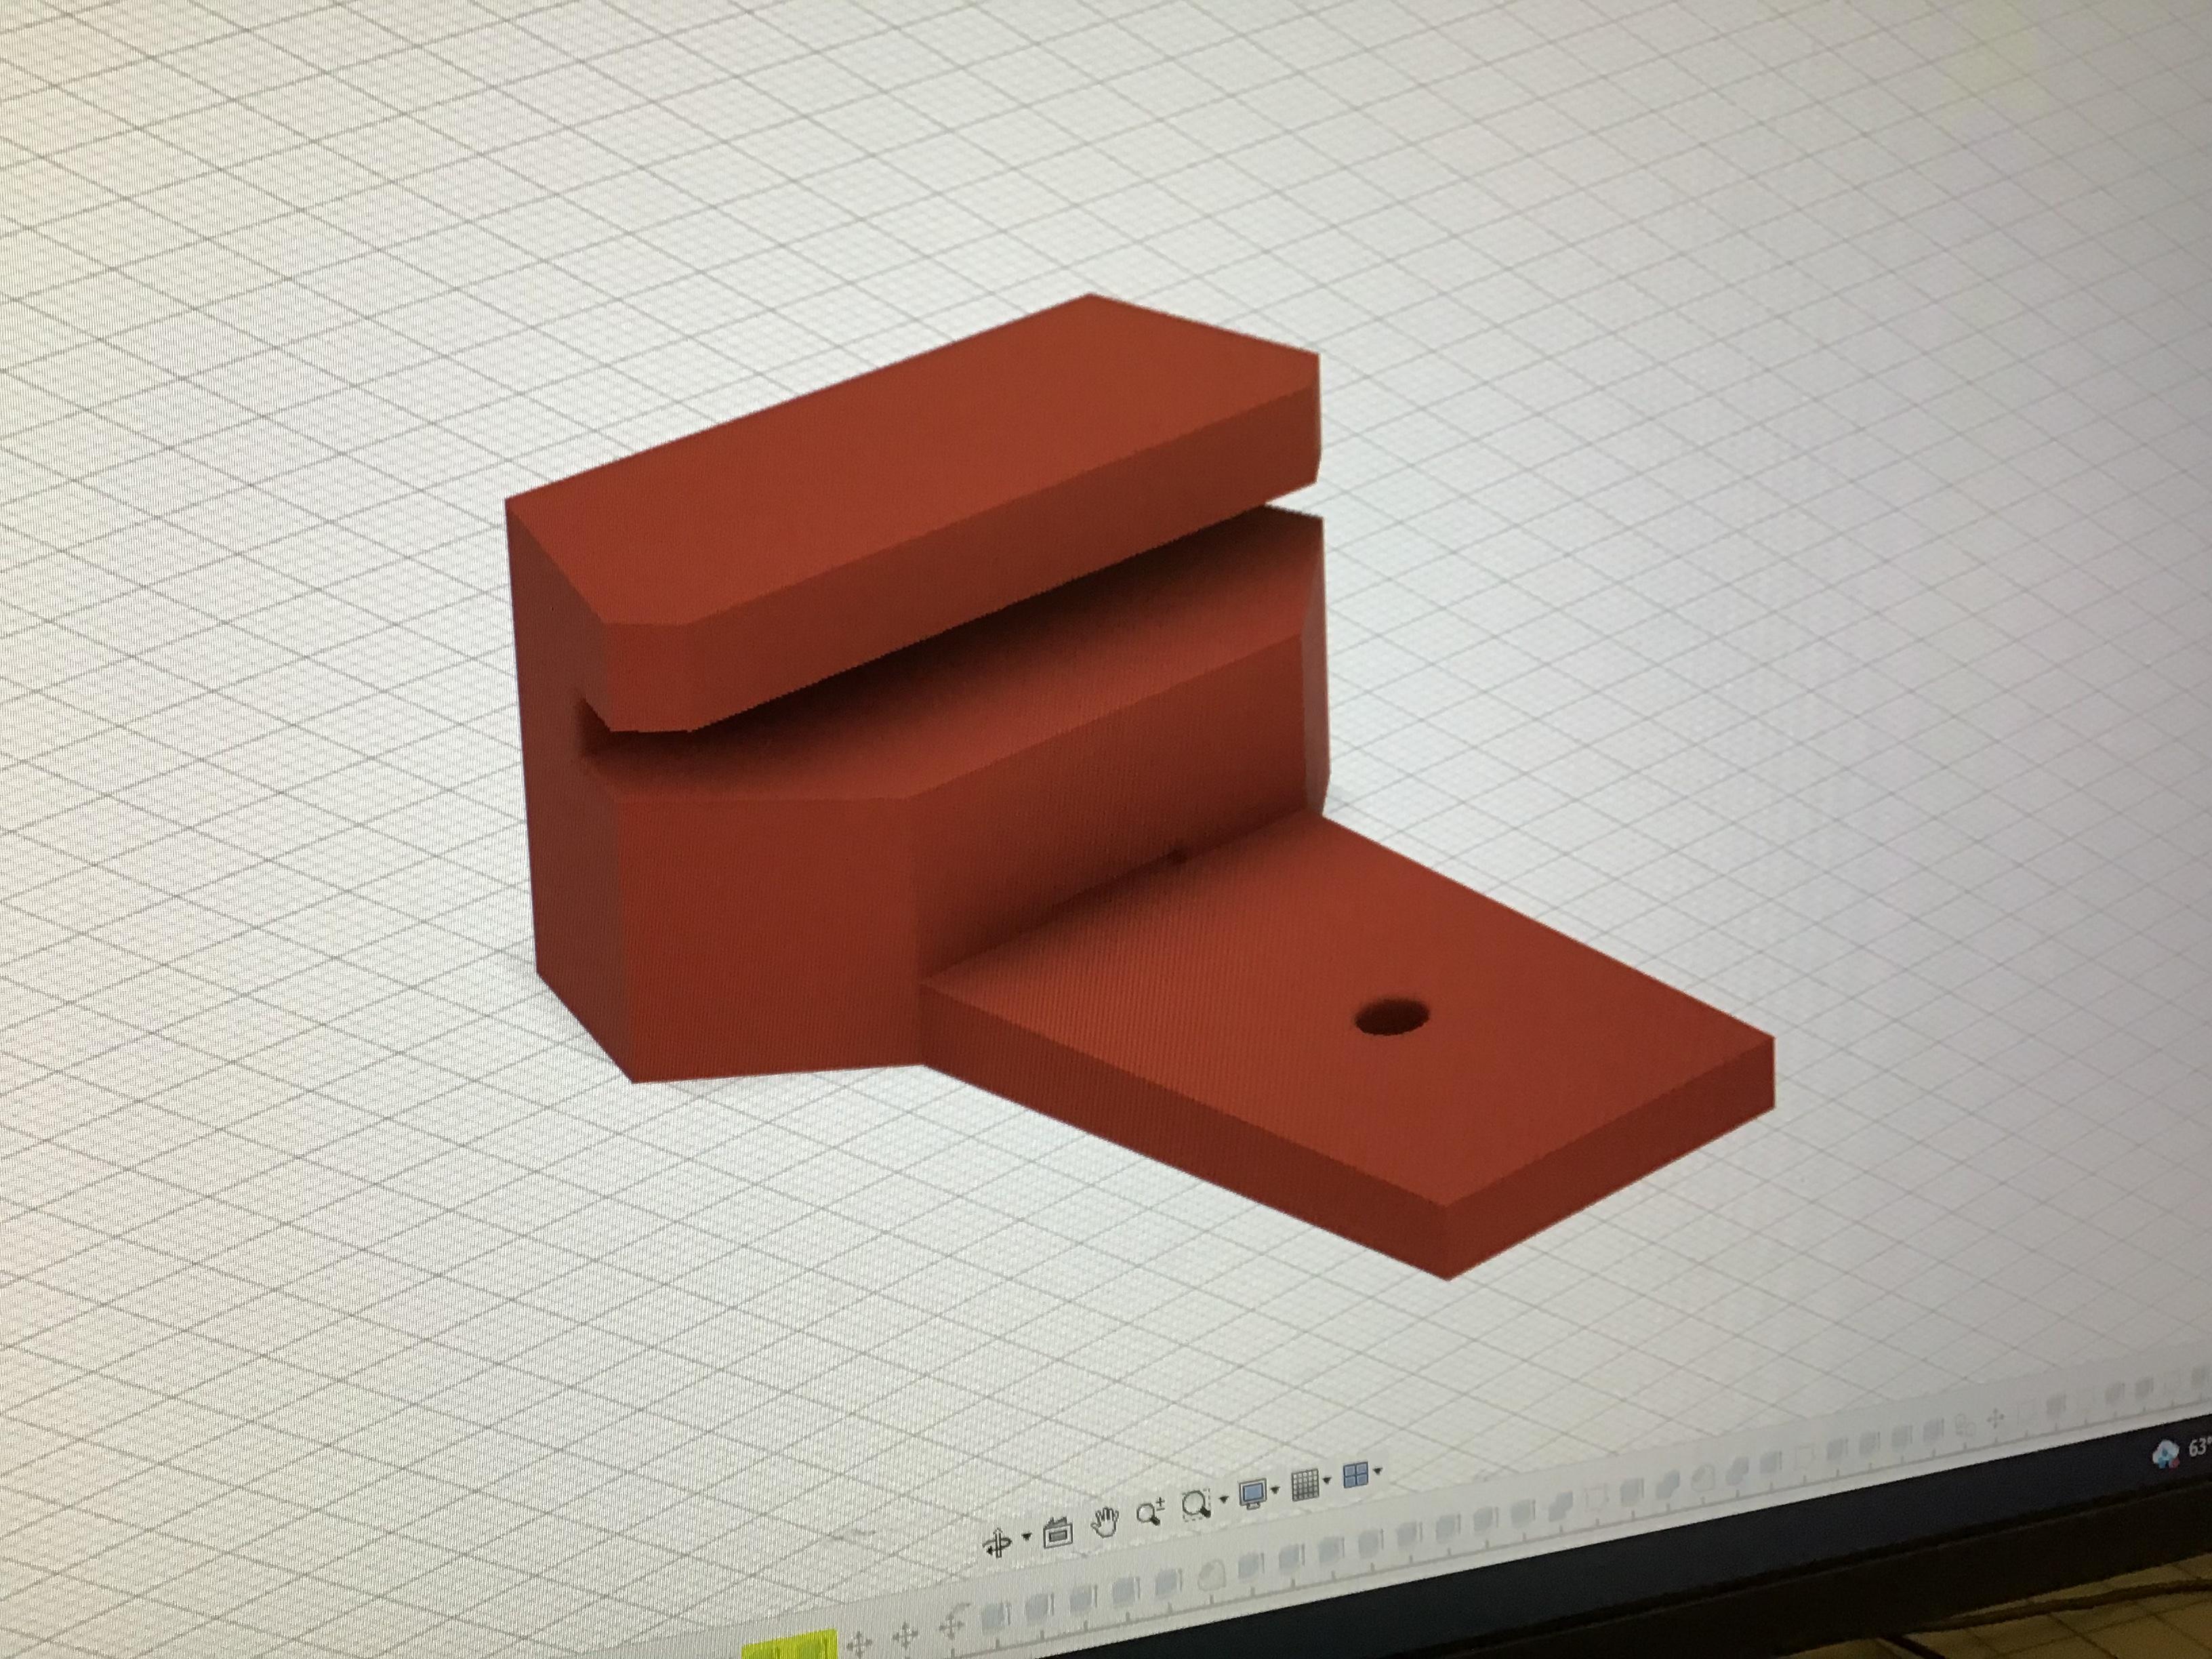
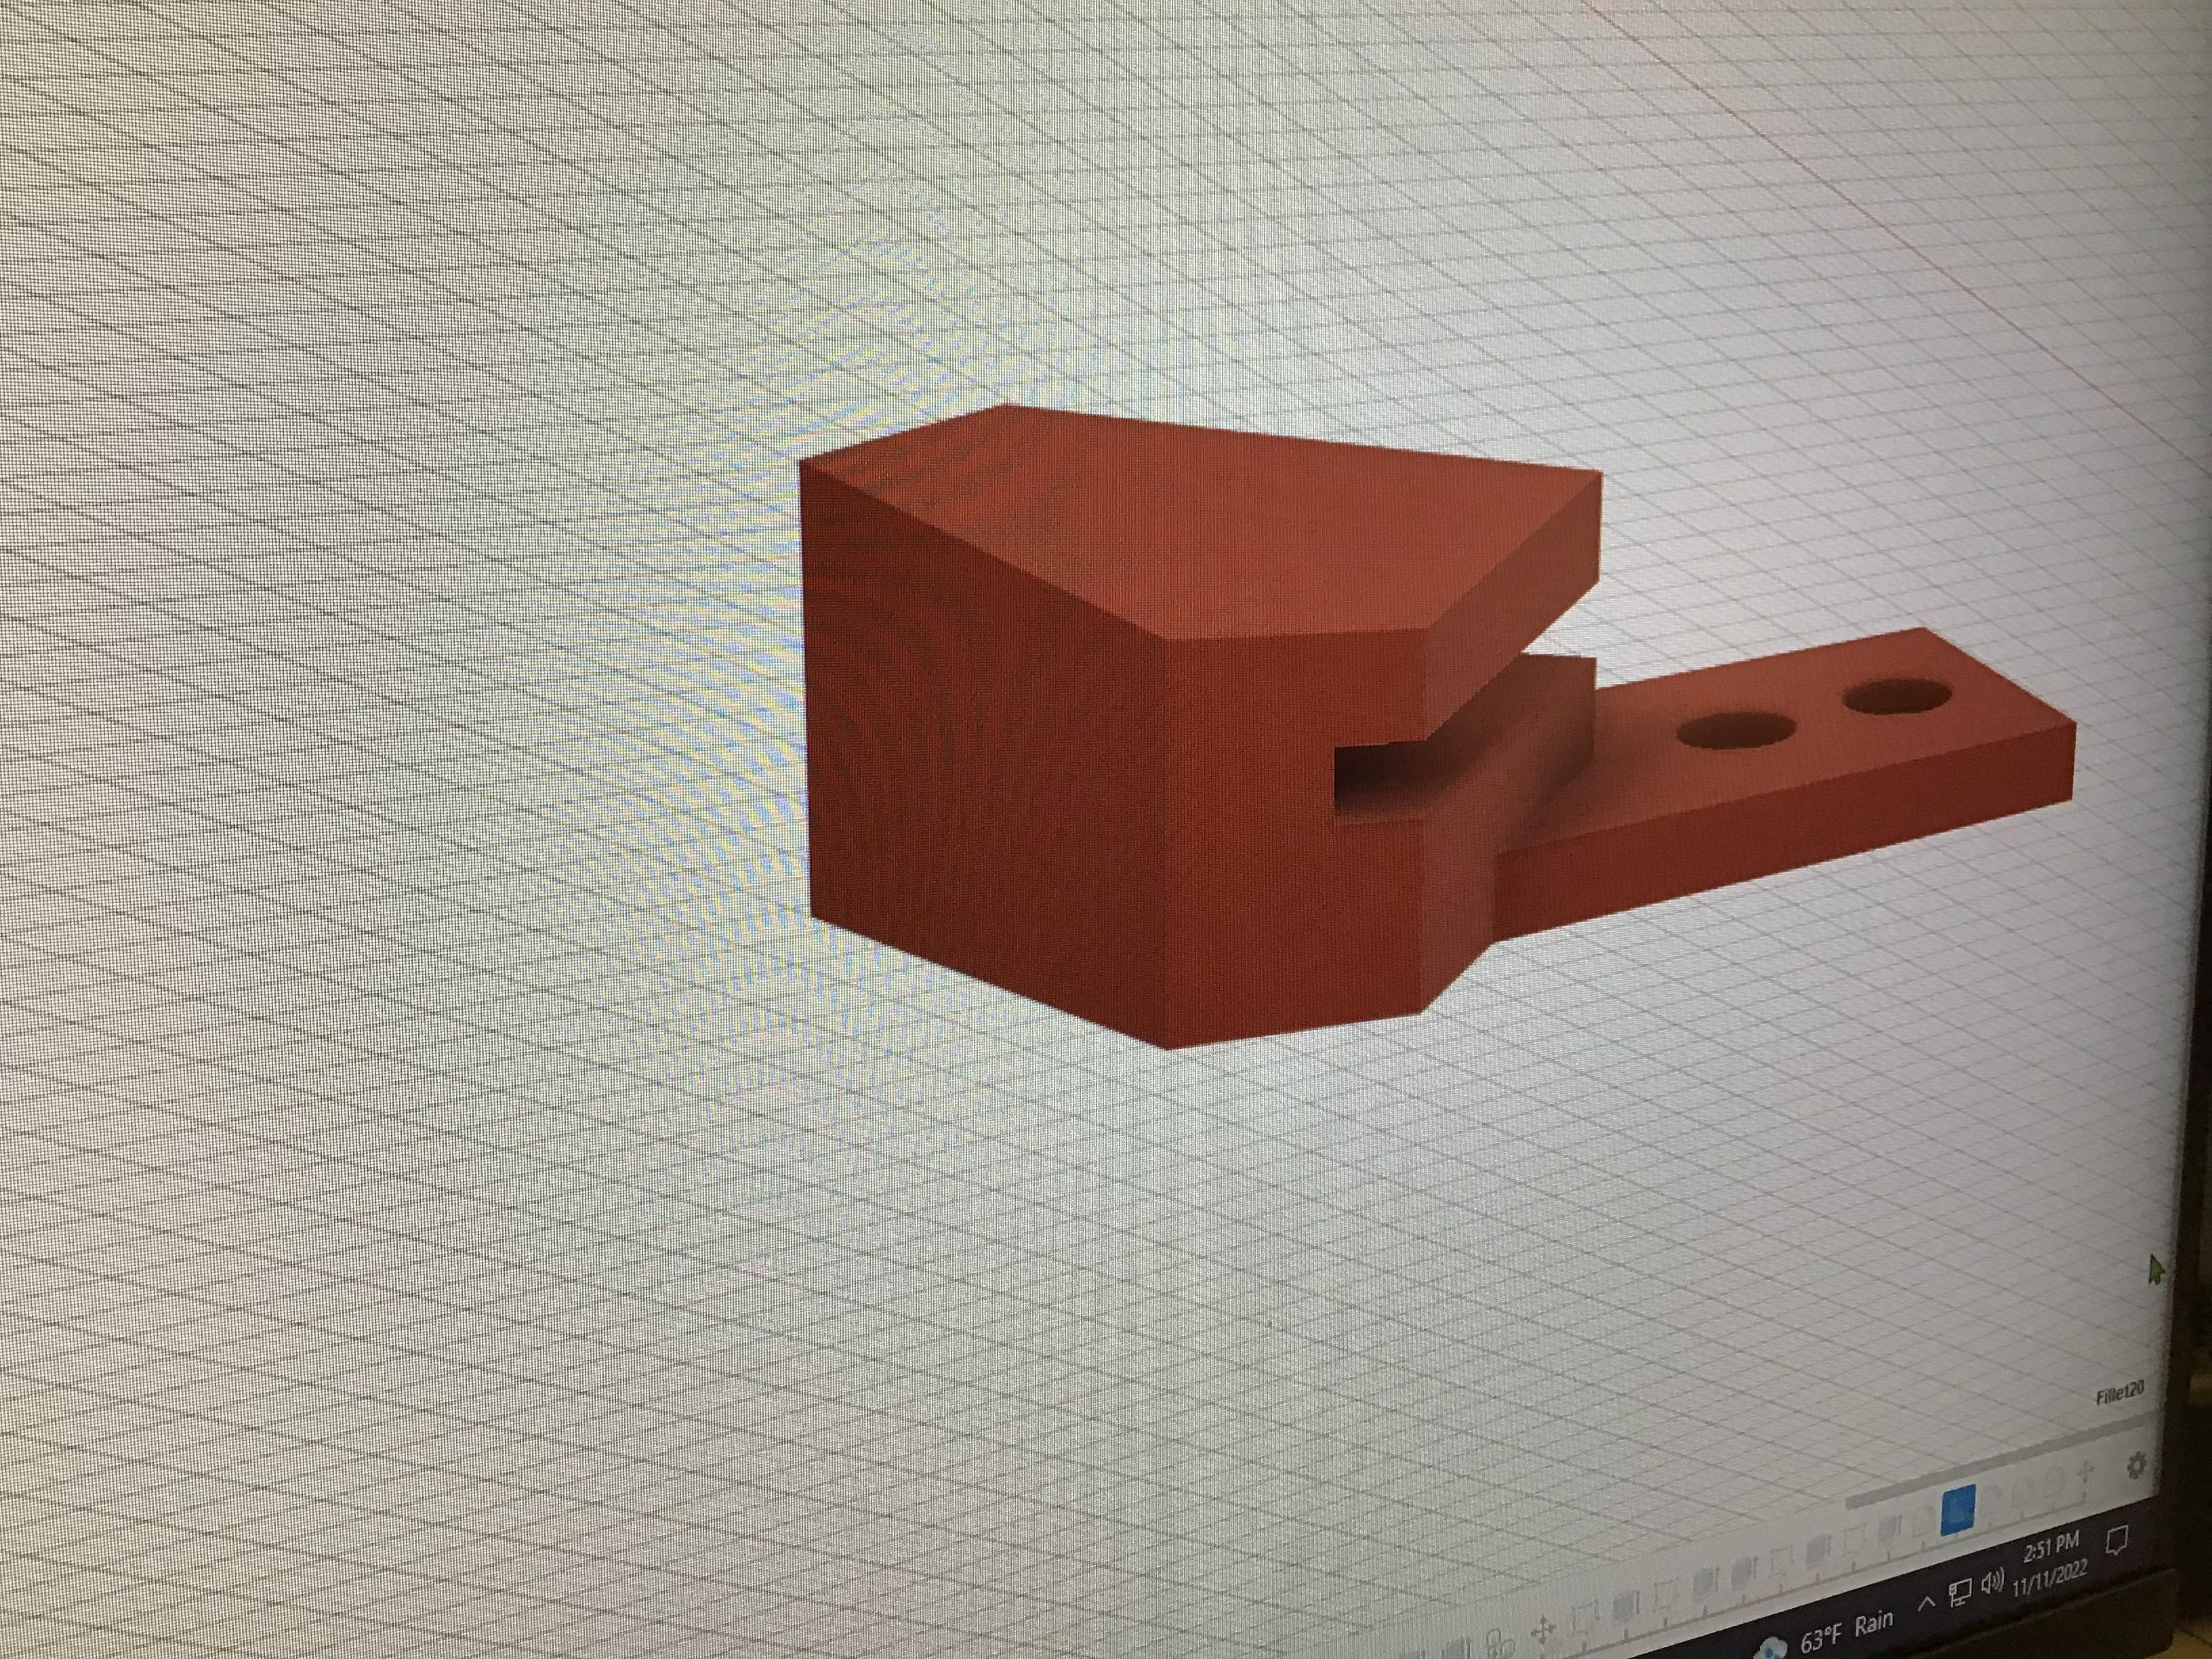
The Best Option
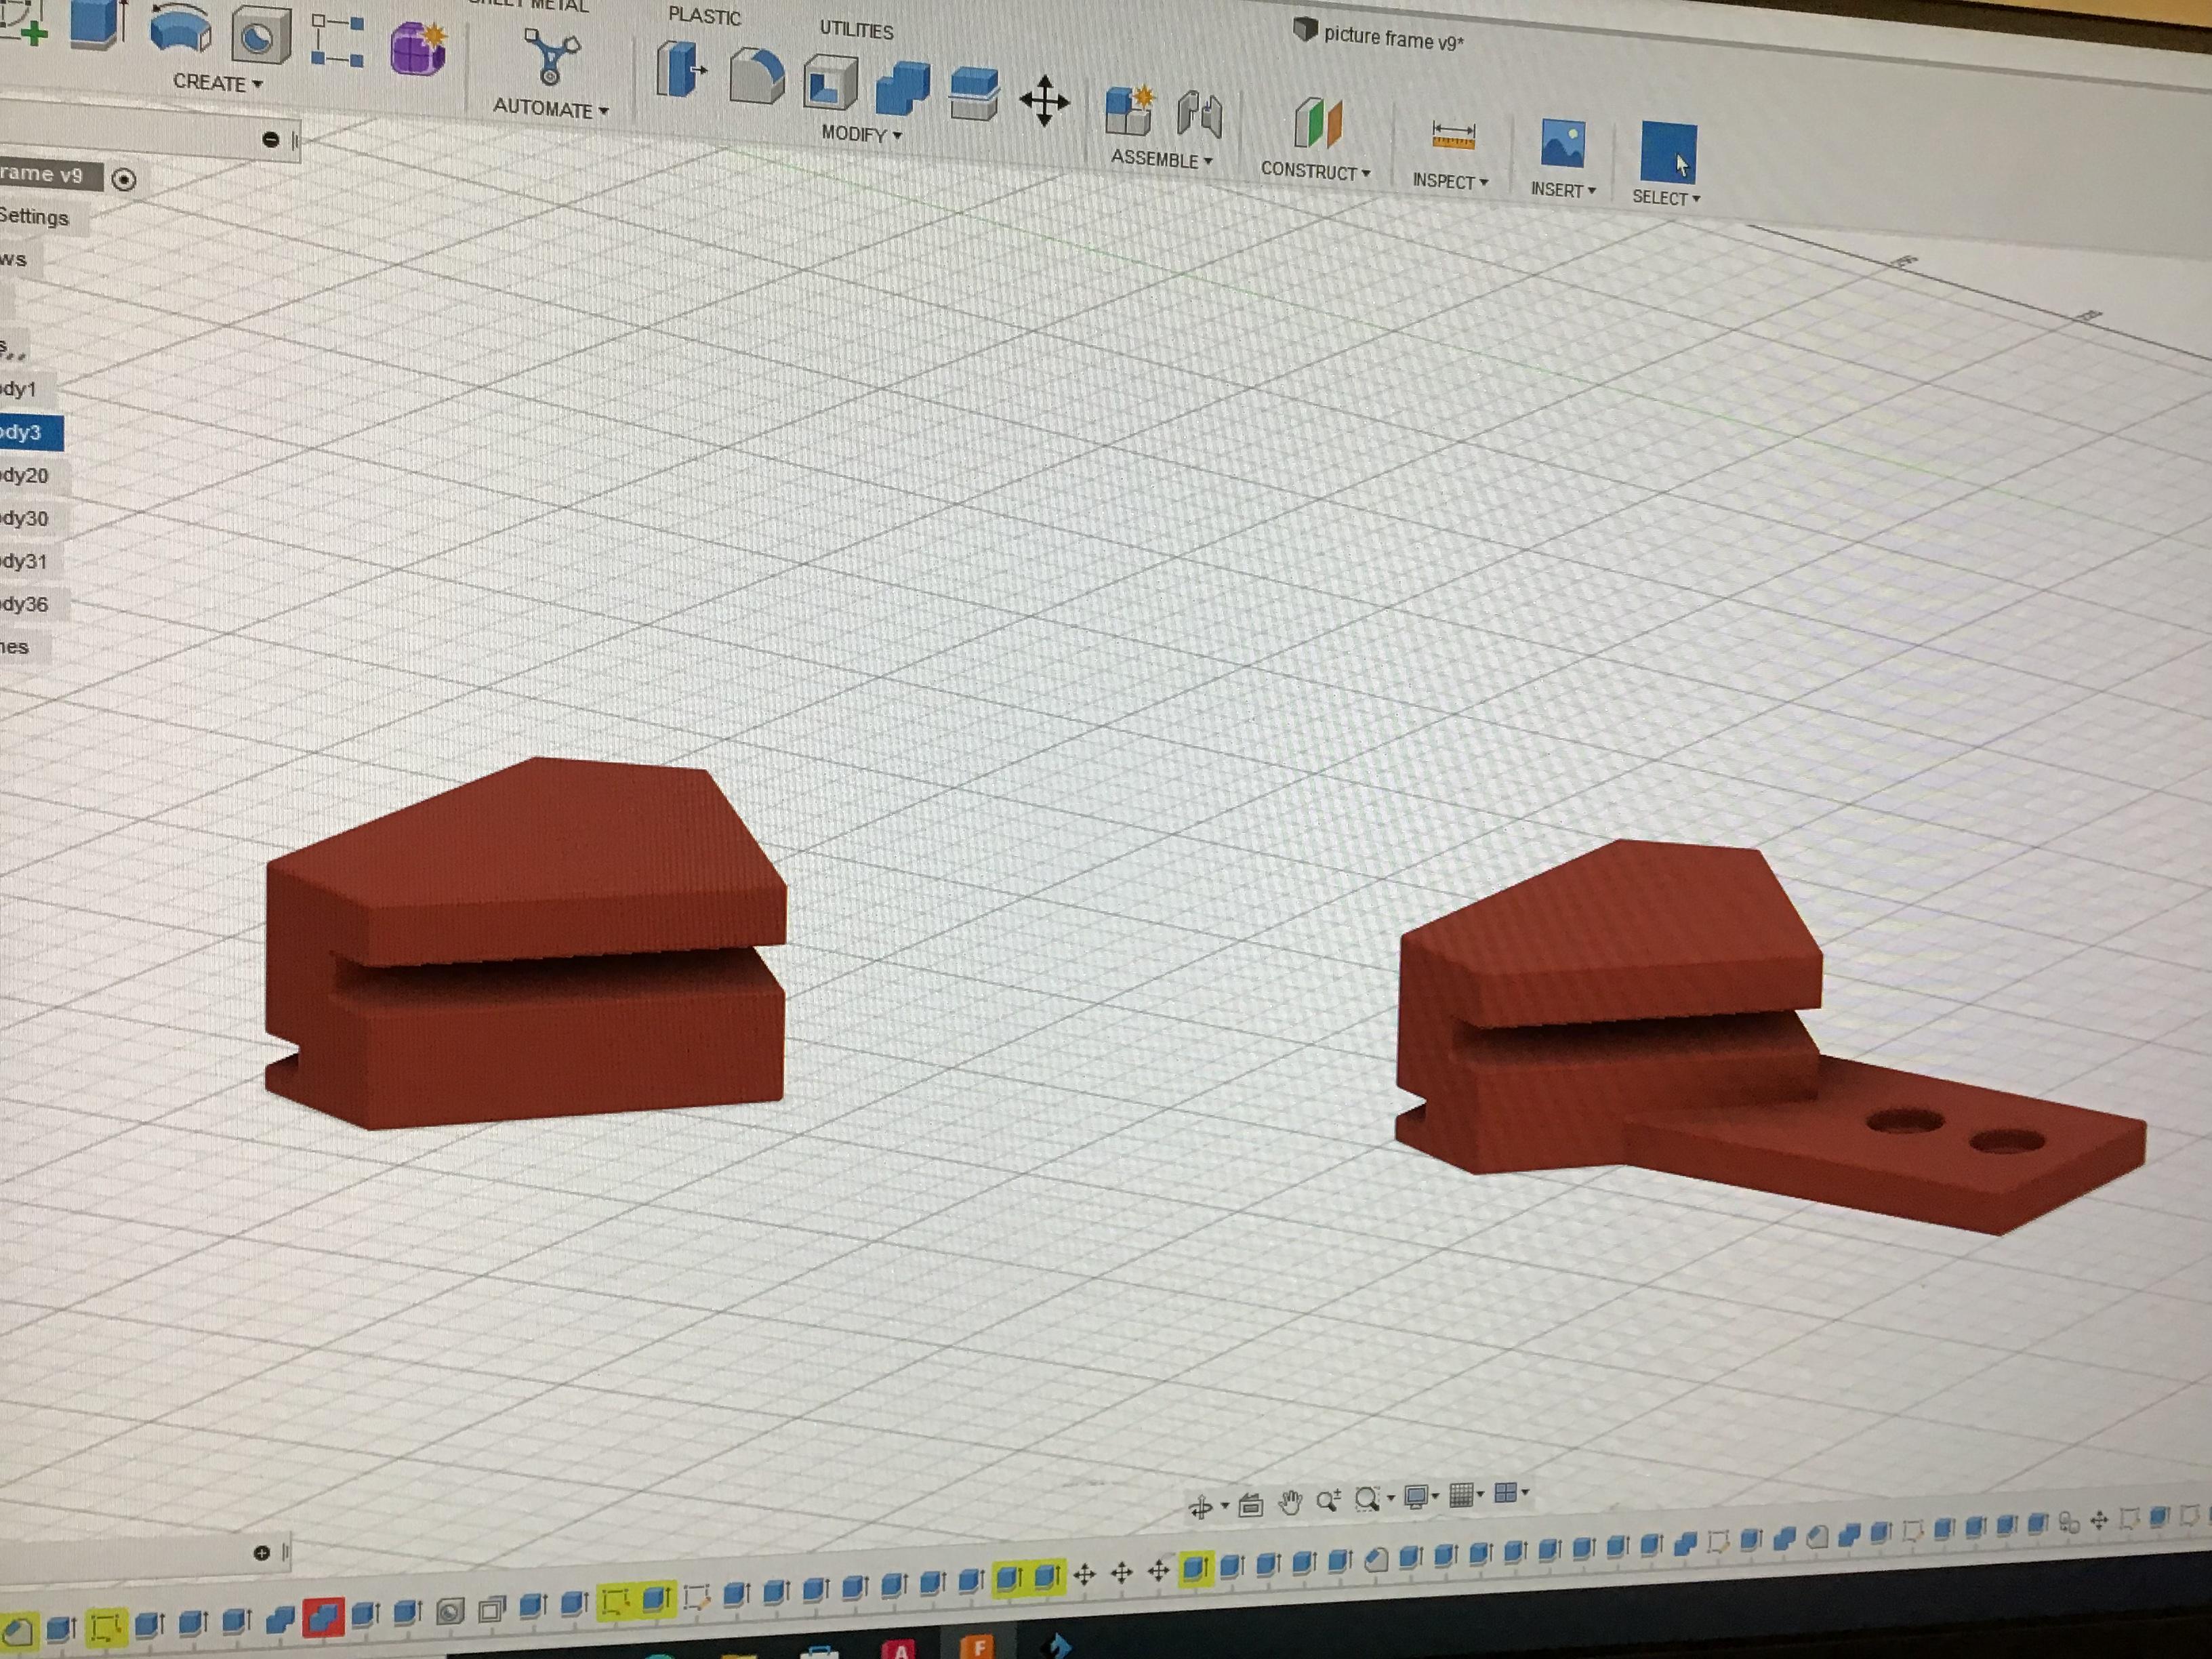
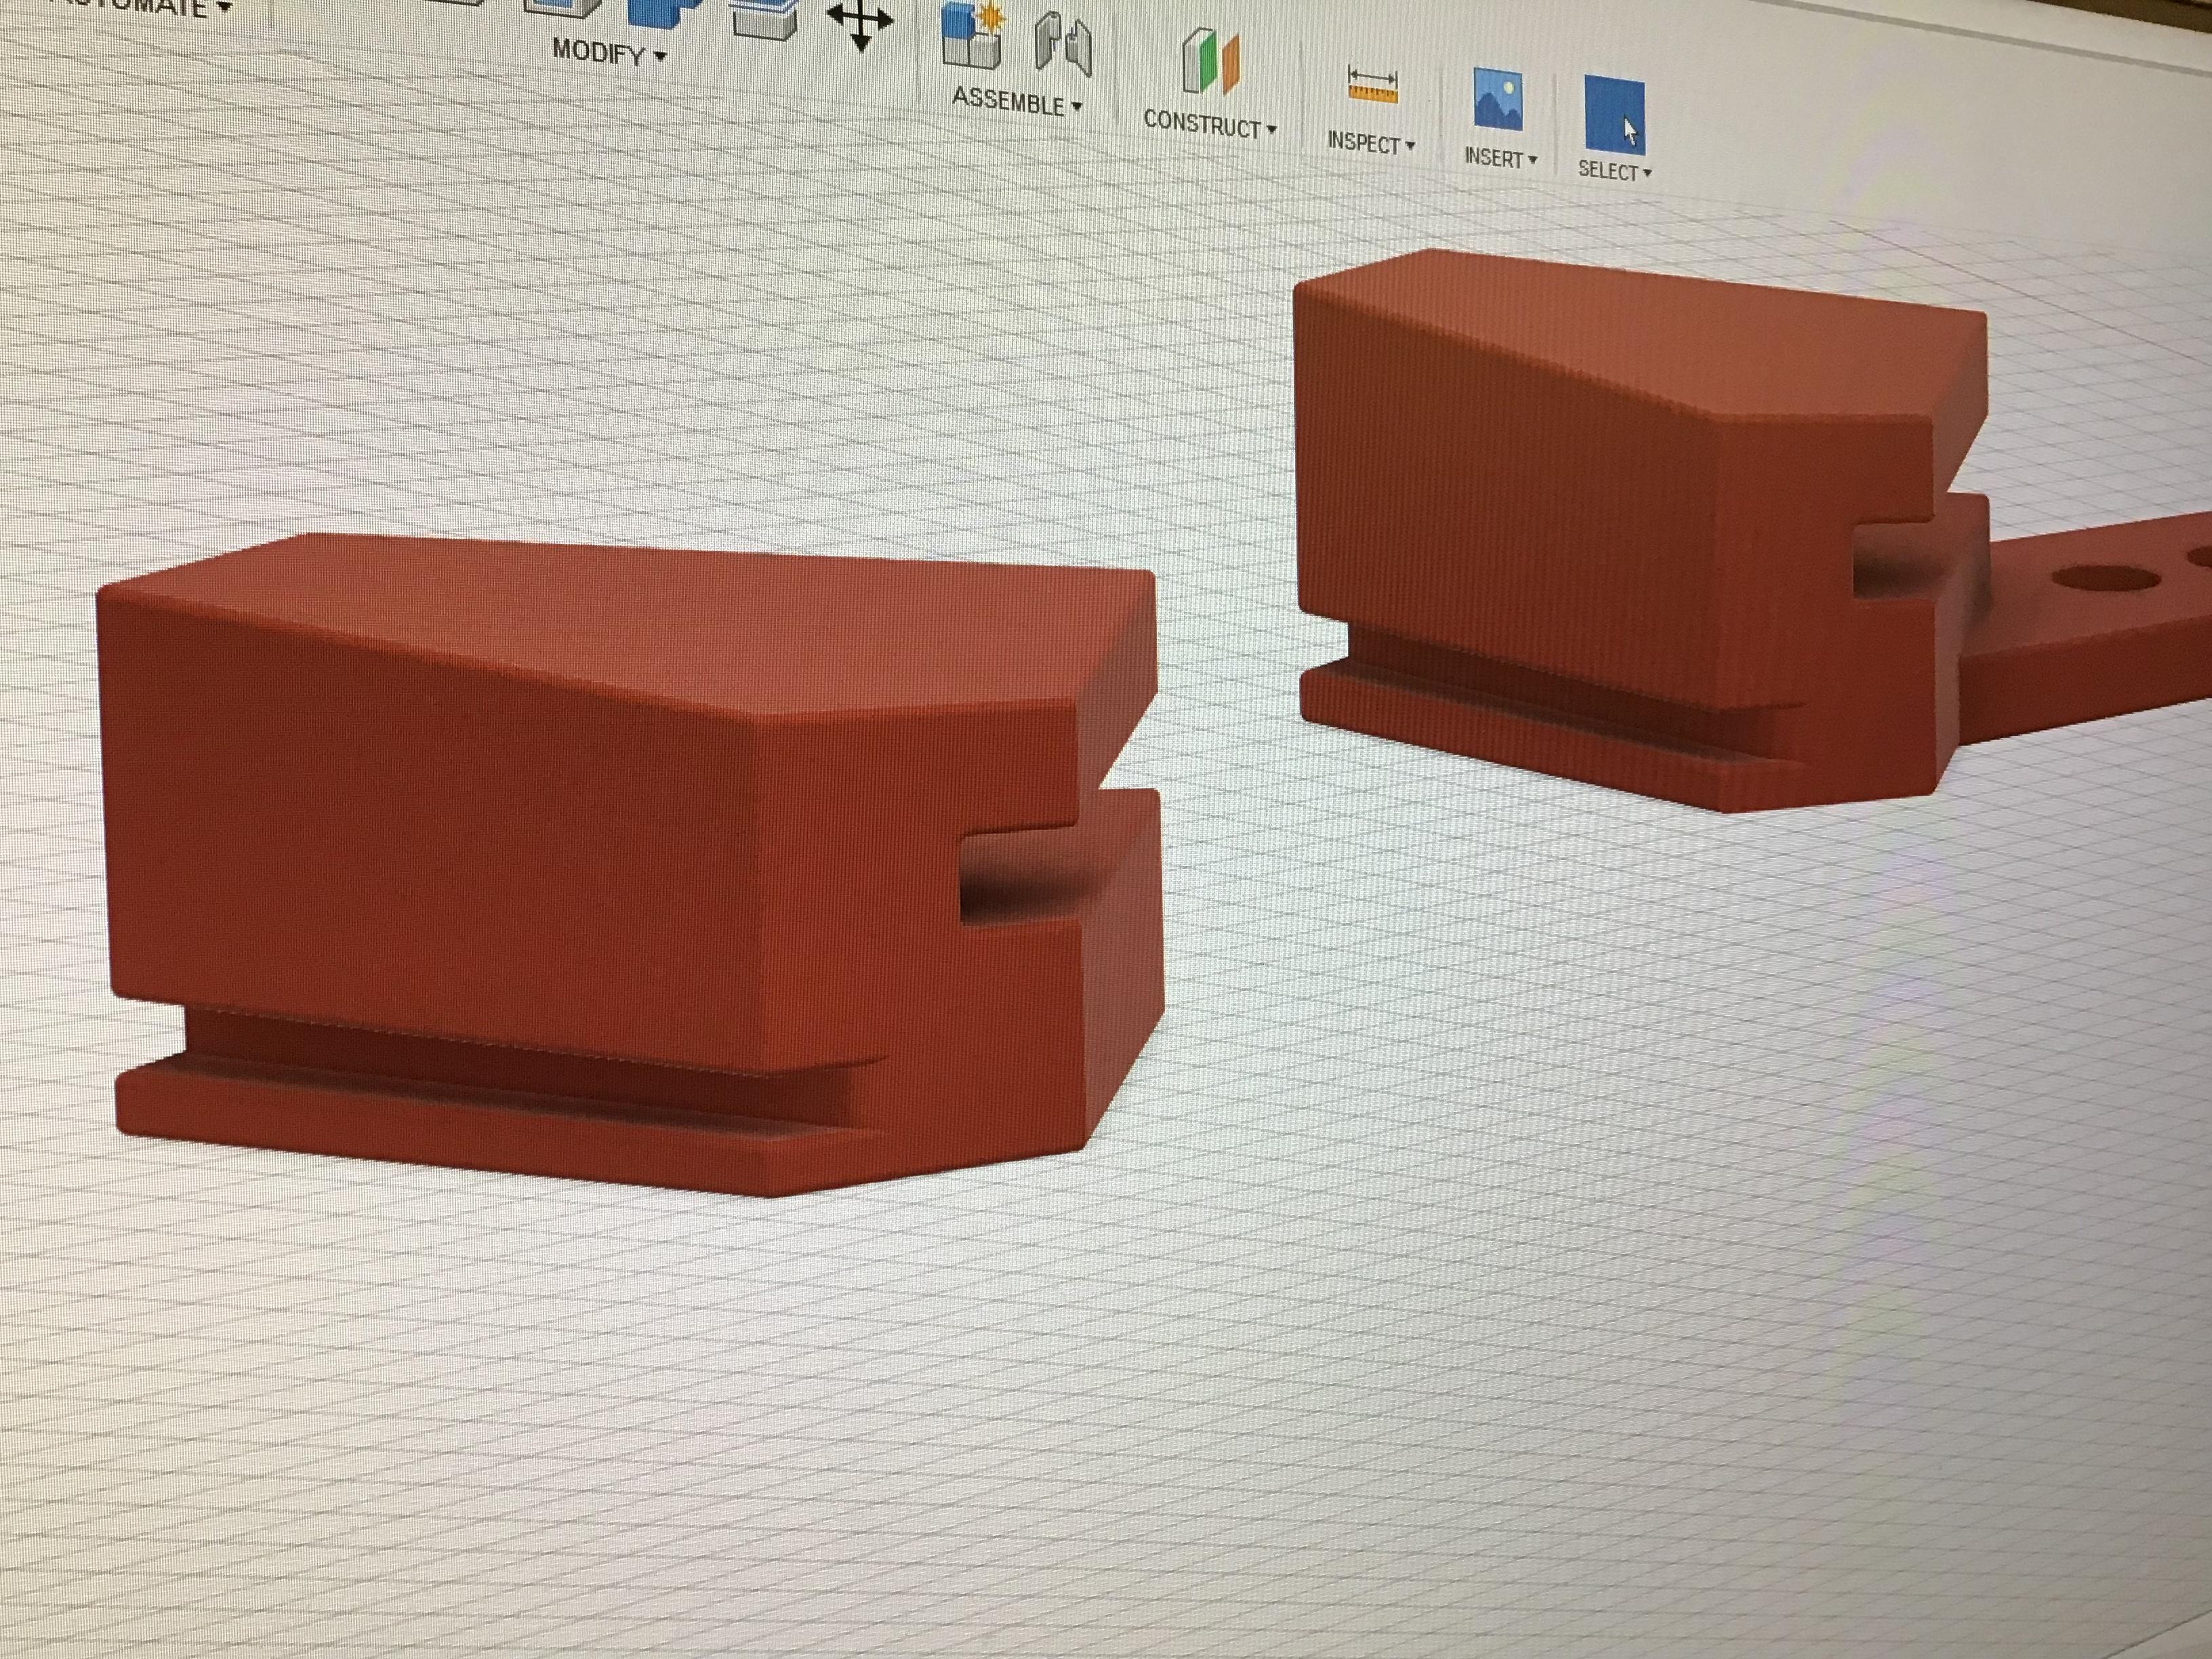
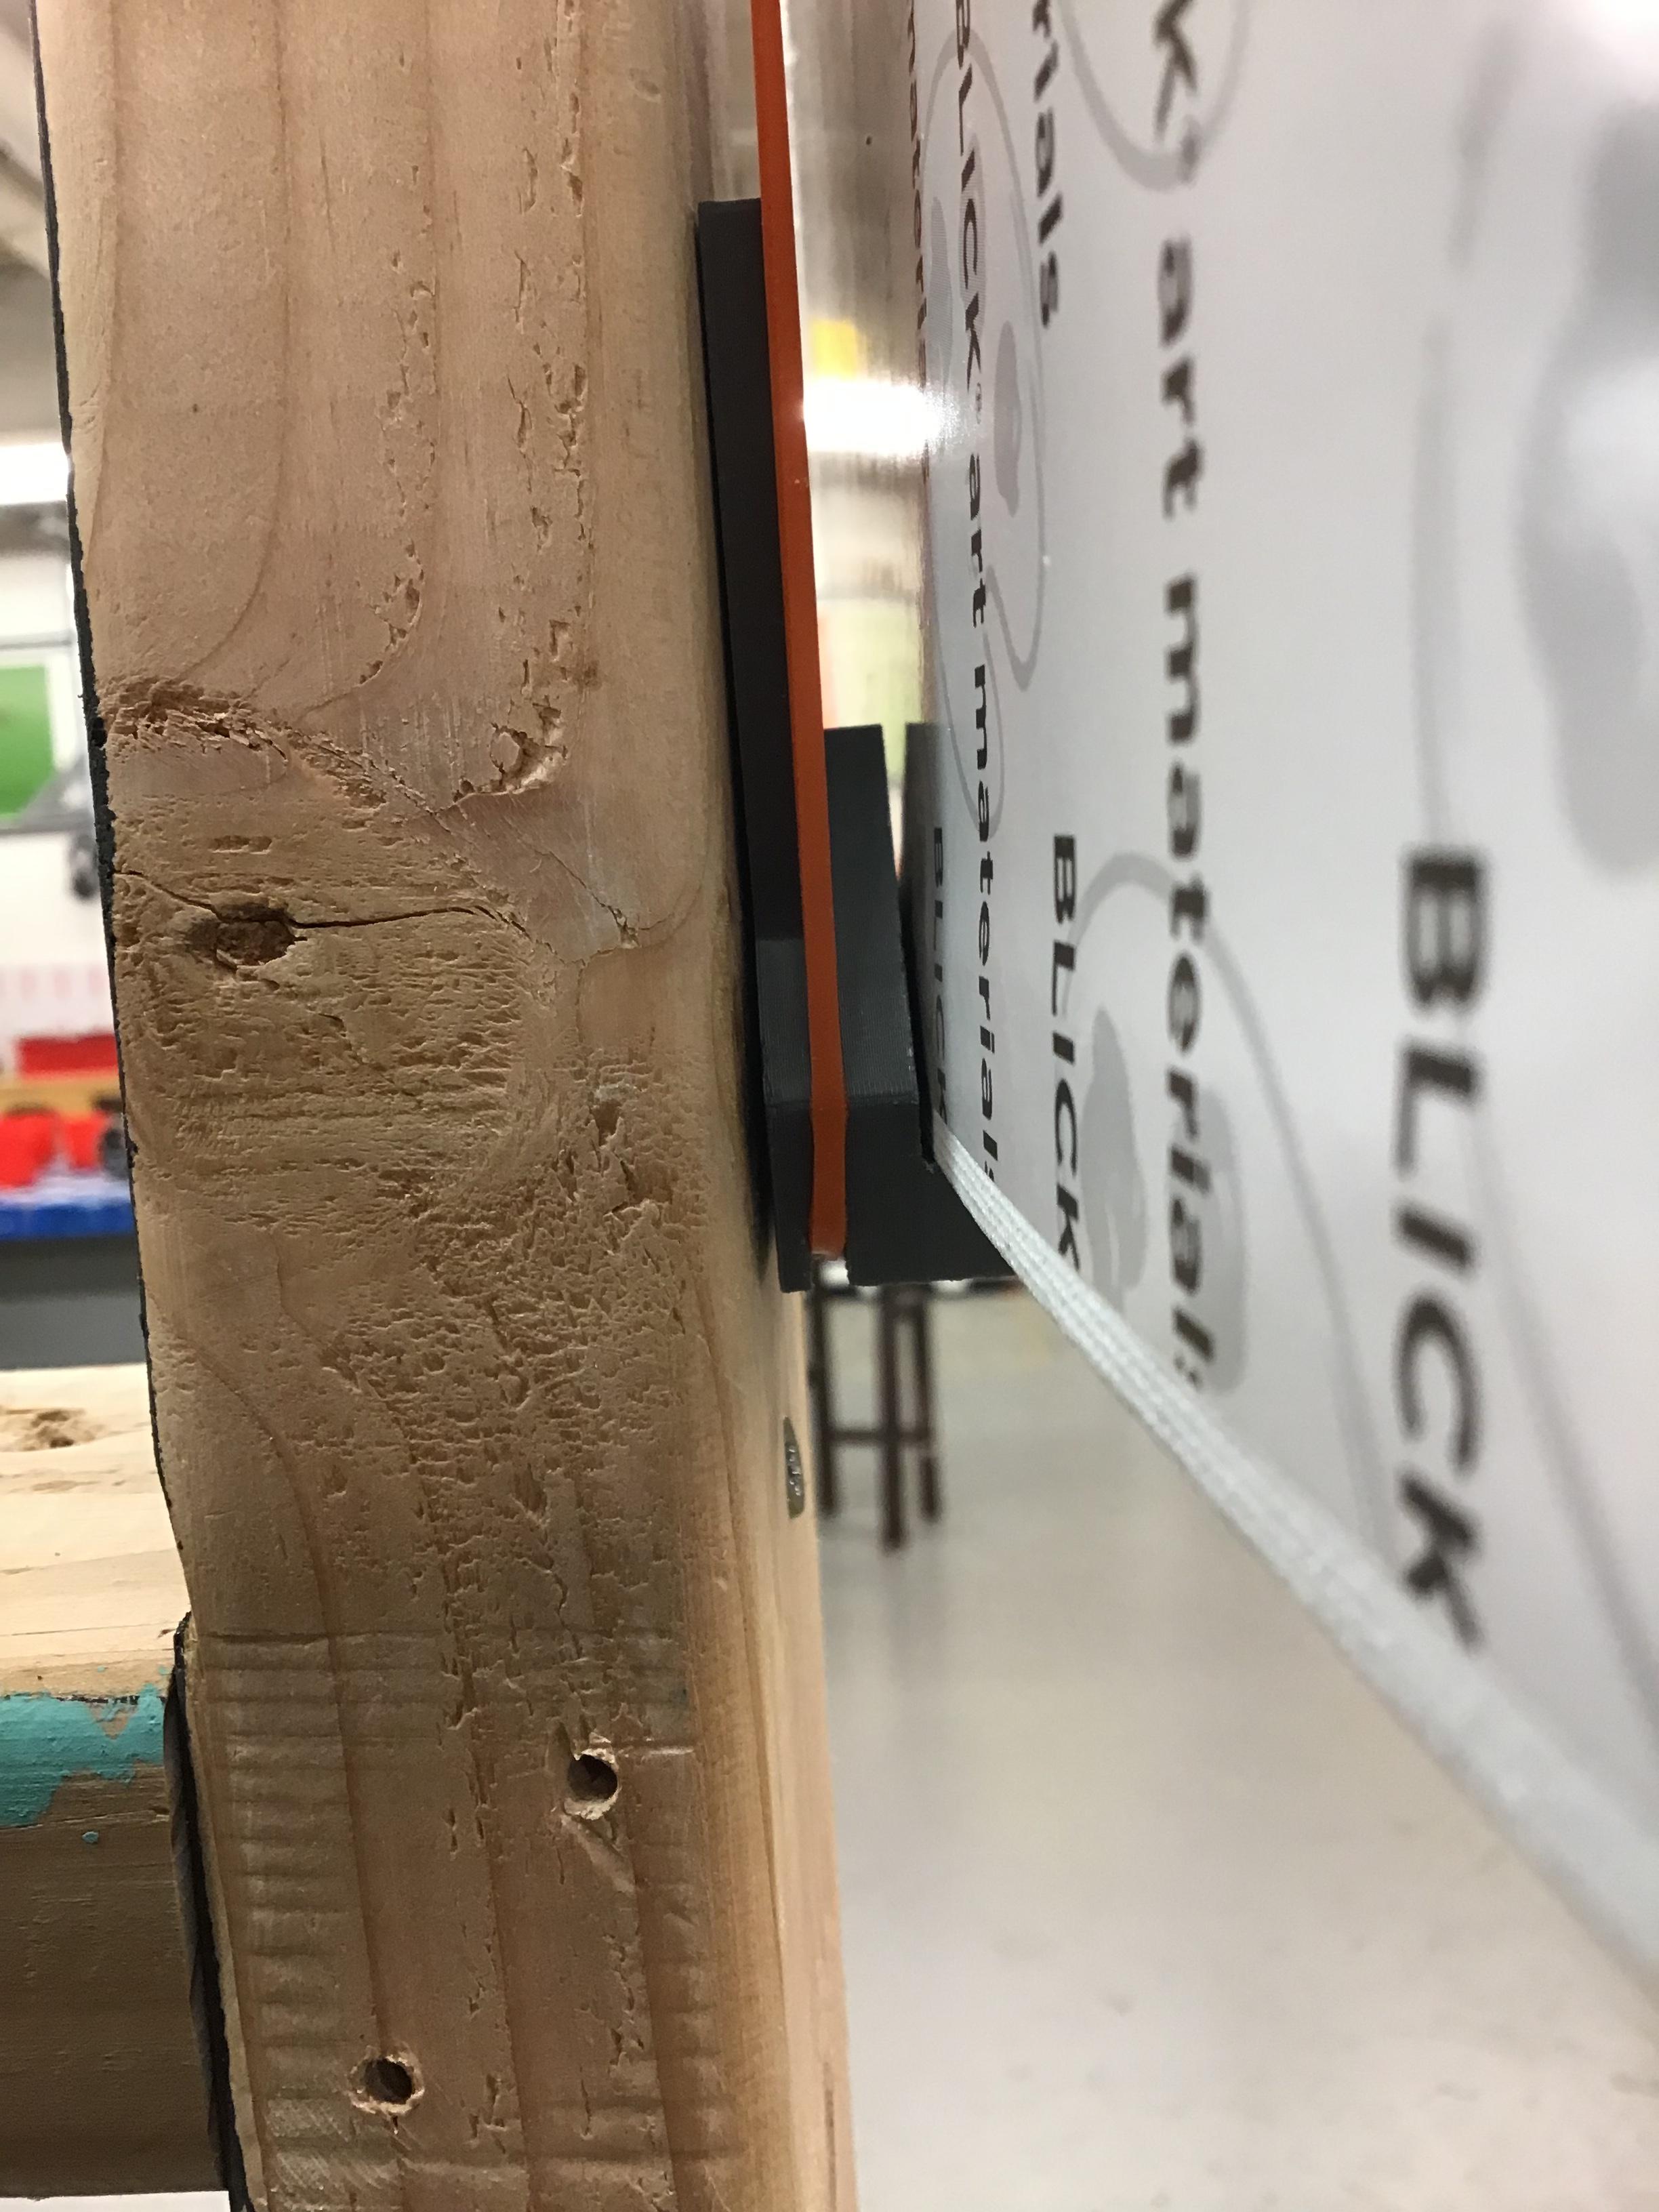
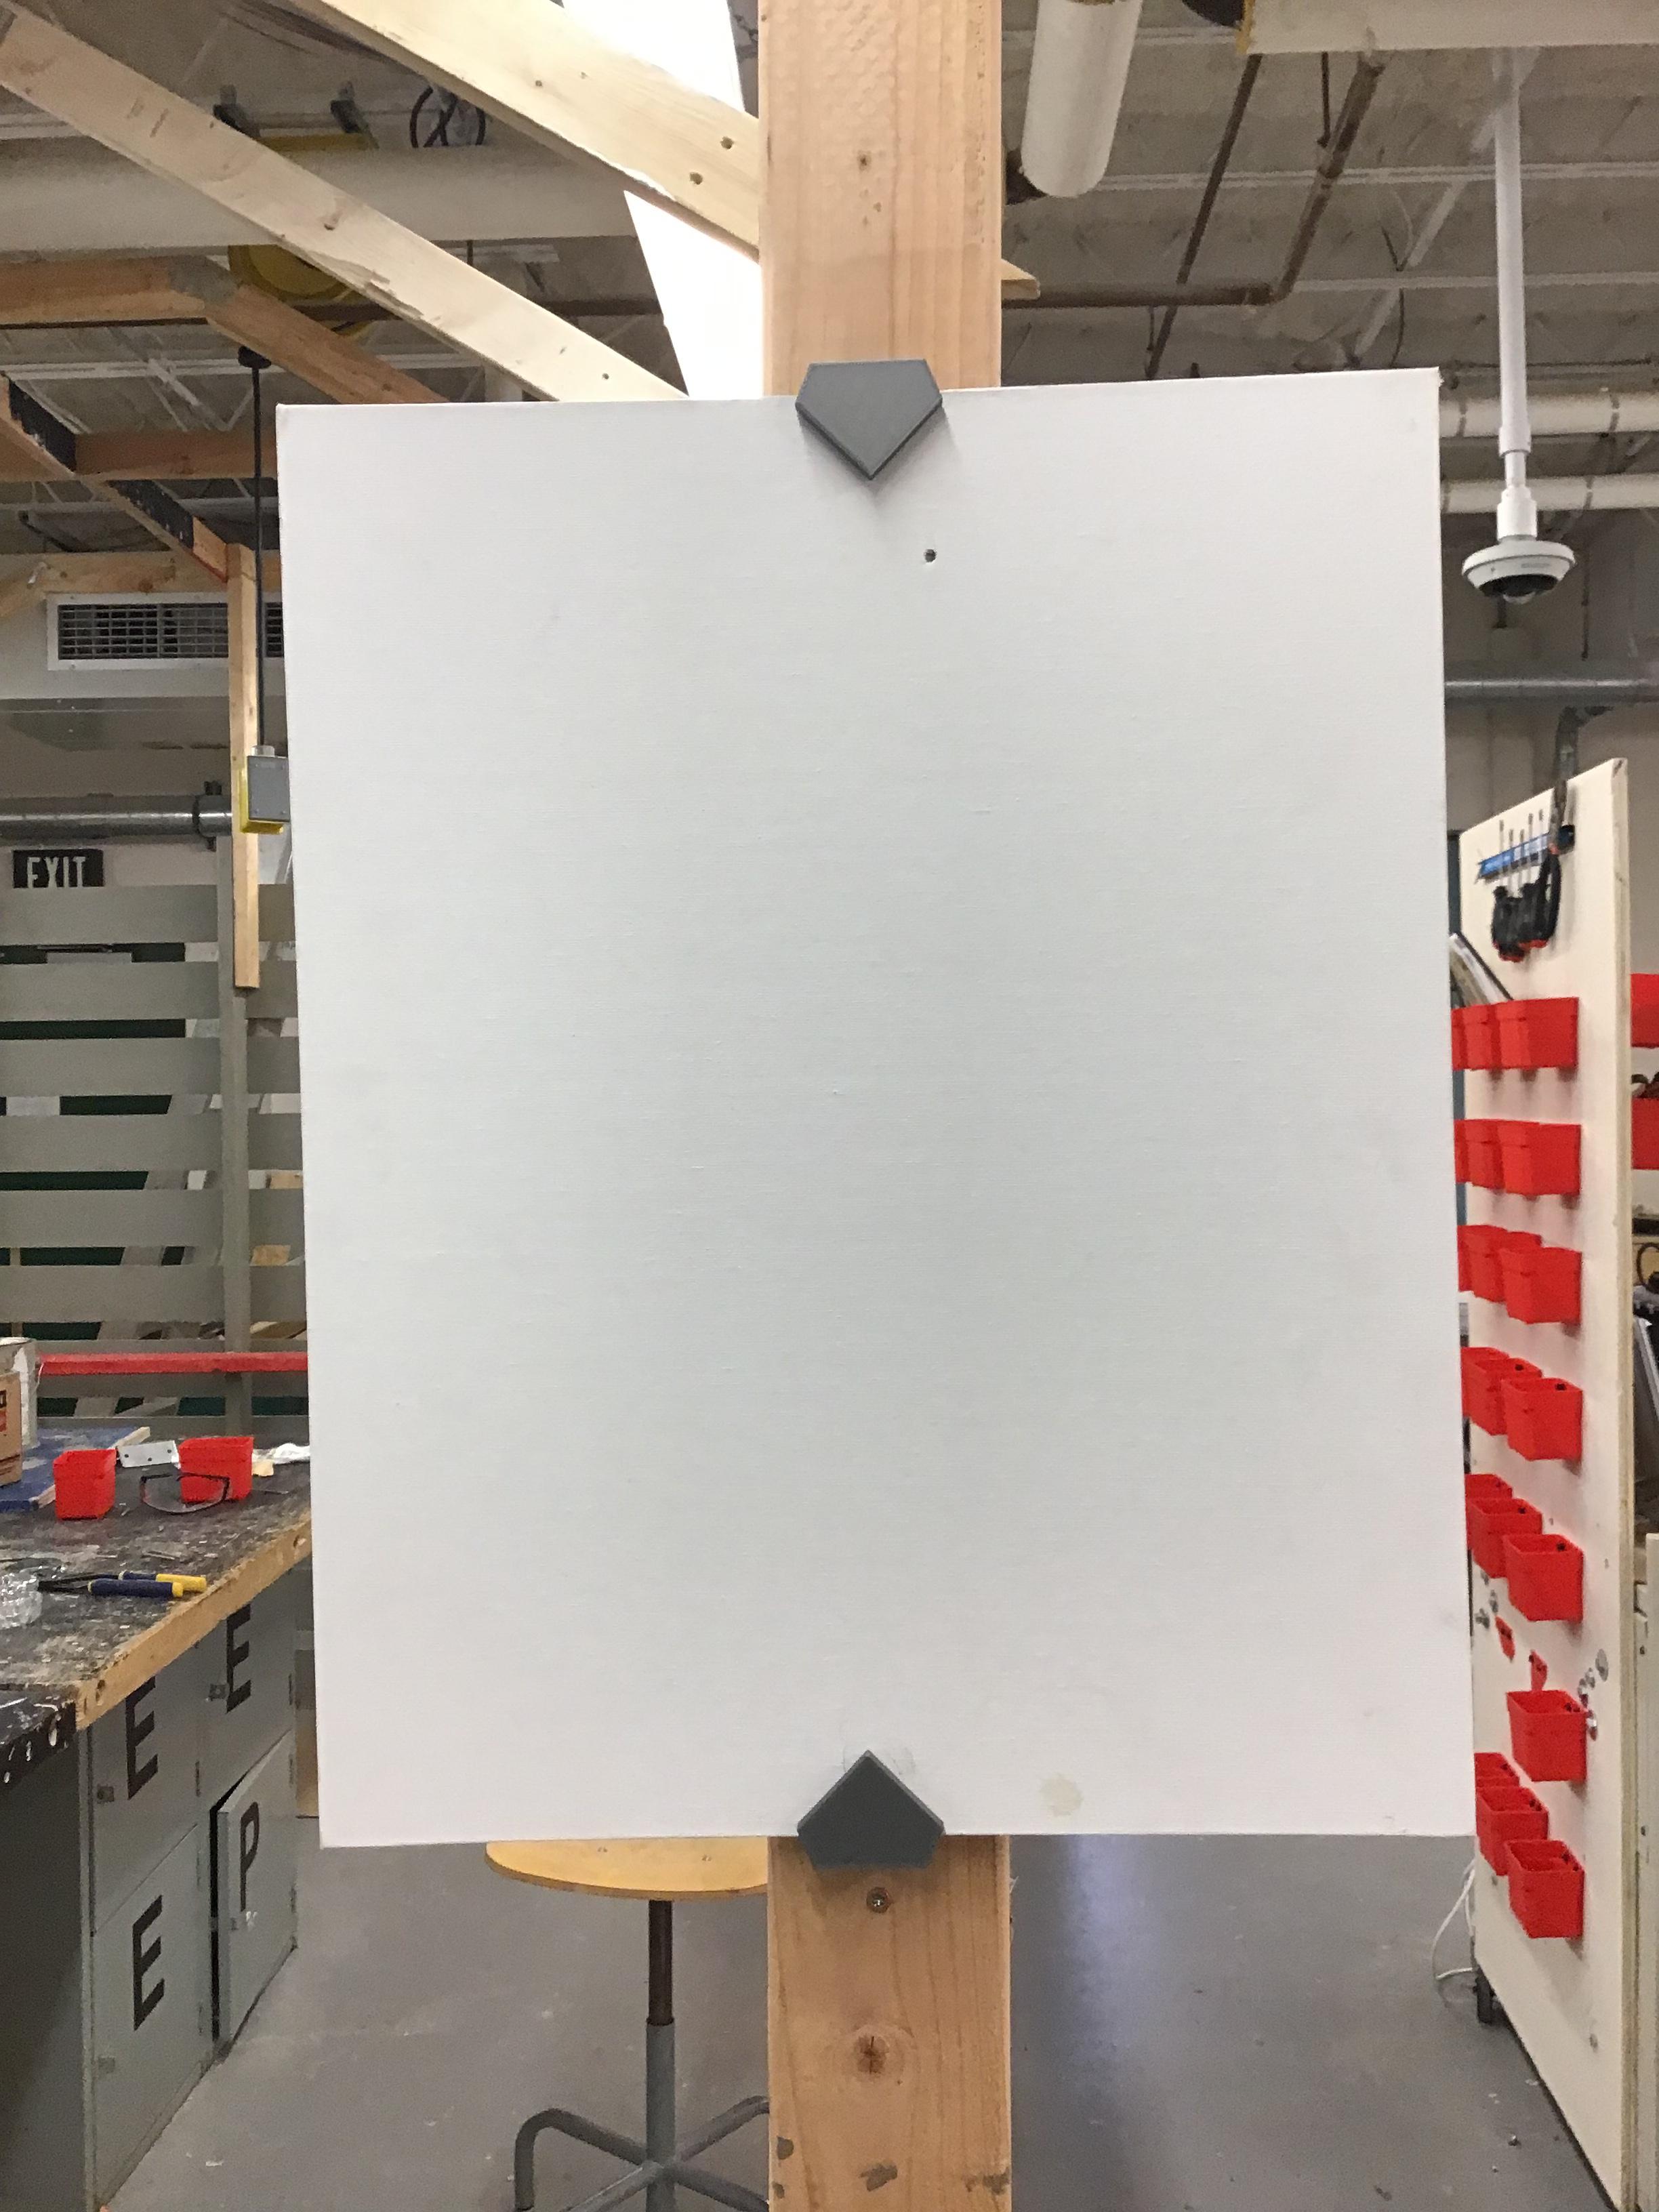
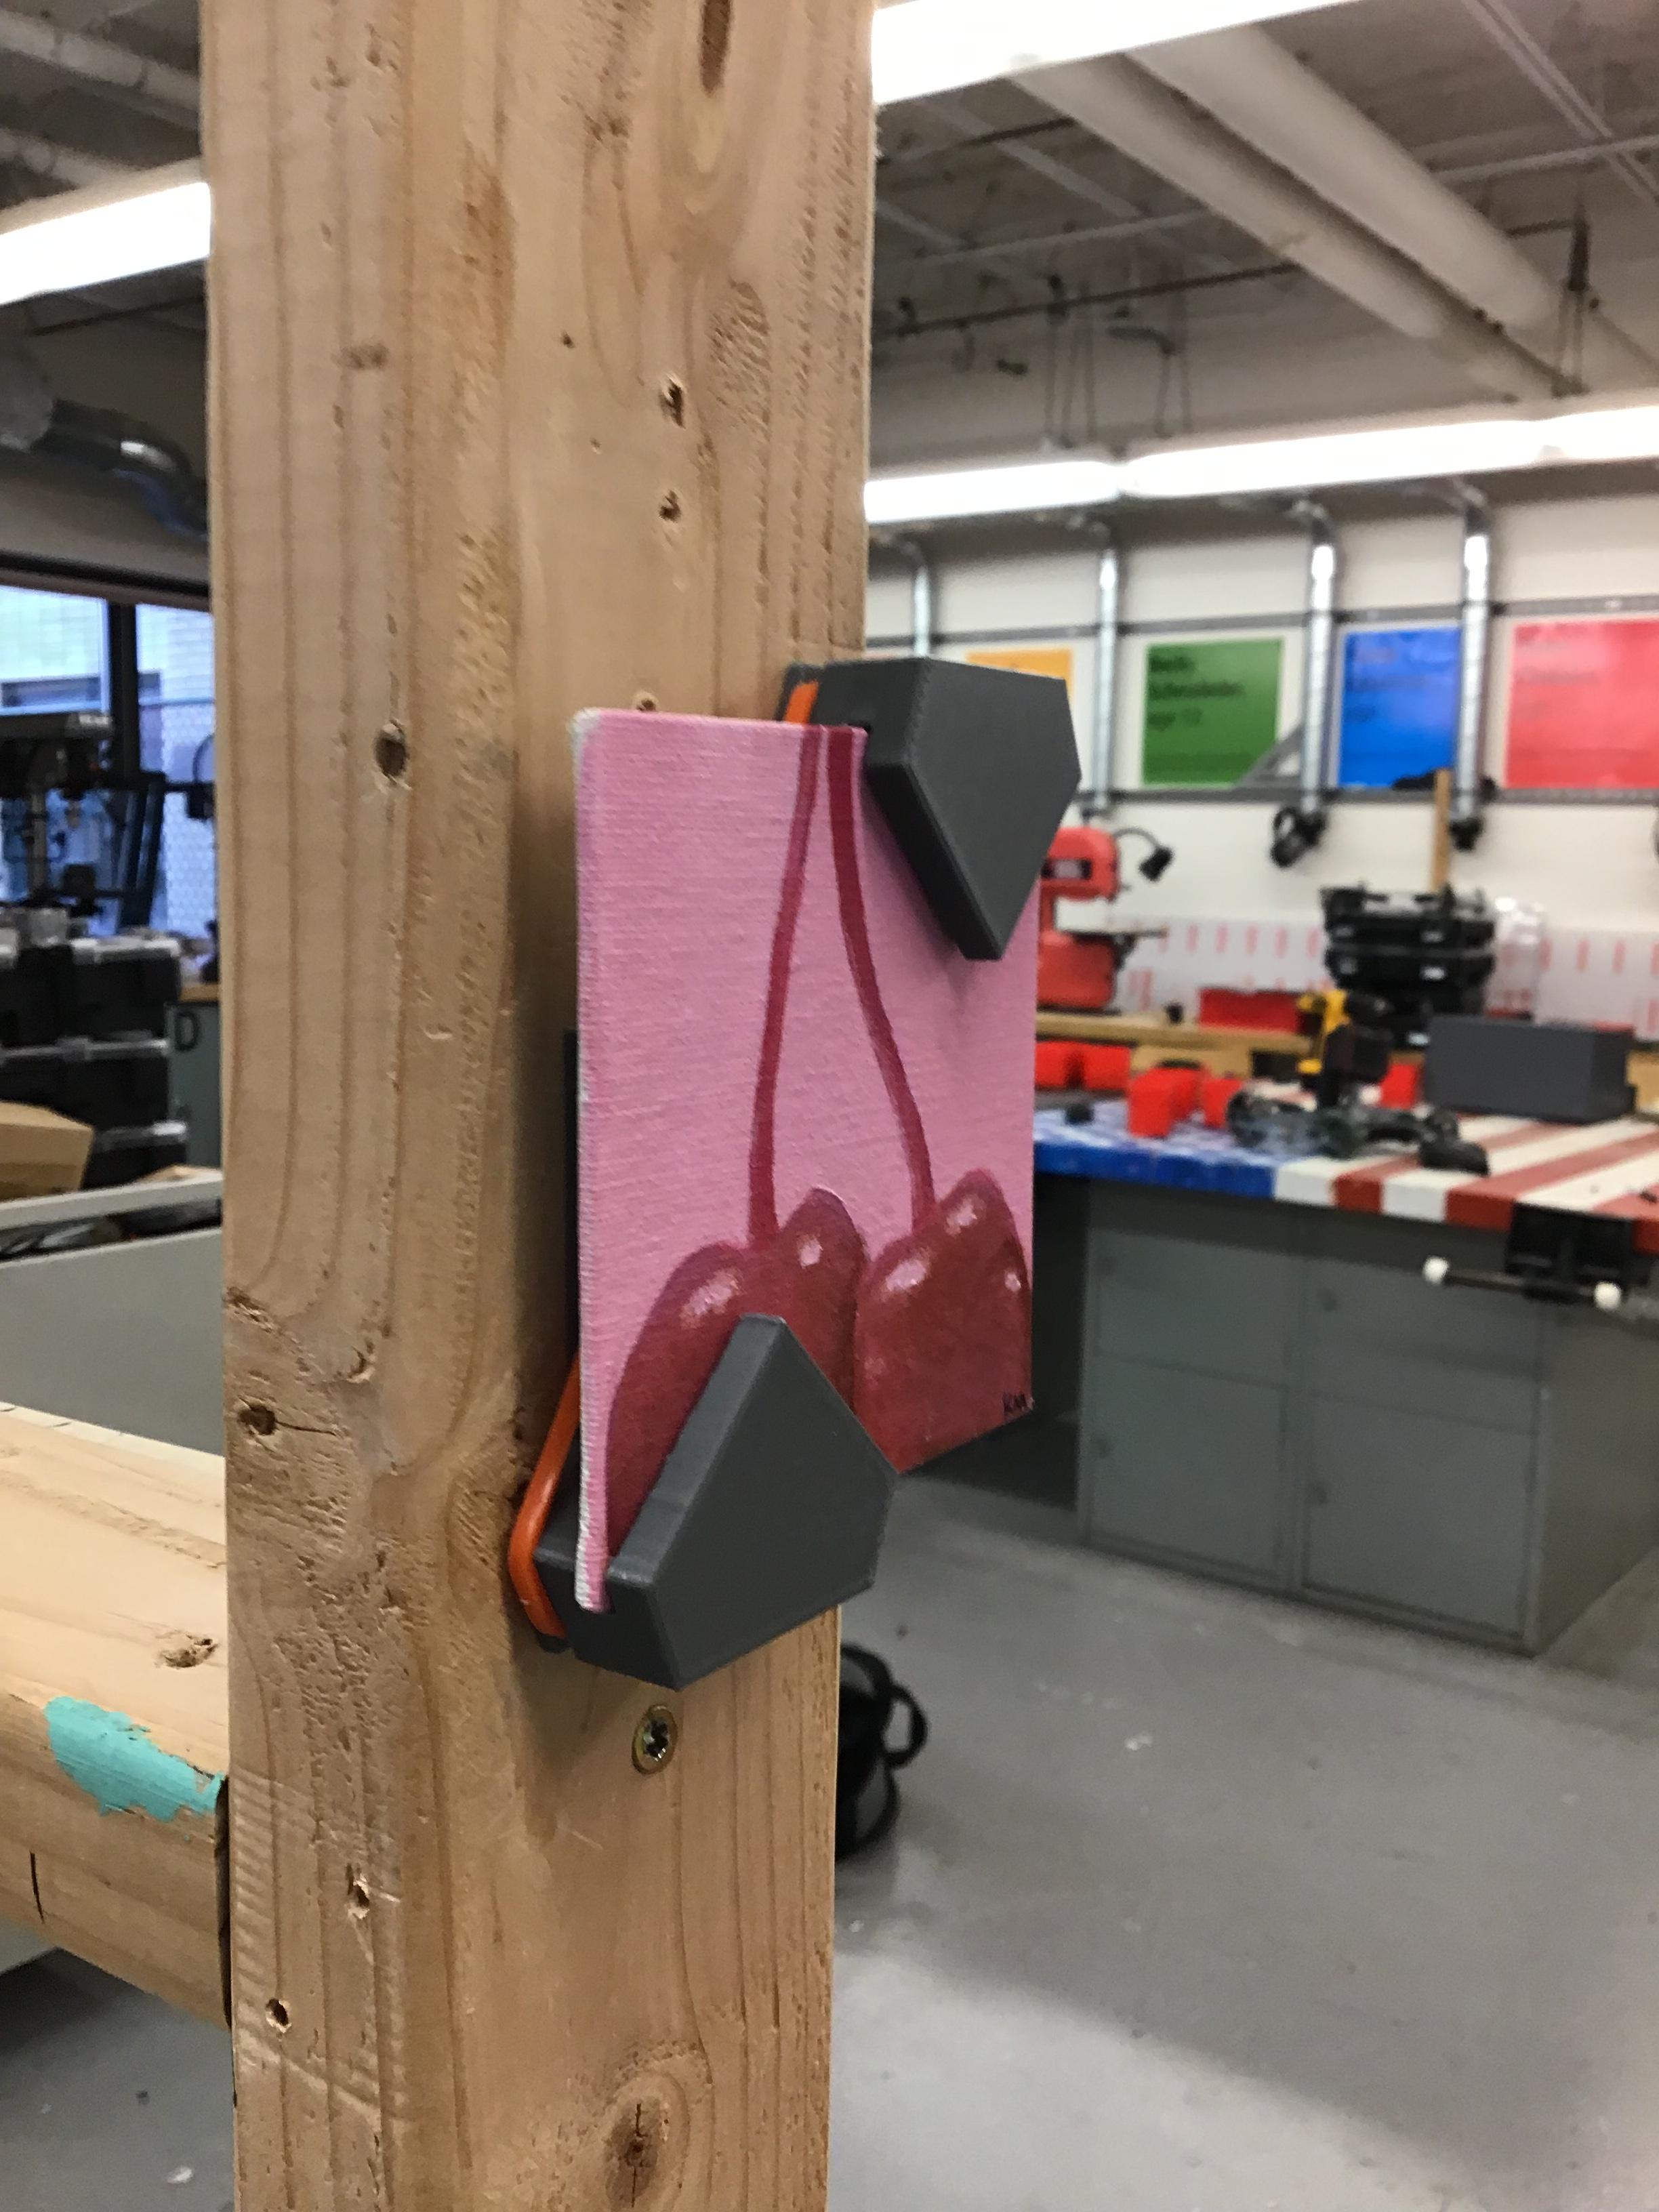
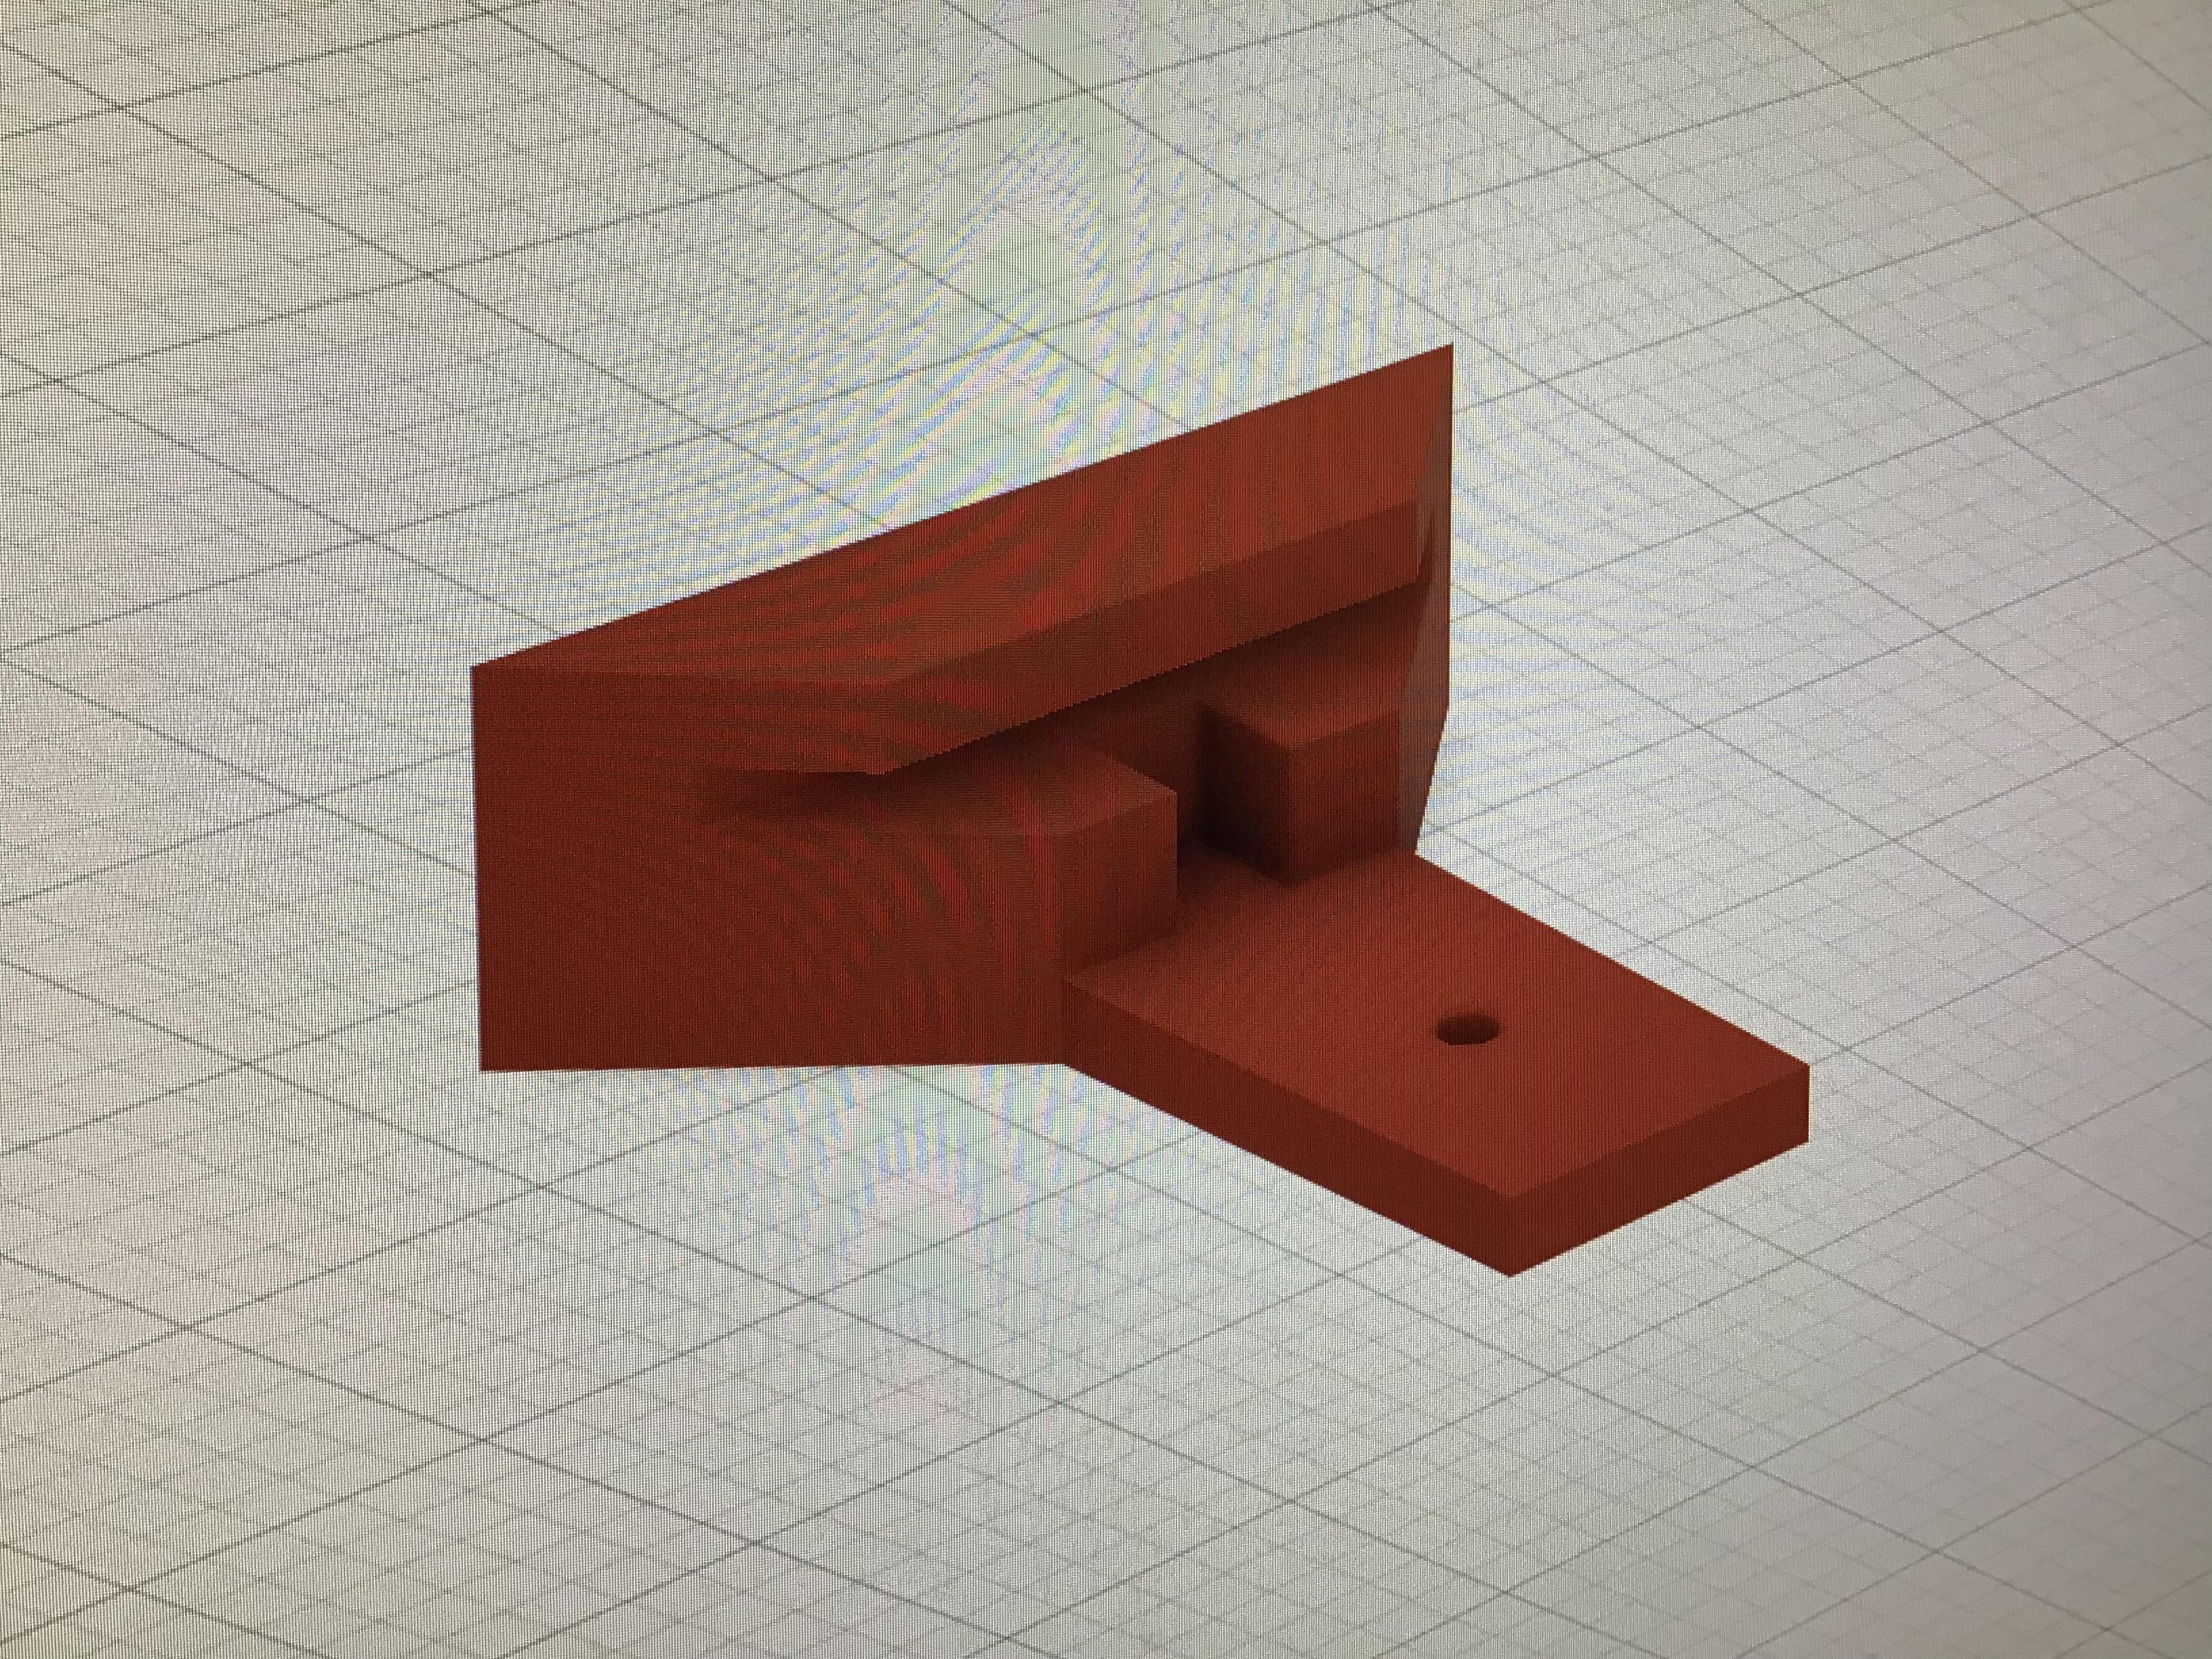
The final design that I chose to use was to have a rubber band between the top and bottom frames. The rubber band would keep the tension between the two, while the screw would hold the bottom piece to the wall. For the larger paintings, I used two rubber bands tied together, but one large one works too. This design would theoretically work upside down, with the top screwed to the wall rather than the bottom, if that's something that would be preferred.
Some features of this that work well with my project are:
- A slit on both top and bottom that the rubber band will be held in place
- The screw holes have a slight divot so the screw isn't sticking out
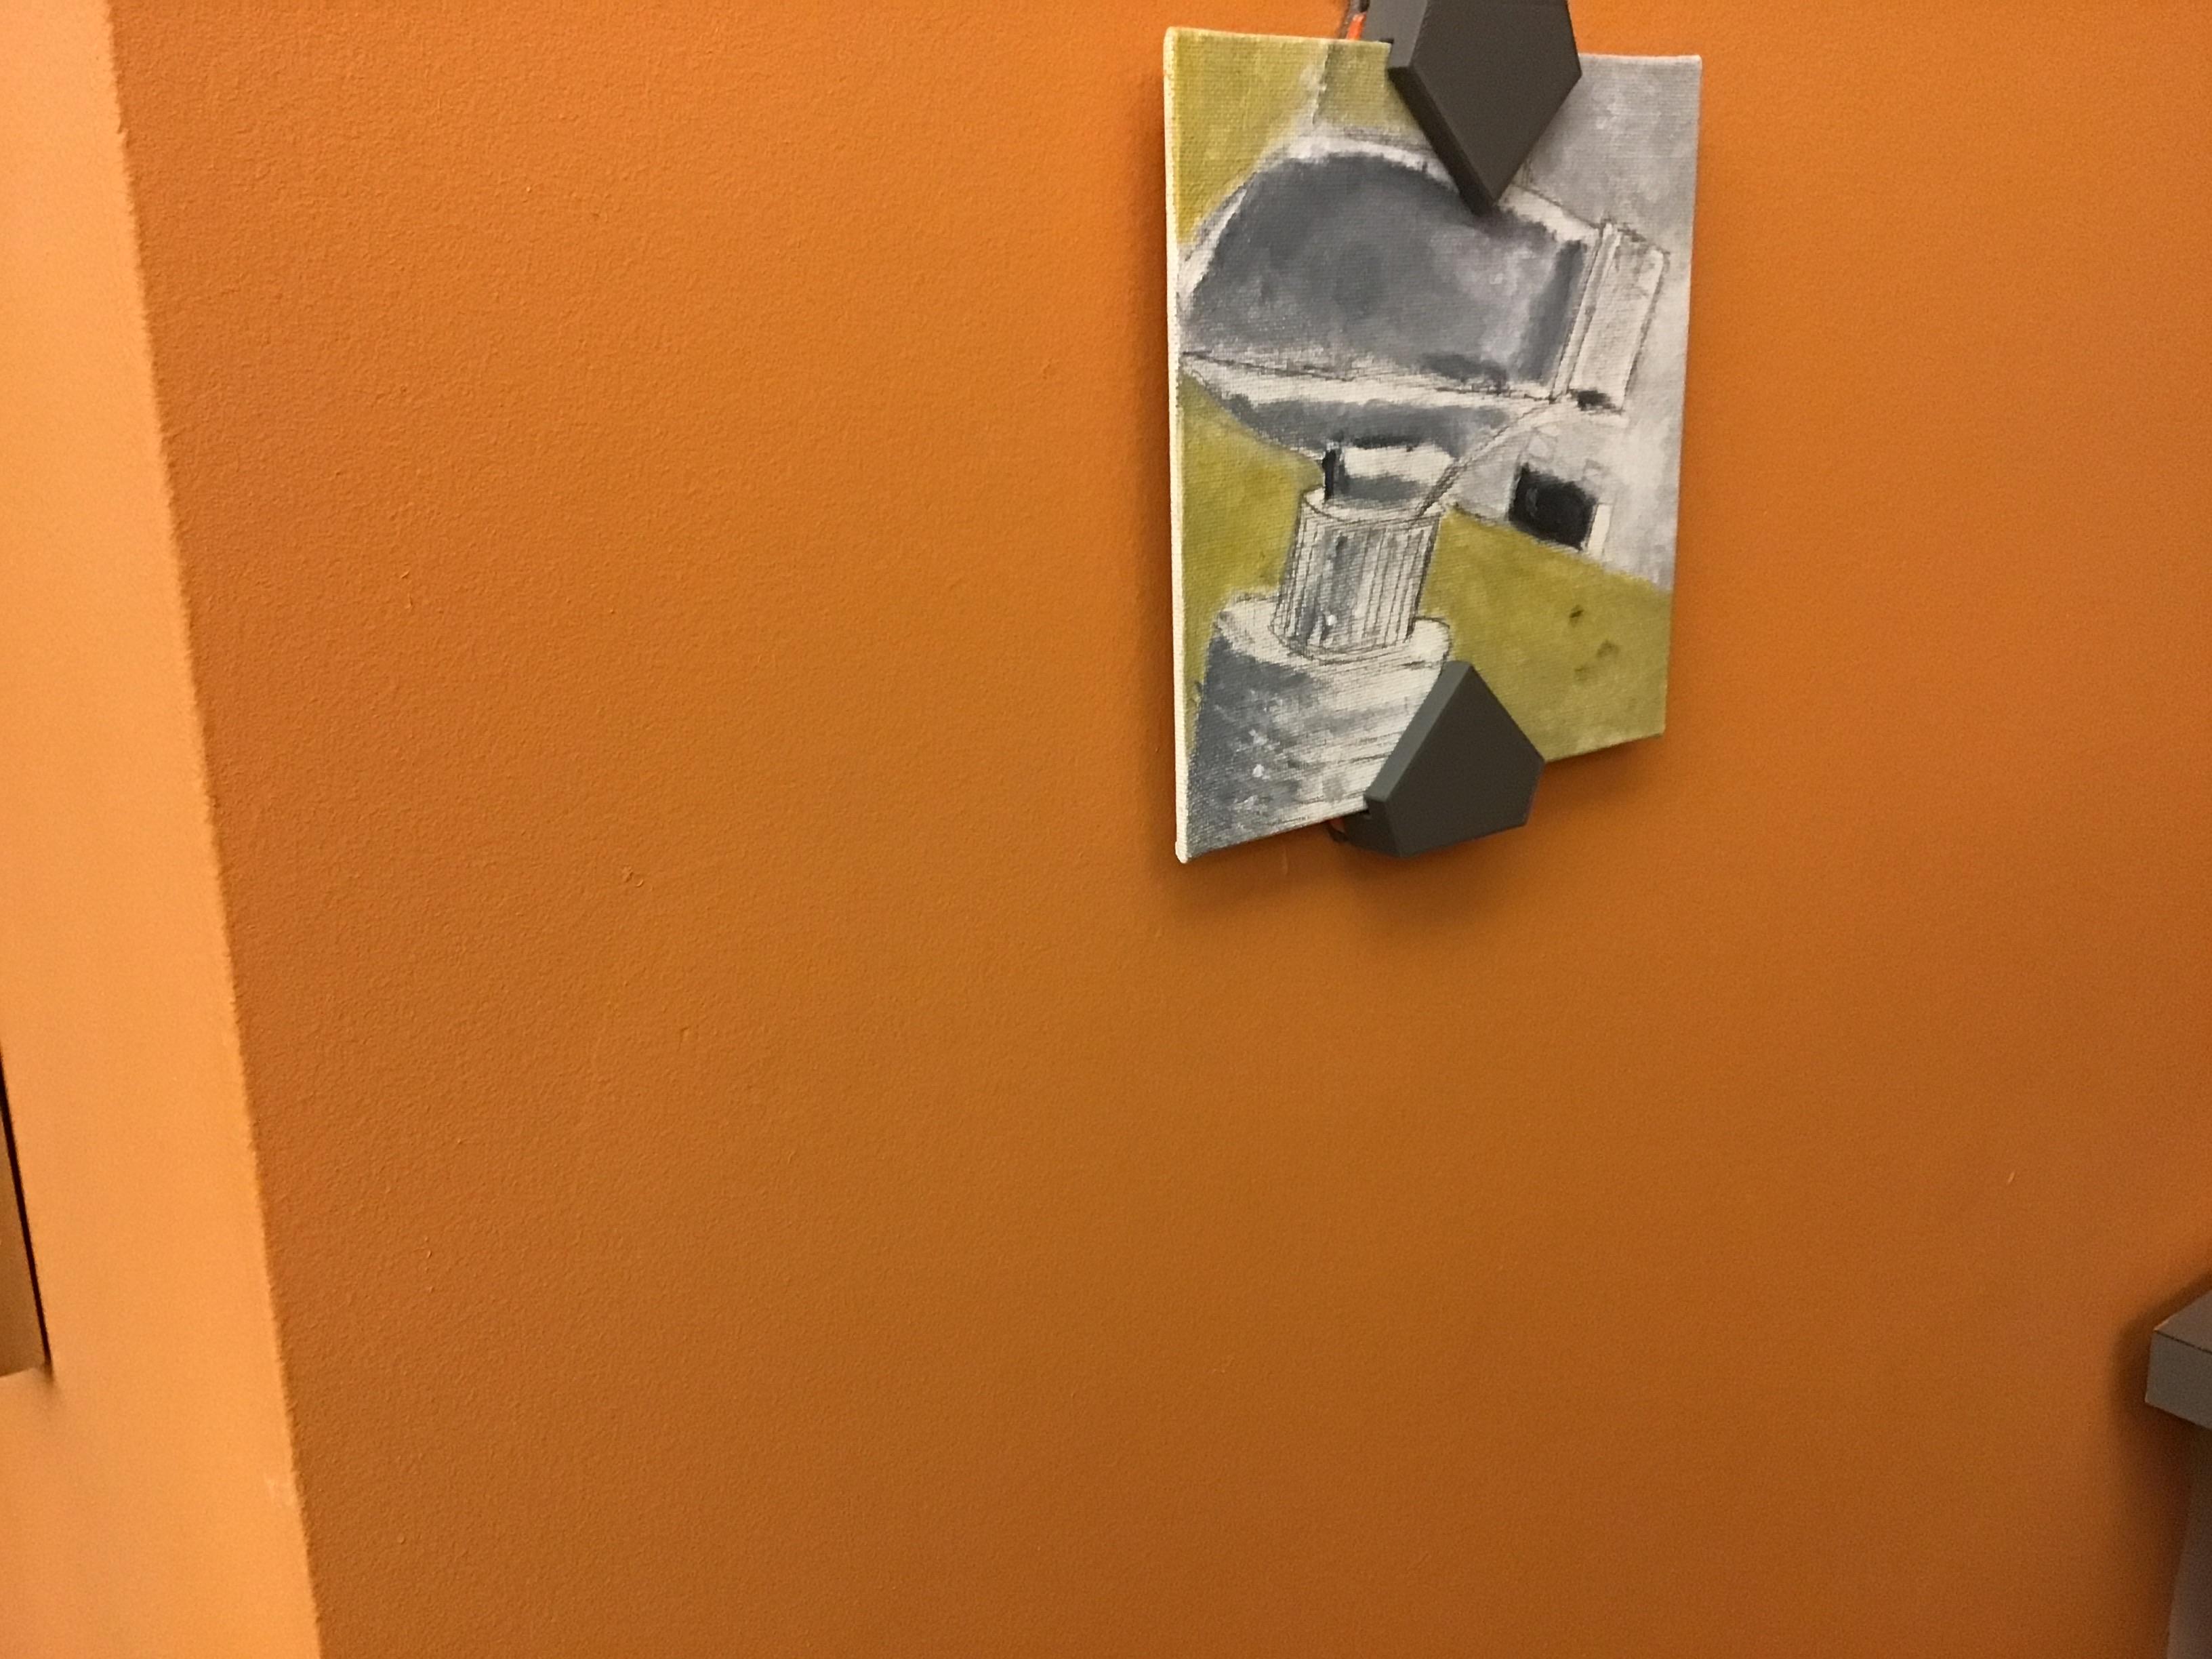
- The front part of the frame that holds the painting is larger, keeping it from falling forward
That final bullet is slightly bittersweet, since it is beneficial and most definitely necessary, but for the smallest painting size, it covers half the painting, seen in the cover photo. If I had more time, I may be able to improve this.
Final Product
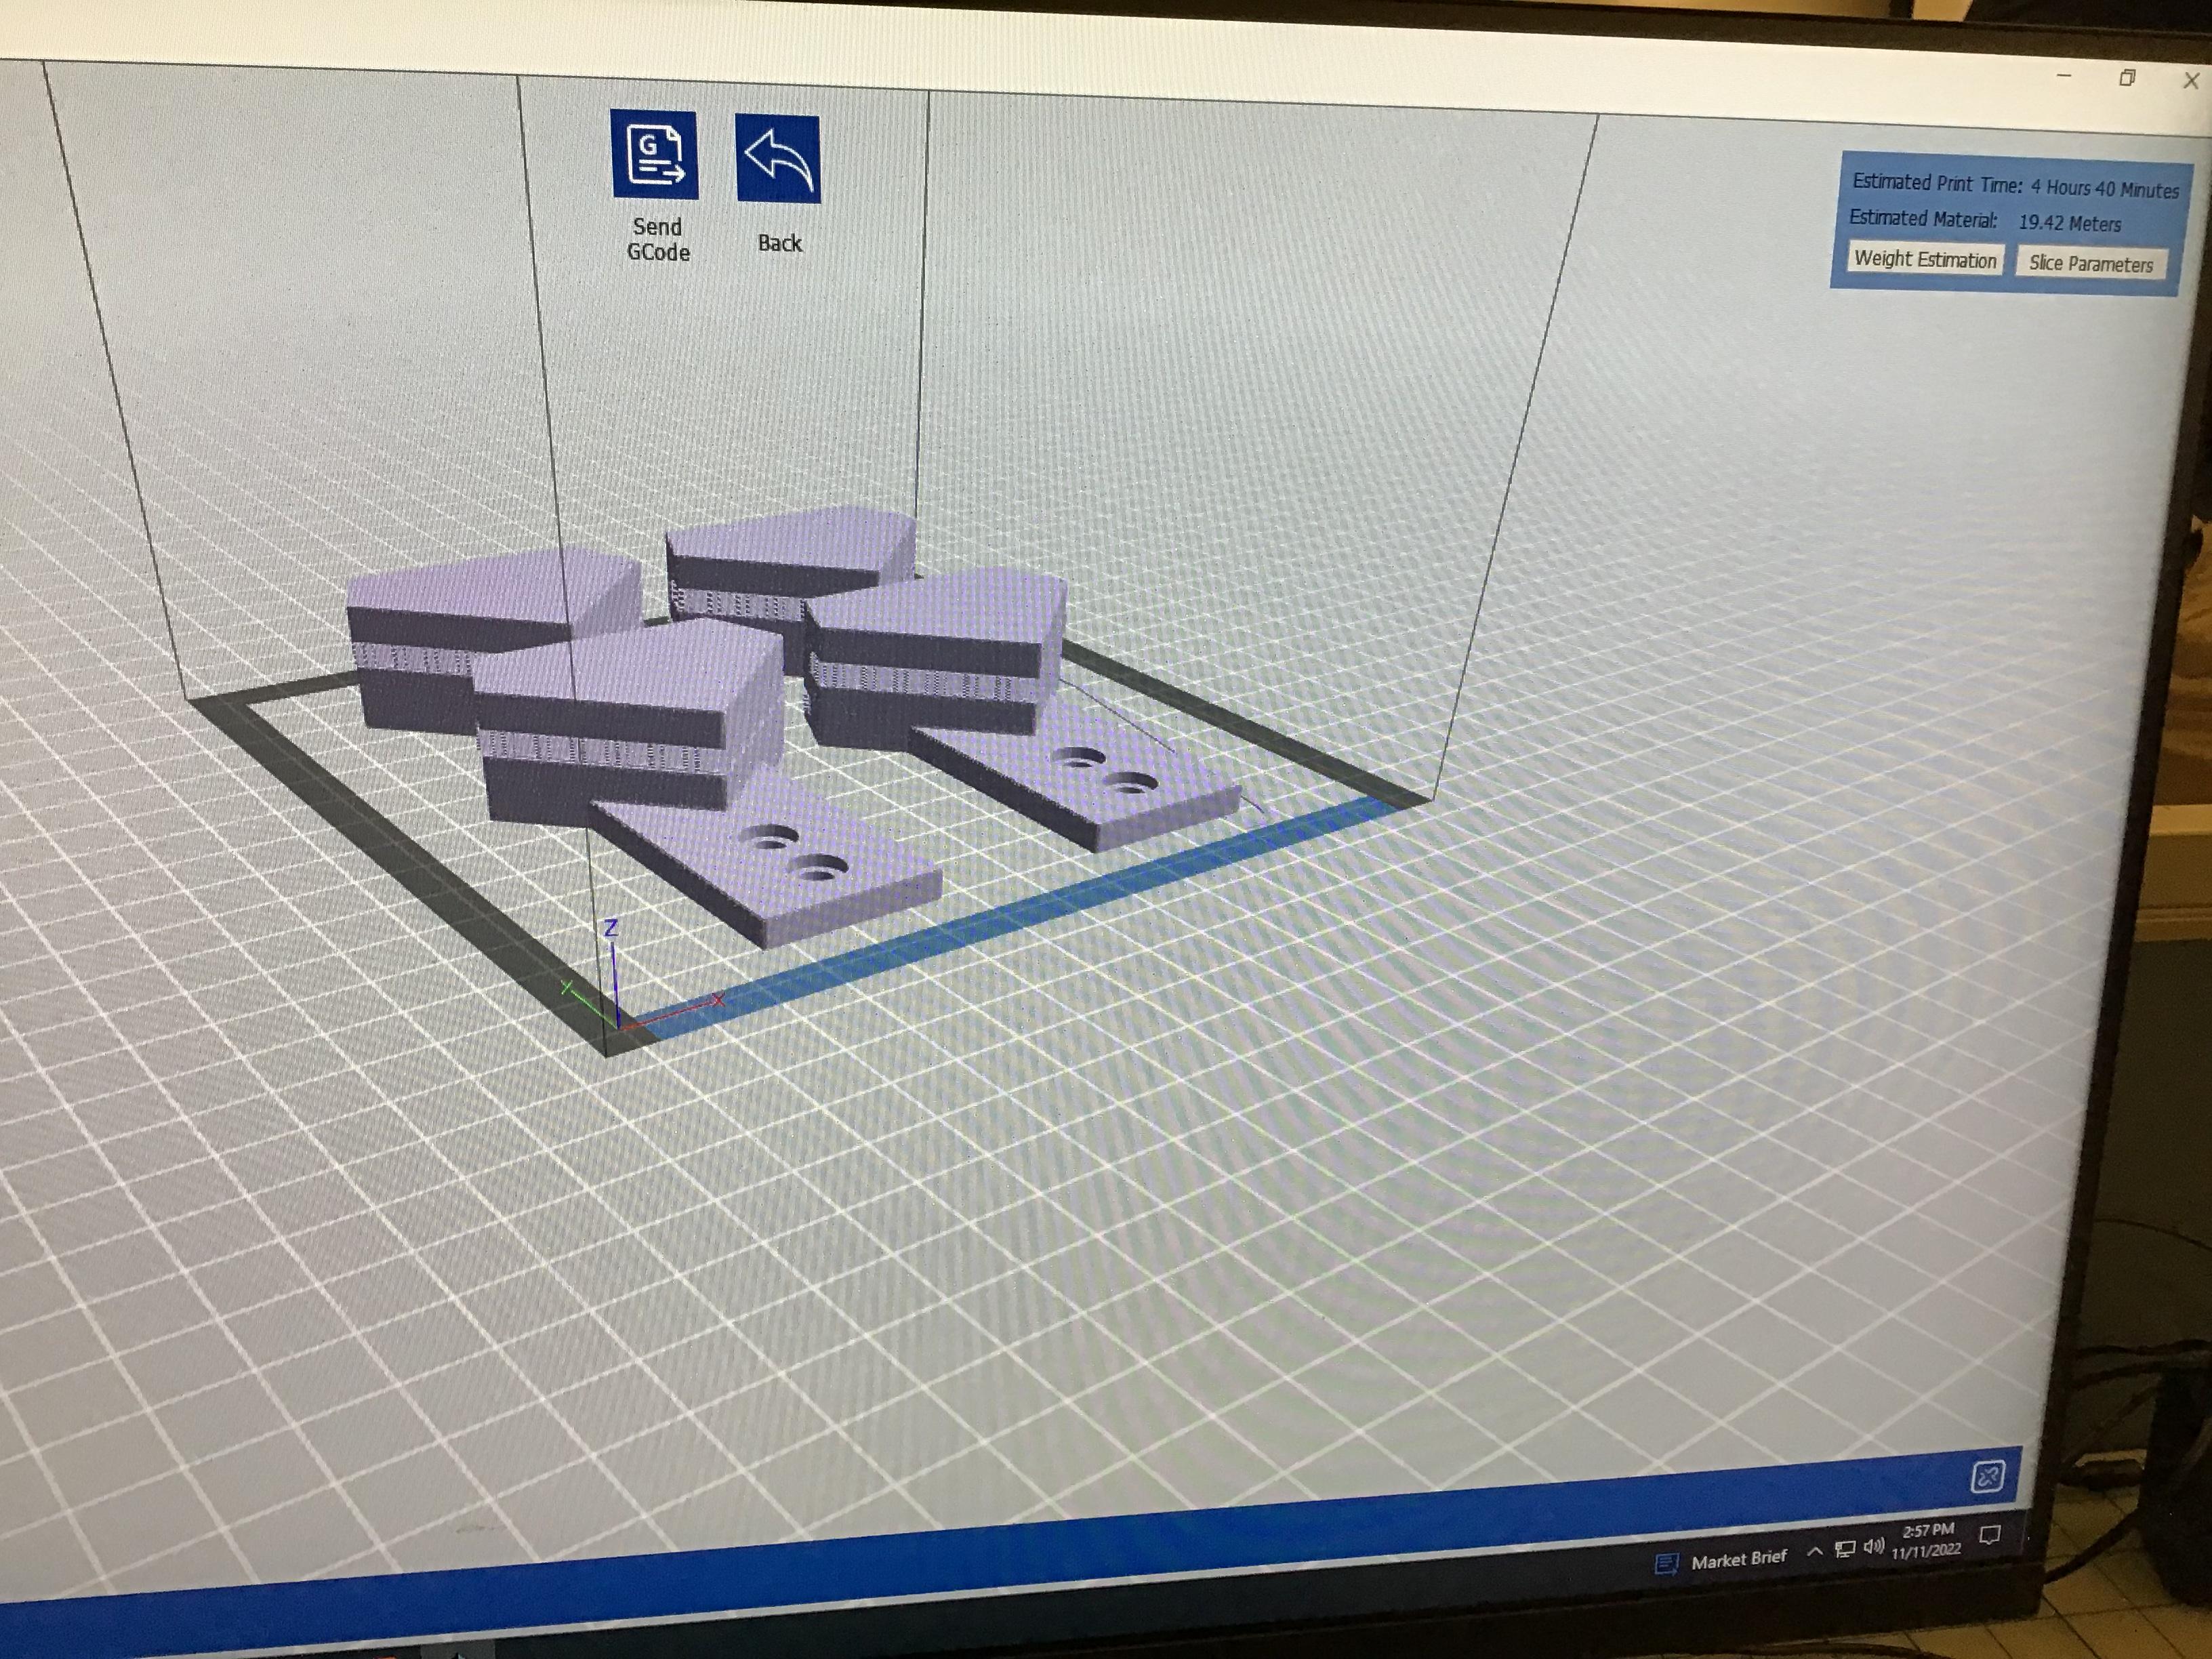
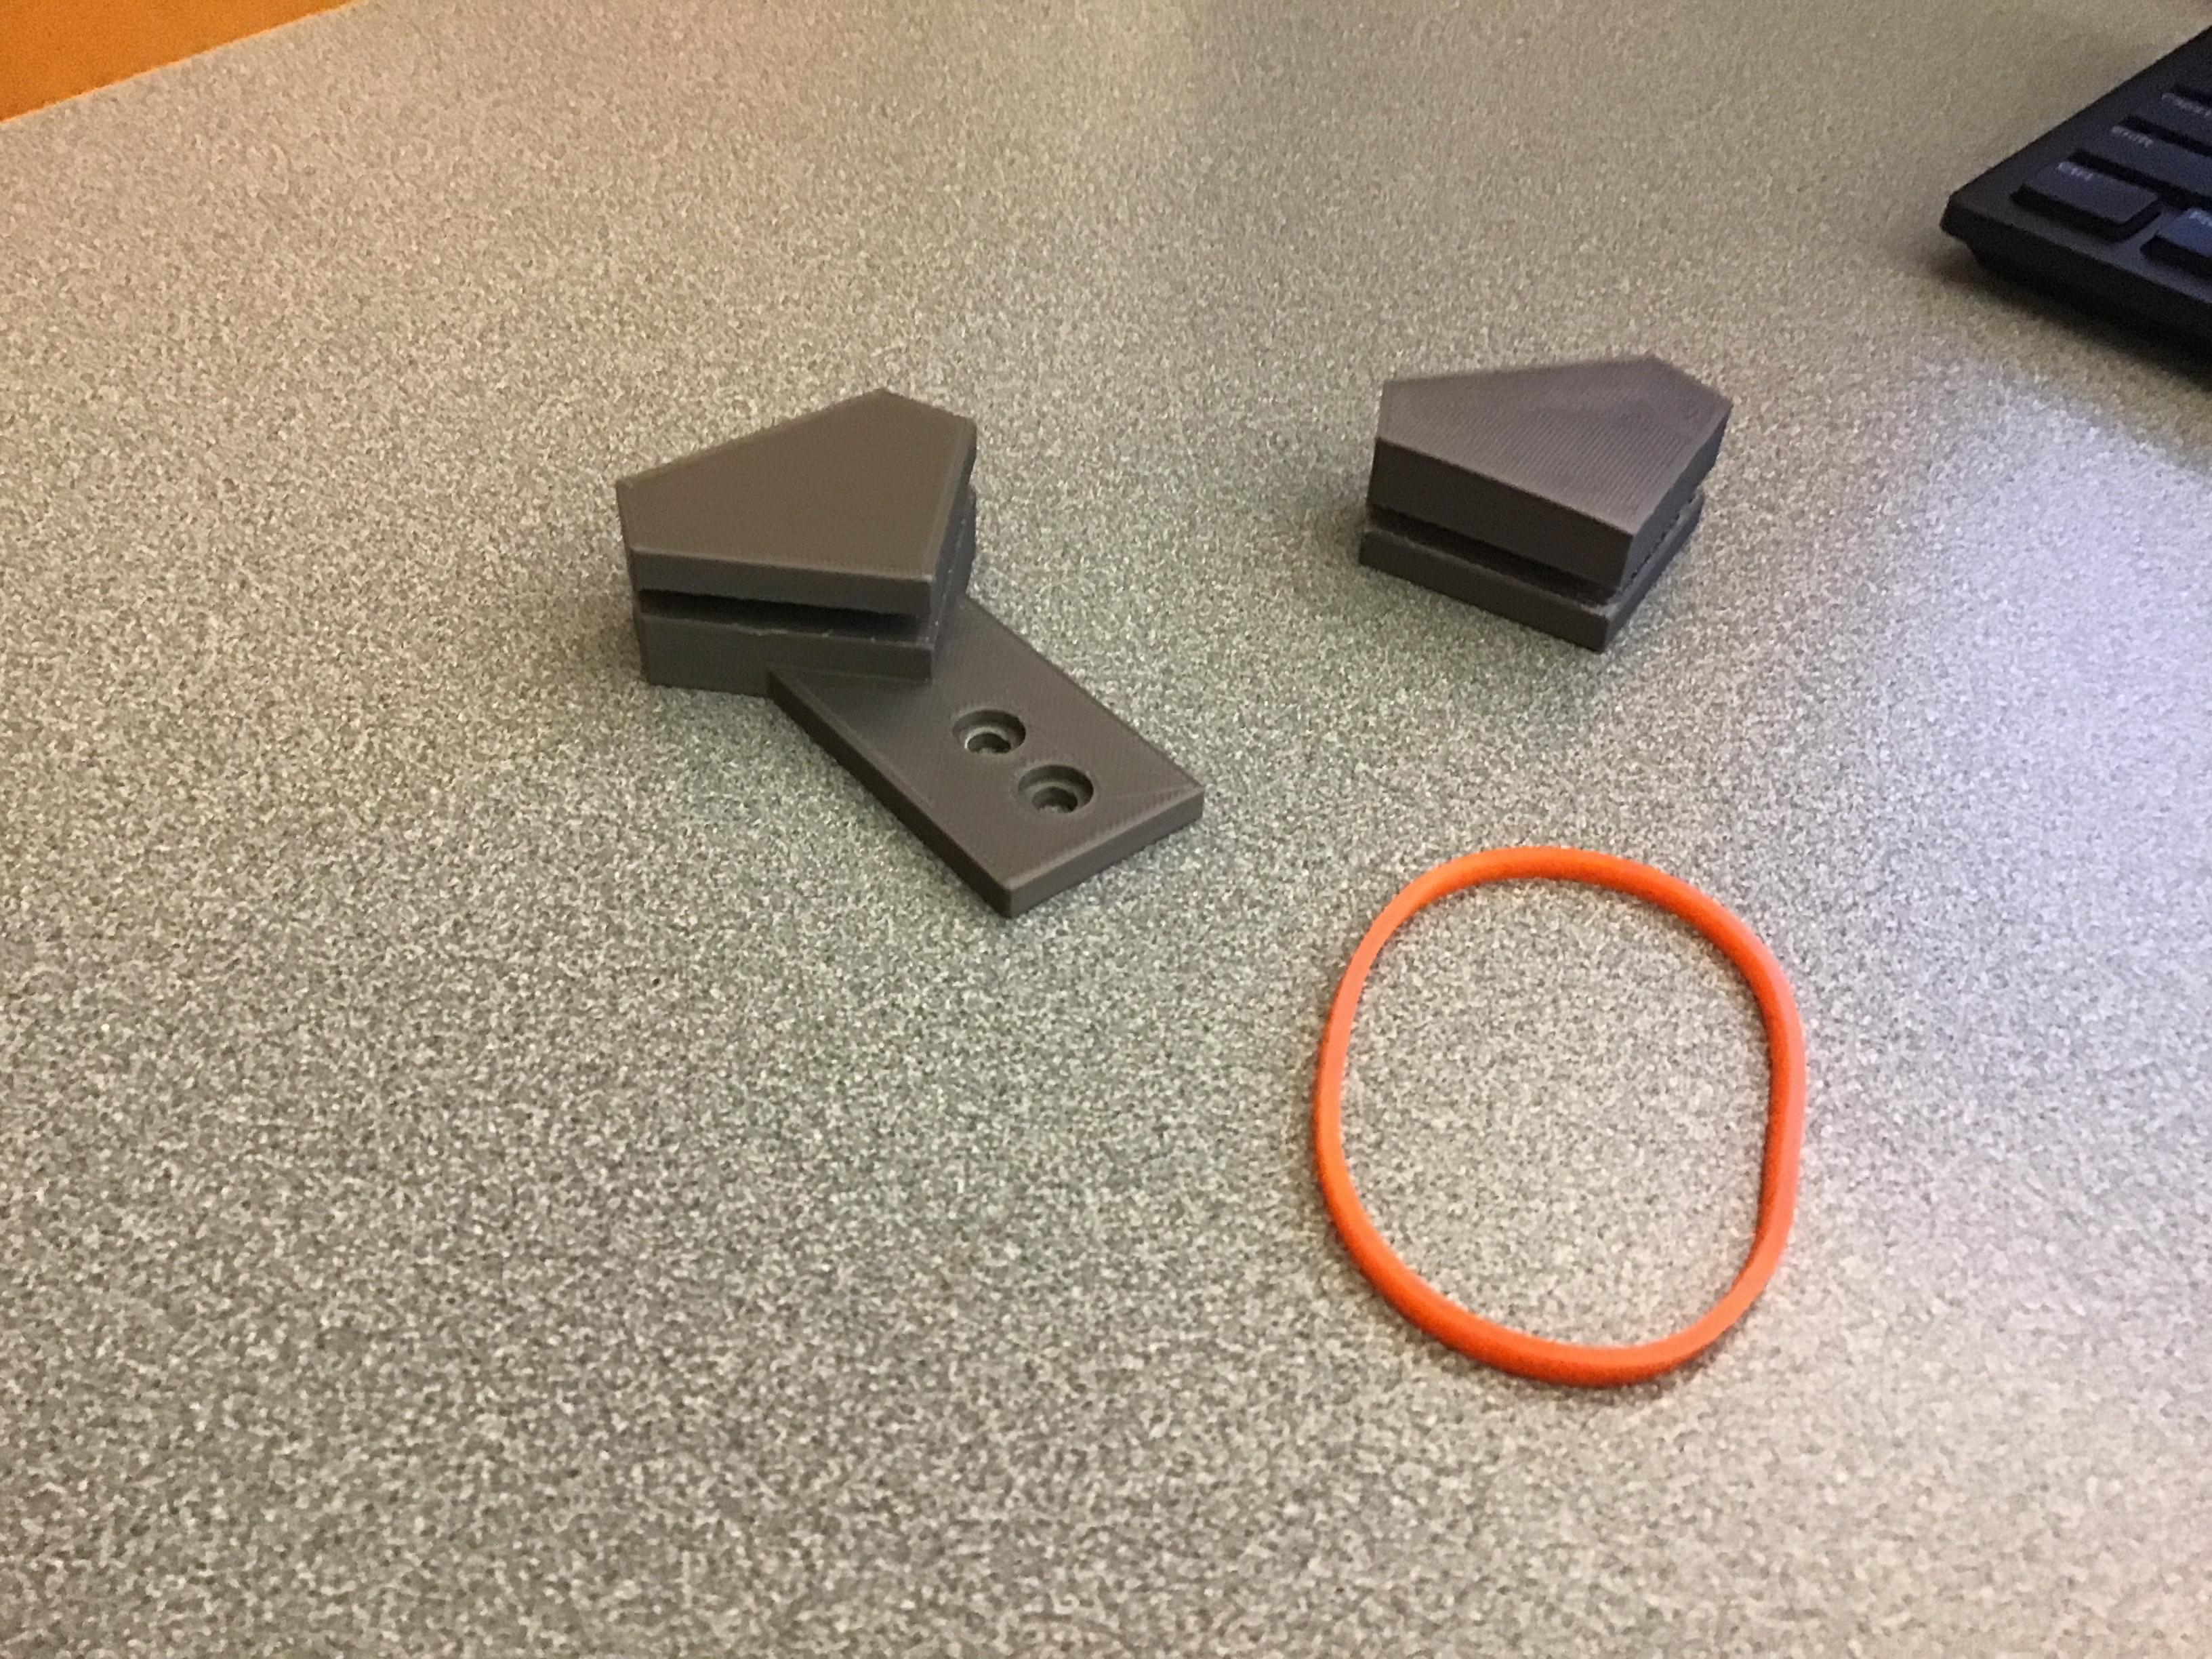
Shown in the picture is how I laid out the parts to be printed most efficiently in the size of 3D printers available to me, the platform being 150 mm by 150 mm.
This is a video of how the frame moves to adjust to multiple different canvas sizes. Both clips are from the same video but they weren’t uploading because the video was too long.
I know that these frames will be incredibly useful, as the cafeteria has already requested some to be used to hang up student artwork, in addition to the ones that will be hung in the art hallway. These frames will allow for my school to decorate its walls with many beautiful paintings, which will greatly improve its aesthetics, as well as benefit the overall demeanor of the student body. Many students in the art classes will also appreciate being able to show off their talents now with the creation of my project.
Thank you for reading to the end!
-Sasha