Addressable RGB LED Strip Controller (The Lantern Project)
by Northstrix in Circuits > Microcontrollers
2586 Views, 21 Favorites, 0 Comments
Addressable RGB LED Strip Controller (The Lantern Project)
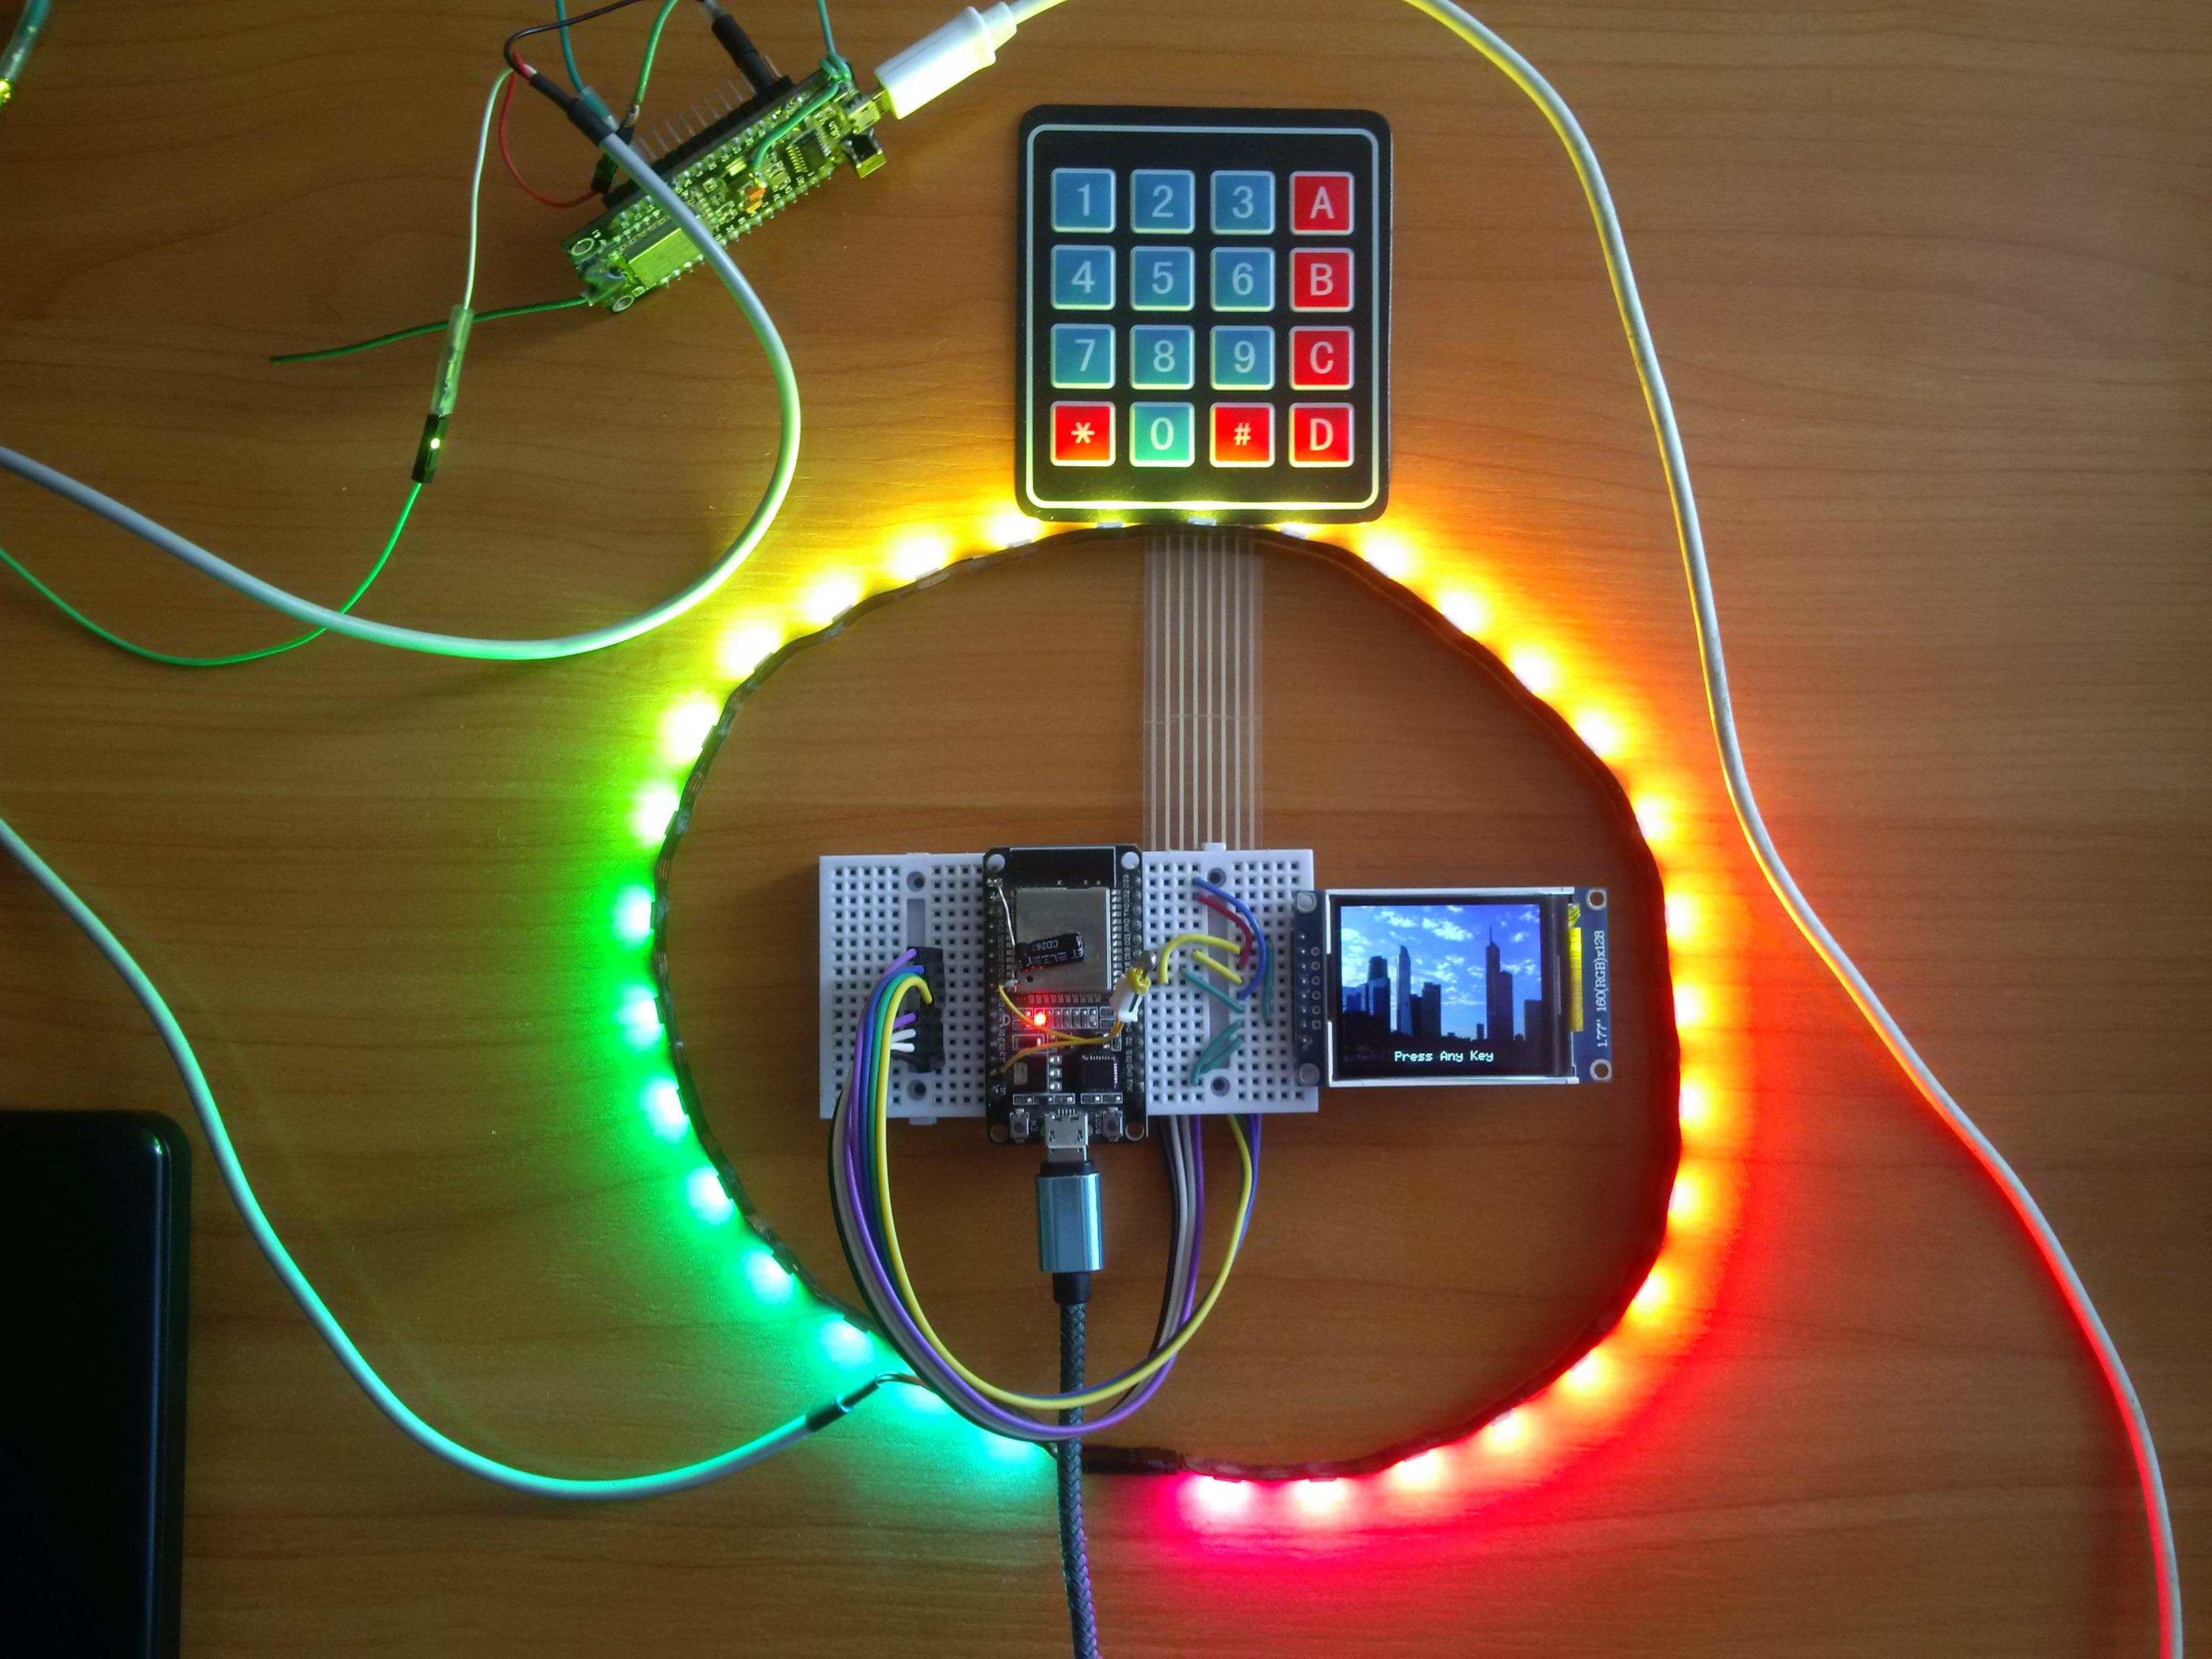
The lantern project is an ESP-based addressable RGB LED strip controller. It consists of two ESPs. ESP32 serves as a remote, and ESP8266 is the receiver that drives the addressable RGB LED strip. The Lantern project offers its users 32 different modes, 14 lock screens, and a basic level of security (at least it prevents separate transmitter-receiver pairs from interfering with one another).
Before you continue reading this tutorial, let me make one thing clear. I did not make any effects demonstrated in this tutorial. I took them all from here. All effects demonstrated in this tutorial are the property of their respective owners.
And by the way, if you have any questions about the lantern project, don't hesitate to ask them in the comment section.
Supplies
Supplies for the transmitter:
- ESP32 x1;
- 1.77 Inch TFT LCD with ST7735 x1;
- 4x4 Keypad x1;
- 10µF capacitor x1 *optional.
Supplies for the receiver:
- ESP8266 x1;
- 580 Ohm resistor x1;
- WS2812 LEDs x(as much as you need).
Install Drivers and Configure Arduino IDE *Optional
If you've never flashed ESP32 or ESP8266 before you'll need to configure Arduino IDE and install drivers to upload the firmware to the boards, you can find drivers here:
CP210x driver for ESP32: https://www.silabs.com/developers/usb-to-uart-brid...
CH340 driver for ESP8266: https://sparks.gogo.co.nz/ch340.html
In case you don't have Arduino IDE, you can download it here: https://www.arduino.cc/en/software
Configuring IDE isn't a part of this tutorial, you can read about it here:
ESP32: https://randomnerdtutorials.com/installing-the-esp...
ESP8266: https://randomnerdtutorials.com/how-to-install-esp...
Download Firmware
You can download the firmware for Lantern from one of these sources:
SourceForge: https://sourceforge.net/projects/the-lantern-project/
OSDN: https://osdn.net/projects/lantern/
GitHub: https://github.com/Northstrix/Lantern
If you just need the firmware for the lantern alongside the RNG, then I would advise you to download a 0.5 MB archive either from SourceForge or OSDN.
But if you need the firmware for the lantern alongside the extra code, photos, GIFs, and diagrams, in that case, I would advise you to download the 79.1 MB archive from GitHub.
Download and Install the Libraries
Adafruit-GFX-Library: https://github.com/adafruit/Adafruit-GFX-Library
Adafruit_BusIO: https://github.com/adafruit/Adafruit_BusIO
Adafruit-ST7735-Library: https://github.com/adafruit/Adafruit-ST7735-Library
Keypad: https://github.com/Chris--A/Keypad
FastLED: https://github.com/FastLED/FastLED
The process of unpacking libraries is typical. You can unpack the content of the archive into the folder: ...\Arduino\libraries. Or open the Arduino IDE, click to the Sketch -> Include Library -> Add .ZIP Library... and select every archive with libraries.
The "serpent by peterferrie" library is already located in the folders with the firmware. You don't need to install it.
Install ESP32 Filesystem Uploader
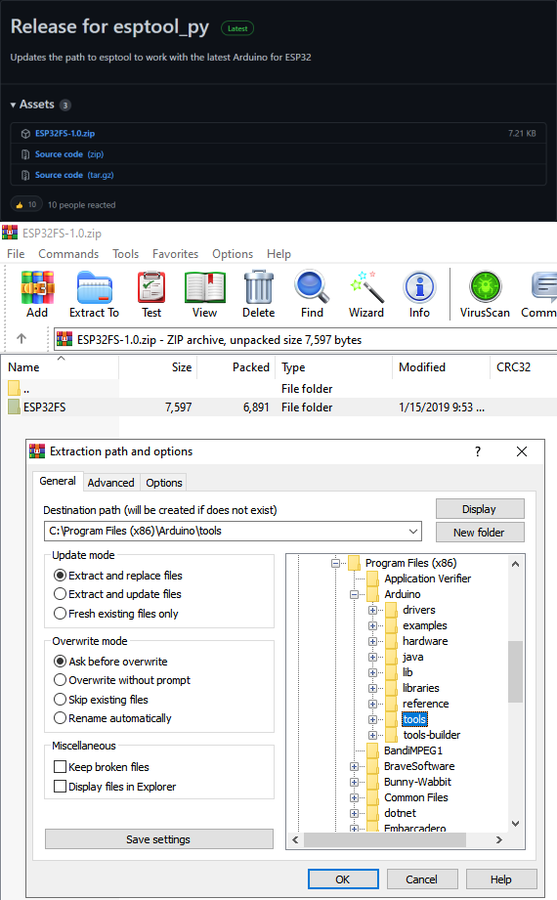
The primary purpose of the ESP32 Filesystem Uploader is to let you upload files into ESP's filesystem. In this tutorial, the purpose of this tool is to upload an empty SPIFFS image into ESP.
Download the file called ESP32FS-1.0.zip from https://github.com/me-no-dev/arduino-esp32fs-plugin/releases/
And then extract the content of the archive into the "...\Arduino\Tools\" folder.
After that, restart the Arduino IDE.
Switch the Partition Scheme to the "No OTA (2MB APP/2MB SPIFFS)"
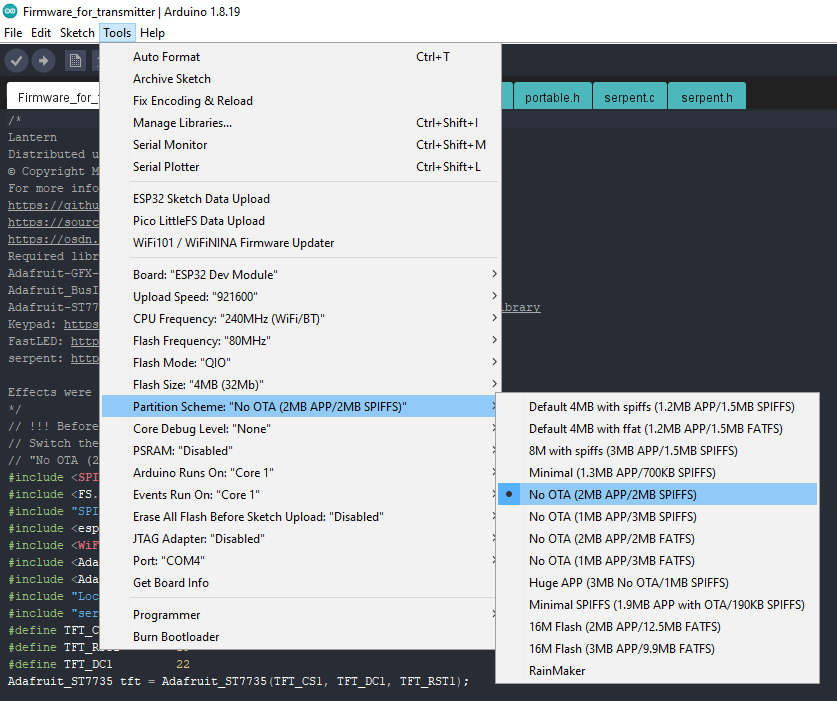
You have to switch the partition scheme to the "No OTA (2MB APP/2MB SPIFFS)" before you continue working with ESP32 because the firmware for the vault is too big for the default partition.
Format ESP32'S Built-In Flash Memory
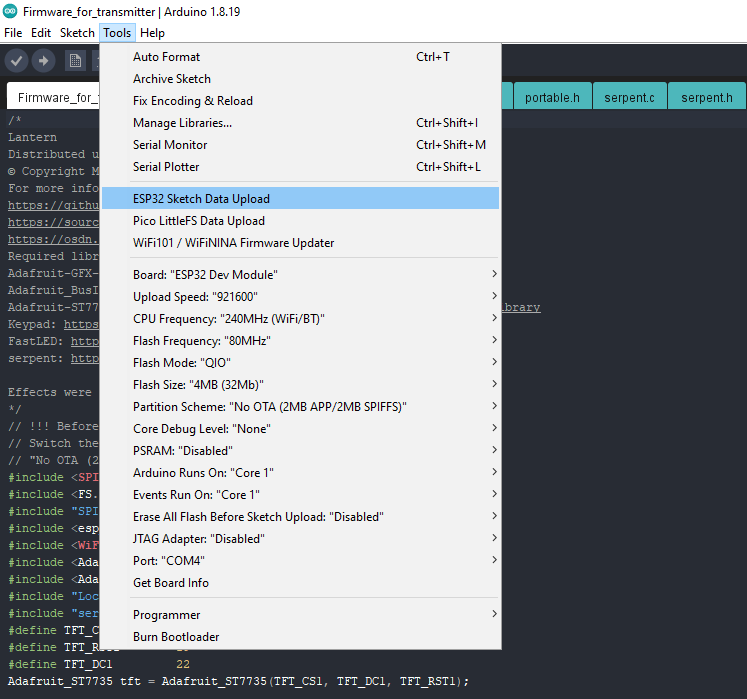
Connect the ESP32 that you're going to use as a core of the vault to the computer. Click Tools -> ESP32 Sketch Data Upload. Then click Yes in the pop-up window. The program is going to format the built-in flash memory.
Some boards will flash without any problems.
Unfortunately, that's not the case for all boards. If you configured IDE correctly, installed drivers, selected the corresponding port, and still keep getting this error: A fatal error occurred: Failed to connect to ESP32: Timed out waiting for packet header. Connect a 10µF capacitor to the board while flashing.
Connect the positive lead of the capacitor to the EN pin of the ESP32;
Connect the negative lead of the capacitor (usually indicated by the gray stripe) to the GND pin of the ESP32.
Don't forget to disconnect the capacitor after the board flashes.
Clear the ESP8266's EEPROM
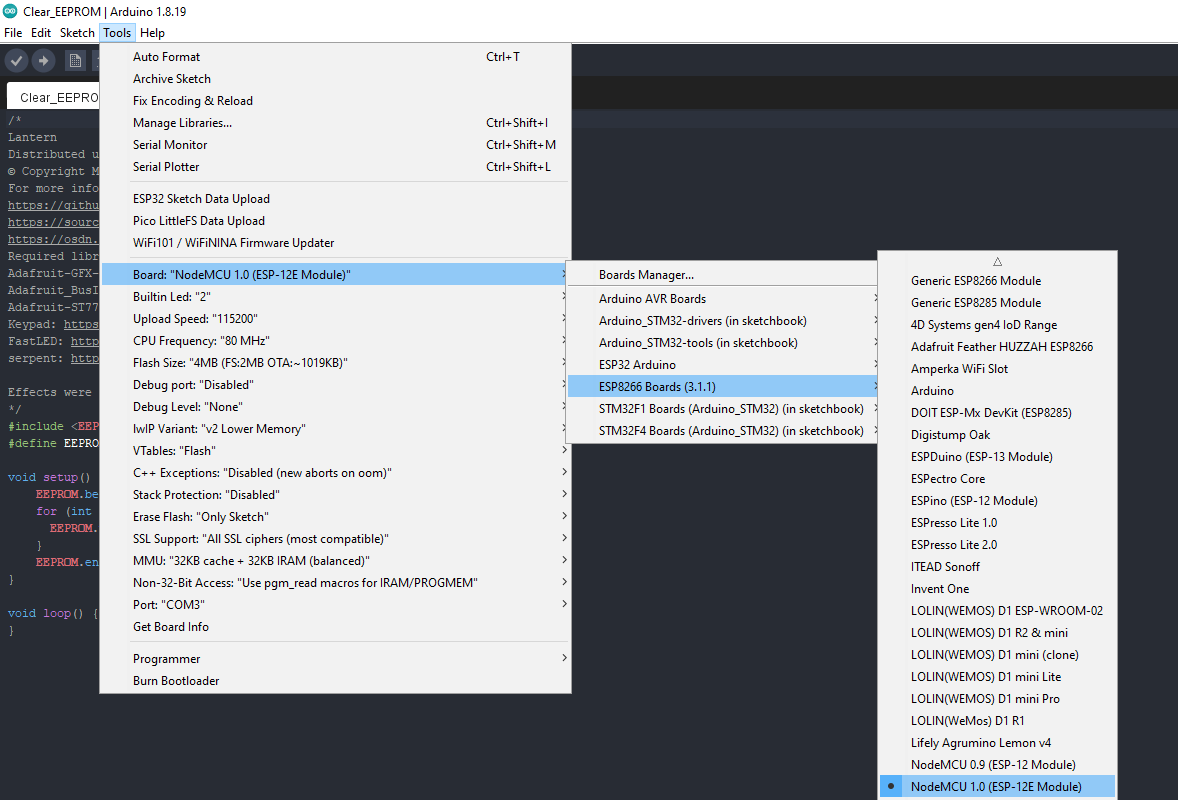
To ensure that Lantern will work as intended, you must clear the ESP8266's EEPROM before uploading the firmware.
To clear the EEPROM, upload the sketch from the "Clear_EEPROM" folder into the ESP8266 and reboot the board.
Generate Keys
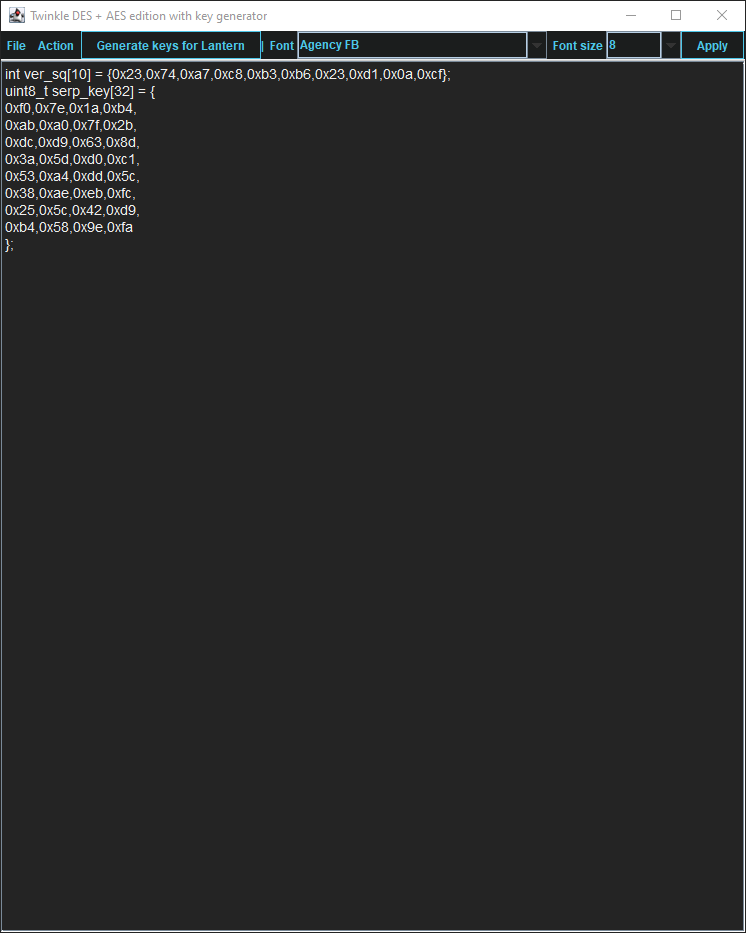
To ensure that an attacker won't be able to hack lantern by simply discovering the receiver's MAC address and to prevent separate transmitter-receiver pairs from interfering with one another: it's crucial to generate the unique keys for each transmitter-receiver pair.
It's entirely up to you how to generate the keys. I can only offer you an option to do so.
I've modified one of my previous projects to work as a random number generator, the generated output seems "random enough" for me, but I haven't run any tests. So, I can't guarantee that it's random.
Use it at your own risk!
To generate the keys - launch gen.exe from the "Untested RNG" folder and click the "Generate keys for Lantern" button. The background turns from dark gray to light gray when you press that button.
Get the Receiver's MAC Address
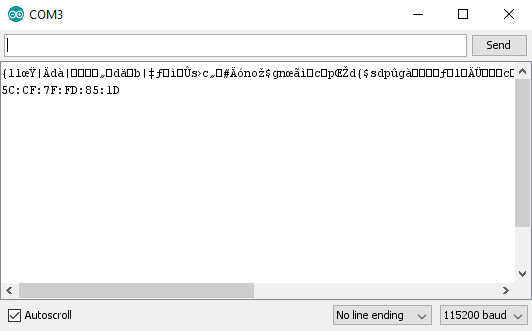
To get the receiver's MAC address, upload this code into the ESP8266.
#include <ESP8266WiFi.h>

void setup(){
  Serial.begin(115200);
  Serial.println();
  Serial.println(WiFi.macAddress());
}

void loop(){

}
Then open the Serial Terminal, and reboot the board.
If done correctly, you should see the MAC address in the console.
The MAC address of this board is 5C:CF:7F:FD:85:1D
Modify the Firmware
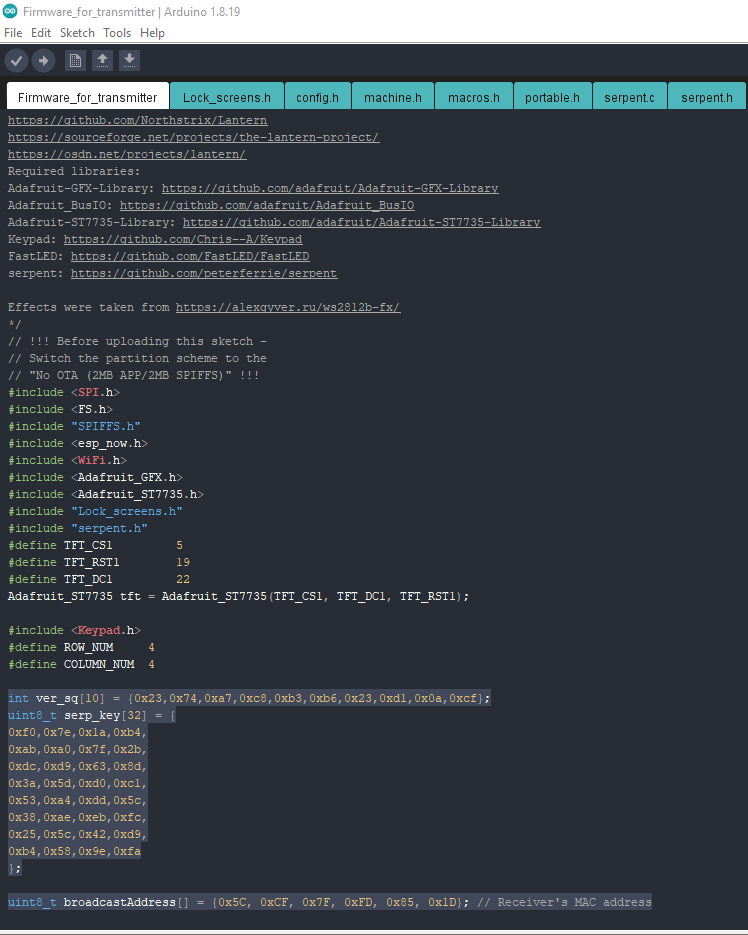
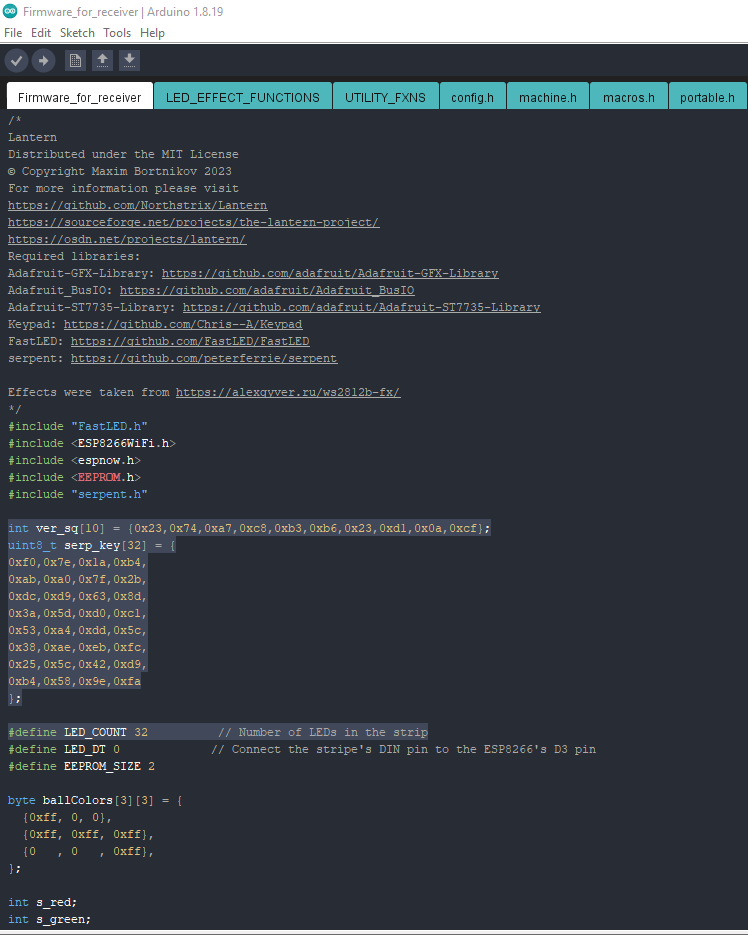
Open the firmware from the "Firmware_for_transmitter" and "Firmware_for_receiver" folders.
In the "Firmware_for_transmitter" you need to replace the keys and the receiver's MAC address in the "uint8_t broadcastAddress[] = {0x5C, 0xCF, 0x7F, 0xFD, 0x85, 0x1D}; // Receiver's MAC address" line.
In the "Firmware_for_receiver" you need to replace the keys and the number of LEDs in the strip in the " #define LED_COUNT 32 // Number of LEDs in the strip" line.
Flash the Transmitter
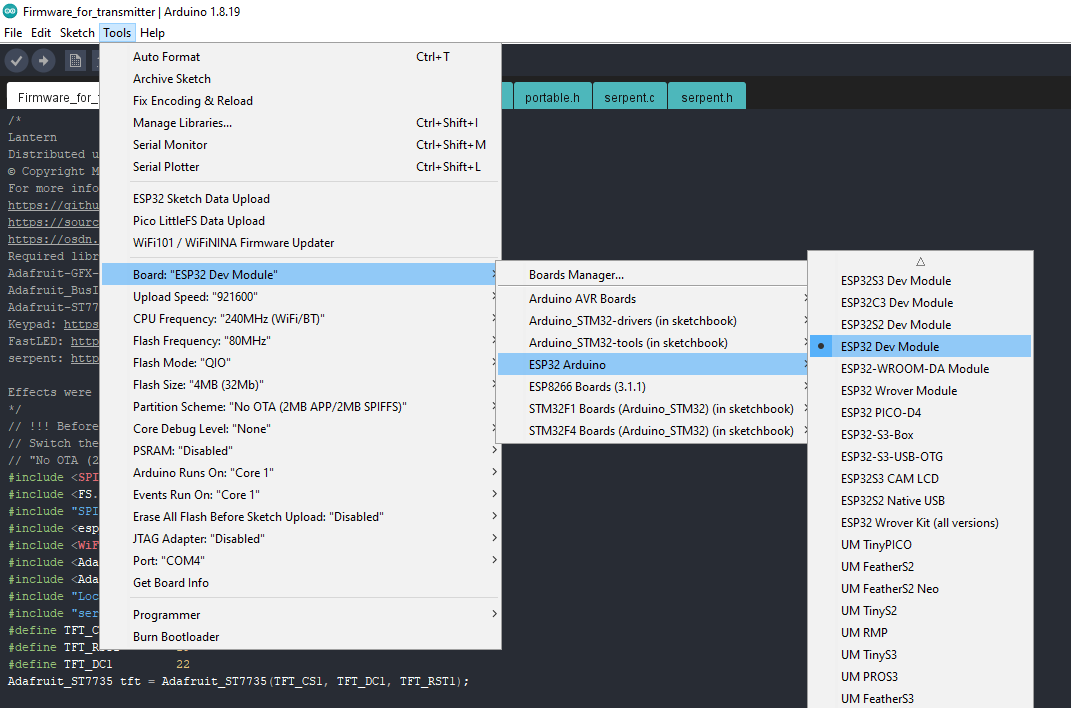
Upload the firmware from the "Firmware_for_transmitter" folder into the ESP32.
Flash the Receiver
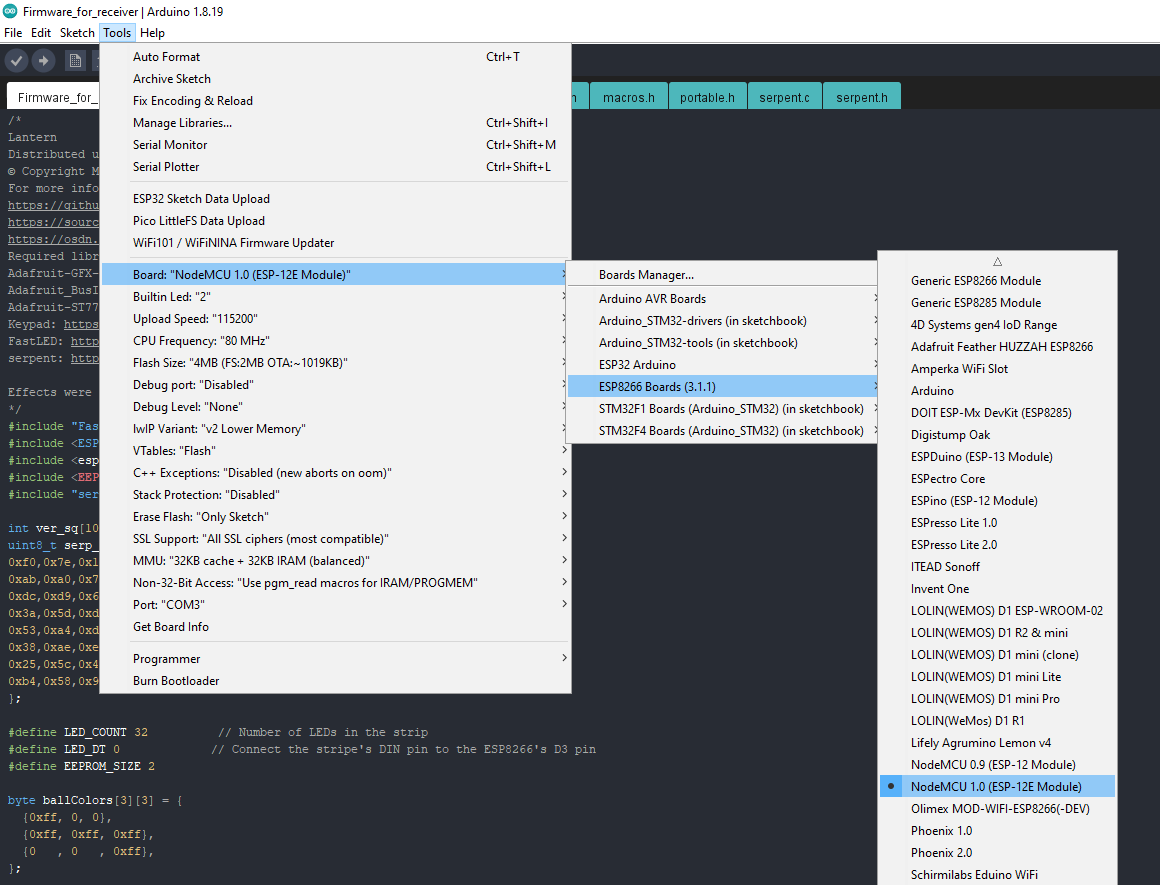
Upload the firmware from the "Firmware_for_receiver" folder into the ESP8266.
Assemble the Transmitter
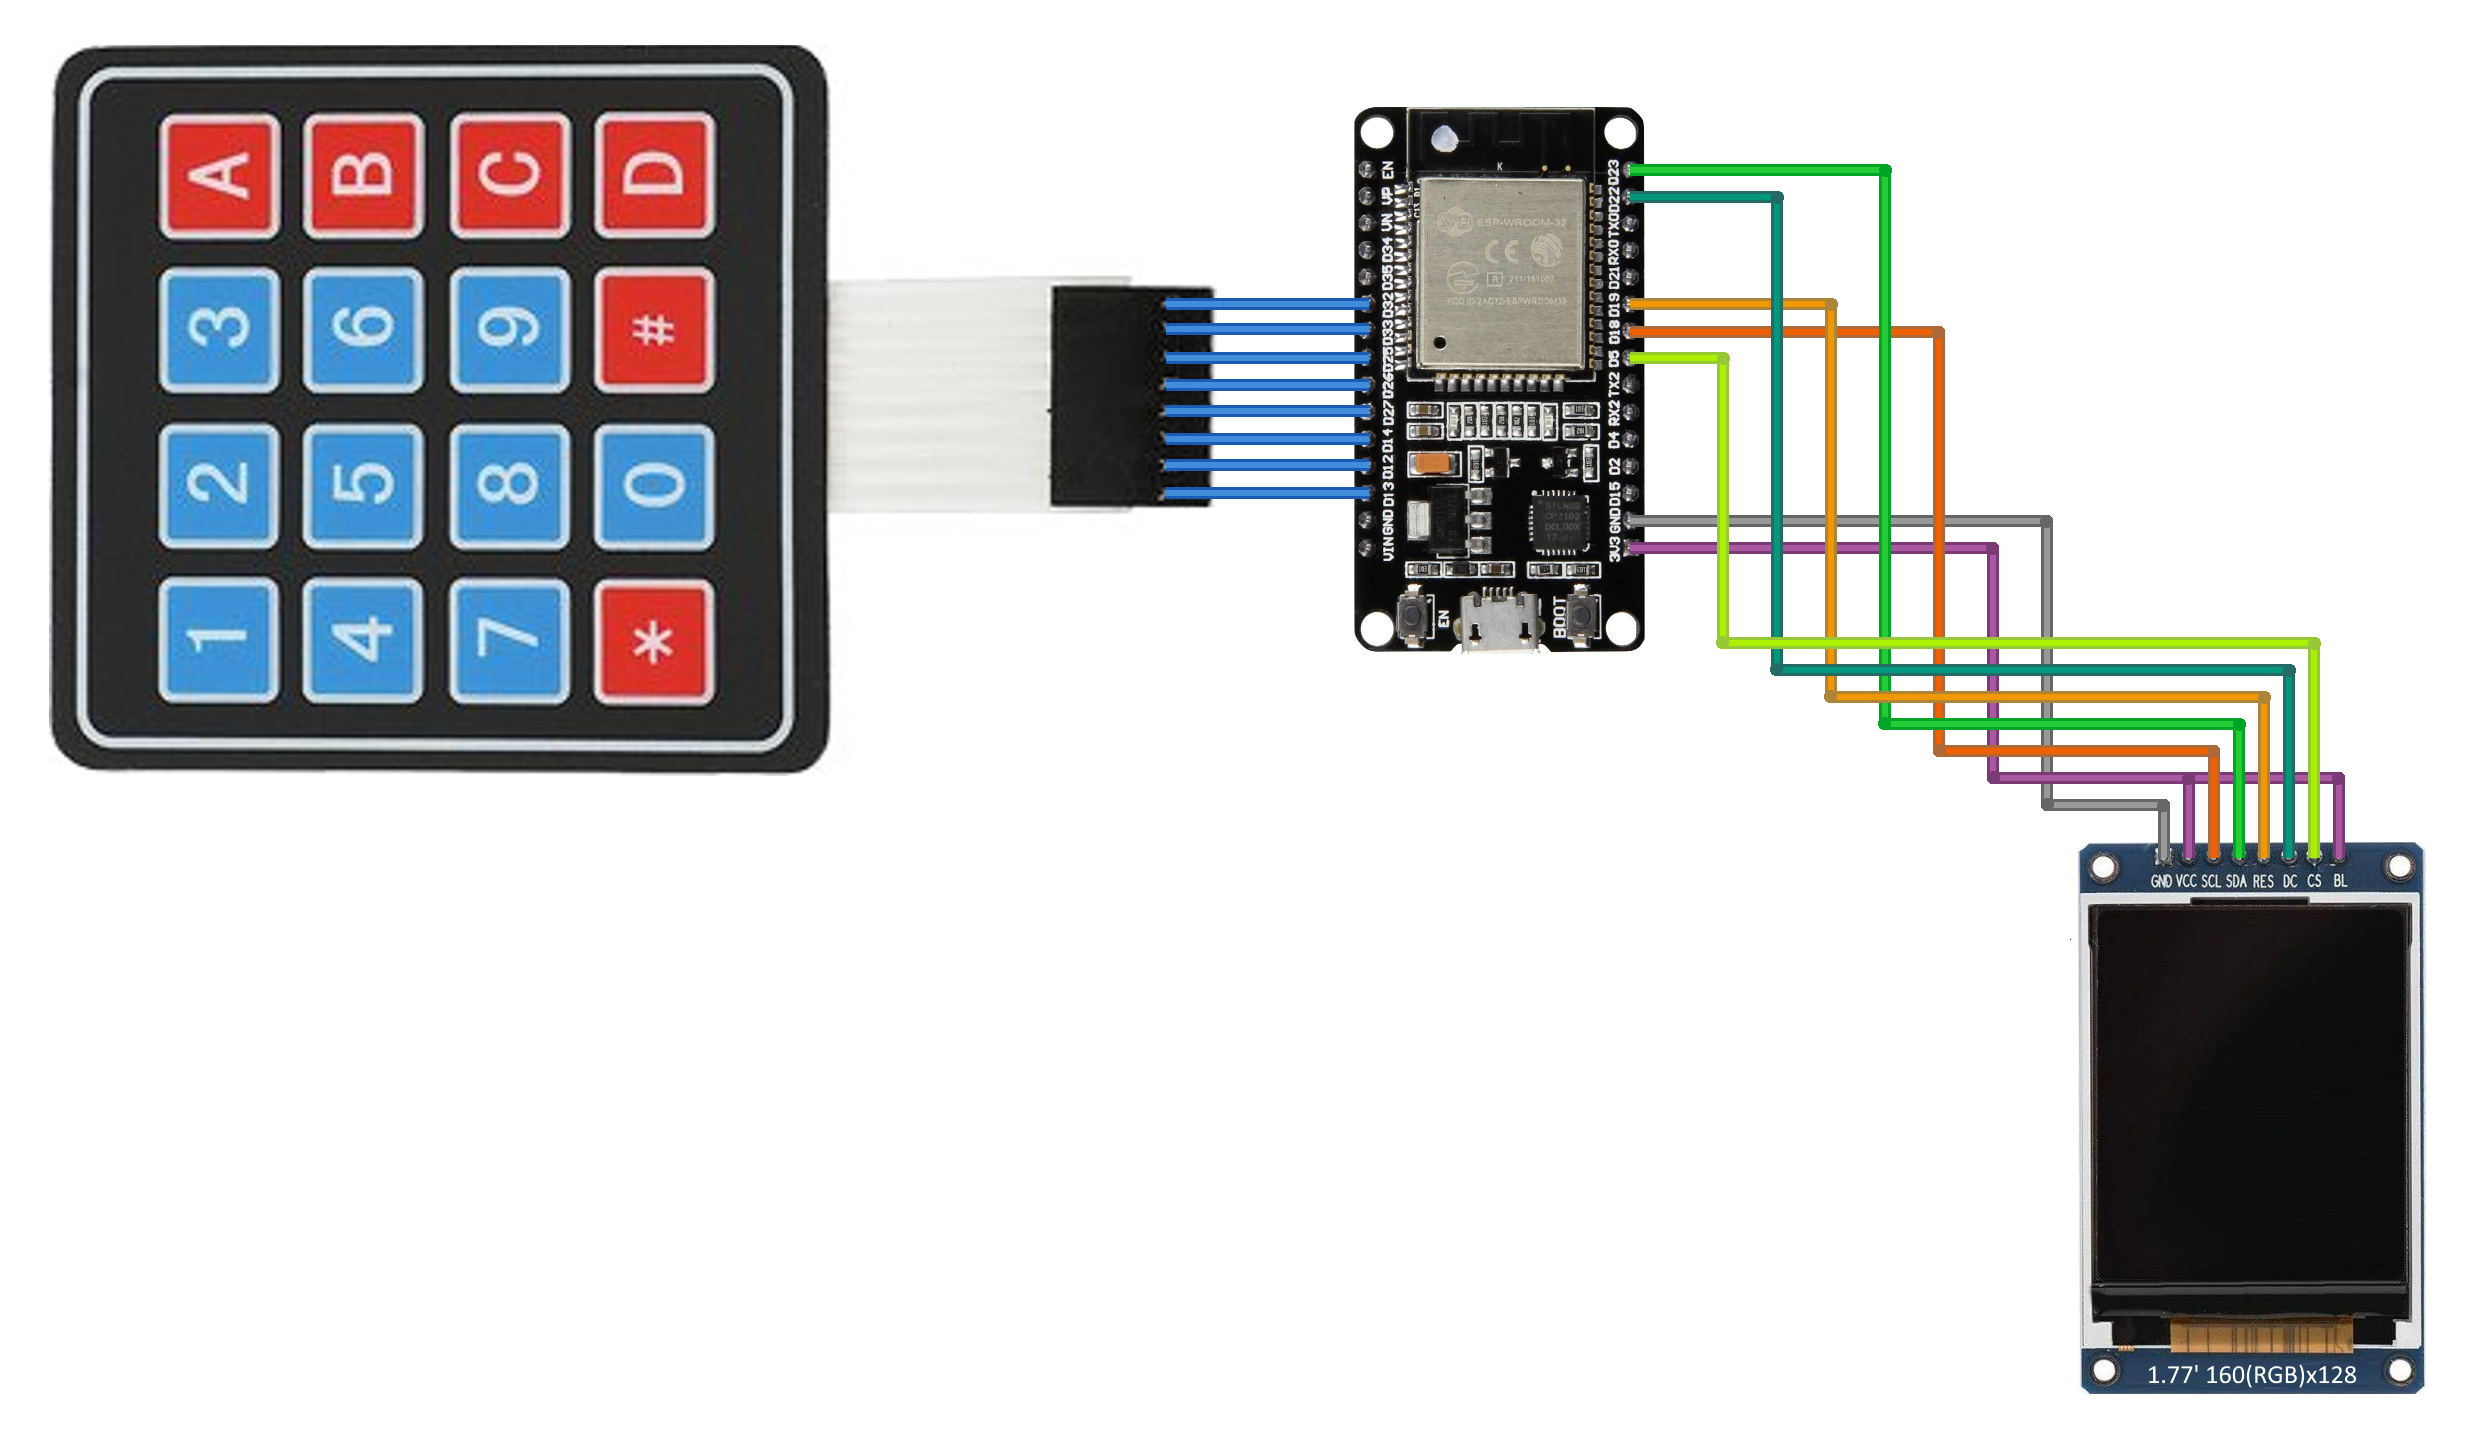
Assembling the transmitter shouldn't be hard. Just connect the display and the 4x4 keypad to the ESP32, and you're ready to go.
Assemble the Receiver
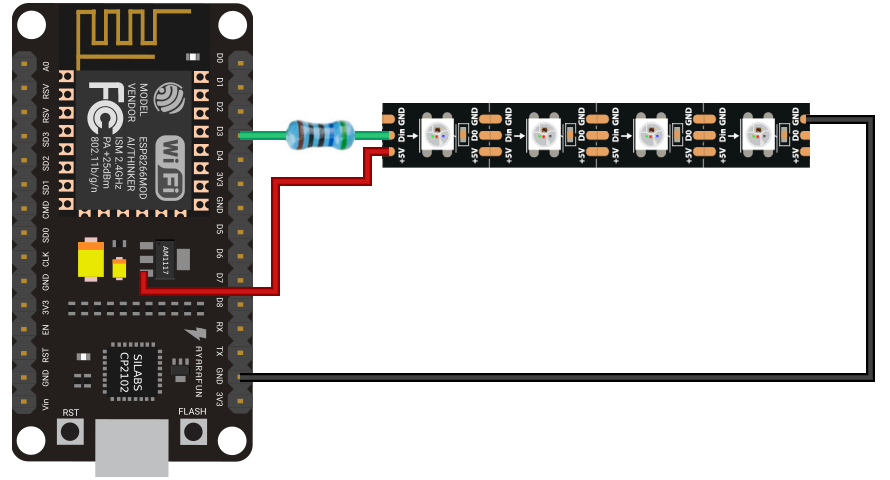
That should be even easier than the transmitter assembly.
Power the Receiver Up
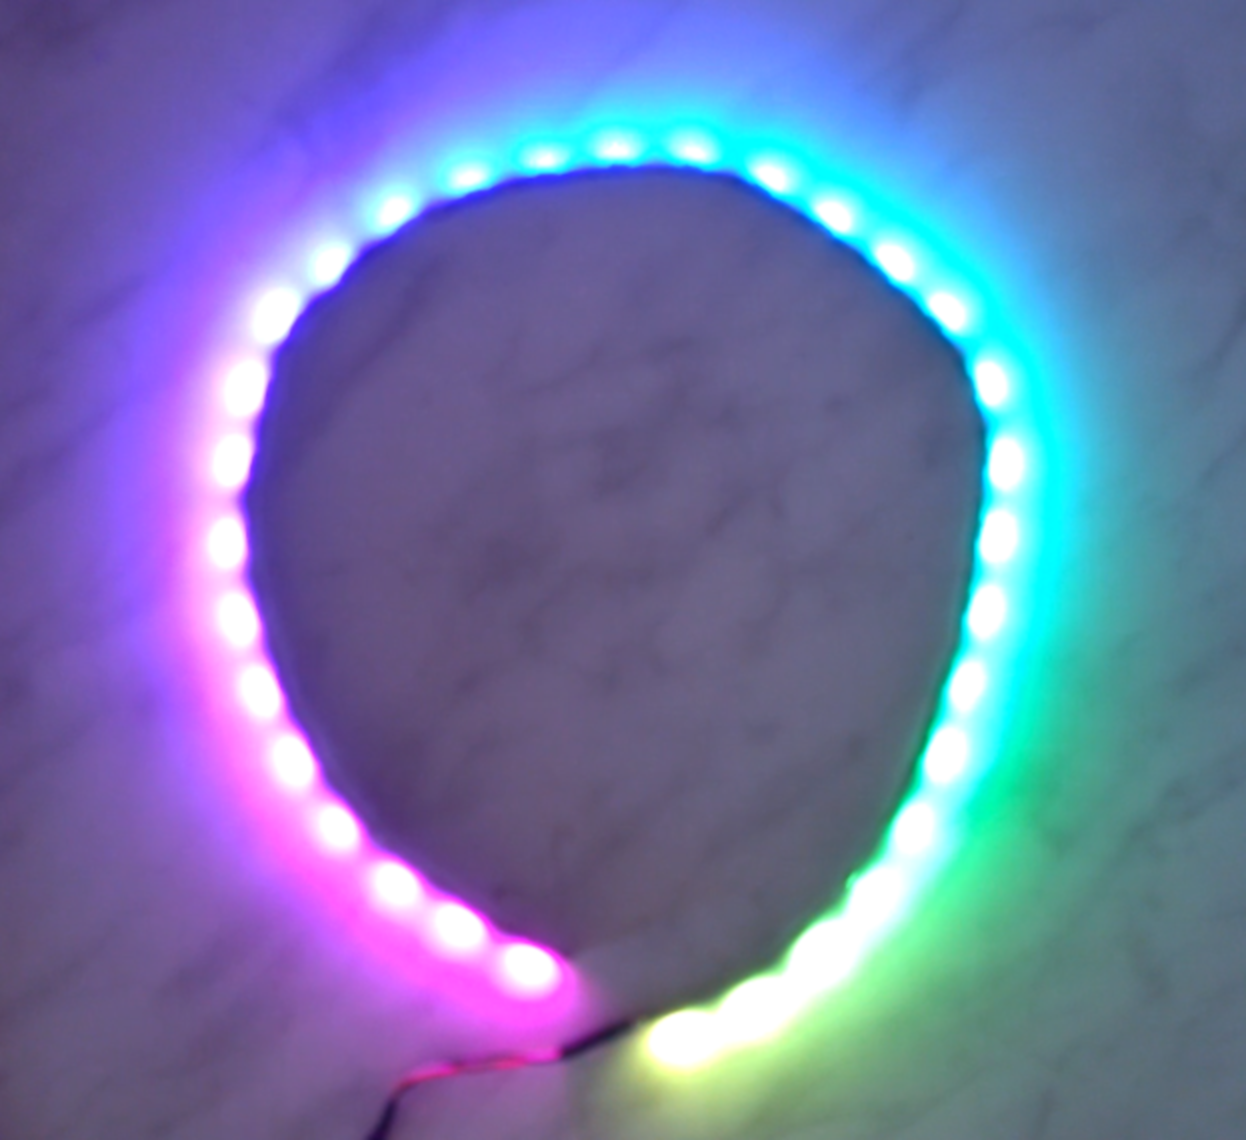
Make sure that the power supply can provide enough current for the strip before connecting the assembled receiver to it. You can do it by multiplying the number of LEDs in the strip by 0.06. In my case, it's 0.06 x 32 = 1.92A.
And I would strongly discourage you from supplying the assembled receiver from the USB port because even the USB 3.0 port can barely supply 0.9 Amps.
Power the Transmitter Up
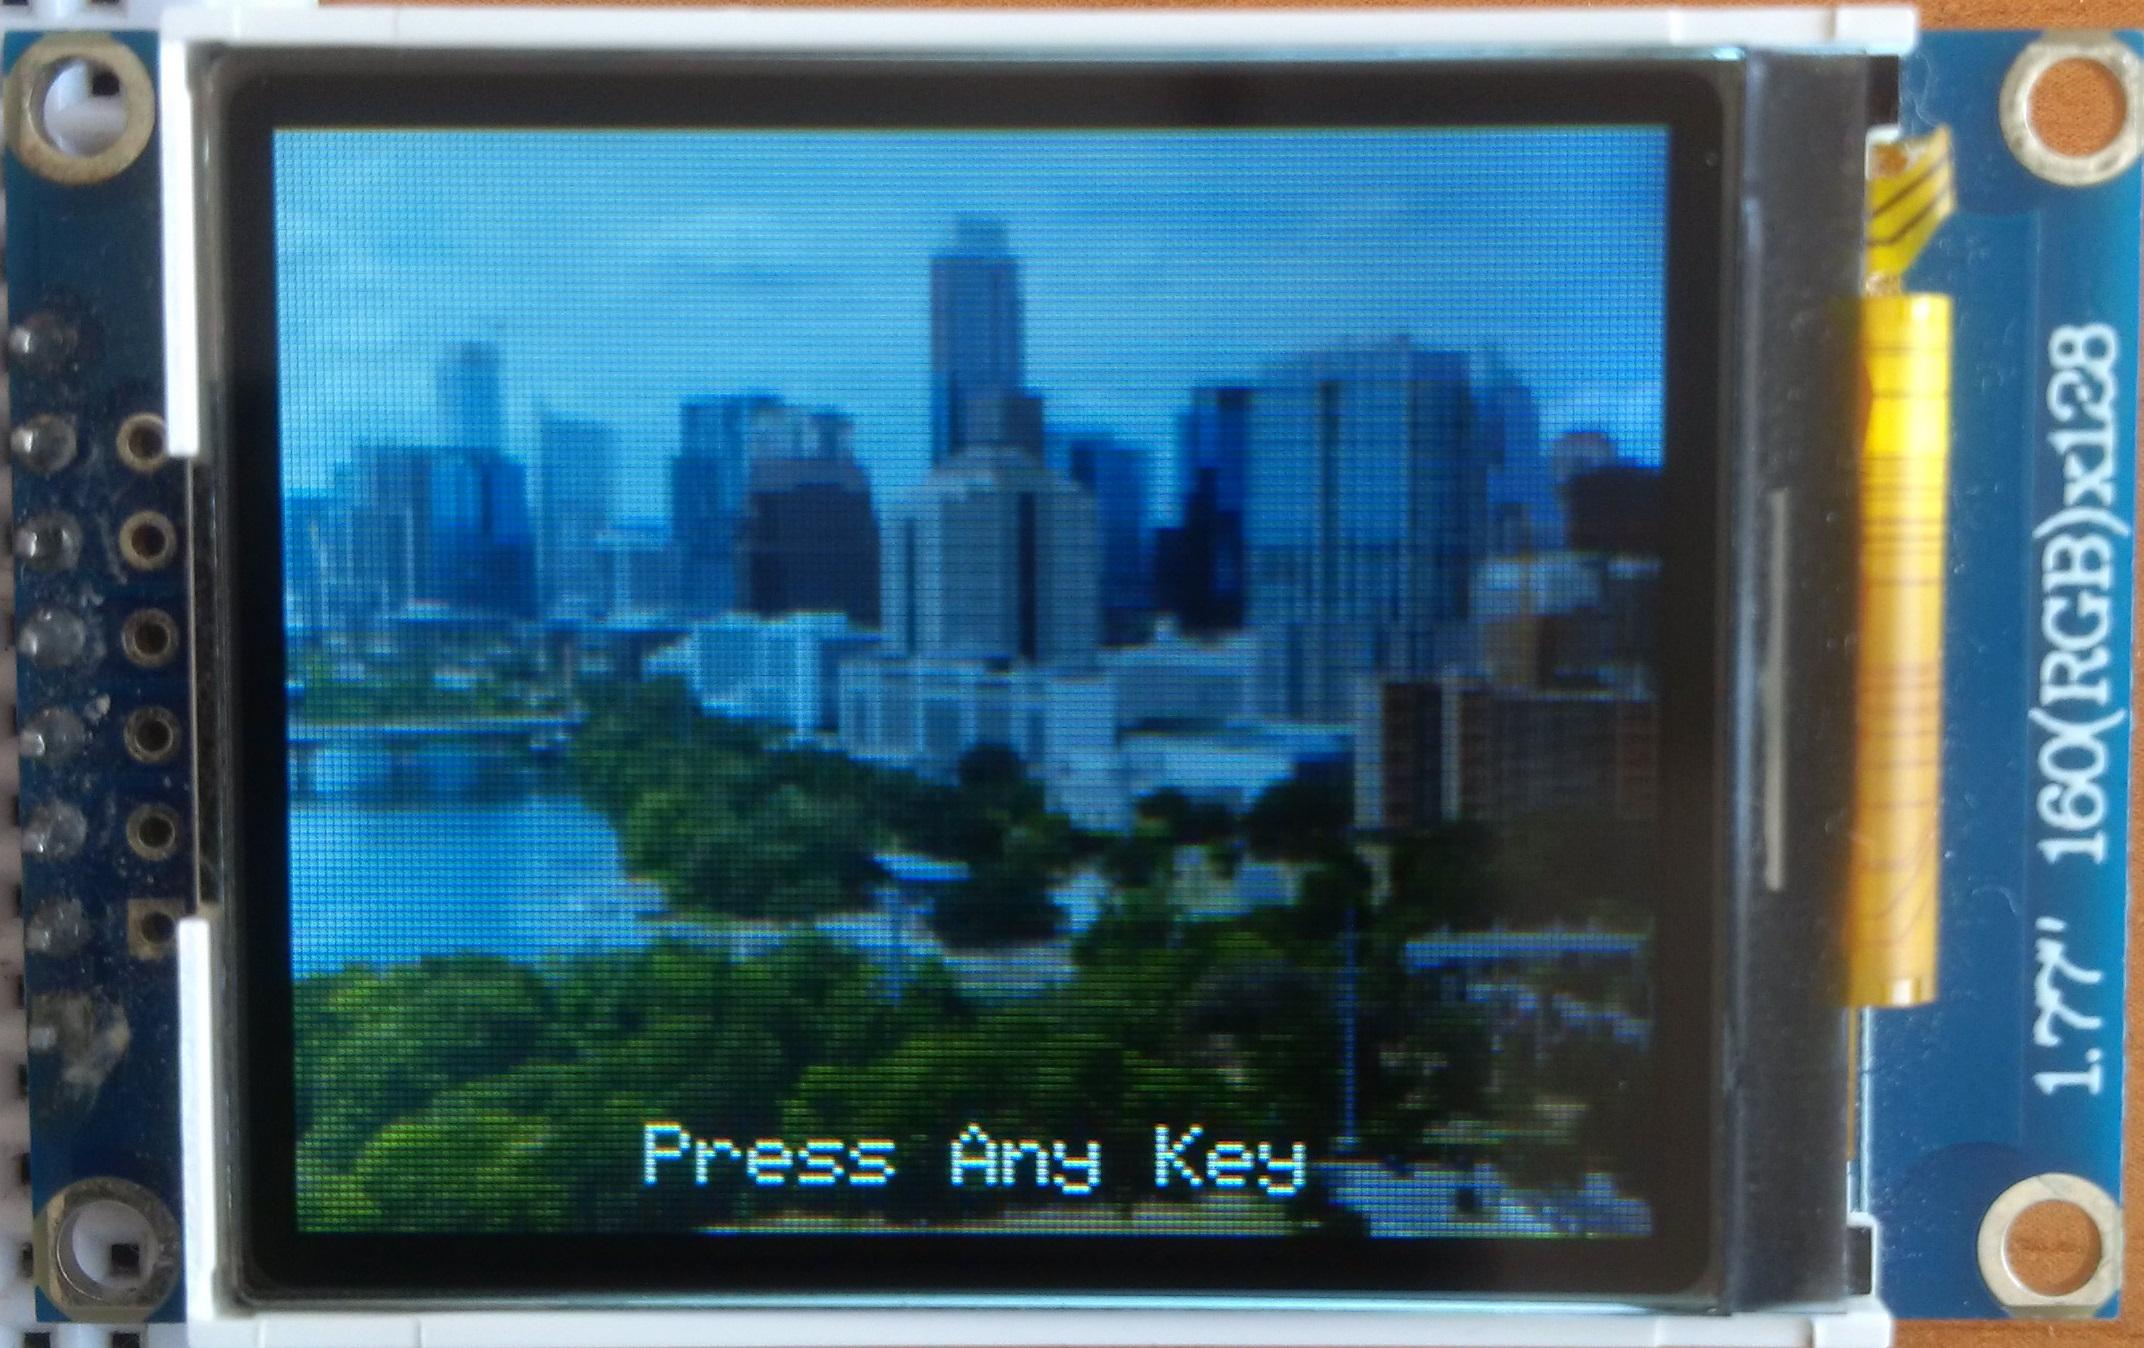
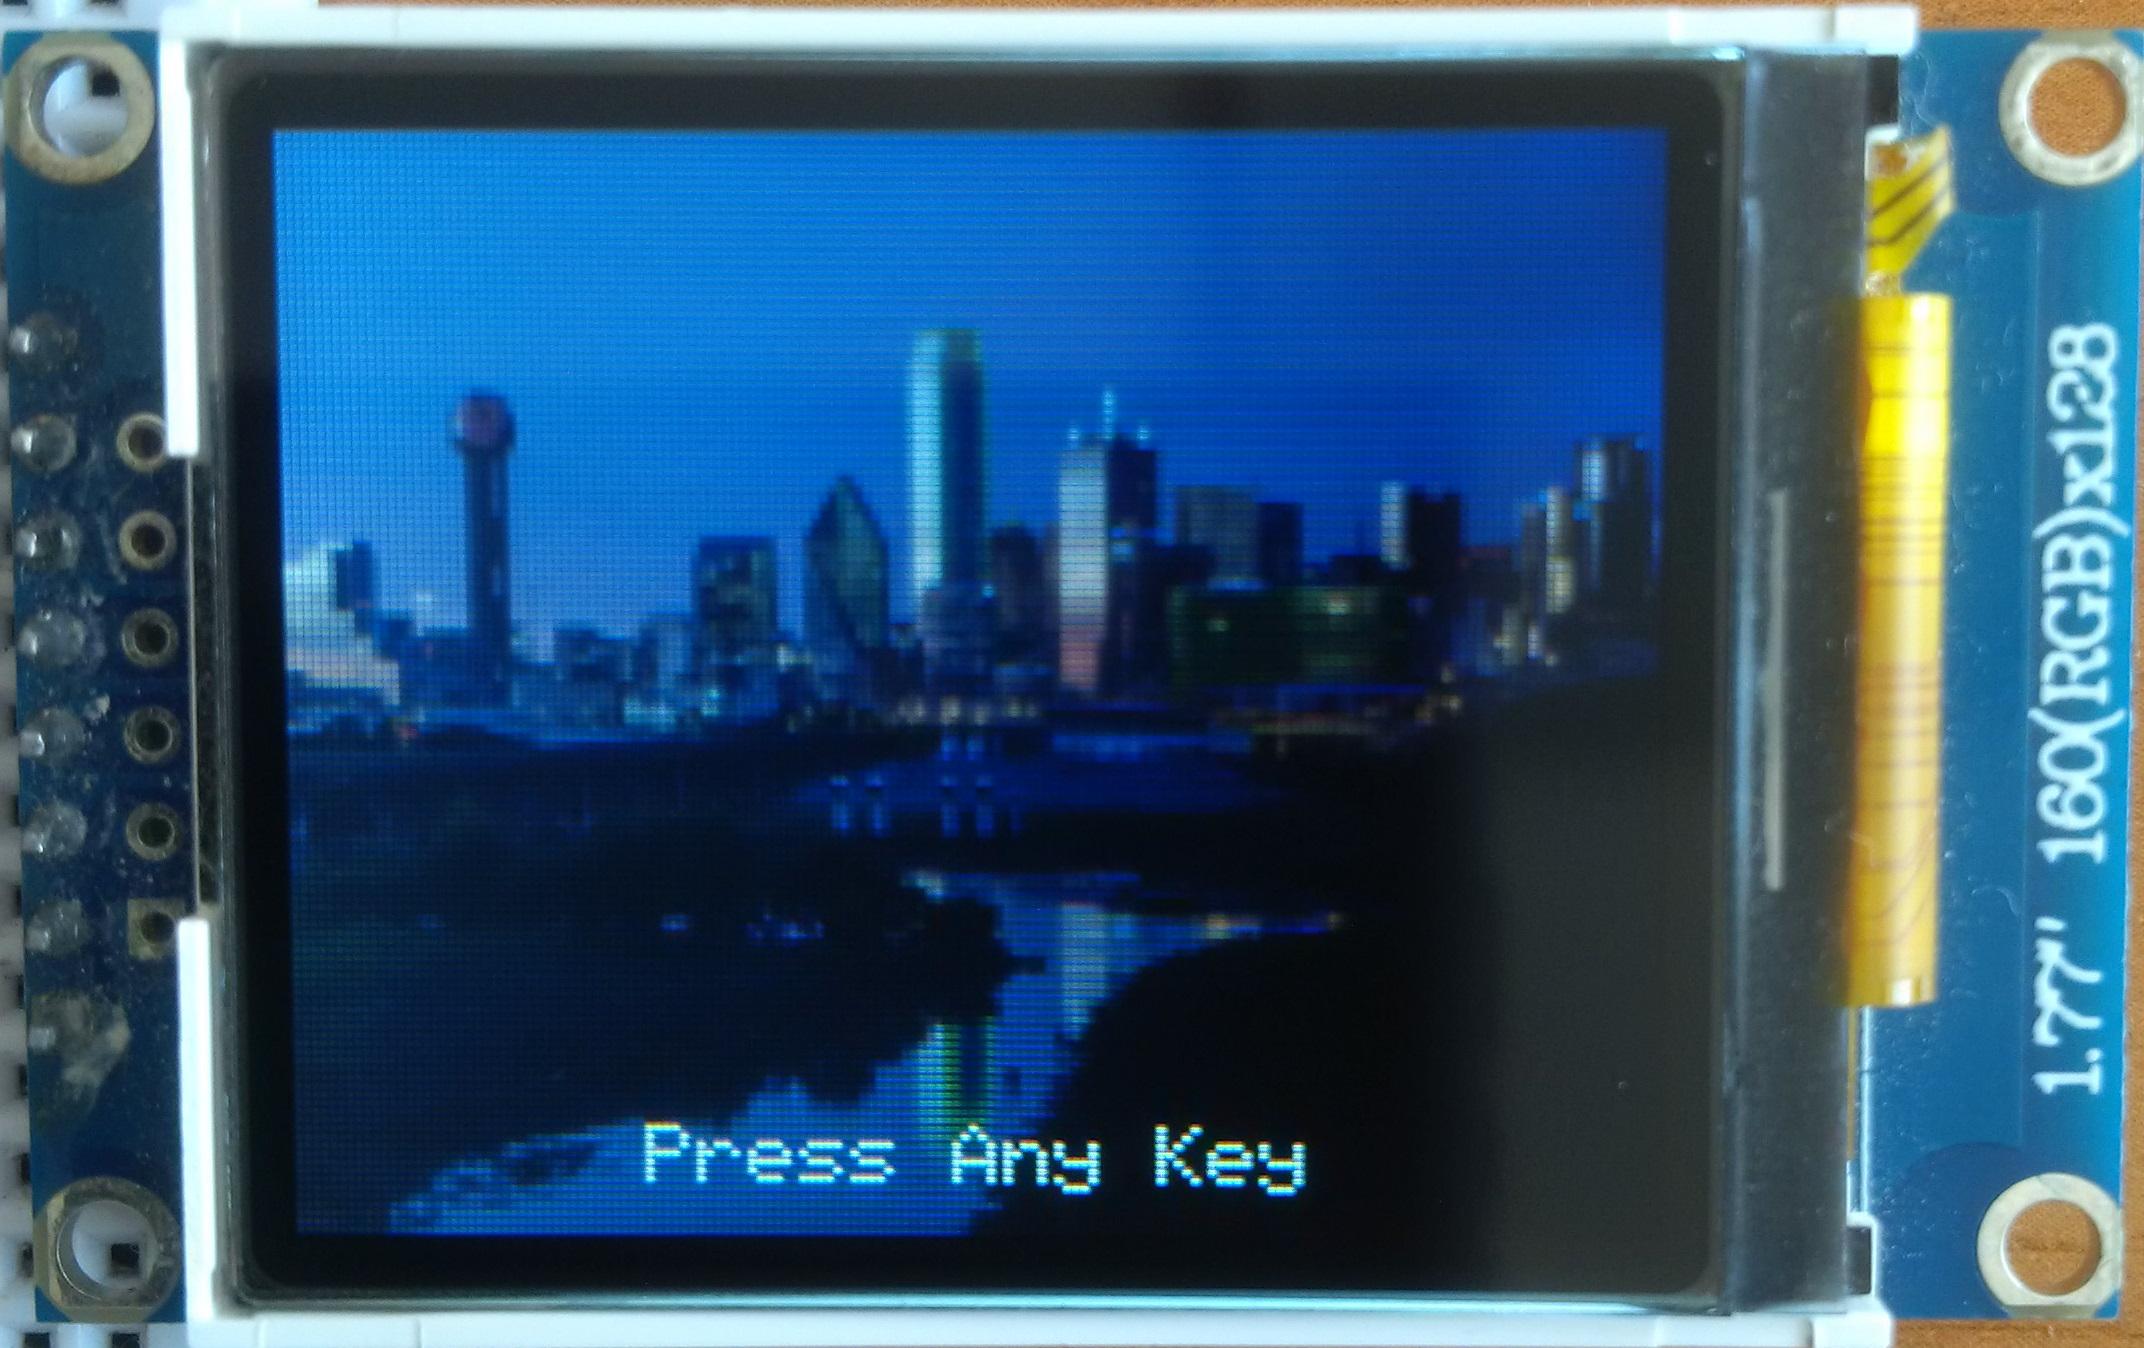
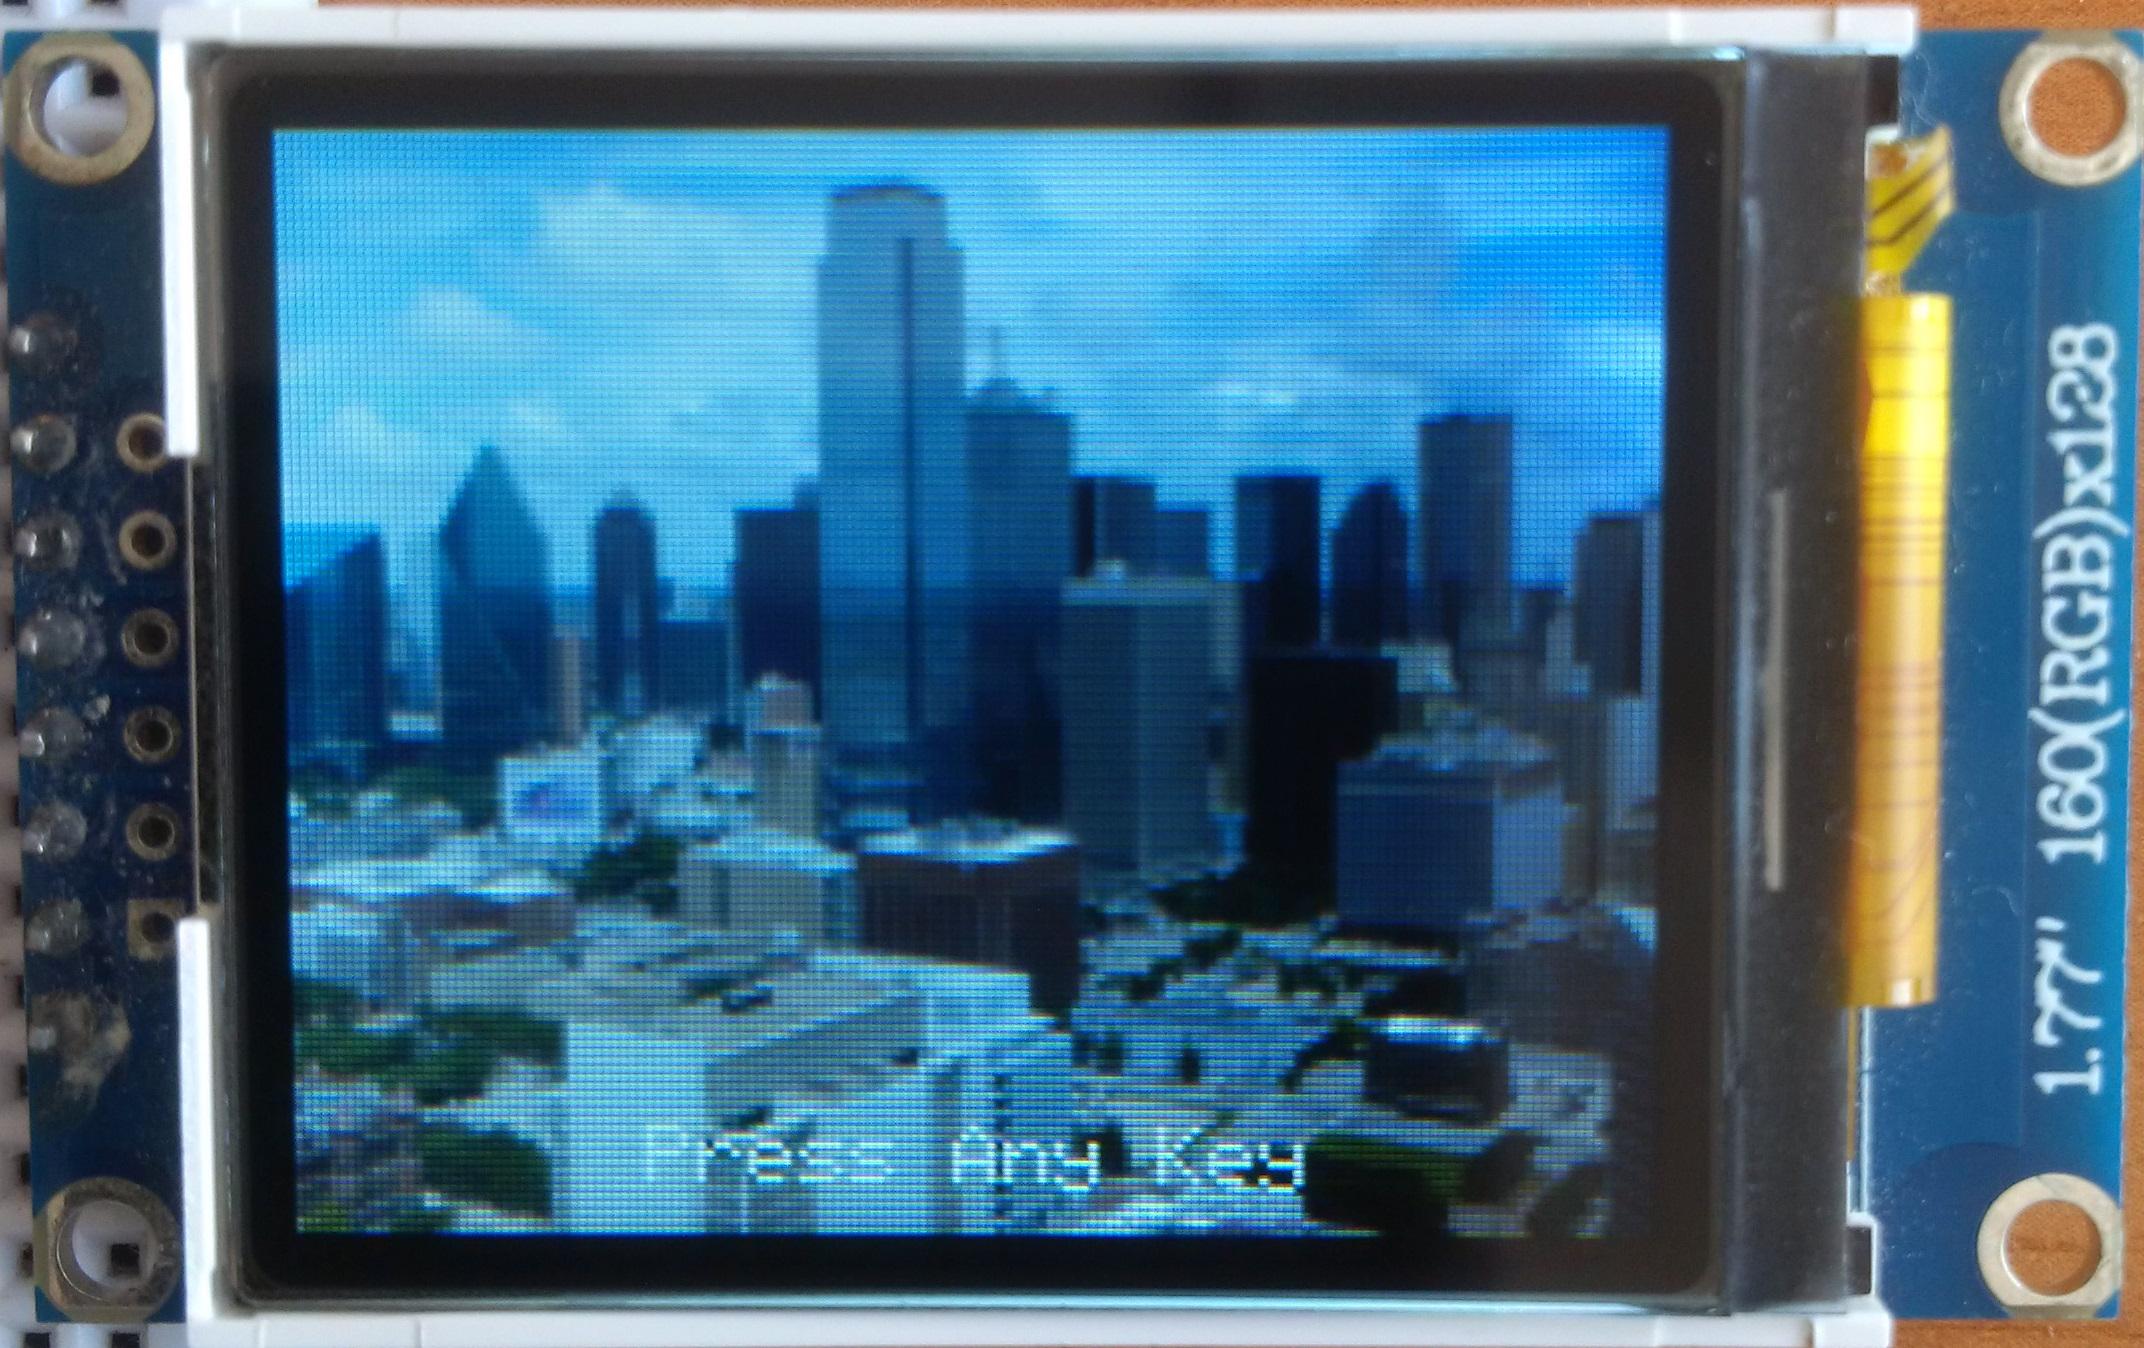
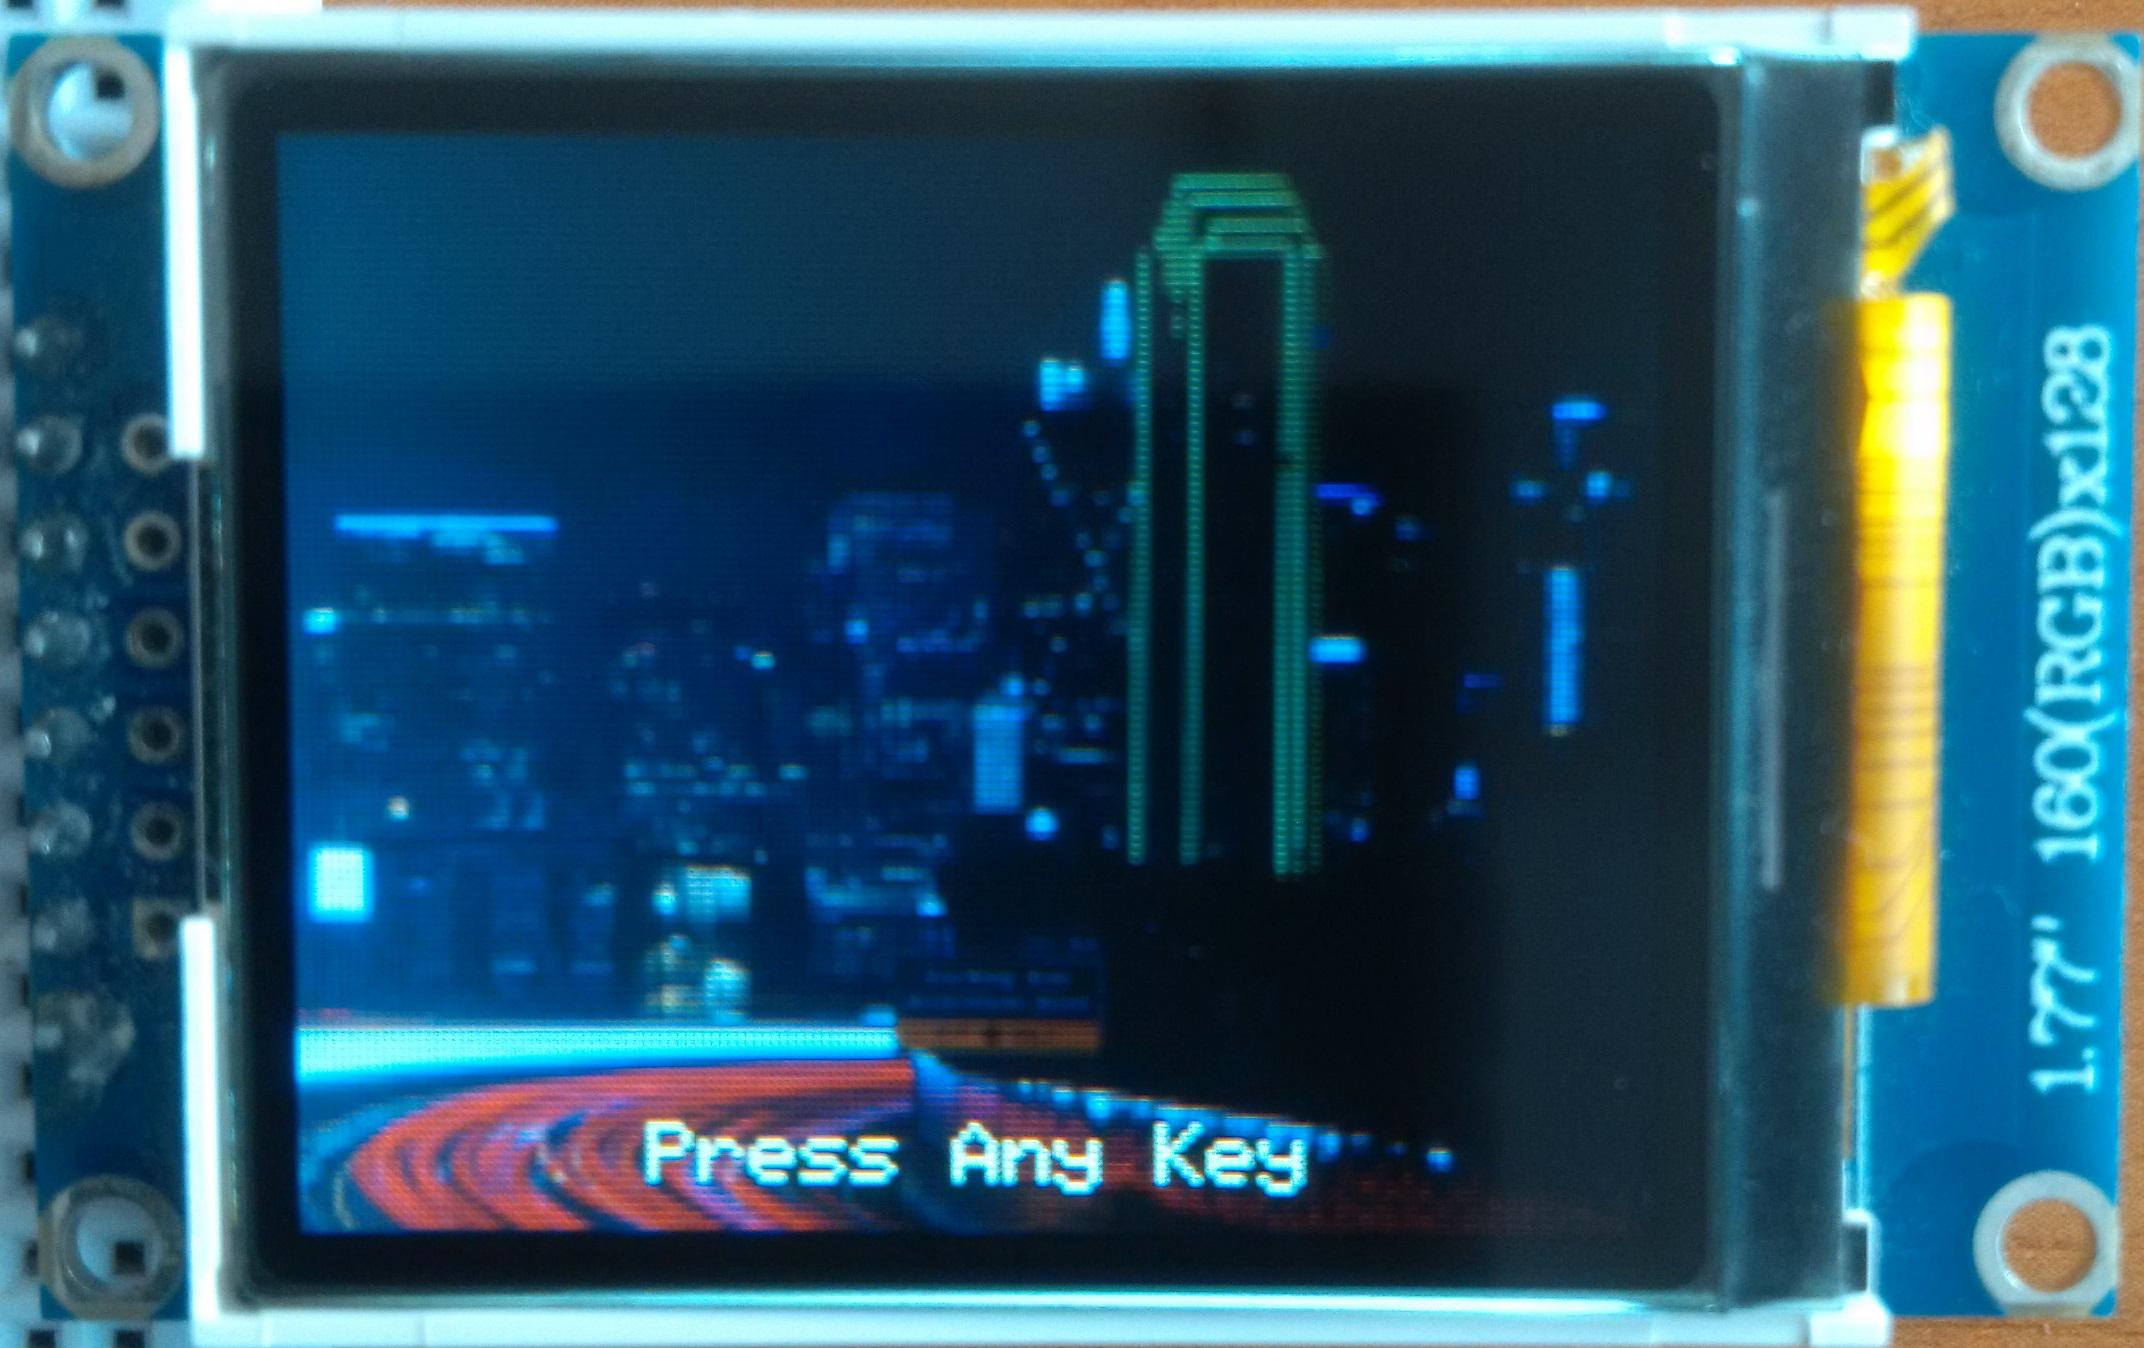
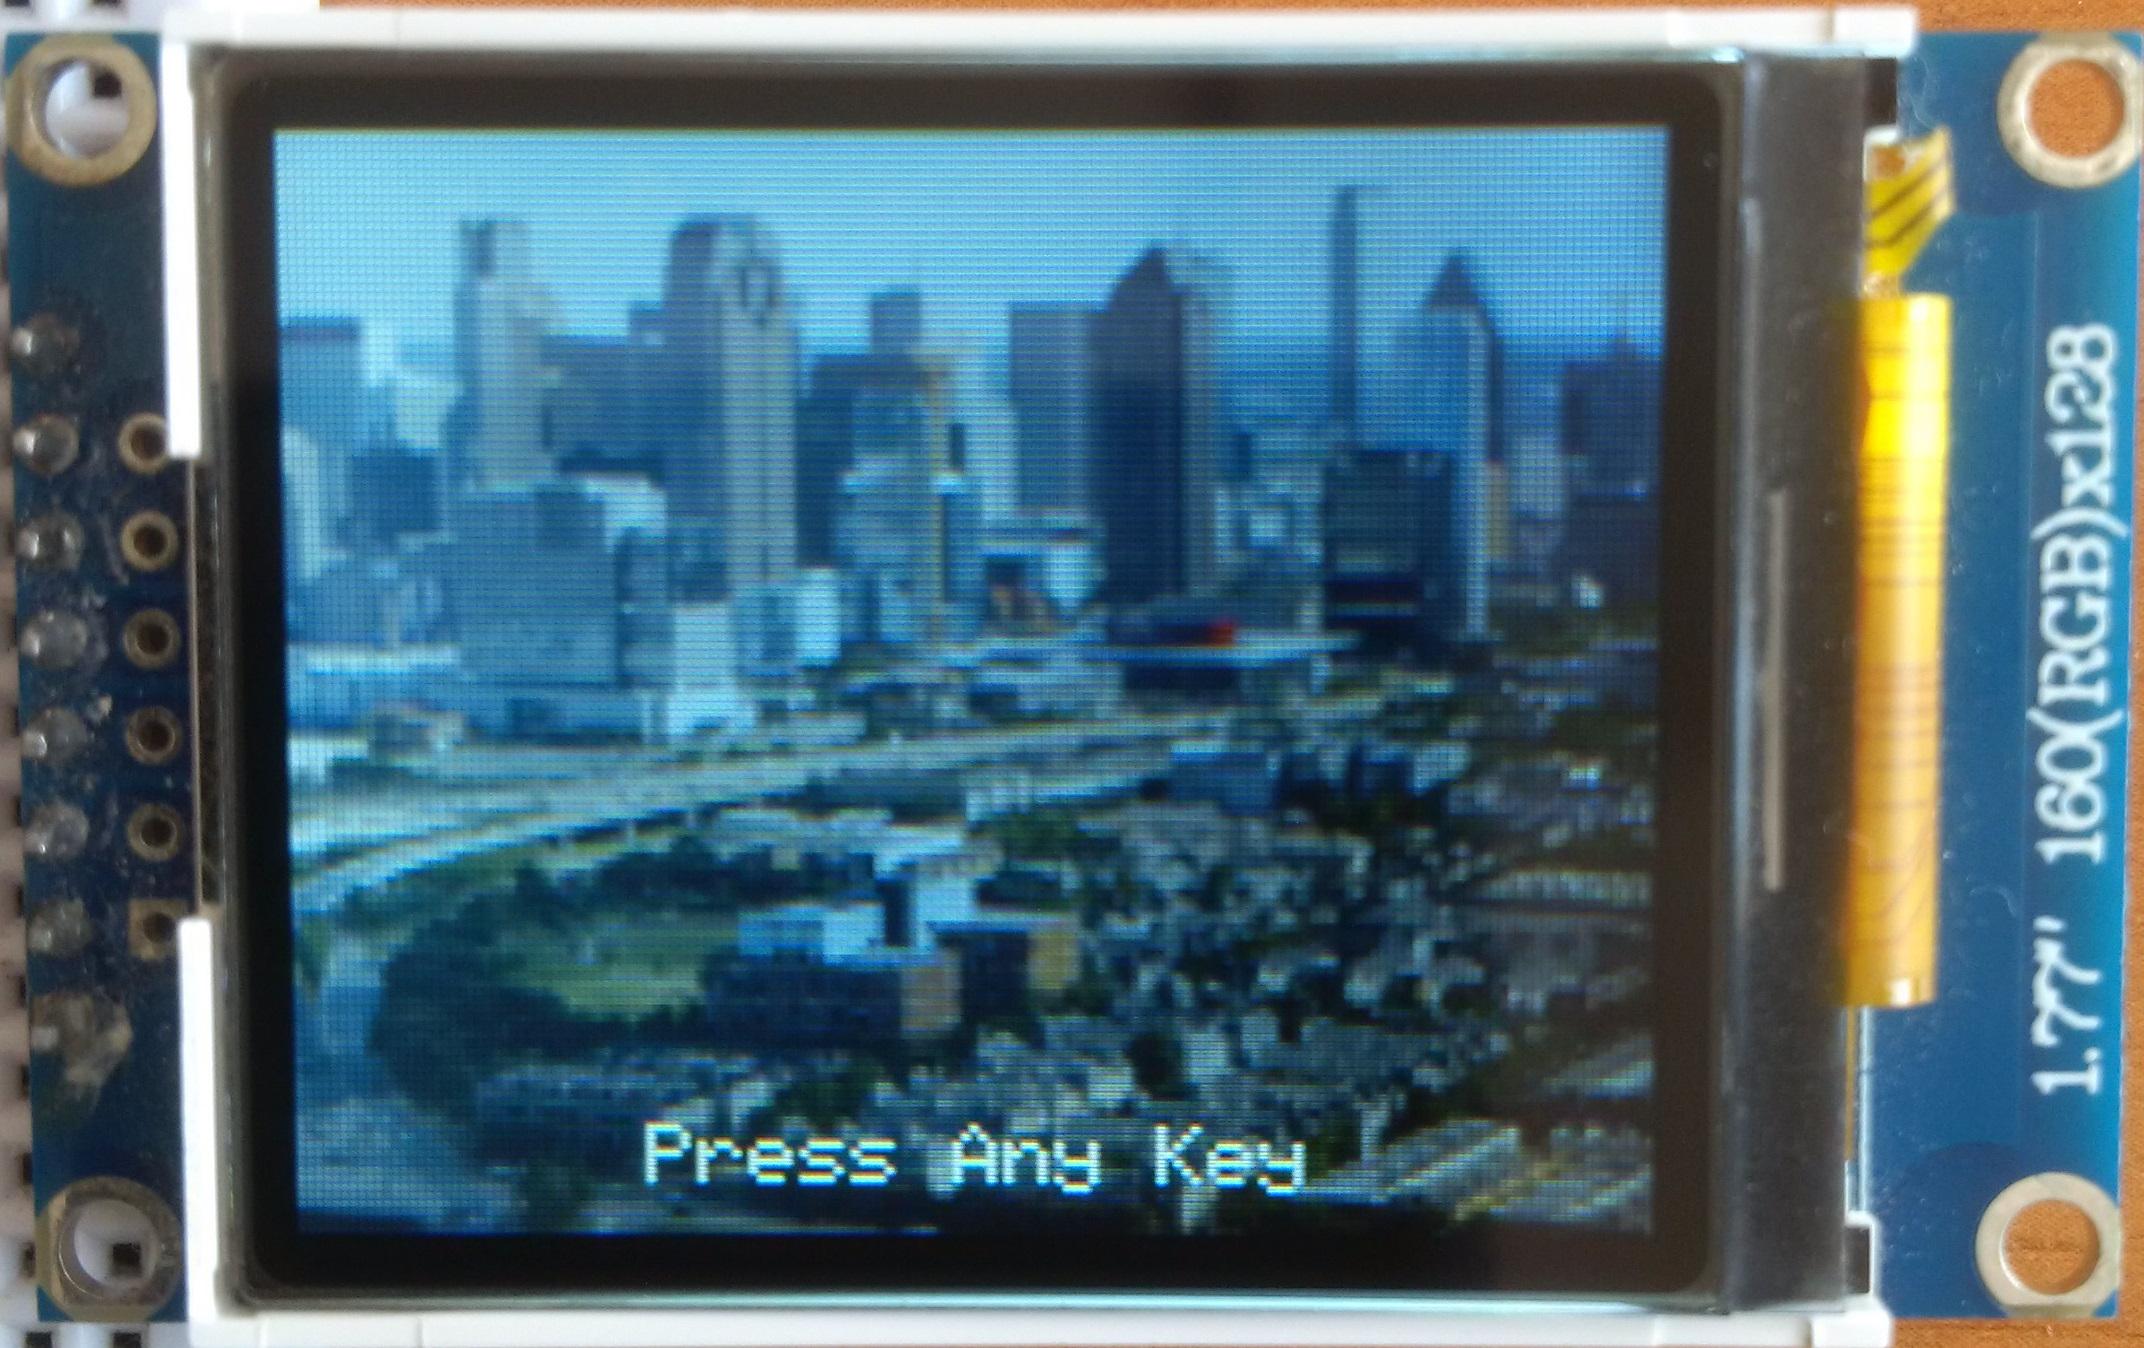
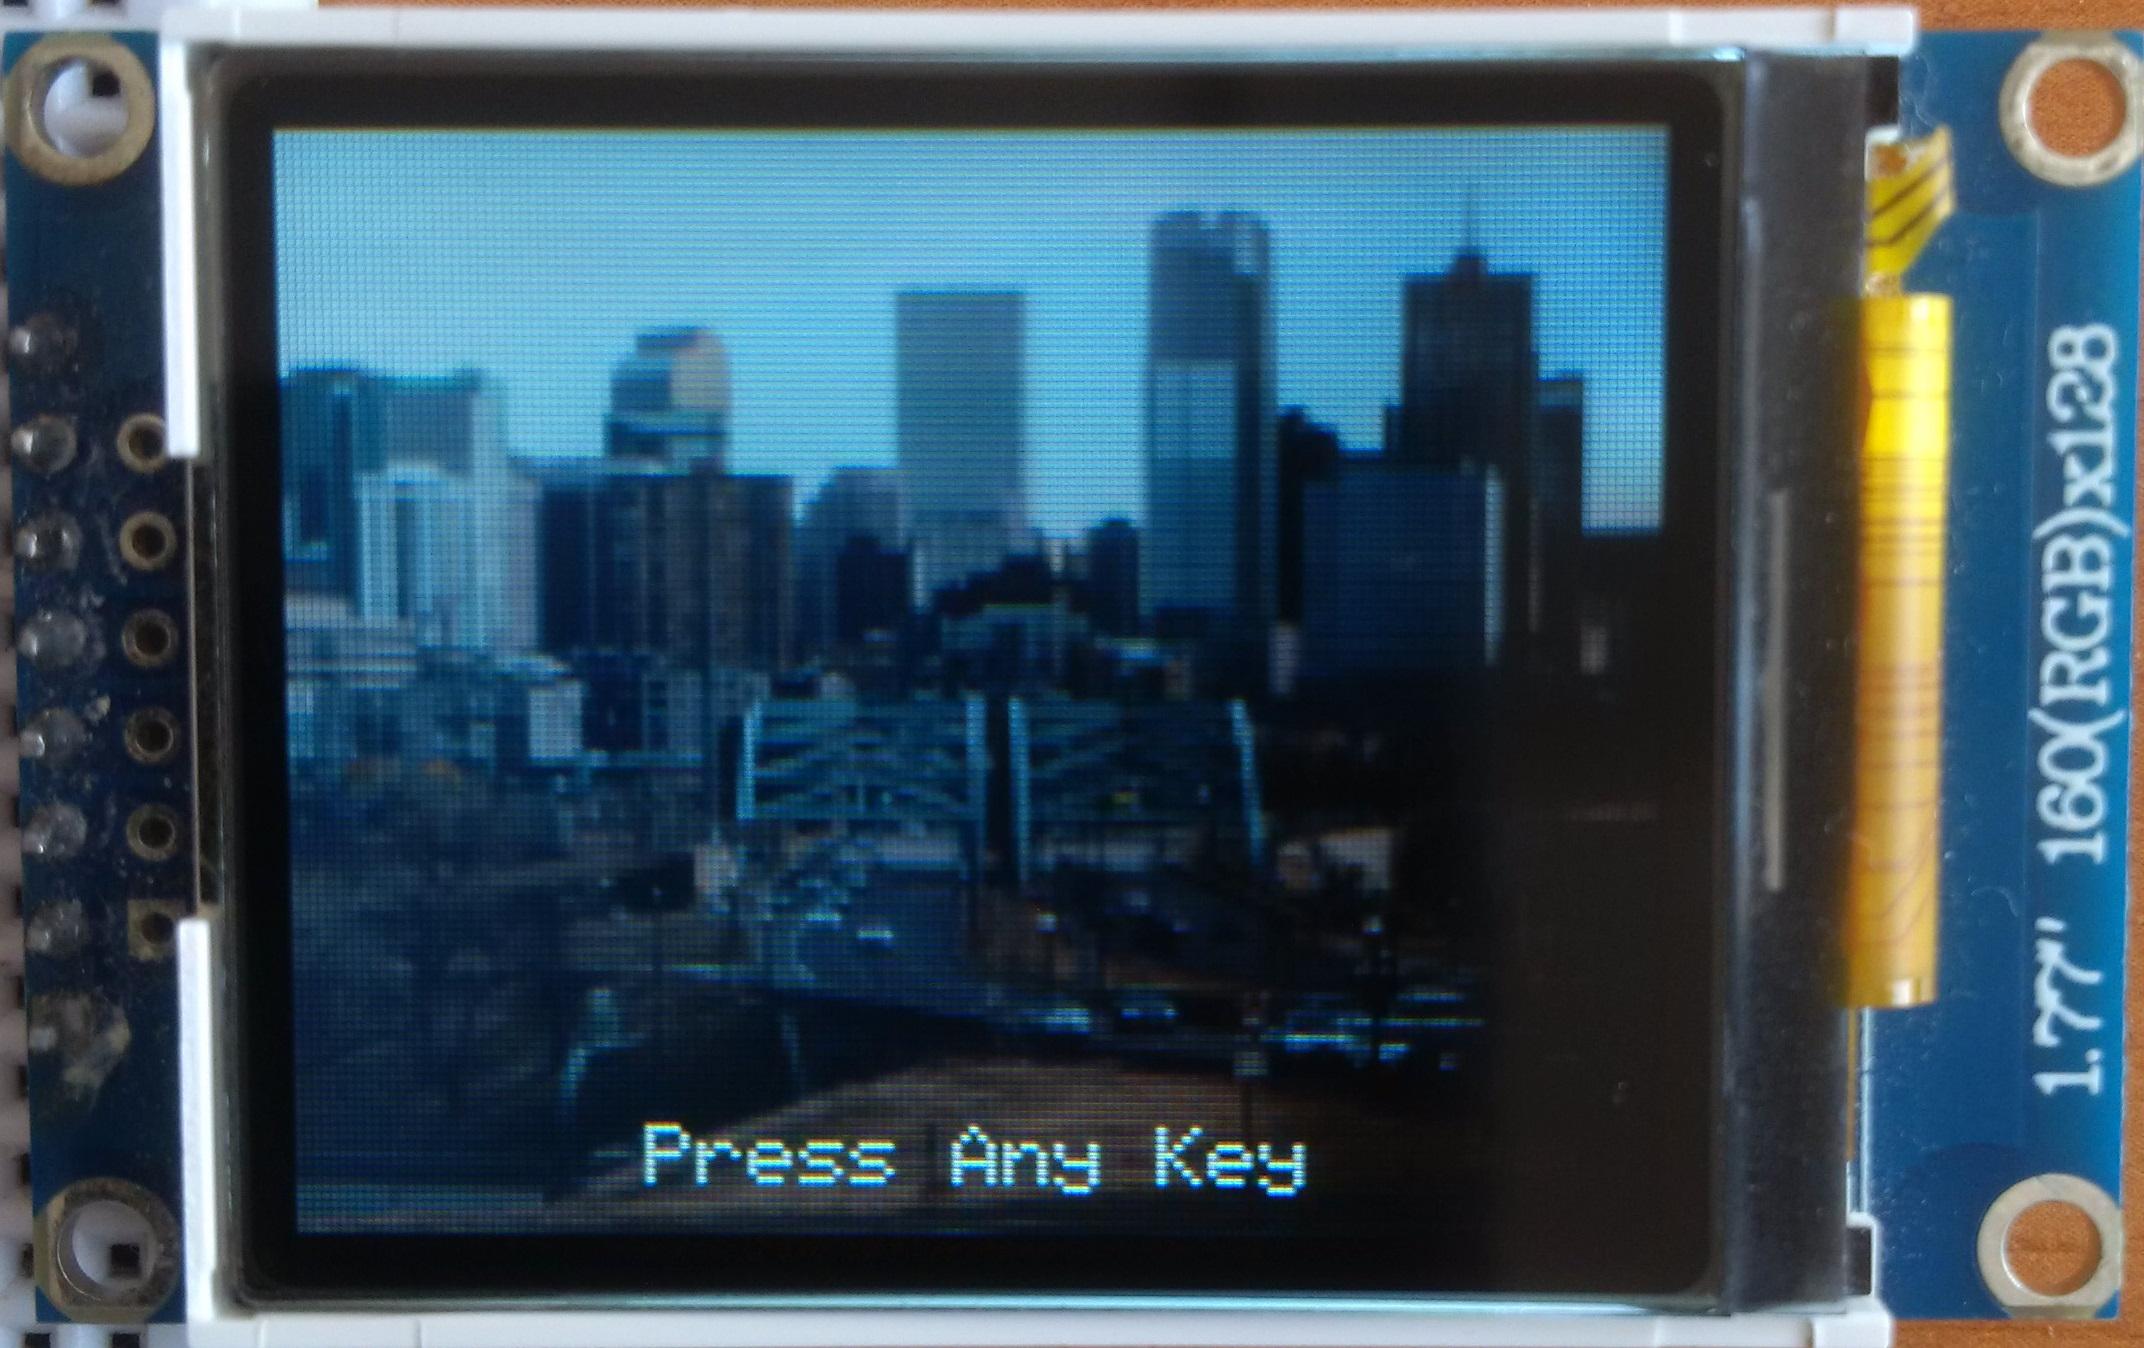
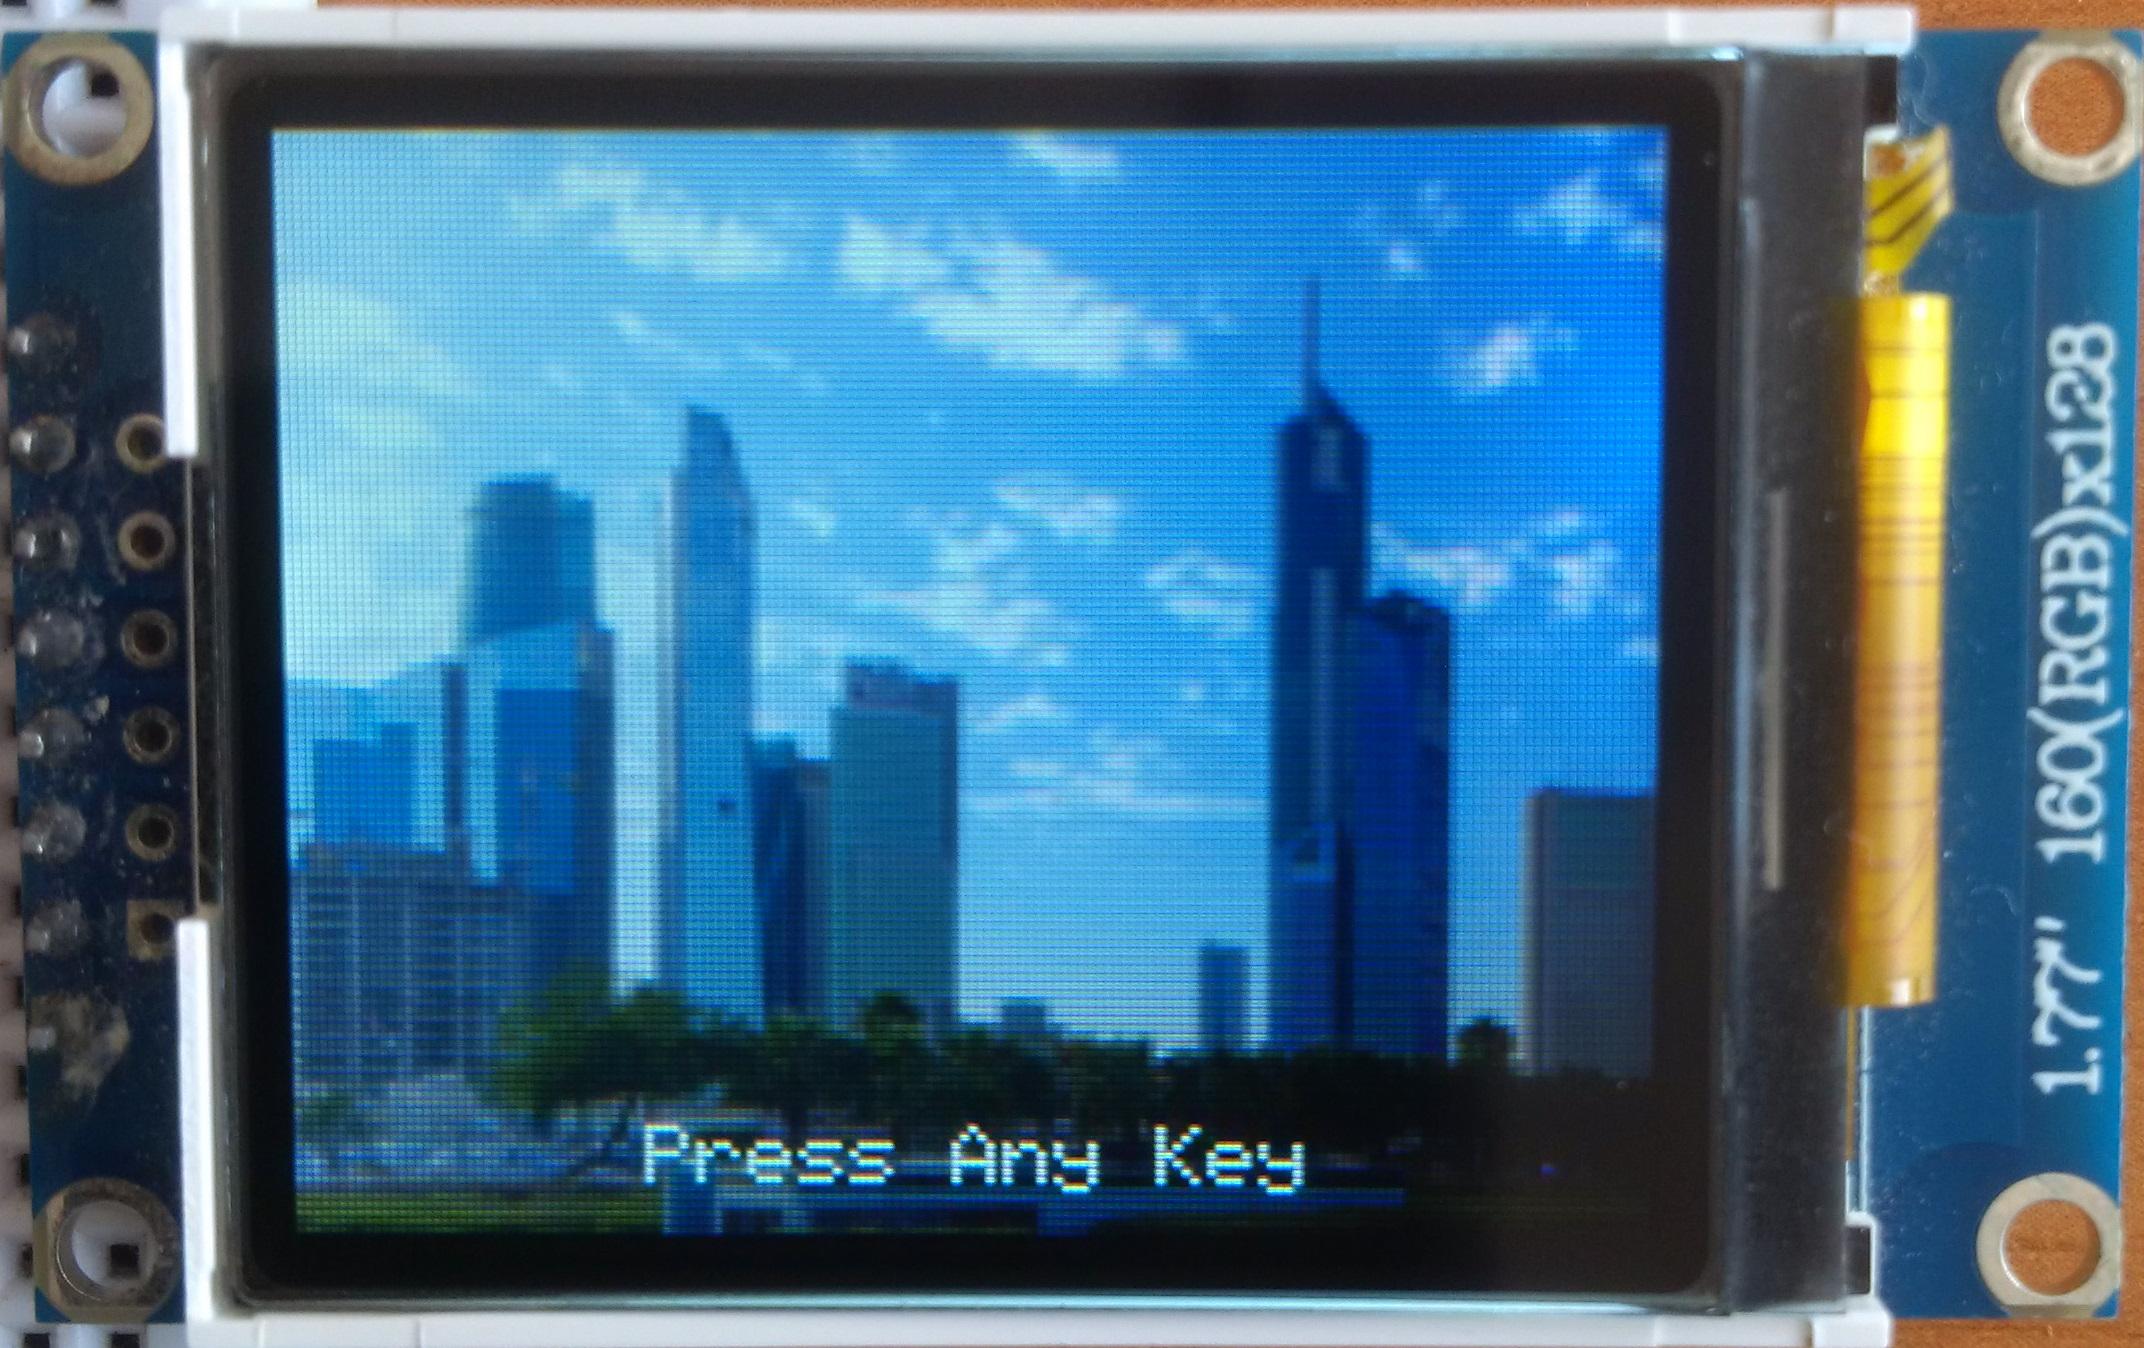
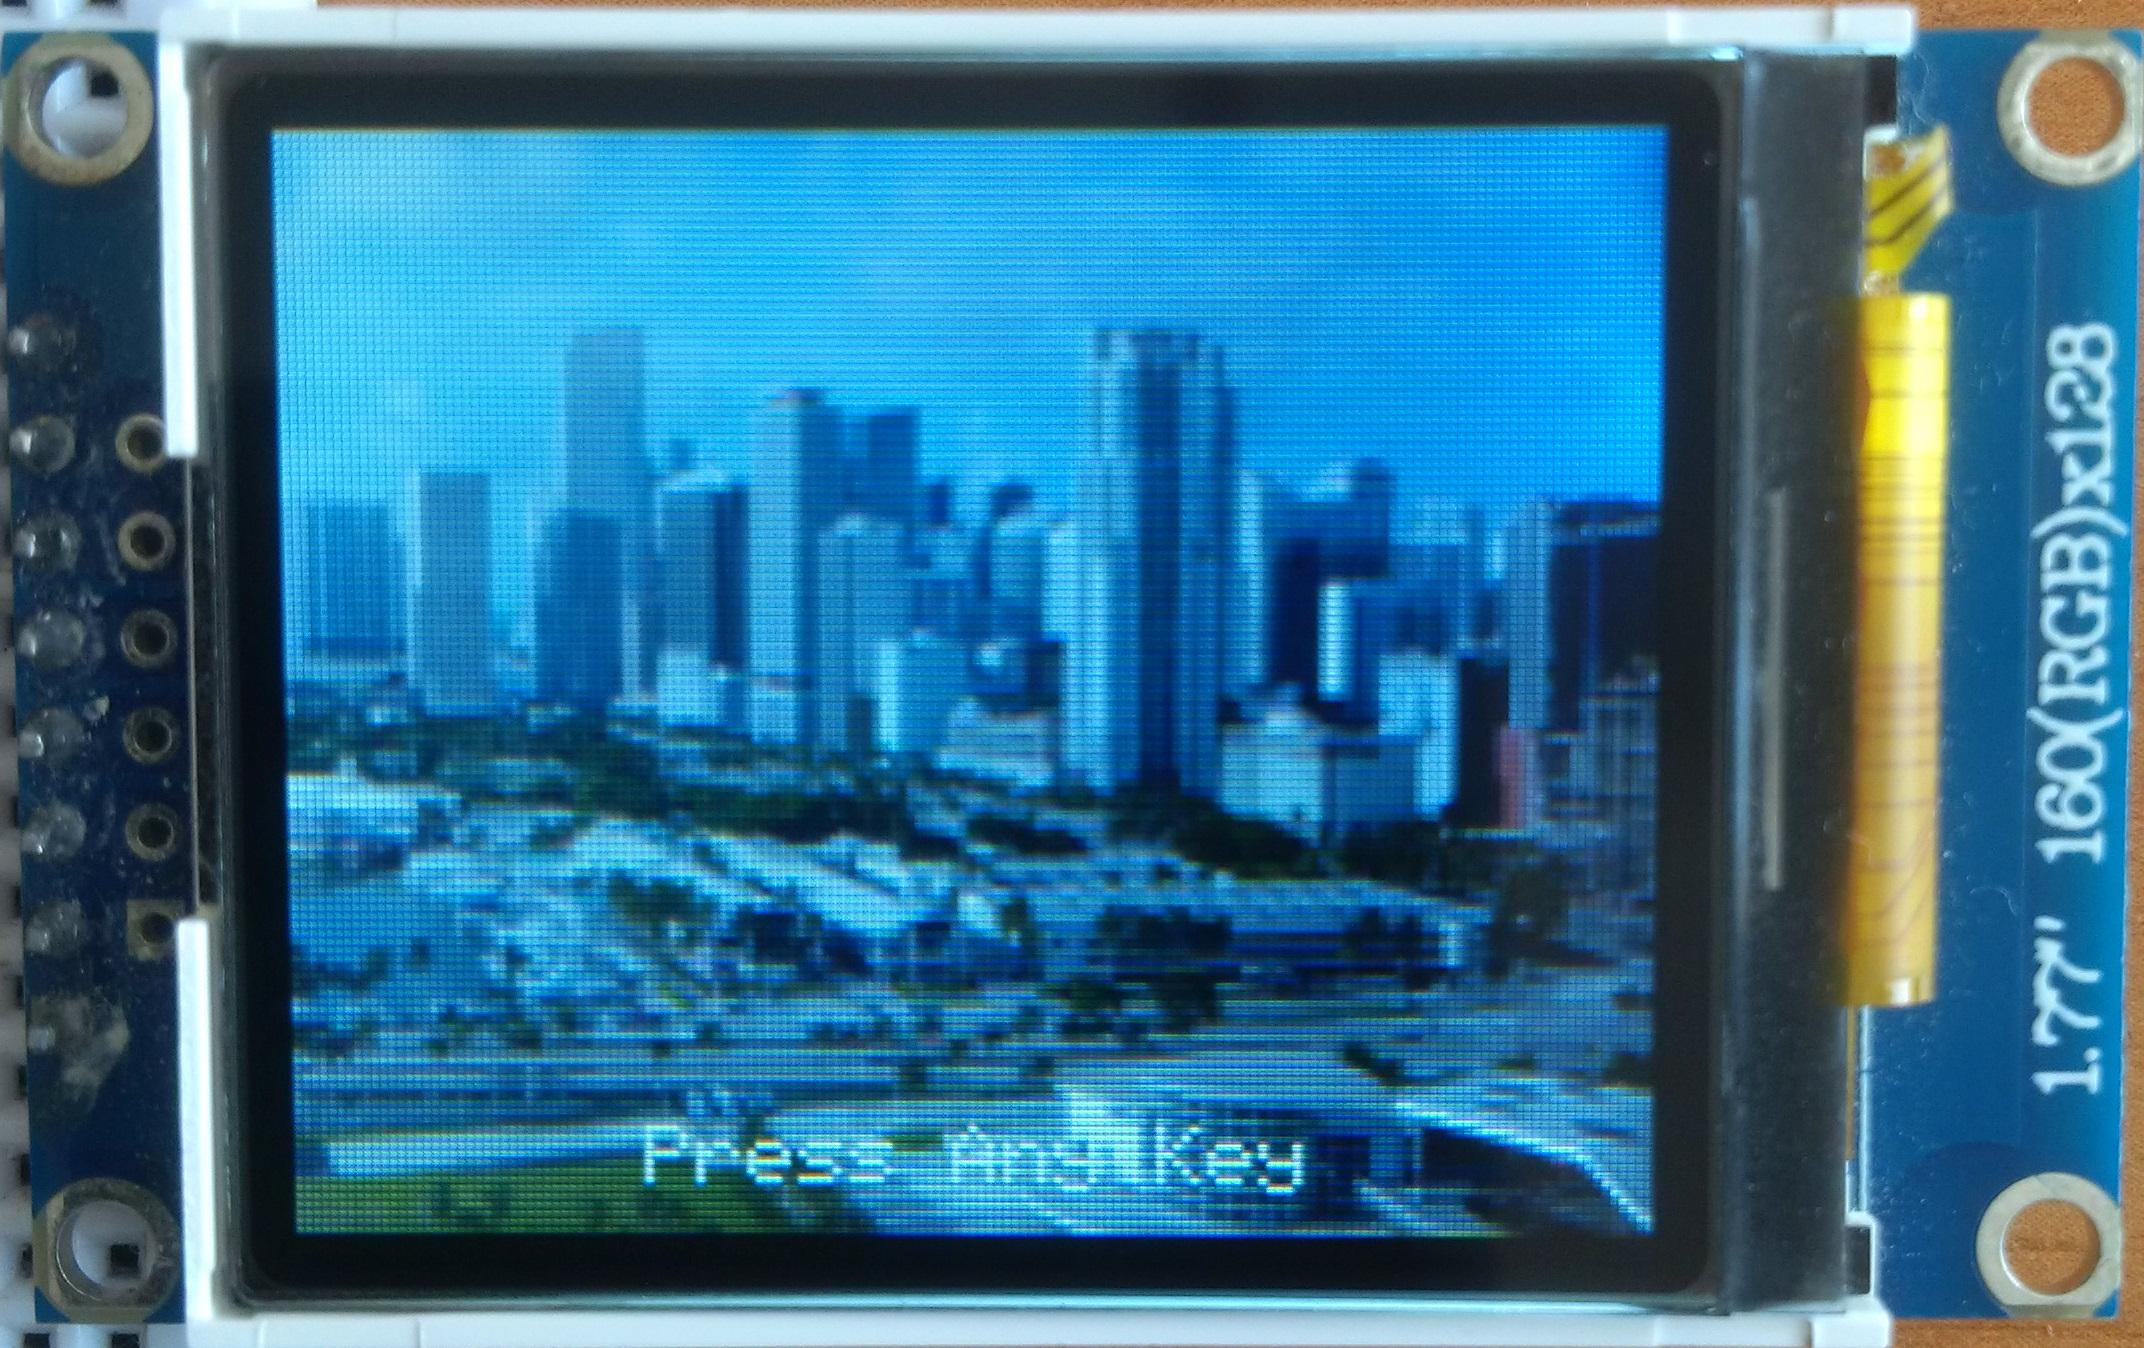
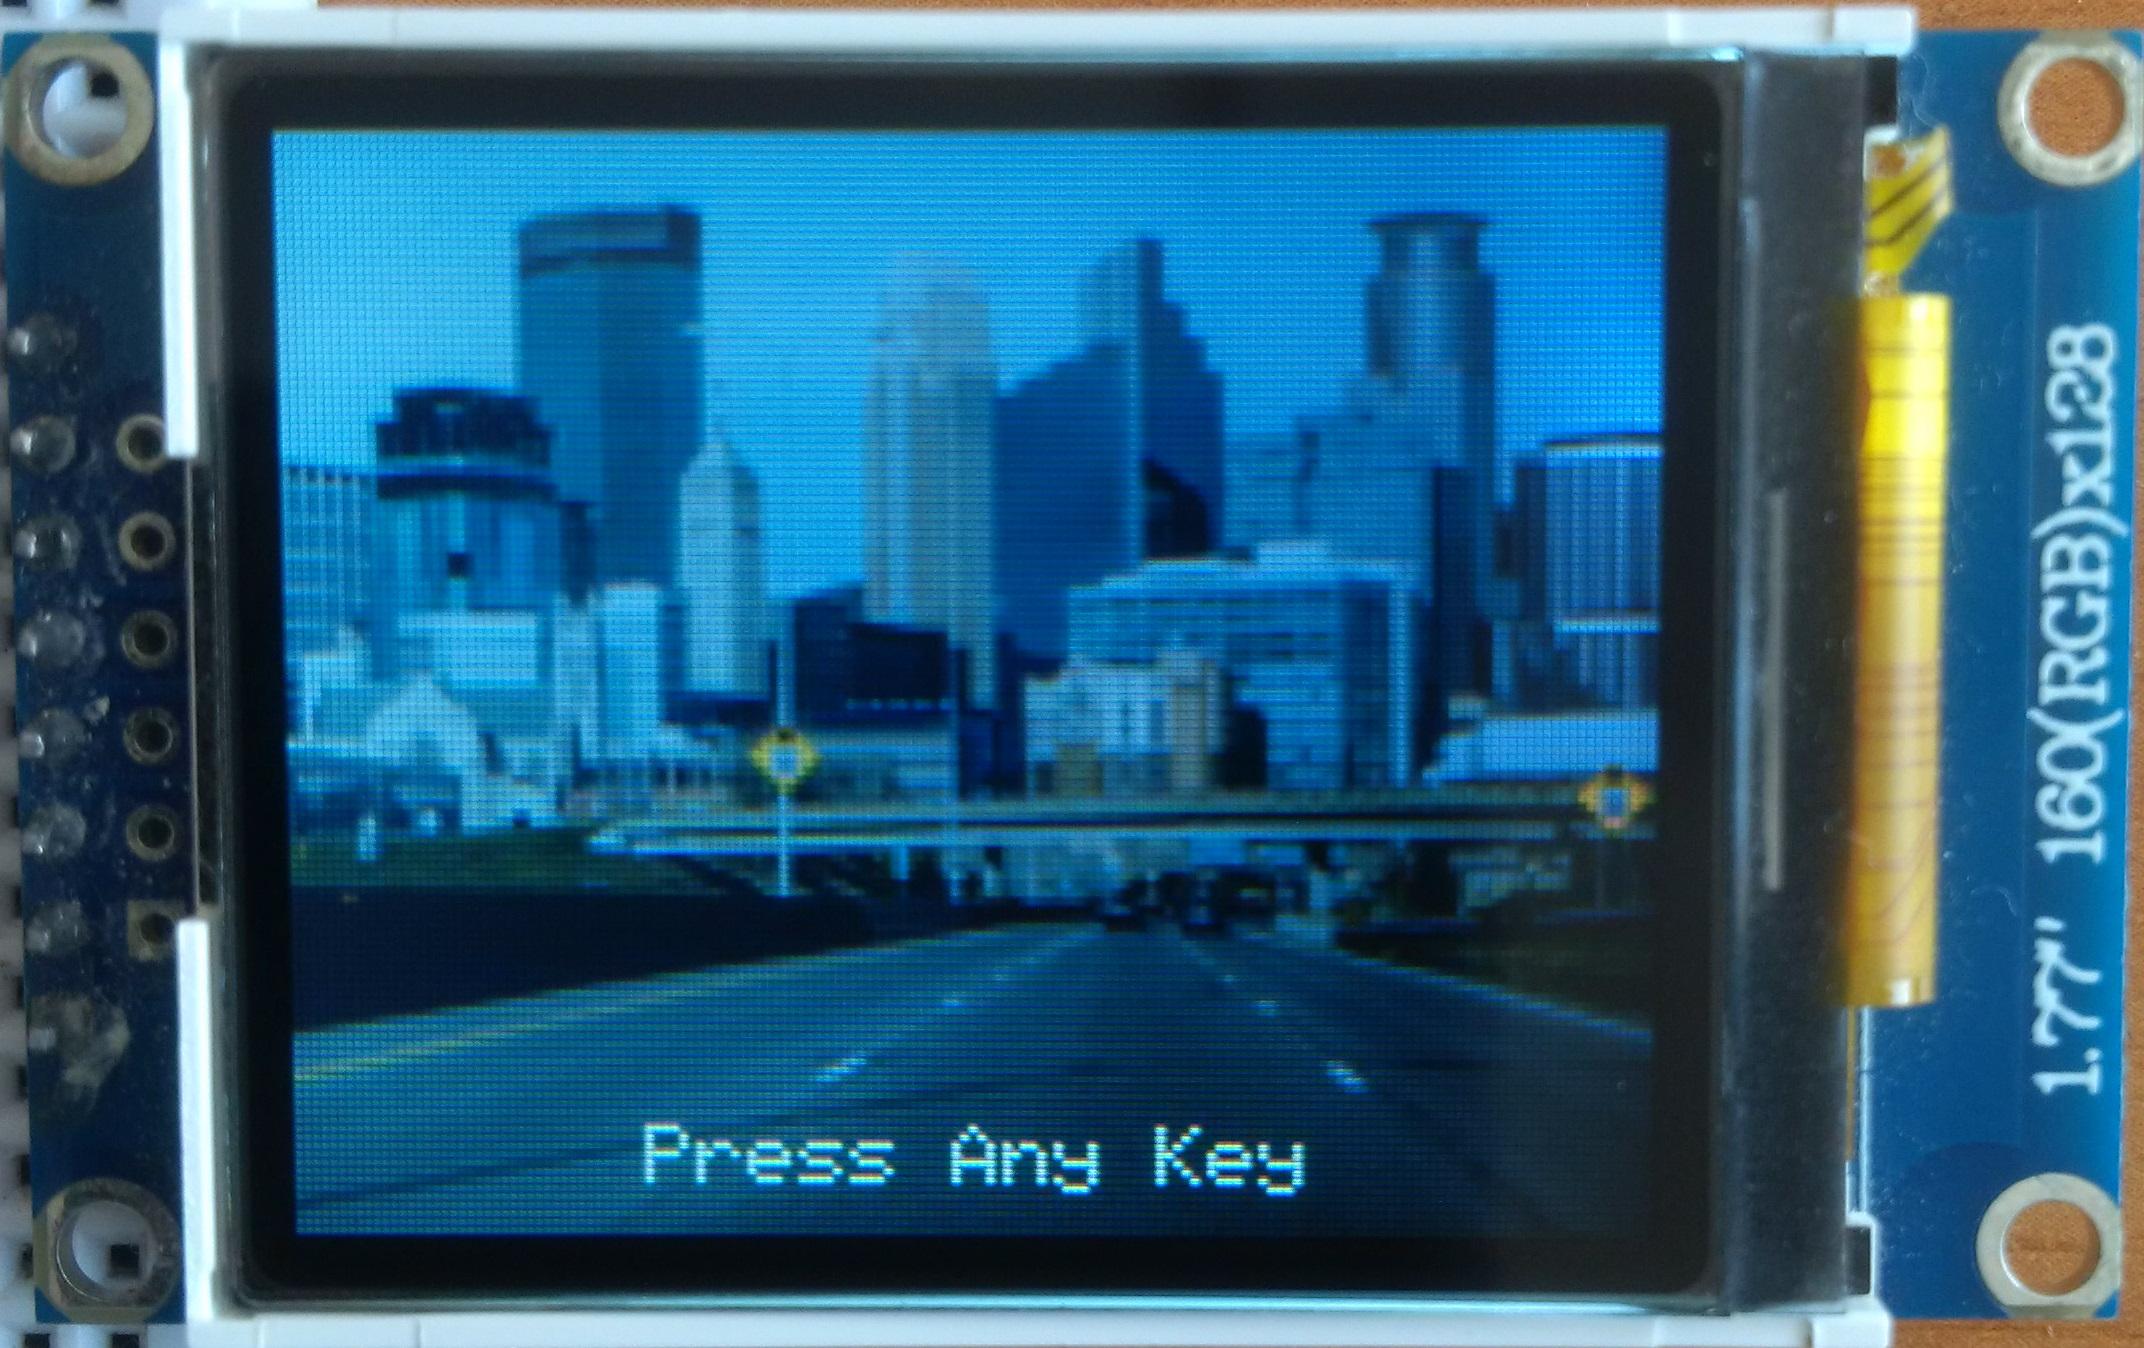
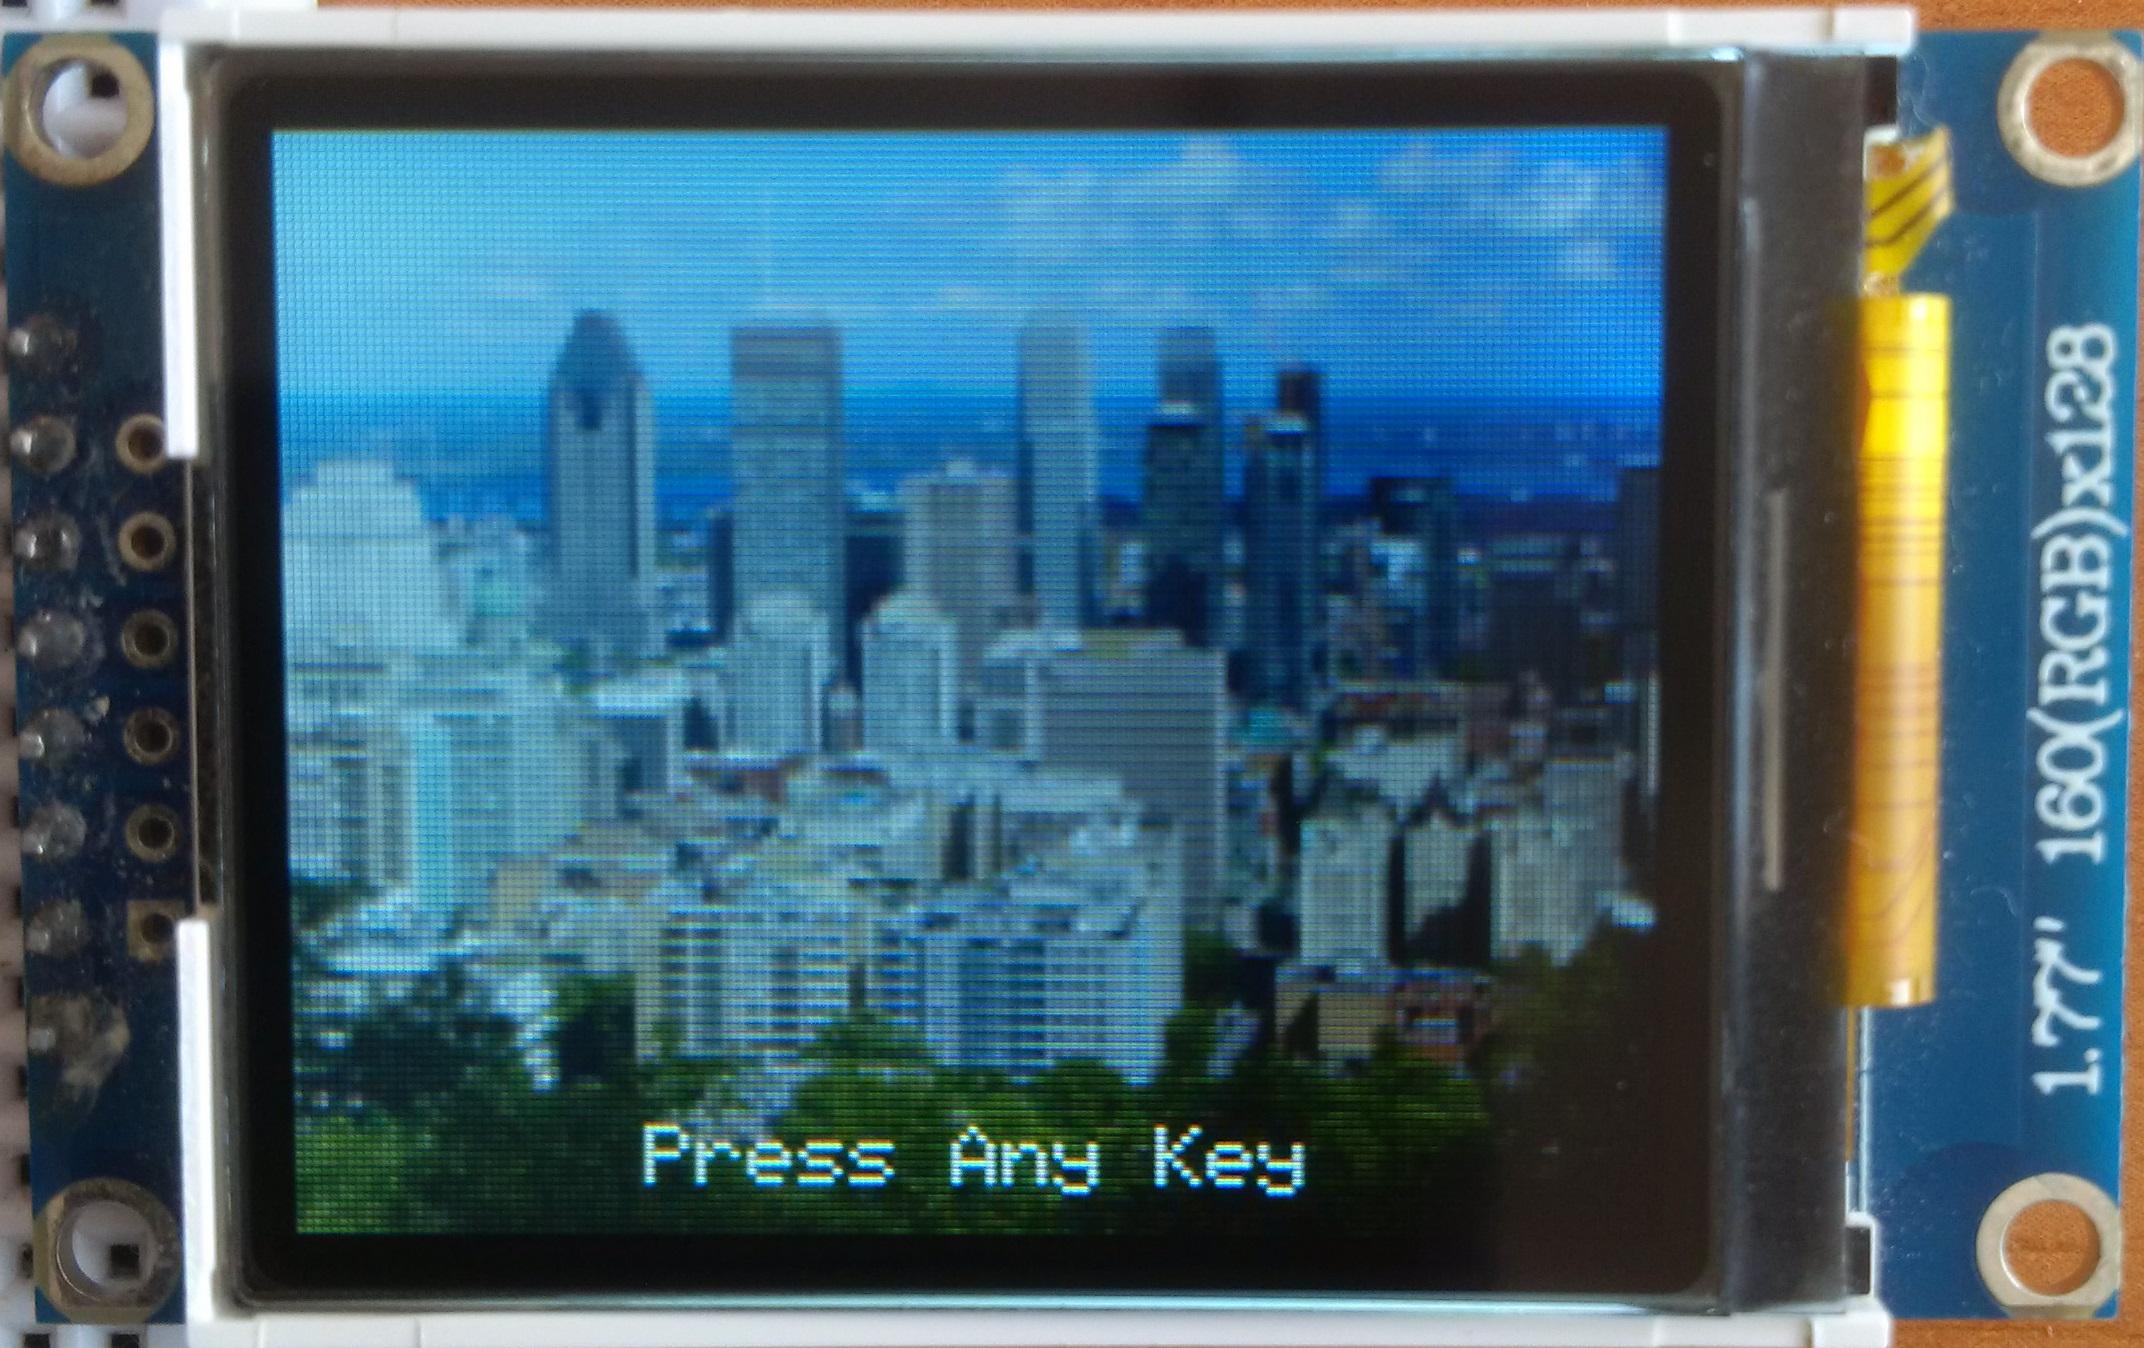
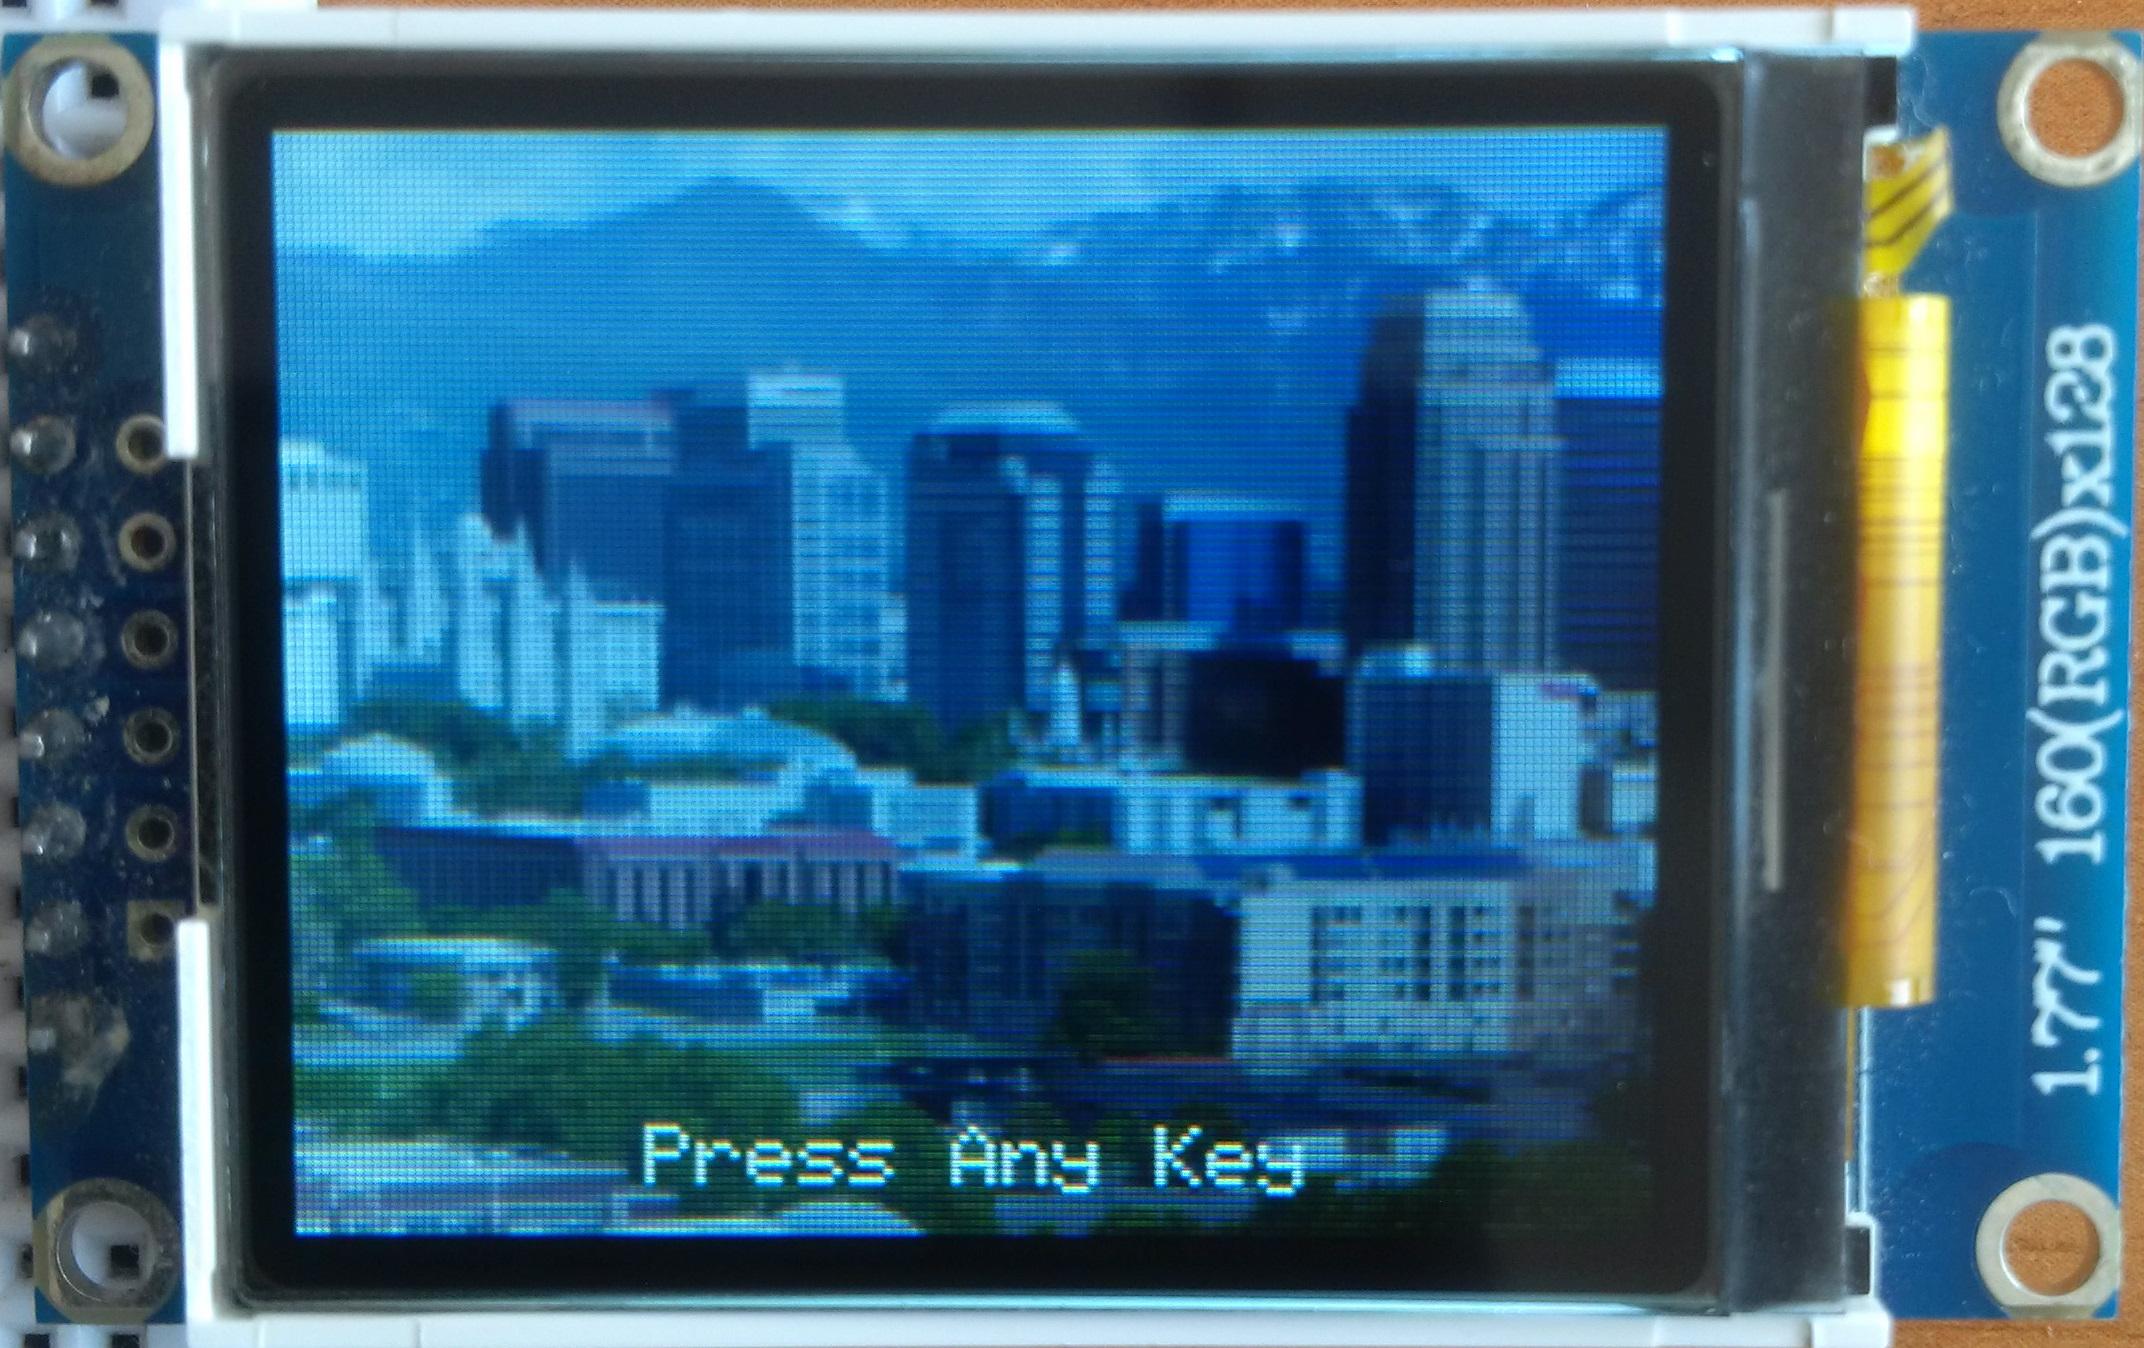
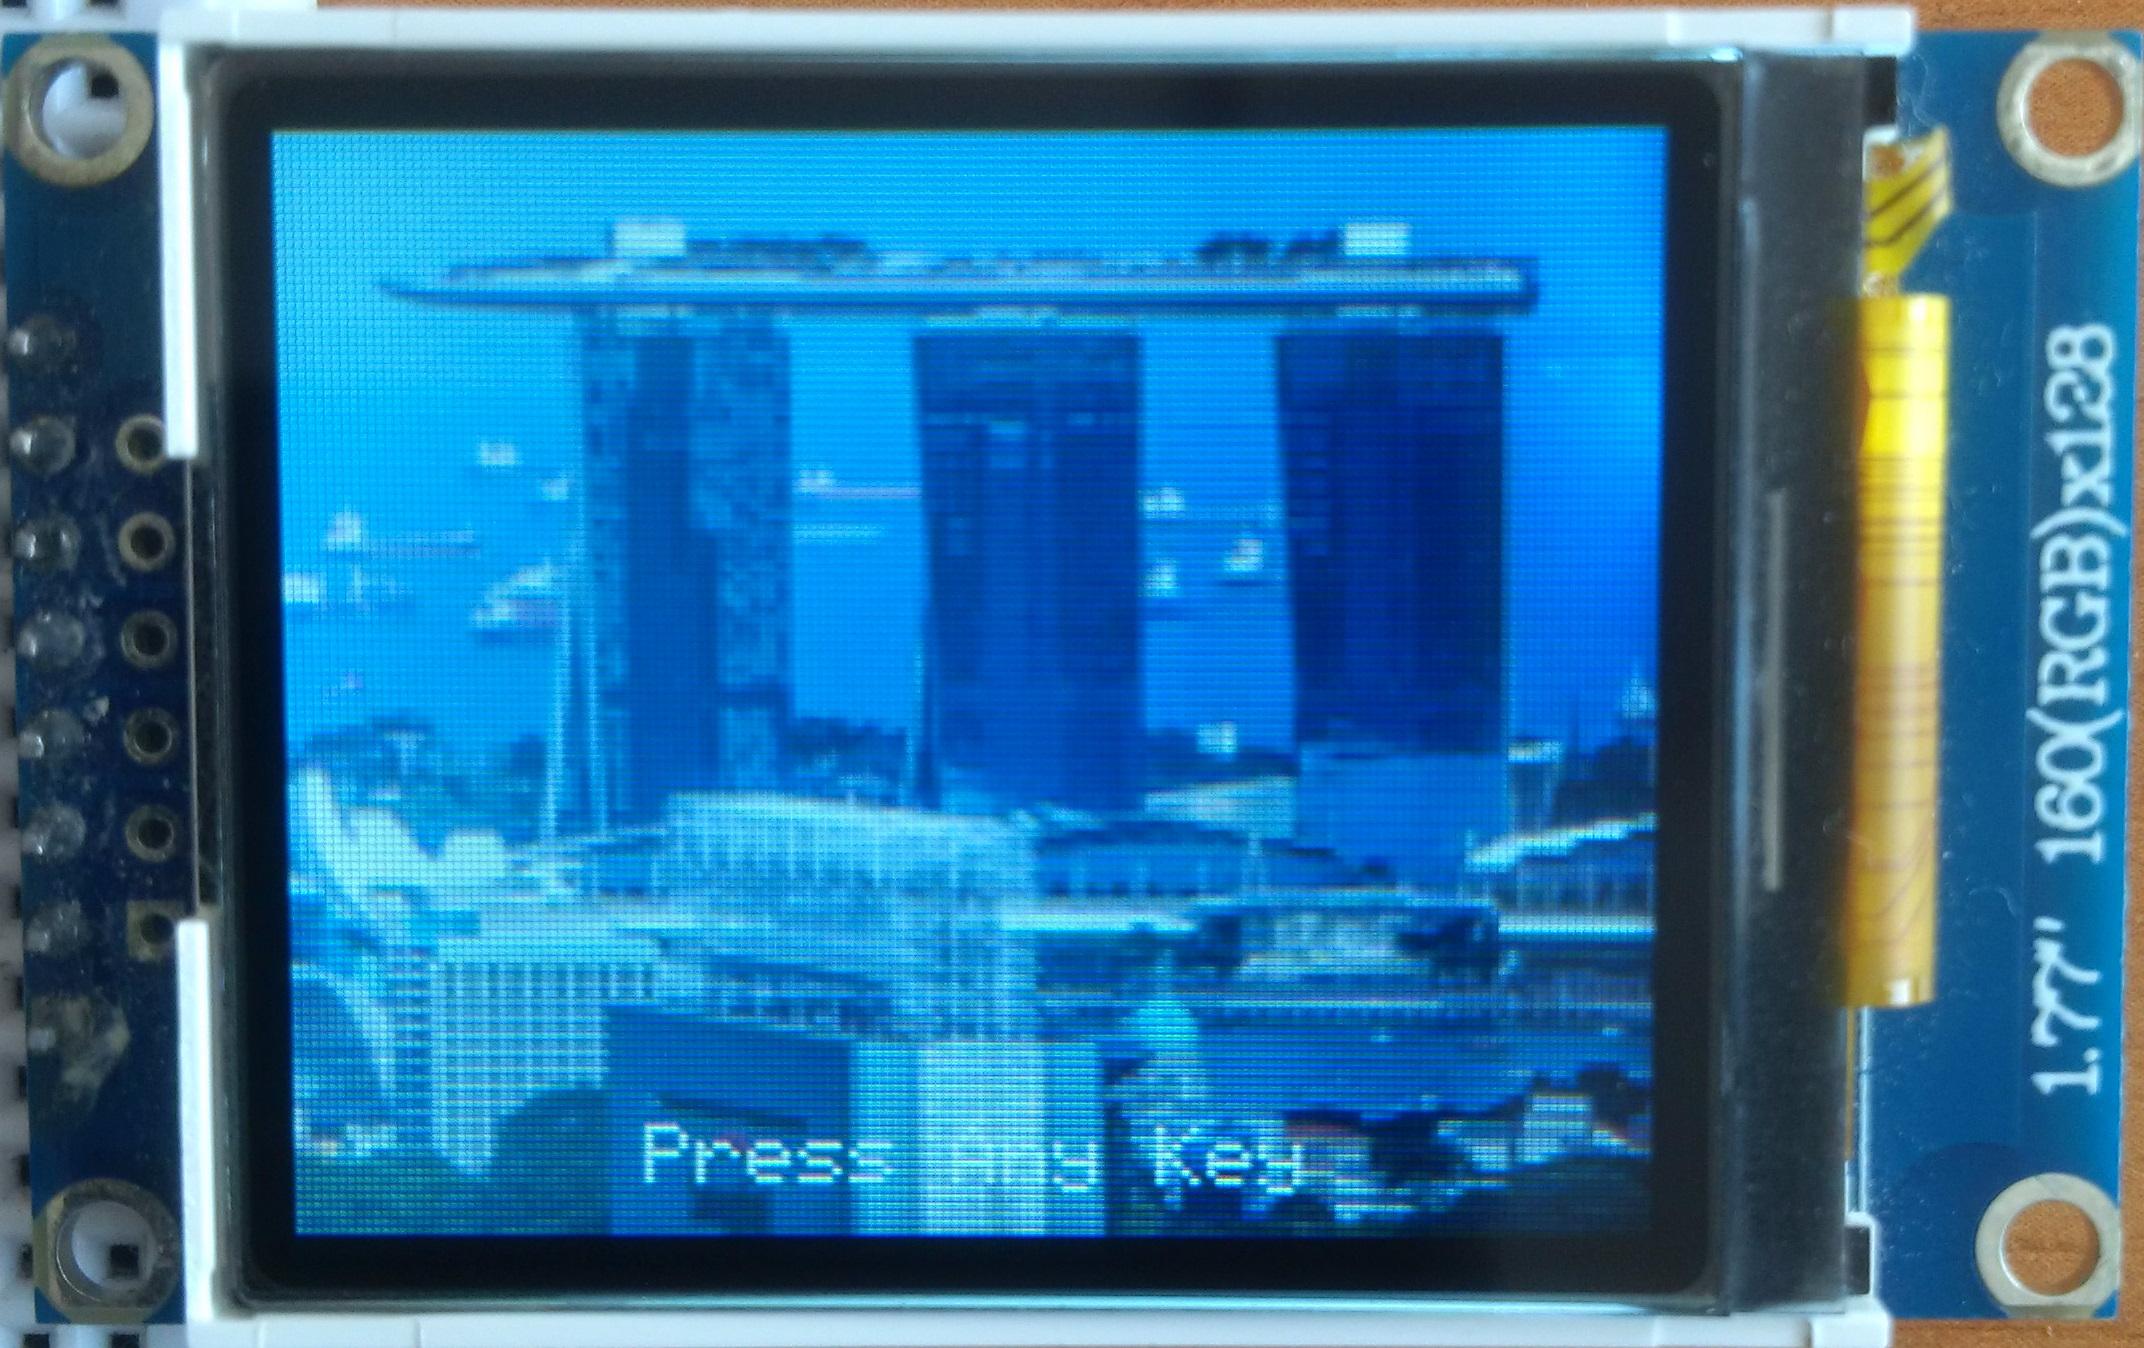
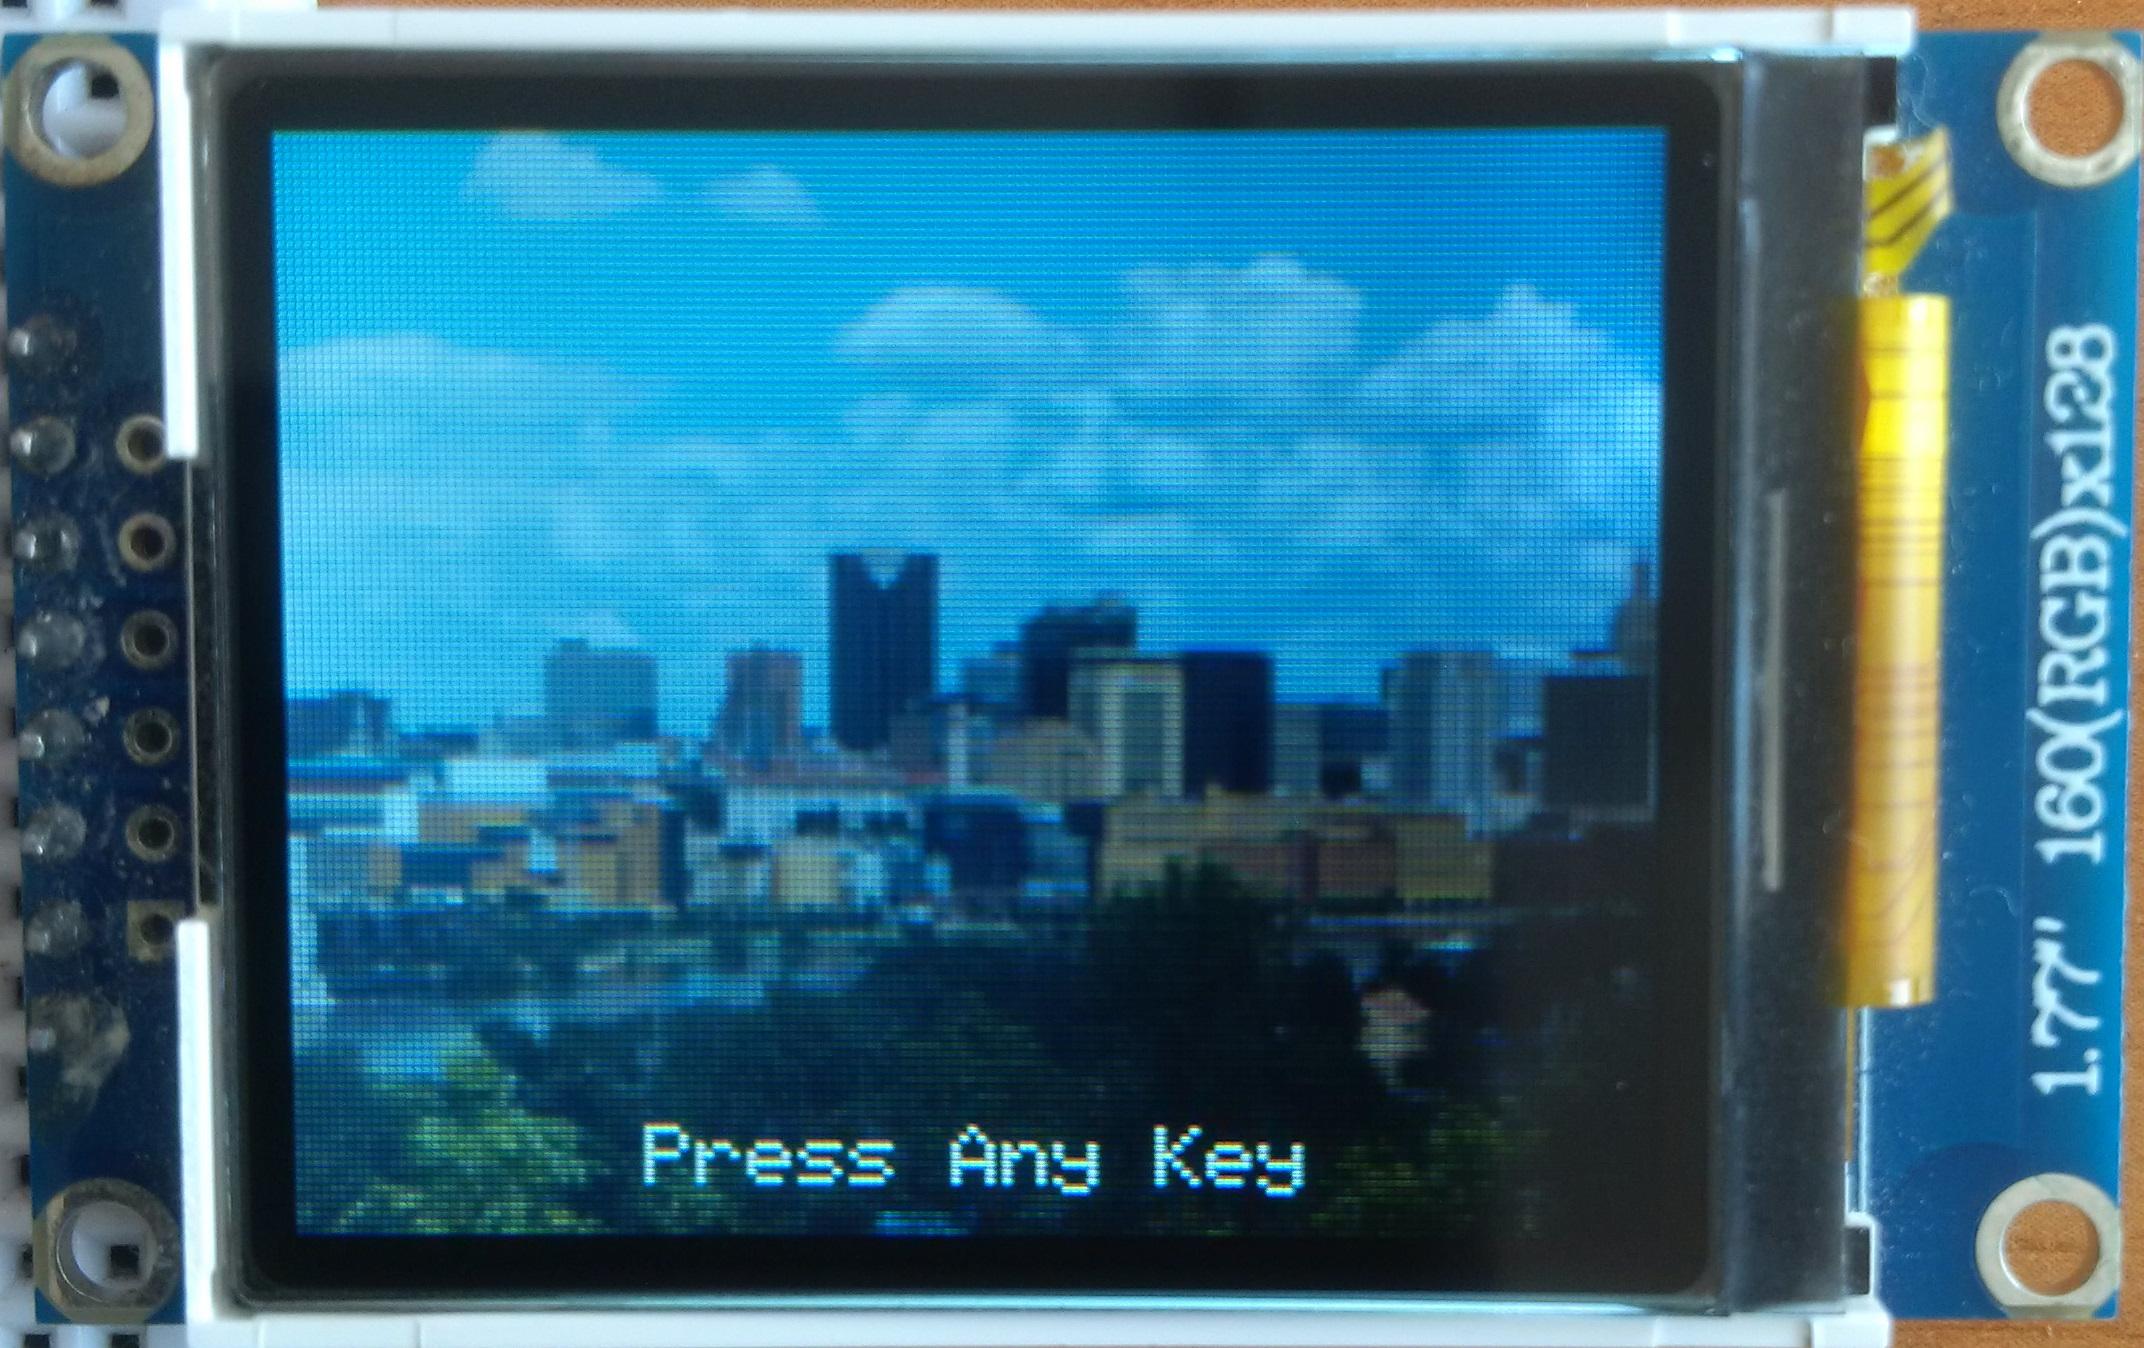
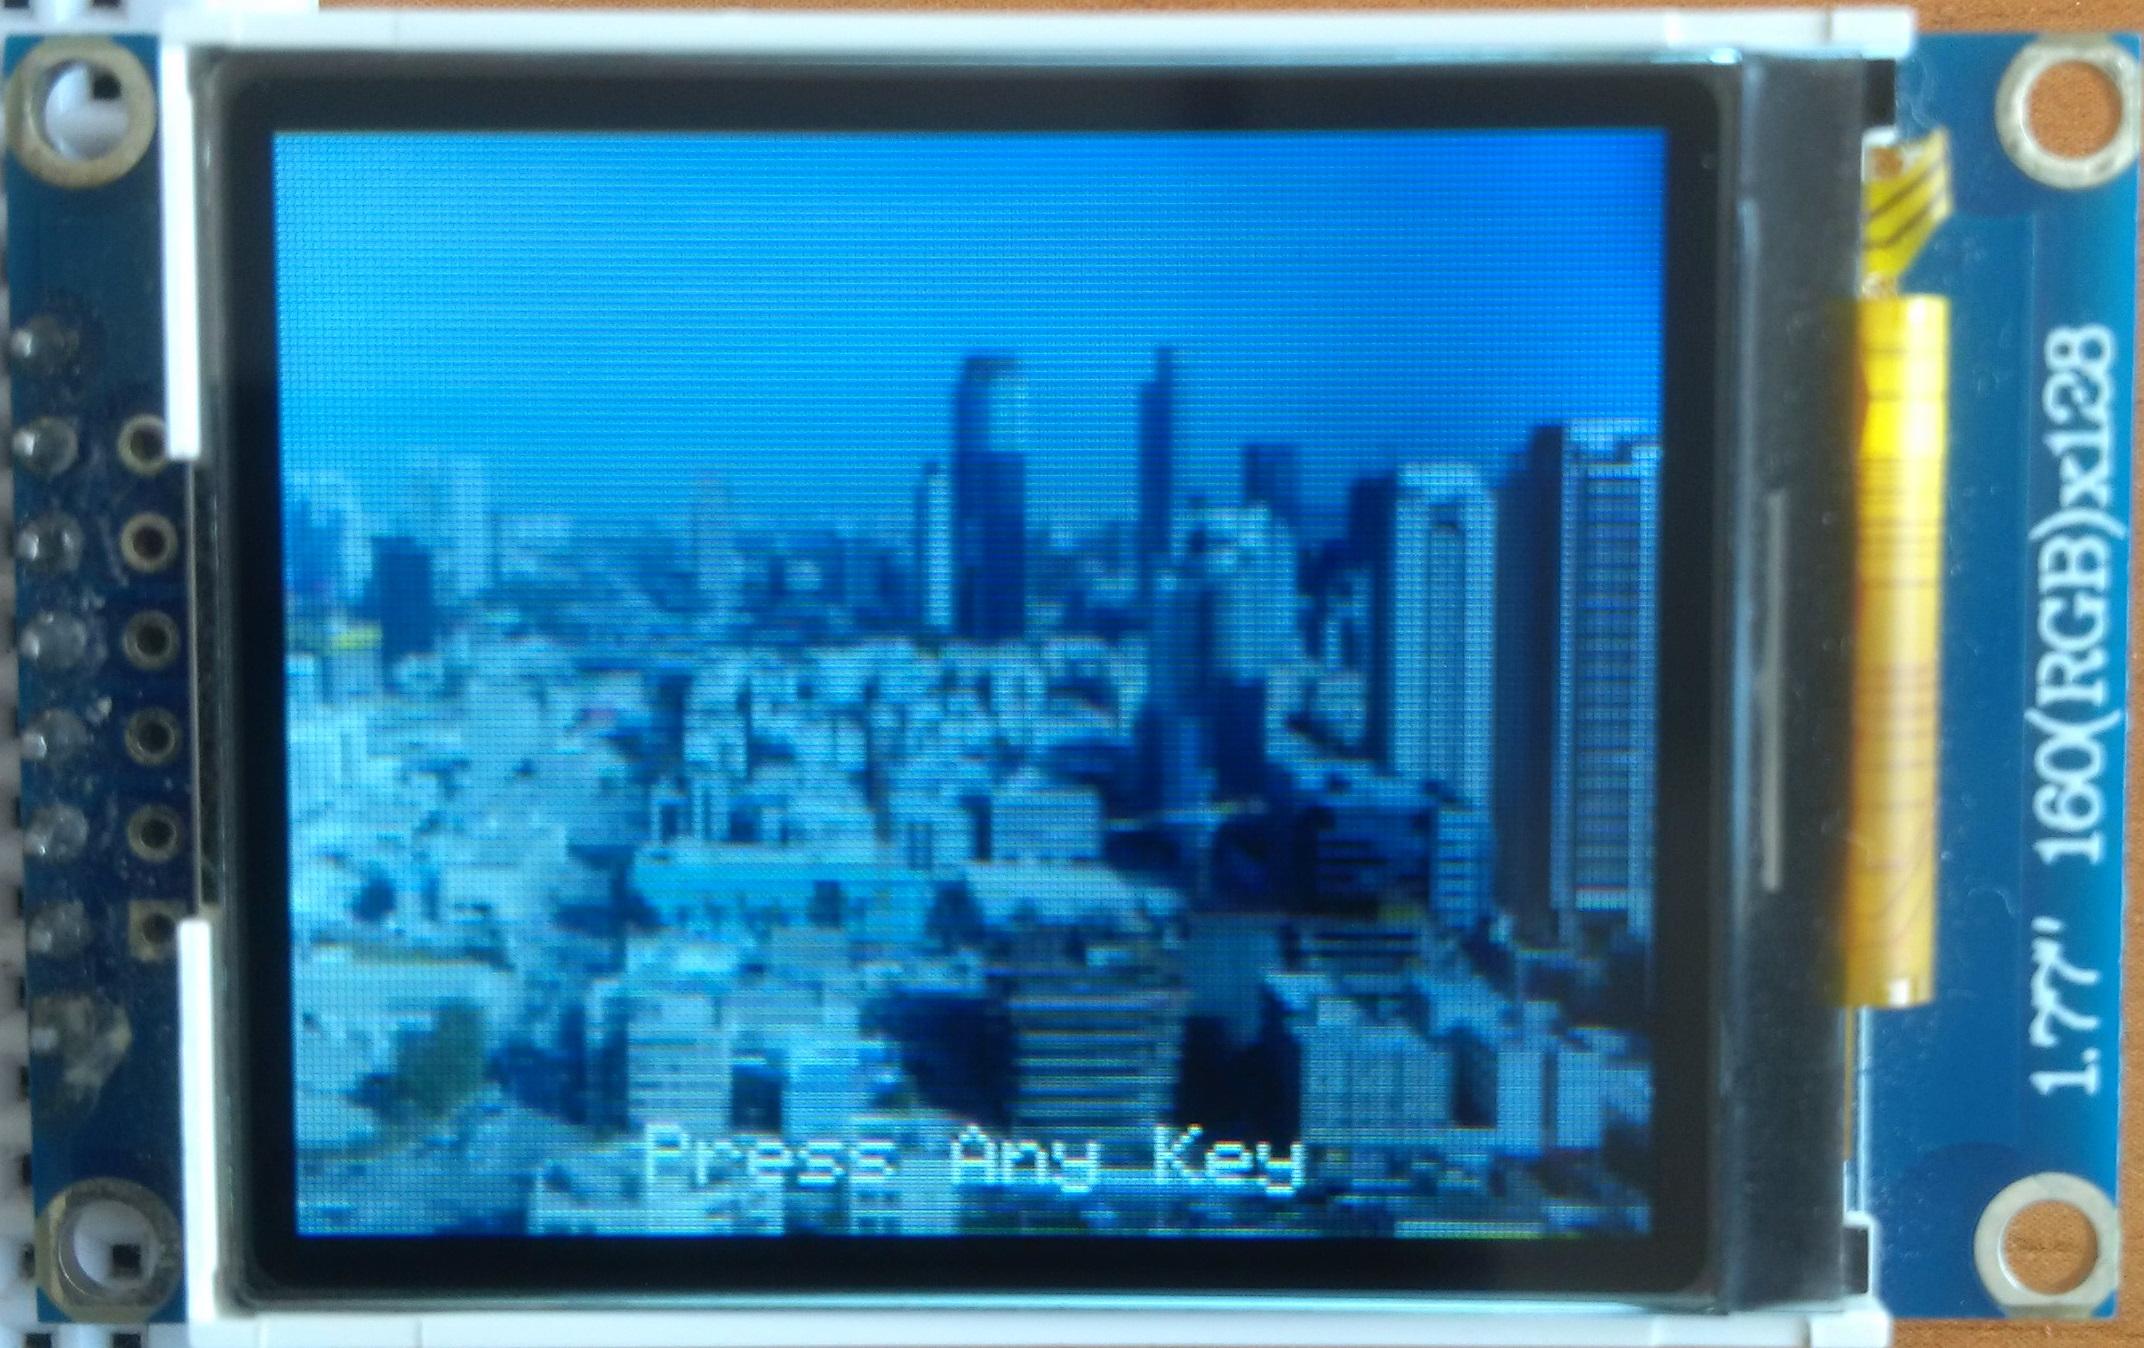
Unlike the receiver, the transmitter can be supplied even from the USB 2.0 port.
Transmitter offers you 14 lock screens. A lock screen is randomly chosen at startup.
*Credit for photos:
Photo by MJ Tangonan on Unsplash
Photo by Braden Egli on Unsplash
Photo by Erin Hervey on Unsplash
Photo by Jakob Rosen on Unsplash
Photo by Ahmad Mohammed on Unsplash
Image by JORGE TAPIA from Pixabay
Photo by Steijn Leijzer on Unsplash
Photo by Michael Beener on Unsplash
Image by RobinSaville from Pixabay
Photo by Mike Enerio on Unsplash
Photo by Matt Jones on Unsplash
Set Password
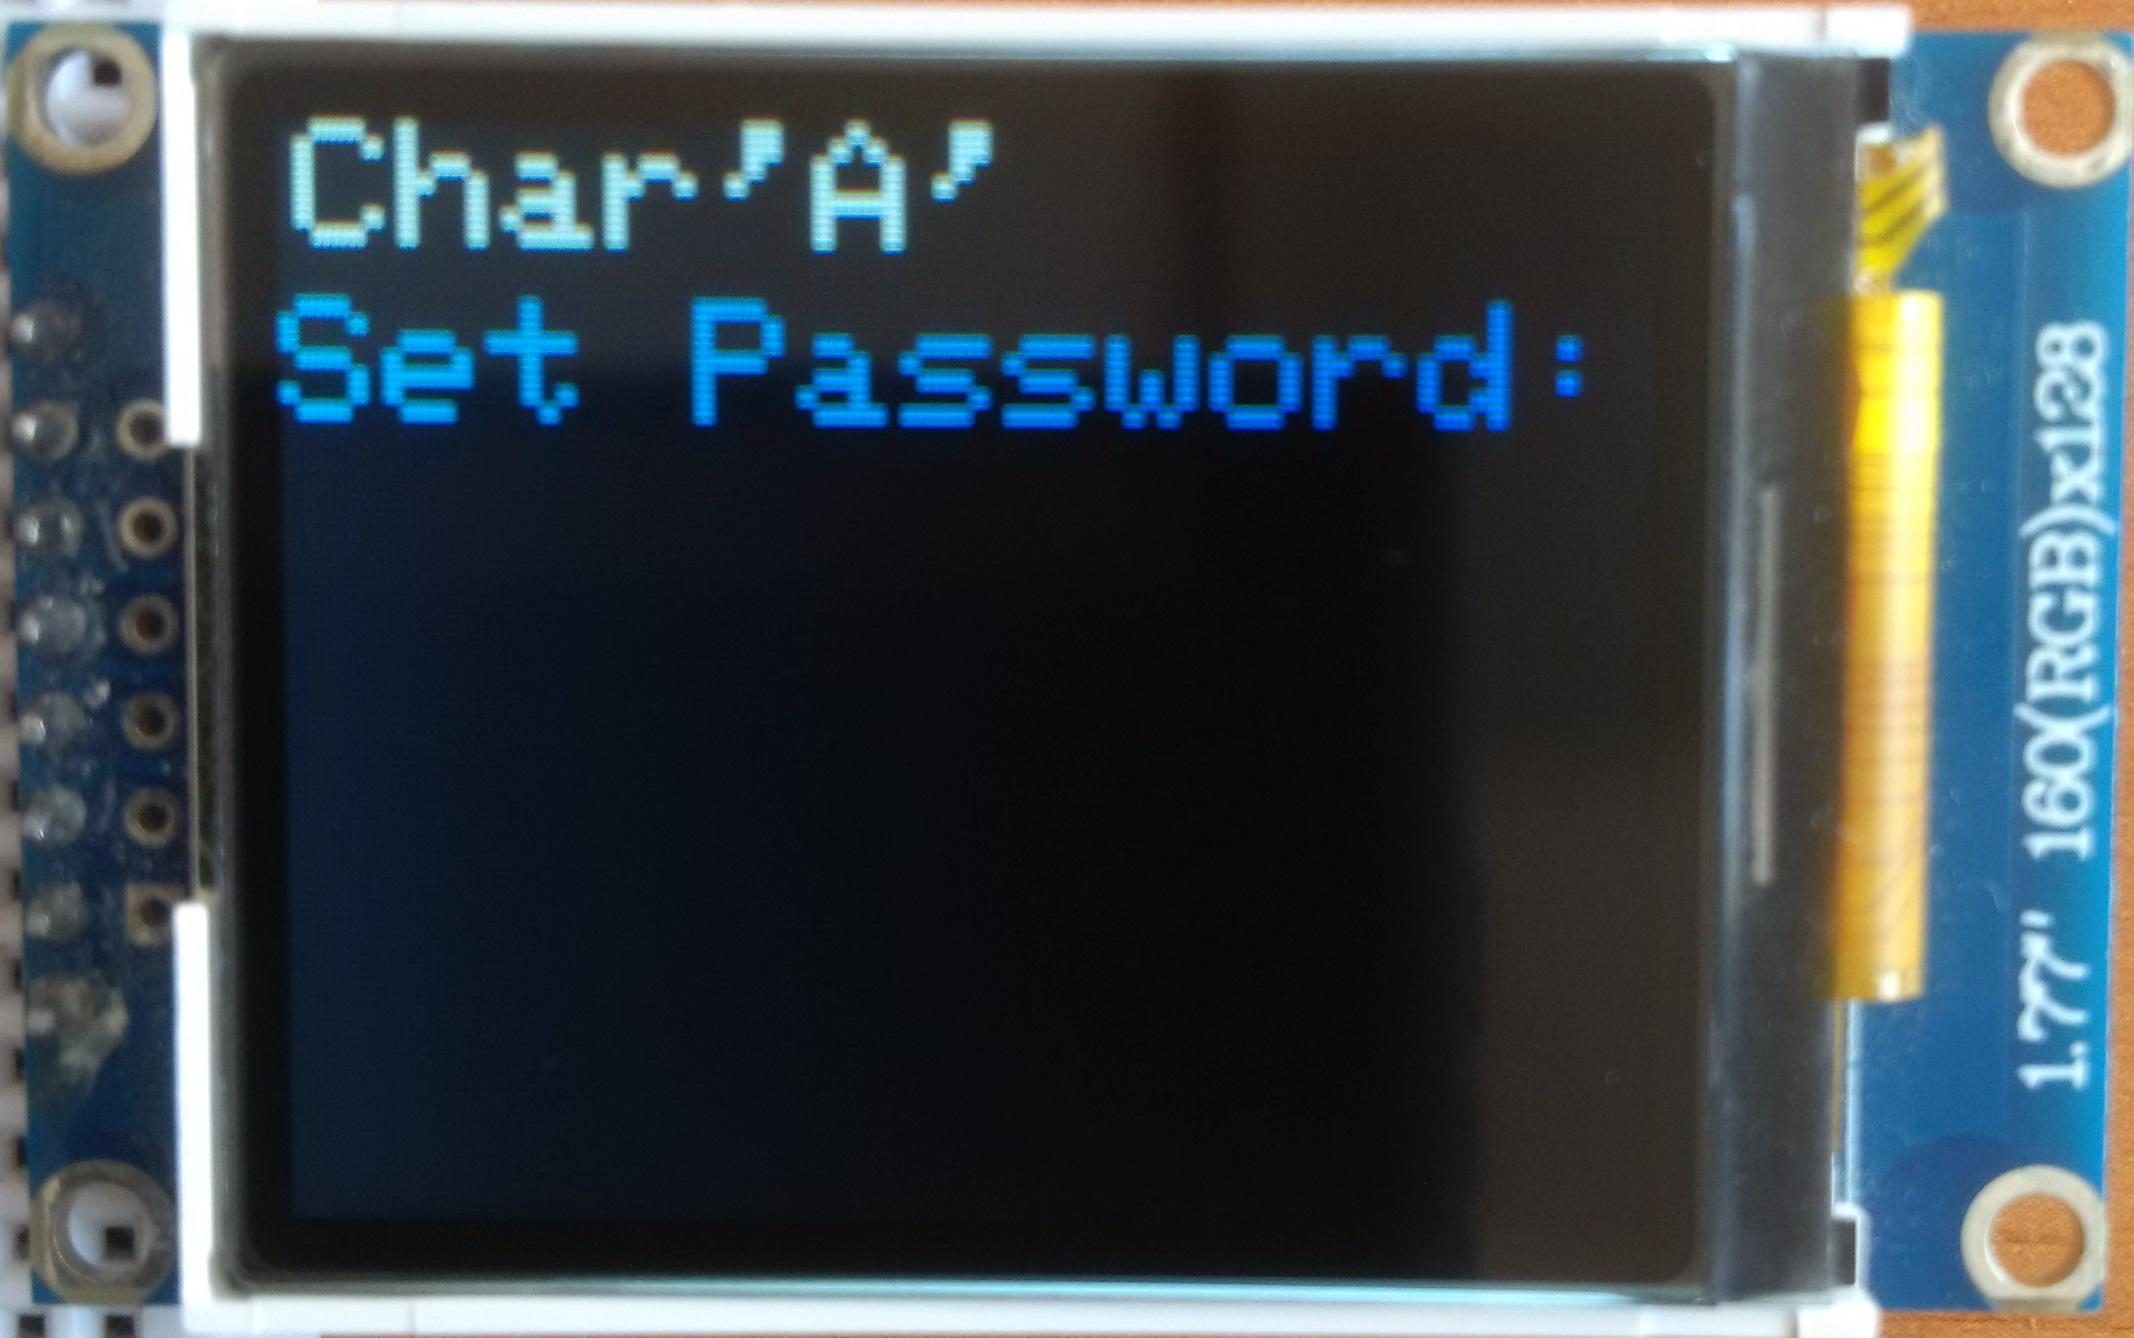
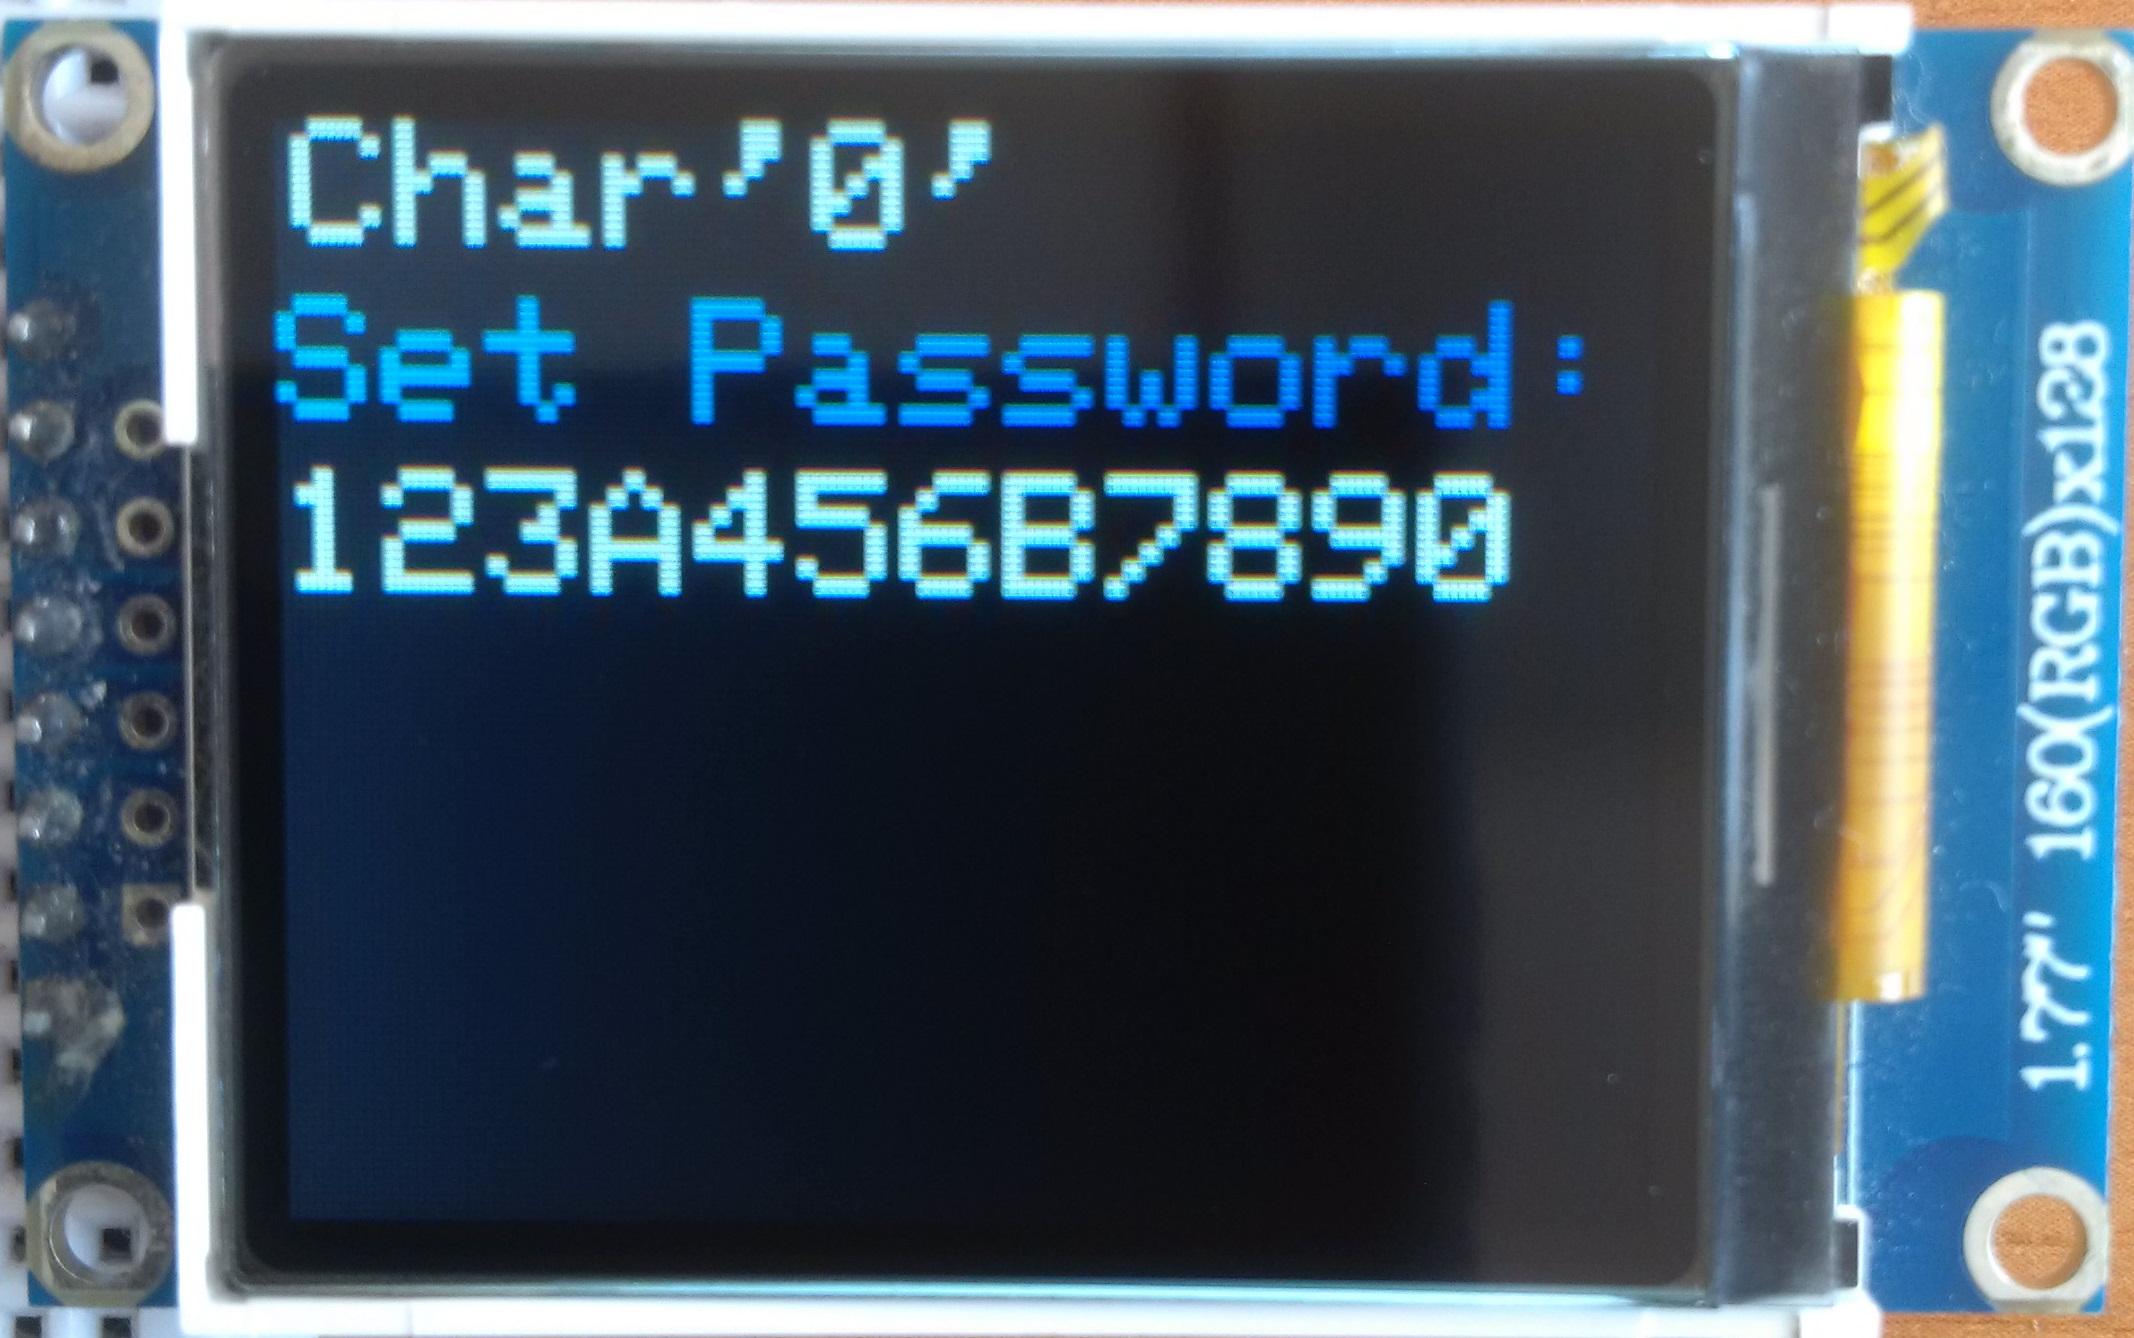
To use the lantern, you first need to set the password to the transmitter.
While entering the password, press the '*' key to erase the last character, and press the '#' key to set the password.
Choose Mode
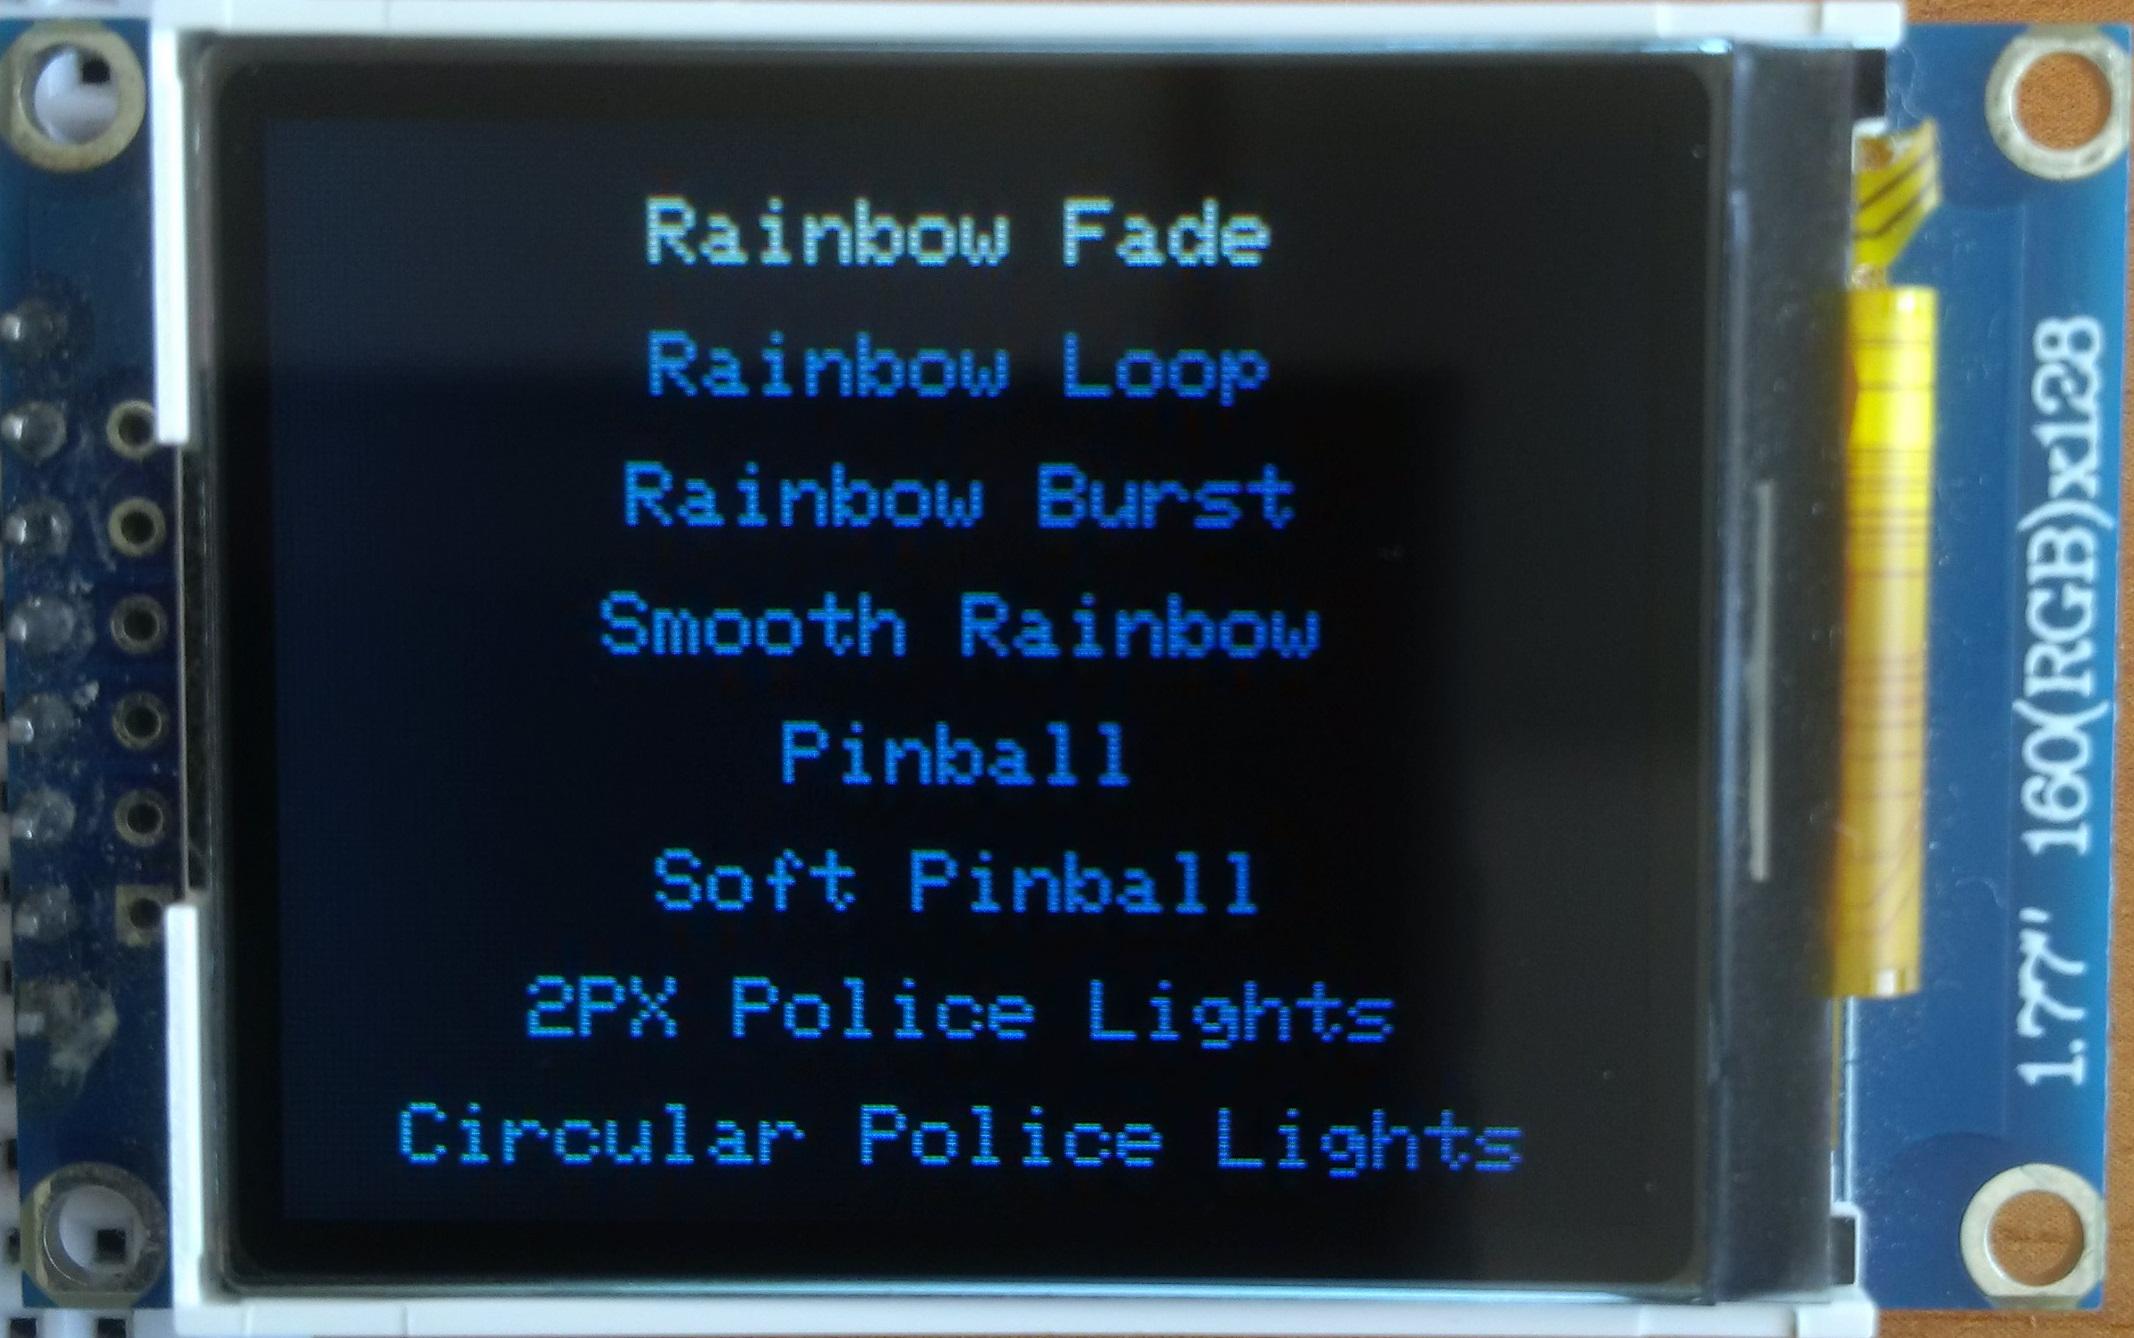
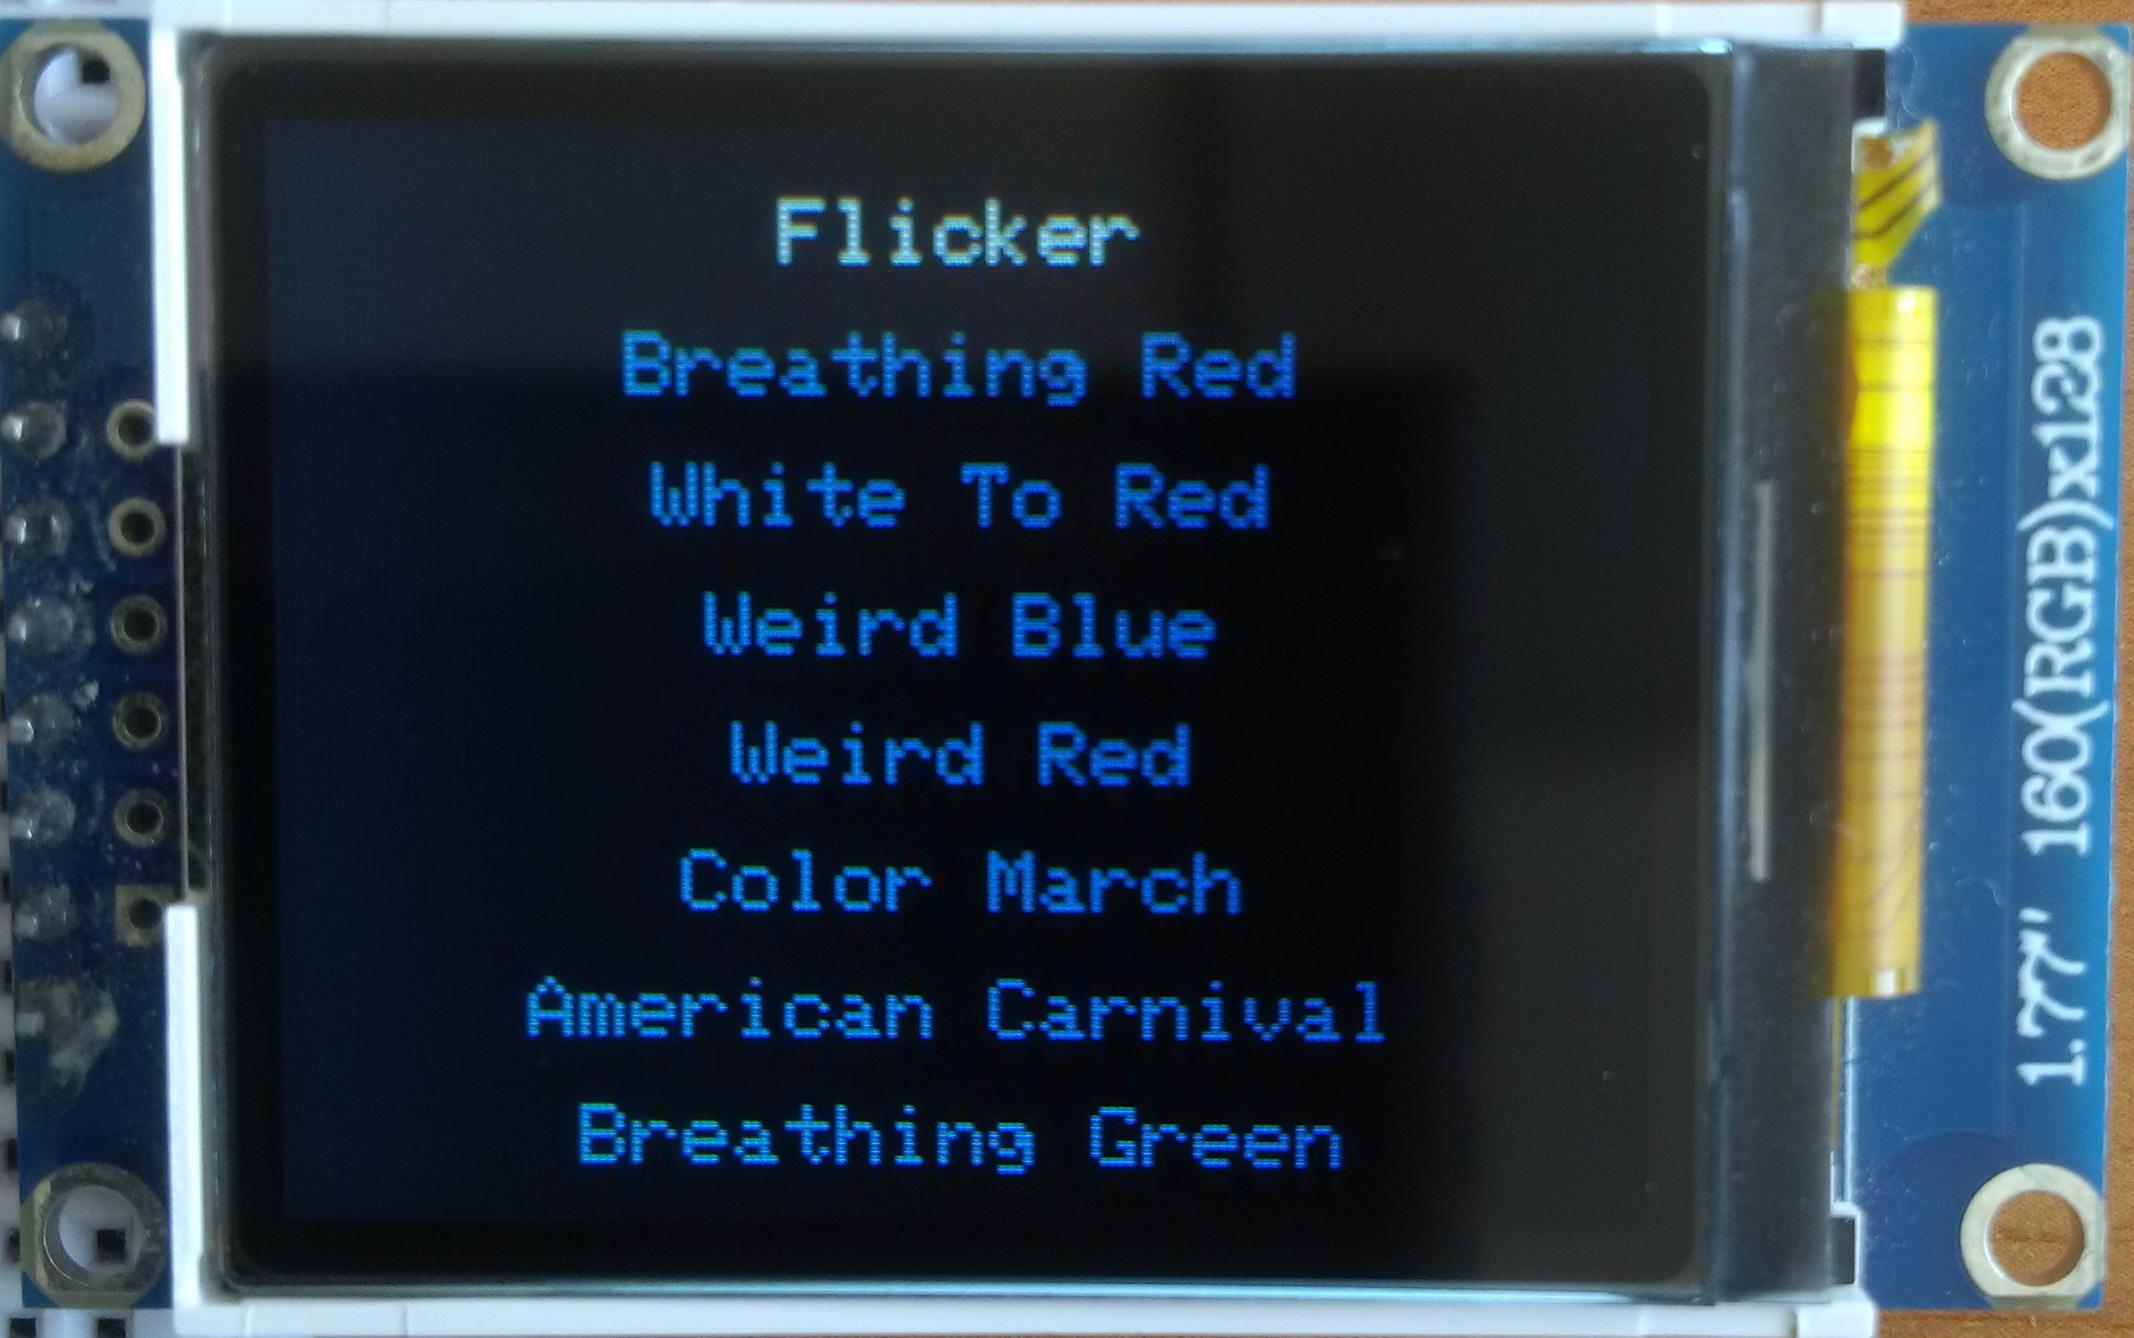
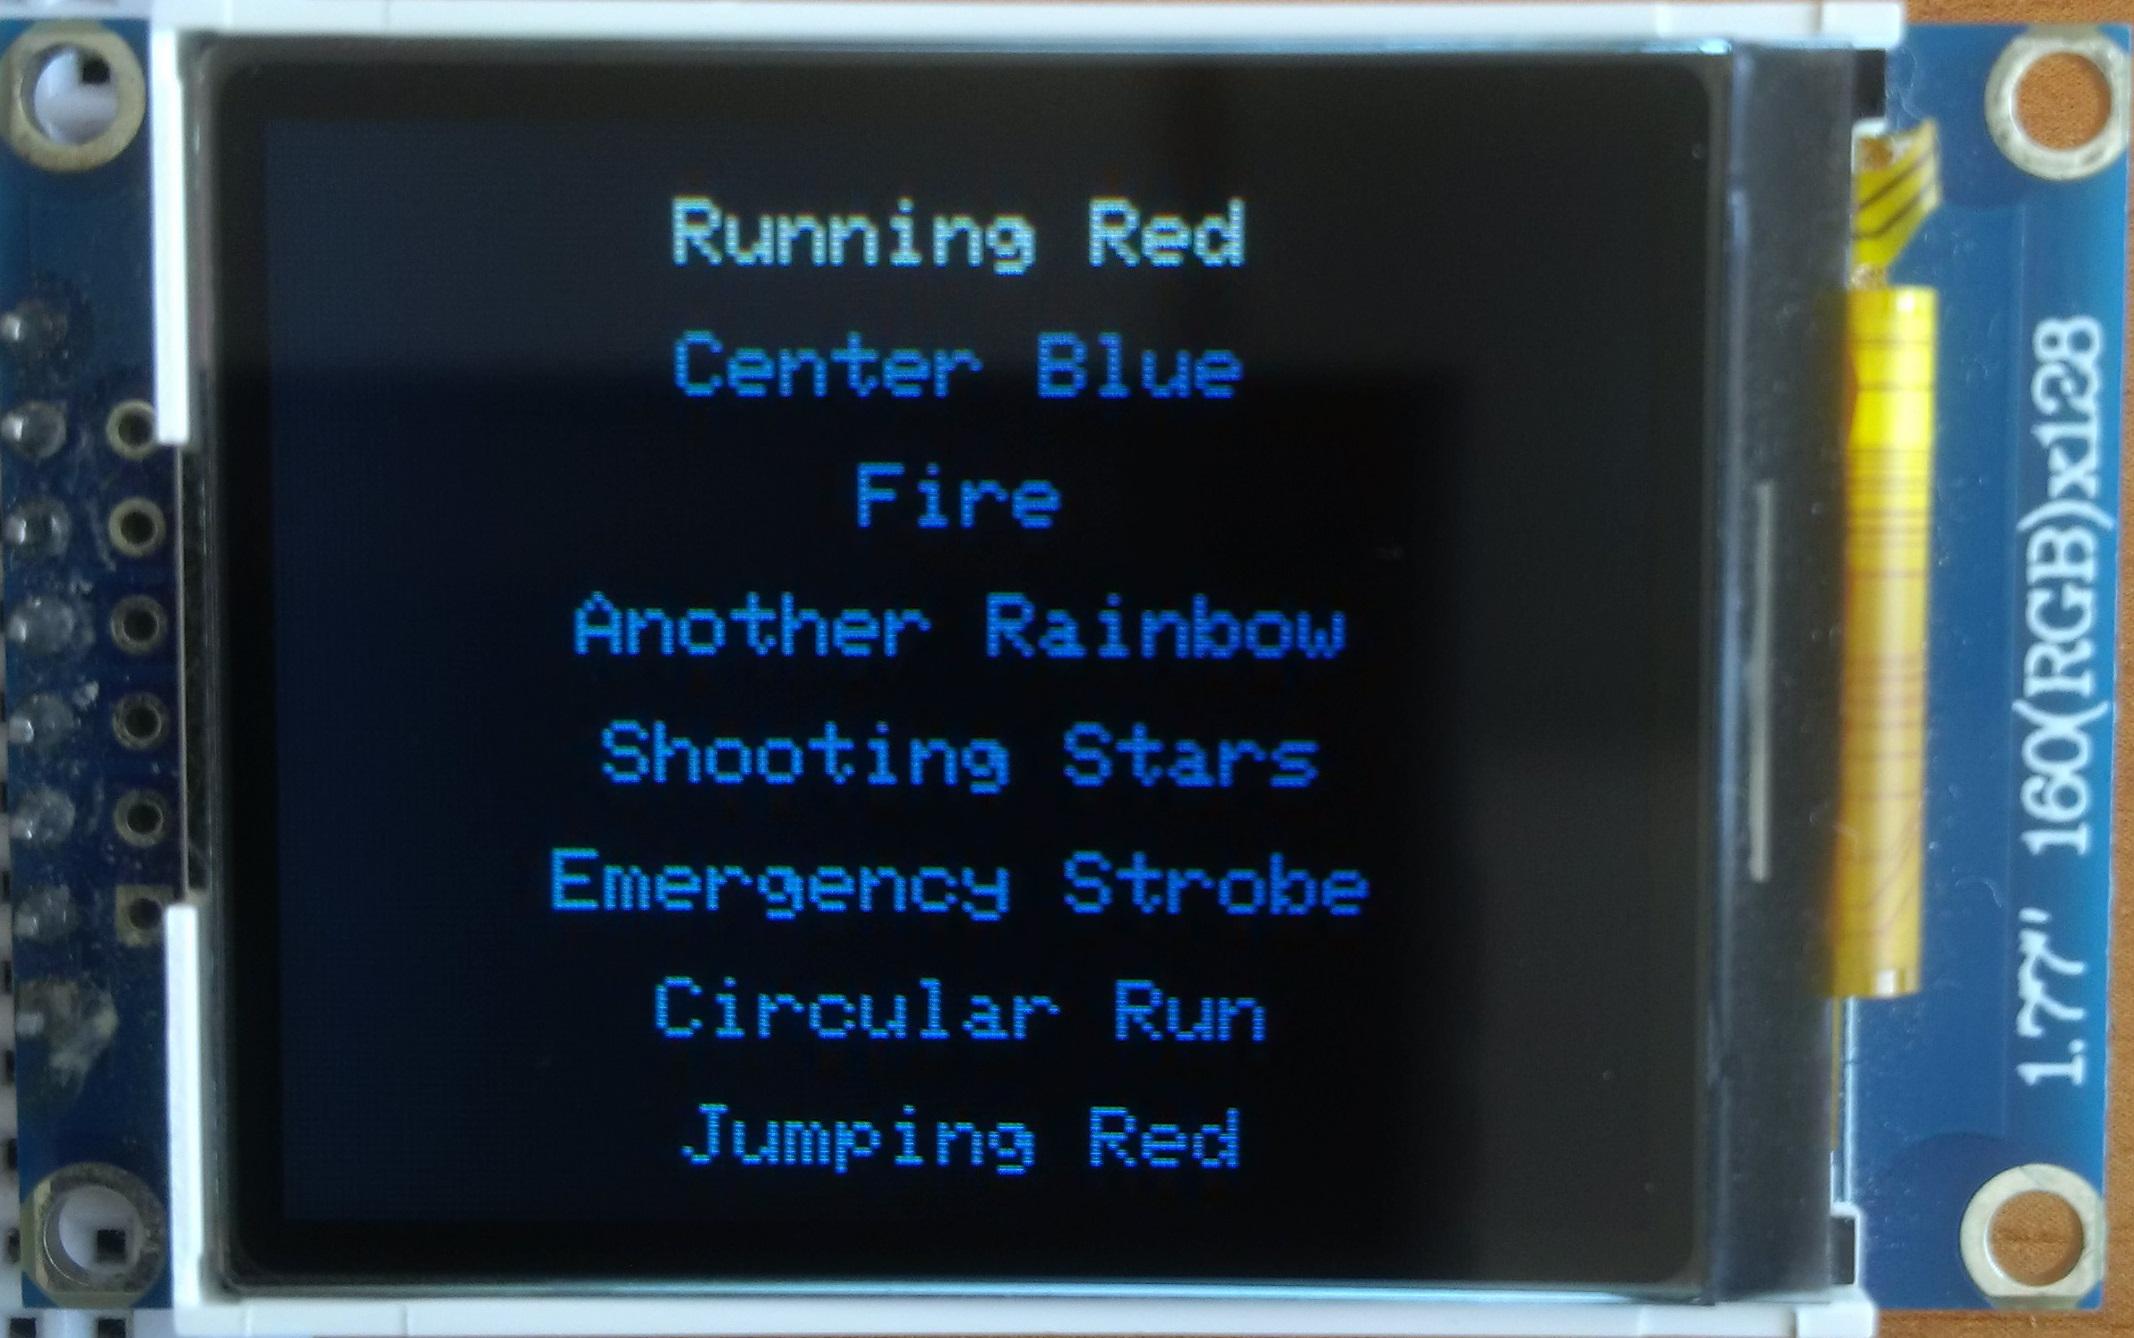
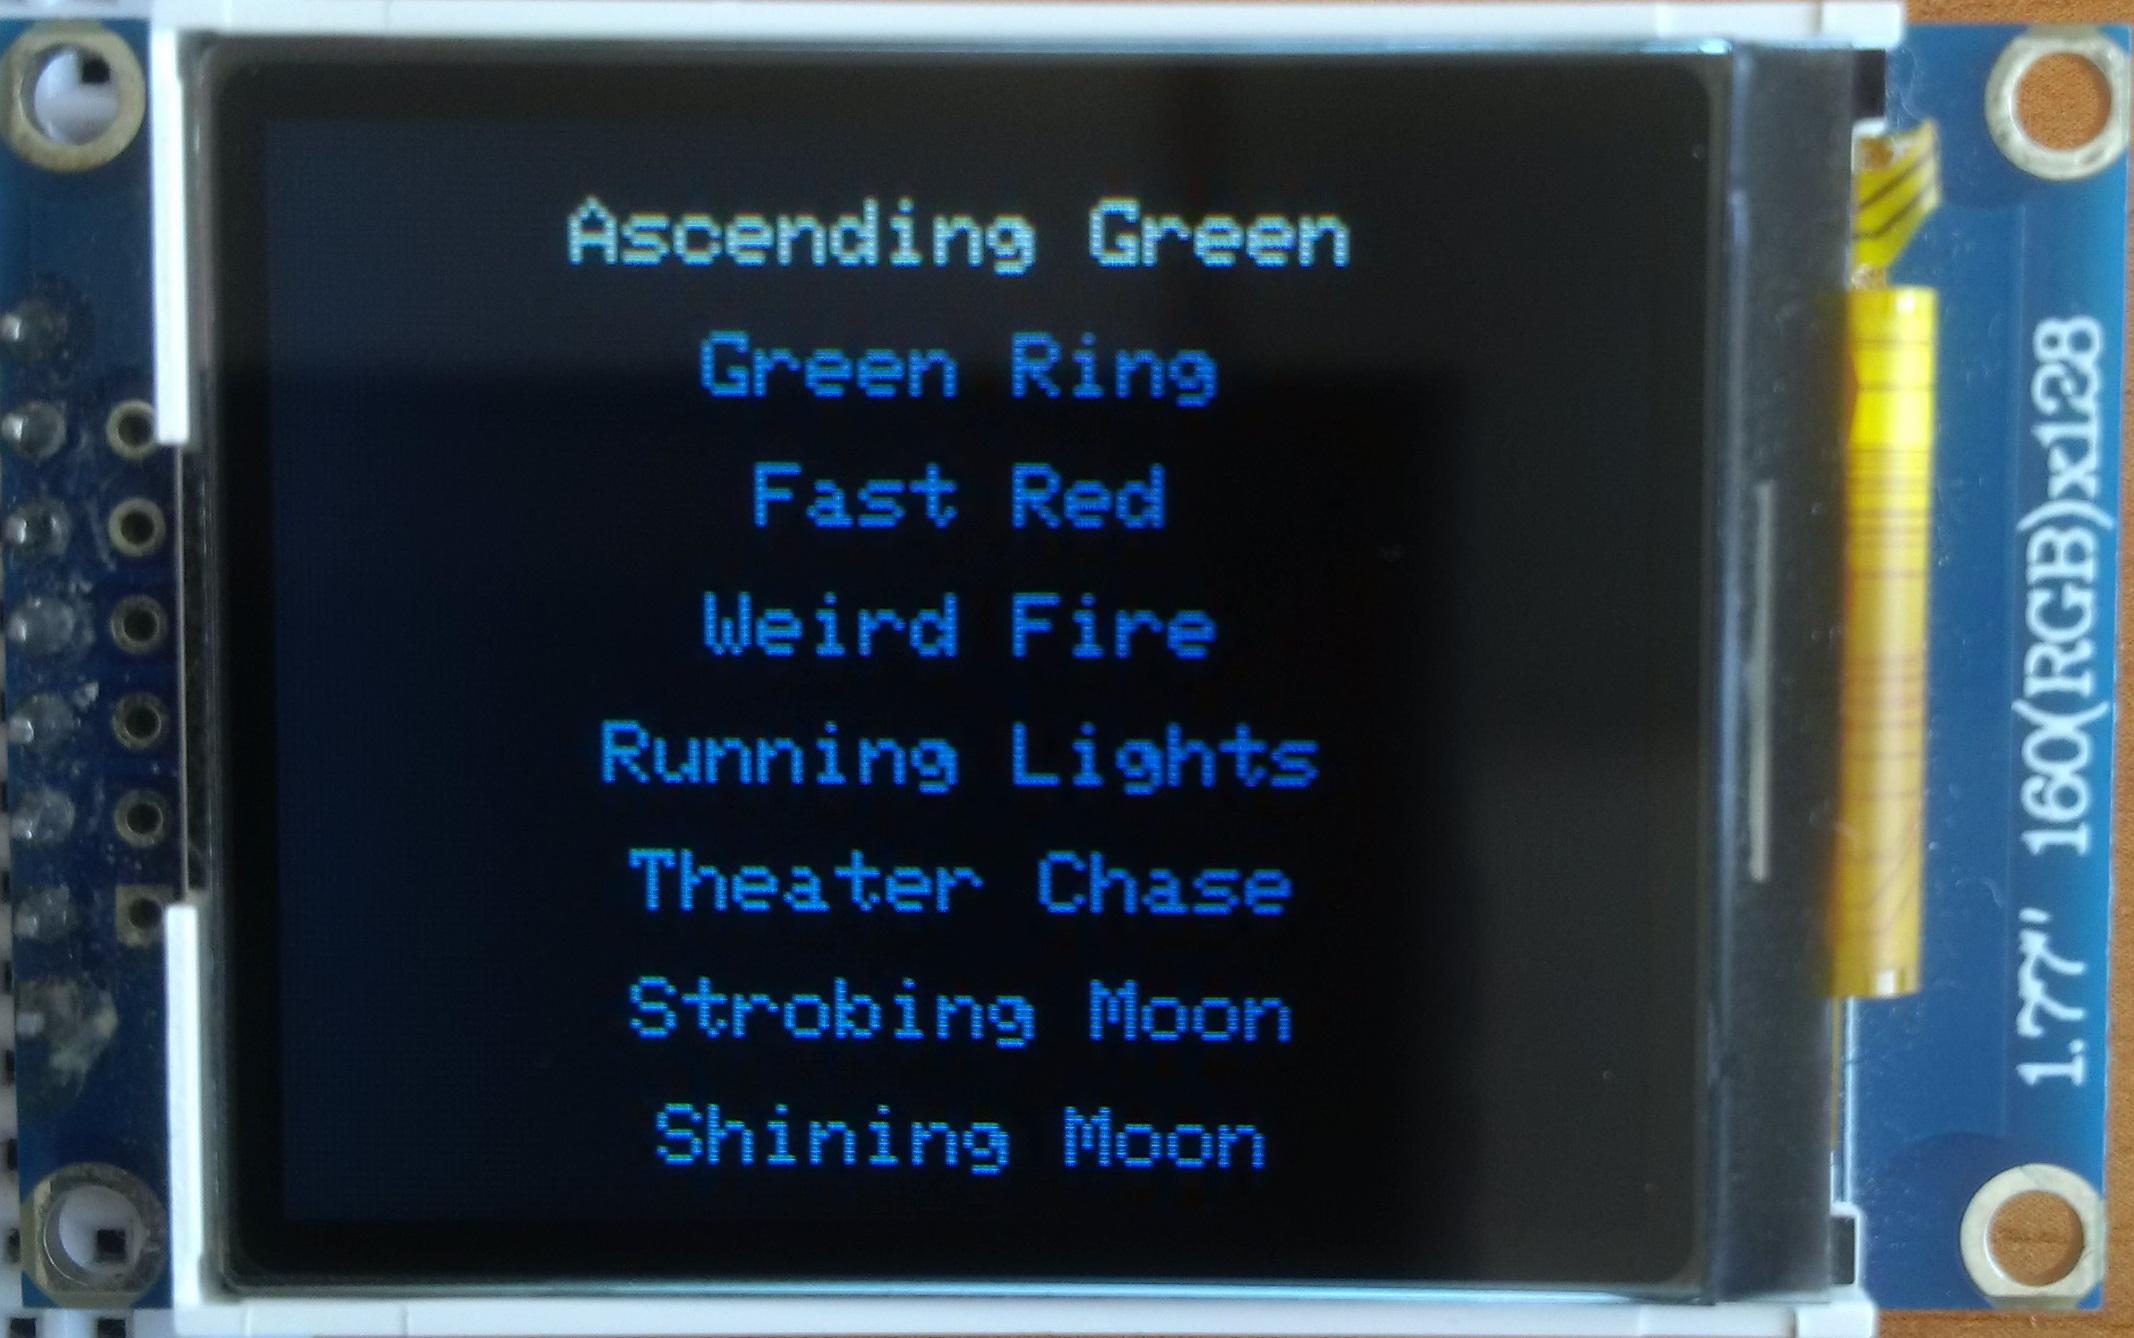
Once you unlock the lantern, you get to the main menu. Press the '8' key on the 4x4 keypad to move up the menu, press the '0' key to move down the menu, and press the '#' key to set the chosen mode.
At first, I wanted to briefly describe each mode, but then I decided to show you some of the modes instead.
In steps 20 to 37, you can find GIFs with some of the modes utilized by lantern.
Set Brightness
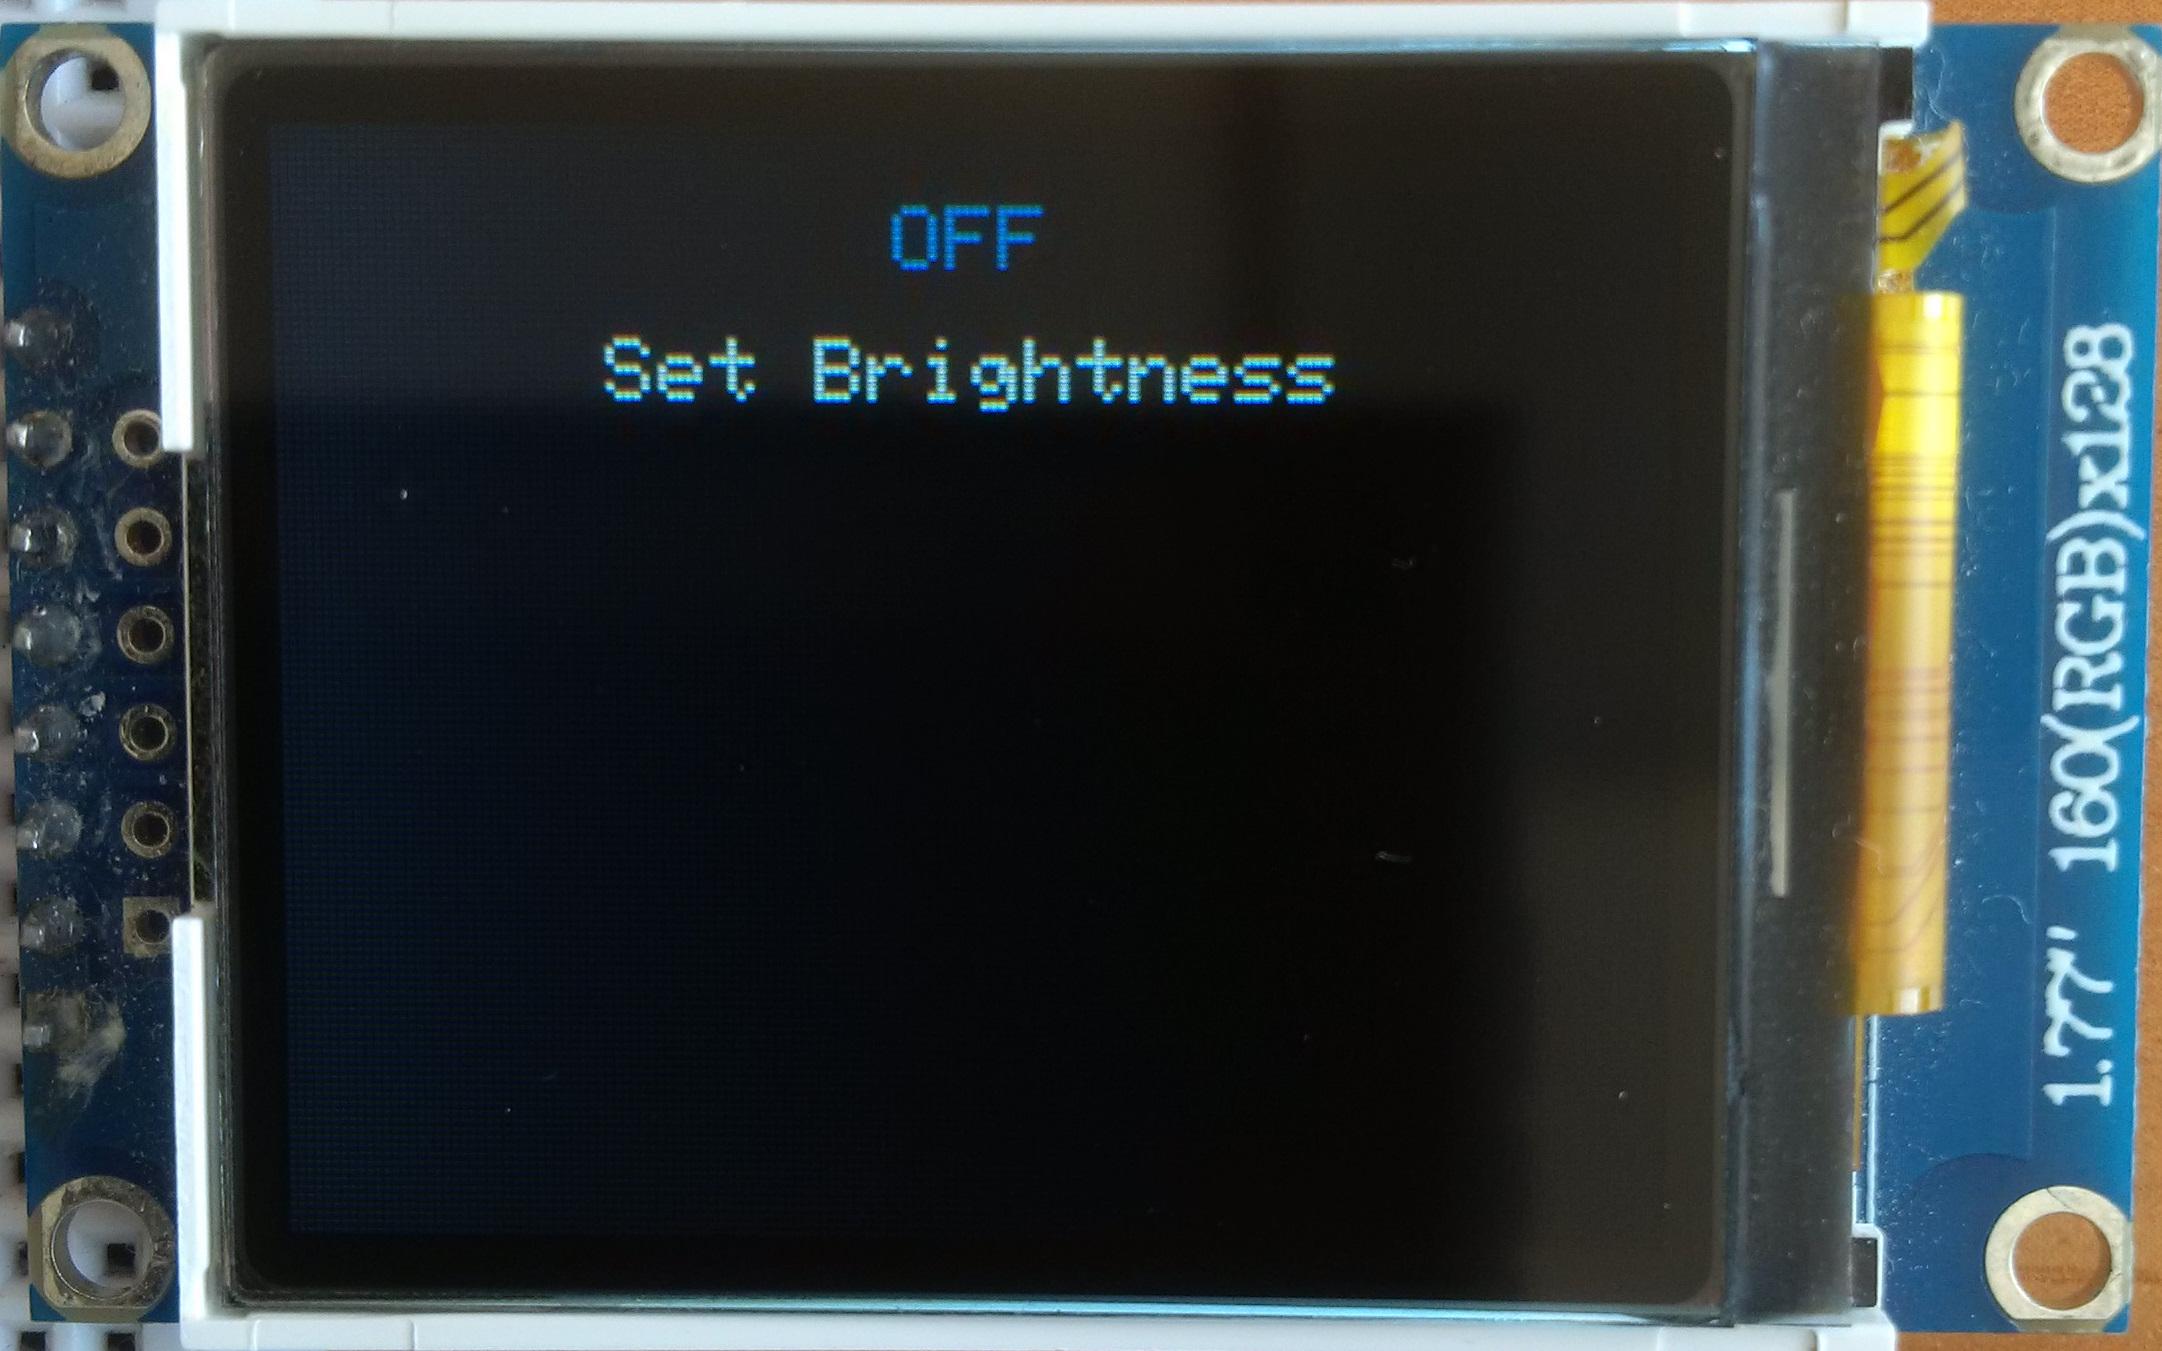
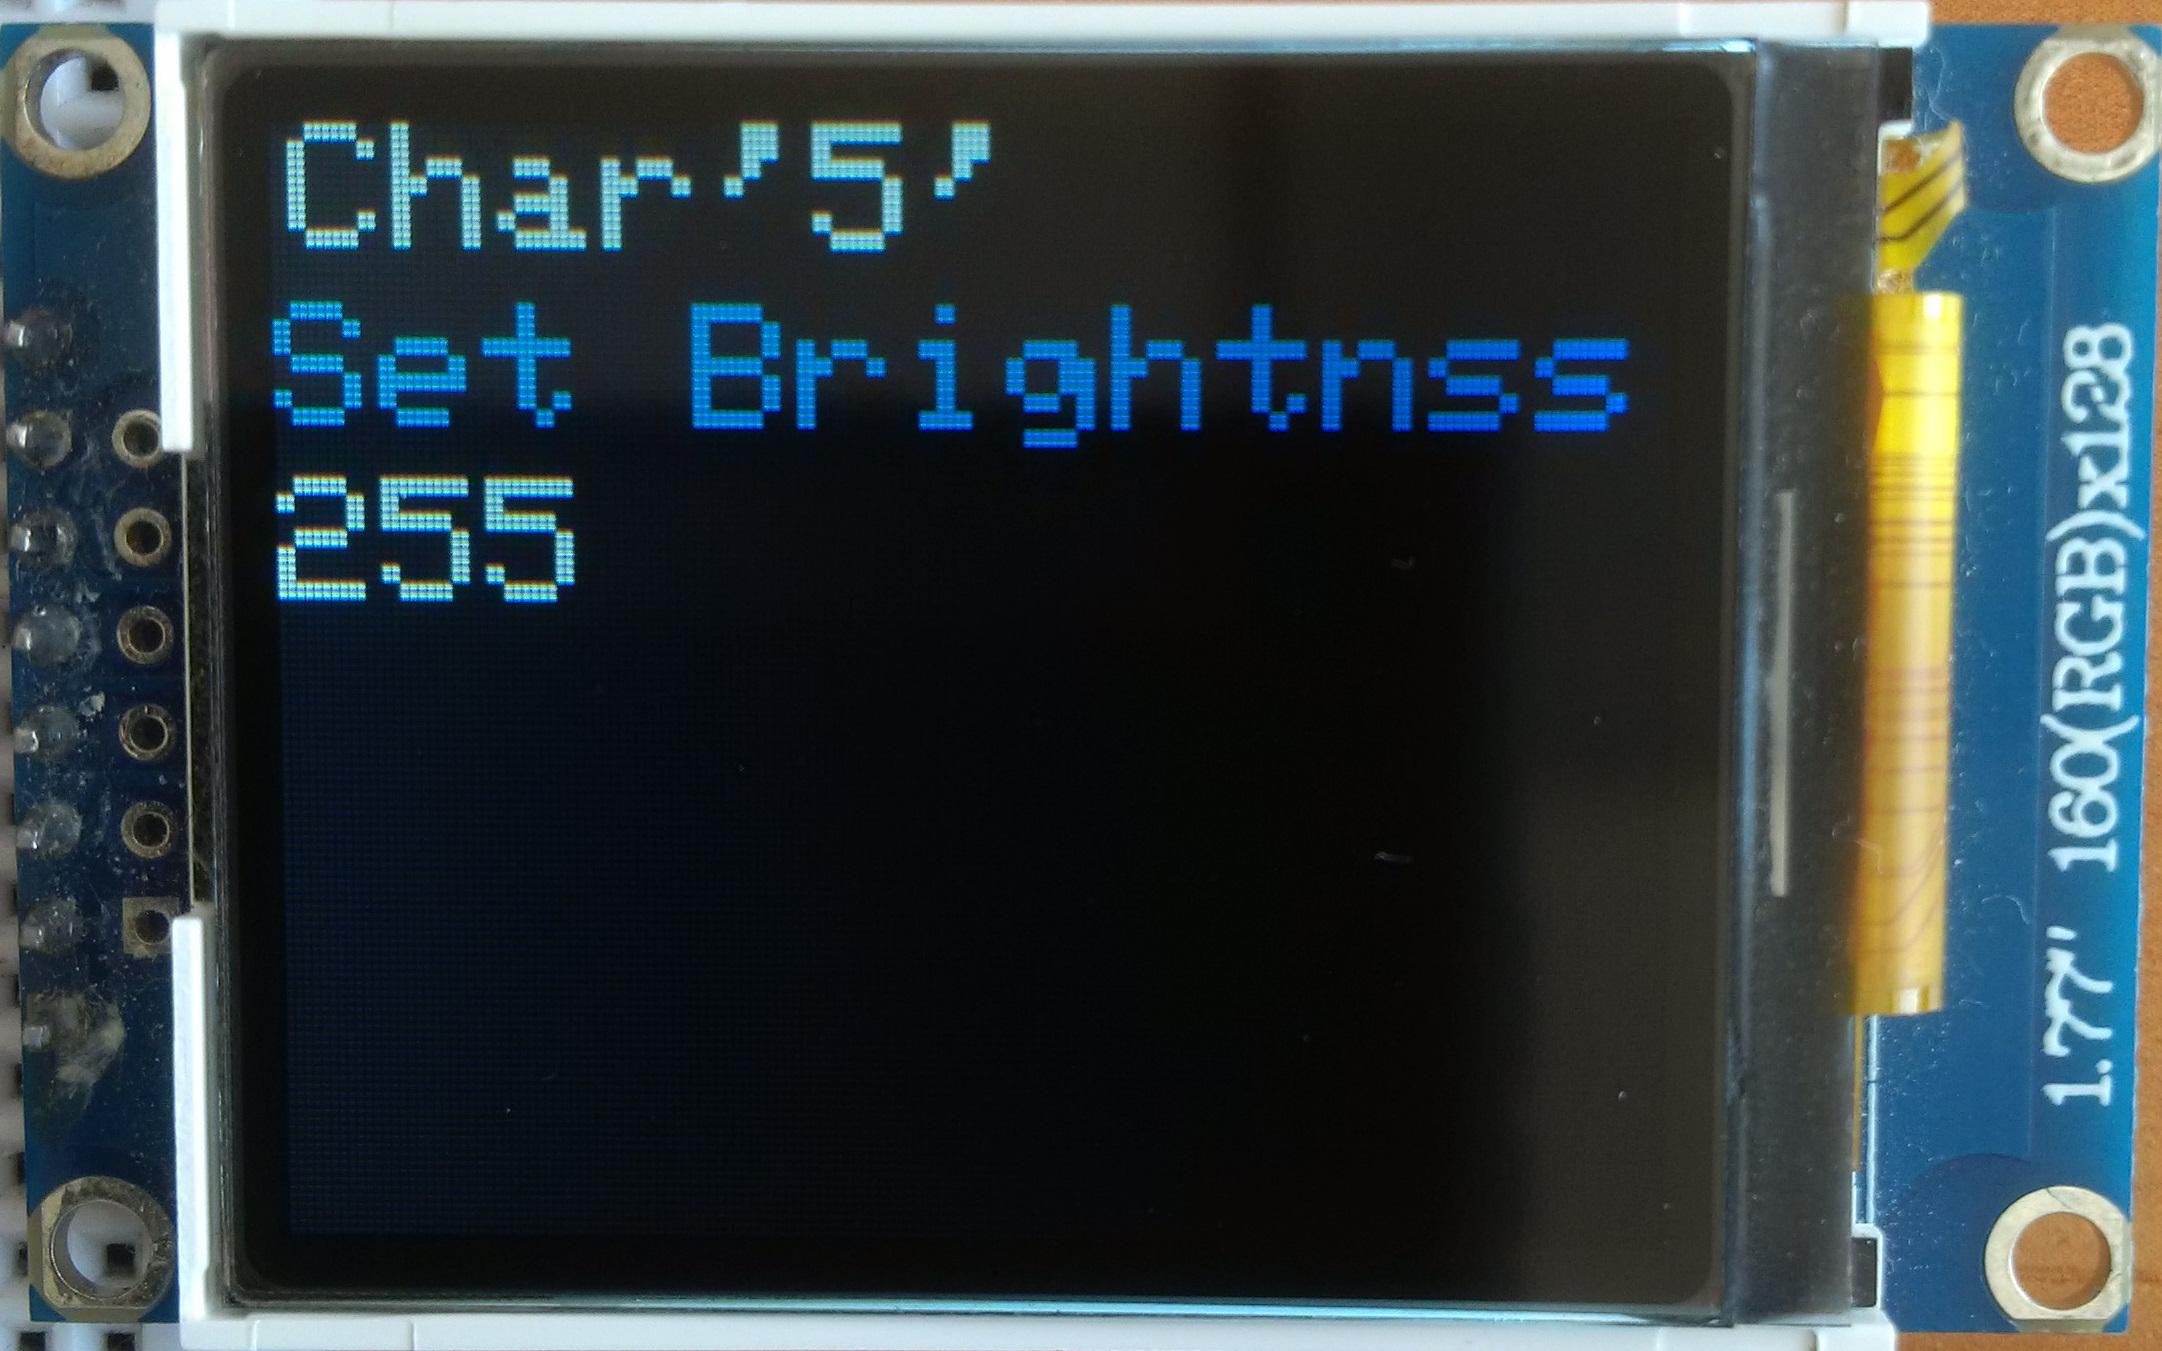
By default, the brightness is set to 63 out of 255. To change the brightness, scroll down the menu, select the "Set Brightness" line, press the '#' key, enter the value for brightness in the range of 0 to 255, and press the '#' key to set the brightness. The receiver stores the value for the brightness in the non-volatile memory, which means that the receiver retains it even after the power is removed.
While entering the value for the brightness, press the '*' key to erase the last character, press the '#' key to set the brightness, and press the 'C' key to cancel.
Rainbow Fade
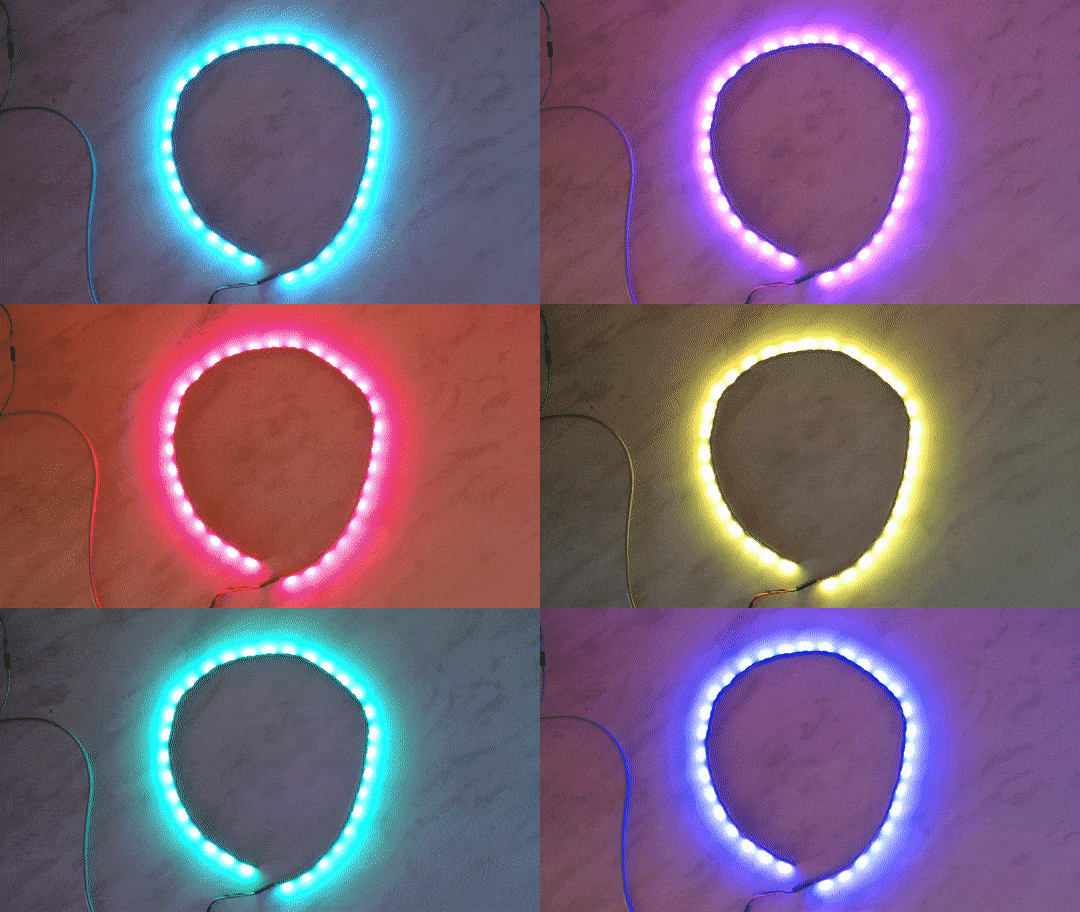
Rainbow Loop
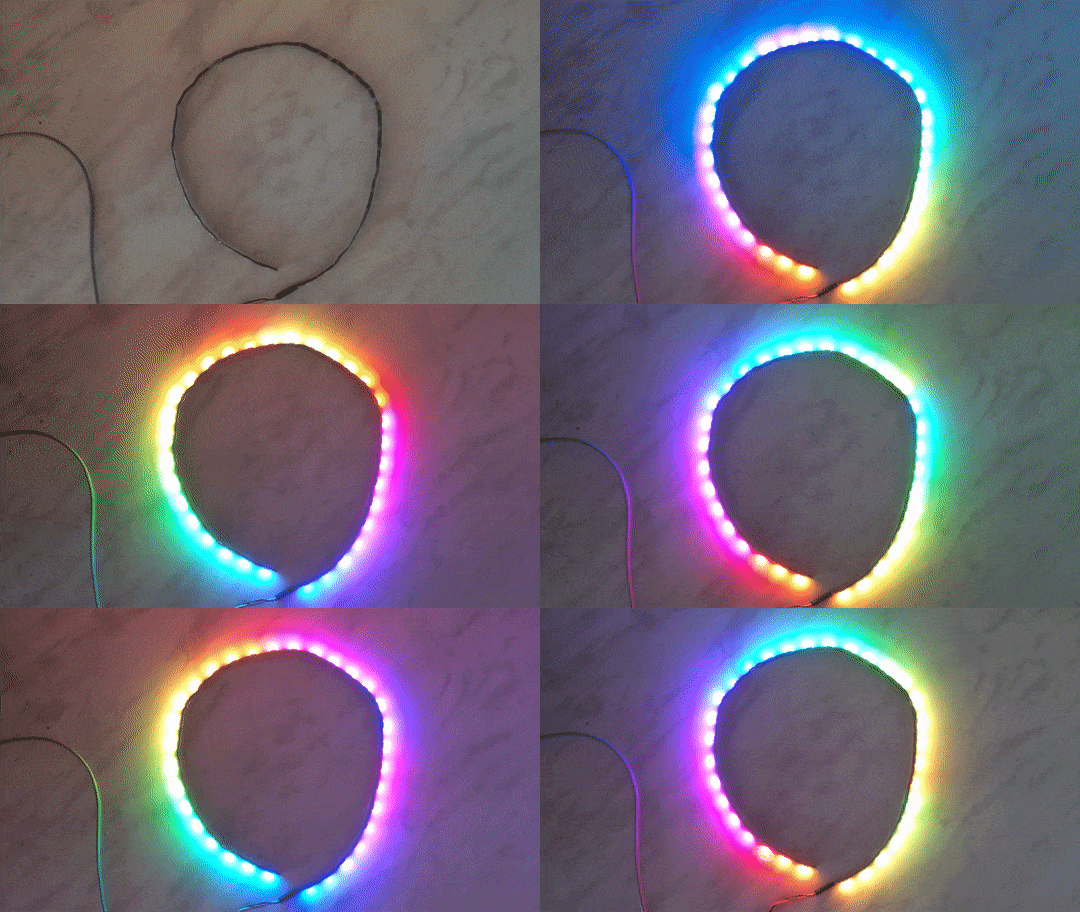
Smooth Rainbow
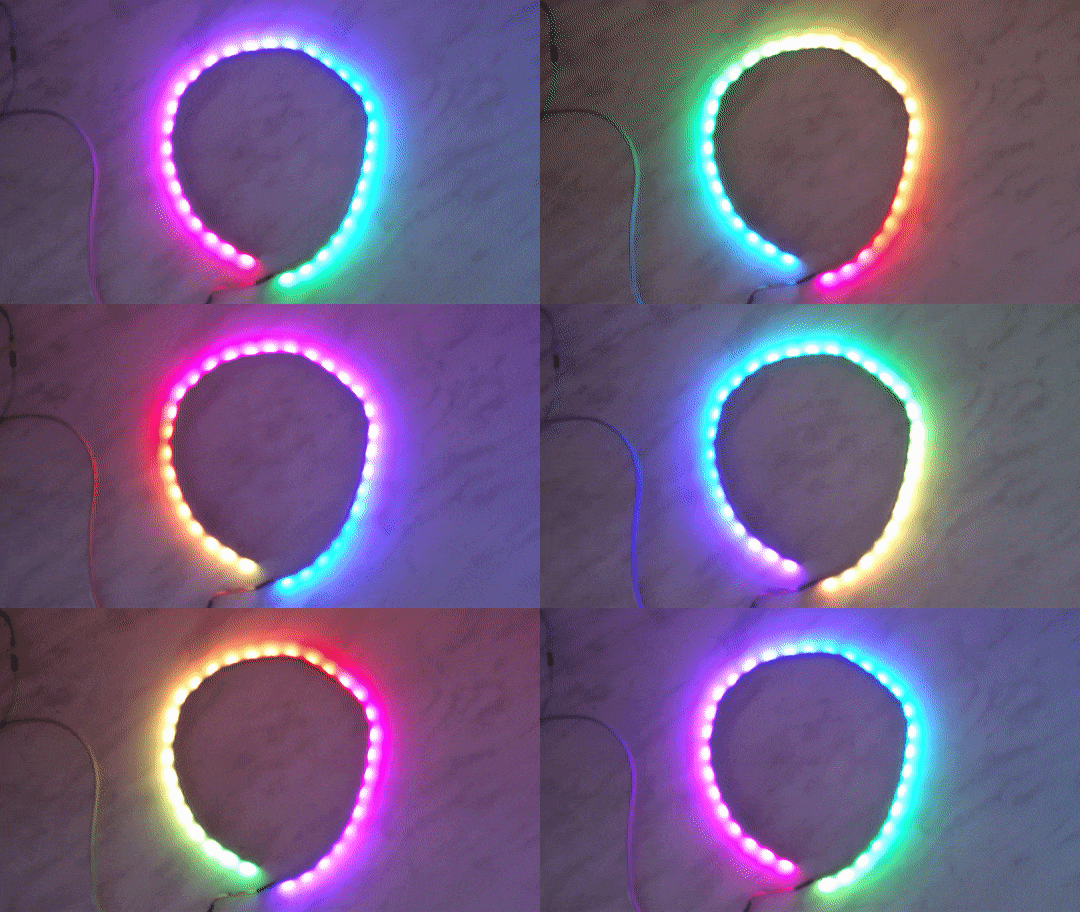
2PX Police Lights
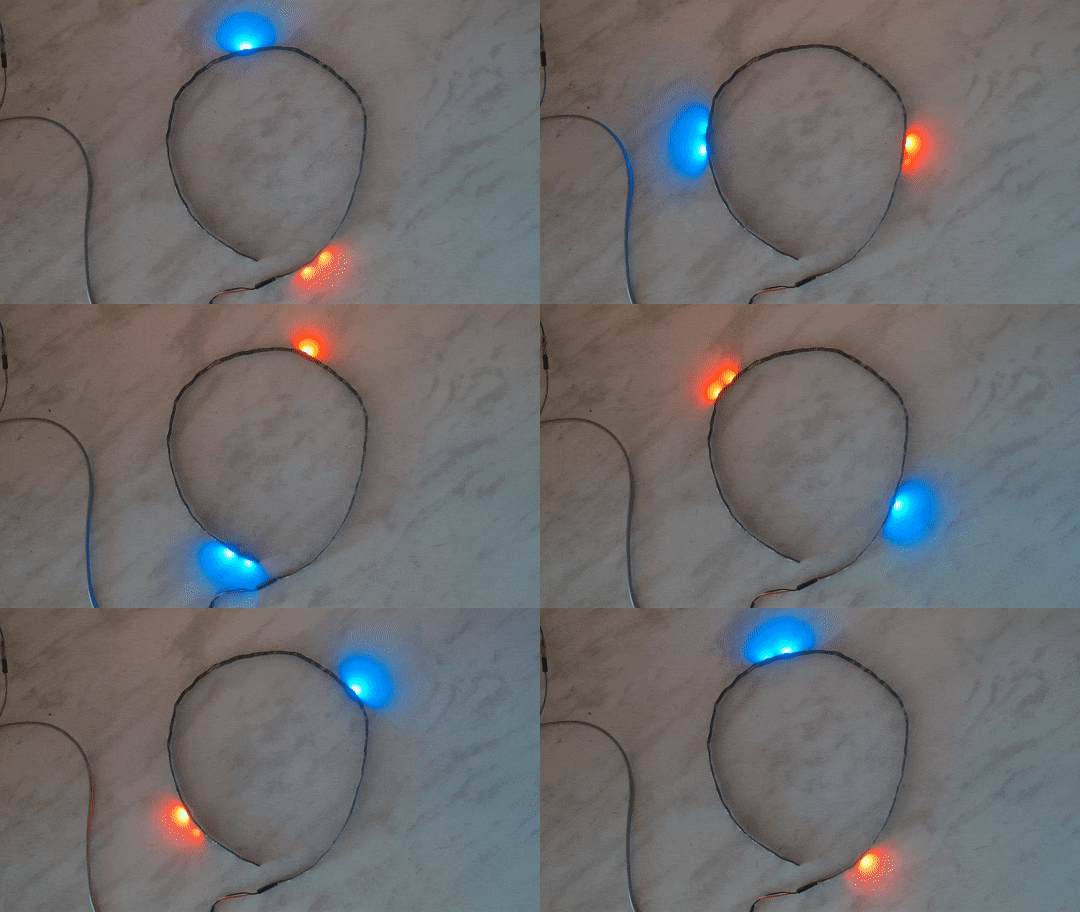
Circular Police Lights
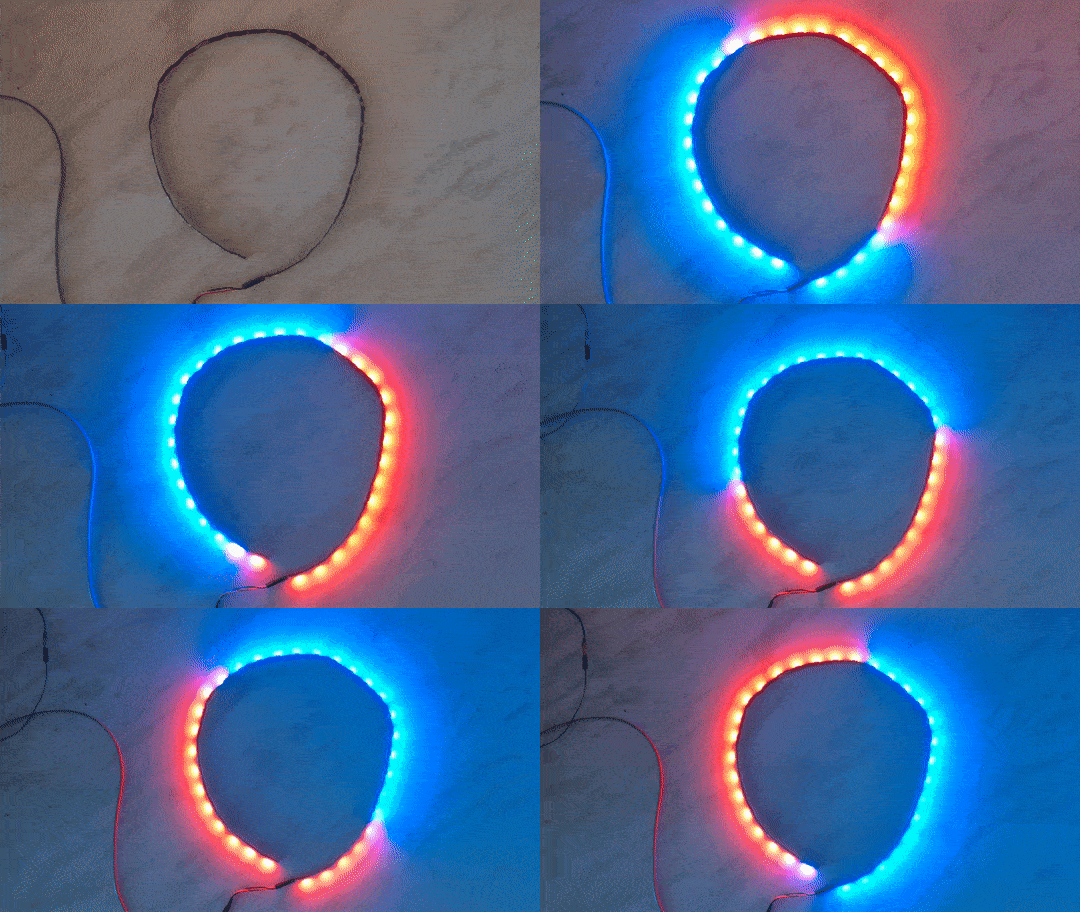
Flicker
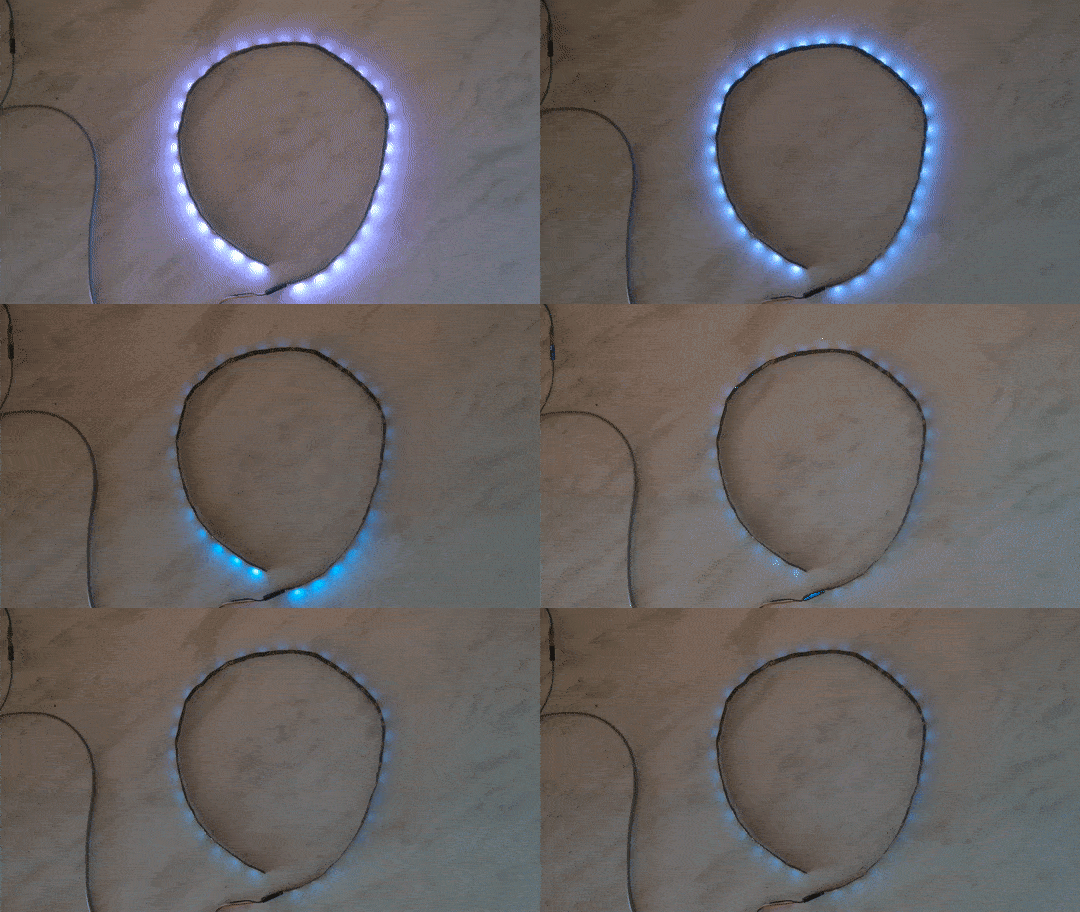
White to Red
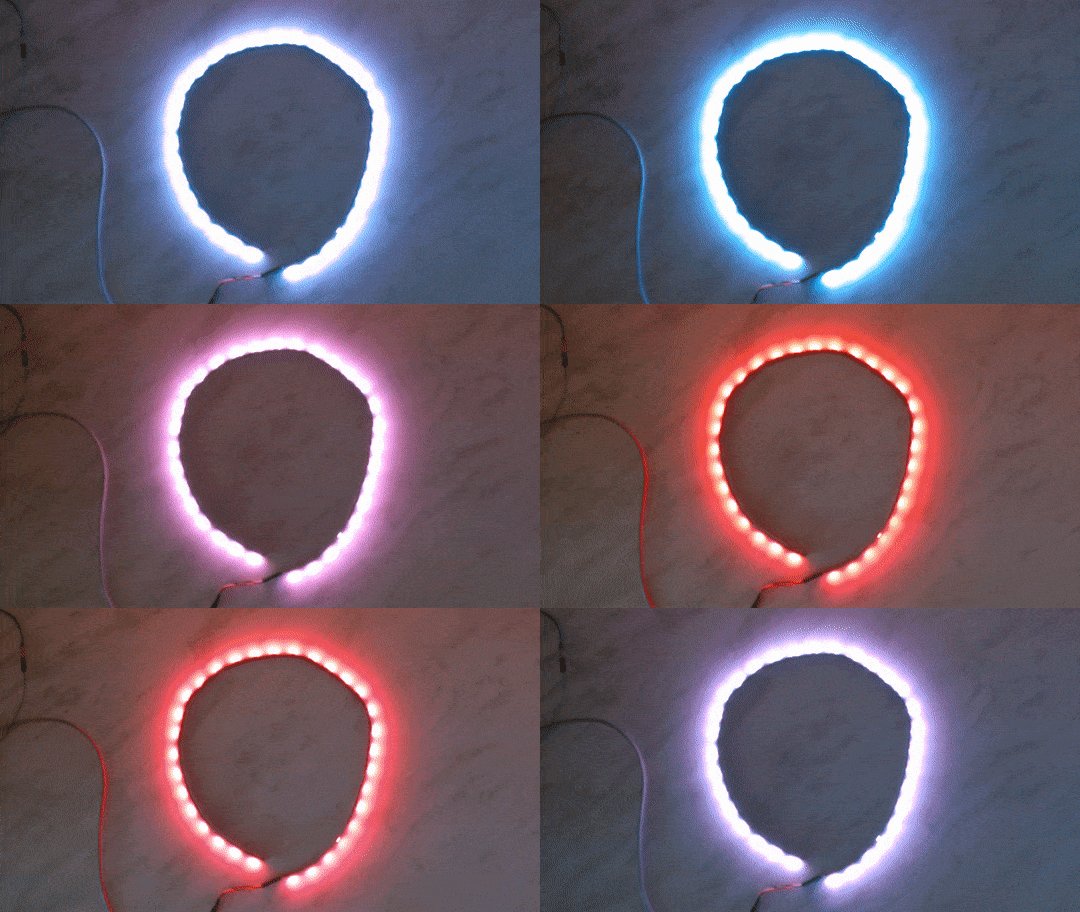
Color March
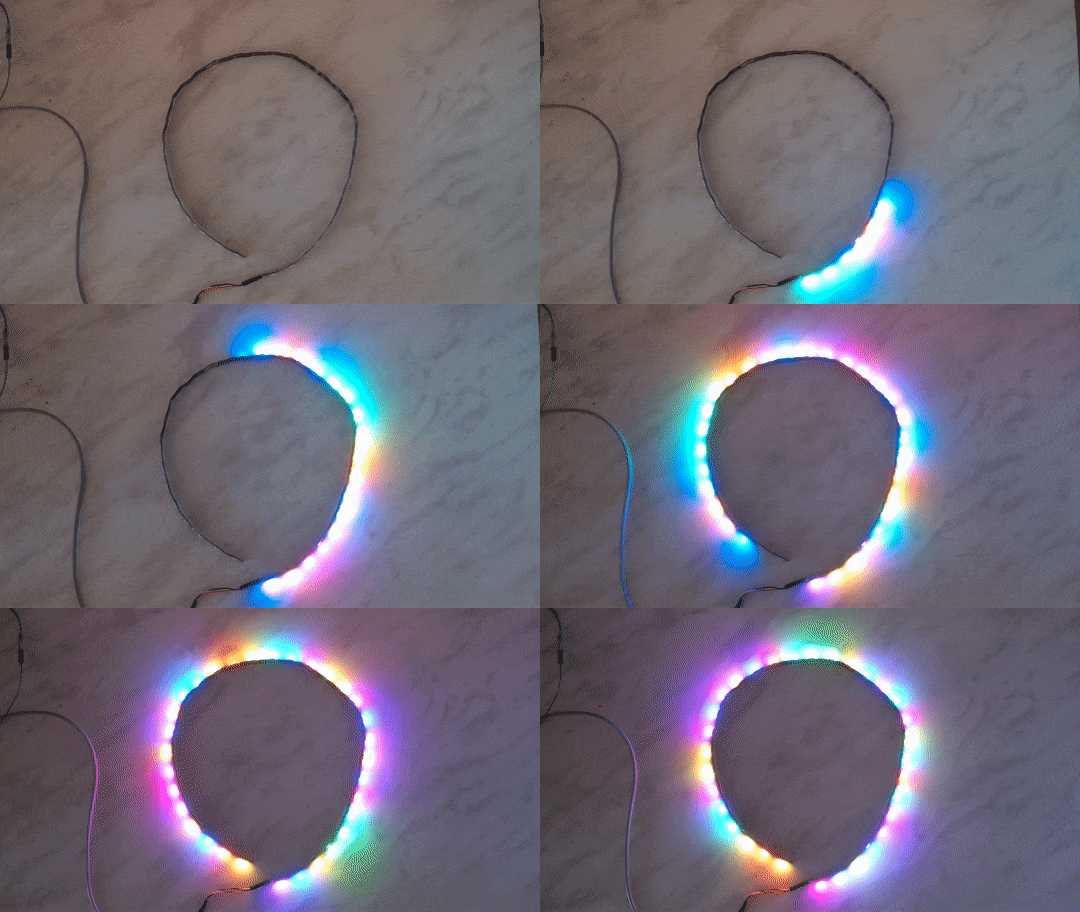
American Carnival
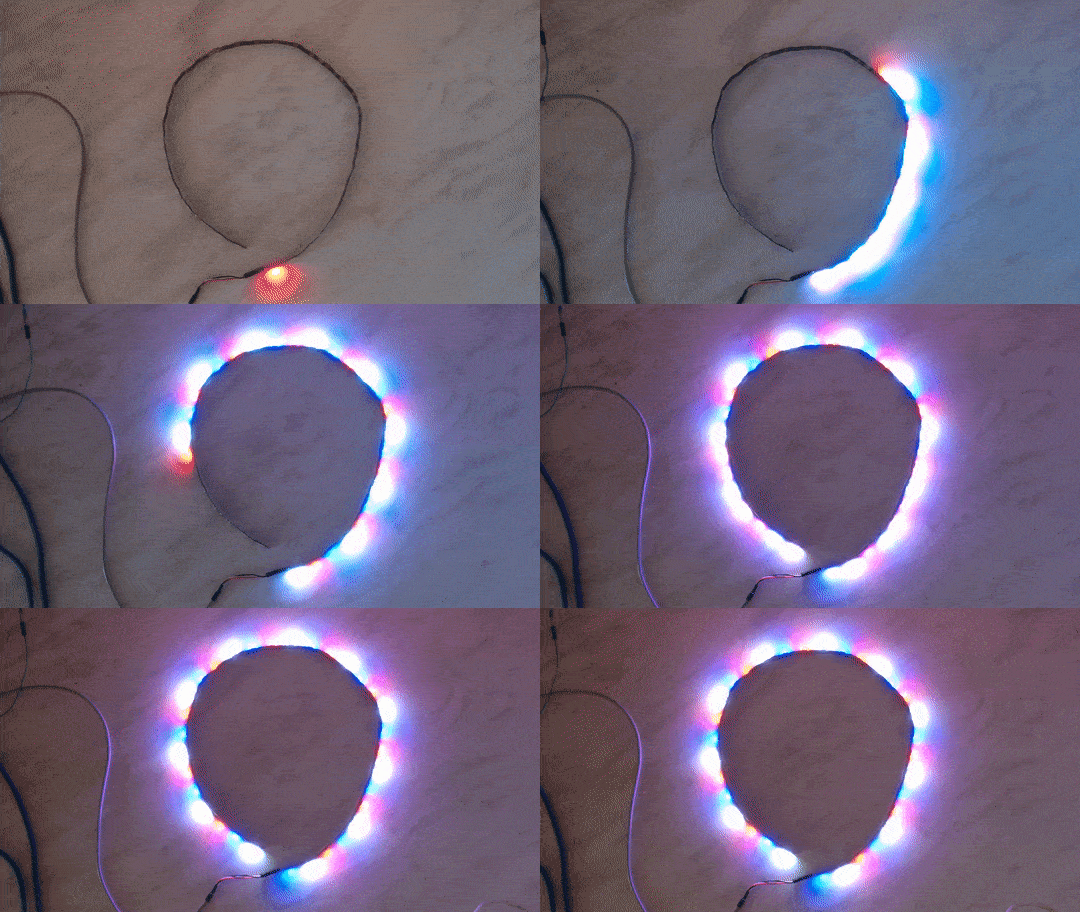
Fire
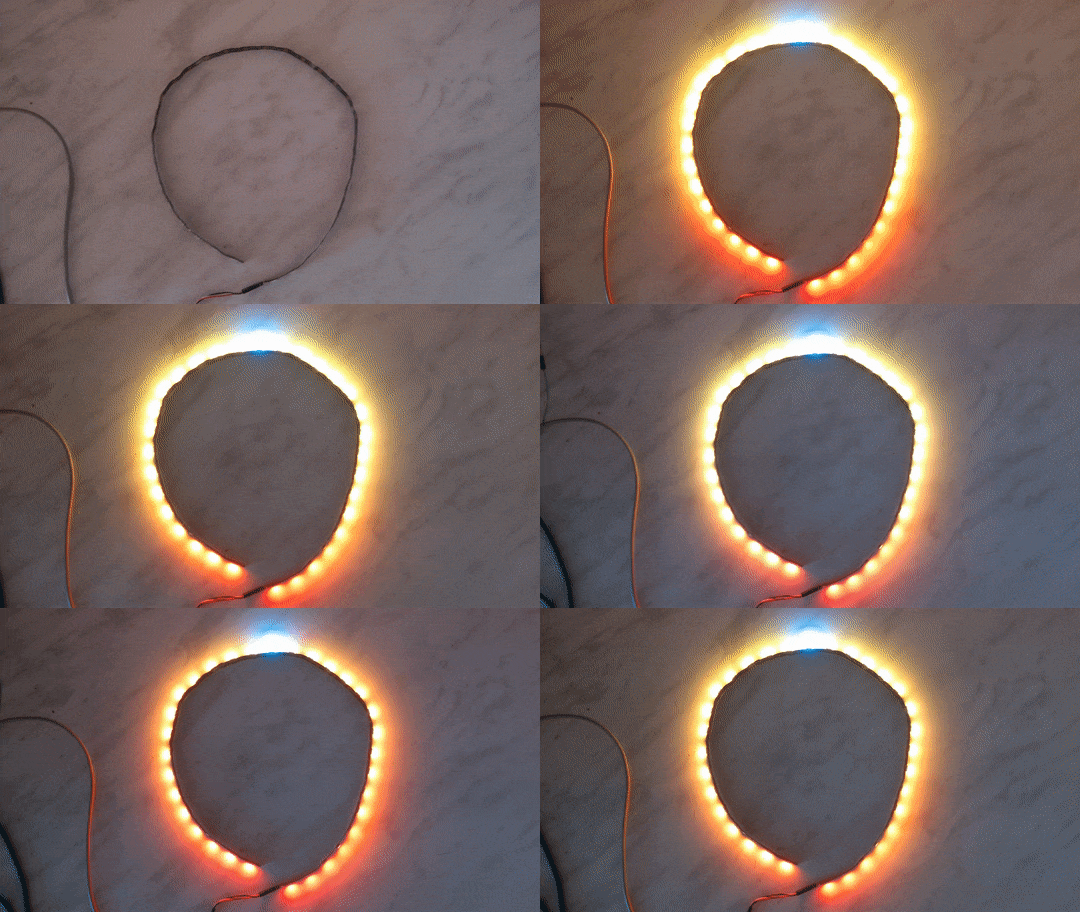
Shooting Stars
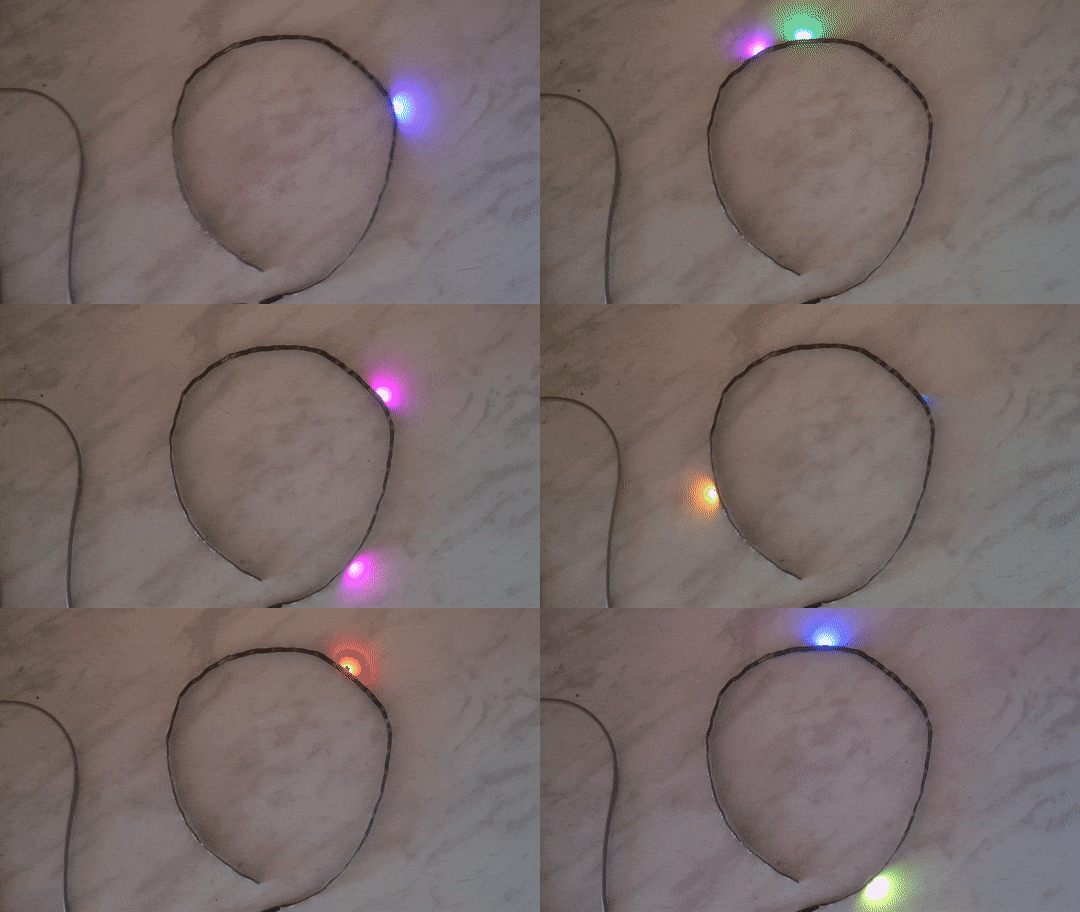
Emergency Strobe
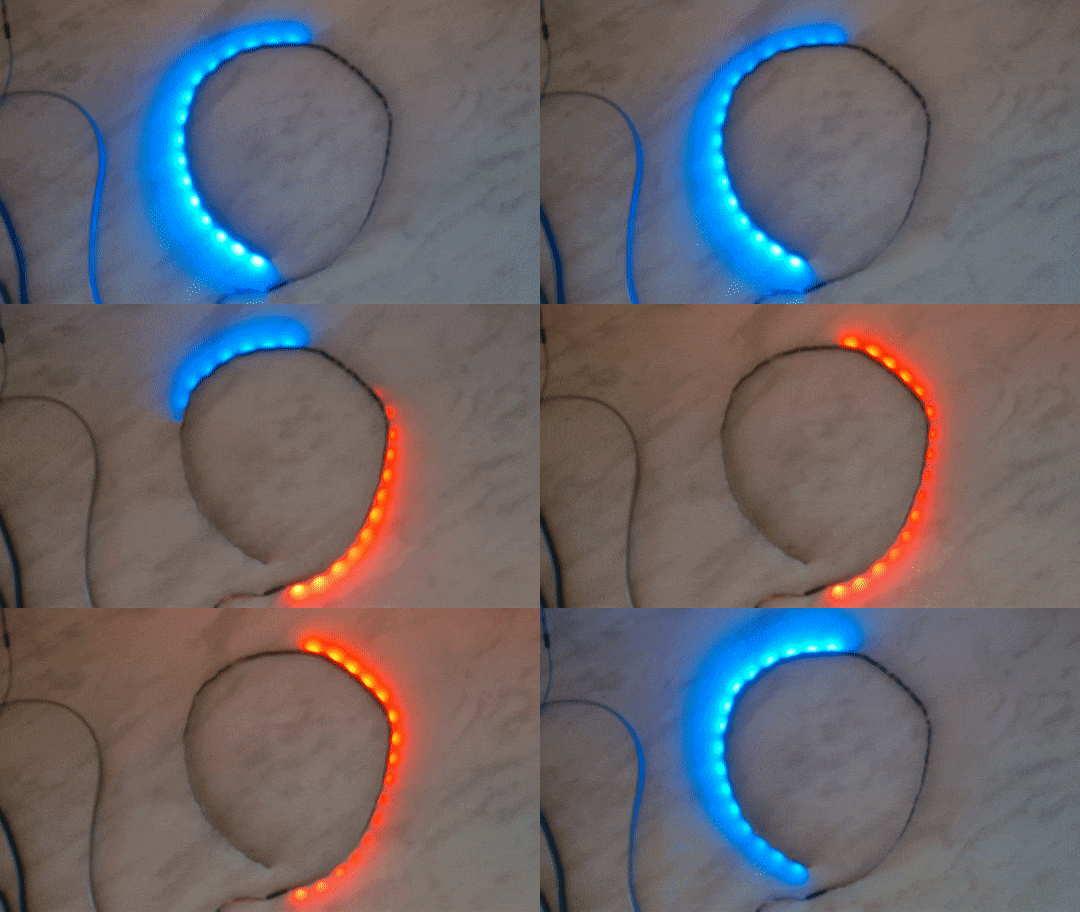
Circular Run
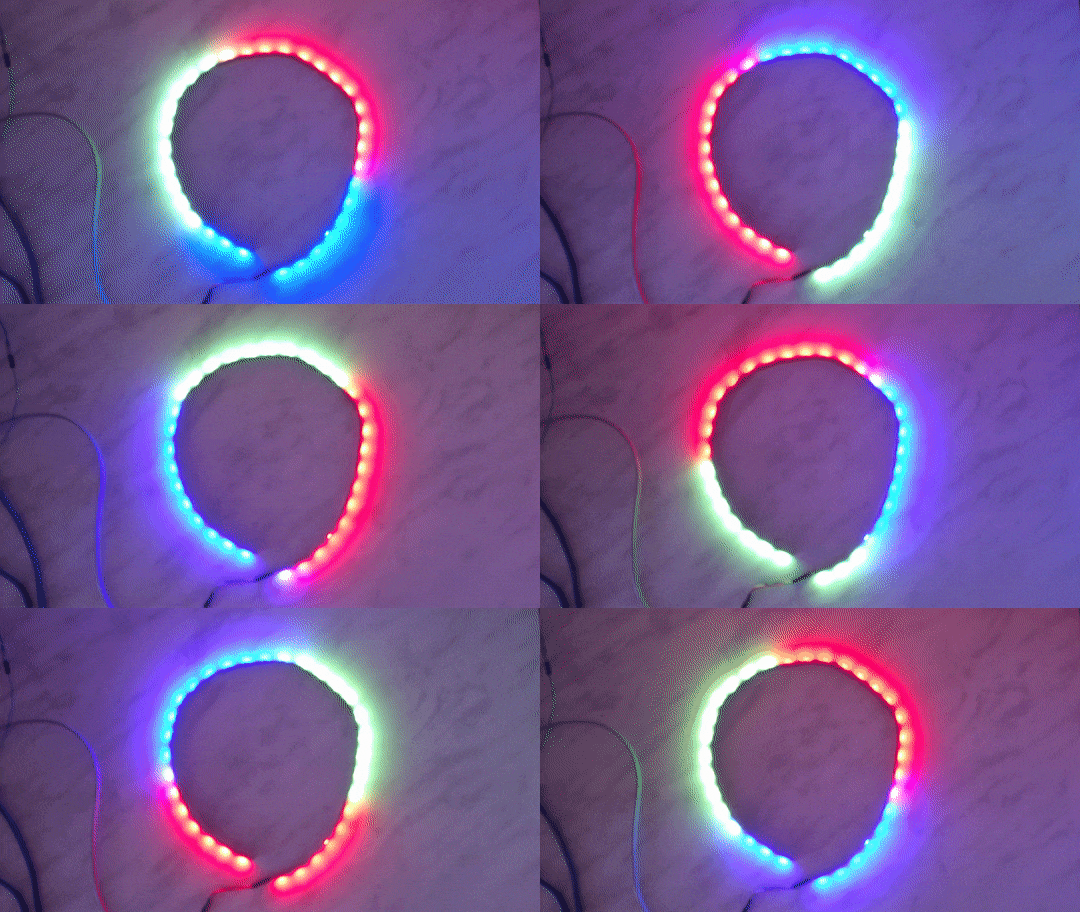
Jumping Red
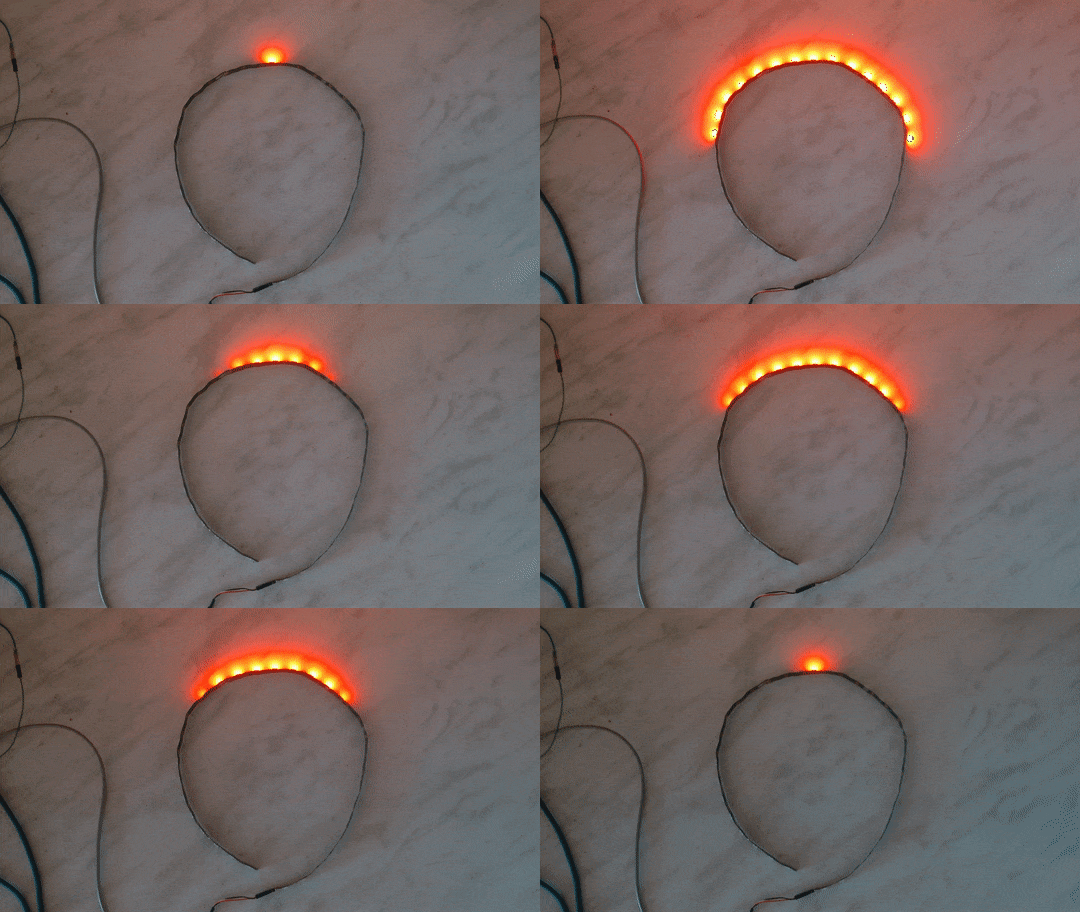
Ascending Green
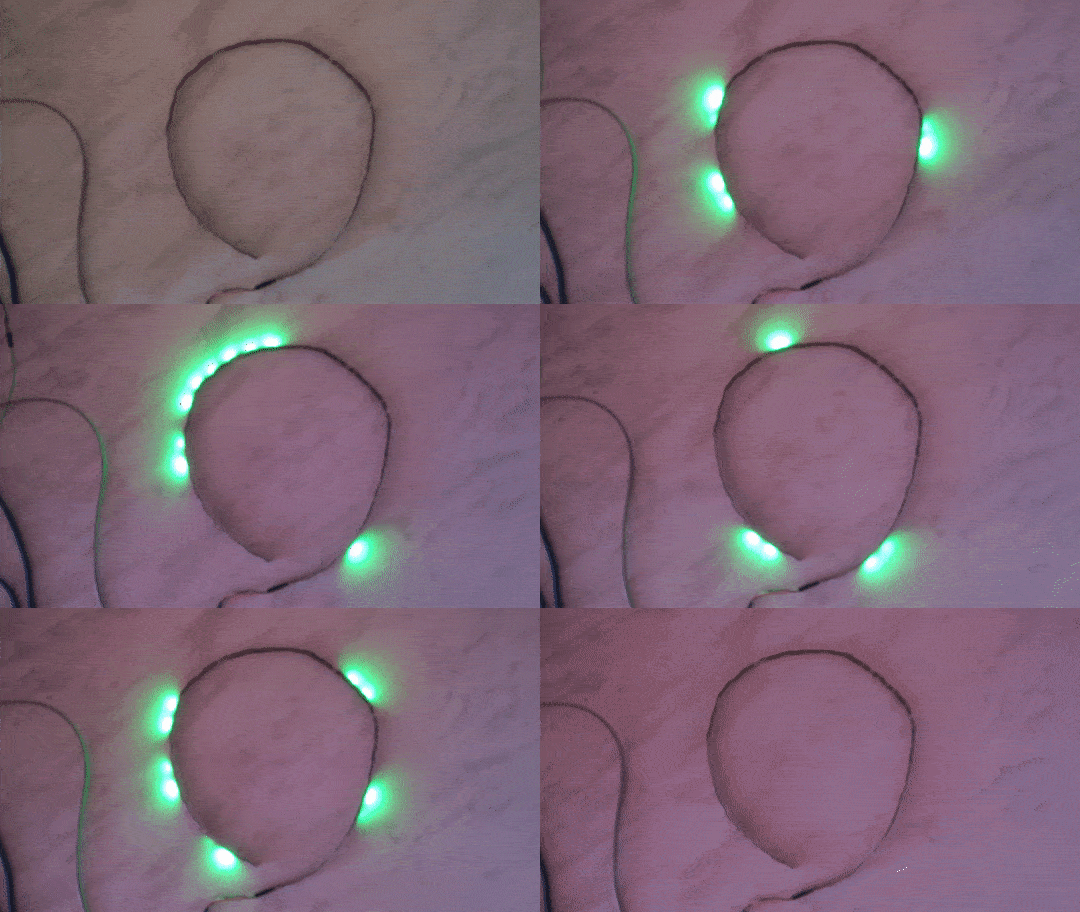
Green Ring
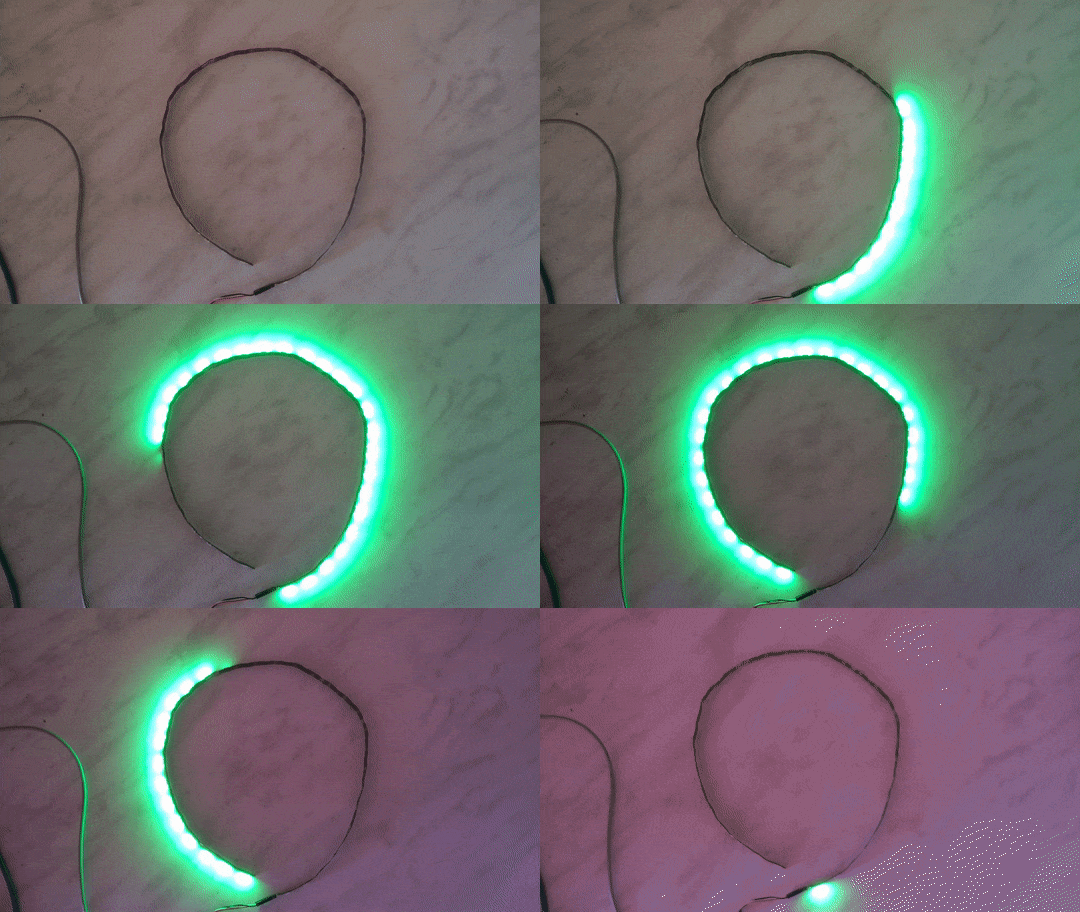
Theater Chase
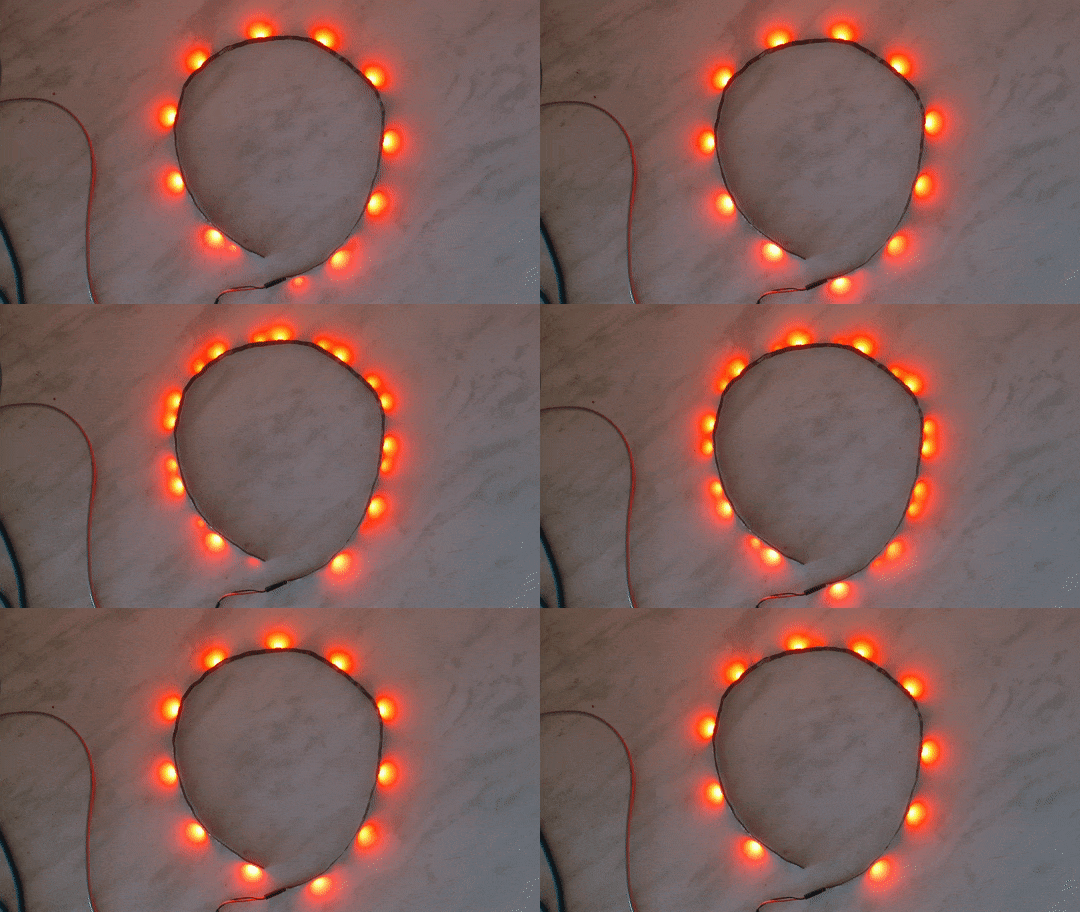
Strobing Moon
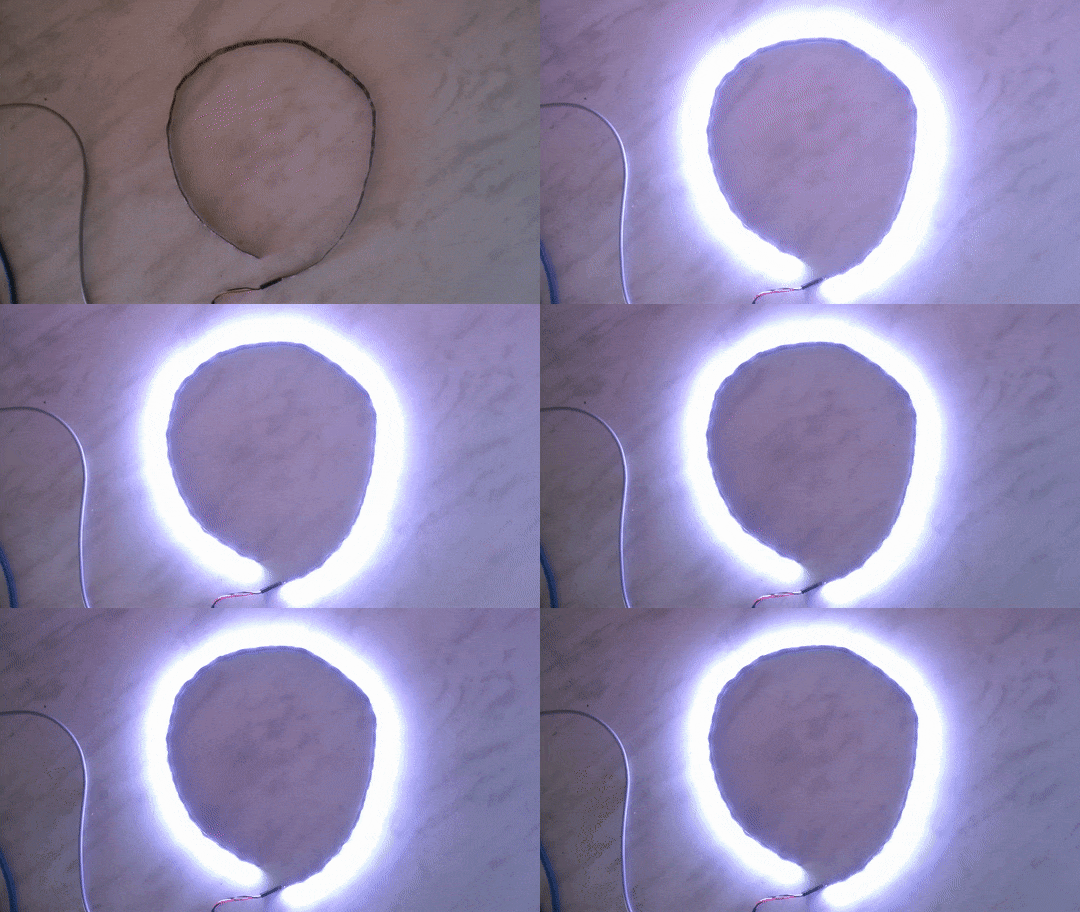
Shining Moon
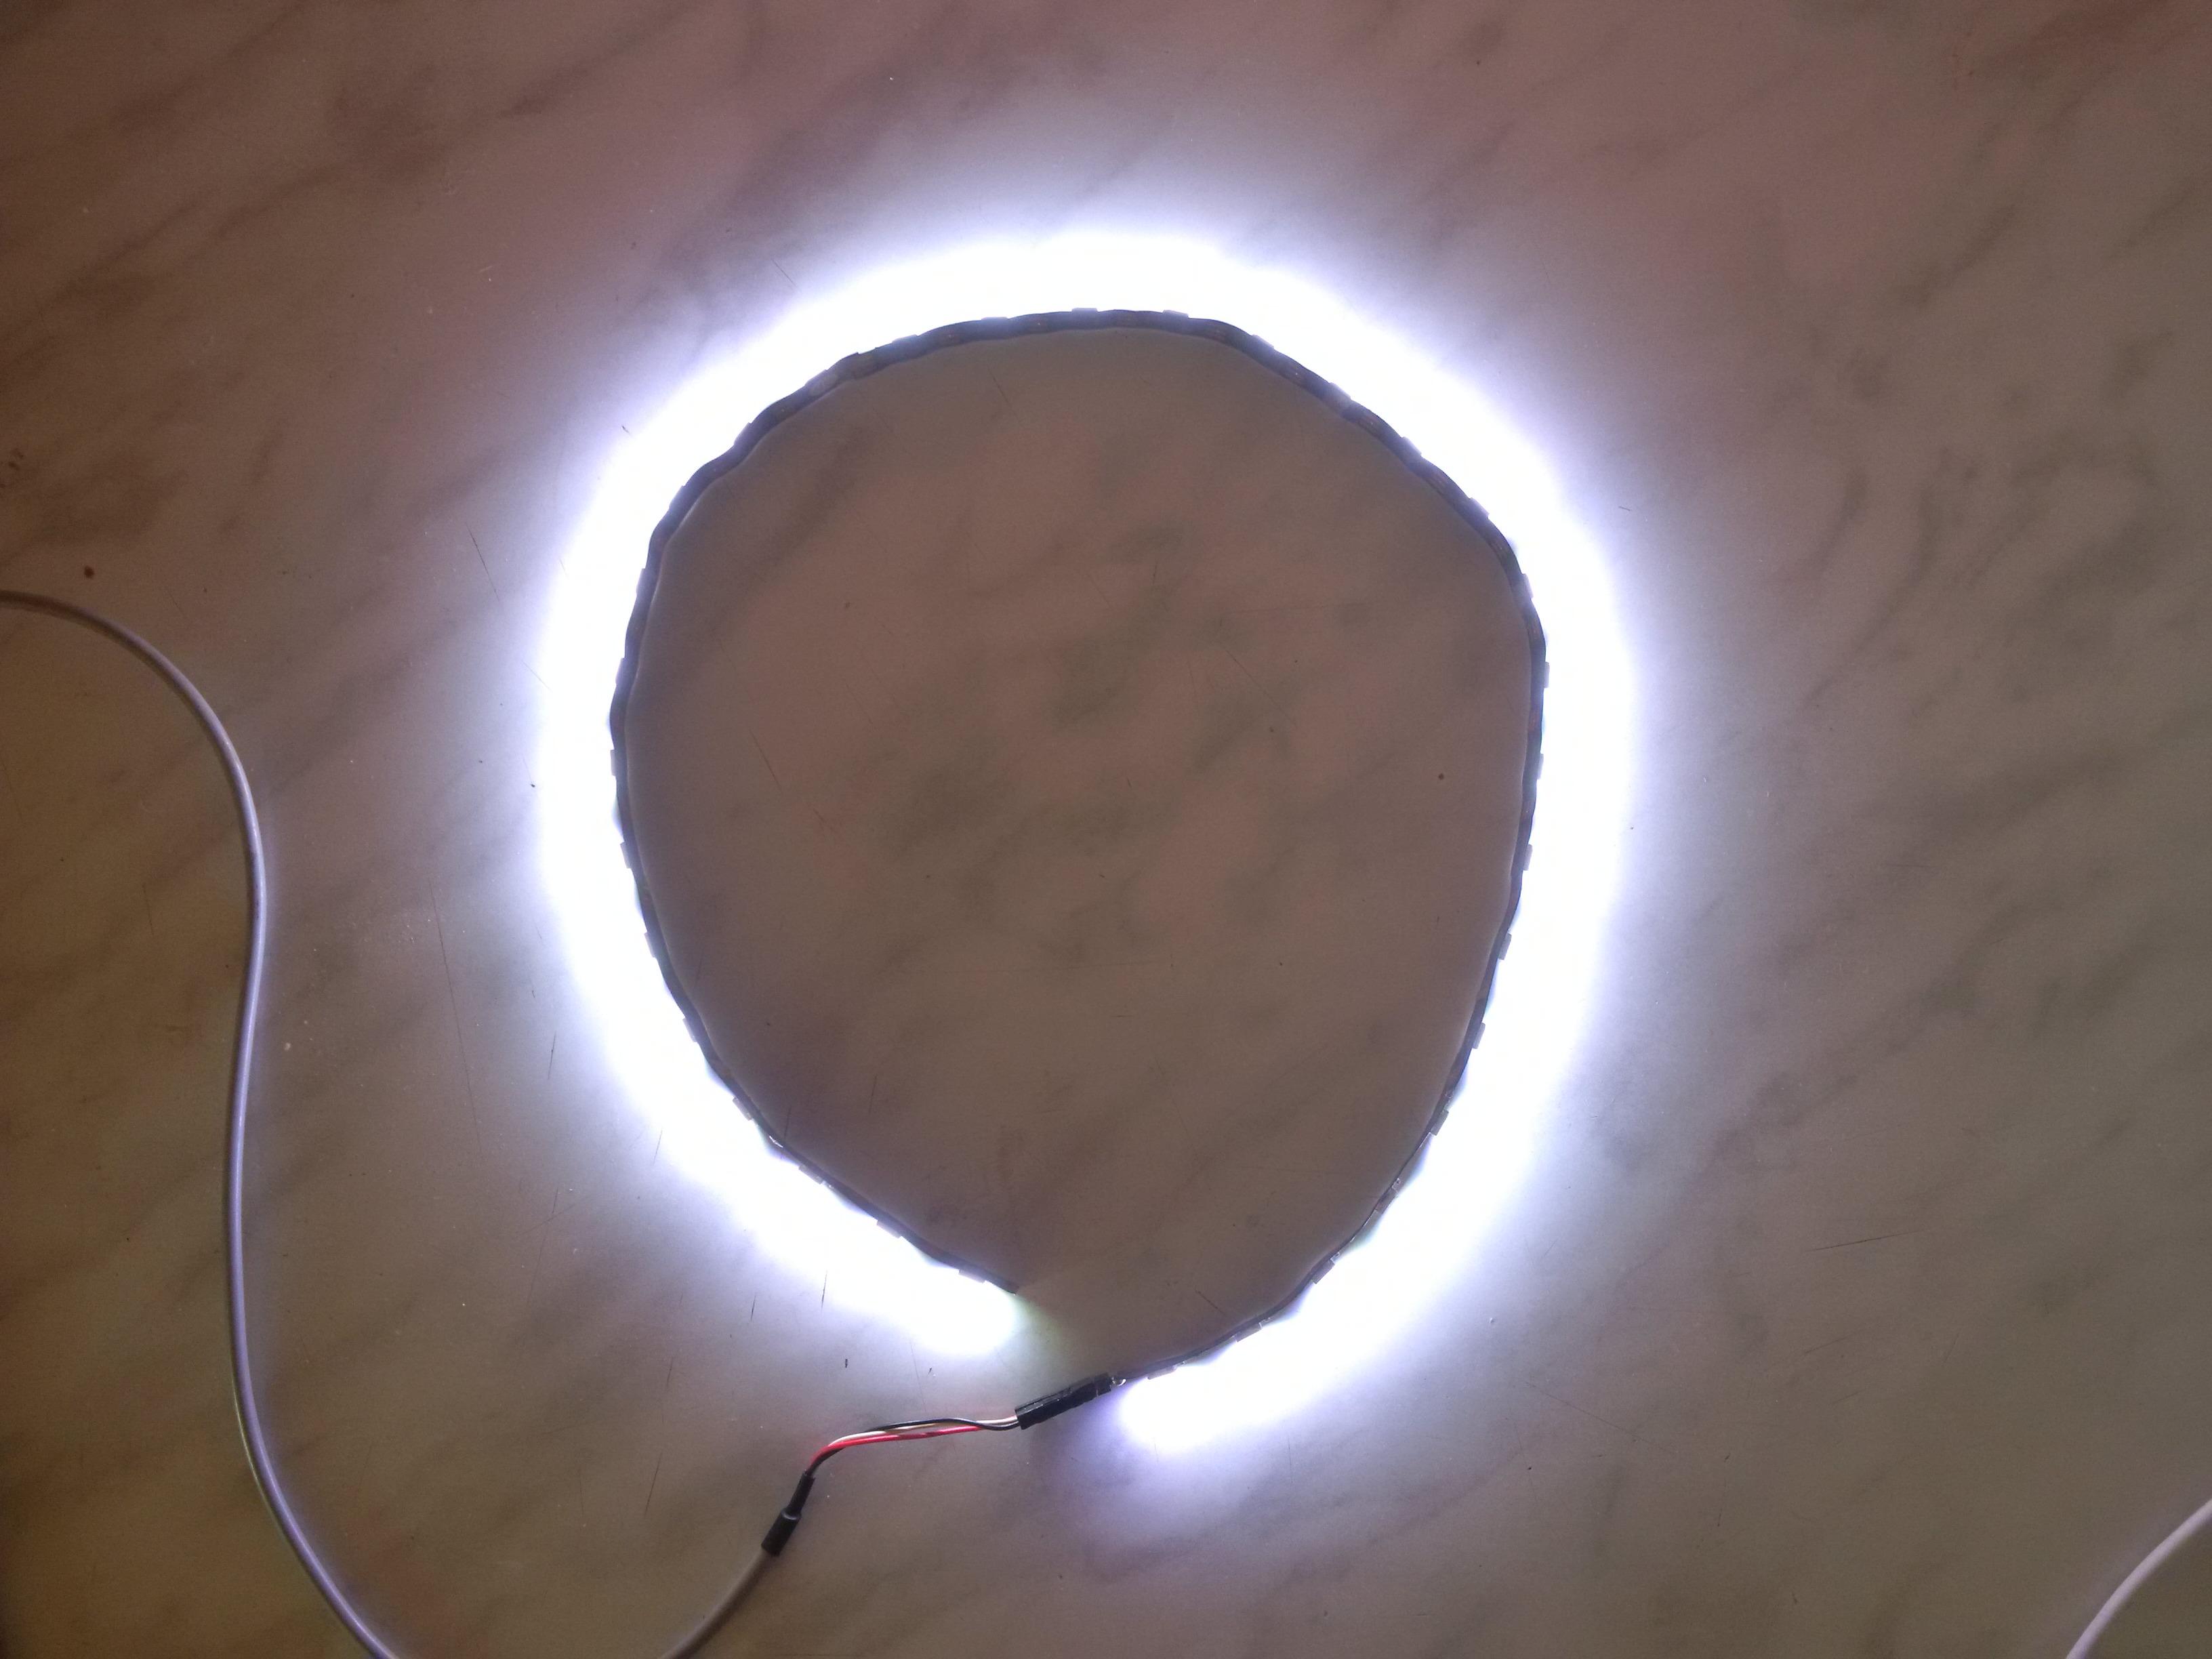
The shining moon mode sets each LED in the strip to the maximum brightness.
I suggest you don't turn it on for long because it may damage the strip.
That's it for this tutorial.
If you like this tutorial, please share it.
Thank you for reading this tutorial.