Adding Markers to Your Wordpress Featured Images
by thirtythreedown in Design > Websites
128 Views, 0 Favorites, 0 Comments
Adding Markers to Your Wordpress Featured Images

I like to think that one of the ingredients of a good site is a relevant featured image, pictures that show your readers what you're actually going to talk about straight from your homepage. Bonus points for a vignette that shows what you're going to talk about and how you're going to talk about it ! This is especially interesting if your website actually features different types of articles. How do you tell the difference ? How would your readers ?
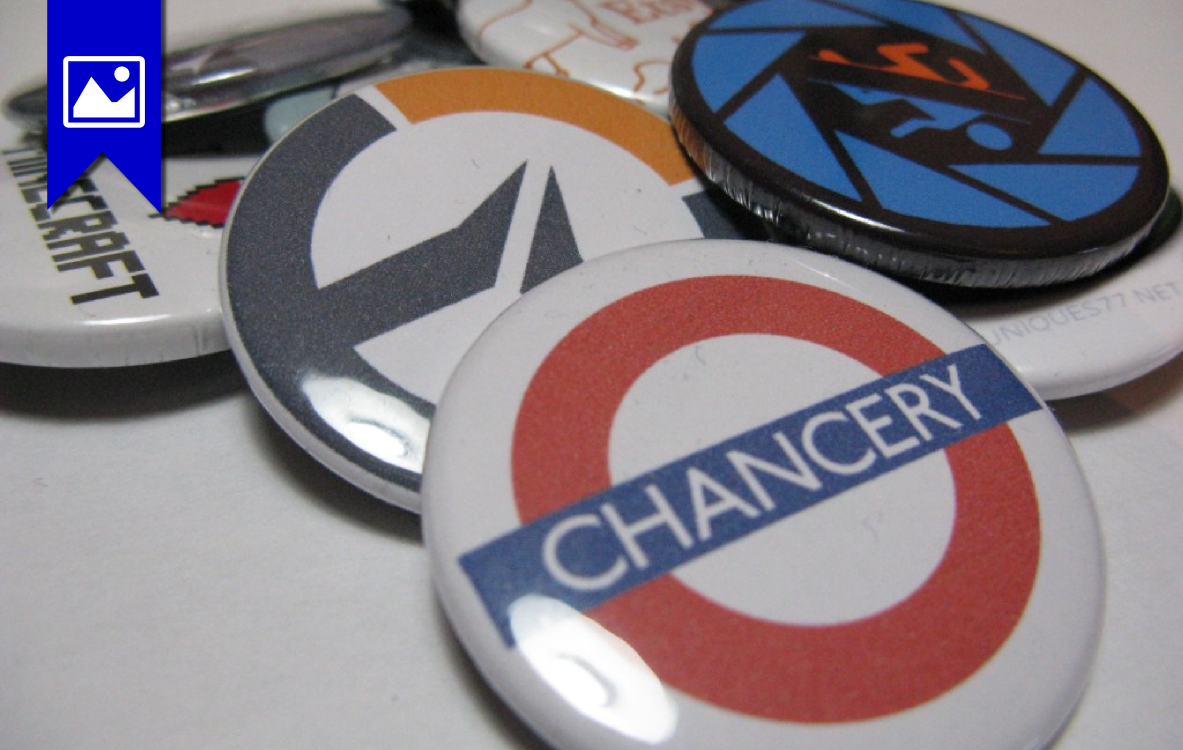
As I'm going into my xth year (already !) of writing on my personal website, I started thinking about that problem and came up with an easy solution to let my guests know at a glance what type of content they're looking by using markers on my featured images so they don't have to click their way through the site to figure it out. Here's how I did it !
Requirements
For this Instructable, here's what you'll need
Hardware
- a computer - whether it means your own, a school computer or a library computer. It doesn't have to be powerful, the kind of graphics editing we're going to do here is very very light ;
- a digital camera - again, you might have a great one already ! A lot of smartphones have built-in digital cameras that are both handy and powerful enough for taking pictures as long as you have a decent light source.
Software
- your own website - I run a Wordpress blog, and if you want to get one going your can open one up for free (with commercials) at Wordpress.com and if you need help getting started, it so happens that they've got you covered. We'll be using Wordpress as our example today, but this should be adaptable to any site with featured images ;
- a copy of Inkscape - Inkscape is a free open-source vector drawing program that runs on Windows, Linux and Mac OS X. You can download and install it from the official website.
Got your computer running, Inkscape going and your Wordpress site created ? Then it's time to get started !
Choose and Activate a Wordpress Theme
If you're using Wordpress.com as a host :
You can use the Sketch theme for free
Panel, Themes, Use this theme
There are 3 image ratios for you to choose from in the Sketch theme :
- landscape ratio is 4:3, and images have to be at least 800x600
- portrait ratio is 3:4 and images have to be at least 800x1607
- square ratio is 1:1 and images have to be at least 800x800
You can also find more themes on Wordpress.com with featured images following this link.
If you're hosting Wordpress yourself :
You can use Sixteen, the free theme I'm using on my site as I'm writing this Instructable
Panel (logged in as administrator), themes, get more themes, install.
I'm getting pretty good results with featured images in the (size)
Taking a Picture
Photography is hard and it's no wonder being a photographer is an actual job. However, here are a few pointers that'll help you get better results :
- make your image as high quality as possible
- get as much light as possible
- focus your picture on the main event
- get as clear a background as possible if you're showing off something you made. You can actually use a makeshift lightbox for this - there's no shortage of instructables for these (see for example HHarry's take) but you can easily cobble a collapsible lightbox from a few sheets of cardstock like I did.
Some Resources to Take It Further
Here are a few extra resources if you feel like stepping up your photography game after this Instructable :
- I couldn't start this list without a link to the Photography section of the Instructables forum ;
- photographer Christina Viseu gives you a crash course in shot composition with a smartphone in this video over at Geek & Sundry
Did you like playing with Inkscape ? This little program is capable of so, so much more :
- the Inkscape tutorials are a must-read for anyone wanting to delve into the power of open-source vector drawing
- Inkscape is an Instructables community favourite, and there is a large amount of ibles out there to try out
List Your Article Types
Download (or Create) Your Icons
Set Up Your Inkscape Document
Document size
Layers
Position Your Markers
Create Your First Vignette
Upload to Your Wordpress Blog
Wordpress can let you specify the URL of an image in order to use it as an illustration in your blog most of the time. However, in order to use a picture as a featured image, you need to upload it to your Wordpress installation which you will find in Media > Add new and then either click the big blue Browse button to select your file, or drag and drop it in your browser window. Either way the image will upload and you will have another few fields to fill in (title, caption, description, etc.
You're Done !
Your readers can now automatically tell what's what at first sight from your homepage, with little more than the featured image for your article and its title. You don't necessarily need to dedicate character space to the nature of your post : the markers you picked, if you use them consistently, will inform your reader at a glance.
The capture you can see is that of the English-speaking version of my website at http://www.tommaillioux.fr but if you decide to go for it, make sure to let me know in the comments, over email or Twitter so we can show it off !
Happy new year everyone, here's to a crafty 2015 in every possible way.