Adding Custom Components to Eagle
by sweep14 in Circuits > Electronics
44413 Views, 27 Favorites, 0 Comments
Adding Custom Components to Eagle
This instructable will show you how to add components to your Eagle library which will allow you to have custom PCB's fabricated. This tutorial will focus on using existing symbols and packages in order to make the layout process as fast as possible. A hobbyist level knowledge of electronics is required. The steps will typically take 10 minutes to complete.
Assumptions and Definitions
Before we begin a few definitions and assumptions are in order.
Assumptions:
- You have a component you want to add and have its datasheet handy.
- You have Eagle 7.1.0 installed.
- You understand how to use Eagle at a basic level.
Definitions:
- Pads: These are what IC's on the PCB are soldered to and what Eagle sees as inputs/outputs to the package.
- Pins: These are what Eagle sees as the inputs/outputs to the symbols and what are connected to the packages pads.
- Symbol: A symbol is a graphical representation of the component and what is displayed on the schematic.
- Package: A package is what form factor the component comes in and where the pads should be on the board.
For this instructable I will be adding Maxims MCP6001 to my library.
Adding a Library
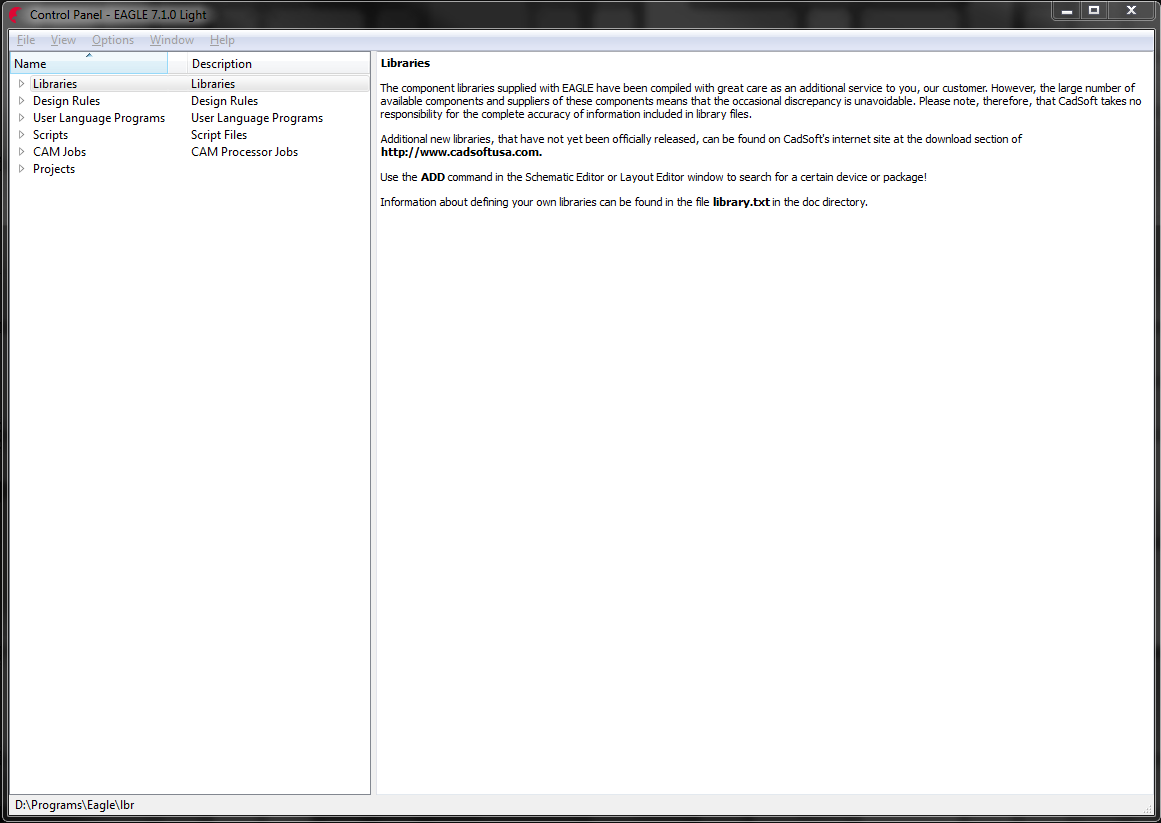
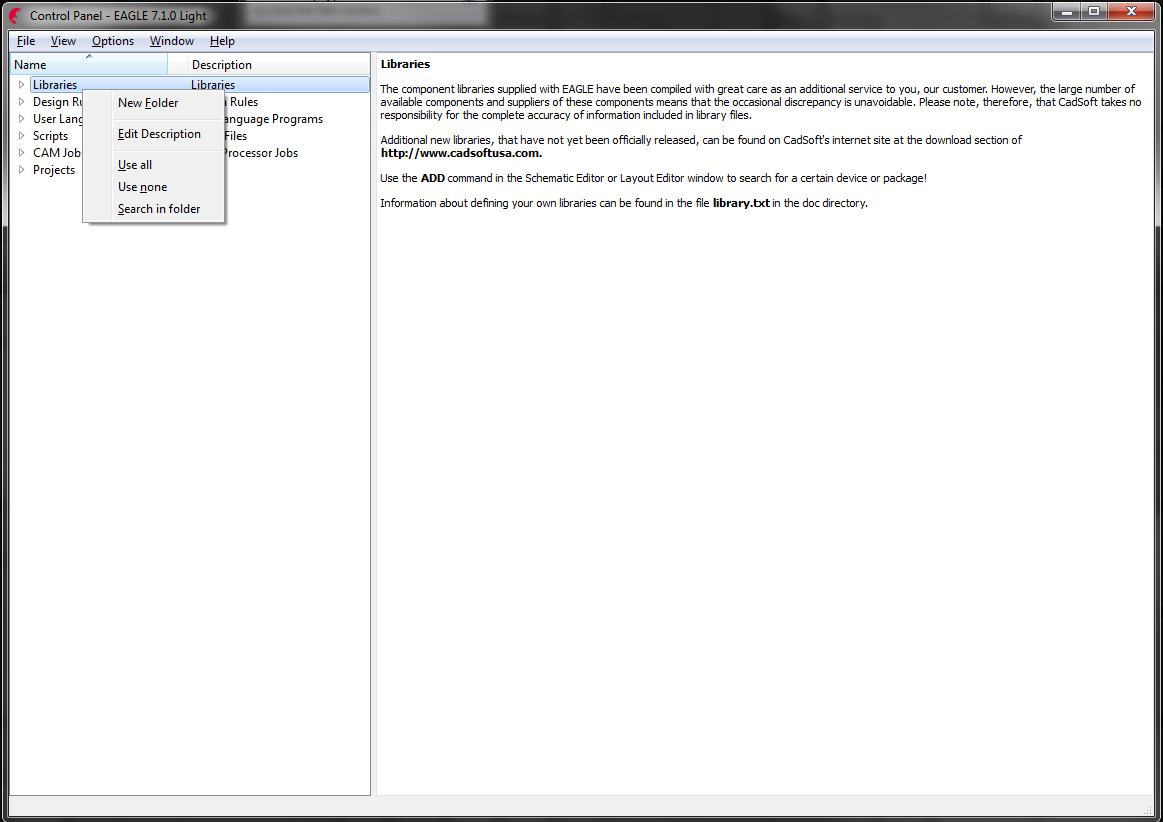
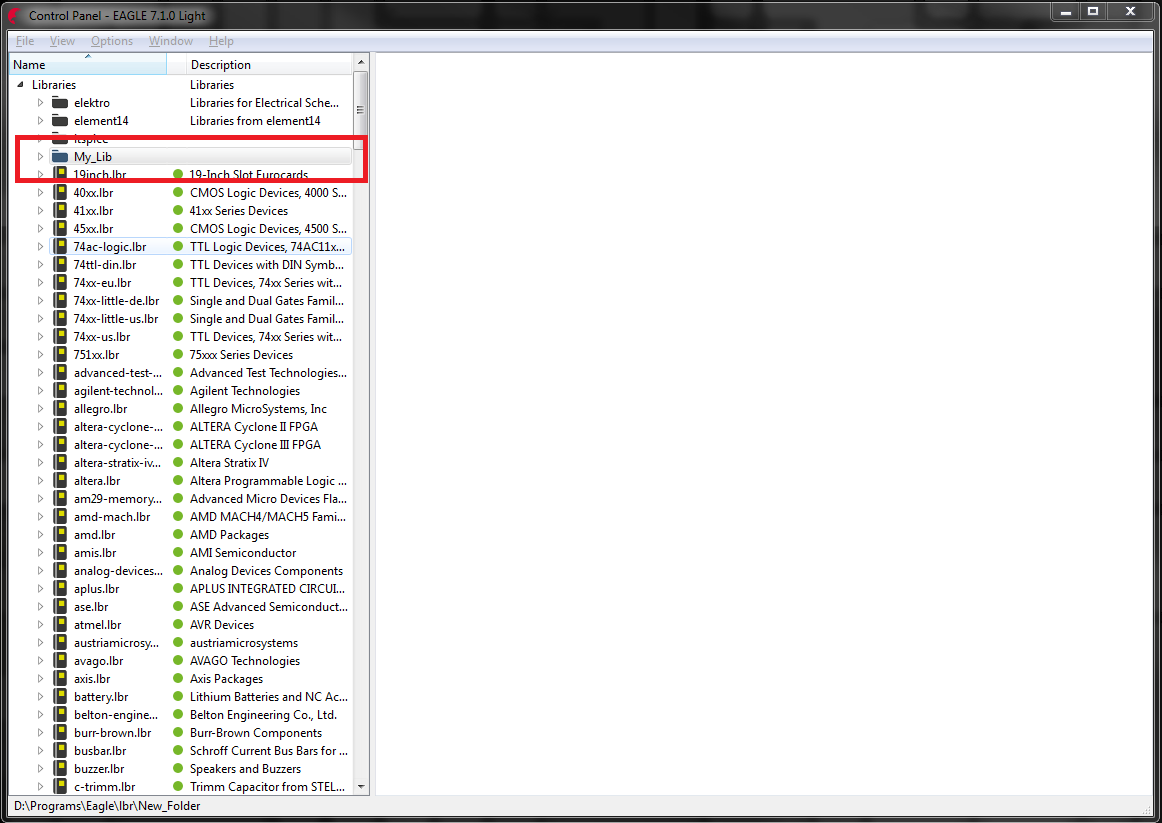
The first step is to create our custom Library.
1. Open Eagle.
You should see the Eagle home screen.
2. Right click on Libraries.
3. Select new folder and enter a name for your library.
I used My_Lib to name my library but the name is up to you just remember what it is.
4. Select the new folder you created and then click on File => New => Library.
A window with an awful lot of white space should appear. This is where we will add our symbol and package to create a device.
5. Click File => Save.
The all familiar windows explorer should pop up.
6. Double click on the folder you created in the first step.
7. Enter a name for your component and hit enter.
Getting the Symbol
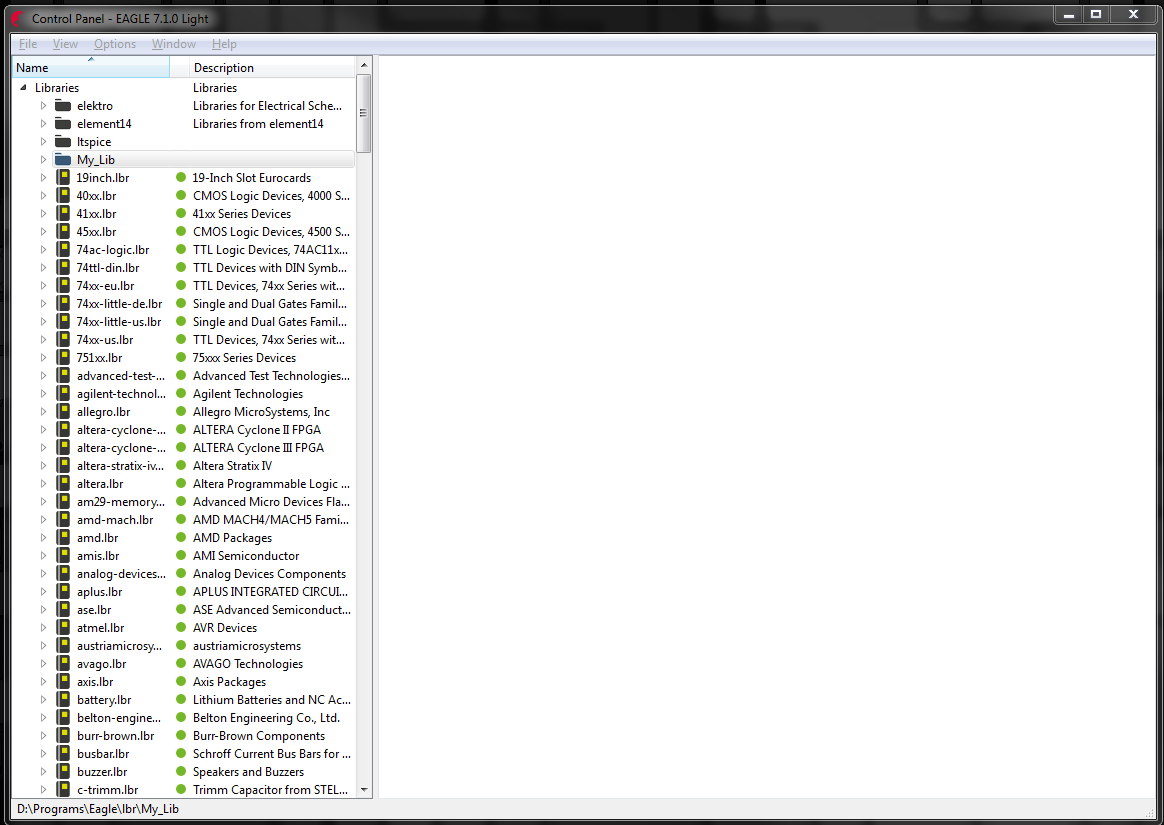
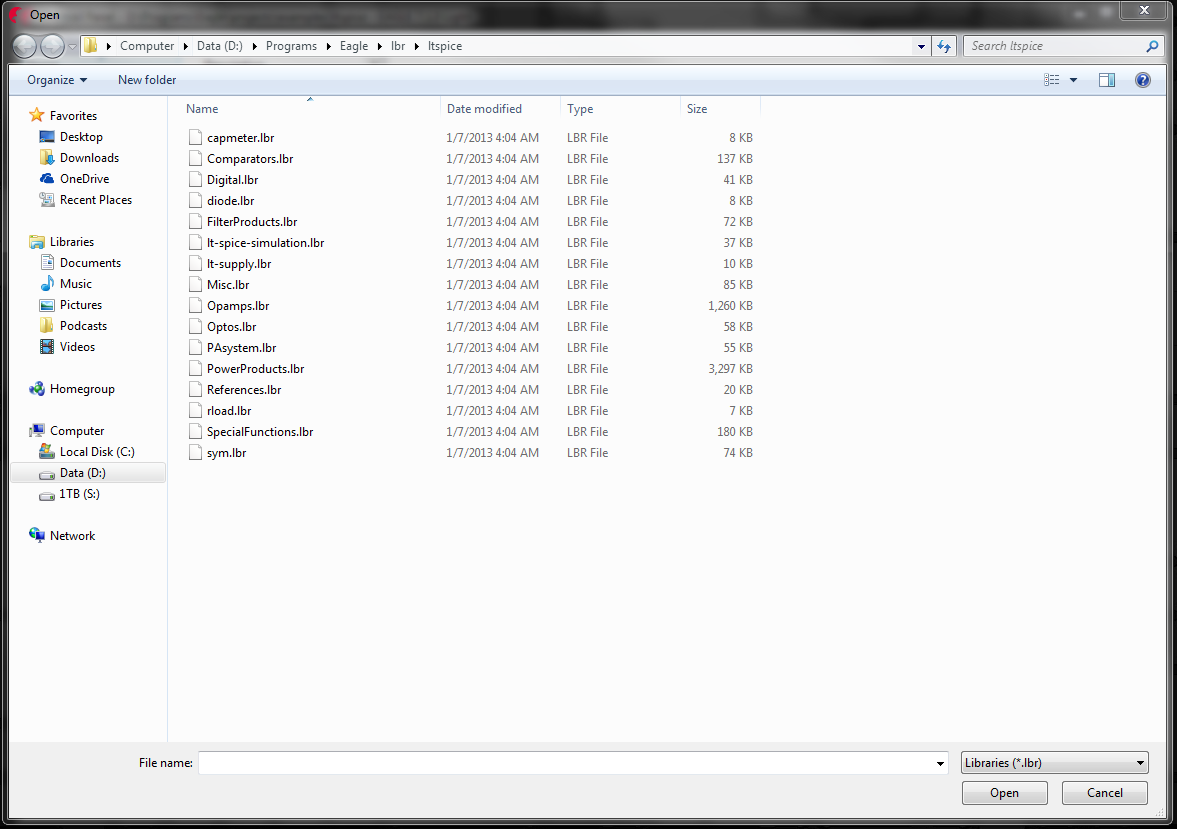
Next, we will find an existing symbol to add to our new component to represent it in schematics.
Personally I like using the symbols included with the LTSpice library but these steps will work for any of the included libraries in Eagle.
1. Exit out of your library.
2. Return to the Eagle home screen.
3. Click File => Open => Library.
4. Double click on Opamps.lbr.
Note: When first looking for a symbol to use it can be helpful to browse through the libraries on the Eagle home page. Whenever a library is selected a preview of the selected component will appear. This can be a quick way to track down the right symbol.
Copying the Symbol
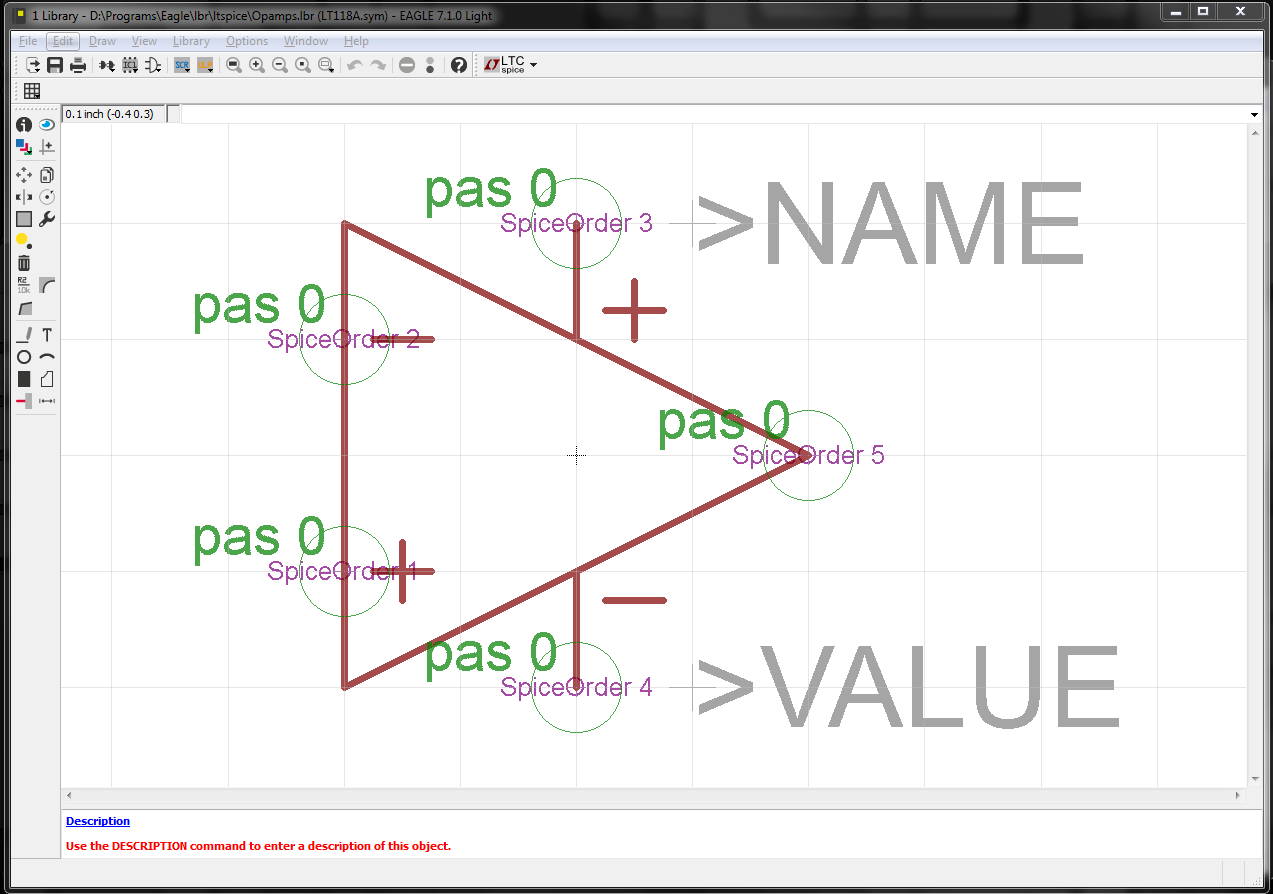
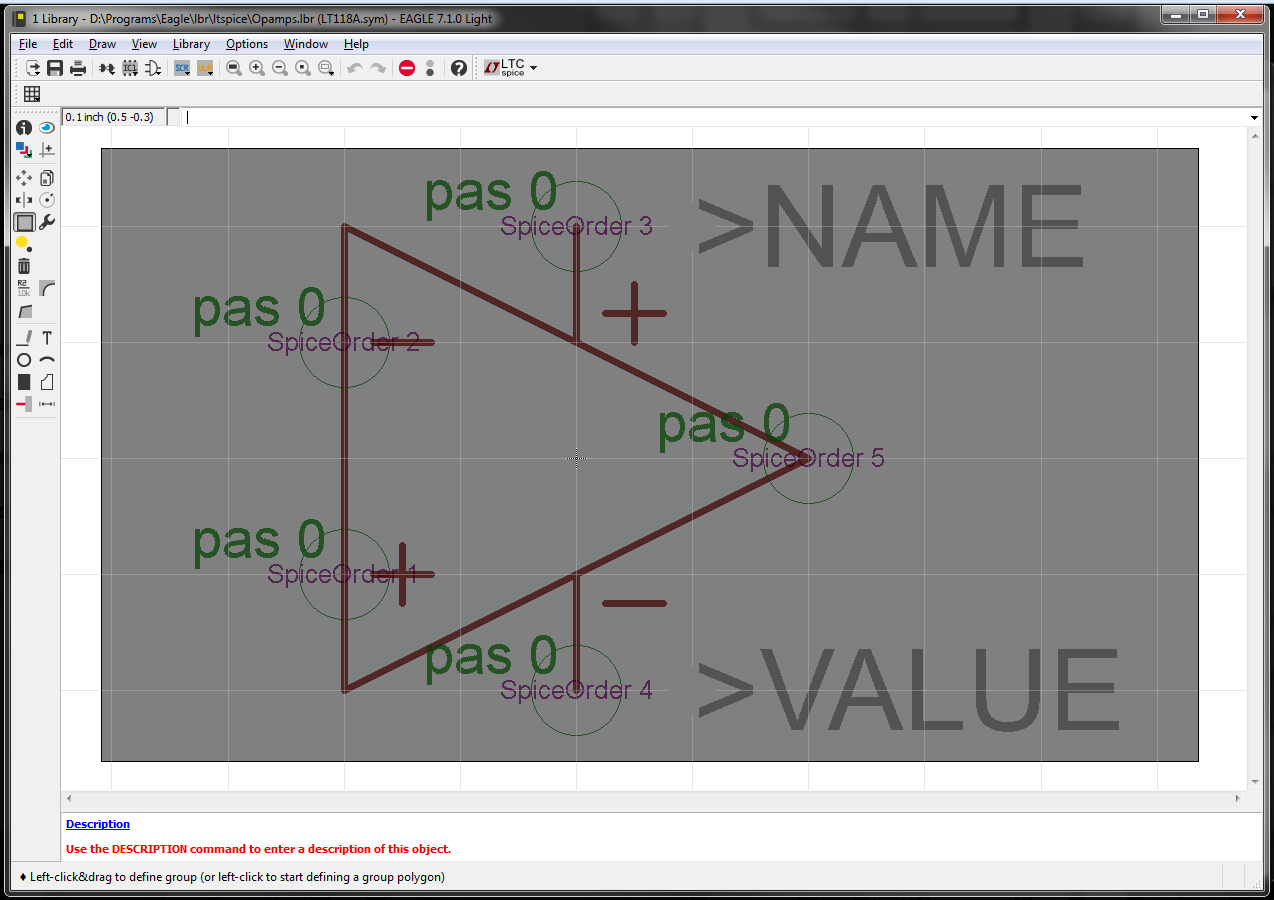
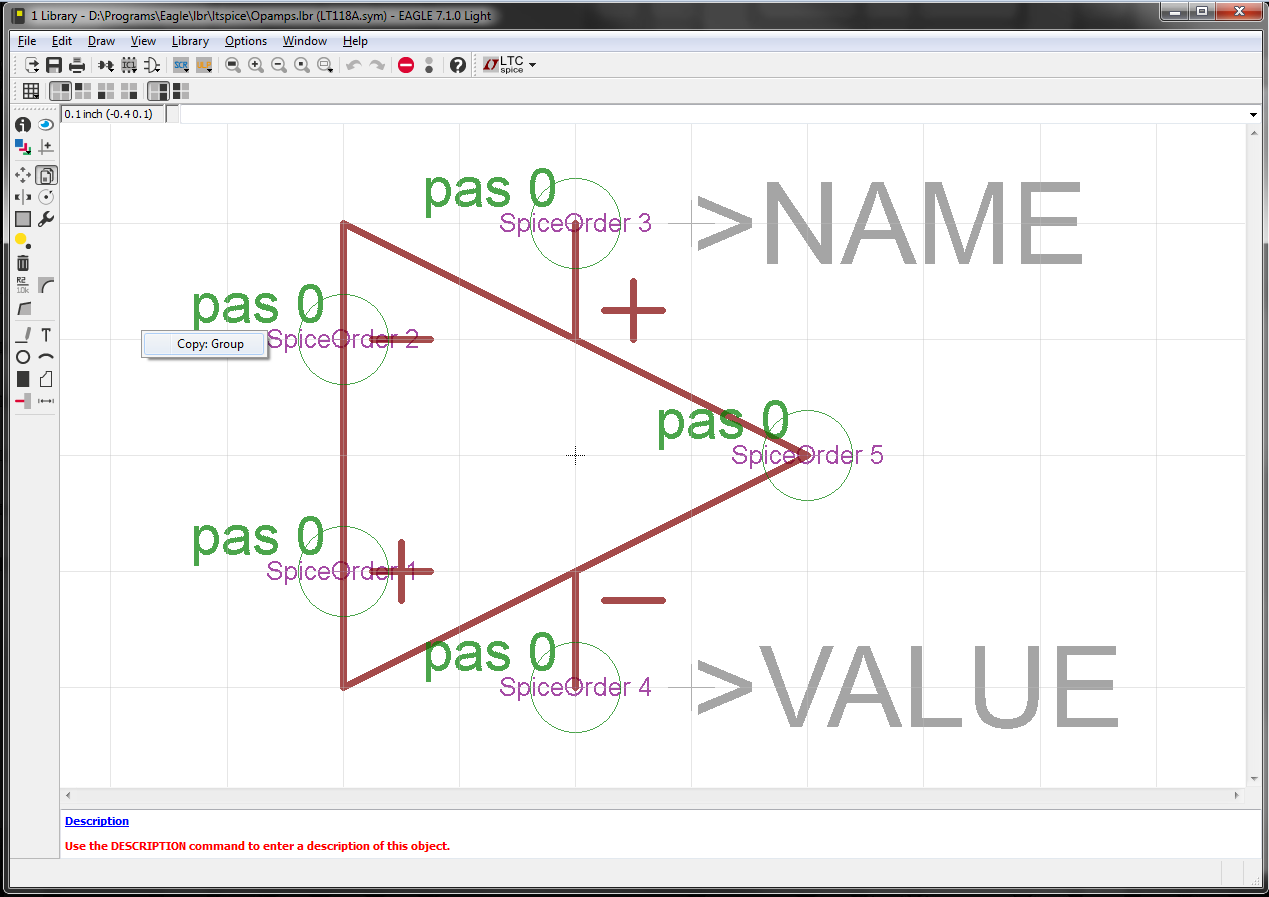
Now, that we are in the right library we can get the symbol we want and copy it to our clipboard.
1. Open the symbol for the LT118A.
You should then see a symbol that looks like the above pictures.
2. Click the layer icon.
3. Click on the all button.
4. Click OK to apply and exit the layers window.
5. Select the group icon and draw a box around the whole symbol.
6. Click the copy icon.
7. Right click on any white space.
8. Select copy: Group.
9. Click escape to keep the symbol from following your cursor all over the screen.
10. Exit out of this window.
Note: The group, symbol, and layer icon are called out in the pictures above.
Adding Symbol to Library
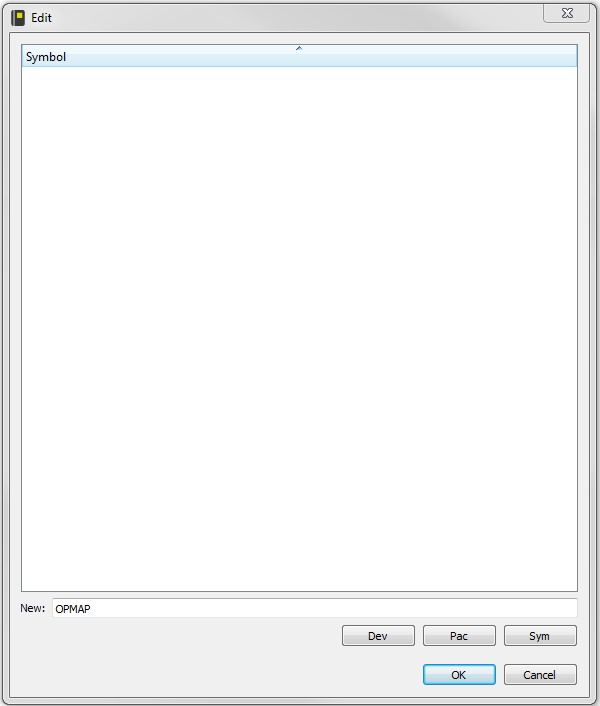
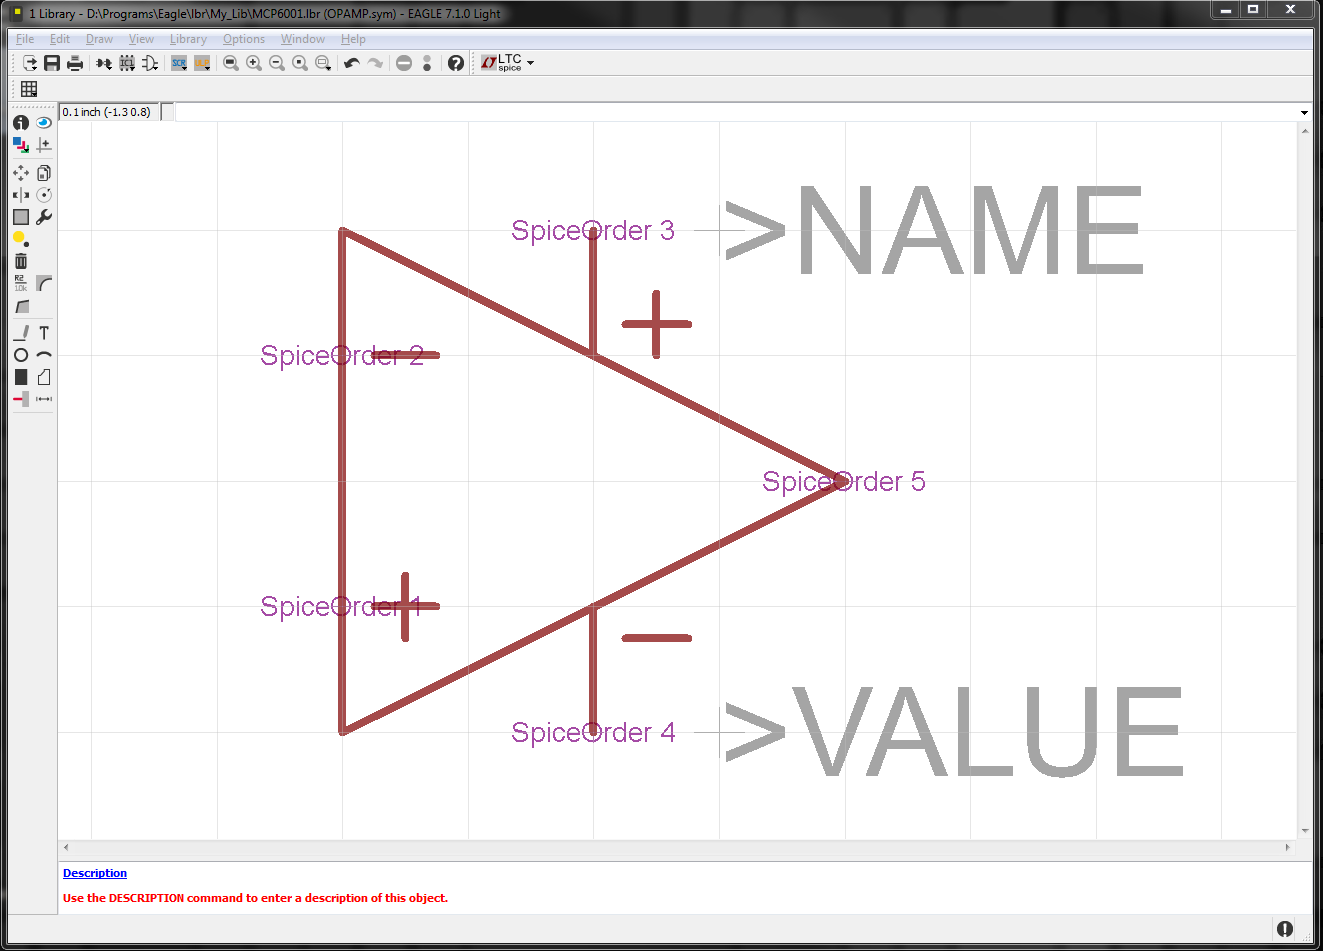
Now that we have copied the symbol we want we can add it to our library.
In order to do this we have to go back to the Eagle home and re-open the library we created for our part.
1. Double click on the folder we created earlier.
2. Double click the library we created.
3. Click on the symbol icon.
A pretty bare box should pop up.
4. Enter the name we would like to call our symbol and click ok.
I have decided to call my symbol OPAMP to keep things simple.
5. You'll get a warning asking if you want to create a new symbol. Click yes and the a blank grid should appear.
6. Can click the paste icon and the symbol we copied should appear in the grid.
Now we can edit the symbol however we like. Personally I like to remove the SpiceOrder's and rename the pins so they make sense to me but this is optional.
7. Once you are happy with the symbol click File => Save and close the window.
Note: The paste symbol is called out in the picture up top.
Getting the Package
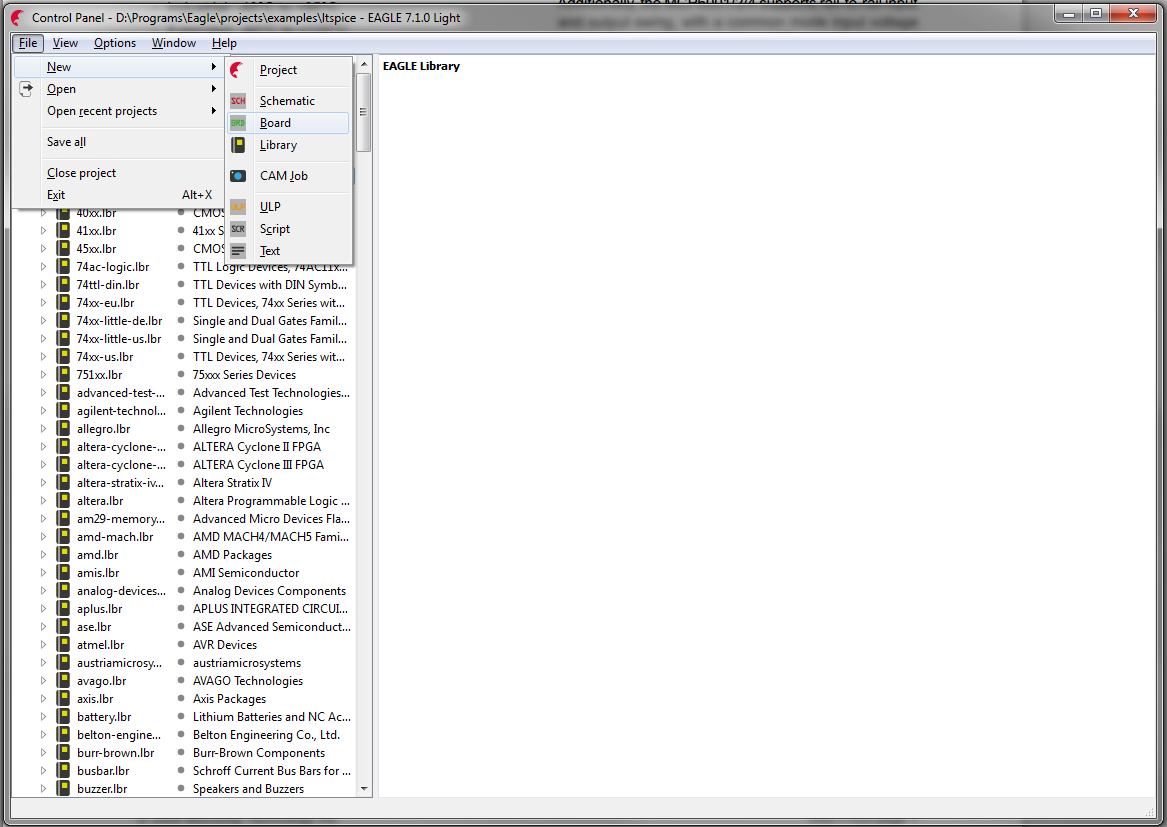
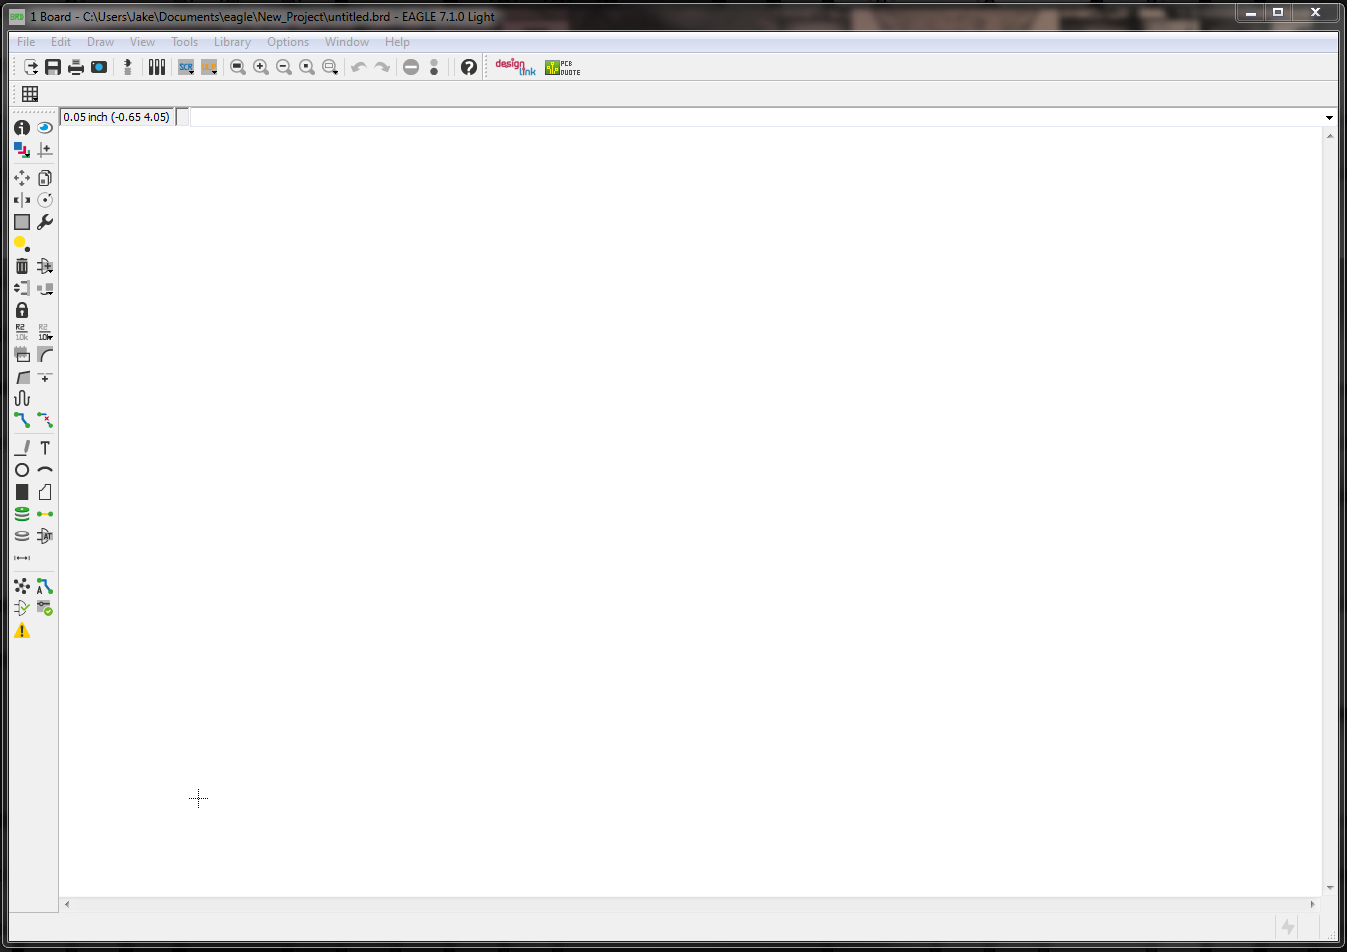
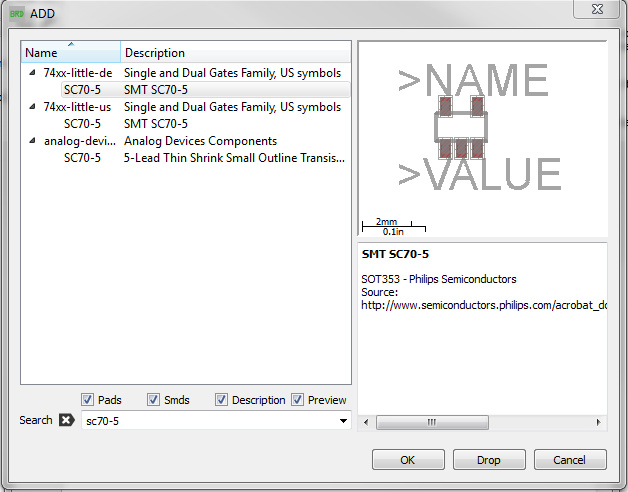
Now is when the datasheet for your component becomes important.The datasheet of the MCP6001 shows many different packages available but for this instructable I'll focus on adding the SC70-5 package.
To get the package we'll go through a roundabout process that will make our lives a little easier.
1. On the Eagle home page click File => New => Board.
2. On the new window click the add button.
Here we can search for the package we need.
3. Type the name of the package you want and hit enter.
A list of parts with the same package will appear.
4. Once you find the same package place the component anywhere on the board.
Note: The add icon is again called out in a picture.
Troubleshooting: If you click the add icon and search for a package and can't find the same package then one of three things happened
You may have entered the name of the package slightly wrong. Eagle can be very picky about how things are spelled including capitals so make sure to check what you searched for.
Eagle doesn't have a component with the package you want and you'll have to create the package by hand which is outside the scope of this instructable.
You need to add the libraries you want to search through to the Eagle part list. This can be done by clicking on Library => Use, and then selecting all the libraries and clicking open.
Copying the Package
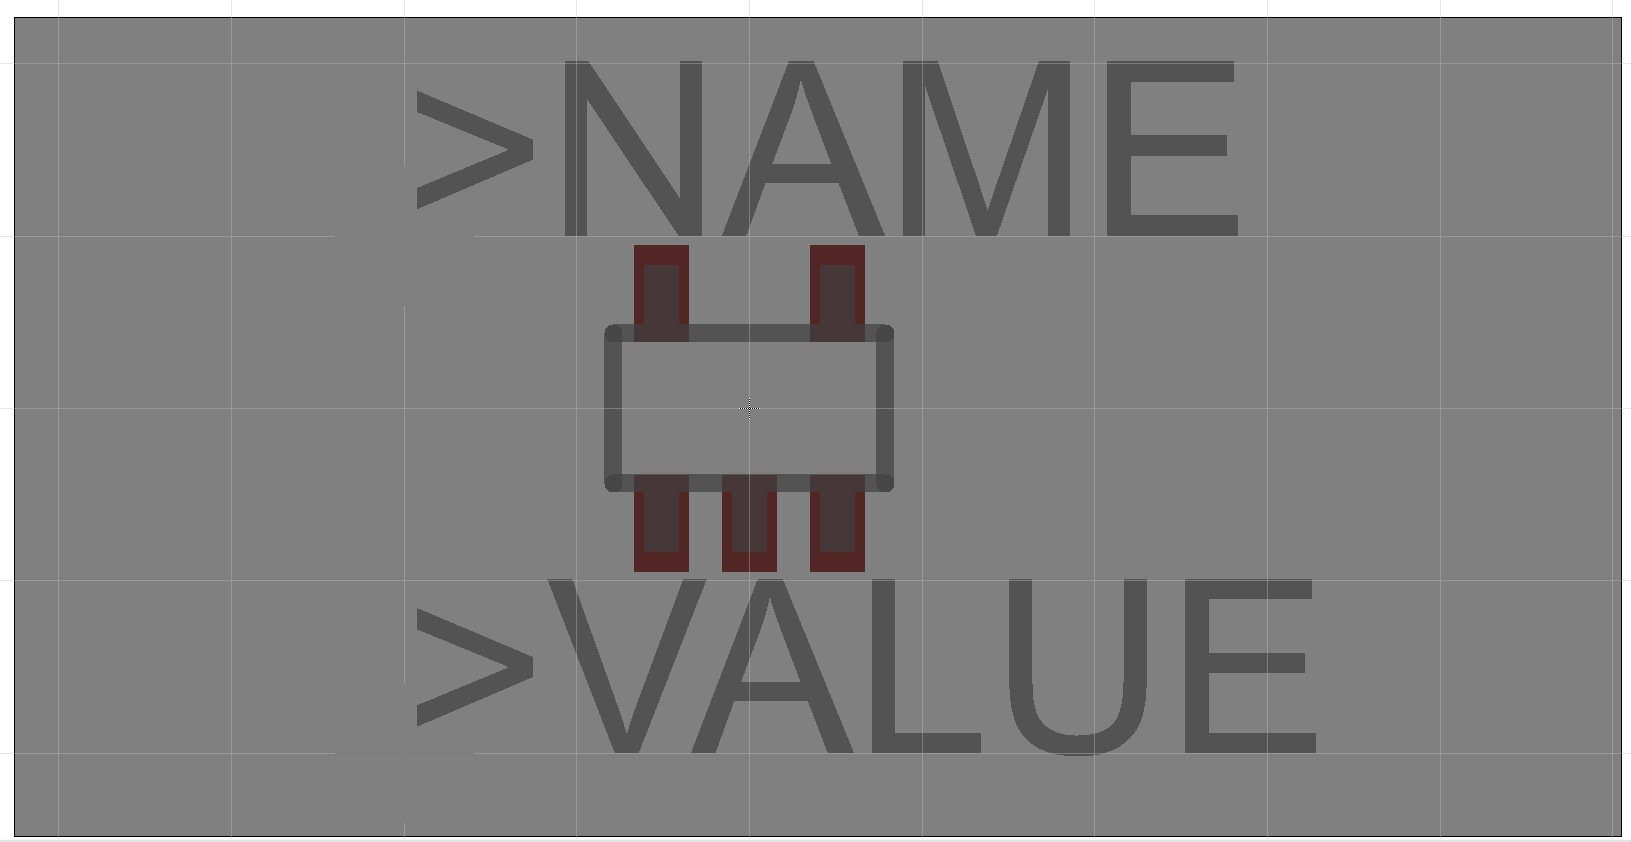
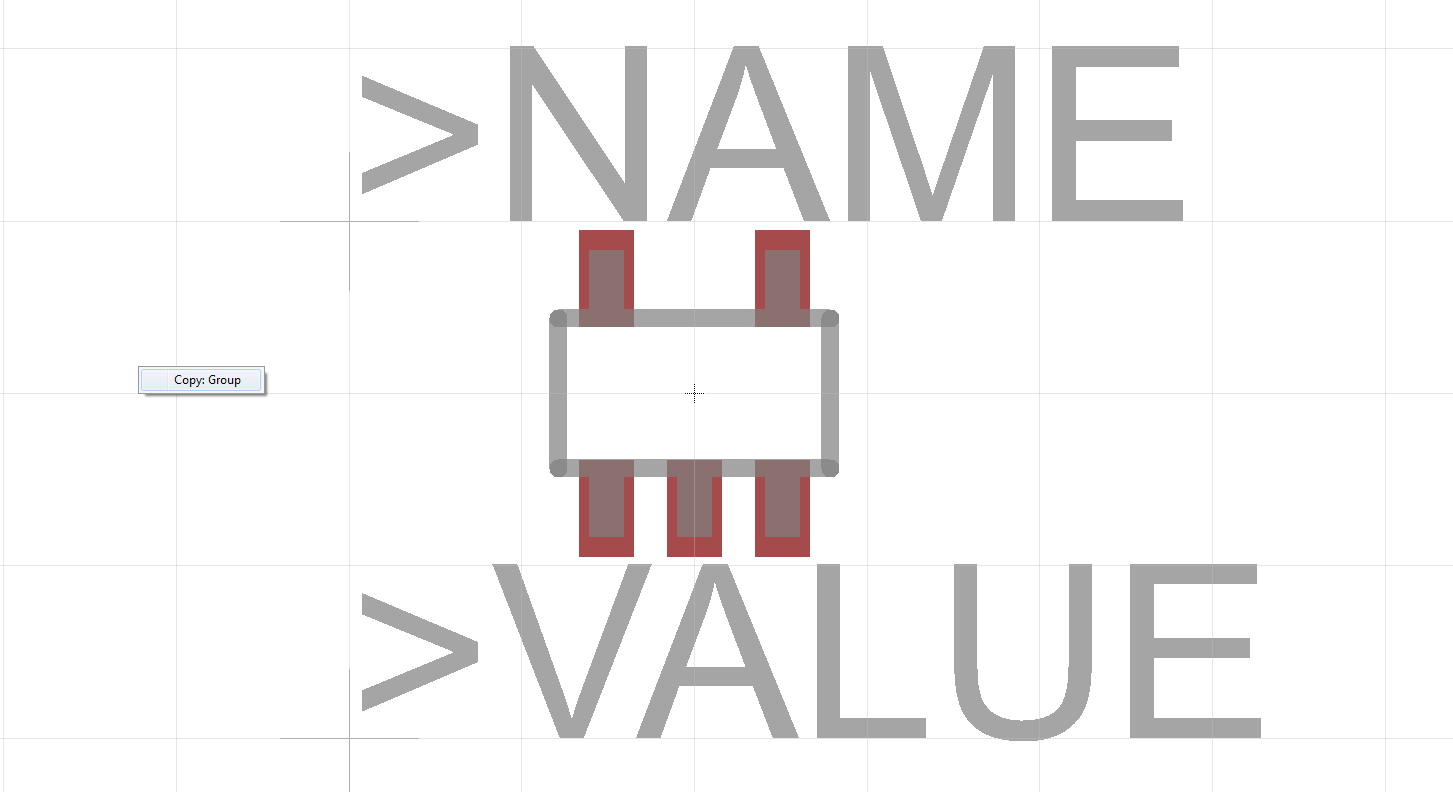
Now we can copy the package much like we copied the symbol.
1. Select the change button
2. Right click on the package
3. Select open package
A new window should appear with the package
4. Select the group icon and draw a border around the whole package
5. Select the copy icon click on any white space and select Copy: Group.
6. Press escape and exit the window.
Adding the Package
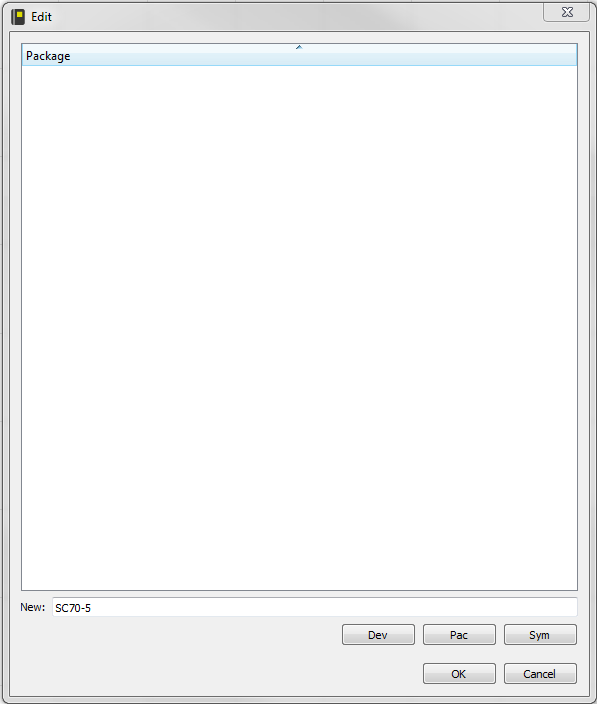
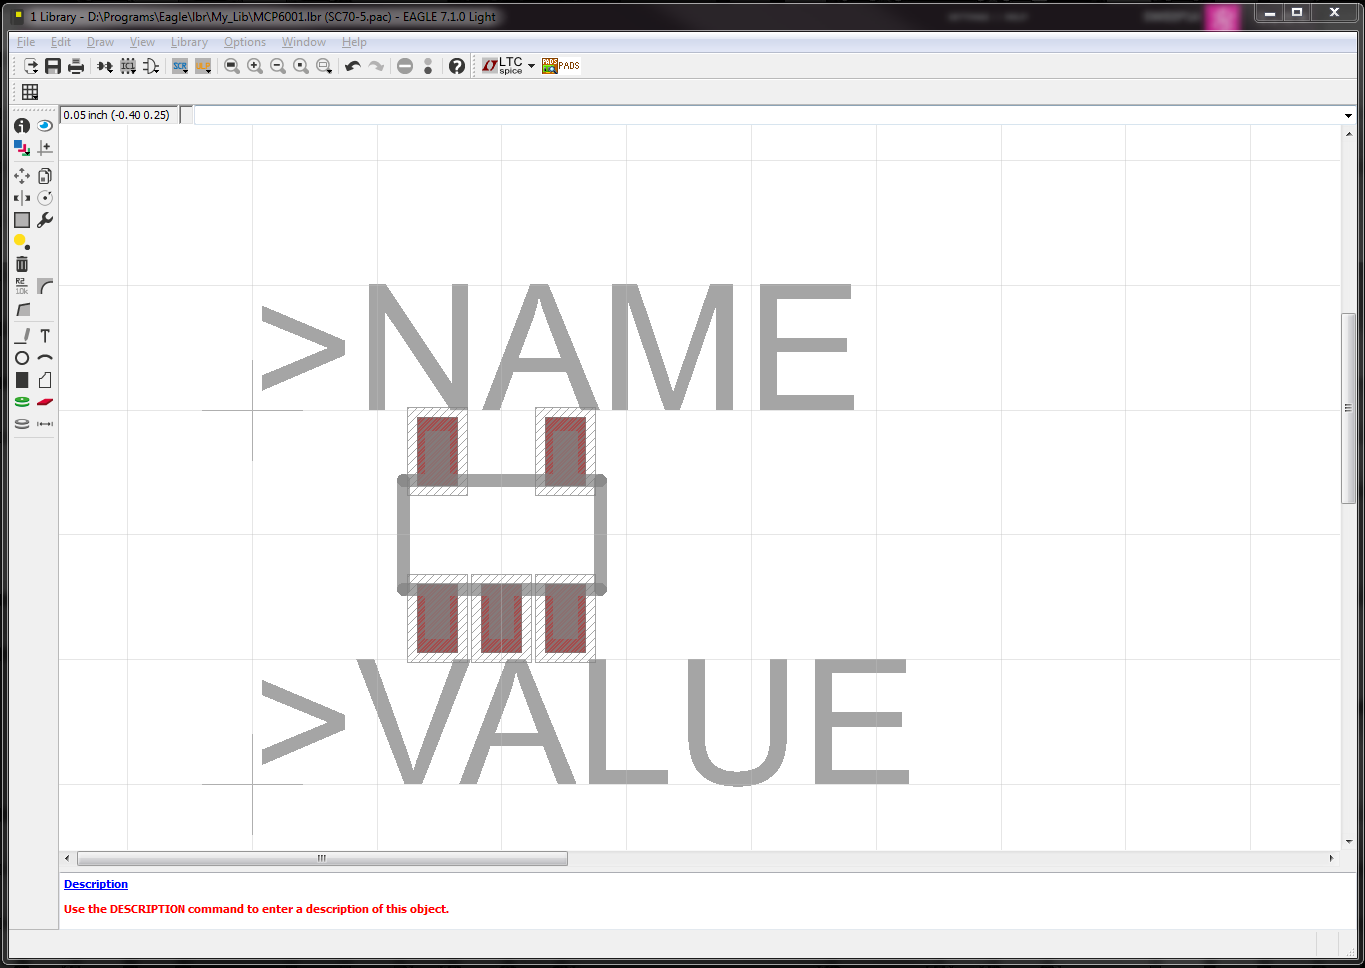
Now we can add the package to our custom library
1. Re-open the library we made
2. Click the package icon.
3. give the package a name.
You'll get a warning asking if you want to create the new package click yes.
4. Click the paste icon
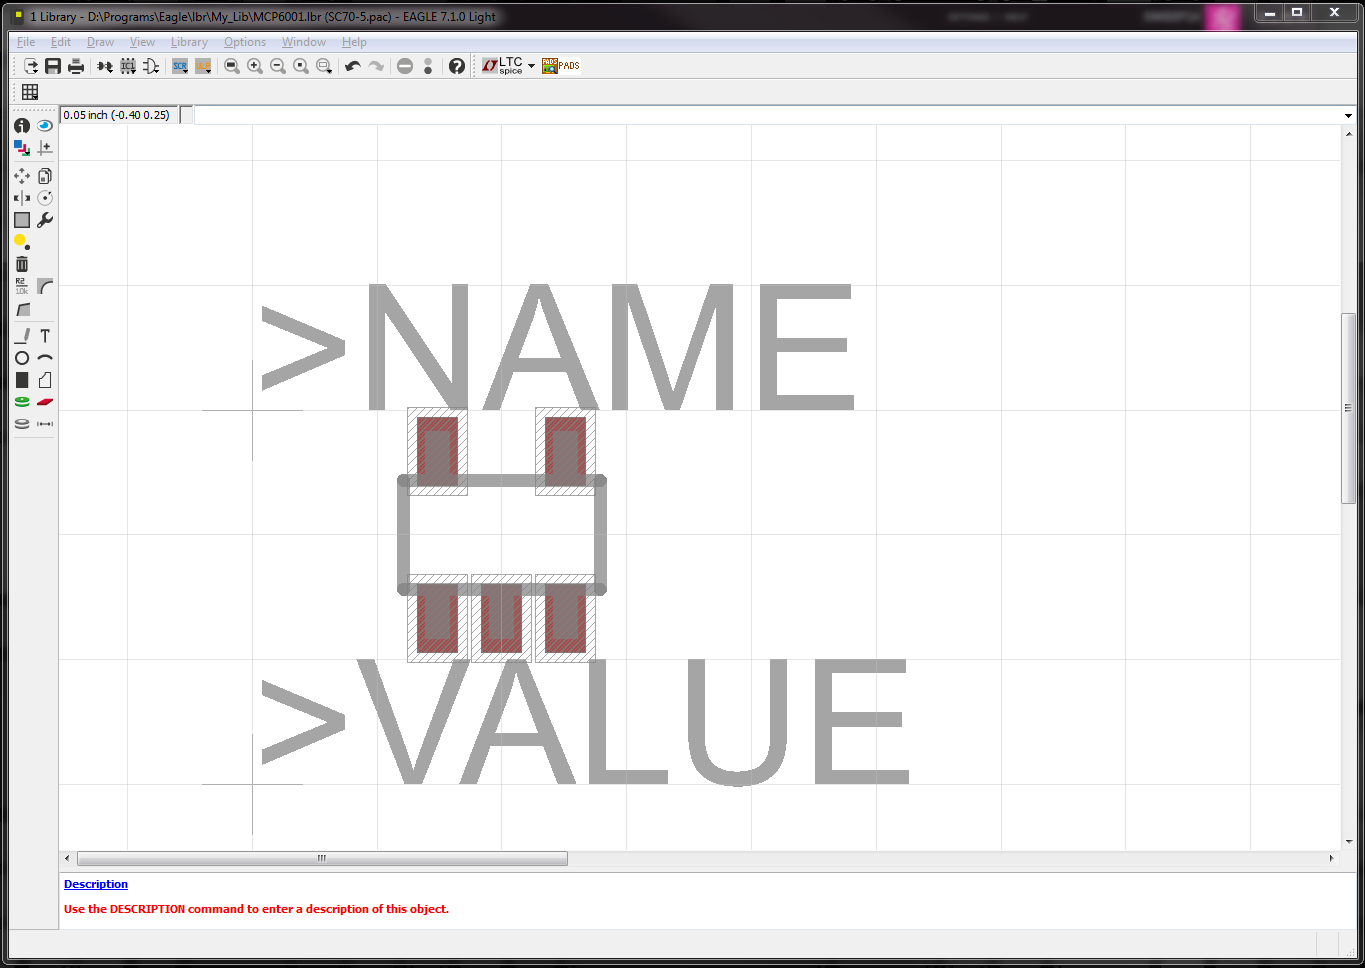
Your screen should look like the picture above.
5. (Optional) Go around the package and rename each pin so you can more easily find them later.
6. When done click File => Save.
Note: There is an origin symbol on the grid when copying things in. Eagle sees this as your device when placing components on the board so keeping the package centered around it is recommended.
Connecting Pins and Pads
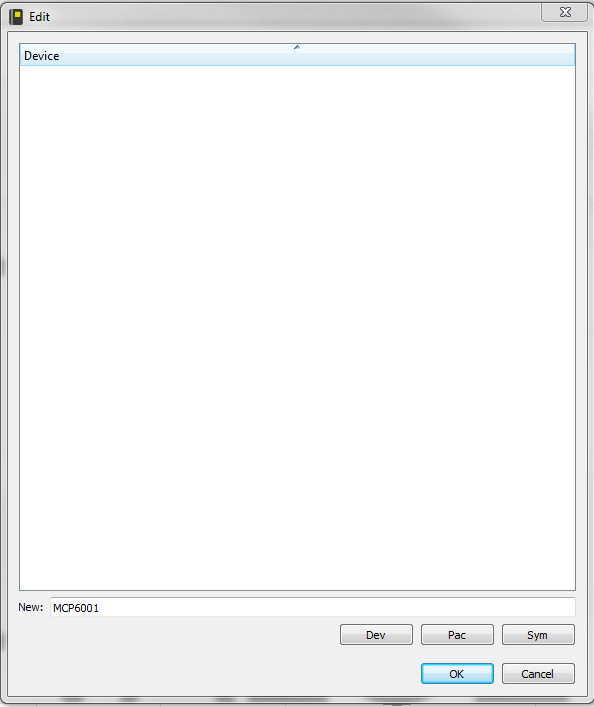
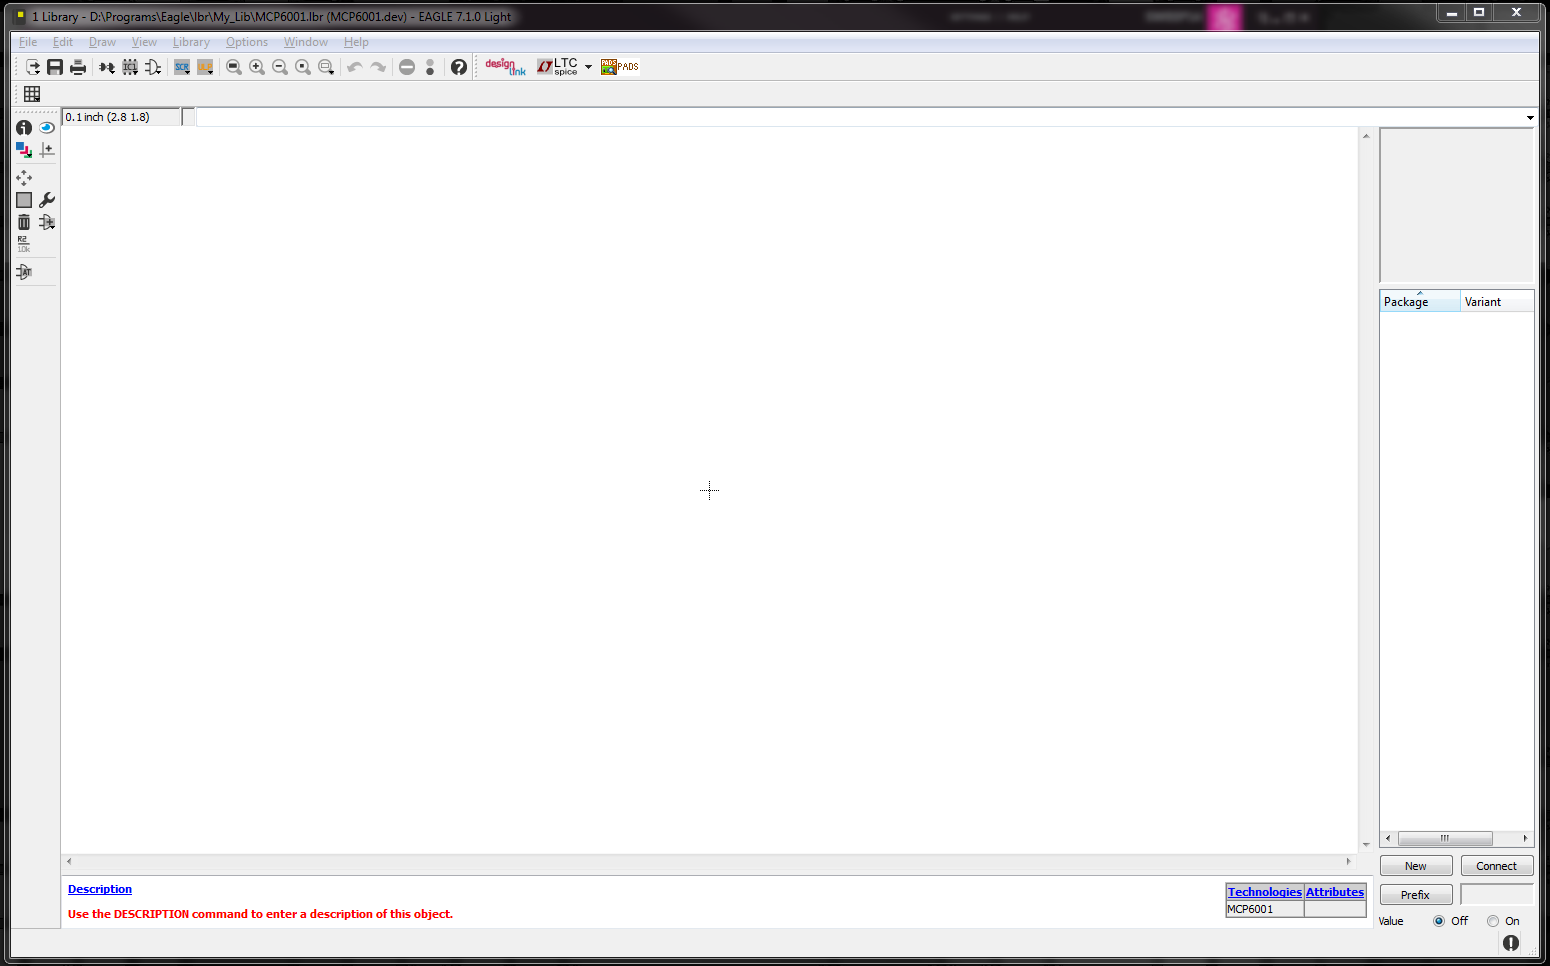
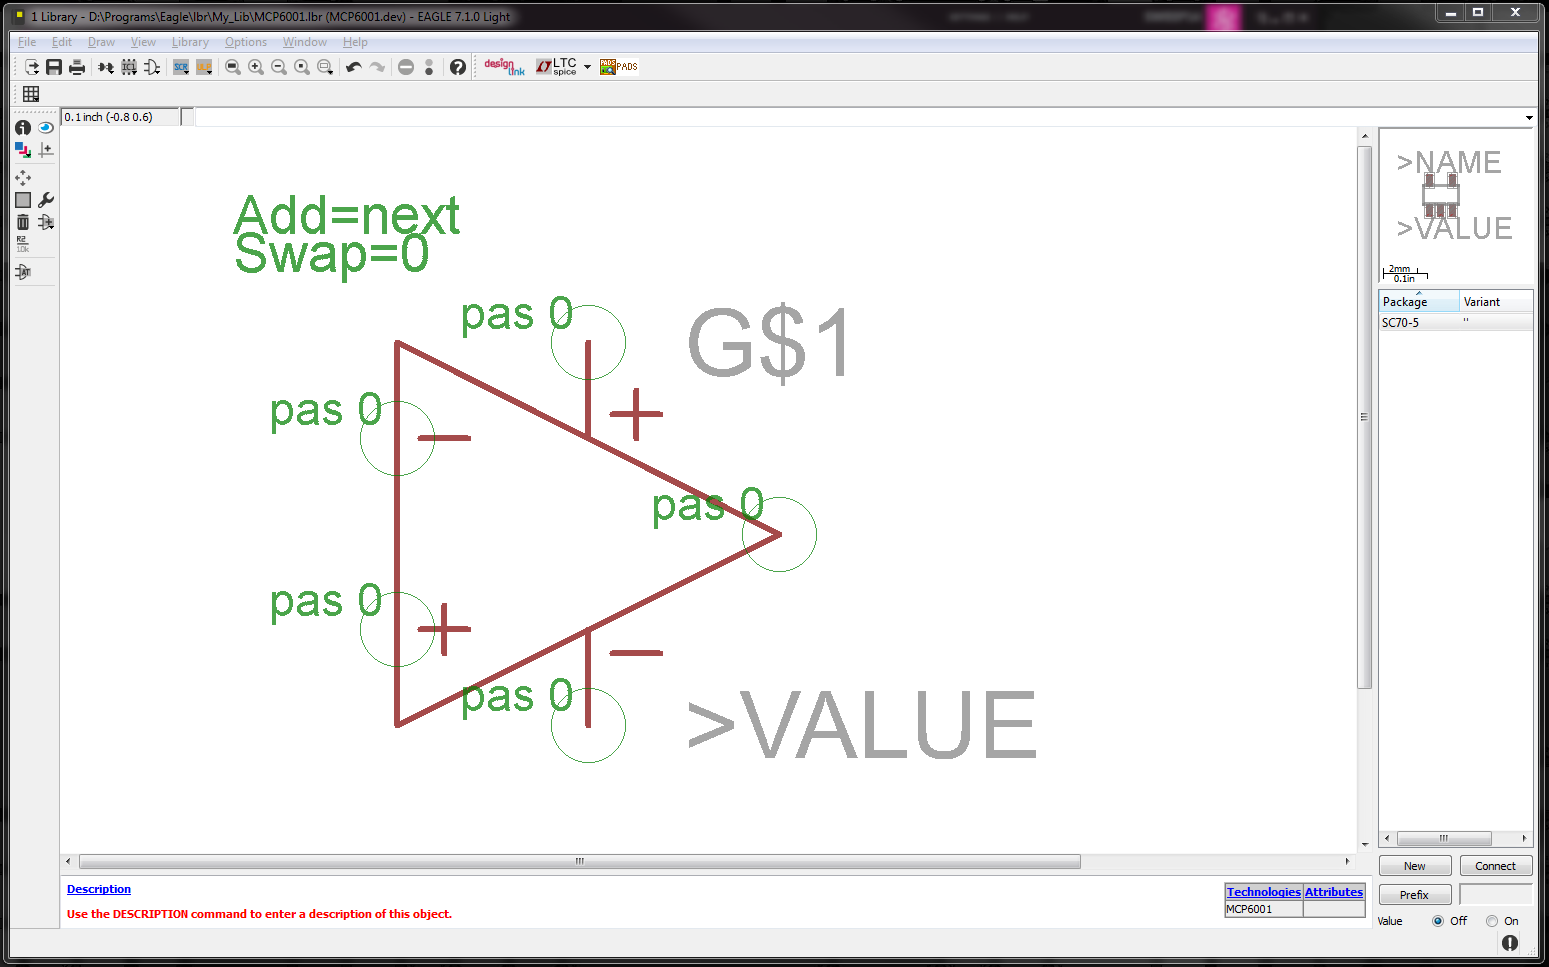
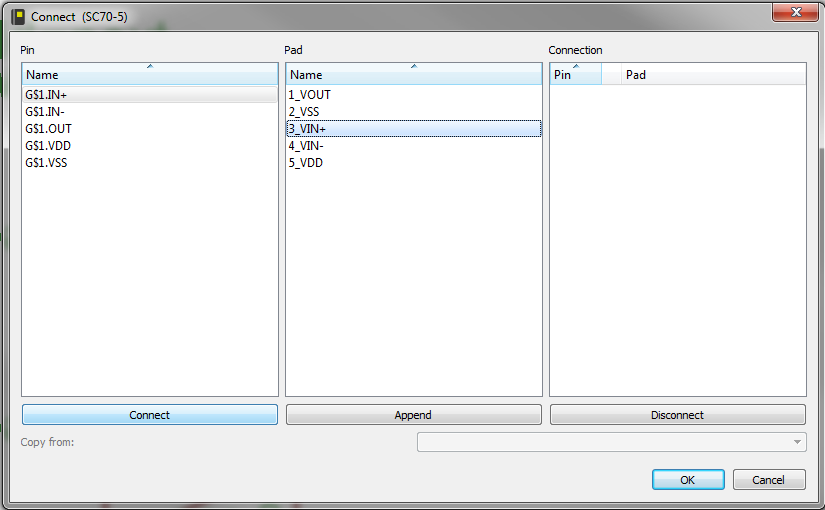
We're almost done. All we have left to do is connect the schematic to the package so Eagle knows where things should be connected when laying out our board.
1. Click on the Device icon and enter the name of your device.
You should end up with a window similar to the one above.
2. Click on the add a symbol button.
3. Select the symbol you created.
4. Click New in the lower right comer
5. Select the package you copied in.
The window should now look like the third picture.
6. Click connect in the lower right corner.
If you named everything the same way you should be able to just select the similarly named things and connect them.
7. Click File => Save.
You're Done
Congratulations you're done. You're part can now be used just like any other part in the Eagle library.