Add a Touchscreen to Your Project
by Gadget Gangster in Circuits > Microcontrollers
28823 Views, 62 Favorites, 0 Comments
Add a Touchscreen to Your Project
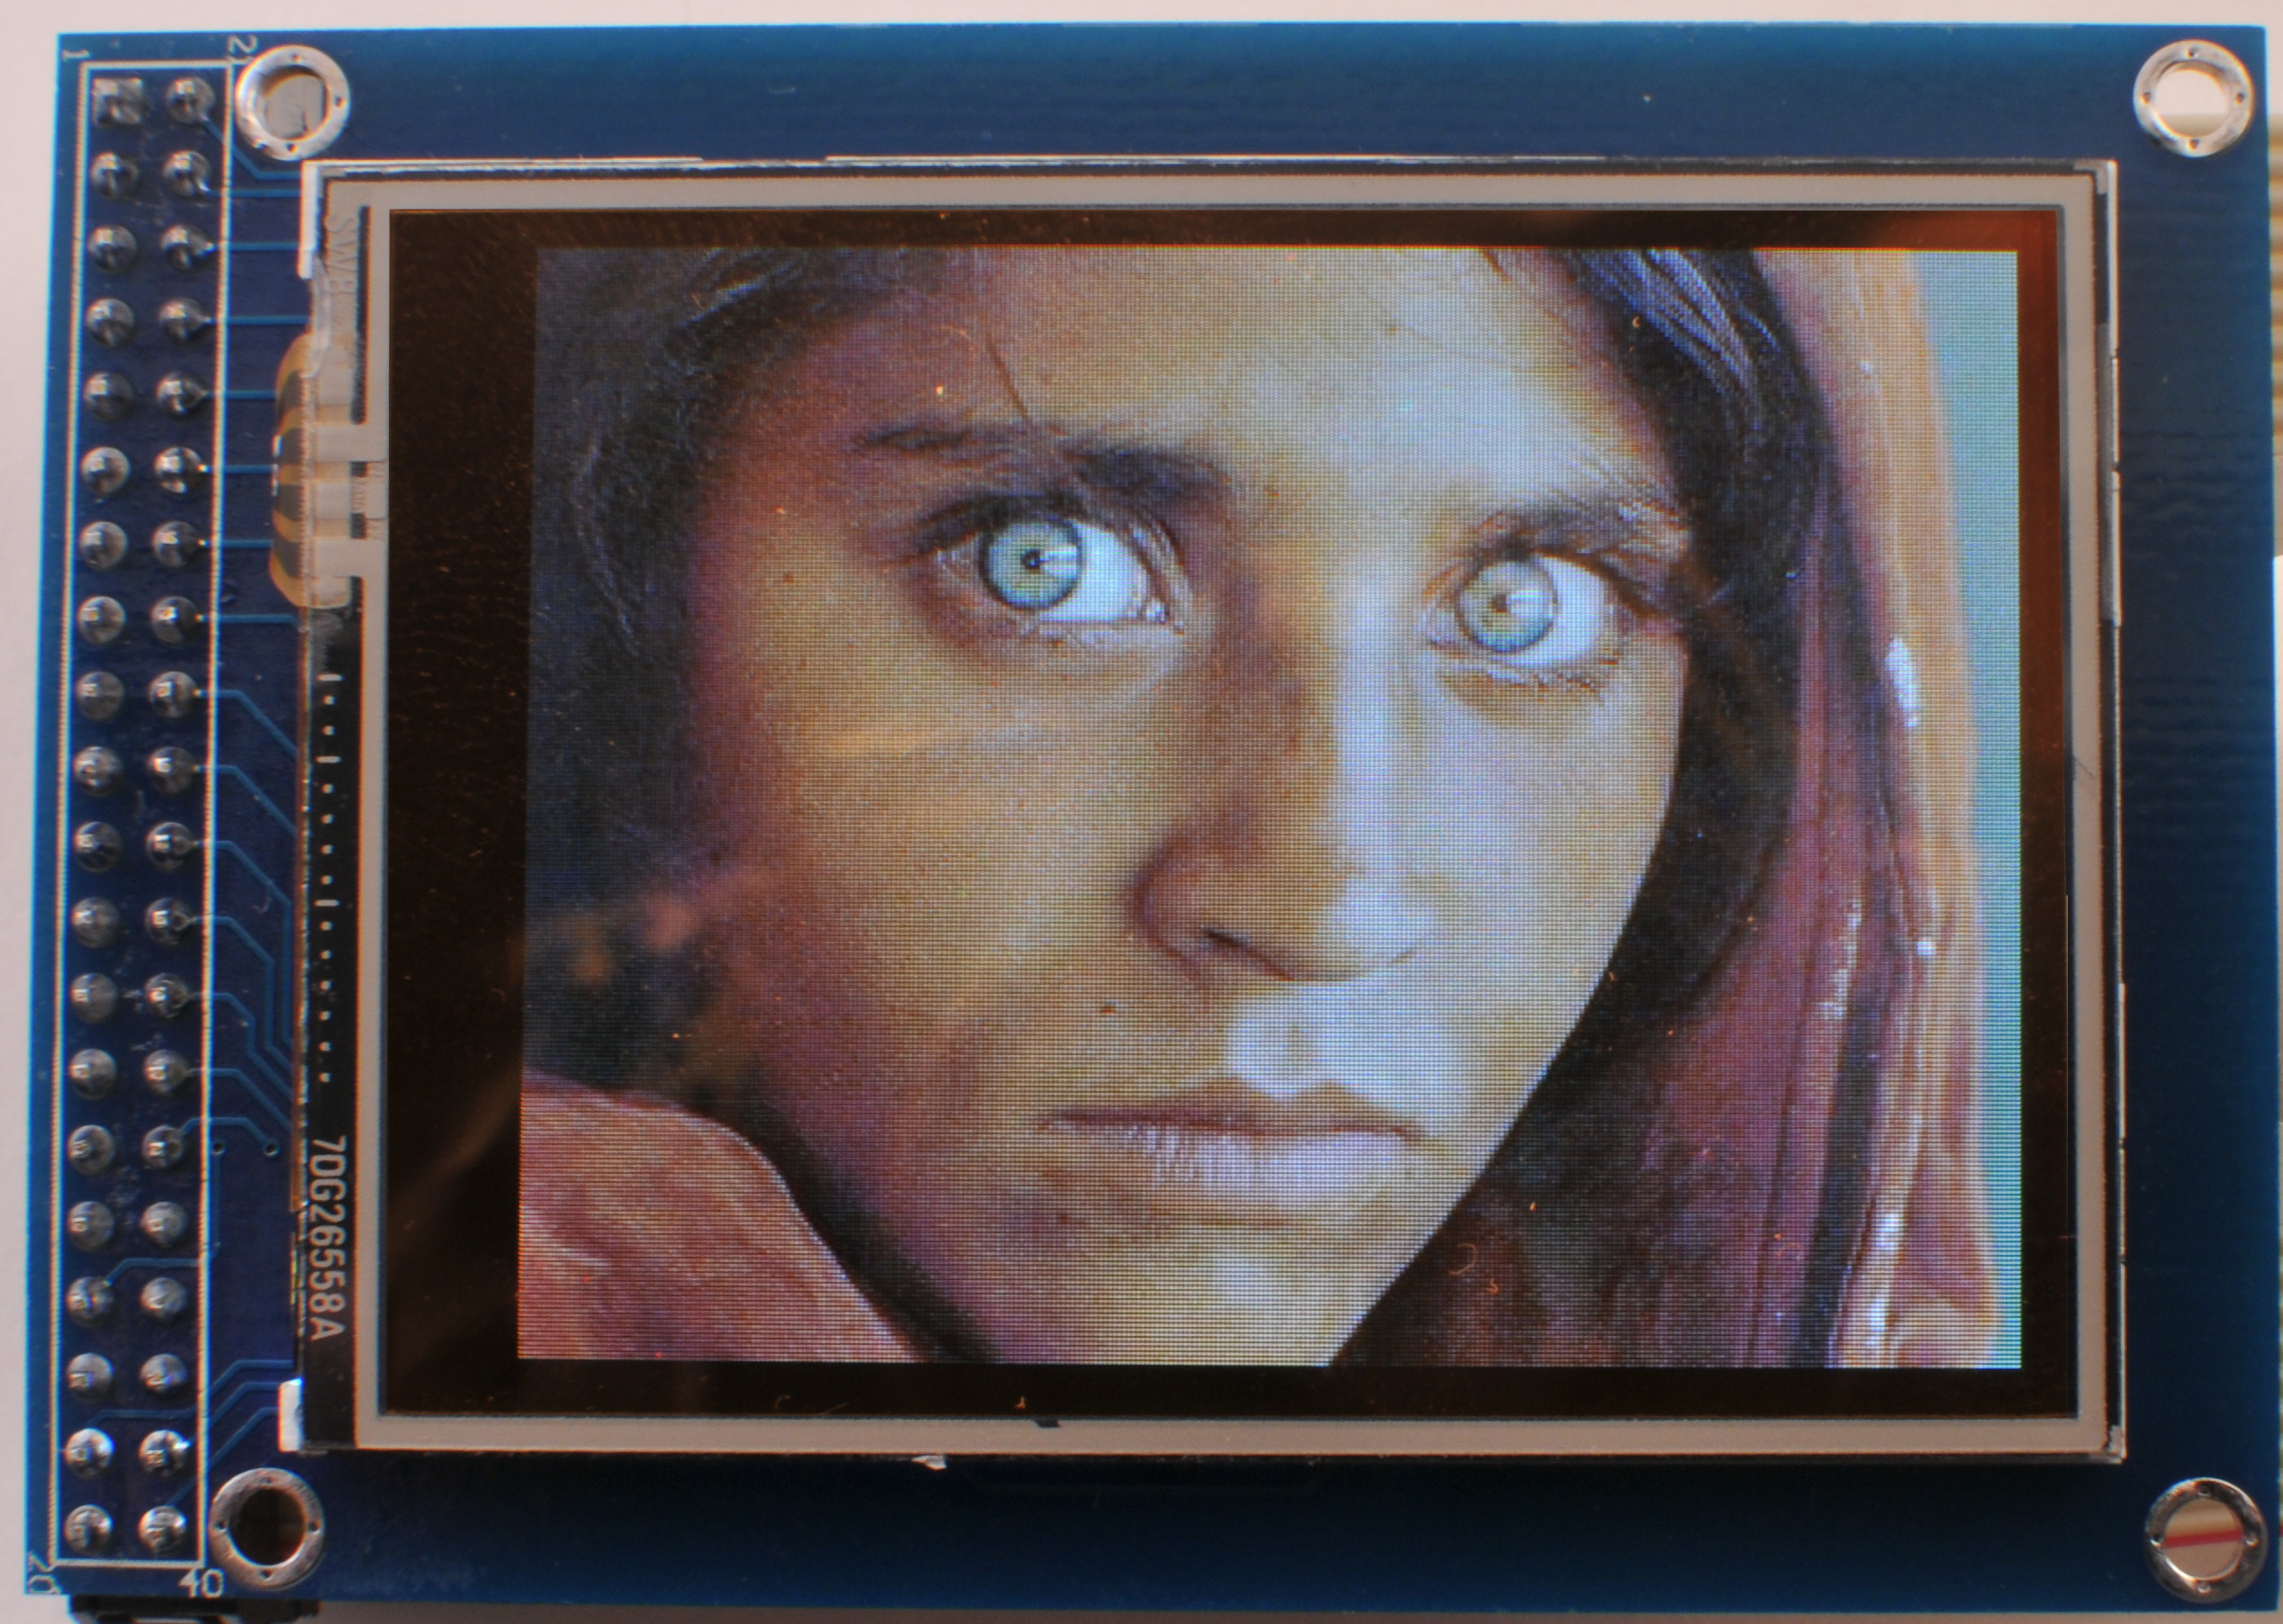
Add graphics, real-time information display, and a dynamic user interface to your microcontroller project with a touchscreen! In this instructable, I'll show you how to use a touchscreen to:
- Display true-color images
- Create a dynamic user interface
- Show data with gauges and dials
- Use touchscreen input in your project
Example: Webcam Viewer
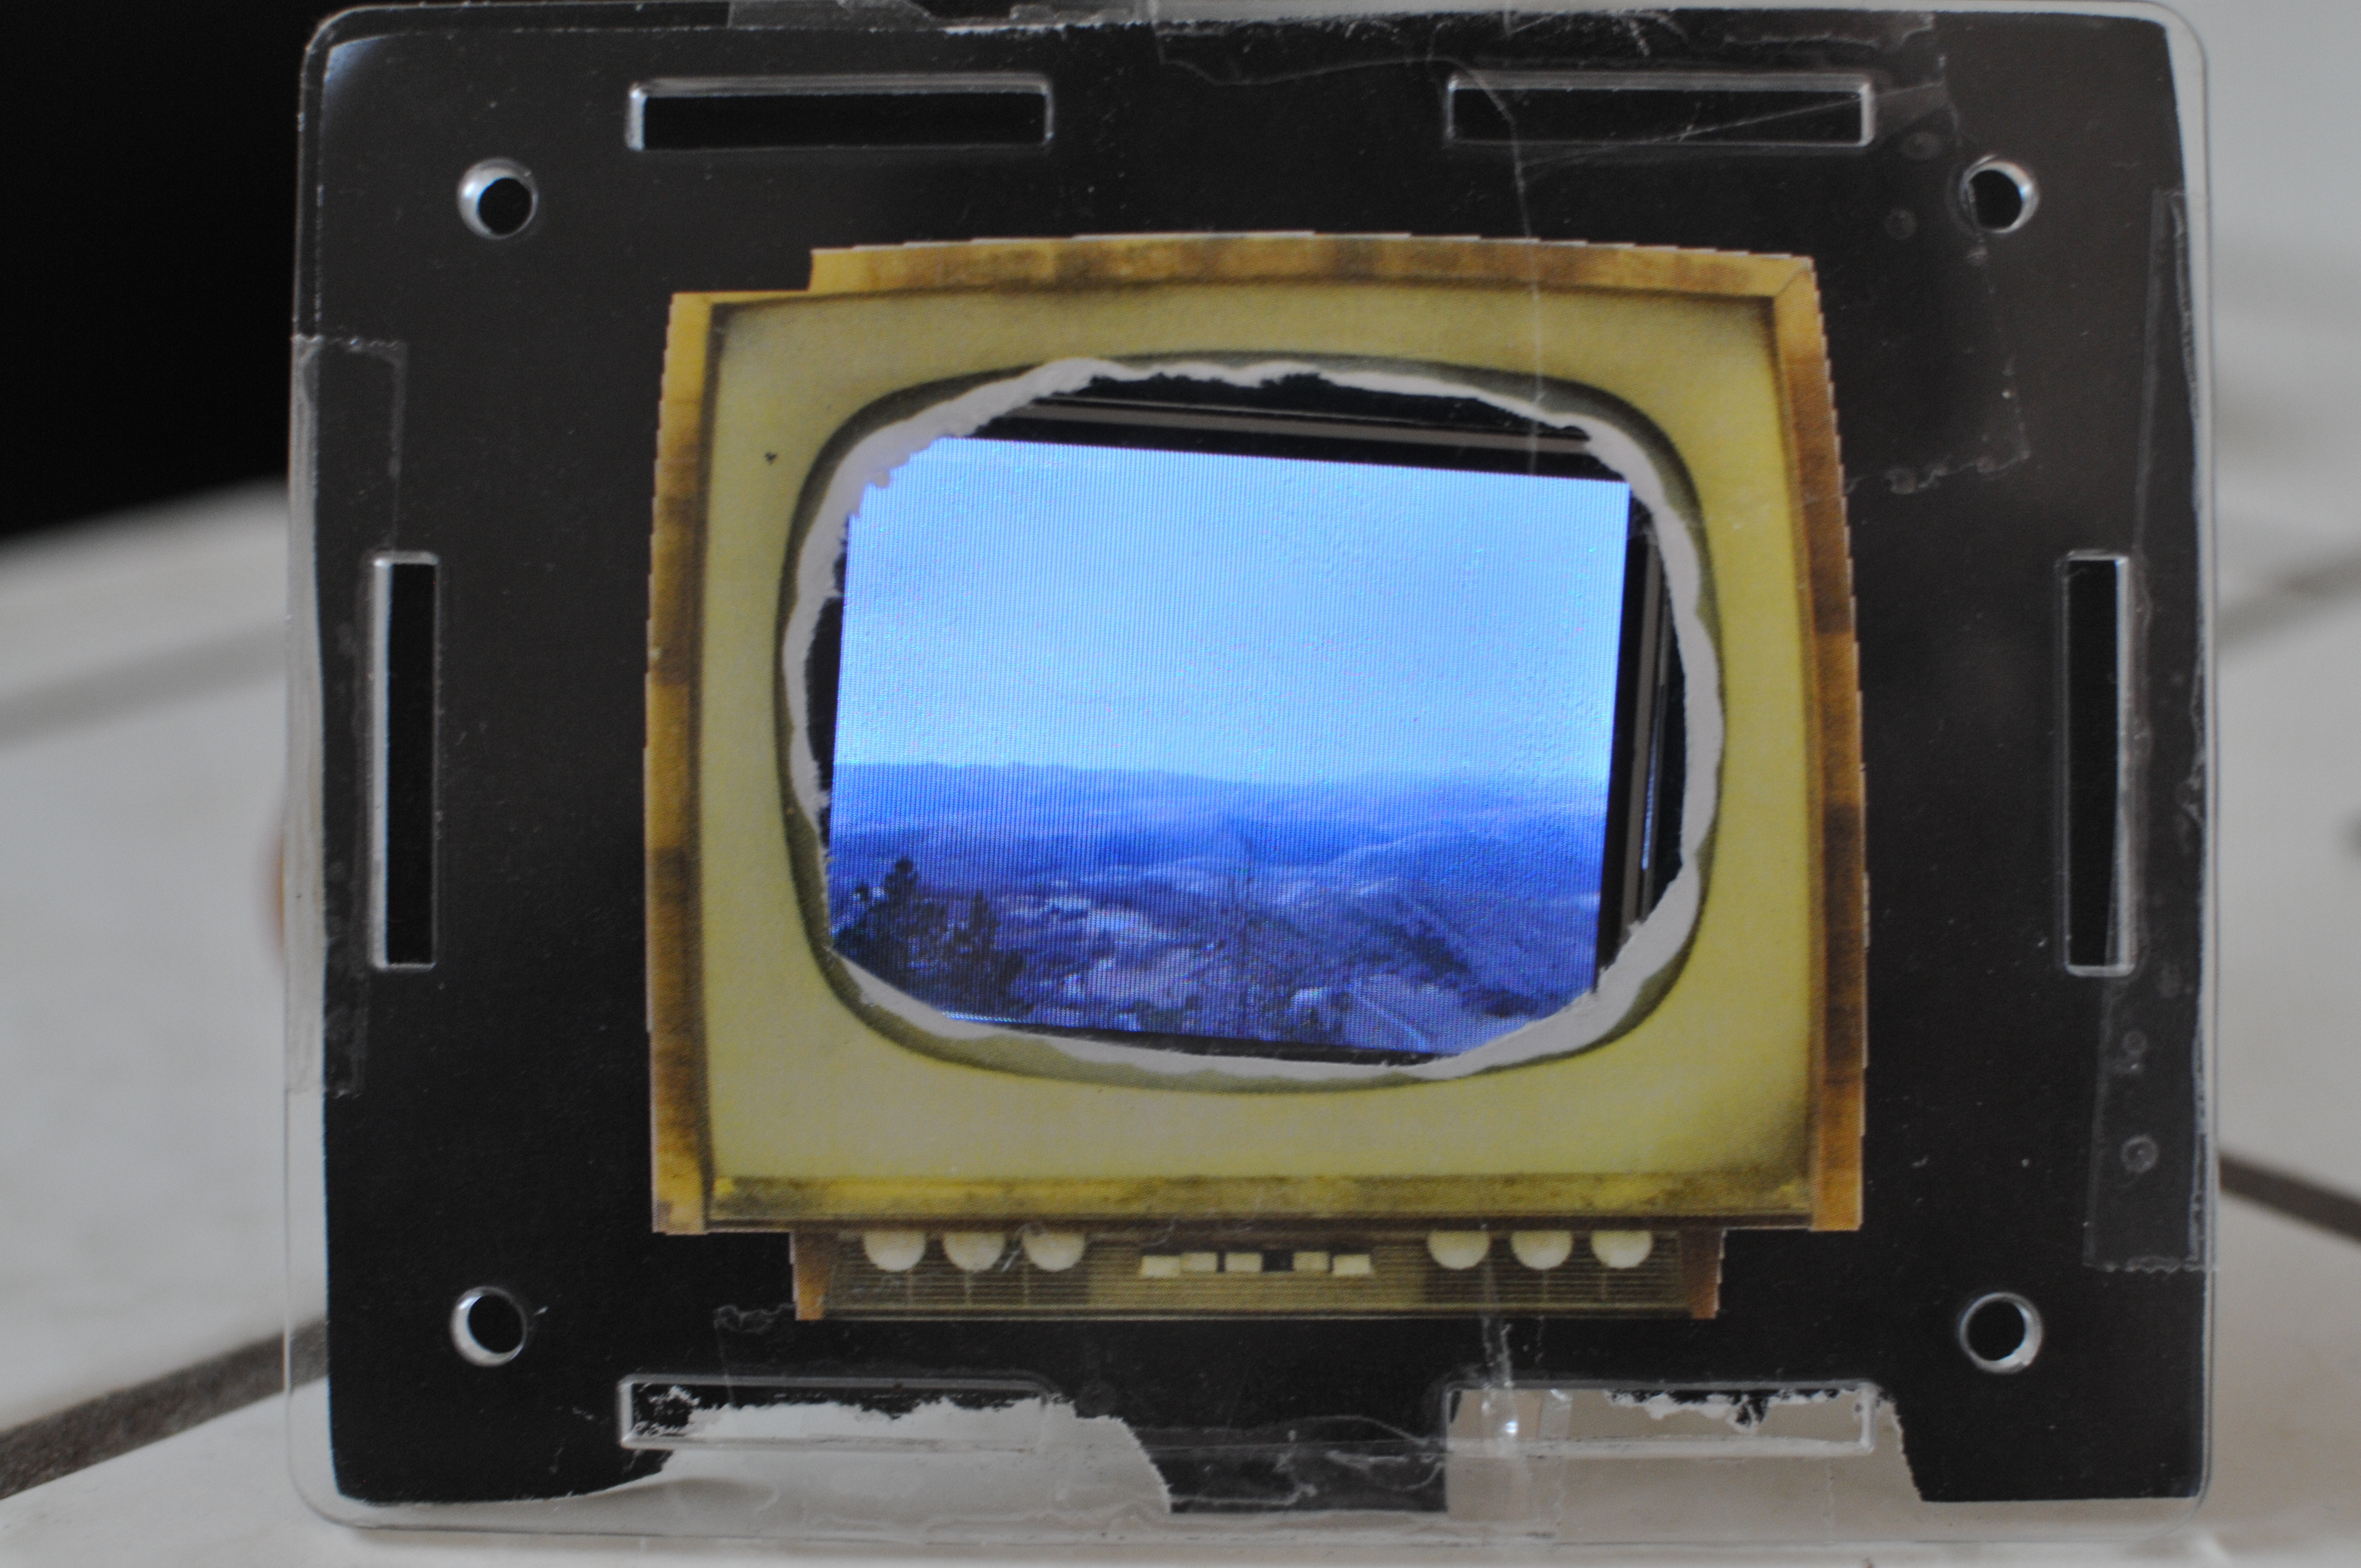
A touchscreen can augment any project that interacts with users or displays data. It's also handy because it can show true color, 24-bit images. This webcam viewer displays webcam streams from the Internet and displays them on the touchscreen;
The Propeller connects to the Internet, grabs the webcam image and caches it on an SD card. Then, it updates the touchscreen every minute or so with the most current webcam image. Here's the sourcecode with usage notes.
The Propeller connects to the Internet, grabs the webcam image and caches it on an SD card. Then, it updates the touchscreen every minute or so with the most current webcam image. Here's the sourcecode with usage notes.
Example: Program Chooser
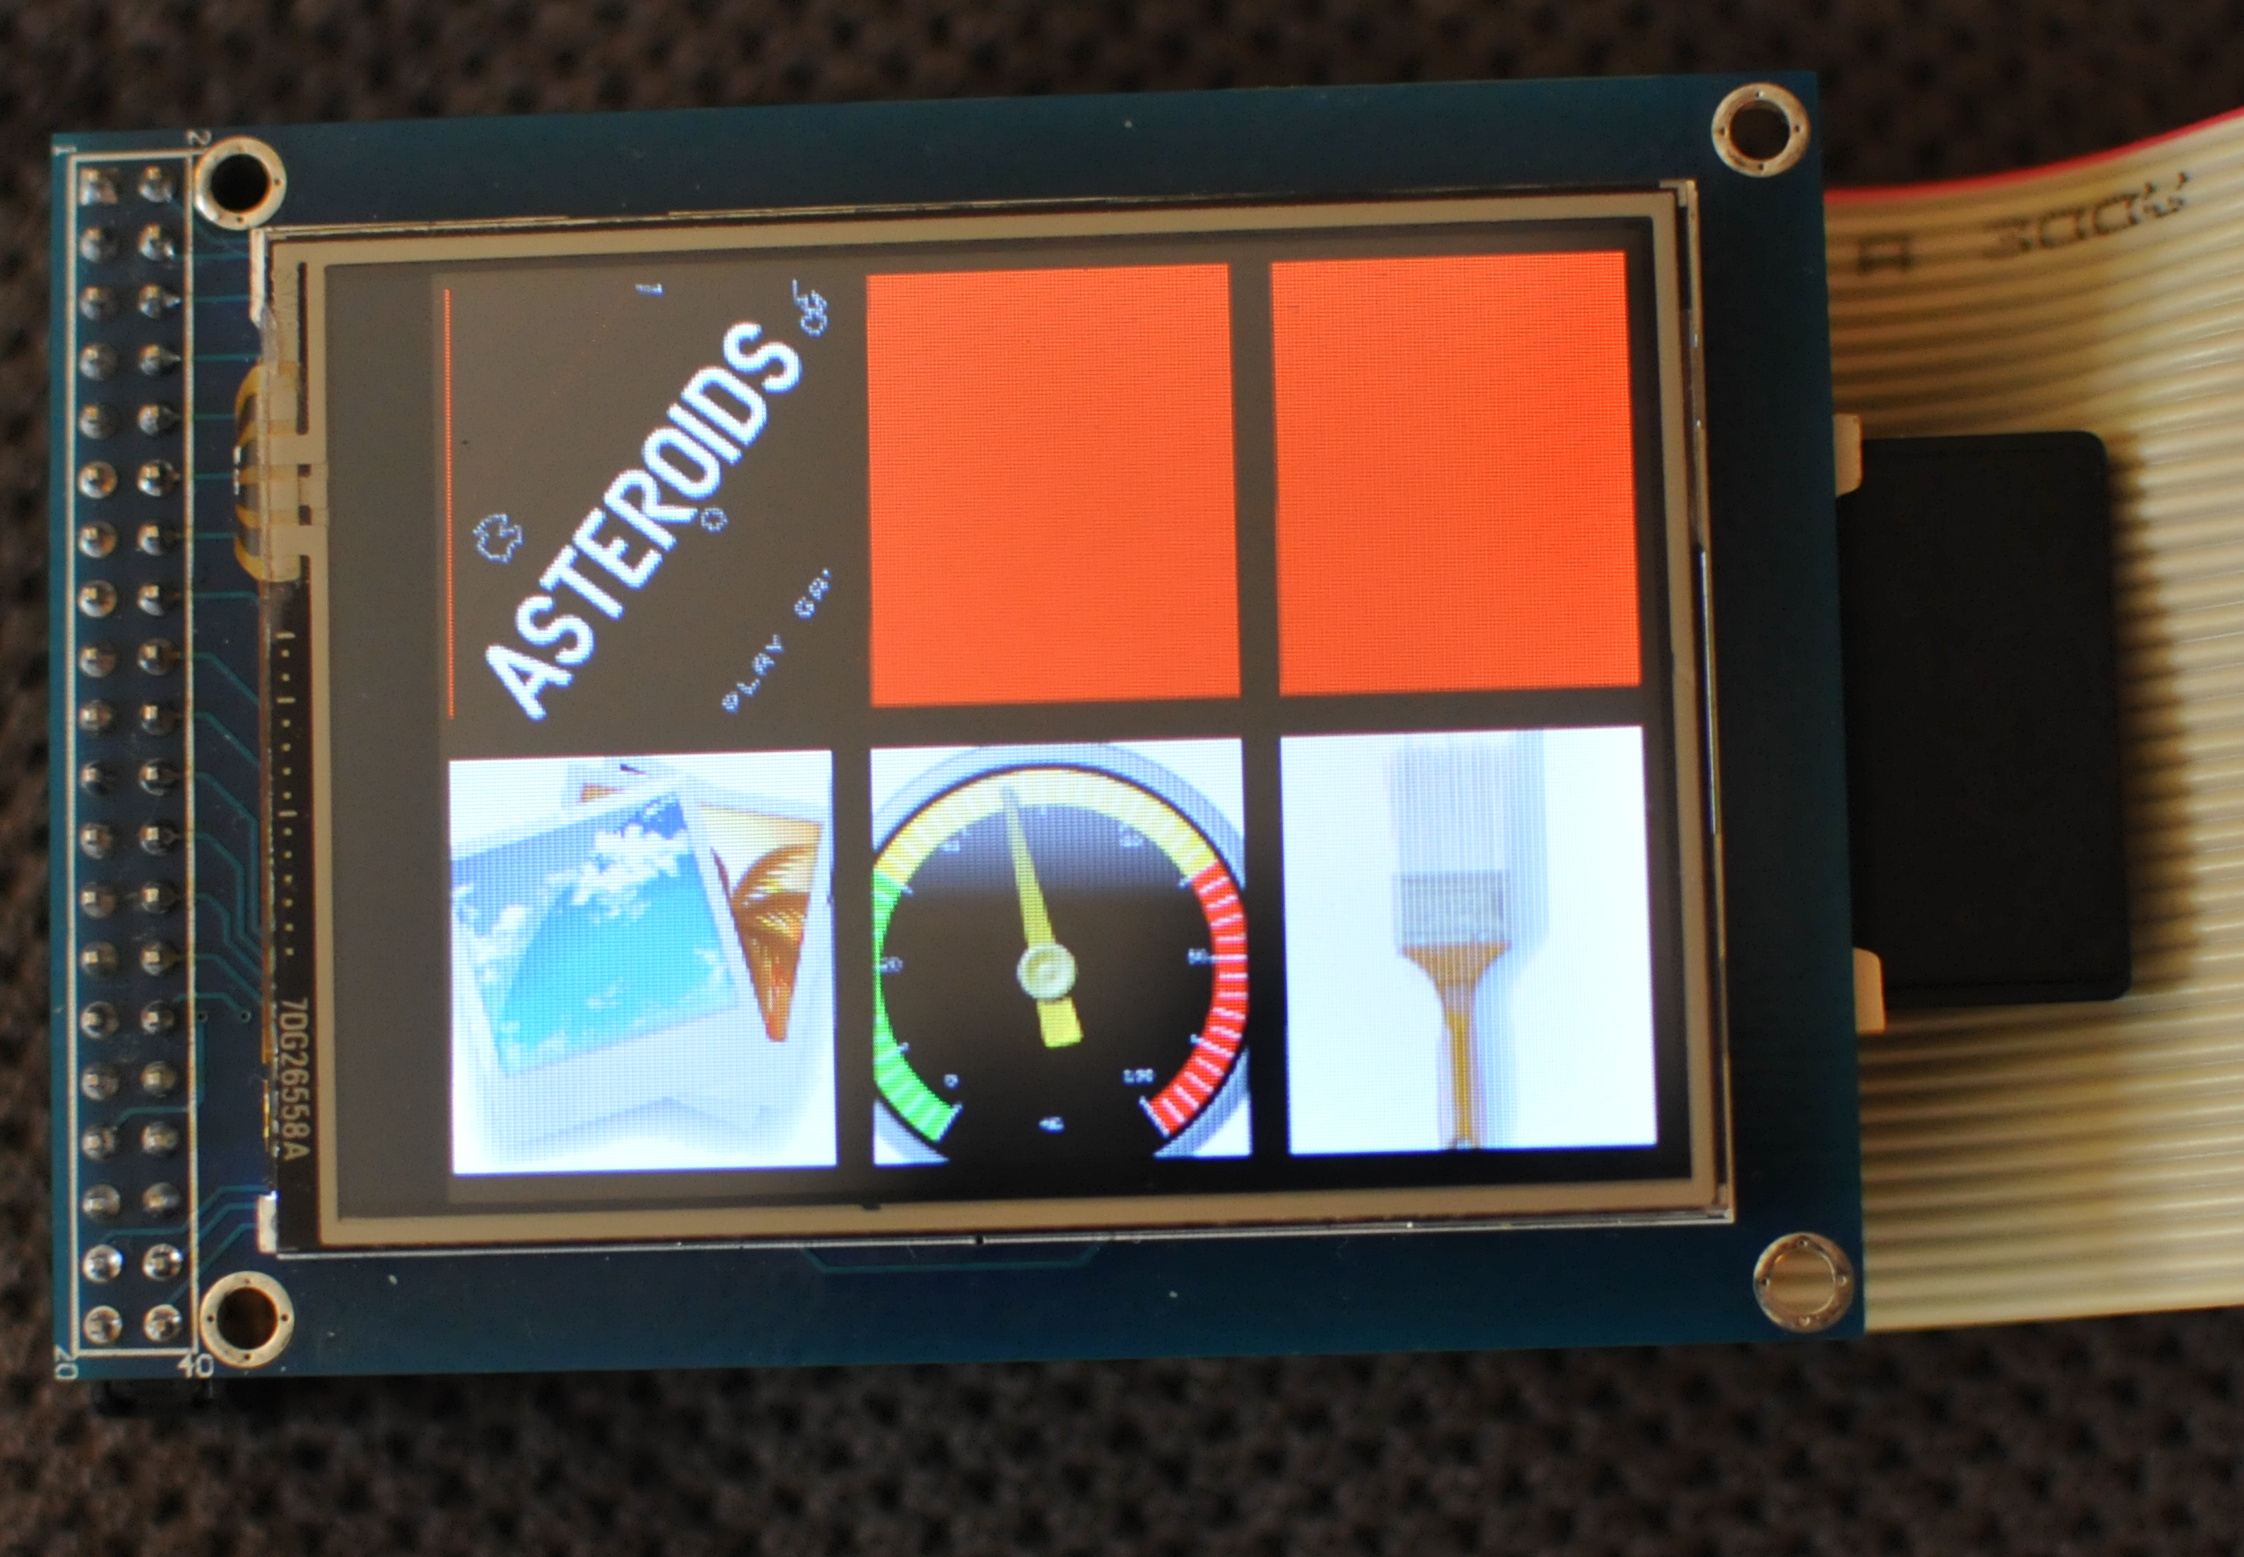
Here's a Program Chooser for the touchscreen — a menu is displayed on the screen, and you select what program will run by tapping on the icon;
The chooser is stored on EEPROM and other programs are stored on the SD card. When you make a selection the chooser loads up whatever program was selected. The loaded program can be anything, whether it uses a screen or not. Here's the code for this project.
The chooser is stored on EEPROM and other programs are stored on the SD card. When you make a selection the chooser loads up whatever program was selected. The loaded program can be anything, whether it uses a screen or not. Here's the code for this project.
Assembly
Parts
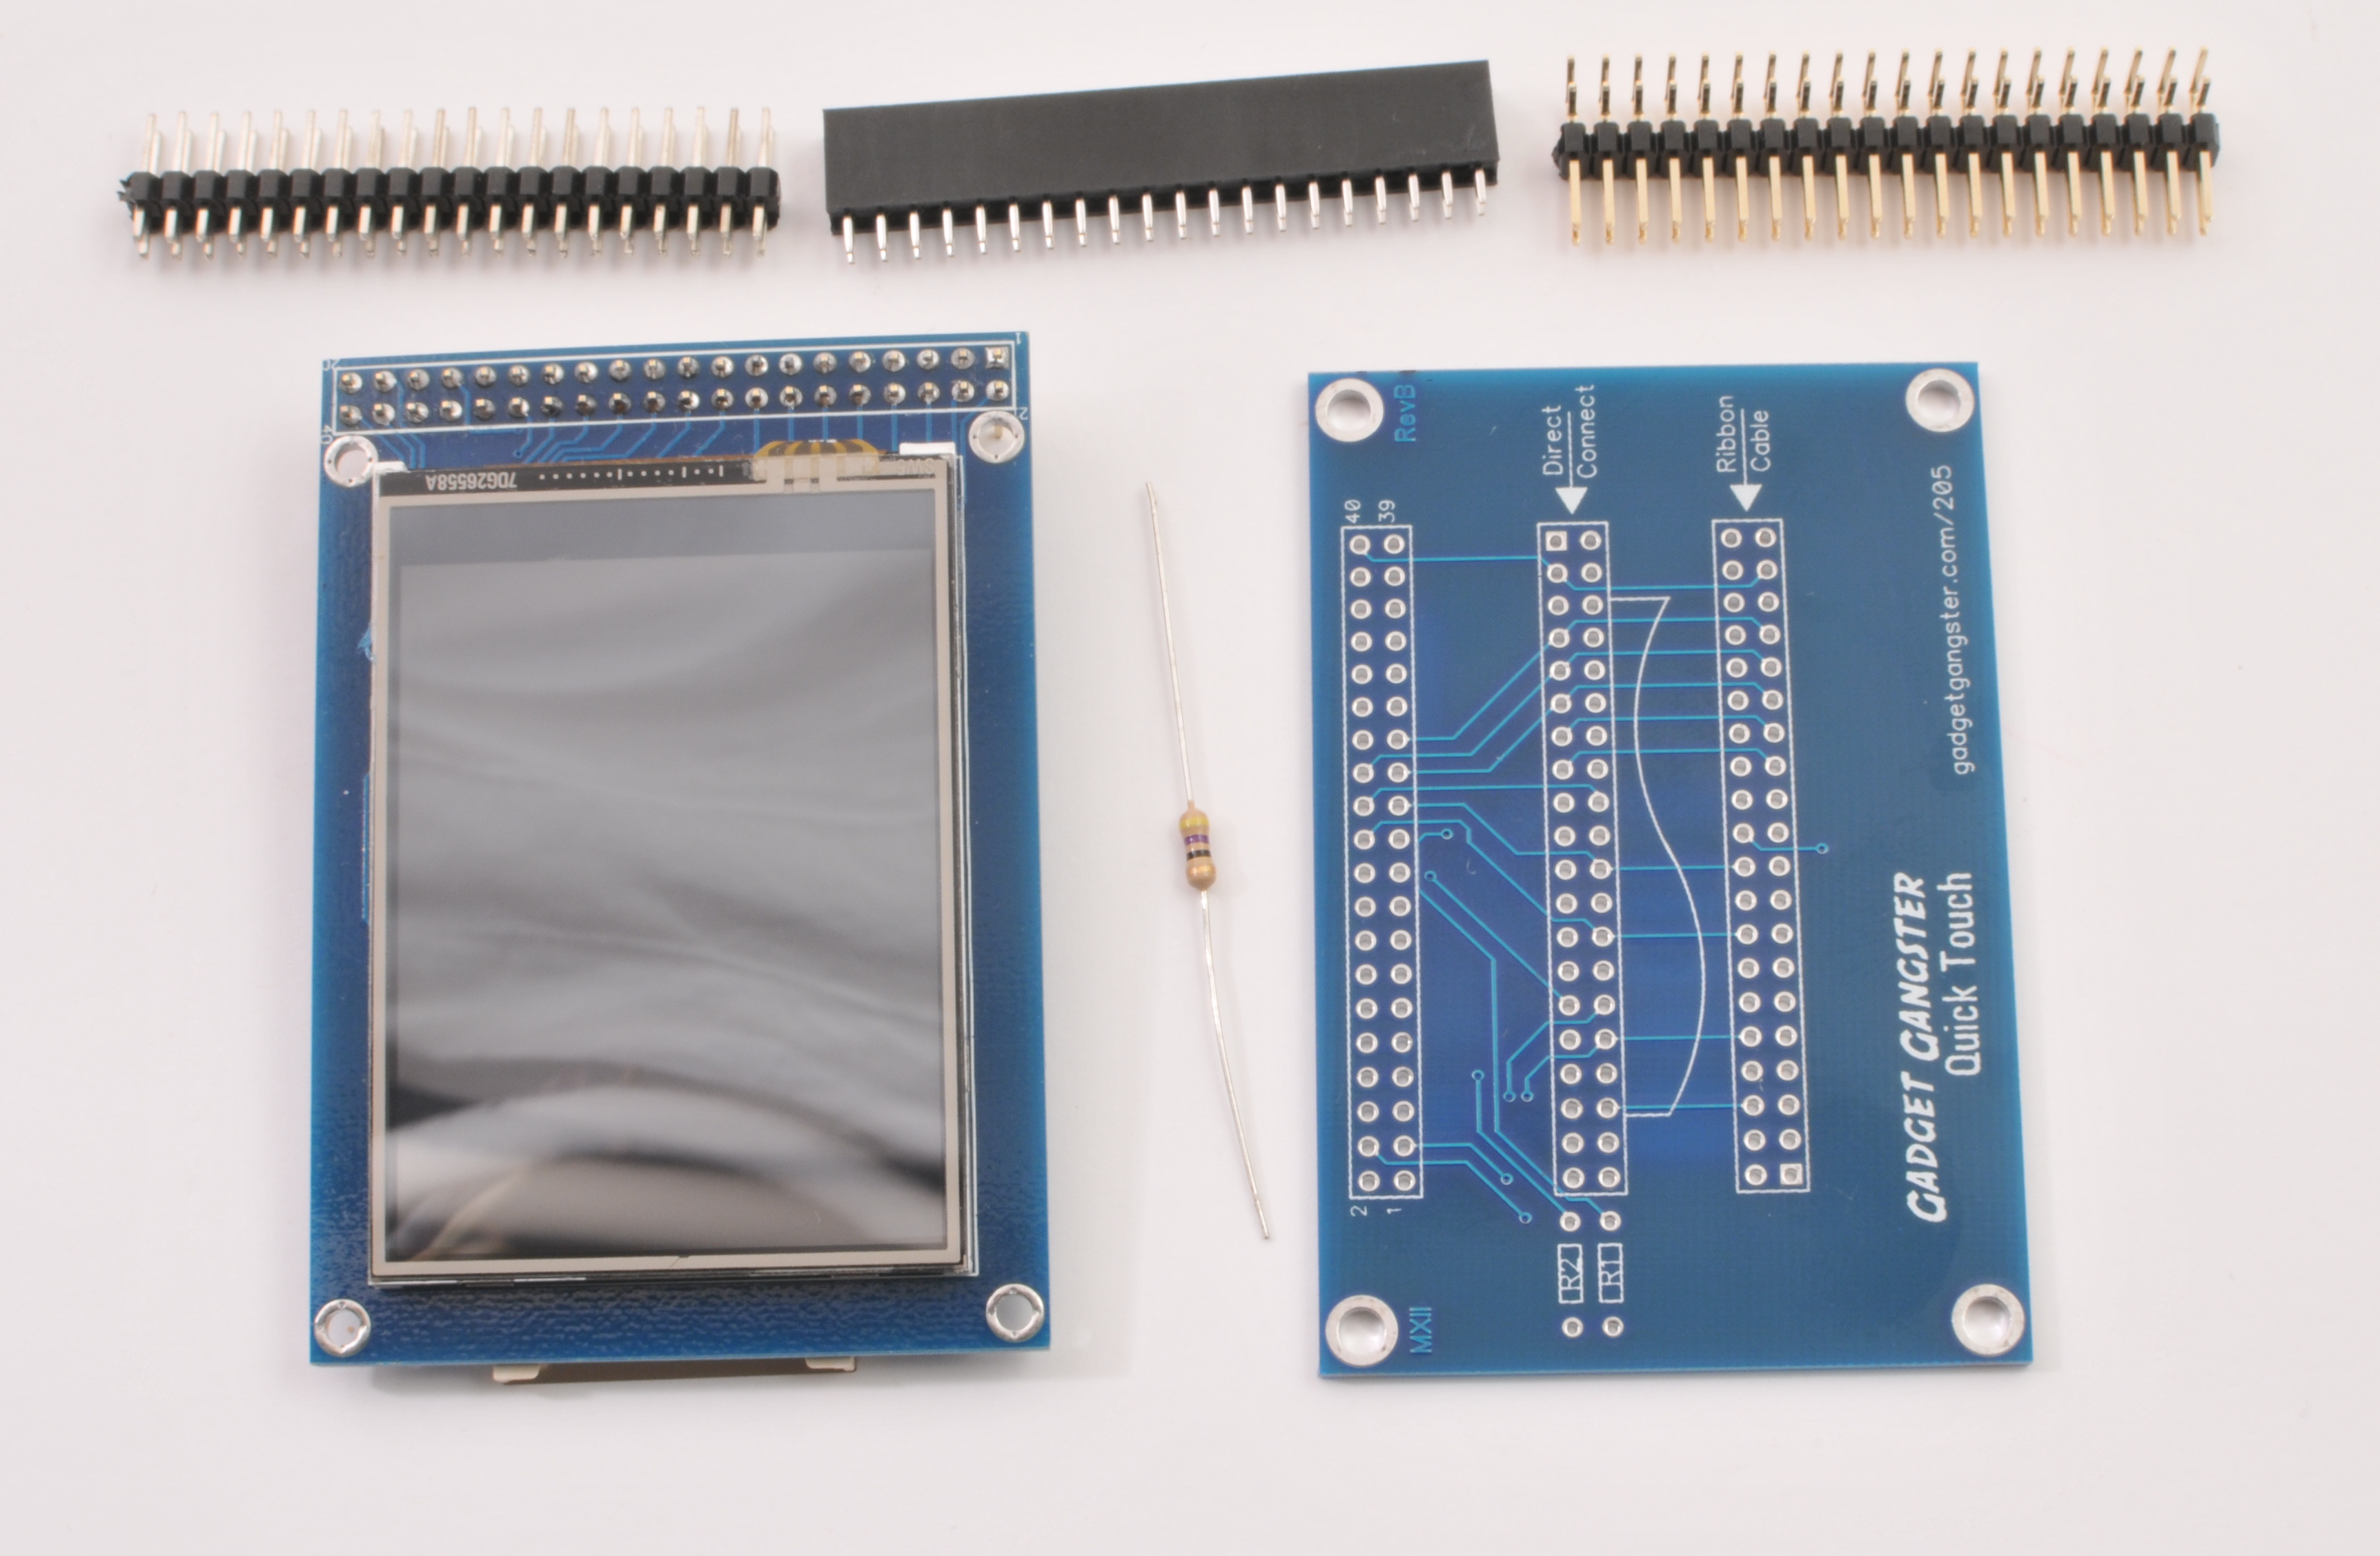
You can grab a kit that includes everything you'll need, or gather the parts yourself;- 320x240 ILI9325-based touchscreen module with ADS7843 compatible reader
- Touchscreen breakout board
- 1x 47 Ohm Resistor
- 40x Straight pin headers
- 40x Right angle pin headers
- 40x Pin sockets
There is no standard for interfacing with touchscreens but the ILI9325 is a fairly common controller, so that's what we'll use. If you want to follow along with your own touchscreen, make sure it uses the same controller. Same deal with the ADS7843 reader.
I designed a breakout board to make it a lot easier to connect the touchscreen — It's got headers to attach the screen directly to the board along with headers to attach a standard 40-pin IDE ribbon cable. The breakout board comes with the kit, but you can etch it yourself with the design files (diptrace). You might also find the schematic (pdf) handy.
Assembly
Start by adding the 47 ohm resistor to the breakout board. You've got a choice here; if you add the resistor to R1, the backlight on the touchscreen will always be powered on. If you add it to R2, you'll connect the backlight to P6 on the QuickStart. That way, you can control the brightness of the backlight or turn it off.
Add the right angle headers on top of the breakout board;

Add the pin sockets pin headers to the board;

Now, the 40 pin header that connects the board to QuickStart. An easy way to add this is by first inserting it into the QuickStart;

Then, drop the Quick Touch board on top and solder it to the headers;

Finally, slide the touchscreen into the female sockets and slide the completed module into your QuickStart;

Done with the assembly!
Installing the Screen
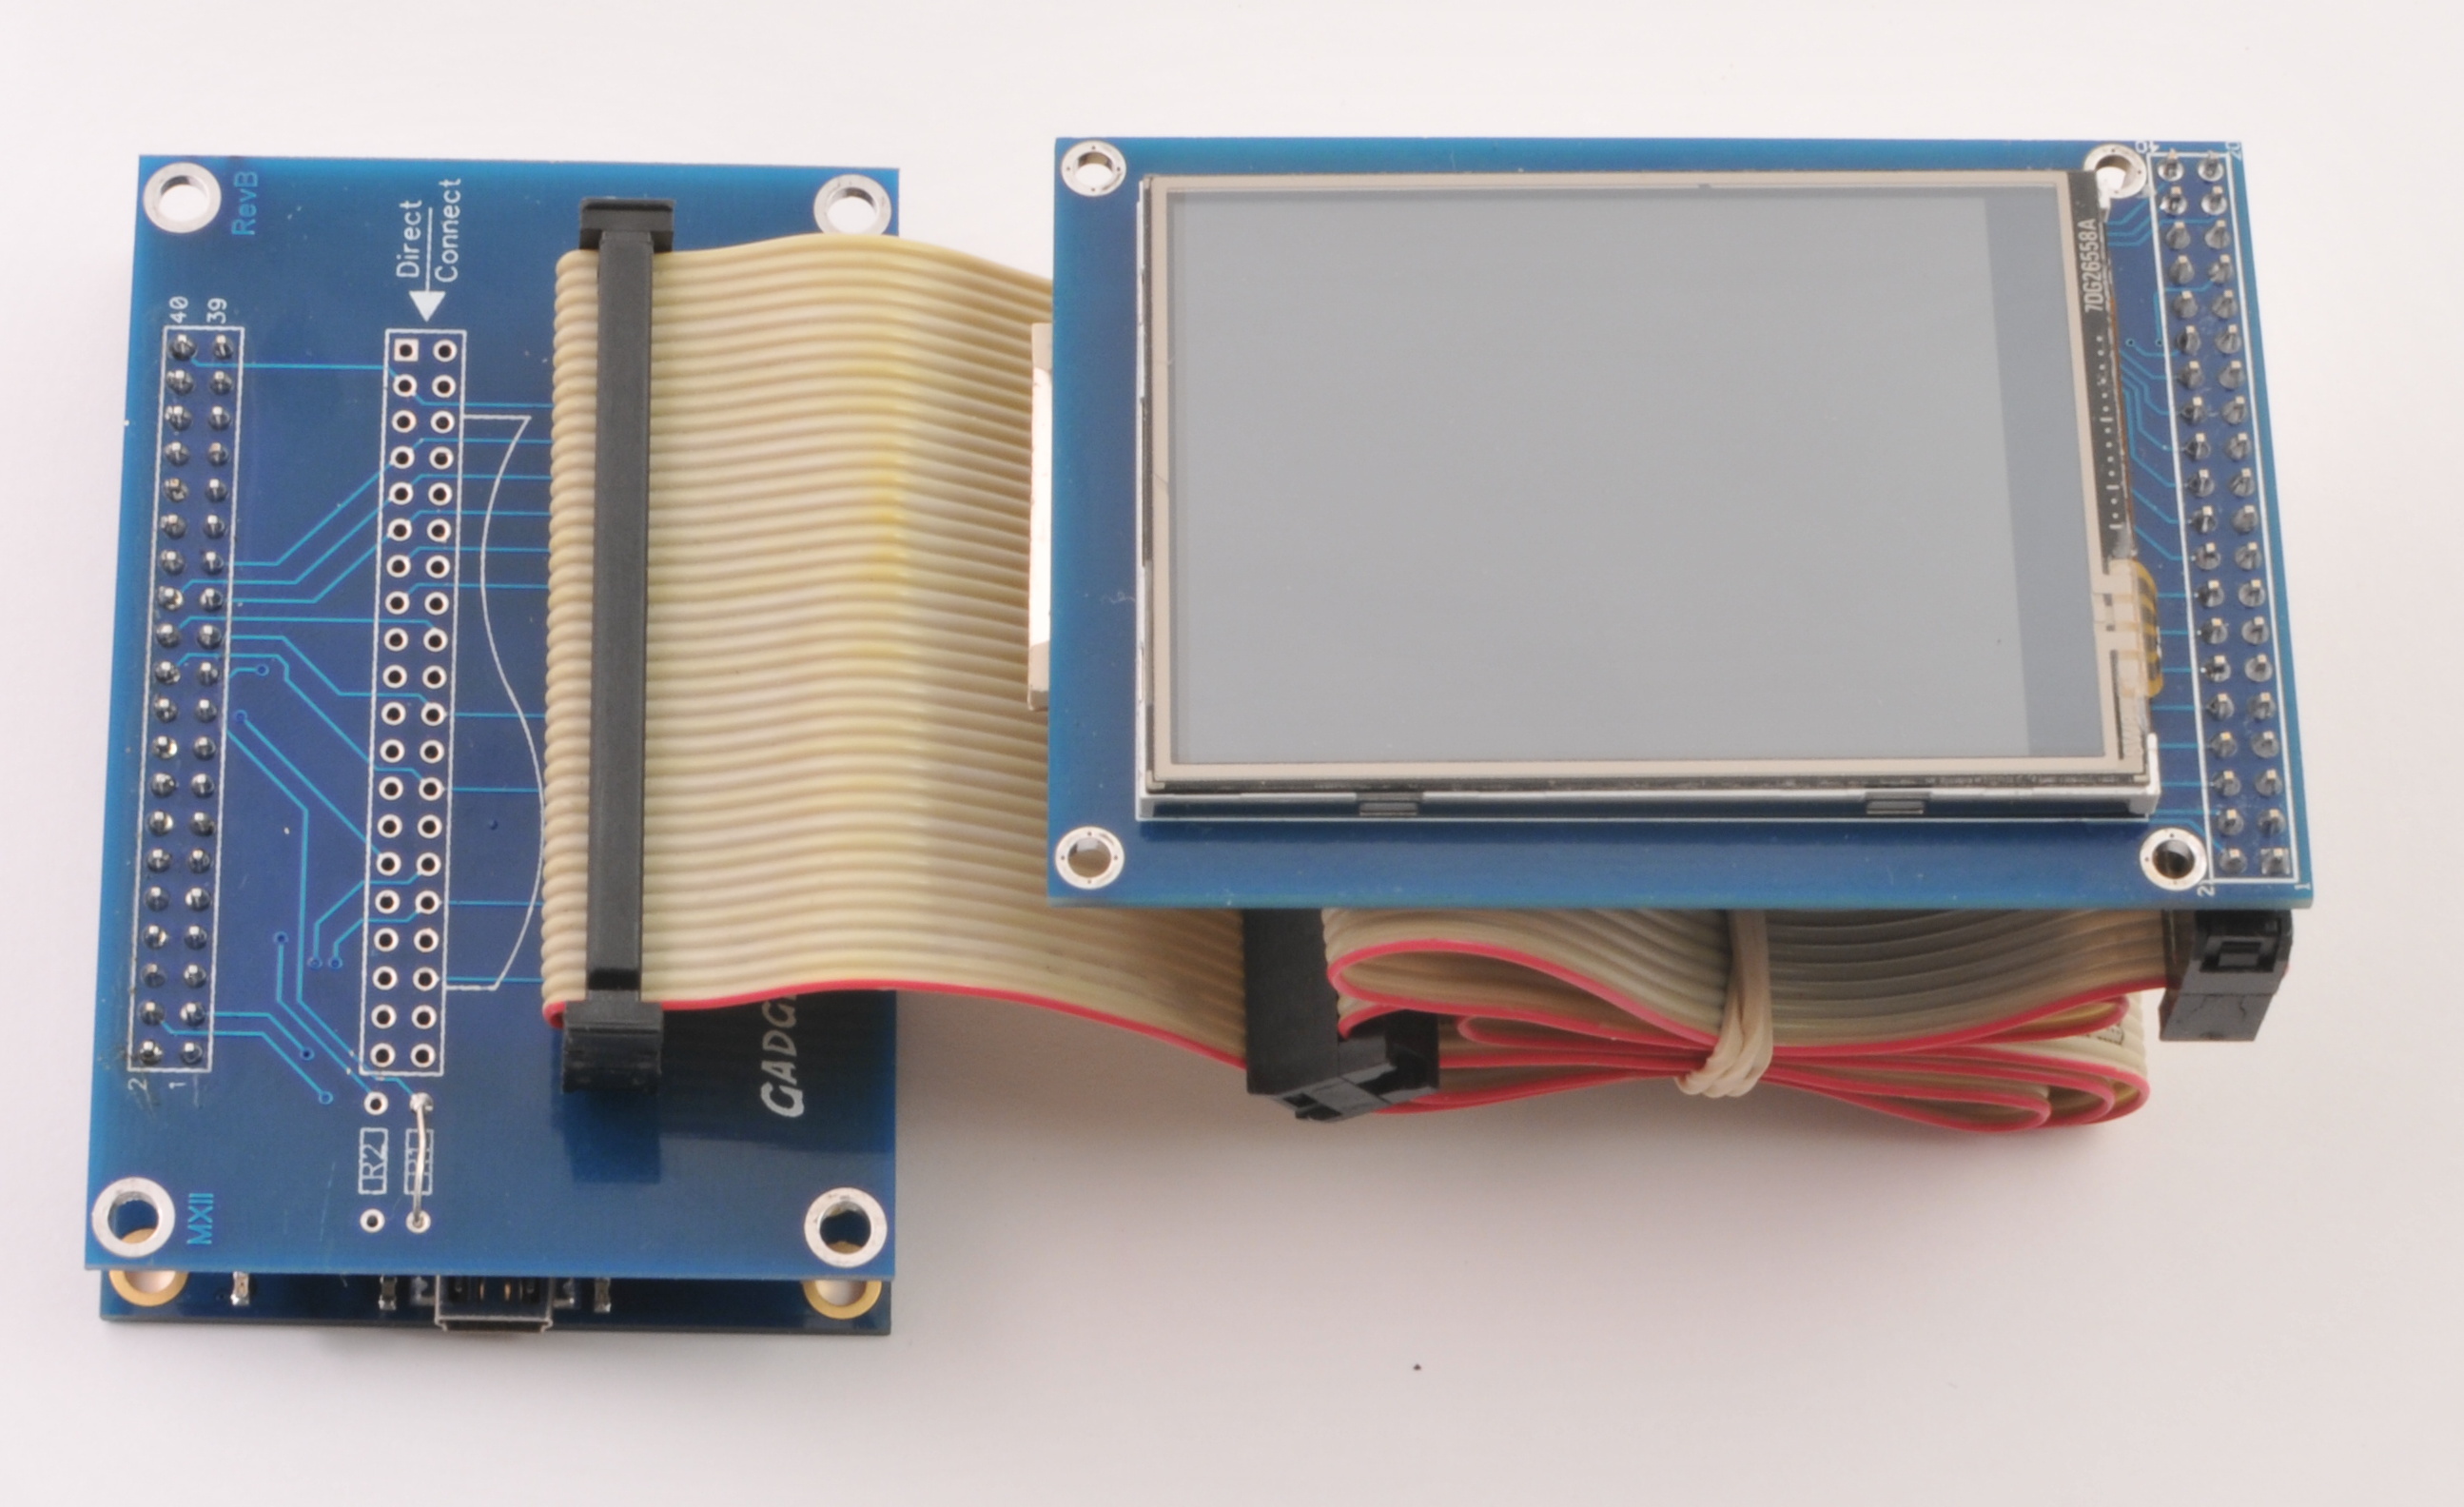
There are two sets of headers on the breakout board;

Use the set labelled 'Direct Connect' when connecting the screen directly to the board. This works in a pinch, but can be a little flimsy. Another way is to connect the touchscreen with a standard 40-wire IDE cable. When using the IDE cable, connect it to the set of headers labelled 'Ribbon Cable'.
The ribbon cable method is very handy because it lets you mount the screen separately from the QuickStart board and breakout. Whatever works best for your project!
Using It: Display
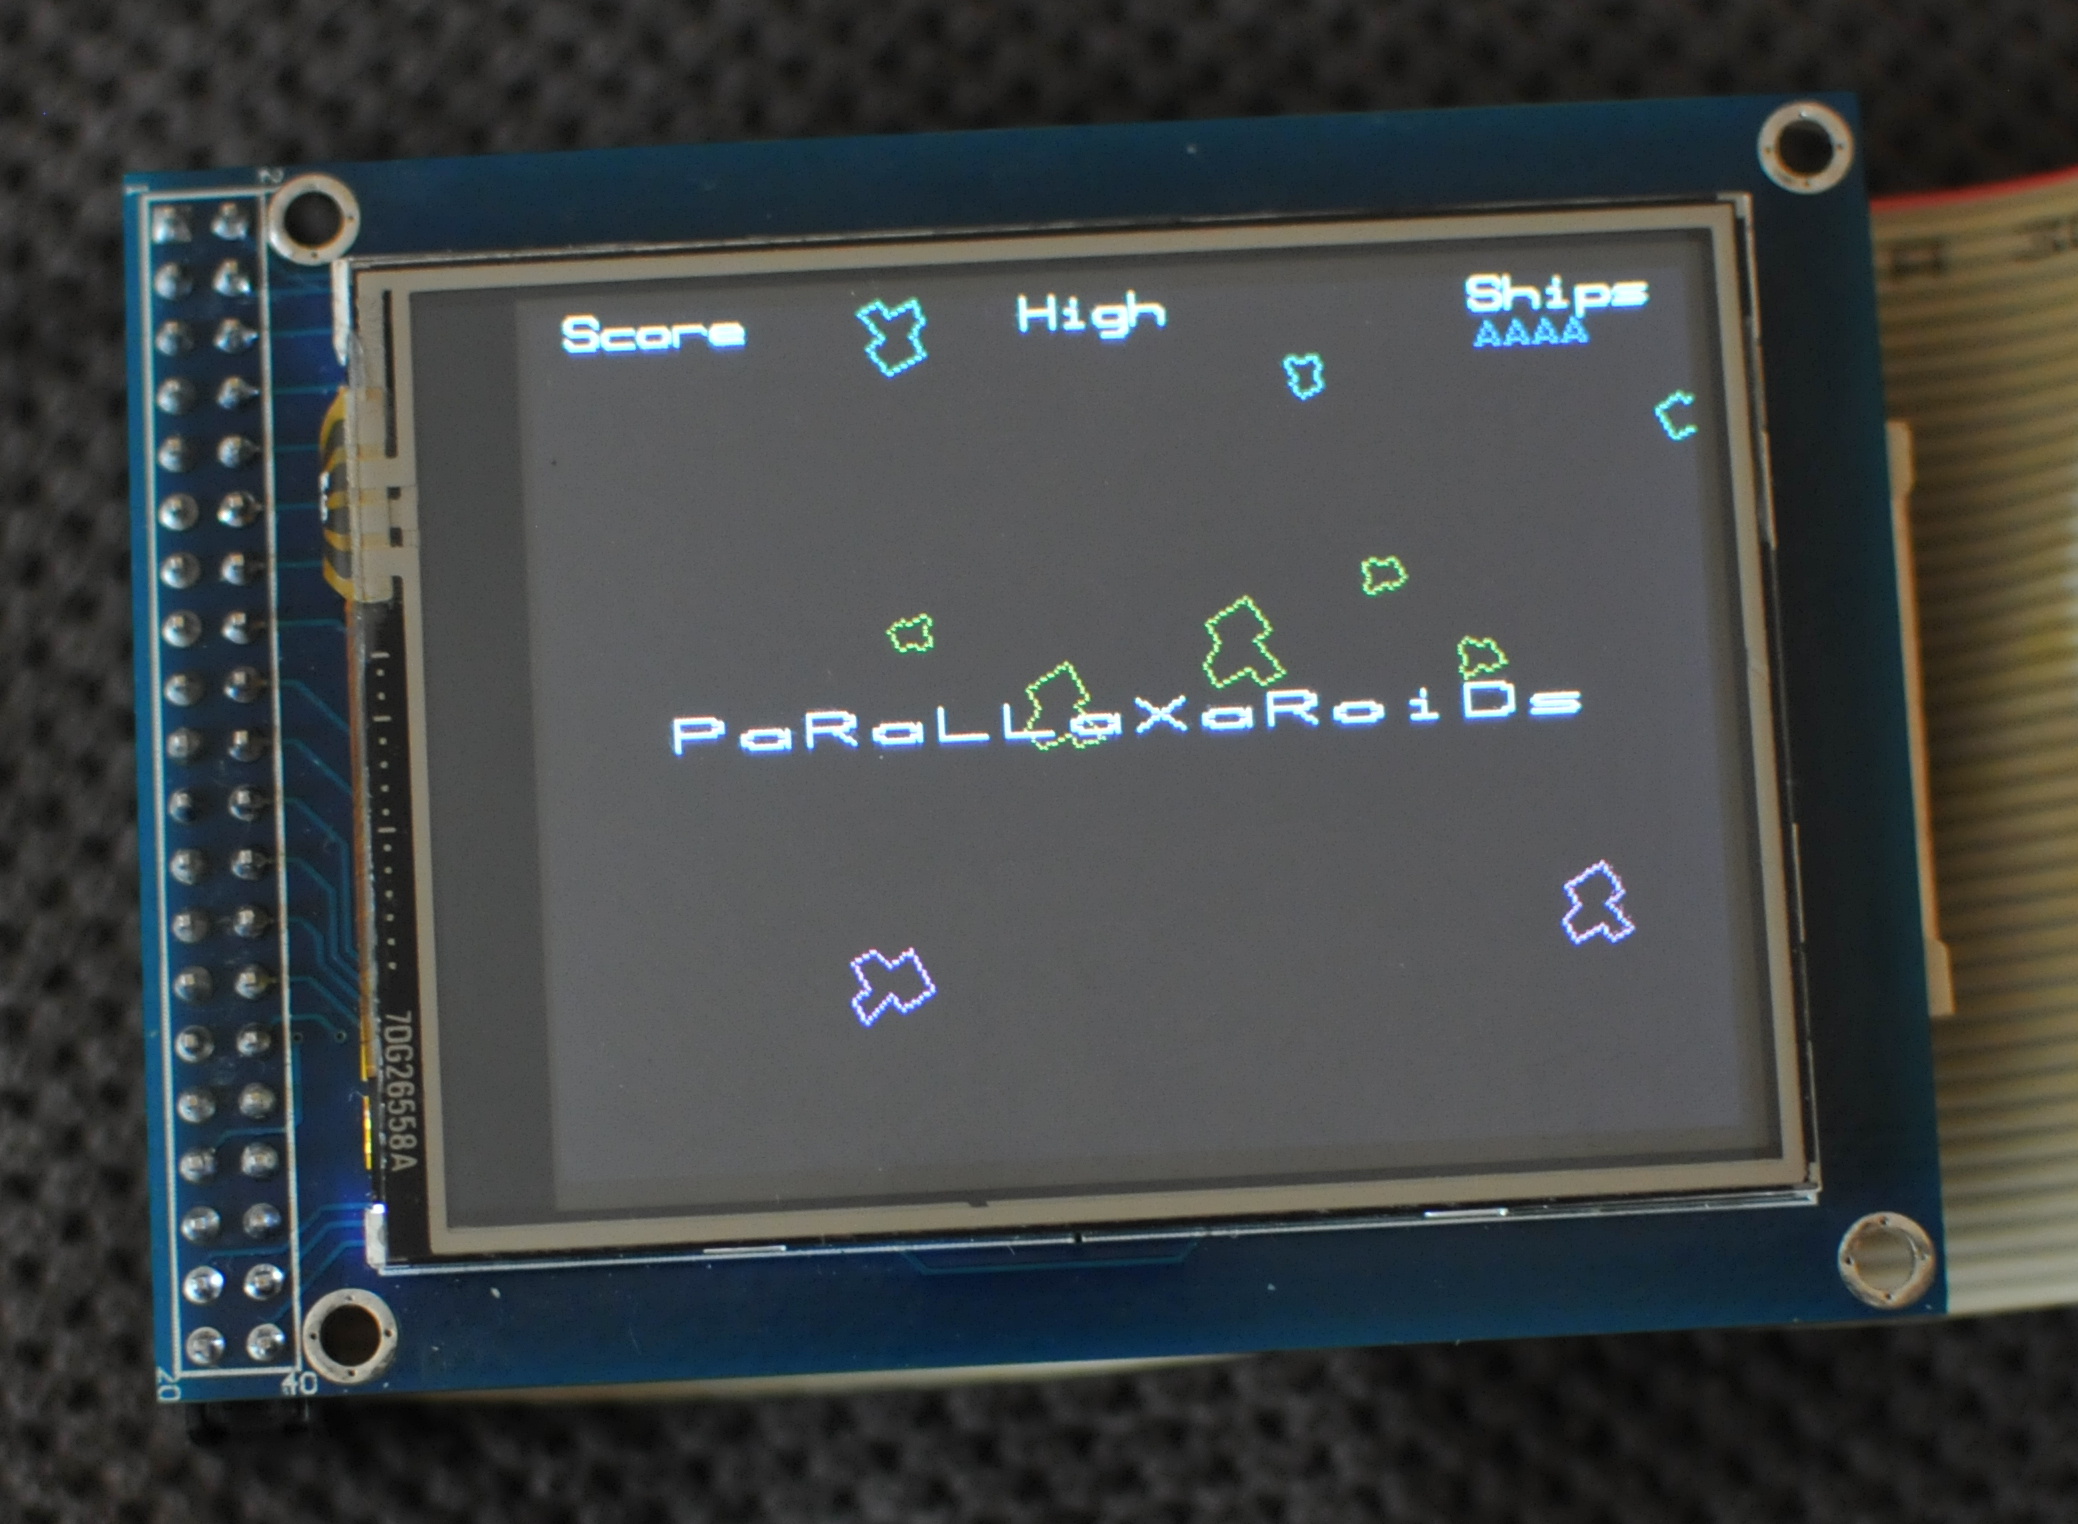
Your LCD is all wired up - the next question is what you want to put on it.

Creating a text display with the Propeller doesn't take a lot of code or memory. First, make sure the Propeller Tool is installed on your computer (Instructions for Mac/Linux/Windows), then unzip this file into a new folder on your desktop.
Make a blank file in the folder you just created called 'text.spin'. Plug your QuickStart board into your computer and open text.spin in the Propeller Tool. Enter this program;

The first two lines (
The next line starts the display and the PSM_TV_Text object documents all of the functions available; You've got

The TV_Text object is great for displaying text, and the TV_Graphics is useful for drawing shapes and polygons on the screen. You can use it to display data, make little videogames (like Asteroids, above) or do animations.
Setup is a little more complicated, though. First, grab this file and unzip it into a new folder on your desktop. Then, download this file and put it in your new directory. Open it up in The Propeller Tool — here's the main code for a simple display program;

We're doing a little simple animation by incrementing the variable
Finally, when we're done setting up the next frame,
Displaying Basic Text

Creating a text display with the Propeller doesn't take a lot of code or memory. First, make sure the Propeller Tool is installed on your computer (Instructions for Mac/Linux/Windows), then unzip this file into a new folder on your desktop.
Make a blank file in the folder you just created called 'text.spin'. Plug your QuickStart board into your computer and open text.spin in the Propeller Tool. Enter this program;

The first two lines (
dira[6] := 1 and outa[6] := 1 ) turn on the backlight, you only need to do this if you've connected the backlight to pin 6. The next line starts the display and the PSM_TV_Text object documents all of the functions available; You've got
text.str to display a string, text.newline to move the cursor to the next line, and so on.Graphics

The TV_Text object is great for displaying text, and the TV_Graphics is useful for drawing shapes and polygons on the screen. You can use it to display data, make little videogames (like Asteroids, above) or do animations.
Setup is a little more complicated, though. First, grab this file and unzip it into a new folder on your desktop. Then, download this file and put it in your new directory. Open it up in The Propeller Tool — here's the main code for a simple display program;

We're doing a little simple animation by incrementing the variable
tri. Once it gets above 60, we reset it to 0 to keep the animating triangle on the screen. Then, we set the color and width of the line we're about to draw with gr.colorwidth(1,1). The first argument sets the color, the second sets the width. gr.tri draws a solid triangle on the screen. The first two arguments are the x and y coordinates for the first point, the second two are x and y for the second point, and the third pair of arguments set the final point in the triangle. Finally, when we're done setting up the next frame,
tv.UpdateLcd(true) updates the LCD with our new frame. the Graphics object includes methods to draw;
-
Arcs with
gr.arc -
Single pixels with
gr.plot -
text strings with
gr.text - boxes, polygons, and more
Using It: Touchscreen
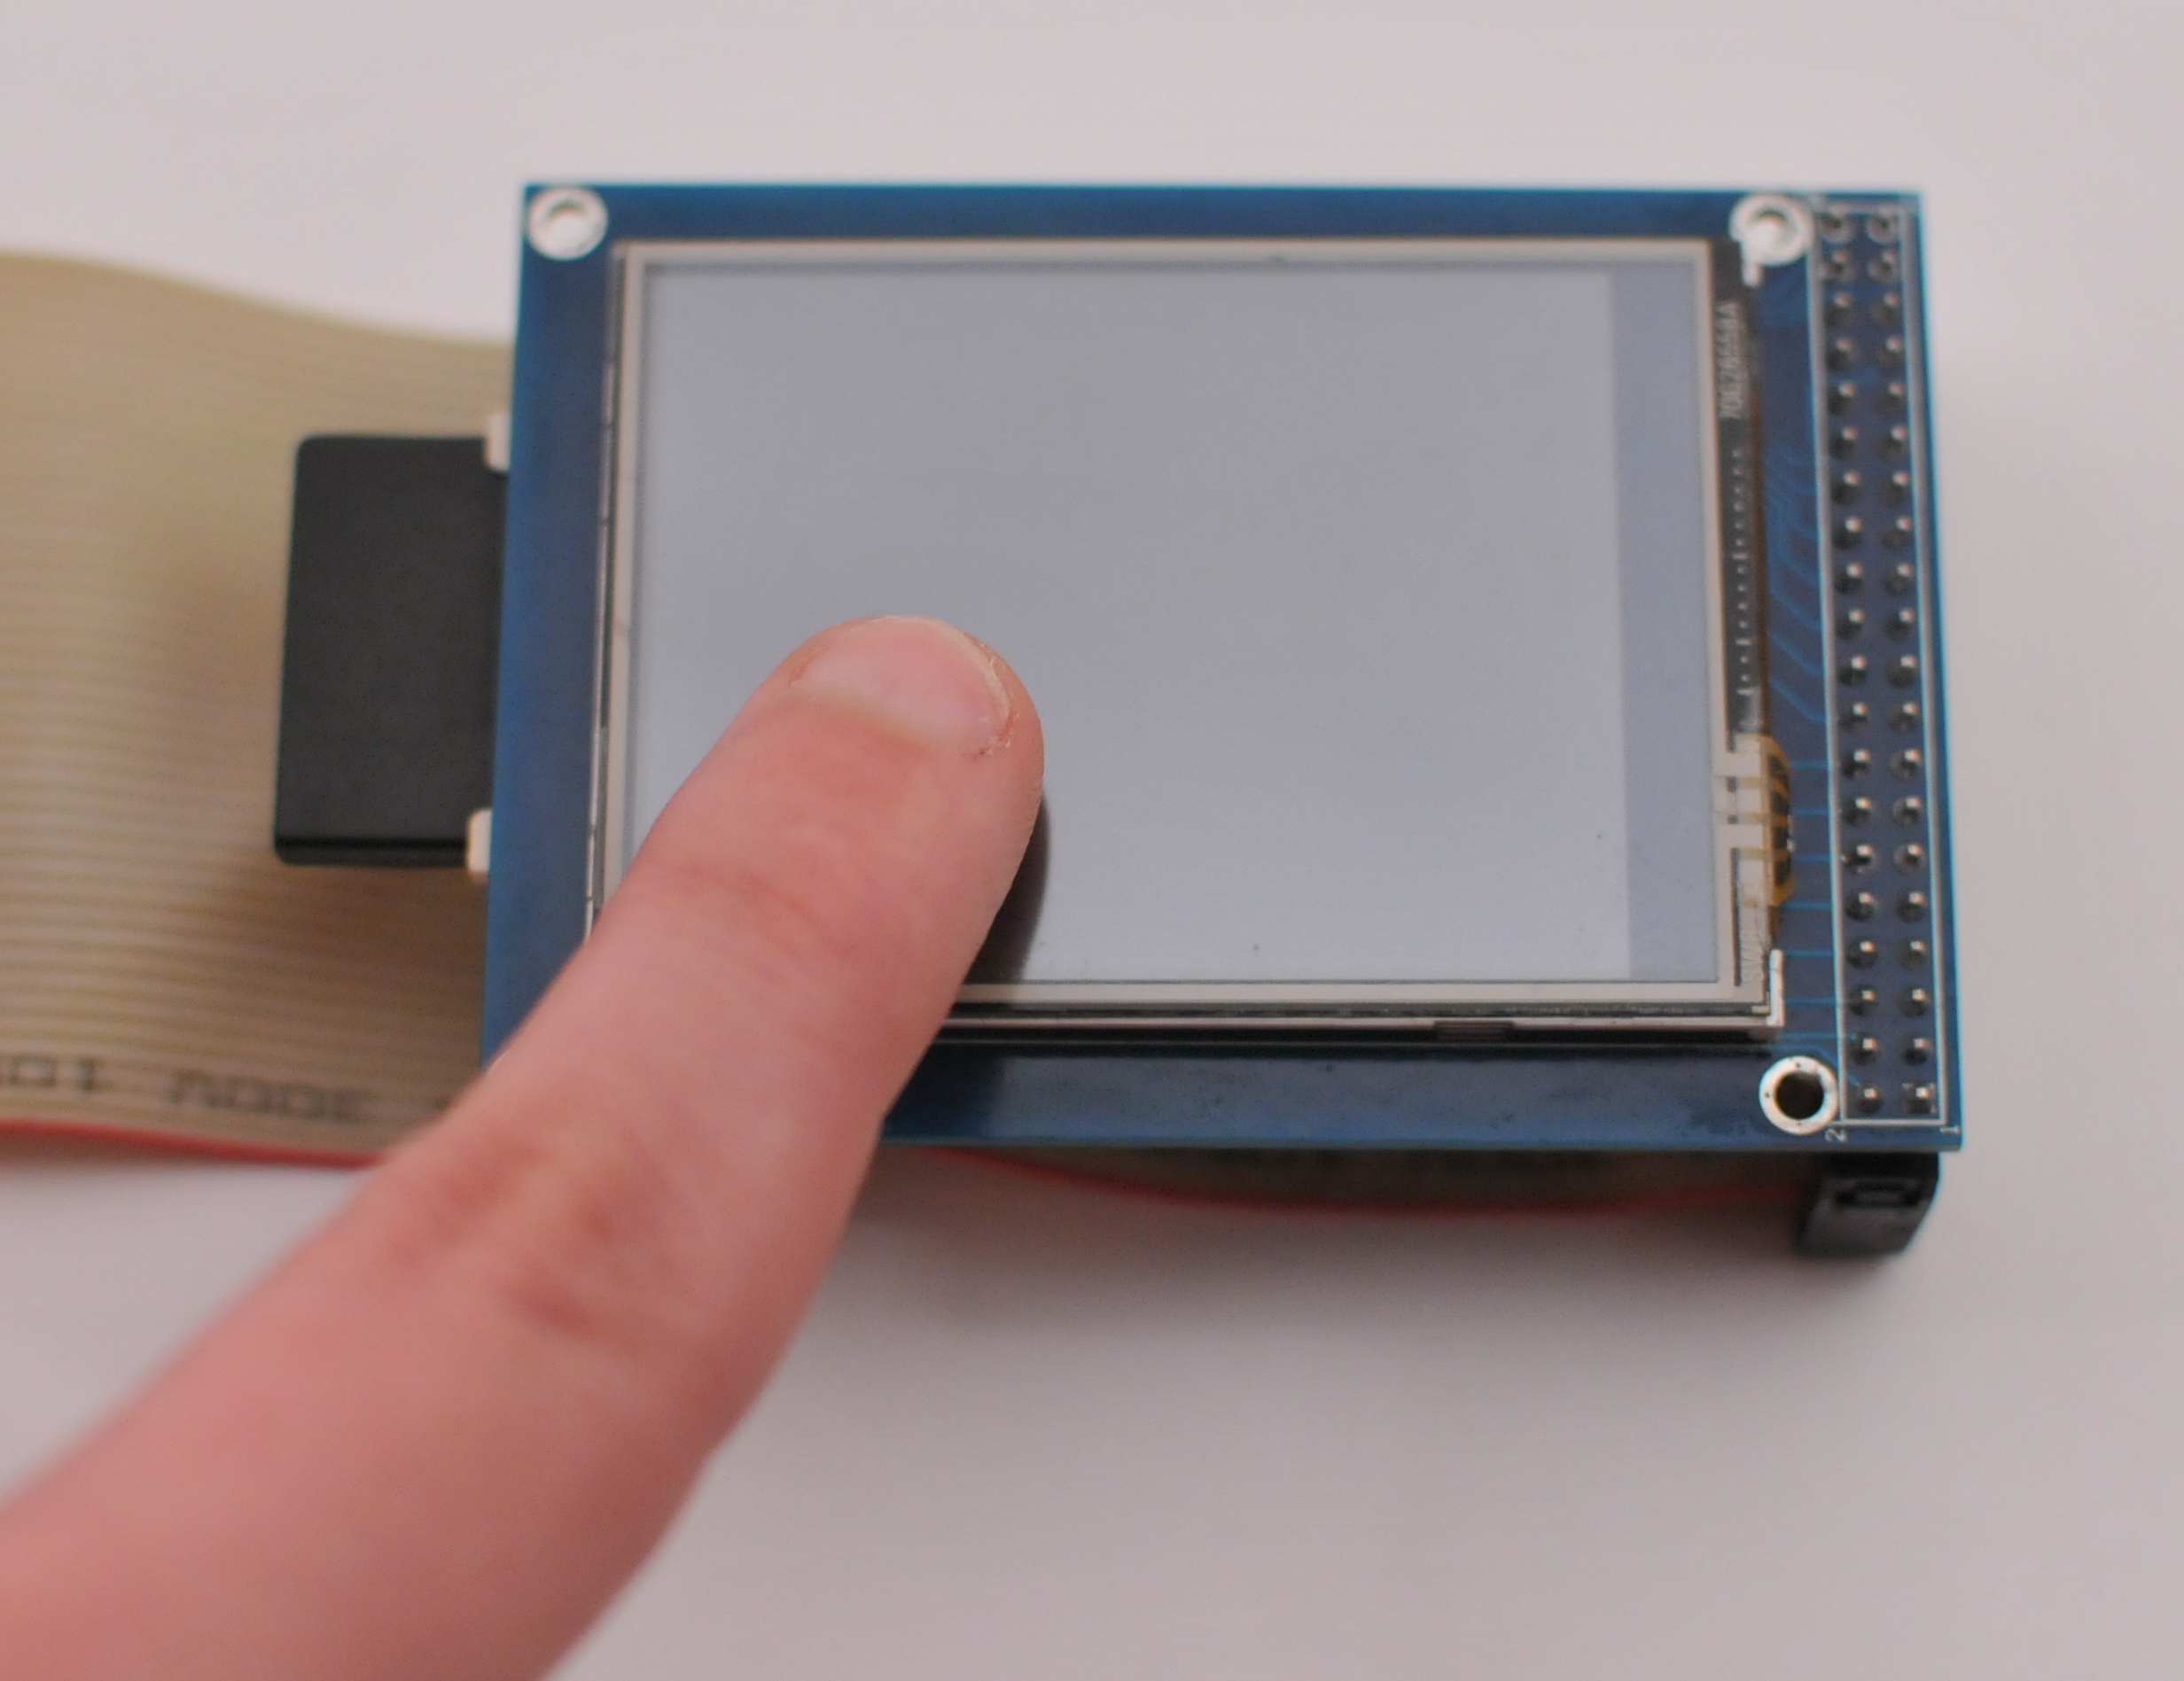
If you want to read user input, you'll need to read the ADS7843 touchscreen reader. It reports 3 things;

first, start the touchscreen object with
- If the screen has been touched
- The X position (vertical) of the touch
- The Y position (horizontal) of the touch

first, start the touchscreen object with
touch.start. Then, whenever touch.wastouched is true, you know there's been a touch event. touch.getx and touch.gety store the X and Y position of the touch. Using It: SD Card
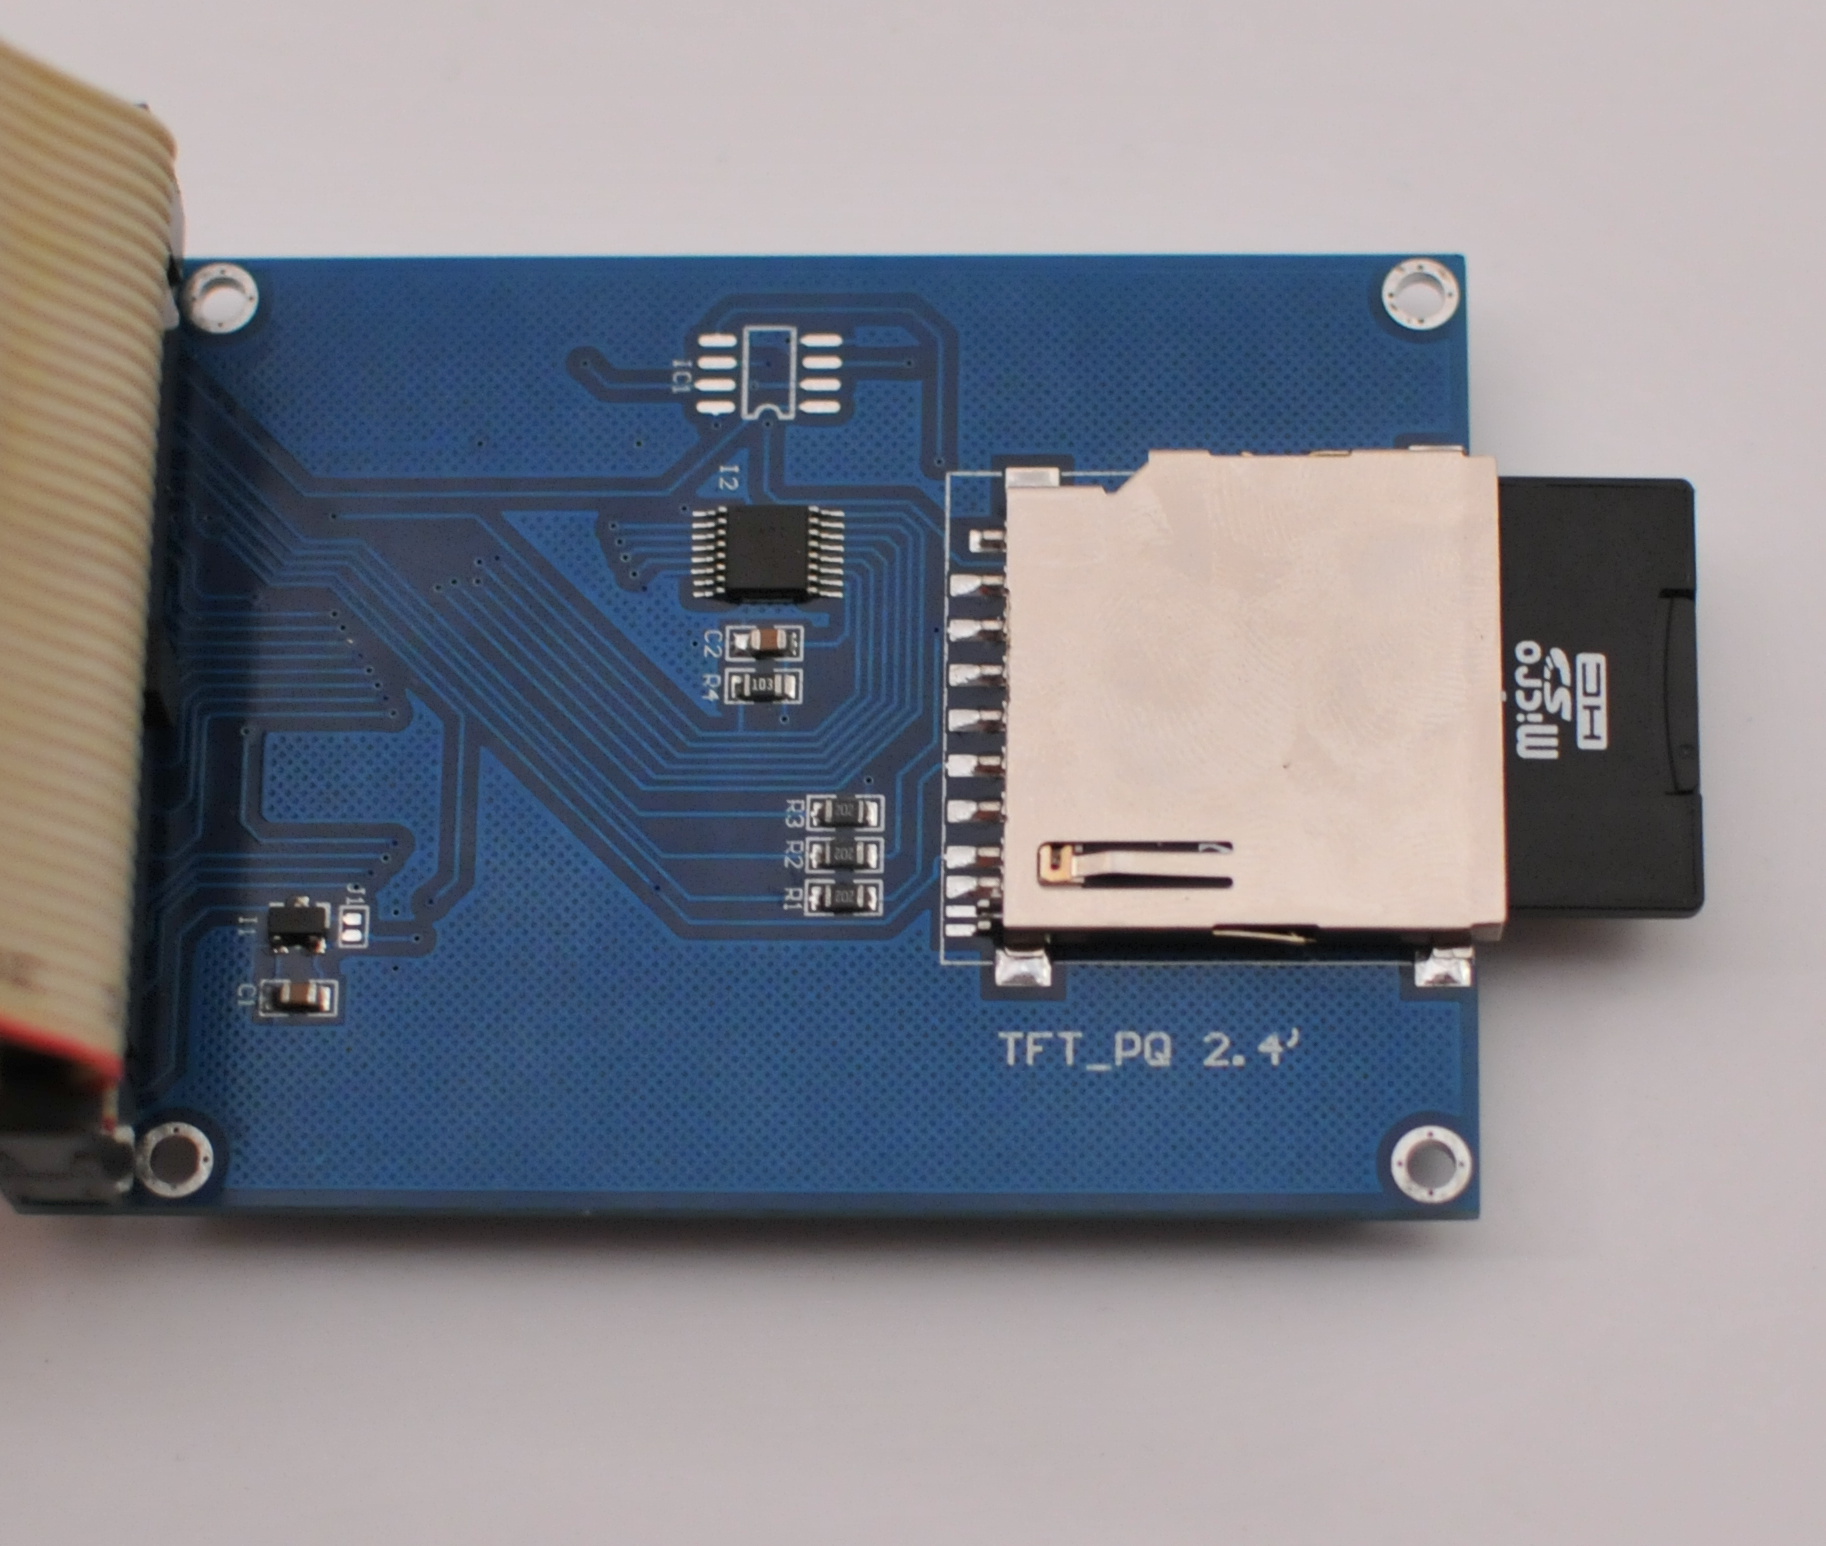
The touchscreen contains a handy SD card slot, it's connected to P0...P3 on the QuickStart. You can use any standard SD / SDHC memory card, too. We did full tutorials on writing to and reading from SD cards, but here's a quick guide to get you started;

Our program starts by setting the clockspeed of the Propeller - 80Mhz. Then, we make sure to include the fsrw library in the OBJ section. Now our program begins;
When we've read through the whole file,

Both programs have a lot in common - first we set the clock speed of the Propeller, mount the SD card and open a file. The first difference is we use
To write data, we use
Download the files
You'll need the fsrw object to read/write SD cards. Unzip it to a new directory on your desktop. Also included is some dummy data - copy data.txt to your SD card and insert the card into the touchscreenReading from SD
Here's a sample program;
Our program starts by setting the clockspeed of the Propeller - 80Mhz. Then, we make sure to include the fsrw library in the OBJ section. Now our program begins;
sdfat.mount(0) attempts to mount an SD card connected on P0..P3. If it's successful, it returns true, otherwise, false is returned. Our program ignores the result, but we could use that to trigger some error message like 'No SD Card Found'. sdfat.popen(string("data.txt"), "r") opens a file stored in the root directory of our SD card with the name 'data.txt'. The "r' tells fsrw that we want to open the file in read-only mode. This also returns true on success and false on failure, so we could trigger an error message if the file is not found. sdfat.pgetc returns the next character in the currently open file. In this instance, we're storing the character returned in the variable 'r'. Every time we call sdfat.pgetc, the file pointer goes to the next character. When we've read through the whole file,
sdfat.pgetc will return -1. That's why we check in this repeat loop if any number under 0 is returned. Then we know we've reached the end of file and we can move on.sdfat.pclose closes the currently open file. Once it's closed, we can open up another file by calling sdfat.popen and specifying the new file. Or we can unmount the SD card with sdfat.unmount.Write to an SD
Here's our sample program
Both programs have a lot in common - first we set the clock speed of the Propeller, mount the SD card and open a file. The first difference is we use
sdfat.popen(string("data.csv", "w"), the 'w' switch tells fsrw that we're opening the file in write mode and we want to store data in the file. If data.csv isn't on the root directory of the SD card, fsrw will create it. To write data, we use
sdfat.pputs(data). When we're done writing to the file, we can close it with sdfat.pclose. And sdfat.unmount unmounts the SD card. Next Steps
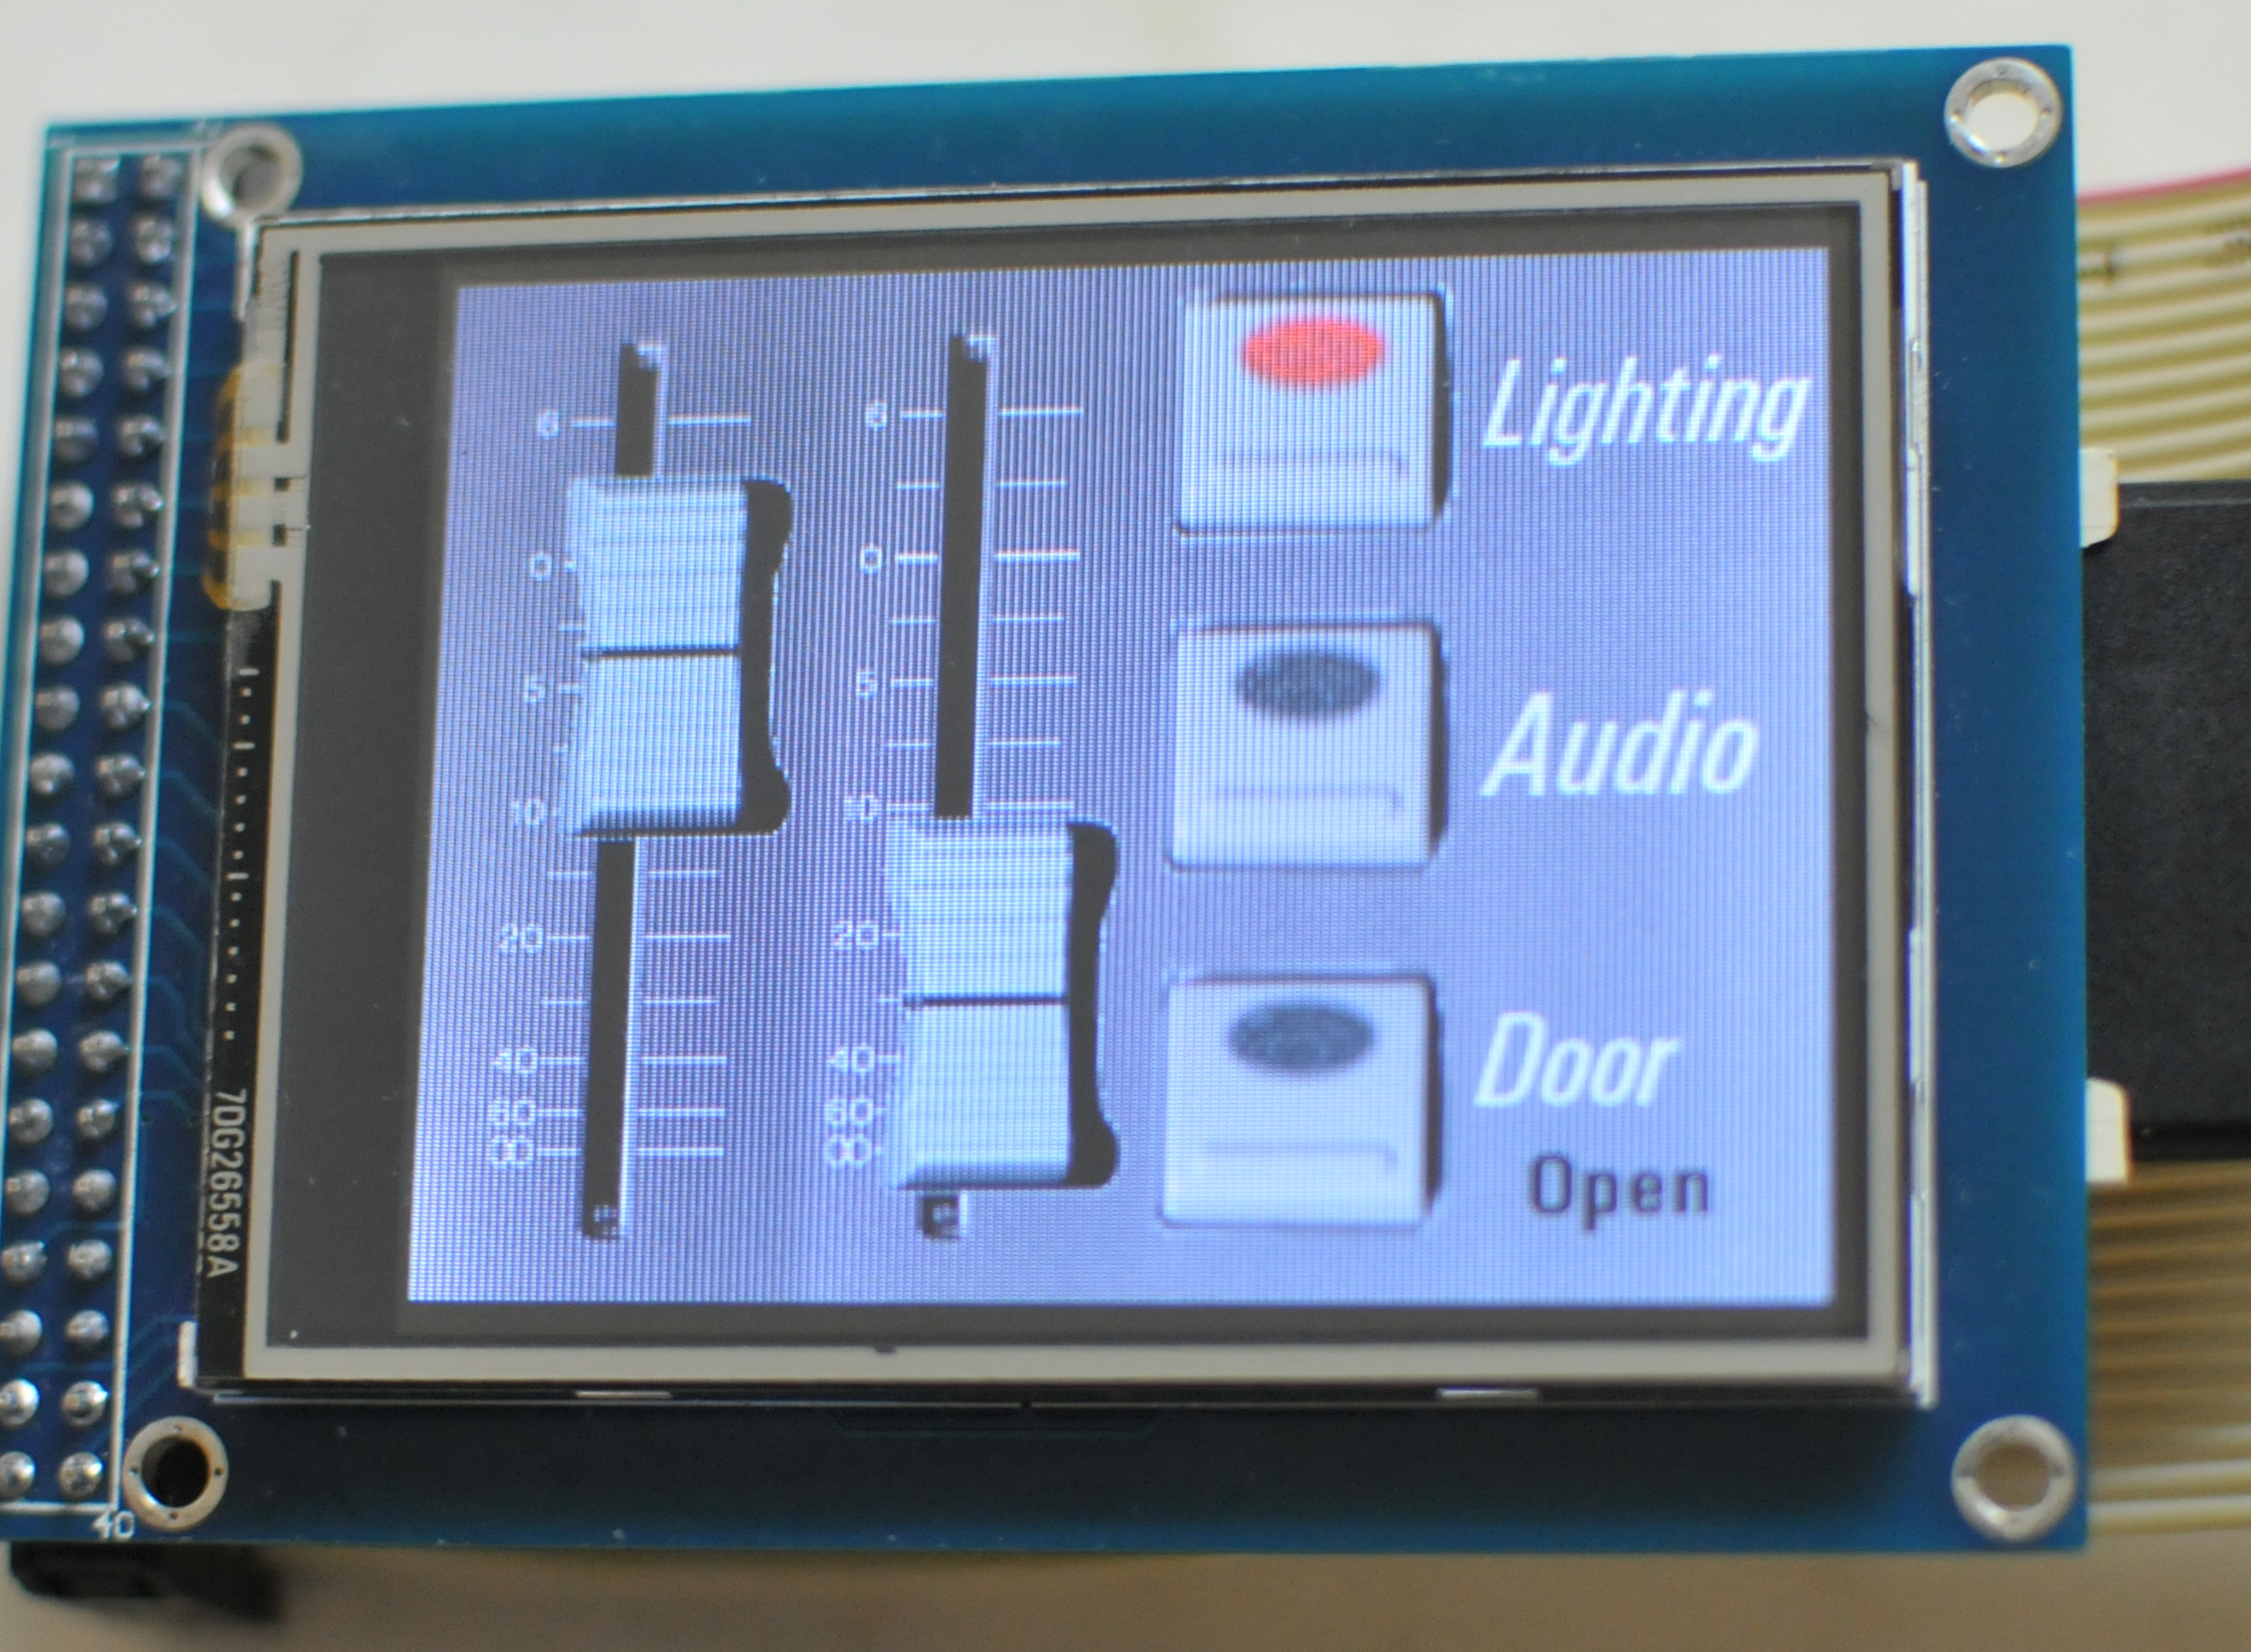
A touchscreen can really makes a project easier to use and more intuitive. When you combine it with the Propeller, you've still got plenty of I/O and memory for the rest of your project. Here are a few ideas on using your touchscreen;
Whatever you do, have fun with your touchscreen!
Data Display
The touchscreen can display text and graphical data using the graphics object - you can display real-time data like the status of sensors switches, or LED's. Data can be logged on the SD card, too.User Menu
The program chooser is a single level user menu, but you can build more complex menus using the graphics object or TV_Text.Remote Viewer
There's enough I/O on the Propeller to run an Ethernet connection - using the same principle as the webcam viewer, you can use the touchscreen to display images.Whatever you do, have fun with your touchscreen!