Add 3G to the Raspberry Pi: PiloT Assembly
by linkwavetech in Circuits > Raspberry Pi
927 Views, 3 Favorites, 0 Comments
Add 3G to the Raspberry Pi: PiloT Assembly
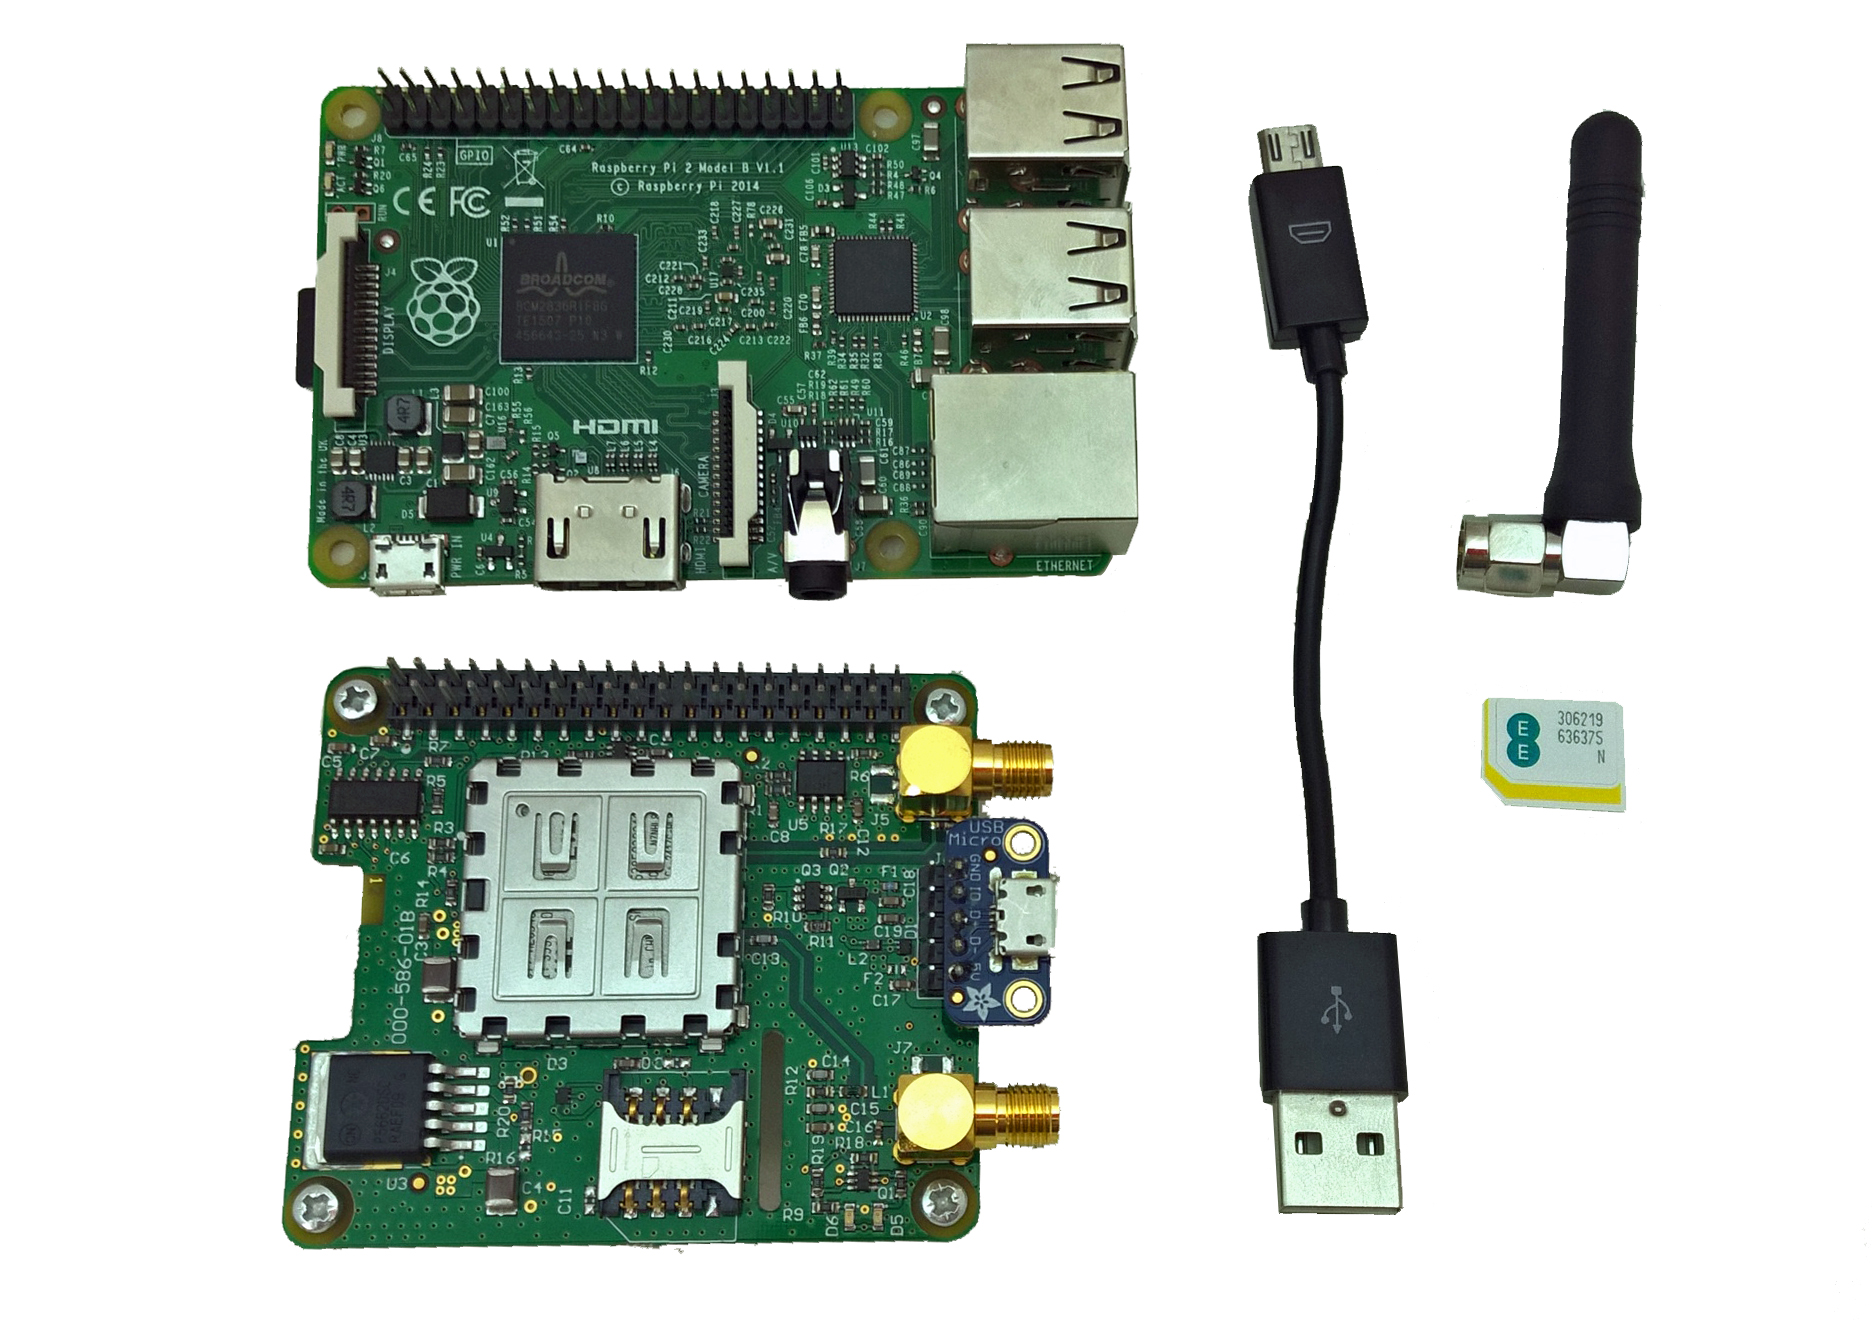
Box contents
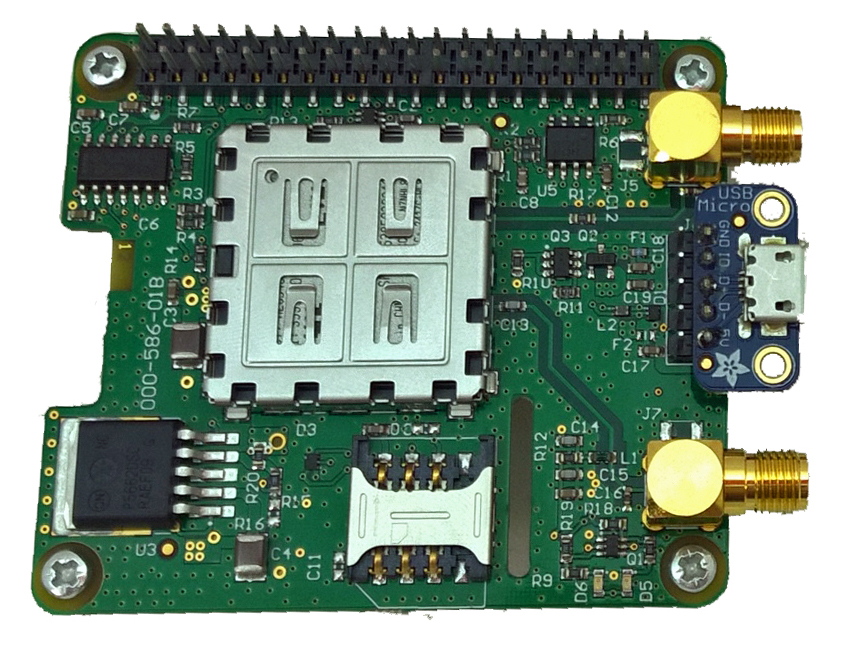
PiloT 3G HAT for Raspberry Pi (Click here to purchase, or to find out more about the PiloT)
Right-angled stub antenna
USB to Micro USB cable
Additional required equipment
Raspberry Pi 2
SIM card
#1 Pozidriv screwdriver
GPS/GNSS antenna (HL8548-G variant only) - click here for recommended antenna.
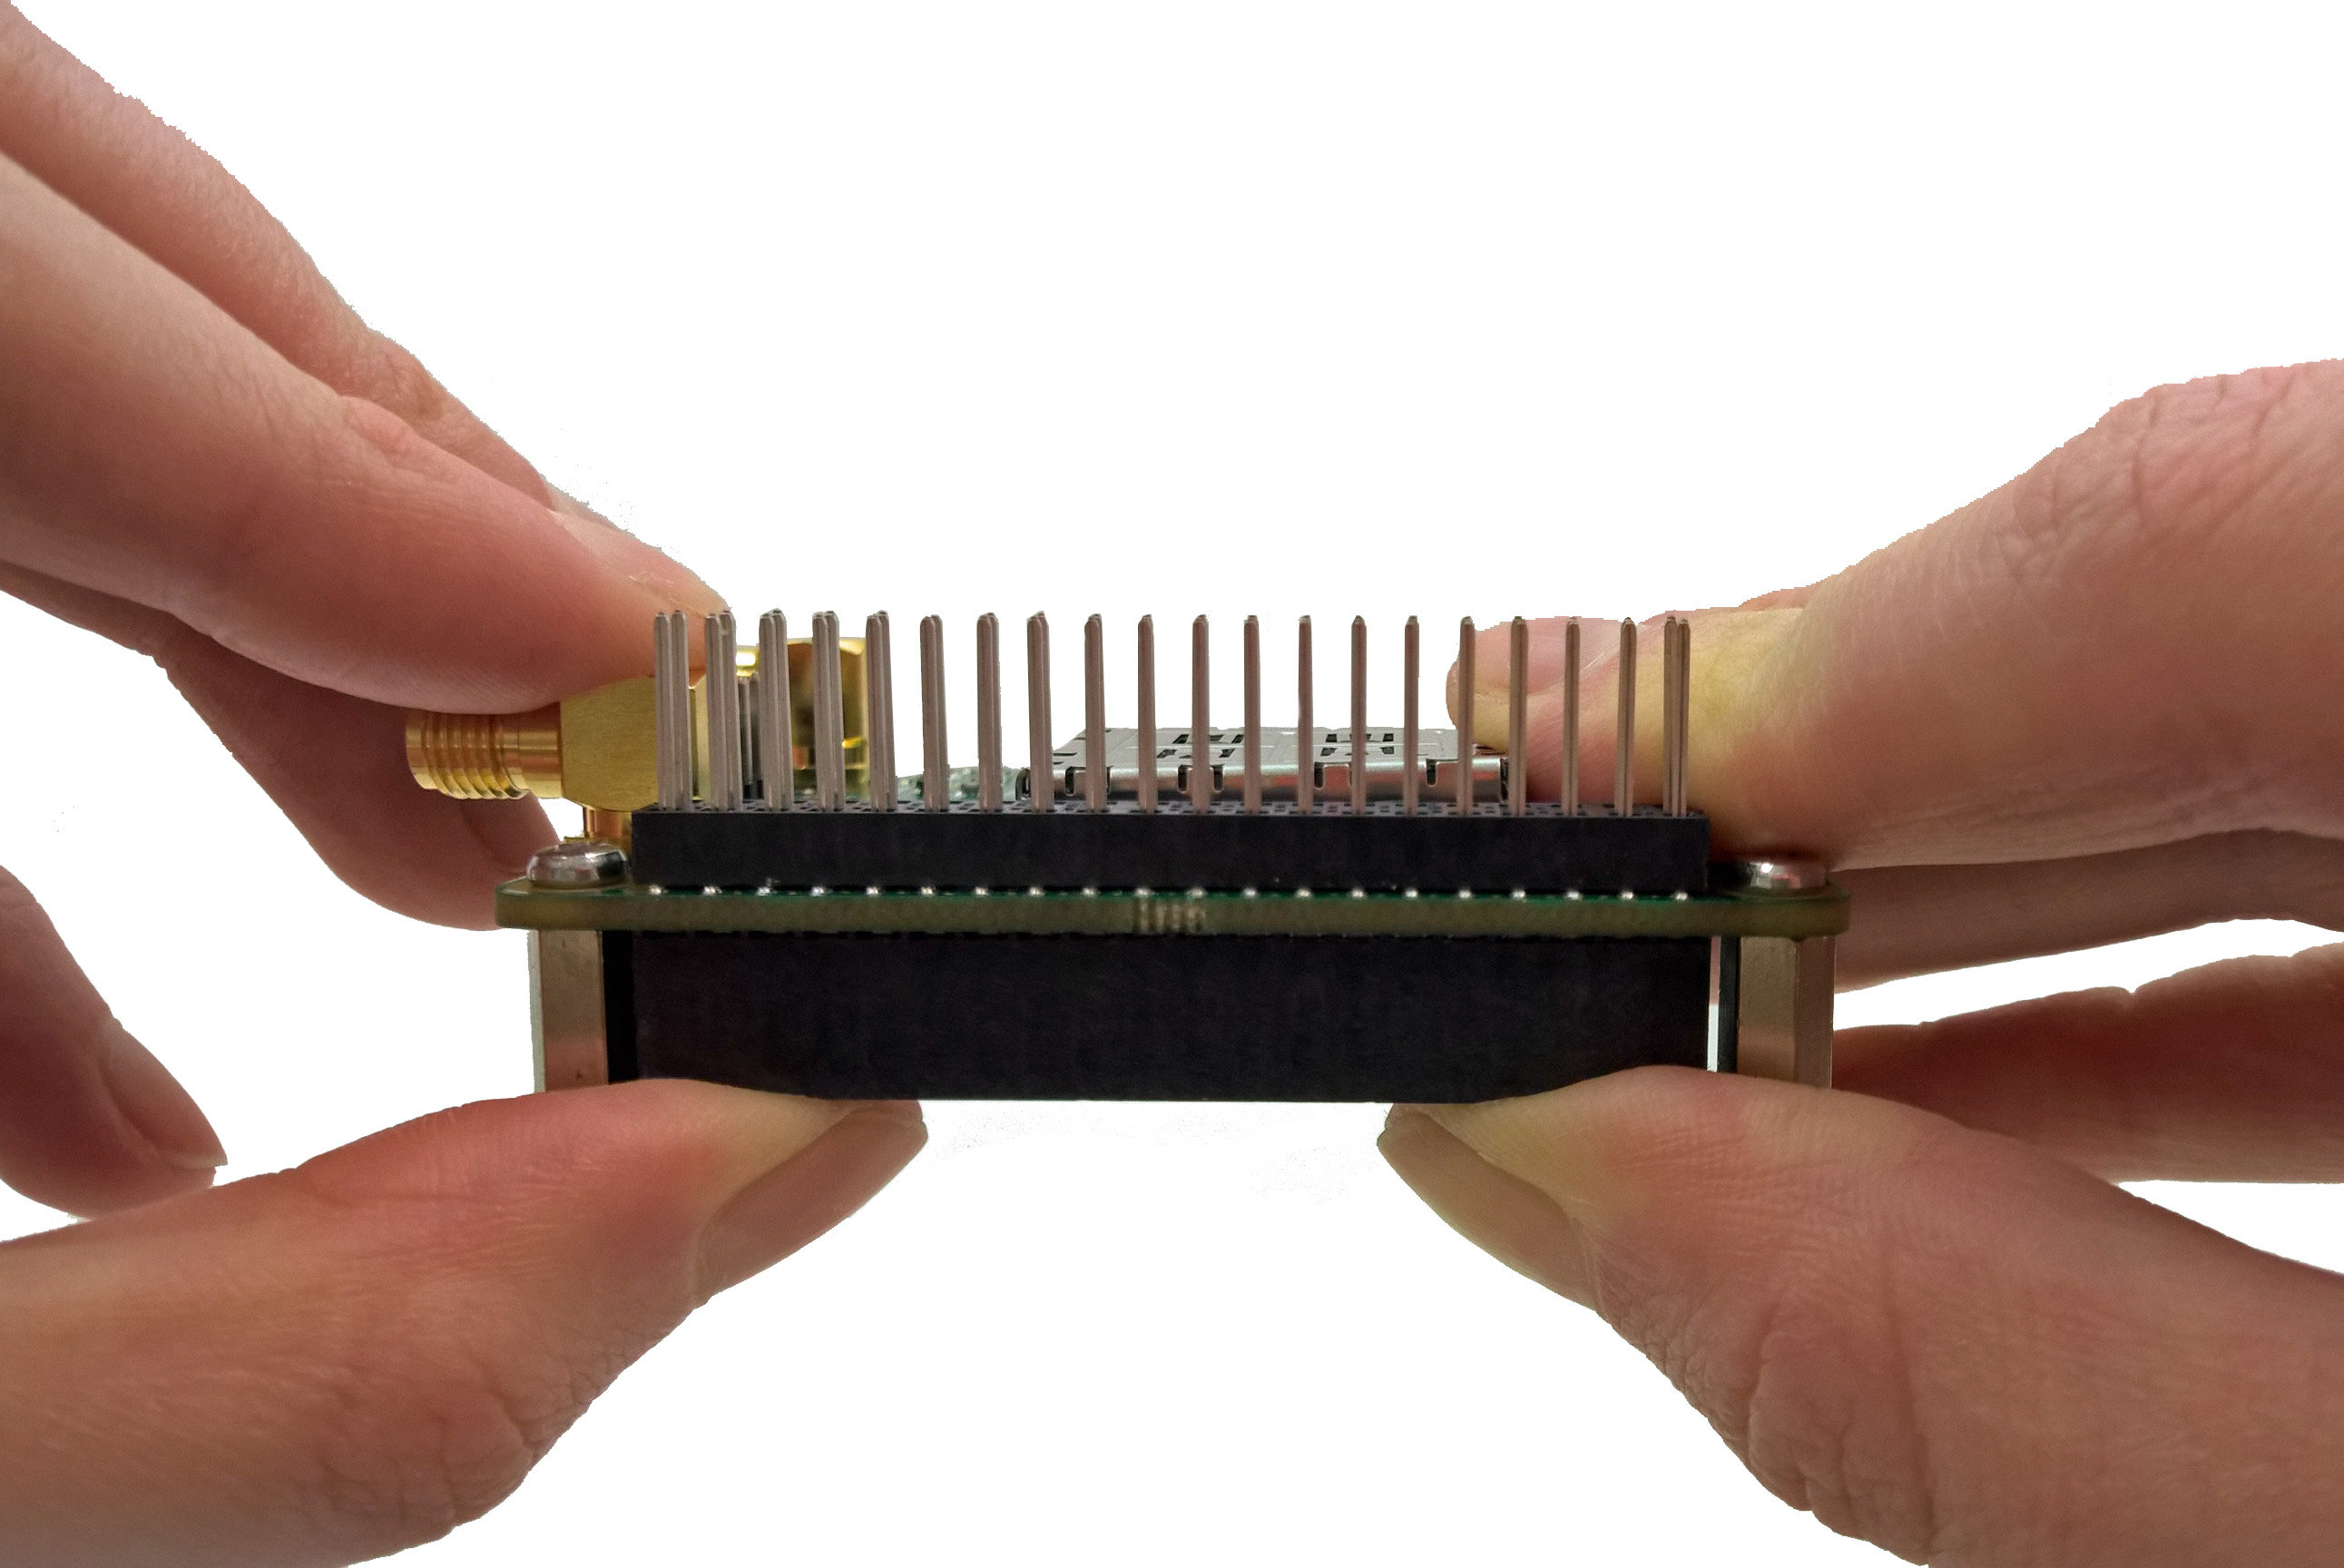
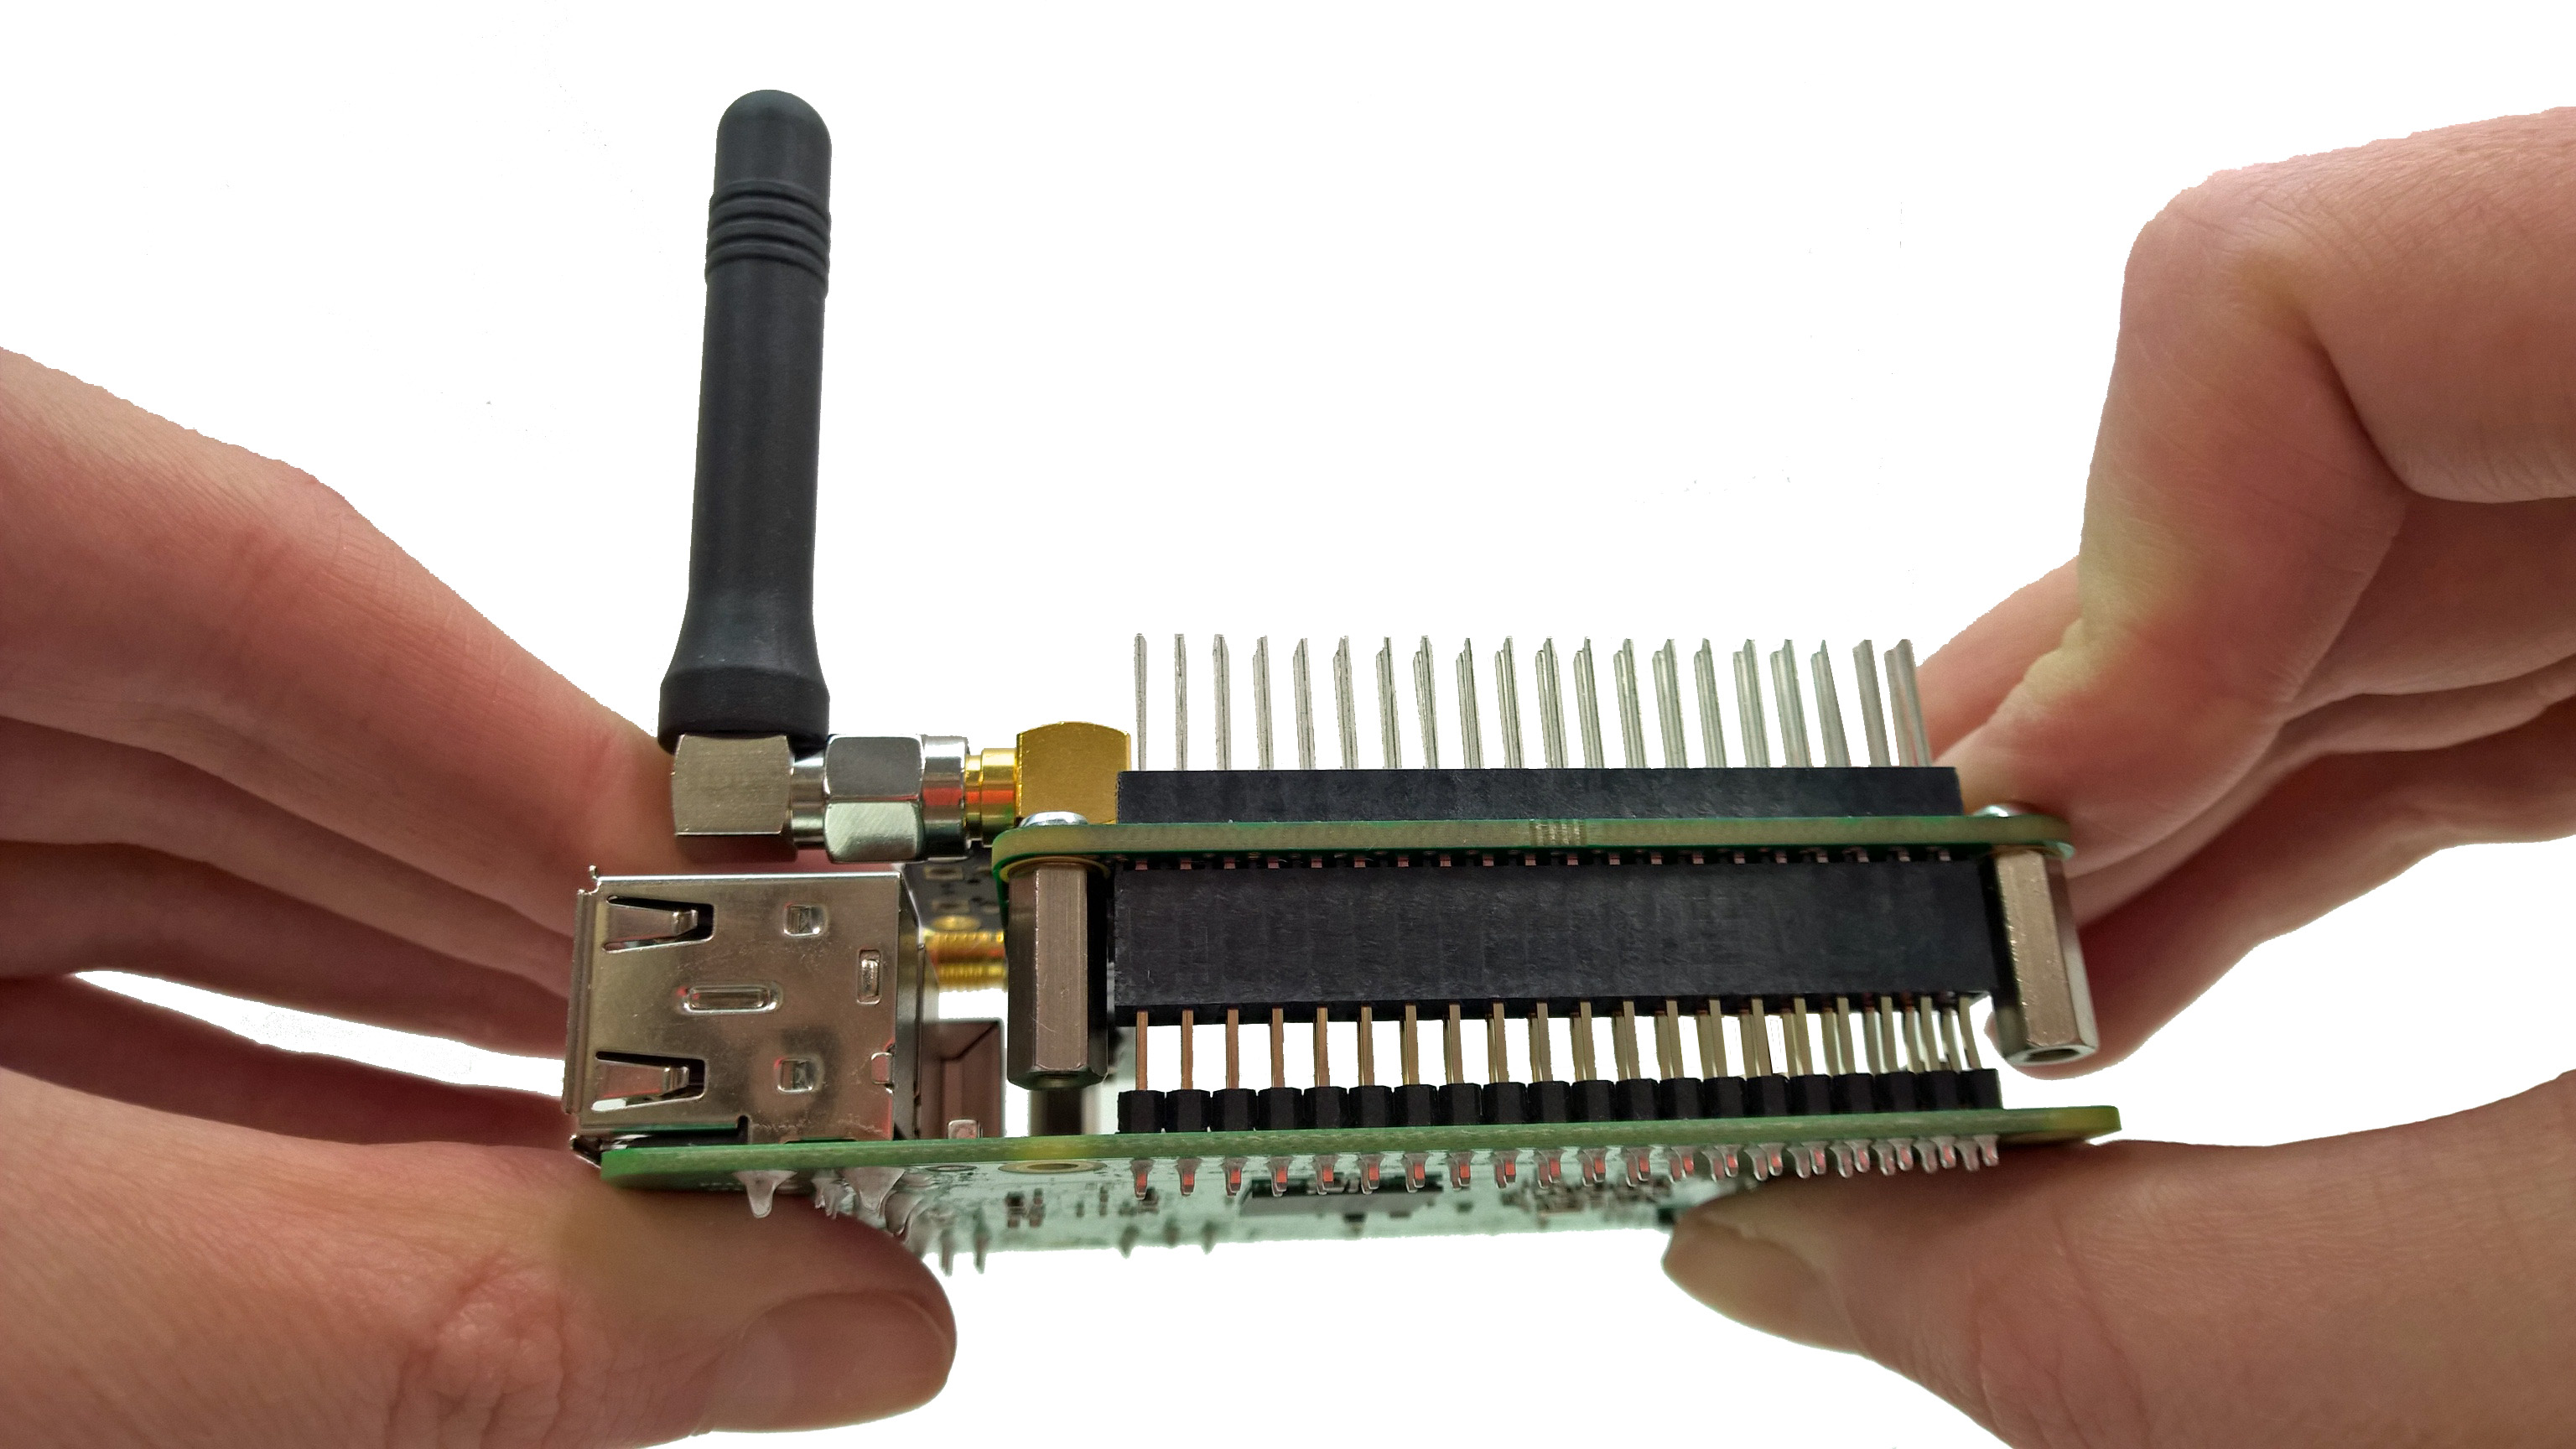
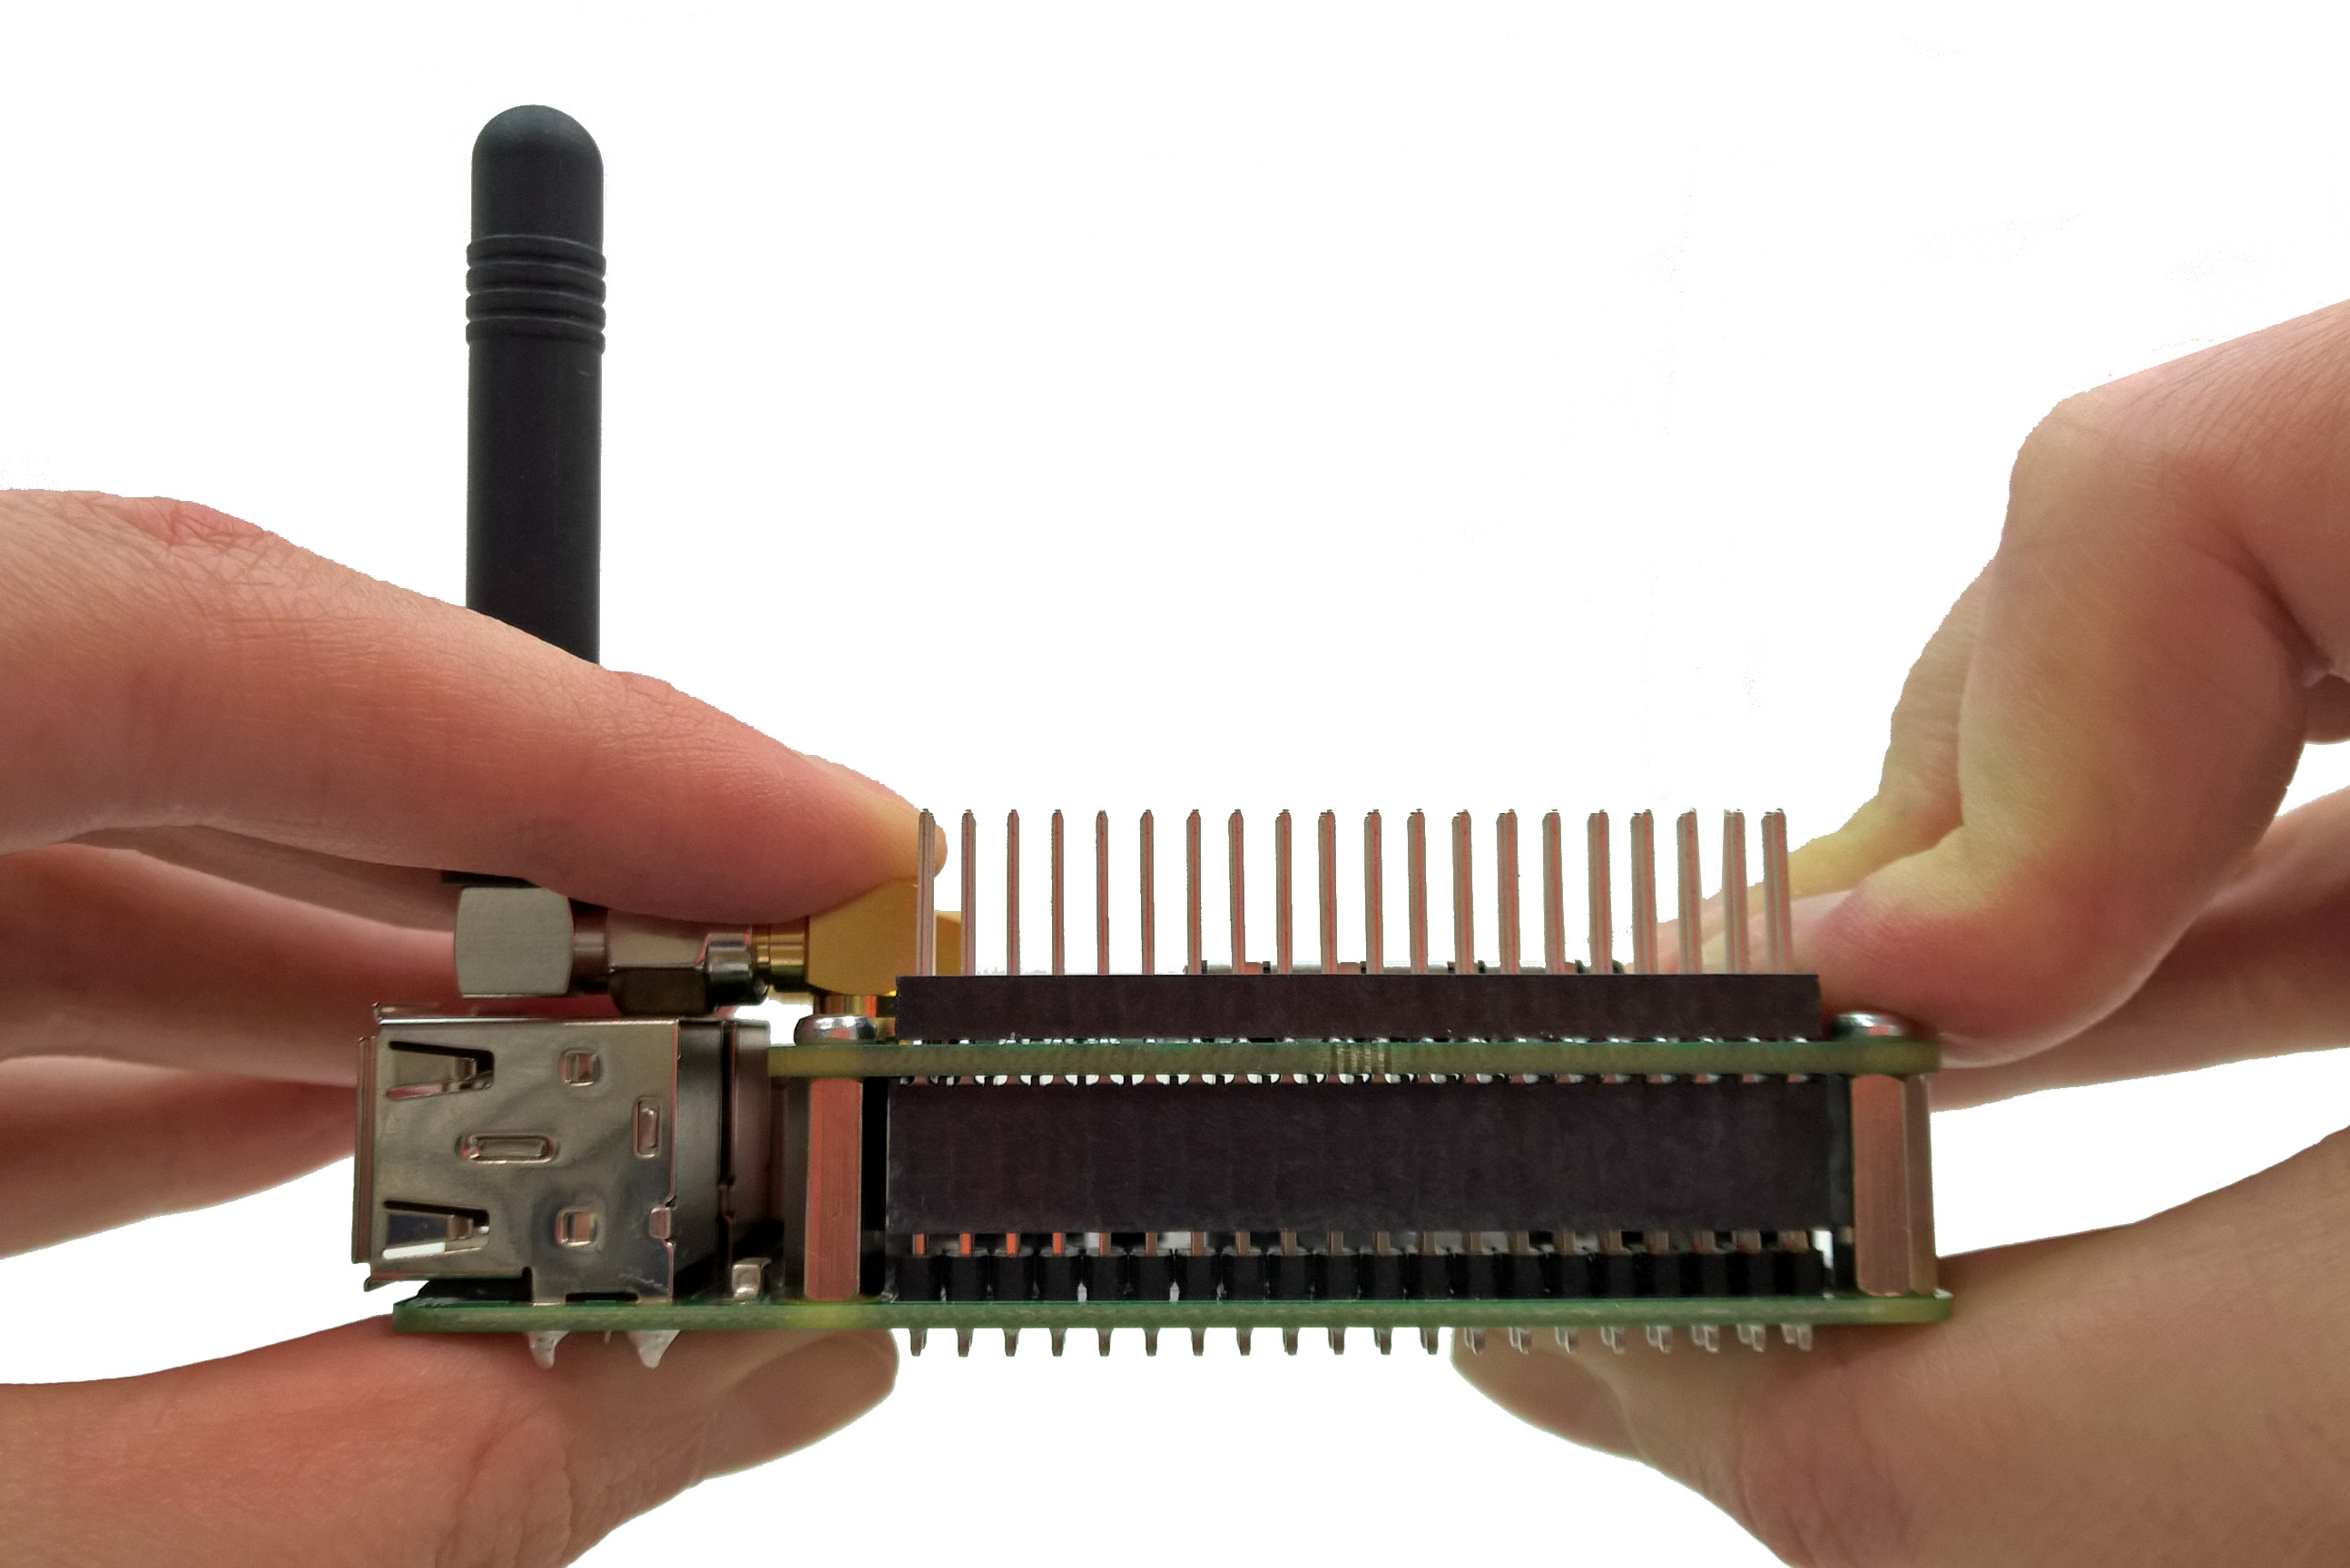
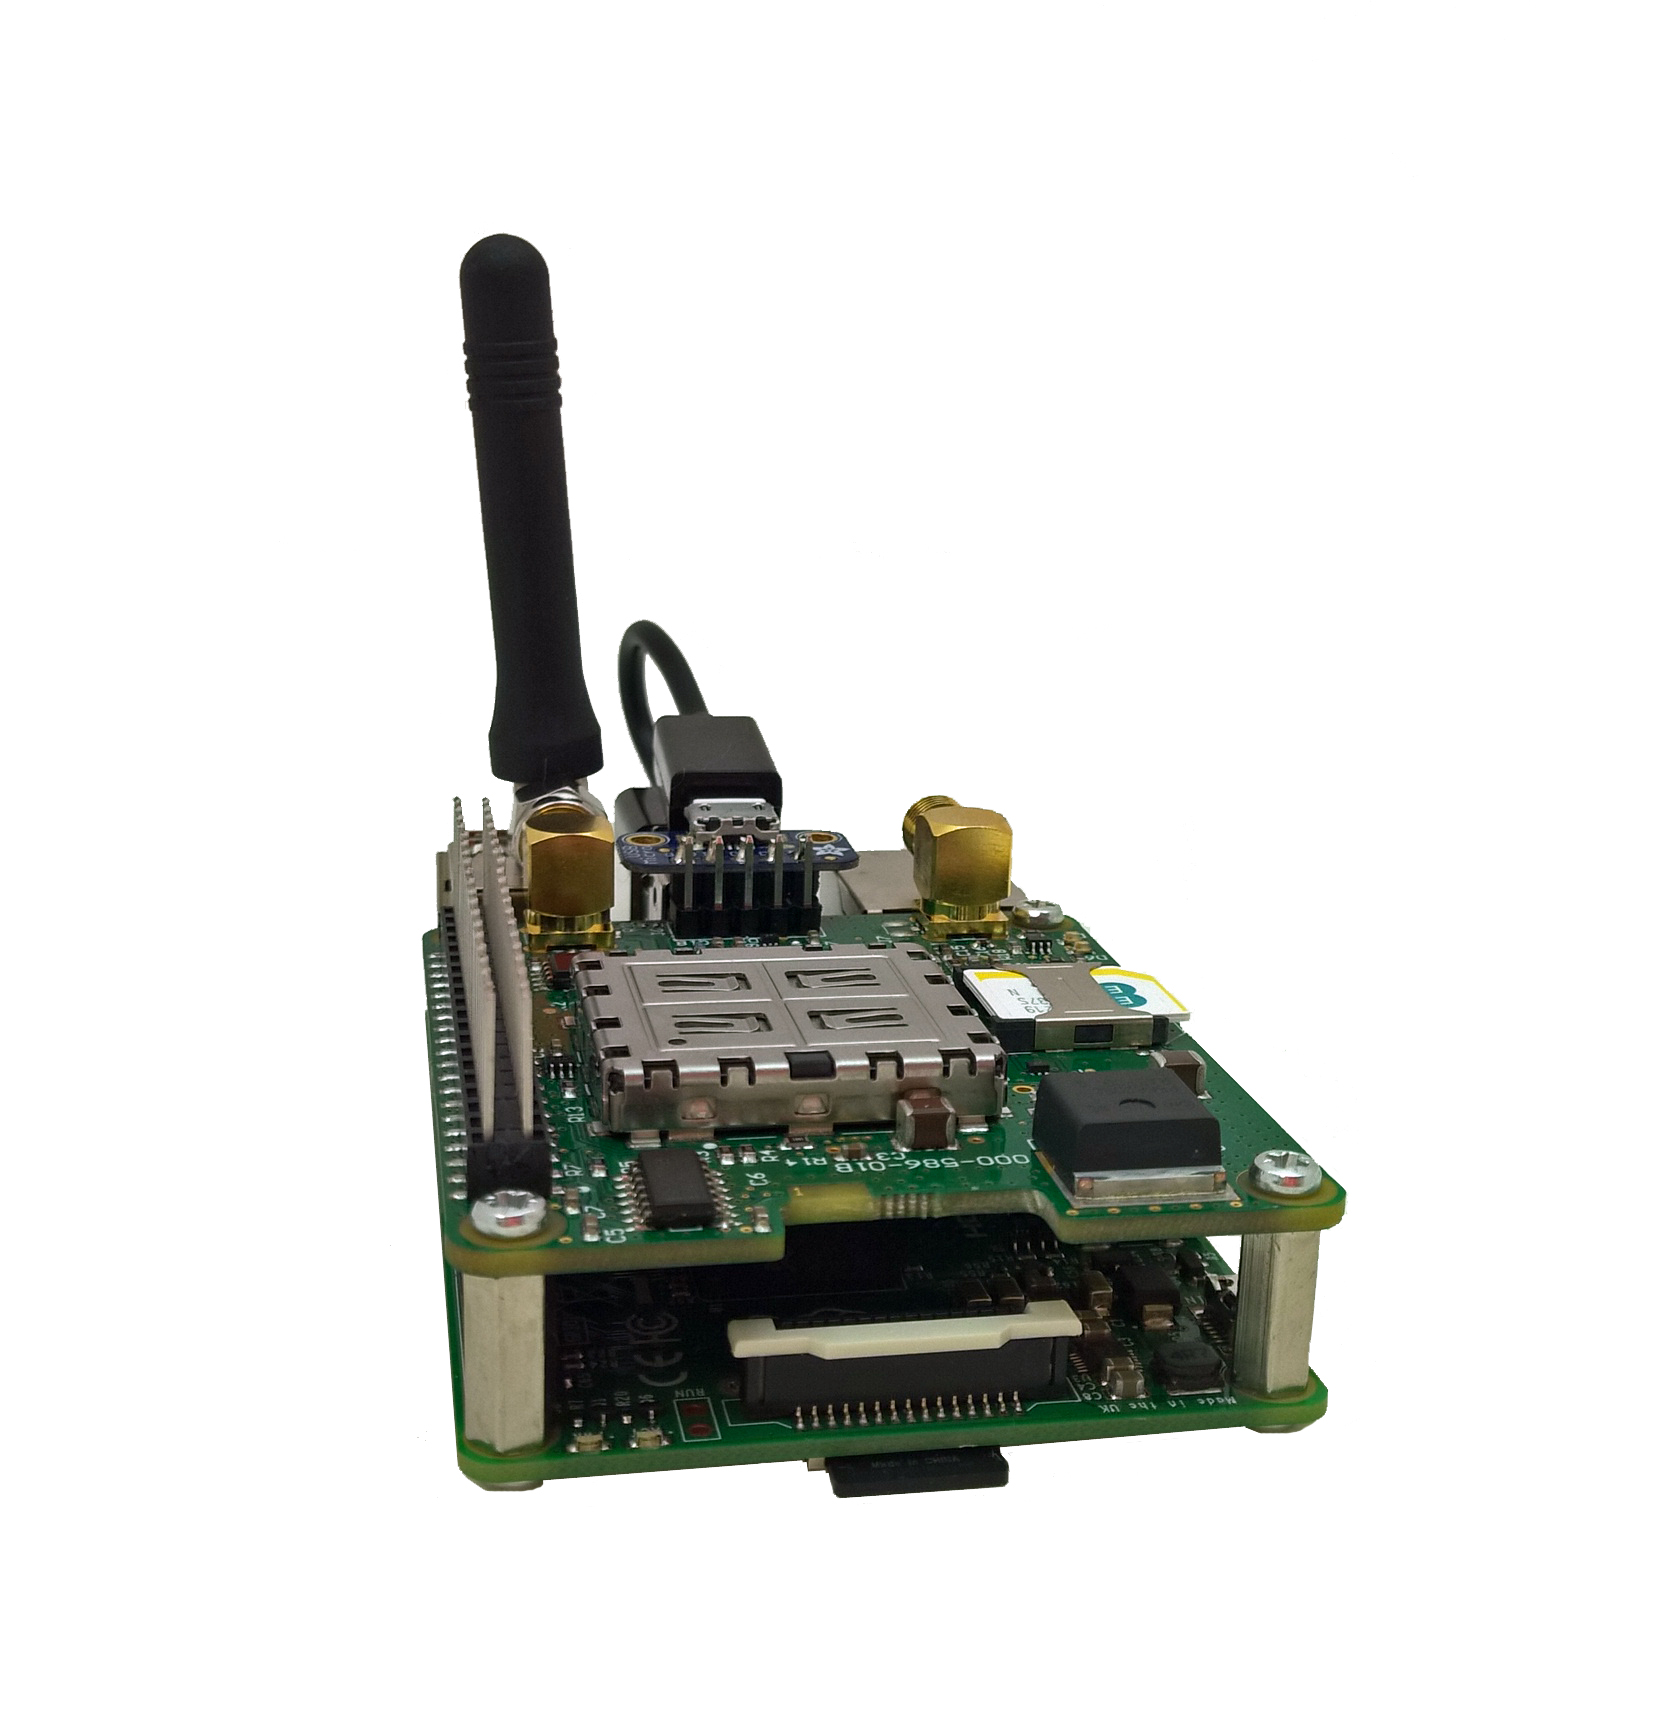
Gently Push the 40 Way Pins All the Way Through the Holes in the Socket.
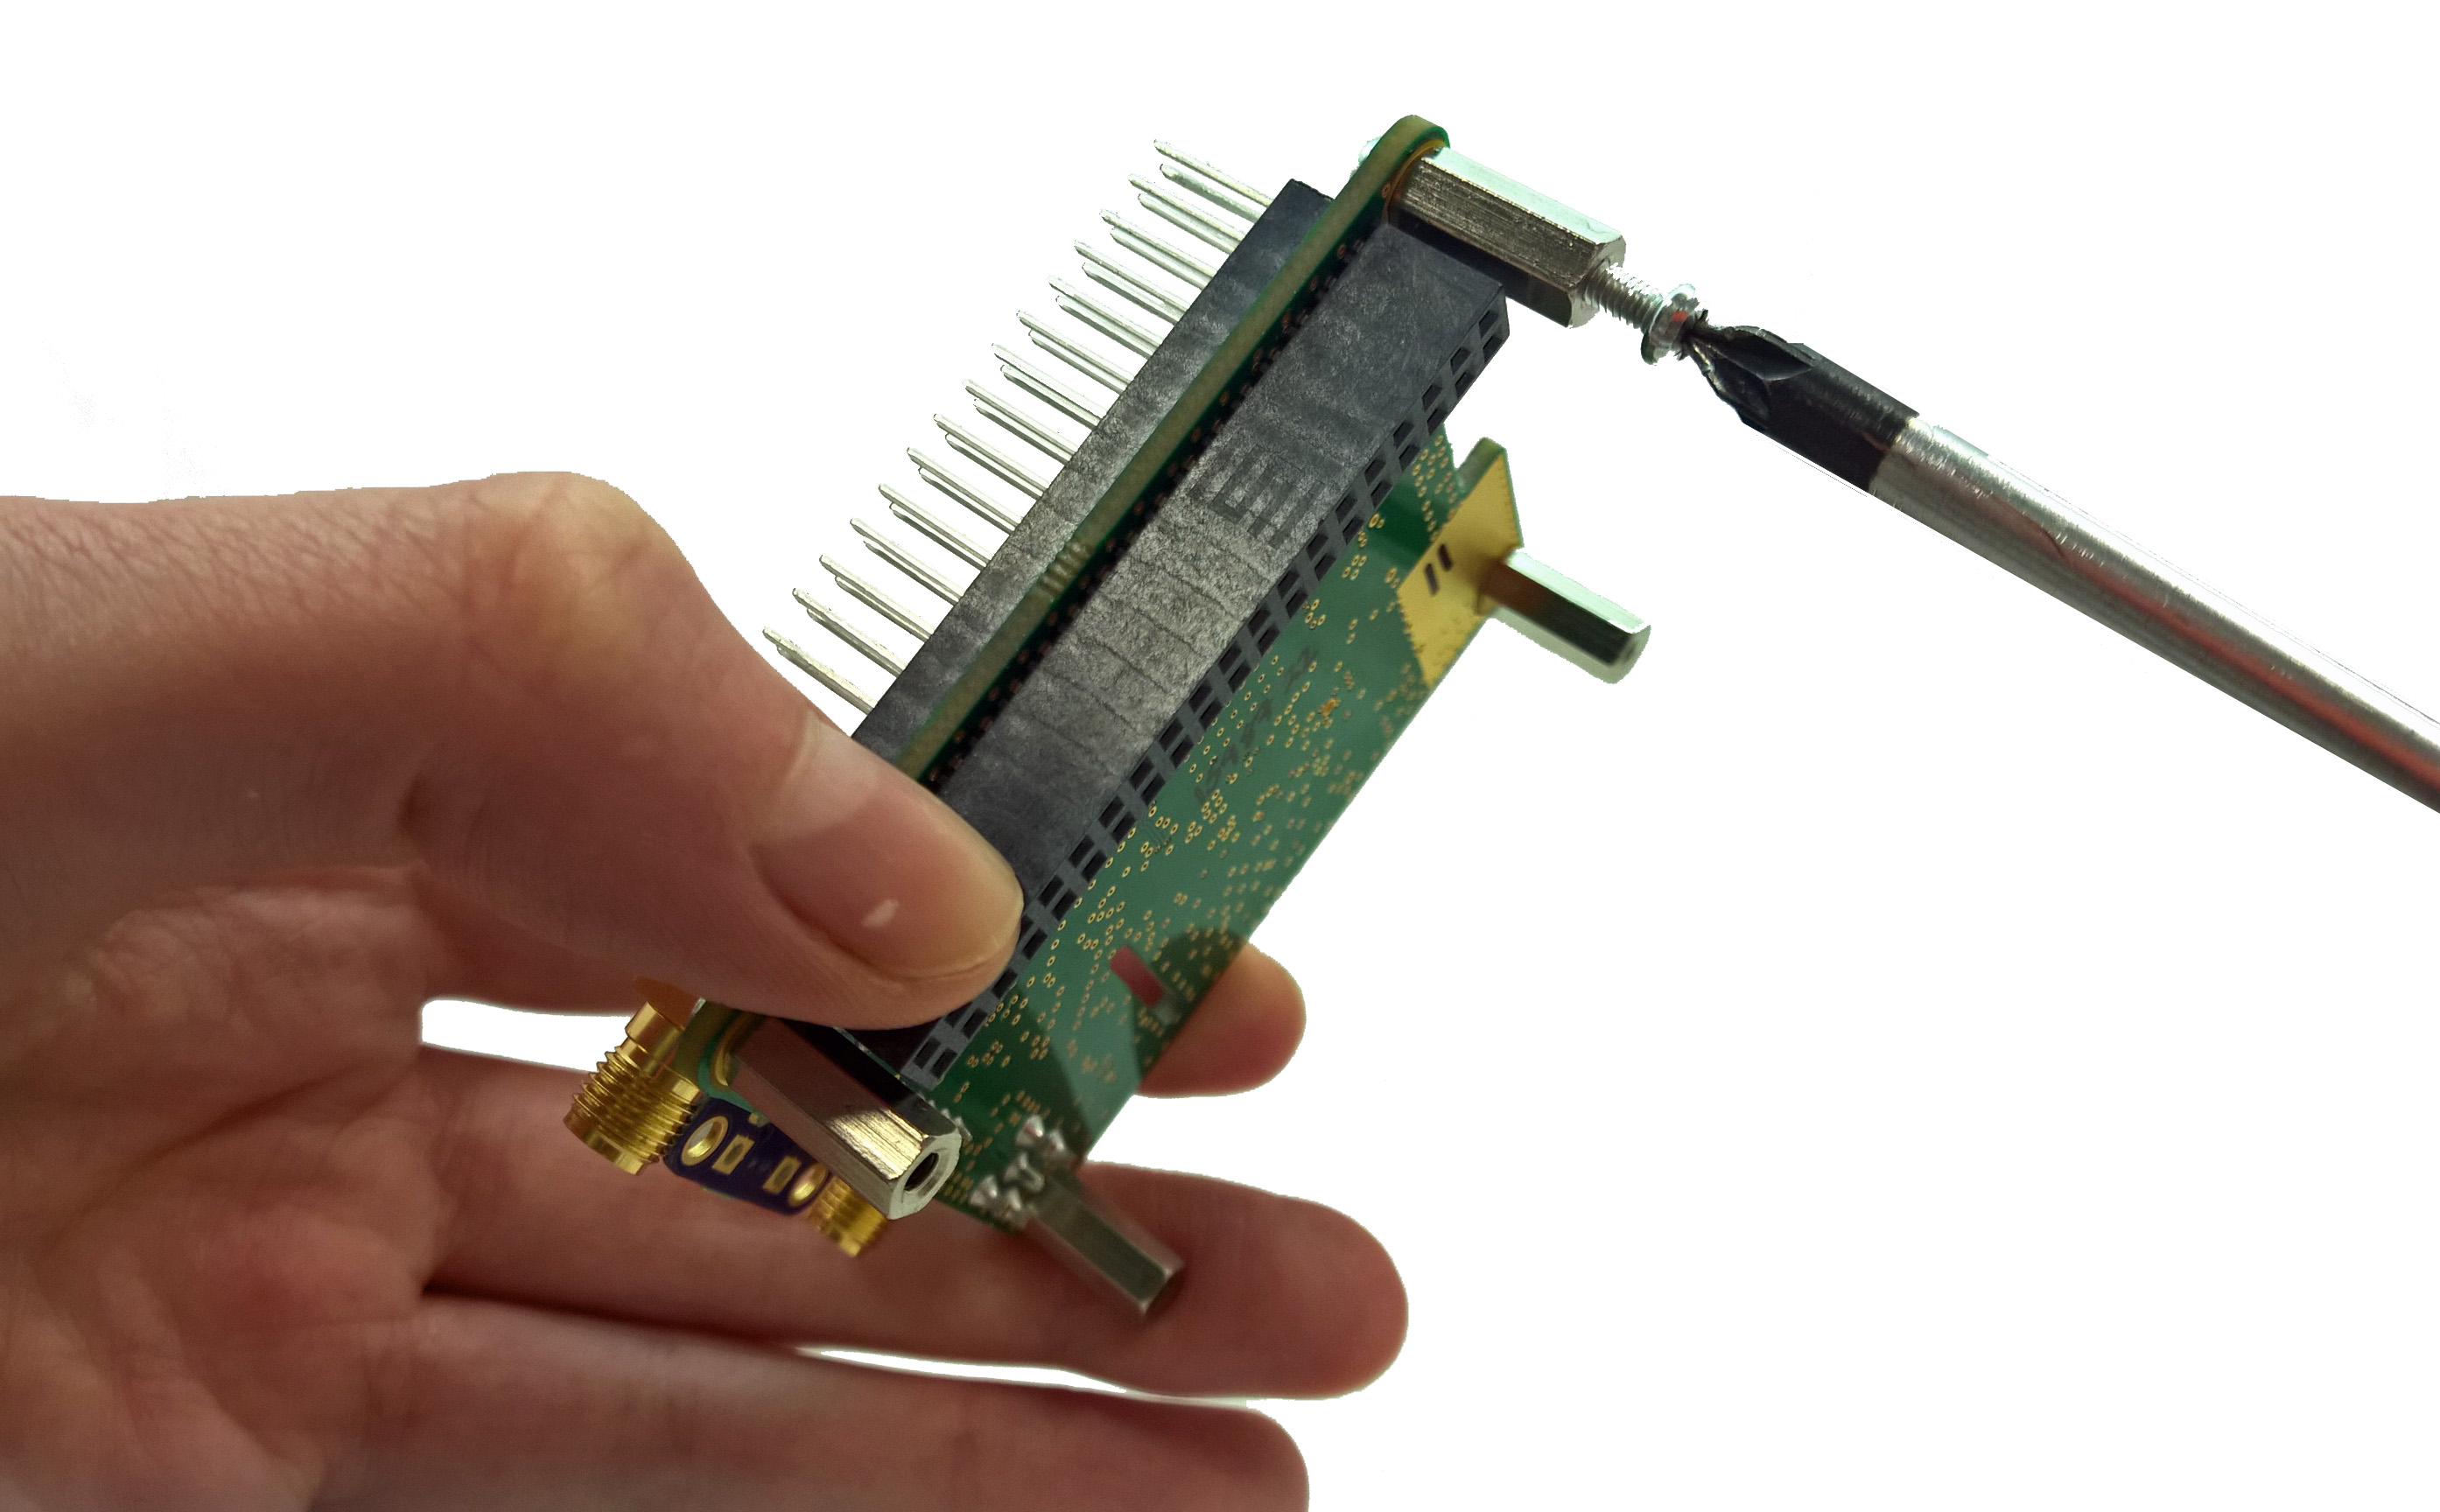
Remove the Four Screws From the Mounting Pillars.
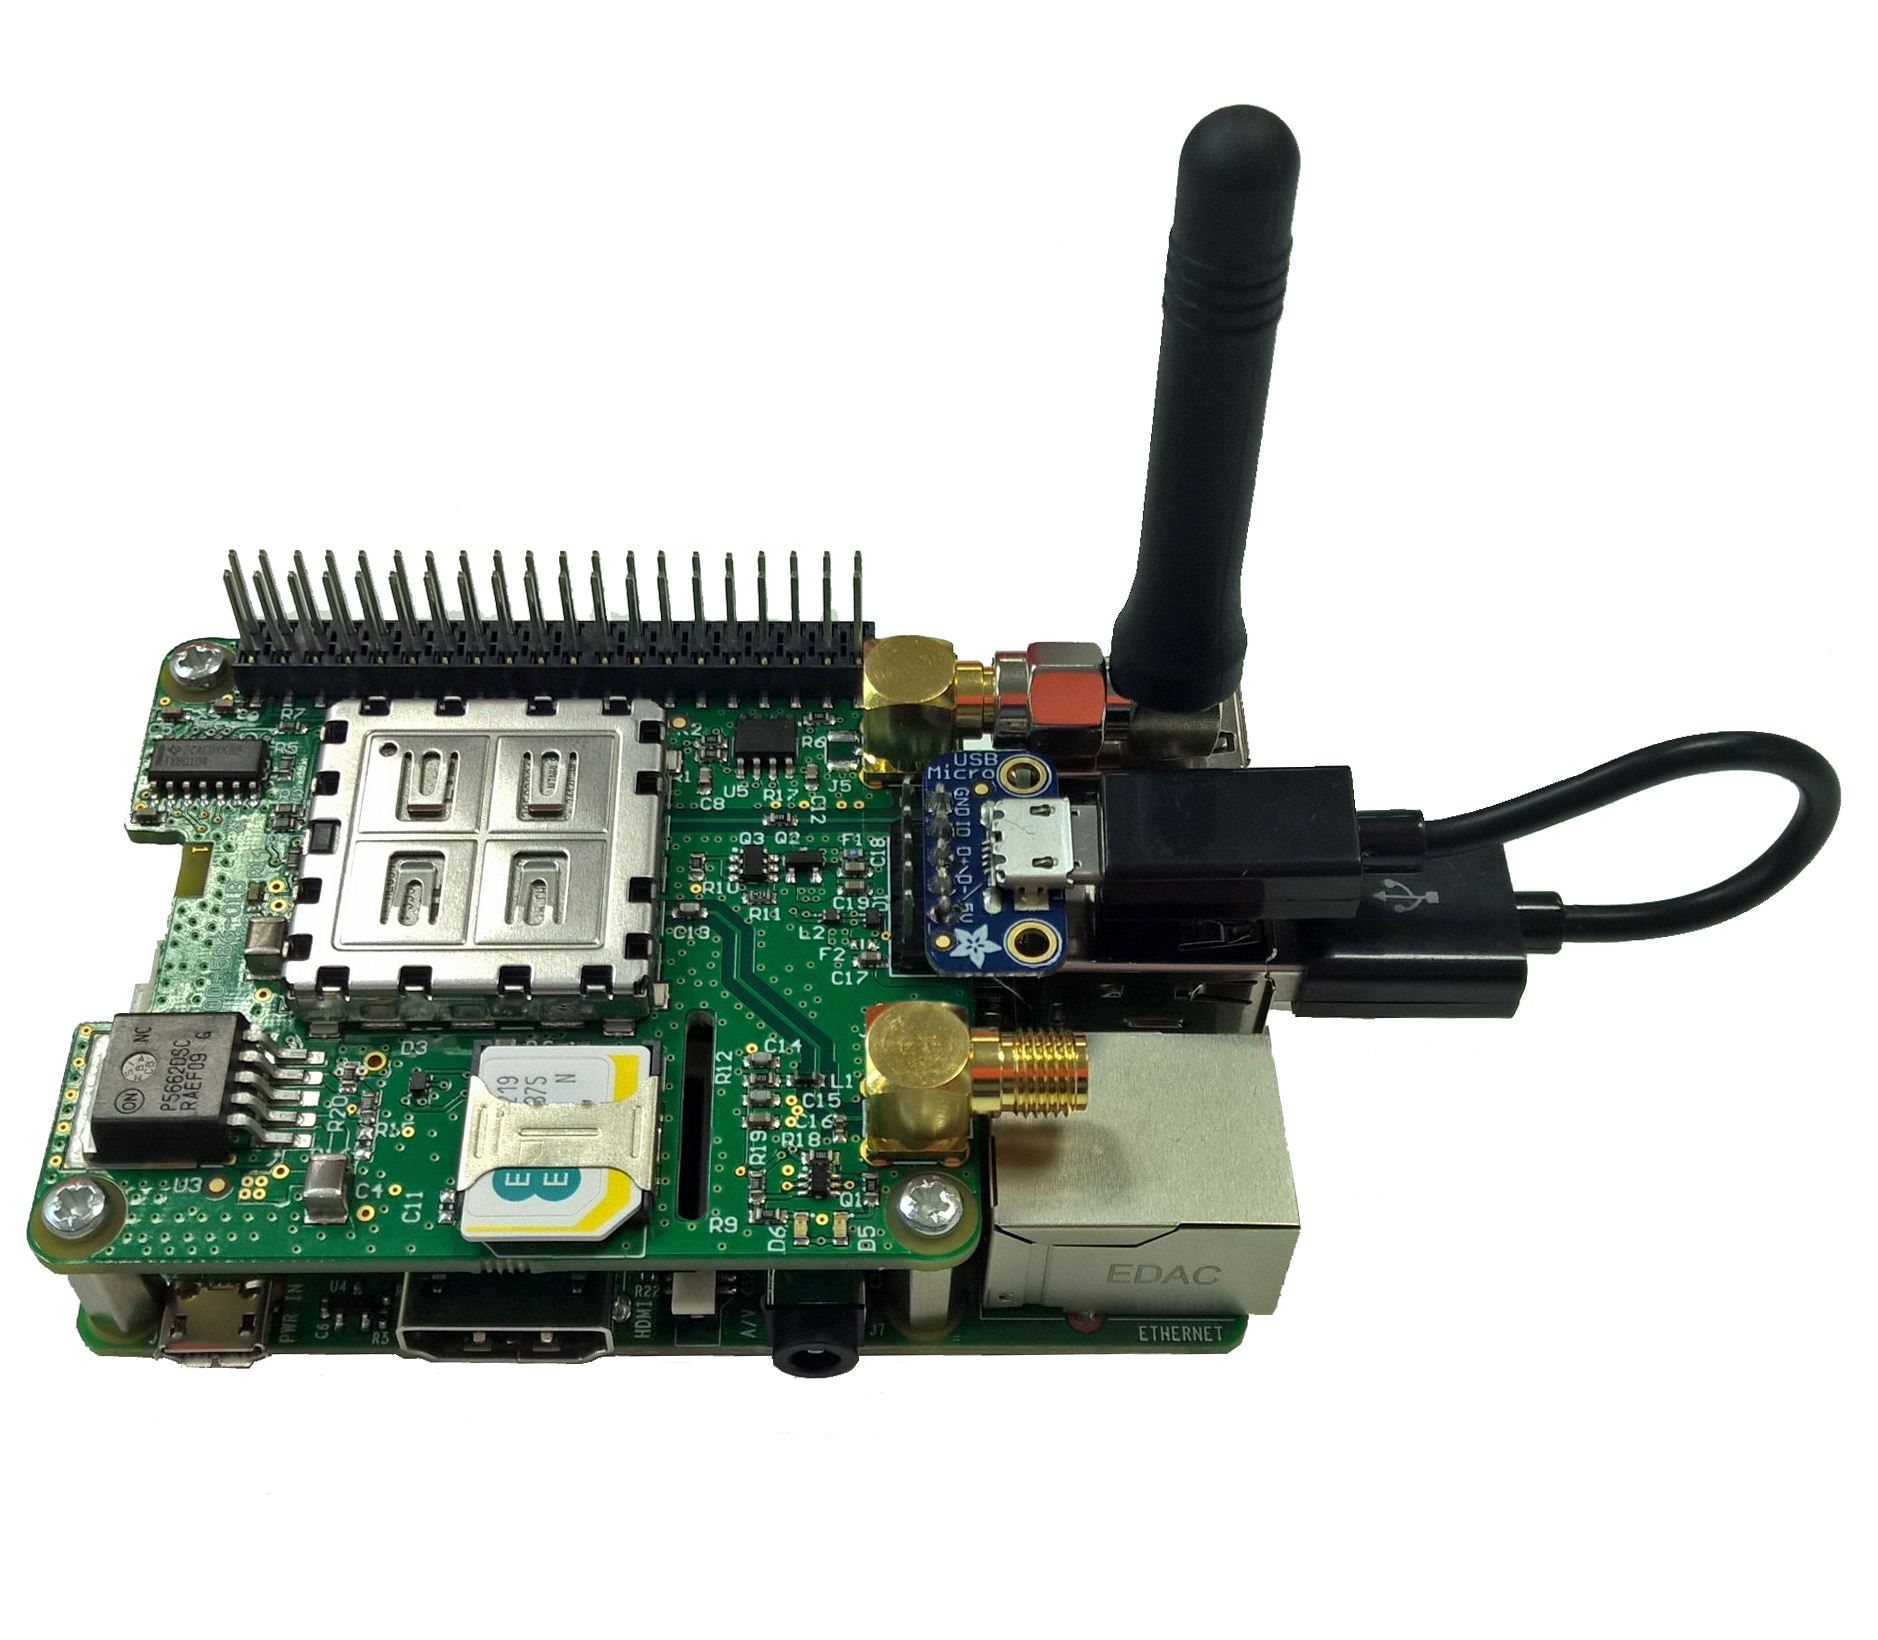
Screw the Right-angled Stub Antenna Onto the SMA WAN Antenna Connector Located Next to the 40 Pin Header.
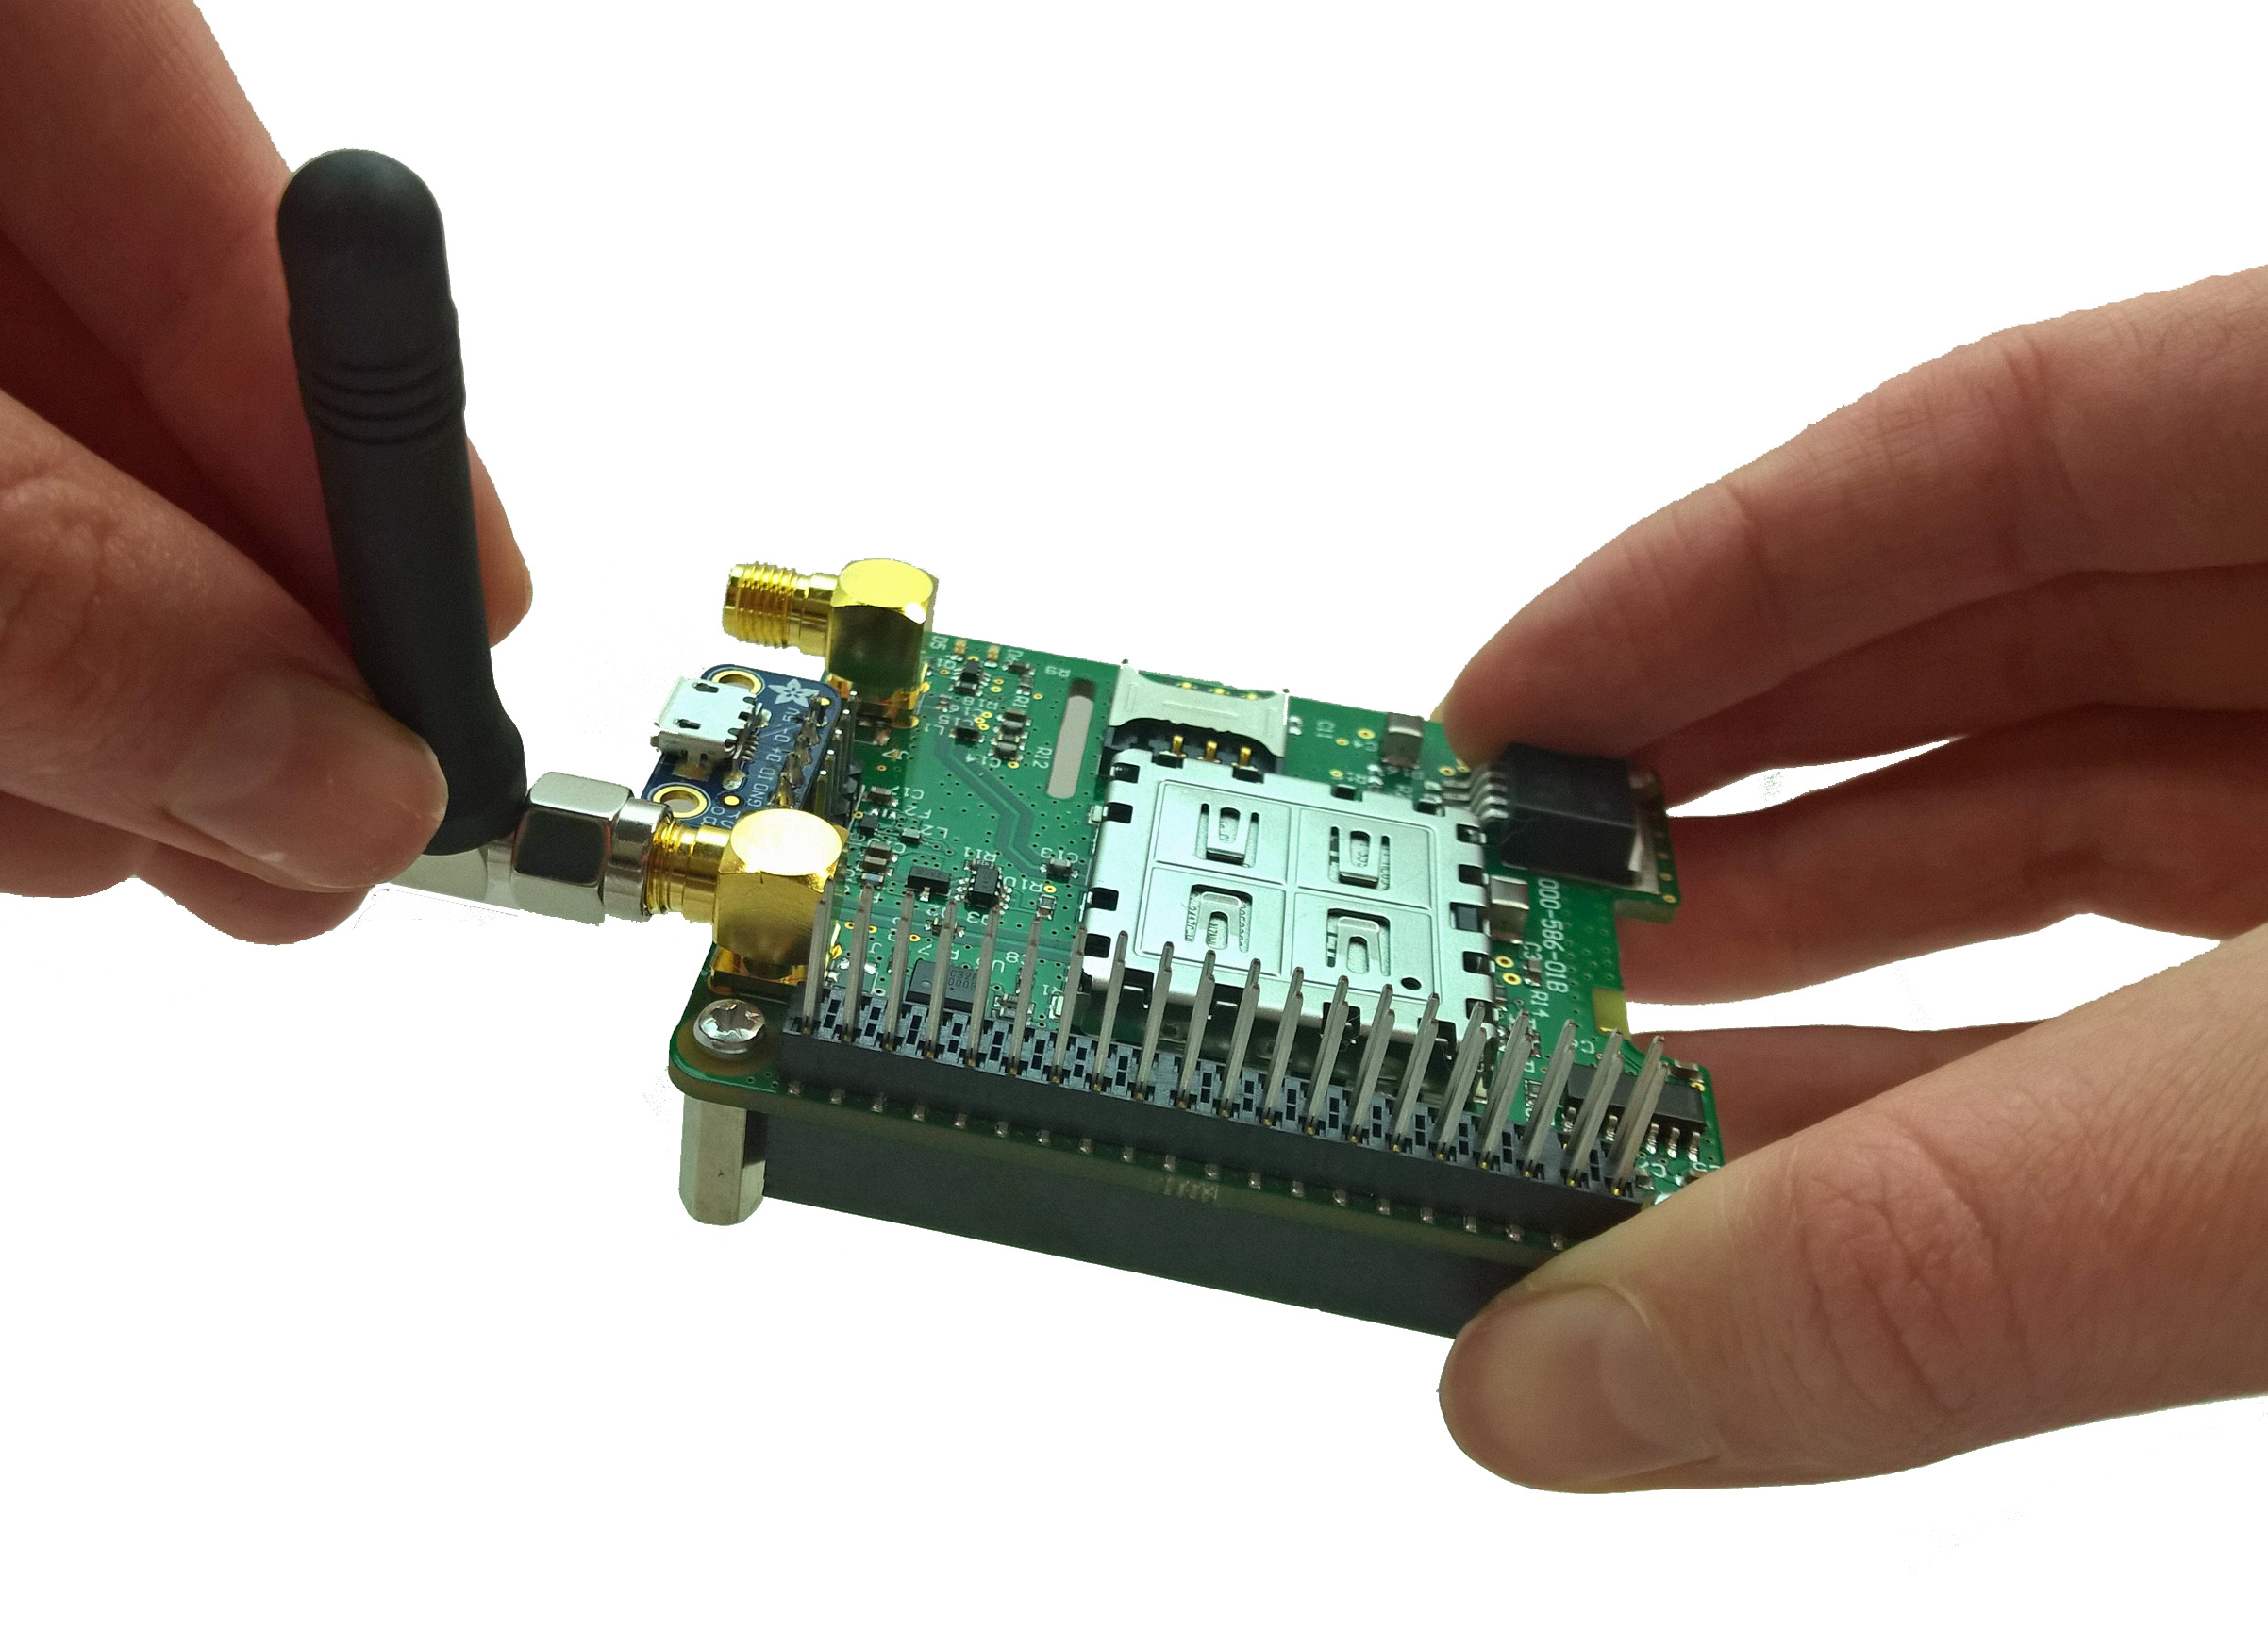
Please note: when using the GNSS (HL8548-G) variant, you will also need to use a GNSS antenna when using the GNSS function. Please screw this onto the other SMA WAN antenna connector alongside the right-angled stub antenna.
Align the 40 Way Socket With the 40 Way Header on the Raspberry Pi. Gently Press Together.
Ensure the PiloT Is Securely Mounted on the Raspberry Pi by Inserting the Four Screws (see Step 2) Into the Holes at the Bottom of the Raspberry Pi.
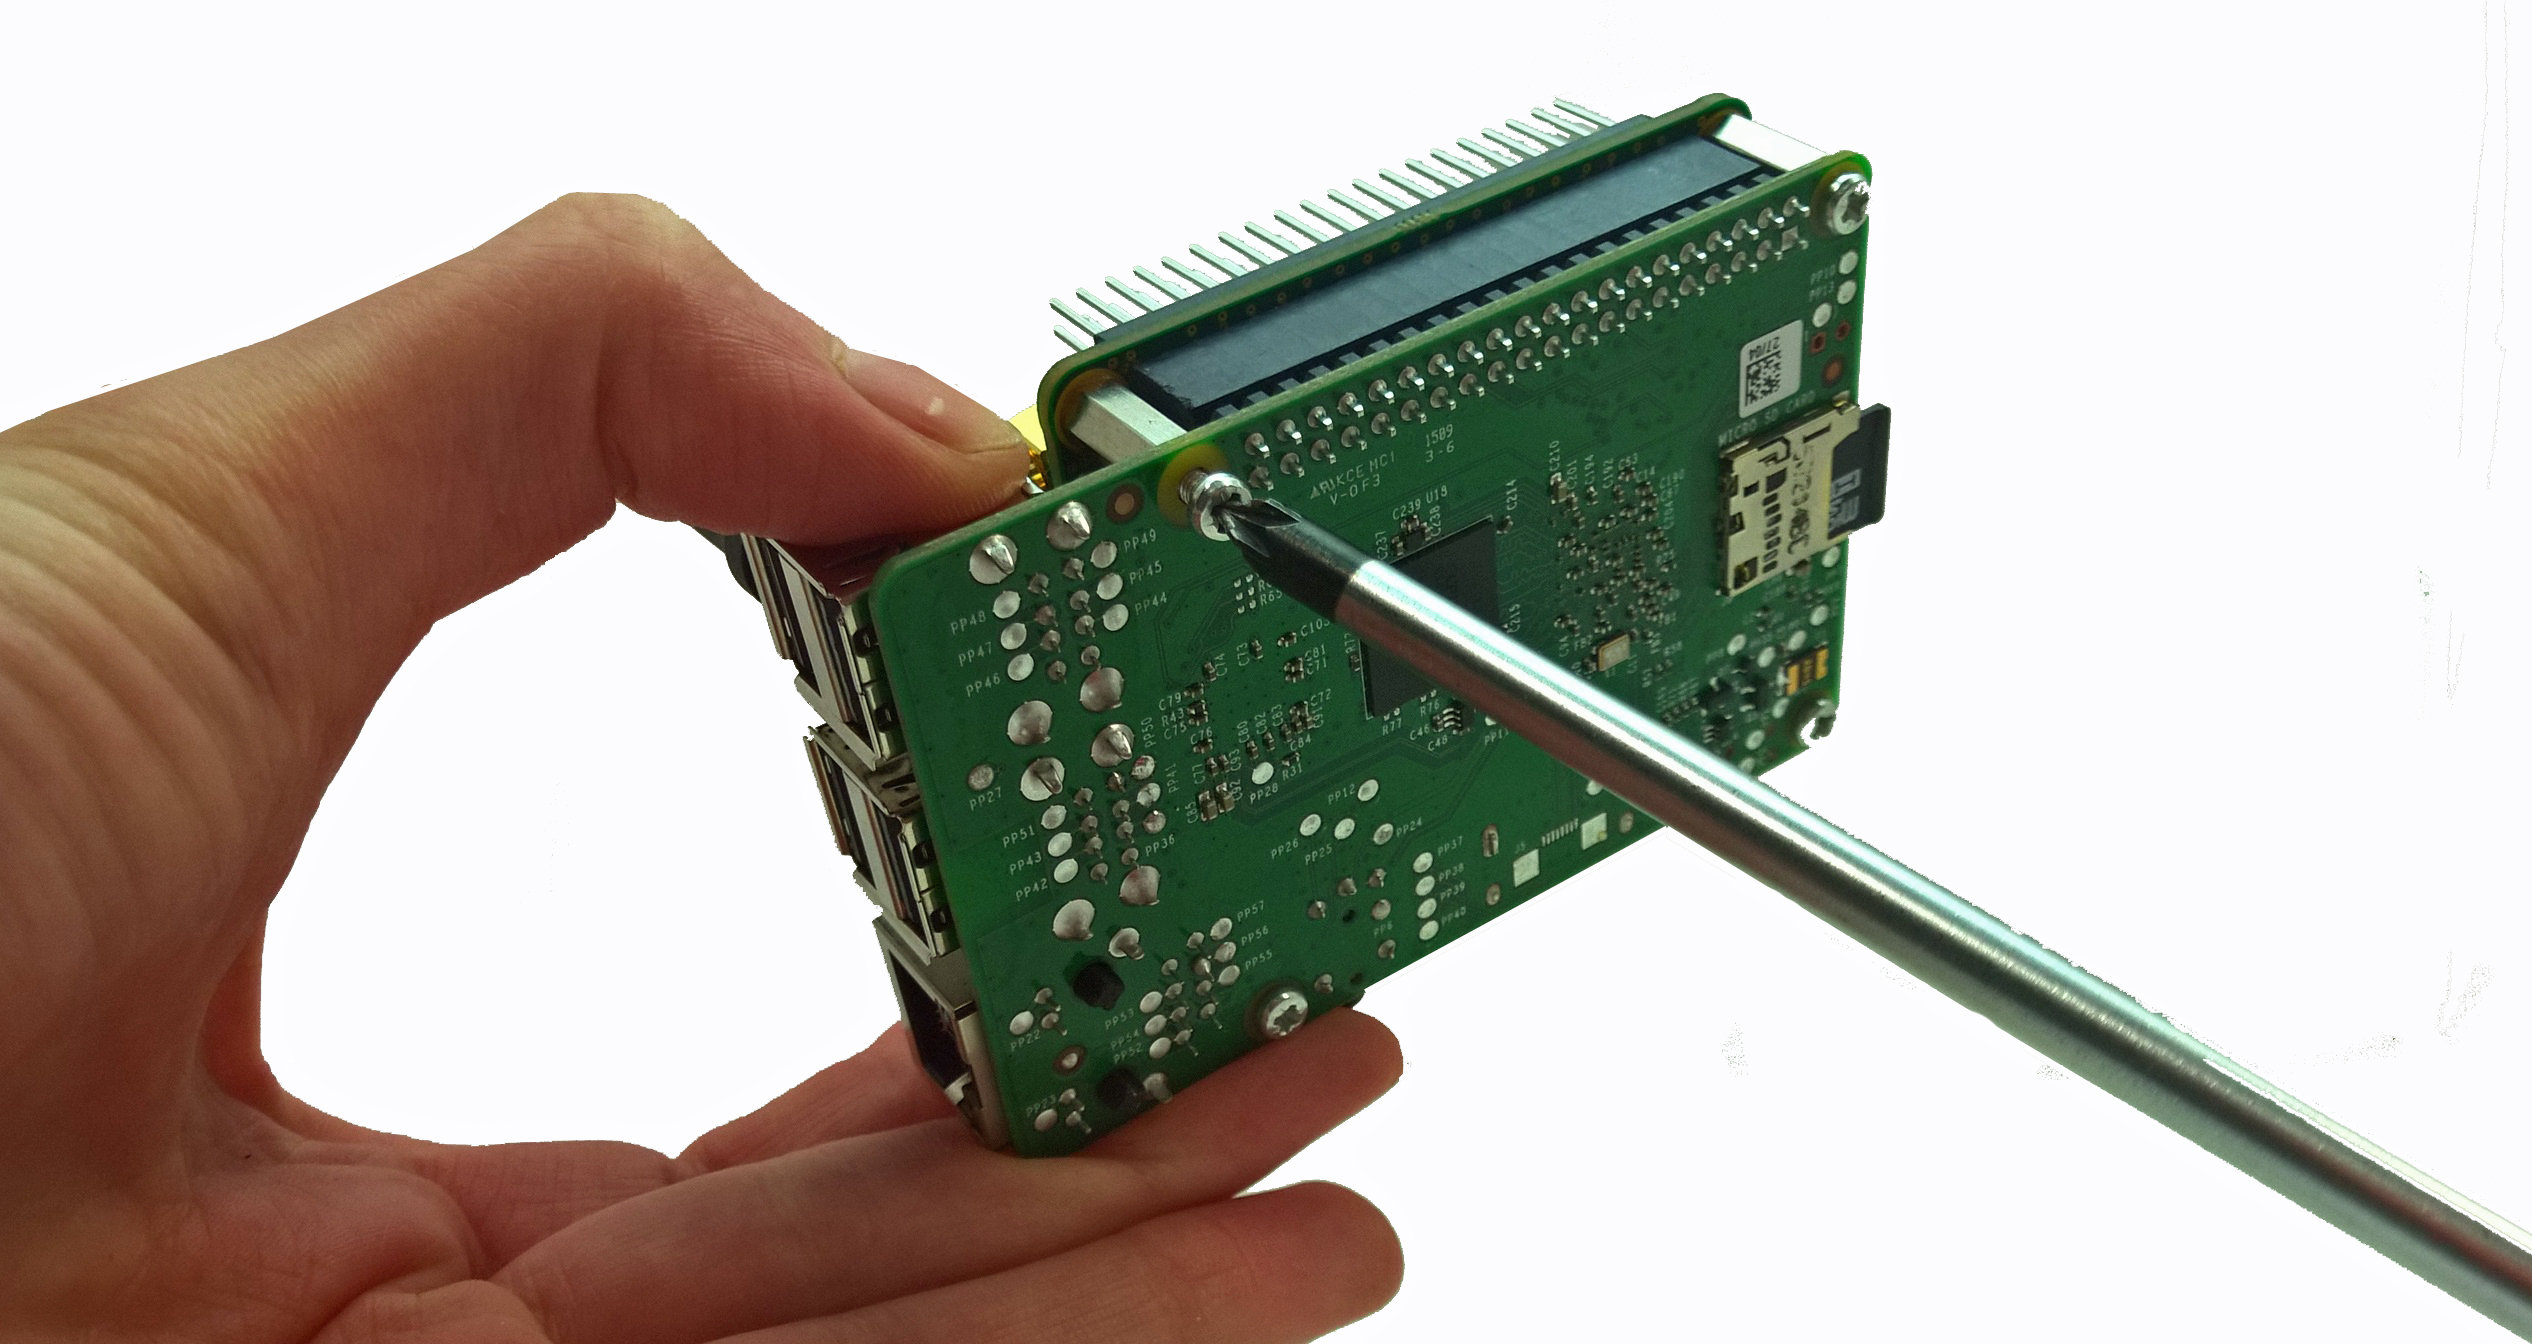
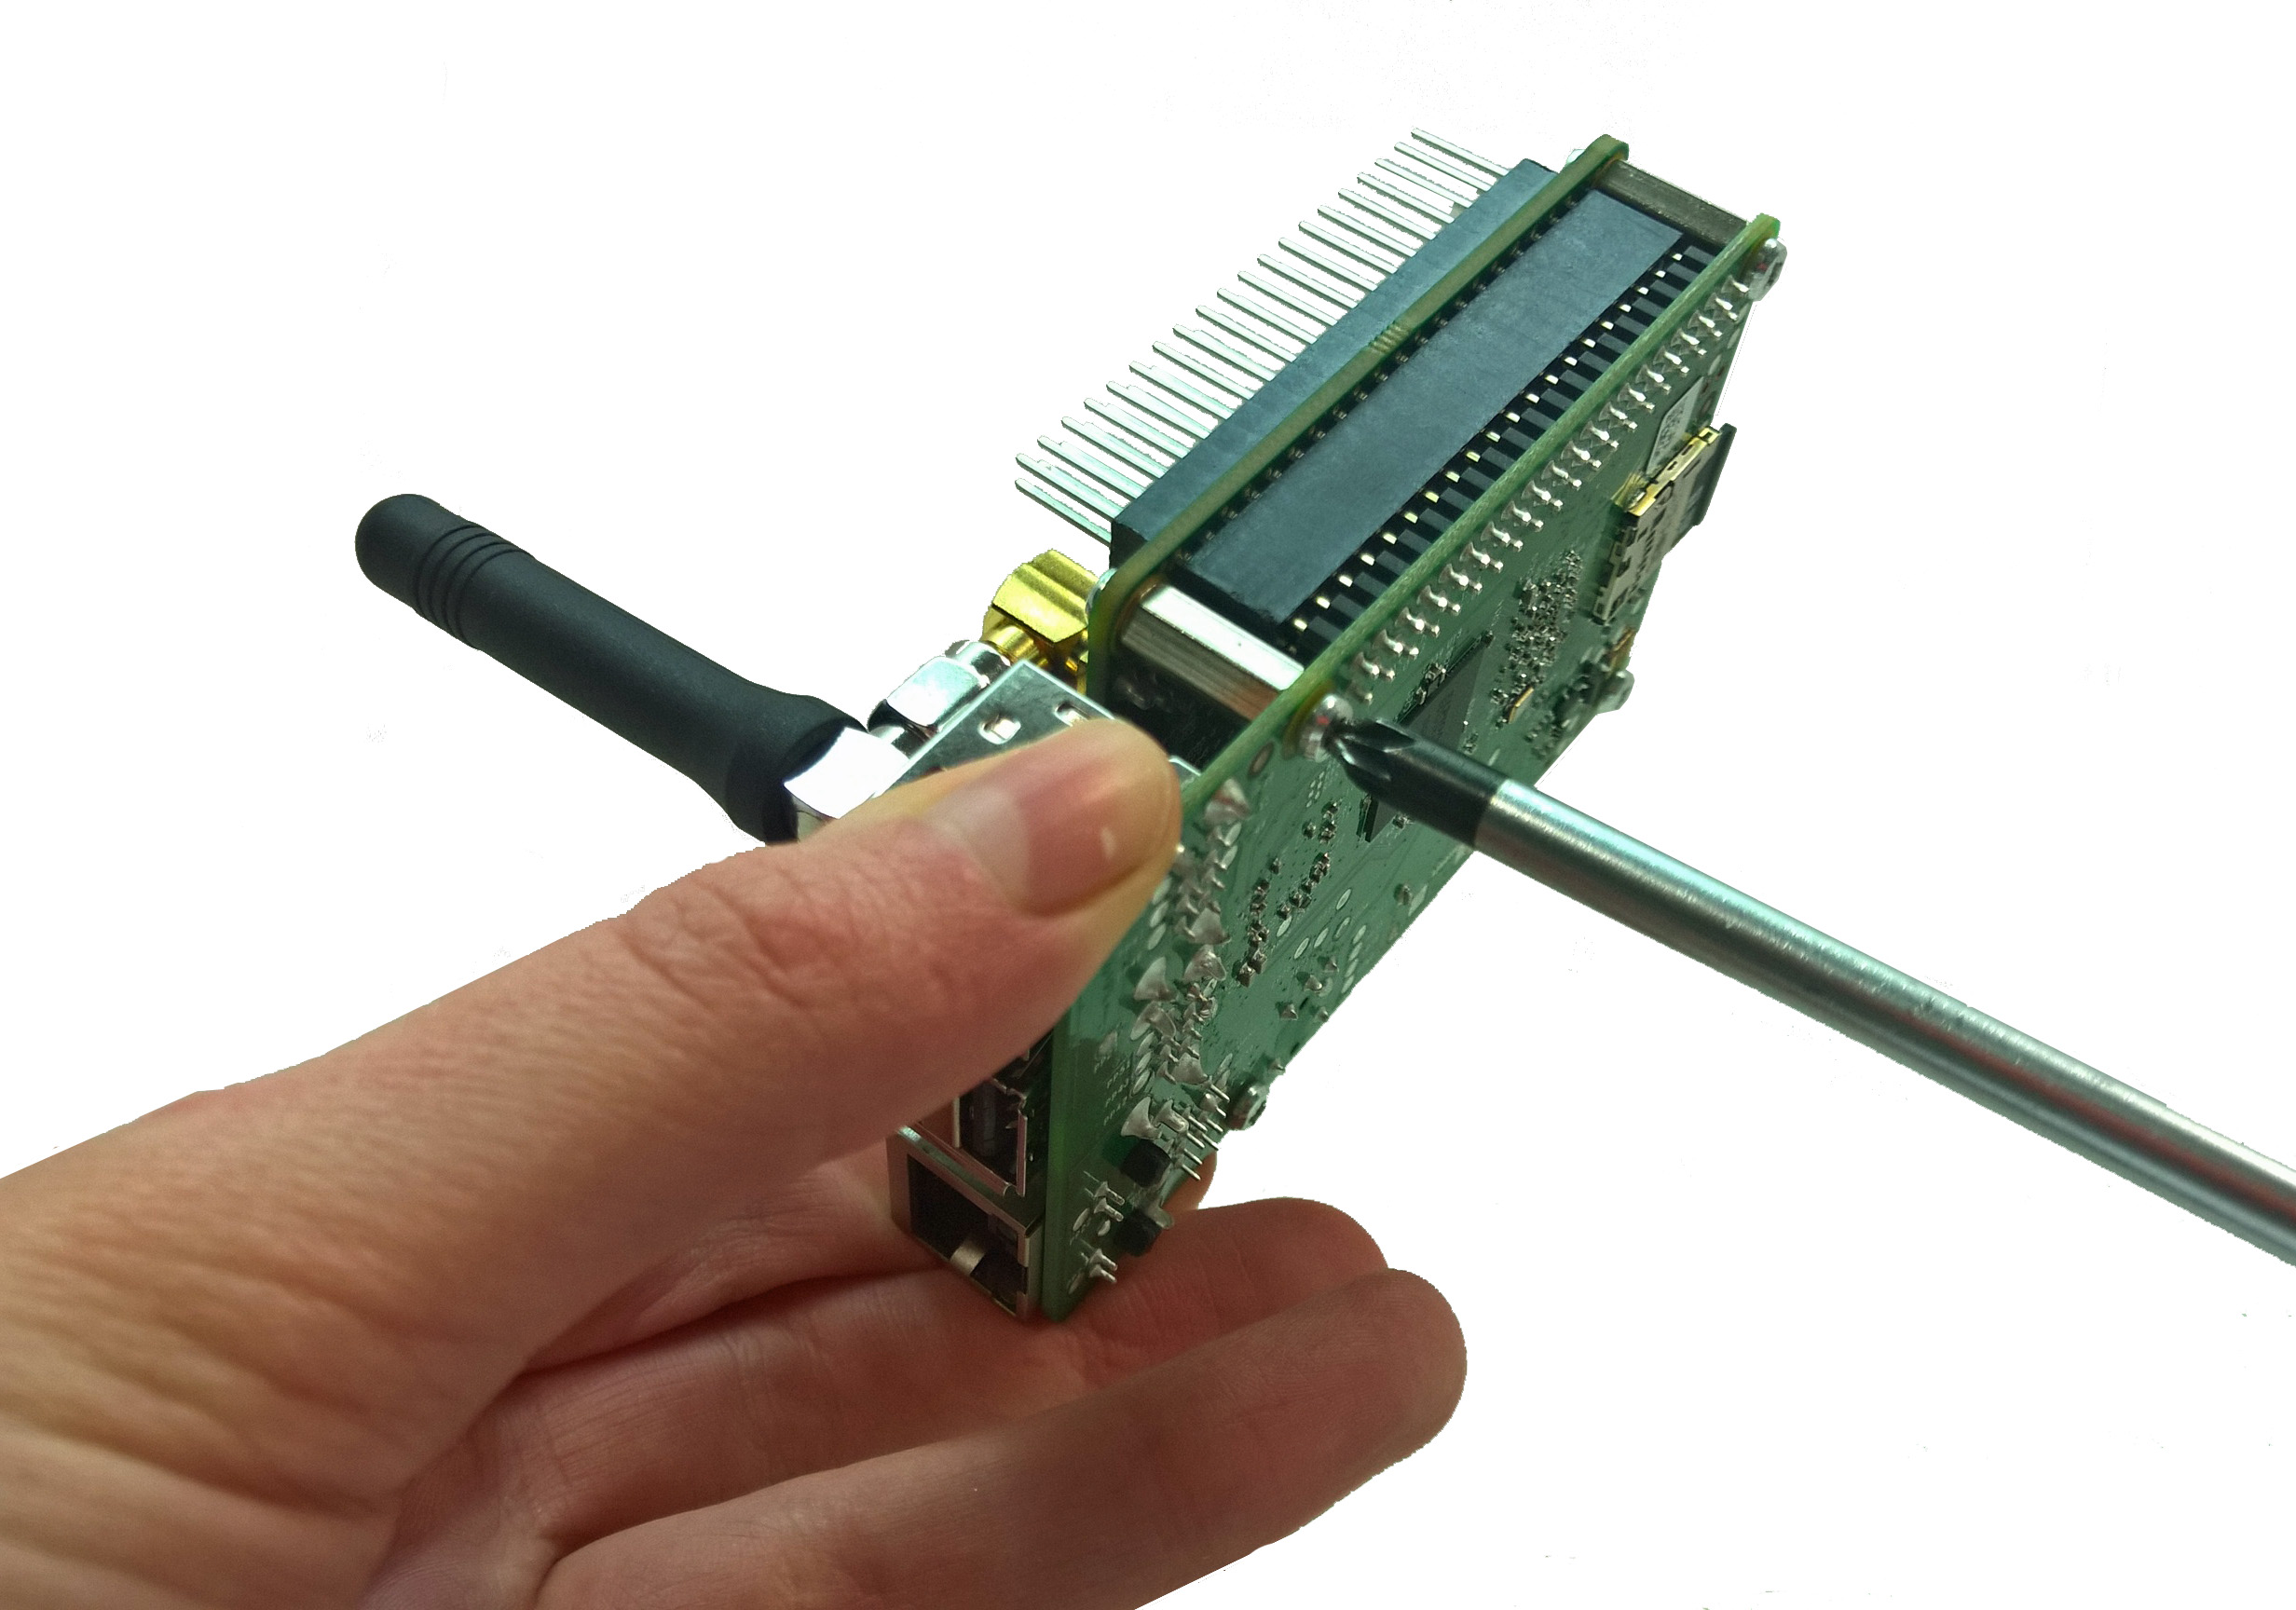
Gently tighten using a #1 Pozidriv screwdriver.
Insert the SIM Card Into the SIM Card Holder.
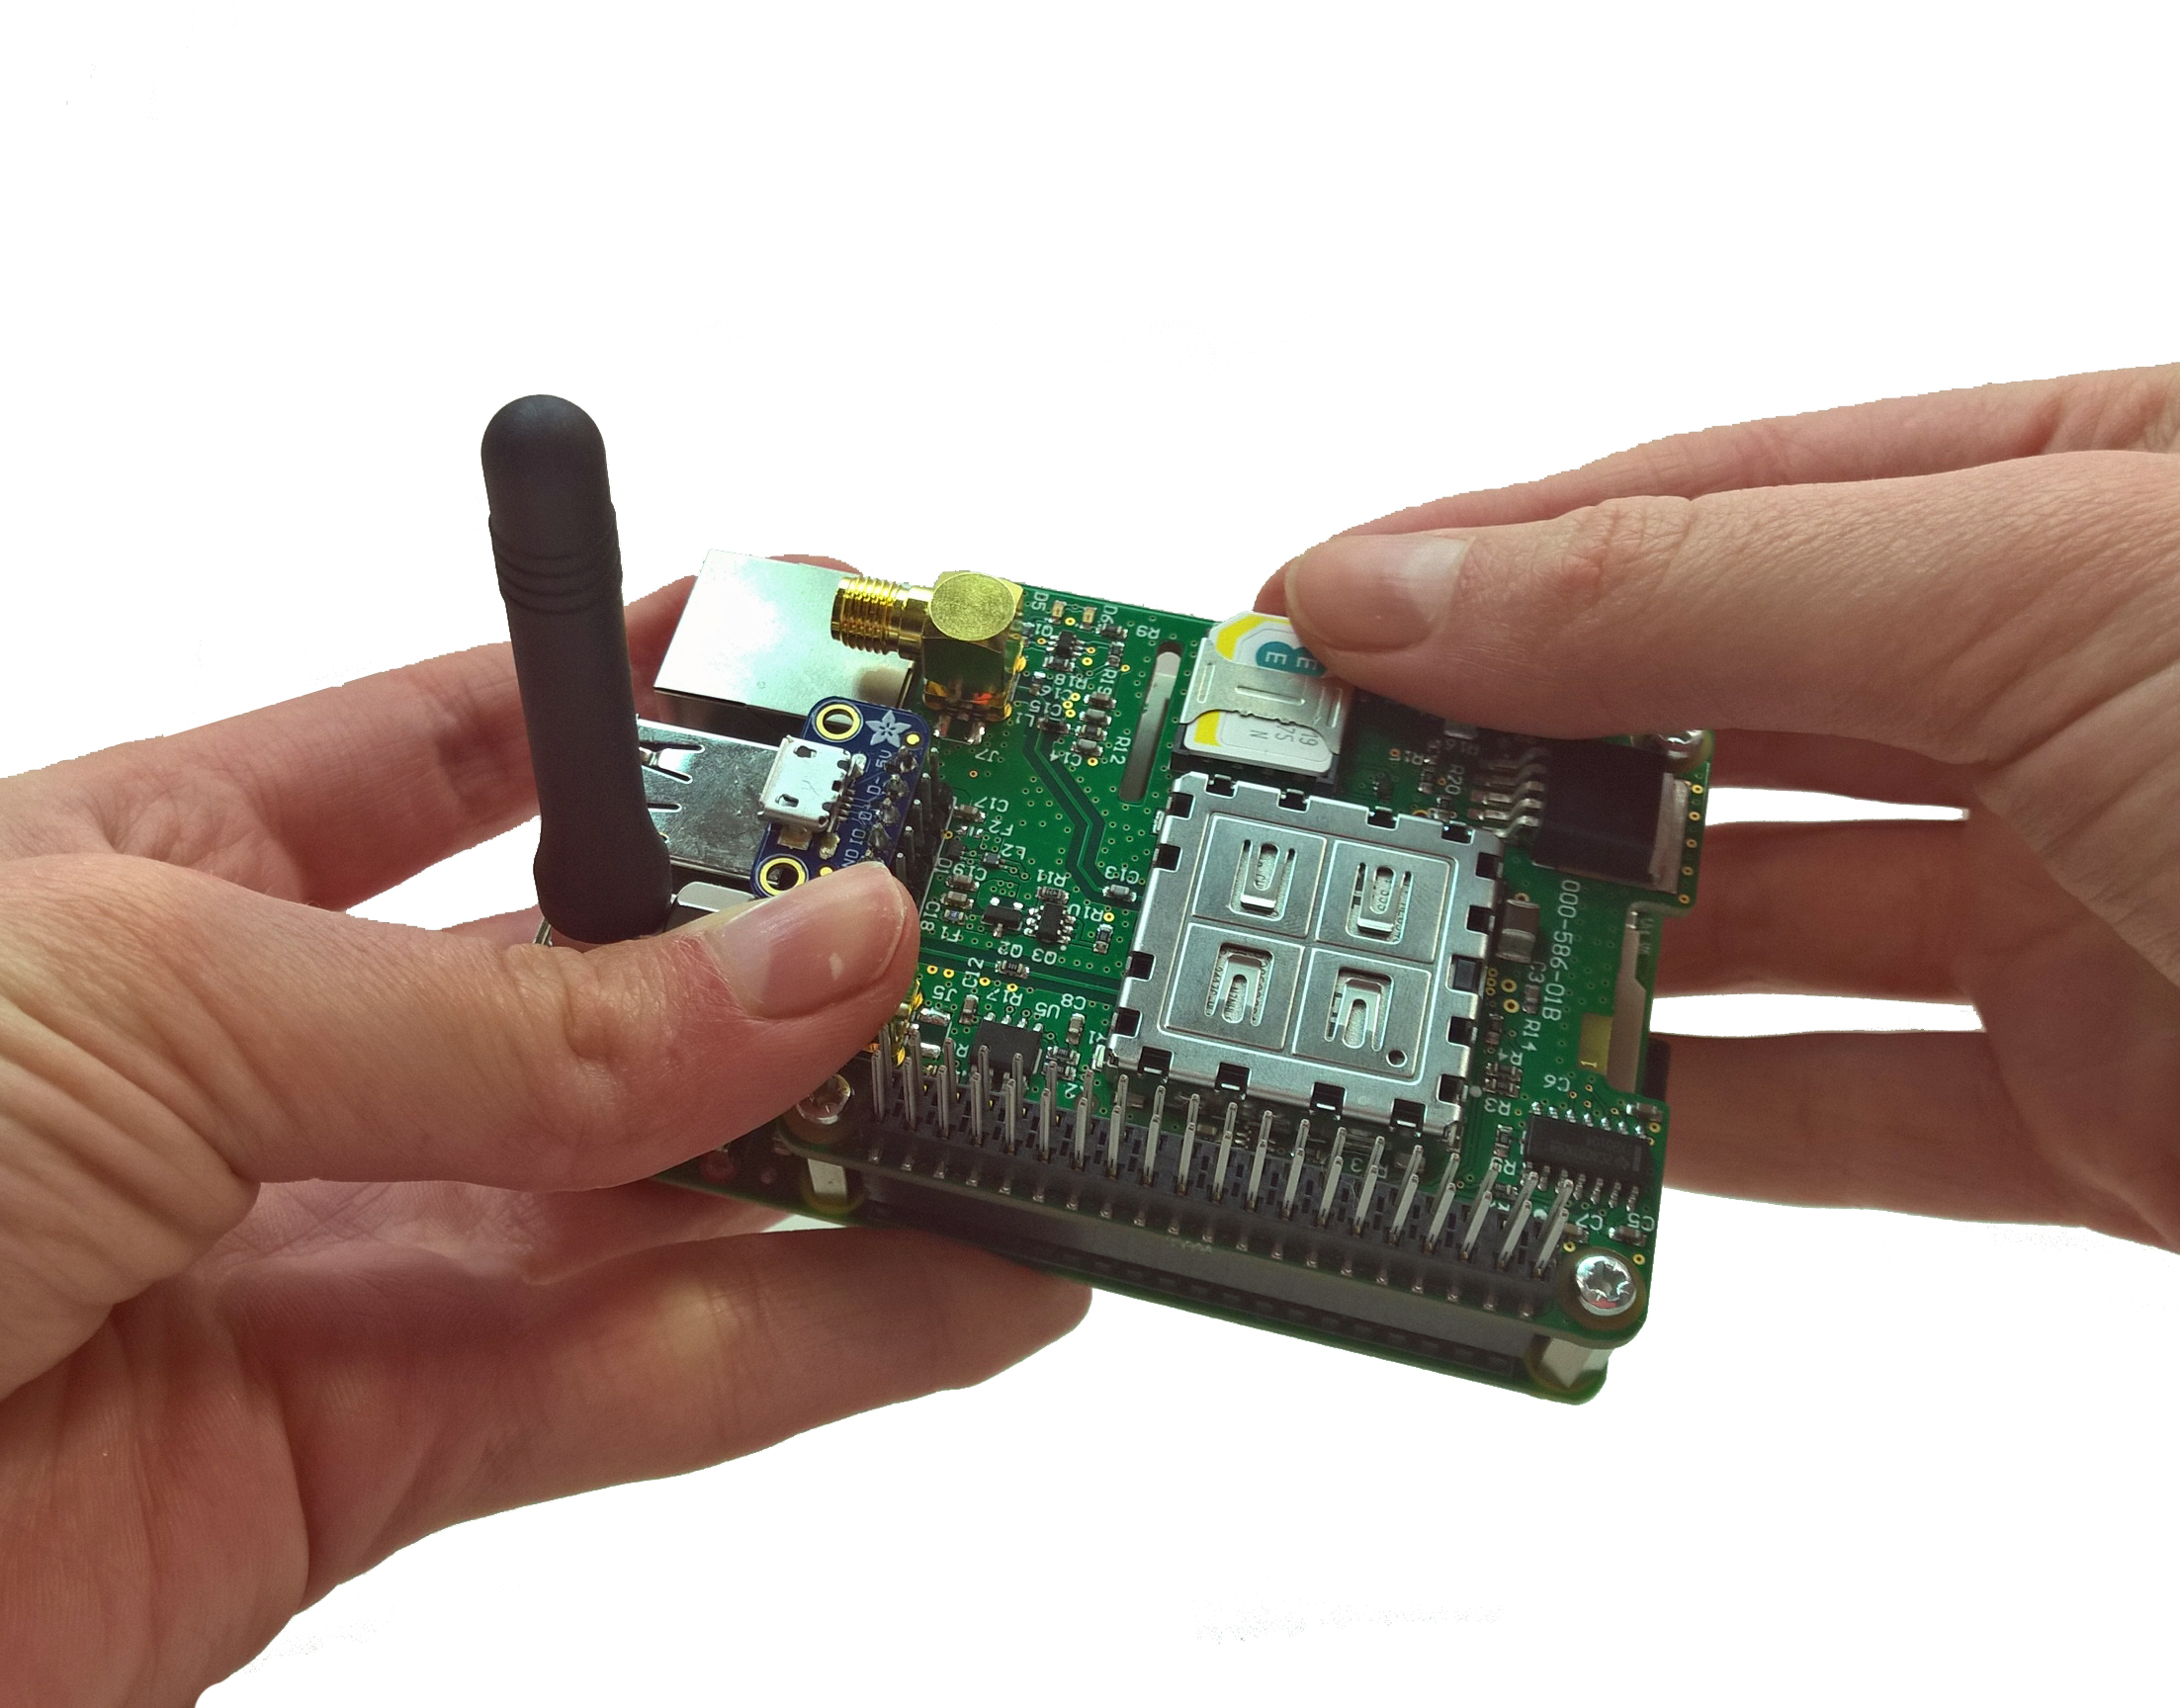
Ensure the chamfer is located as shown on the photo, and the contact side is face down.
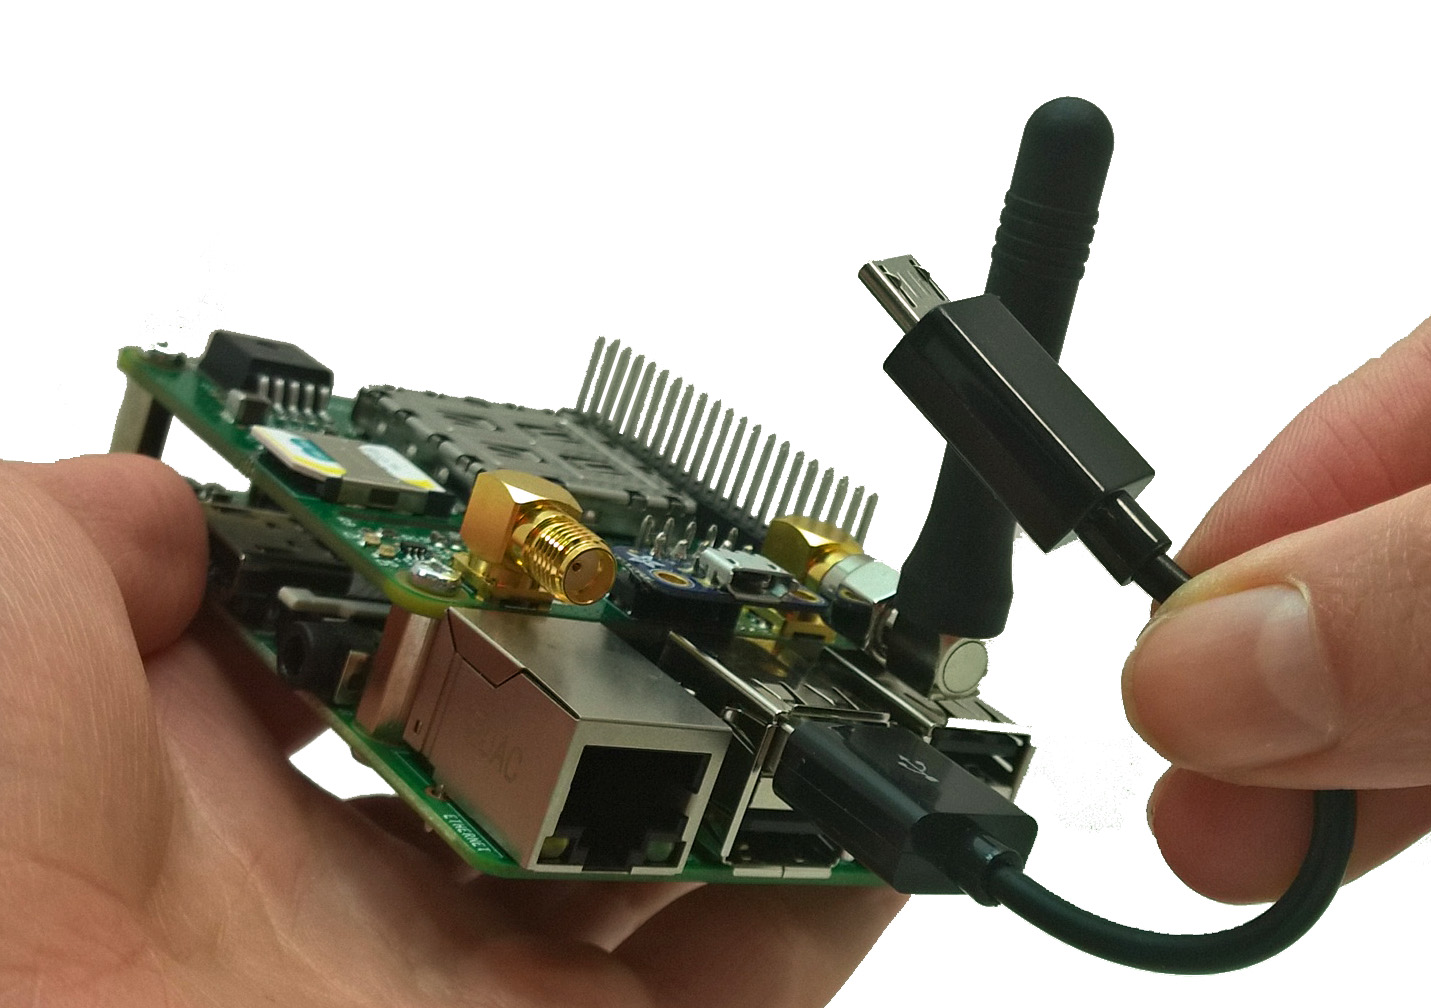
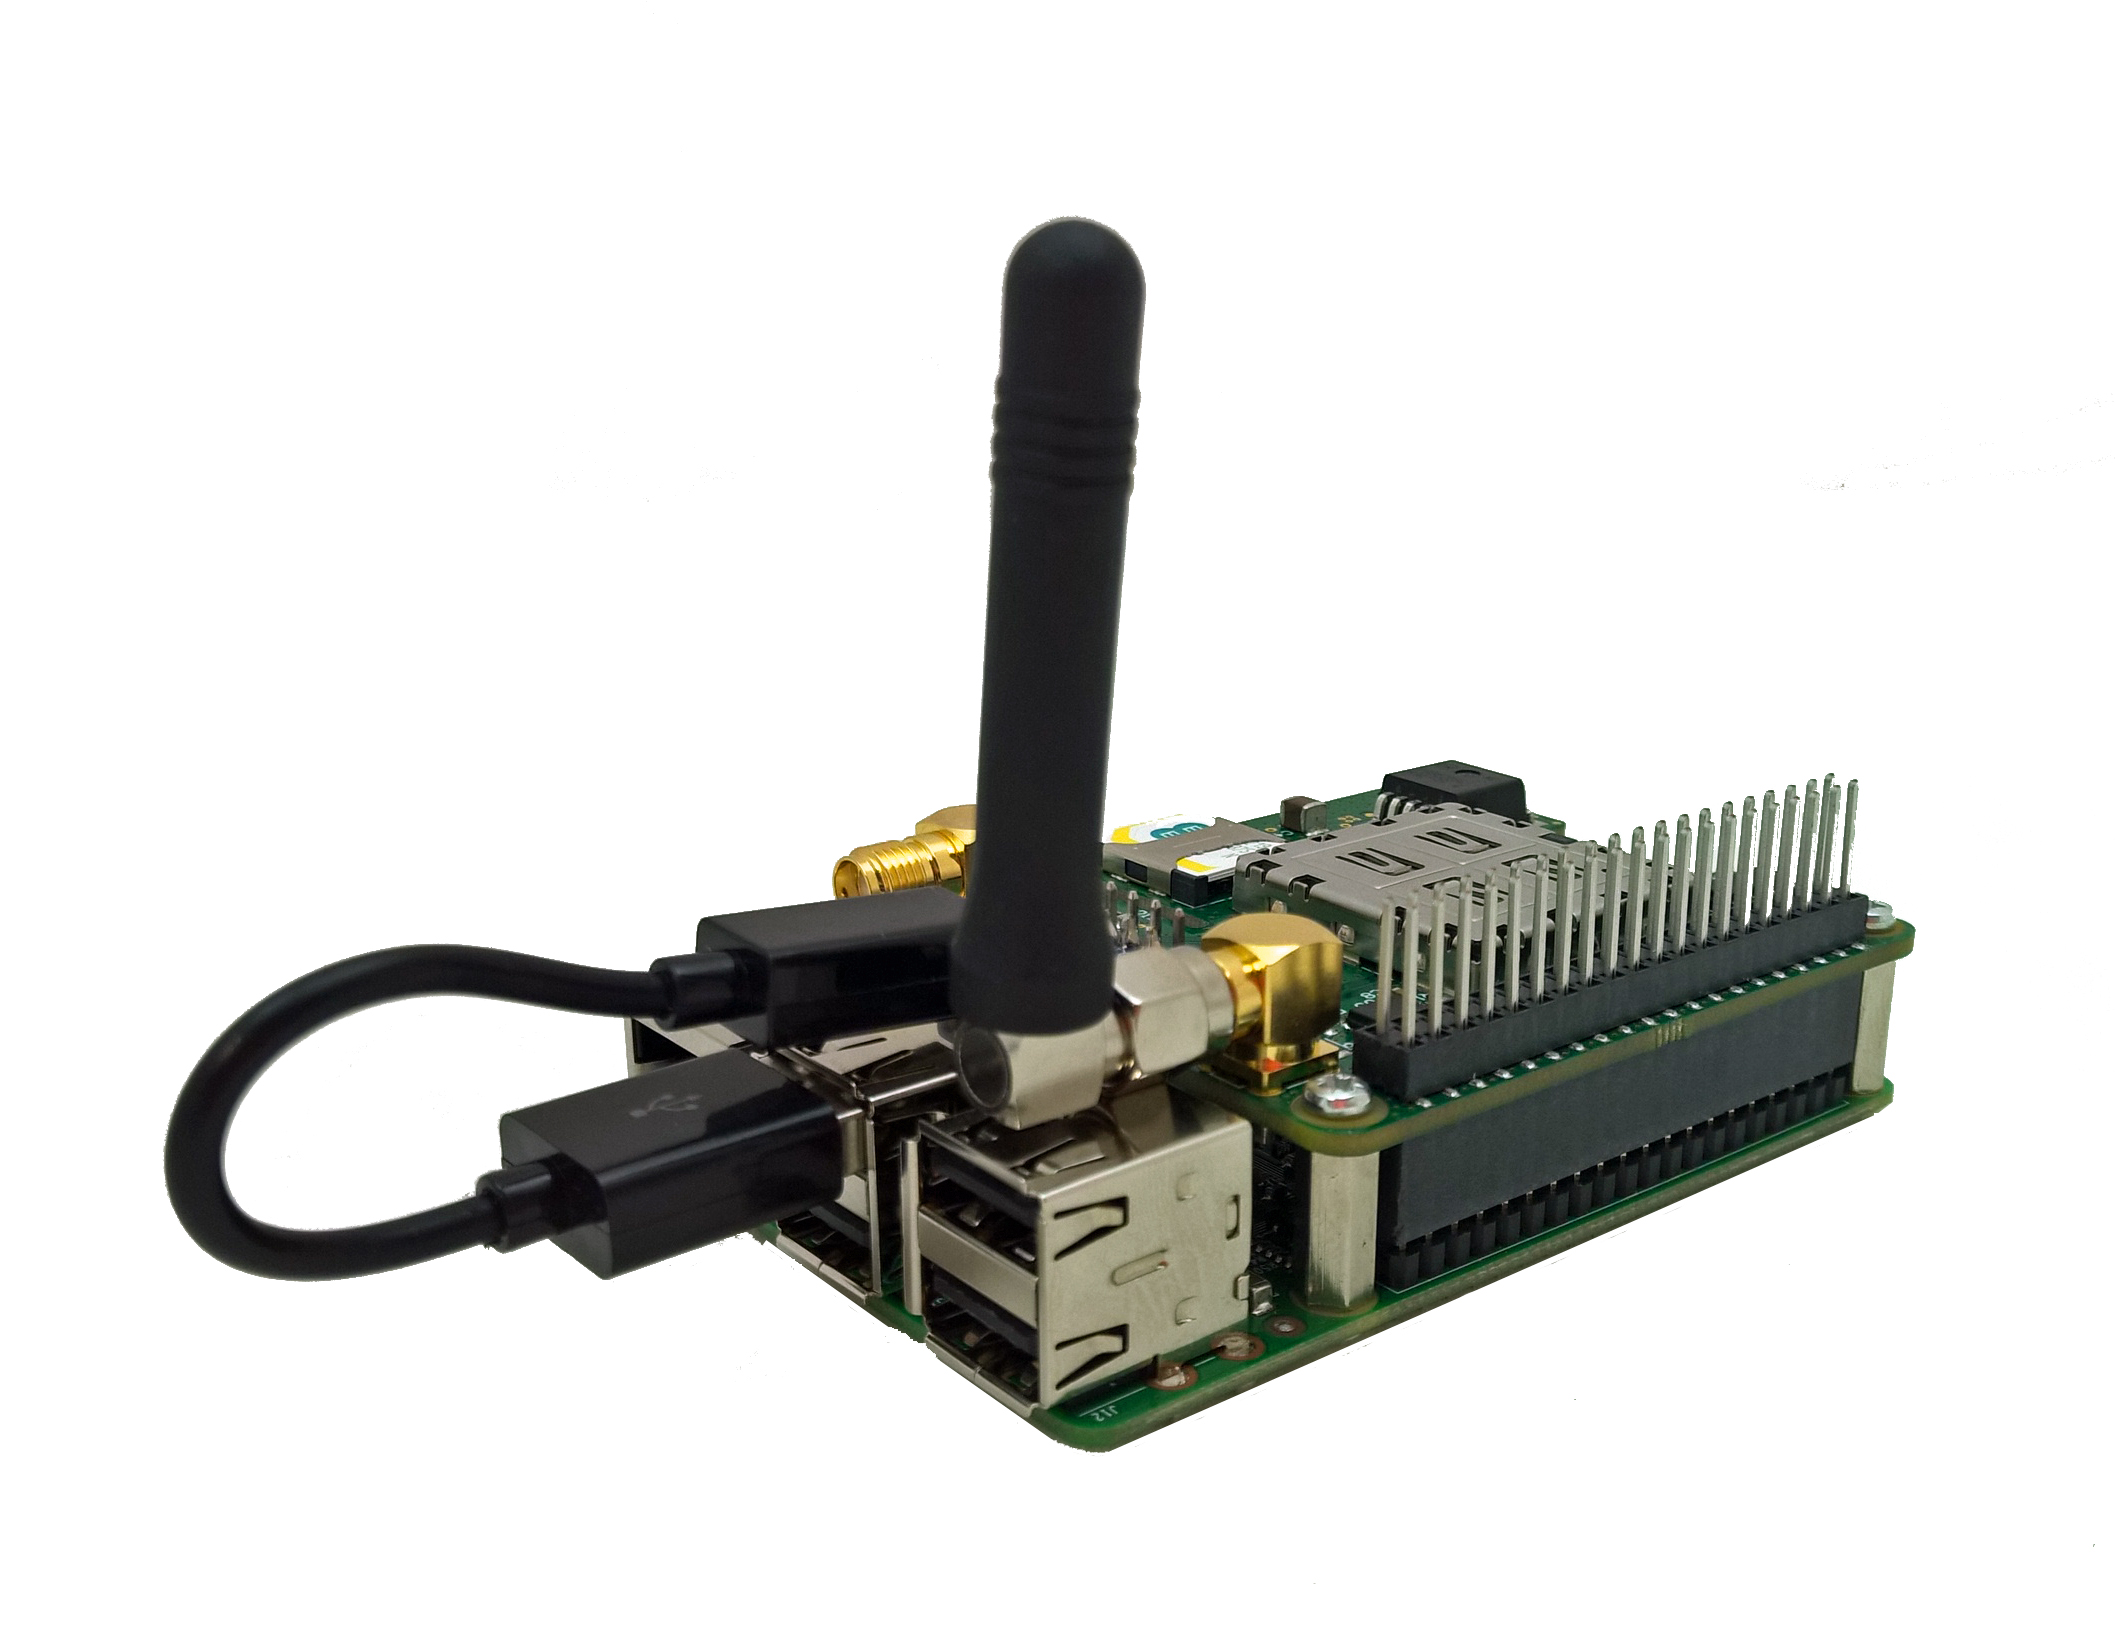
Insert the USB End of the USB to Micro USB Cable Into the Top Centre USB Socket.
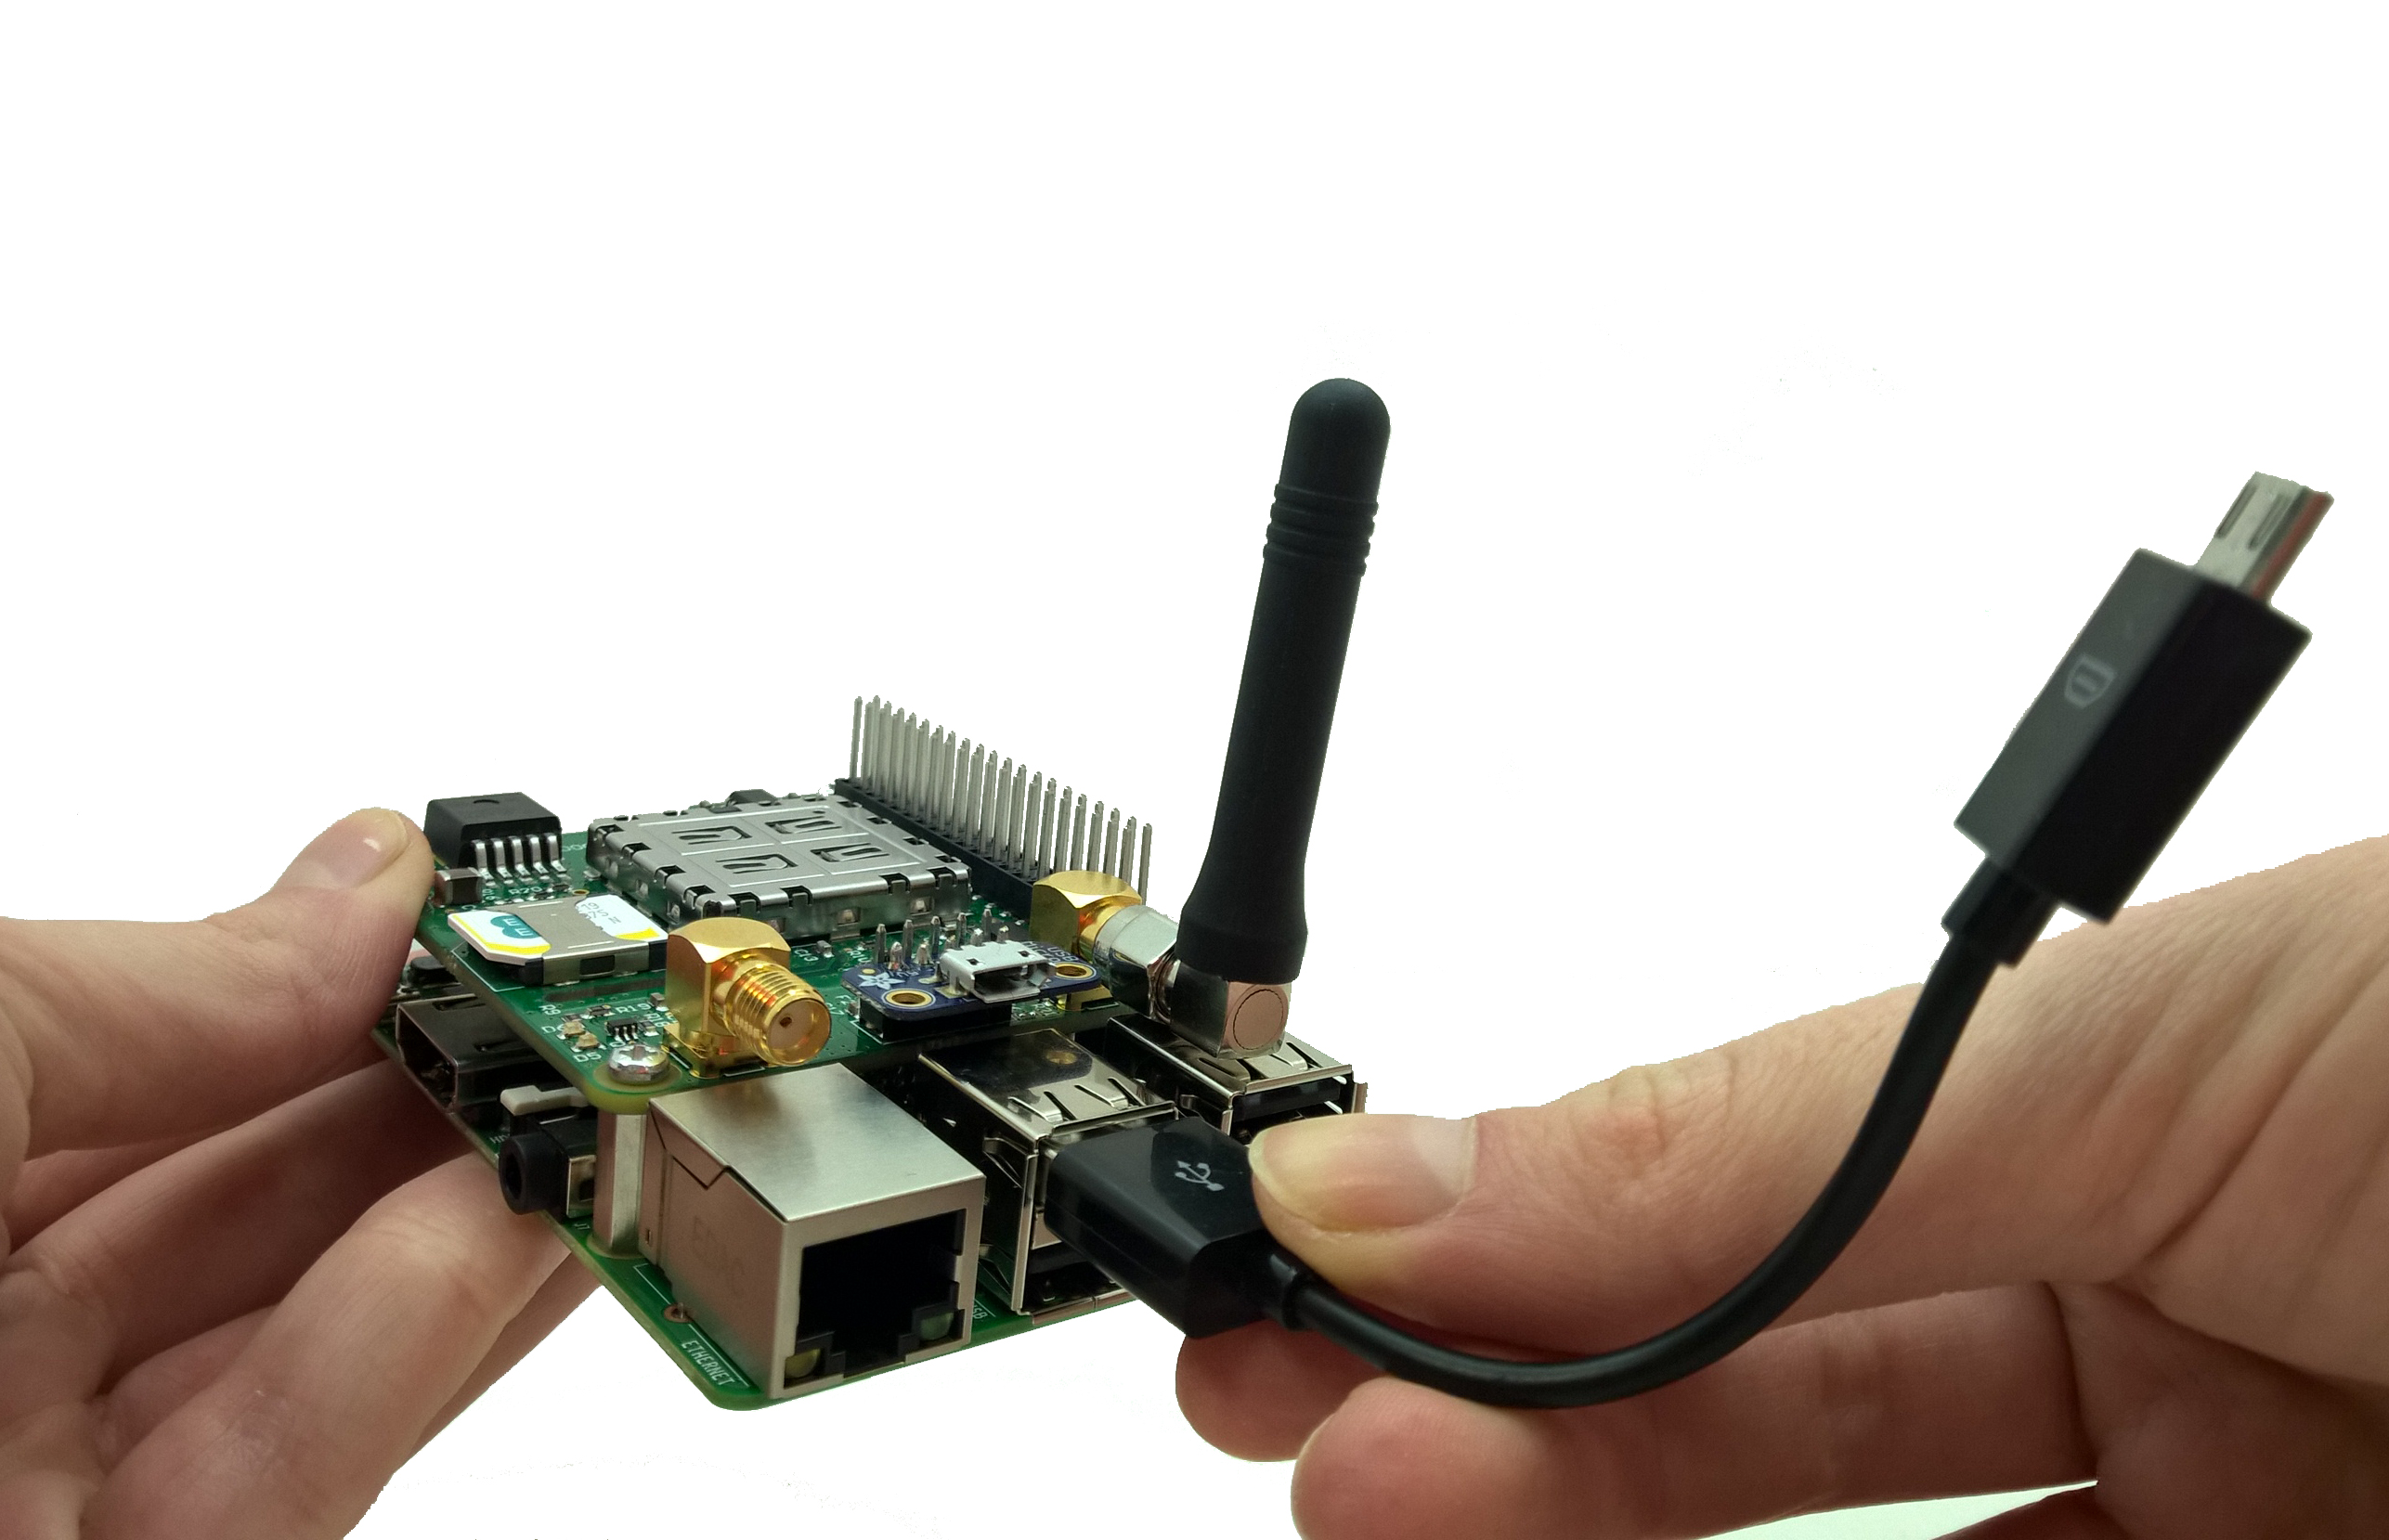
Insert the Micro USB Side of the USB to Micro USB Cable Into the Micro USB Socket Located Above the USB Socket.

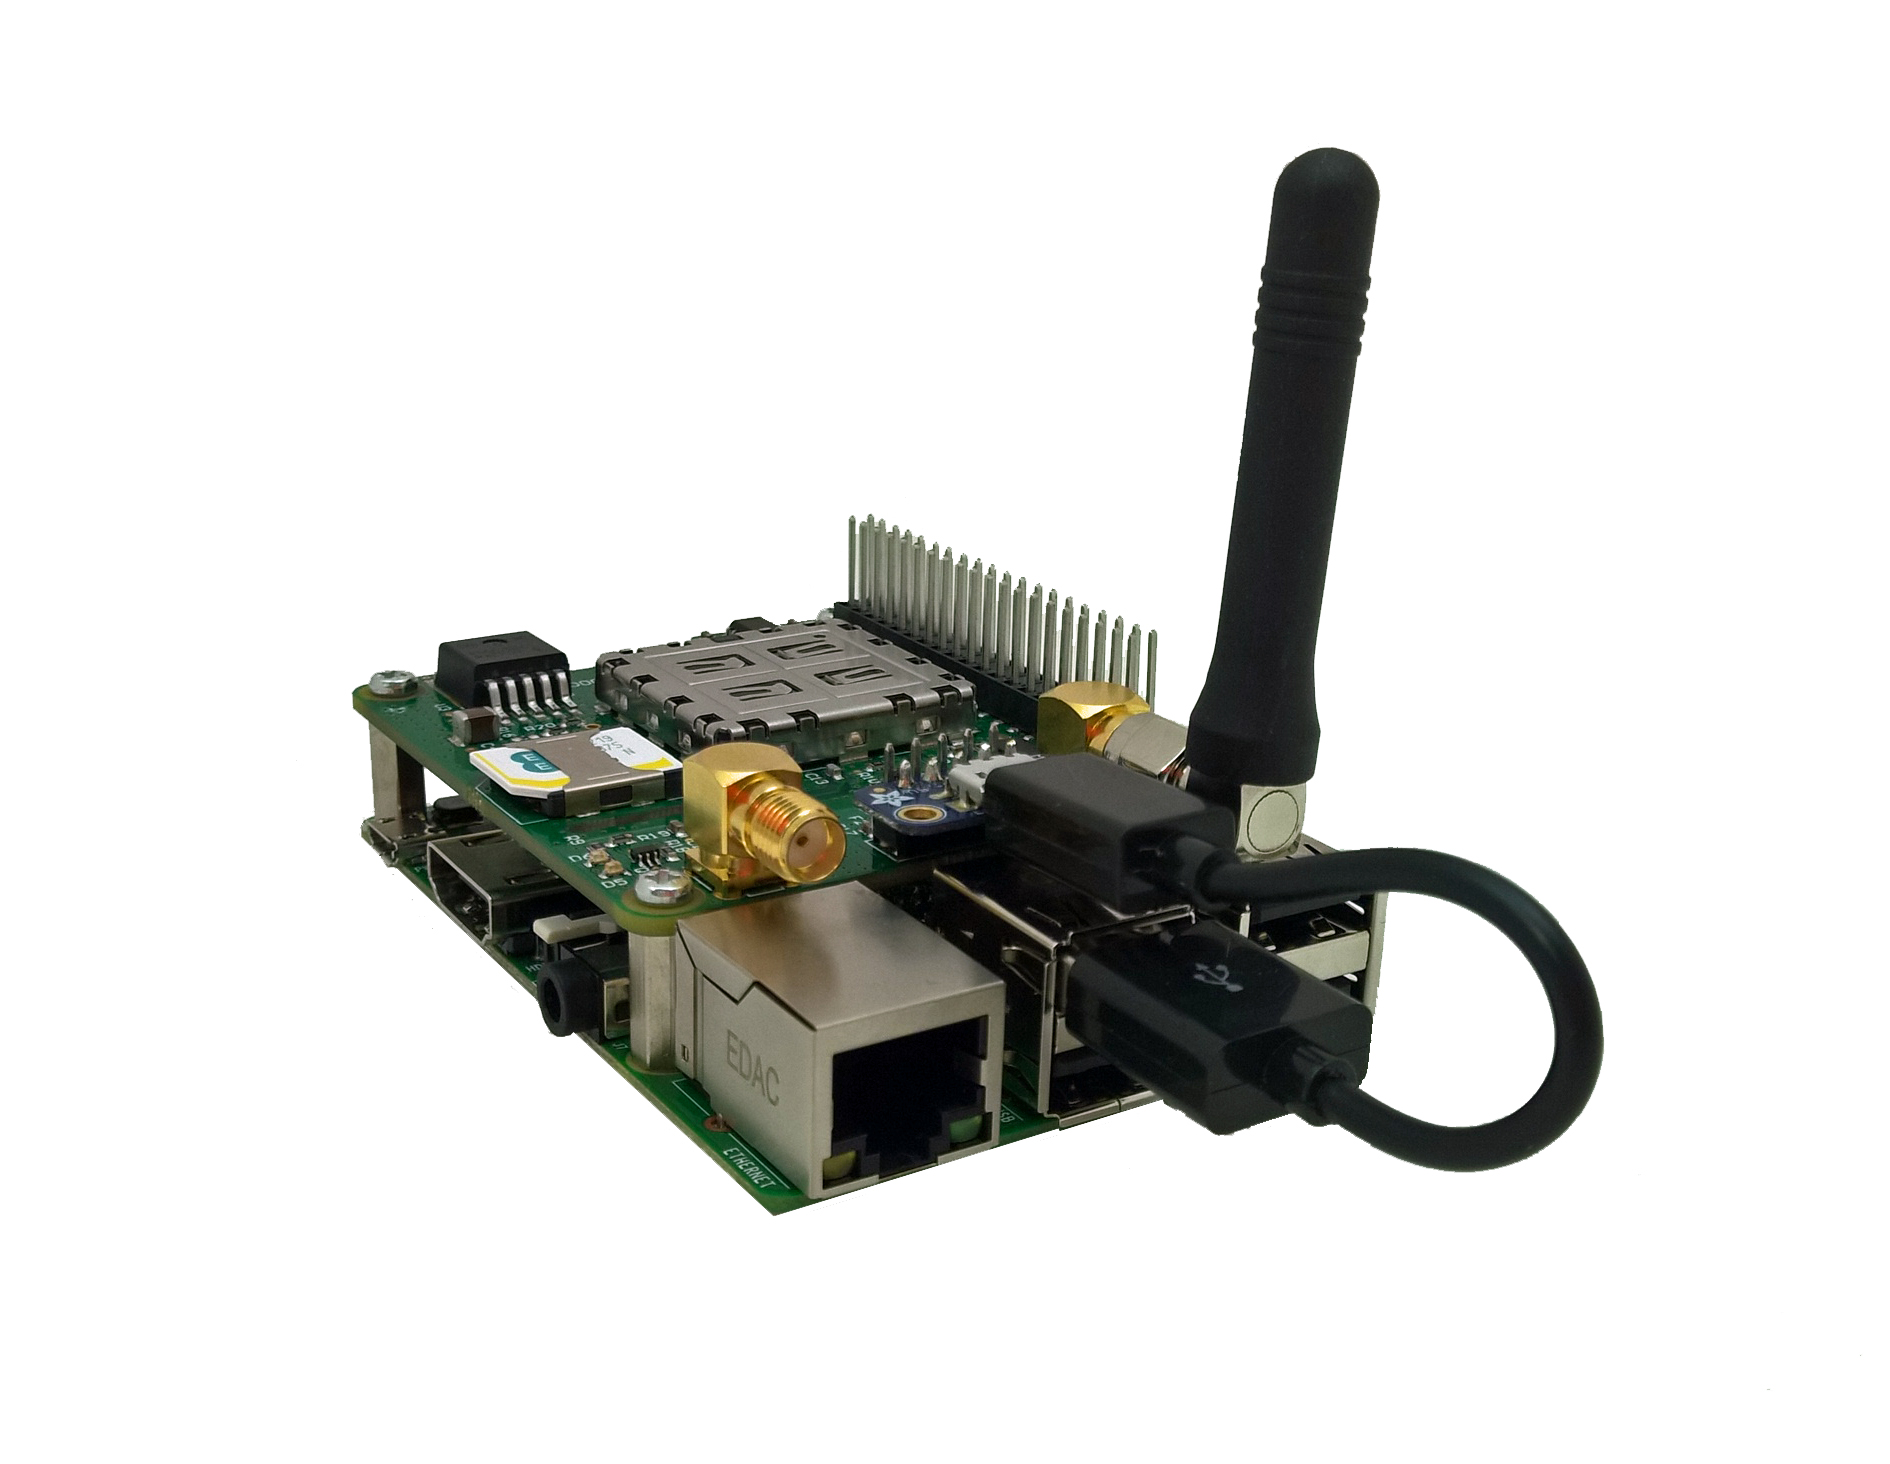
Now You're Ready to Connect to Your Raspberry Pi Over a 3G Mobile Network!
Let's get started, shall we?