Add Logo to a PCB in Eagle
by AugmentedRobotics in Circuits > Electronics
1610 Views, 1 Favorites, 0 Comments
Add Logo to a PCB in Eagle
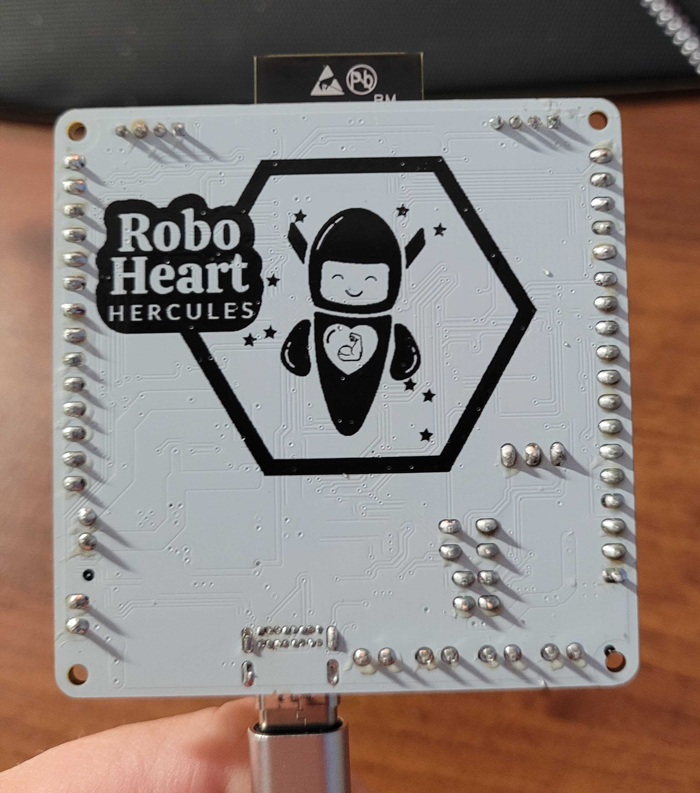
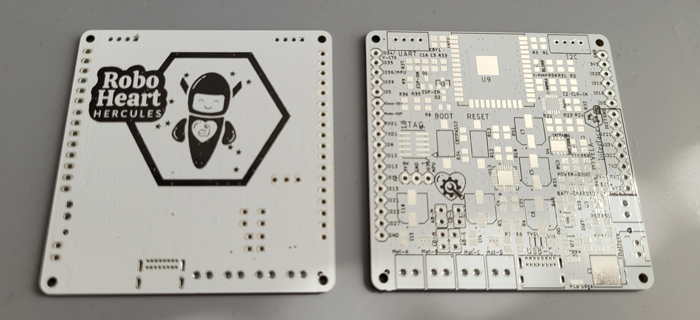
In this tutorial you will go through a step by step process to add an image to the silk screen layer in your Eagle layout.
Save Your Current Progress
There is no convenient way to undo the image import on the PCB, so you might want to close the PCB without saving changes if you are not satisfied with the import.
Select an Image From Your PC
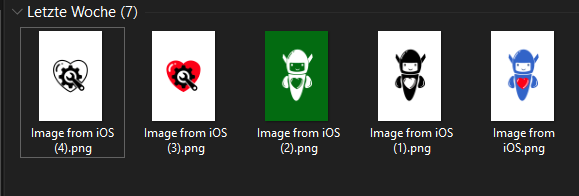
Keep in mind: only a monochrome print is possible.
Open the Image in an Image Manipulation Program Such As MS Paint

Save the image as 16-Color-Bitmap.
Open the Eagle Layout File *.brd Where You Want to Add Your Image
Go to “File” → “Run ULP” and select from a list “import-bmp.ulp”, click OK, a pop up window shows up click again OK.
Select the 16-Bit BMP Image You Prepared
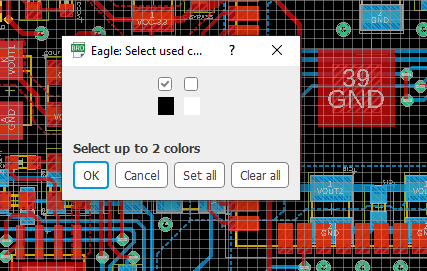
In the pop up window select “No Scan” and the color black, press OK.
In the Next Pop-up Window...
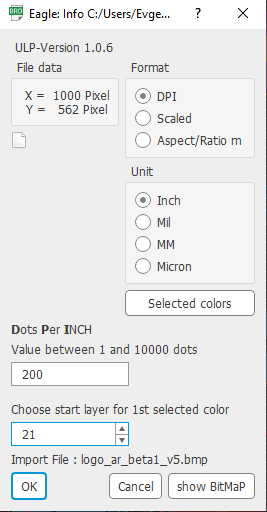
Select Format: DPI; Unit: Inch; and in the field “Dots Per INCH” you type your preferred size for the image on the PCB. The smaller your DPI-value the bigger your image on the PCB will be and vice versa.
Important: Select the layer where the image is going to be printed.
Recommended for Top side: 21
Recommended for Bottom side: 22
Click OK.
Click “Run Script”
It might take a few seconds for the script to execute.
If you are not satisfied with the logo size, there is no convenient way to undo the logo importclose. Close the .brd file without saving and repeat the steps described above with a different DPI-value.
You can also keep the DPI value same, but resize the image in an image manipulation program before the import.
Delete Caption

When you are satisfied with the logo size, you will find a very small caption (image path) at the bottom left corner of the imported image. Delete this caption.
Tidy Up
If you want to move the image you will notice that it is made of many thin lines. You have to use the “group” tool, select the area where your image is displayed, then click “move”, then right click on the selected area and click “move: group”. For best results you should hide all other layers.