Add Email Notifications to Any Robotic Vacuum Cleaning Robot
by educ8s in Circuits > Arduino
1896 Views, 20 Favorites, 0 Comments
Add Email Notifications to Any Robotic Vacuum Cleaning Robot
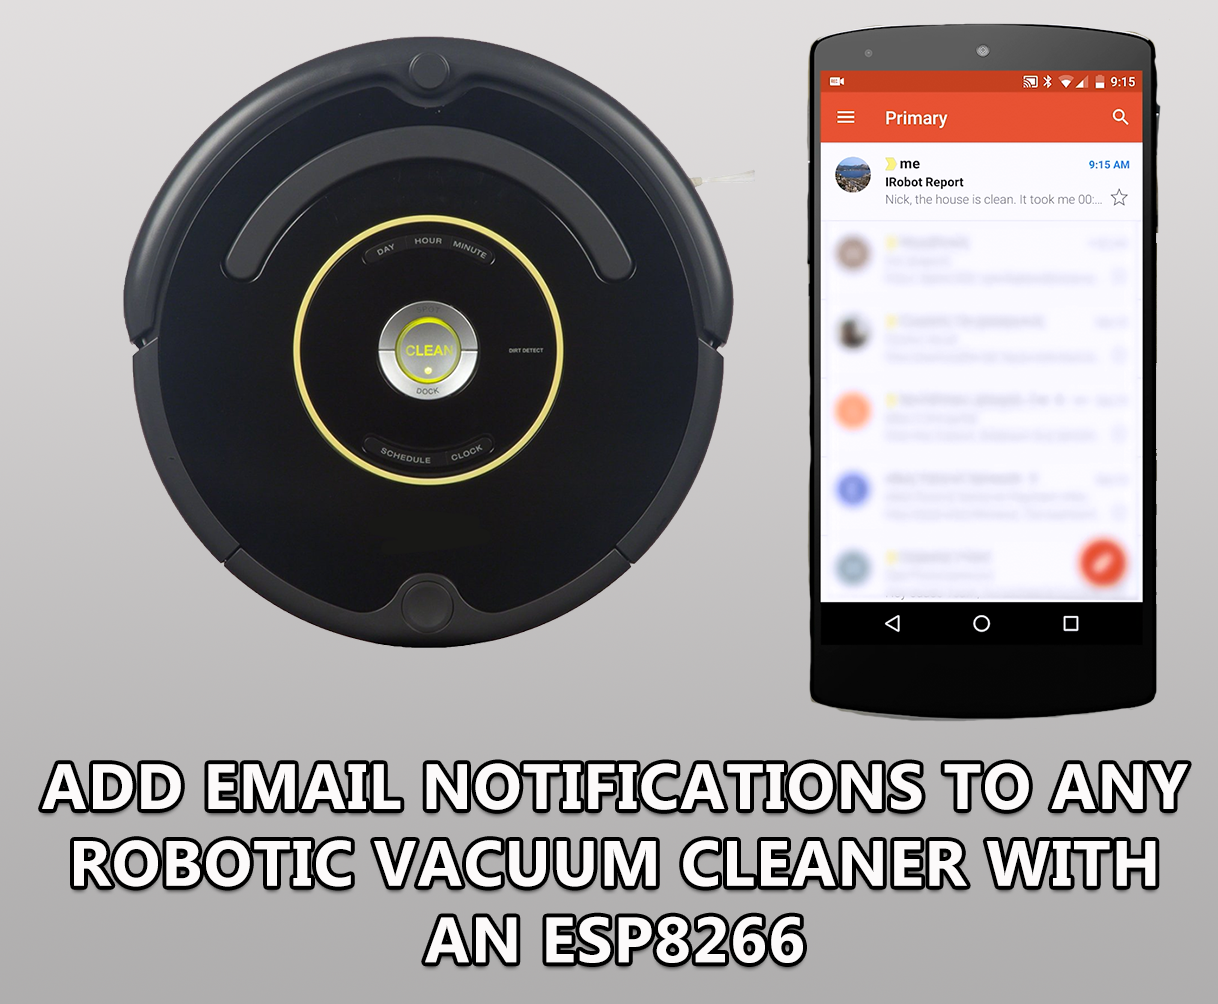
Dear friends welcome to another tutorial! This is Nick from educ8s.tv and today we are going modify this Roomba robotic vacuum cleaner. With less than $10 we are going to add email notifications to it, a feature only available to the most expensive models. Without any further delay, let’s get started!
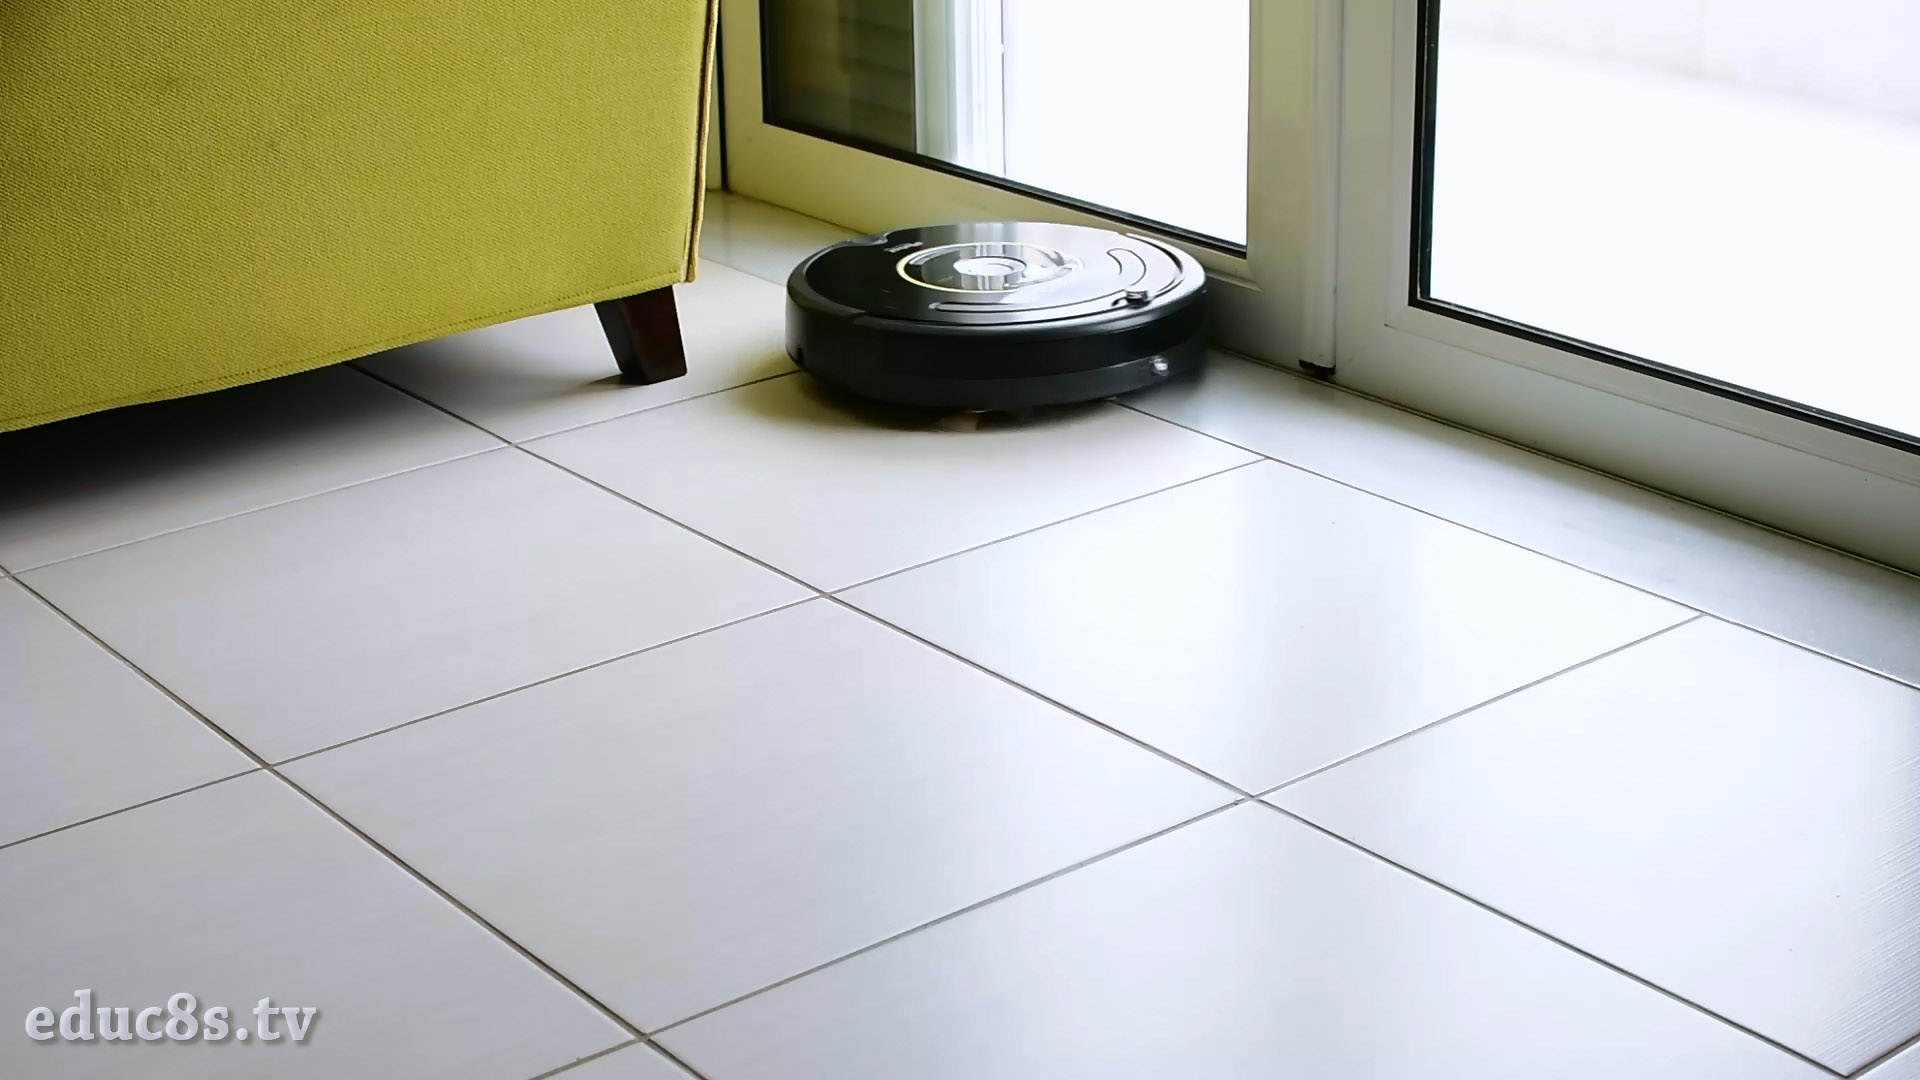
I own an iRobot Roomba 650 vacuum cleaner for about a year now. It is the most basic version of the robot and lacks some of the features of the more advanced models. One useful feature that my robot is lacking, is the notifications feature that only the WiFi enabled models offer.
I usually program the robot to vacuum the house when I am away of it. So, it would be nice to have a report if everything went OK with the cleaning before I get back. Sometimes the Robot get stuck under a furniture or a forgotten cable makes it stop cleaning. The modification we are going to make today, will enable the Roomba to send us an email with a report about the cleaning of the house.
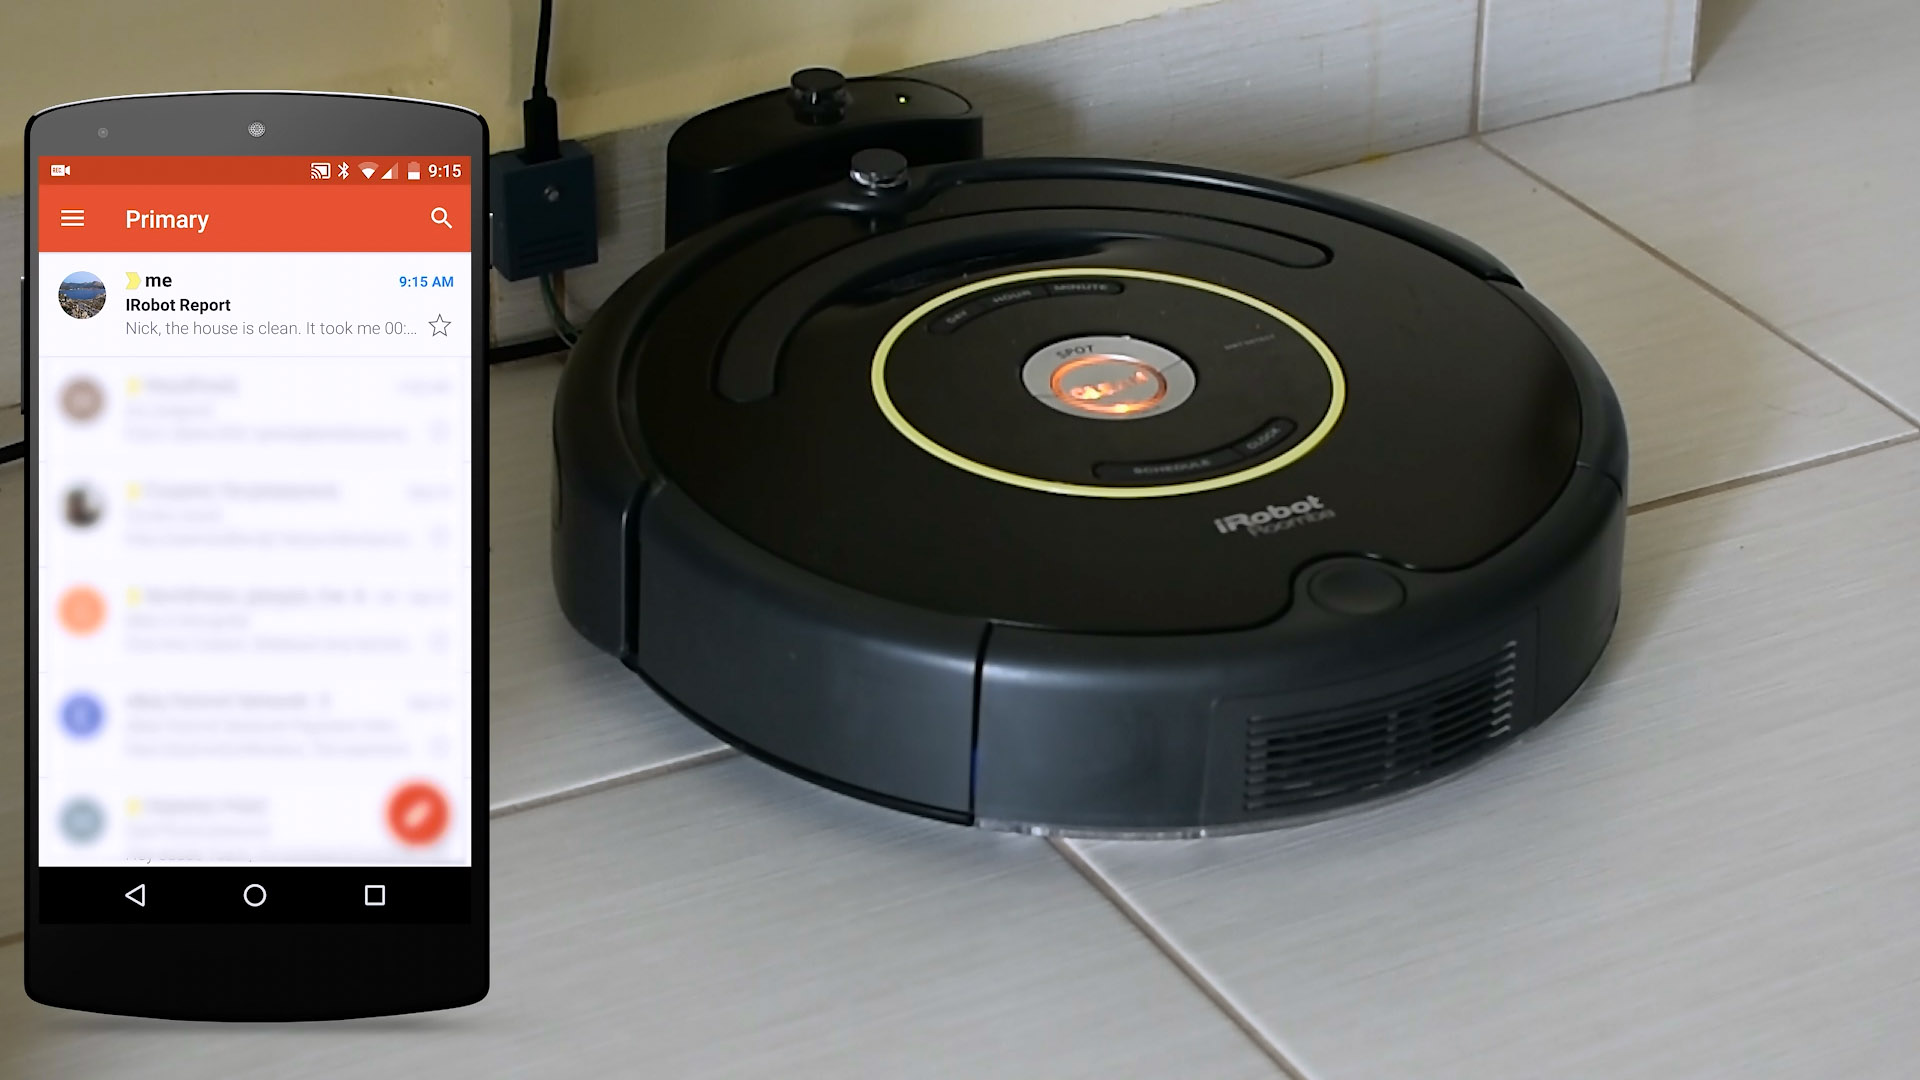
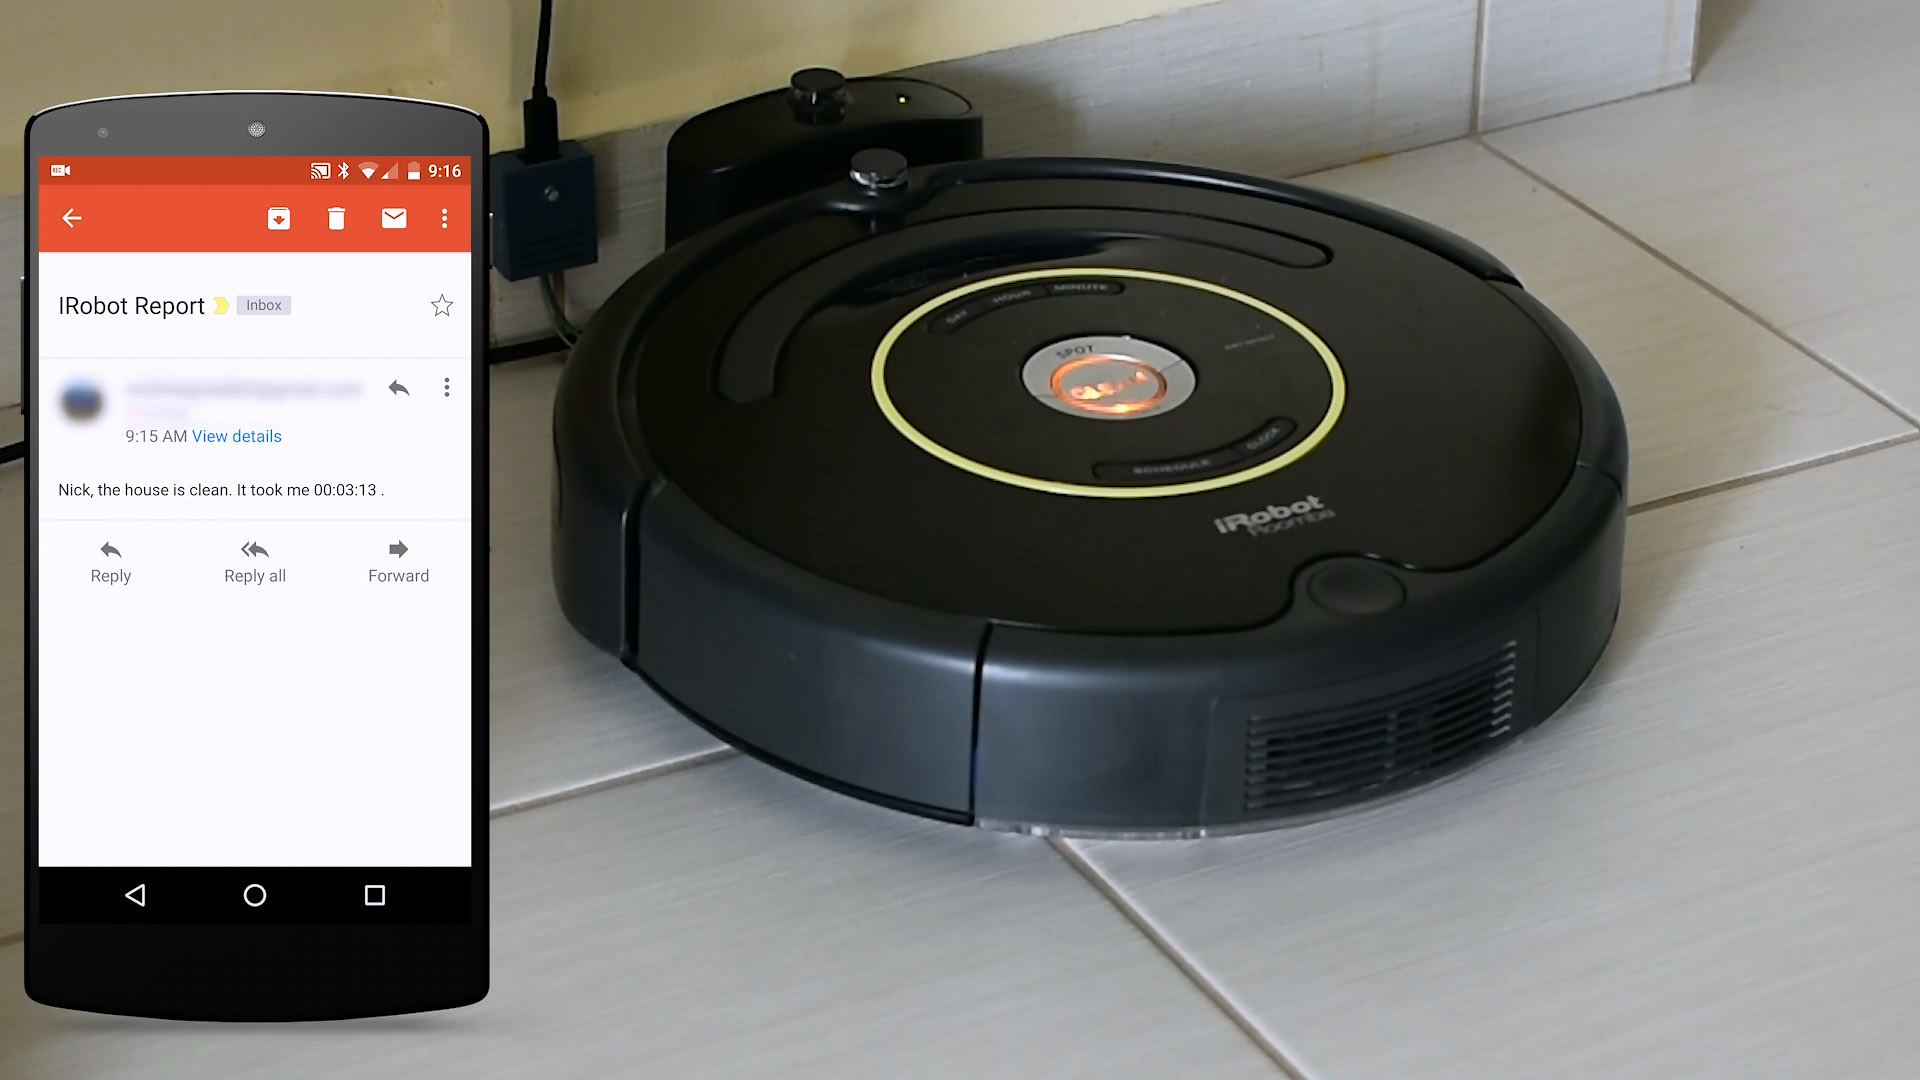
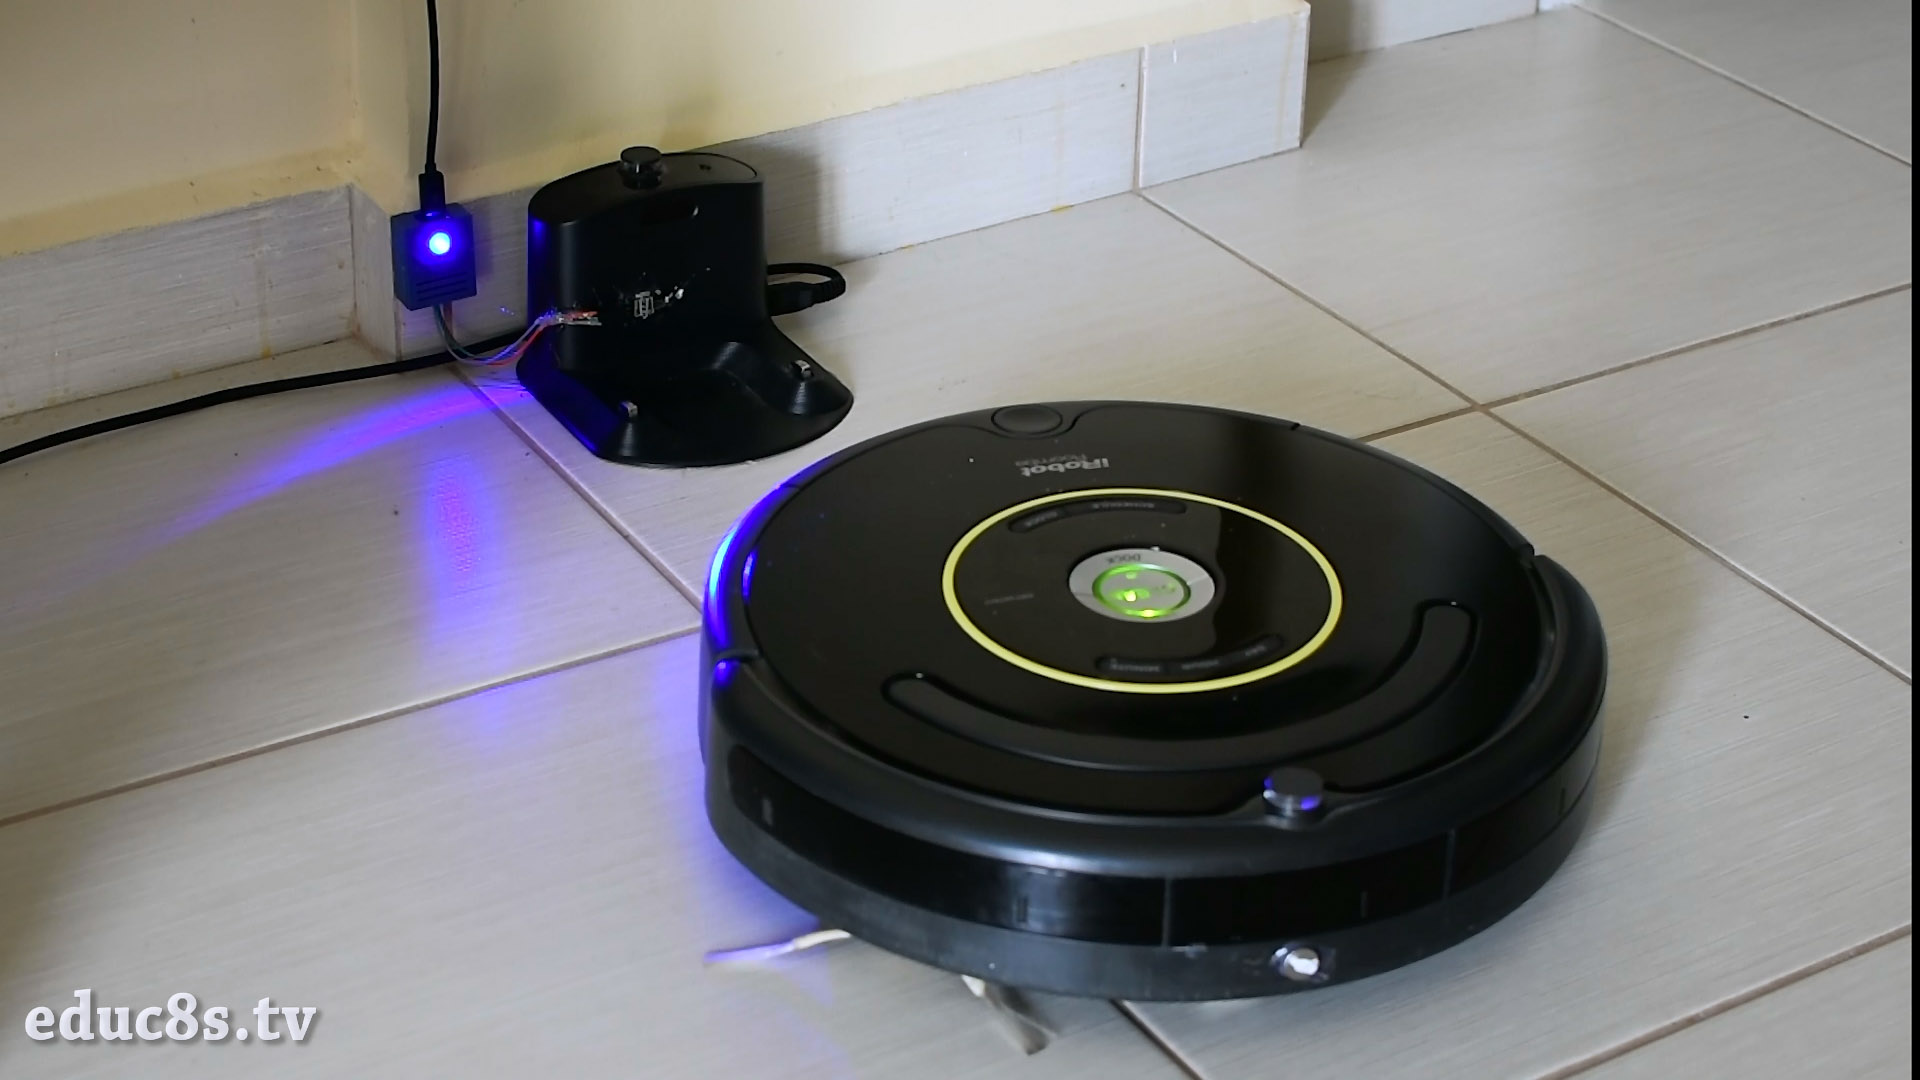
Check this out, the Roomba just finished cleaning the house and arrives at the charging dock. At the same time, an email arrives in my Inbox. It informs me that everything went ok, and tells me the time that the robot spent vacuuming the house! Great isn’t it?
How It Works
Let’s now see how this modification works.
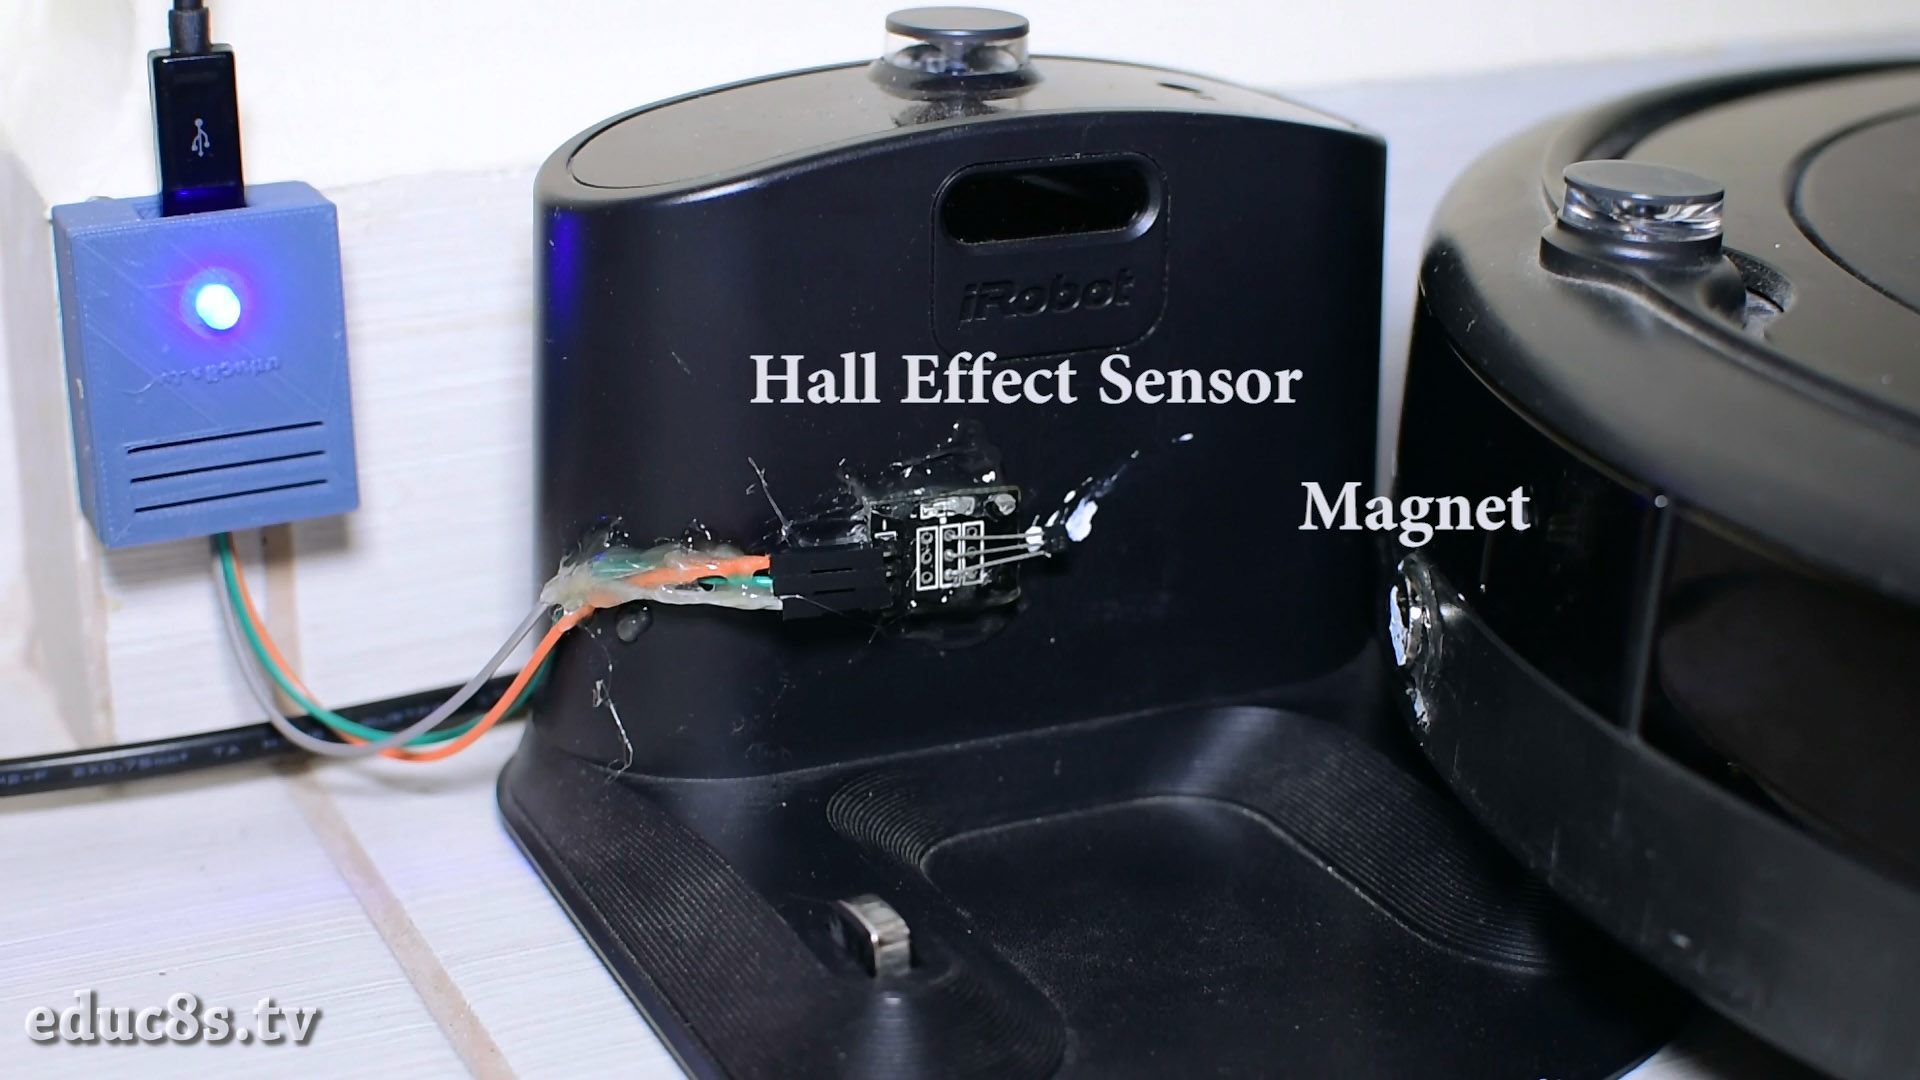
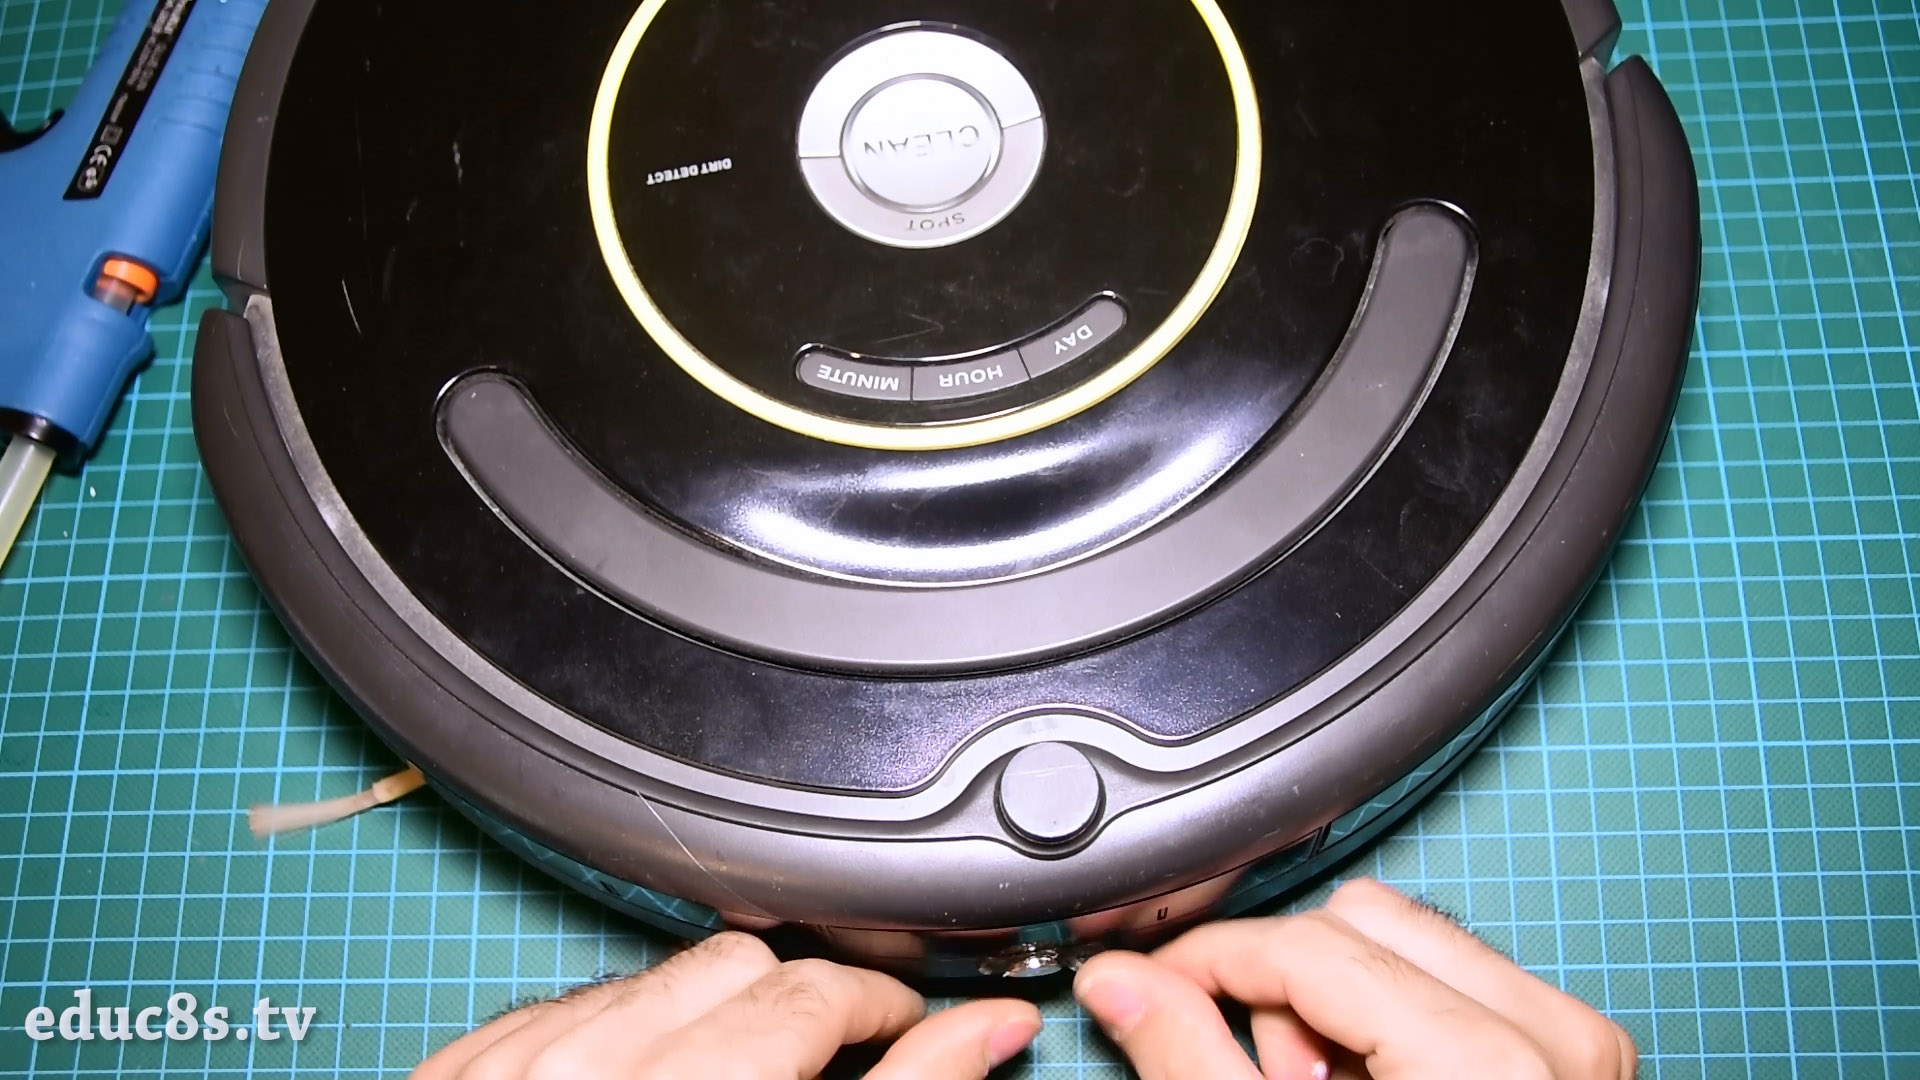
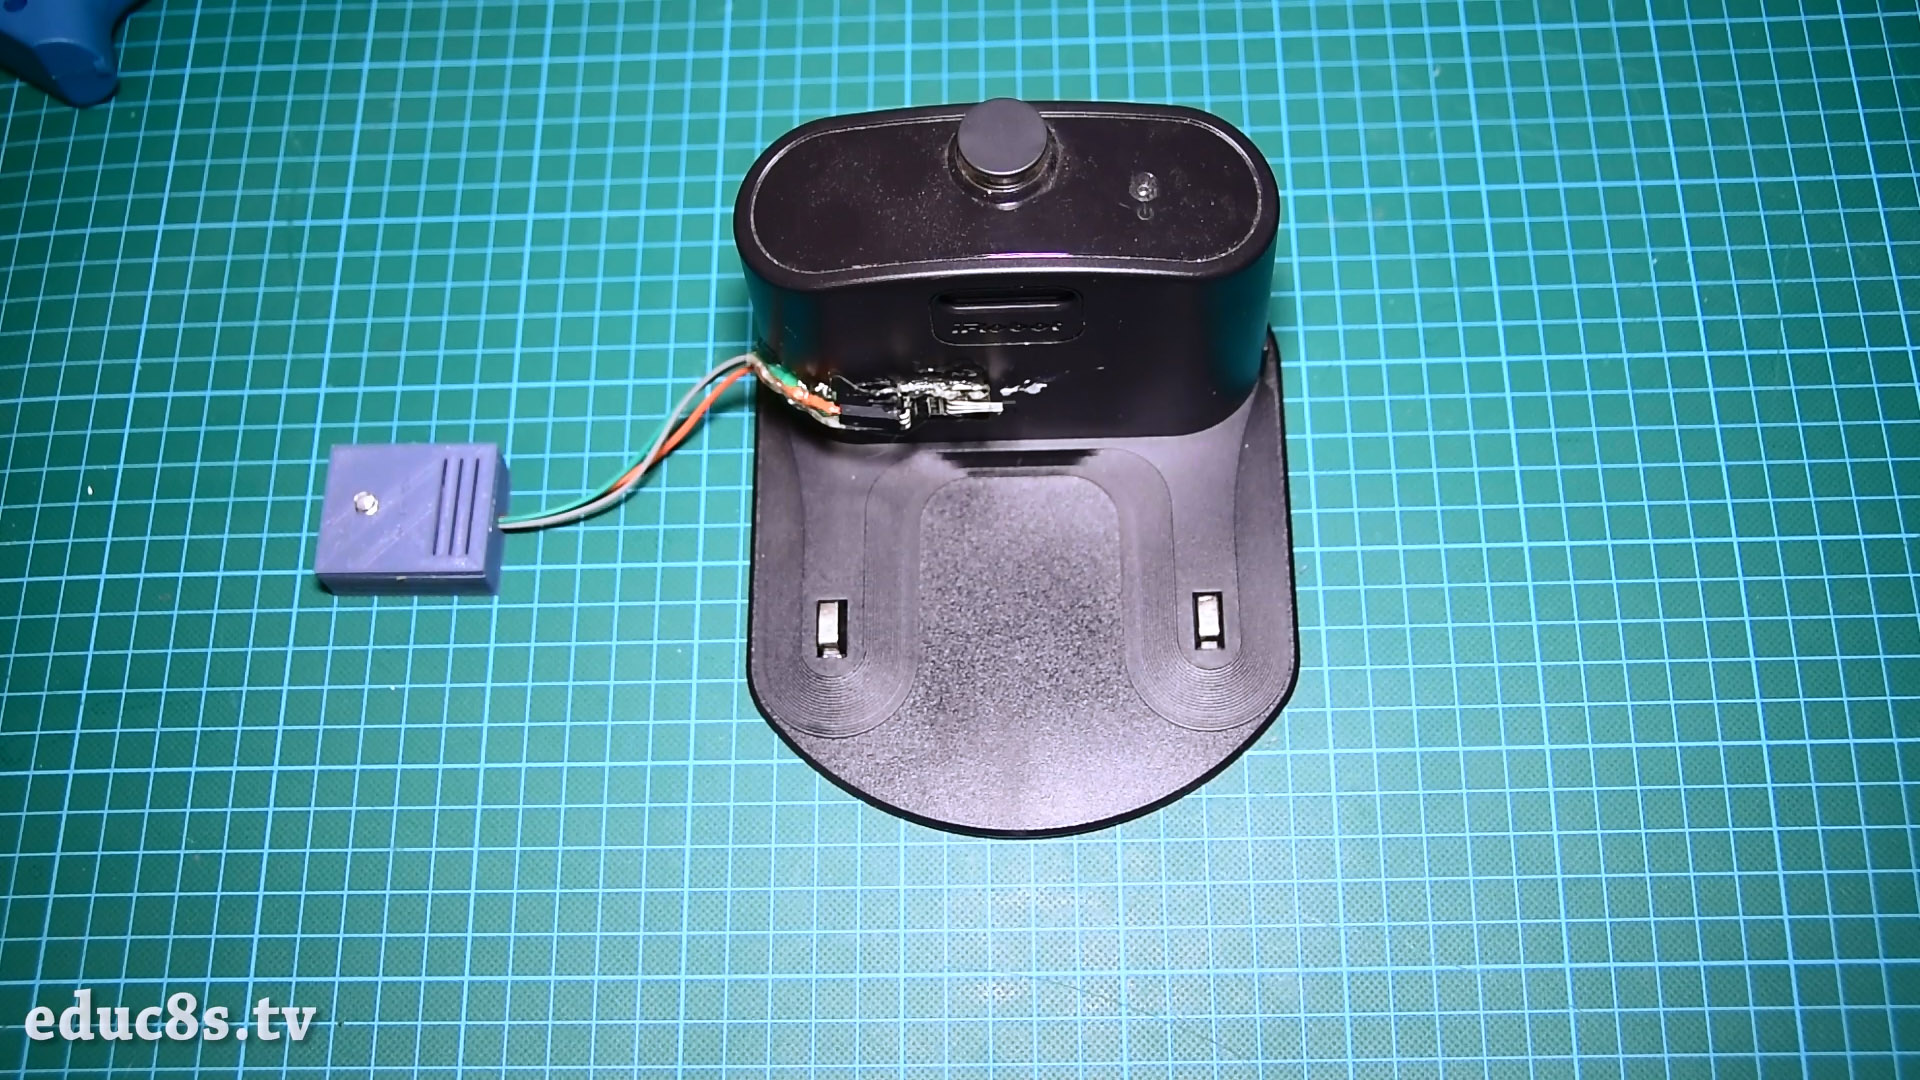
I have attached a small magnet on the front of the robot. At the charging dock I have attached a Hall Effect sensor which is connected to a Wemos D1 mini board which inside this small box. The Hall Effect sensor detects the magnetic field of a magnet. I have prepared a tutorial on the Hall Effect sensor. I have attached it to this tutorial. If the robot is close, the Hall Effect sensor will detect the magnet on the Roomba. It the robot is away cleaning, there will be no magnetic field close to Hall Effect sensor, so the program will know the robot is away. That’s the basic idea behind this project.
Without modifying the Hardware of the Roomba at all, we add a functionality to it! Let’s now see how to build this project.
Get All the Parts
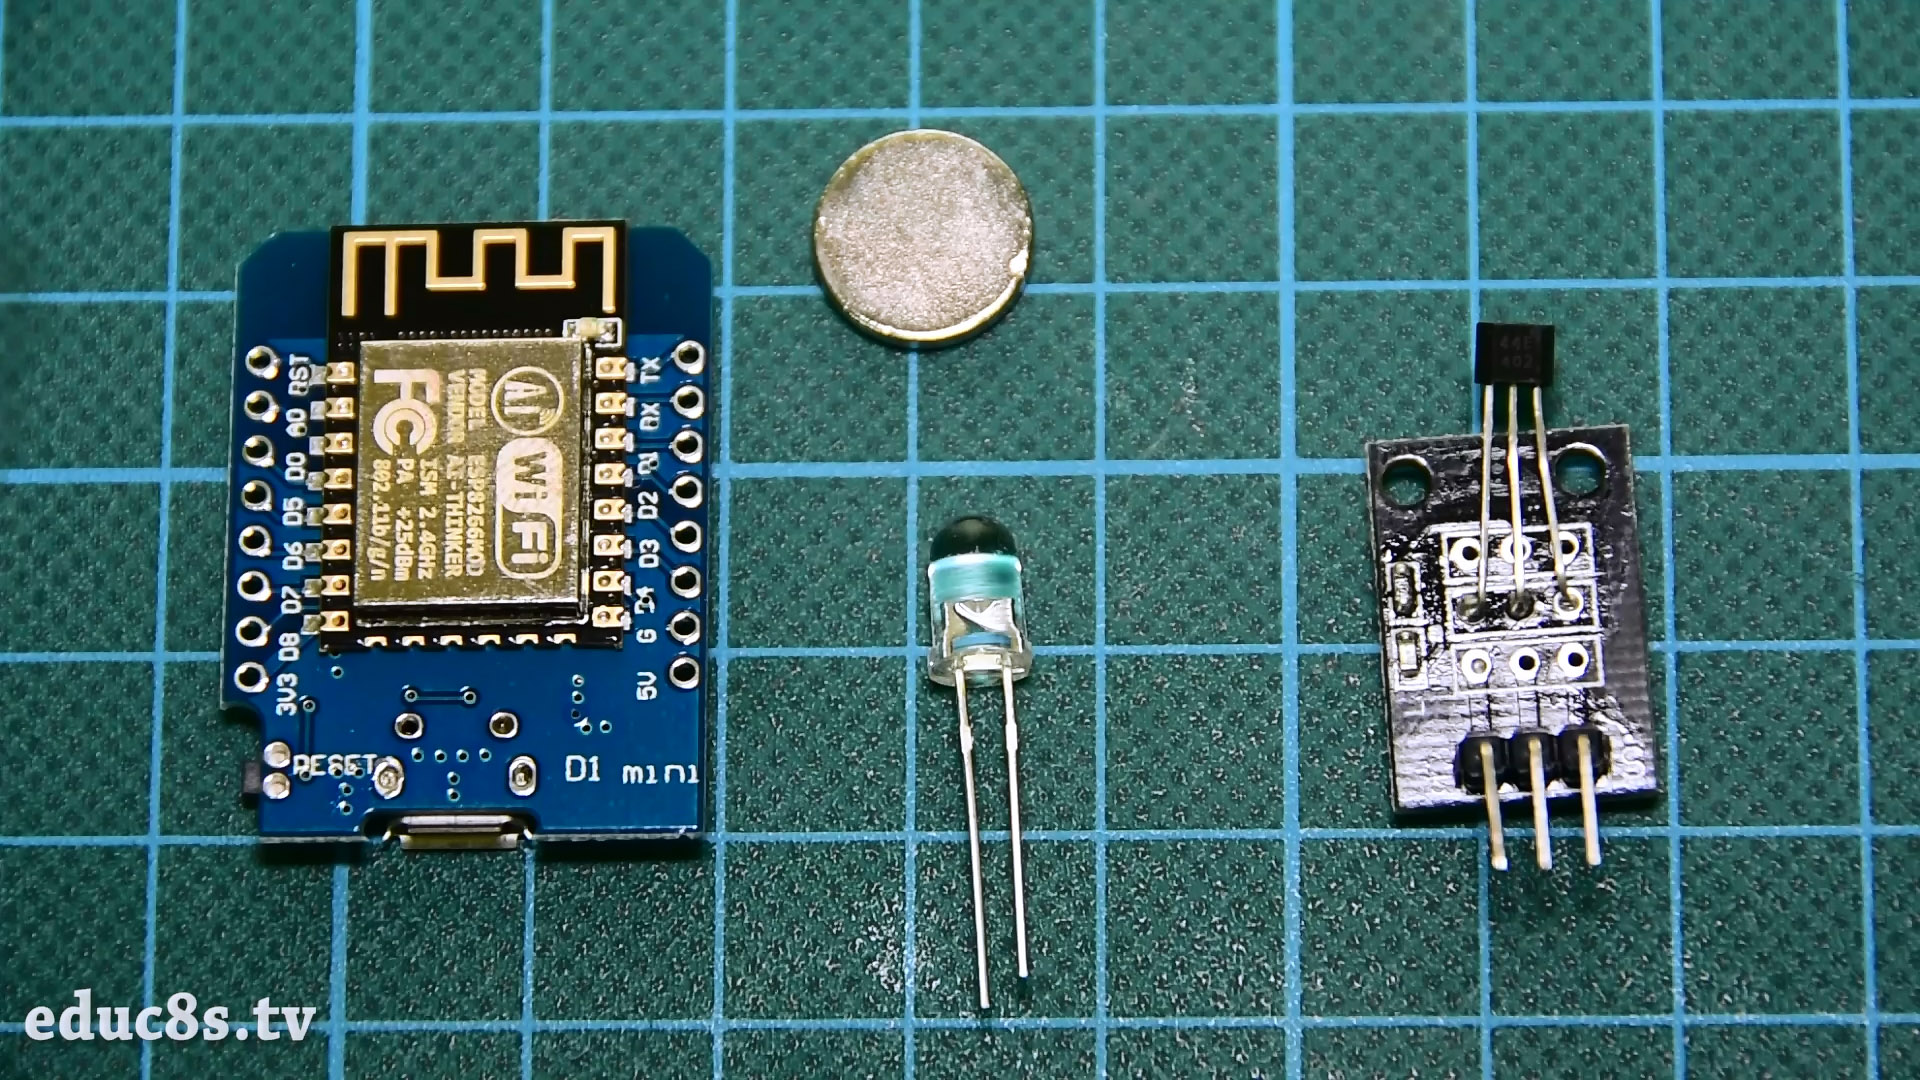
The parts needed in order to build this project are these:
- A Wemos D1 mini ▶ http://educ8s.tv/part/D1Mini
- A Hall Effect Sensor ▶ http://educ8s.tv/part/HallEffect
- A magnet ▶ http://educ8s.tv/part/Magnets
- An LED ▶ http://educ8s.tv/part/LEDs
- Some wires ▶ http://educ8s.tv/part/Wires
-
Irobot Roomba 650: http://amzn.to/2dcvW2s
-
Bluehost: http://bit.ly/BluehostAccount
The cost of the electronics is around $7.
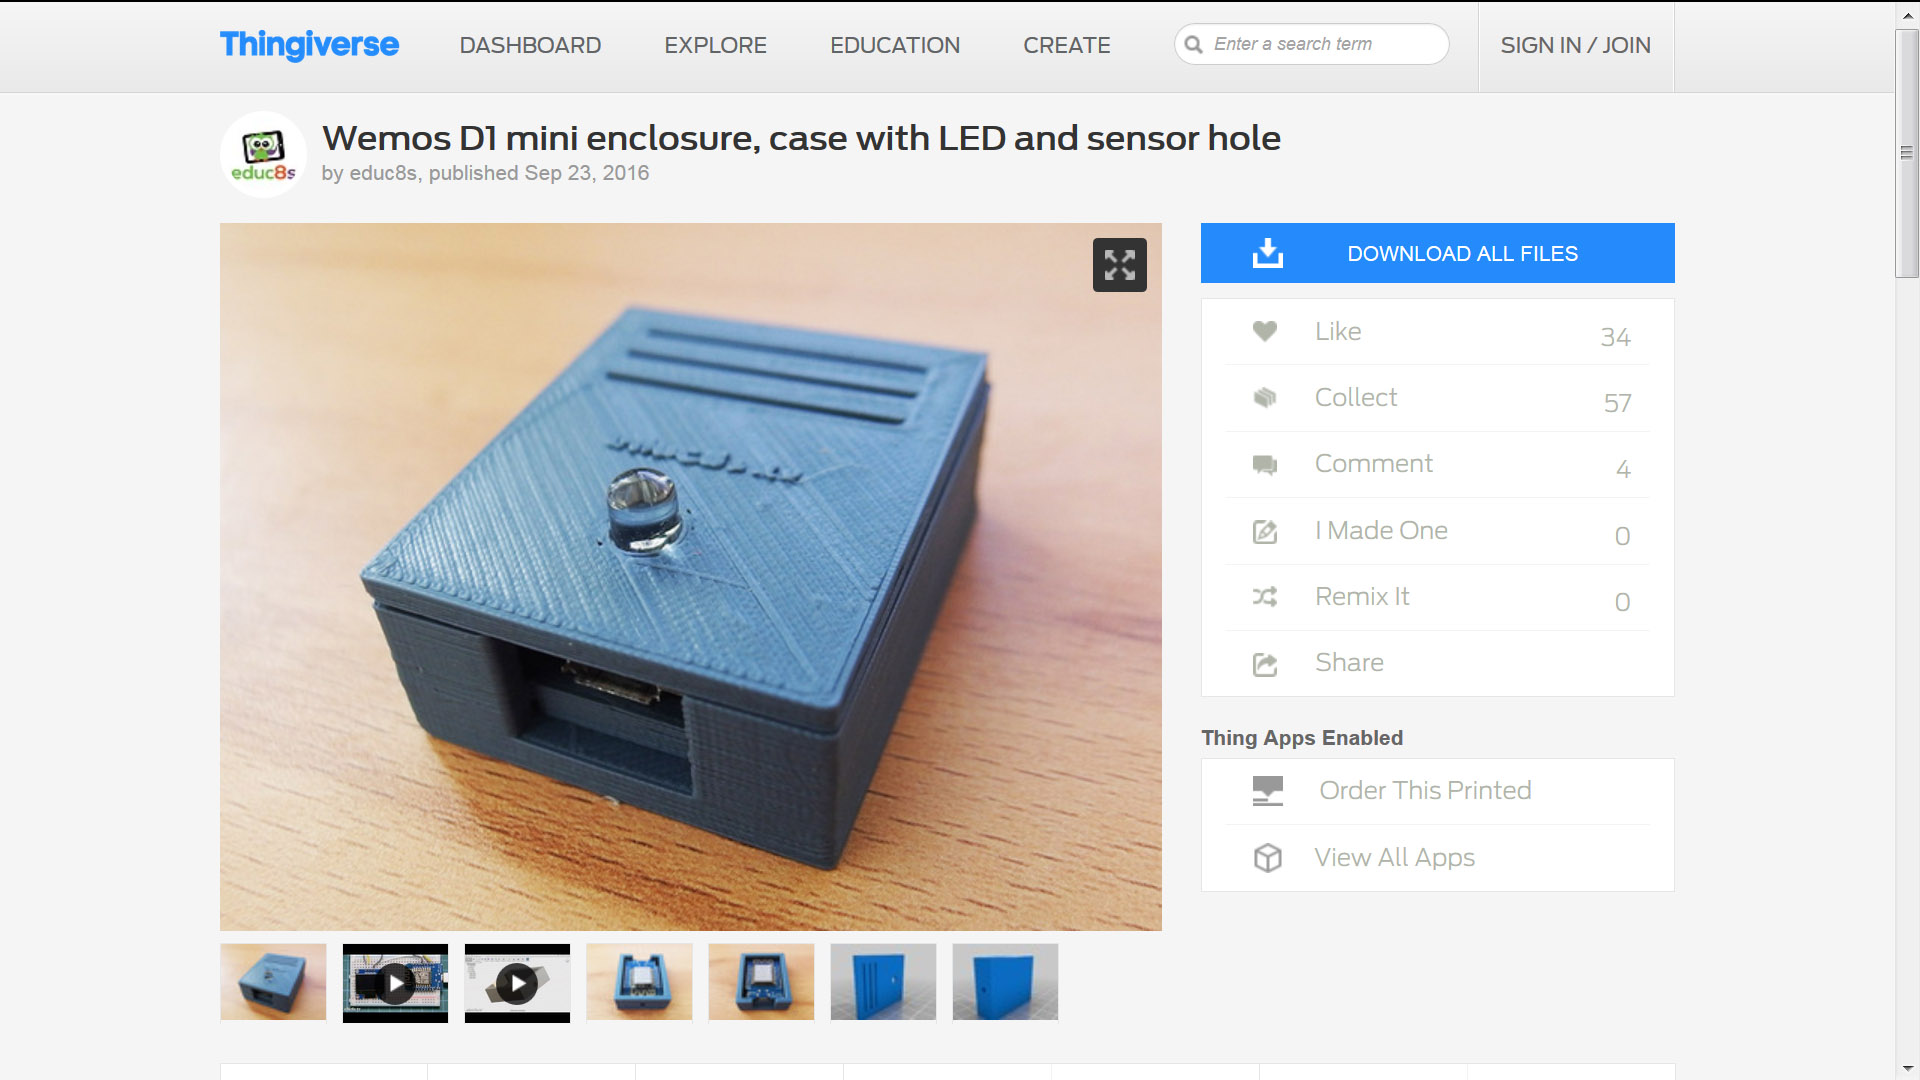
I have also designed and 3d printed a small enclosure for this project. You can find the files for this enclosure on Thingyverse.com. You can download the files and print them on your 3d printer from this link:
Building the Project
Now let’s build this project.
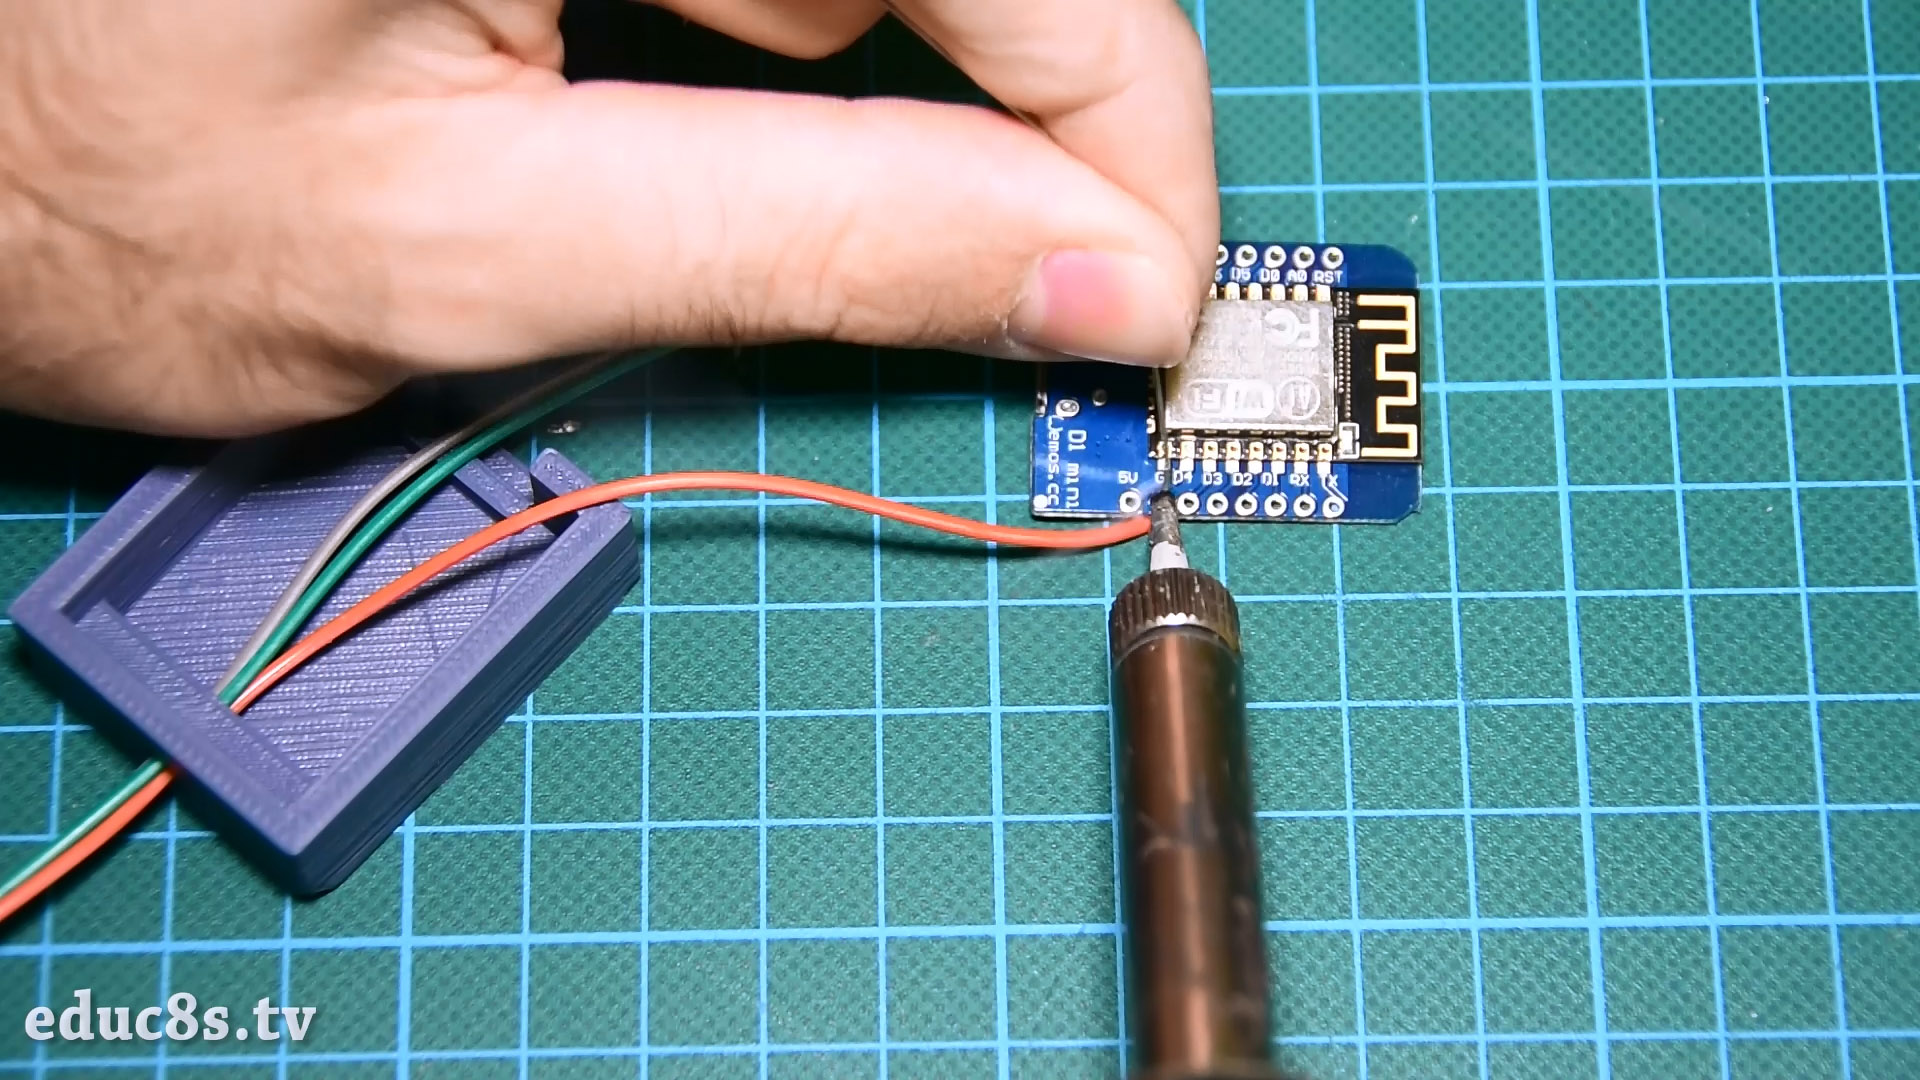
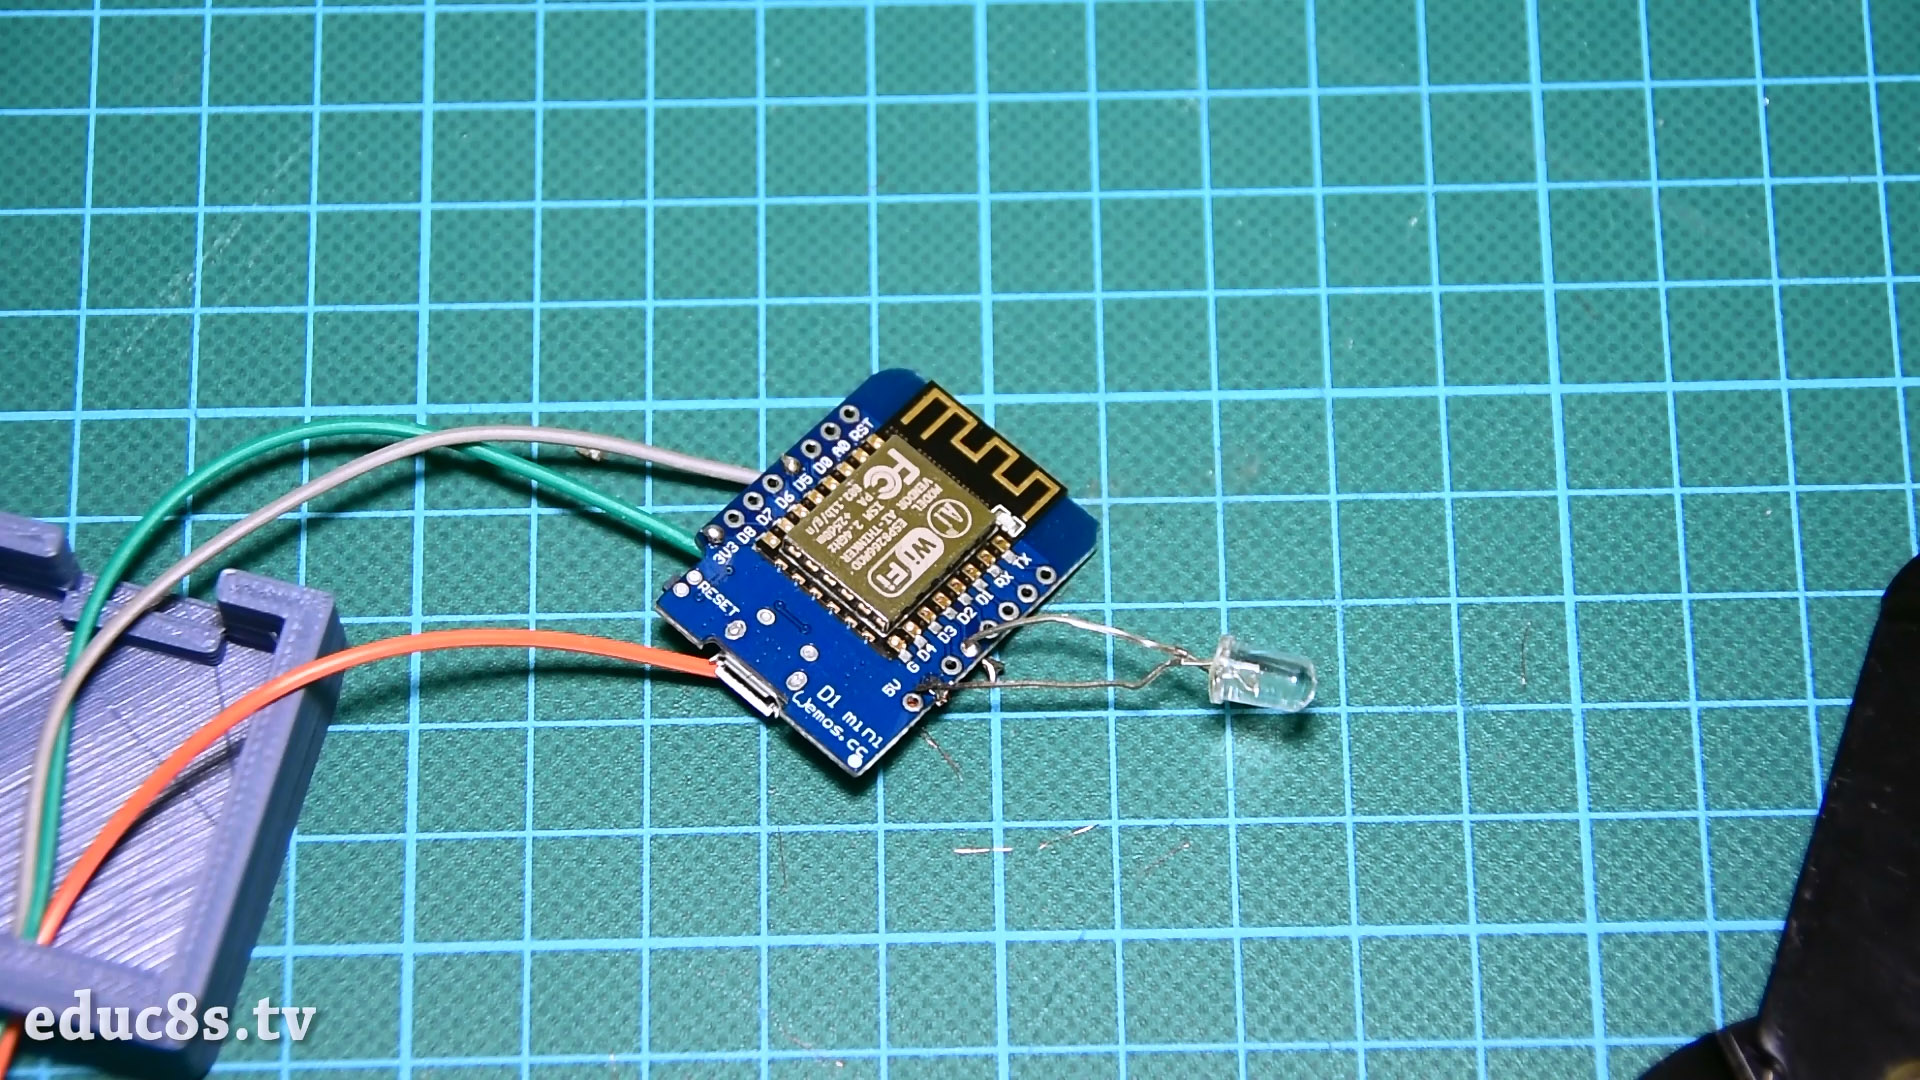
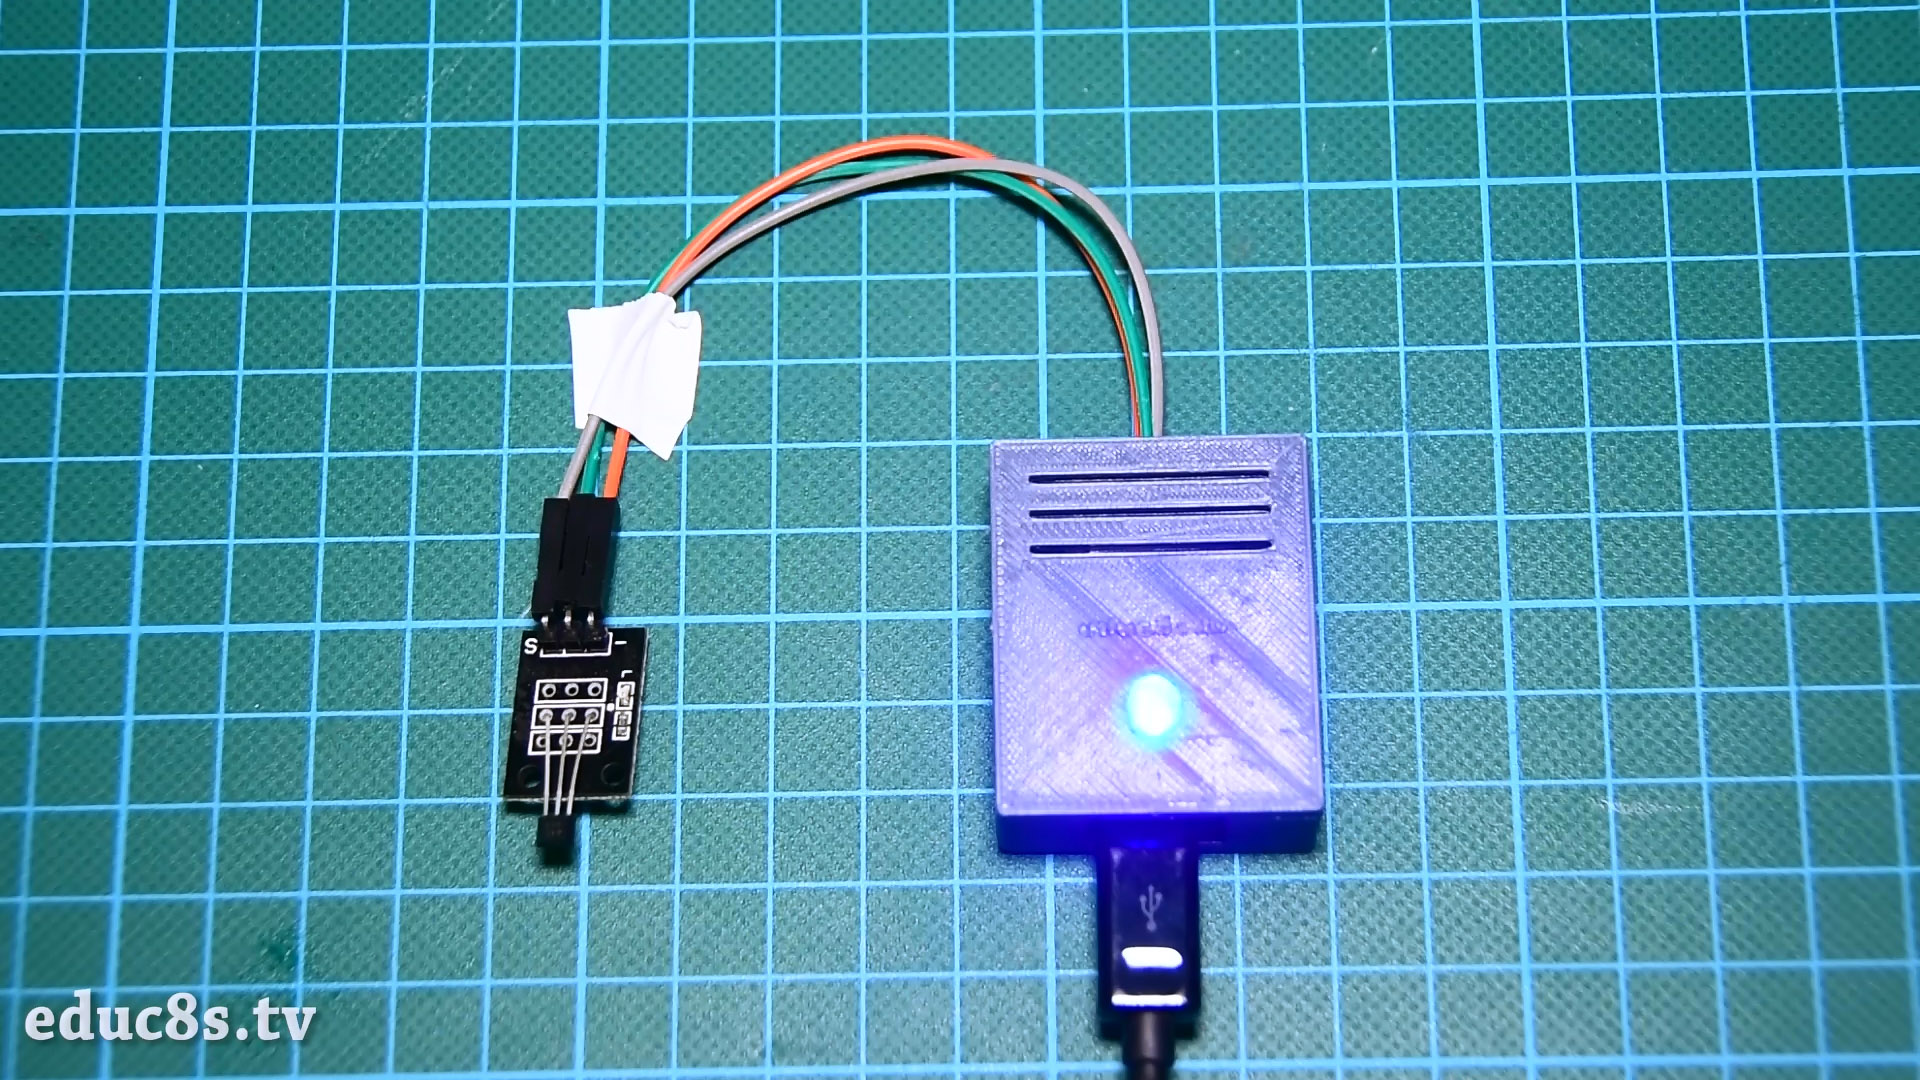
We solder the middle pin of the Hall Effect sensor to the 3.3V output of the Wemos D1 mini board. The pin with the – sign is soldered to GND. The last pin, the signal pin is soldered to digital pin 5. Next we solder the long leg of the LED to digital pin 3. The other leg is soldered to GND. That’s it! It’s that easy.
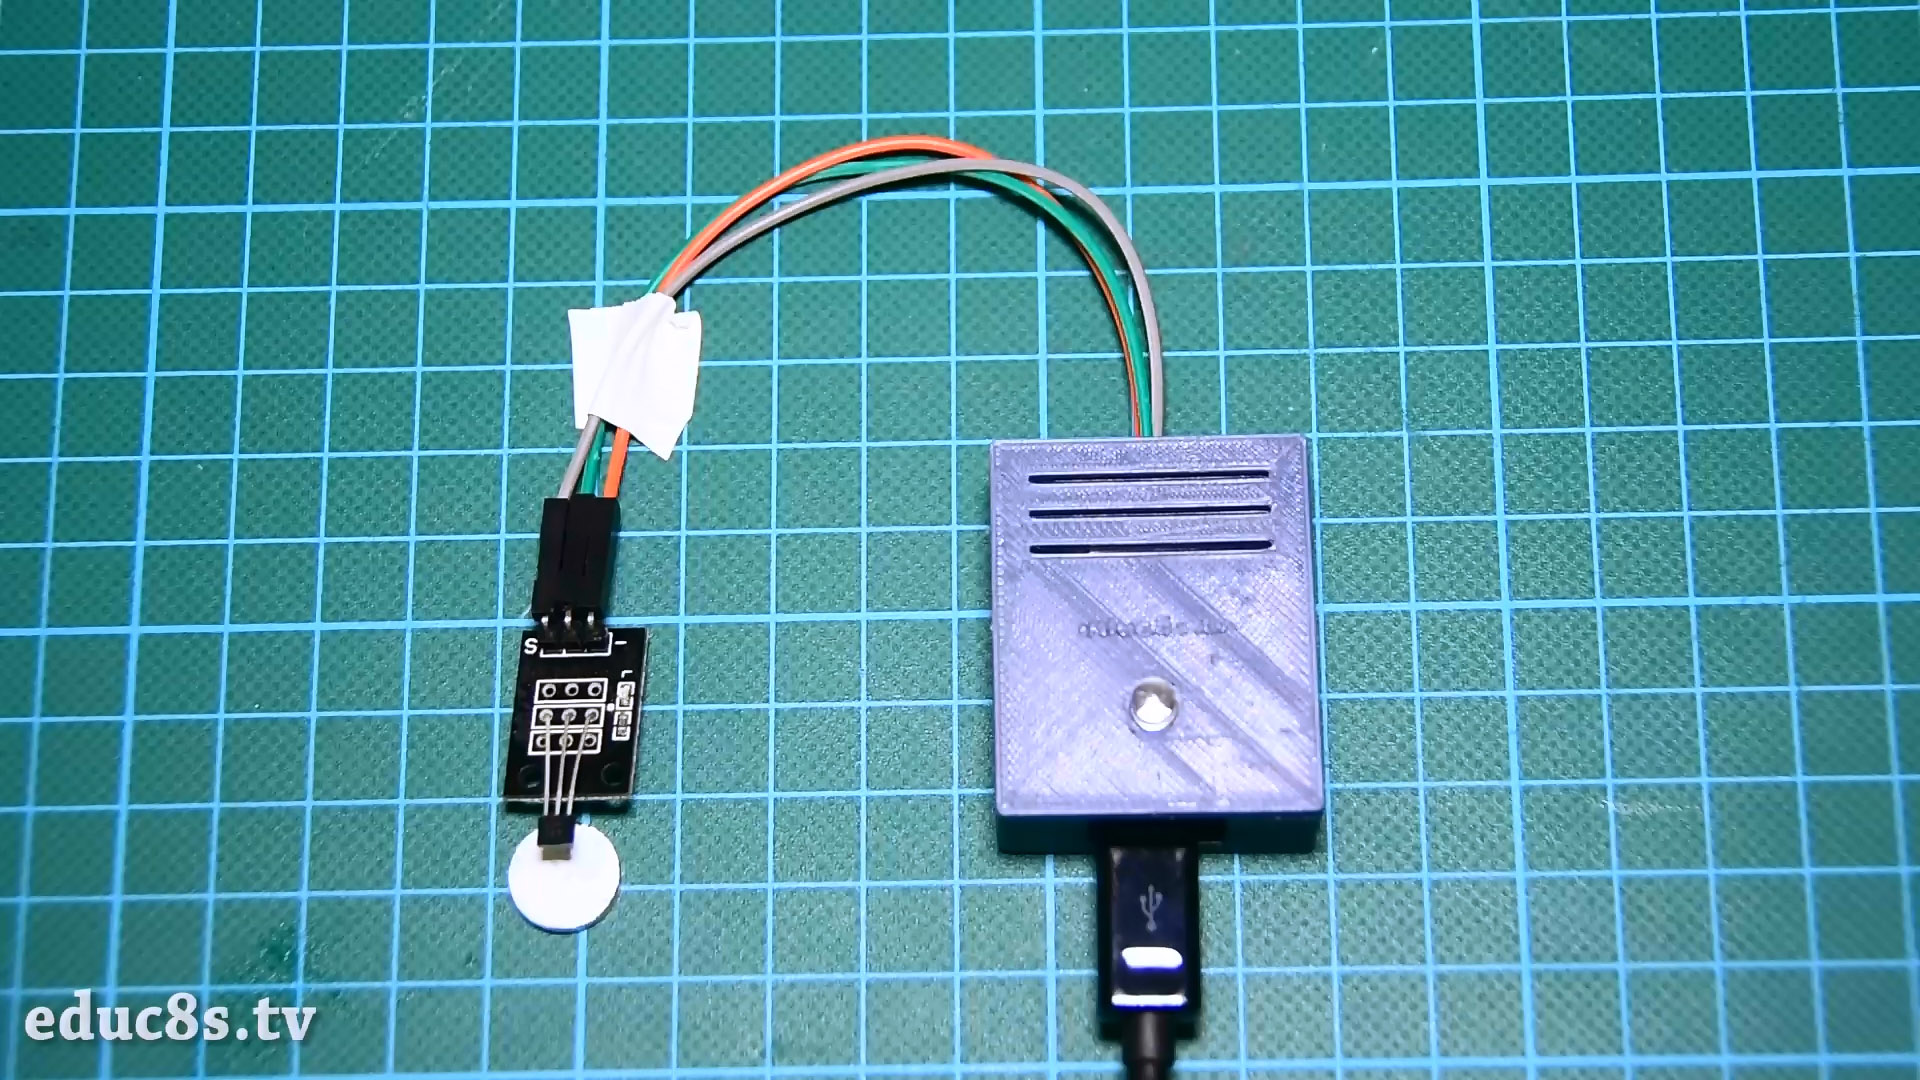
We then have to glue the top case of the enclosure and test that everything works as expected. When the magnet is close to the sensor, the LED flashes slowly which means that the Roomba is at the Home Base. If I remove the magnet the LED lights up, which means that the Roomba is away. If I place the magnet close to the sensor again, the LED starts blinking again. It works fine! Note, the Hall Effect sensor is sensitive to a specific pole of the magnet. If we place the other pole of the magnet it won’t work!
Now, I attach a magnet to the Roomba, and the Hall Effect sensor to the dock. The distance with the magnet must be about 1cm or less. The hardware is ready. Let’s test it. I press the CLEAN button on the Roomba and as you can see the LED lights up. When the Roomba returns, the LED starts to blink slowly and I receive an email! Let’s take a look at the software.
The Code of the Project
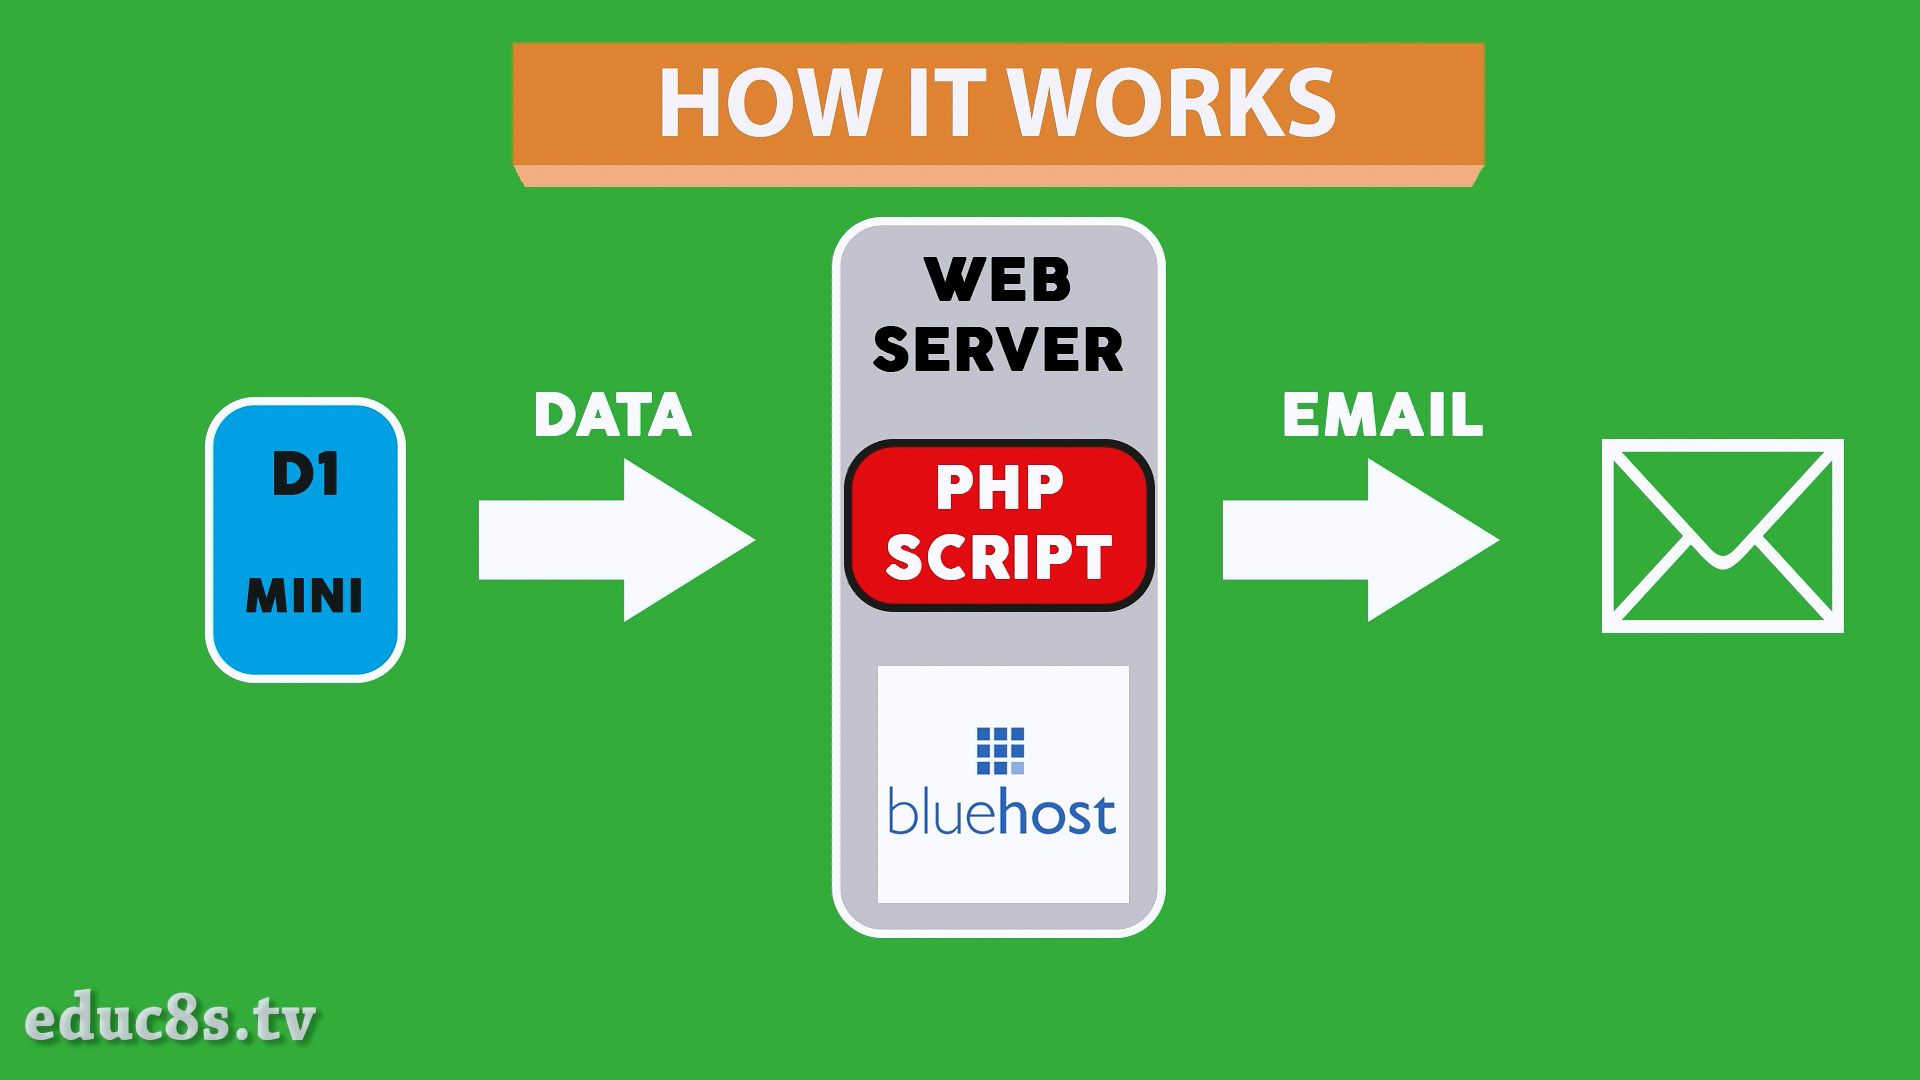
The code of the project consists of two parts, the Arduino code, and the server code. We are not sending the email directly from the board to the email address but I used another solution which in my opinion is much easier to implement. The email is sent from a remote web server after a request from the board. This way the Arduino code is extremely easy. The php code on the server which sends the email is also extremely easy.
Of course, you must have a web server available if you are going to use this solution. Since 2006 I use bluehost.com as my hosting provider and I host all my websites there. So, since I had a webserver available this solution was the easiest for me to implement. It took me less than hour to make this project work. If you don’t have a webserver available with around 4$ per month you can have your own bluehost account. You can click here to create you own account. Of course, you can use any other host you like, I use bluehost for over 10 years that’s why I recommend it.
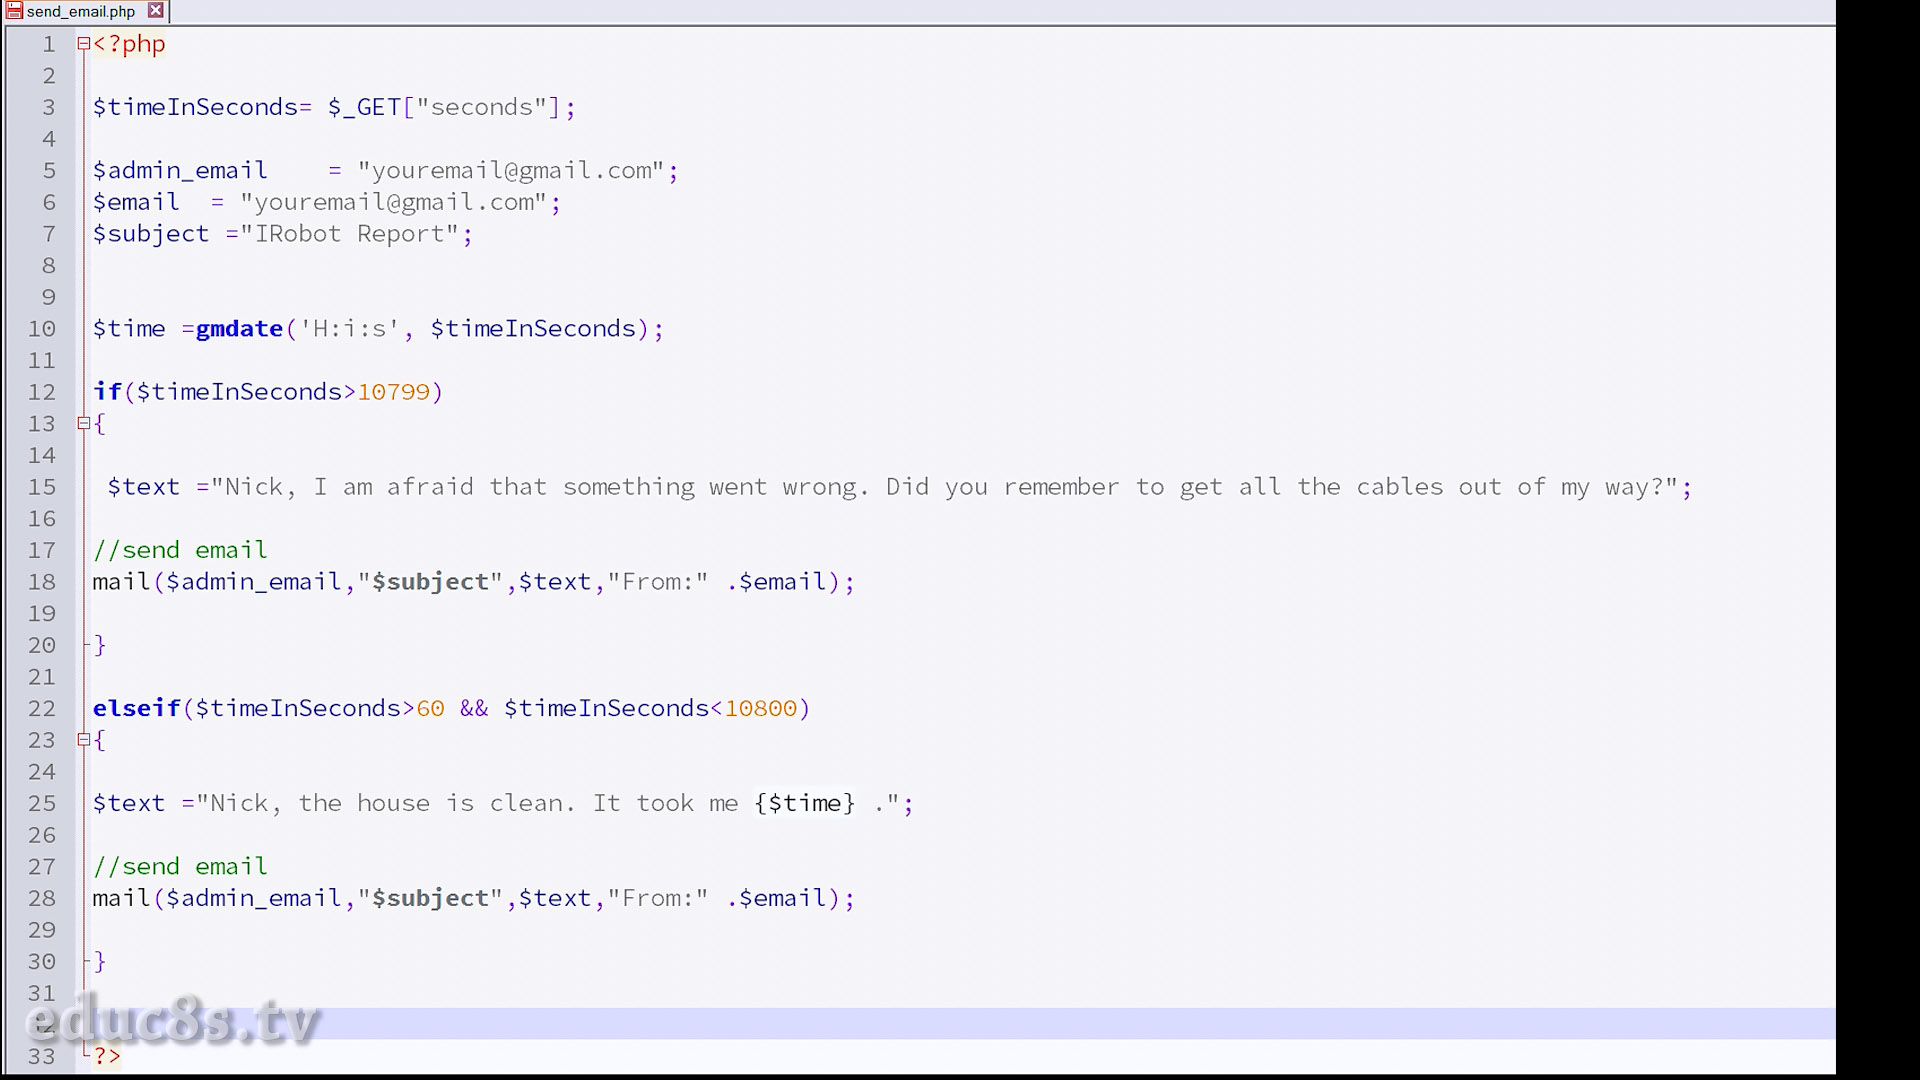
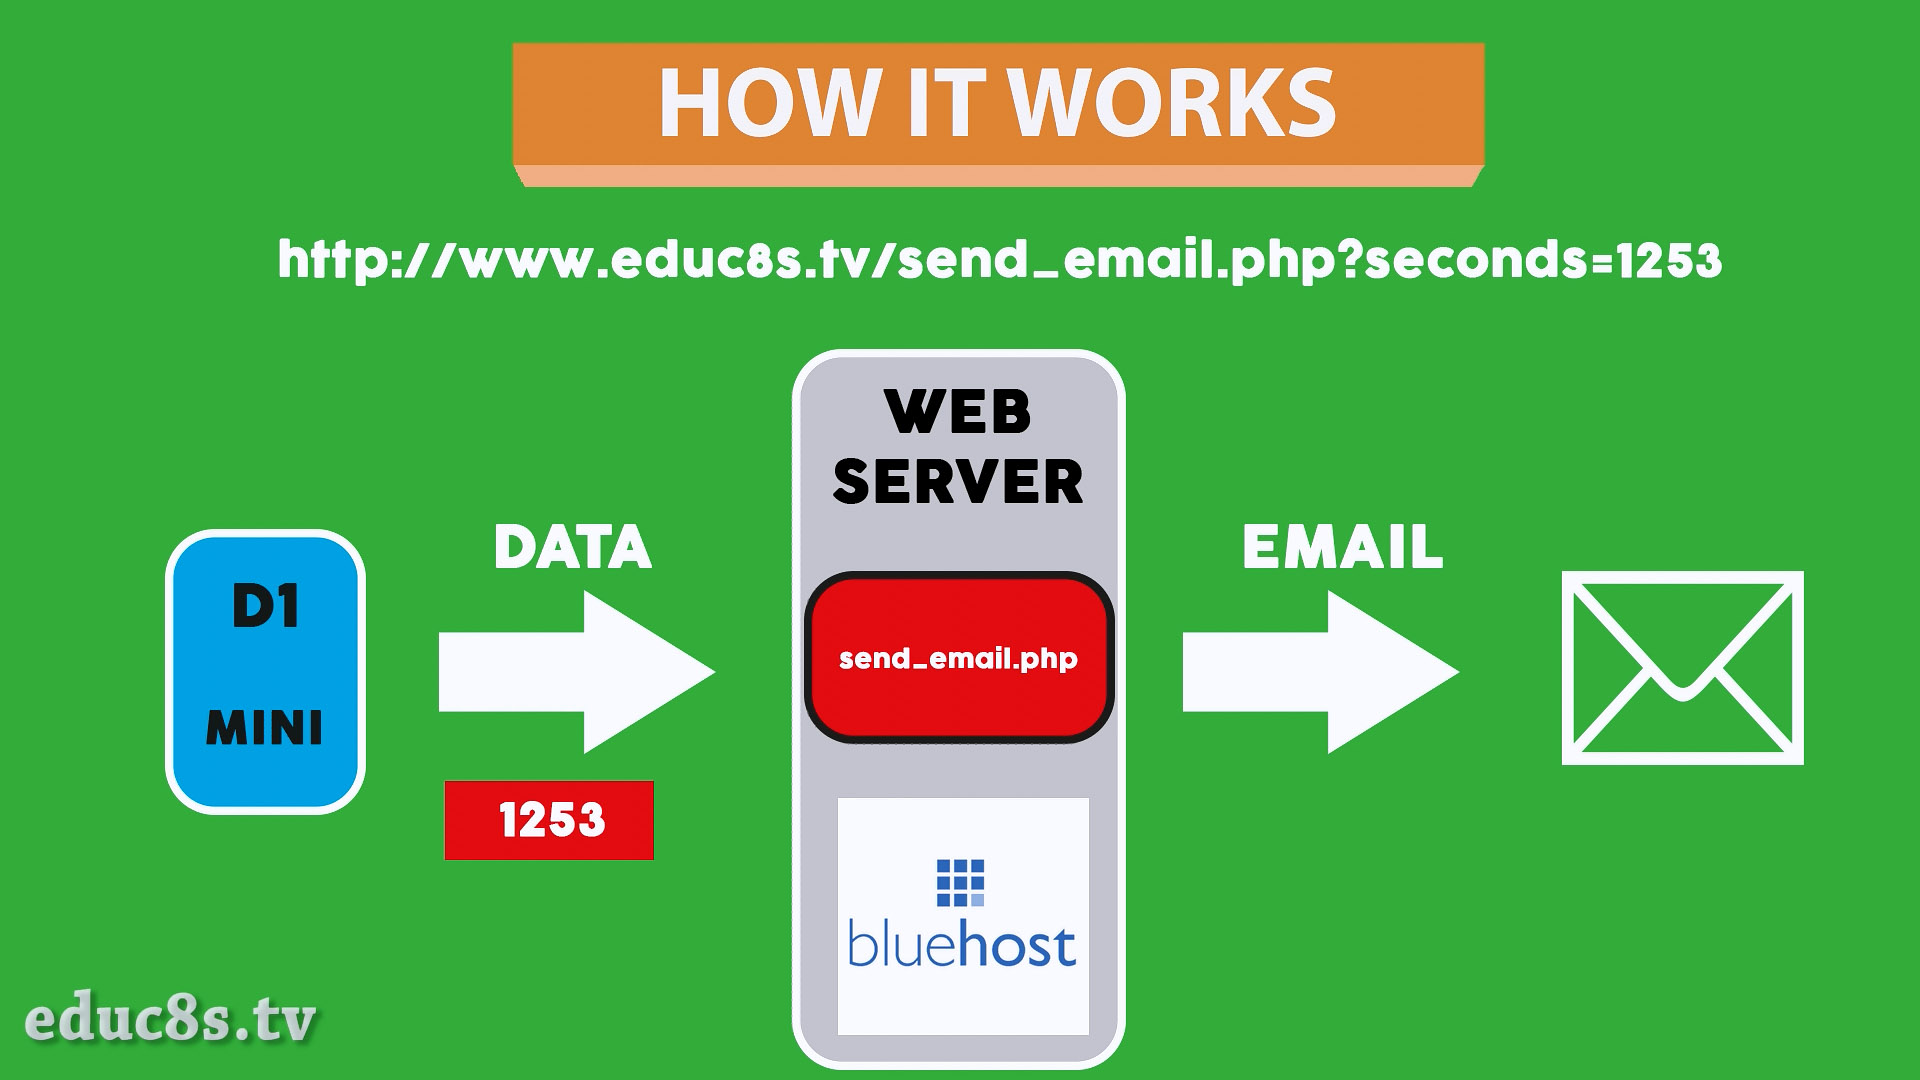
All we have to do, is to create a new php script with this code which I name it send_email.php and upload it to the webserver. I create it under my educ8s.tv website folder so in order to run it all we have to do is to enter this address followed by one variable: www.educ8s.tv/send_email.php?seconds=658 . What we are doing here, is we provide 1 variable to the php script manually. We provide the number of seconds that the Roomba was away of its Home Base. The php script will take the variable, it will make some calculations and will send an email. If the time in seconds is less than 10800, which is 3 hours, it sends an OK email. Else, the Roomba hasn’t returned to the base for over 3 hours so it sends an error email. Can you now understand what the Arduino has to do? It only has to create this web address with the number of the seconds that the Roomba was away of the dock. The PHP script will automatically get the data and send them with an email.
The Arduino Code
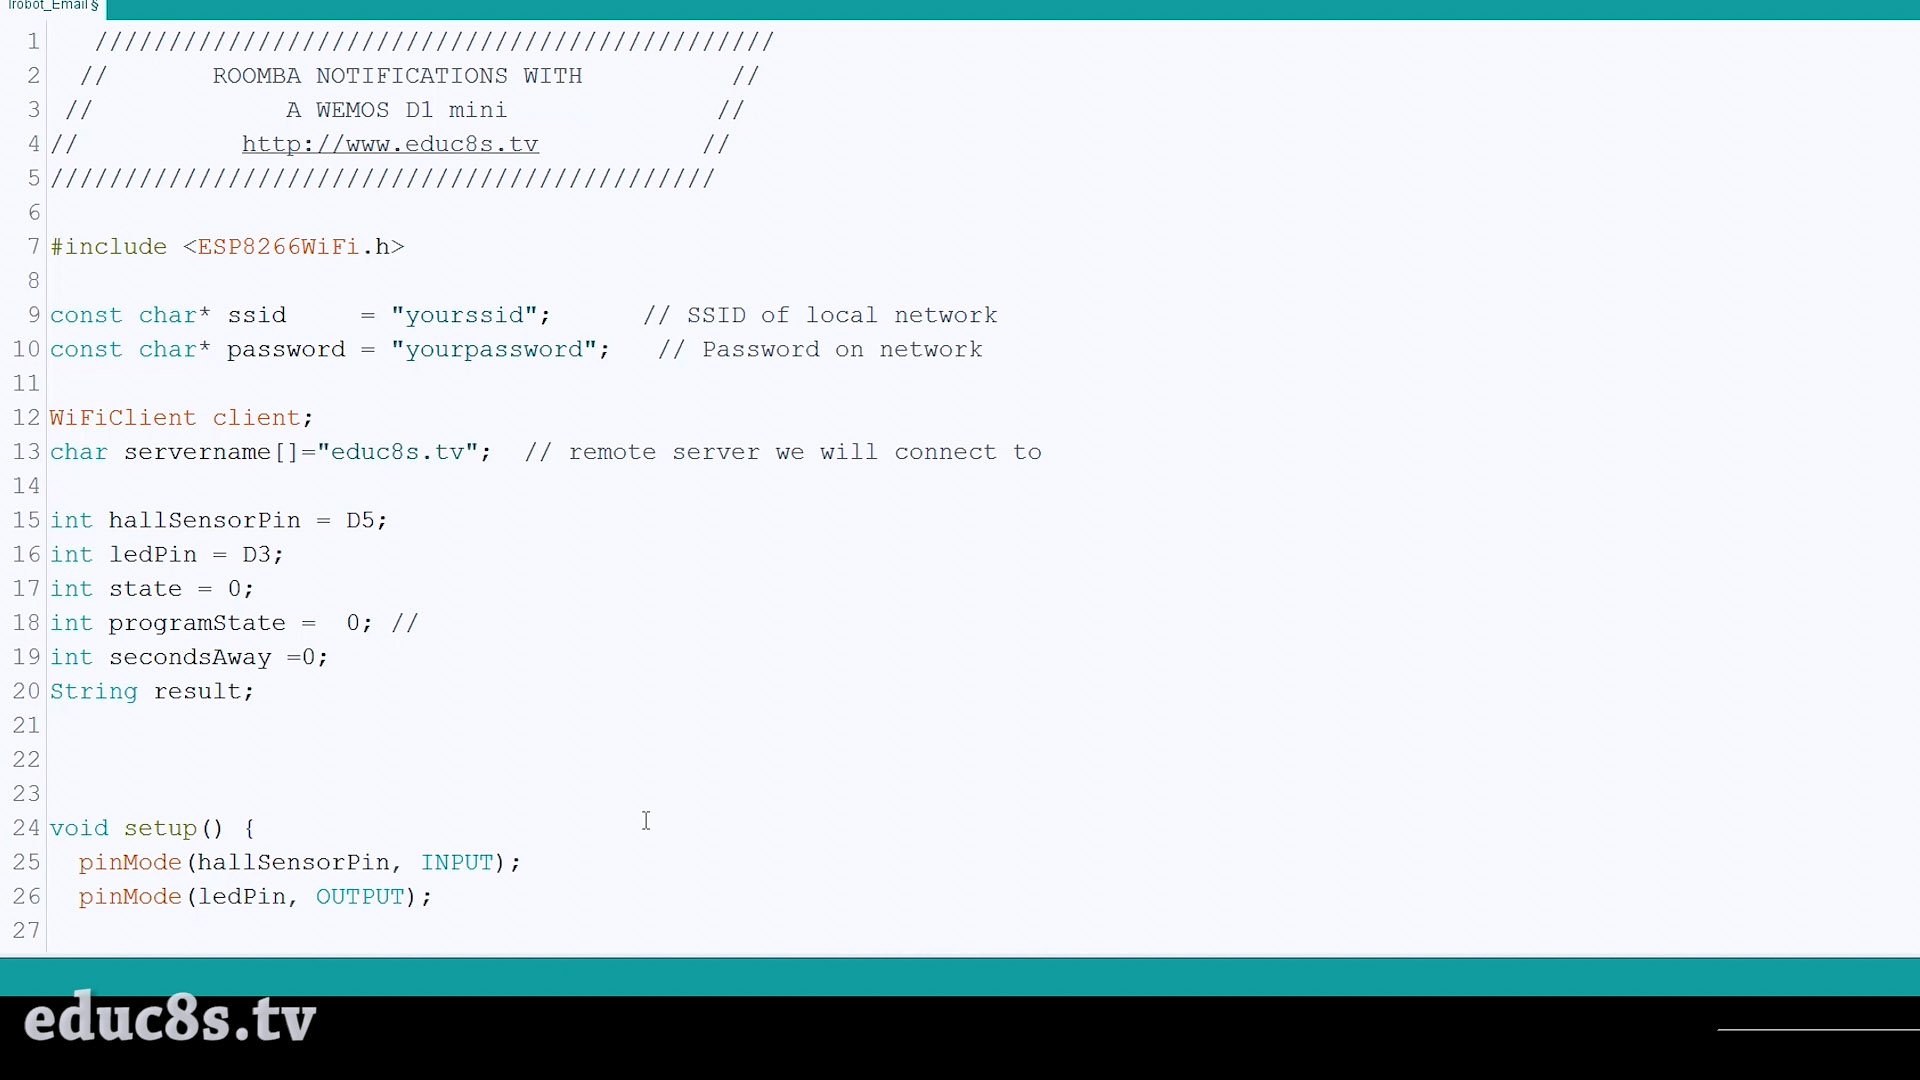
That’s exactly what we are doing in the Arduino code.
We first connect to the WiFi network and then check if the Roomba is at home by checking the state of the Hall Effect Sensor.
<p>connectToWifi();<br>Serial.println("Connected");</p><p>  if(programState==1)
  {
   if(RoombaIsAtHome())
   {
       programState = 2;
   }
  }
}</p>
If the Roomba is at the Home Base, we blink the LED slowly and we check the state of the Hall Effect sensor every second.
<p>checkIfRoombaIsAtHome();<br> switch(programState)
 {
  case 2: blinkSlowly();break;
  case 3: turnLedOn();secondsAway++;break;
  case 4: turnLedOff();break;</p><p>  default:break;
 }</p>
If the Roomba leaves the Home Base we turn on the LED and we count the seconds that the Roomba is away. When the Roomba return to the Home Base, send a GET request to the educ8s.tv/send_email.php file with seconds that the Roomba was away. That’s it.
<p>void sendEmail(String seconds)<br>{
  if (client.connect(servername, 80)) {  //starts client connection, checks for connection
    Serial.println("connected");
    client.println("GET /send_email.php?seconds="+seconds+" HTTP/1.1"); //Send data
    client.println("Host: educ8s.com");
    client.println("Connection: close");  //close 1.1 persistent connection
    client.println(); //end of get request
  }
  else {
    Serial.println("connection failed"); //error message if no client connect
    Serial.println();
  }</p><p> while(client.connected() && !client.available()) delay(1); //waits for data
  while (client.connected() || client.available()) { //connected or data available
    char c = client.read(); //gets byte from ethernet buffer
      result = result+c;
    }</p><p>  client.stop(); //stop client
  Serial.println(result);

}</p>
The PHP script will take the data and it will send the email. It’s that easy! As always you can find the code of the project, both the PHP and the Arduino code attached here.
For obvious reasons I have removed the send_email.php file from my webserver, so the project won’t send you an email if you run it as it is. You have to enter your server address in the Arduino code and have the send_email.php file uploaded to your webserver.
Downloads
Final Thoughts
As you can see with the tools we now have we can build many interesting projects. With minimal cost we have great boards to work with. This project is a demonstration of what these boards are capable of. This project can be modified and become an Alarm system for a door or a window. The possibilities are endless. I would to hear your opinion about this project. Is there any improvements that we can make to this project? Please post your comments or ideas in the comments section below. Thanks!