Action Camera Mount Assignment
by Timothee Gillier in Teachers > 3D Printing
736 Views, 8 Favorites, 0 Comments
Action Camera Mount Assignment
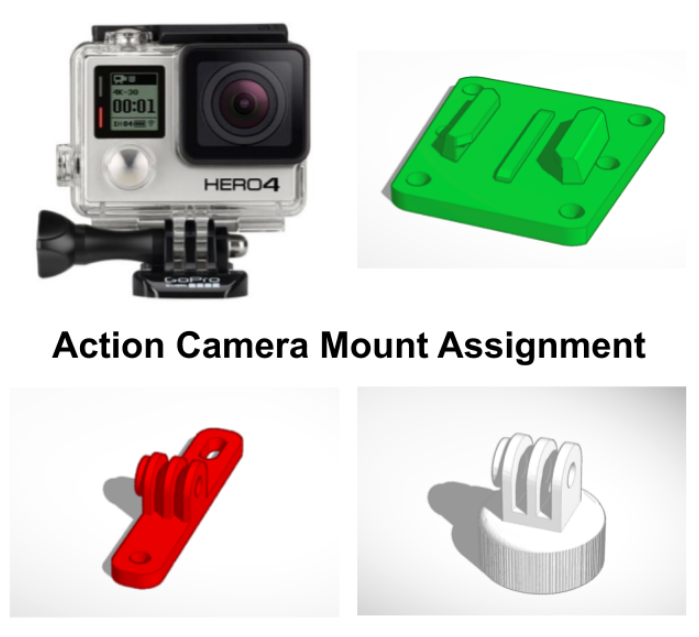
Many students are using Tinkercad as part of their distance learning experience, so I decided to make an assignment with Tinkercad 3D to teach students to use 3D modeling to solve problems.
Many people these days have action cameras and use them regularly to record impressive footage. The big problem about action cameras is that you have to mount them securely and with a good position to be able to get an awesome shot.
My assignment is to create new mounts for action cameras, to give people more possibilities where to attach their camera.
Supplies
You will need an access to Tinkercad, and eventually a 3D printer if you want to have a physical copy of the action camera mounts.
Tinkercad website: https://www.tinkercad.com/
Camera Mounts
Since the camera mounts are standard, I went ahead and found the two types of possible action camera mounts for the students to copy. With these mounts they will have to merge other shapes, to make some new innovative action camera mounts that that can be attached to anything that might need an action camera.
Shoelace Mount
This is the first design that was made with my assignment. The design consist of a plate that can be woven into your shoelace's to give you a low camera angle.
This attachment is perfect for skateboarding, riding your bike ...
Making the Shoelace Mount
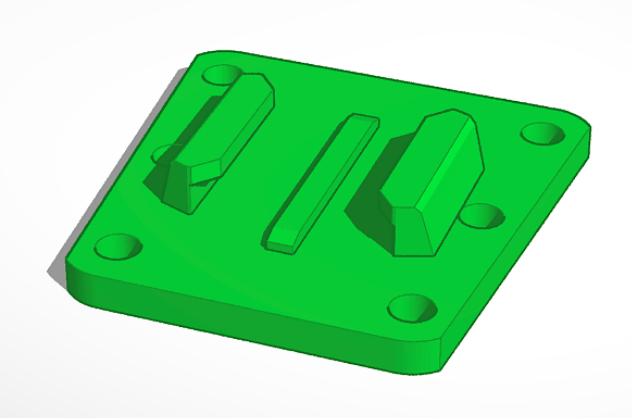
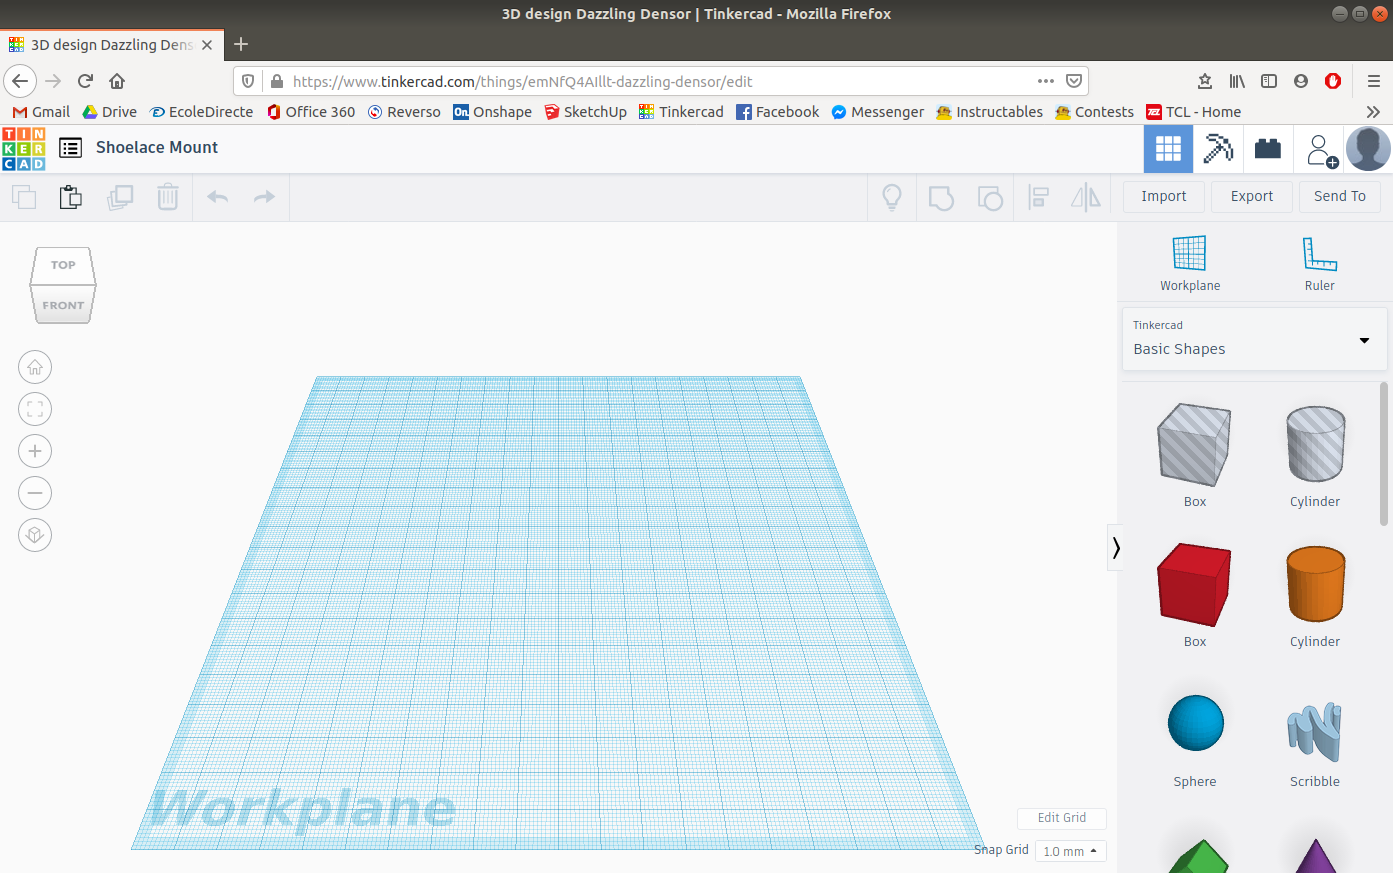
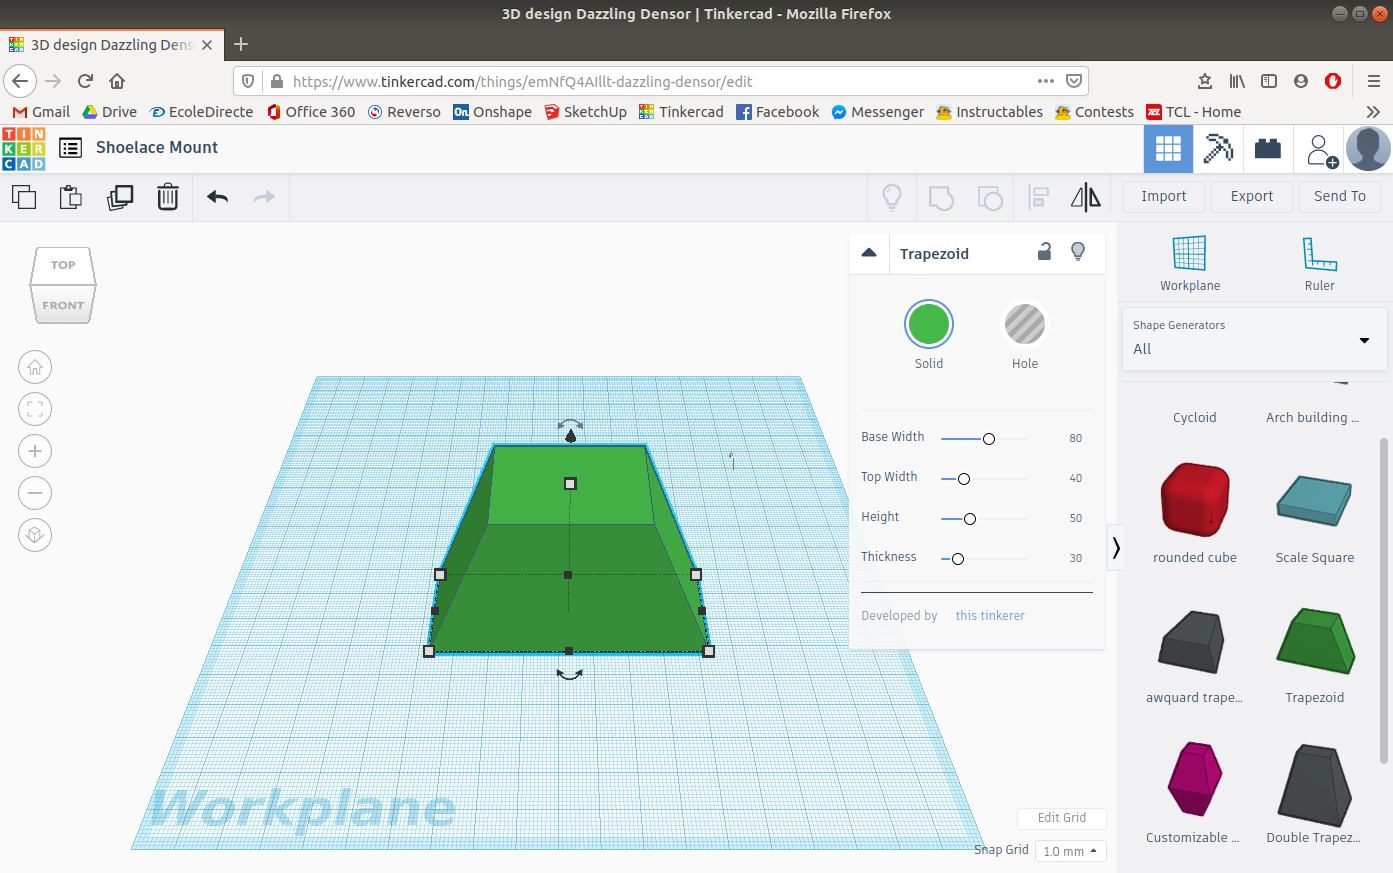
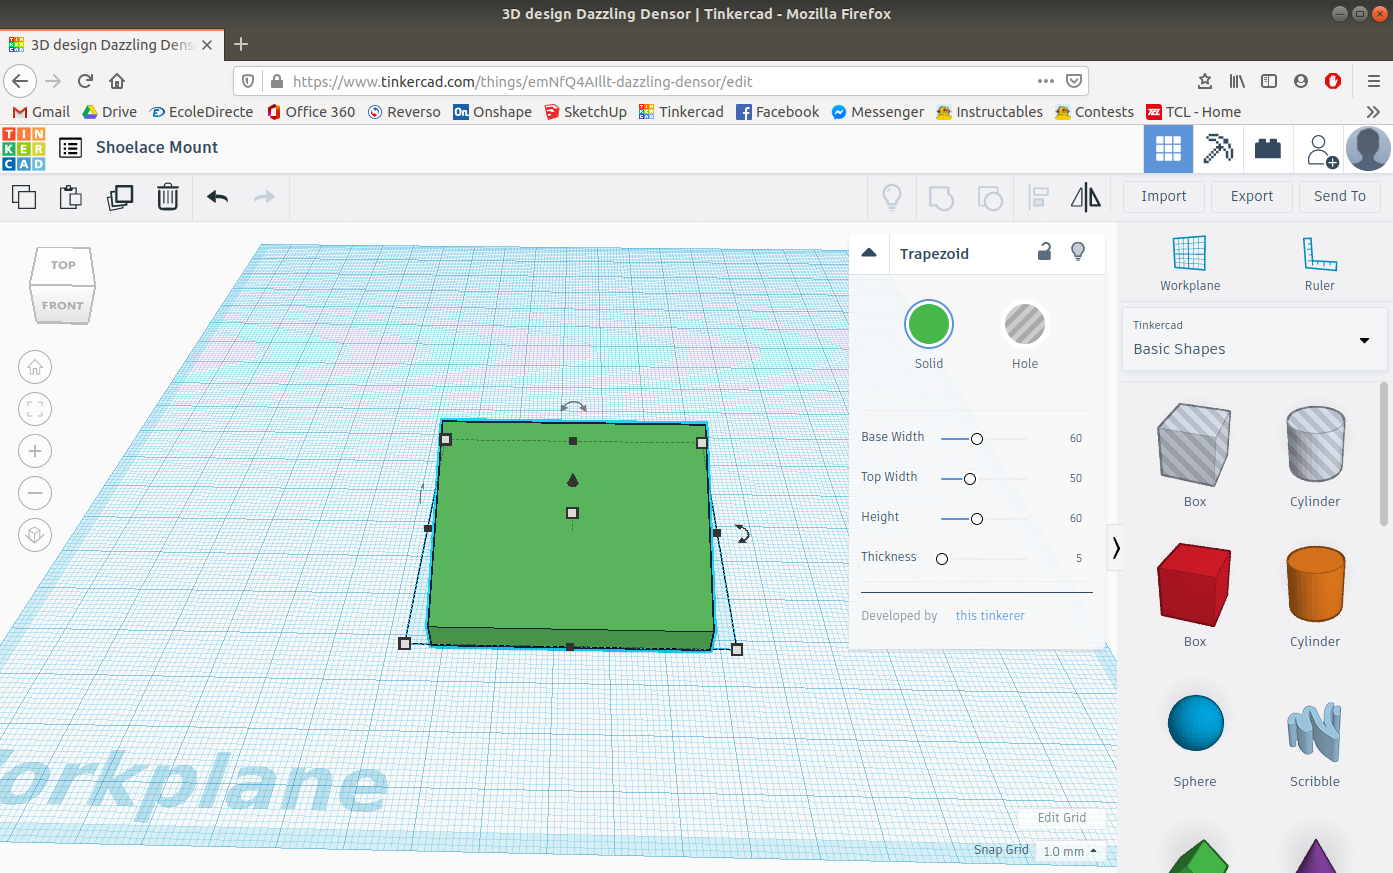
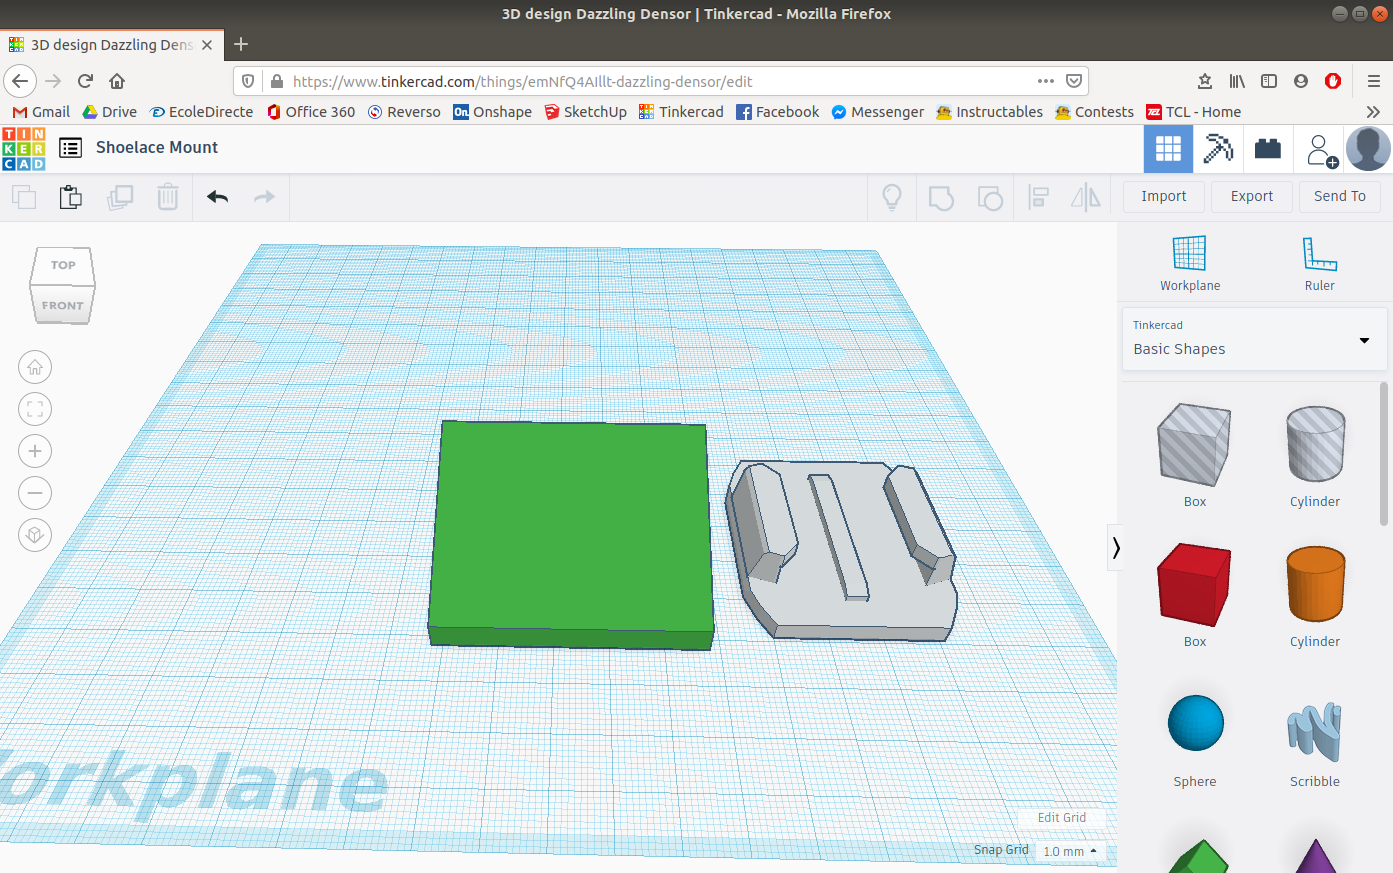
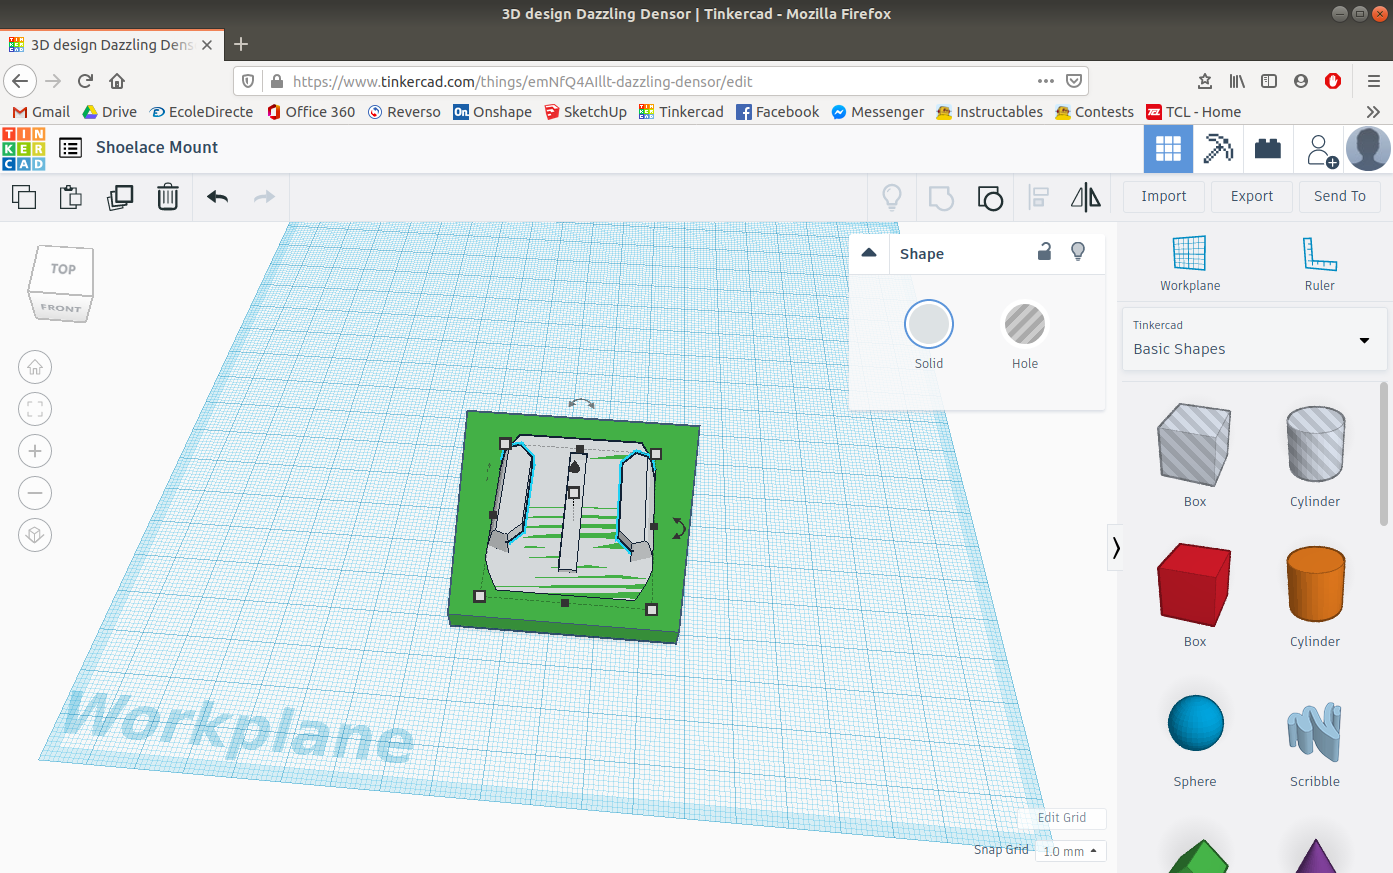
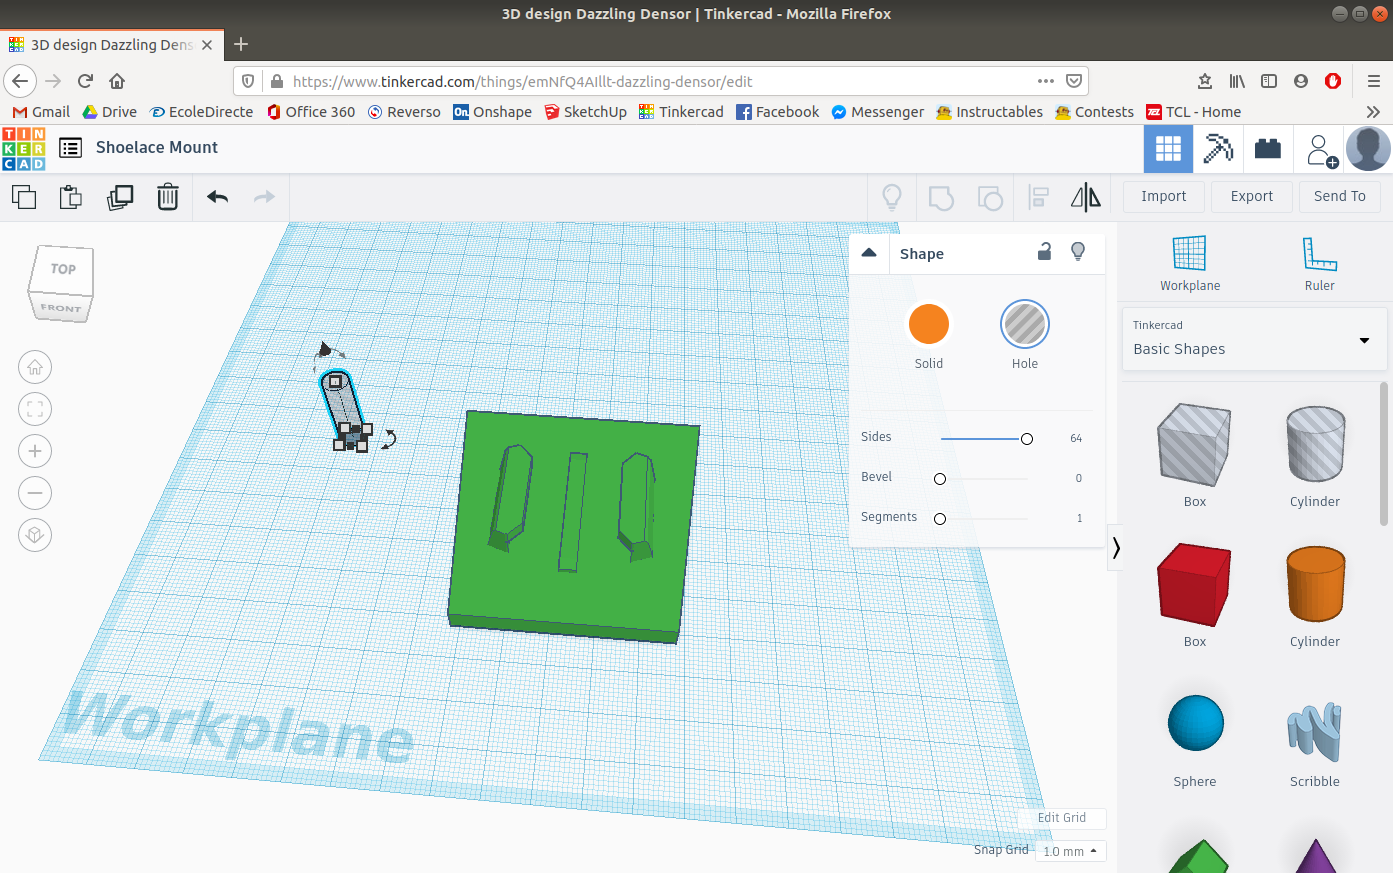
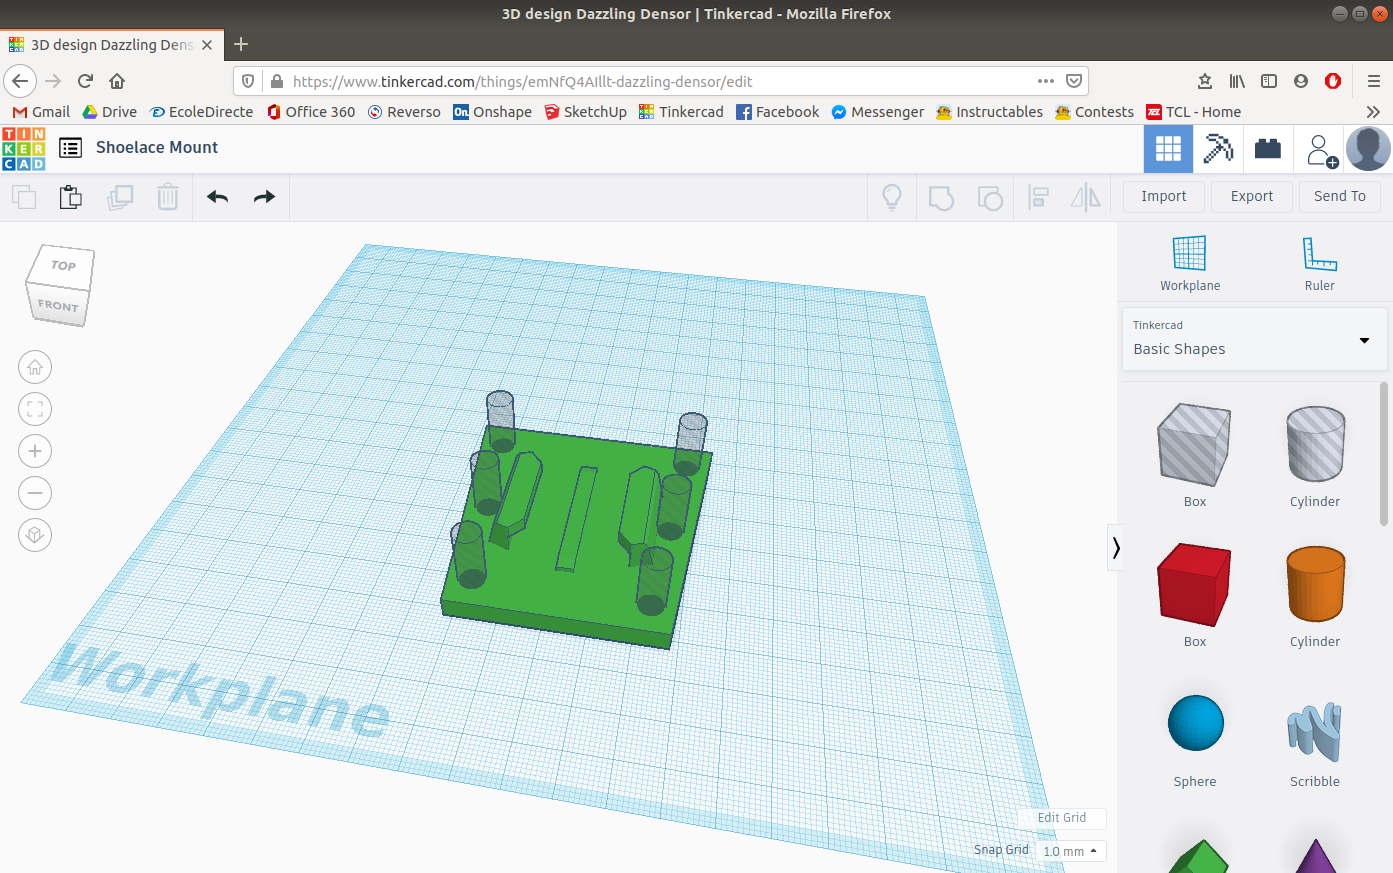
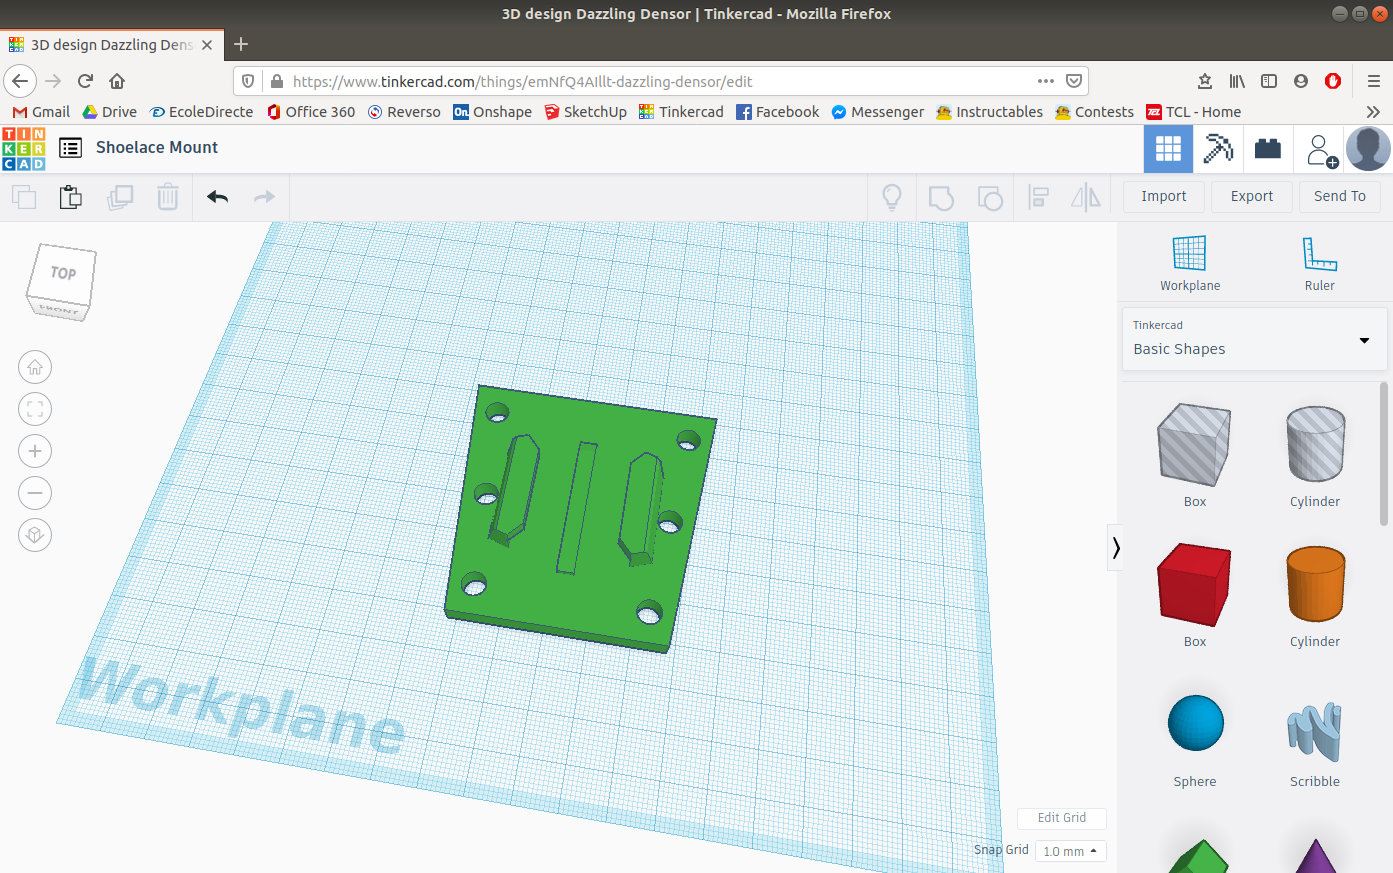
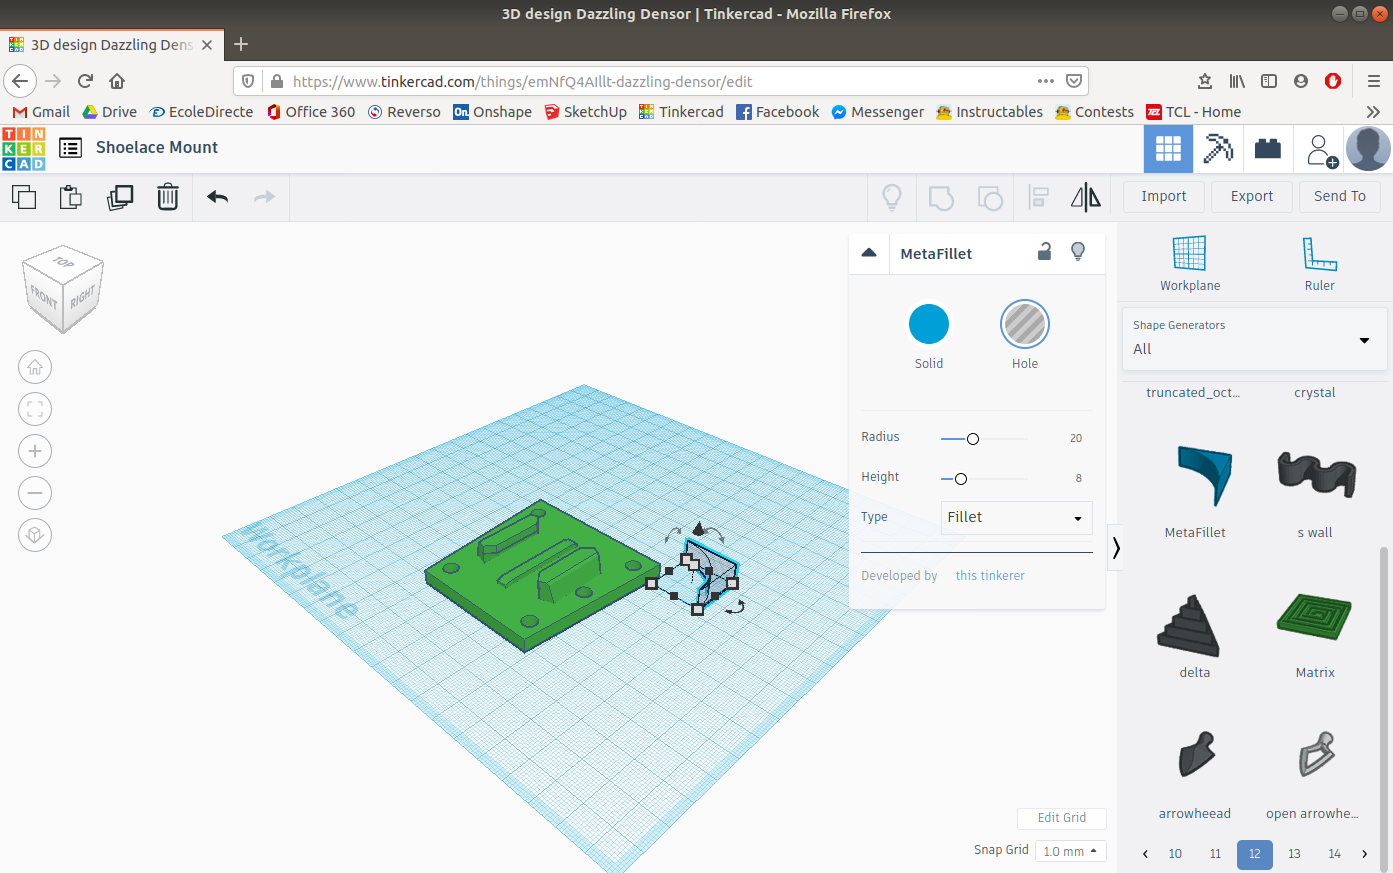
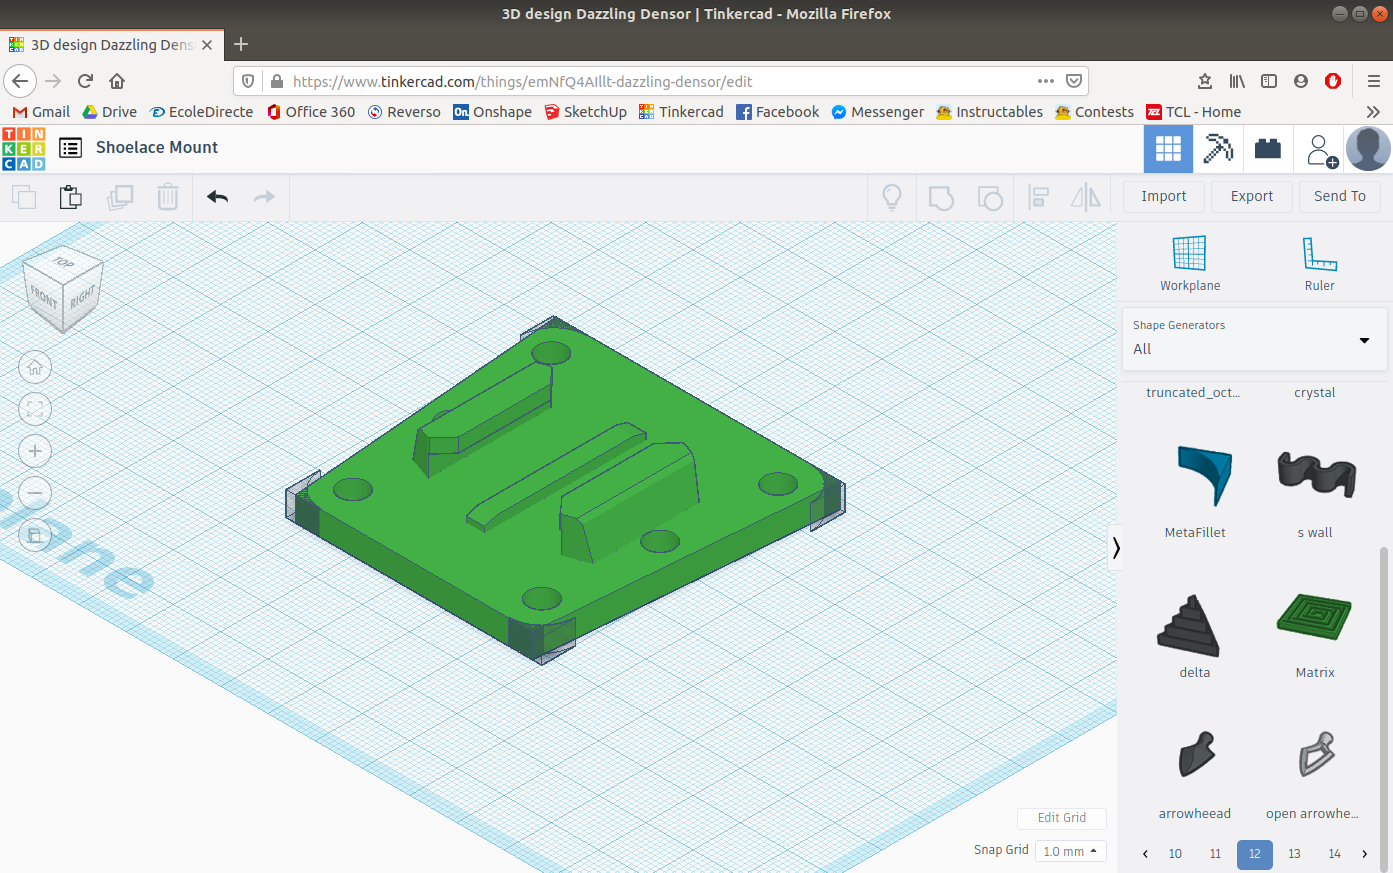
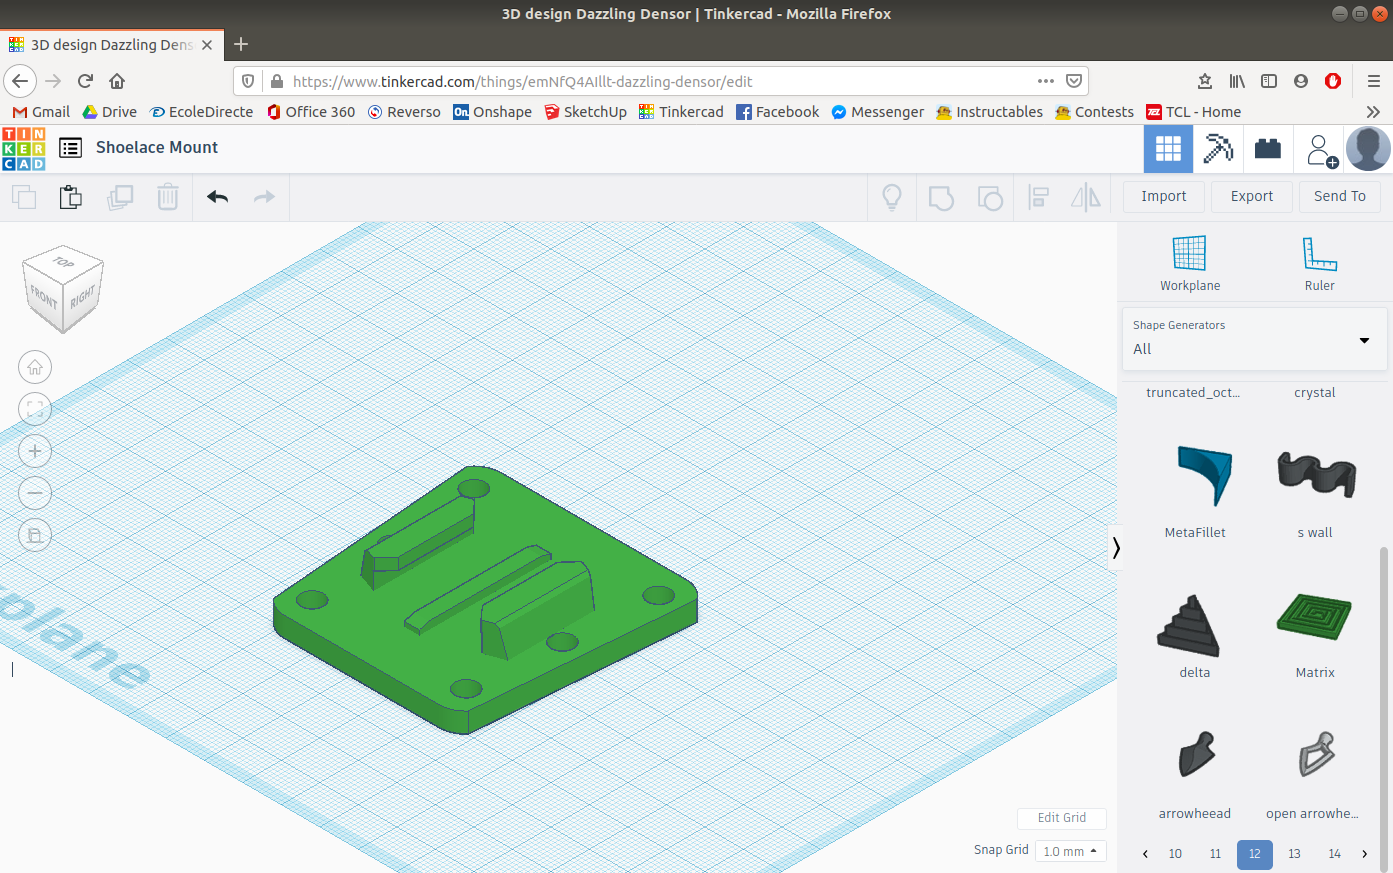
The first step in making the Shoelace Mount is to select the "Create a new design" button to open a new workplane. Once the workplane is open insert a Trapezoid and turn it on its back so that it is facing the top. Then give it the following dimensions:
Base Width: 60 mm
Top Width: 50 mm
Height: 60 mm
Thickness: 5 mm
Then take one of the camera mounts and merge it with the trapezoid. Once the mount is merged with the trapezoid insert a cylinder as a hole with a diameter of 6 mm. Then copy the cylinder so that there are 6 of them and place them in the corners and the sides of the trapezoid. Finally with a MetaFillet round out the corners.
Bottle Cage Mount
This is the second design made from my assignment. The design is a plate that can be inserted on your bike's bottle cage mount. Usually on a bike you will have bottle cage mounts on the top side of the down tub, but you can also have one on the seat tube and on the other side of the down tube. All you need to attach this mount is unscrew your bottle cage and insert the mount instead.
Making the Bottle Cage Mount
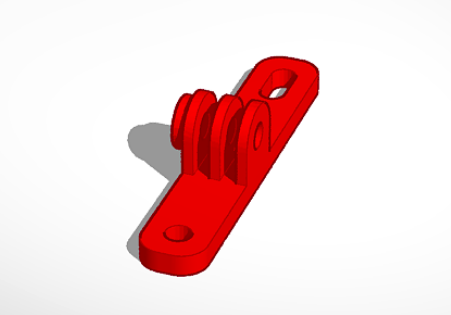
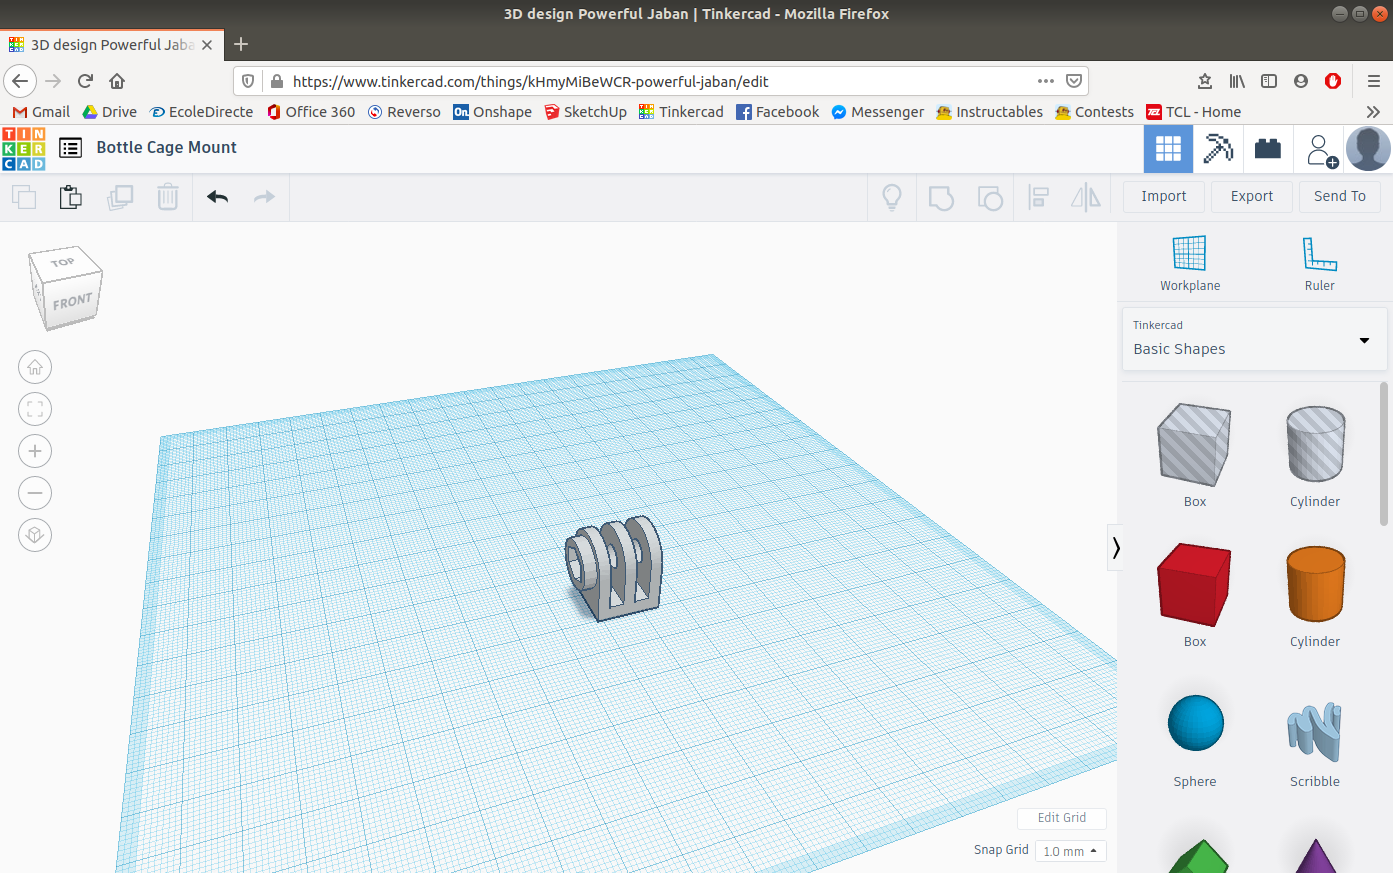
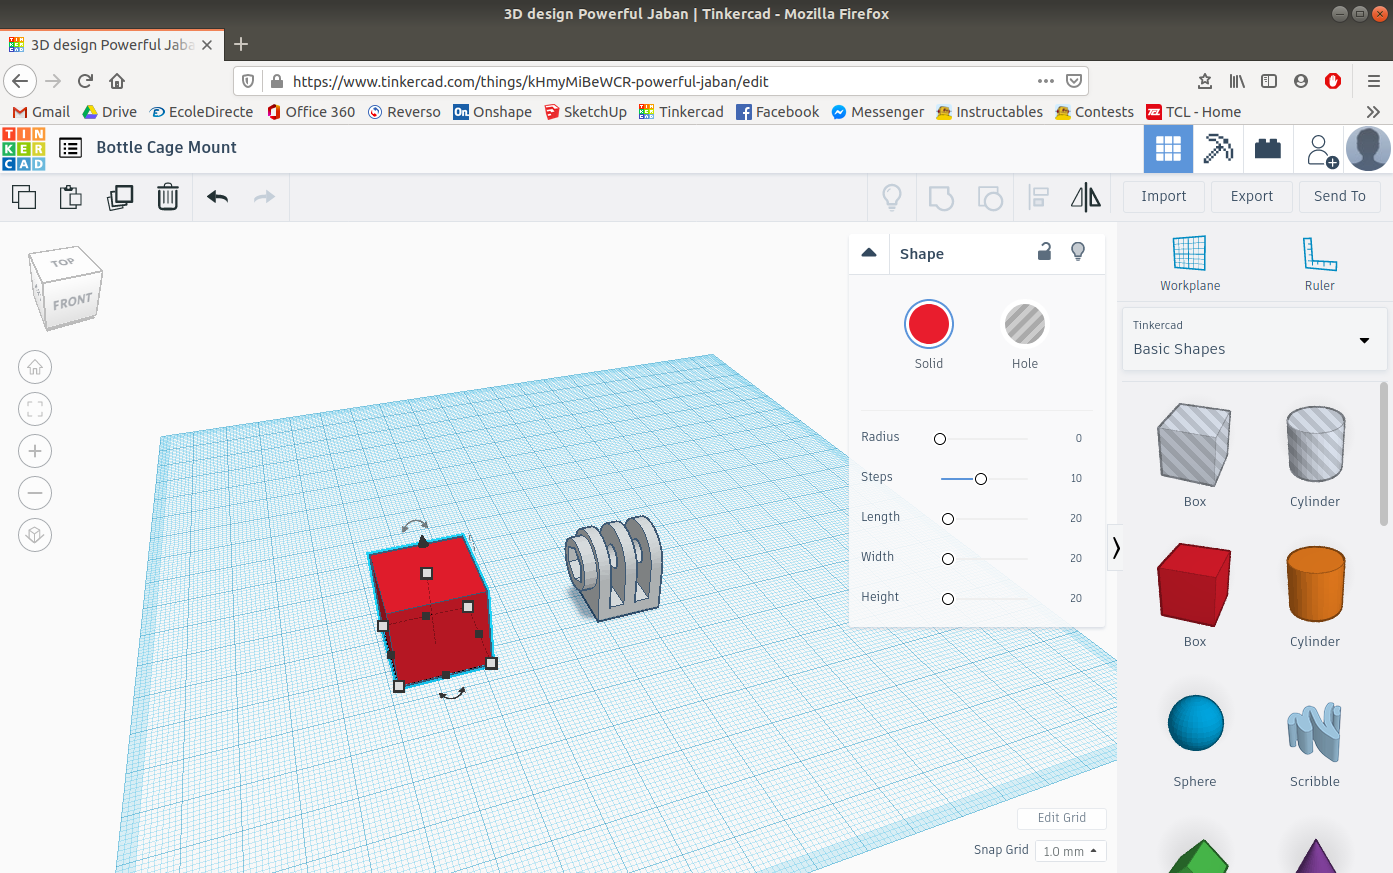
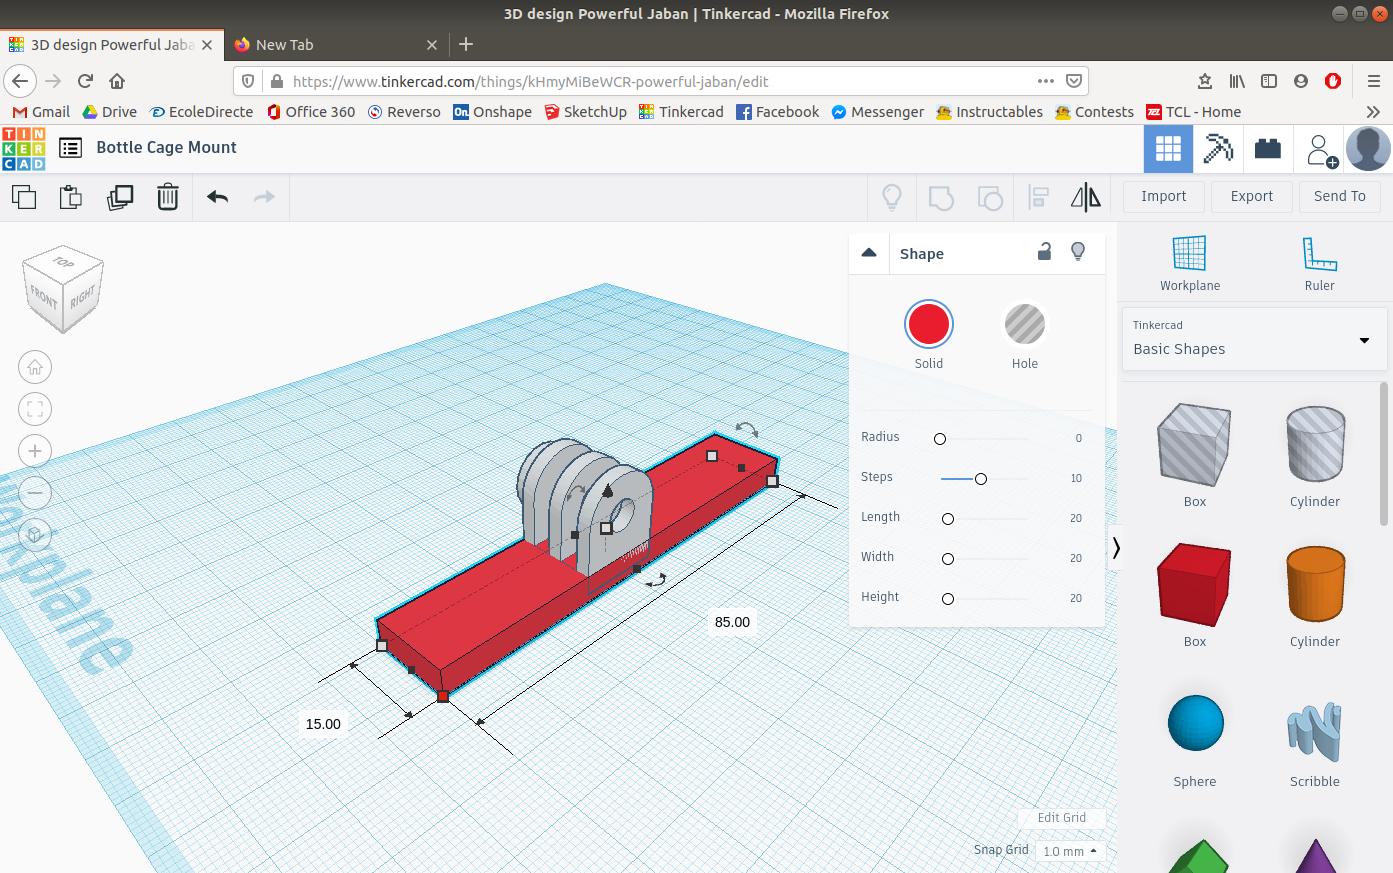
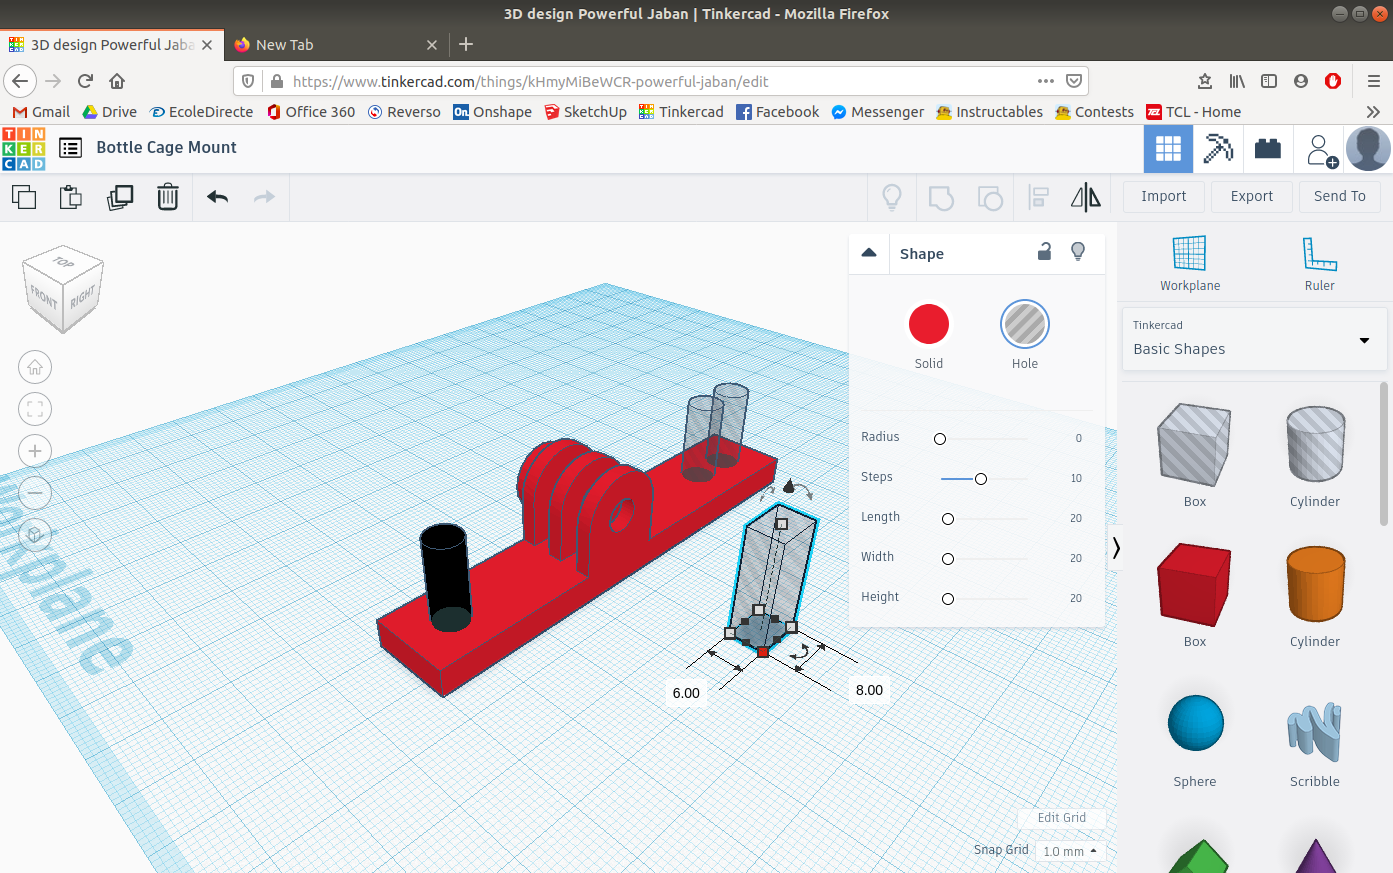
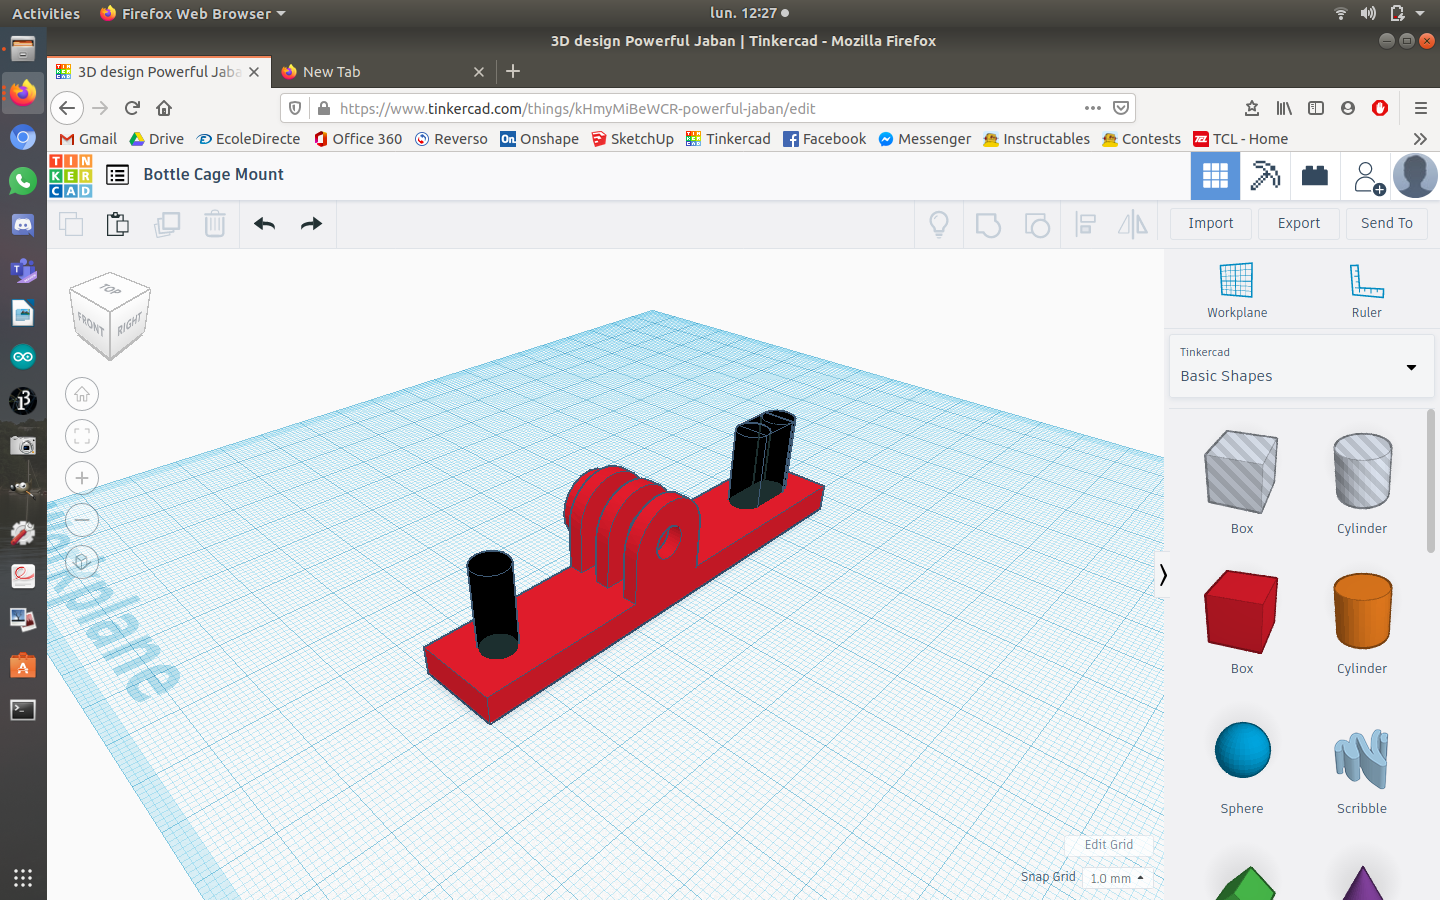
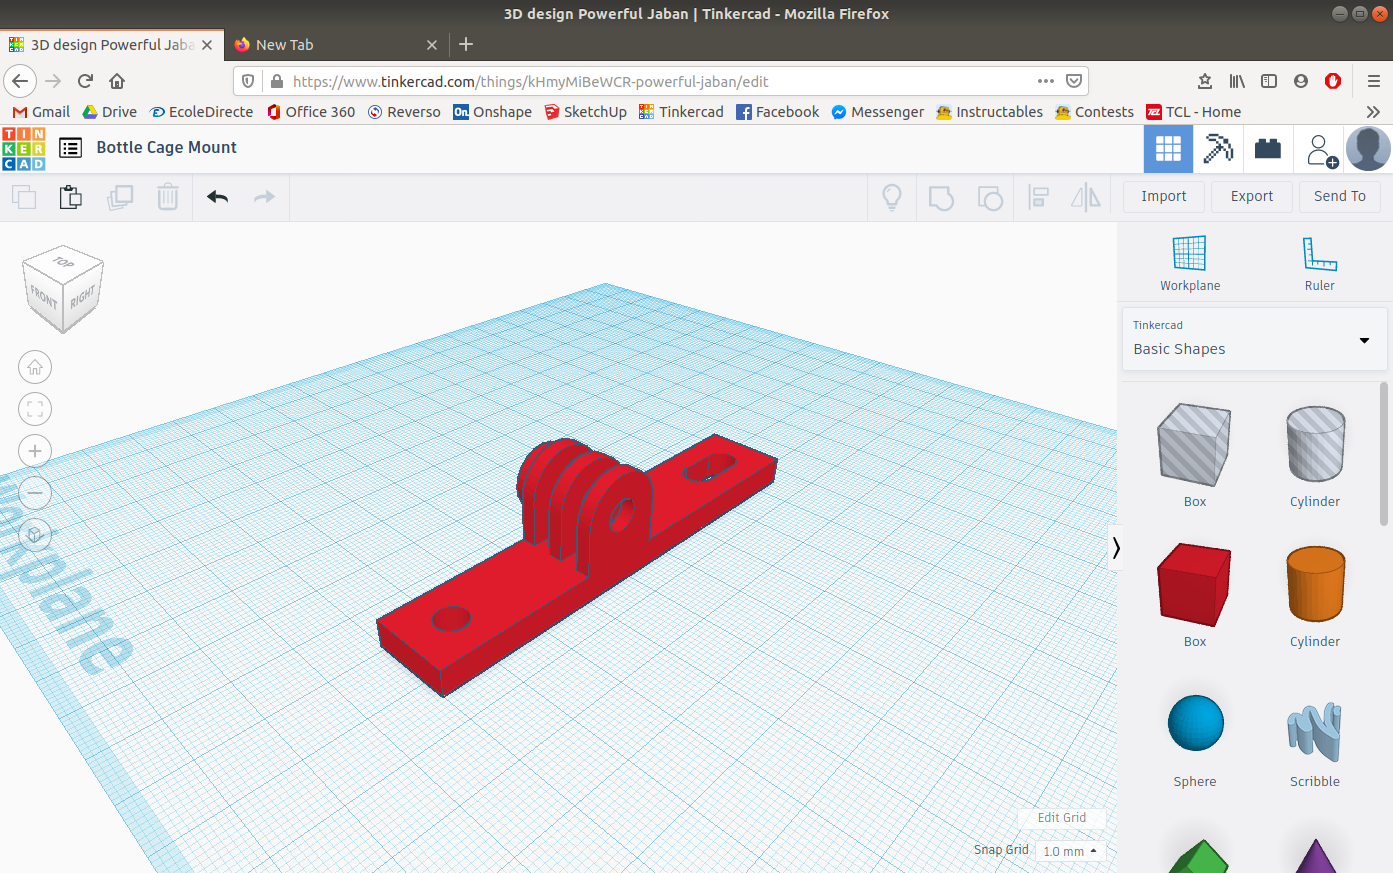
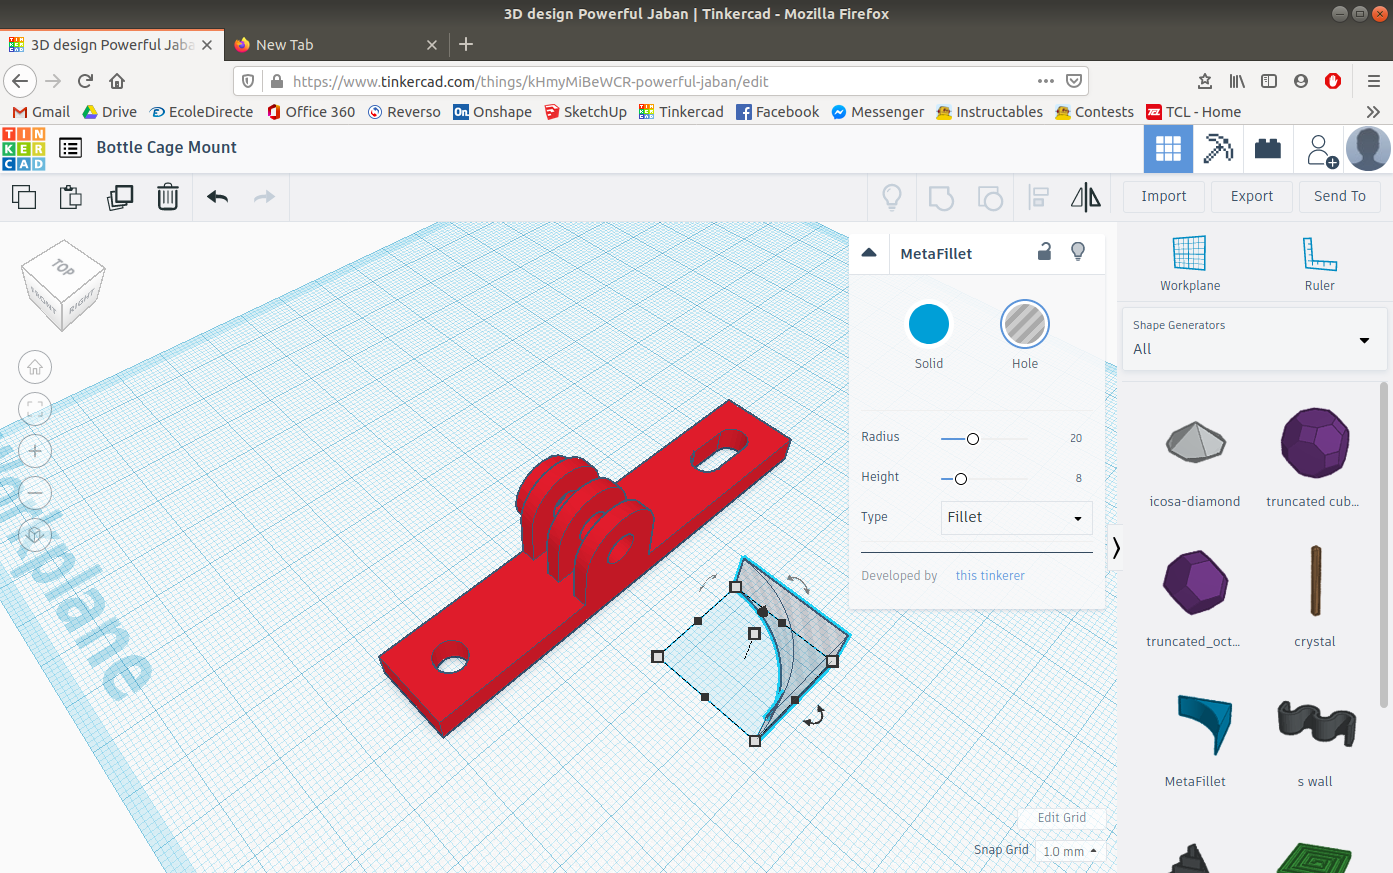
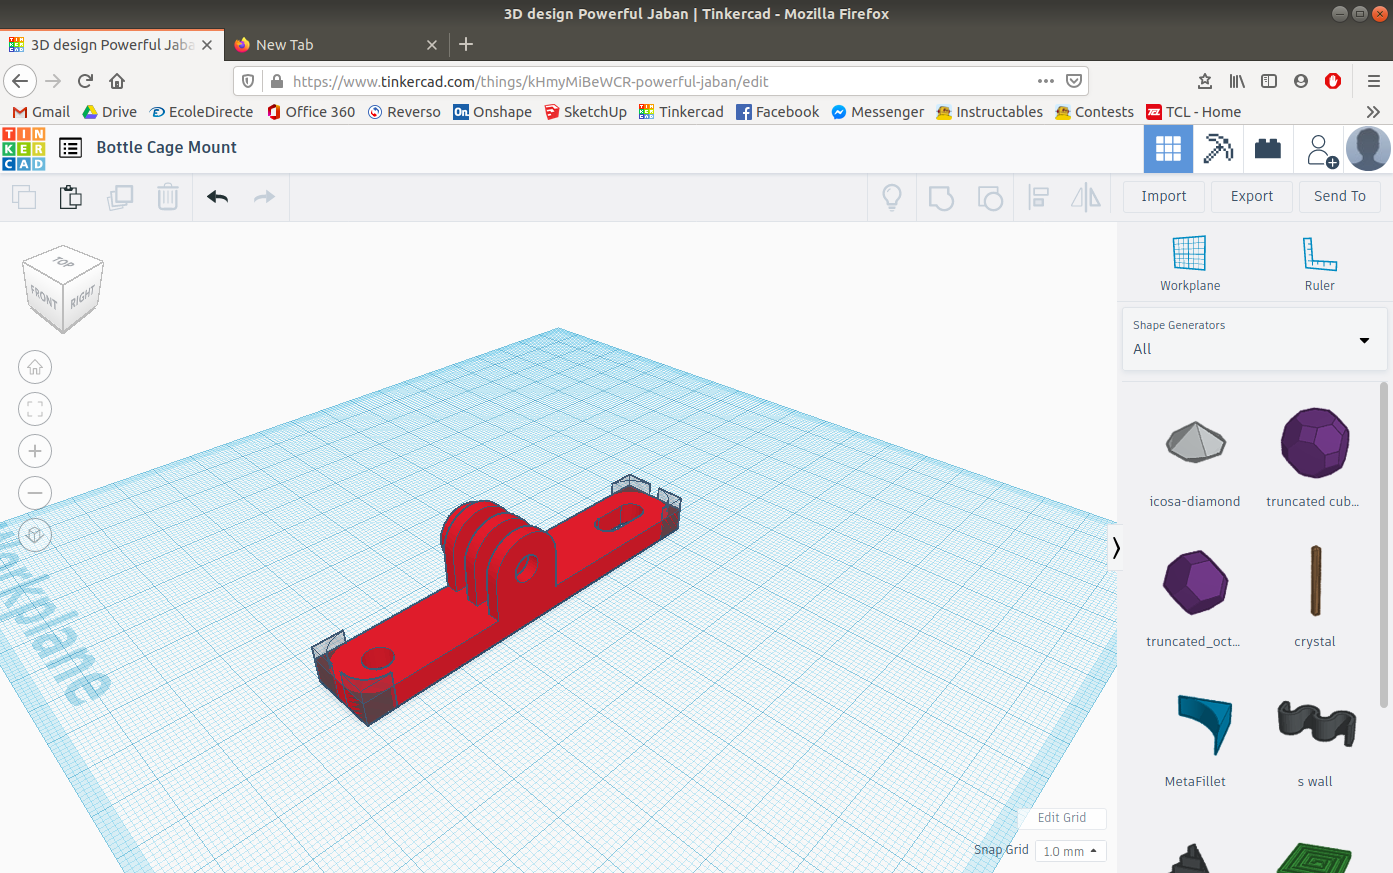
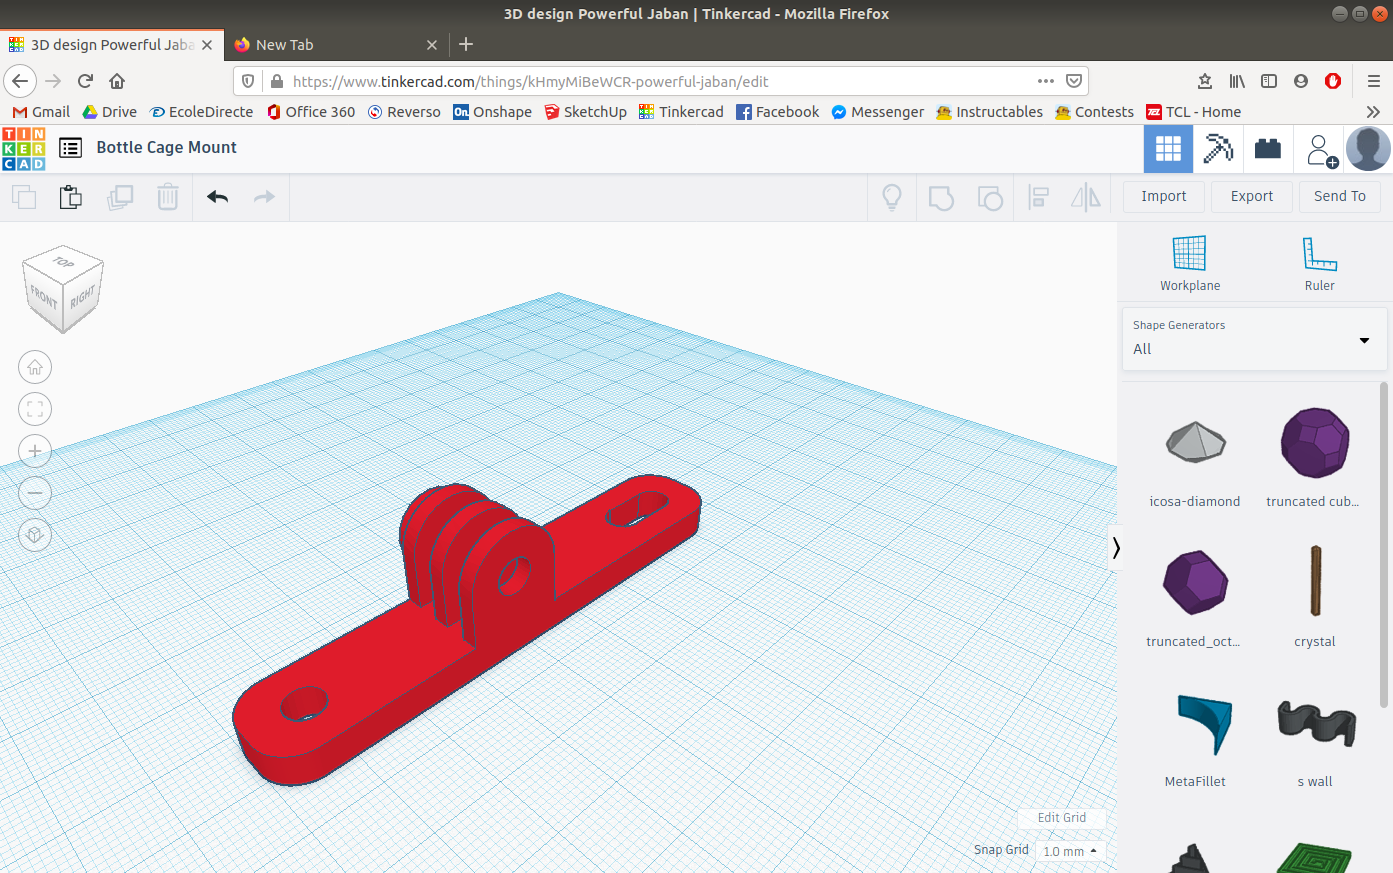
The first step in making the Shoelace Mount is to select the "Create a new design" button to open a new workplane. Once the workplane is open insert a one of the camera mounts. Then insert a cube and give it the same width as the mount, a height of 5 mm and a length of 85 mm. Then place the mount in the middle of the rectangular prism and merge them together.
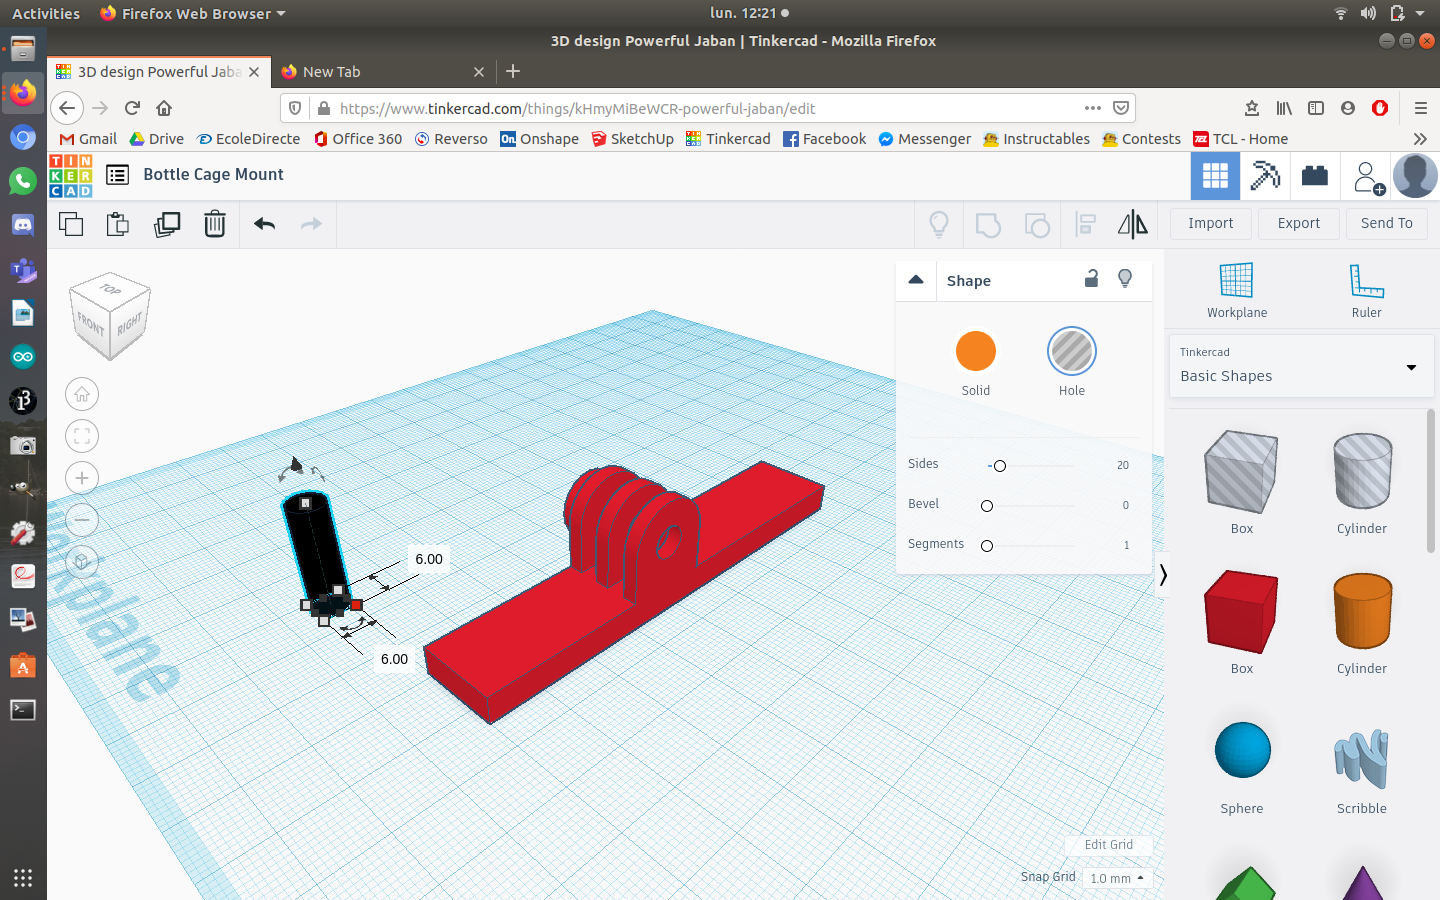
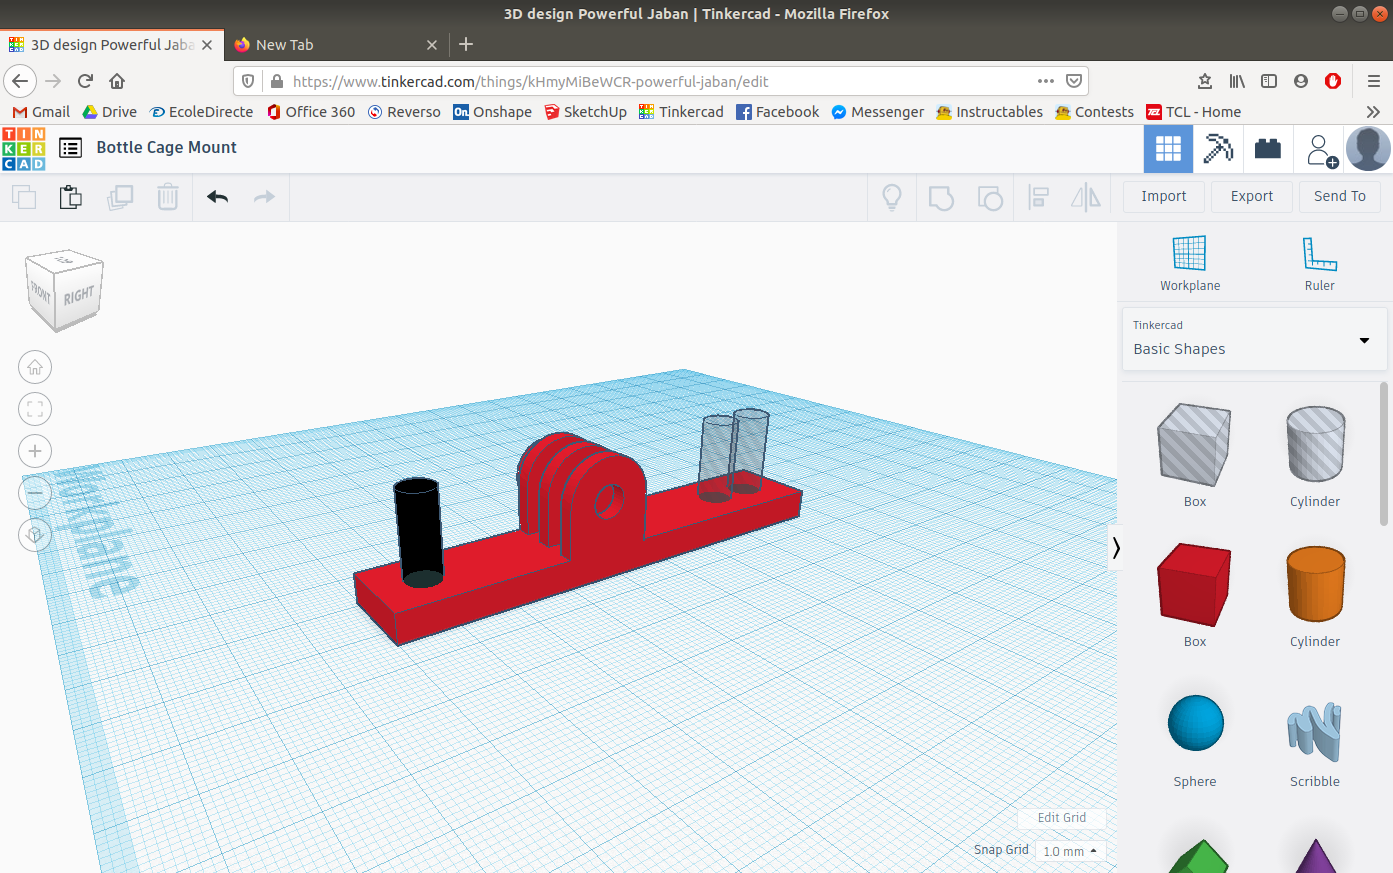
Once the mount is merged with the rectangular prism insert a cylinder as a hole with a diameter of 6 mm. Then copy the cylinder so that there are 3 of them and place one of them 5 mm from the end of one of the sides and the same for another one. With the last cylinder place it 2 mm from one of the holes. Then insert a cube as a hole and give it a width of 6 mm and a length of 8 mm. Then insert it between the two cylinders at the end and merge all the parts together. Finally with a MetaFillet round out the corners.
Bottle Cap Mount
The last design made from my assignment. This design is a bottle cap with an action camera mount on it. The mount can me used as a handle if you screw on a bottle and doubles up as a floaty. The mount can also be used as a self standing monopod if you fill the bottle with water.
Making the Bottle Cap Mount
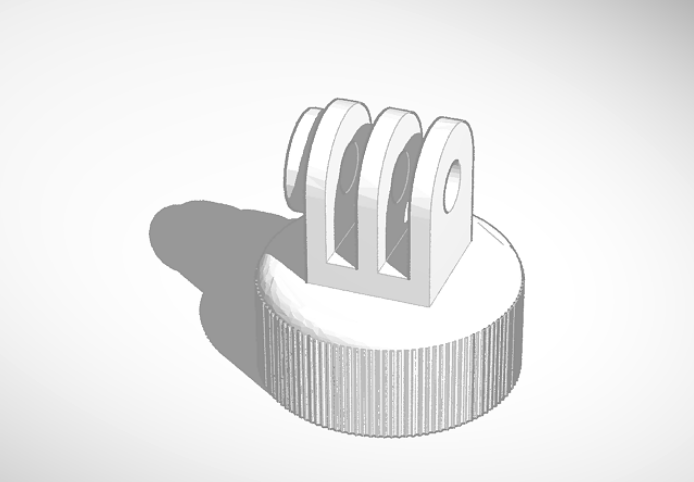
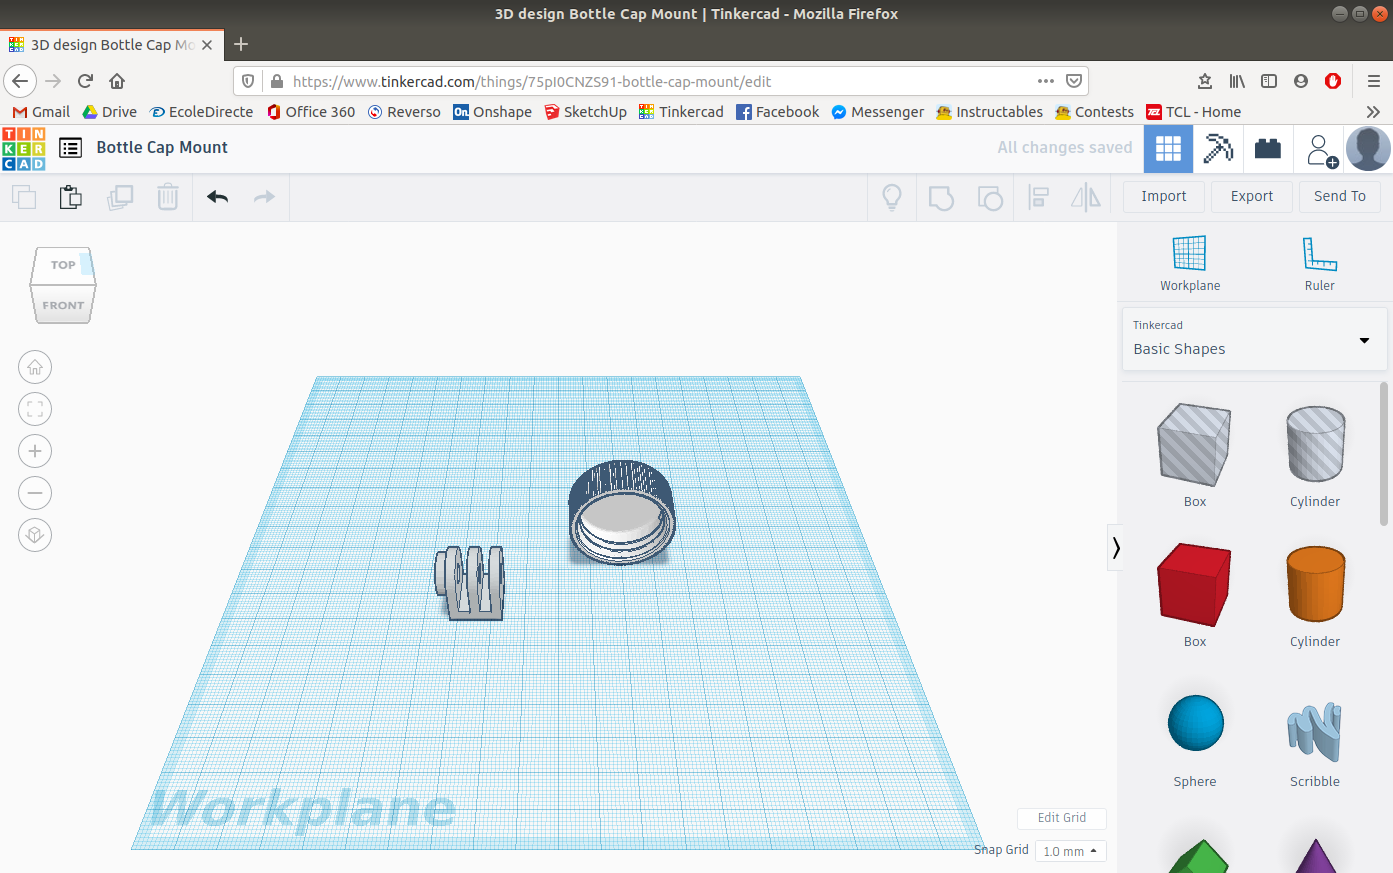
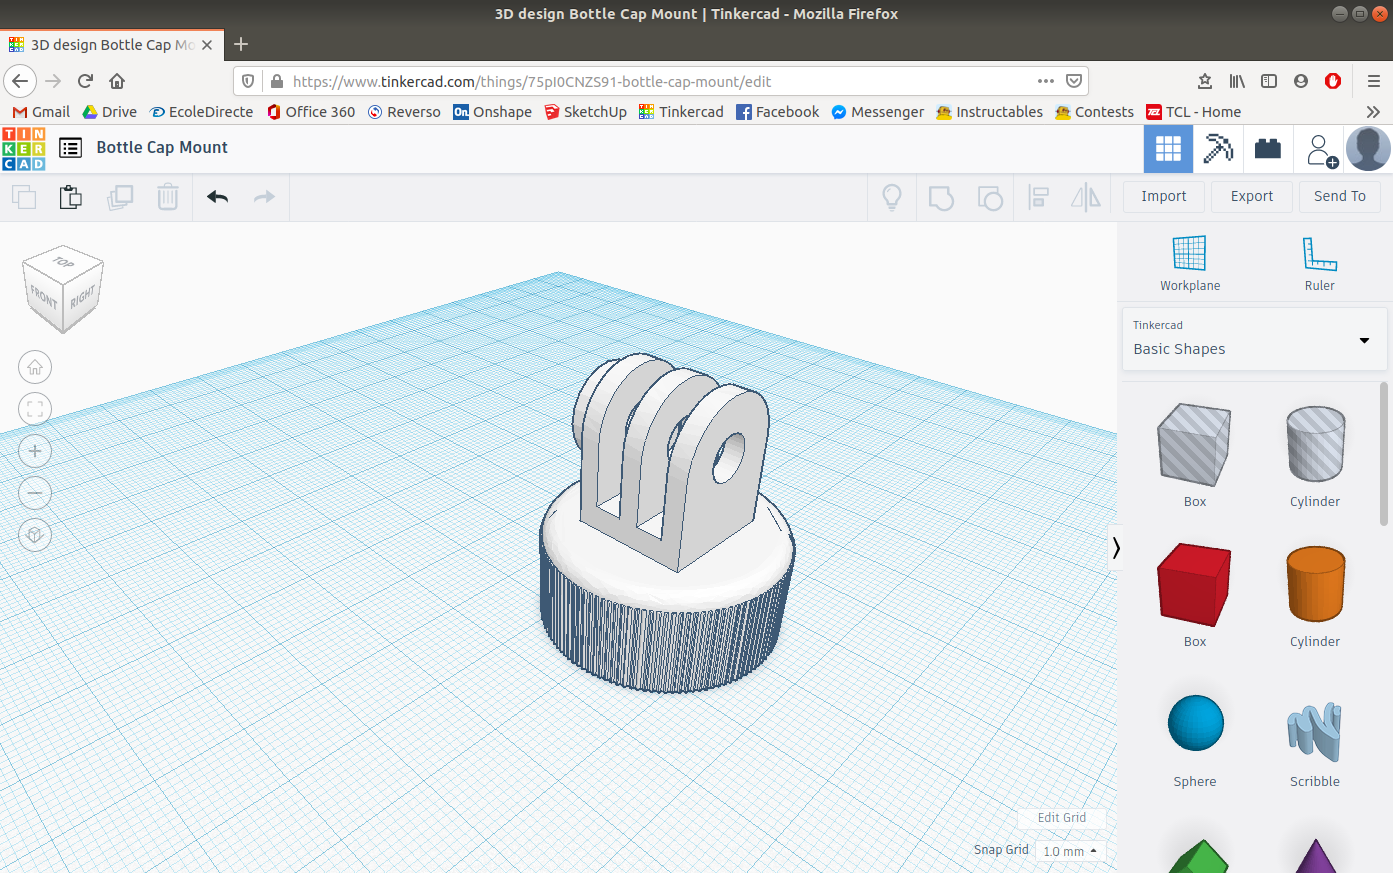
The first step in making the Shoelace Mount is to select the "Create a new design" button to open a new workplane. Once the workplane is open insert one of the mounts and a bottle cap that you can find in Tinkercad's gallery. Then place the mount on top of the bottle cap and merge them together.
3D Printing
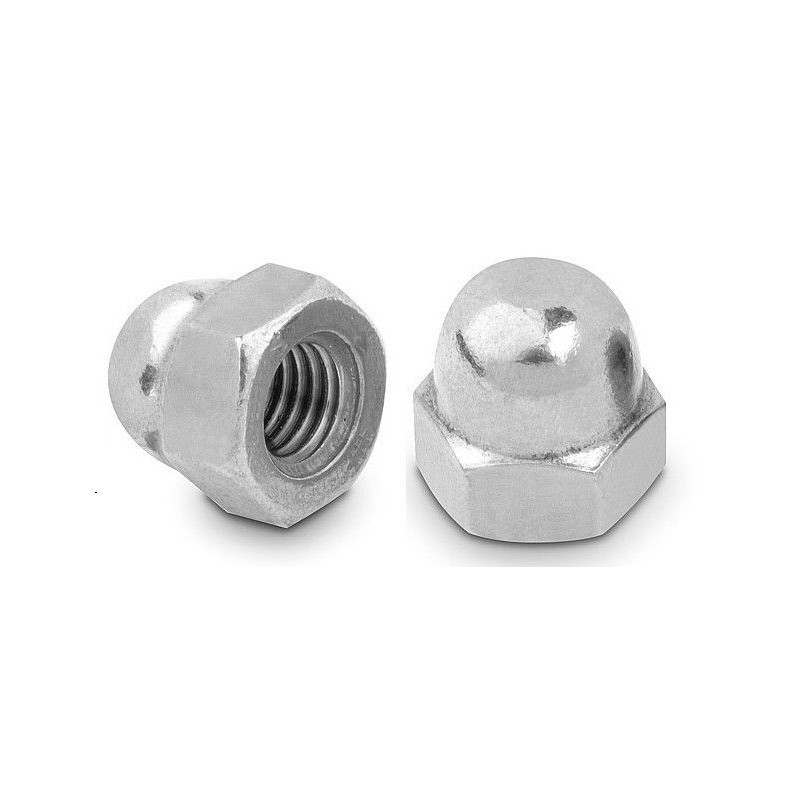
If you are interested in printing the designs made with this assignment here are the files. The Bottle Cage Mount and the Bottle Cap Mount will need a M5 cap nut (you can find them for less than 10 cents a piece) if you count on using the mounts for your camera.
Conclusion


I'm not sure if I was clear enough in explaining this assignment, but I think the photos will help. Also if you have any questions please don't hesitate to ask. Suggestions and corrections are appreciated. I hope you will enjoy this action camera mount assignment.
If you do the assignment, it would be great if you shared your designs!