Acrylic and Wood River Clock
by 13johnsonec in Living > Decorating
1192 Views, 39 Favorites, 0 Comments
Acrylic and Wood River Clock
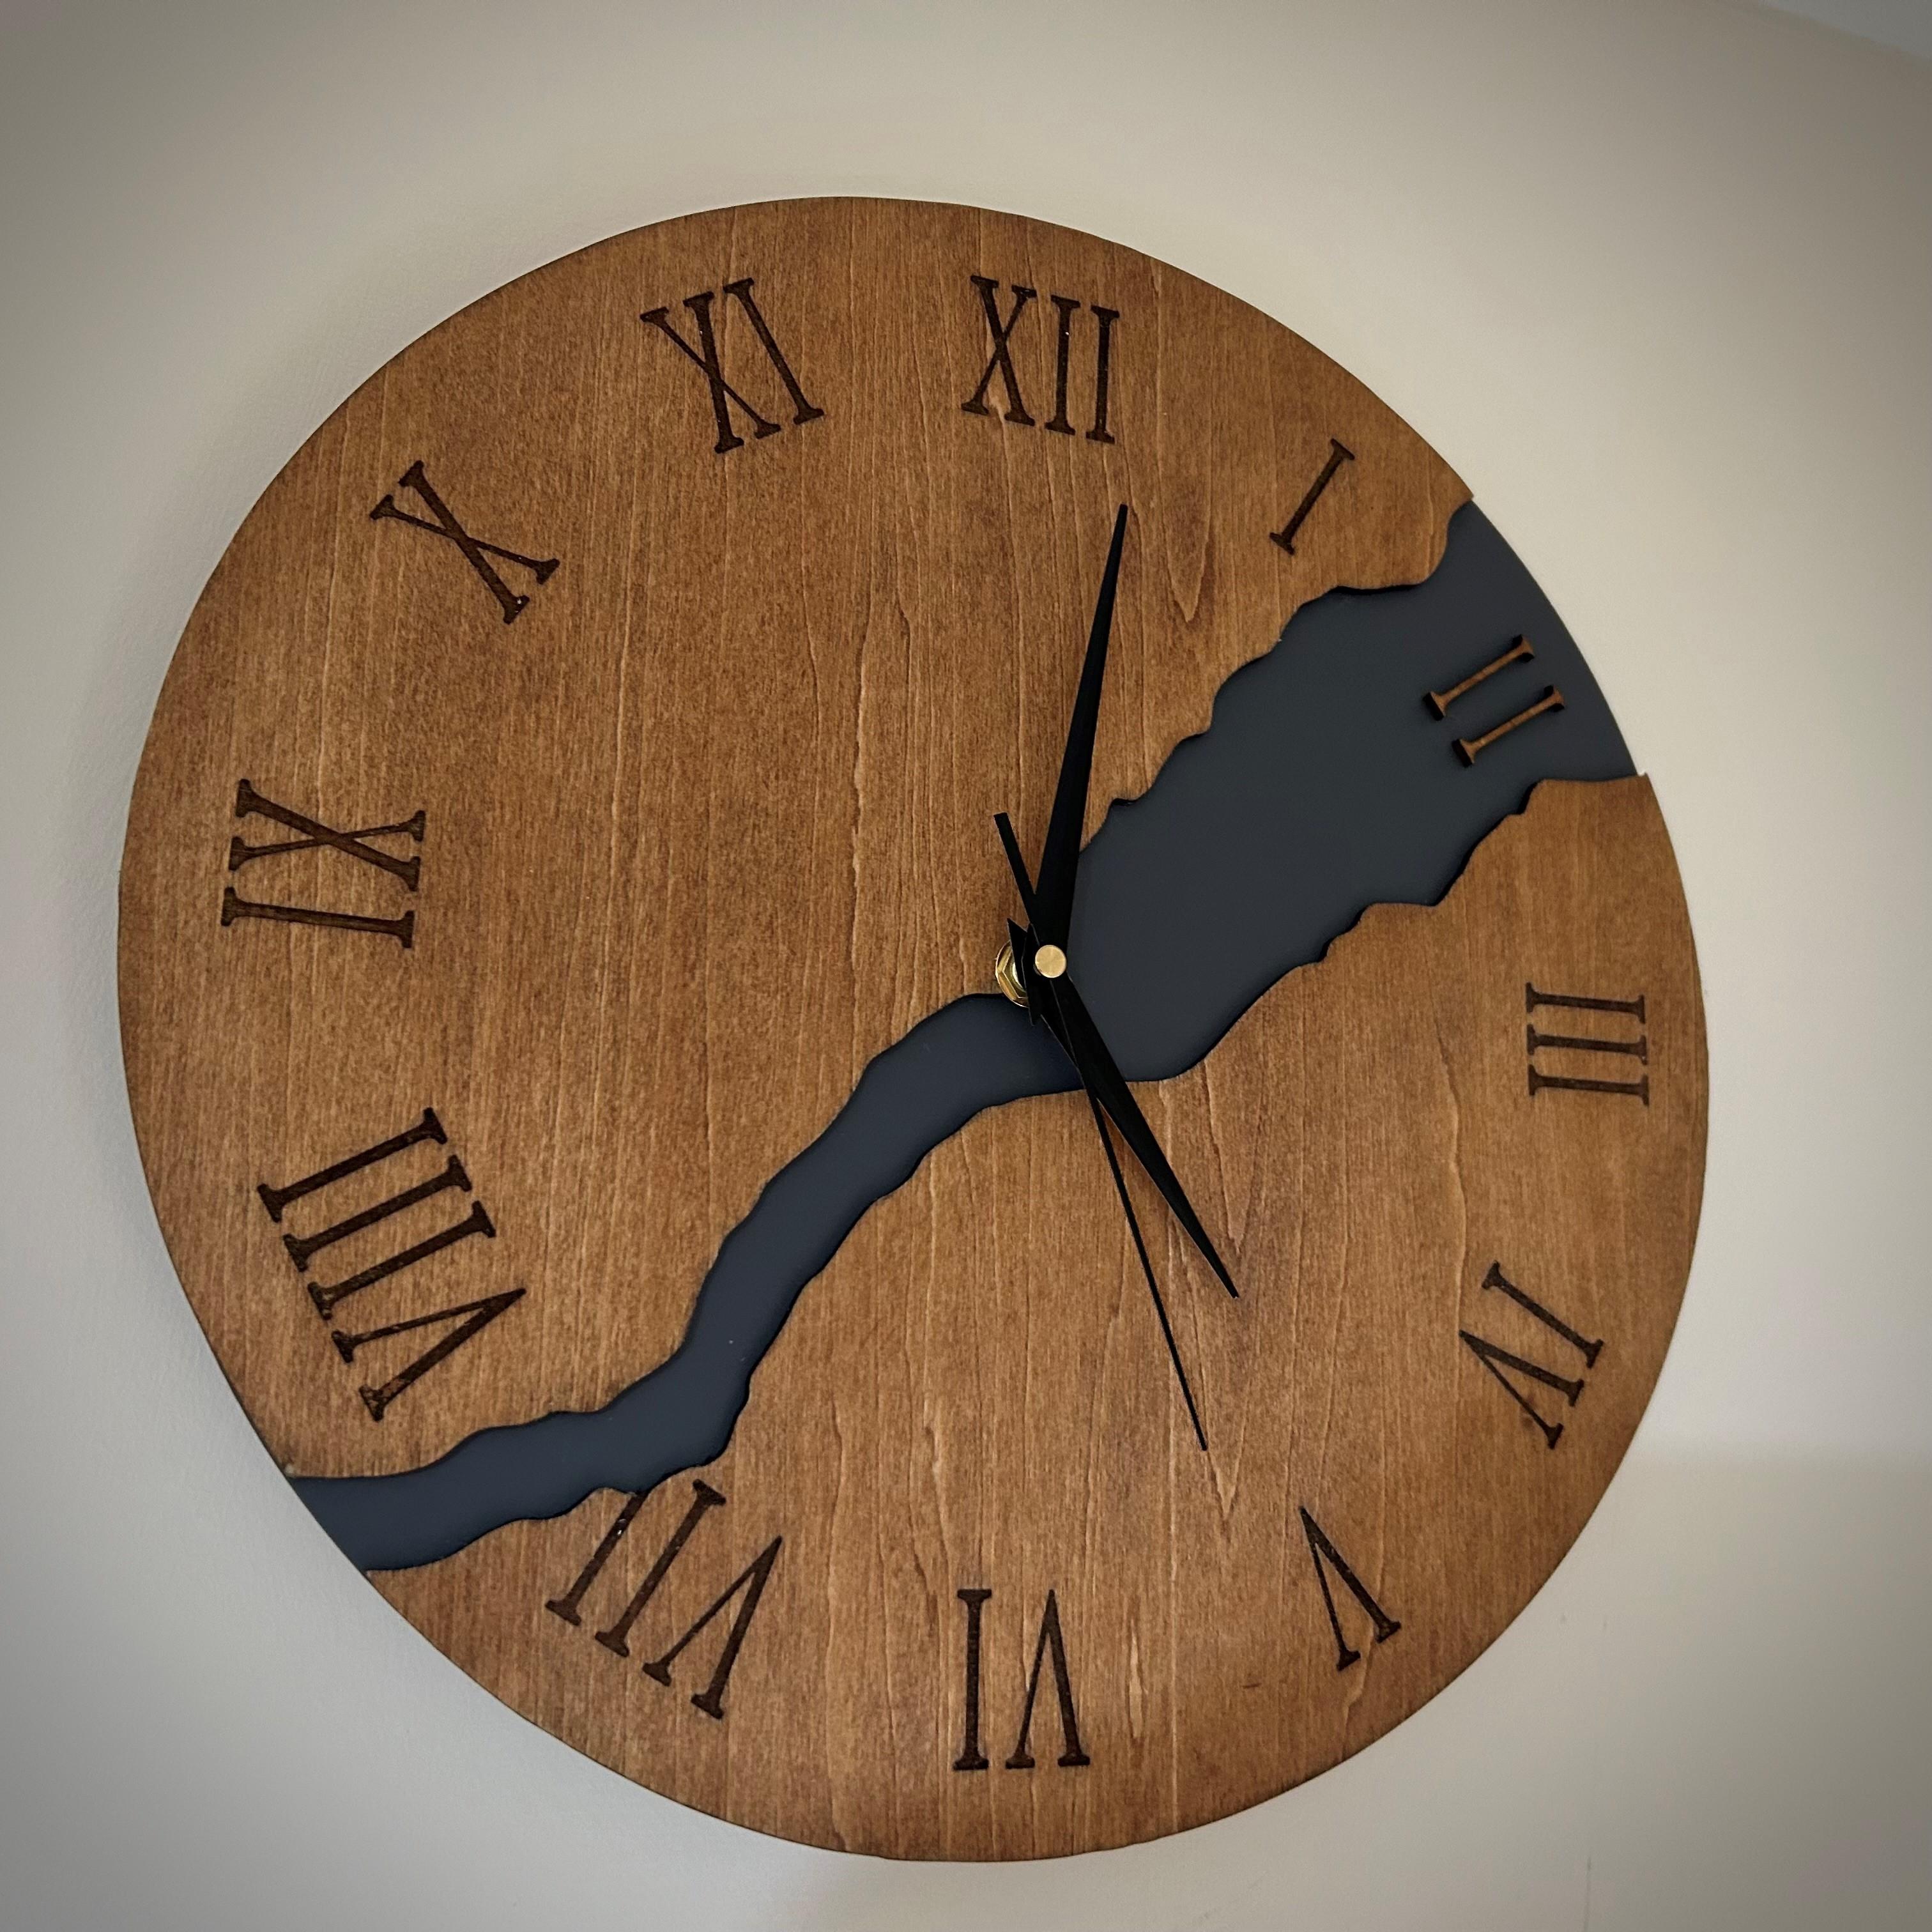
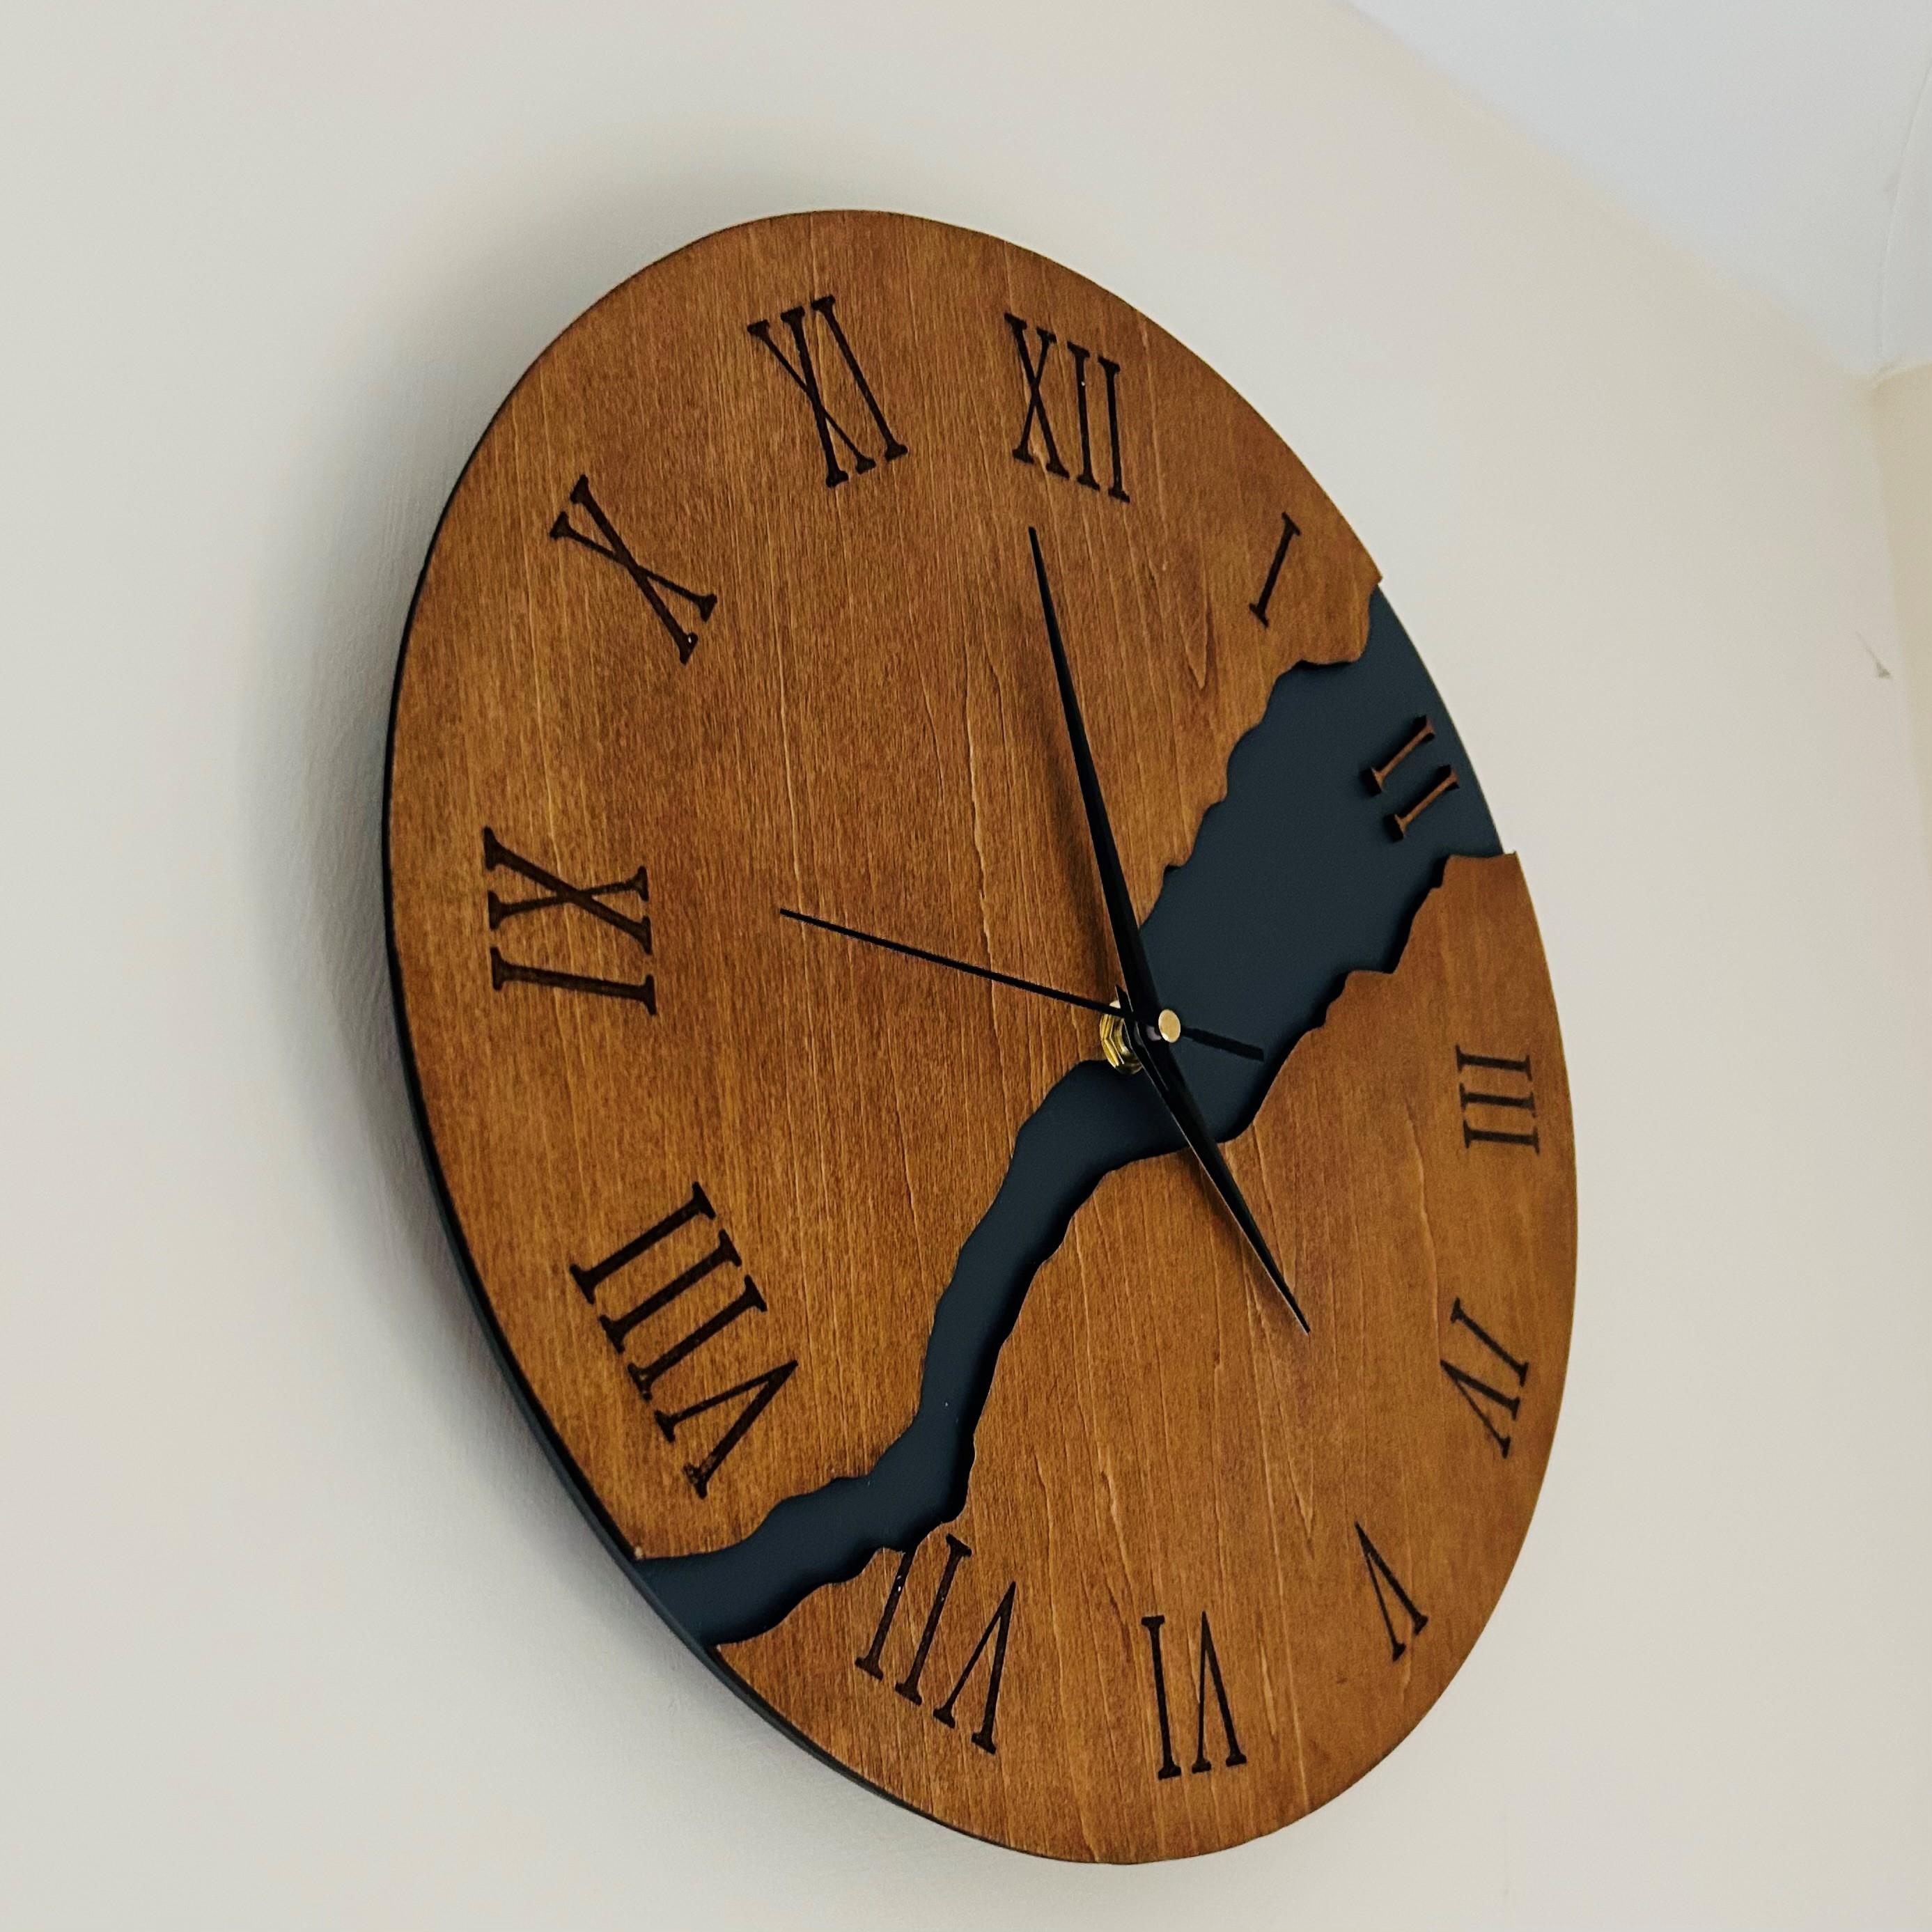
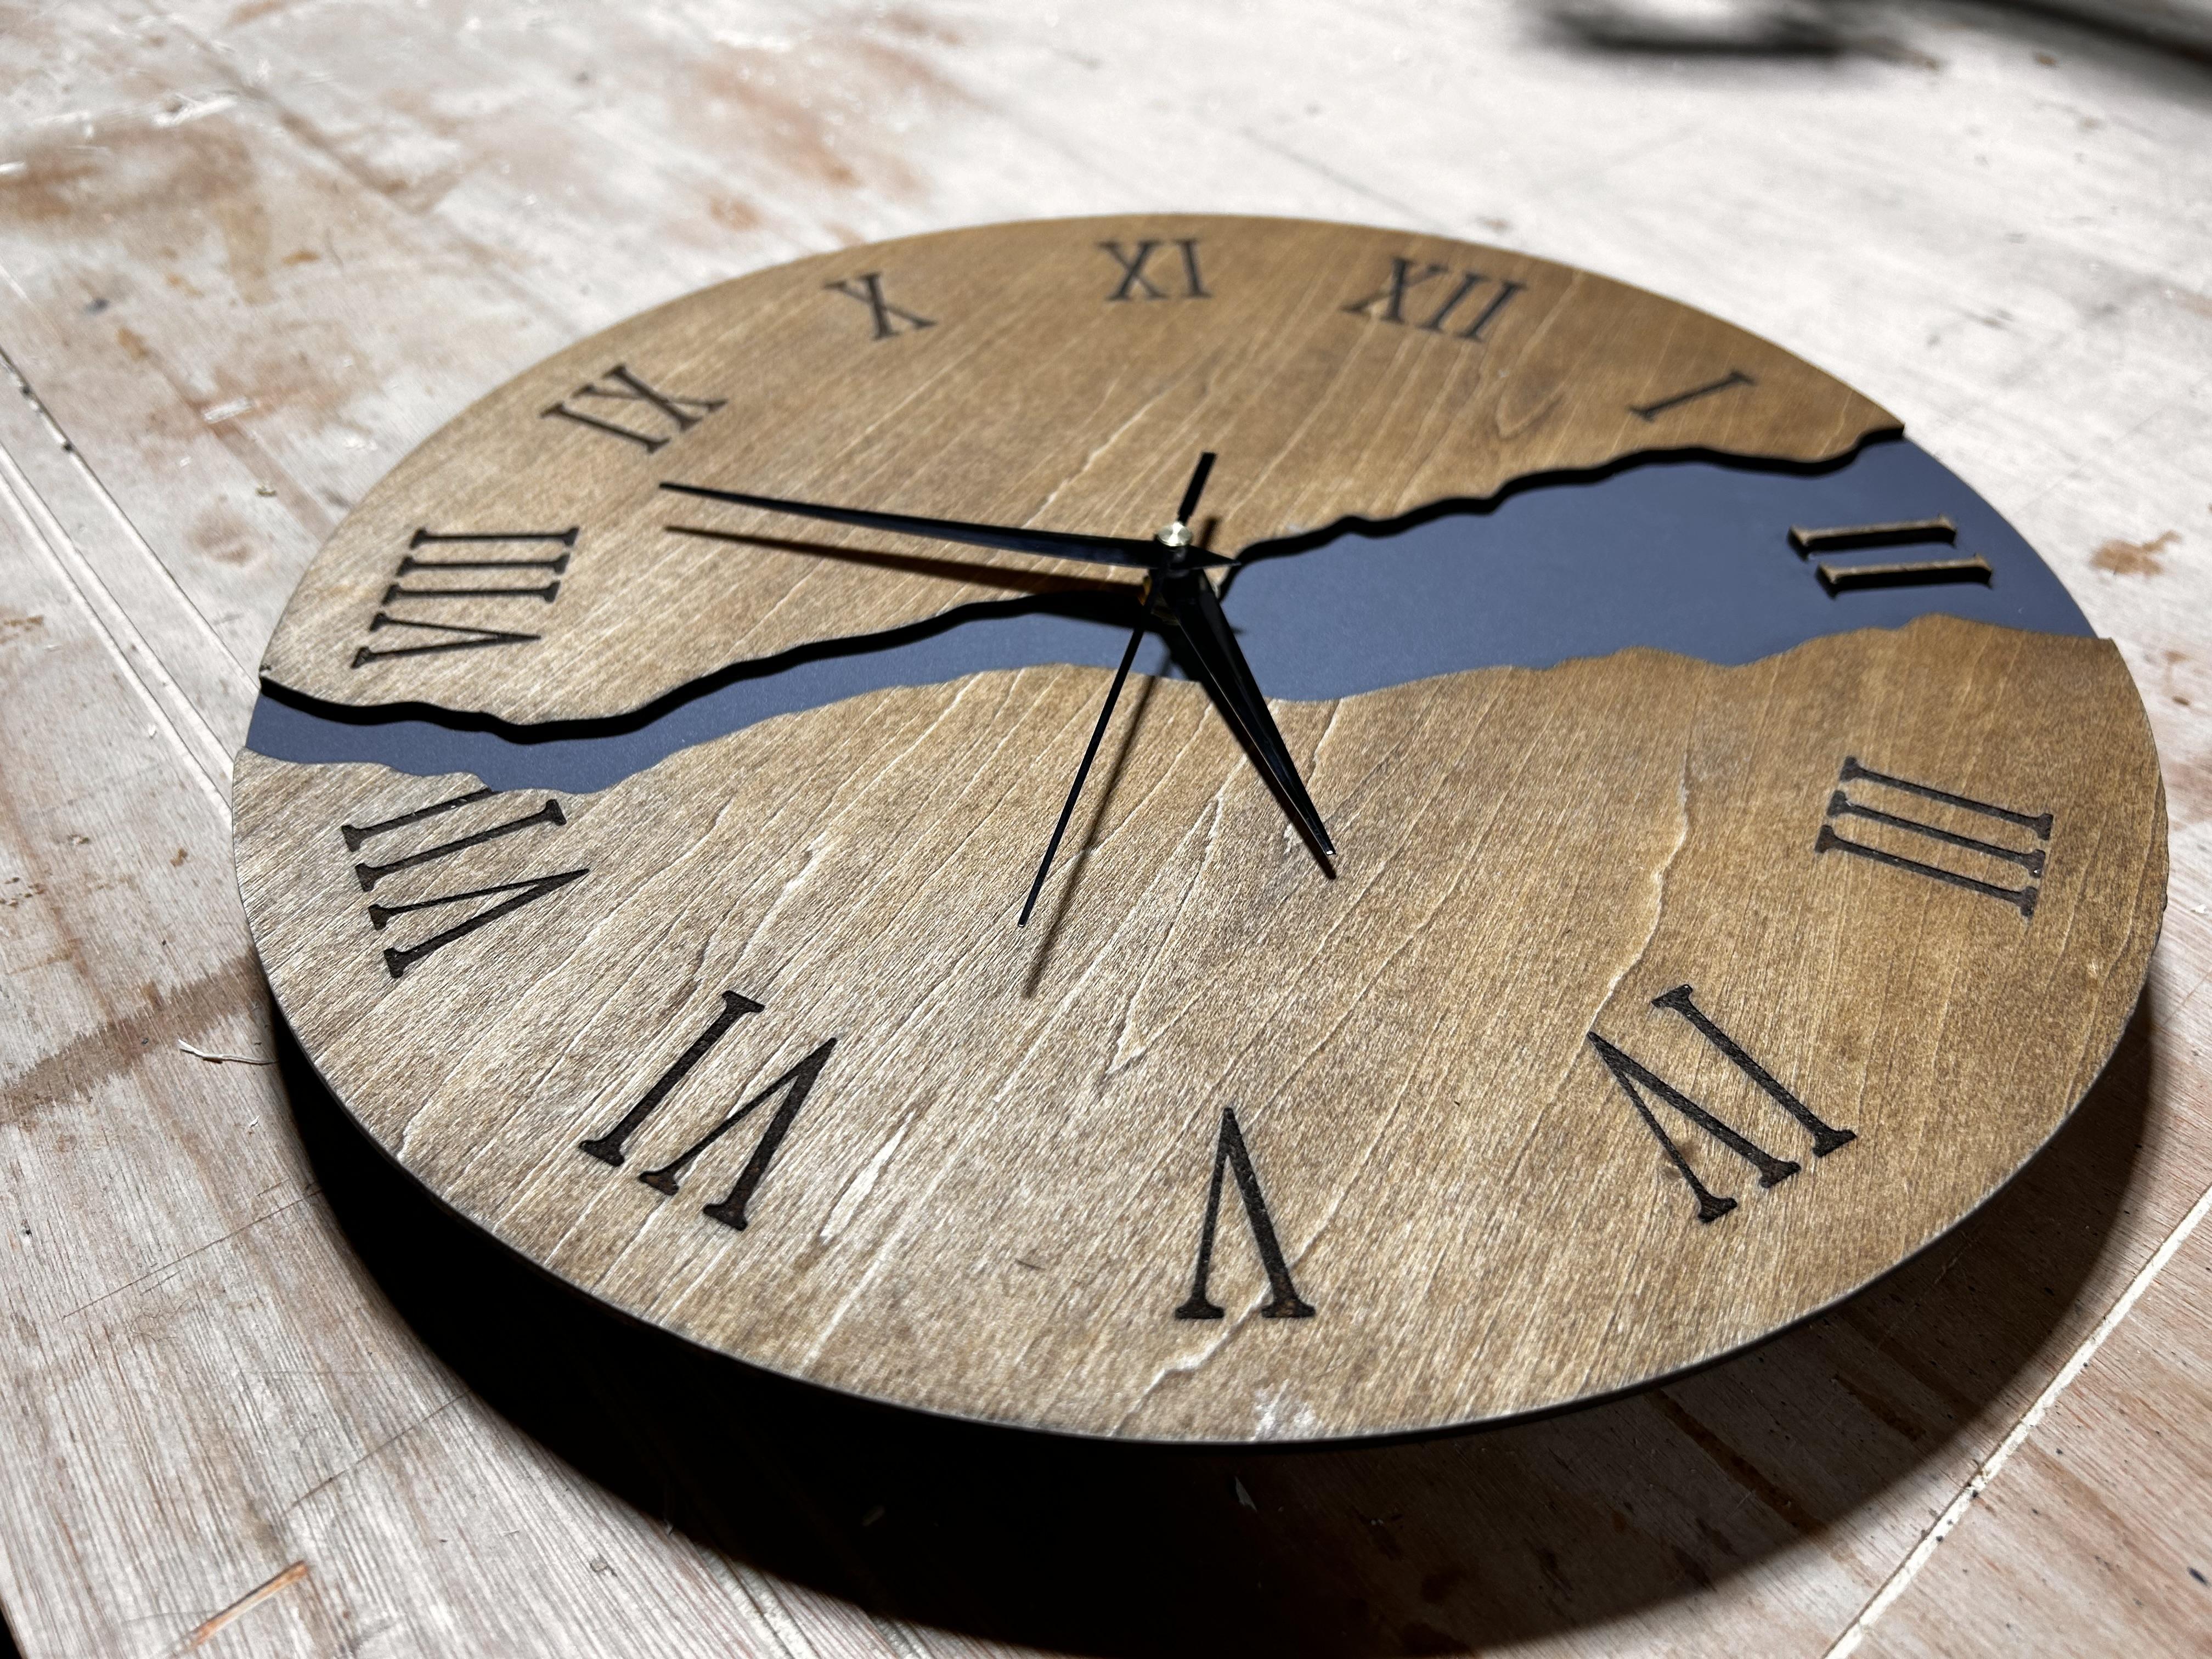
Keeping Time: My Modern River Clock, is the perfect combination of traditional style, and modern techniques. Easily readable Roman Numerals or Hour markers cater to a host of stylistic preferences. The three dimensional effect given by the laser cut wooden face plates and matte grey acrylic provides added visual interest, making it the perfect choice for in the office, or at home.
Supplies


Tools:
- 5 watt Diode Laser Cutter
- Orbital Sander
- Pillar Drill
Materials:
- 3mm Poplar Plywood
- Walnut Wood Stain
- 3mm Matte Grey Acrylic
- Hard wax oil
- Quartz clock movement
- Epoxy
File Creation
1.1) Start by opening any visual imagery software (Microsoft Word is suitable)
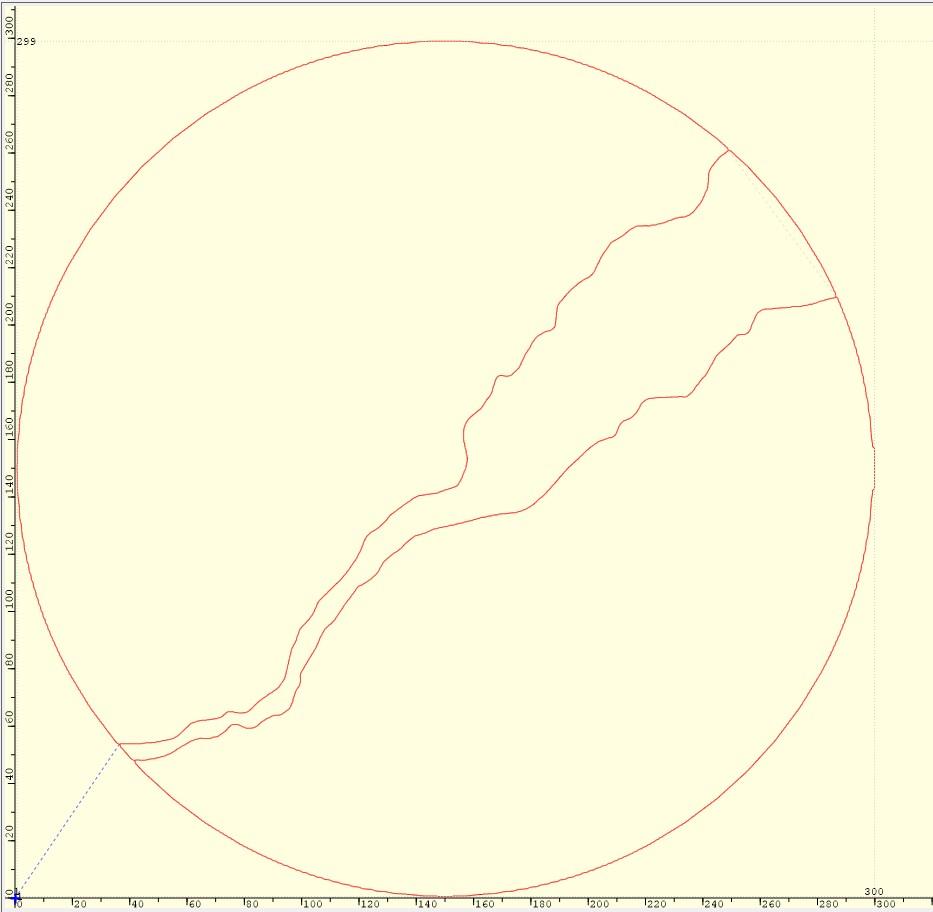
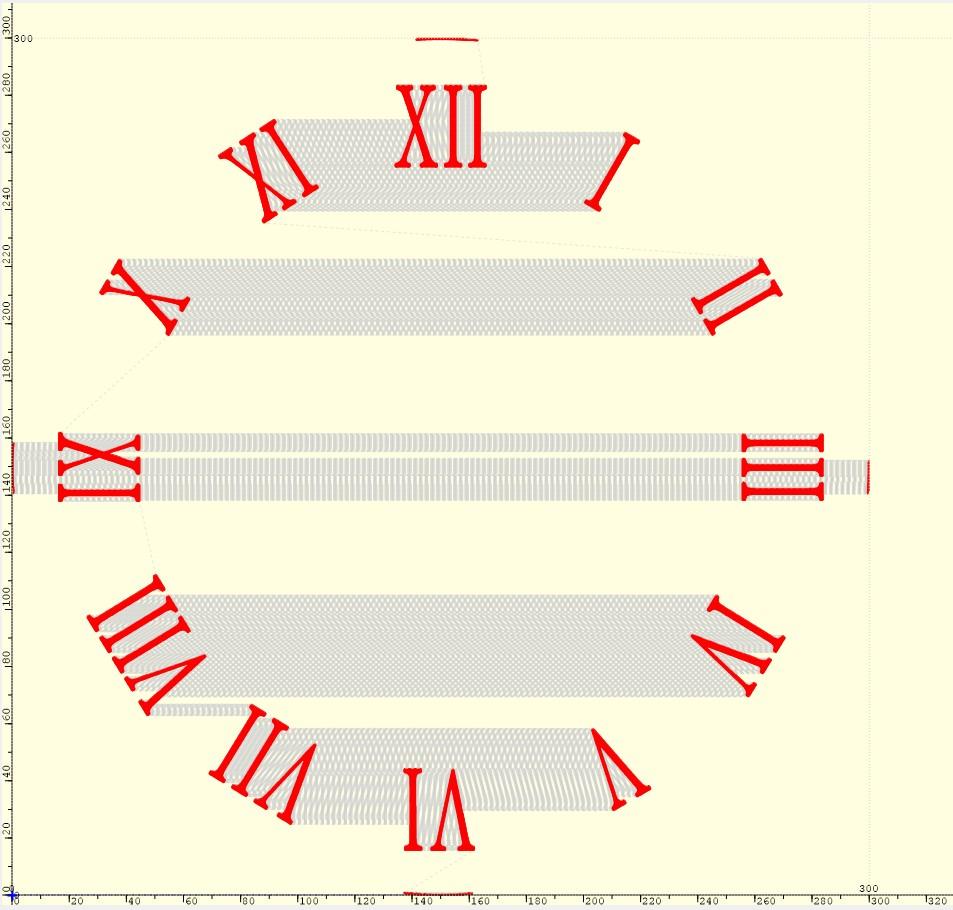
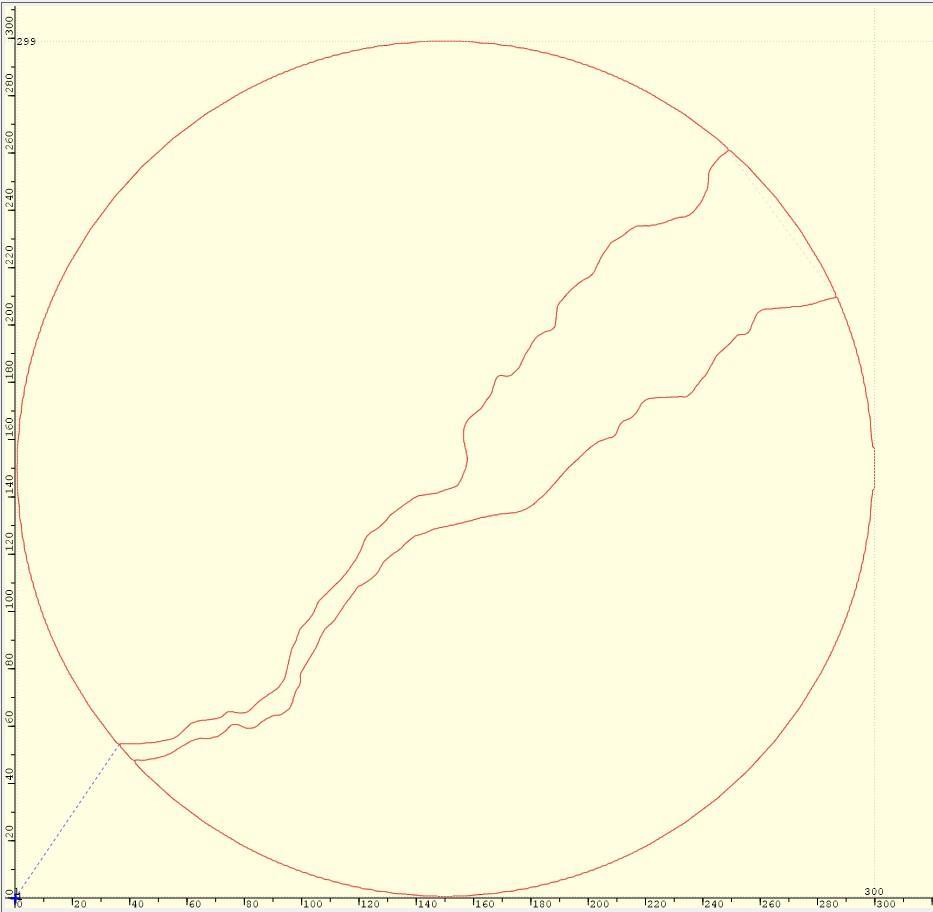
1.2) Create two circles, one with the desired "River" cut-out shape, and the other the hour line notation.
1.3) Make screen shots and save as ".png" files
1.4) Open preferred laser engraving software, upload files.
1.5) Open material database, and select "Plywood 3mm - Cut" for the circle and river cut out
1.6) Open material database, and select "Plywood 3mm - Engrave" for the hour notation
1.7) Save Files.
Engraving Wooden Components

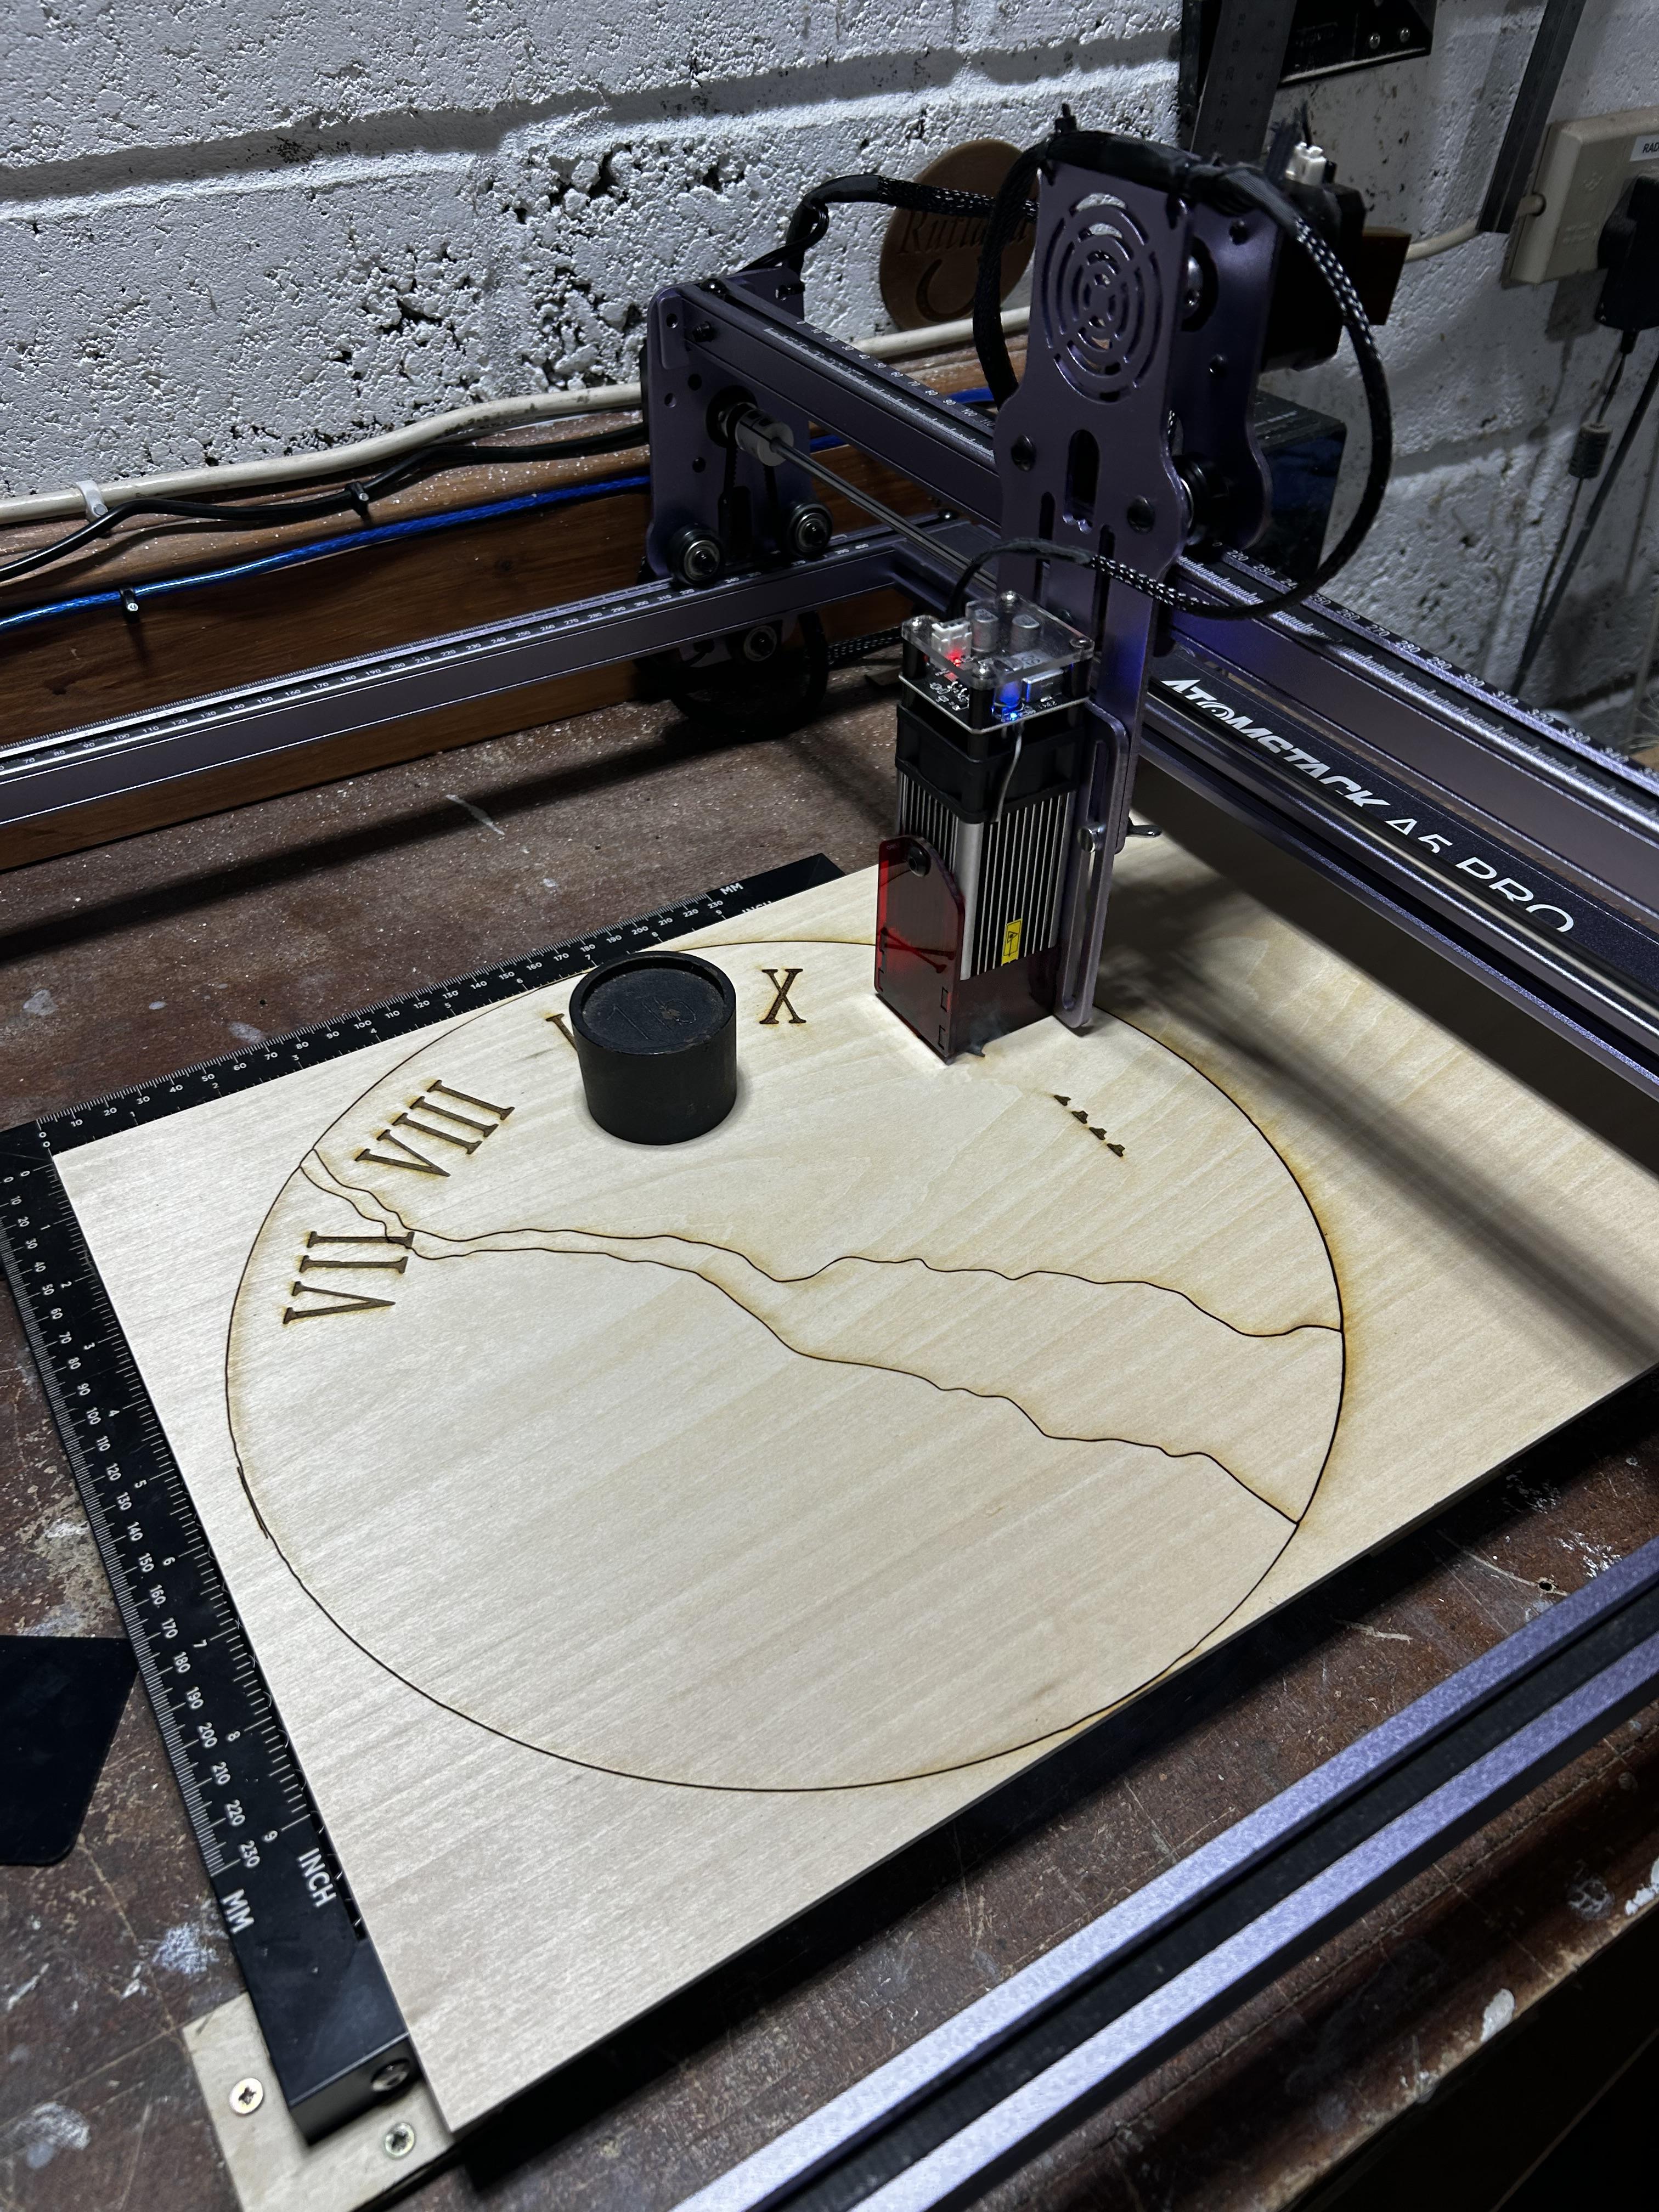
2.1) Place 3mm Poplar Plywood, on laser cutter bed
2.2) Open "Plywood 3mm - Engrave" file, on connected computer
2.3) "Home" Laser module
2.4) Commence engraving
2.5) Once complete return laser module to "home".
Cutting Wooden Components
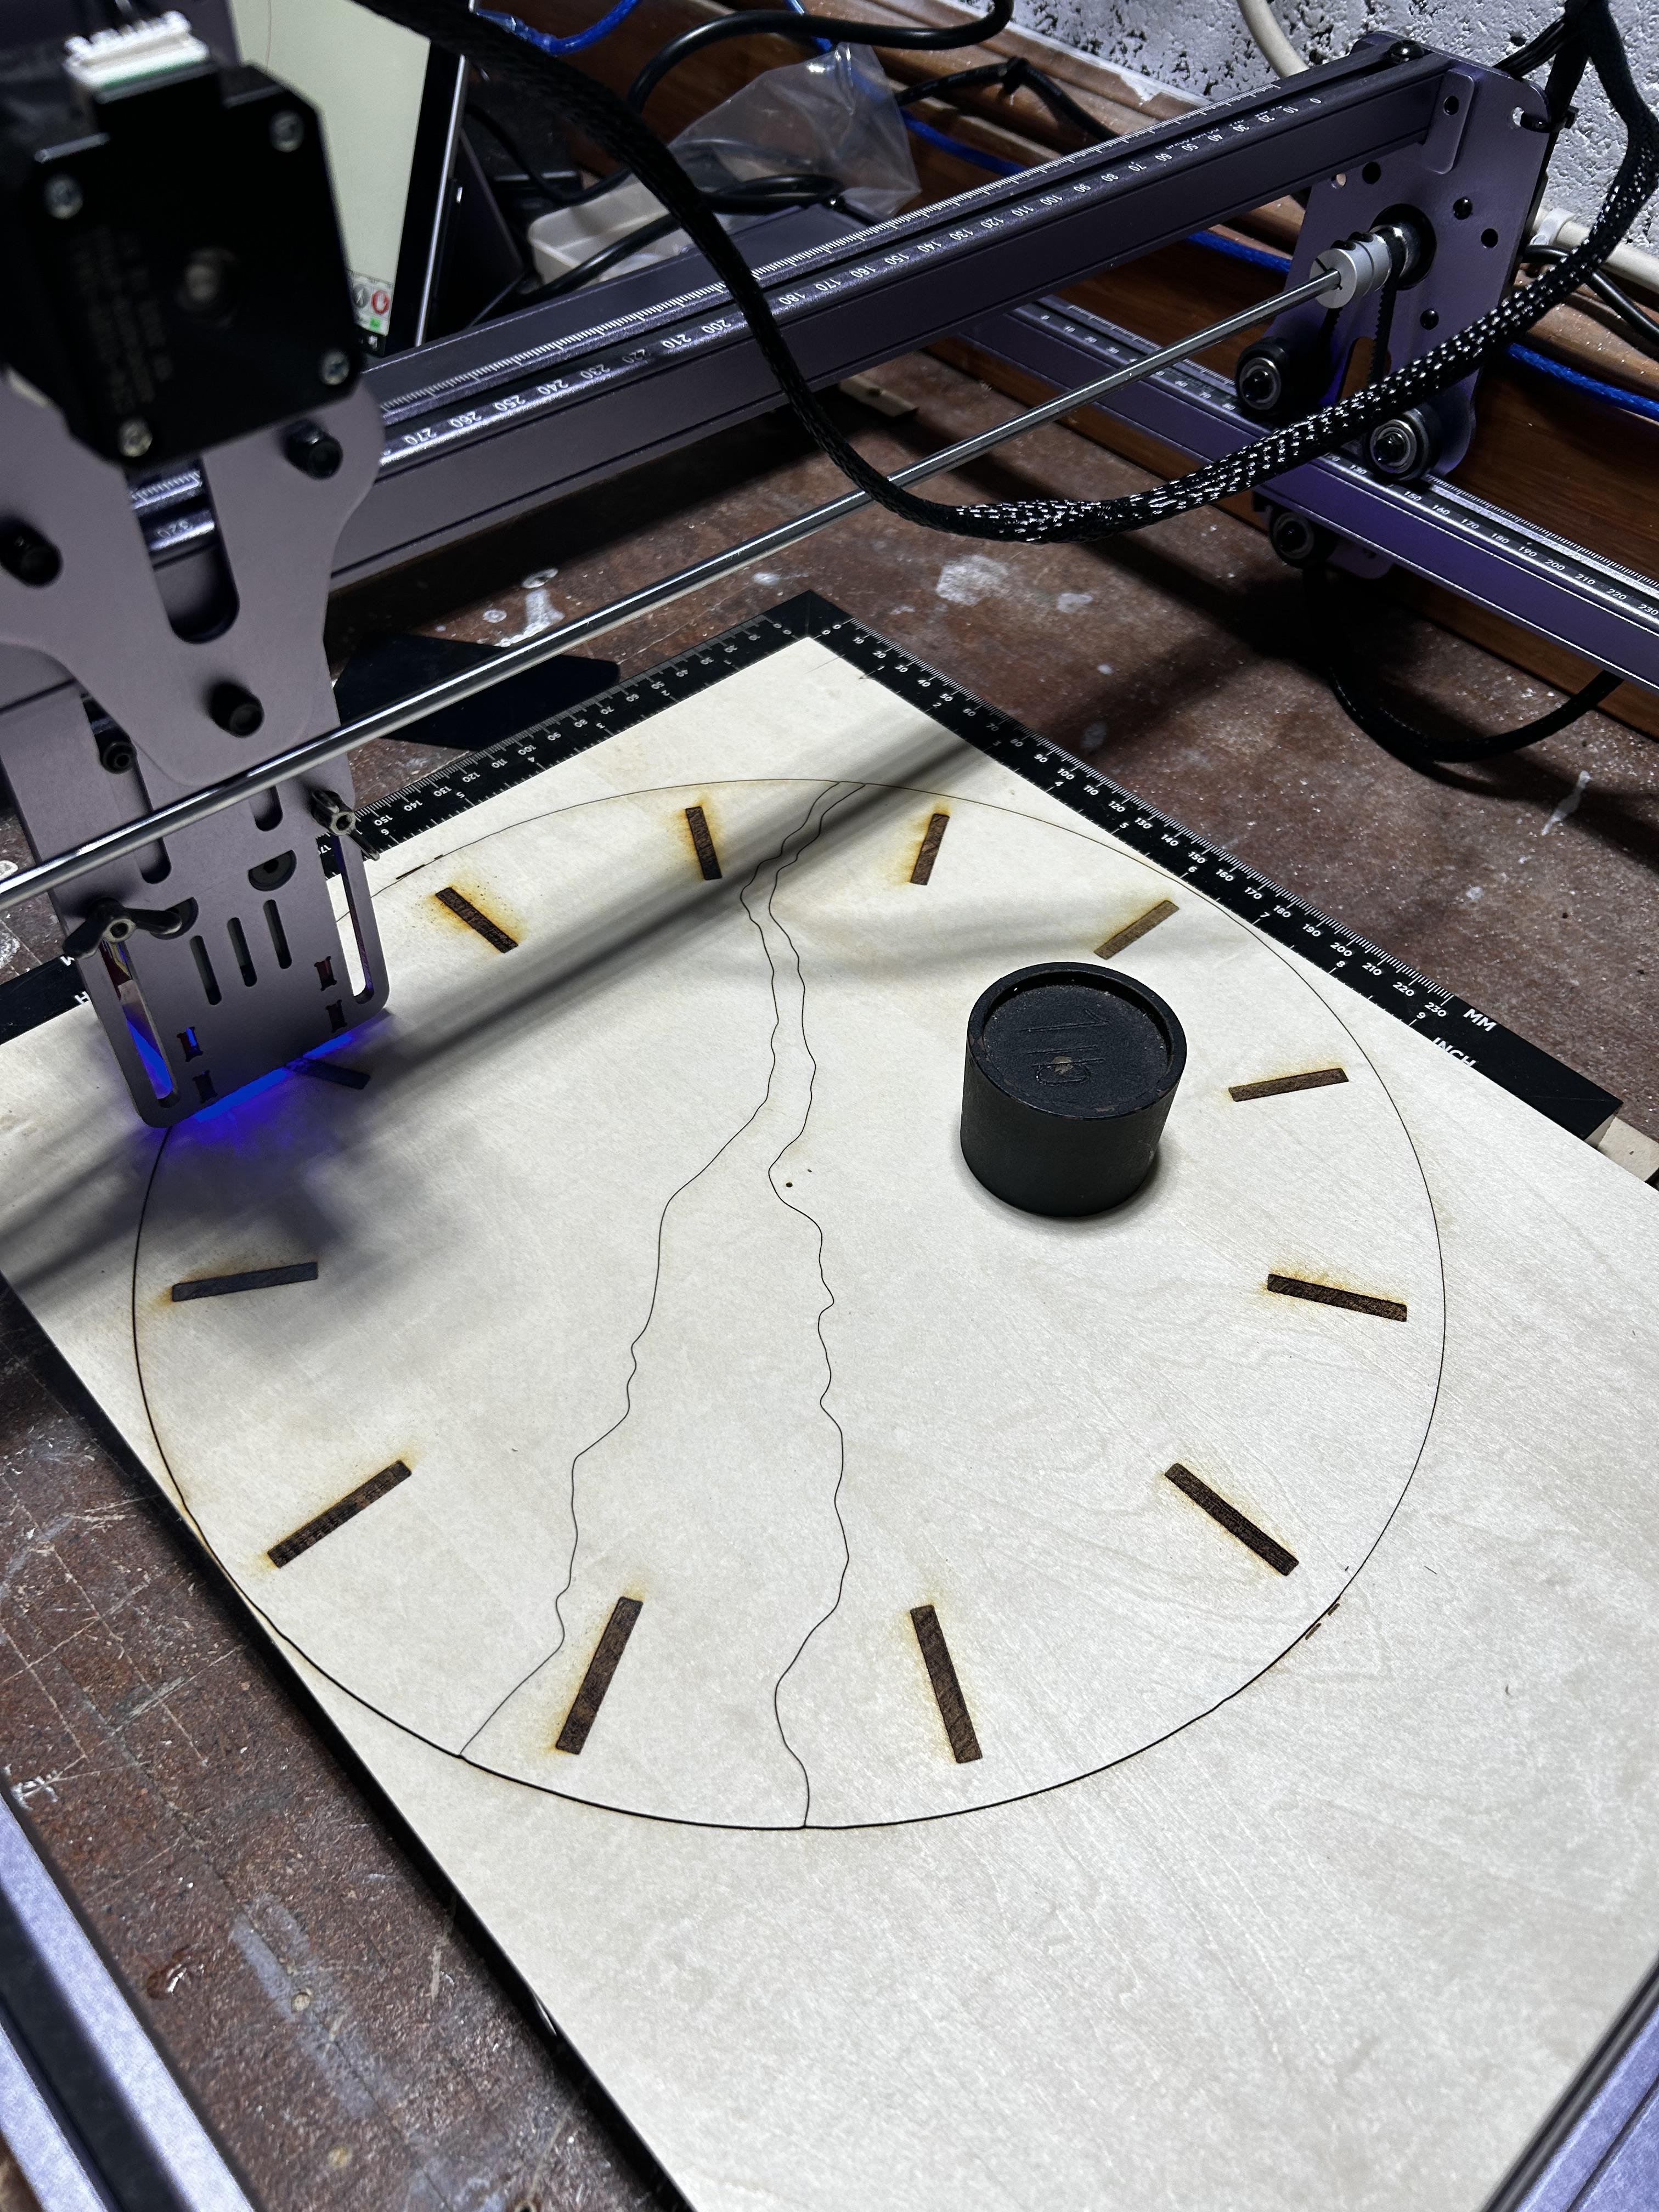
3.1) Ensure engraved 3mm plywood remains in position
3.2) Open "Plywood 3mm - Cut"
3.3) Commence cutting process
3.4) Allow machine to complete cycle, and remove pieces from laser bed.
Sanding and Finishing Wooden Components
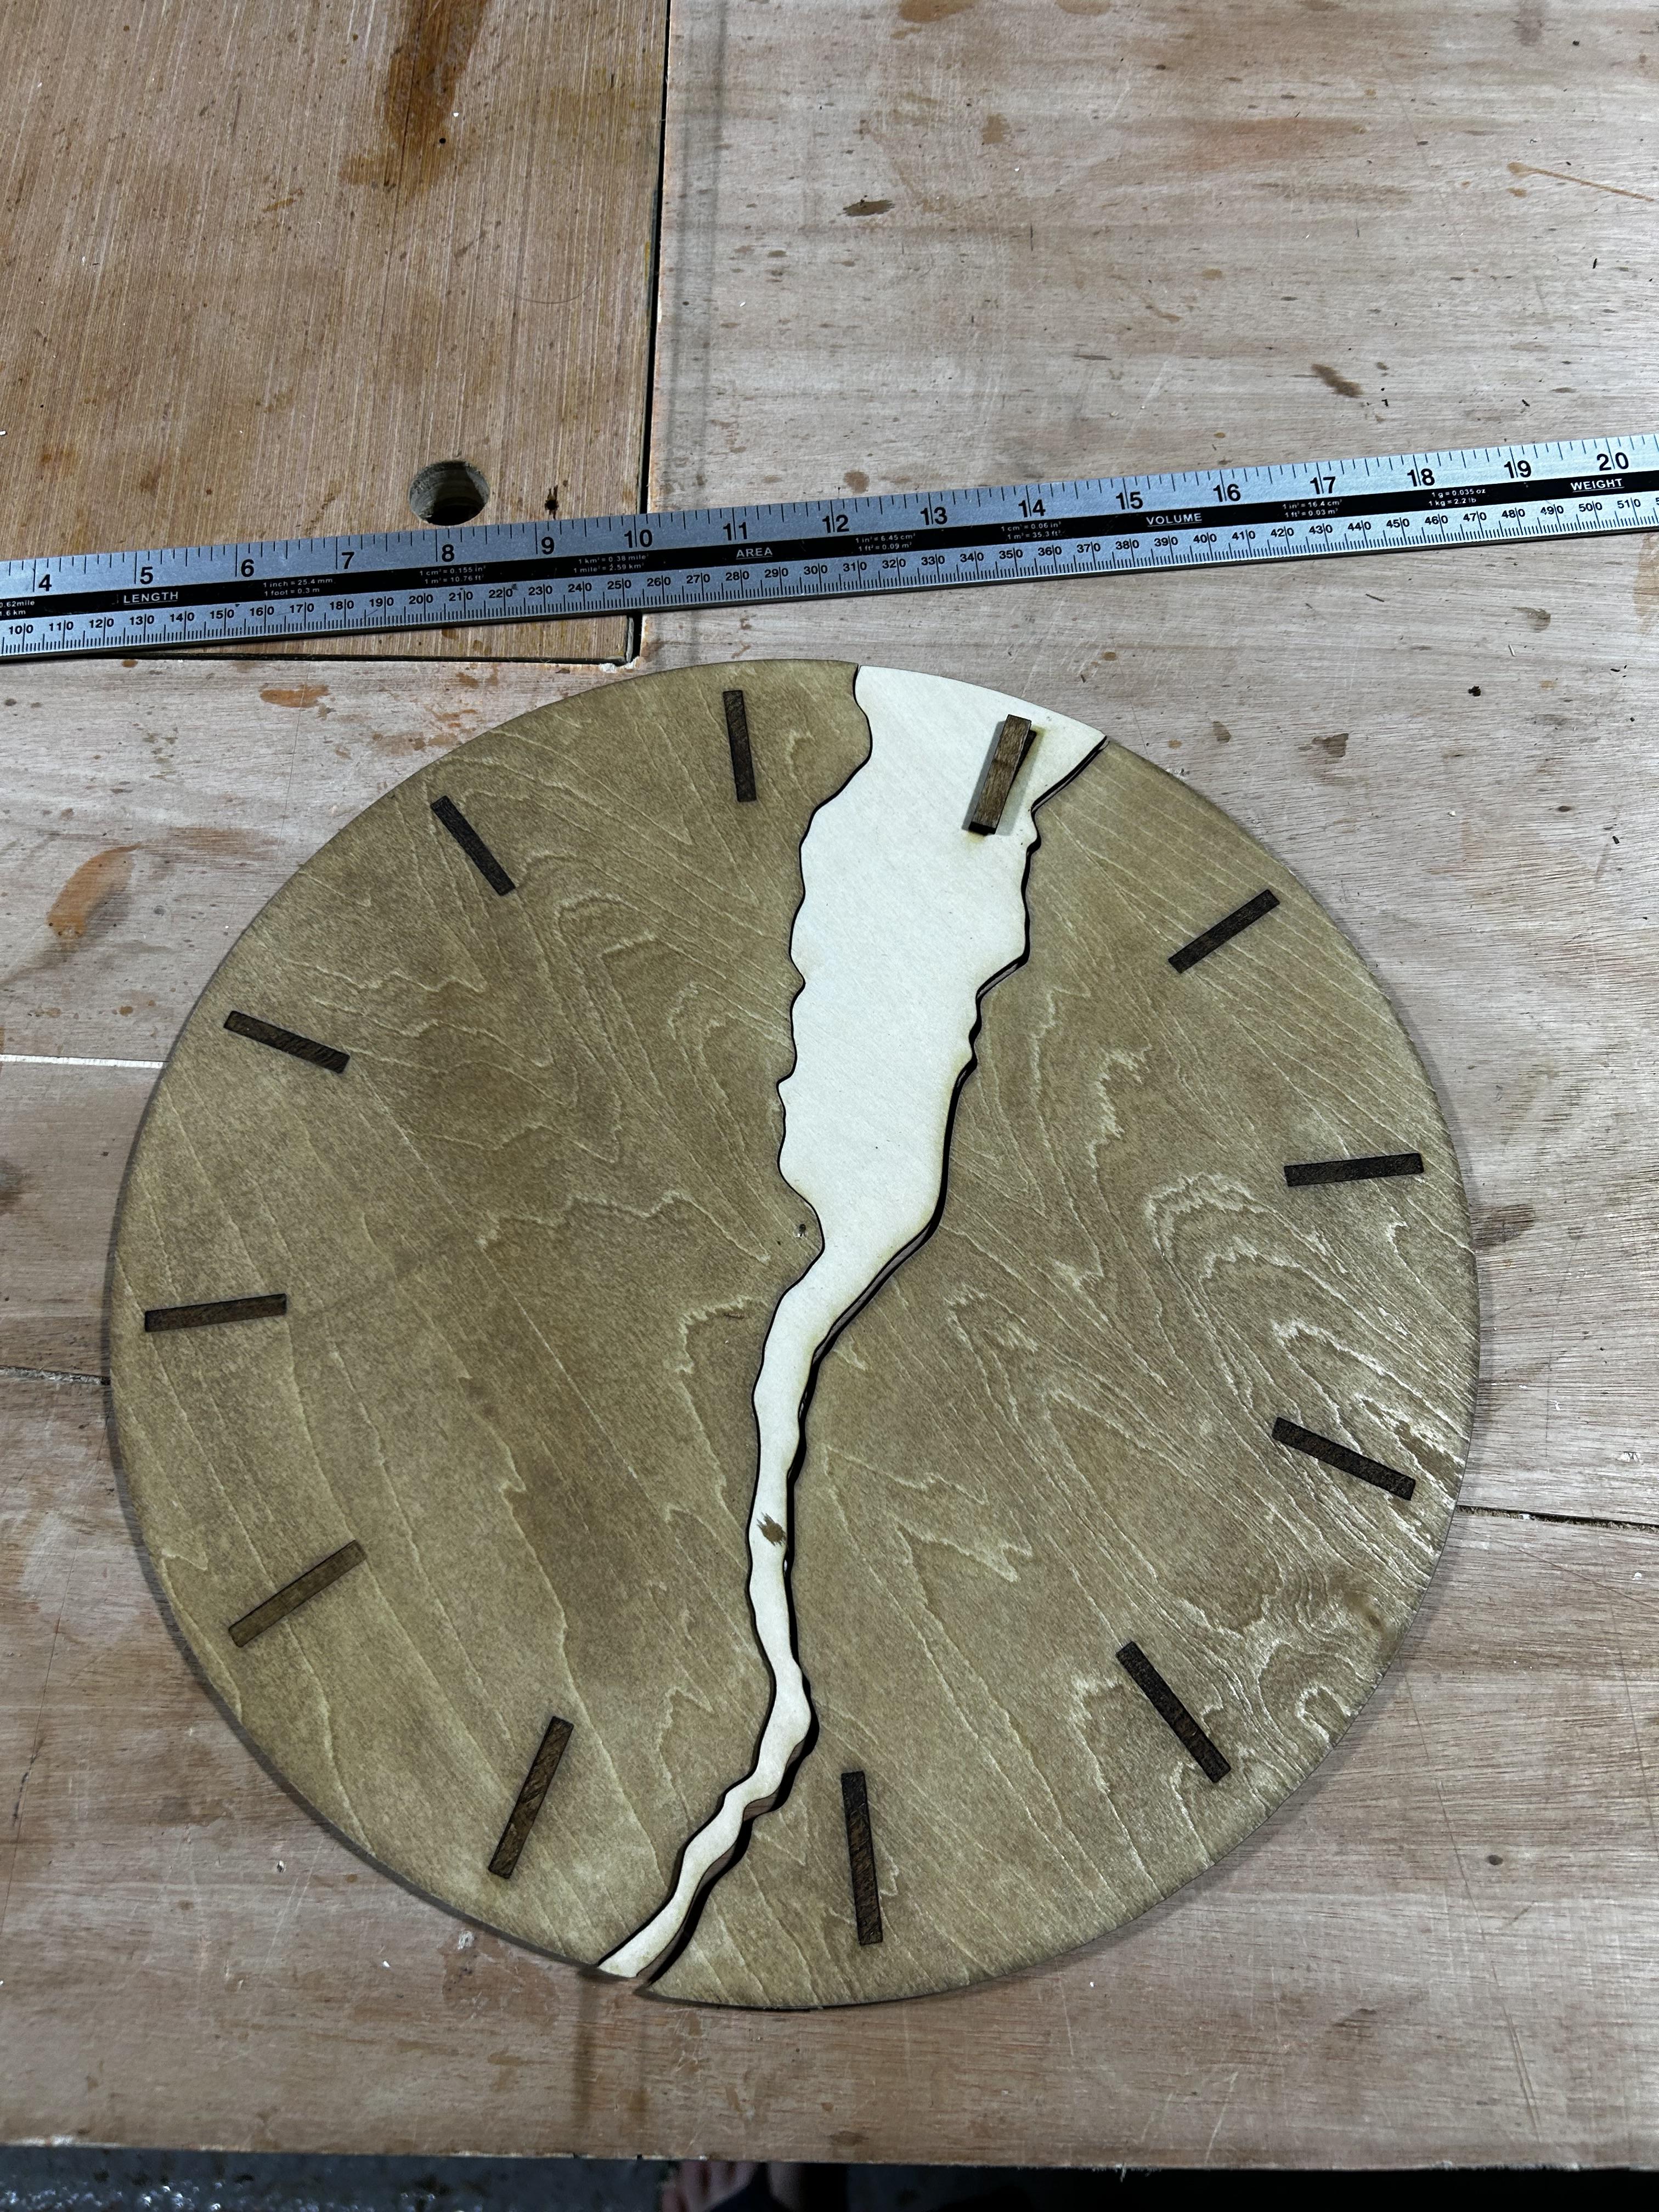
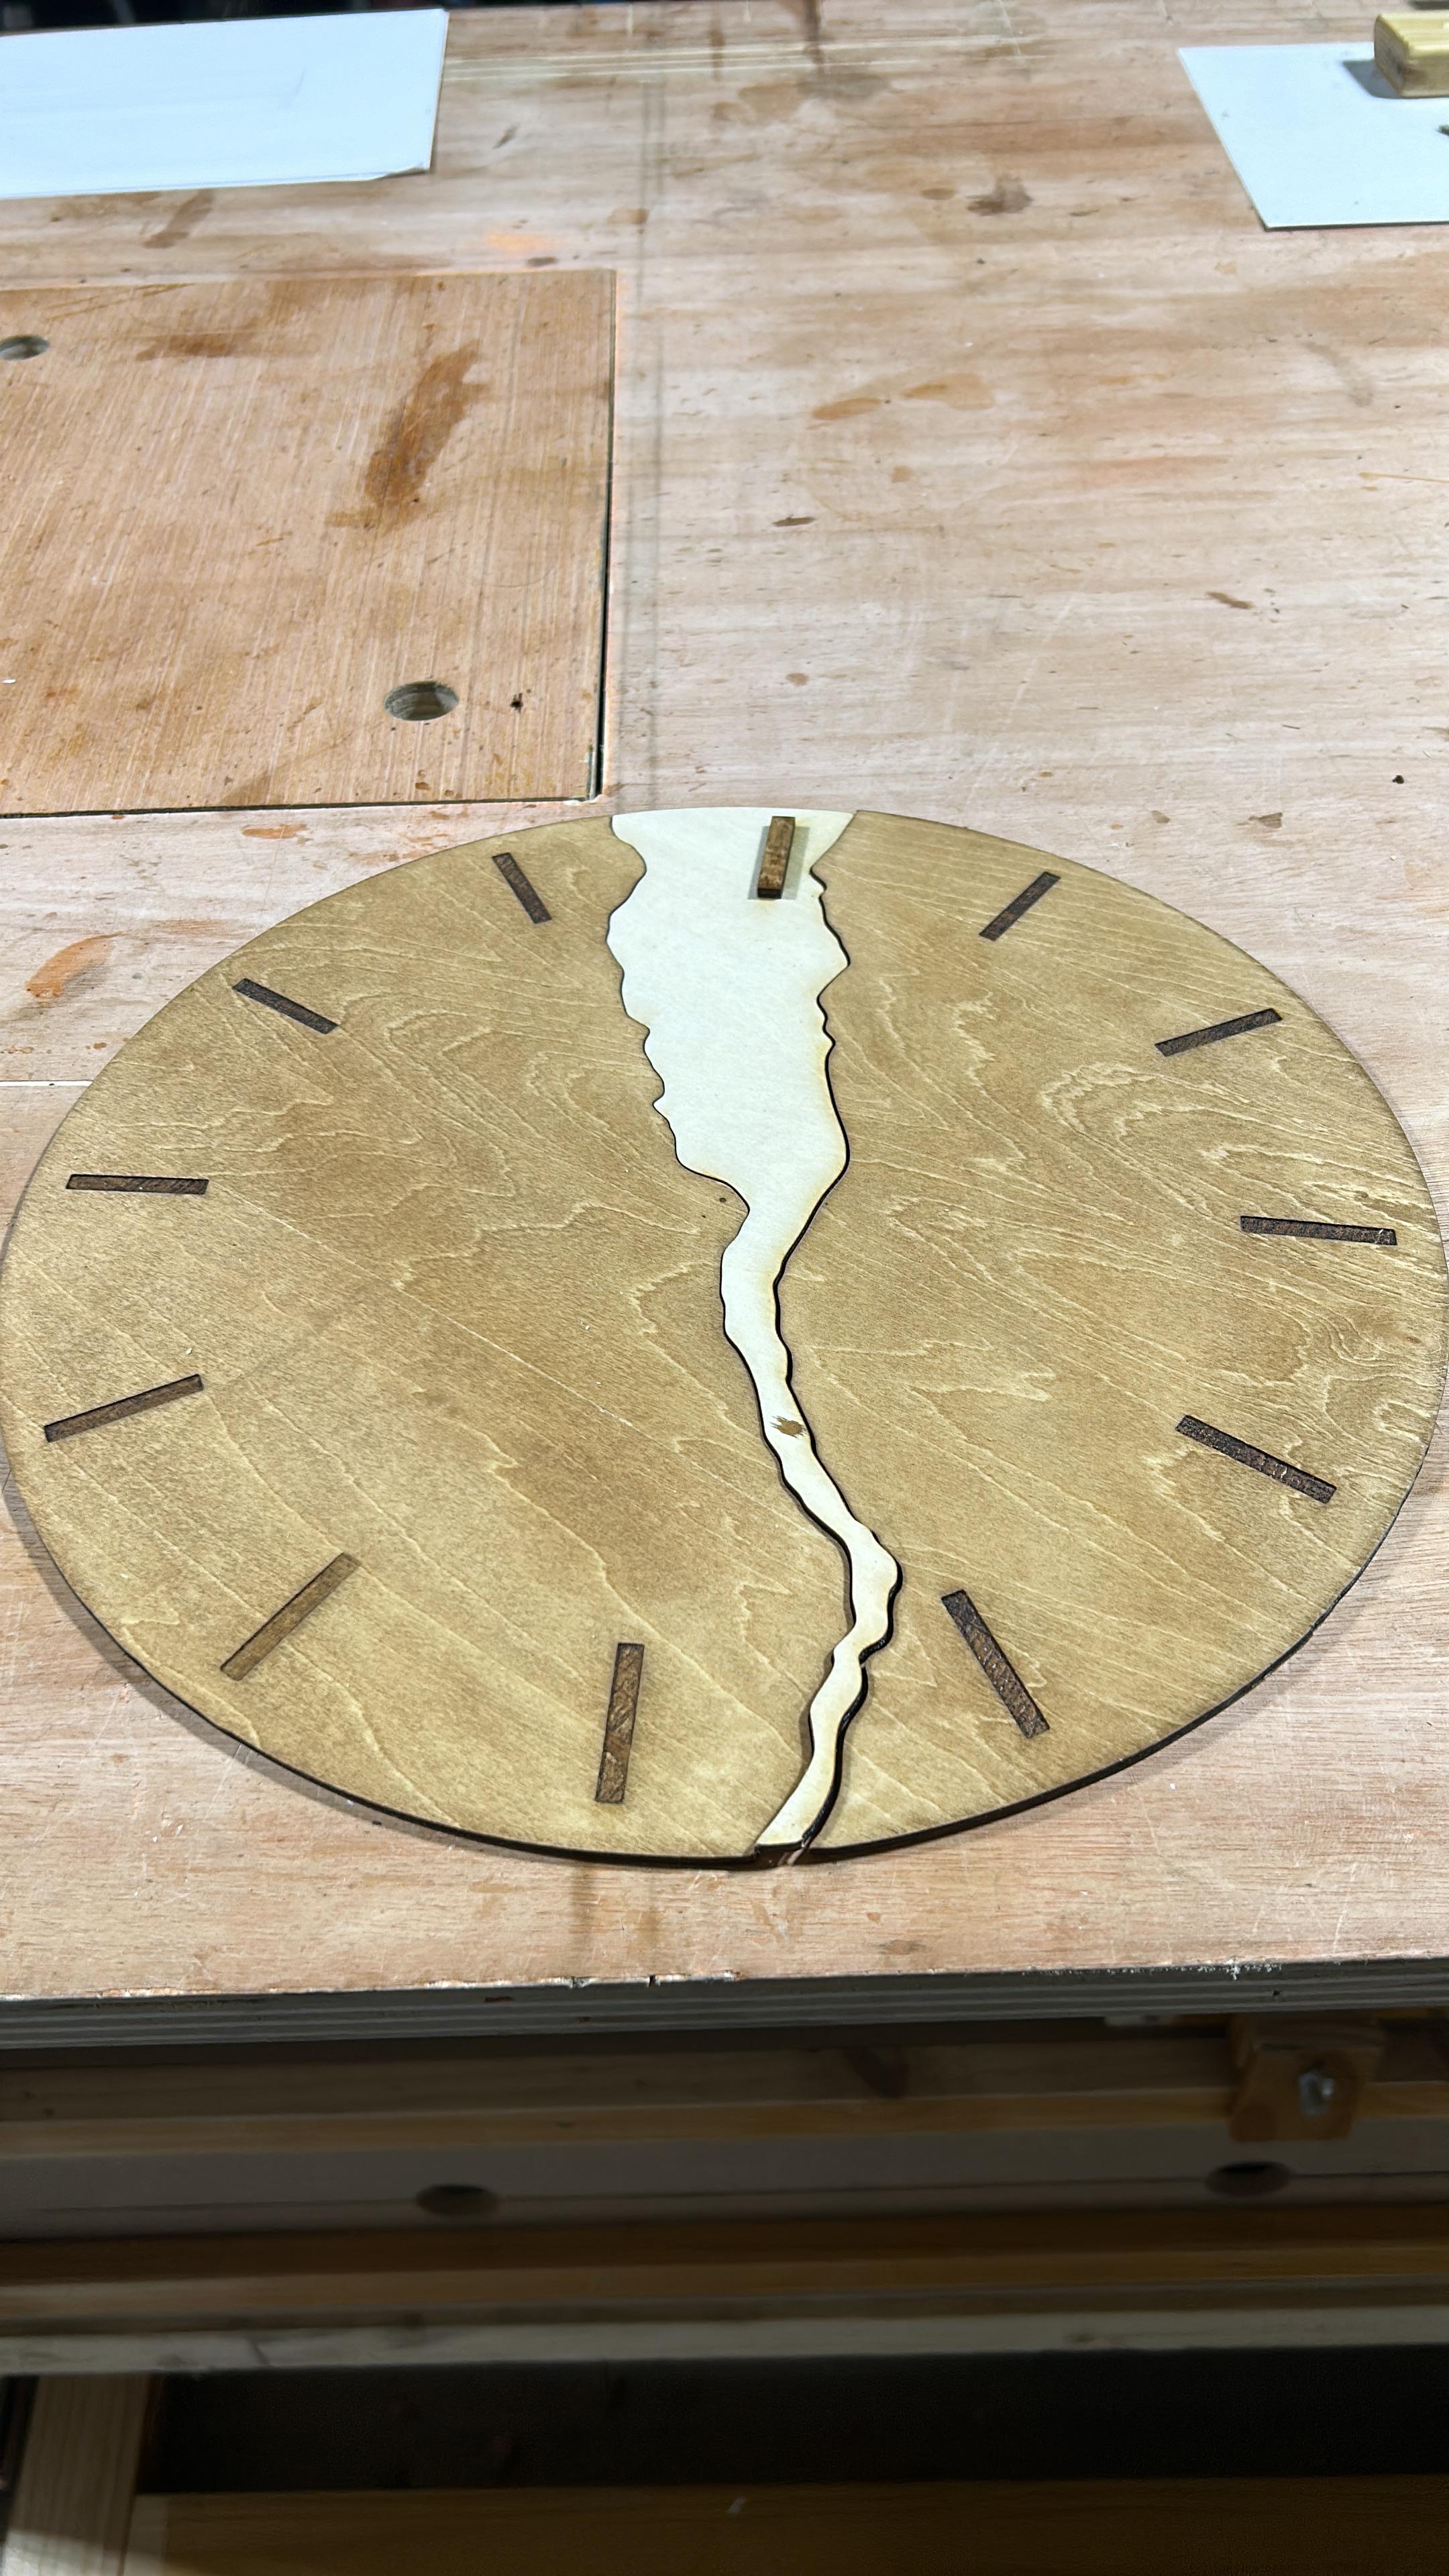
4.1) Carefully sand plywood faces with orbital sander with grits: 120, 180, 240
4.2) Wipe any excess dust from surface with a rag
4.3) Apply even coating of "Walnut Stain", using rag
4.4) Allow stain to dry for a minimum of 12 hours
4.5) Apply a thin coat of a hard wax oil wood finish
4.6) Allow to dry for a minimum of 12 hours and buff with a clean rag.
Fixing Wooden Components to Acrylic Back Plate
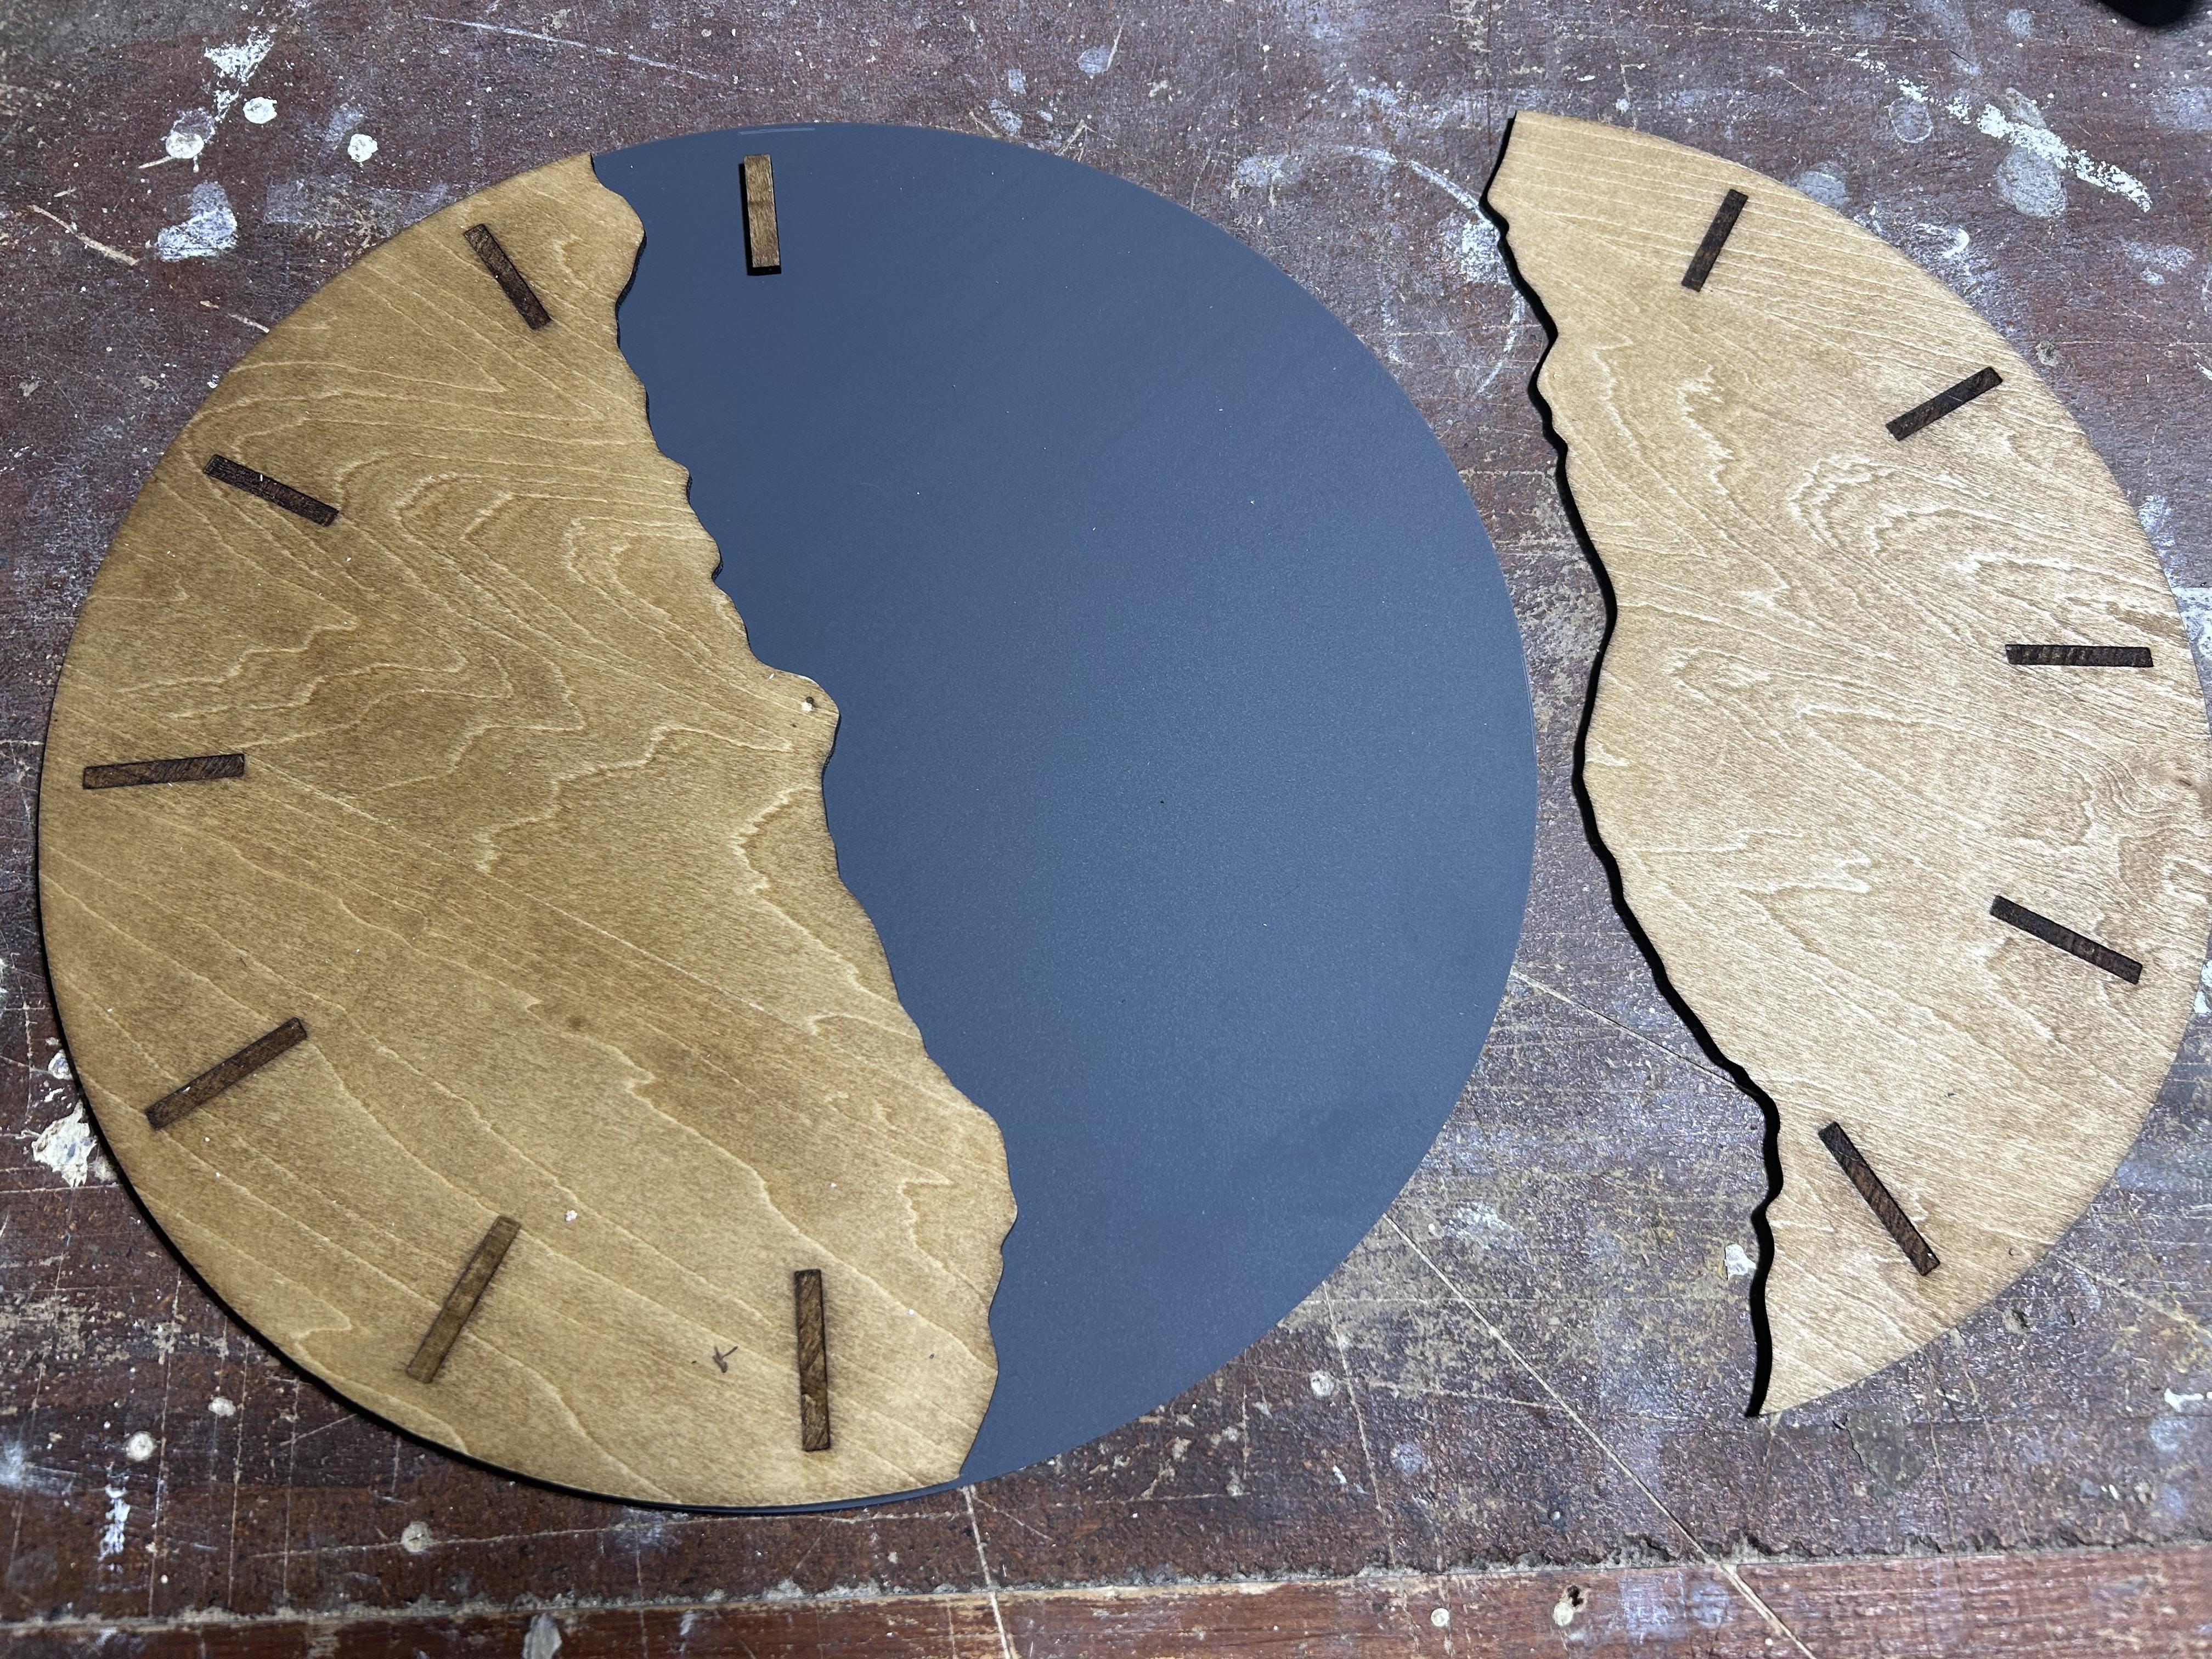

5.1) Apply small ammounts of epoxy adhesive across the back of the plywood components
5.2) Place plywood components on top of 3mm Matte Grey Acrylic
5.3) Apply even clamping pressure over Surface
5.4) Leave to cure for a minimum of 24 hours.
Drilling Centre Hole
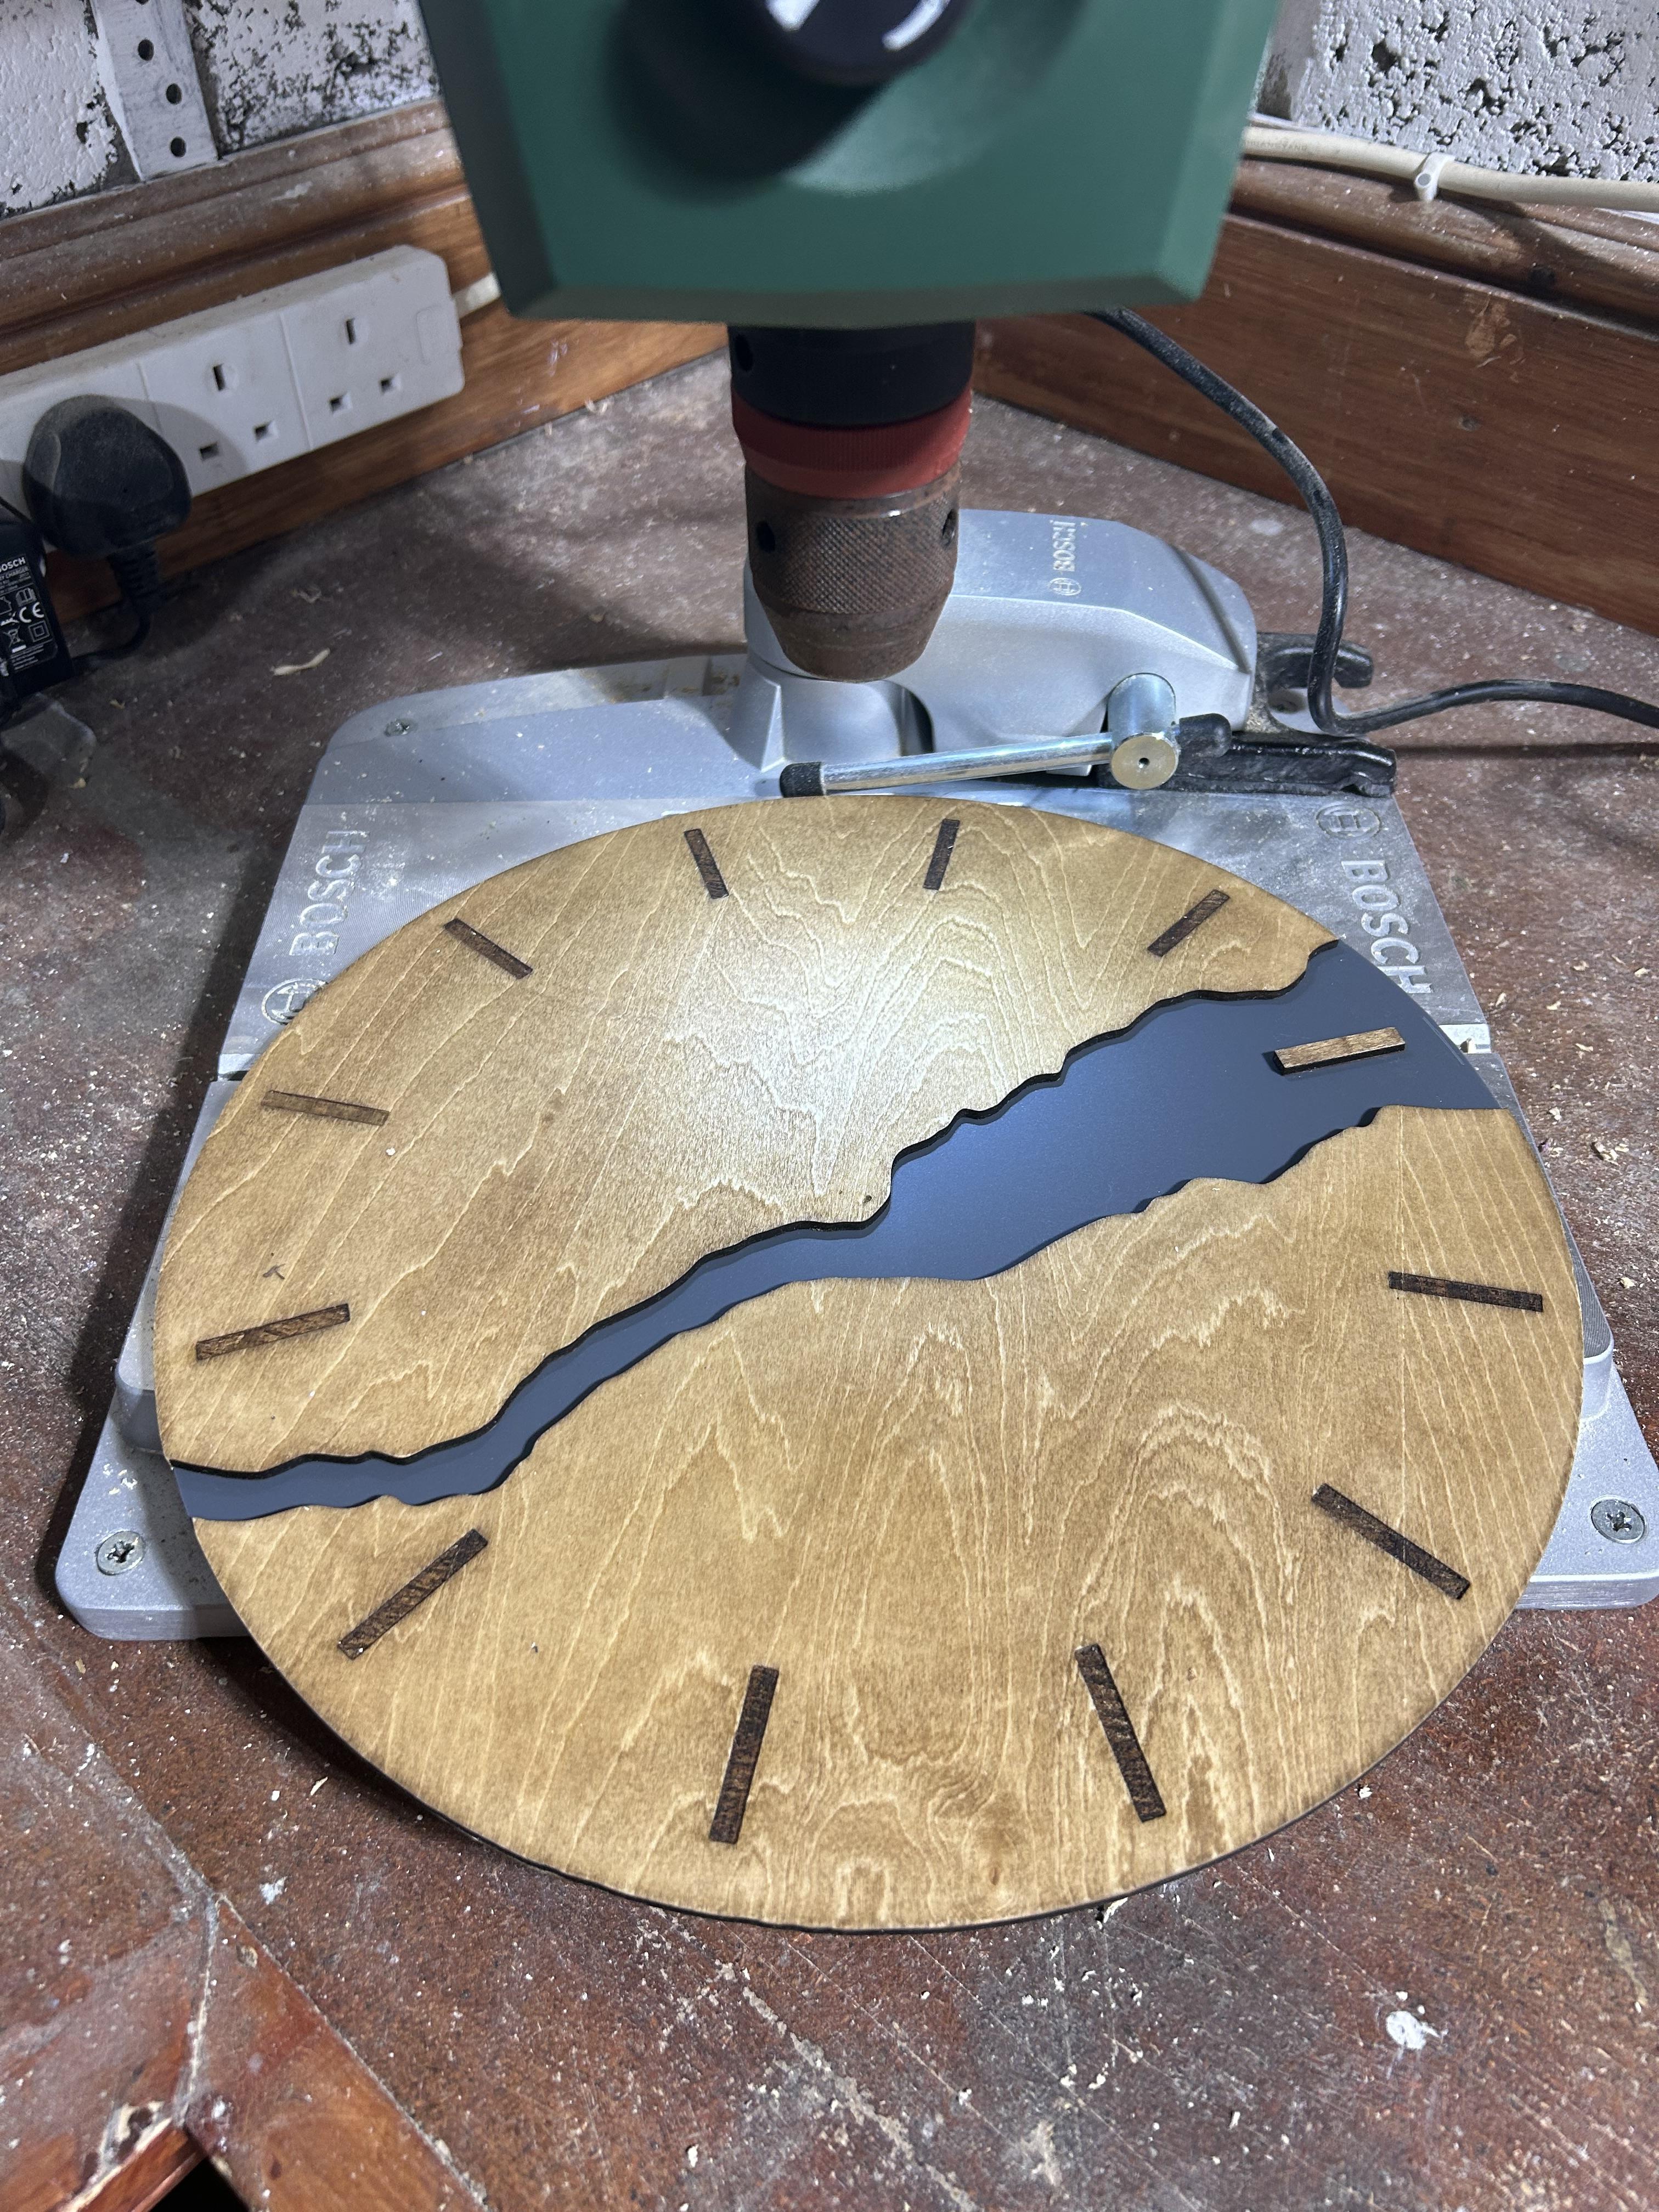
6.1) Use Laser Engraved centre point marker, to drill a 6mm whole in the centre of the clock
6.2) Gently hand sand inside of drilled centre hole.
Inserting Clock Mechanism
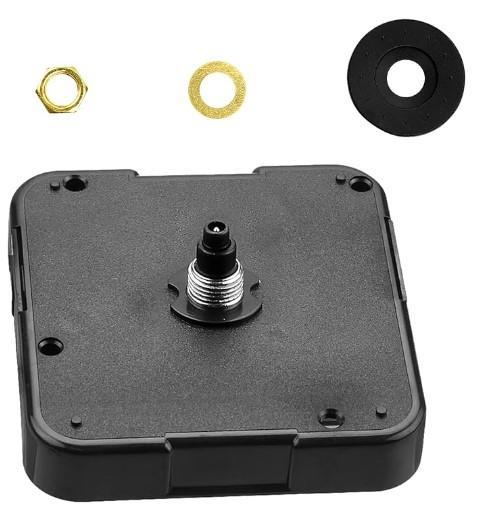
7.1) Place a washer on the back of the 3mm Matte Grey Acrylic Circle
7.2) Insert Quartz Clock Movement through centre hole and washer
7.3) Screw washer onto threaded part of Quartz Clock Movement
7.4) Place hour, minute, and second hand at twelve o'clock position