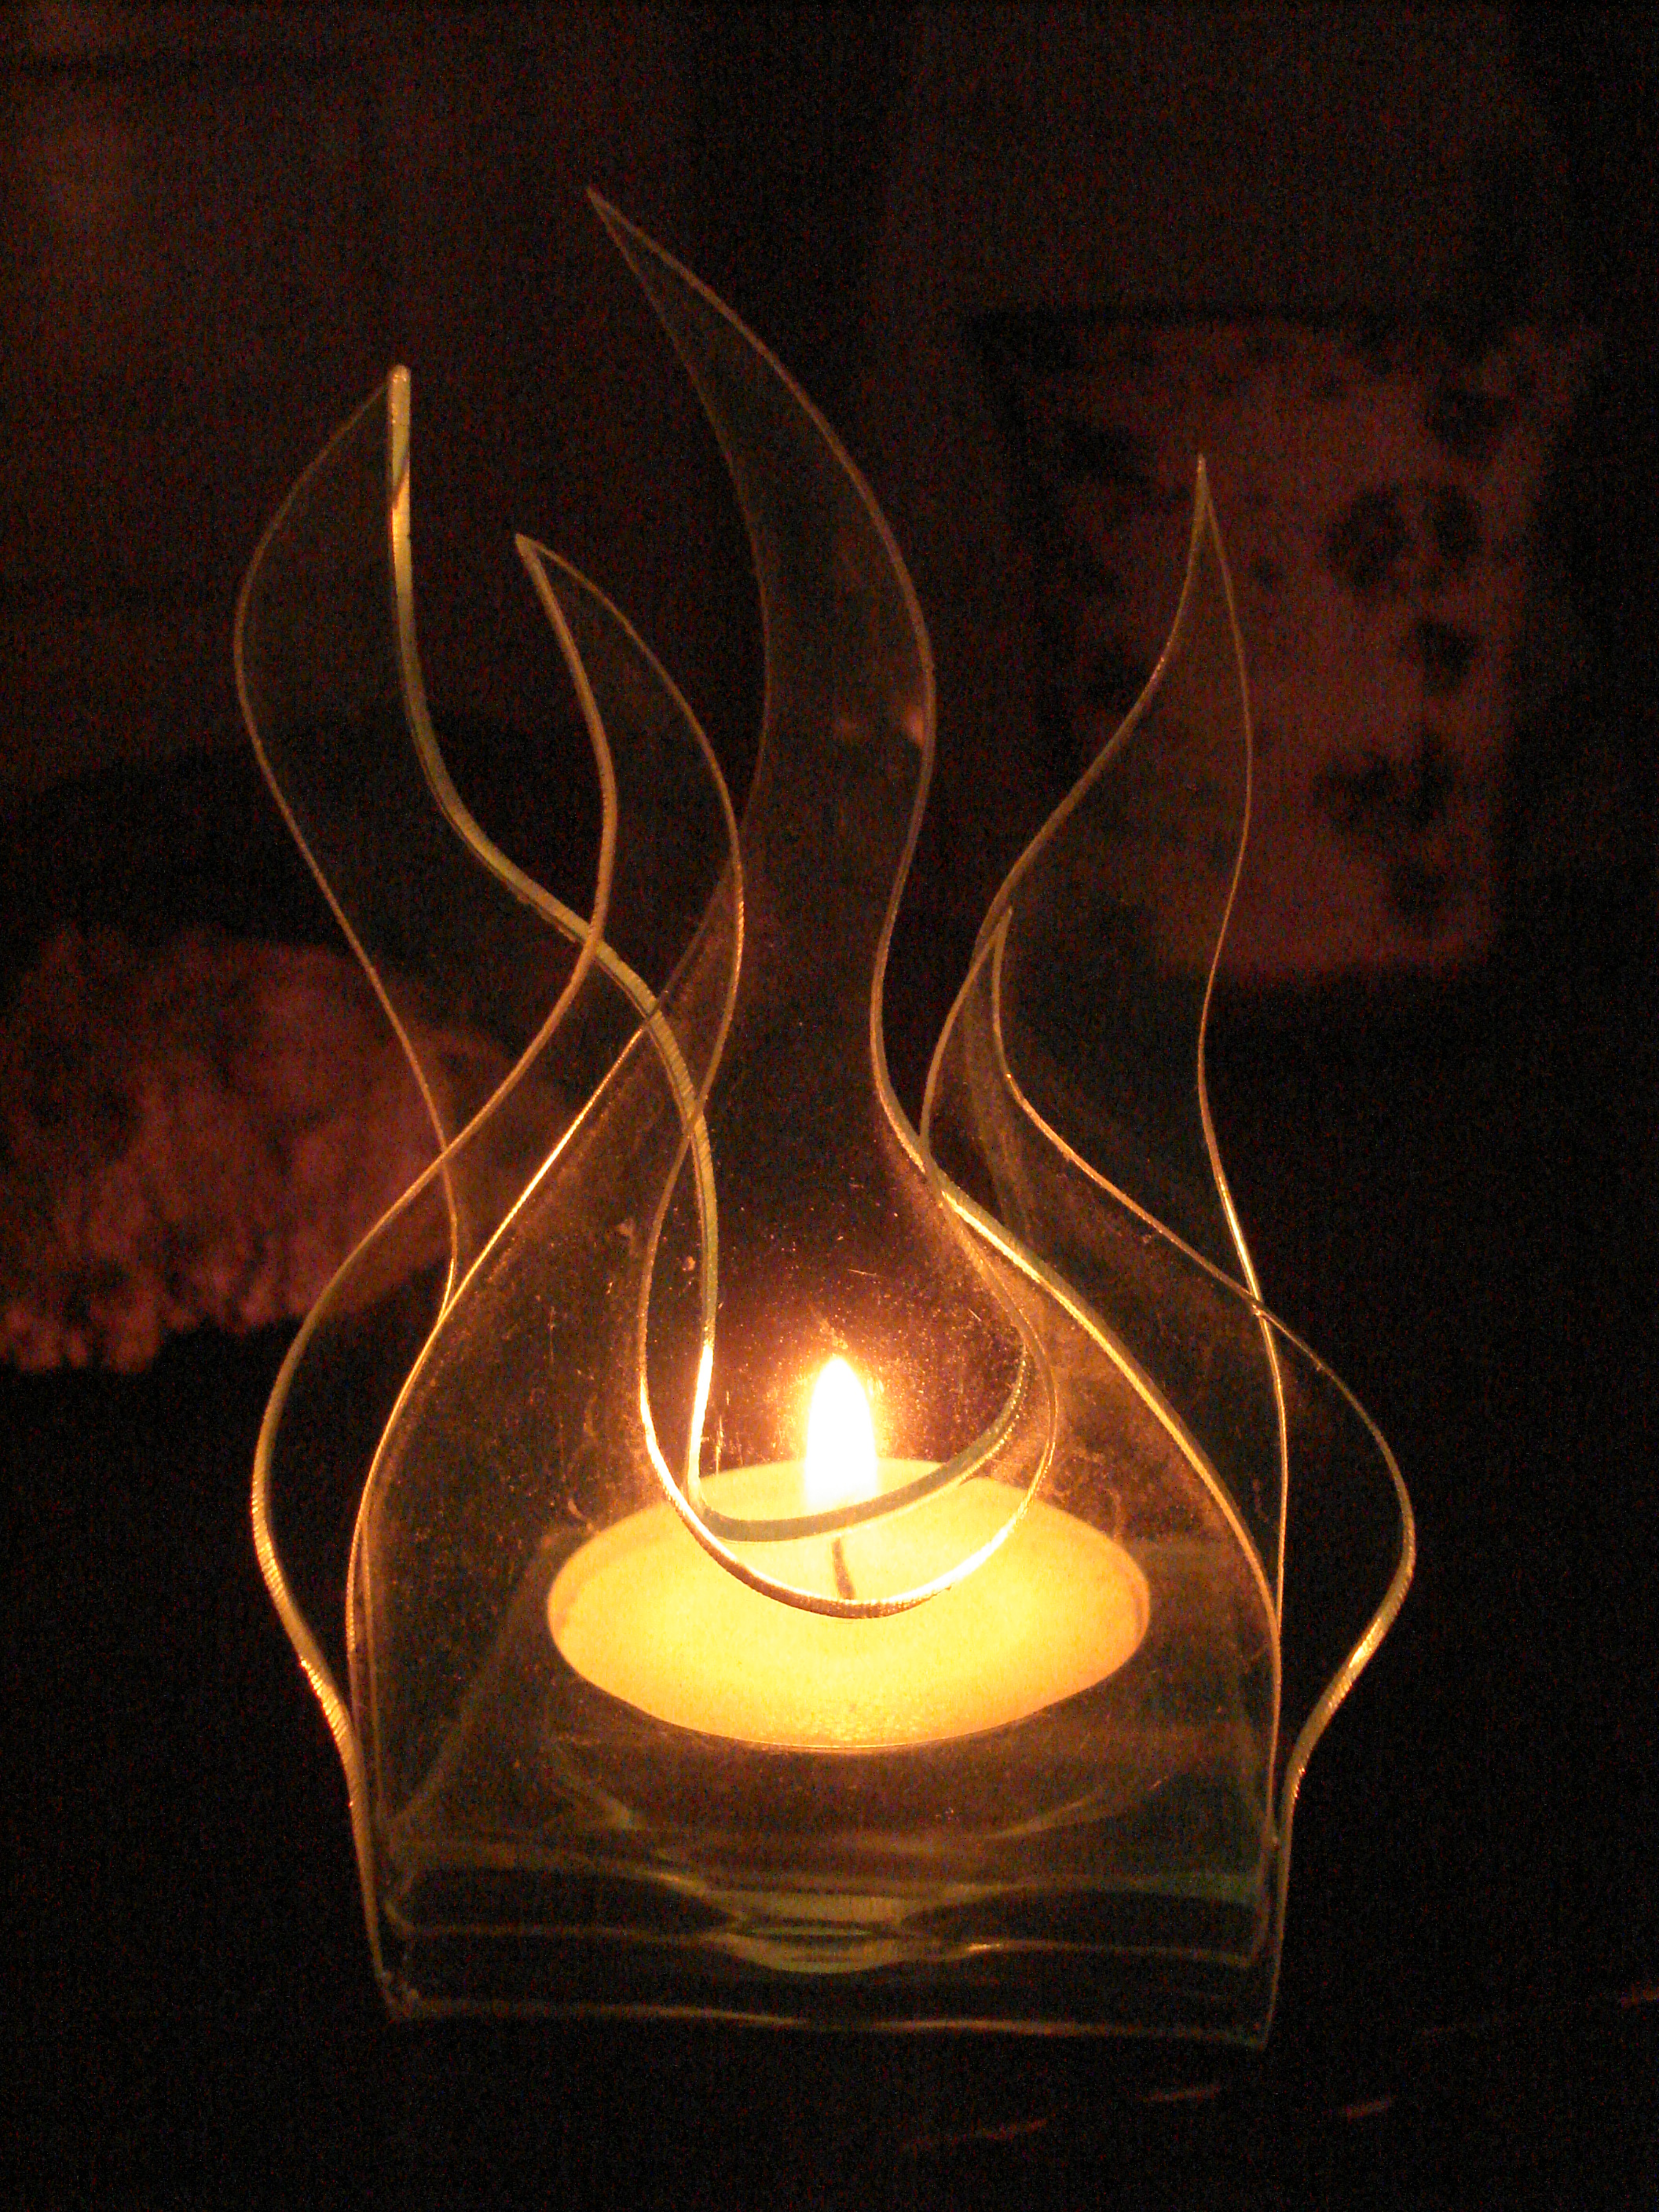
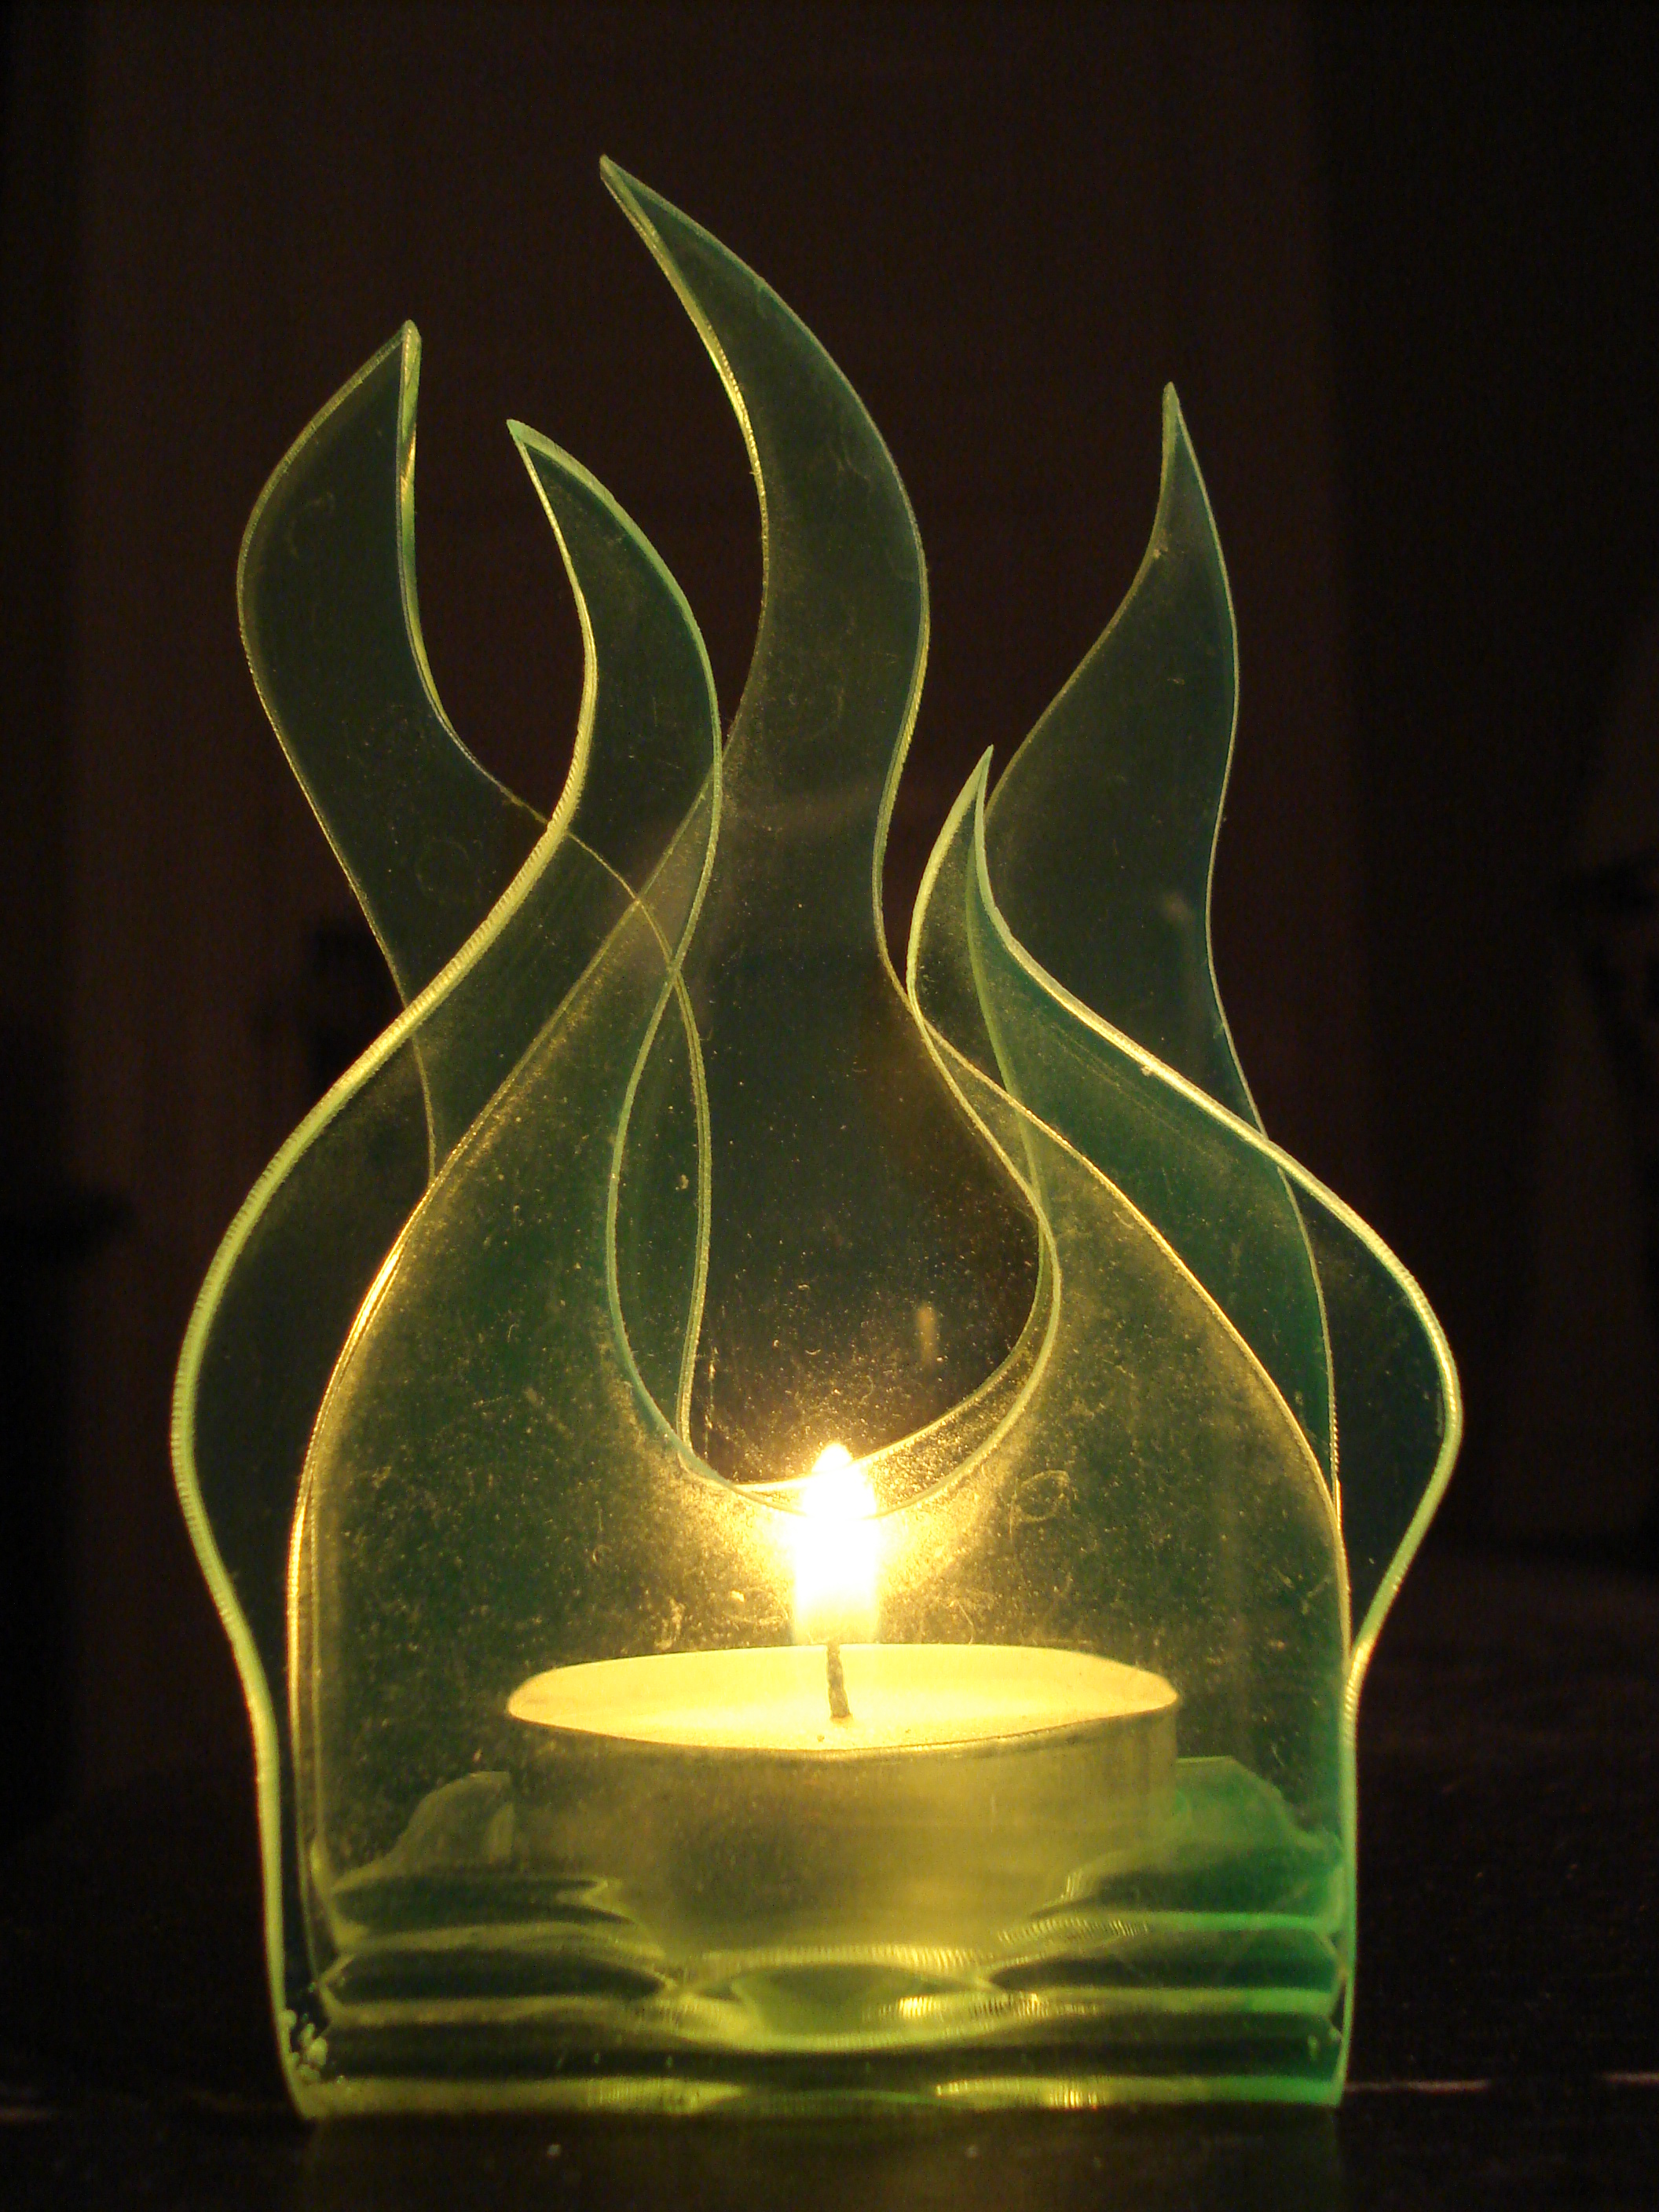
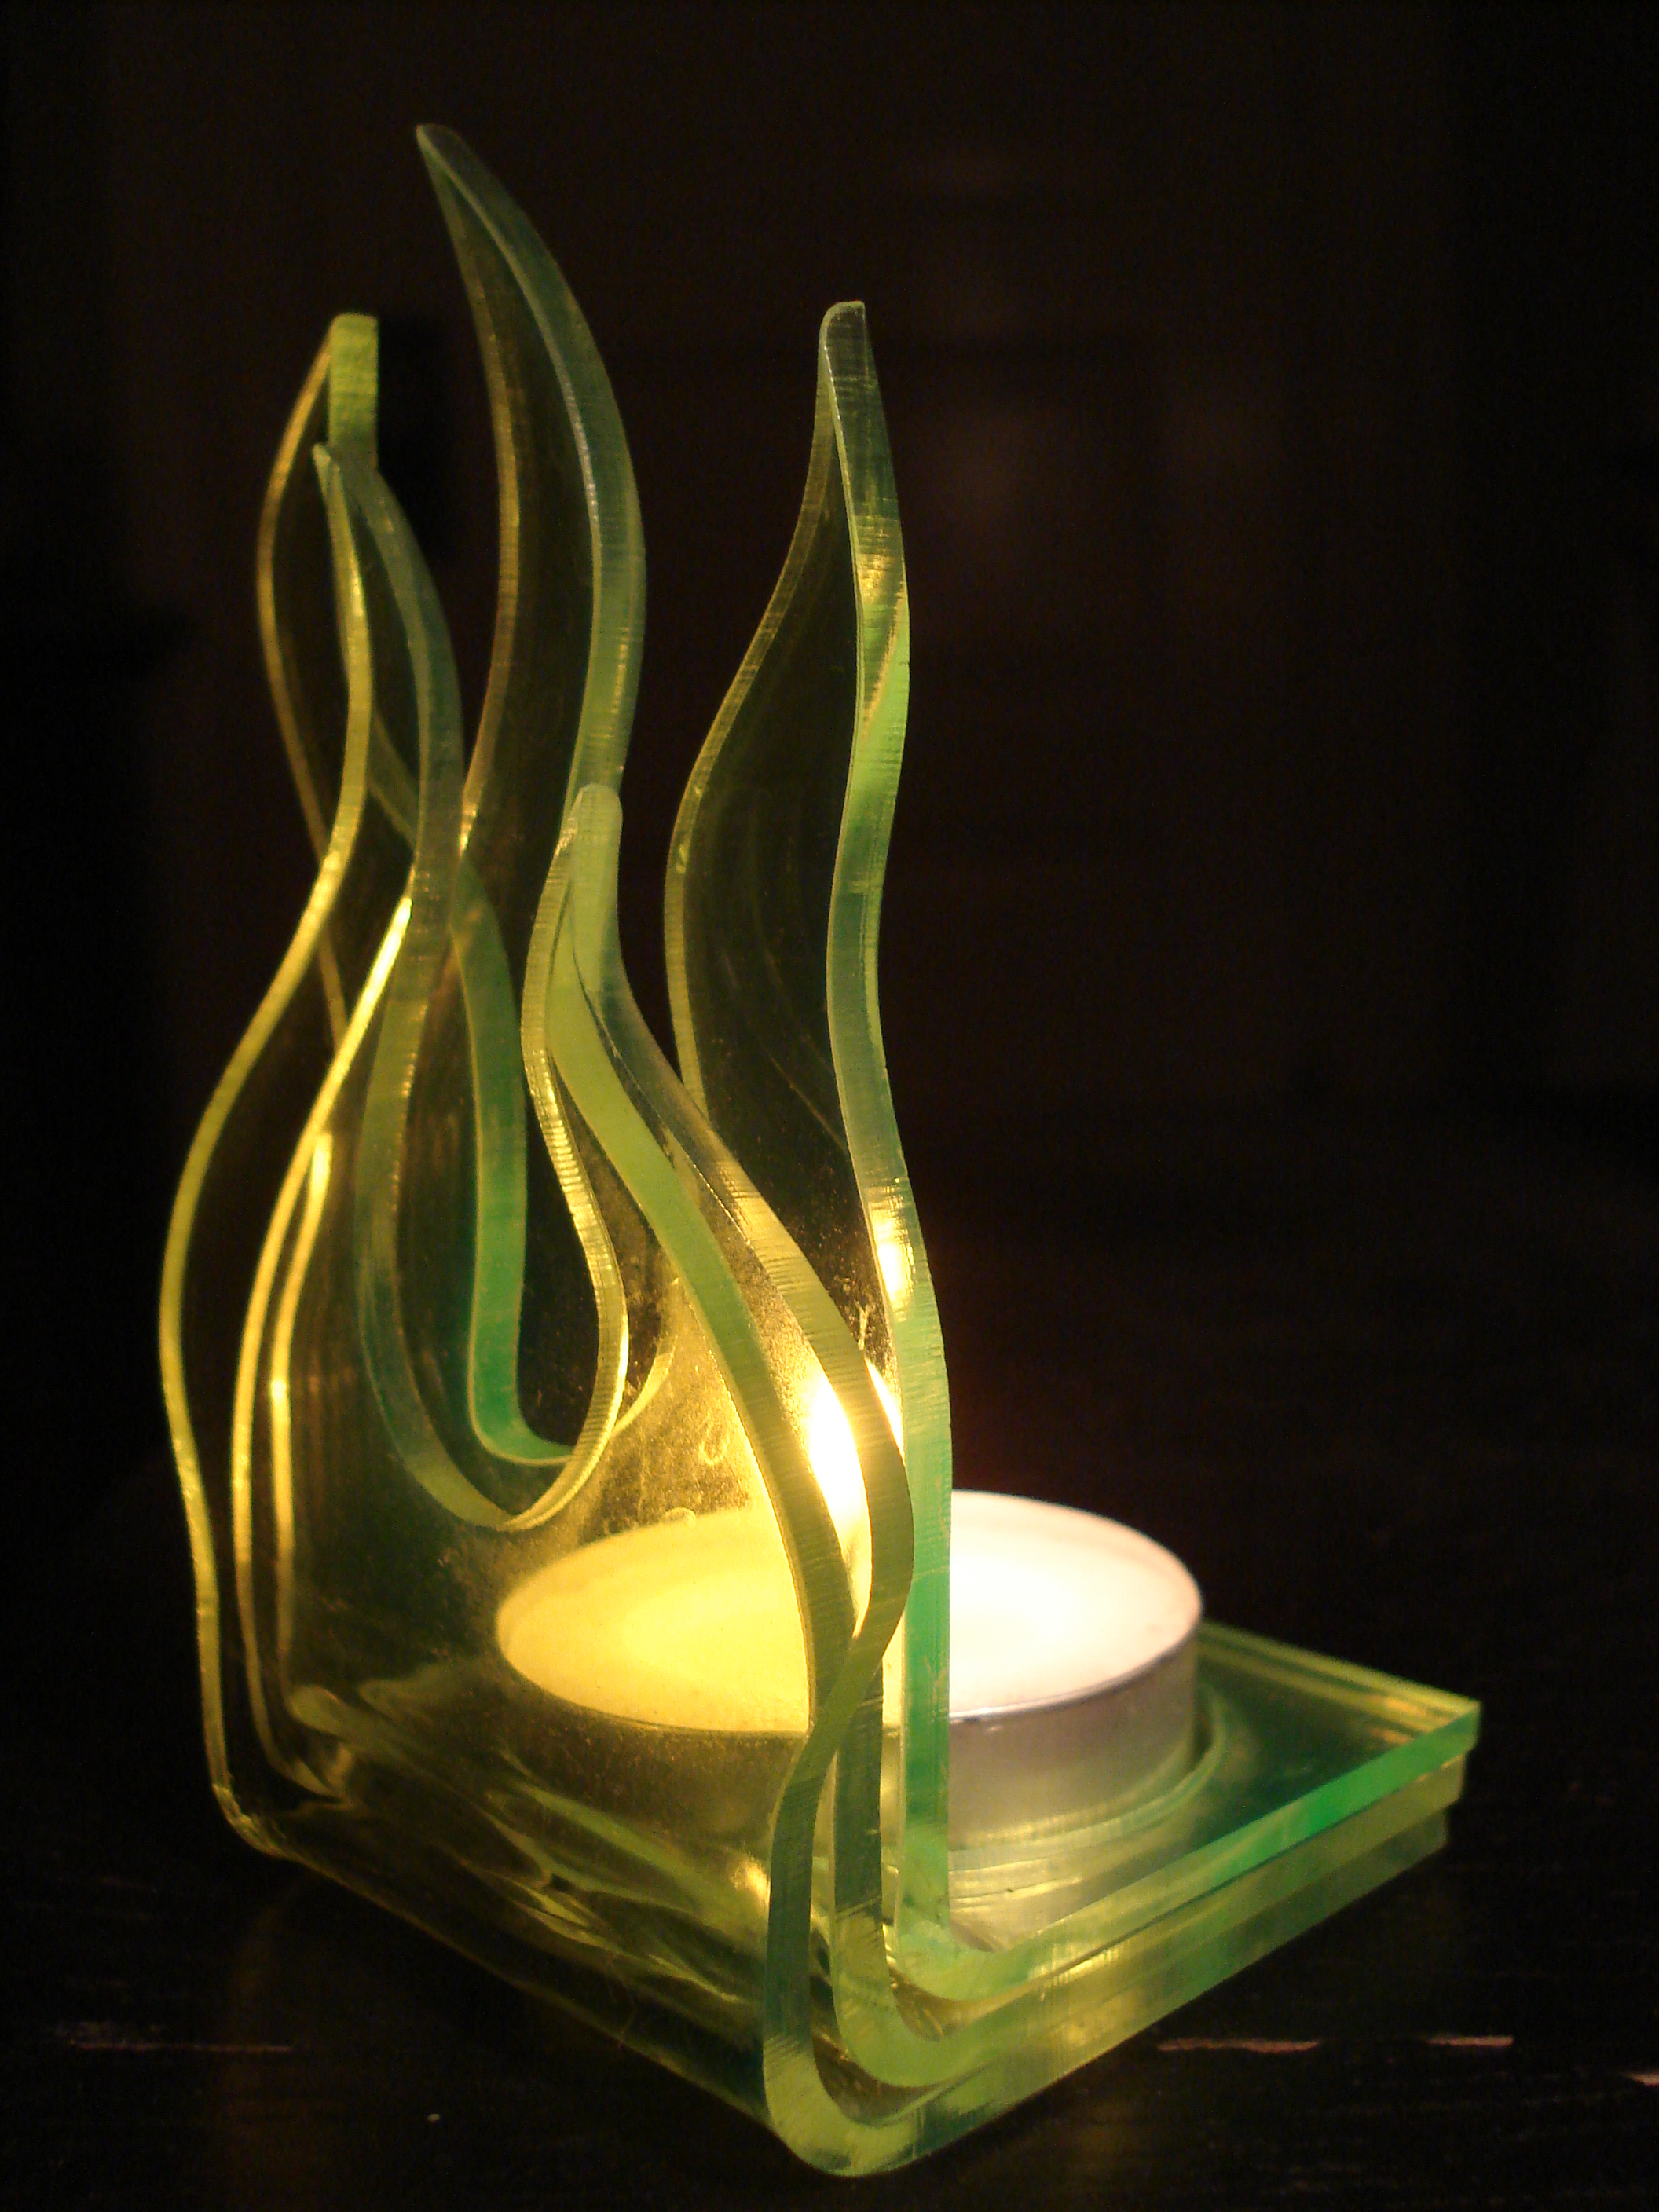
Acrylic Votive Candle Holder
by flame_mistress in Workshop > Laser Cutting
11278 Views, 63 Favorites, 0 Comments
Acrylic Votive Candle Holder


Materials and Tools:
- 1/8” acrylic: enough for your design or ~8” x 6” for mine
- Access to vector drawing software and a laser cutting machine. I made this at the TechShop (www.techshop.ws), which has both CorelDRAW and Epilog Lasers; you will also need a USB stick to transfer your files.
- Strip heater for bending acrylic
- Leather (or other heat-insulative) gloves
- Bending jig
1. Using whatever vector art software you have, create your vector art (or use the file attached). NOTE:
- The diameter for most votive candles is 1-1/2”, and the height is ~5/8” – 3/4". Be sure that your art layers have mating 1-1/2” holes to nest over the votive.
- Since you will be nesting several layers of acrylic, be sure that the outermost/bottommost layers have additional length to accommodate the stacking (if you are using 1/8” acrylic, a good rule of thumb would be to allow at least 5/32” additional length for each layer out from the original).
- Also, keep in mind the votive is relatively light; weight it down and/or keep your artwork small enough that the acrylic won’t tip over as the candle burns down (the entire stacked assembly should sit up without tipping, even without the votive in the holes); I recommend that you don’t use more than three layers. If the holders will be used outdoors, test them in the wind before leaving them in a potentially flammable position.
- I used small scrap from the recycling bin at the TechShop, so my layout is done entirely in layers. Your layout can be done all on one layer if you are using a solid sheet.
2. Setting up on the laser, position your material, focus the laser, and cut using the 1/8” acrylic settings:
- Speed: 20
- Power: 90
- Frequency: 5000
3. Preheat the strip heater to full temperature (I am not sure what the *actual* temperature is, as the heater at the TechShop is just labeled from 1 to 6 – helpful, no?). From here on out, whenever you go to lift the protective handle on the strip heater, be sure that you are wearing your heat-resistant gloves.
4. With a piece of scrap material from your earlier cutting, practice heating the material to the softening point. For some people, this will mean timing it to get a precise number (for little pieces like my design, ~60-80 seconds seems to work well). Others may feel comfortable watching for the slight sag that occurs, or the slight change in reflectivity (shiny vs. matte) that occurs. If you overheat the material you will get blistering, so it is good to know how much is too much before you start. This is also a good time to get the bending jig set up to the angle that you want, and you can test for the right result here too.
5. Now, for the piece that will be the topmost/innermost piece, measure the distance to the first bend using a ruler and mark it with a pencil. Center this line directly over the midpoint of the strip heater and lay it down with the eventual “outside” facing down (this only matters if your design is asymmetric, like mine). There are metric markings on the strip heater at the TechShop, and if you are handy with converting, it can be helpful to make a mental note of where you are placing the first bend. My design has a 2” square around the votive hole, so I made my first bend at 2” from the far edge. Keep in mind that the material near the hole is not bounded in all directions, so the circular edge may deform if it is really close to the bend. My 1/4" border was tight, but the deformation I got didn’t interfere with the profile of the votive. If you are doing your own artwork, I would suggest a little more material between your first bend and the hole.
6. Heat the acrylic to the softening point, remove it from the strip heater, and bend it against the bending jig, making sure that the “hotter” side is used for the outside of the bend.
7. Repeat steps 5 and 6, extending the bend line an additional 5/32” (4mm) for each new layer. This allows the design to nest, accommodating the thickness of the previous layer of acrylic.
8. Stack your design, and slip it over your votive.
9. Strike a match, and light your candle!