Acrylic Incense Holder
Materials and Tools:
- 1/8” acrylic: one piece 7” x 2.5” minimum and one piece 6.5” x 2” minimum, if you decide to use my art; same or different colors – you choose (if you pattern or detail your acrylic, add an additional 1” to all dimensions to solidly hold your piece in place – see Step 3)
- calipers
- vector art software
- USB stick
- laser cutting machine (I made this at the TechShop: www.techshop.ws, using their laser cutter)
- heat gun and a flat, heat-stable surface (only if you pattern or detail your acrylic – see Step 4)
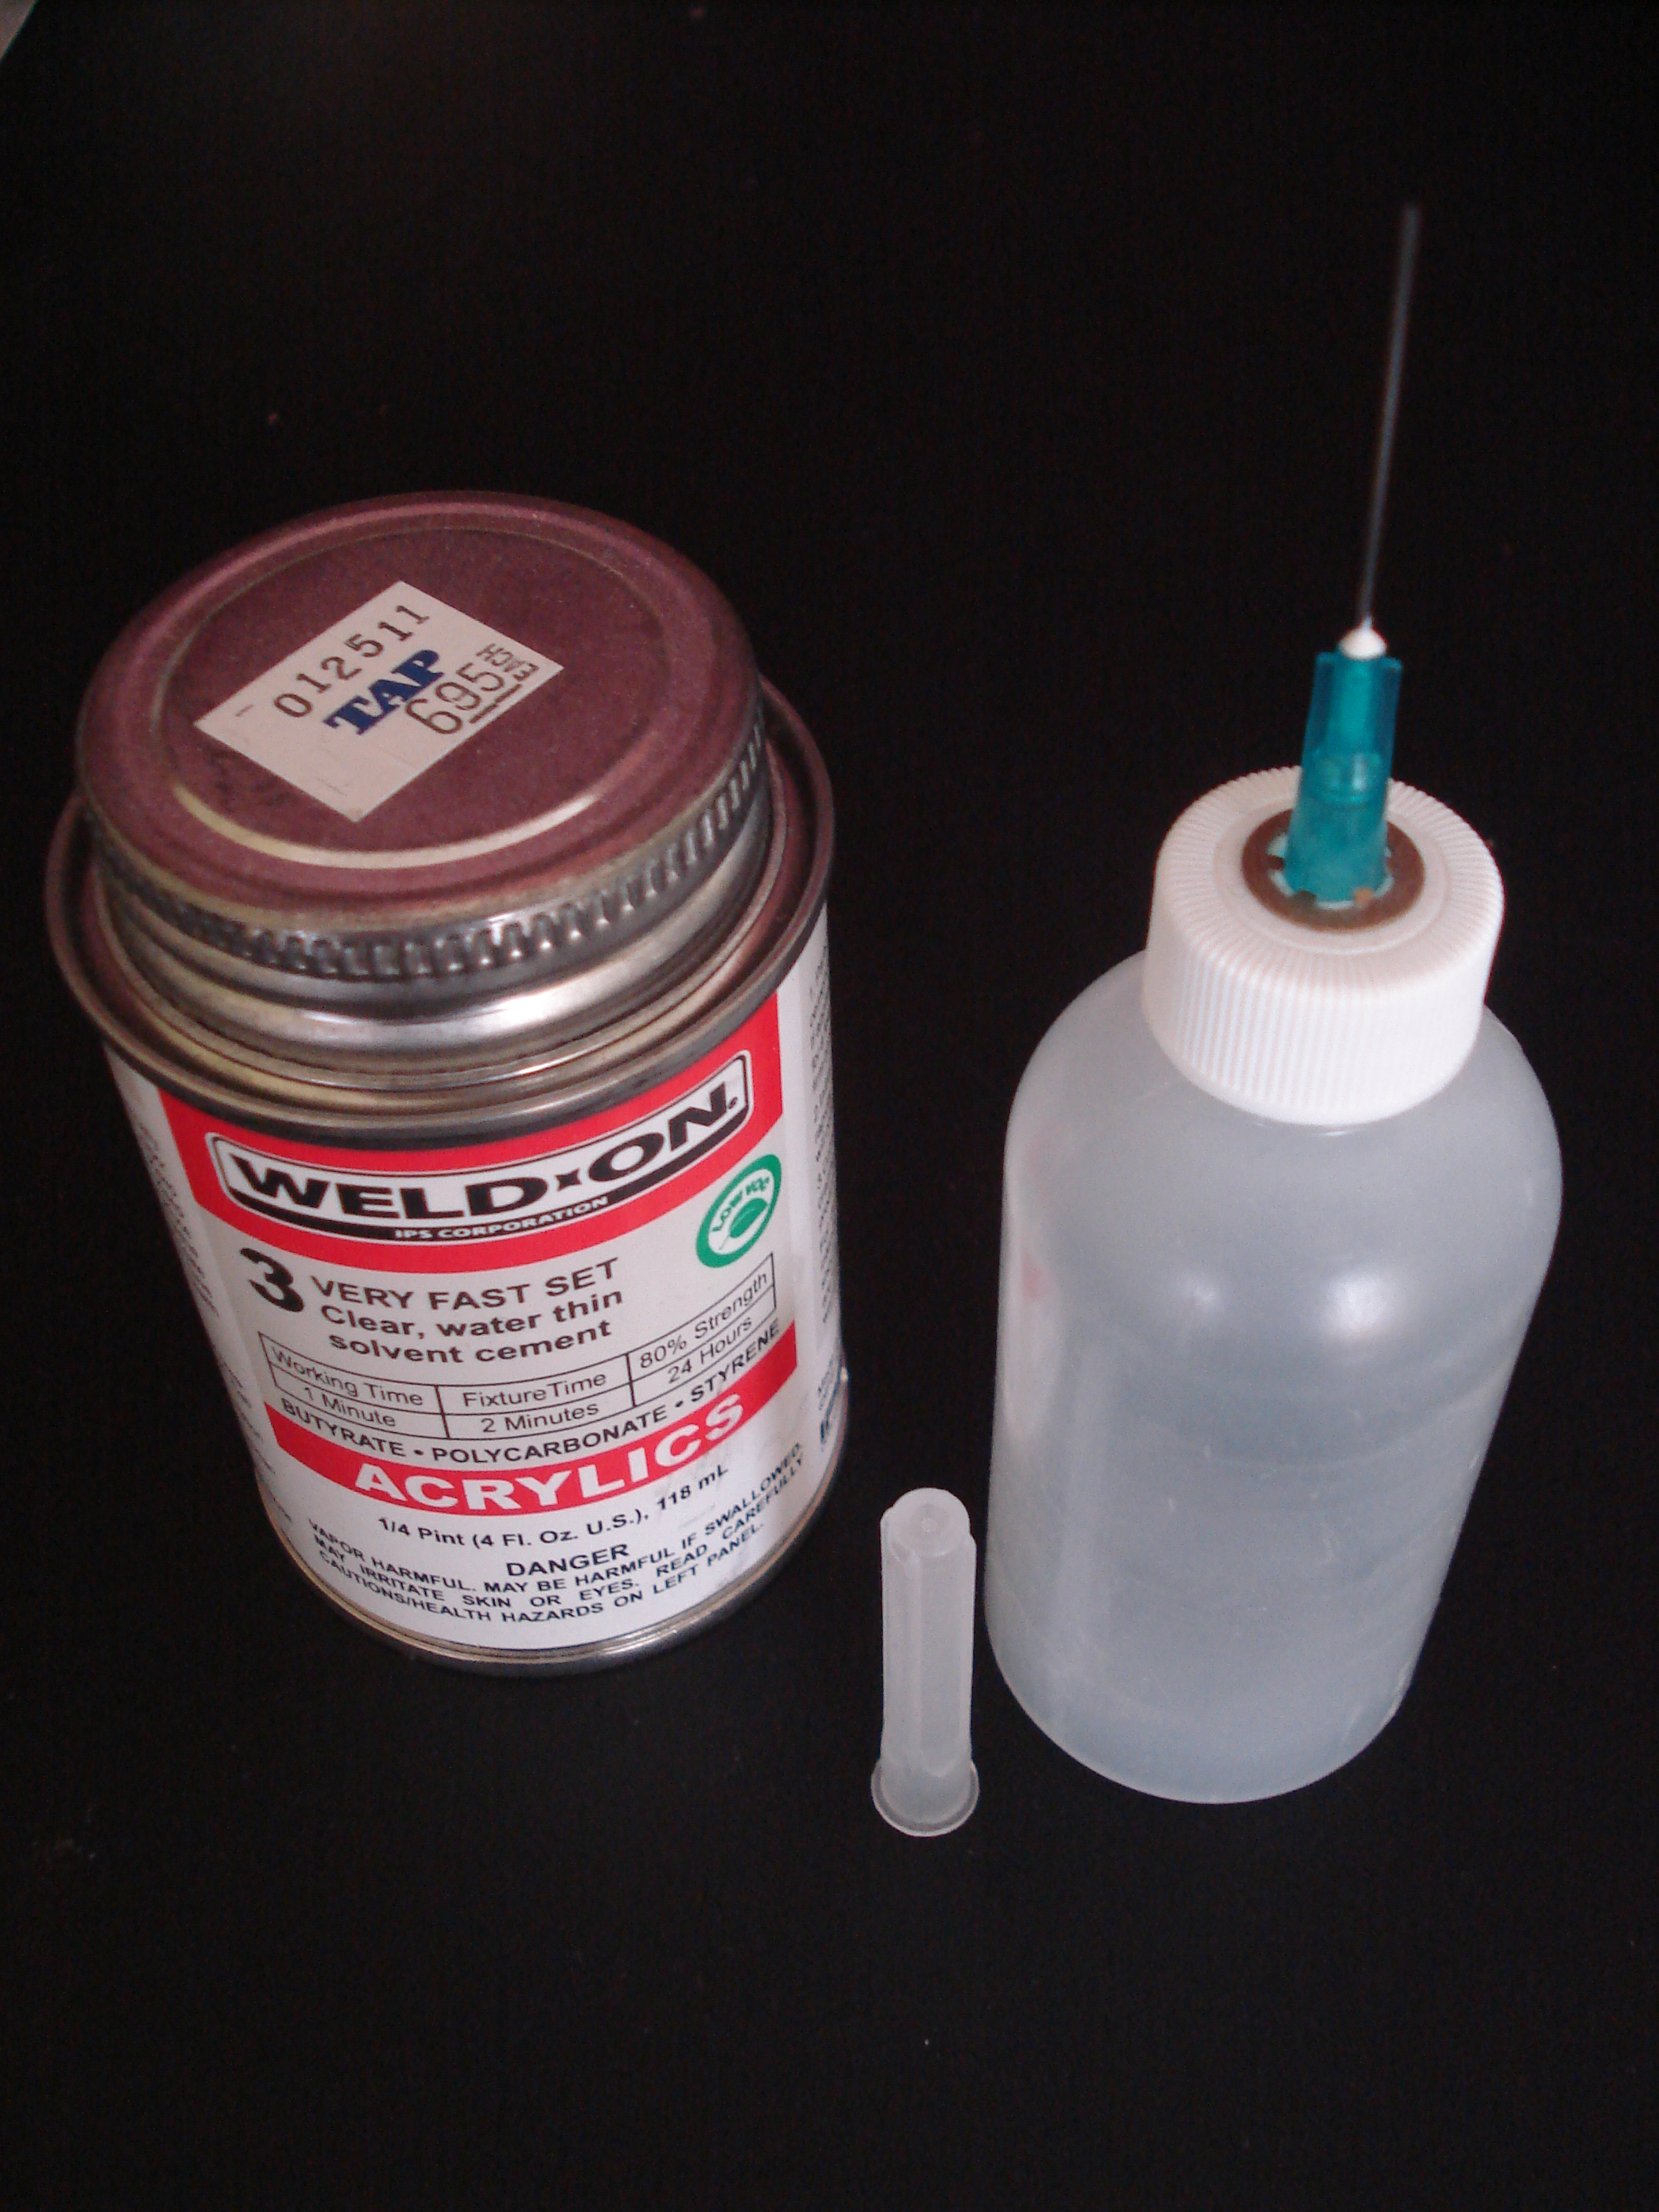
- acrylic glue (I used Weld-On 3 Cement, very fast set, with a blunt hypodermic applicator bottle – all available from TAP Plastics)
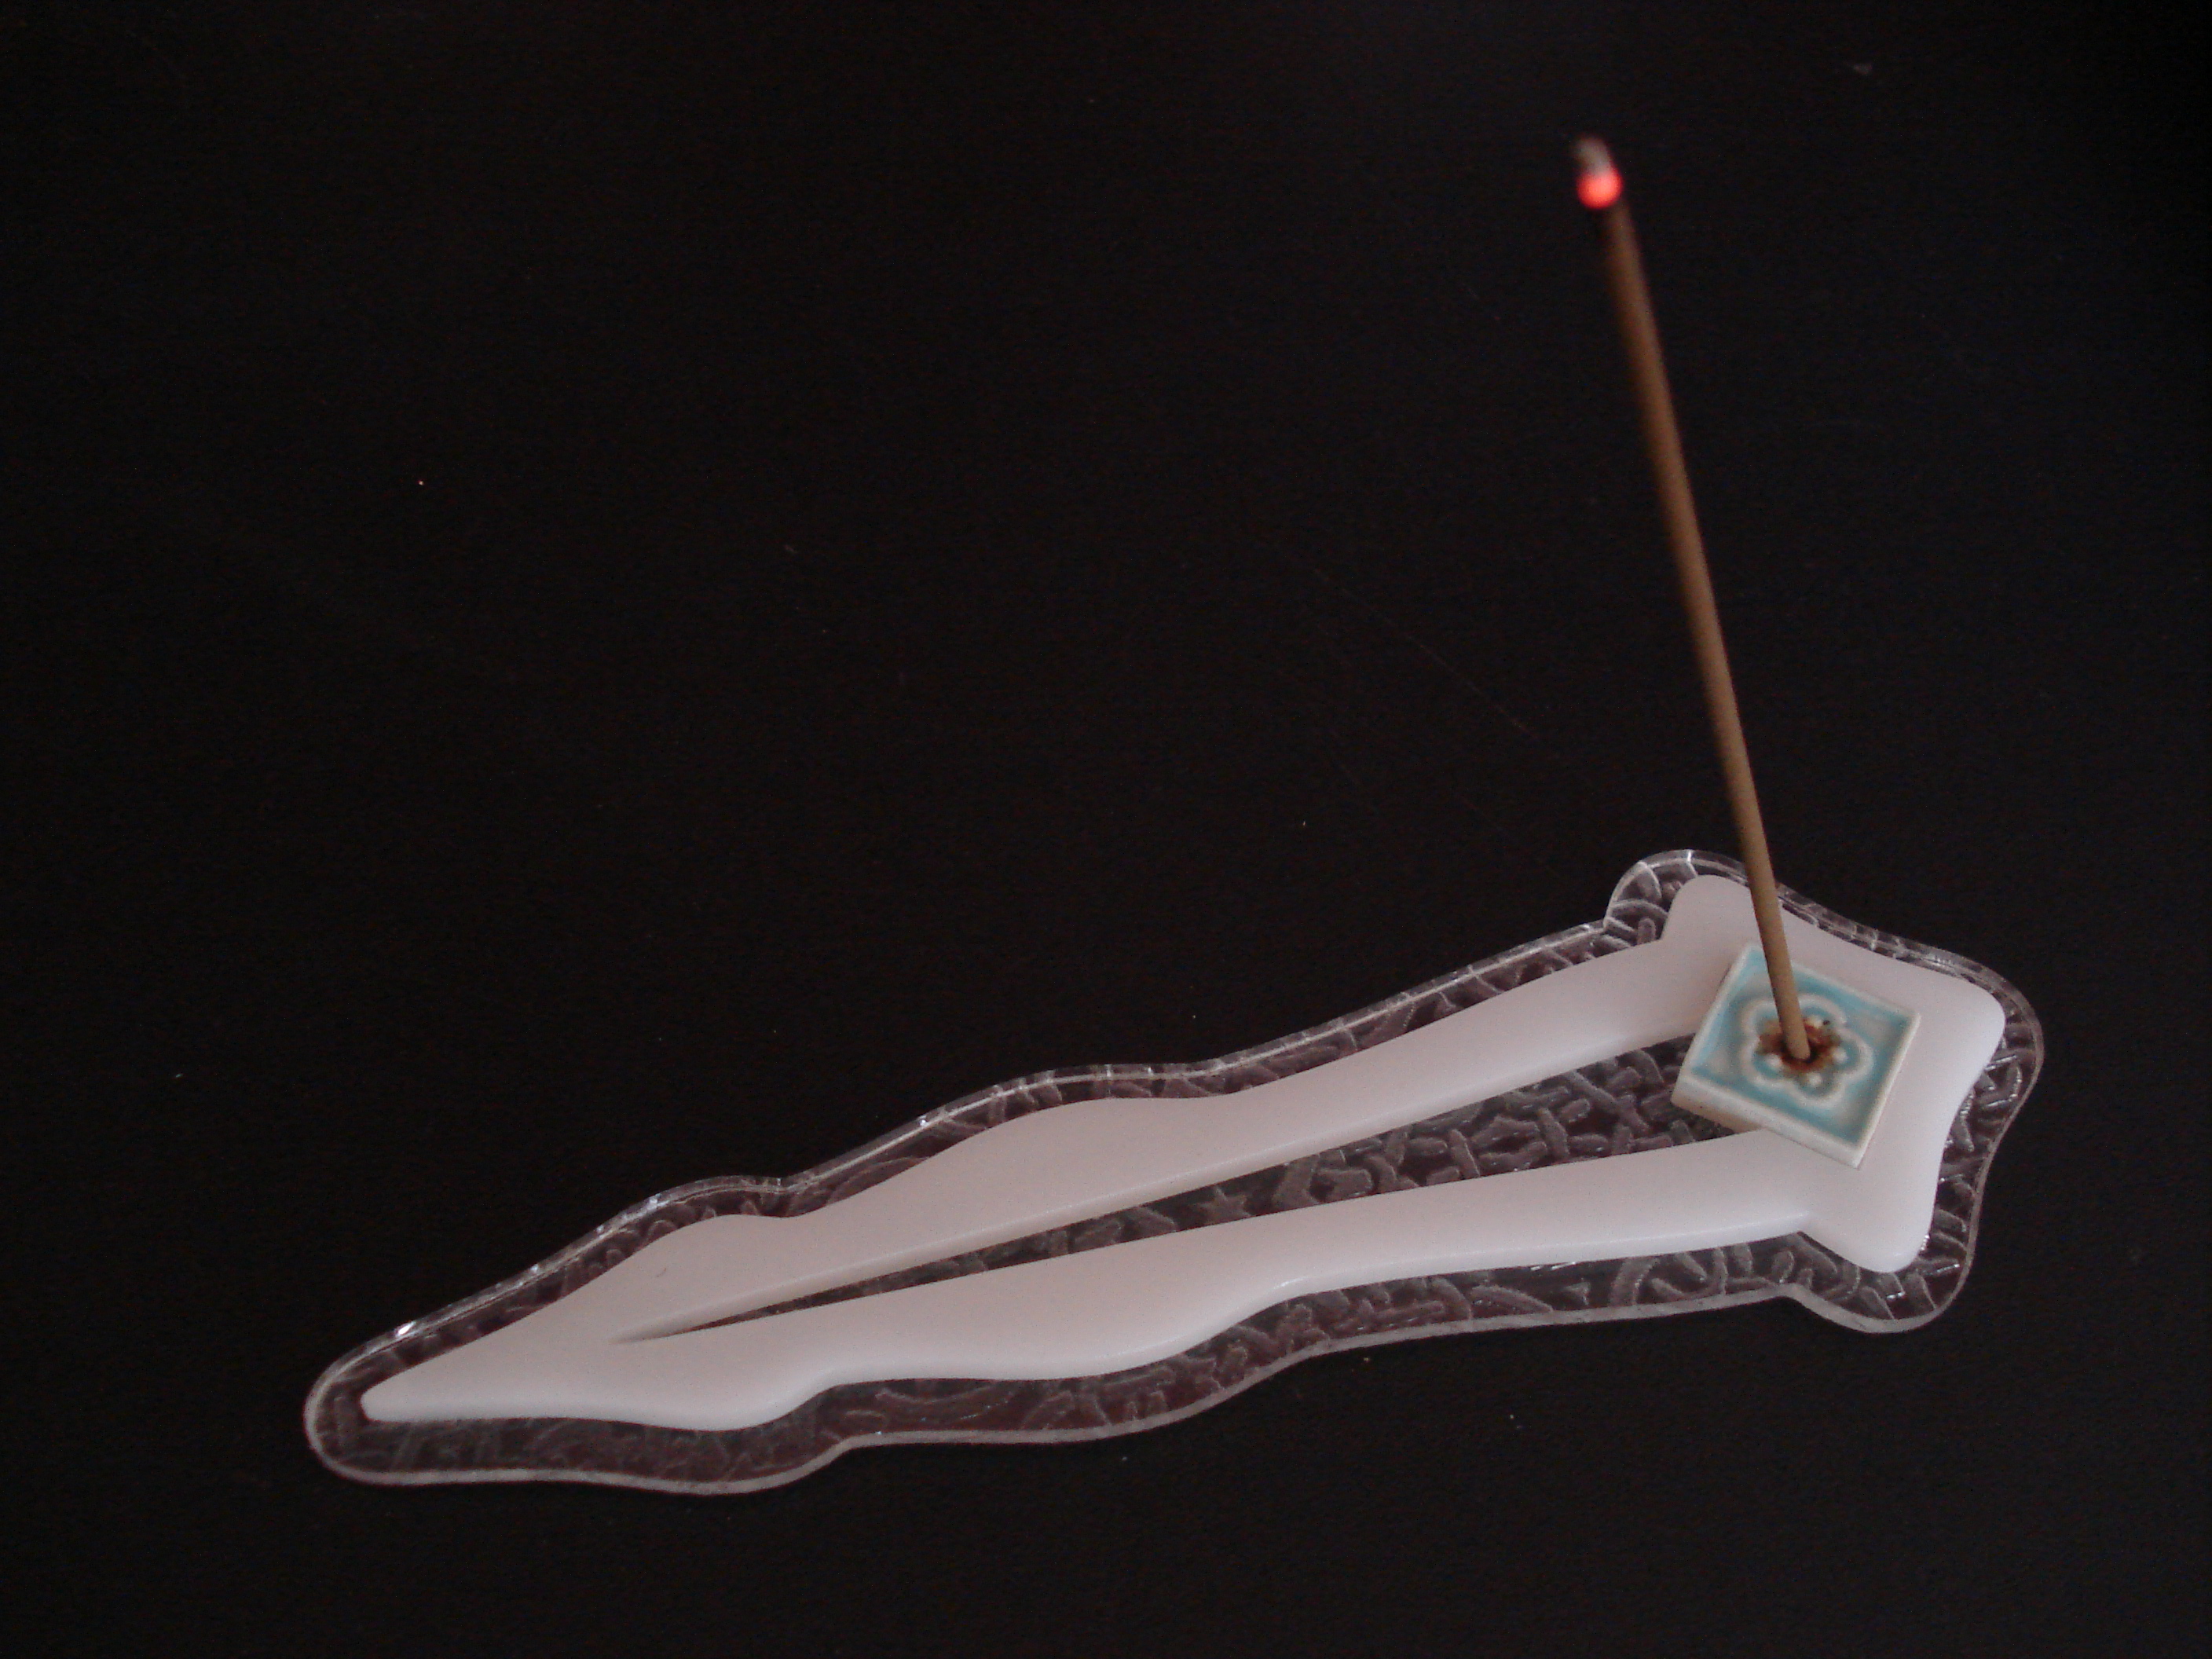
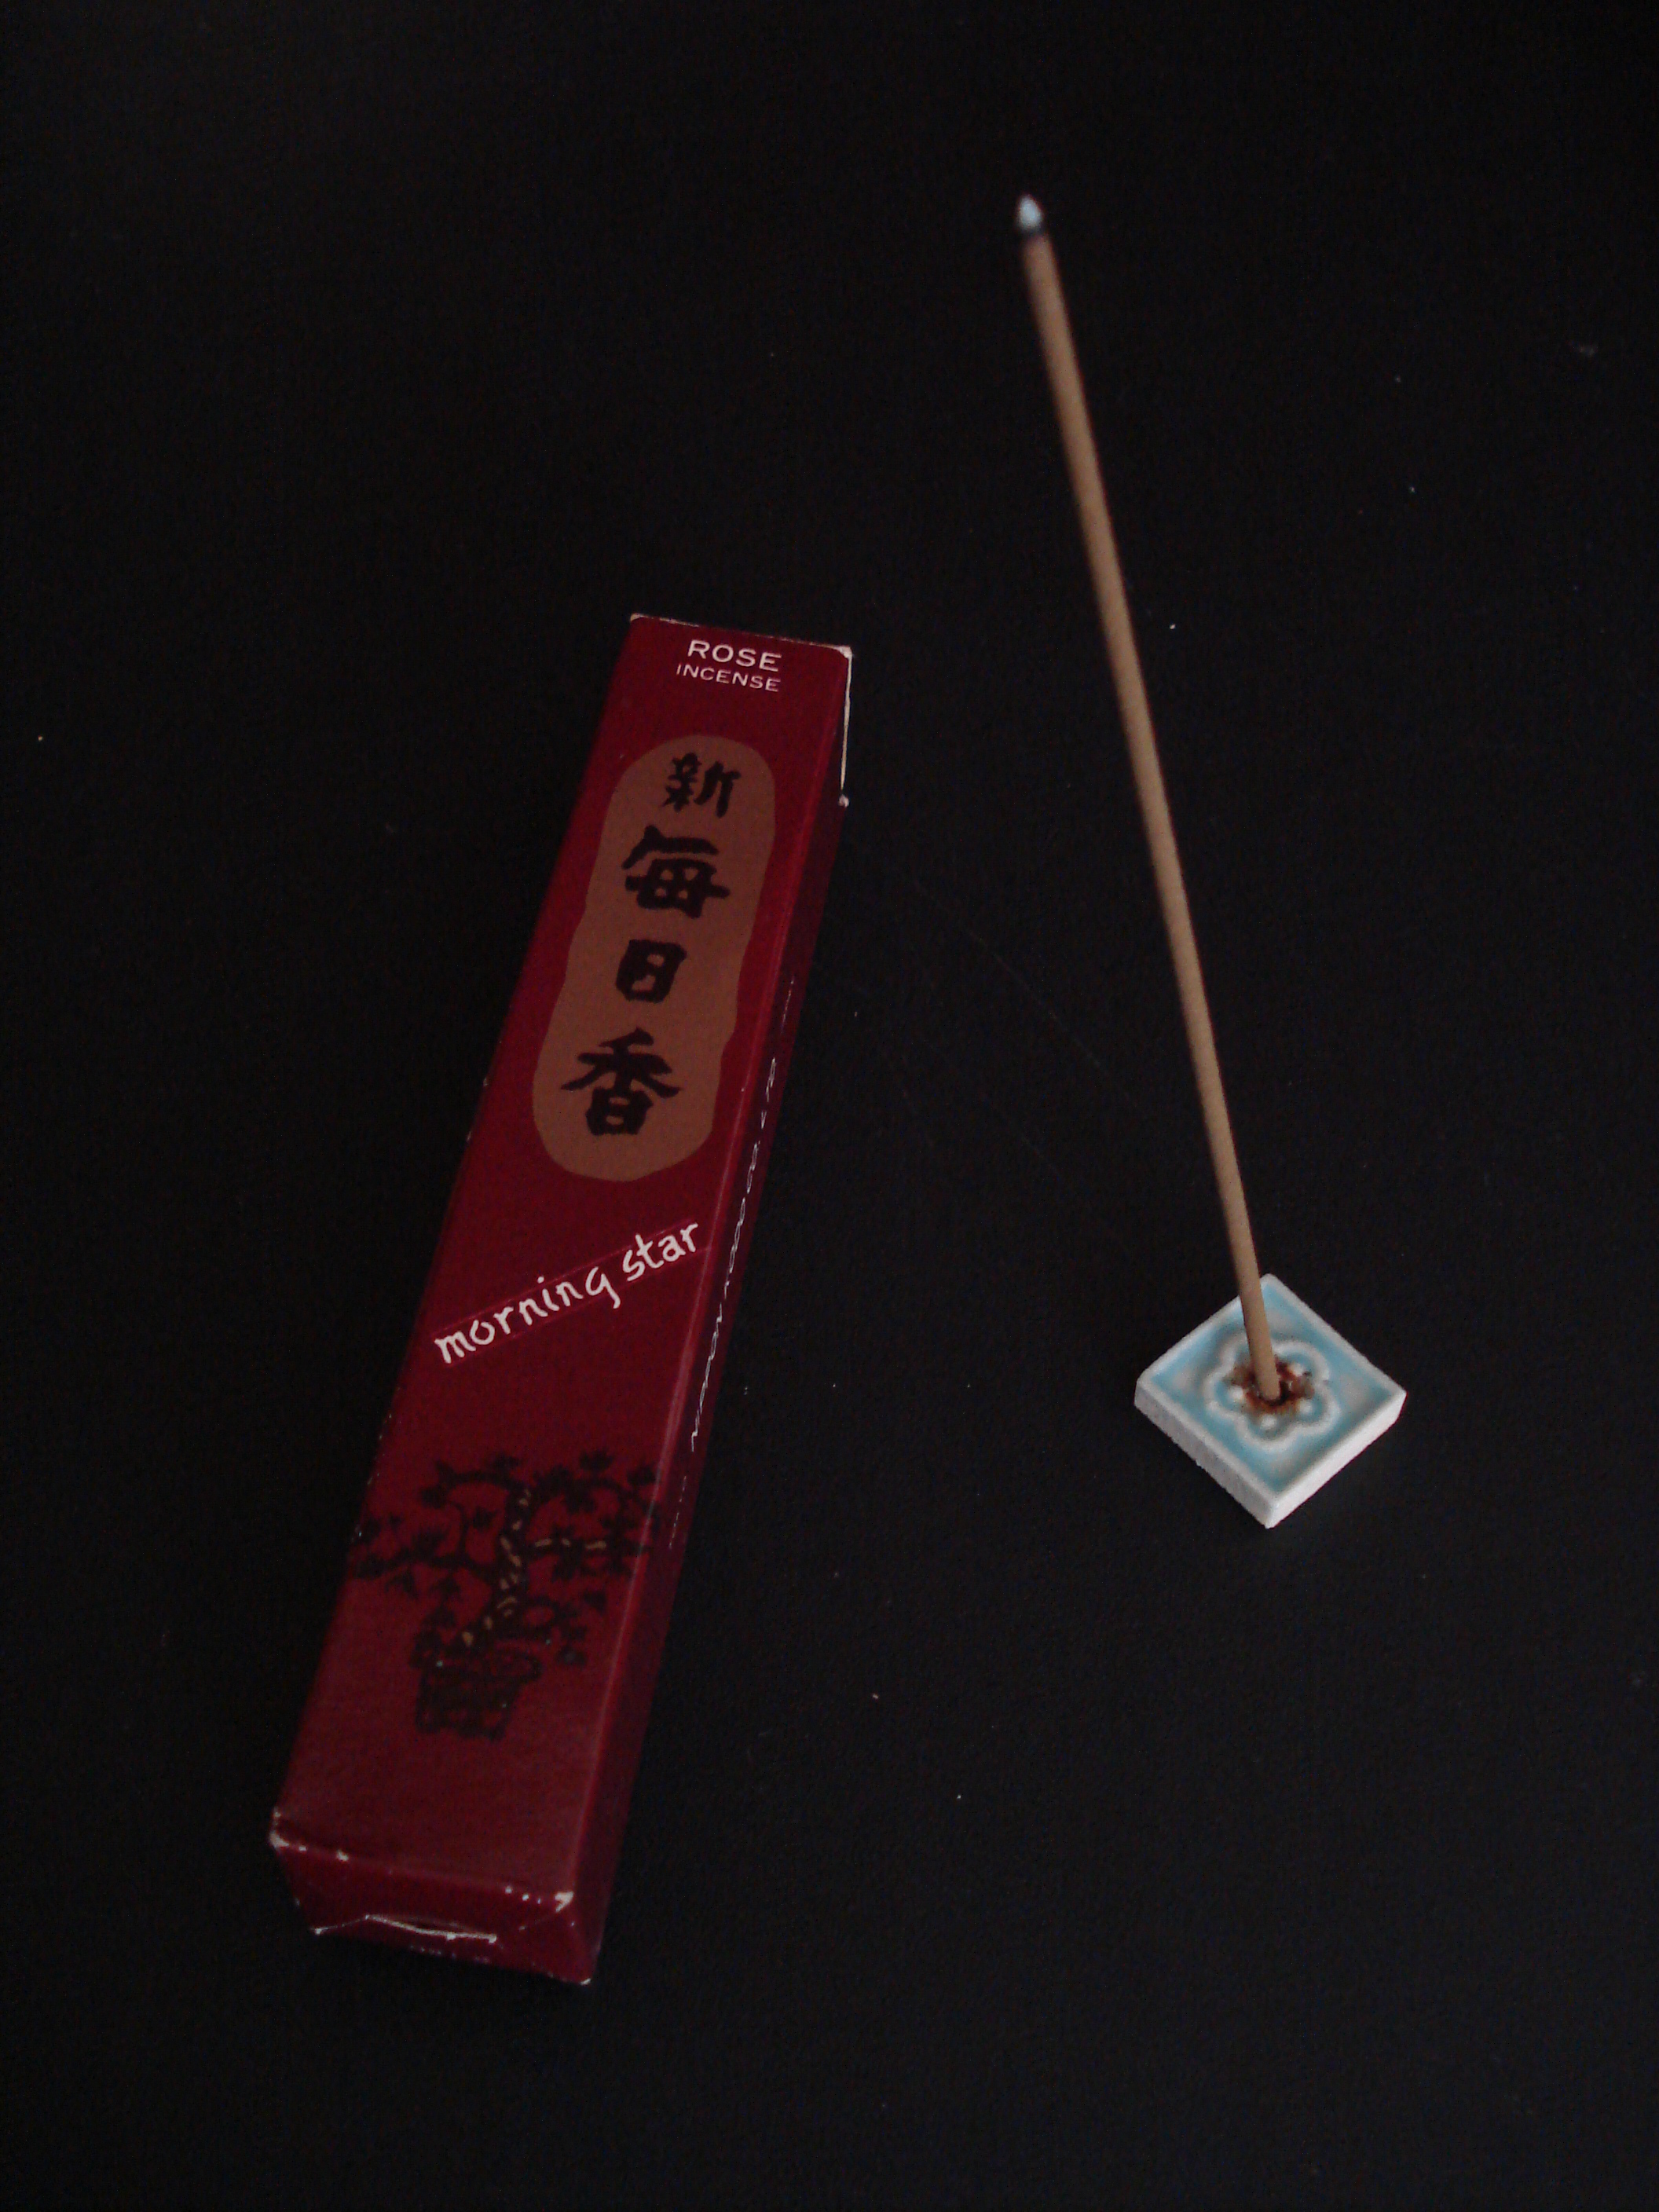
So, I have this incense that I rarely (but recently decided to) use that comes with a little ceramic “tile” holder with a hole in the middle for the stick. But the tile is tiny (~0.7”), and there is no way that it can catch the ash that the stick produces. I couldn’t find my old, generic, cedar “boat” incense holder, and a plate was just too aesthetically “icky” (for lack of a better word), so I decided to make my own boat-style holder using scrap material out of the recycling bin at the TechShop.
1. Using whatever vector art software you have, create your vector art (or use the file attached). NOTE:
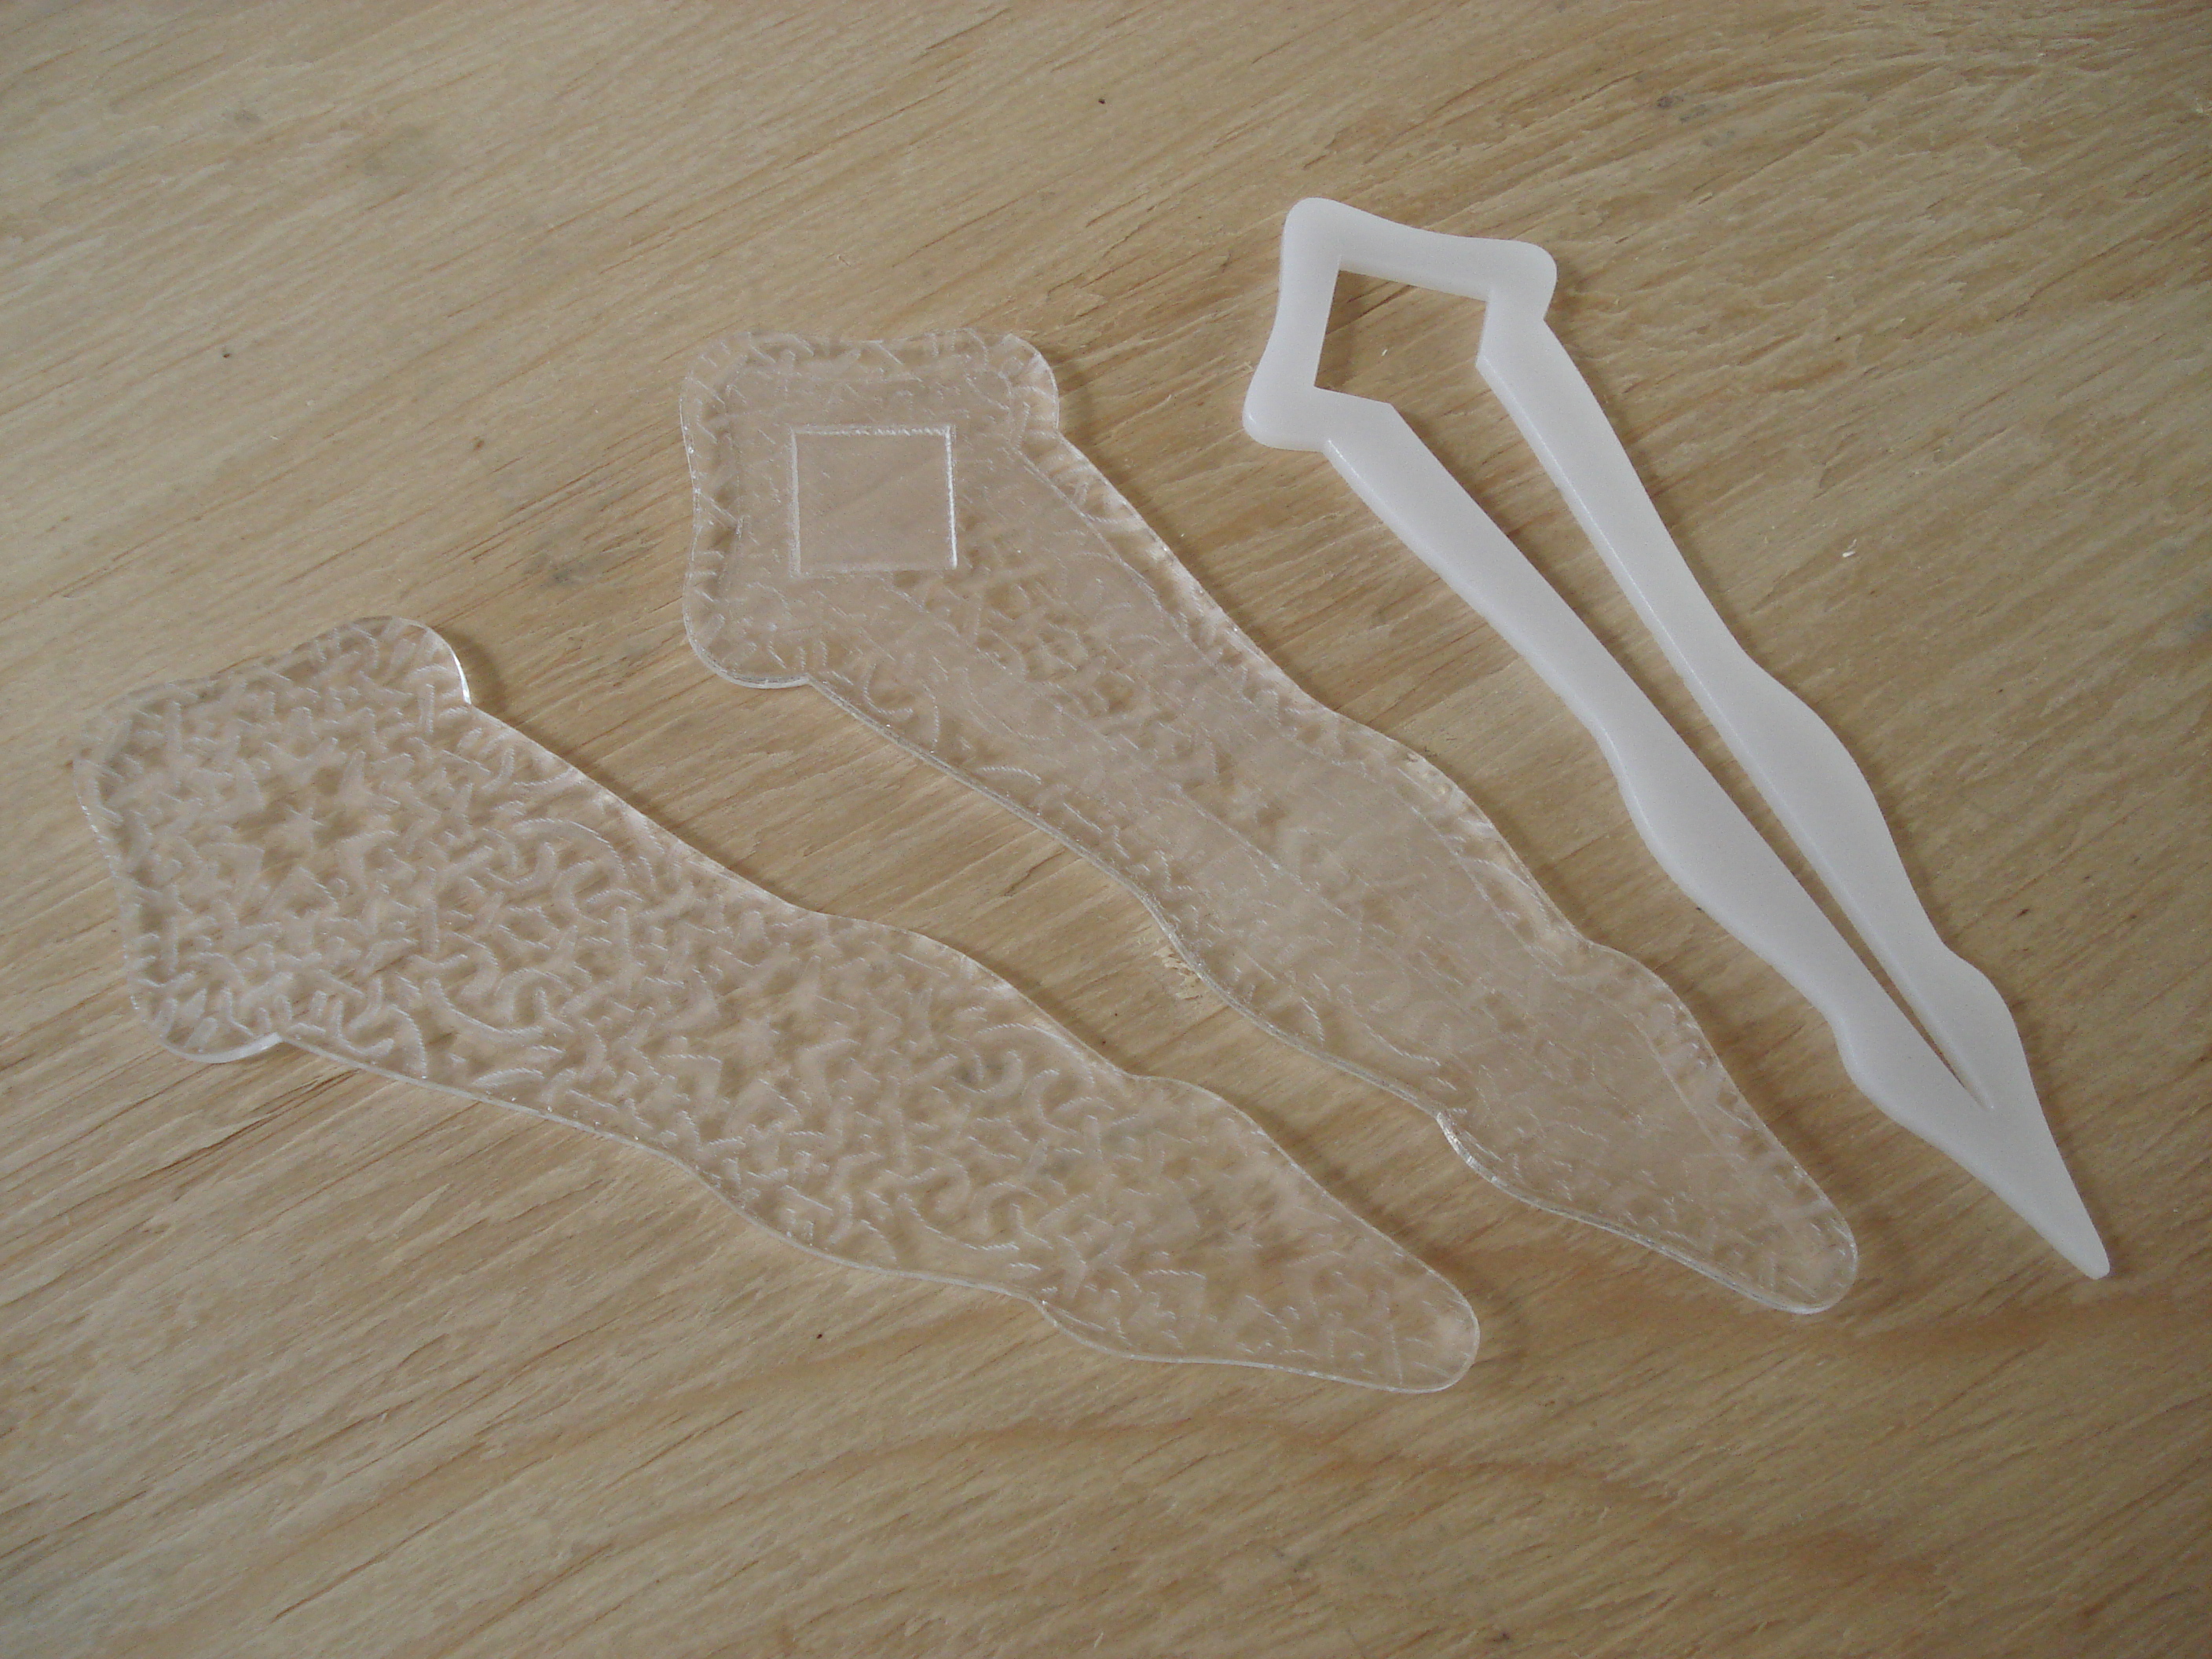
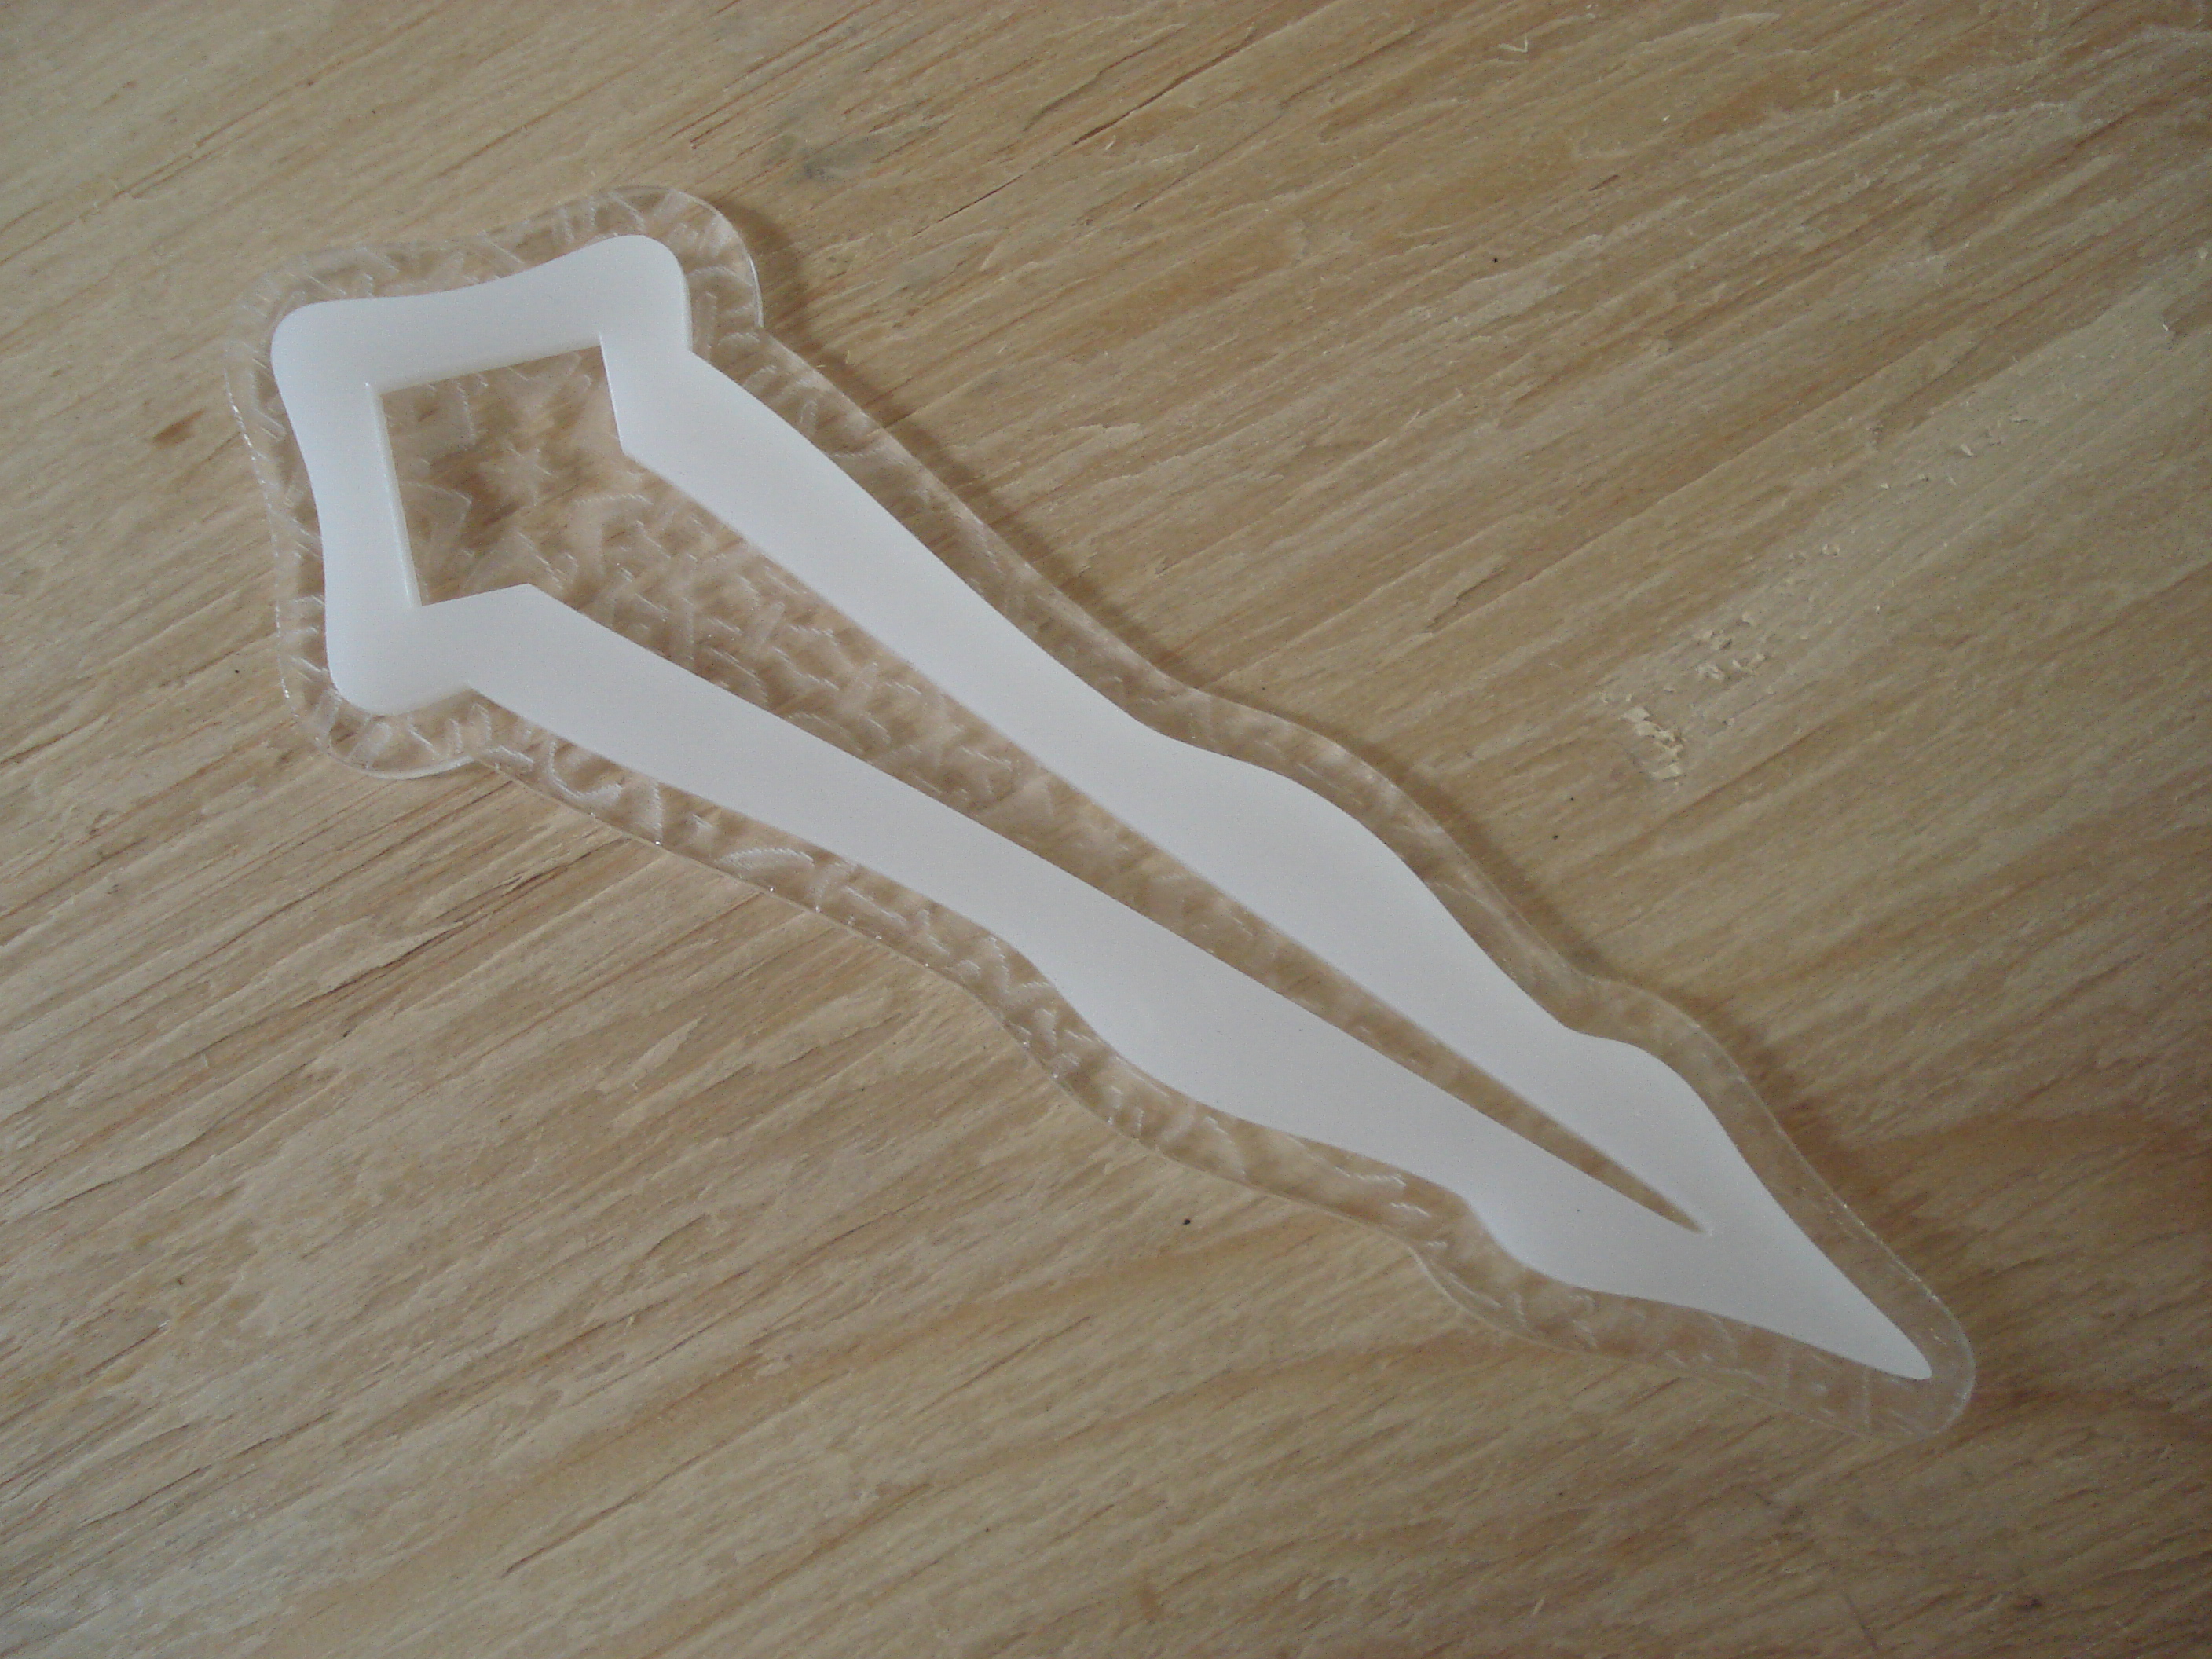
- The basic premise of a boat-style holder is that there is a channel in the middle to catch the ash as it falls off the burned incense stick. Keeping this in mind, you will want at least two layers: a base layer and a layer to create the channel. This doesn’t mean that you can’t have more… feel free to experiment!
- As mentioned previously, the ceramic tile is *roughly* 0.7” square; measure yours and be sure the design will fit the tile. I would recommend not ditching the tile entirely as it acts as a “snuffer” when the incense gets down to the bottom (it won’t burn down to the bottom of the hole – there will always be a little unburned section left in the hole of the ceramic tile). If you just make a hole in the acrylic to hold the incense it *might* not burn the house down, but your holder will get burn marks and potentially smell bad… kind of defeating the purpose.
- The length of this particular type of incense is ~4.75”, and once you put it in the holder, it stands relatively upright. The length of the boat doesn’t have to be super long to accommodate the ash. If, however, you use a different type of incense or a different hole arrangement, plan accordingly.
- I used scrap material from the recycling bin at the TechShop, so my layout is done entirely in layers. Your layout can be done all on one layer if you are using a solid sheet.
- A word about the layers in my art:
- As you can see in the photos, I used a pattern on the base layer because I wanted to have some additional texture in the design. I used a standard bitmap for the attached CorelDraw file, but feel free to add a pattern of your choosing to either the base or the top layers… or both.
- The layer "recess square", slightly larger than the tile itself, is designed to recess the tile into the base layer of the holder. This isn’t really necessary… it was just an aesthetic decision, and you can skip it if you like (or if you are in a hurry).
- The layer "recess top" is marginally smaller than the top layer. It is designed to provide a channel for the acrylic glue so it doesn’t flow out onto your base layer when you glue on the top layer. This just makes it easier to work with the water-thin glue without marring any of the visible parts of your holder; if you prefer to skip it, you can.
2. *If* you want only the most rudimentary form of the holder (a top and base layer without any patterns or details), use the two cut layers, "cut base" and "cut top". Setting up on the laser, position your material, focus the laser, and cut using the 1/8” acrylic settings:
Speed: 20
Power: 90
Frequency: 5000
Skip to Step 5.
3. Otherwise… the lasering order of the layers is important, so bear with me while I step through all of the details:
- For the base:
- Focus the laser on your material.
- Using weights that are clear of the travel of the laser, *hold down* your workpiece so it won’t move until you are done.
- Run the "recess square" layer first, rastering the whole area at least three times:
Speed: 60
Power: 30
Frequency: 5000
Schmutz from the laser will build up around the square, but don’t worry about this for now.
- If you want the tile inset even more, you can *raise* the bed a hair (focusing on the bottom of what you just rastered), and run the "recess square" layer *another* three times (don’t forget to *lower* the bed by the same amount before moving on to the next step). Six passes is about the limit of what you can raster without the schmutz getting in the way.
- Now run the "recess top" layer and the "cut base" layer together.
- Without moving your setup(!), remove the cutout from your workpiece, and clean the schmutz off from around the tile inset.
- The next steps involve putting the cutout piece *back* into the cutout hole and running more passes. Due to the kerf of the laser cut, it is possible that the piece will not be *exactly* lined up as it was for the first passes. If you are concerned about it, you can cut a jig that is exactly the kerf-width smaller than the base layer art (again, the contour tool is your friend), and put the cutout back into that. I just didn’t worry about it, and it was close enough.
- If you want an even *deeper* tile inset, place the piece back in the cutout hole, right-side up. Focus on the bottom of the tile inset, and run another three passes of the tile inset layer. Again, you can raise the bed a hair and run another three passes. Now that the base is cut out, you can remove, clean, and repeat this step as many times as you like until you get the depth you want.
- If you want a pattern on the piece, do this as the last step (you’ll see why in just a minute). If you are using a solid acrylic color, place the piece back in the cutout hole, right-side up. If you are using clear acrylic, as I did, I recommend doing the pattern on the back, as the pattern seems to “pop” to the forefront better that way.
- For the top (a little easier):
- Focus the laser on your material.
- Run the pattern (if any) and the "cut top" layers together.
- Random bonus: note that the inside cutout of the top layer makes a fine hair pin, if you need one!
- Clean off all of your pieces.
4. If you did a pattern on any of your pieces, you will probably notice that they bowed (this is why I had you run the patterns as the last lasering step). You will want to “relax” that bowing using a heat gun. Using a circular motion with the gun, slowly heat the piece uniformly against a heat-resistant flat surface (I used a thick piece of glass that was nearby). Take care not to keep the heat in one place for too long or to get too close to the surface, as the acrylic will blister if it gets too hot. Once the piece is relaxed fully flat, let it cool slowly to room temperature.
5. Now you are ready to assemble your pieces. If you did the most basic version (Step 2), put glue on the back of the top layer, glue it to the base layer, let it set up, and you are done! If you did the version with the glue channel ("recess top"), put glue in this channel, align the top layer, and hold it together until it sets up.
6. Give everything ~24 hours to fully set, then strike a match and light your incense!