Acrylic DIY Retro Game Arcade Kit Assemble Tutorial
by yoyojacky in Circuits > Raspberry Pi
2909 Views, 31 Favorites, 0 Comments
Acrylic DIY Retro Game Arcade Kit Assemble Tutorial
Today, I've received a package from GeeekPi studio, it's a DIY acrylic Retro Game Arcade kit. It takes me about 40 minutes to assemble it, so today, I want to share the steps with you, hopes you guys like it..
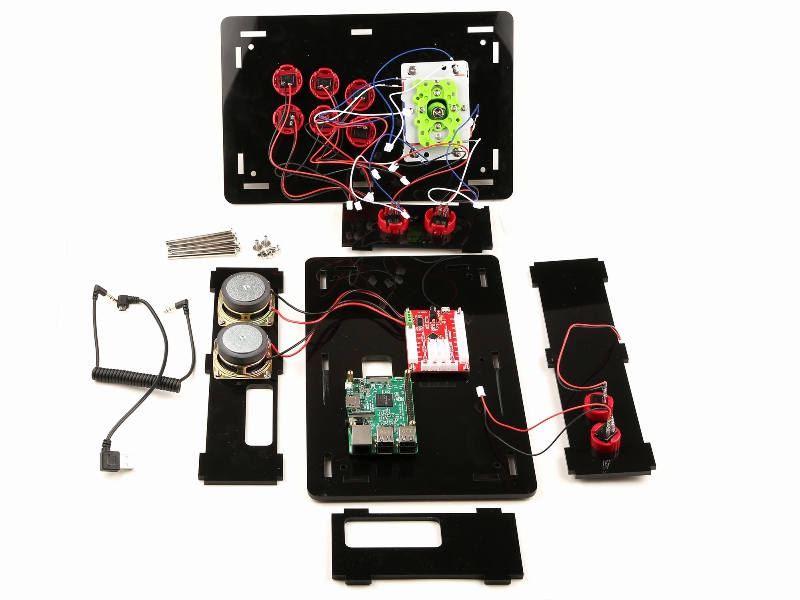
Step1: What's in This Package ?
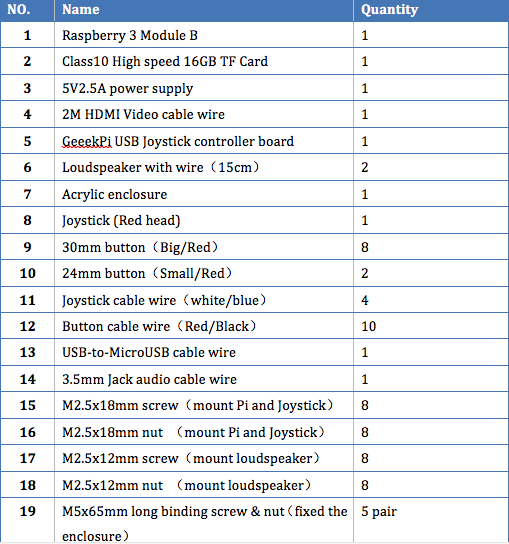
purchase link: https://www.amazon.com/dp/B06ZYRC6MB/ref=sr_1_4?ie=UTF8&qid=1492497692&sr=8-4&keywords=geeekpi
wiki link: wiki.52pi.com
Tools :
1. cross screw driver
2. screw driver
3. stick tape
Step 2:Remove the Cover on the Acrylic Enclosure
You need to remove the plastic cover on the acrylic enclosure pieces by pieces....
It took me about 5 minutes.
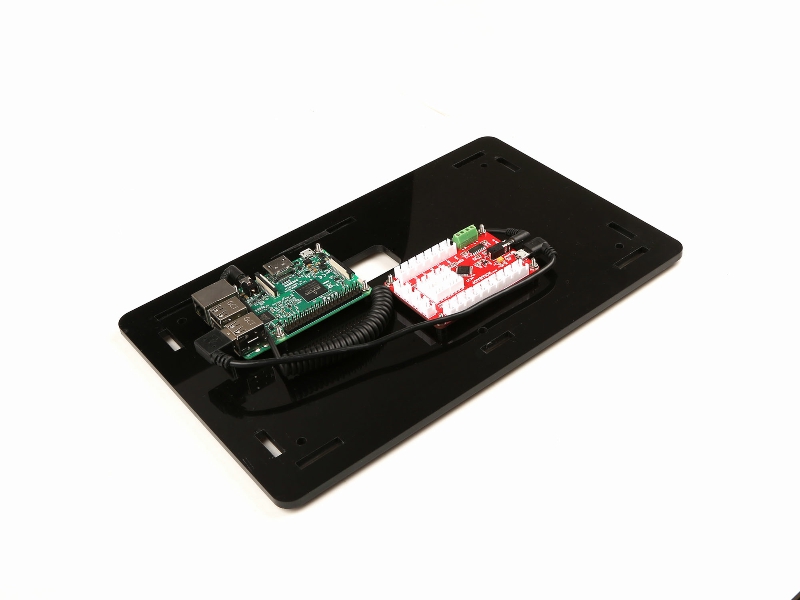
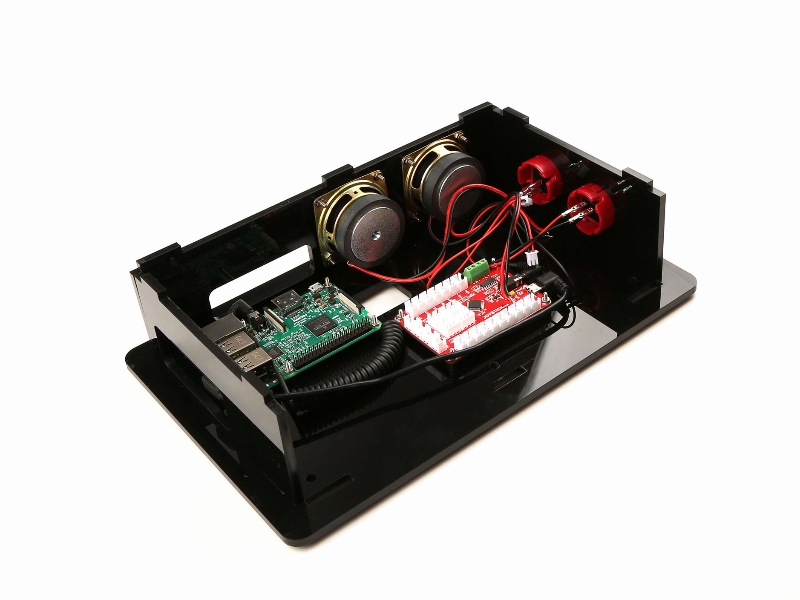
Step 3: Assemble the Raspberry Pi and the USB Joystick Control Board.
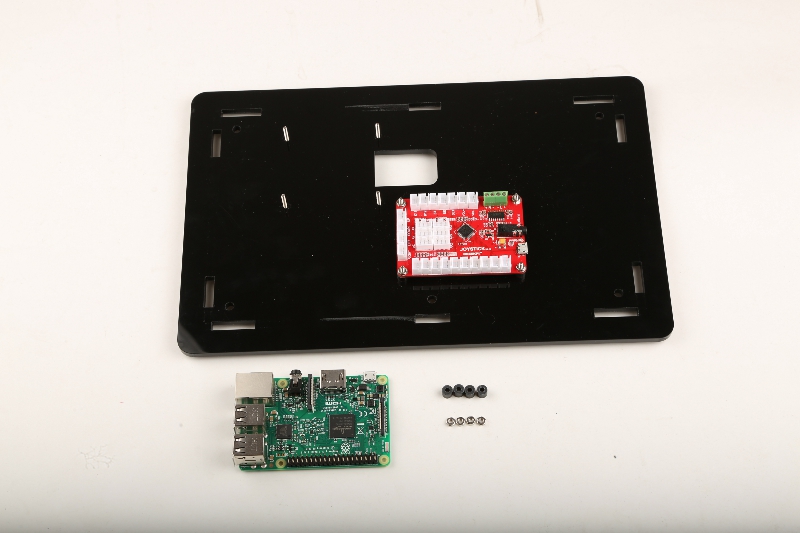

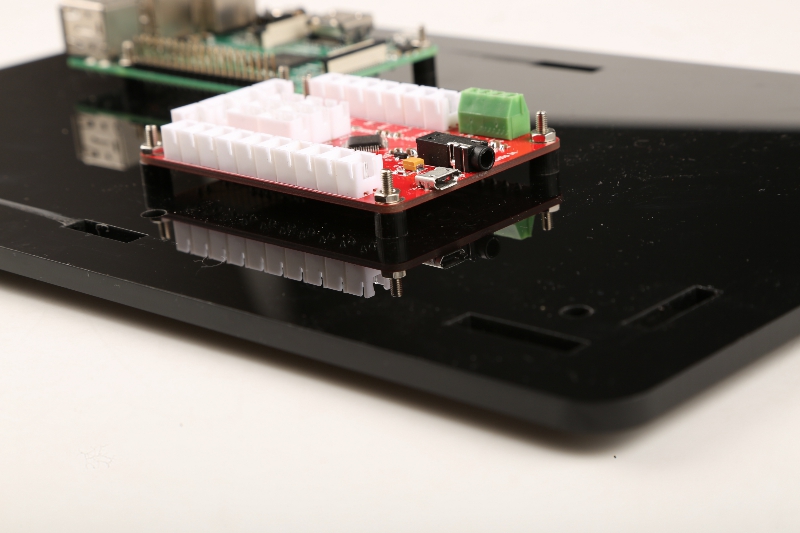
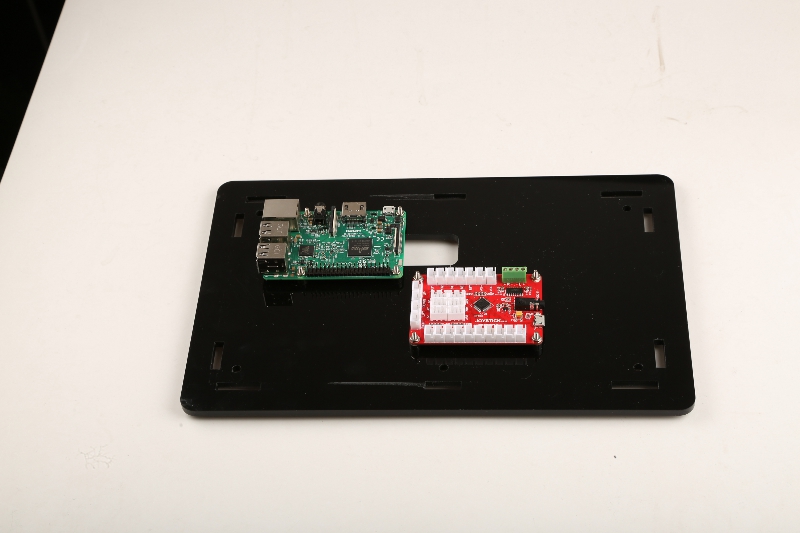
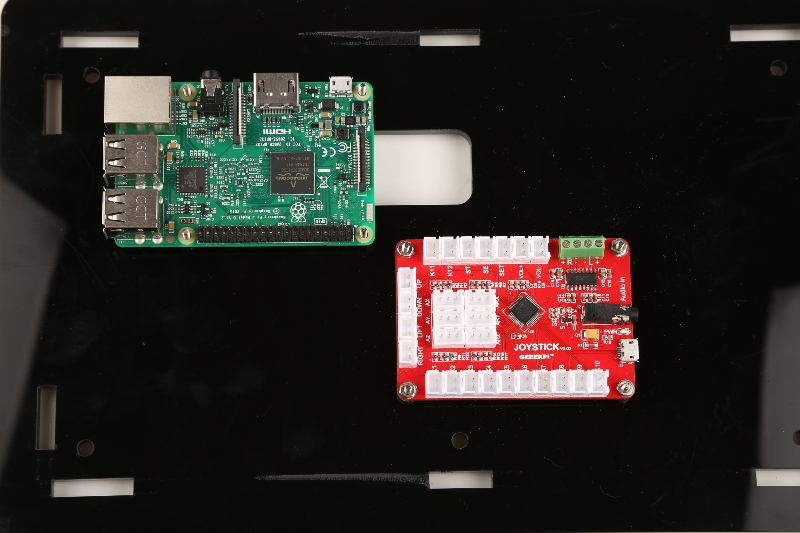
According to the position, put the Raspberry Pi and GeeekPi USB Joystick control board on the the acrylic board.
and mount the RPi and Control board by using the M2.5x18mm screws with washers and nuts as picture showing.
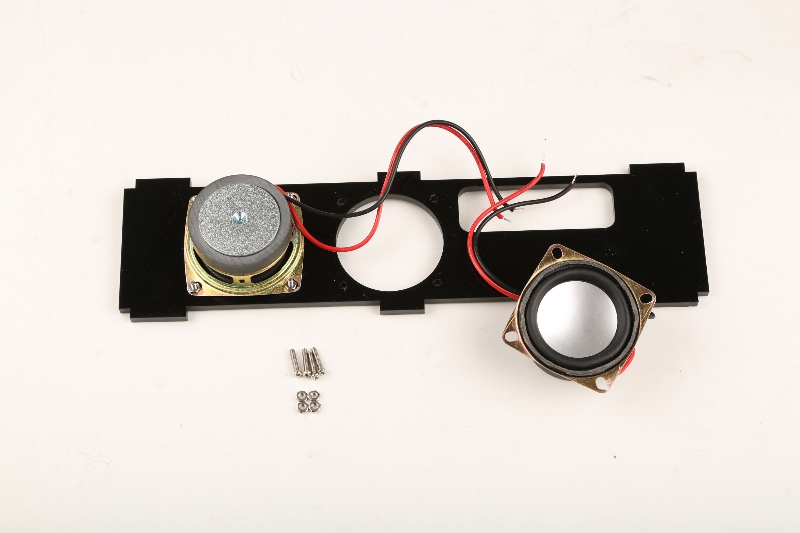
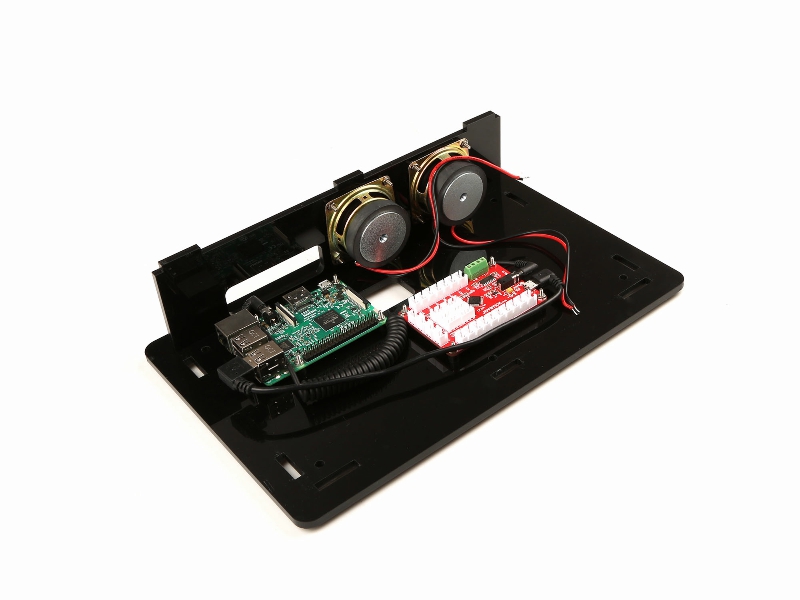
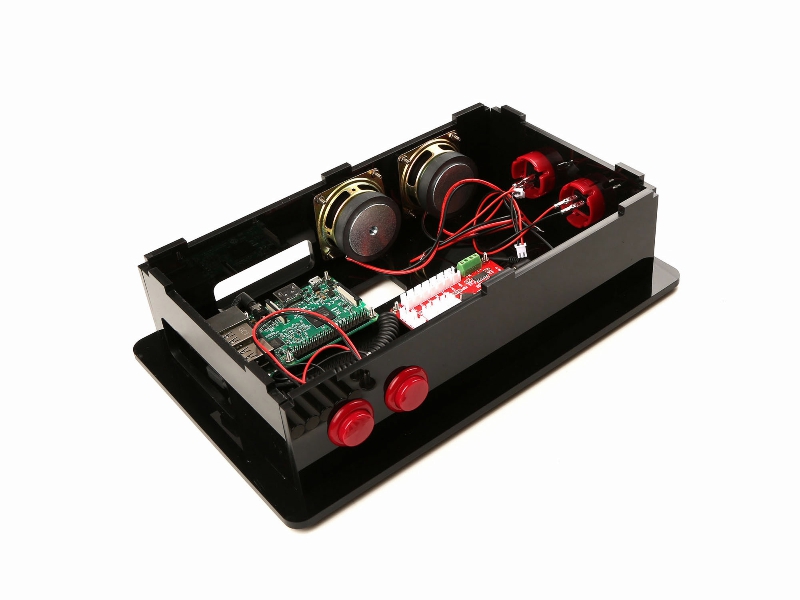
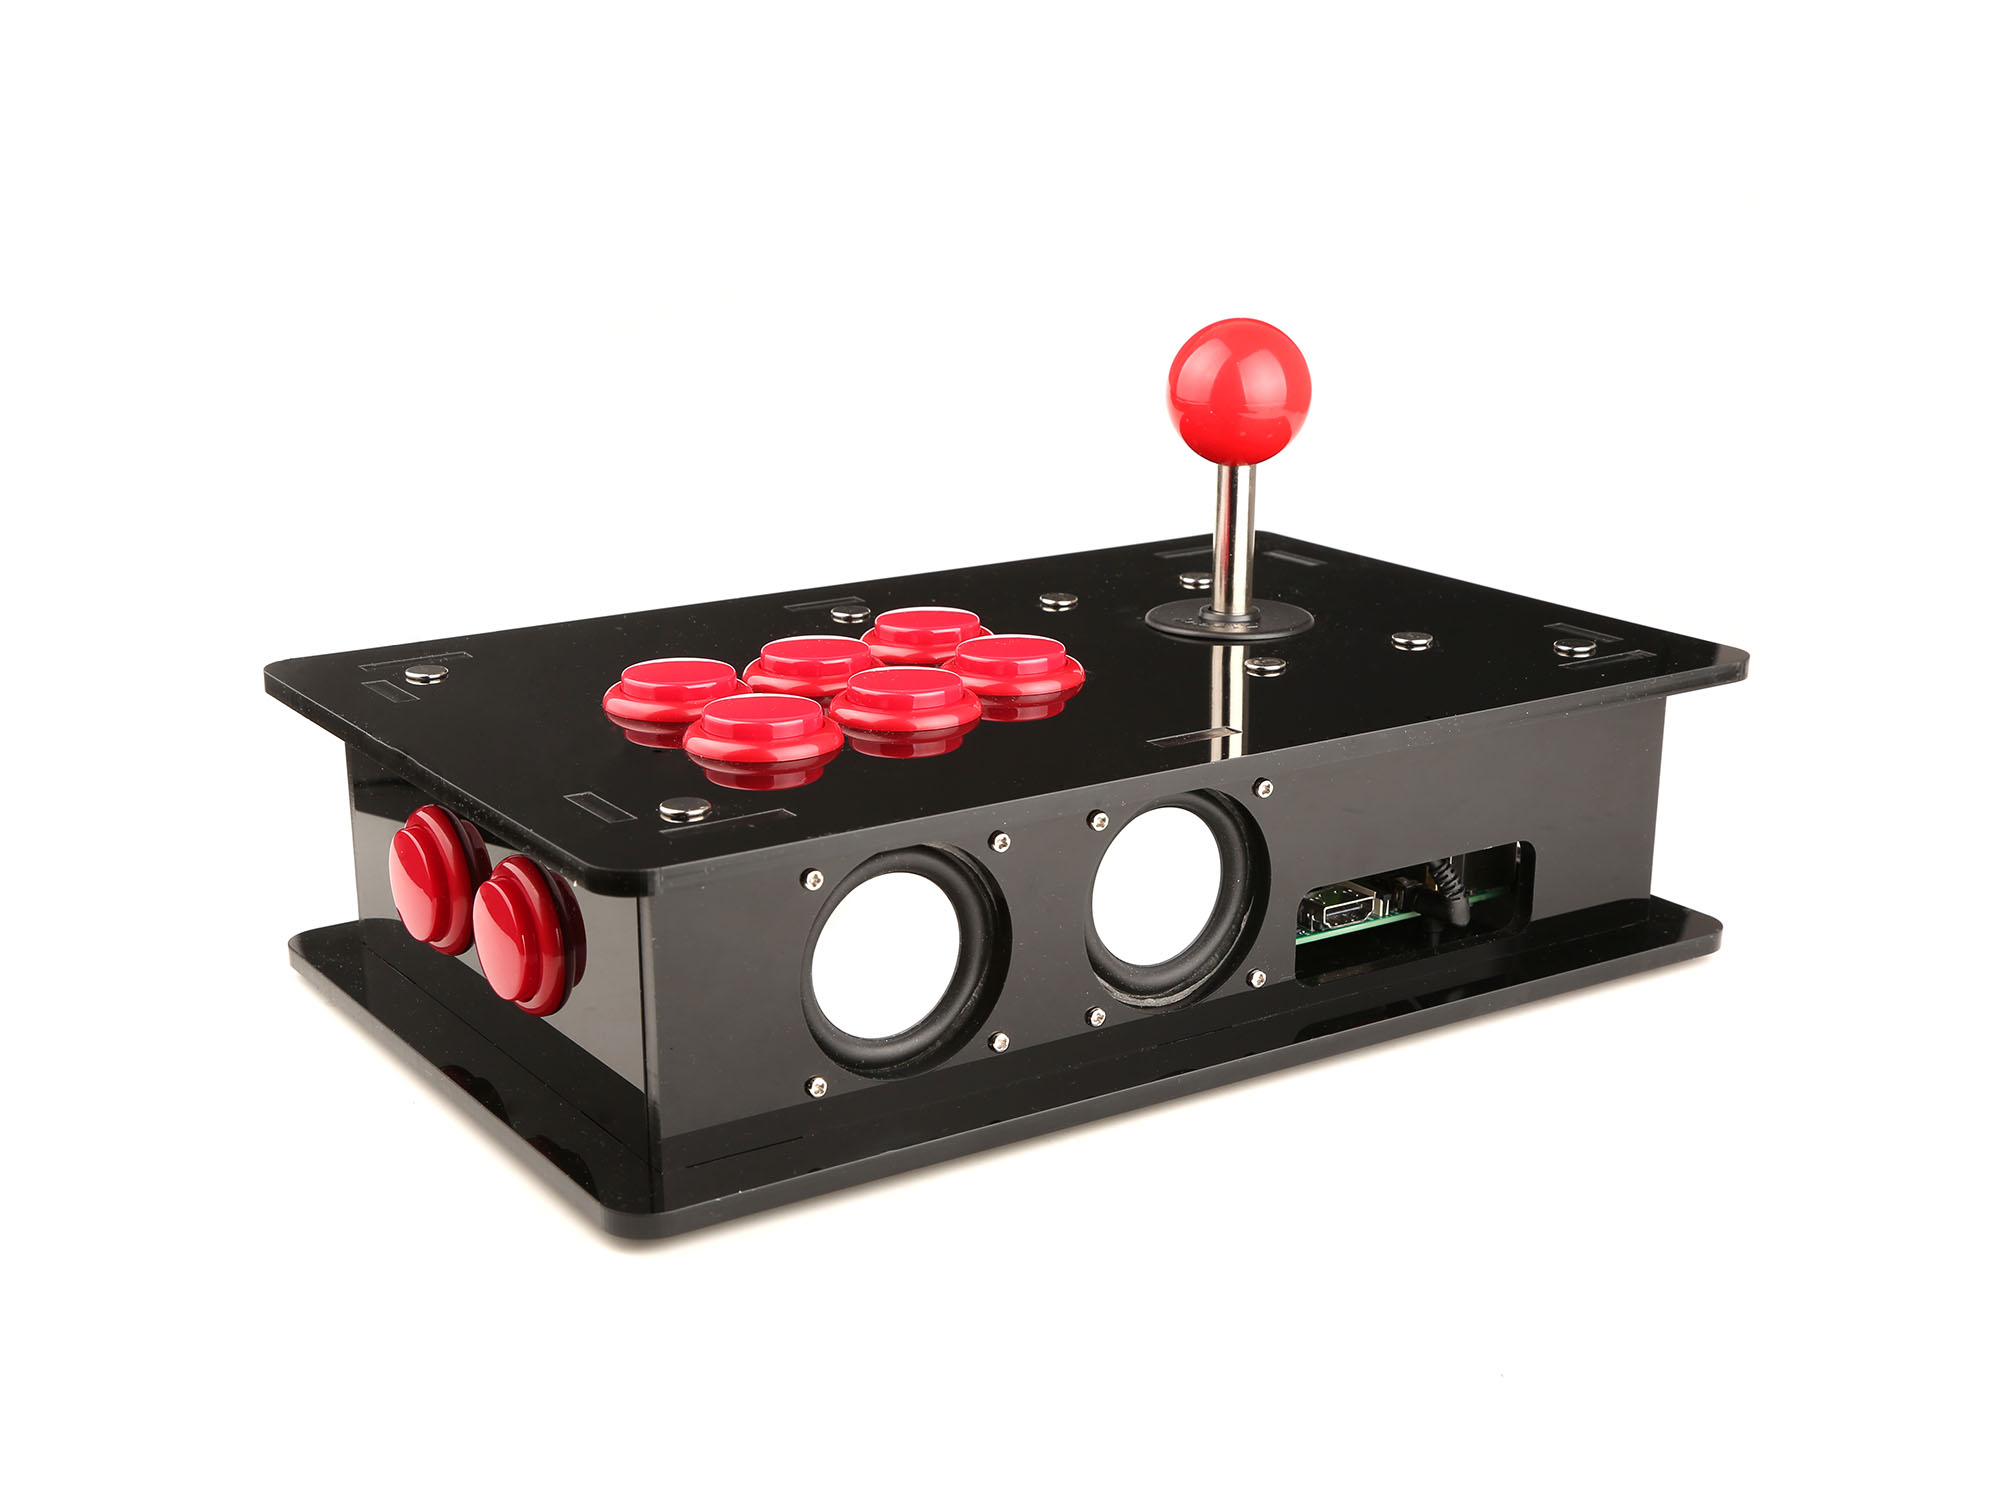
Step: 4 Put the Push Button and Loudspeaker on the Acrylic Board.
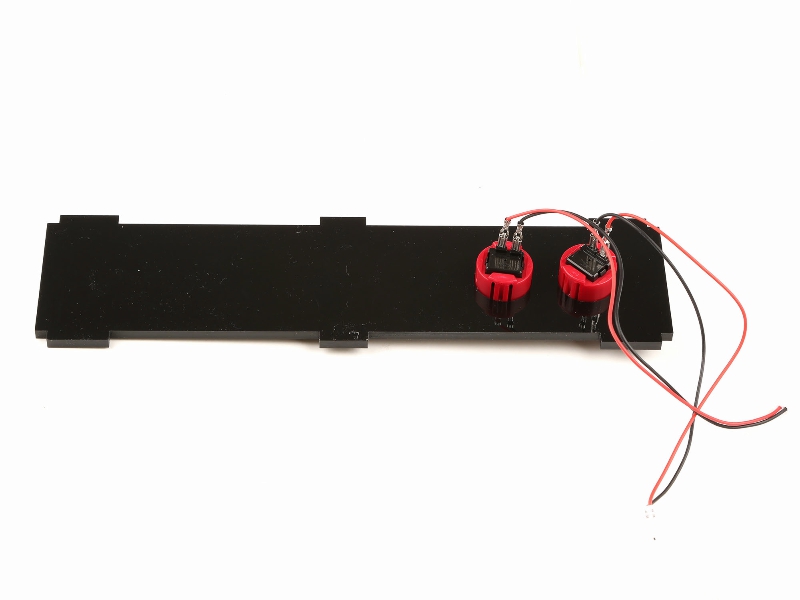
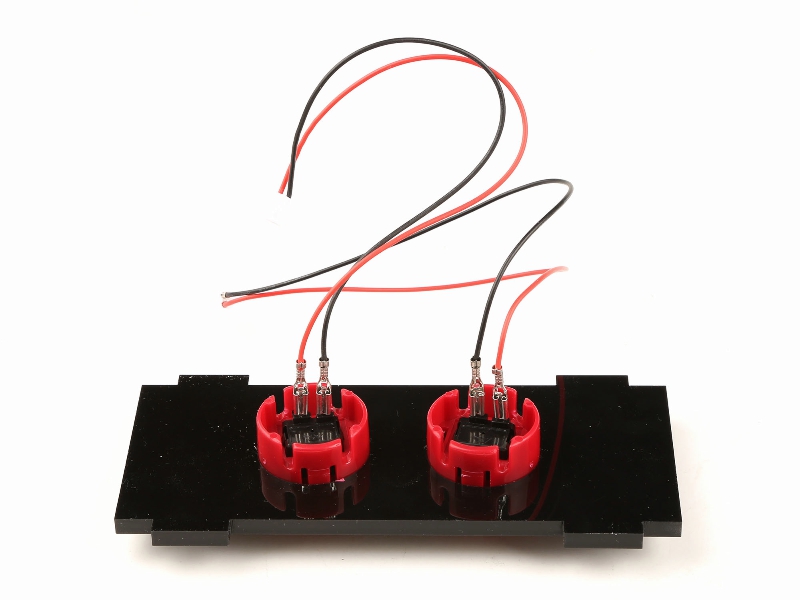
Push Button: there are 8 big one and 2 smaller one. six button is for Button A, Button B, Button C, Button D, Button Left shoulder , Button Right shoulder, two of them are volume + and volume -, other two smaller one are for the Button Select and Button Start.
1. press the button into the holes and connect the wire.
2. Mount the loudspeaker to the acrylic board with the M2.5x12mm screws and nuts.
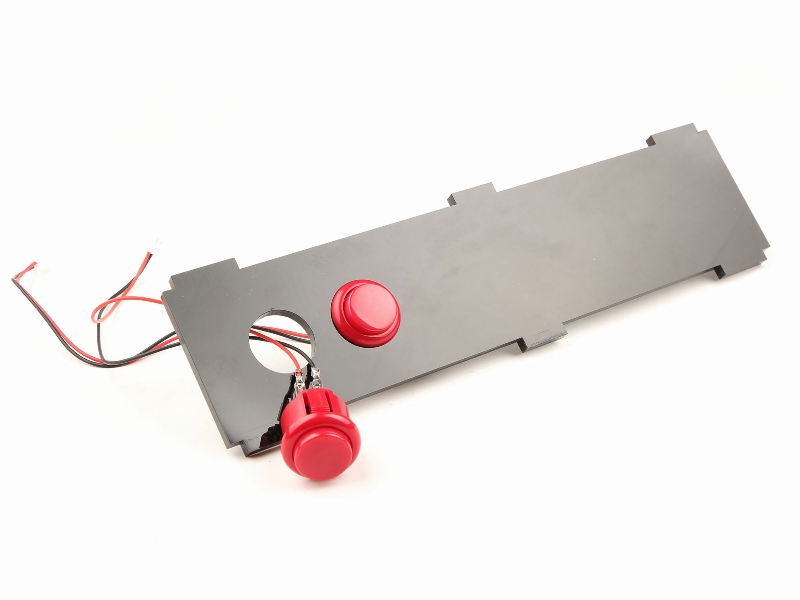
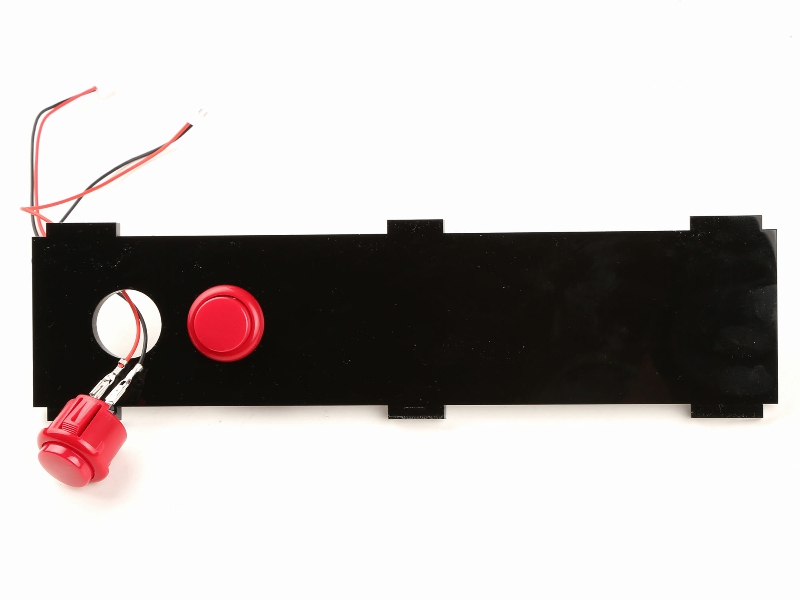
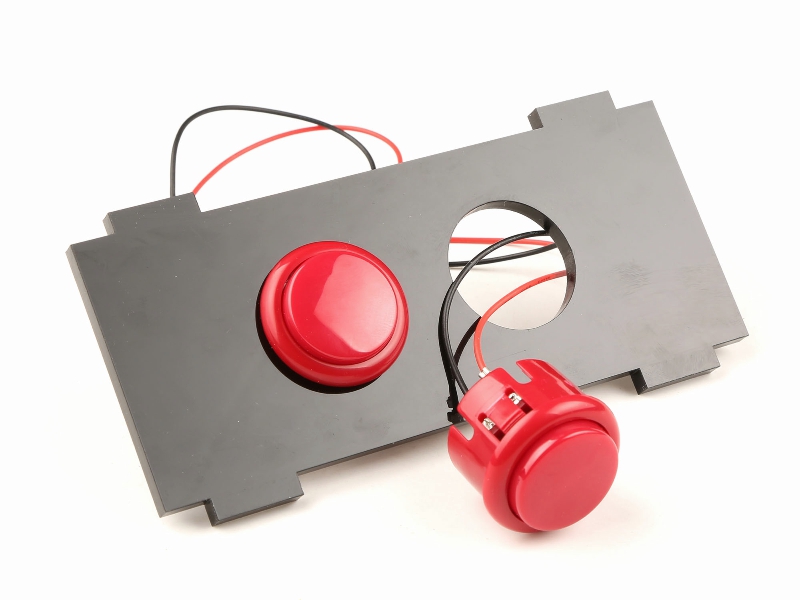
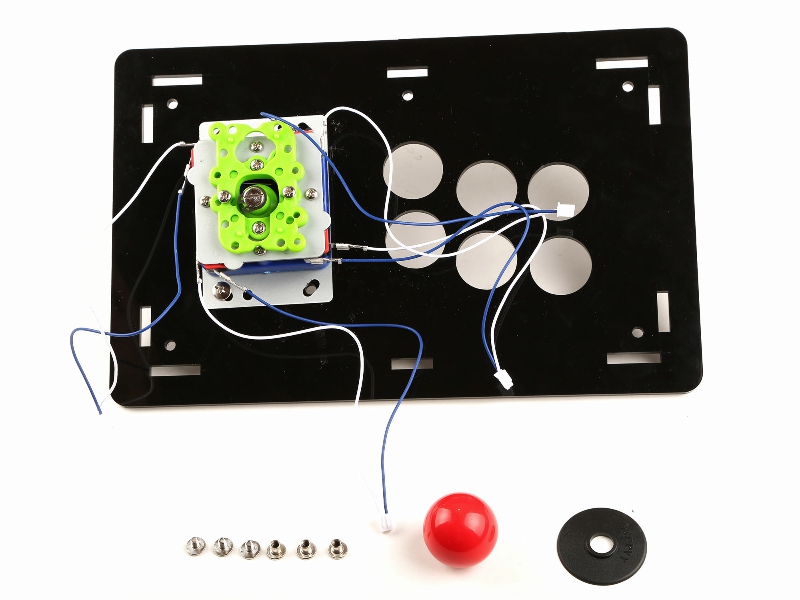
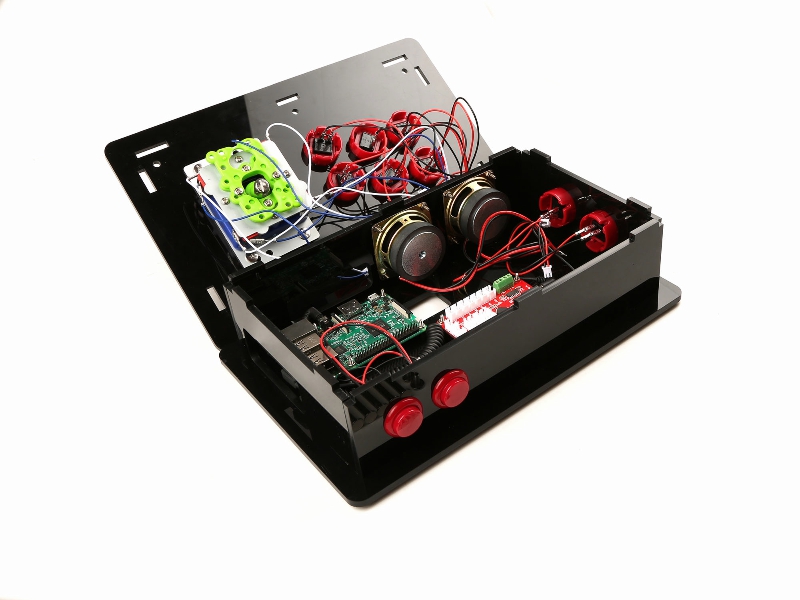
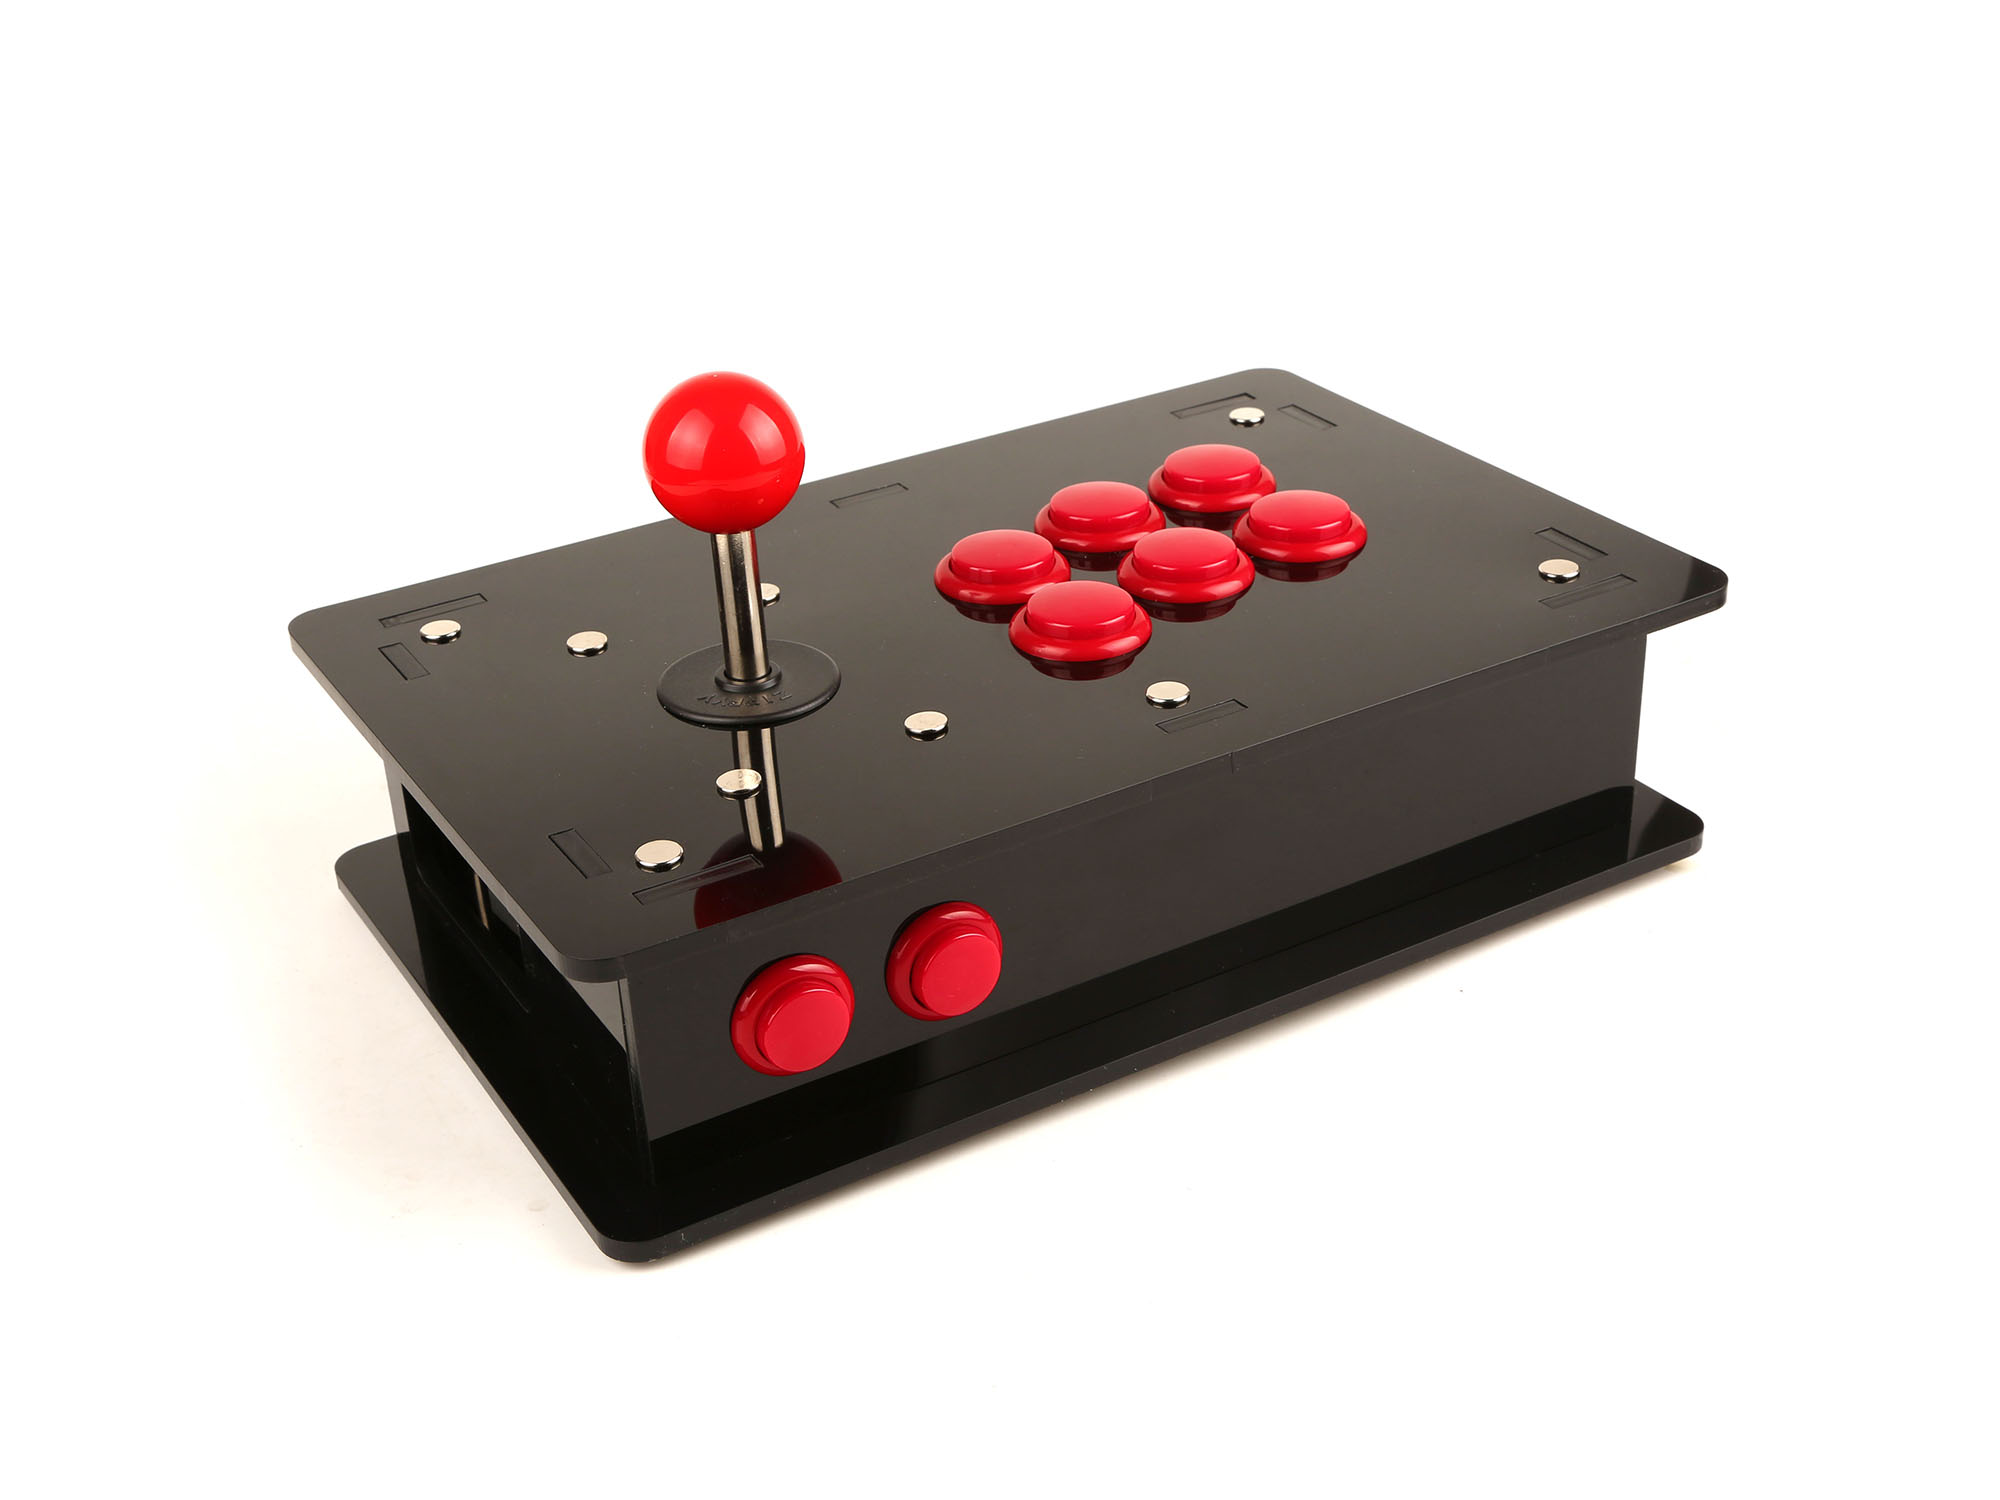
Step 5: Assemble the Top of the Enclosure.
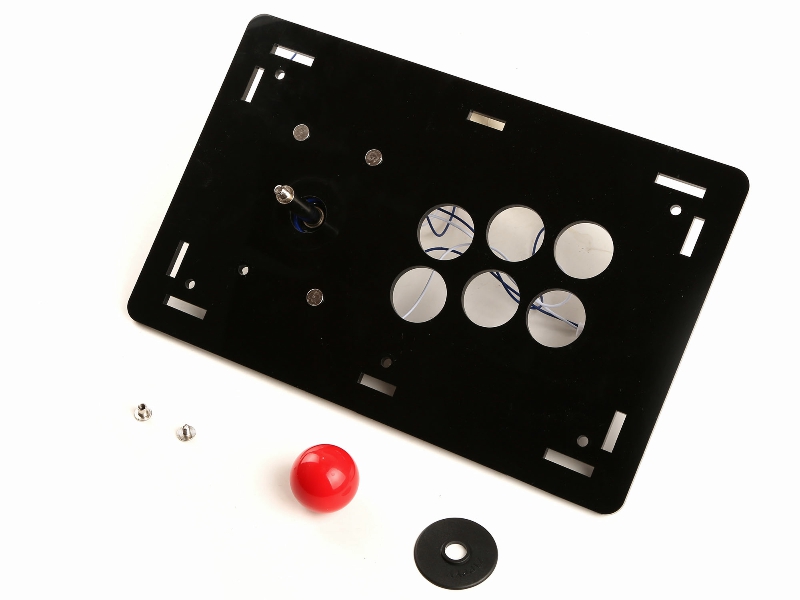
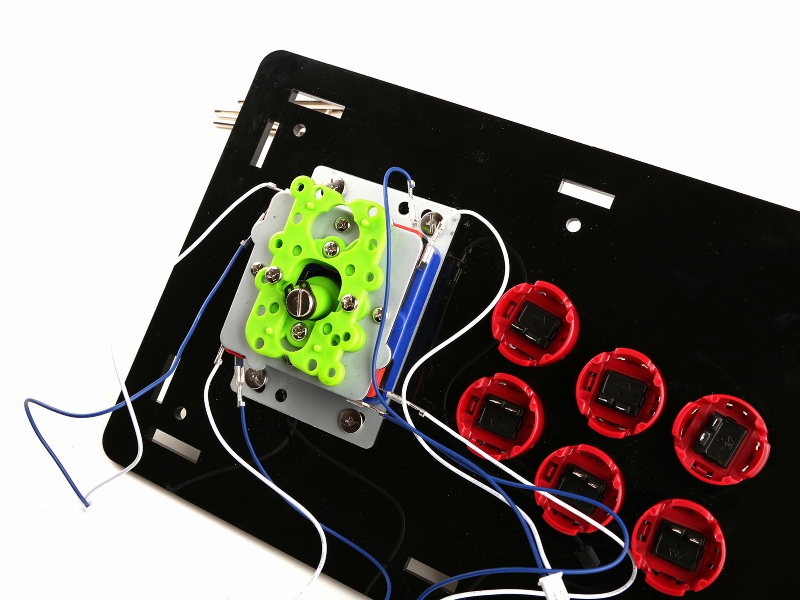
1. Put the rest of the buttons on the top layer of the acrylic board.
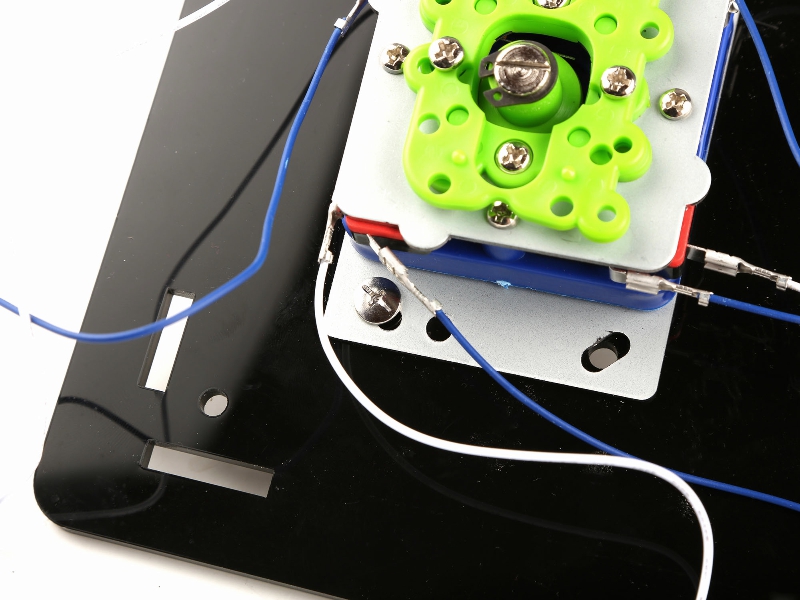
2. Mount the joystick with the M5x6mm screws and nuts.
3. Connect the blue & white wire to the joystick and red/black wire to the press button.
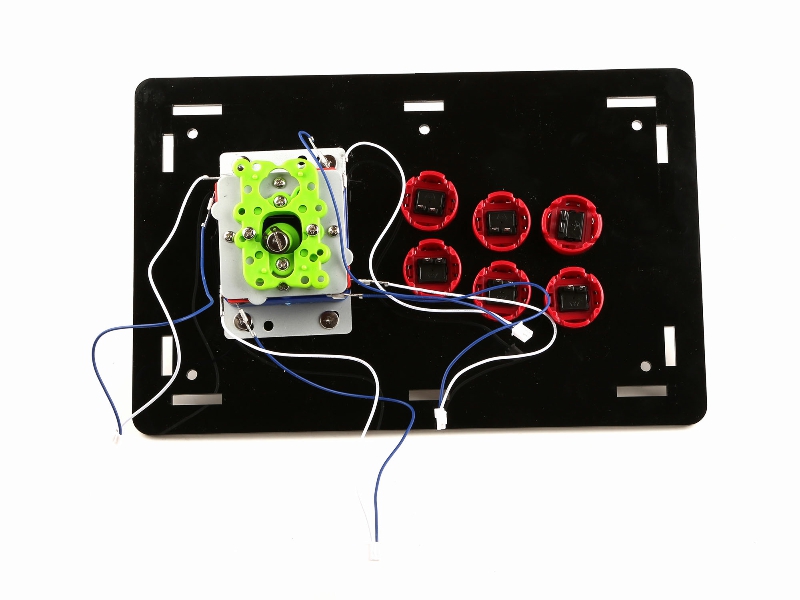
Step 6: Assemble the Acrylic Board
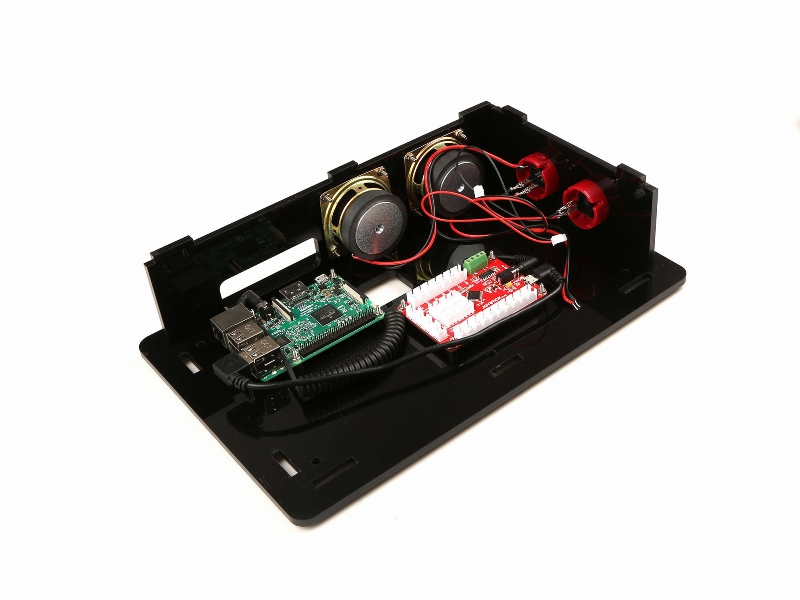
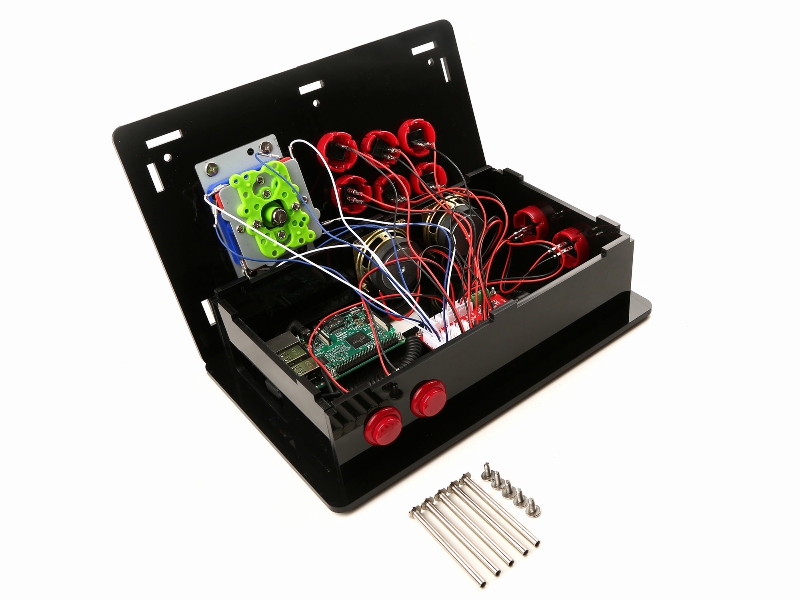
Put everything together as pictures.
1. Hook up the press button's wire cable to the Joystick board from K1 ~ K6 port.
2. Hook up the joystick wire cable to the Joystick board from Up/Down/Left/Right
3. Hook up the Volume + and Volume - to the Joystick board on the right conner of the board.
4. Use screw driver to mount the loudspeaker's wire to the joystick board.
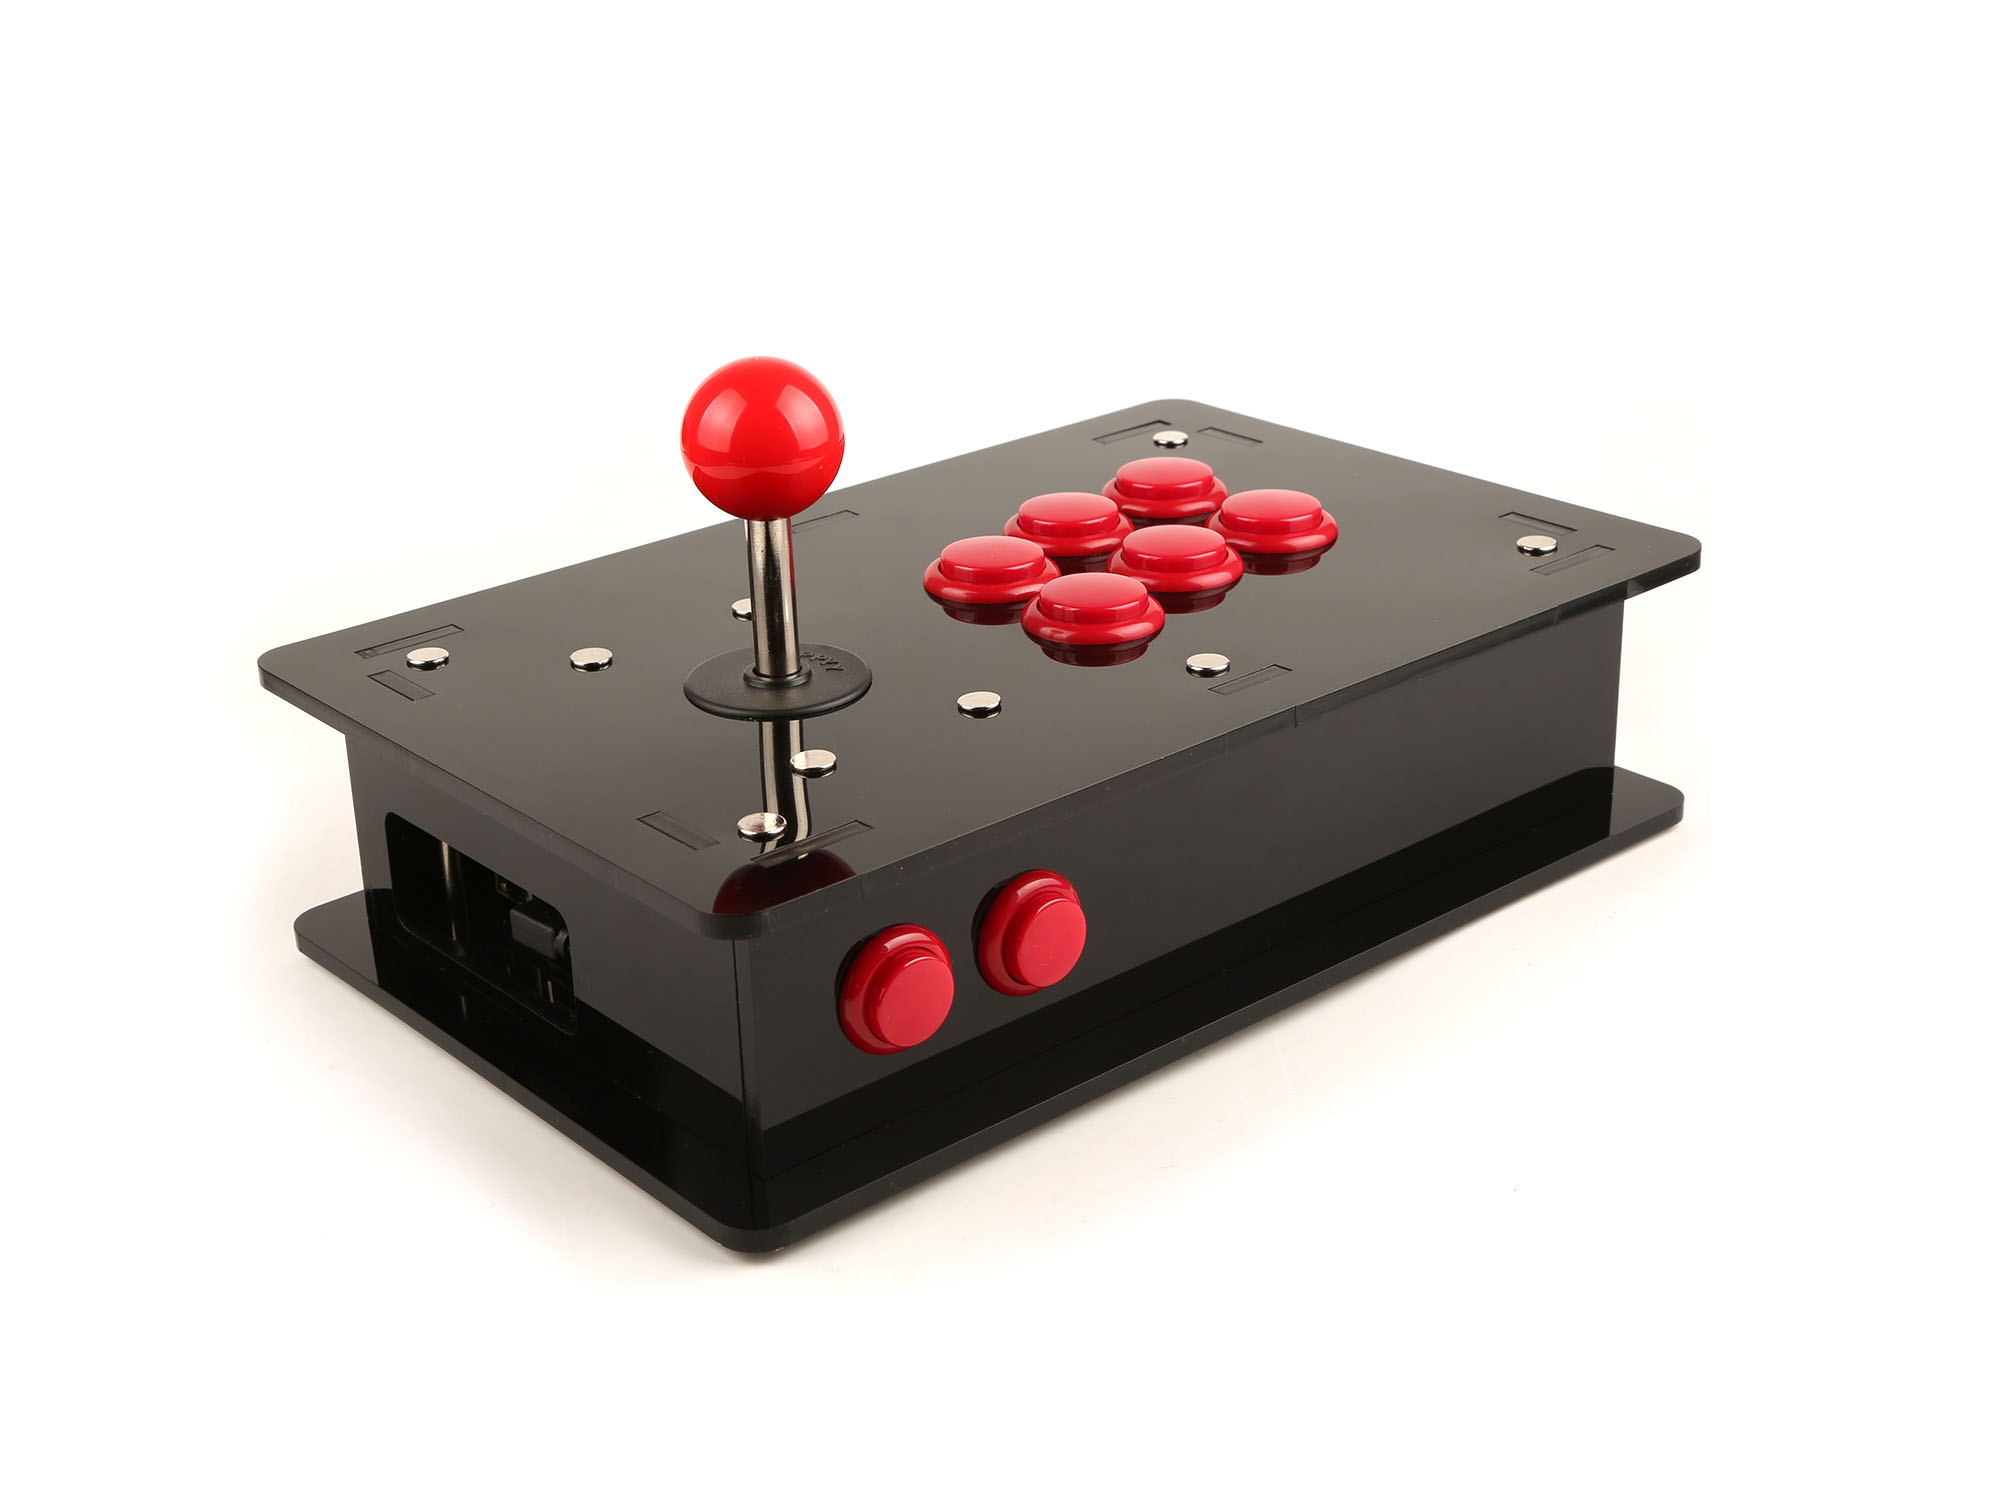
Step 7: Fixed the Acrylic Board Together.

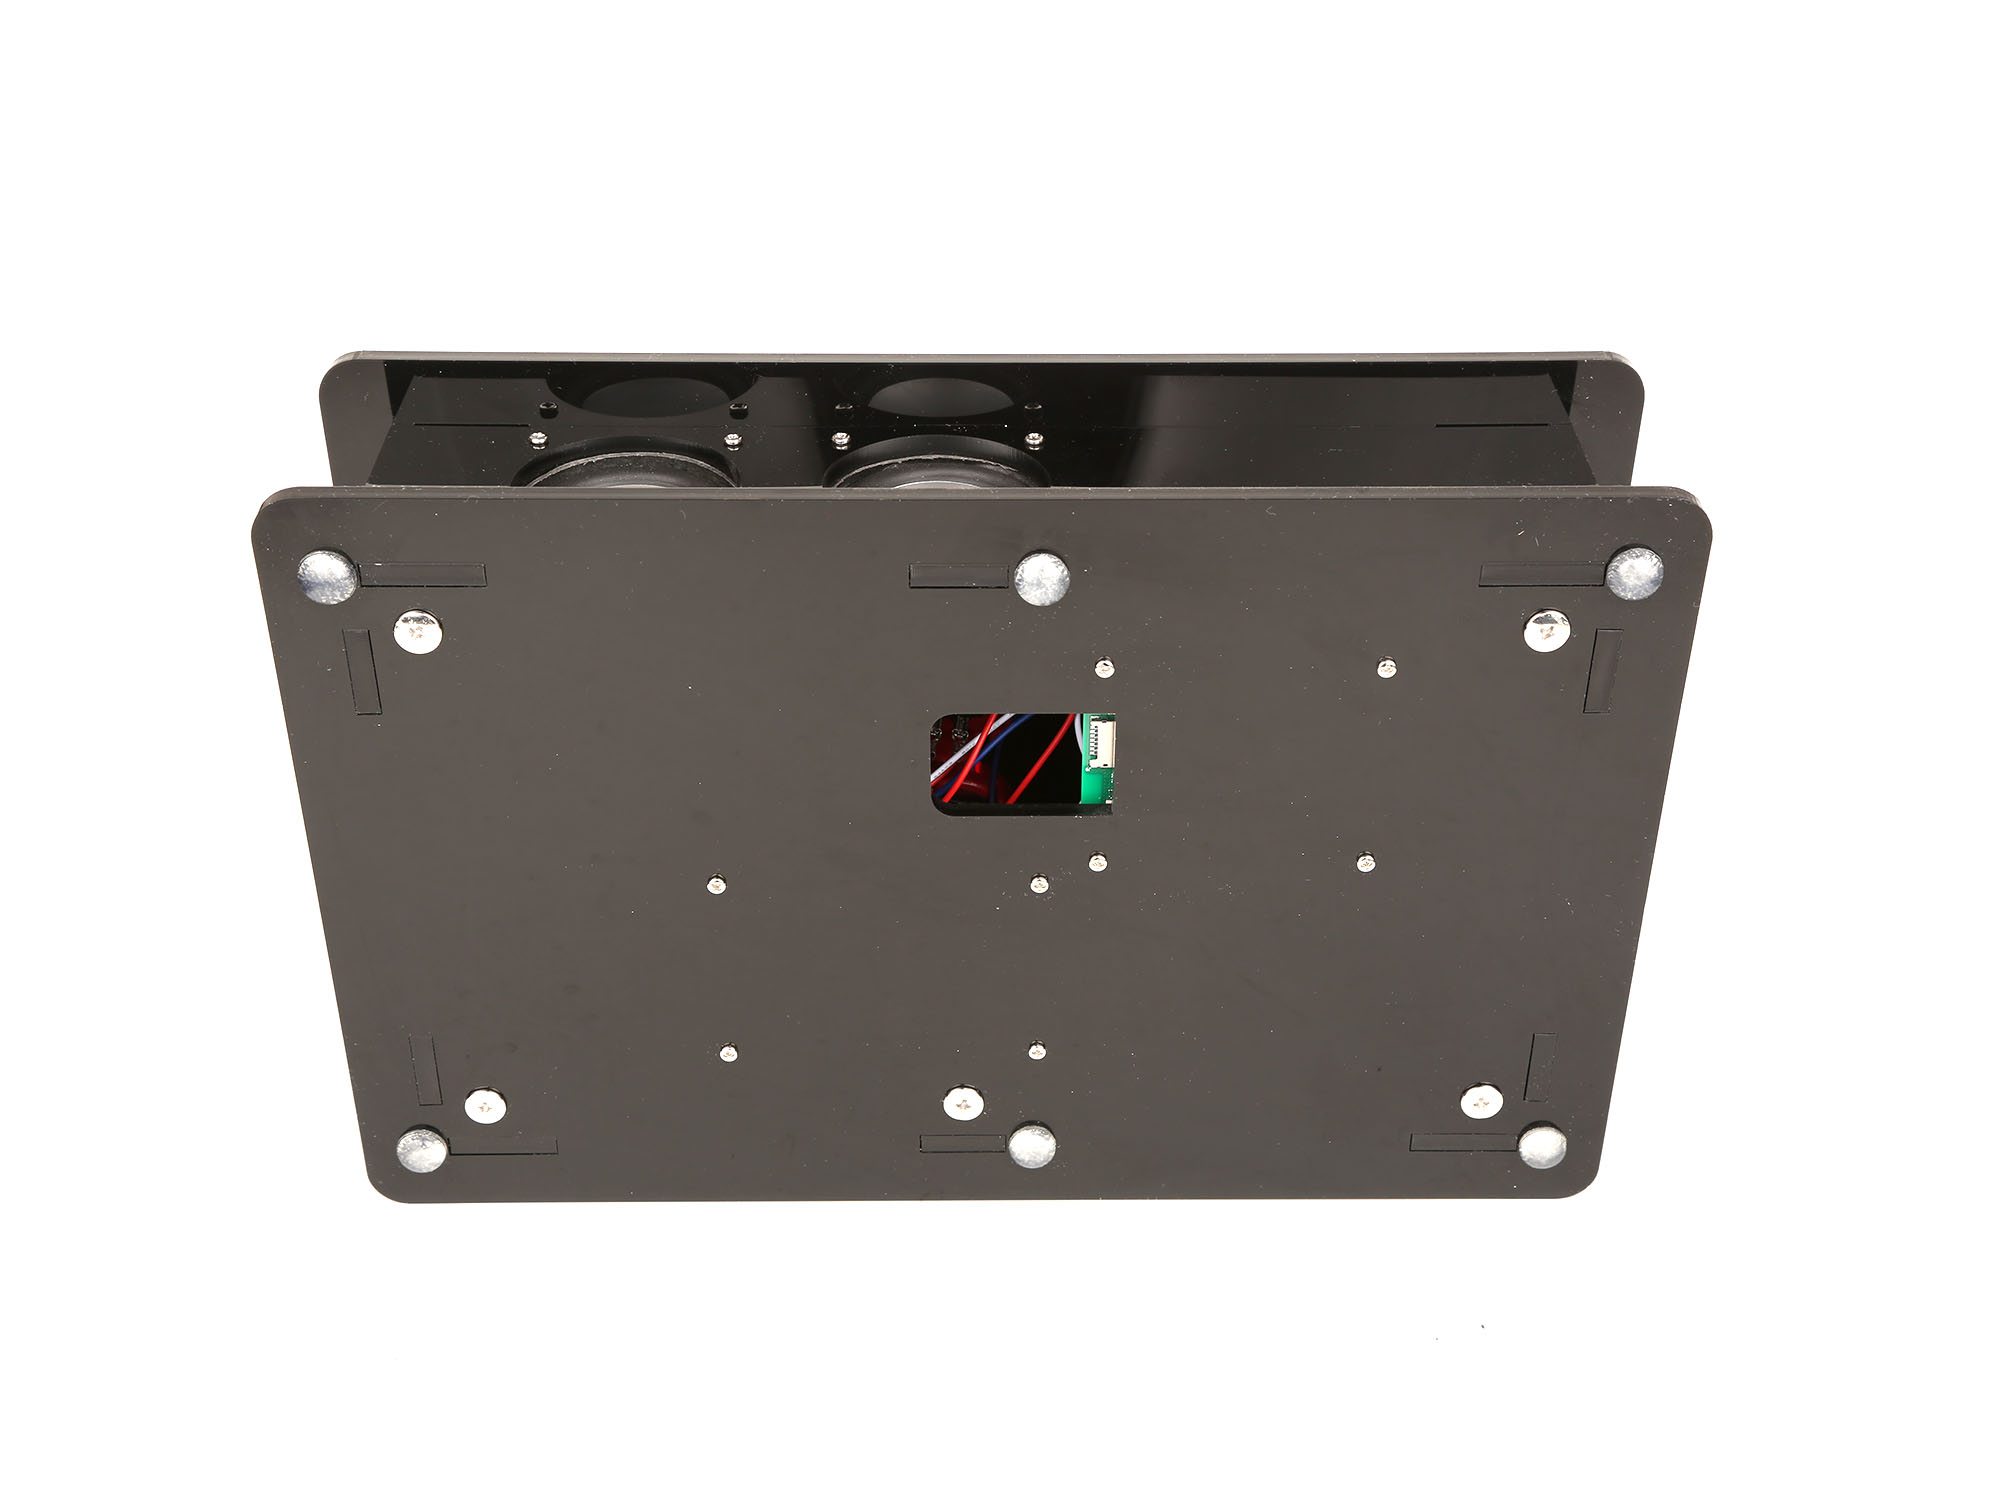
Fixed all with the M5x65mm screws and nuts.
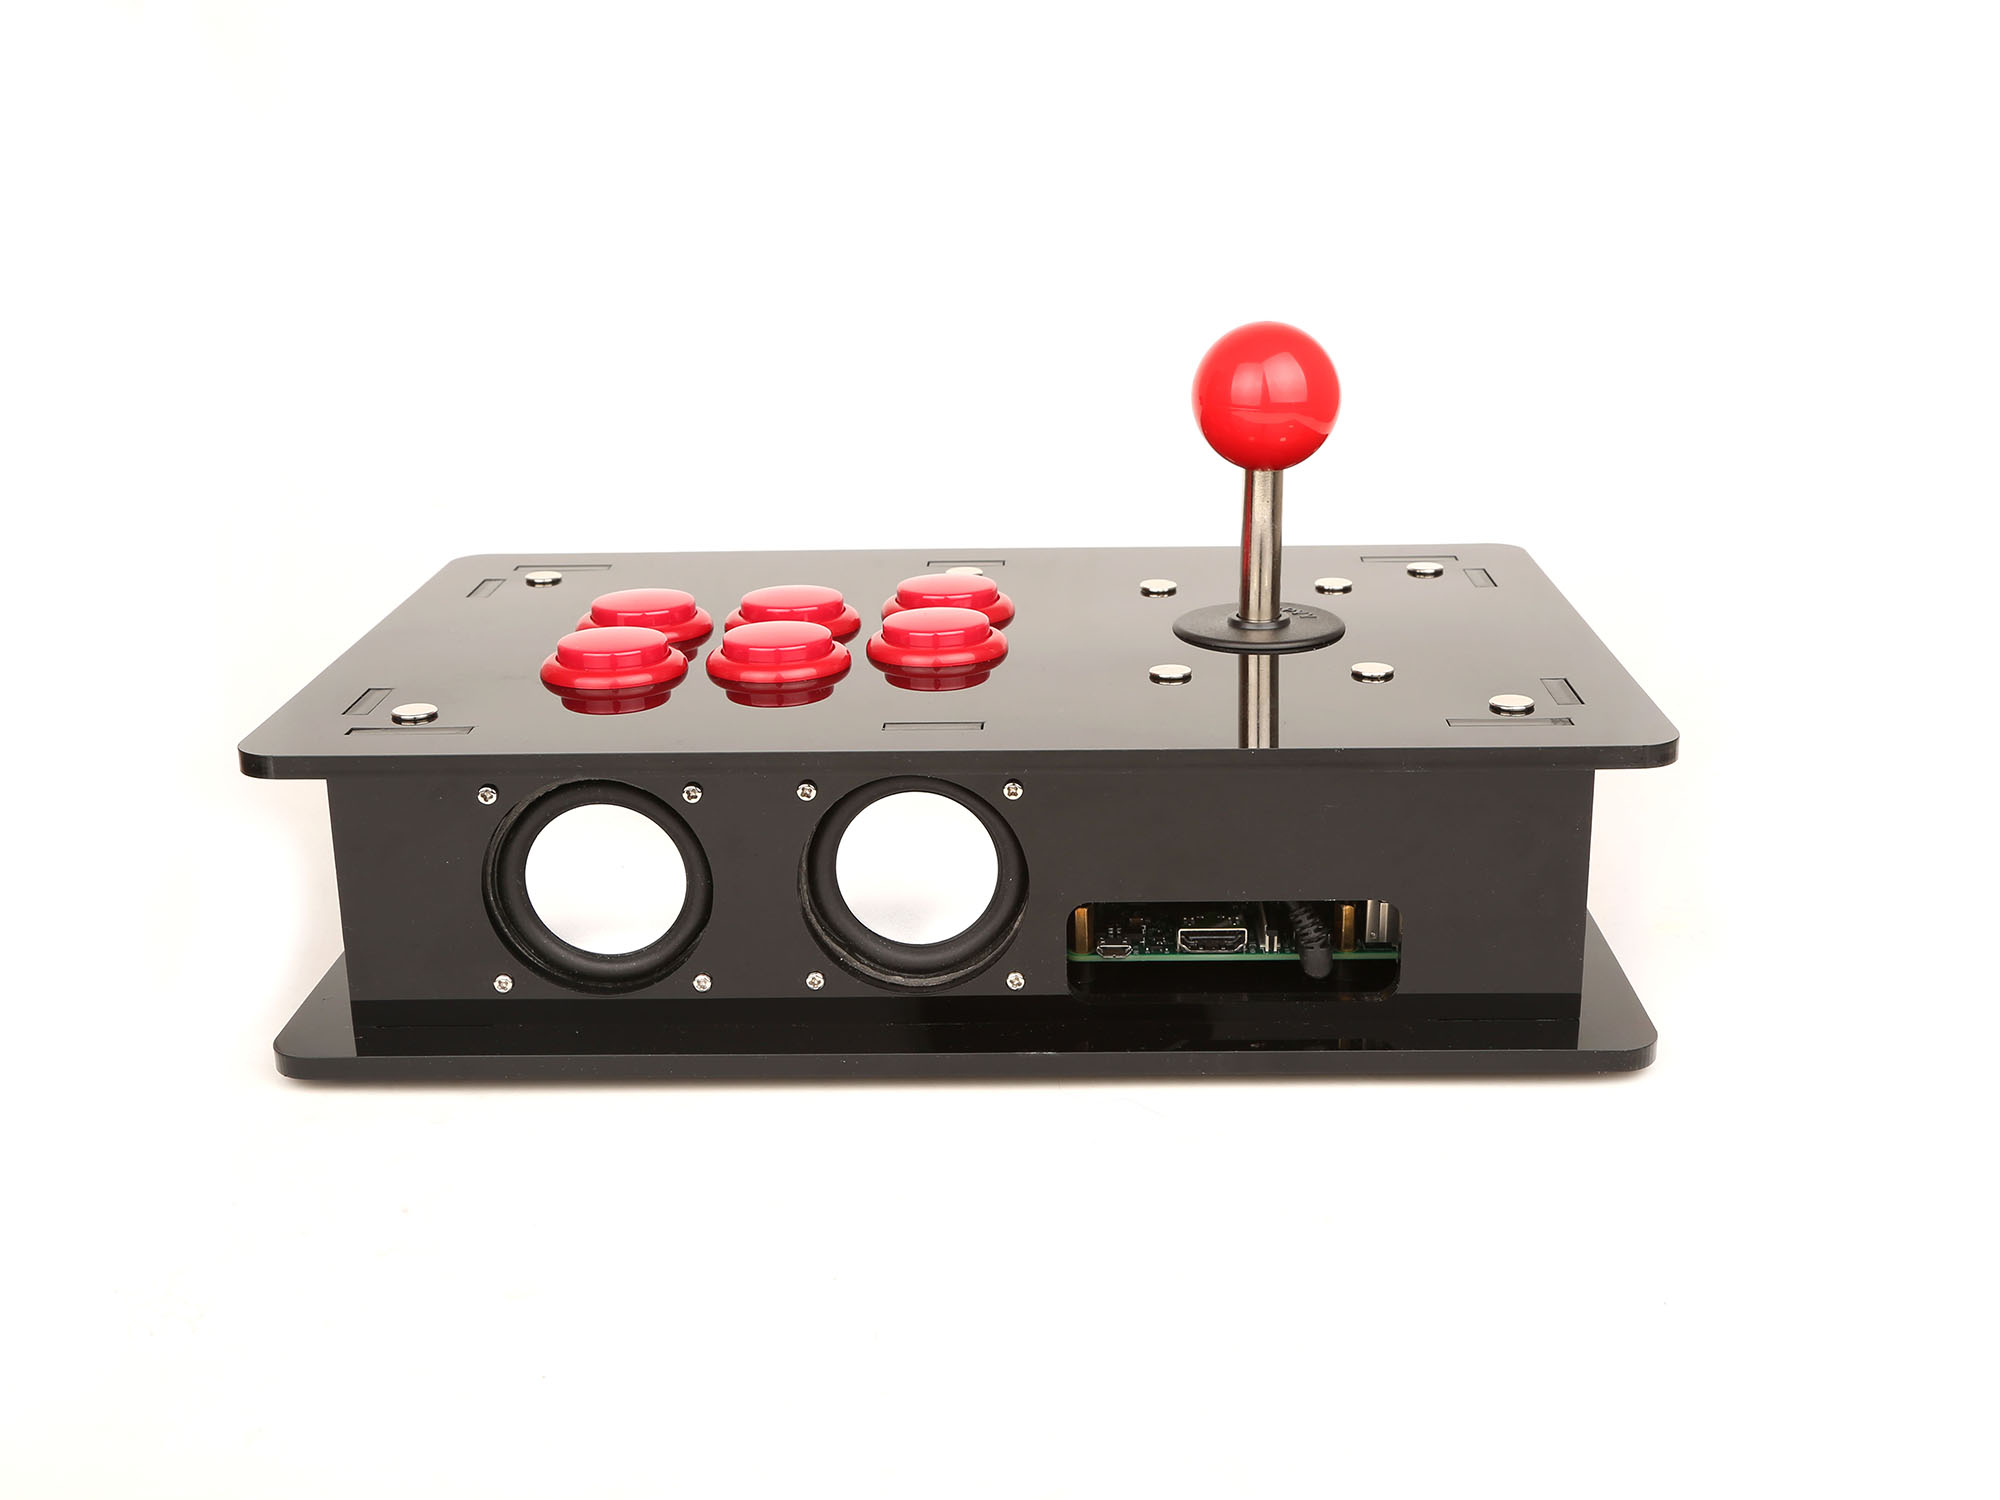
Step 8: Finished.
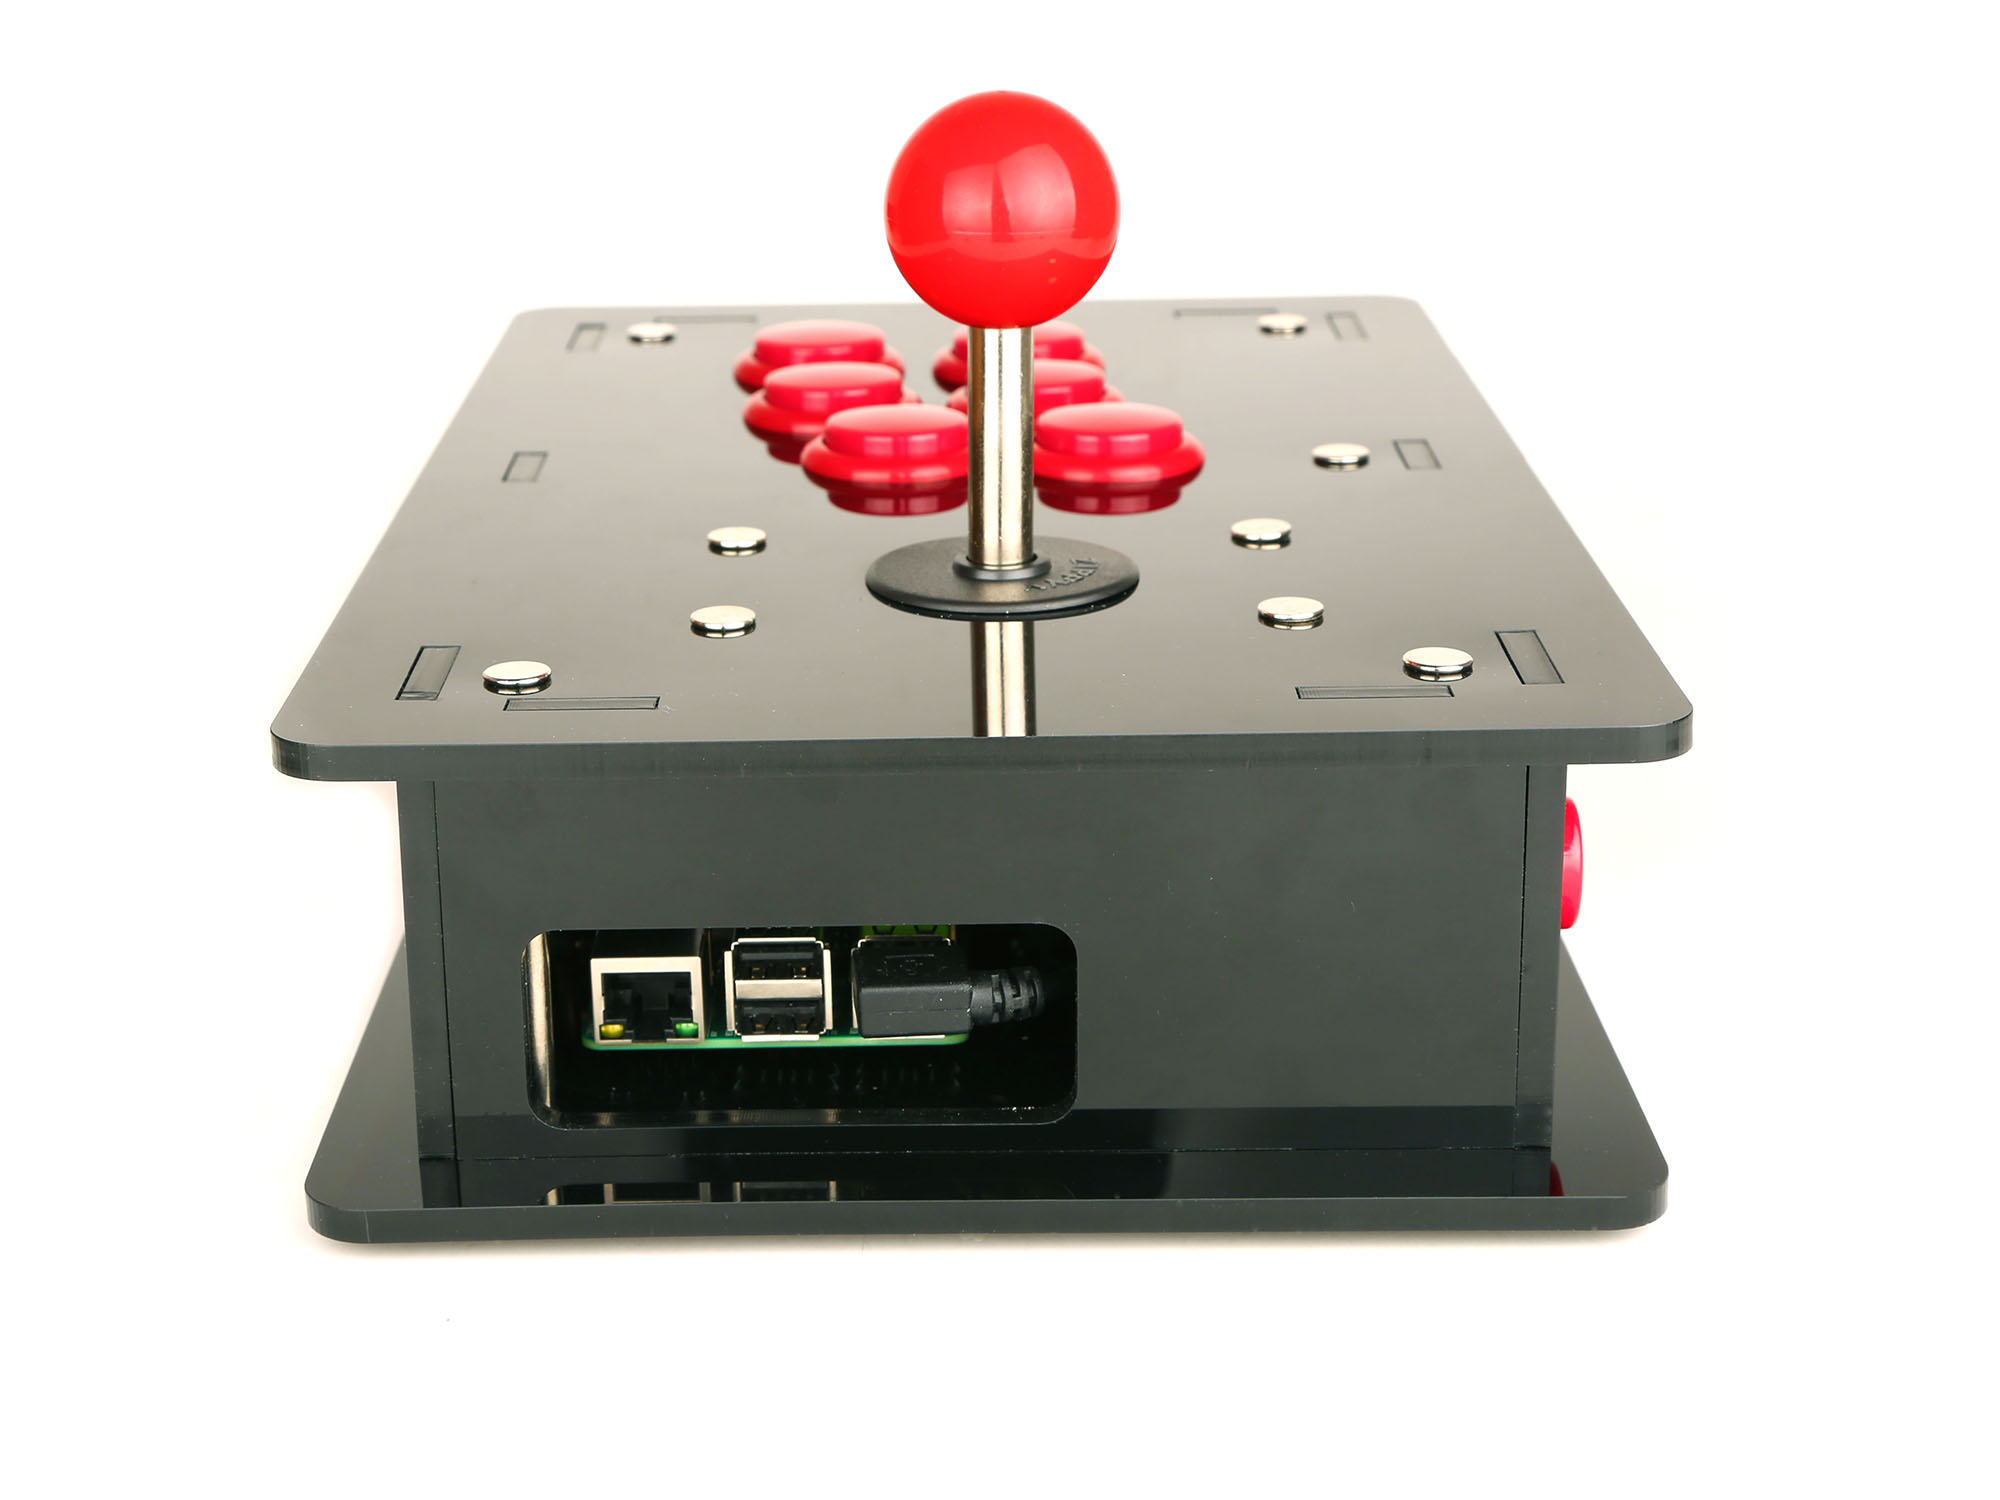
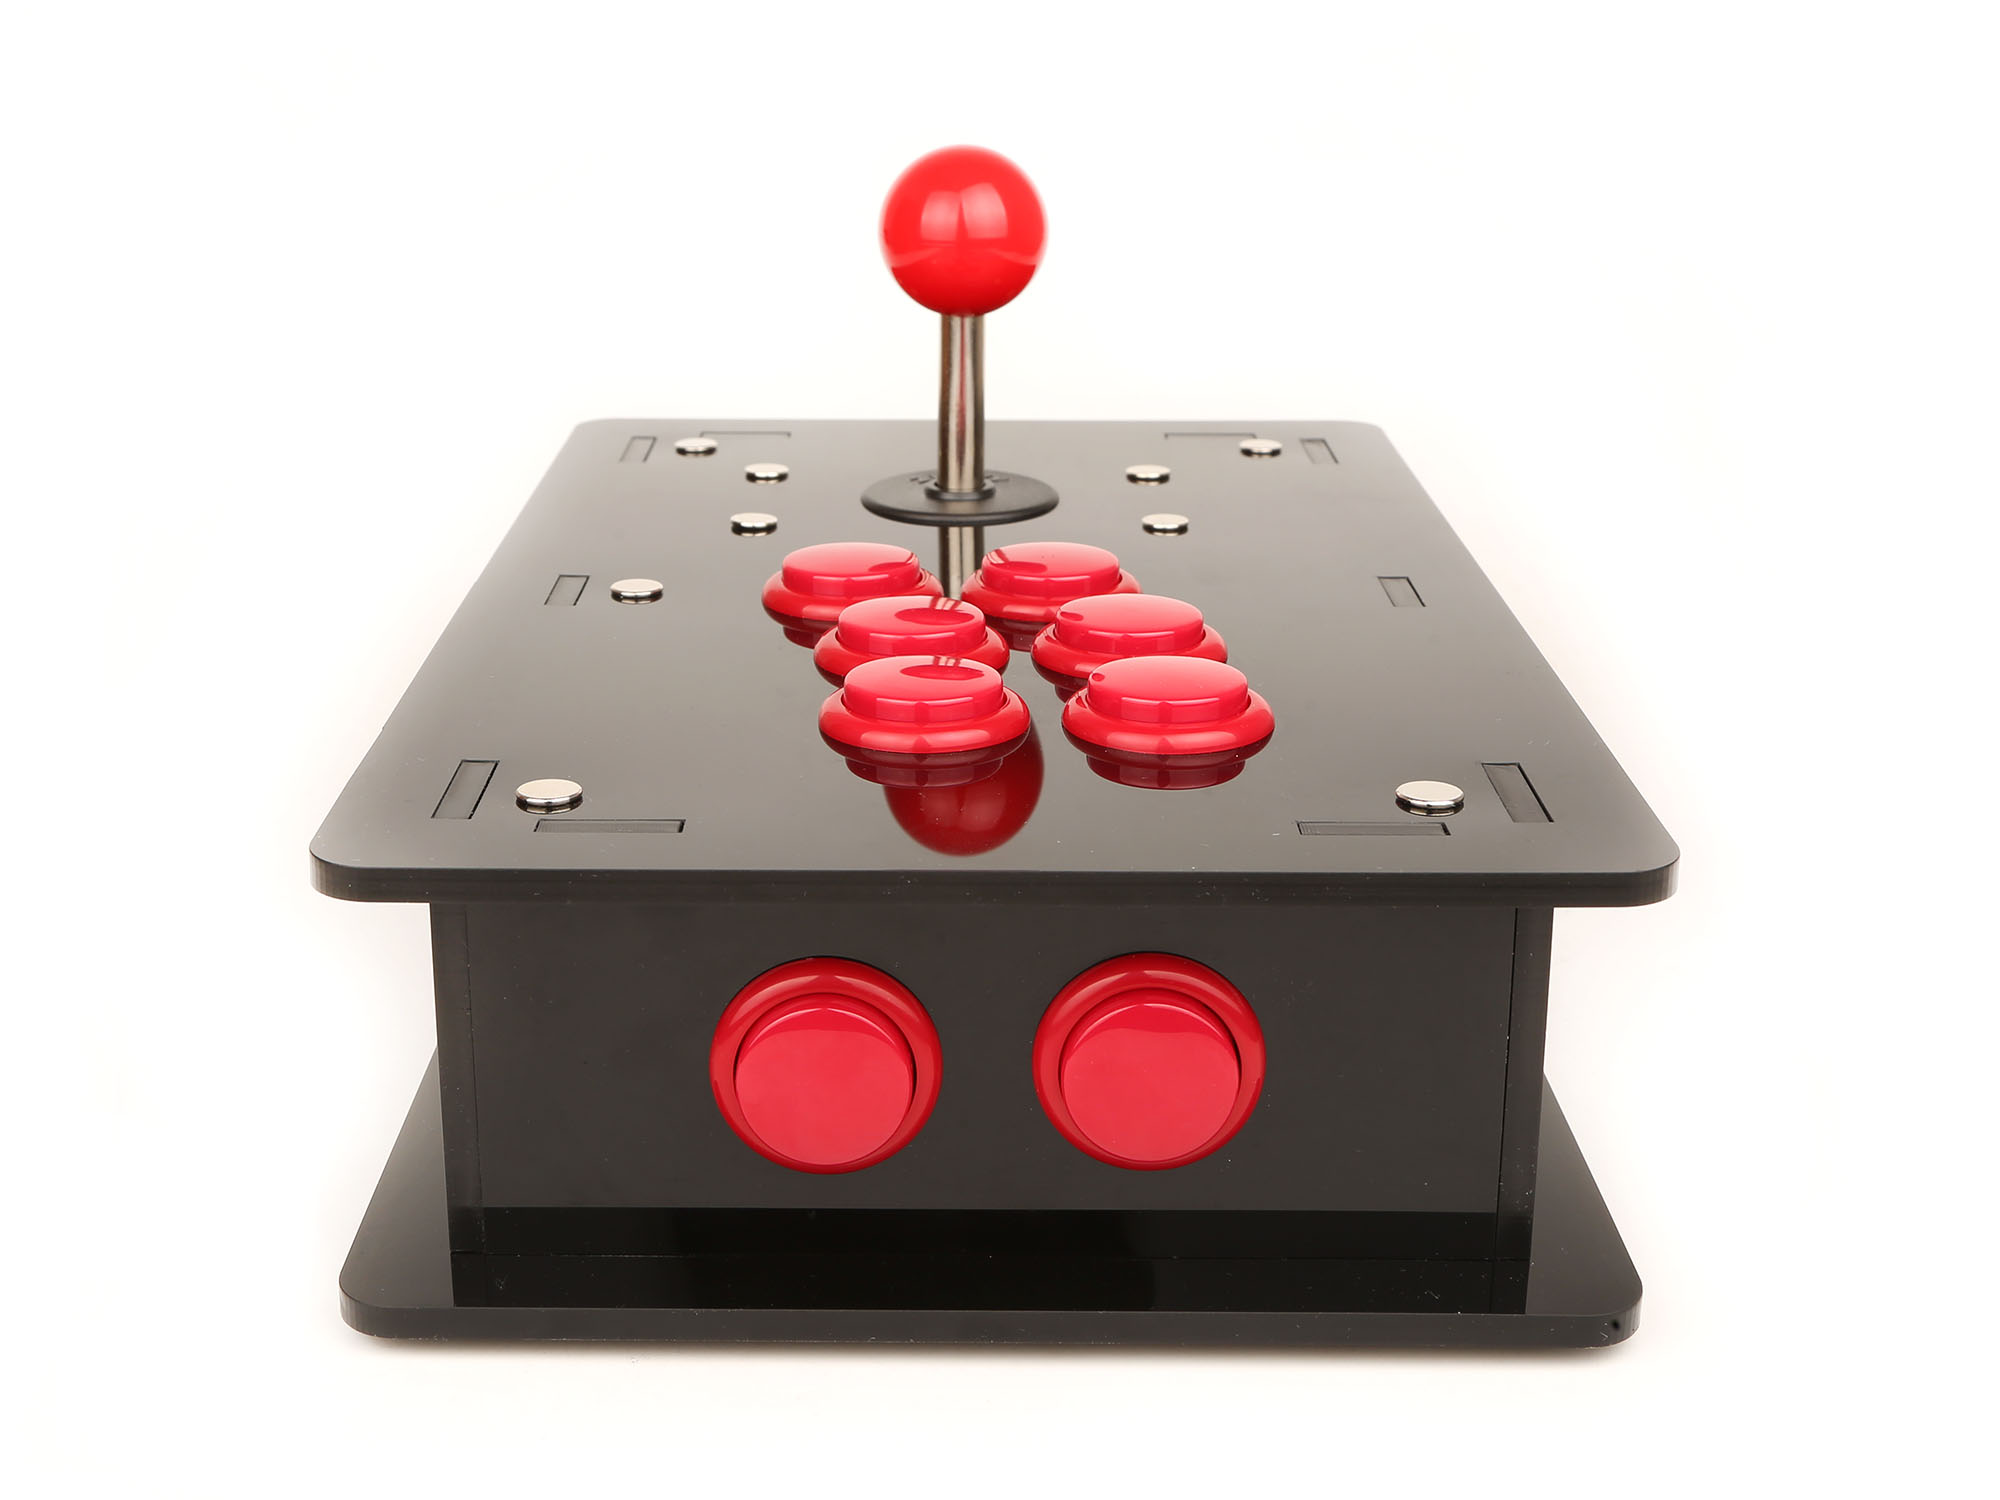
After that, hook up the HDMI to TV set and insert the TF card which is burned a OS called retroPie, it's a emulation station running on raspbian OS, and I've tried to download the Game ROMs from internet, for example, I want to play contract ,so i search it from google and download it, put this file to /home/pi/RetroPie/roms/nes folder and reboot the RetroPie. and also mapped the key button when it's start.
I have made a Tutorial video as following links:
https://www.youtube.com/watch?v=1ilDlXQOtzg
That's all. Thanks for watching~
hope you like it...