Smart Retro Vehicle

I aimed to transform my 007 roadster into a true James Bond vehicle, infusing it with futuristic functionalities modernizing this quarter-century-old sports car. Pioneering the initiative, I conceived and executed cutting-edge embedded systems, integrating features like fingerprint-based ignition, facial recognition media access, smart home synchronization, and proximity sensing capabilities. Upon achieving these objectives, I redirected my focus to tackling issues associated with smart home automation, revamping gadgets using the open-source Matter platform to harmonize my C-based code with the Apple HomeKit protocol. Utilizing esp32 chips and FPGAs for peripheral management, I independently funded and motivated an original car automation project. Leveraging the accessibility of development chips, I seamlessly integrated peripherals into development chips, effectively incorporating these standalone embedded systems into my 007 roadster. As a result, I now possess the ability to arm, operate, and oversee the vehicle using my fingerprint or via my smartphone through Siri protocol. This cost-effective yet dependable solution extends beyond personal transportation, offering enhanced security applications for homes, deposit boxes, and weapon security, among others.
Chip + Software: you can buy the chip with preloaded software, or DM for instructions on how to get started writing your own code.
Supplies
Central Locking Circuit

hand drawn circuit
Tapping Into Z3 Central Locking Signal-wires

Find the wires behind the door panel. They connect the door peripherals with the inside of the car
Cut WS/GN (white/green) signal wire & WS/SW (white/black) signal wire and connect them to the relays, then Tap into RT/GN (red/green) 12V wire- See hand drawn circuit above.
Wiring the Door FPS
- connect the FPS [red-yellow-green-black] 4 wires to the Seeeduino to establish serial communication, and ignore the white and blue wires since they have redundant functions.
- Use the hammer to remove a pin in the door henge, this will allow the door to open wider than its nominal range.
- Now you can use the wrenches to unscrew the wires boot and thread a cable through as shown.
- Repeat this for the other door and the trunk.
ProTip: you can use a phone charger cable since it already has the 4 wires required for serial communication, and it's thin enough to be squeezed through boot of the cars door jamb.
Ignition Circuit
coming soon
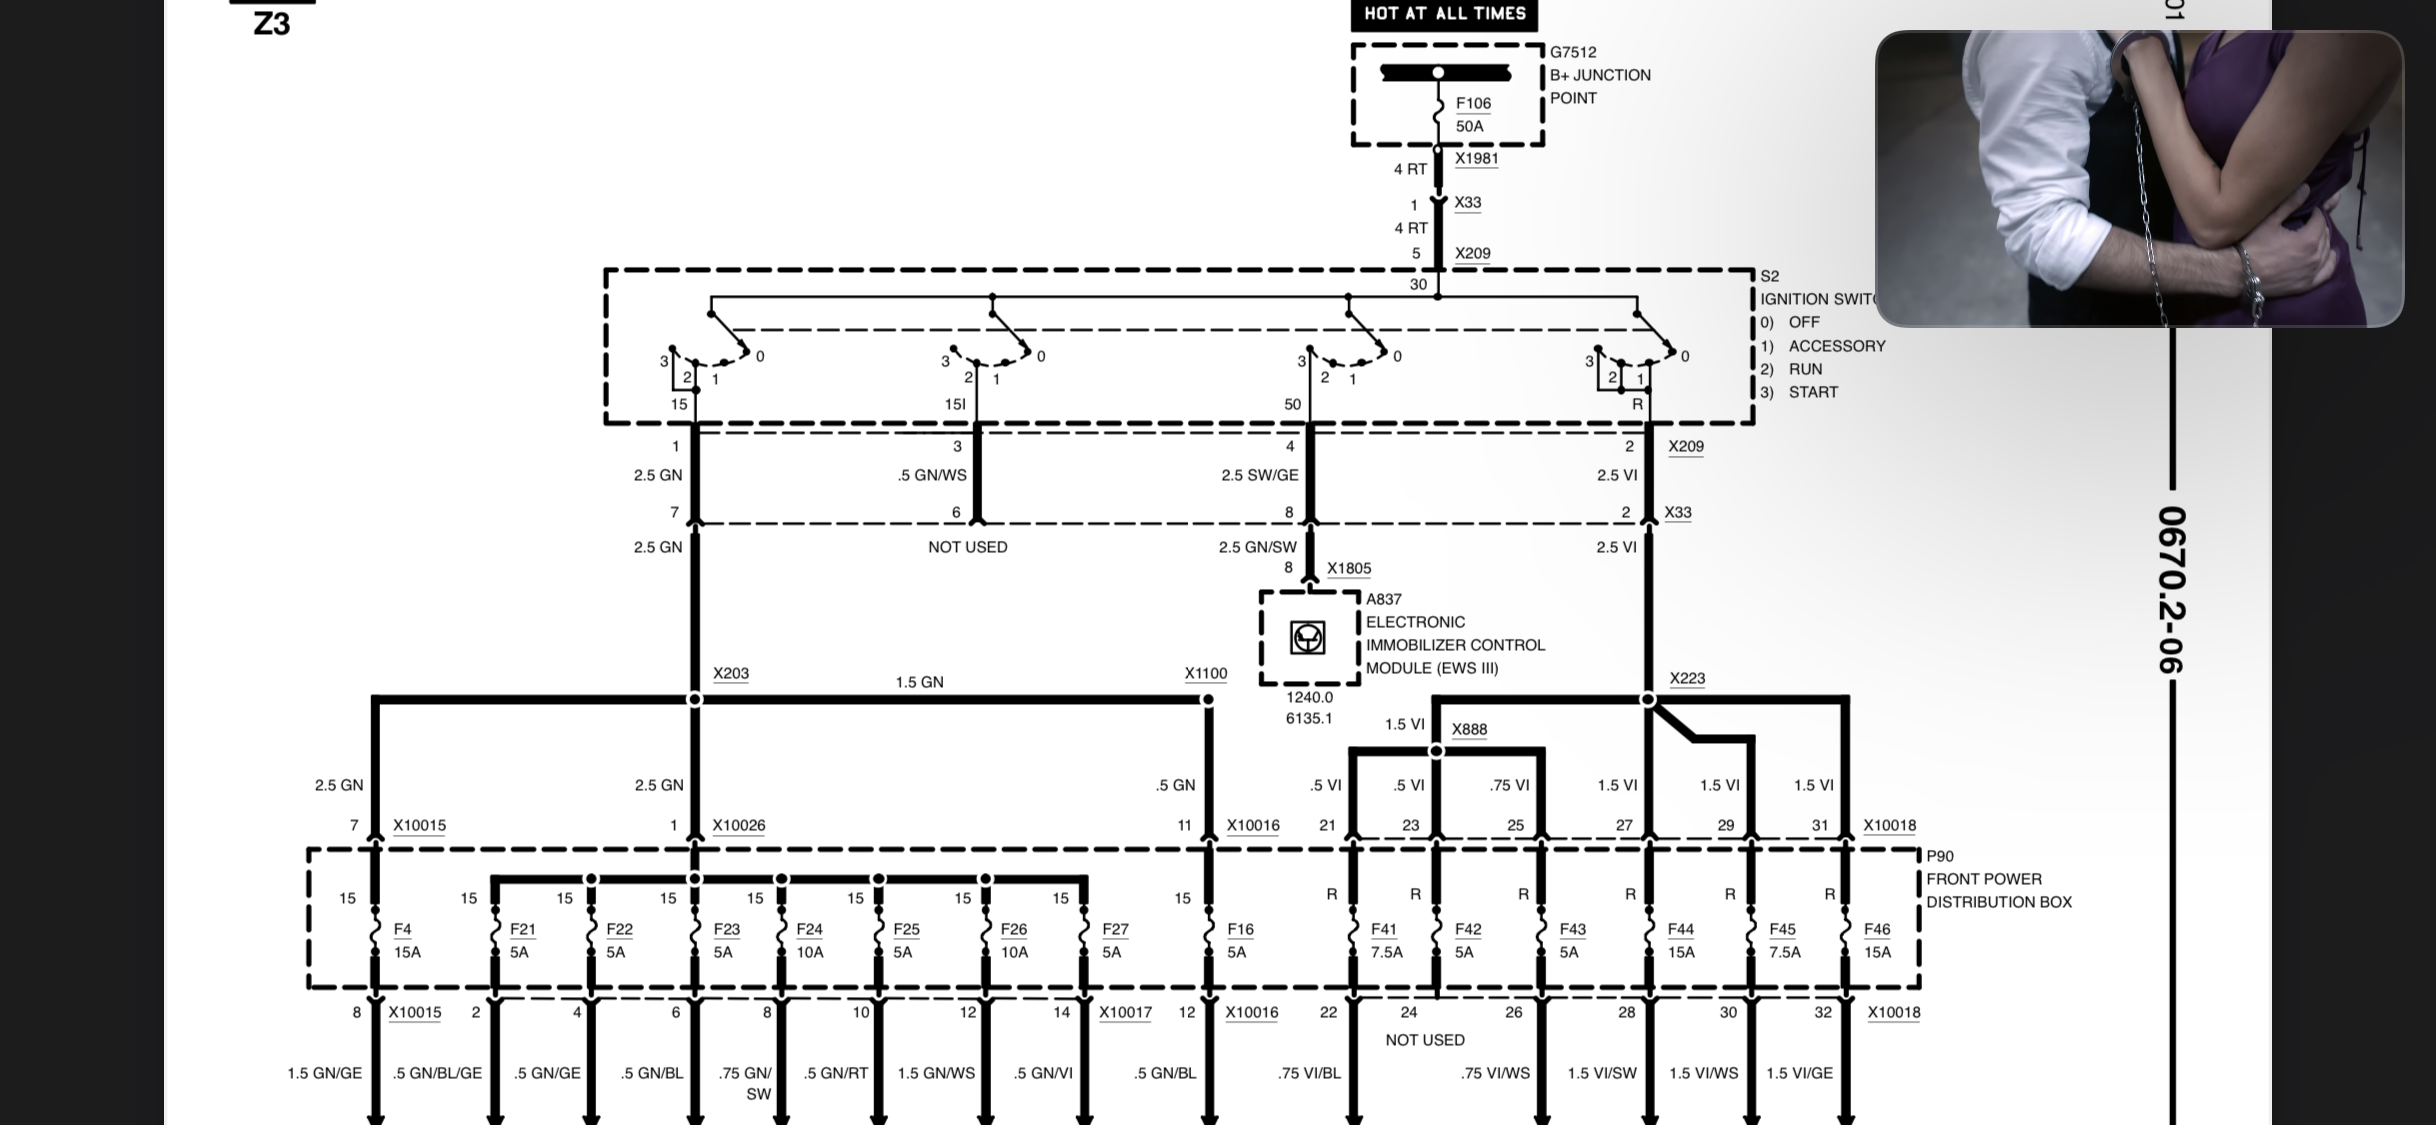
Tapping Into Z3 Ignition Signal-Wires

coming soon... here's a teaser
Smart Home Integration
Here I give the car WIFI&BLE capabilities to control it with Siri (Apple Homekit)
coming soon