Access Your Raspberry Pi Zero From the First Start With WiFi Using WPS
by Max2Play in Circuits > Raspberry Pi
7315 Views, 33 Favorites, 0 Comments
Access Your Raspberry Pi Zero From the First Start With WiFi Using WPS

With the new Raspberry Pi Zero fresh on the market, we at Max2Play had to find a quick and easy way to make our image compatible with this little wonder. But to just have it running Max2Play is not enough. Since the Zero does not have a native LAN port, we had to find a way to automatically connect it to the local network through the tried and true WiFi Stick. With our new WPS feature, the Raspberry Pi Zero can be connected to your network on its first start without using any interfaces or commands.
This Instructable tells you how to makes this happen so that you can start enjoying Max2Play on the Zero from its first boot.
Important: WPS connectivity is not a security issue with the temporary application of this setup. The WPS feature is only used for the first connection to the Raspberry Pi Zero and does not pose a security threat.
Step 1: Burn the Max2Play Image

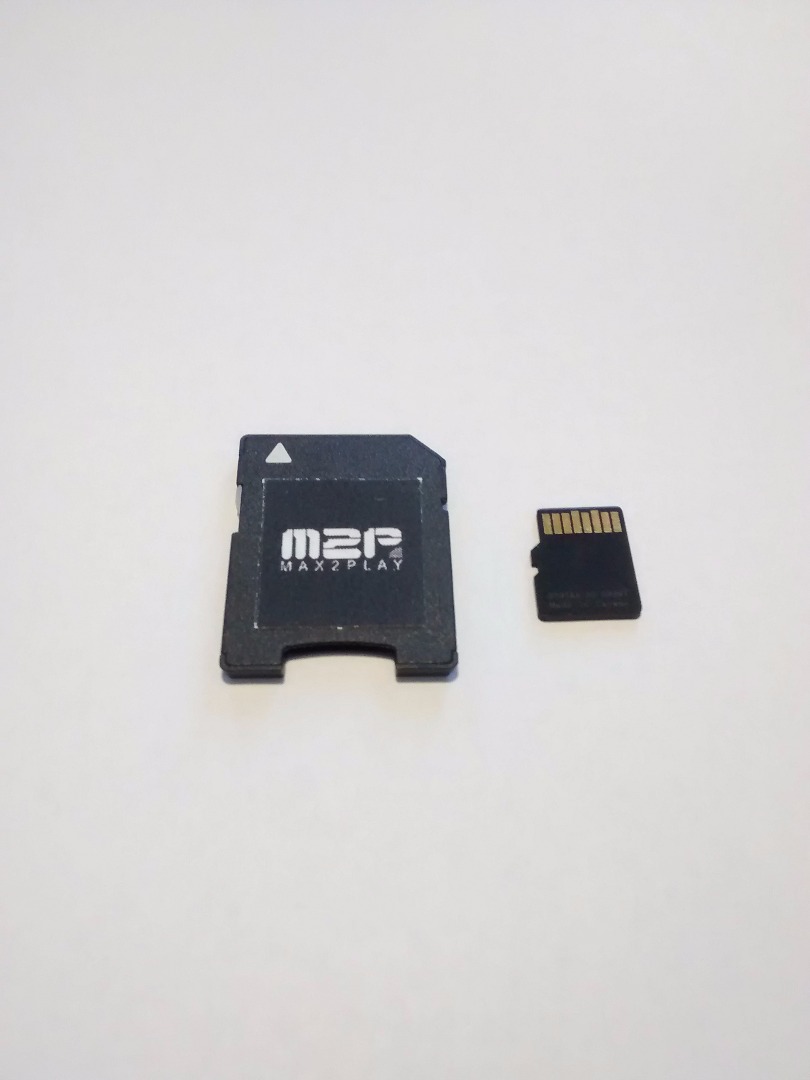
The images for download on Max2Play are all packed in .rar or .zip files and can be burnt onto a card using a simple tool like the WinDiskImager for Windows. Just let it burn and once the process is done, put the card into the Raspberry Pi. Please use a microSD card Class 10 or higher to prevent any issues.
Optional: You can also order an already burnt and configured microSD card from Max2Play.
Step 2: Assemble the Setup


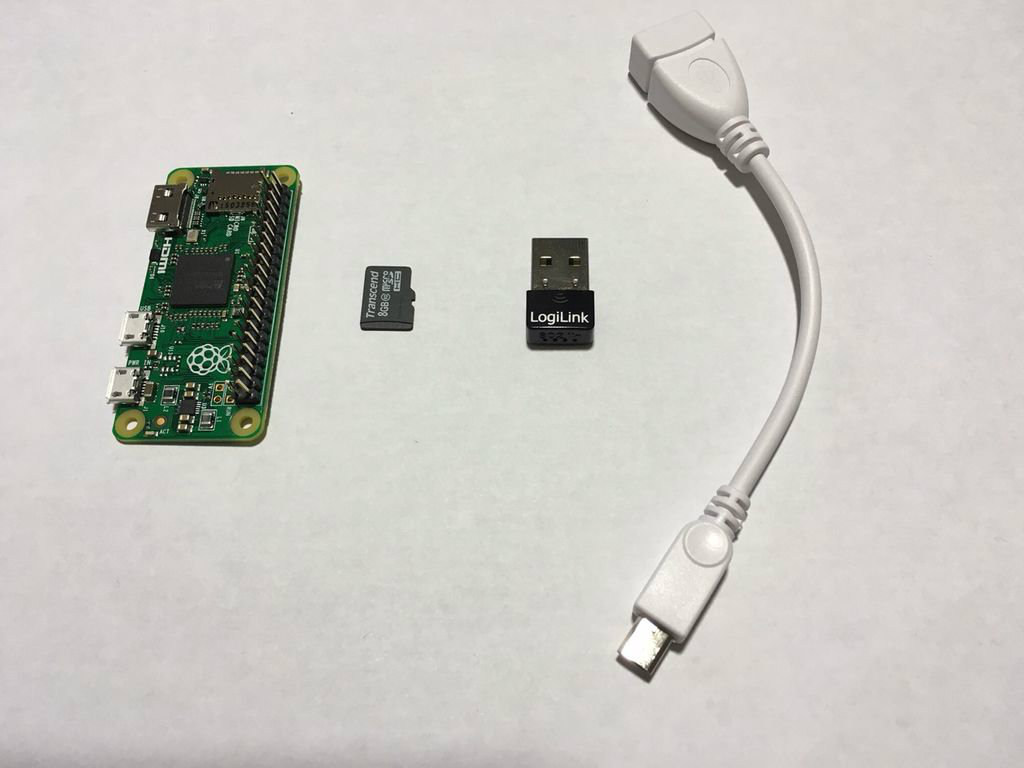
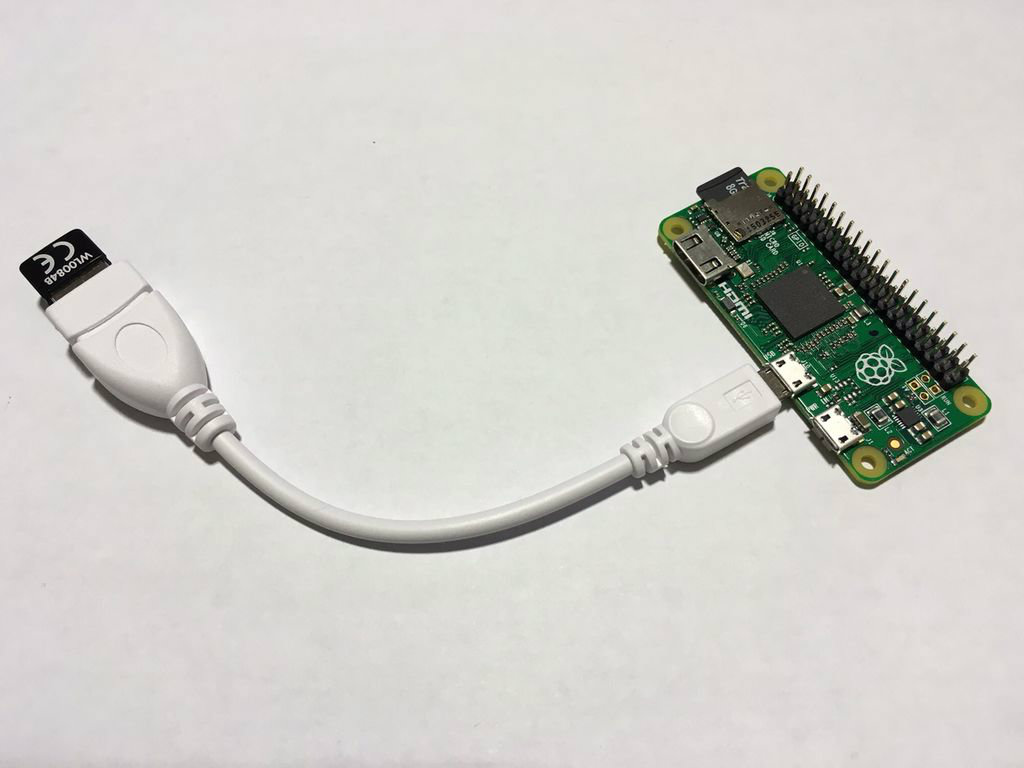
The Raspberry Pi Zero only has a micro USB port, however, a cable for connecting normal USB devices is included in the purchase. In order to use the WiFi Stick, we need to connect the WiFi Stick to the Zero using the USB cable. After that, we can insert our burnt image microSD card into the slot.
Important: The image needs to be Max2Play version 2.26 or higher in order to work.
Step 3: Connect the Zero to Your Network

First you need to make sure that your router supports WPS. If you are not sure if and how your router's WPS can be activated, please check the instruction manual or contact the manufacturer. With Fritzbox routers for example, you need to press and hold the WiFi button until the WiFi LED starts blinking. Depending on your router, the WPS should now actively be searching for new WiFi connections for ca. two minutes.
Now it is time to connect our prepared Raspberry Pi Zero to its power supply. After finishing the boot process, the Zero should automatically connect to your network without any other preparations. You can now see the Zero as "max2play" in your connected devices list on your router and are able to access the Max2Play Webinterface under "http://max2play/" with any browser in your network.
Get started exploring Max2Play's many plugins and applications!