Abbey Road Record Clock
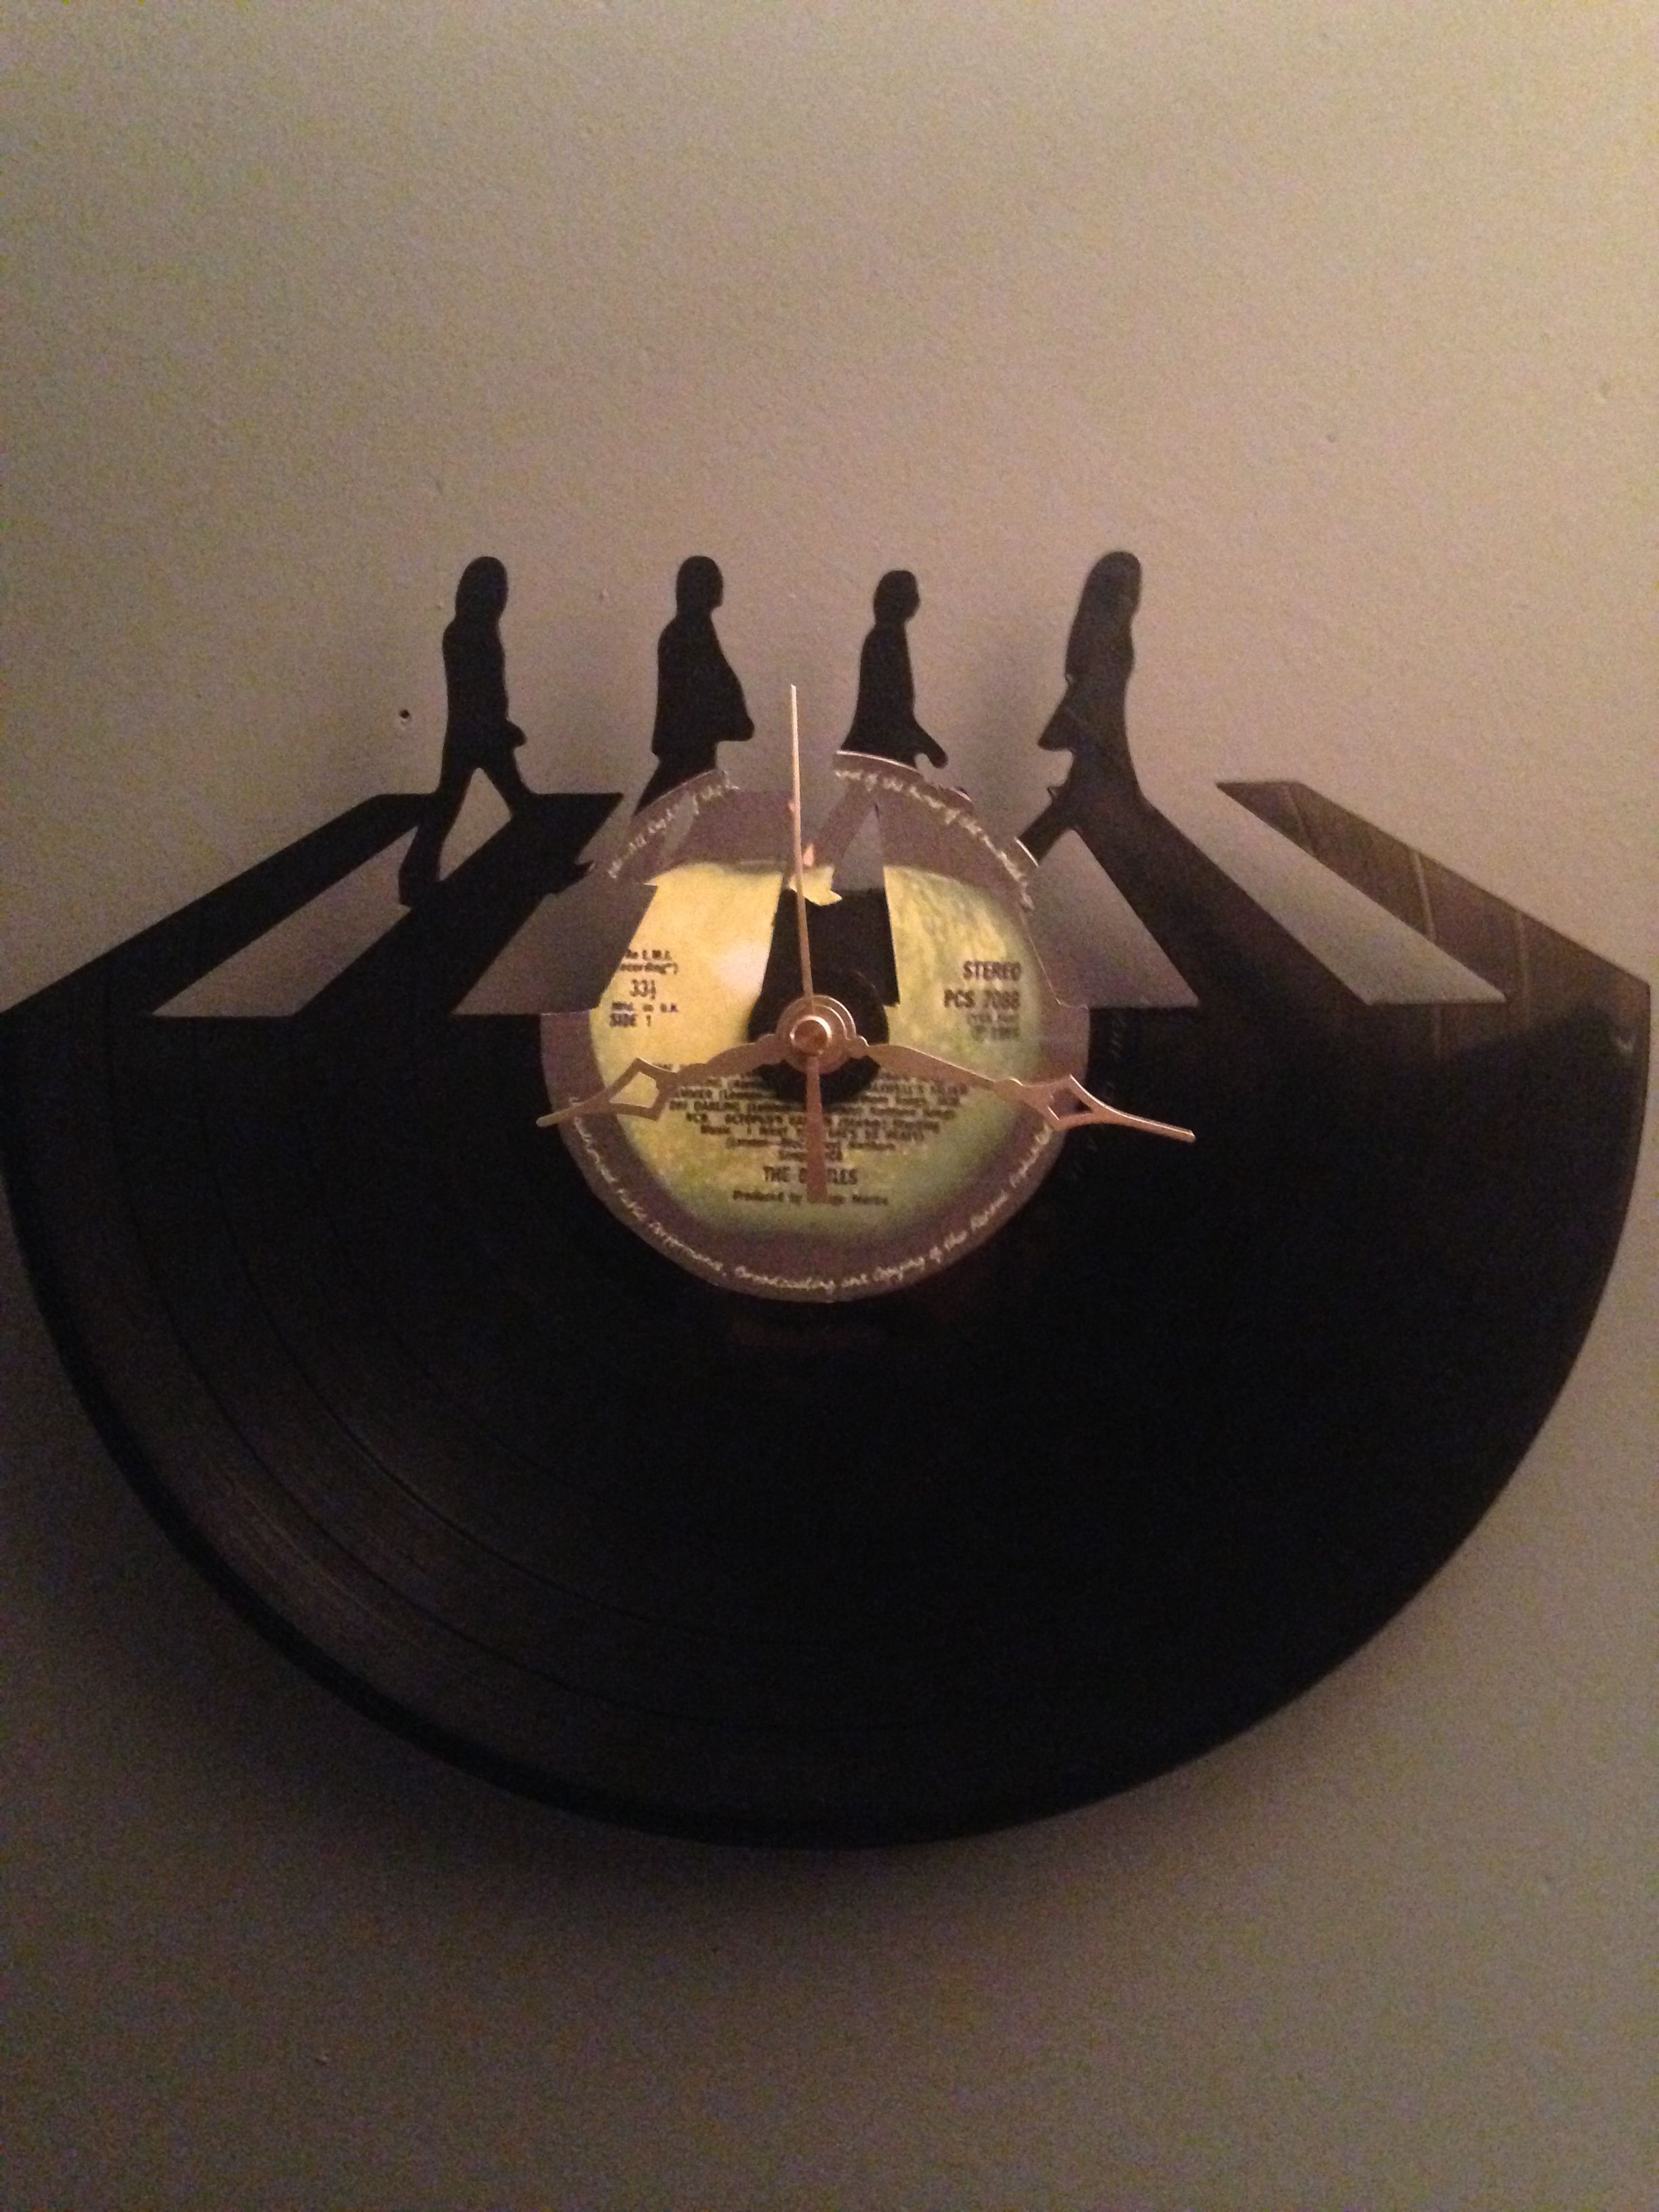
Are you a Beatles fan and vinyl junkie? Are you looking for "Something" unique, easy, and inexpensive to make? "Imagine all the people..." staring at this clock that you can create! So let's "Come Together" and make this iconic clock step by step.
Supplies and Tools

.jpg)

You will need to acquire the following supplies:
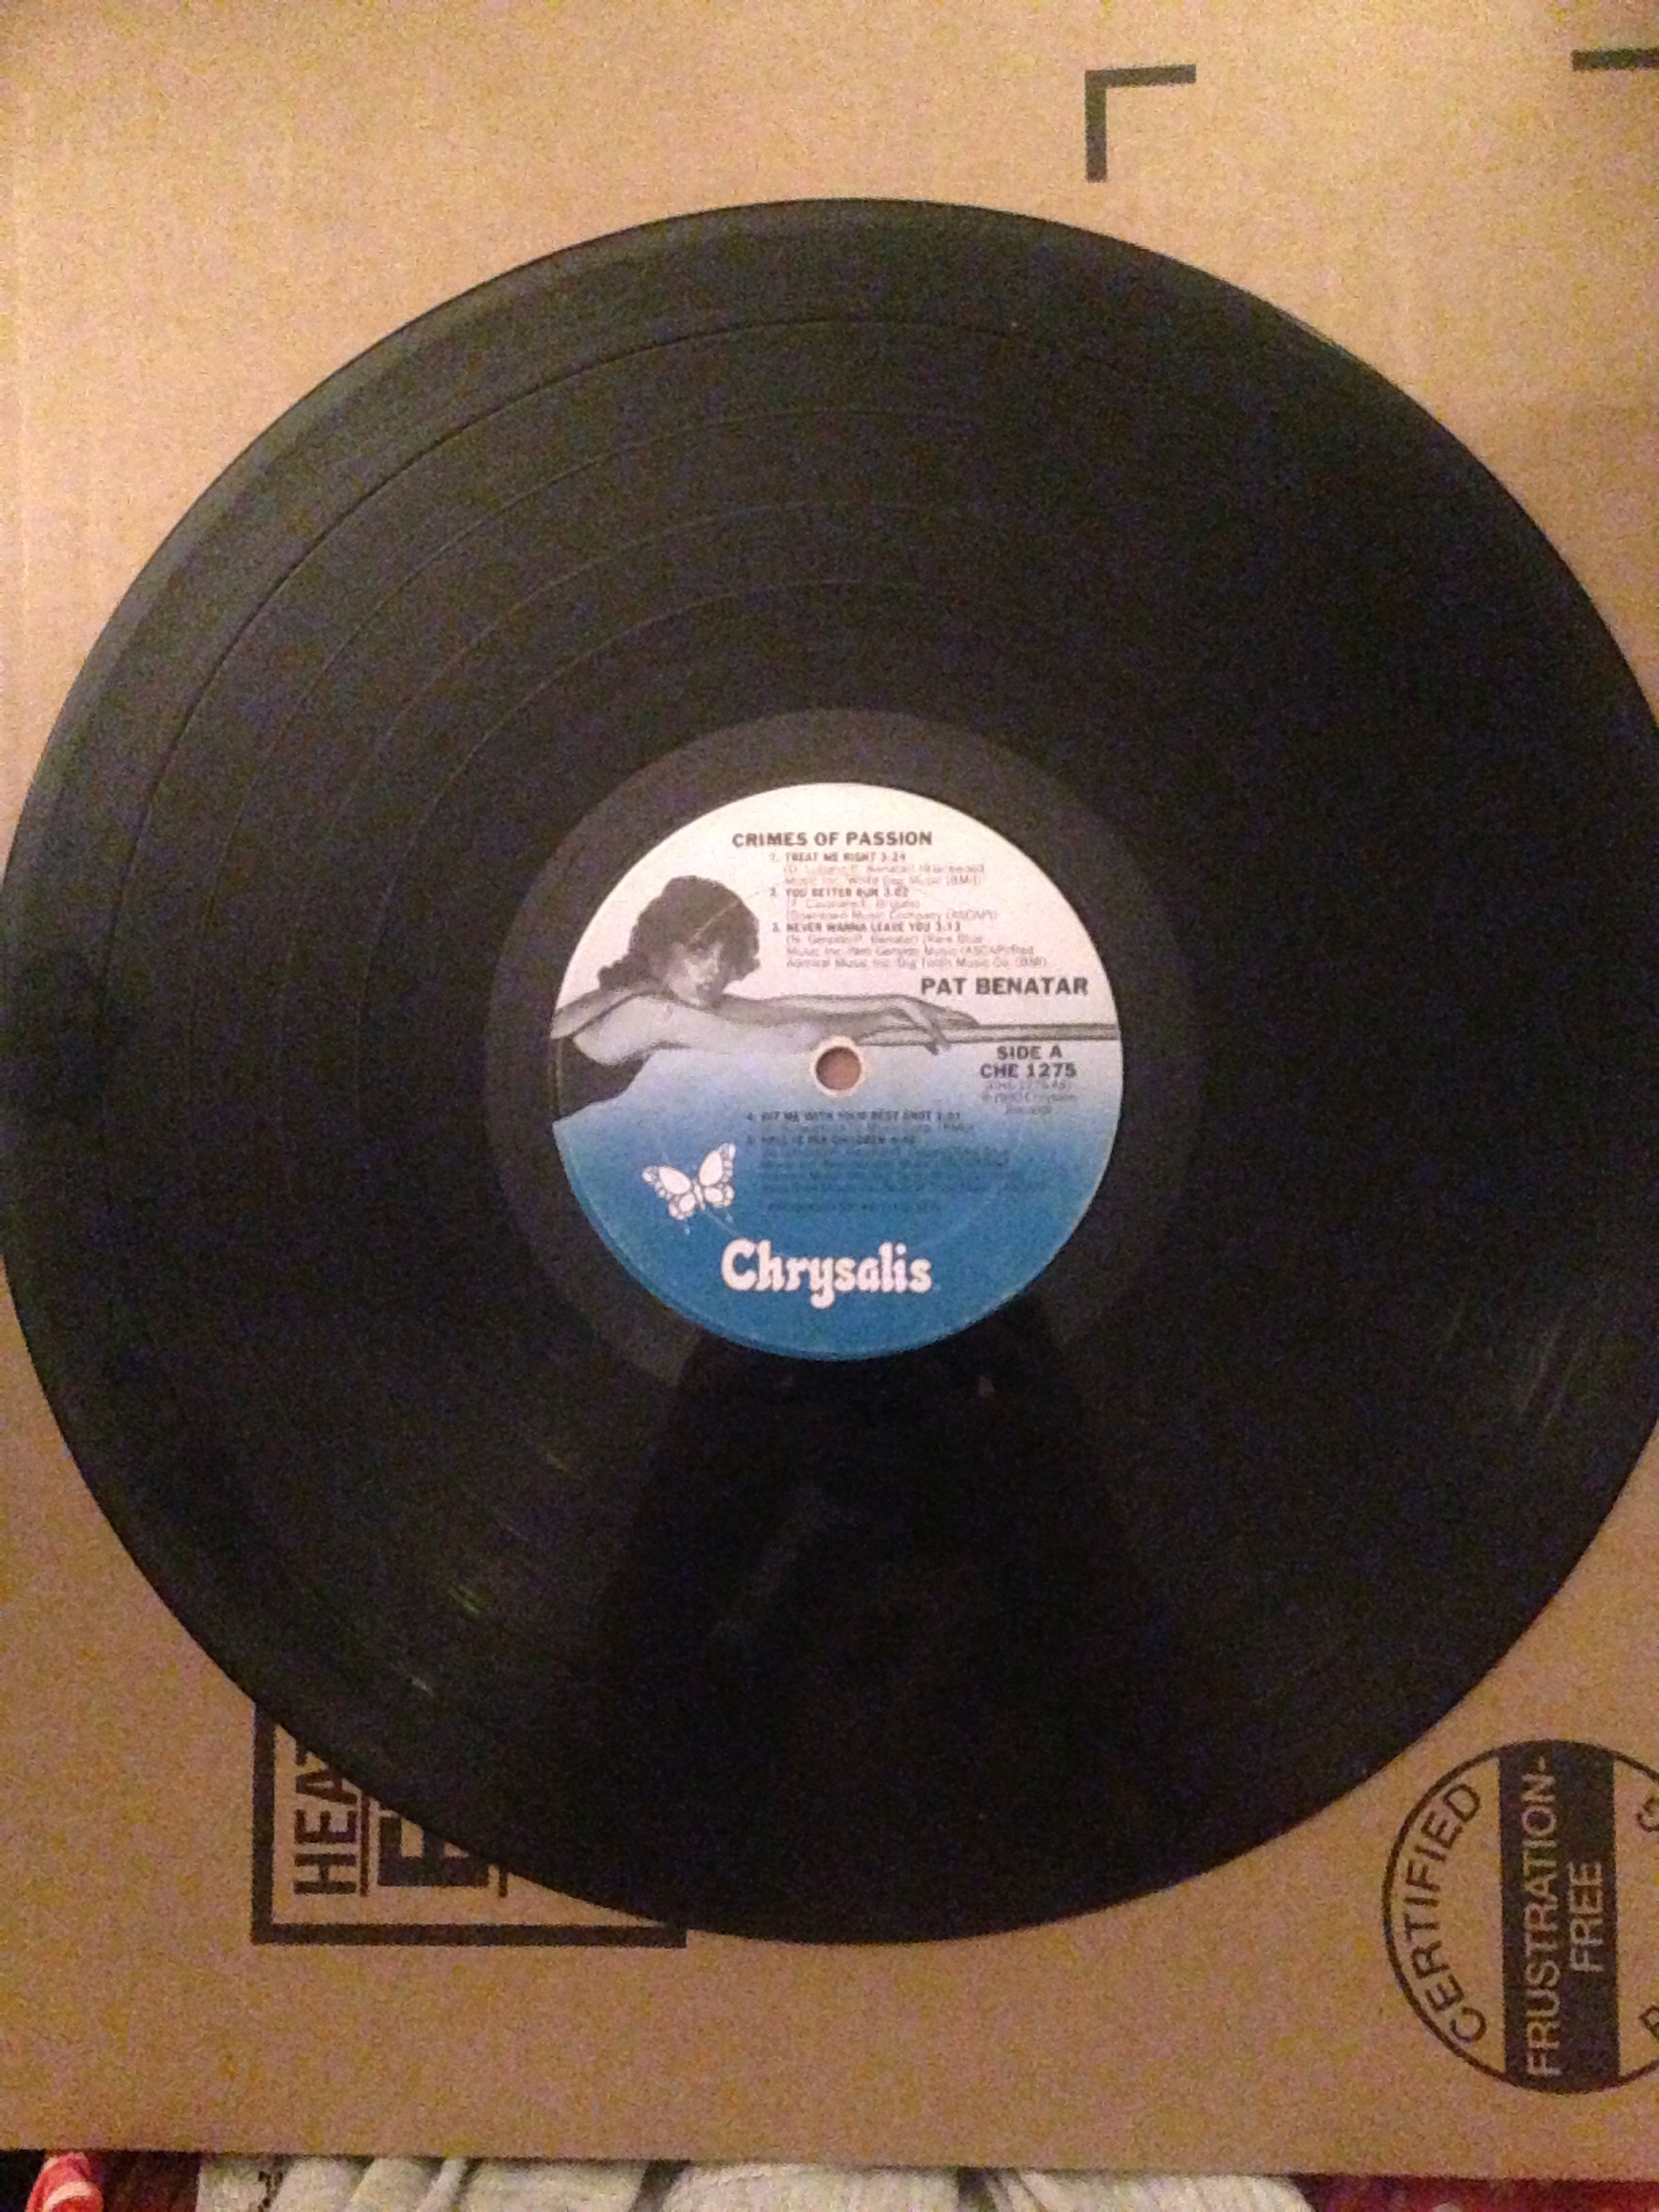
- Inexpensive vinyl record (I advise against using an actual Abbey Road record due to its high value)
- Glossy or matte 4" paper print out of the center Abbey Road label
- White glue
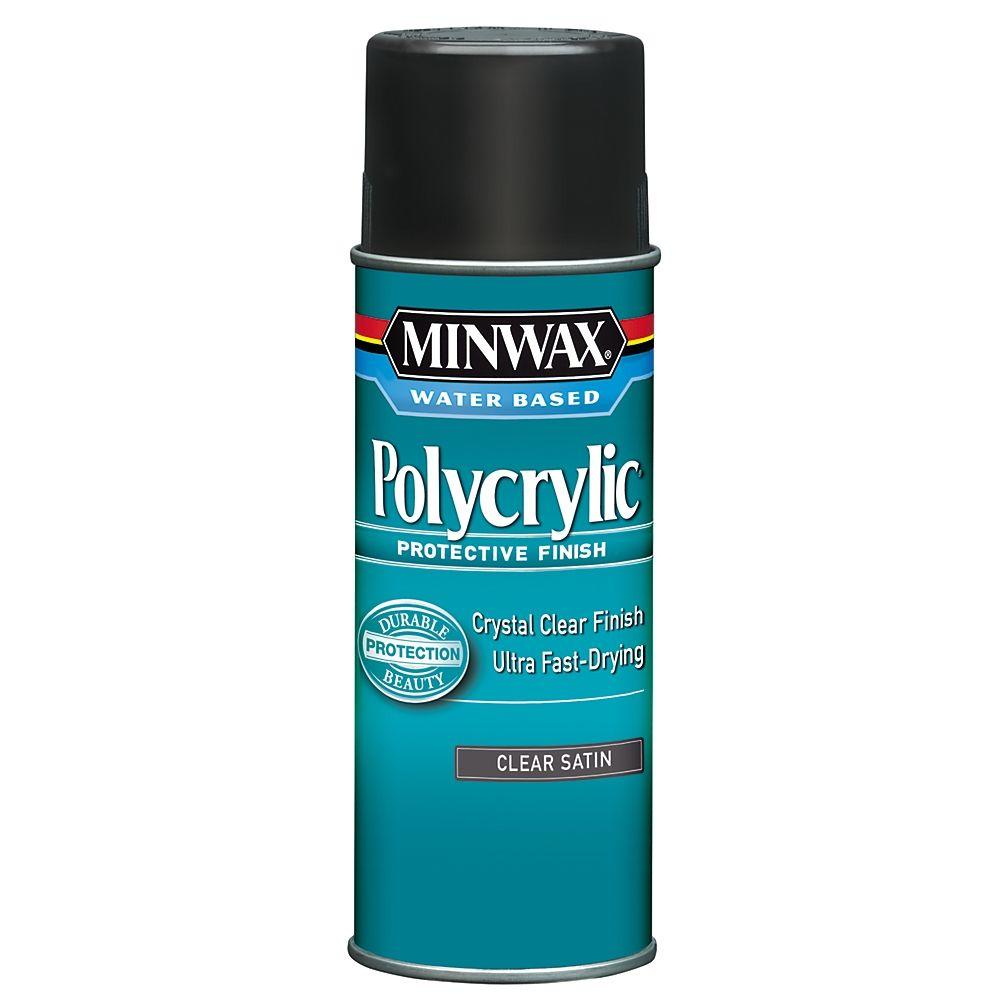
- MINWAX Polycrylic Clear Satin Finish
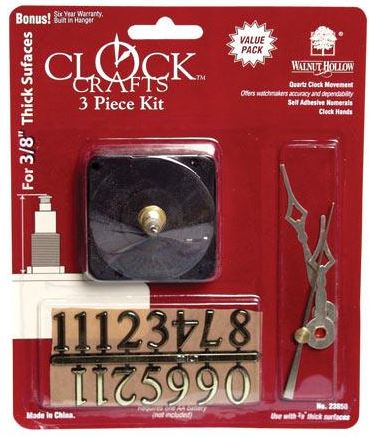
- Clock Kit which includes: clock gear box and clock arms
- One AA battery
Tools:
- Adobe Illustrator program
- Laser Cutter
- Exact-O-Knife
Virtual Technical Drawing/Cutting Out
.jpg)

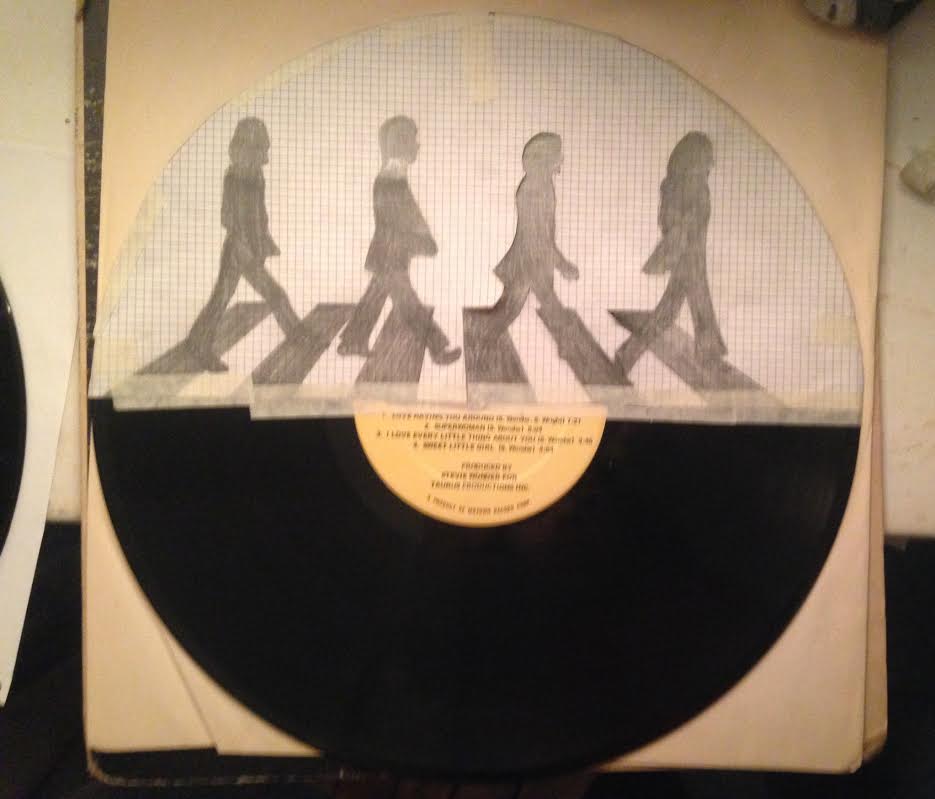
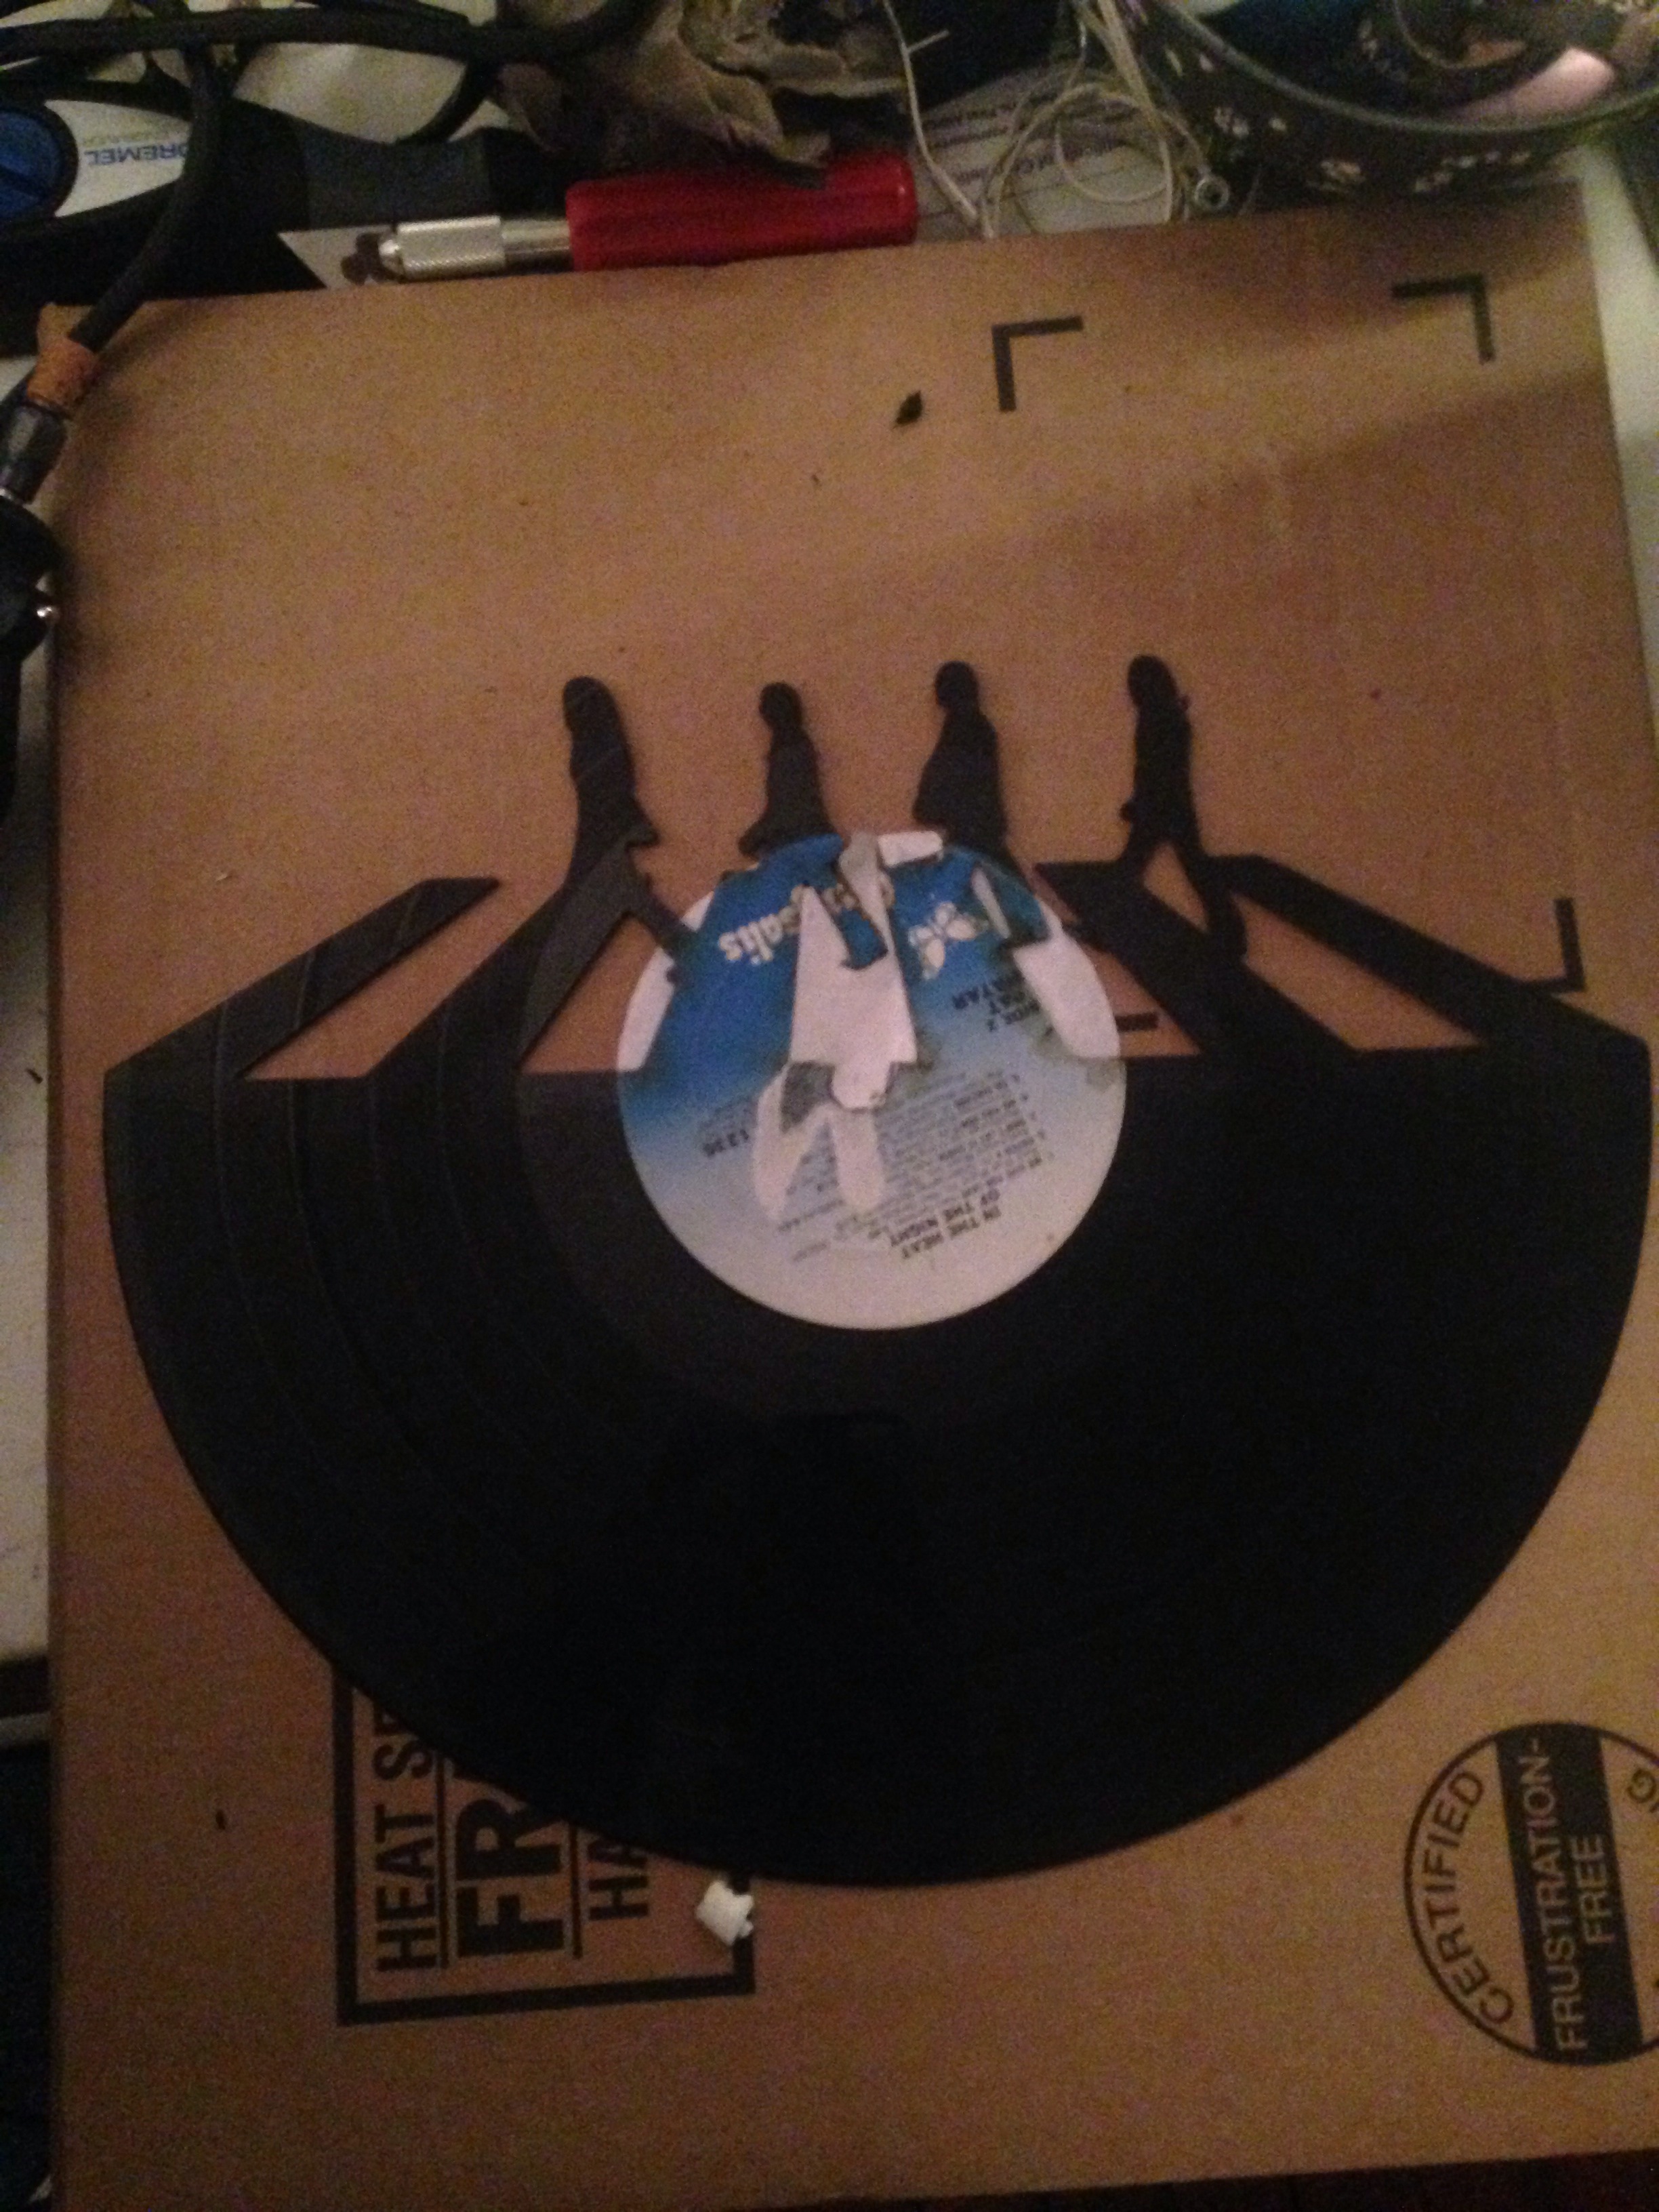
Initially, my intent was to manually cut out the silhouette using a standard Dremel cutting wheel. The high speed of the Dremel causes the vinyl to melt and adhere to the bit, resulting in a disastrous outcome. Other forms of sawing result in the vinyl cracking and shattering randomly.
A much more precise and quick method would be to use a laser cutter.
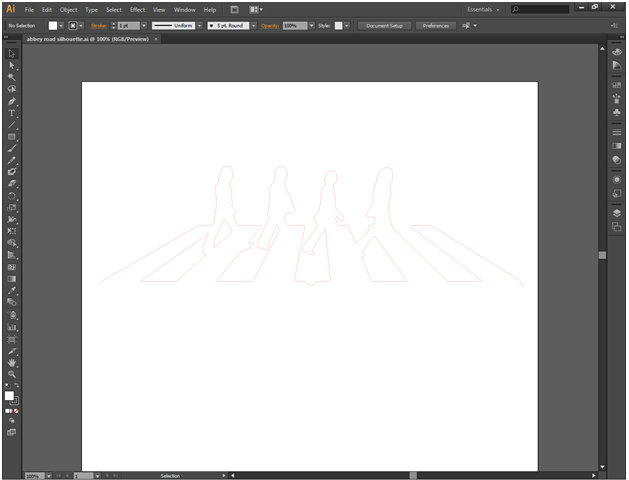
- Google search "Abbey Road Silhouette" and chose whichever version you prefer. Larger images are recommended for Illustrator
- Using the program, Adobe Illustrator 64 Bit, you can drag and drop an image from the downloads bar at the bottom of Google Chrome and create a virtual technical drawing.
- By changing the page dimensions to 13"x13", you can chose the ellipse tool to make a 12"x12" circle (vinyl size).
- A step-by-step Adobe Illustrator tutorial will be available soon to show the somewhat more complicated method of tracing this silhouette and sending the information to the laser cutter.
Until then, these YouTube videos explain how to use the program to prepare files for the laser cutter:
Applying the Center Label

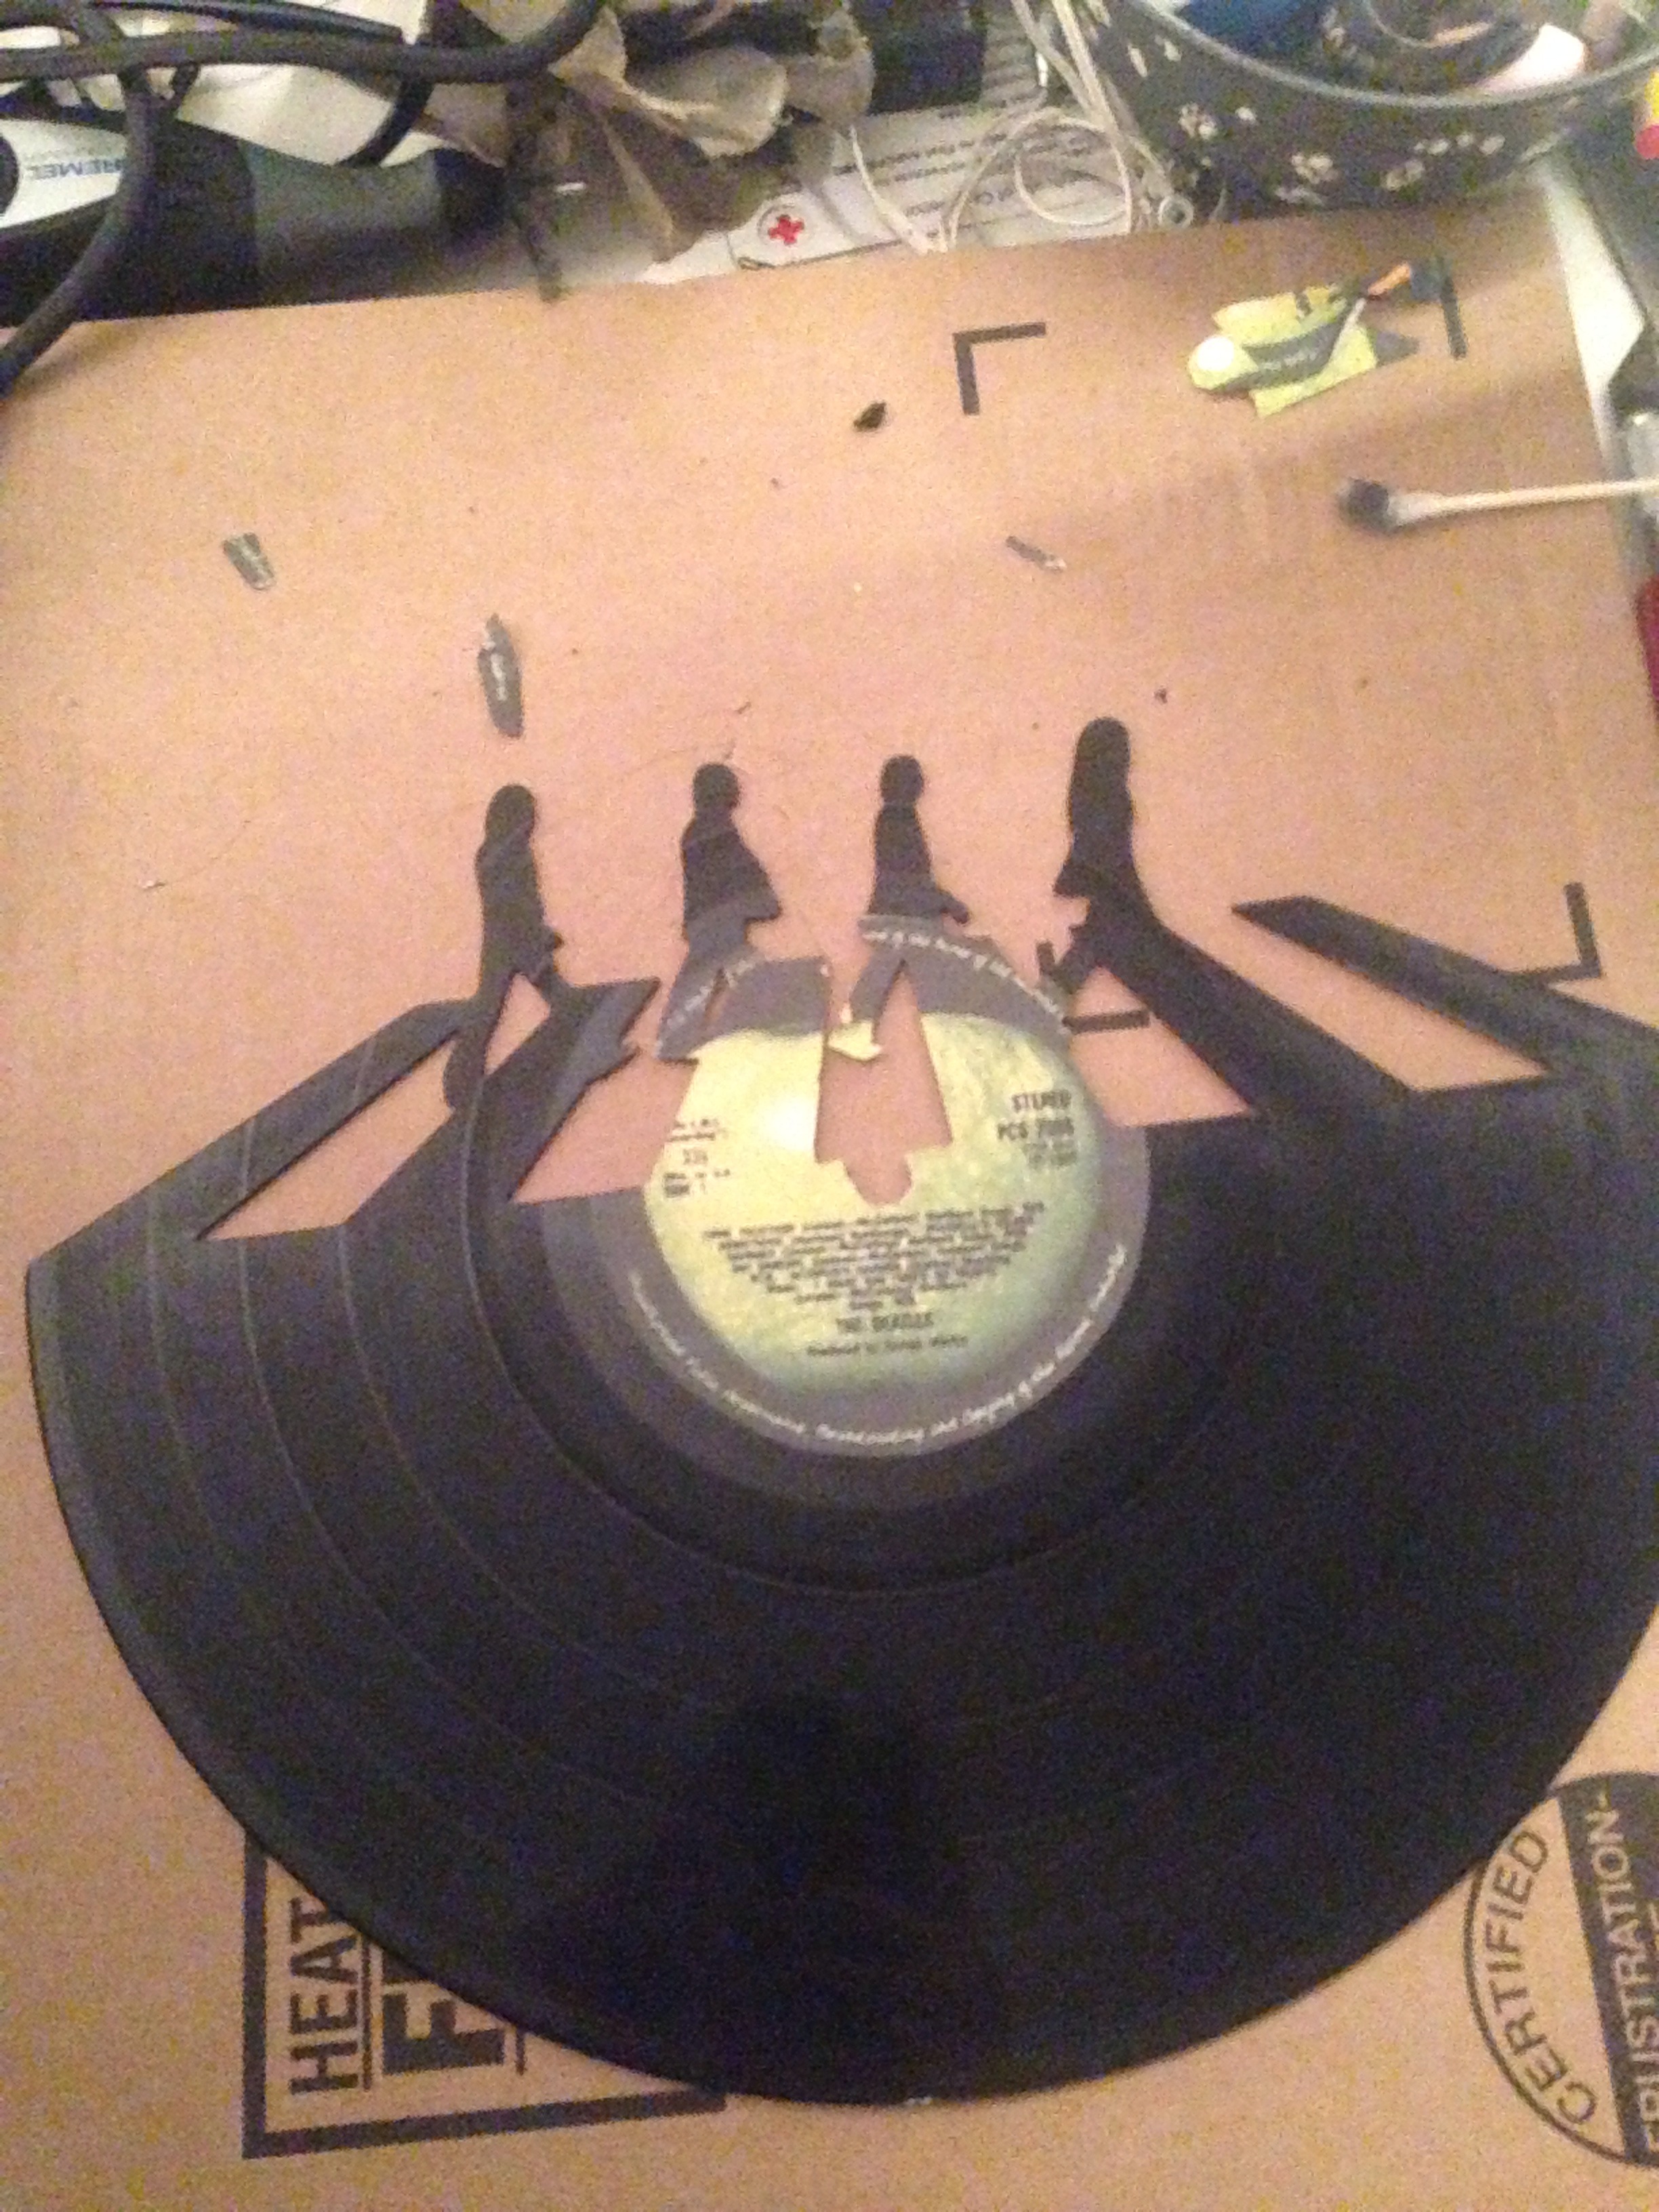
In order for the clock to look authentic, it is important to carefully apply the center label.
- Google search "Abbey Road center label" and chose an image that can easily be cut out
- Using any program of choice (I used Microsoft Word), change the image dimensions to 4"x4"
- Print on either glossy or matte paper (I used regular paper), whichever is preferred and cut the circle out neatly
- Thin glue paste slightly with water to avoid having the paper bubble up
- Apply a thin, even coat of glue to the paper and/or the record label
- Once dry, flip record and cut away excess paper
- Apply a thin clear coat finish on the center label
Clock Application
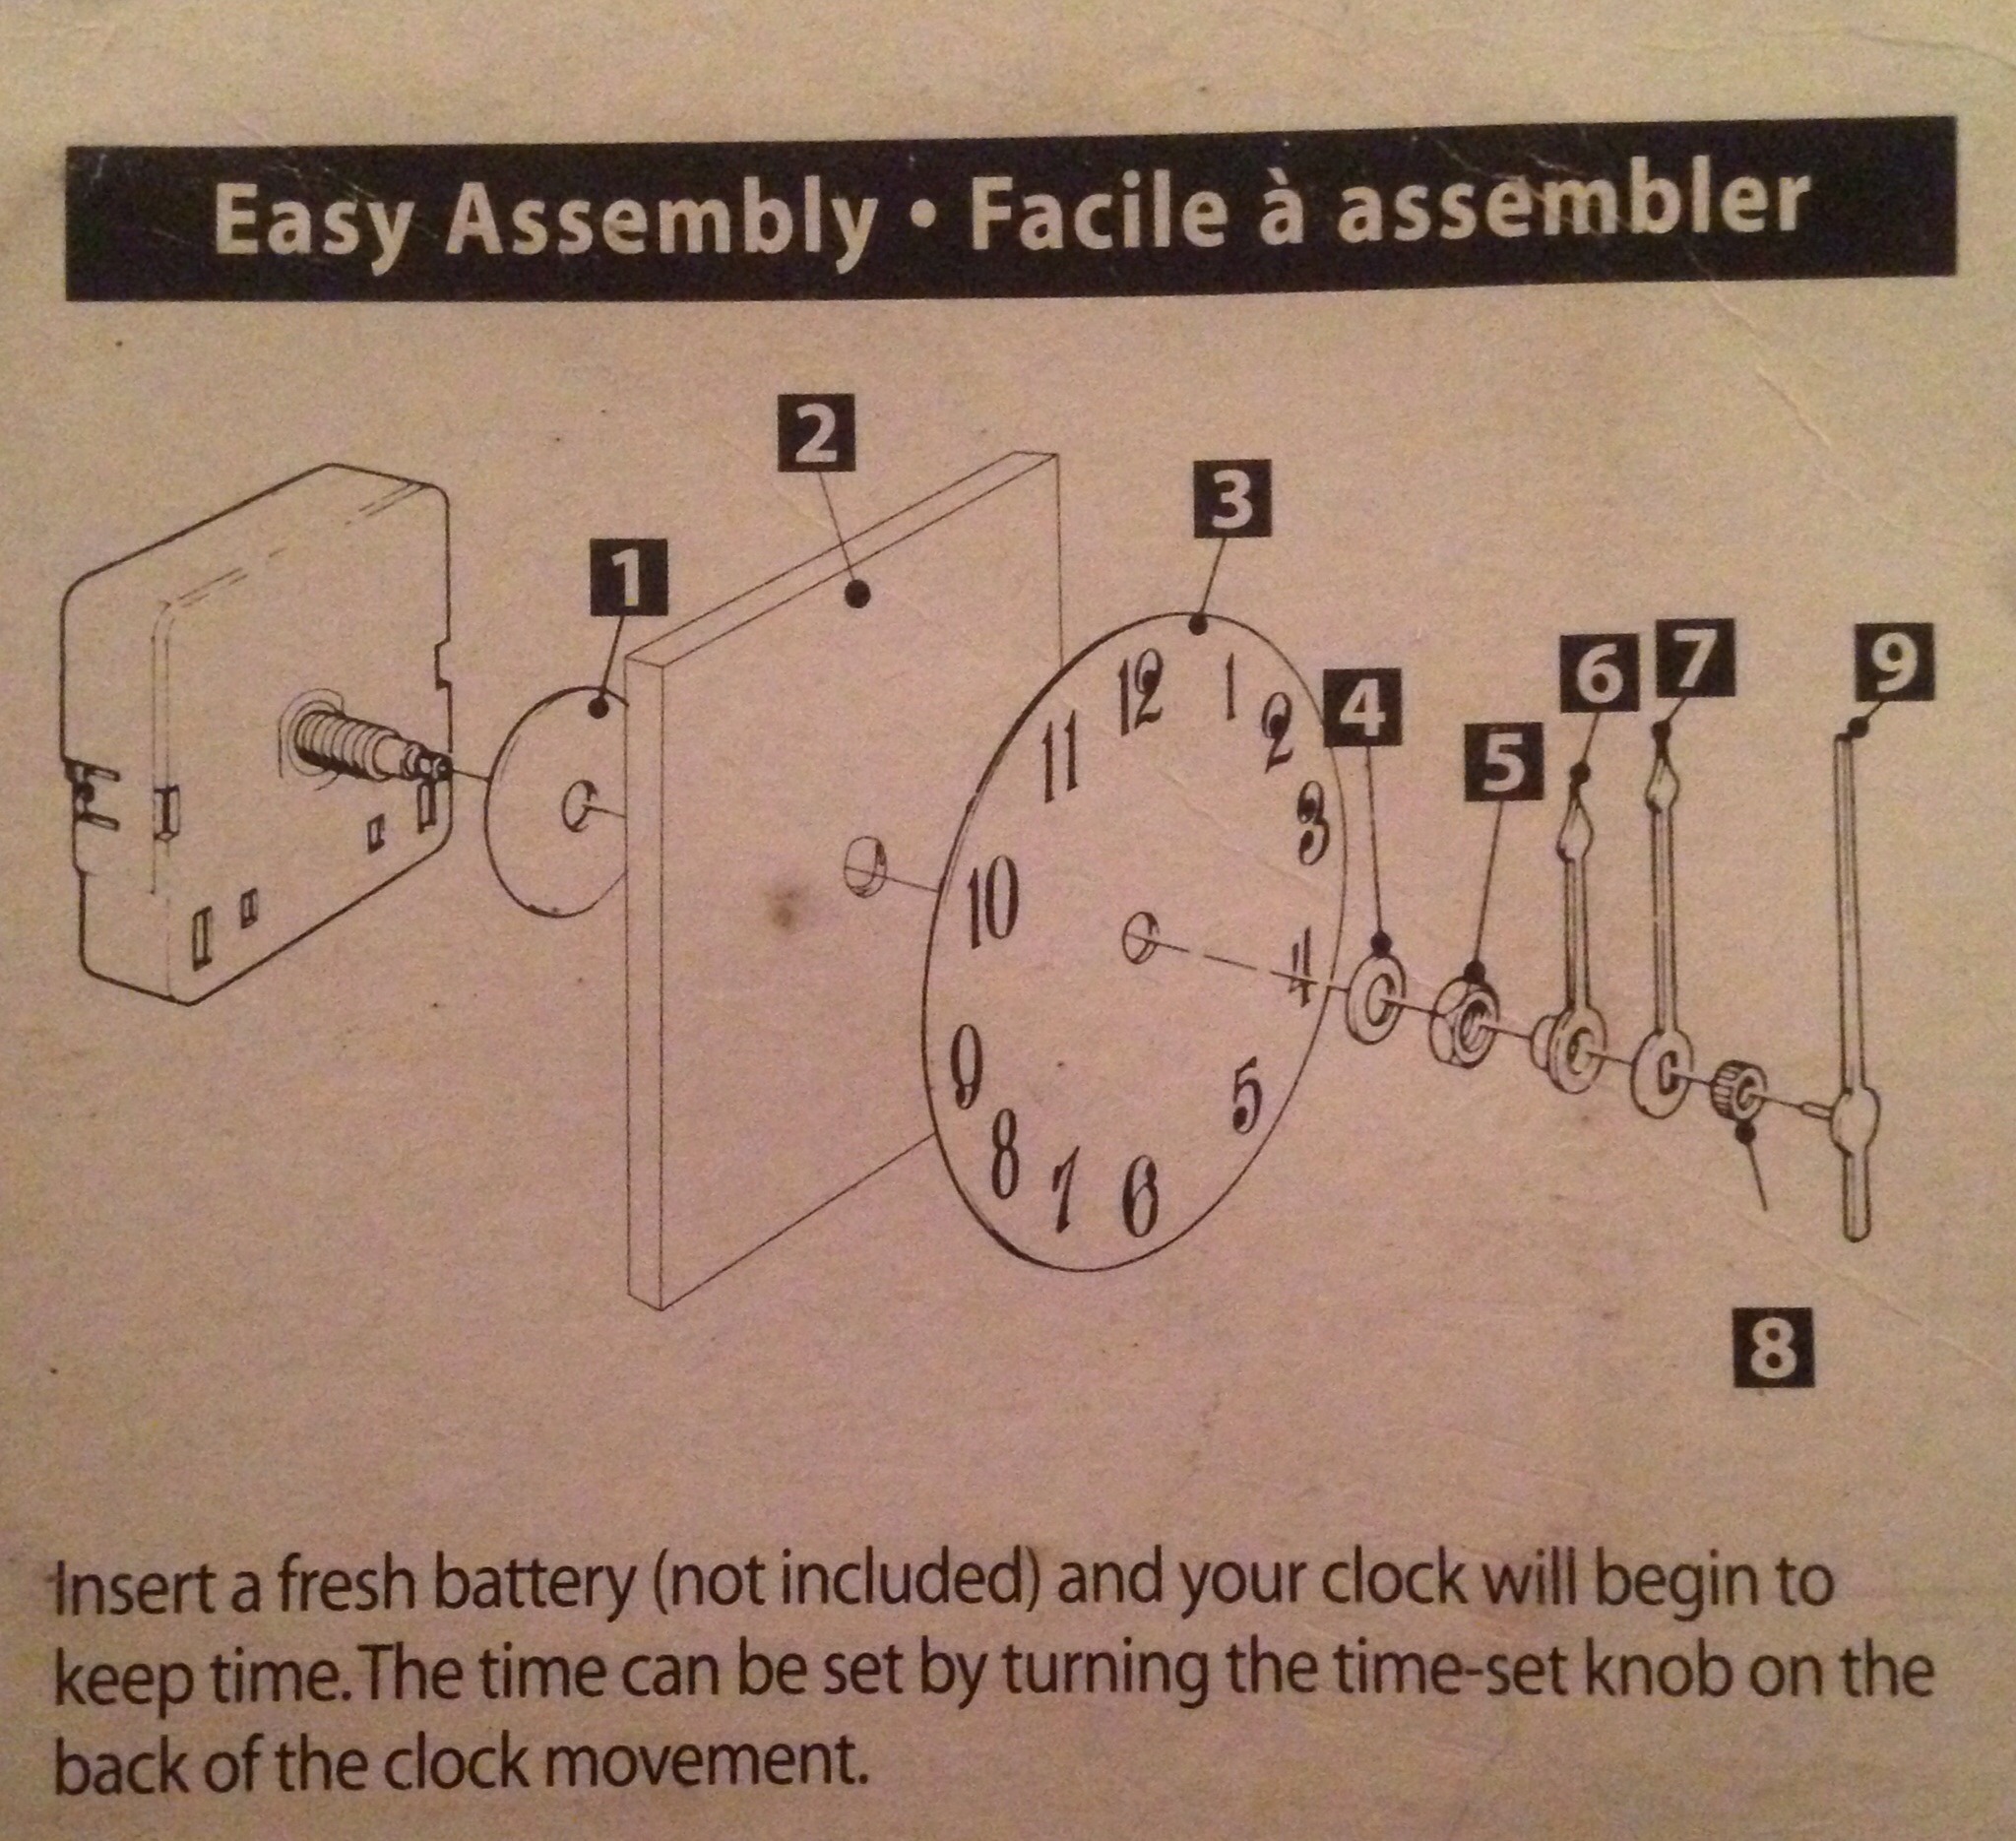
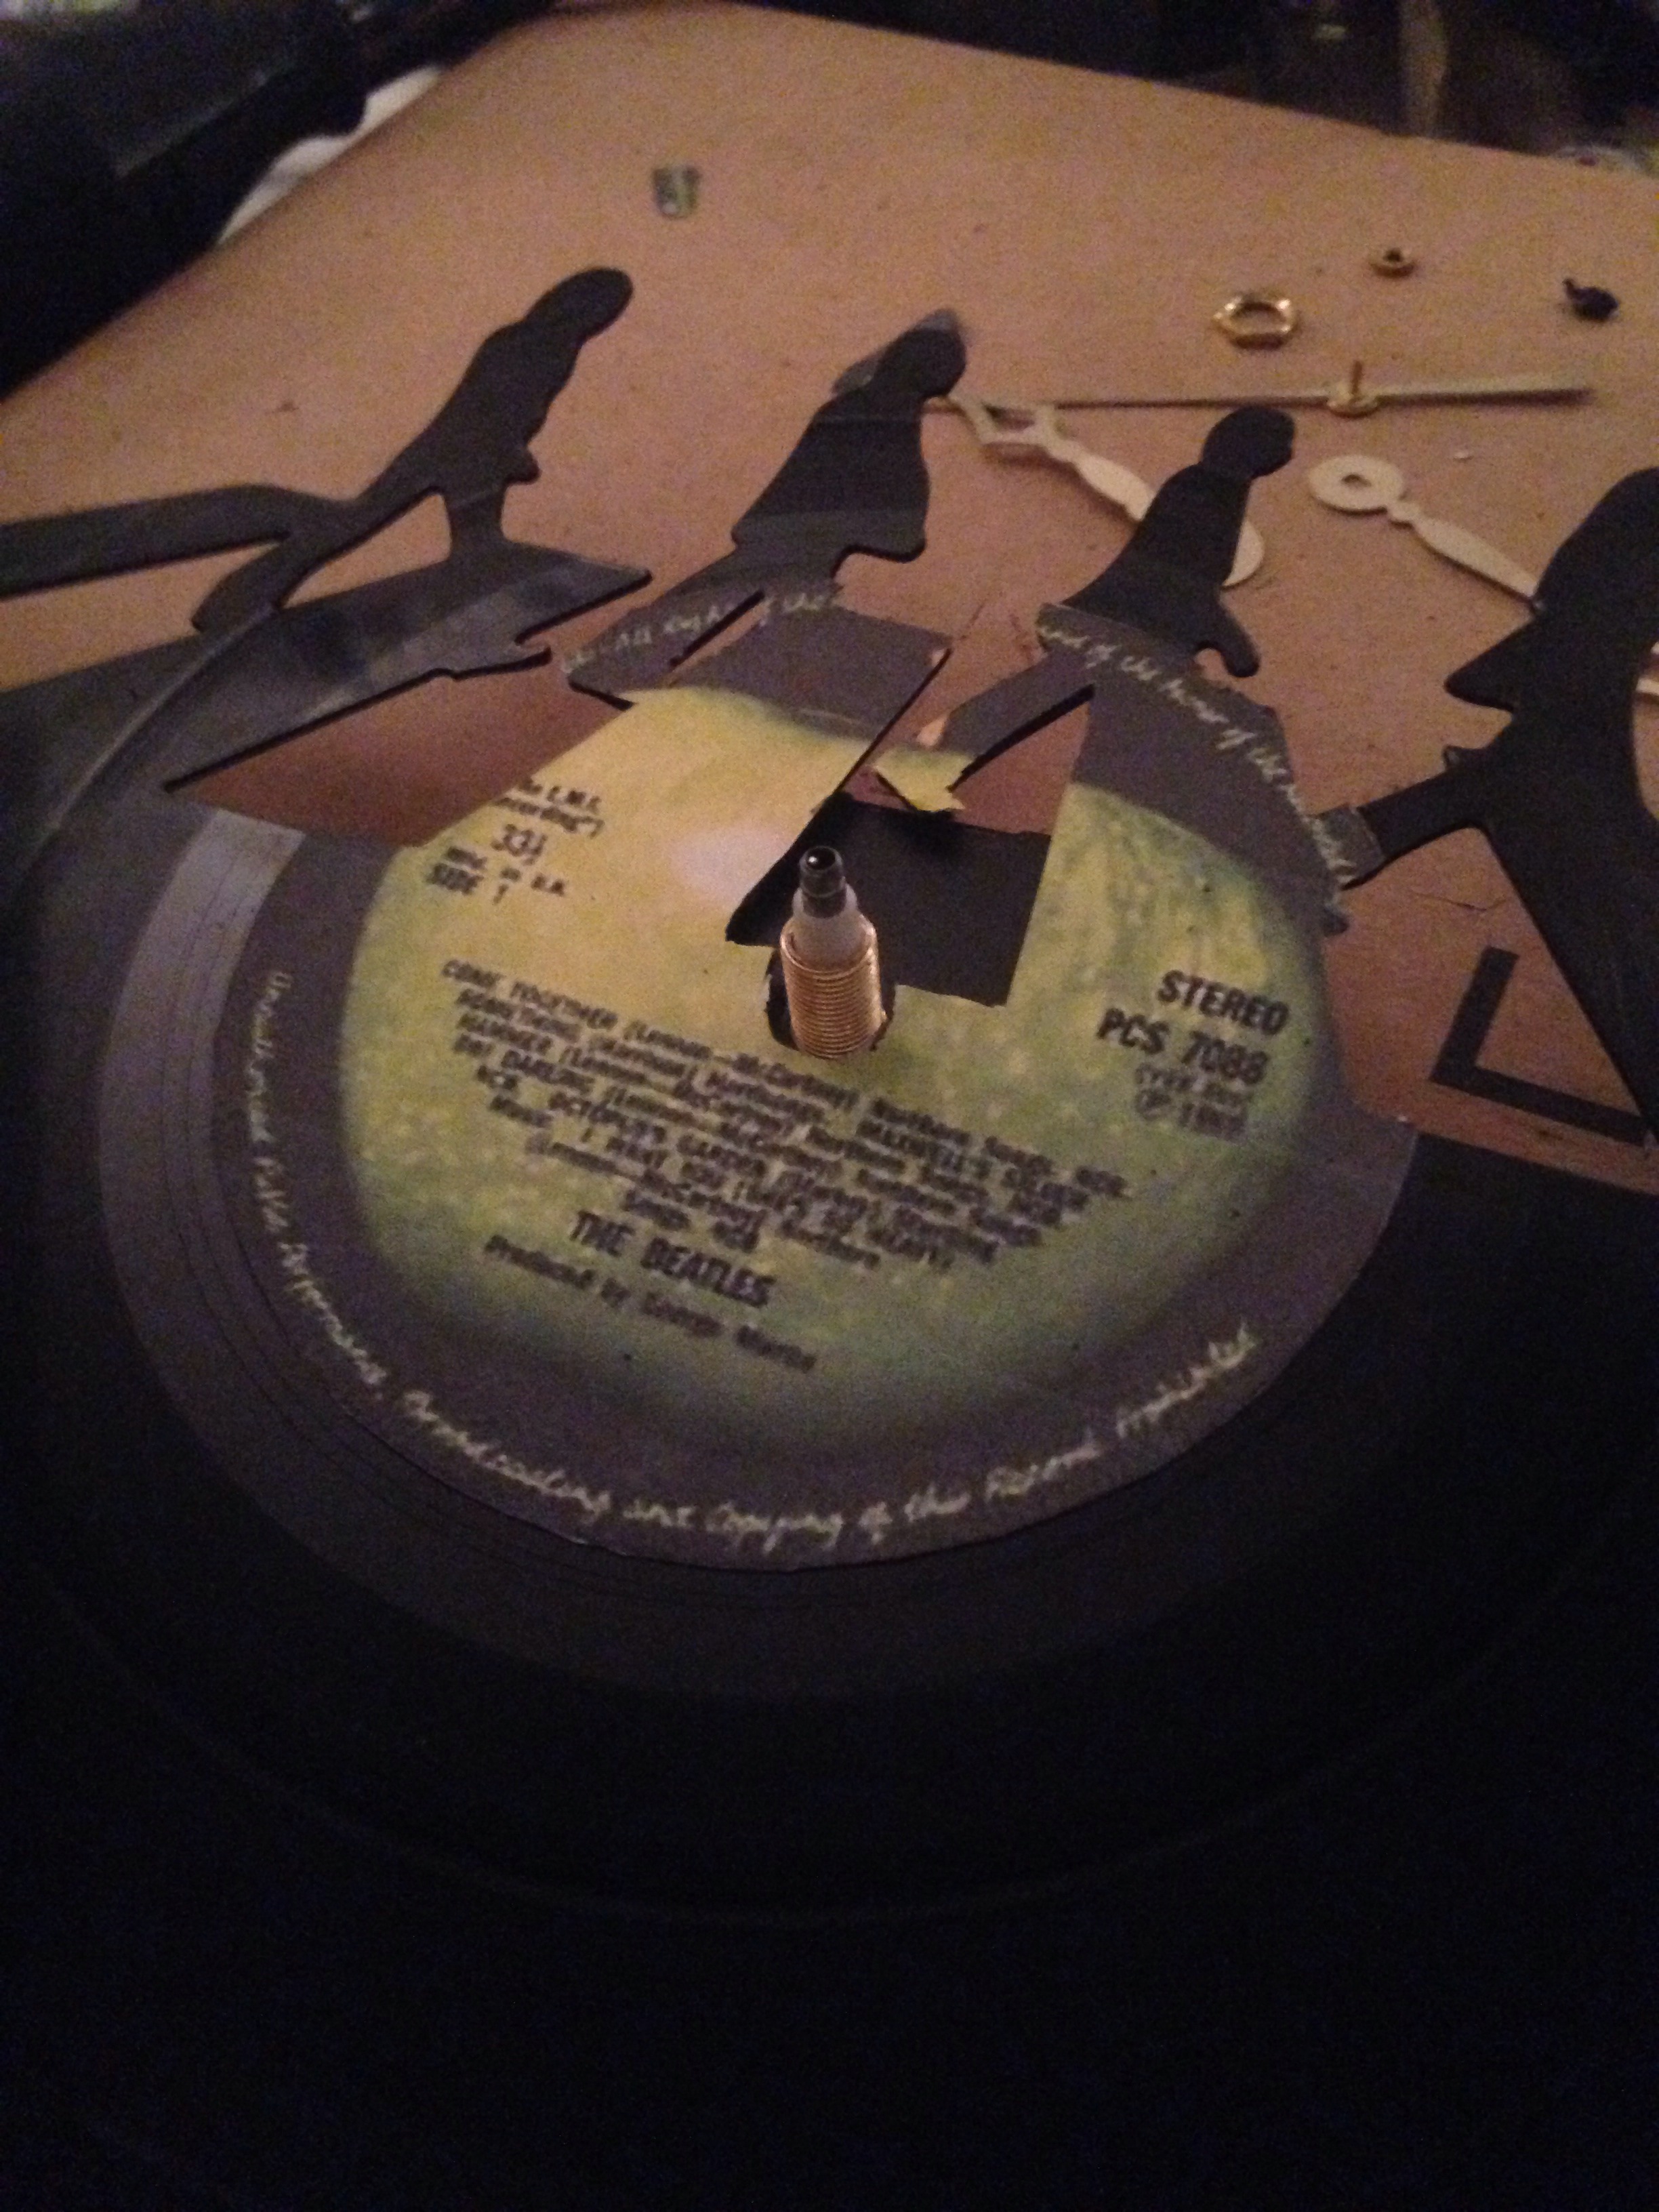
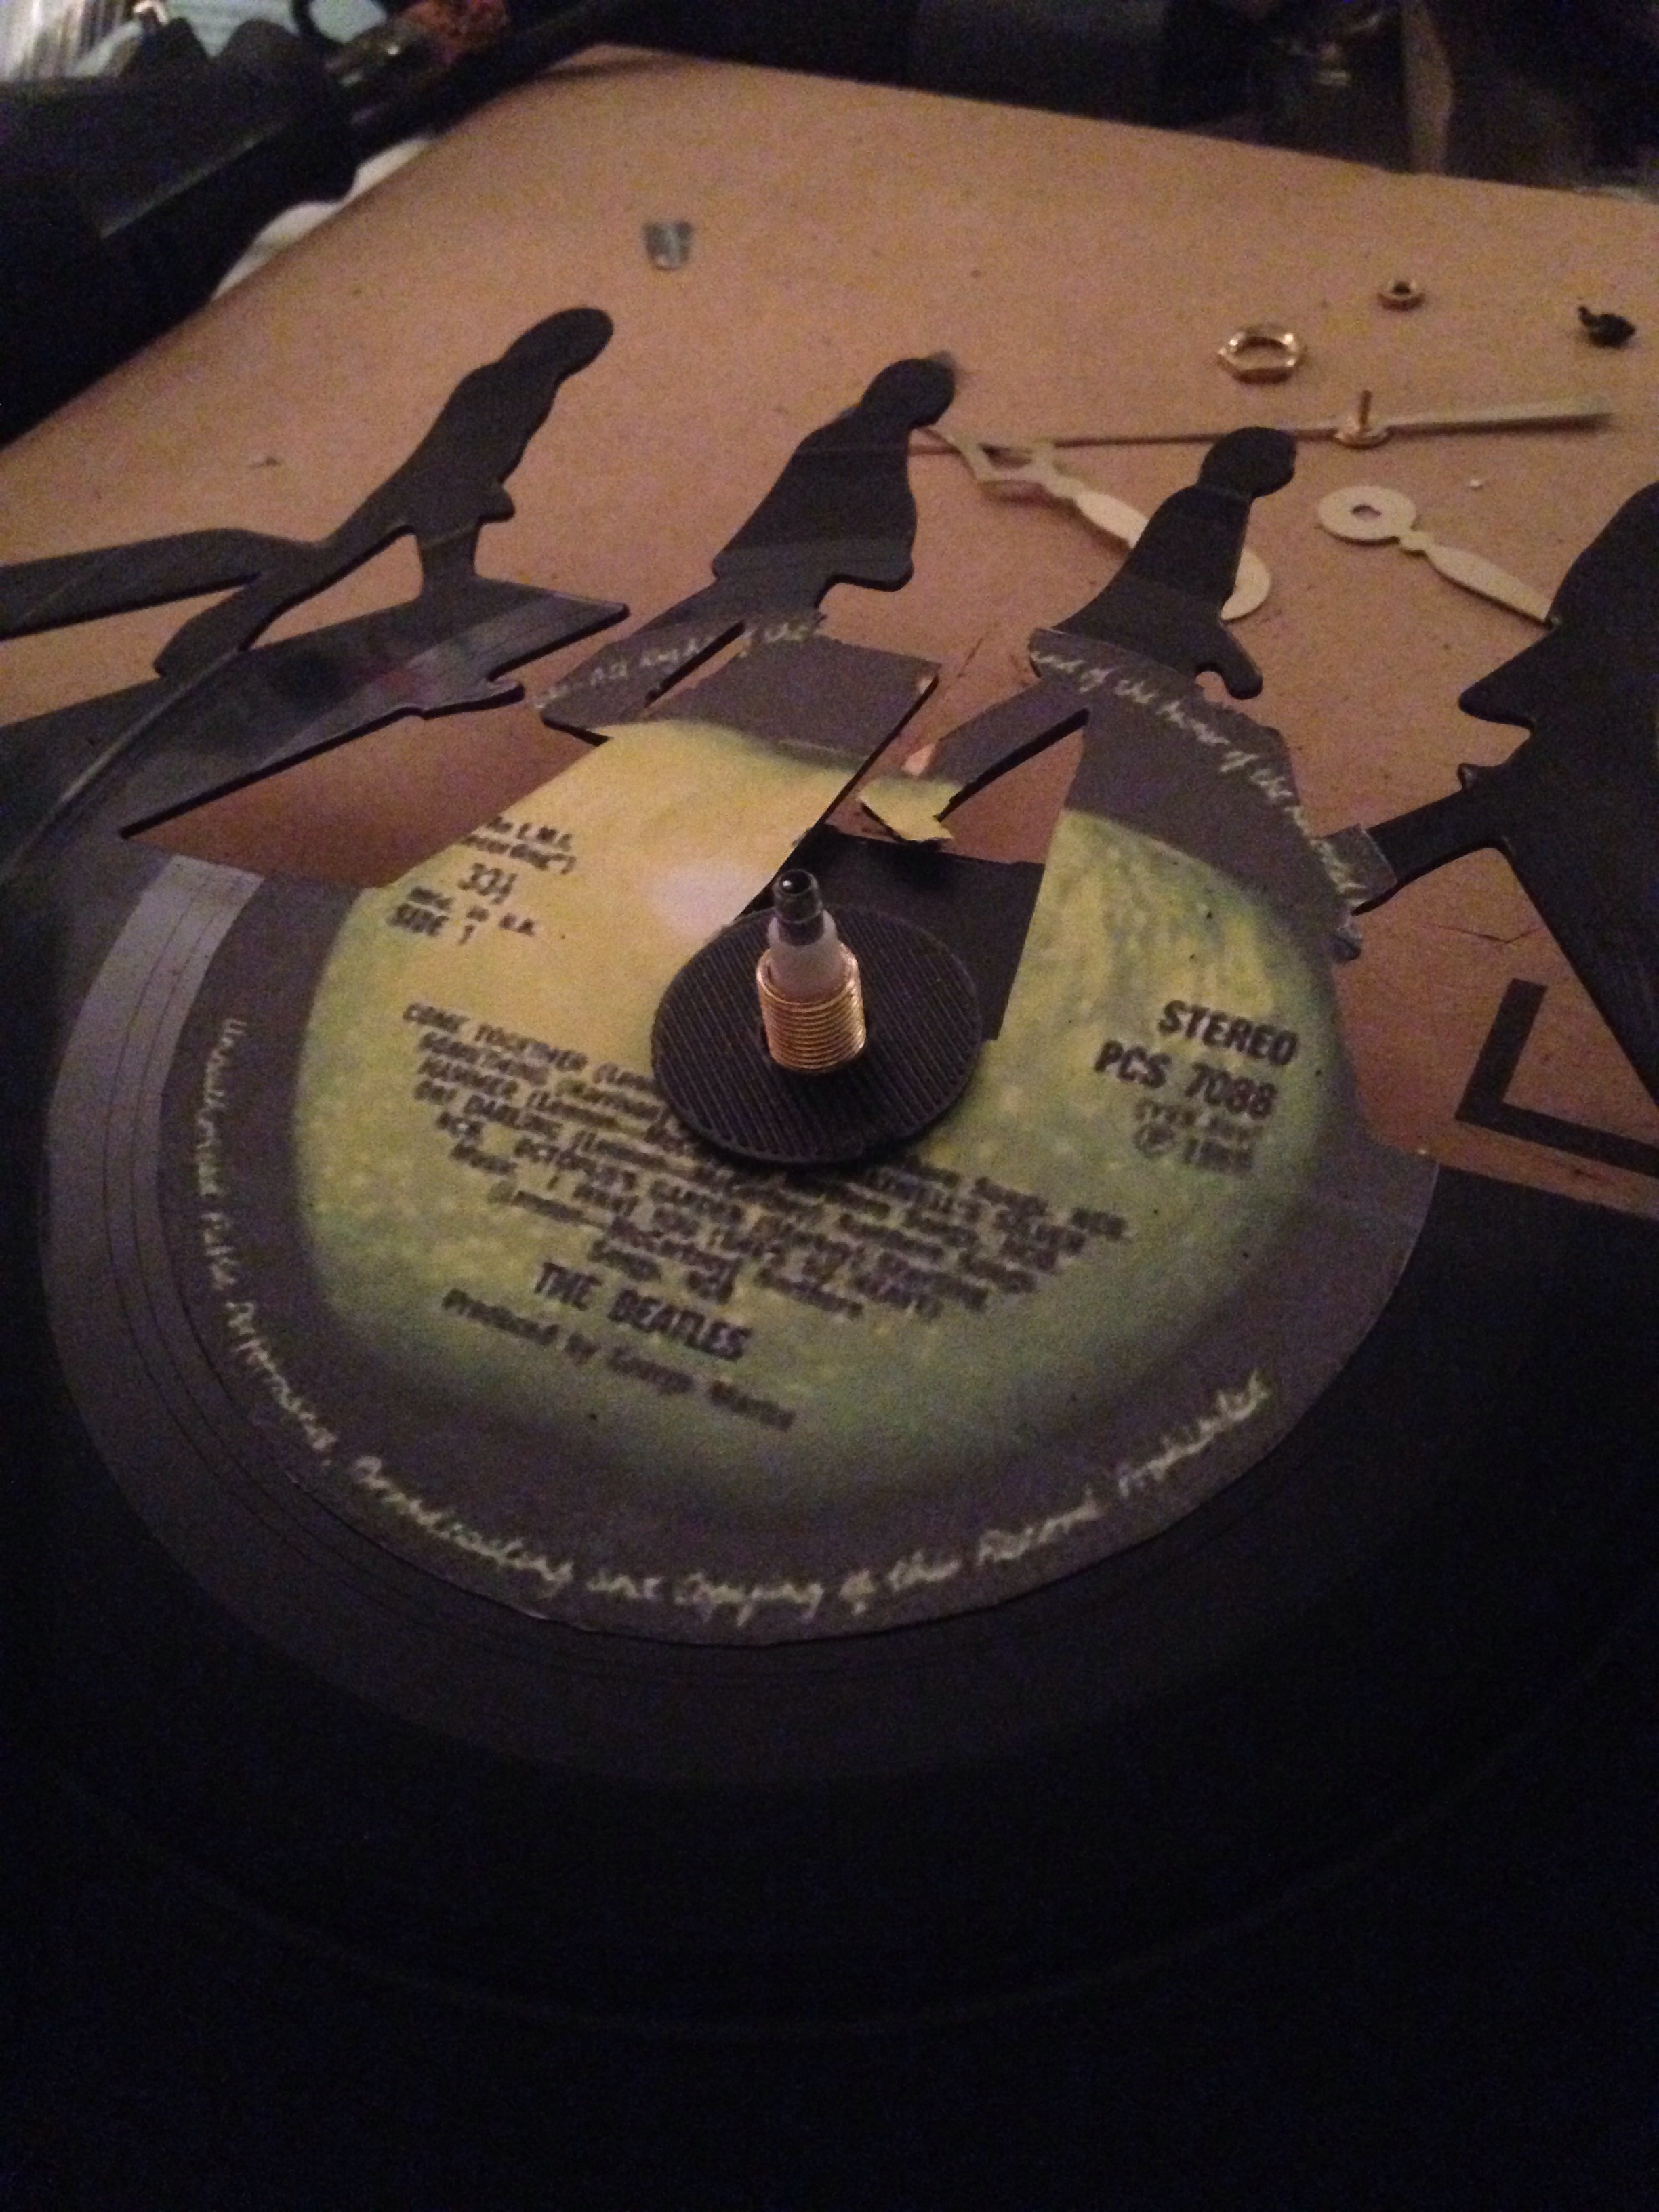
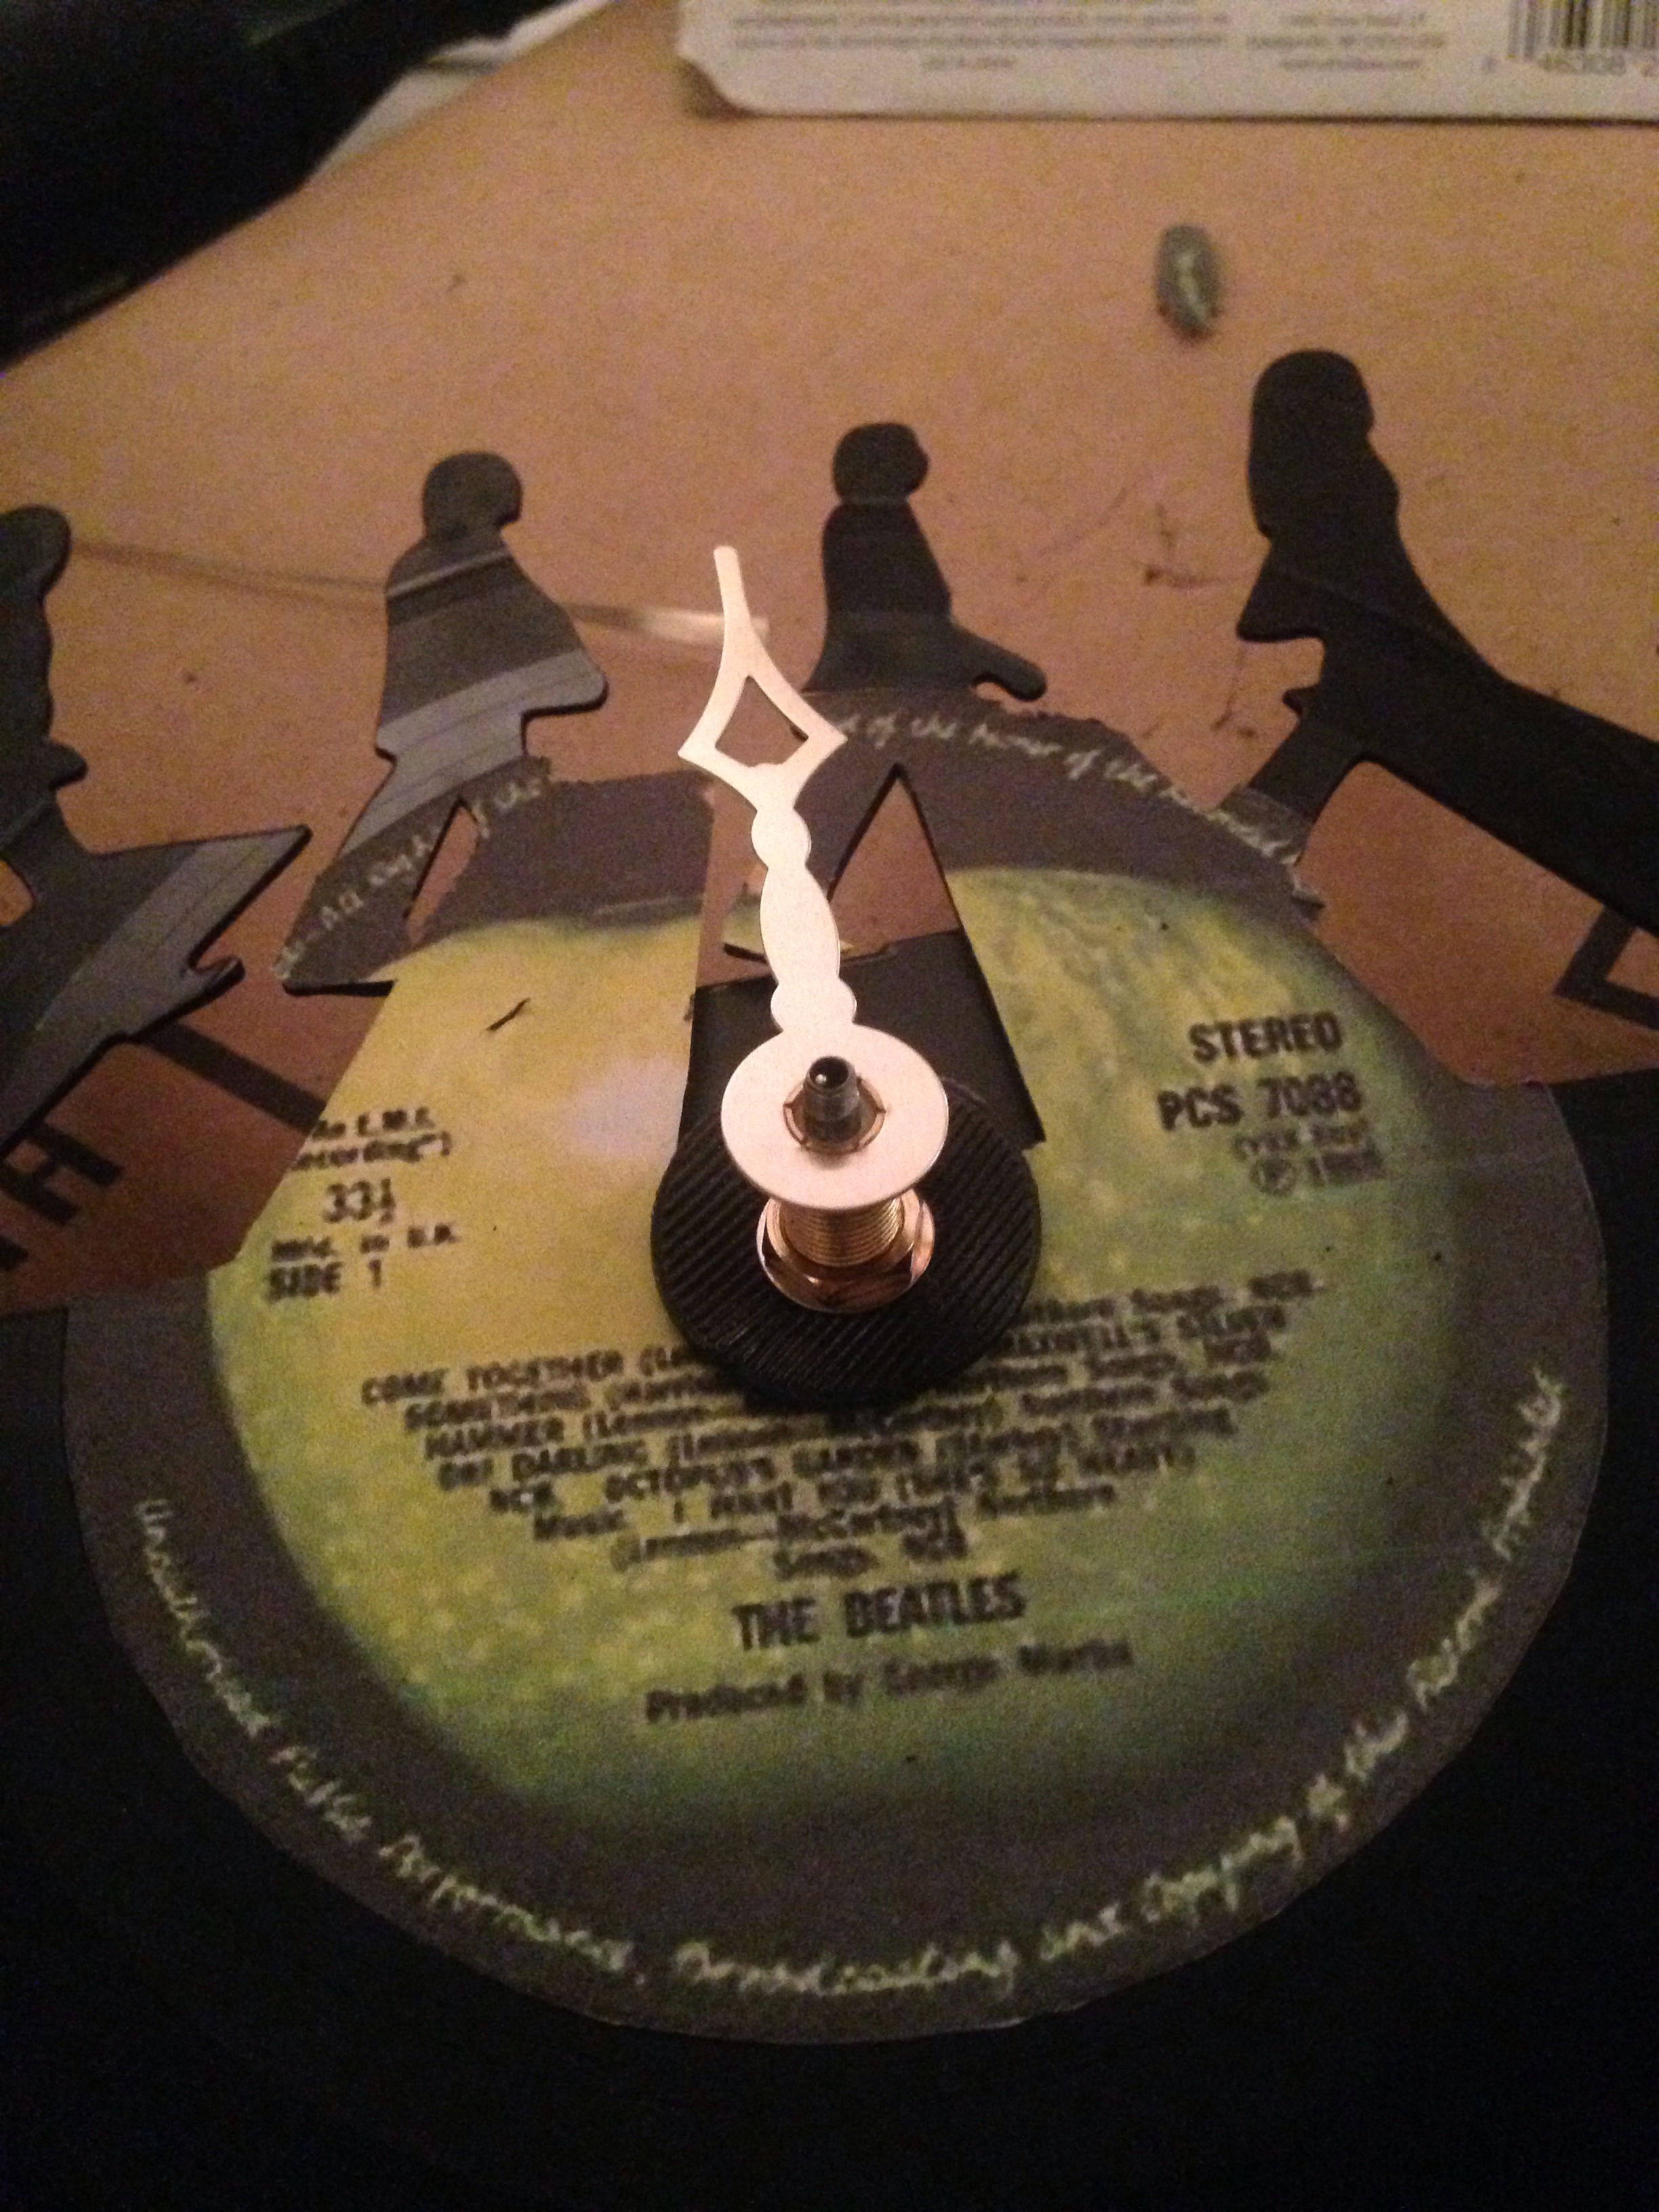
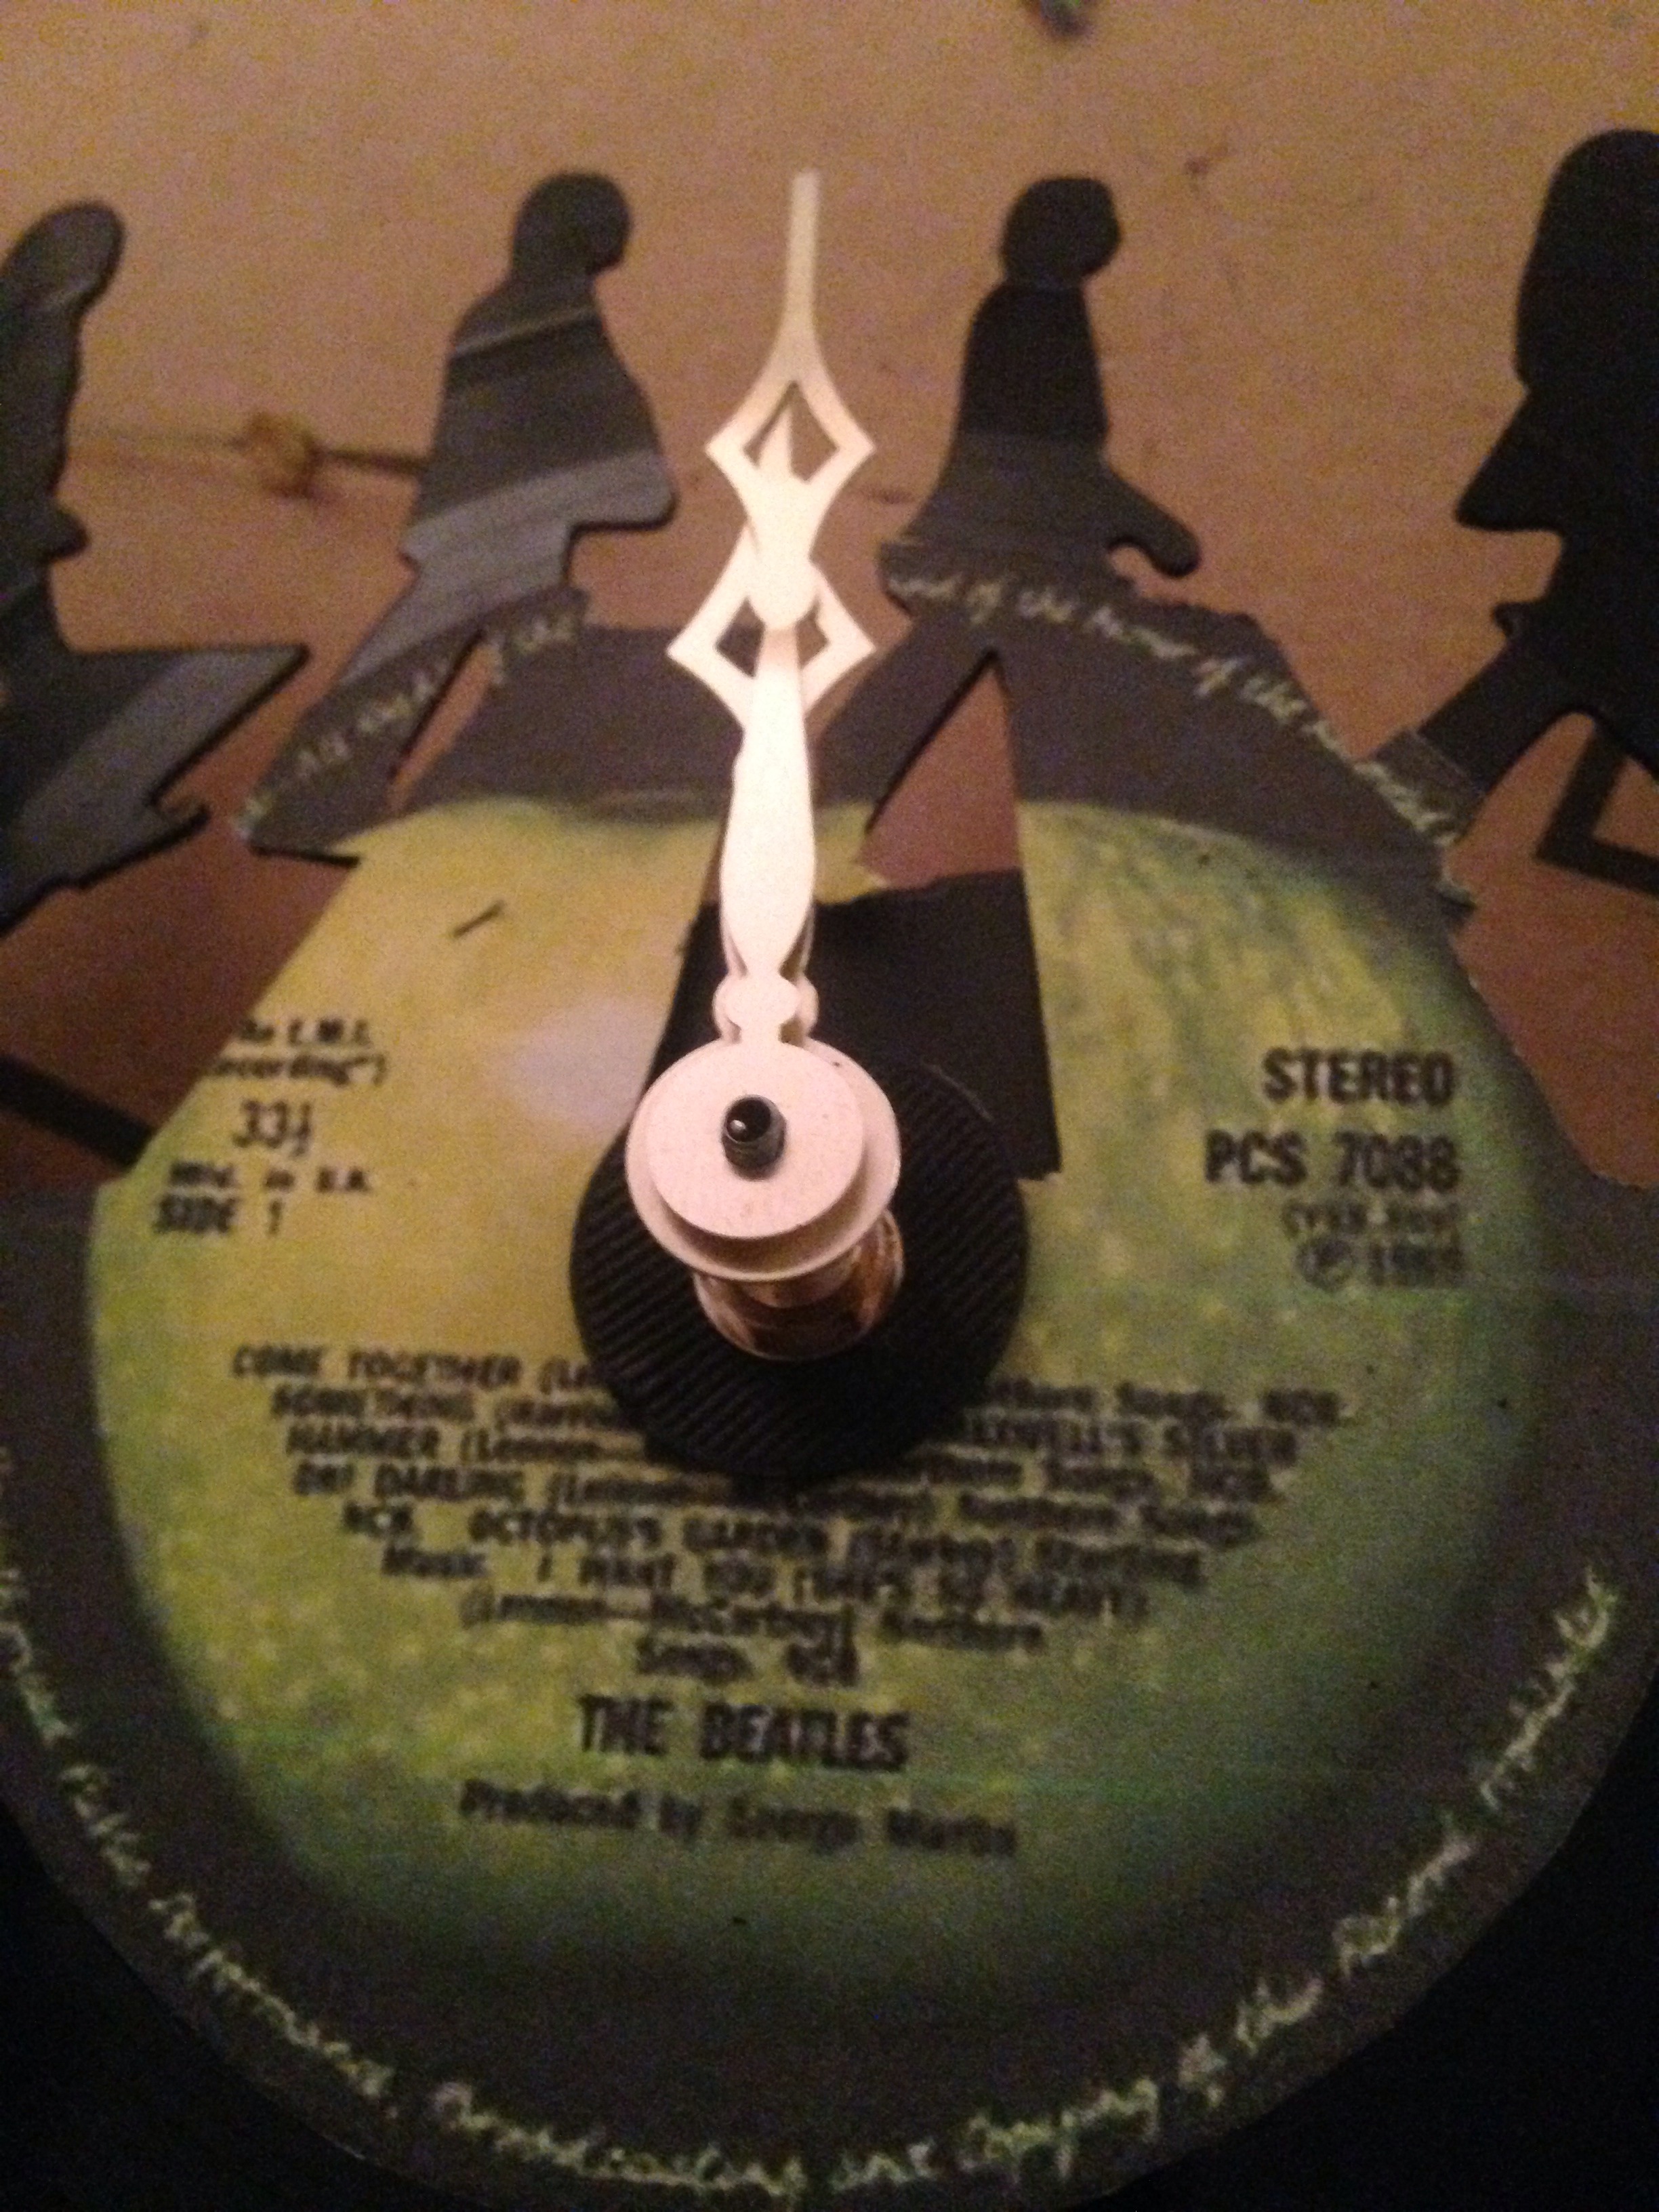
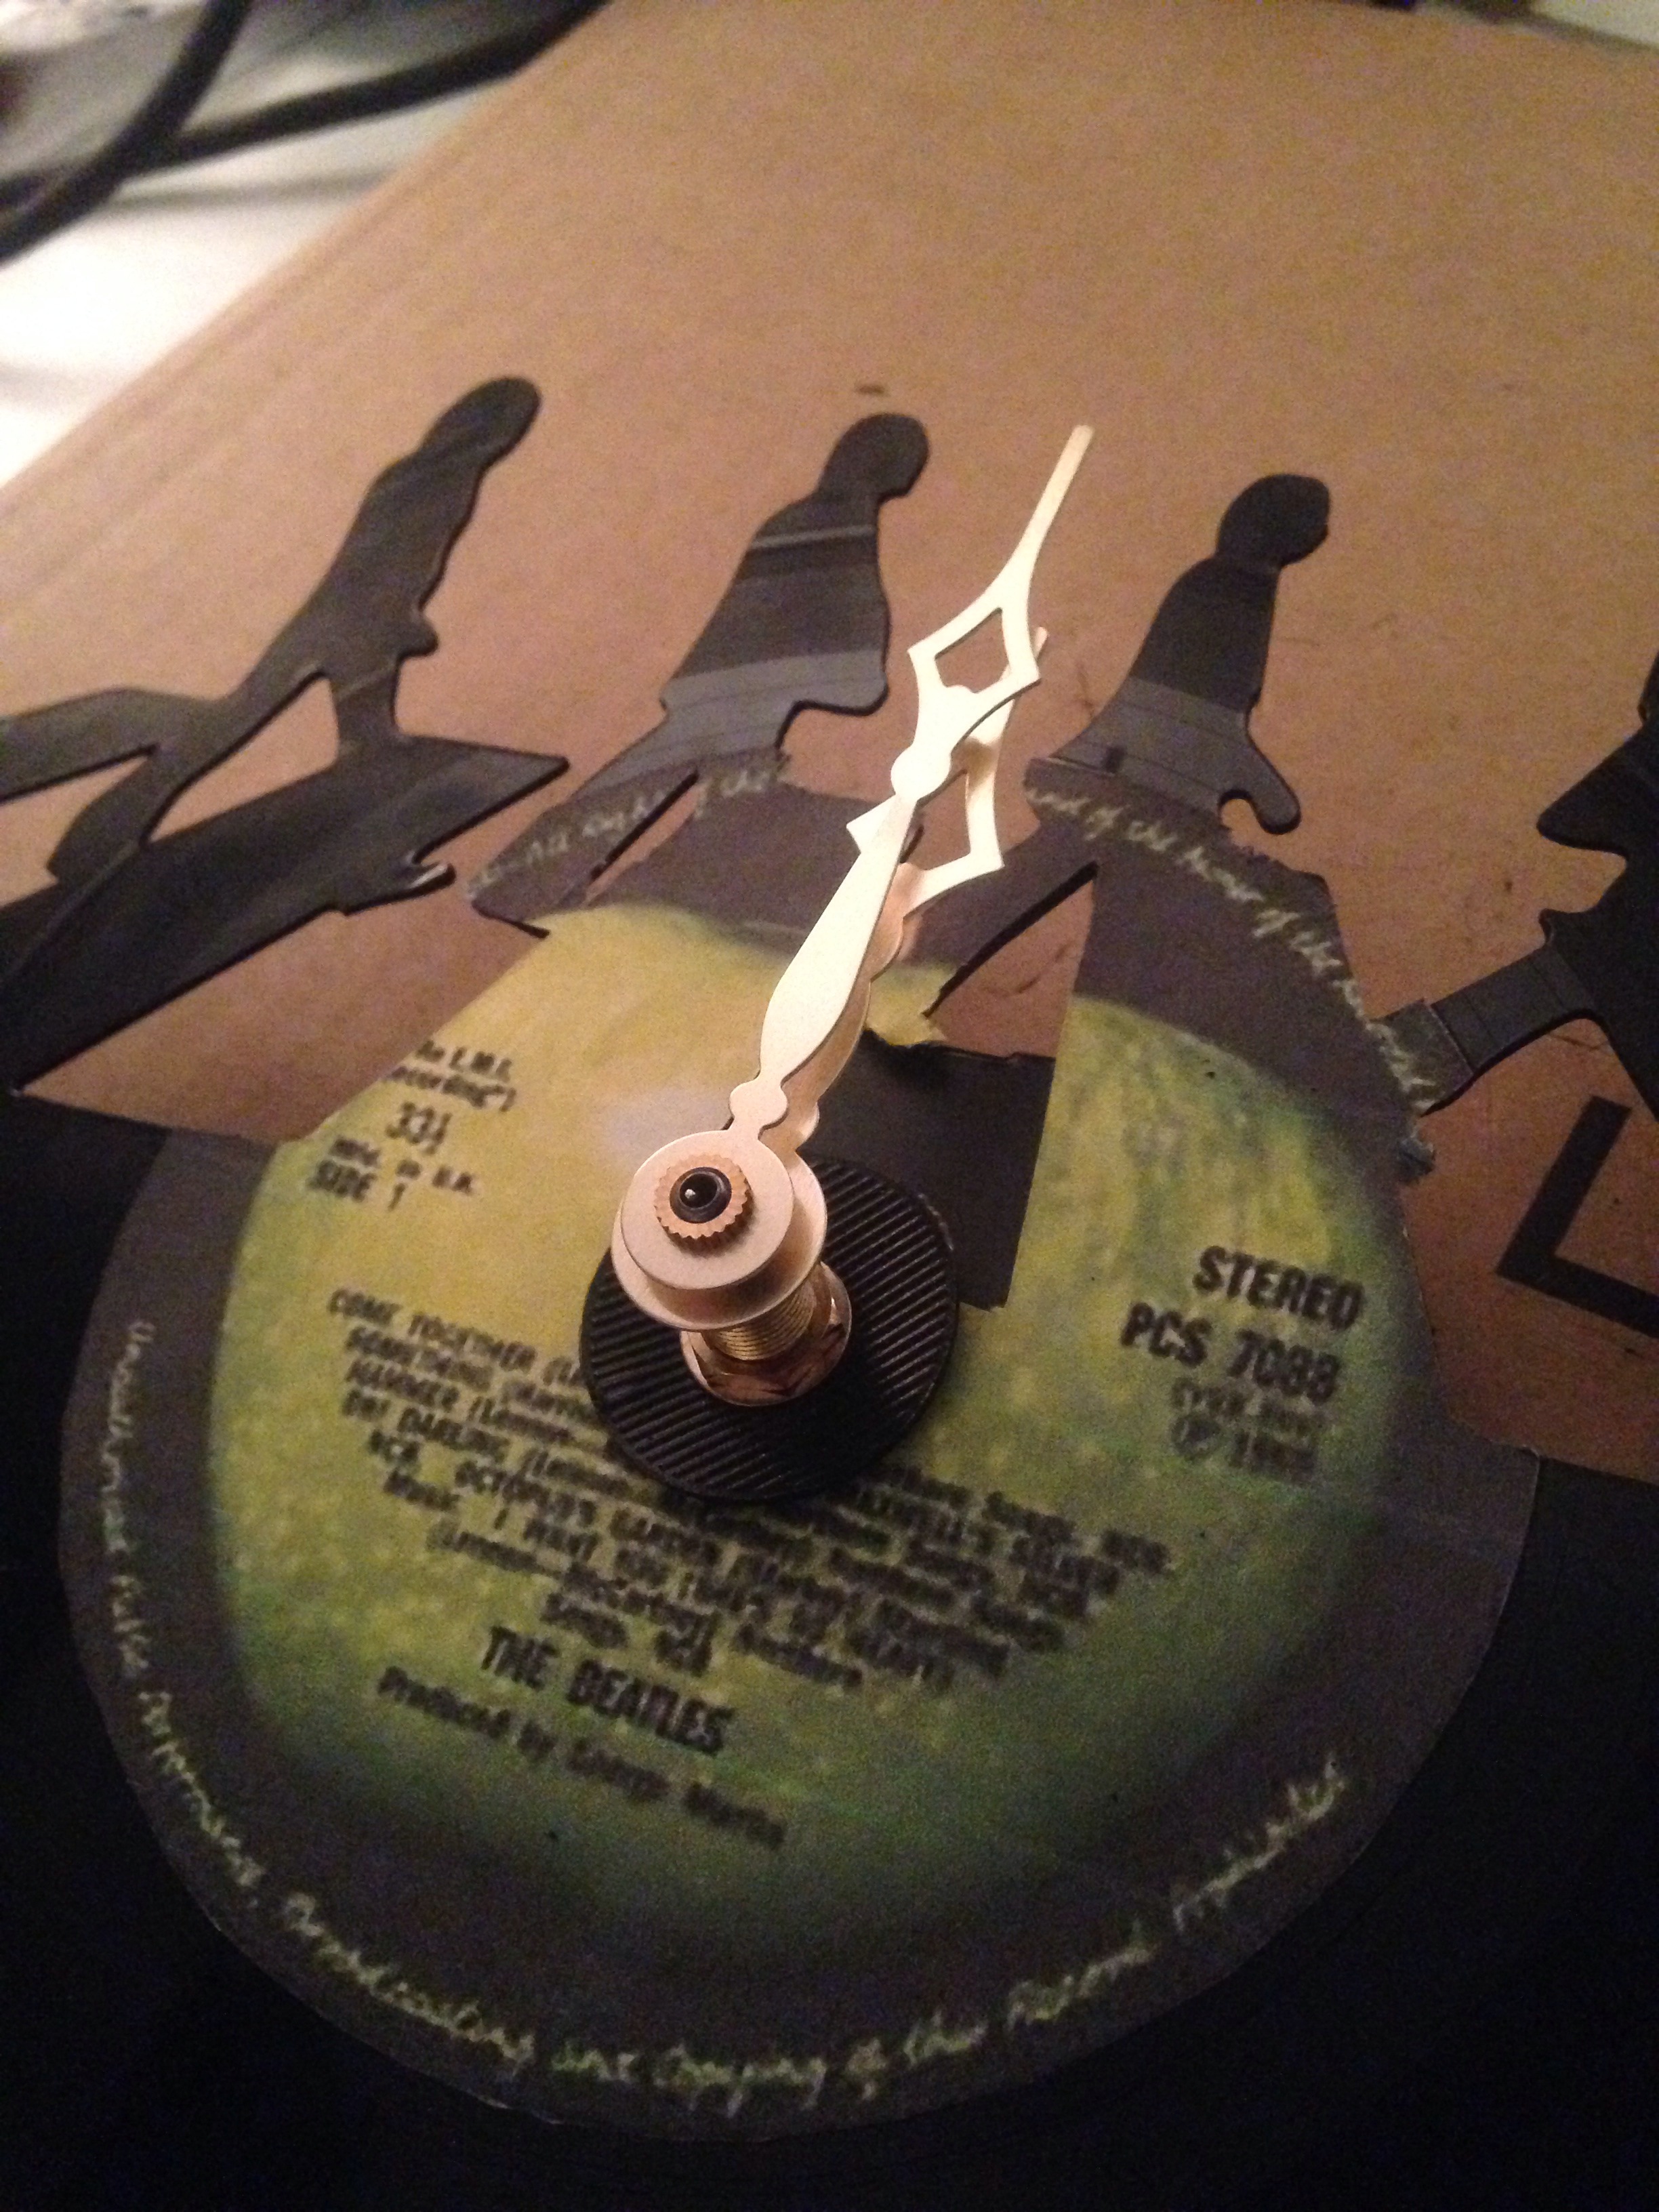
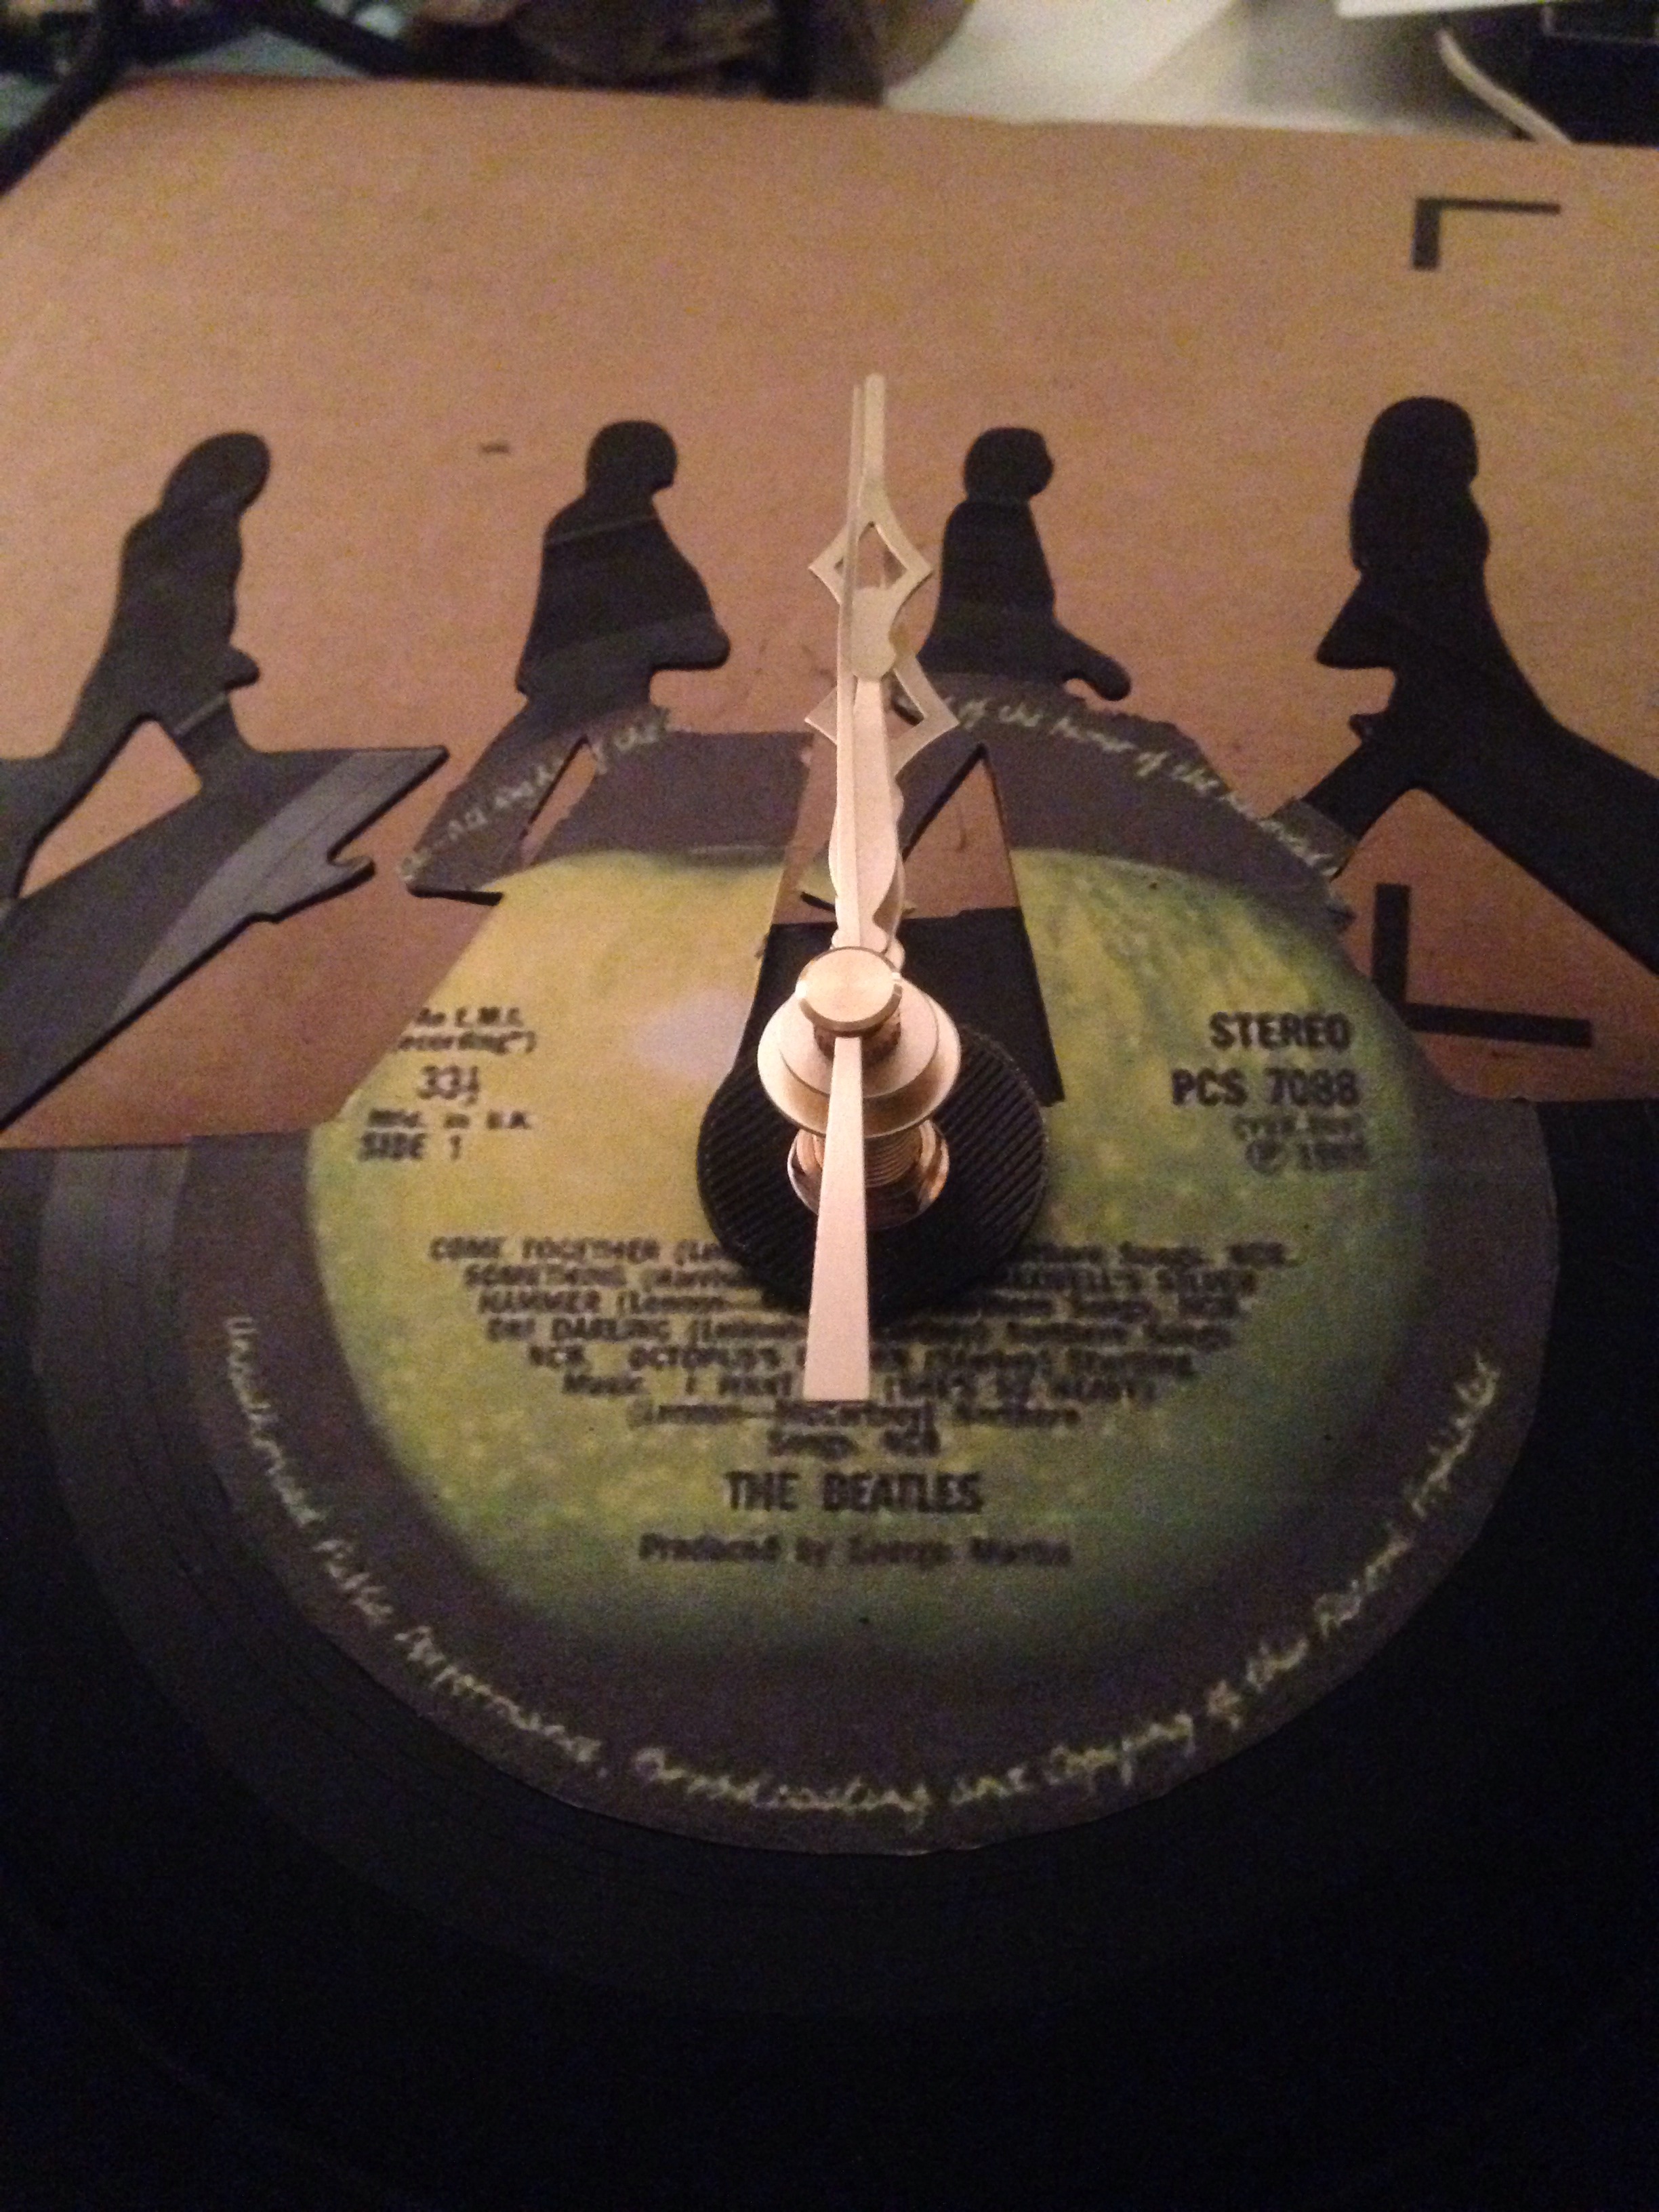
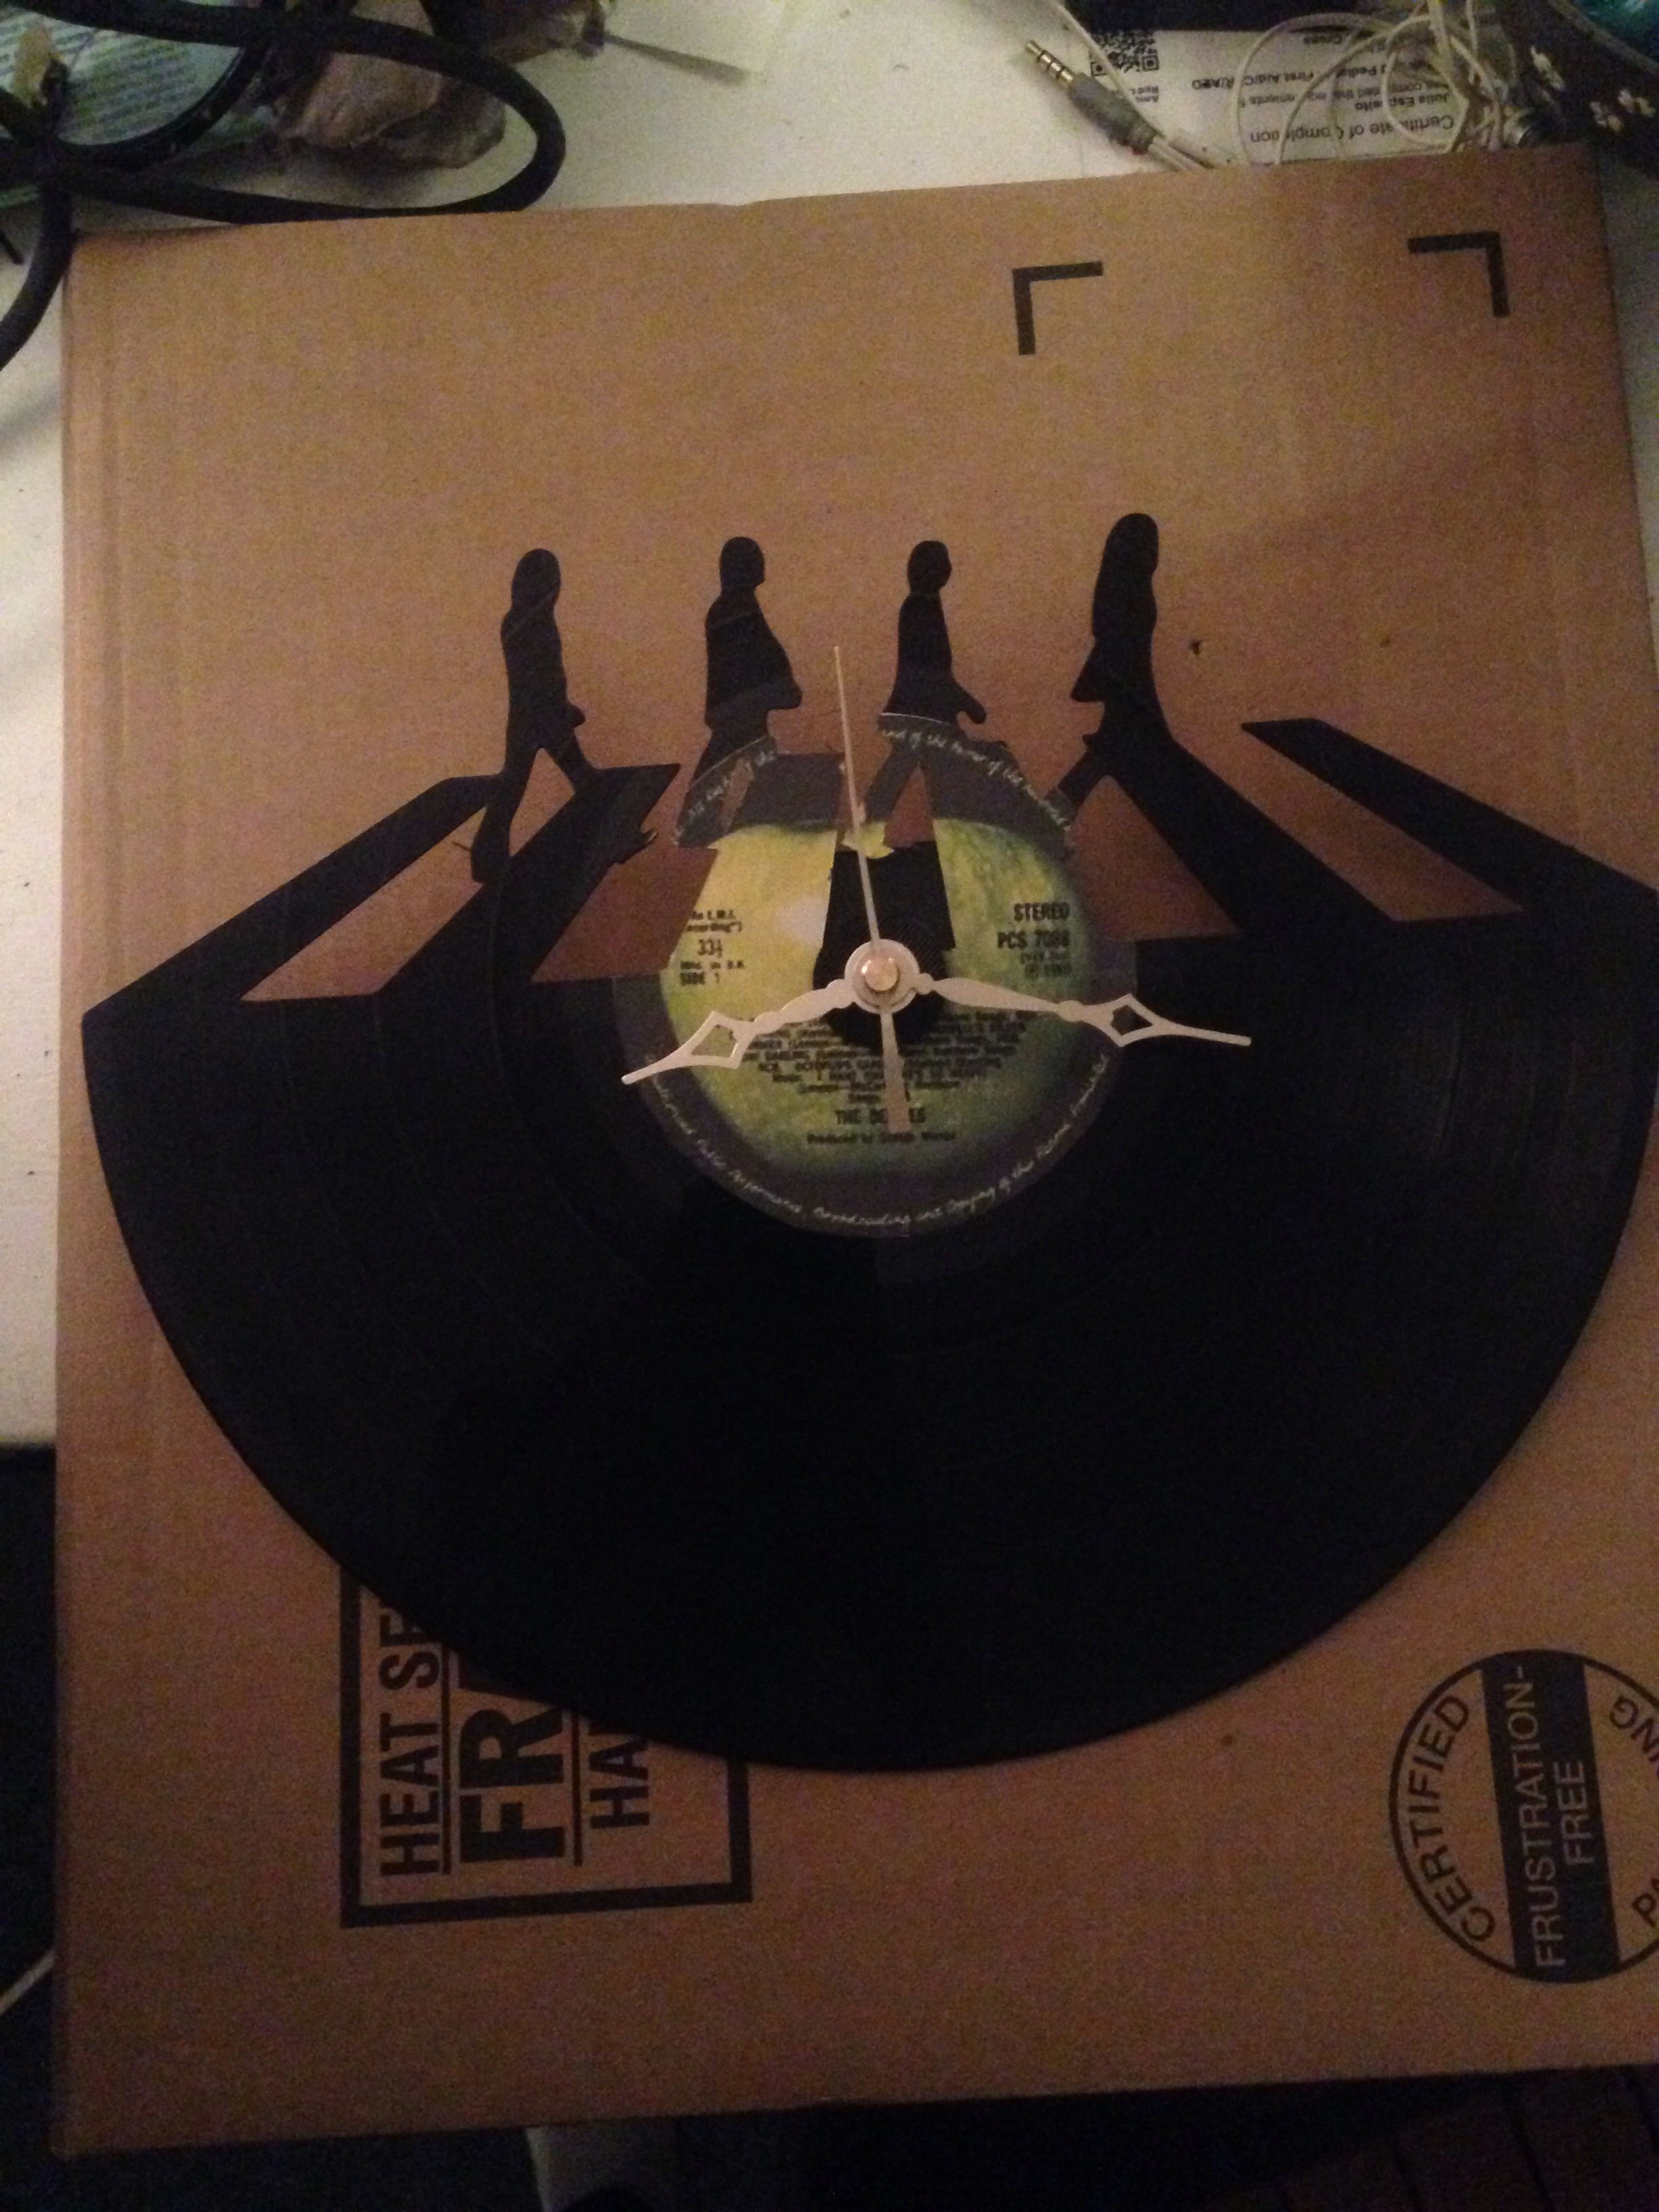
The clock kit that I am using has a step by step tutorial on the reverse side of the package to set up the clock. In this case, neglect the "clock surface".
- Place rubber cushion over shaft
- Insert shaft through clock face (5/16" hole)
- Place dial plate (gold washer) over shaft
- Attach dial fixing hex nut
- Attach hour hand, pointing upwards and press down lightly
- Attach minute hand, also pointing upwards and press down lightly
- Lightly screw minute nut in place
- Place second hand in place and press down firmly
- Insert AA battery, set time, and it's complete!