ASRock H510 Pro BTC+ Fix

This Instructable addresses the bios settings fix necessary to properly configure the rig to use multiple cards. After applying this fix, you should be able to use and add multiple cards without issues. This Instructable does not cover the build of the rig, just the BIOS settings, and VGA card install procedure.
1st let's download the manual for the H510 board here, and keep this Instructable and the manual open on another screen/phone:
https://download.asrock.com/Manual/H510%20Pro%20BT...
Things to note on your initial build:
- processor/ram compatibility (refer to page 2)
- power supplies & cards hookup (refer to page 5)
- all components are new, or tested and in working order prior to assembly (refer to page 8)
- start with the board, 1 ONE VGA card inserted closest to the processor, with the monitor plugged into THAT card, and NOT the onboard port.
After assembling your rig, you will need to start it and tap the F2 or Del keys on startup.
You will enter the screen as pictured. Make sure your chip/ram is displaying correctly.
Note the navigation instructions on the lower right (refer to page 30)
Supplies
ASRock H510 Pro BTC+
Comptible processor.
At least 8GB of ram compatible with the processor and the board.
Power Supply 1300W + recommended
Power connectors 2x molex, 1x sata, 1-6x vga, 1x cpu
A Graphics Card
LAN internet connection
USB disk, SSD 120GB+
Update the UEFI Firmware
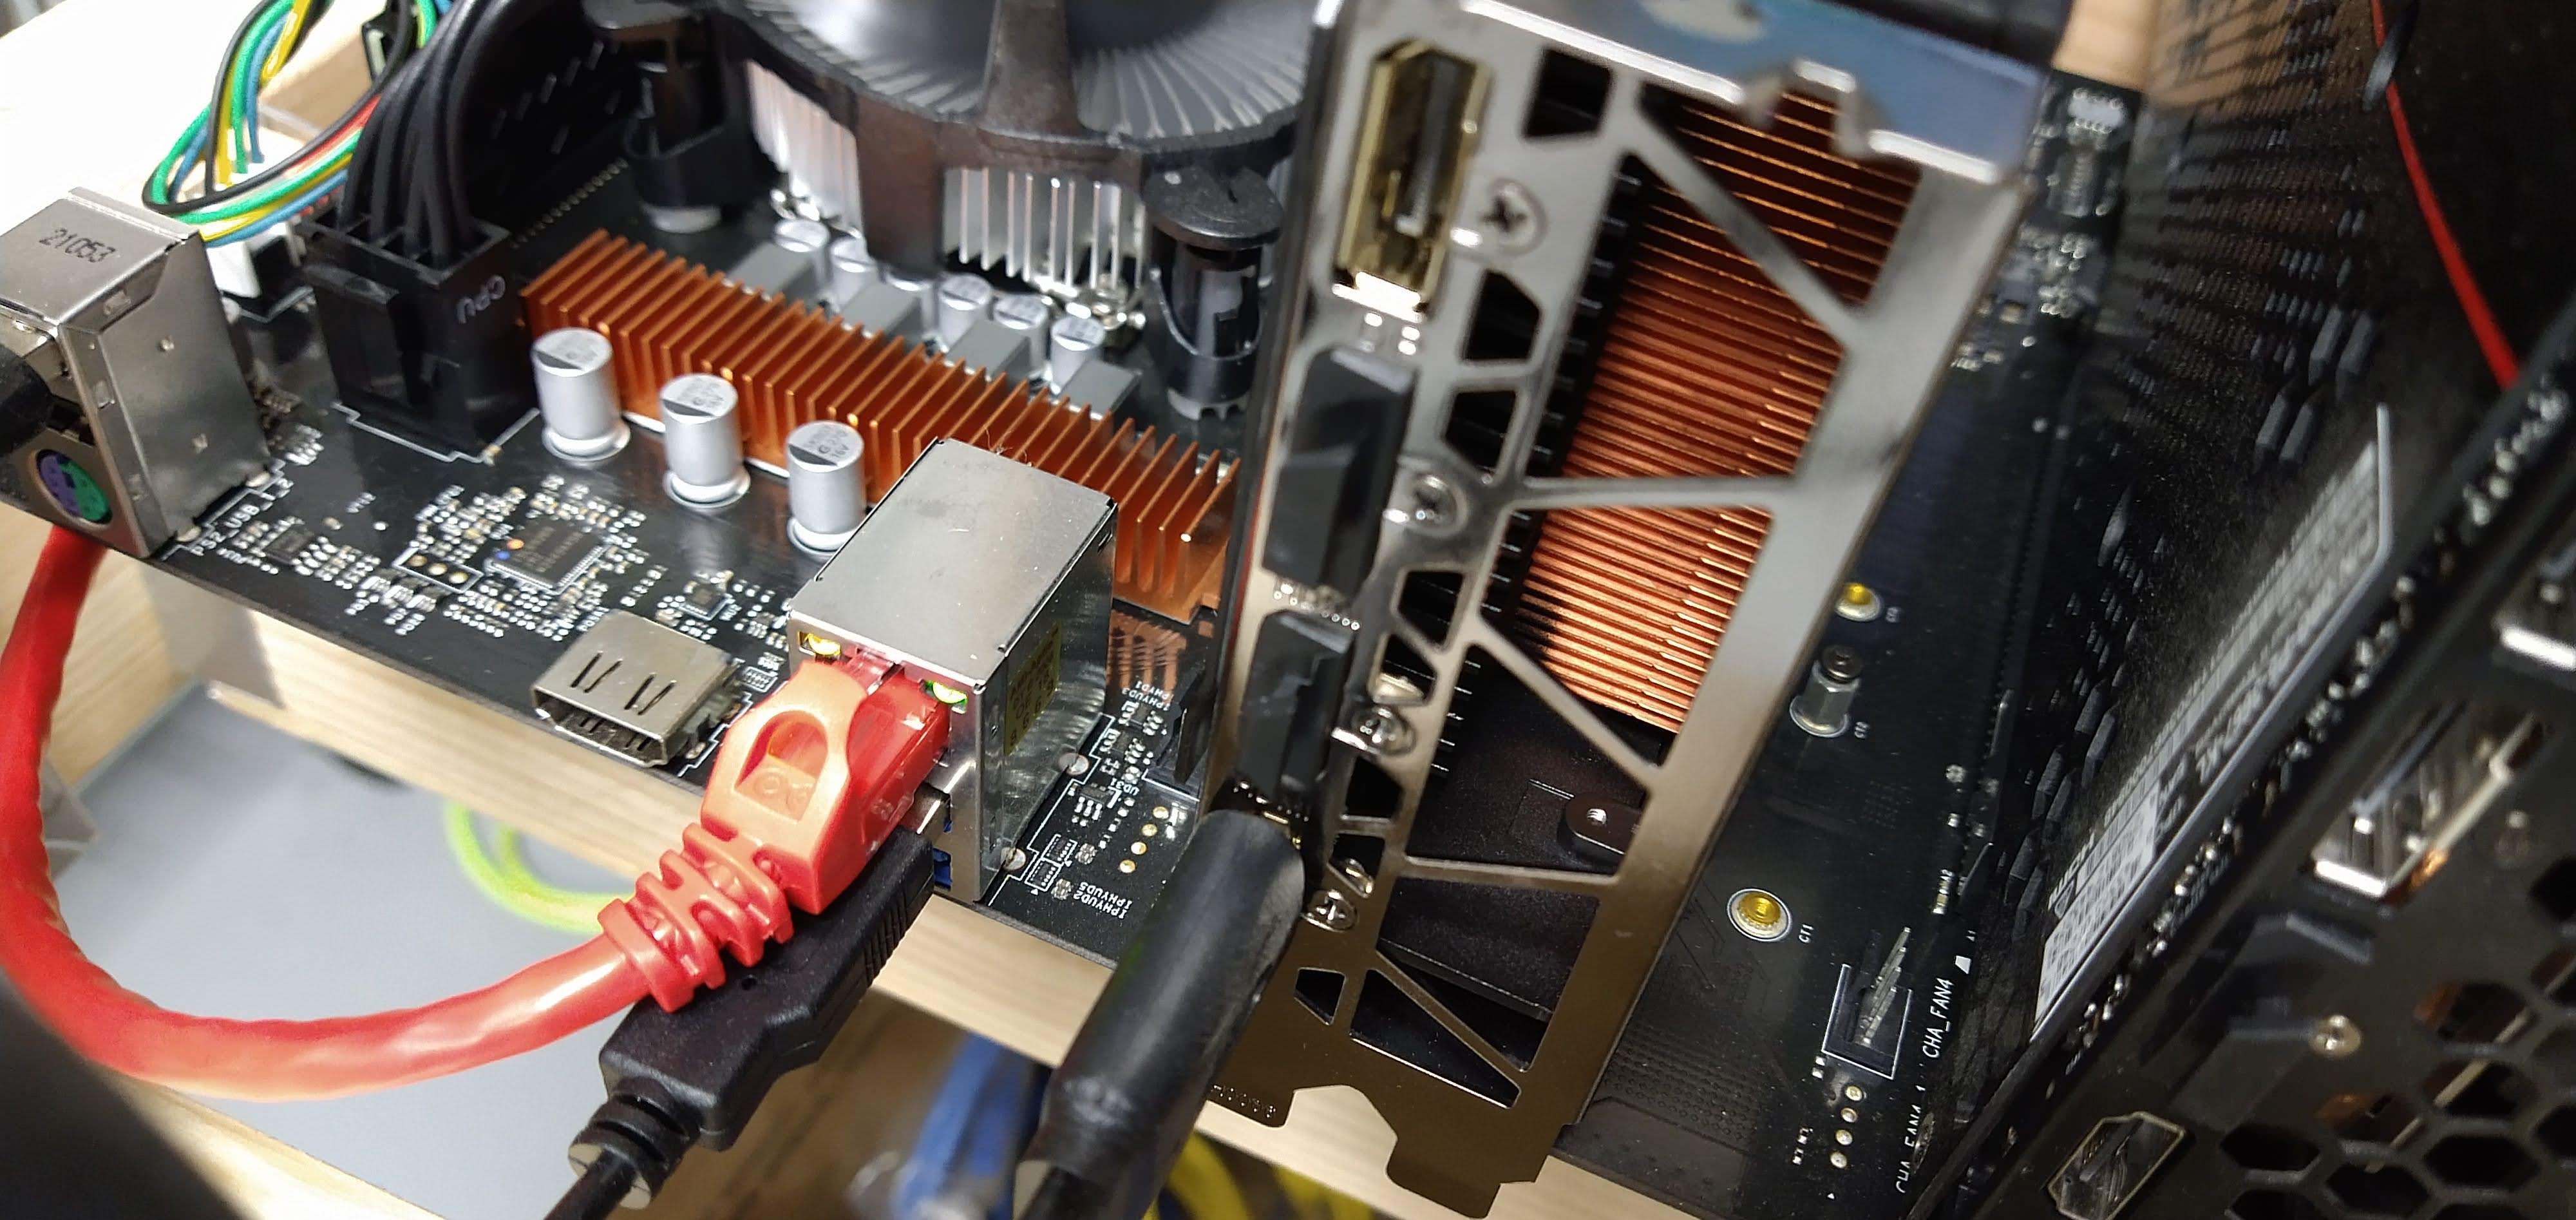
Make sure you have an internet connection plugged in.
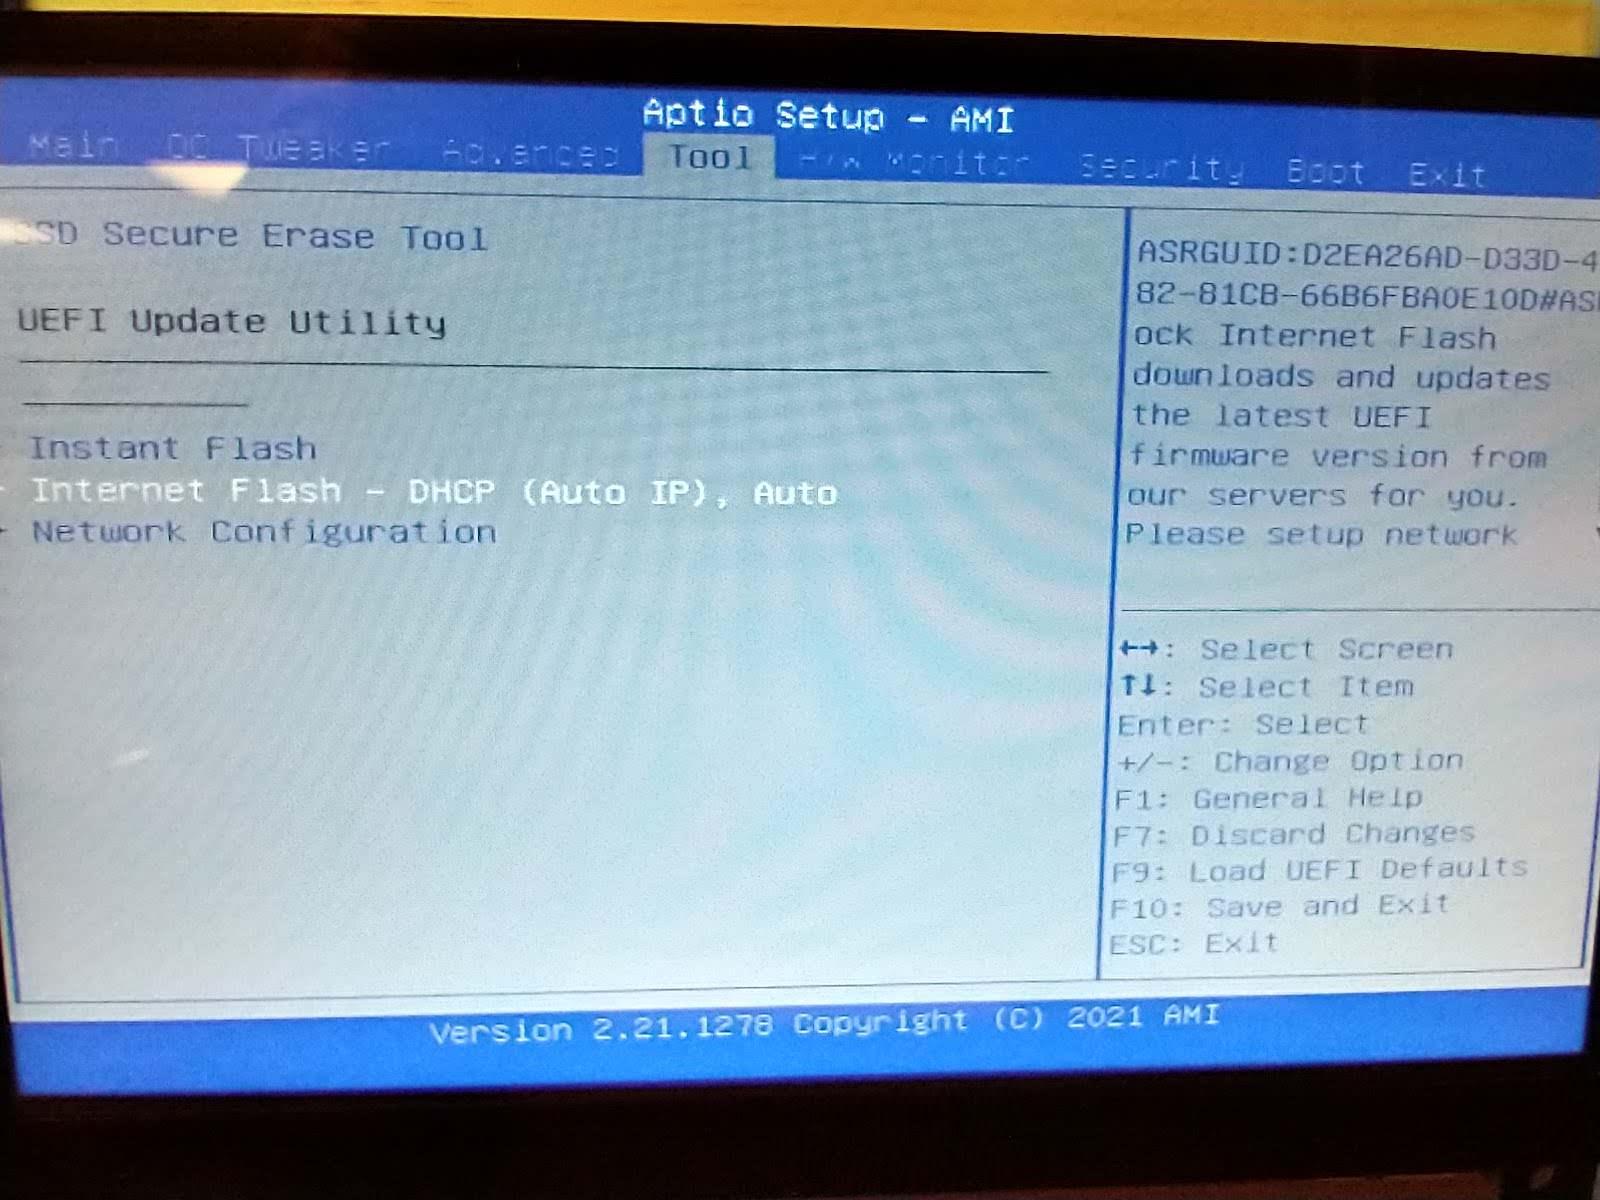
Go into the Tool menu, and select Internet Flash from the options.
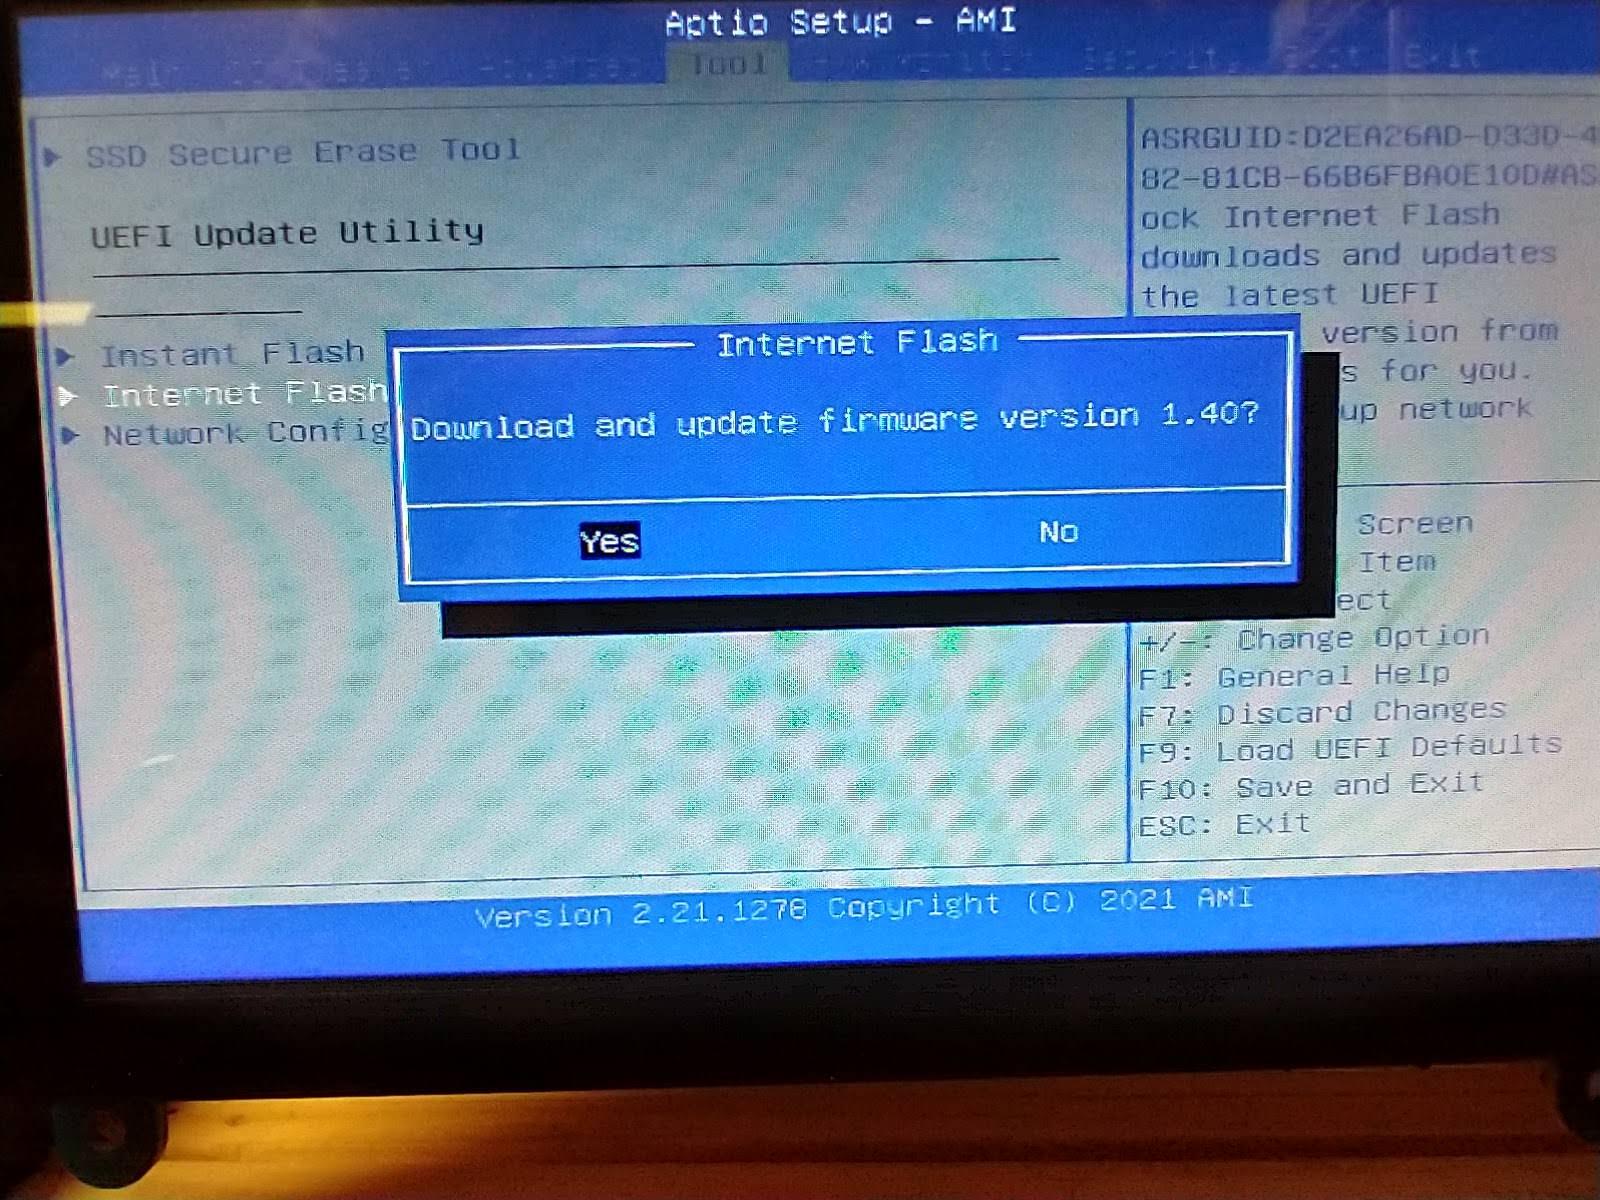
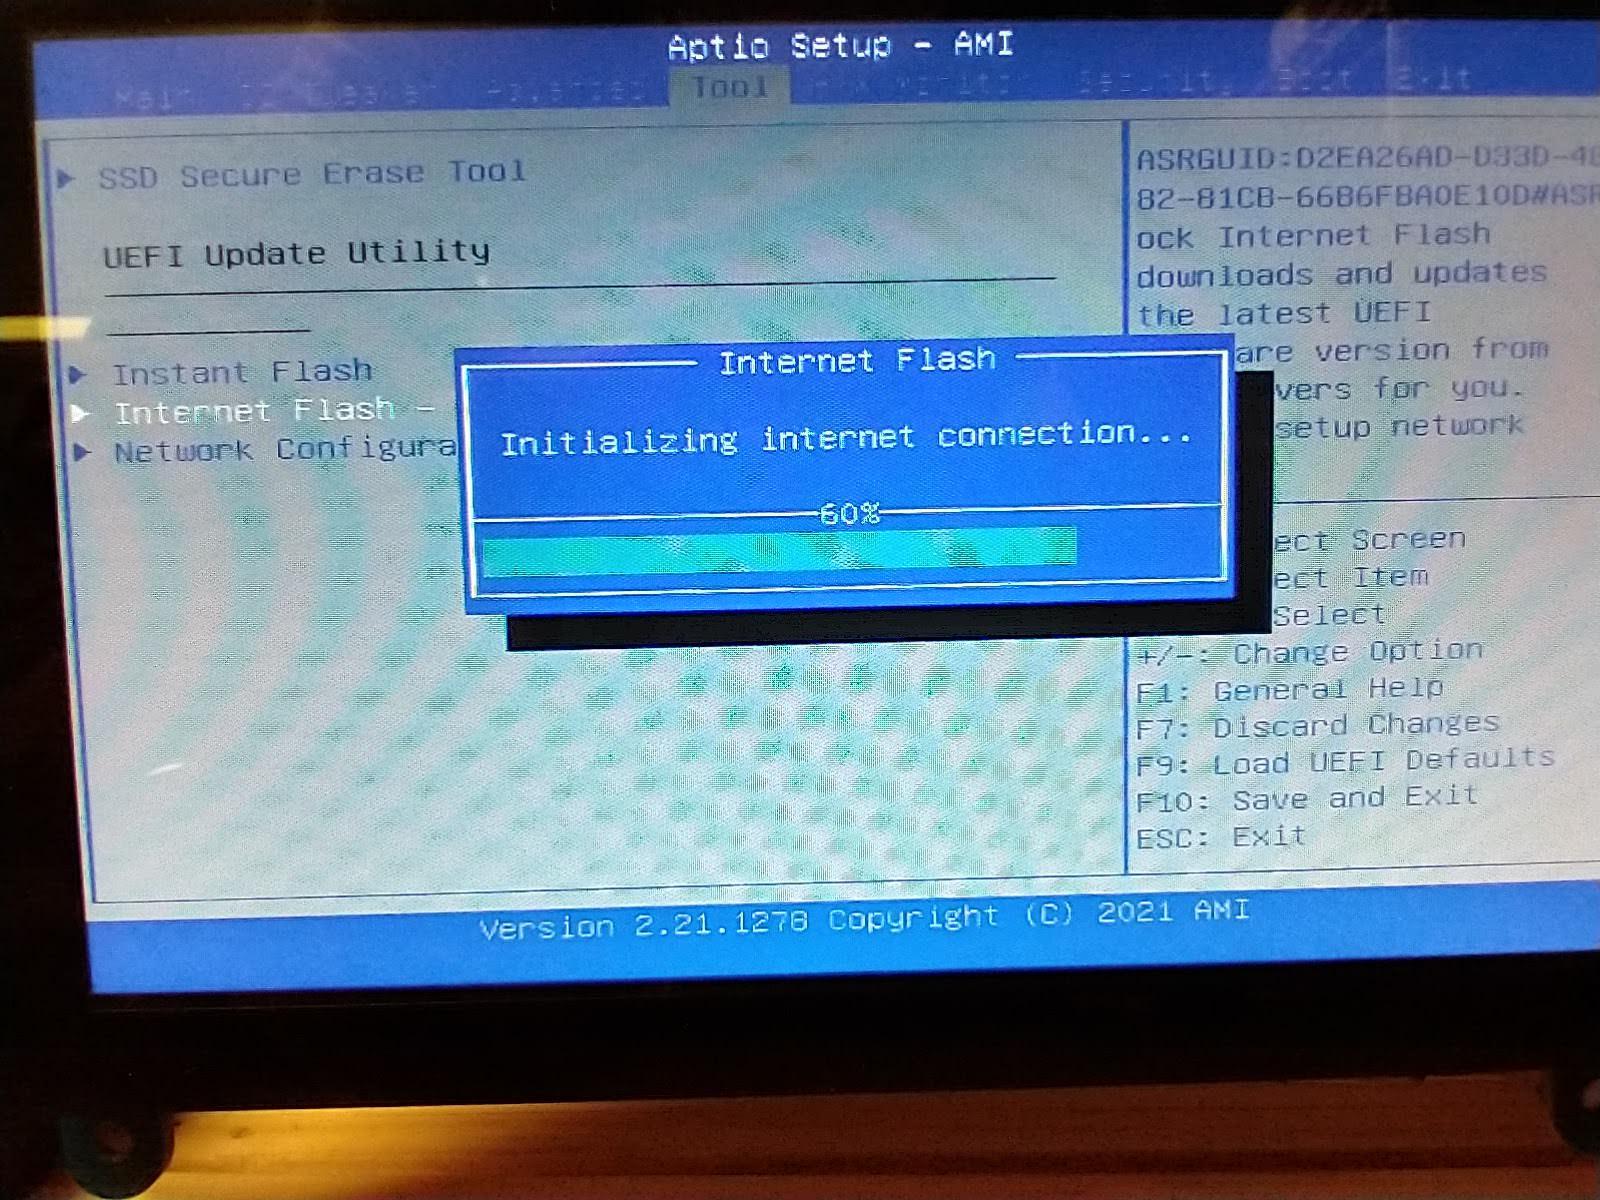
Say Yes to Download and update firmware version 1.40
The system may restart, if not, save changes and restart the system.
Re-enter bios setup.
OC Tweaker - CPU Configuration

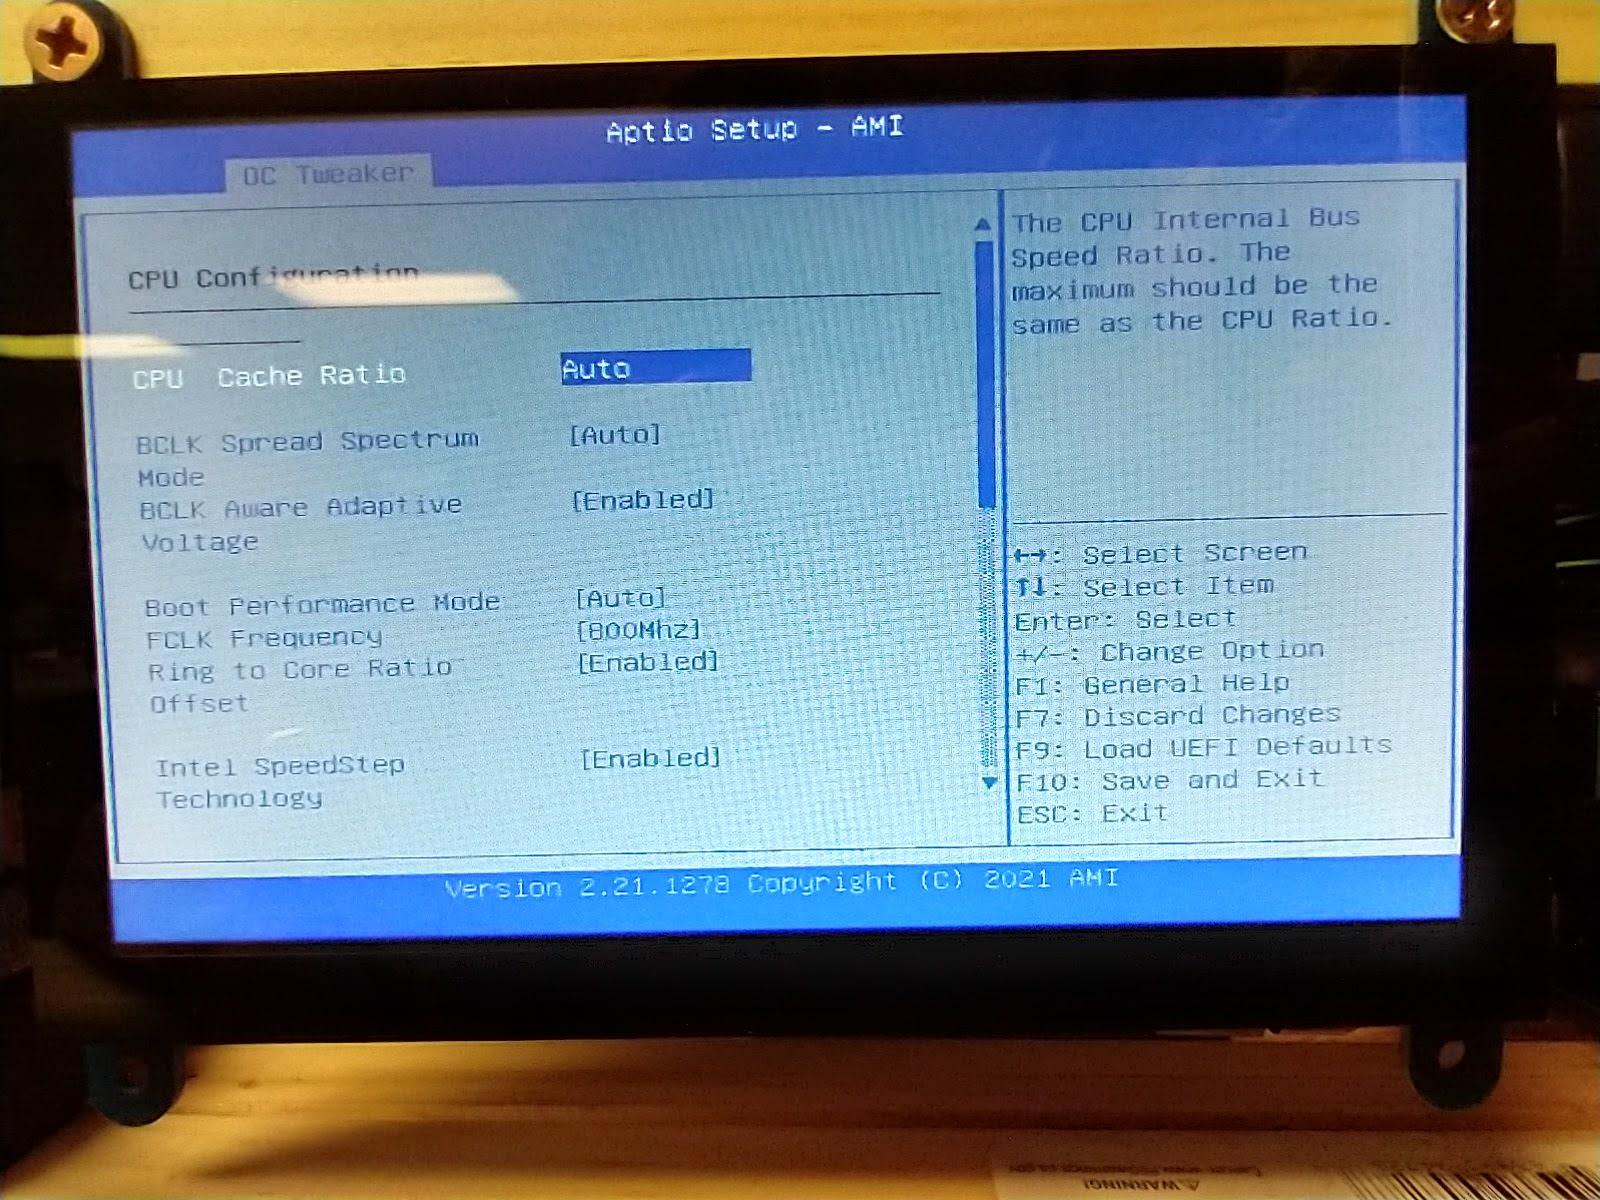
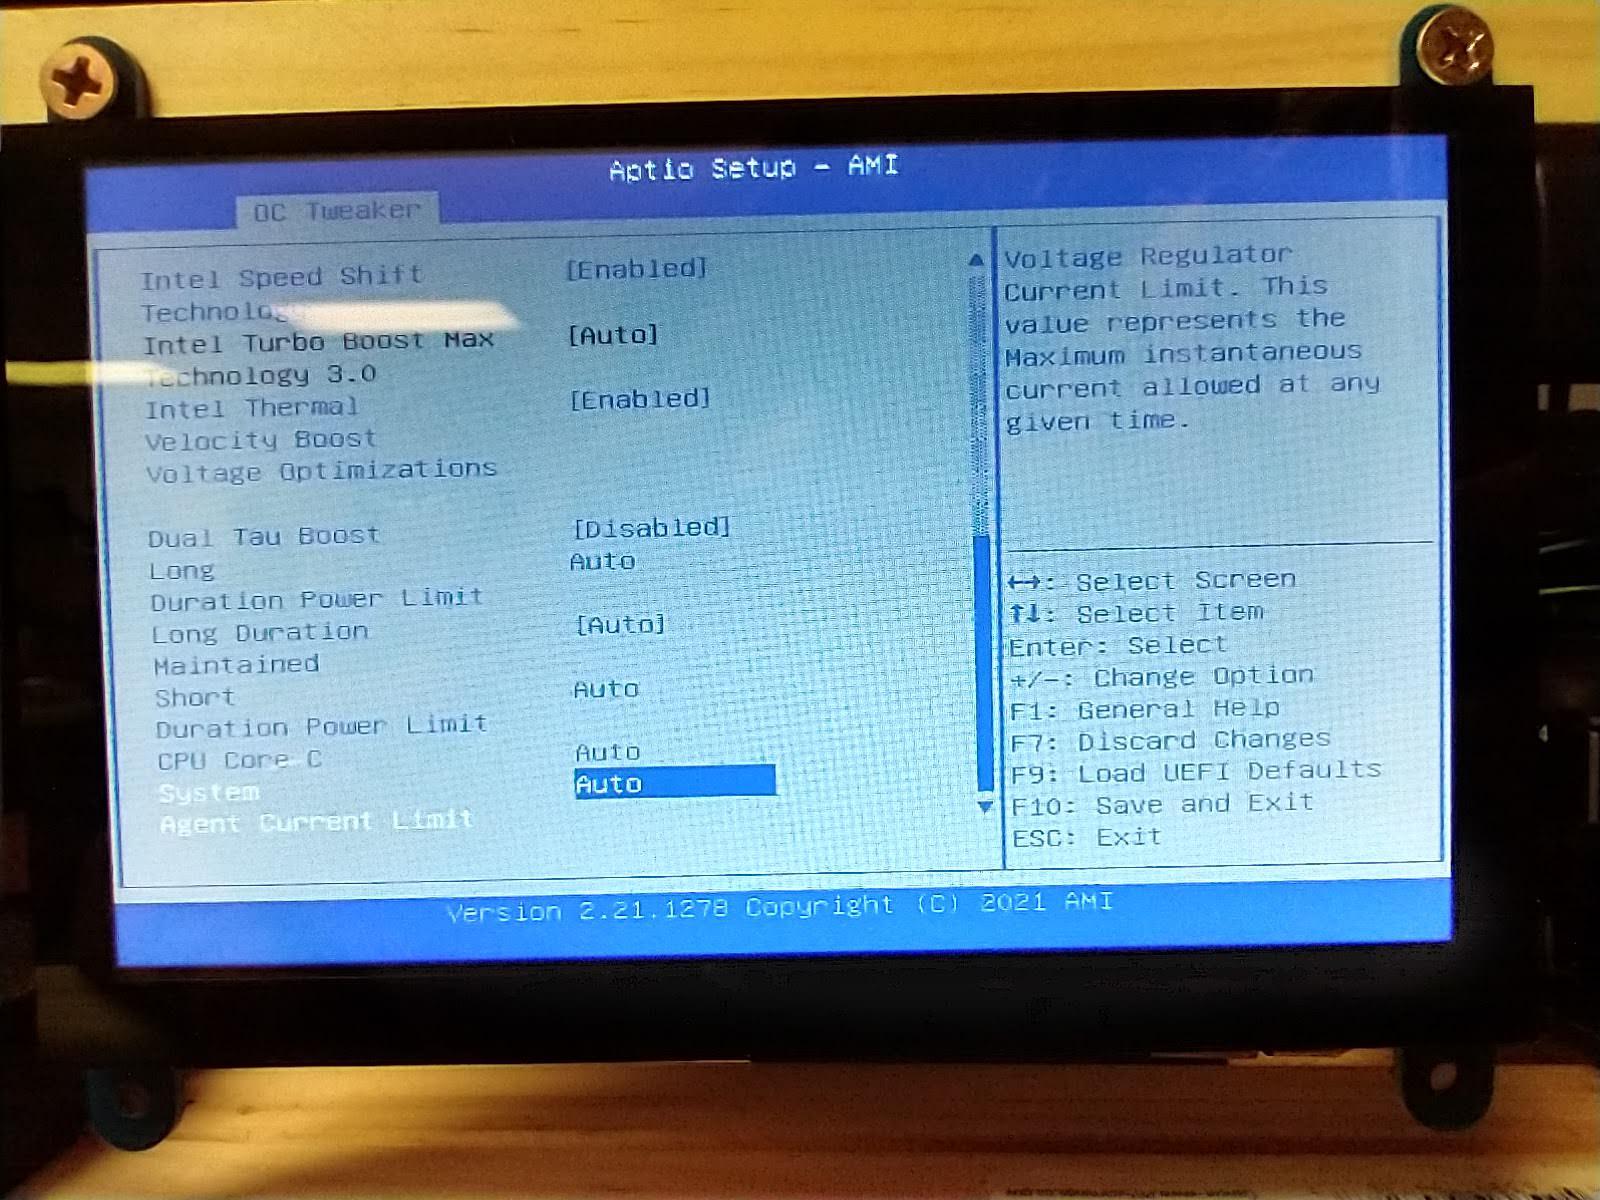
Let's move on to the OC Tweaker.
- Go into the CPU Configuration - set options per images in this step.
OC Tweaker - DRAM Configuration
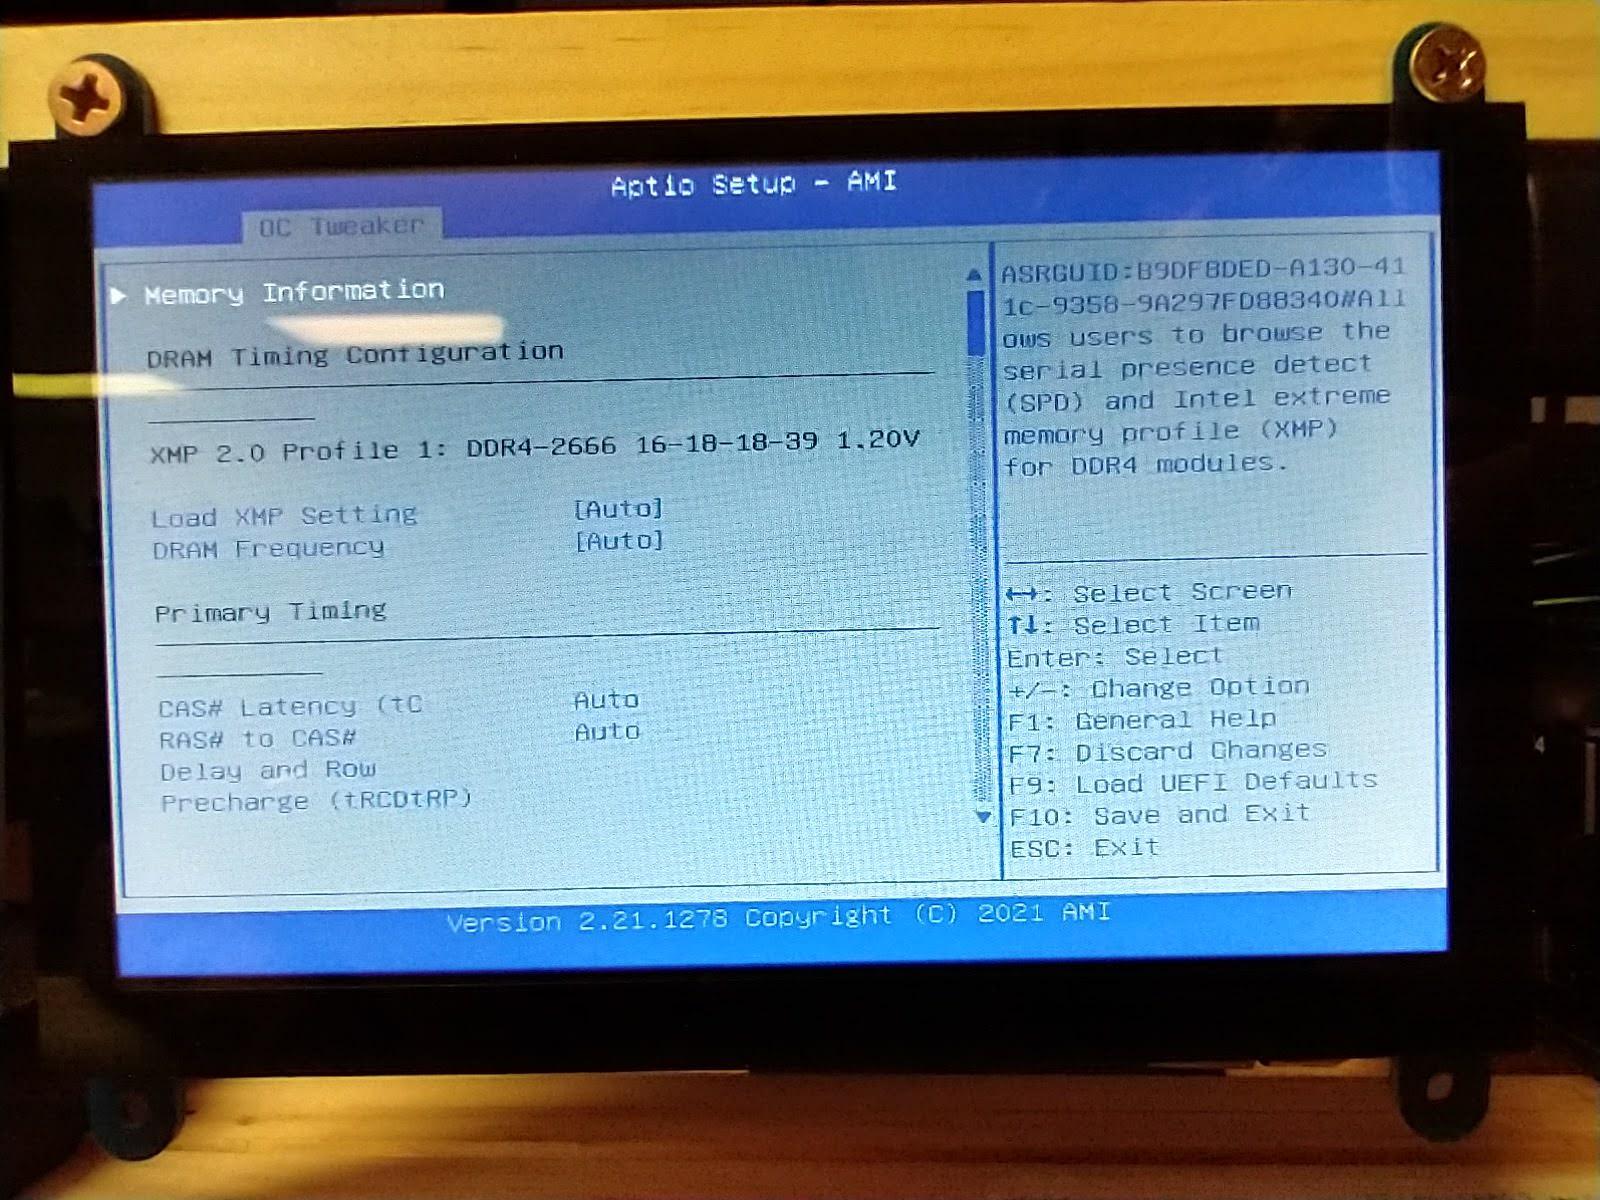
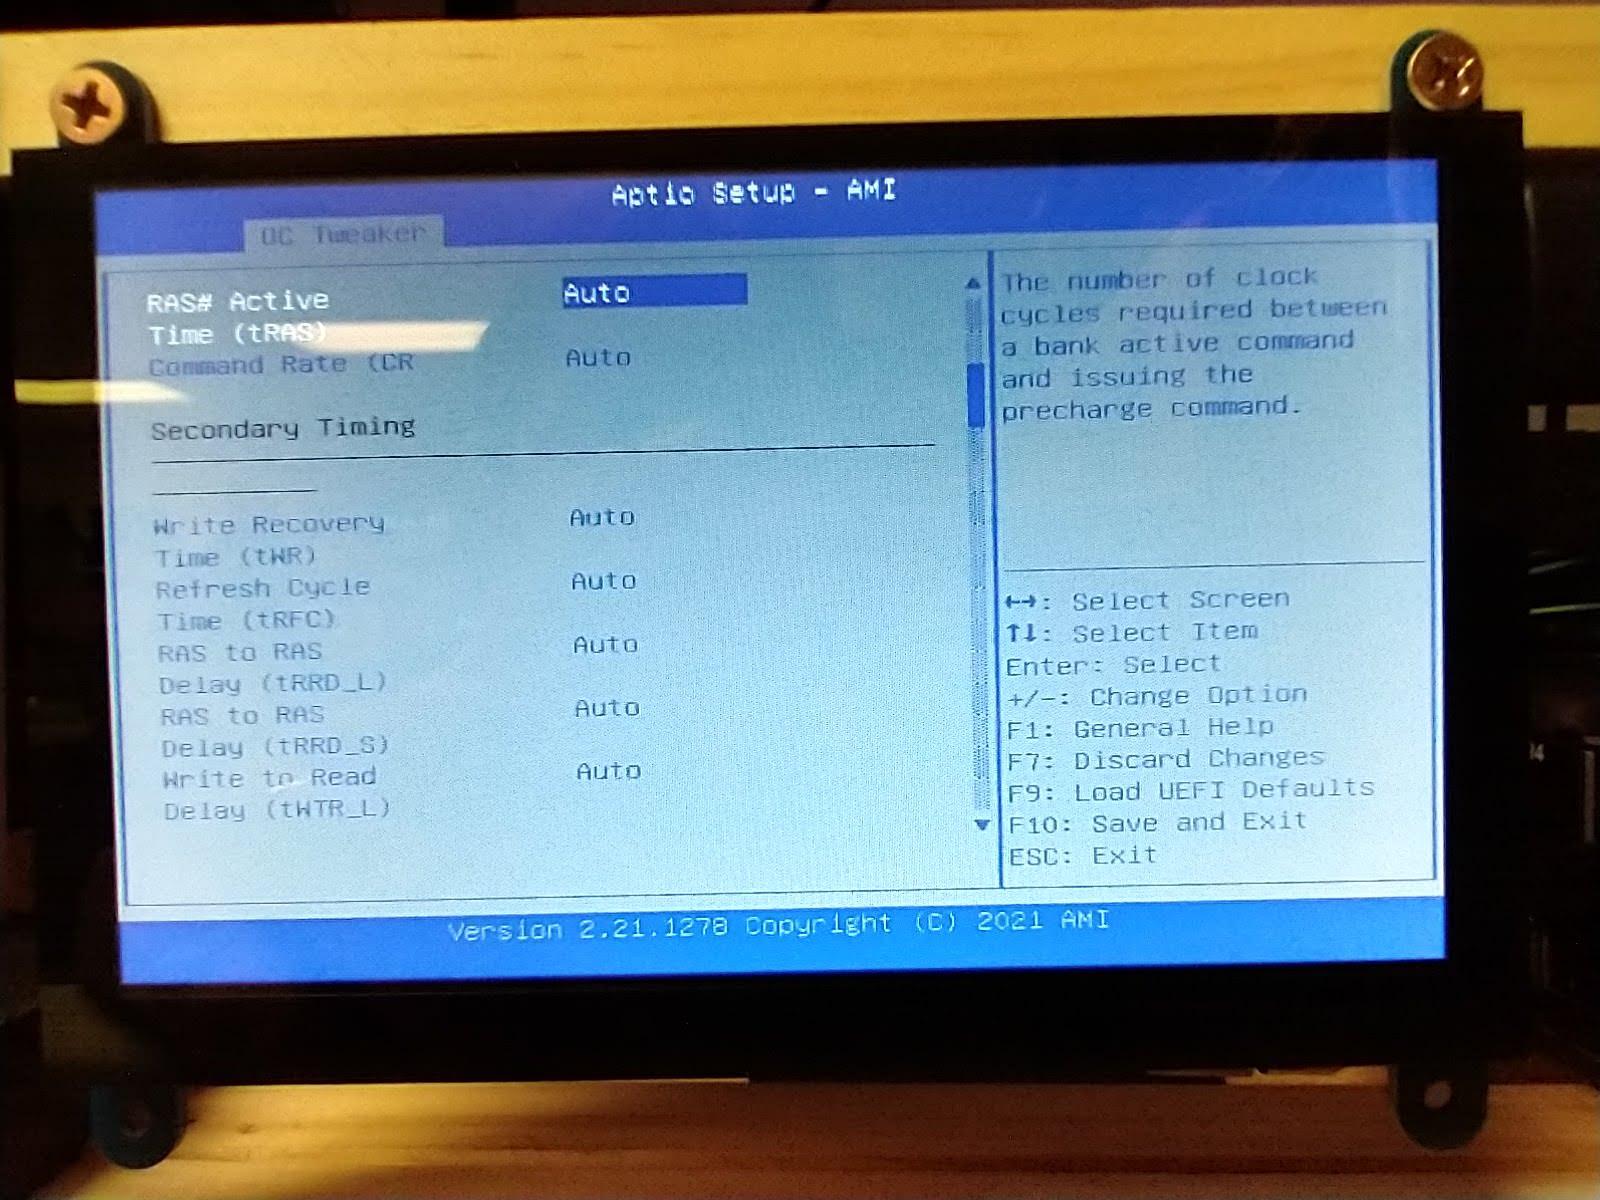
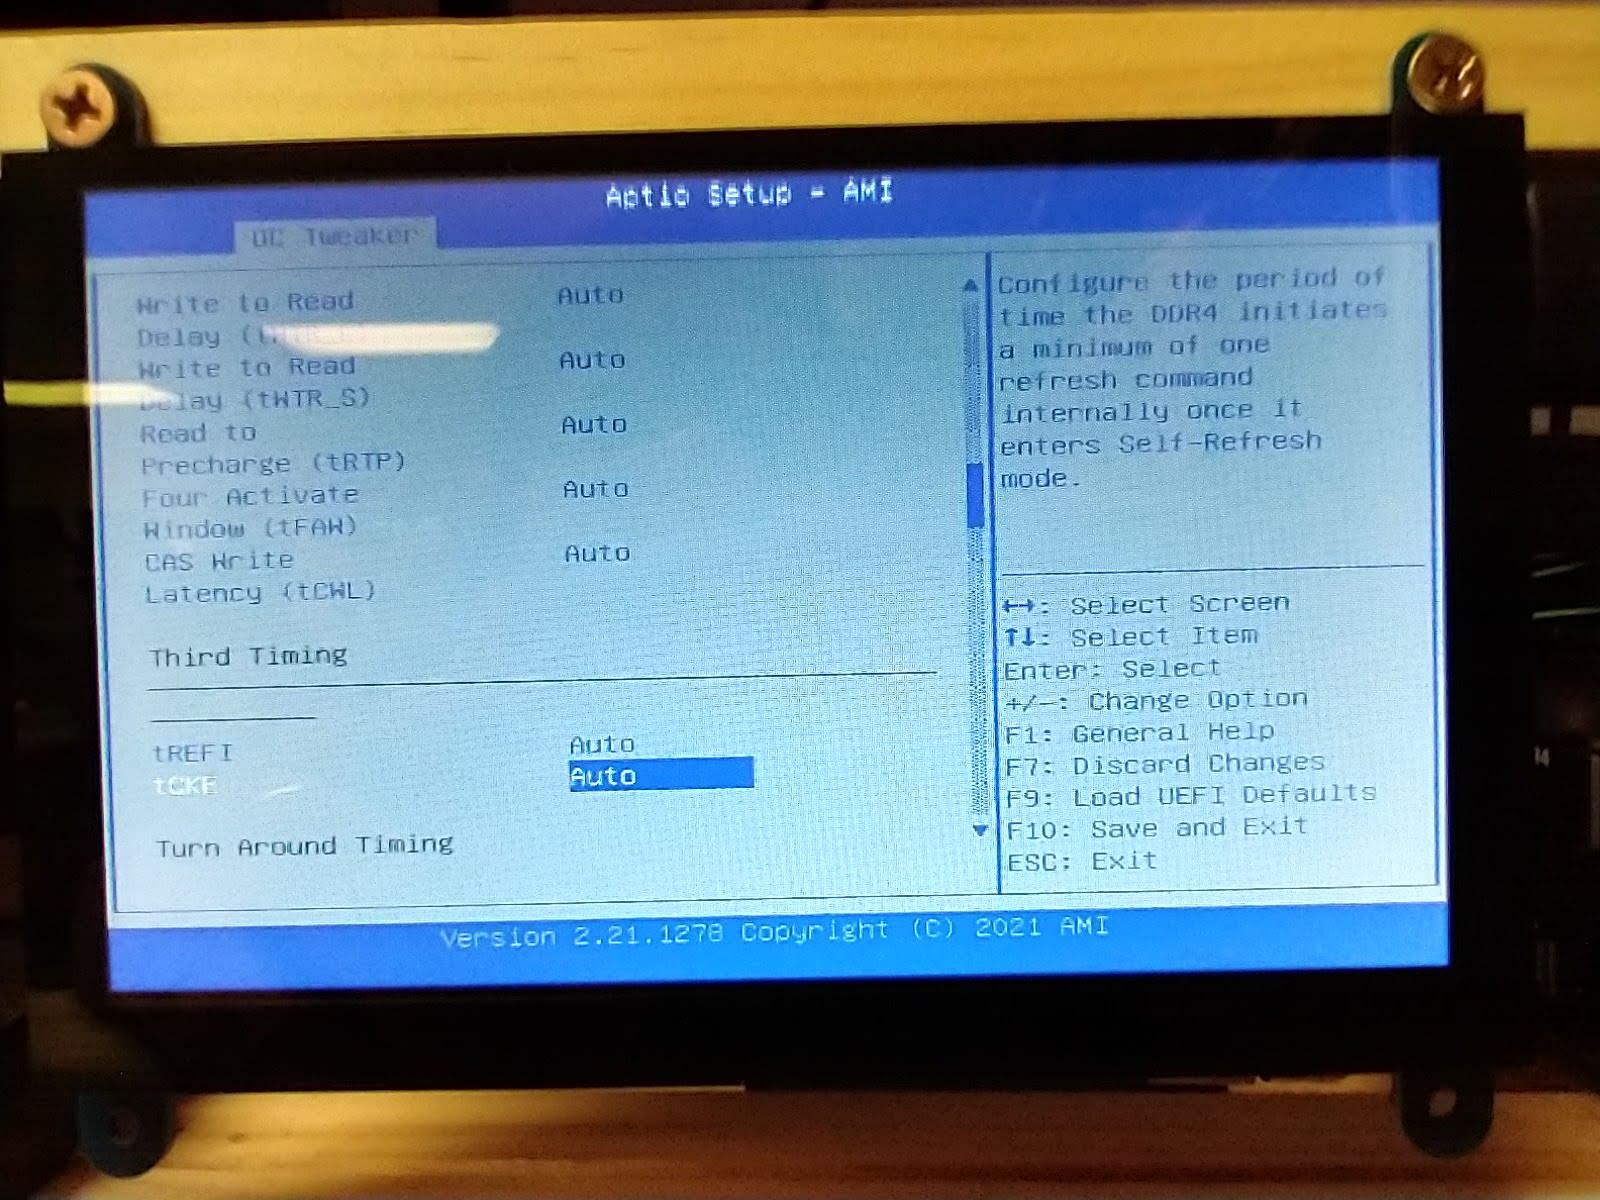
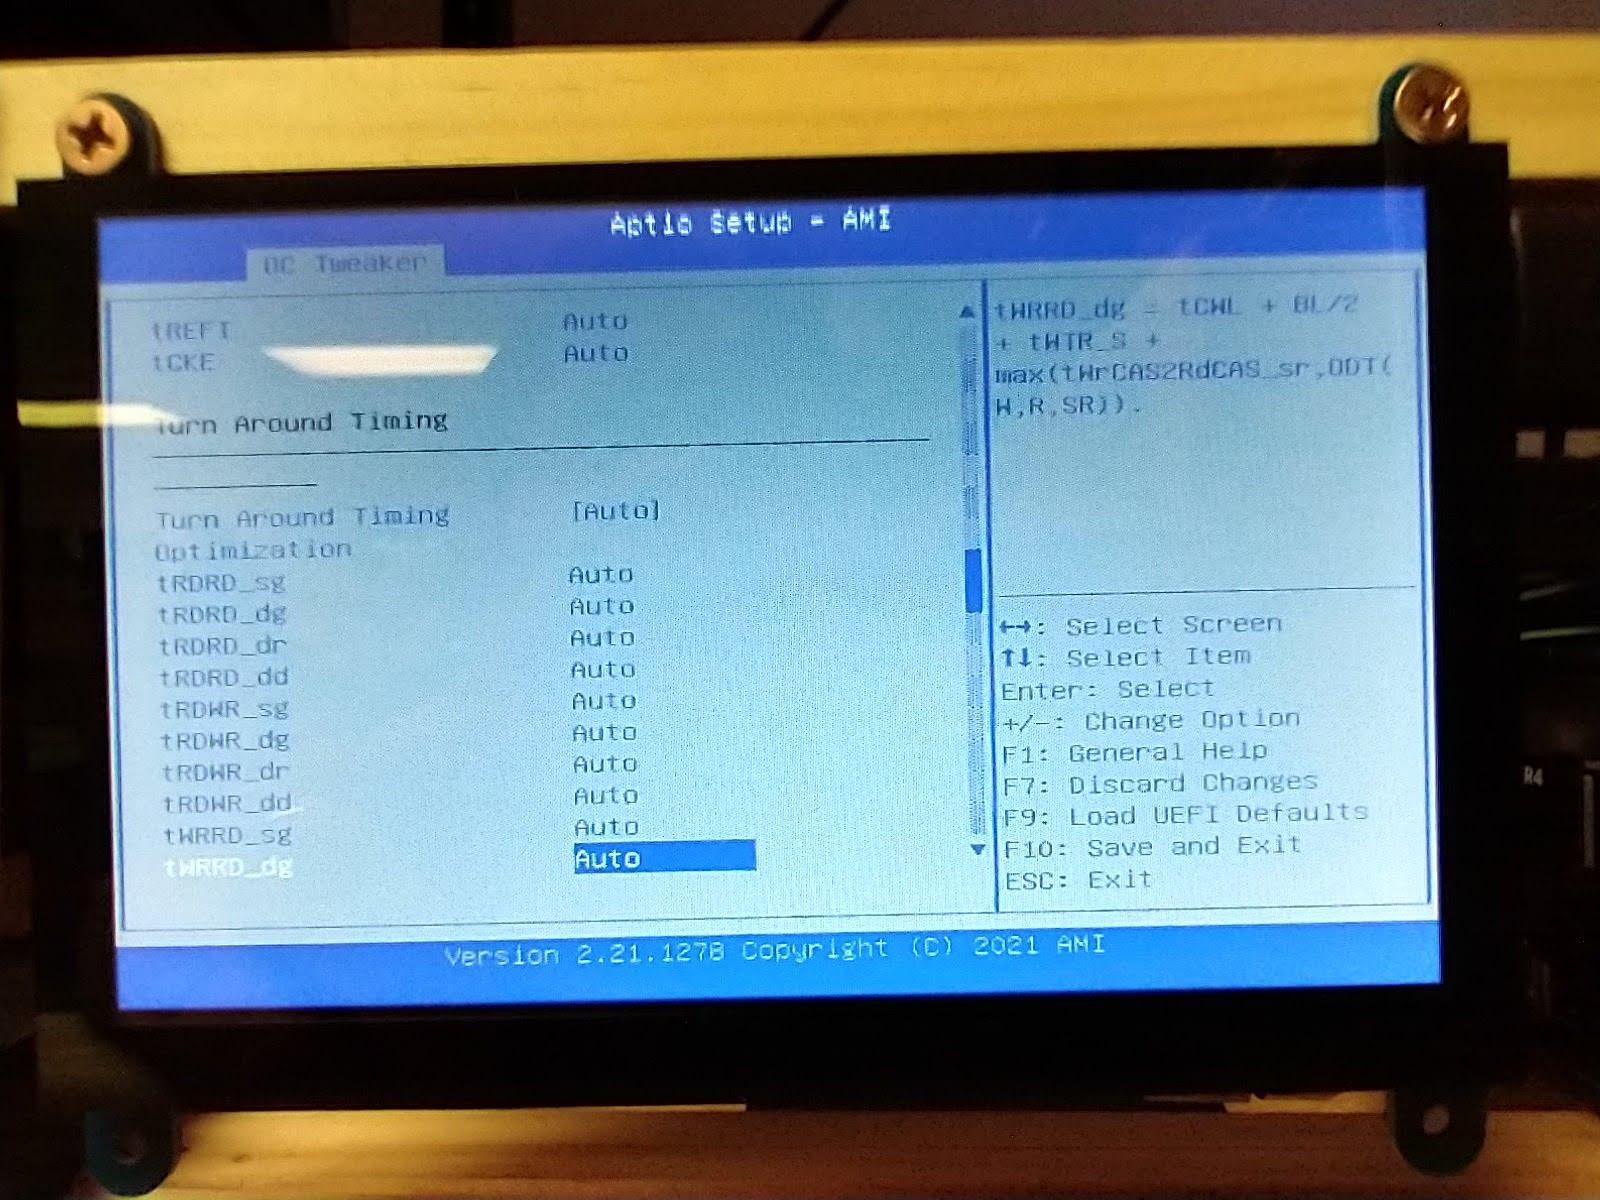
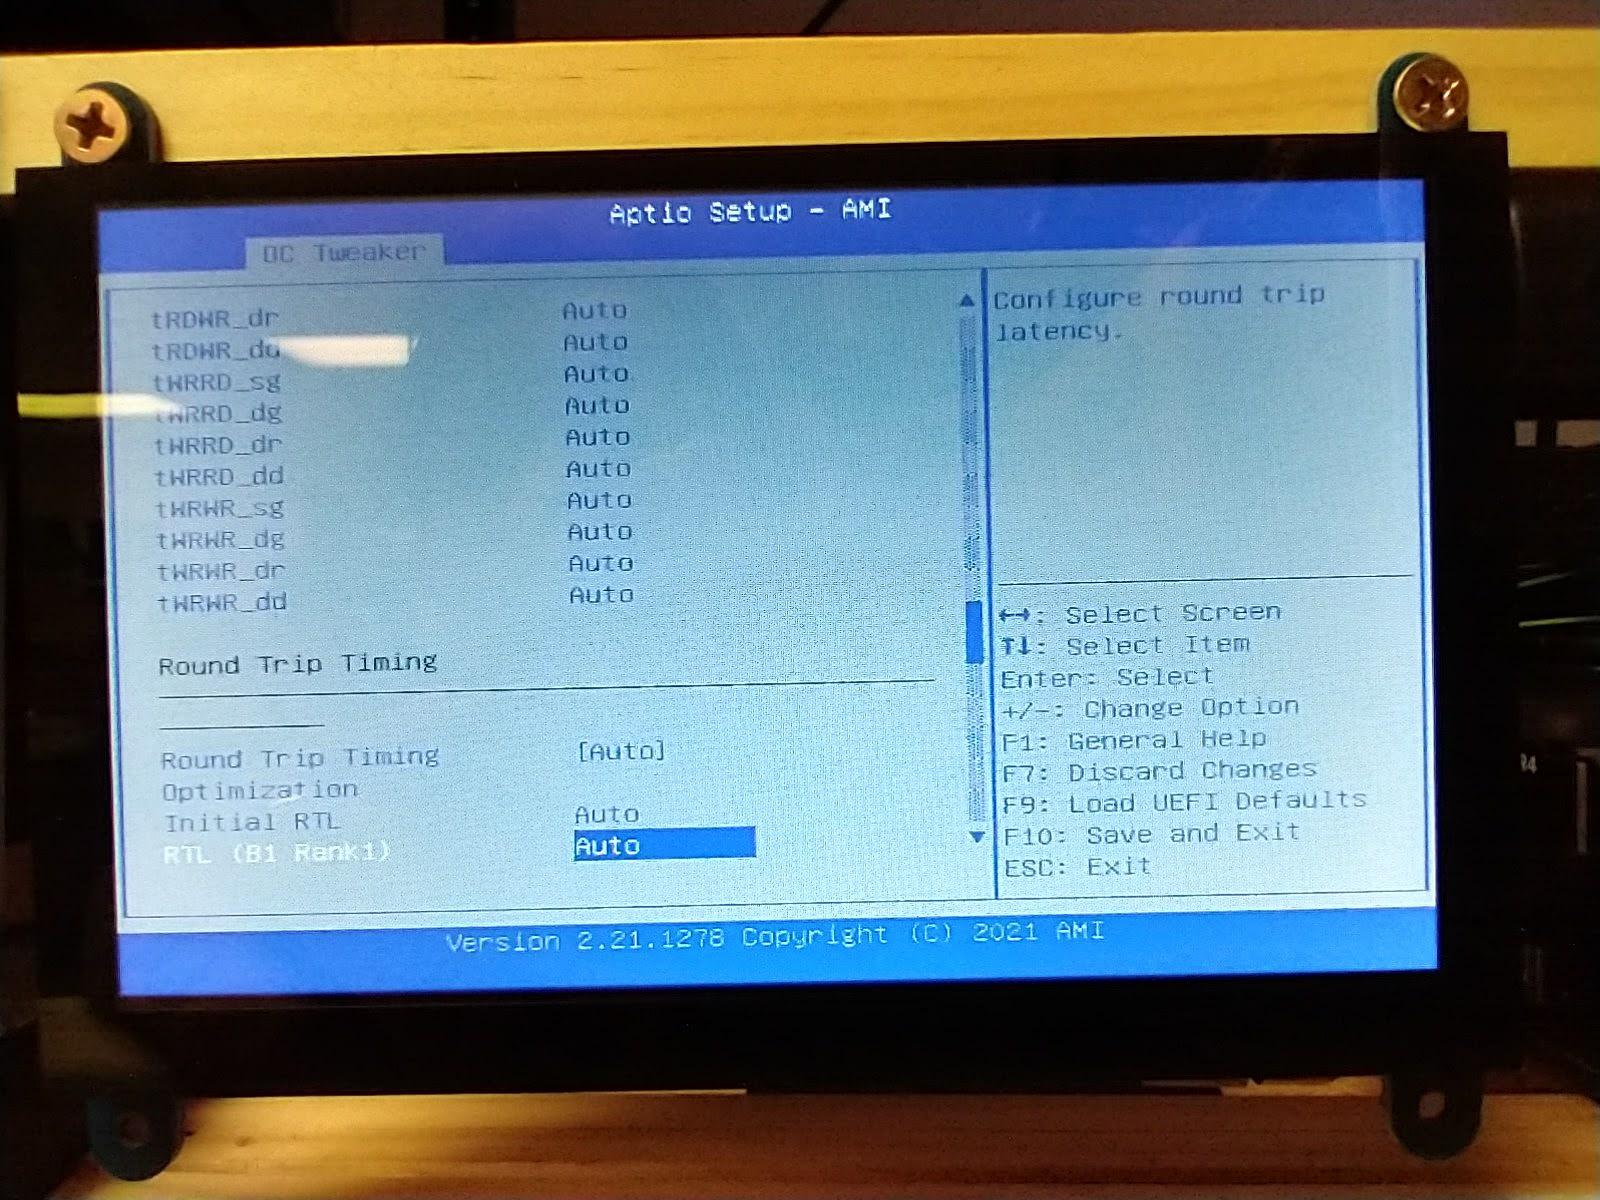
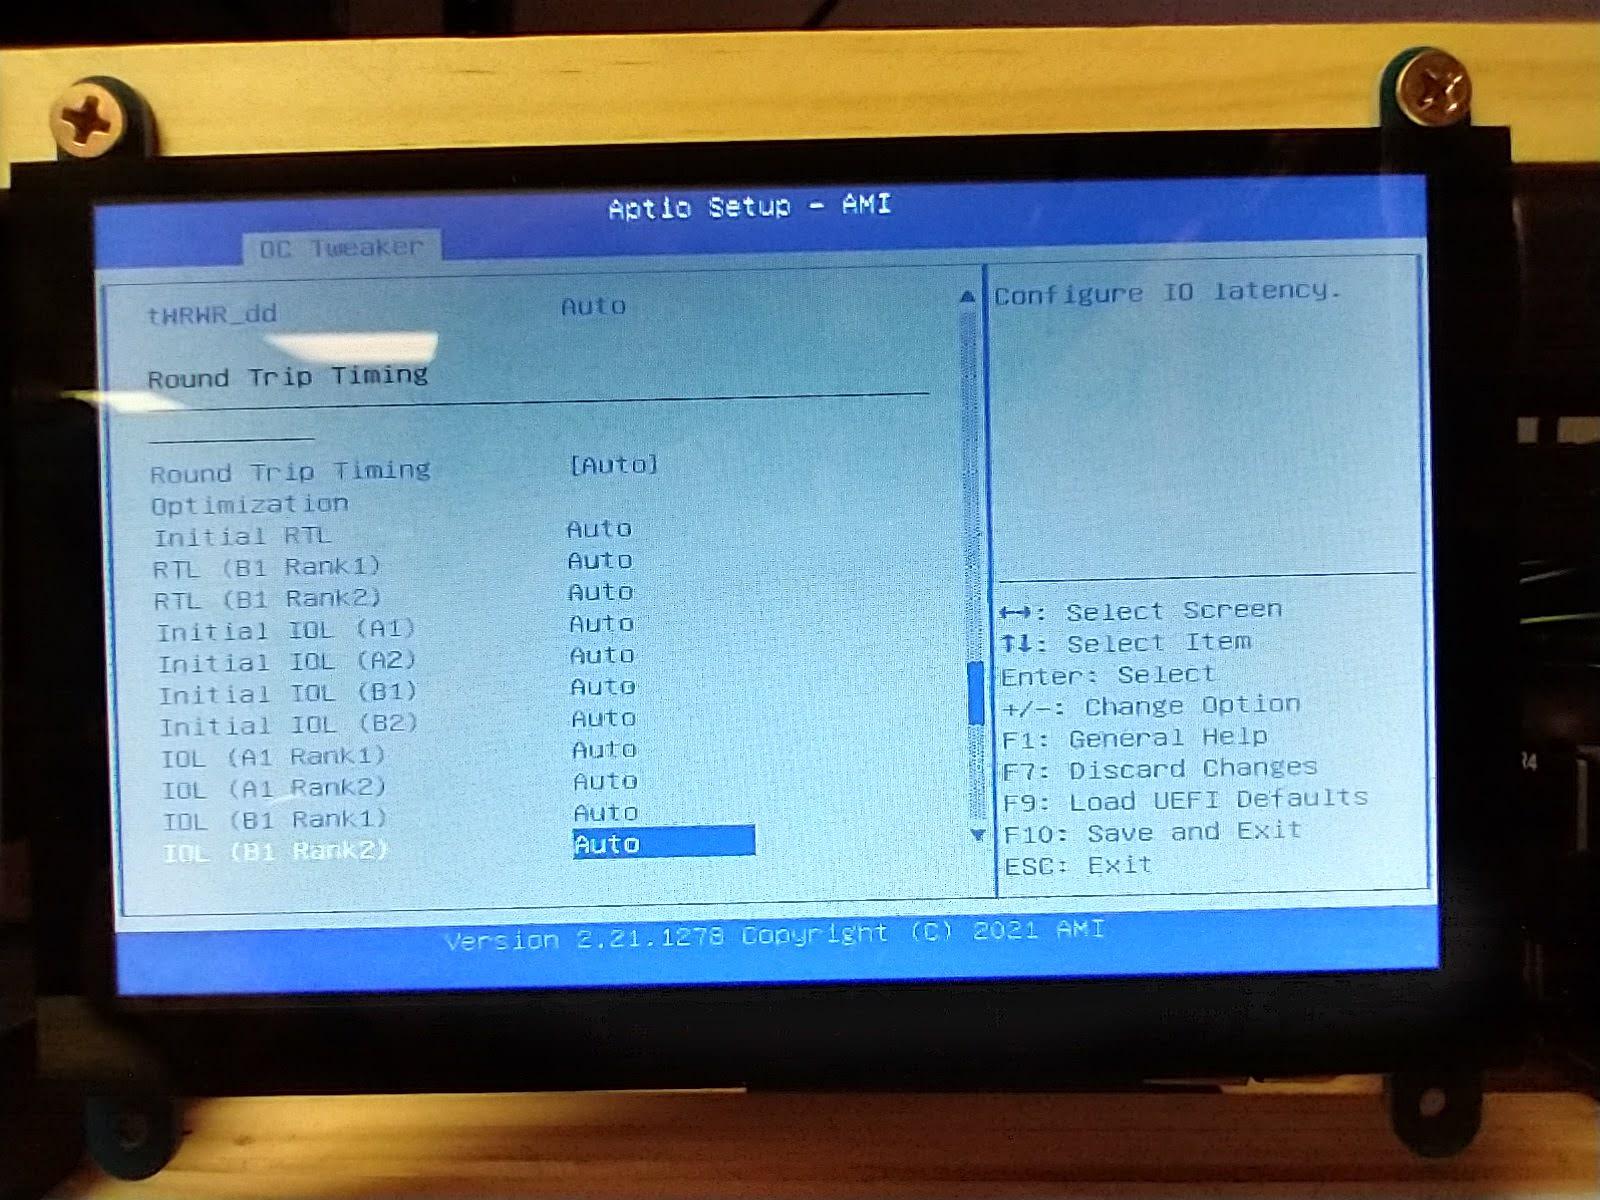
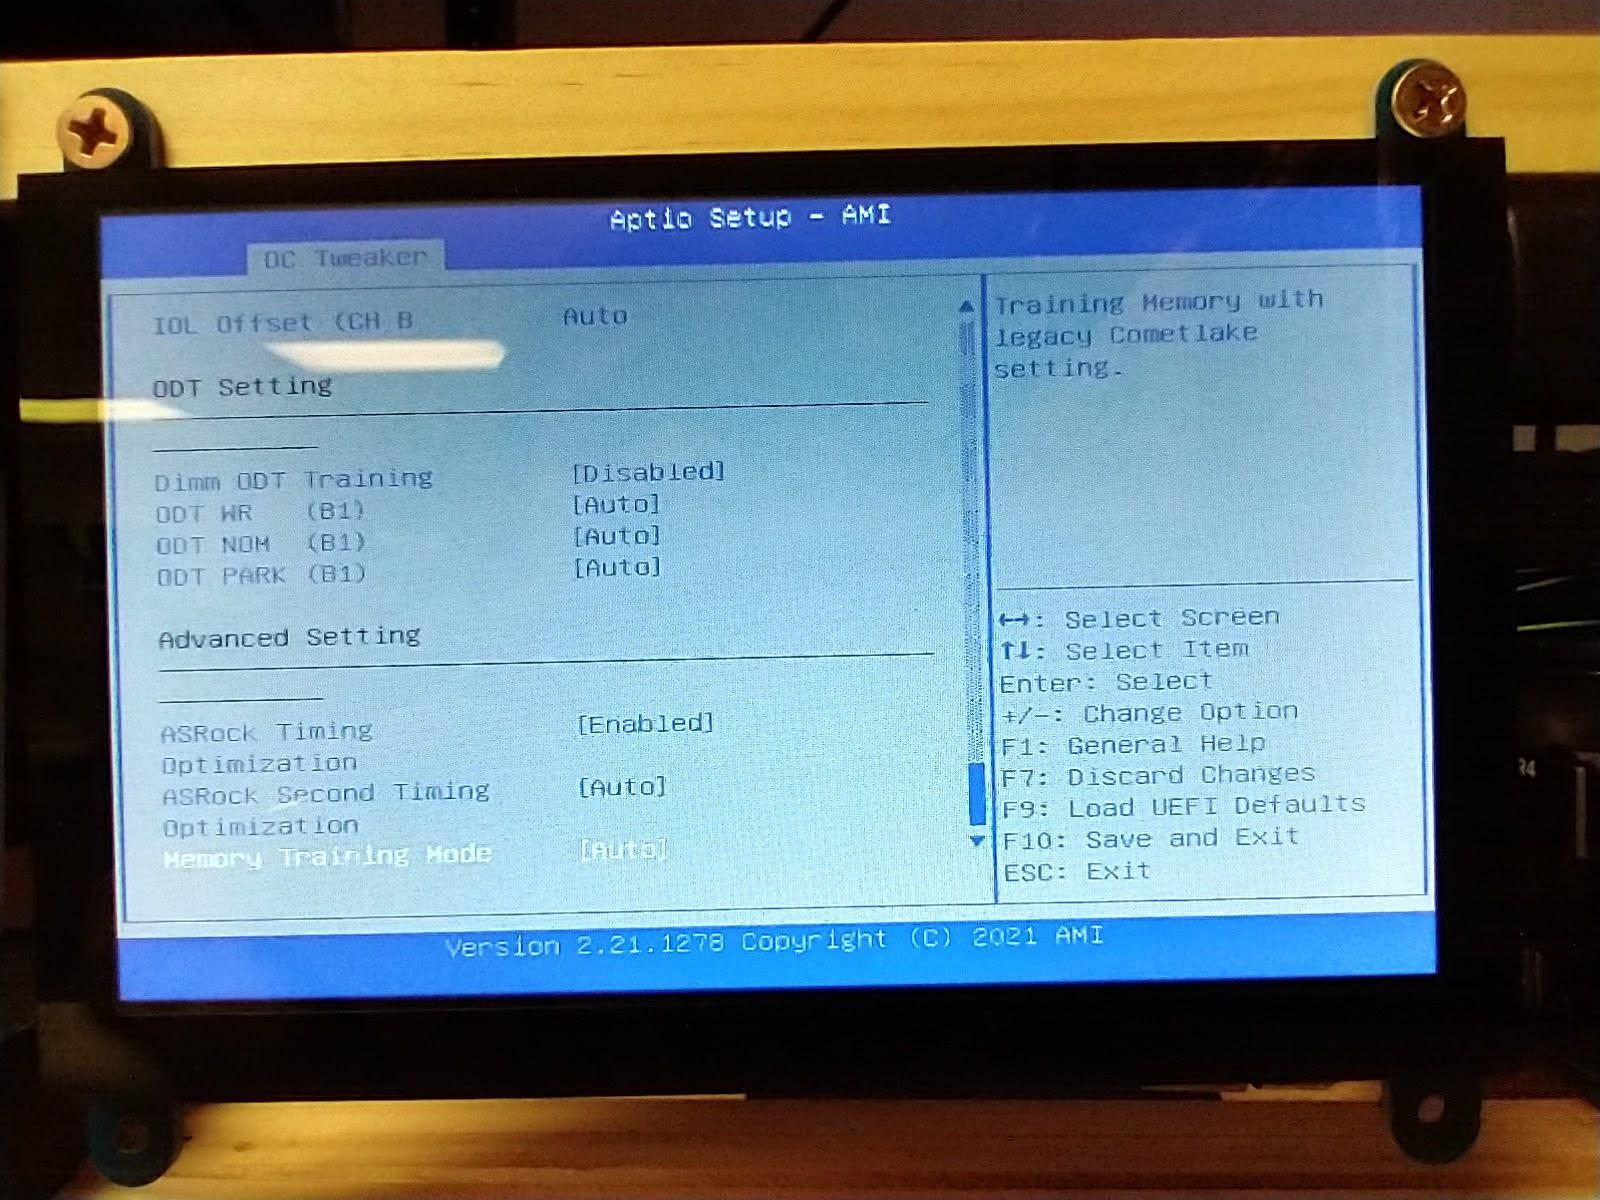
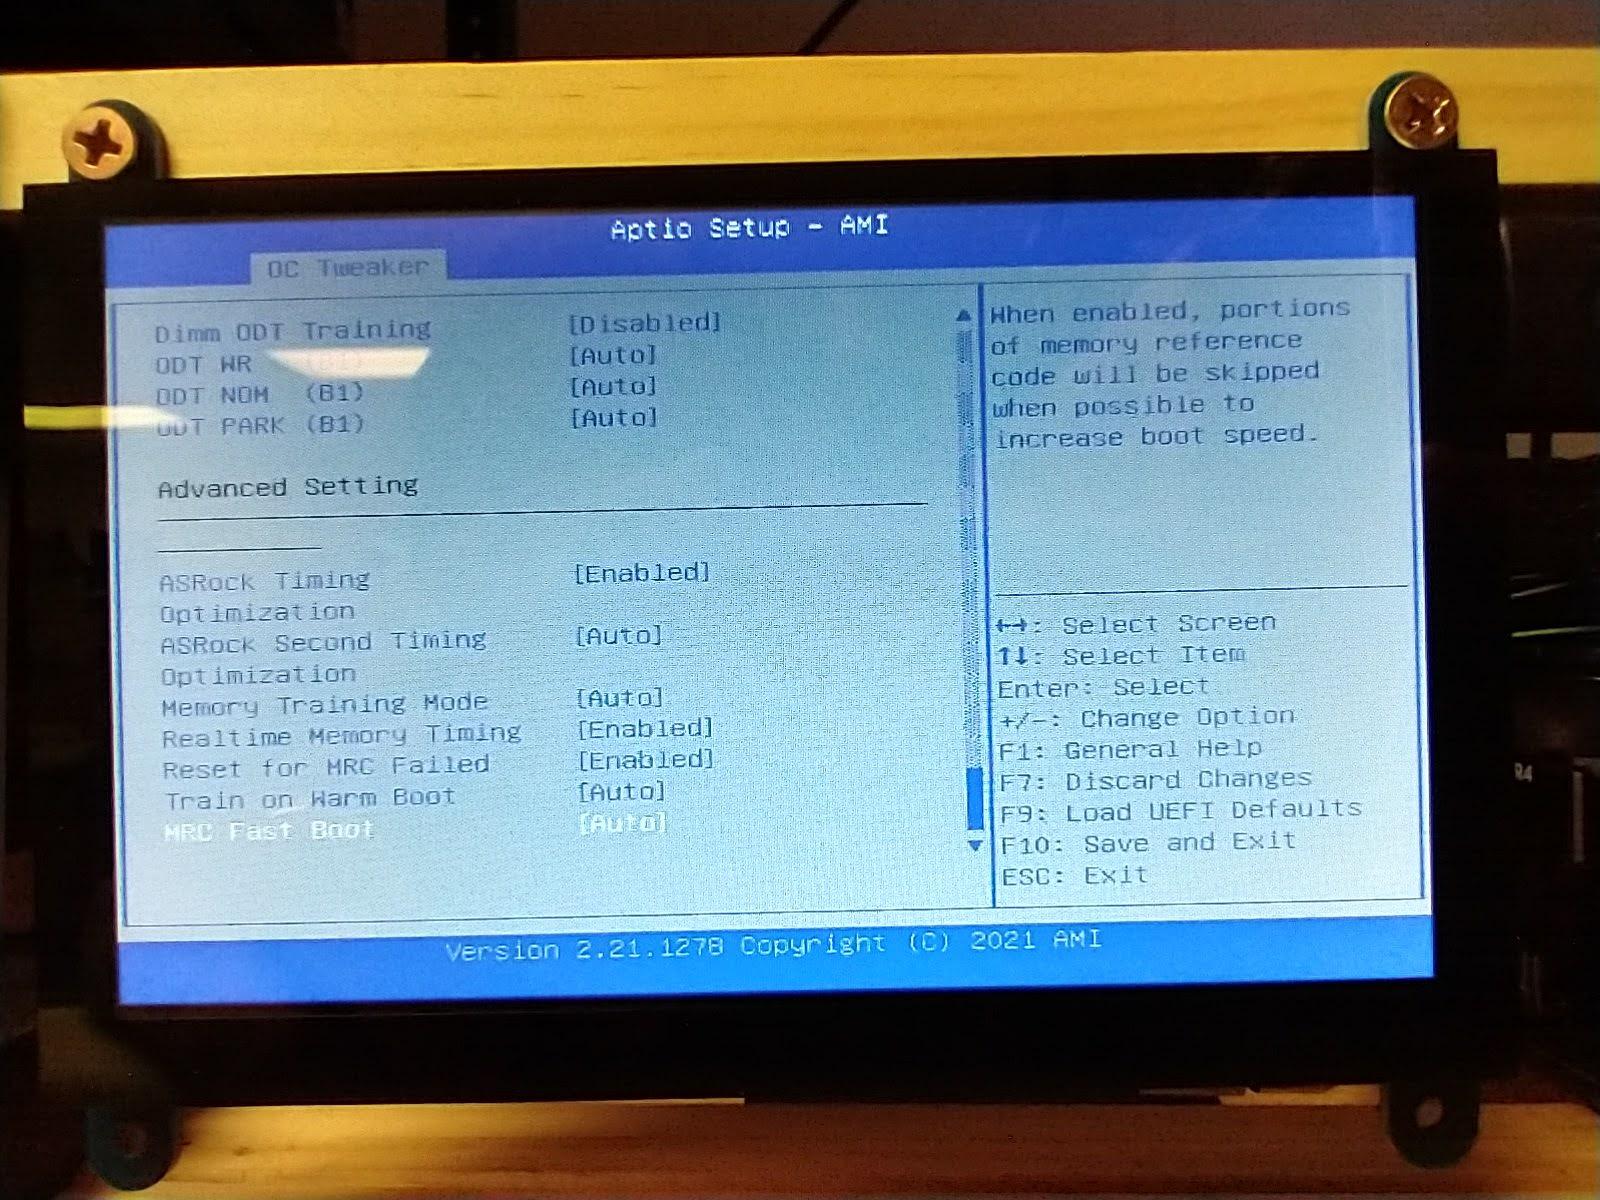
- Go into the DRAM Configuration - set options per images in this step.
- Note pages 13,14 and make sure you have installed Ram compatible with your Chip as well as the board itself.
Advanced - CPU Configuration
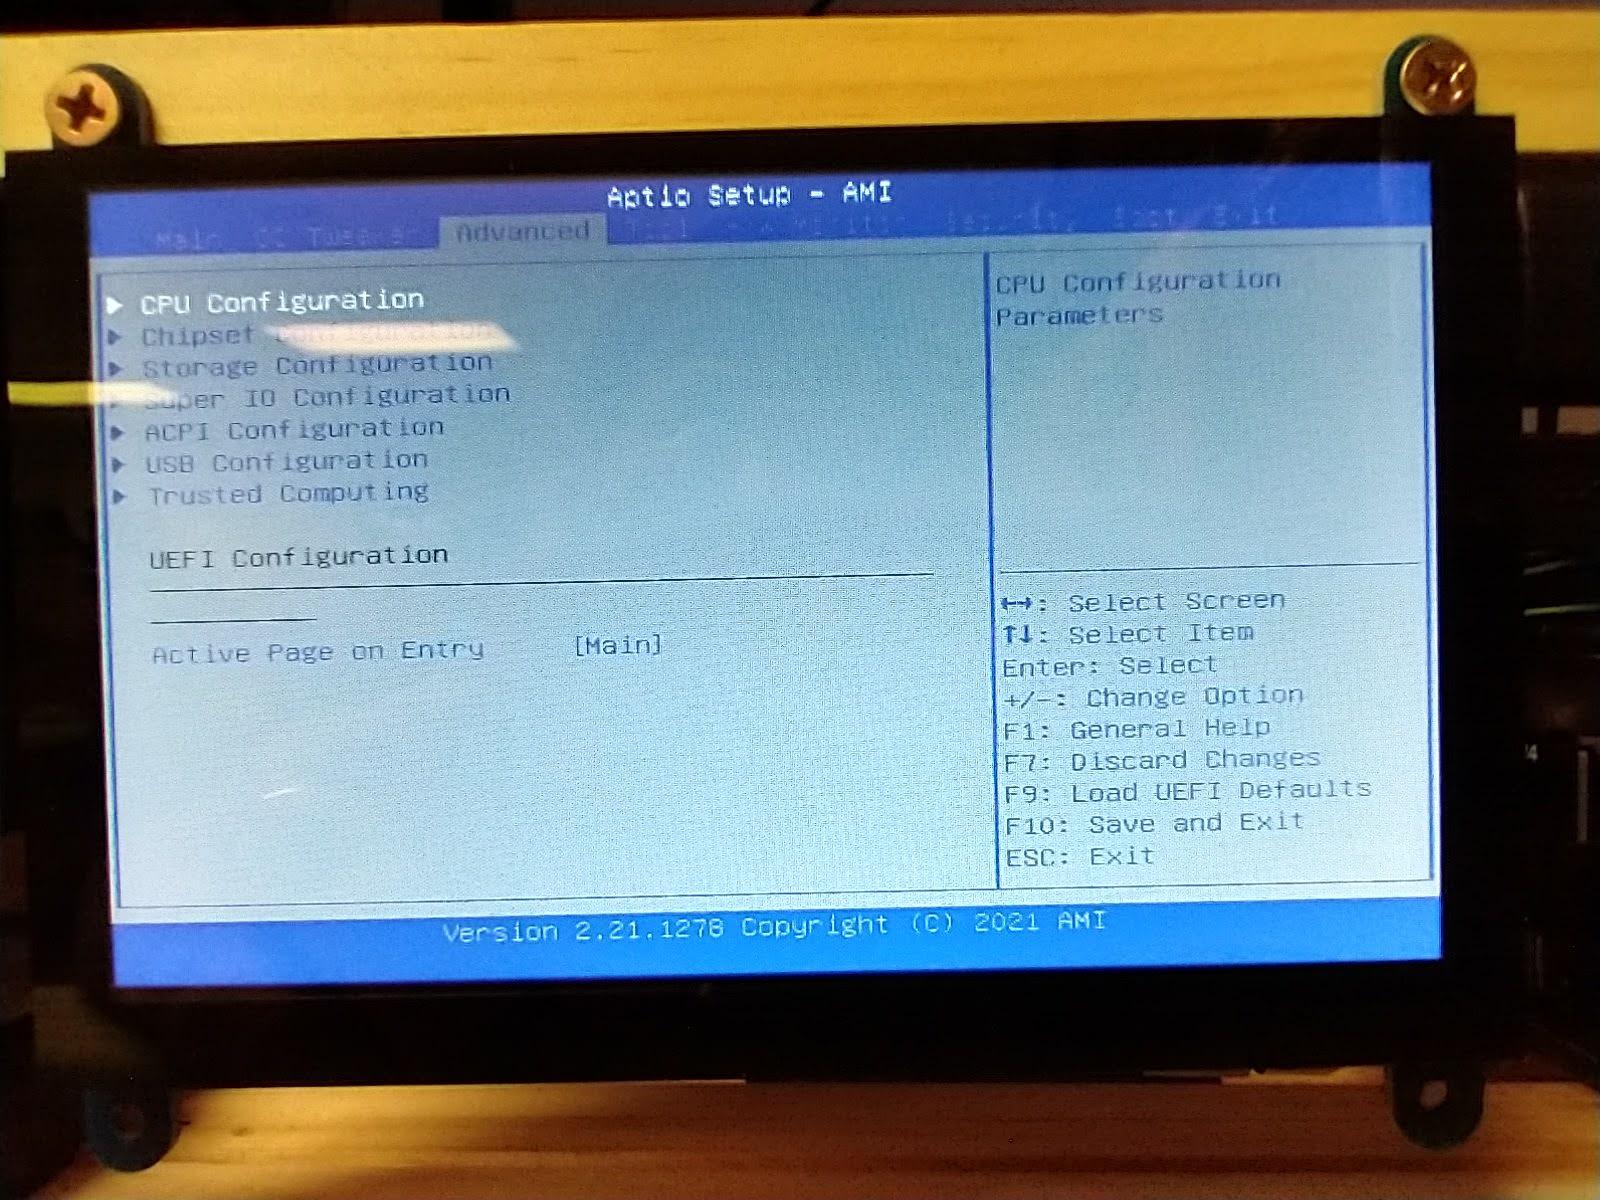
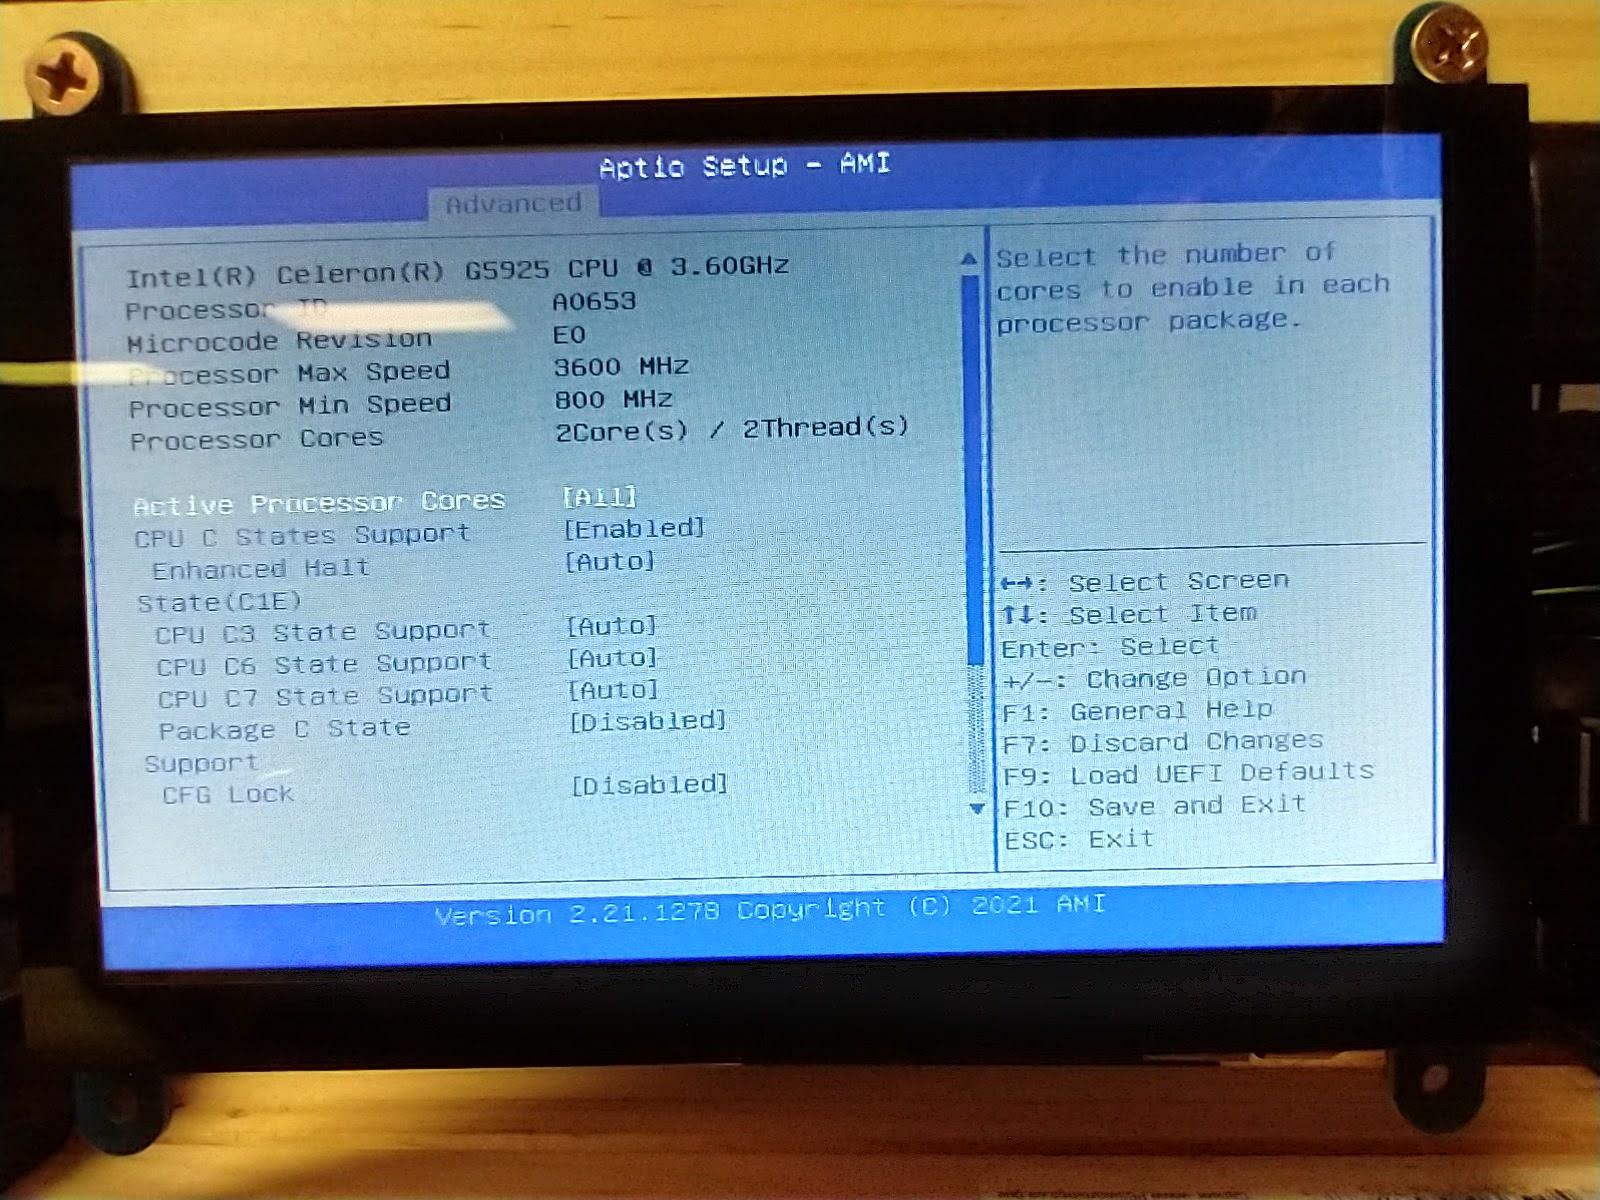
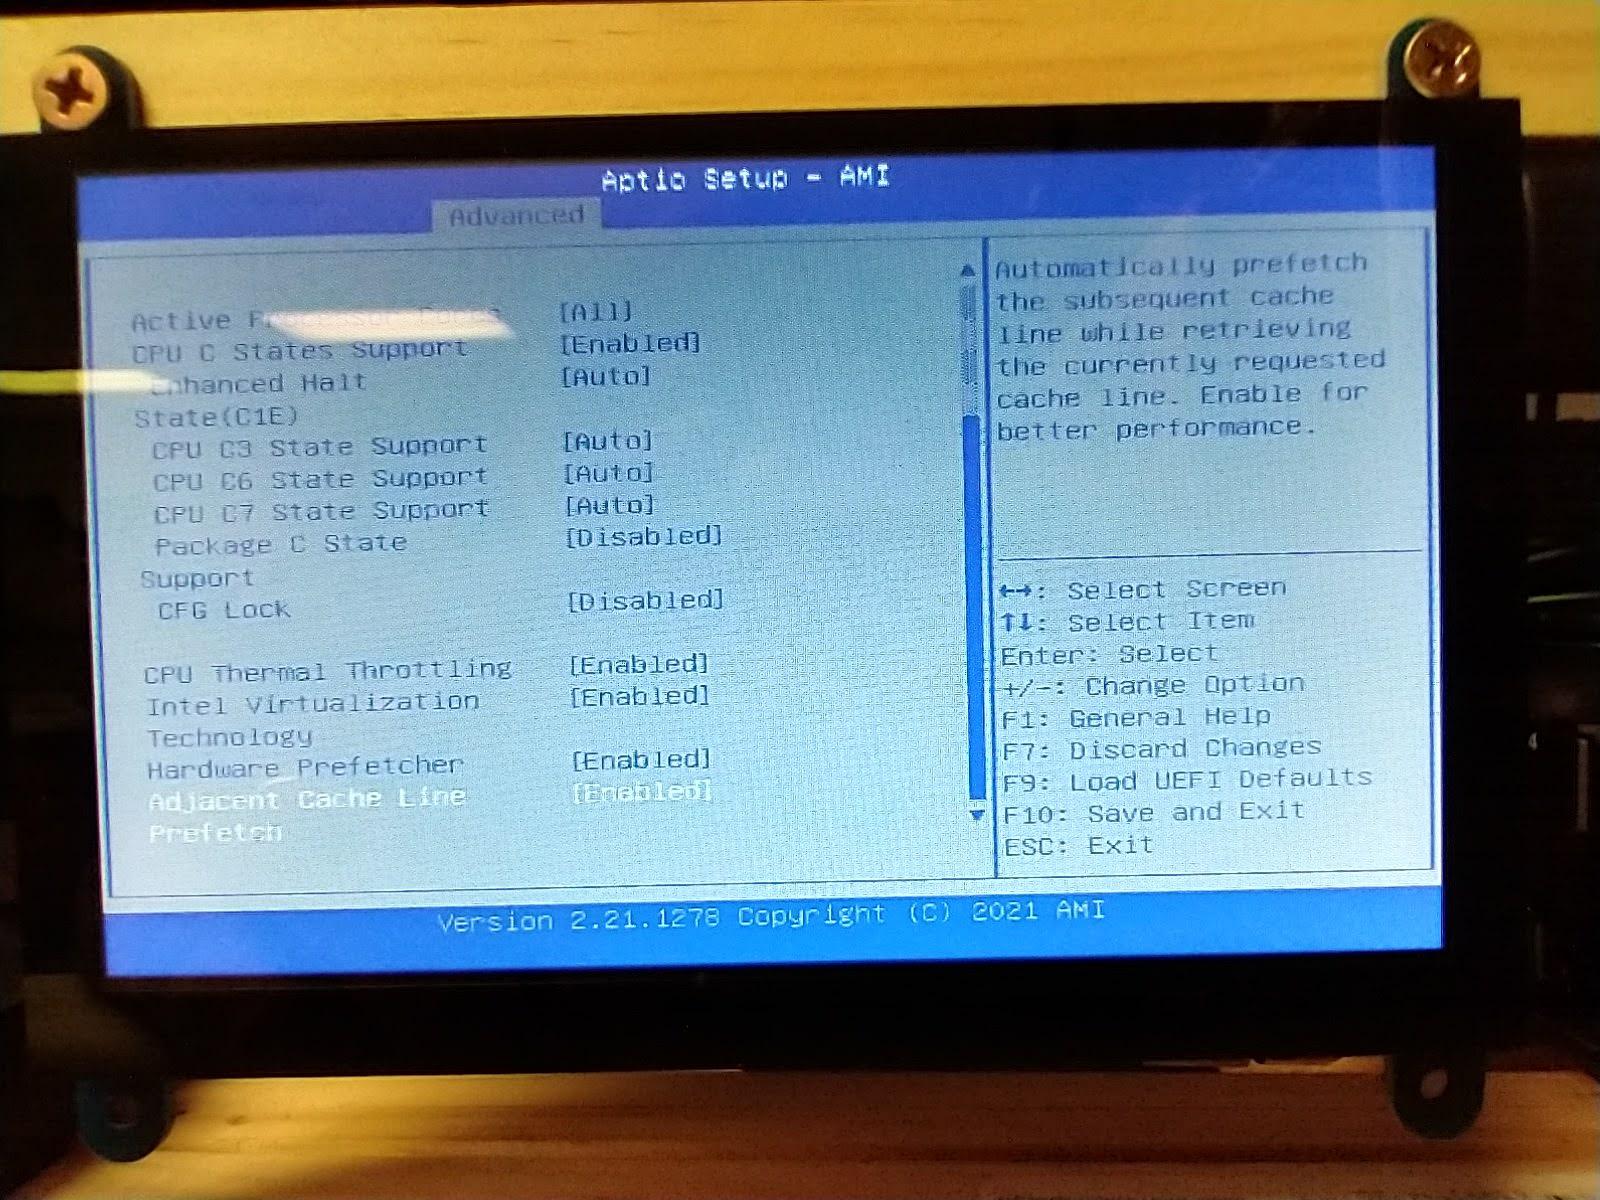
CPU Configuration
- Set settings according to images provided.
Advanced - Chipset Configuration
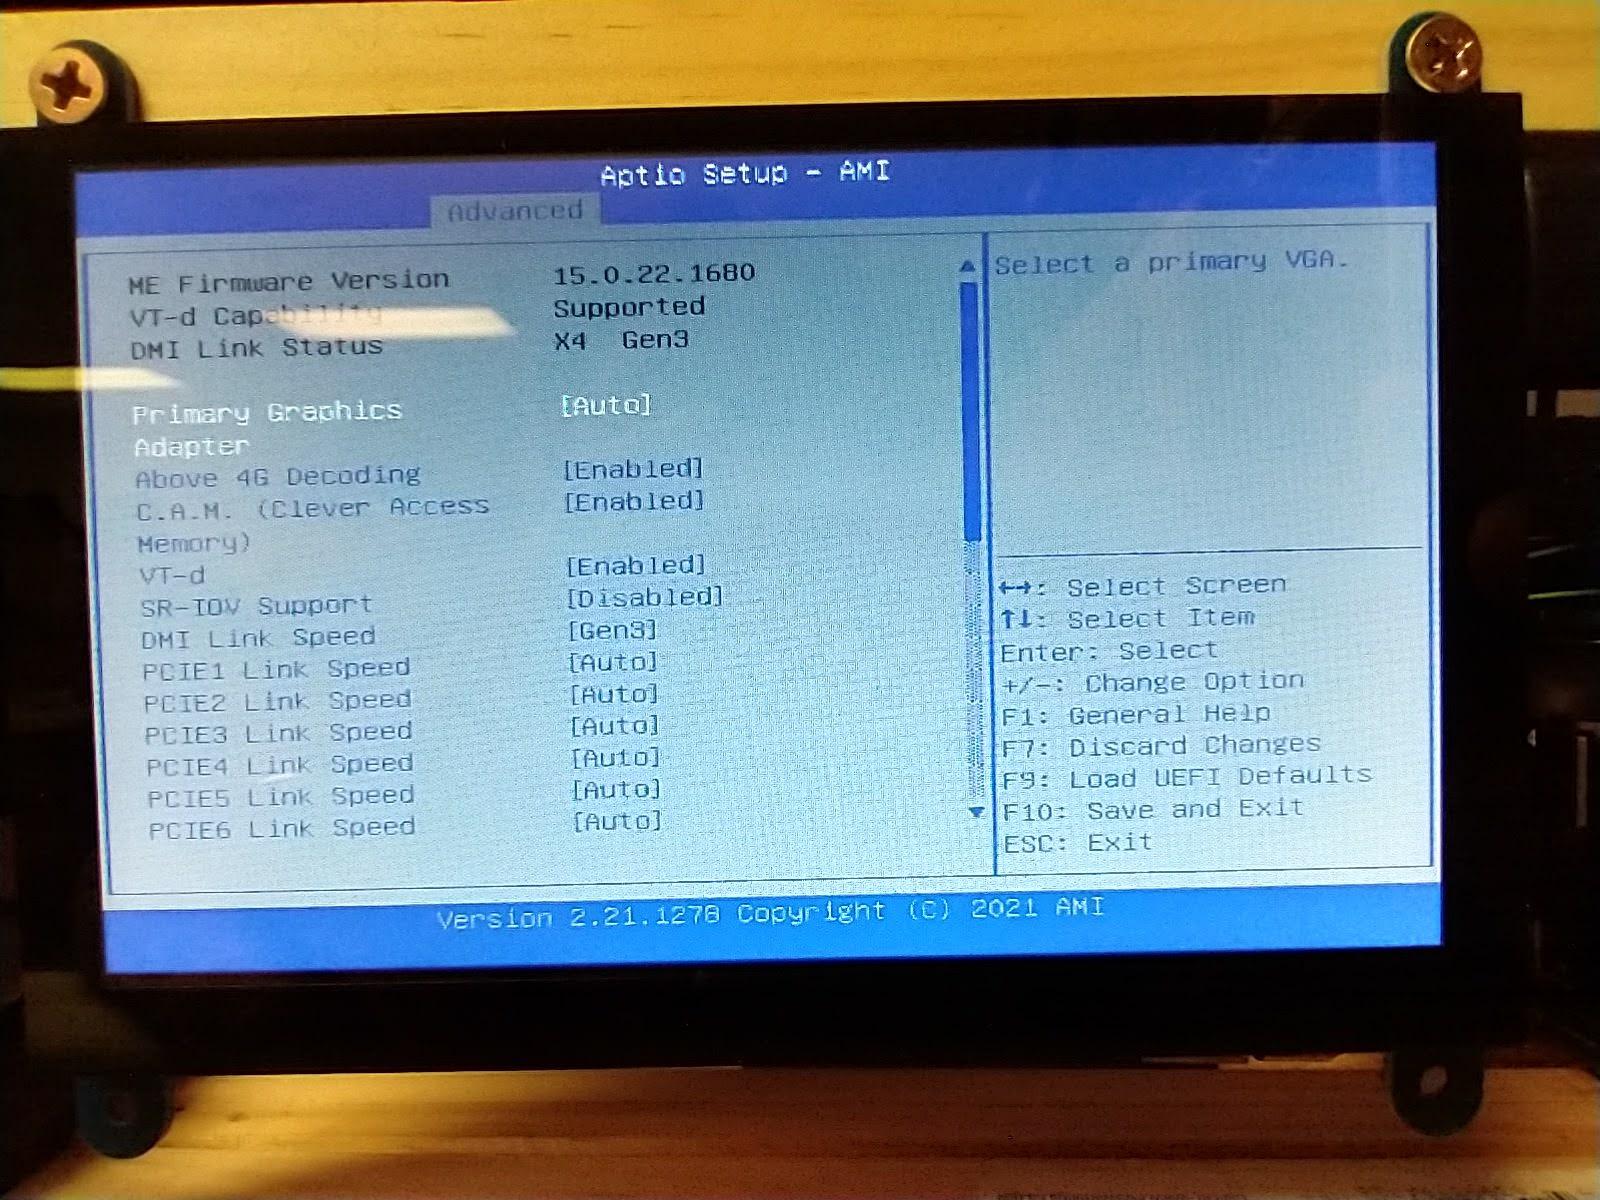
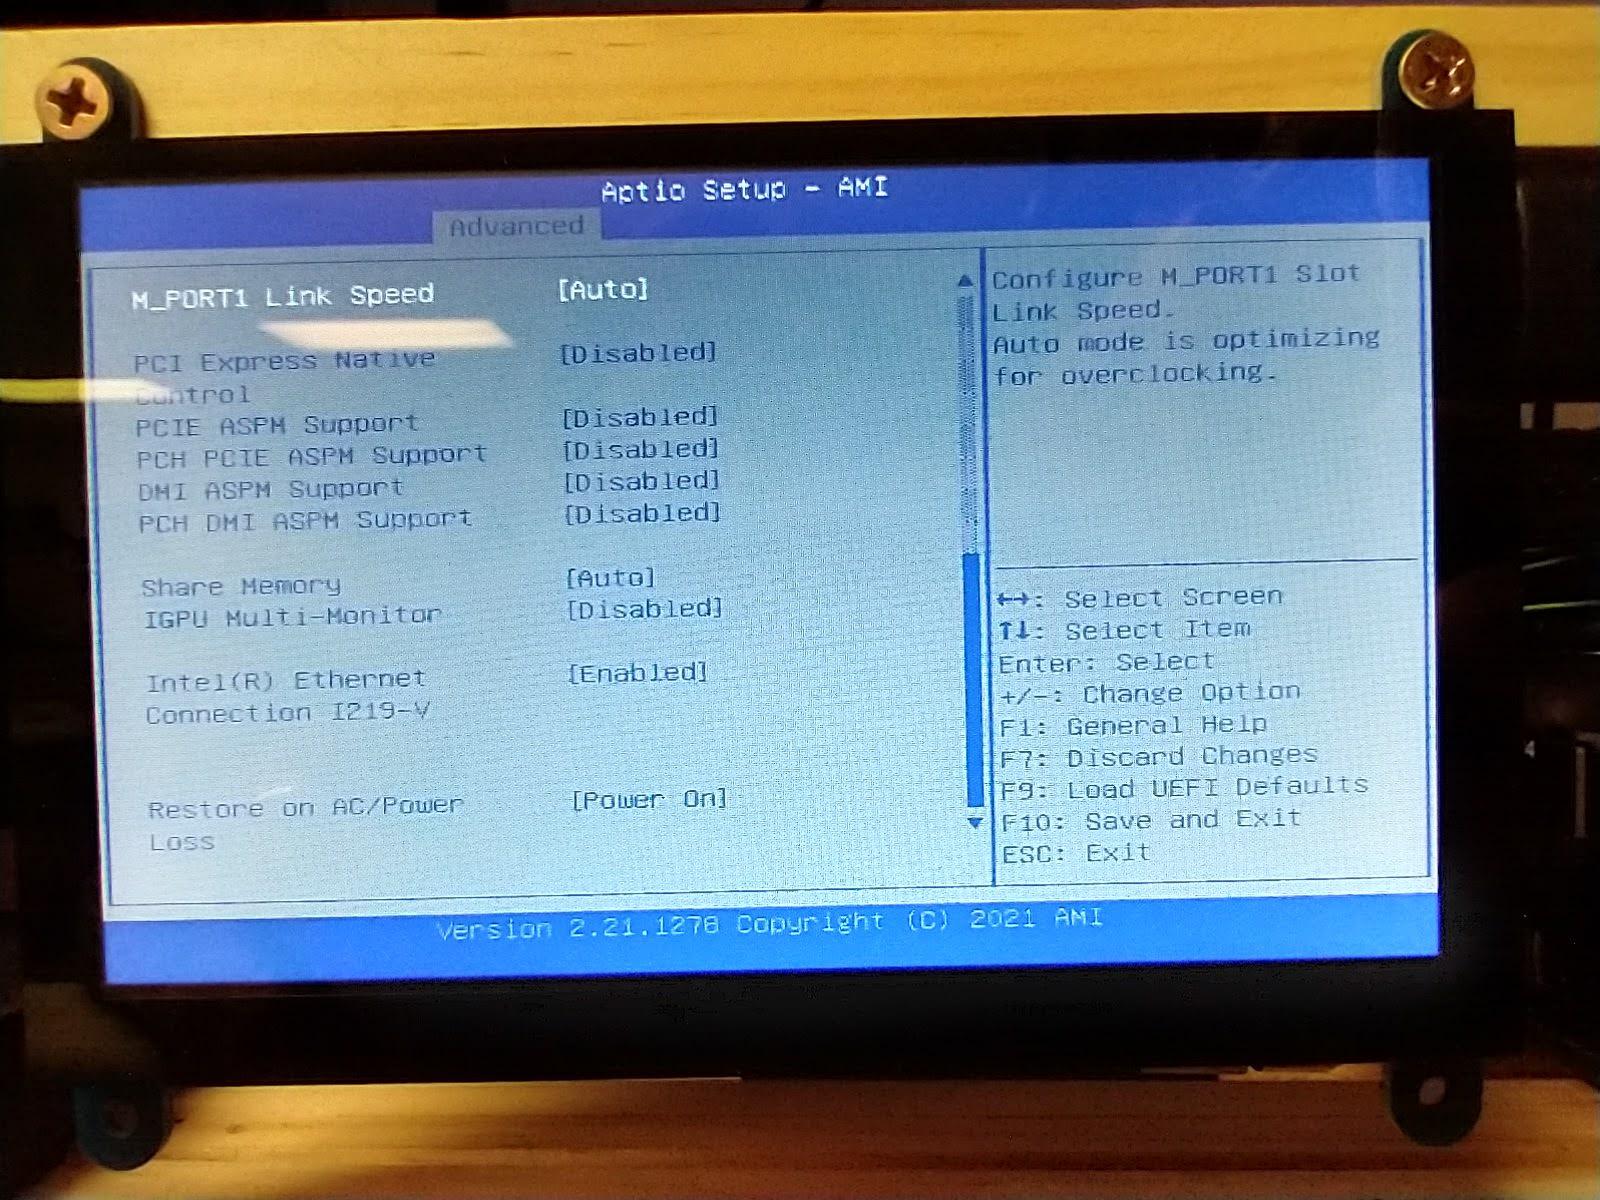
Chipset Configuration
- Set settings according to images provided.
Advanced - Storage Configuration
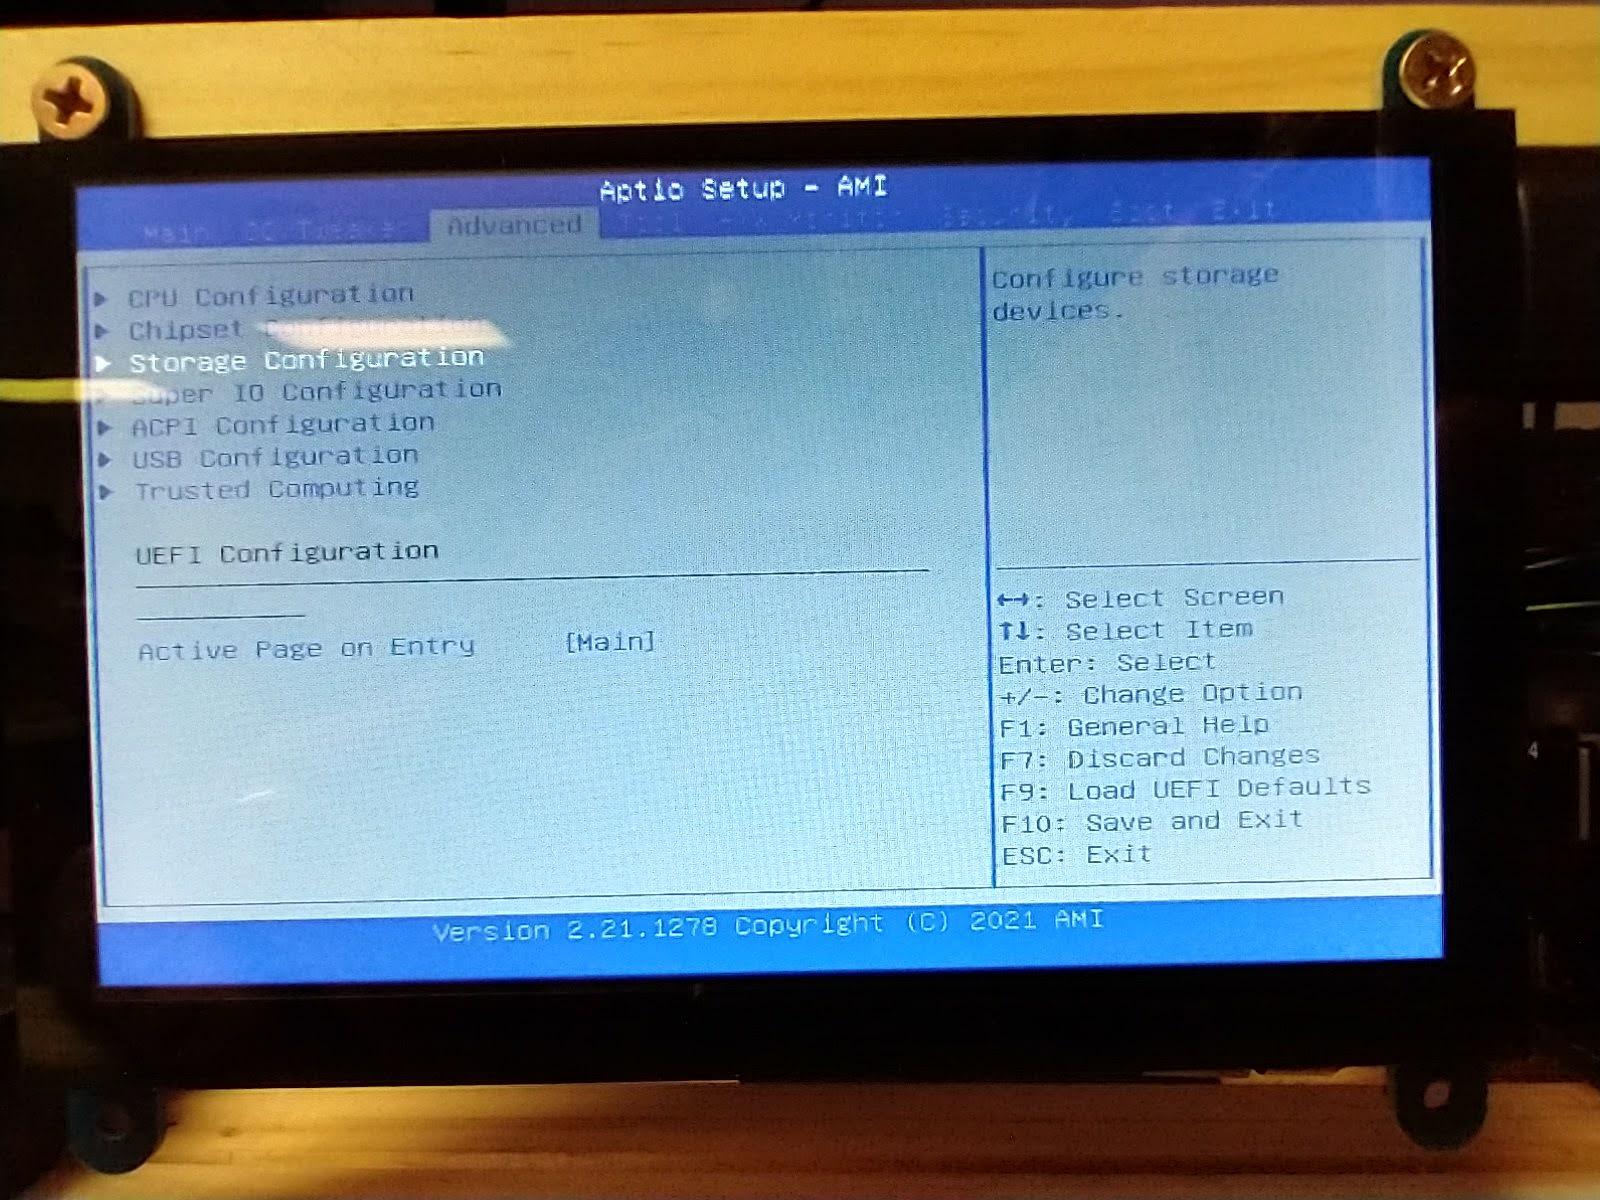
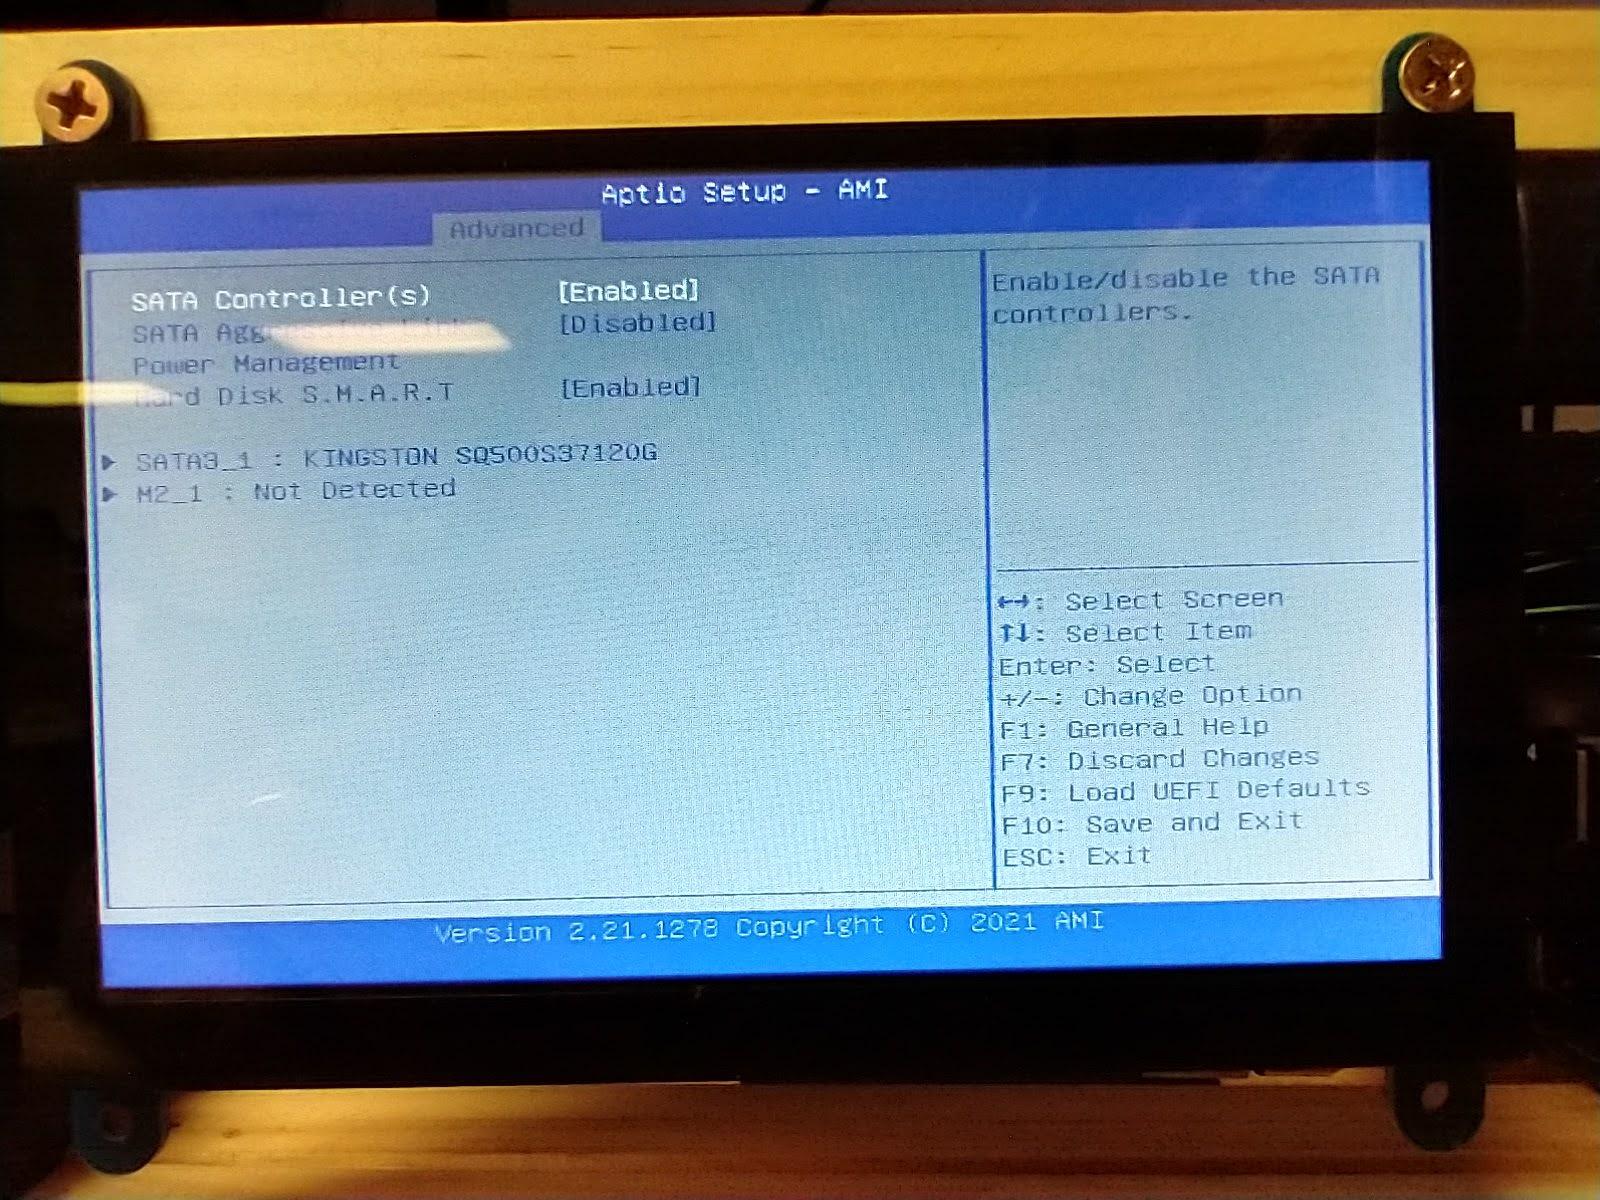
Storage Configuration
- Set settings according to images provided.
make sure your SSD and your USB key is installed properly.
make sure your USB key is inserted in the regular USB ports, next to your mouse/keyboard. Do NOT use the onboard mining port in the rear.
Advanced - Super IO Configuration
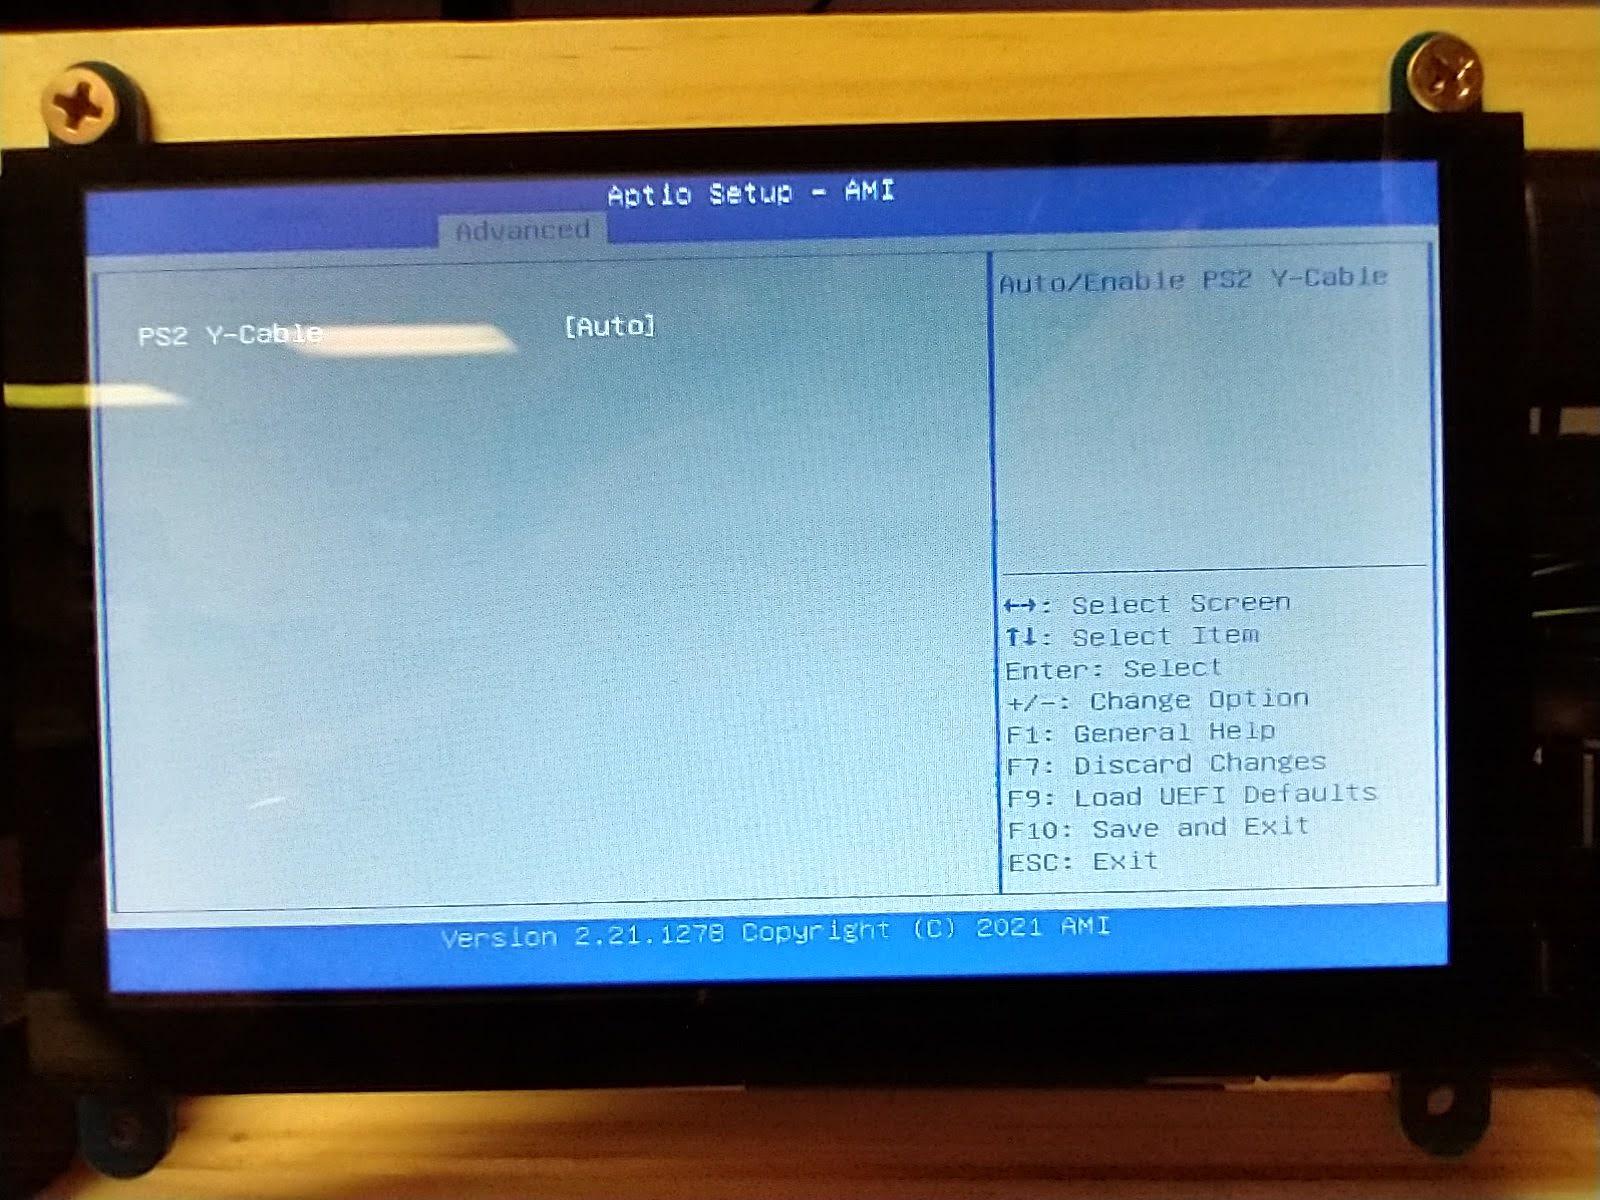
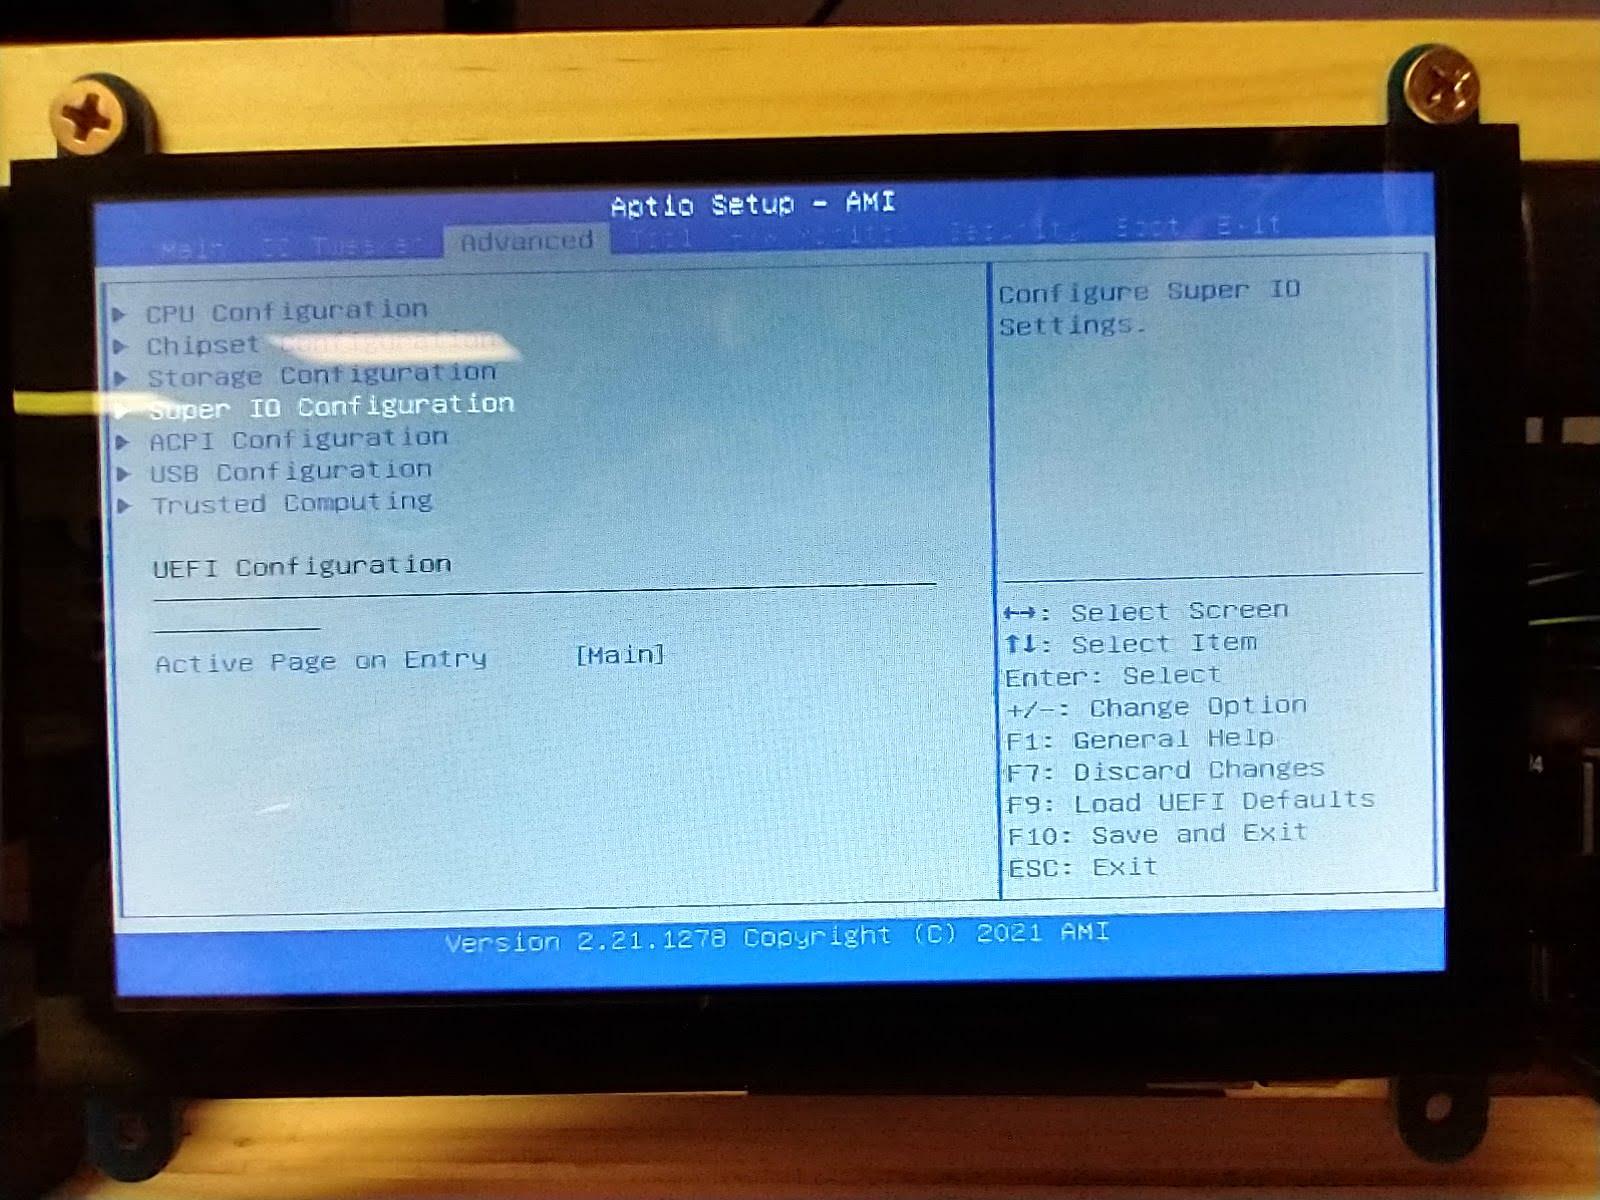
IO Configuration
- Leave as is.
Advanced - ACPI Configuration
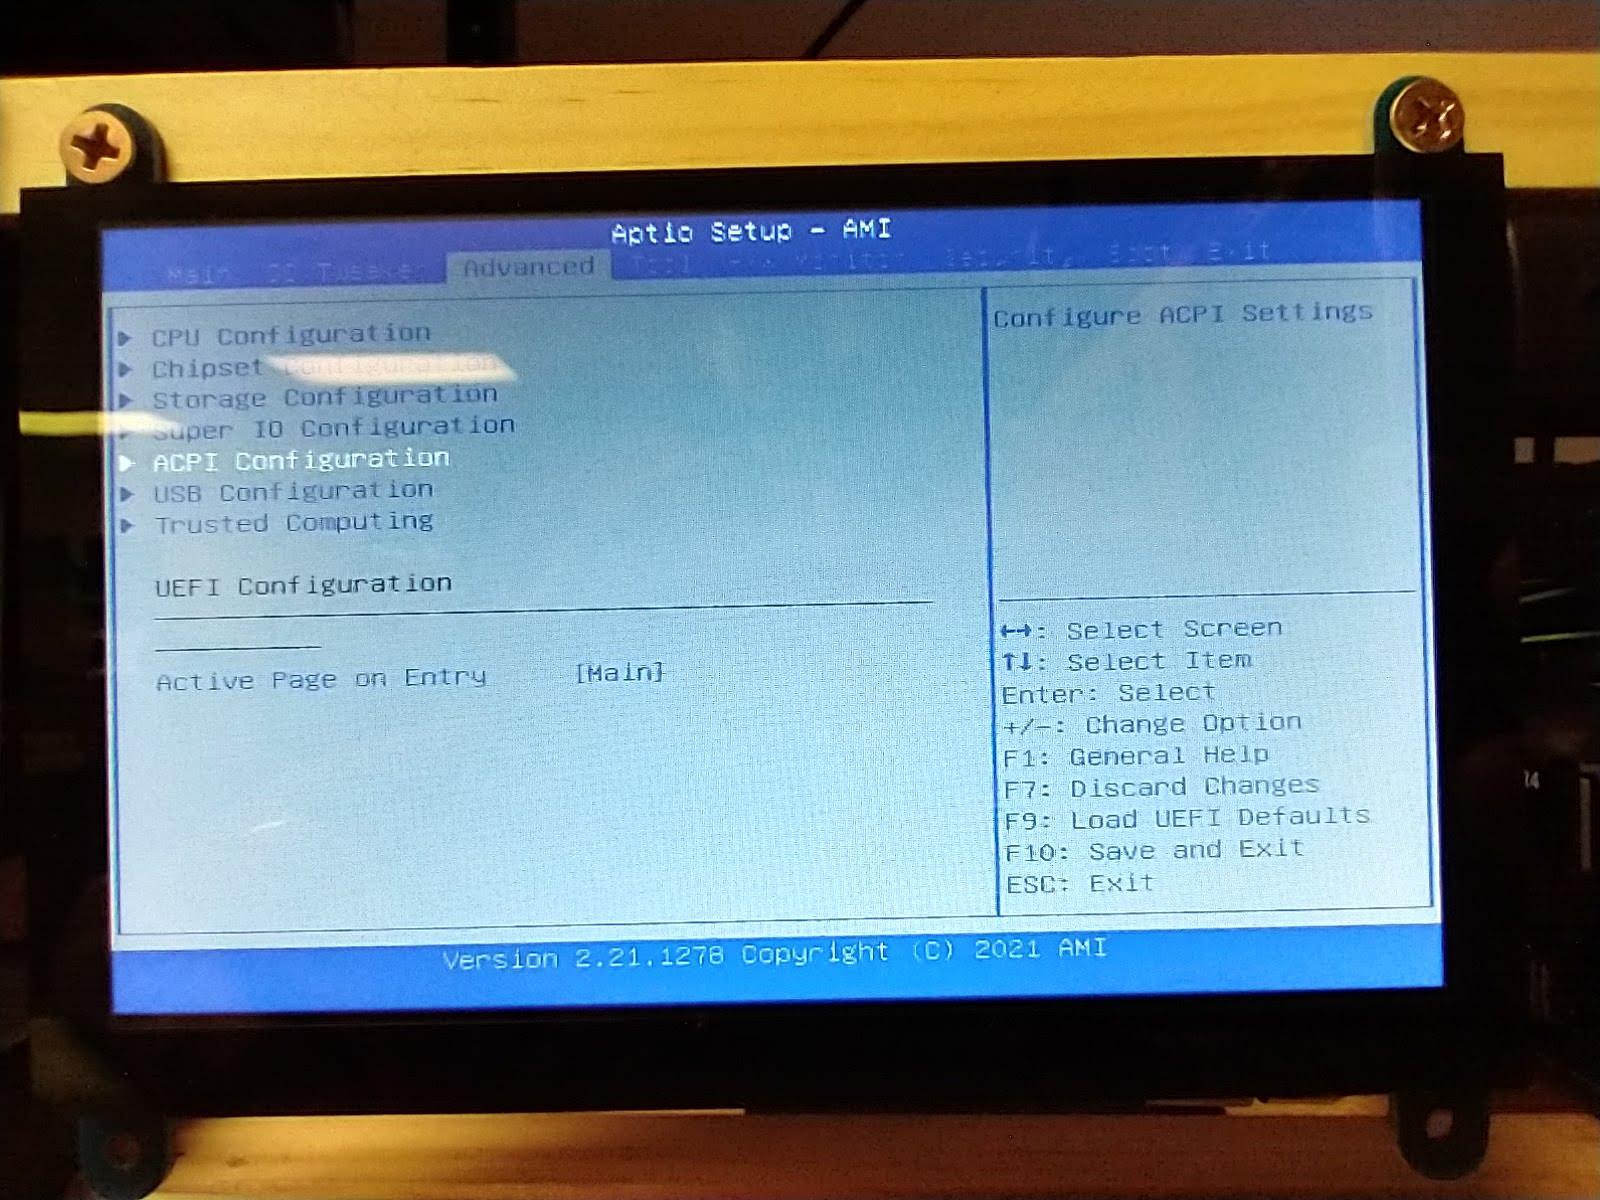
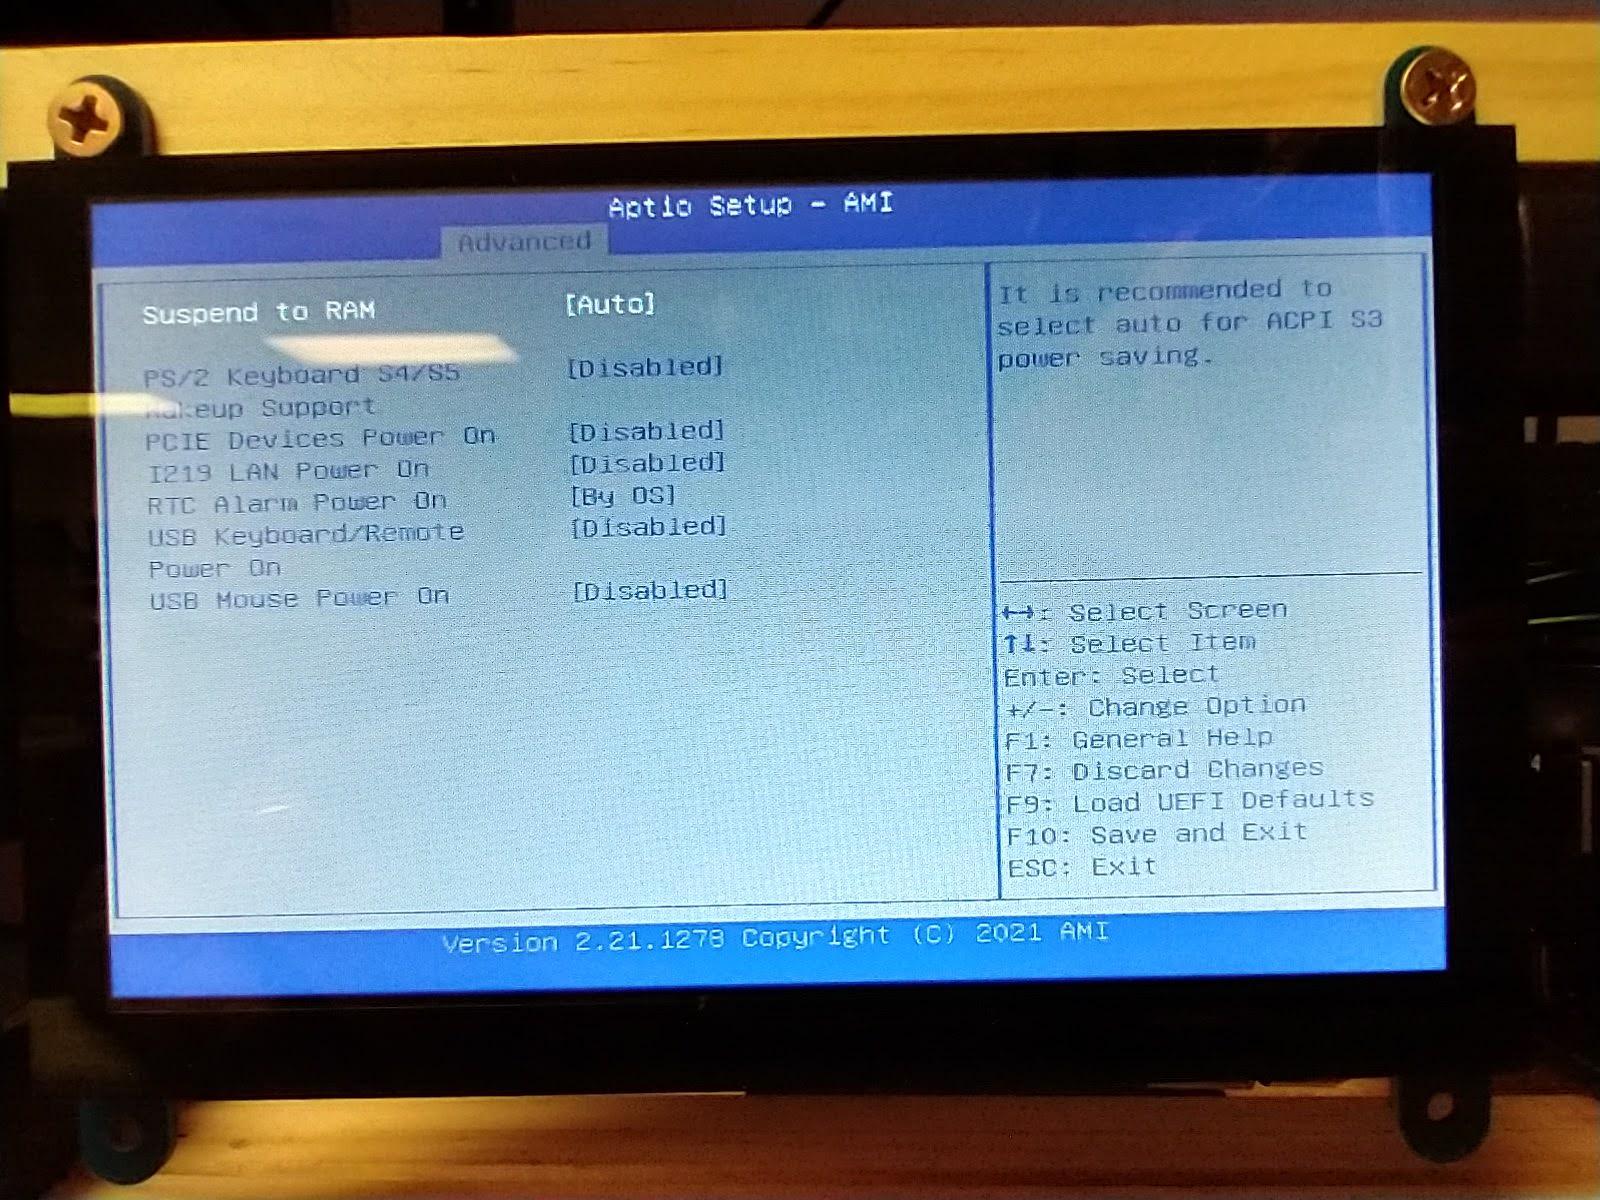
ACPI Configuration
- Set settings according to images provided.
Security

Security Configuration
- Set settings according to images provided.
Boot

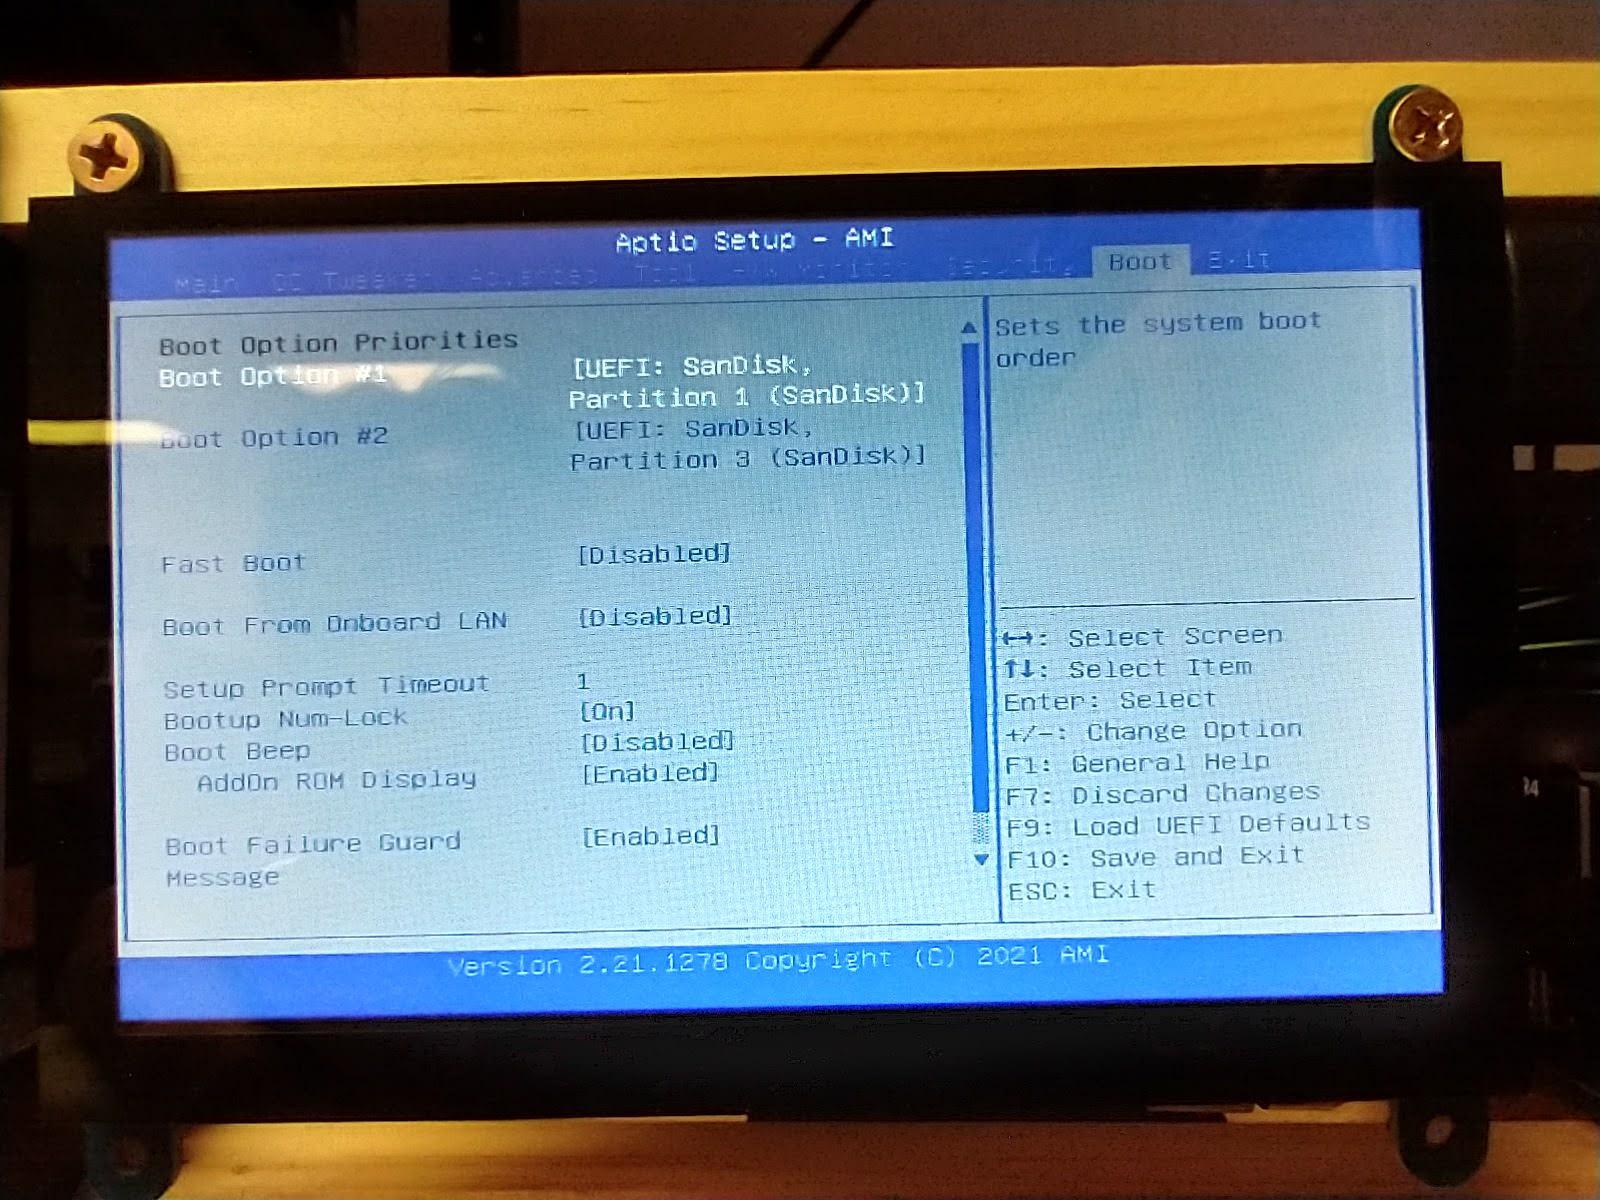
Boot Configuration
- Set settings according to images provided.
- Make sure your USB key is your 1st boot device and contains your mining system (HiveOS or Simplemining...)
- The SSD is secondary and can contain a windows OS install to update the drivers/firmware on the cards and serves as a buffer during operation.
Adding Multiple Cards.
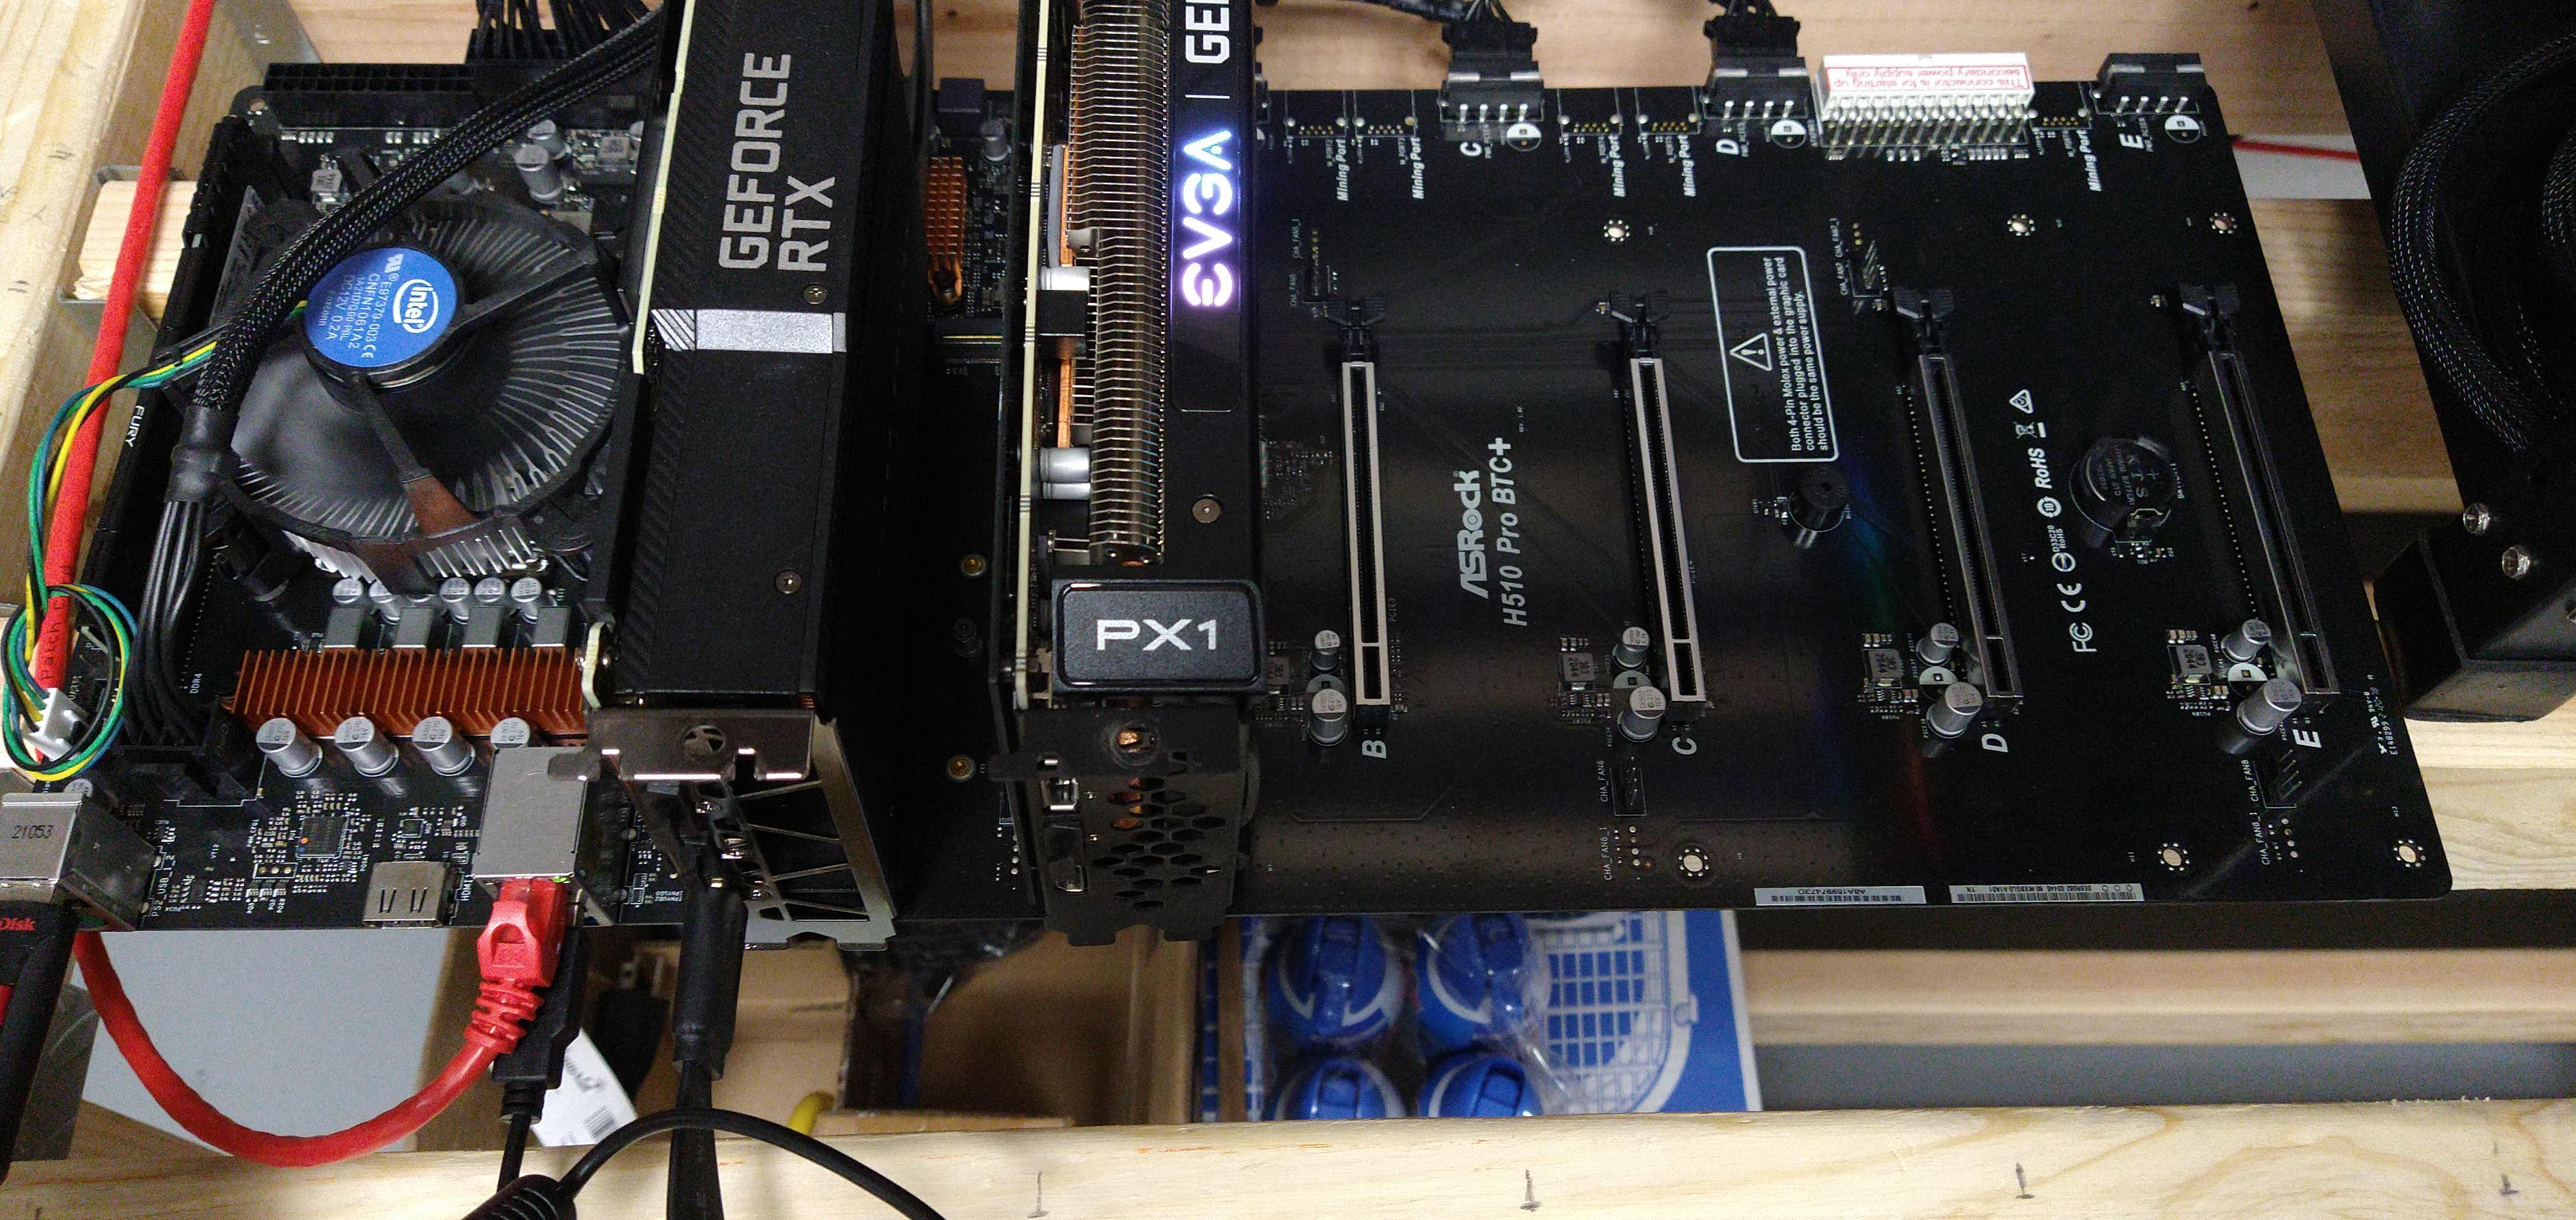
You have updated the BIOS successfully, your system is ready to receive your other cards.(Page 5,6)
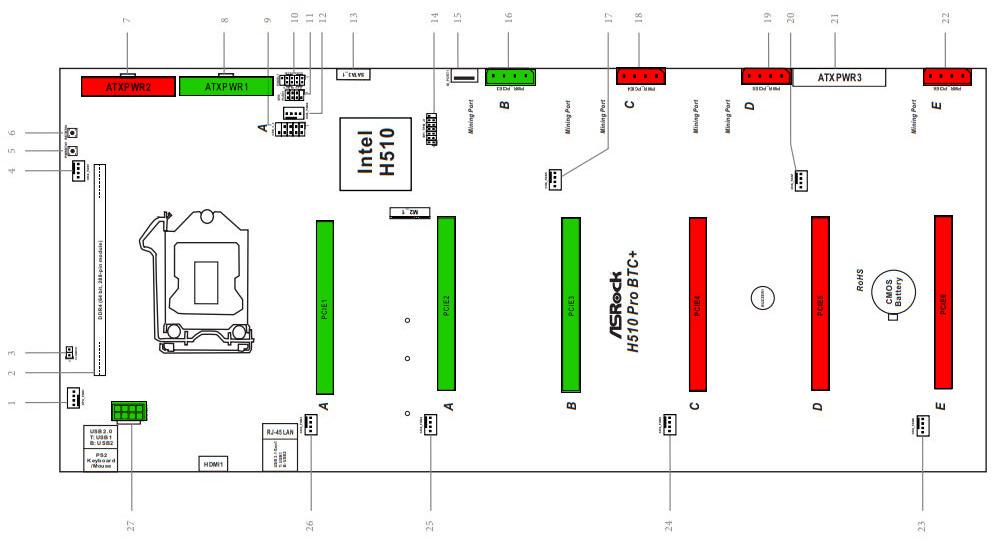
- Plugin your cards, ONE BY ONE (Shut down on each install and repeat this step), their individual power cables & onboard Molex connectors according to the color-coded diagram. Your first (weakest) card is already installed, monitor plugged in, and running on the 'GREEN-color' power supply. We are moving left to right. You will be using 2x PSUs if you fill your board past slot three so refer to the color chart. This step is CRUCIAL and you can damage your cards and your board if not followed religiously. Memorize the diagram lol.
- If using RISERS/cables for your cards, follow the same diagram for proper PSU hookup to power your risers.
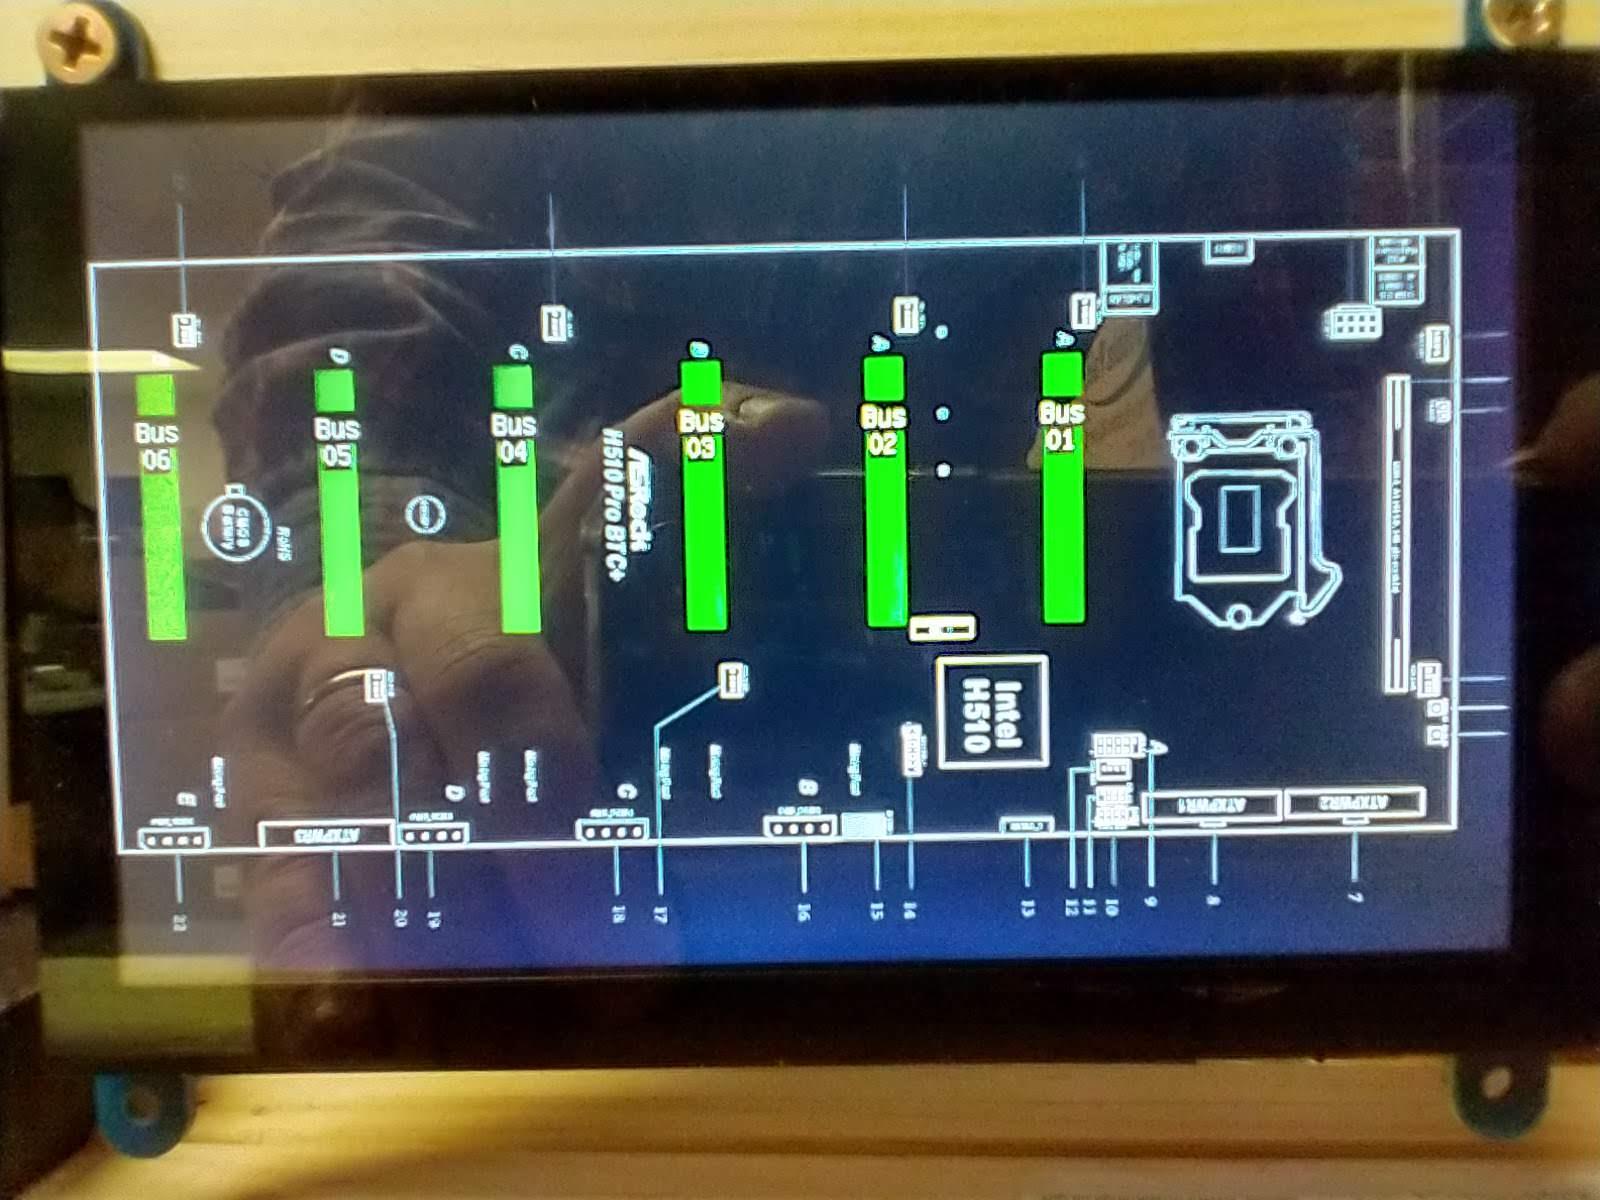
- Install each card ONE AT A TIME, then Boot. Verify that it is green on the screen, shut down, and repeat. (Statues light location of page 27)
- Verify that the cards each appear green on the initial loading screen as pictured.
Congratulations!

Congrats you are set up and ready to go.
Things to keep in mind going forward:
- check back on the ASRock site for updates, and update the BIOS regularly. You may have to repeat this process if settings get reset. https://www.asrock.com/mb/Intel/H510%20Pro%20BTC+/...
- if your rig reboots or powers down, it may be that the cards are using more power than the PSUs could supply. Make sure you calculate that appropriately. There may be an instance that both PSUs power down, or just half the rig may go dark. You will have to set power usage limitations in your mining OS to find a sweet spot. Take care not to trip the breaker.
- note that the board the CPU and fans will use power as well. This is often overlooked, please calculate 200W give or take when installing PSUs vs. Cards per the color-coded diagram in this Instructable.
Good Luck and Happy Mining!