ARDUINO 101 | SERVO MOTOR
by HertzandMadden in Circuits > Arduino
224 Views, 2 Favorites, 0 Comments
ARDUINO 101 | SERVO MOTOR
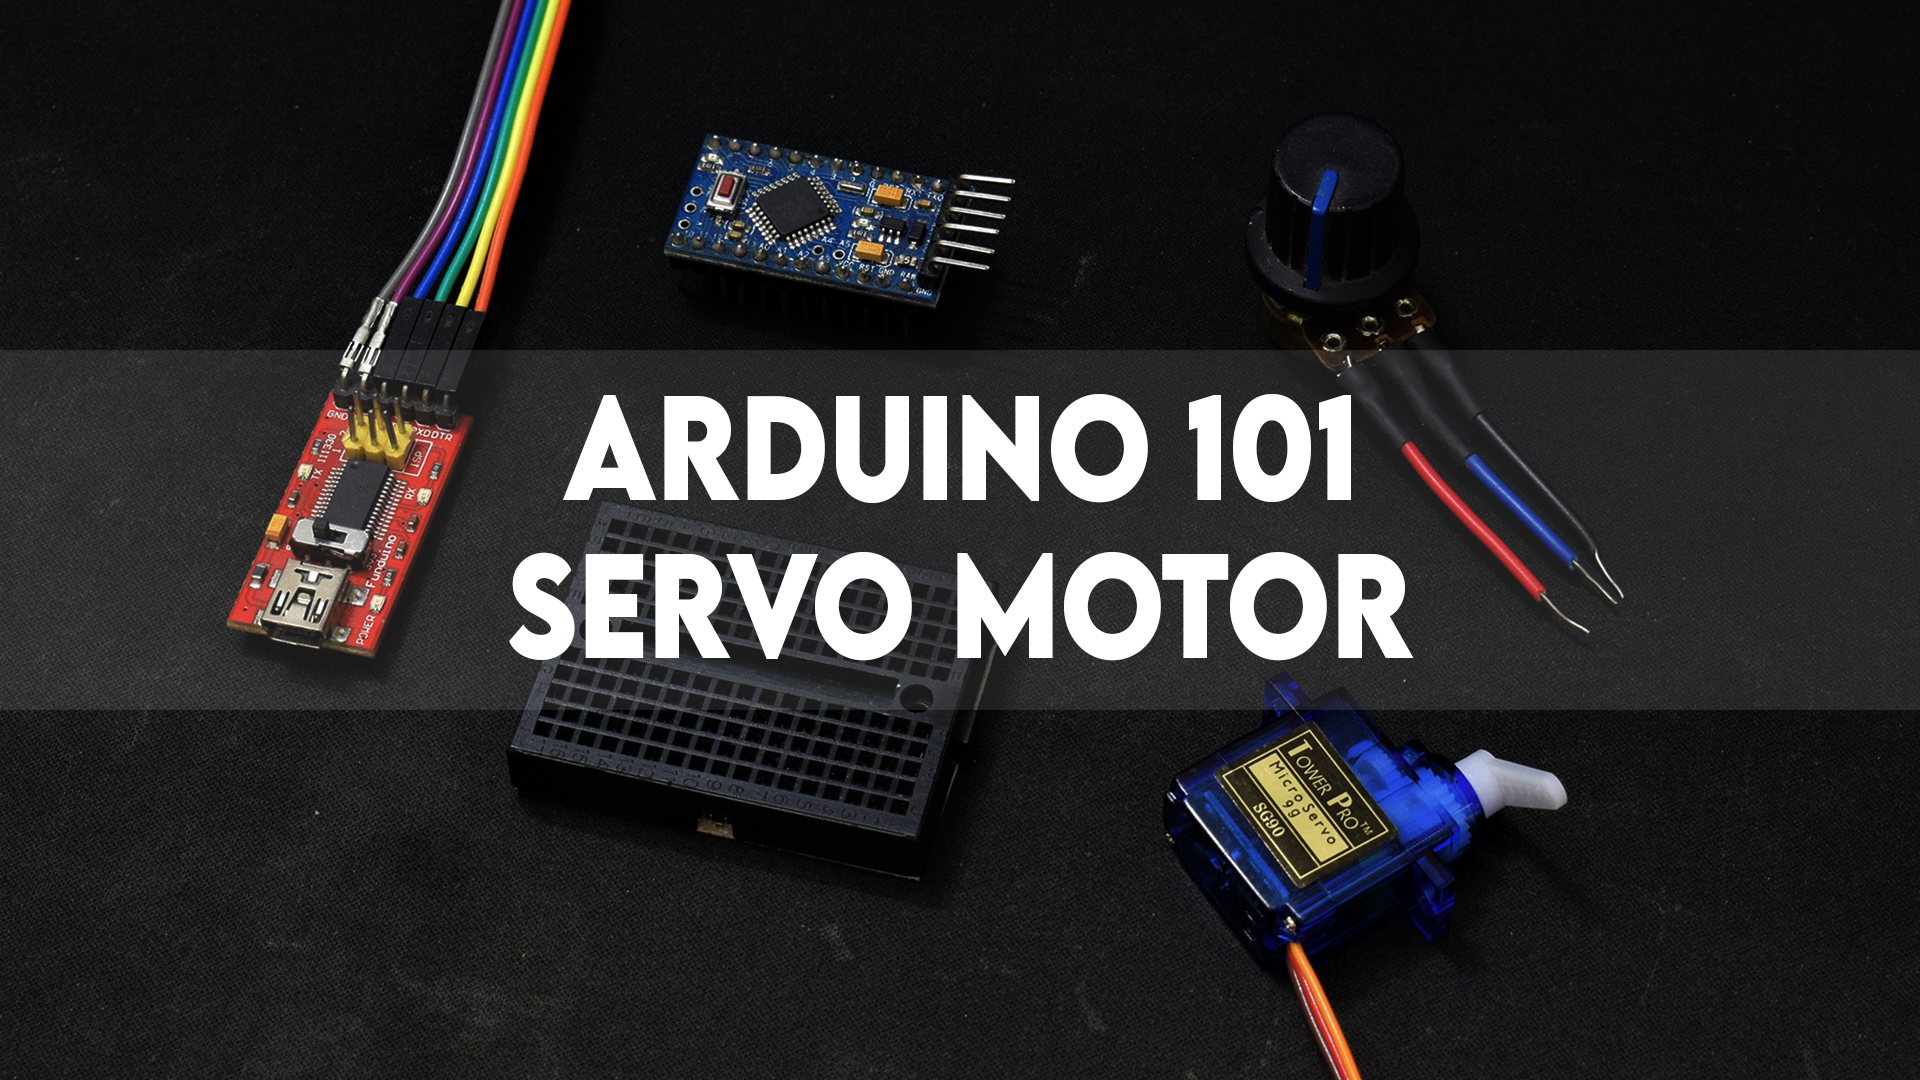
This Instructable will guide you through the process of controlling a servo motor with a potentiometer through an Arduino Pro Mini.
Supplies
1) Any Arduino board: Arduino Pro Mini Compatible Board
2) A Servo motor: TOWER PRO 9G MICRO SERVO MOTOR
3) A 10K ohms Potentiometer: 10K Potentiometer Tone Control 10 Pcs
4) A mini breadboard: Mini Solderless Breadboard
5) FT232RL if using the Arduino Pro Mini: FT232RL
6) MALE Jumper cables: Male Jumper Cables
CONNECTIONS
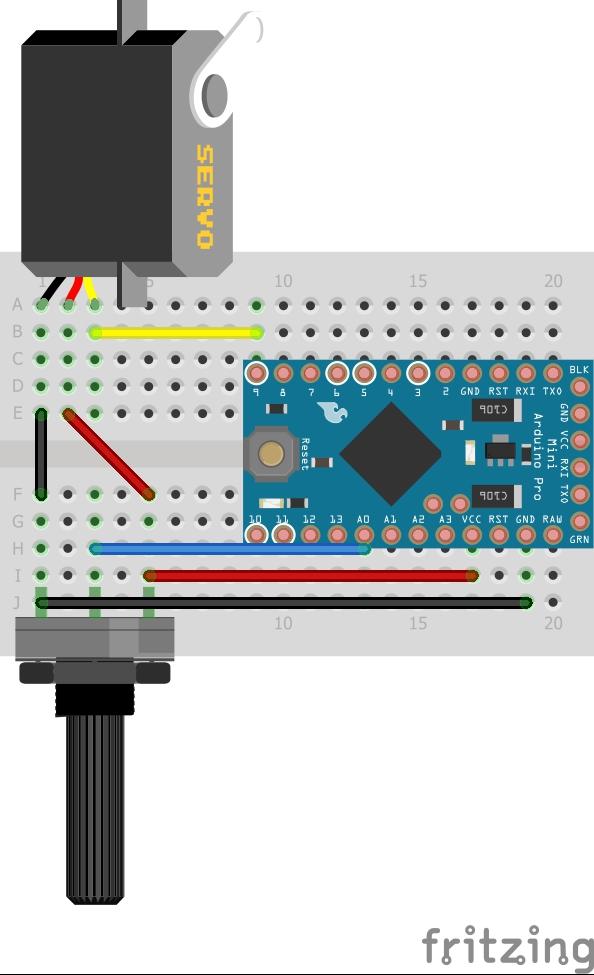
Servo's Signal (Usually the yellow wire) -> Digital Pin 9
Servo's Ground (Usually the brown wire) -> GND
Servo's +ve lead (Usually the red wire) -> VCC/5V
PROGRAMMING
1) Navigate to FILE -> EXAMPLES -> SERVO -> KNOB.
2) Verify the code.
3) Select your board, and port, and upload the code.
CONTROLLING THE SERVO

SKIP TO 1:40
Rotate the shaft of your potentiometer to rotate the servo motor.
Consider following us on our Instagram page: hertzandmadden